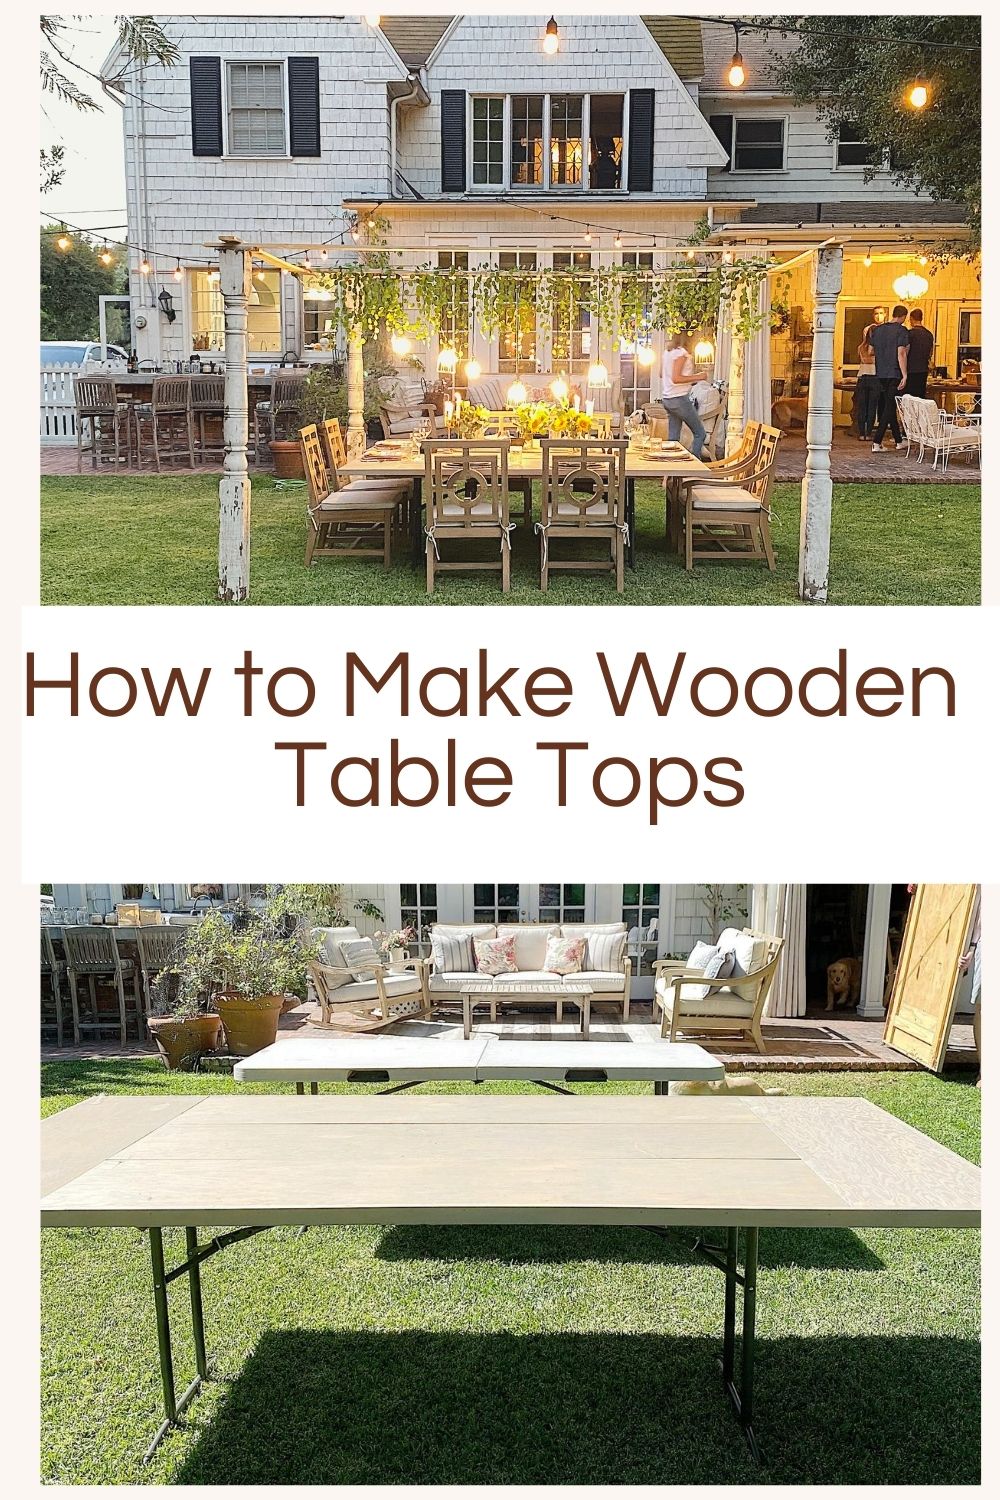
How to Make My Wood Table Tops

We entertain a lot, and a few years ago, I got tired of renting plastic tables. So, I built my own wood tabletops that look like our expensive dining room table!
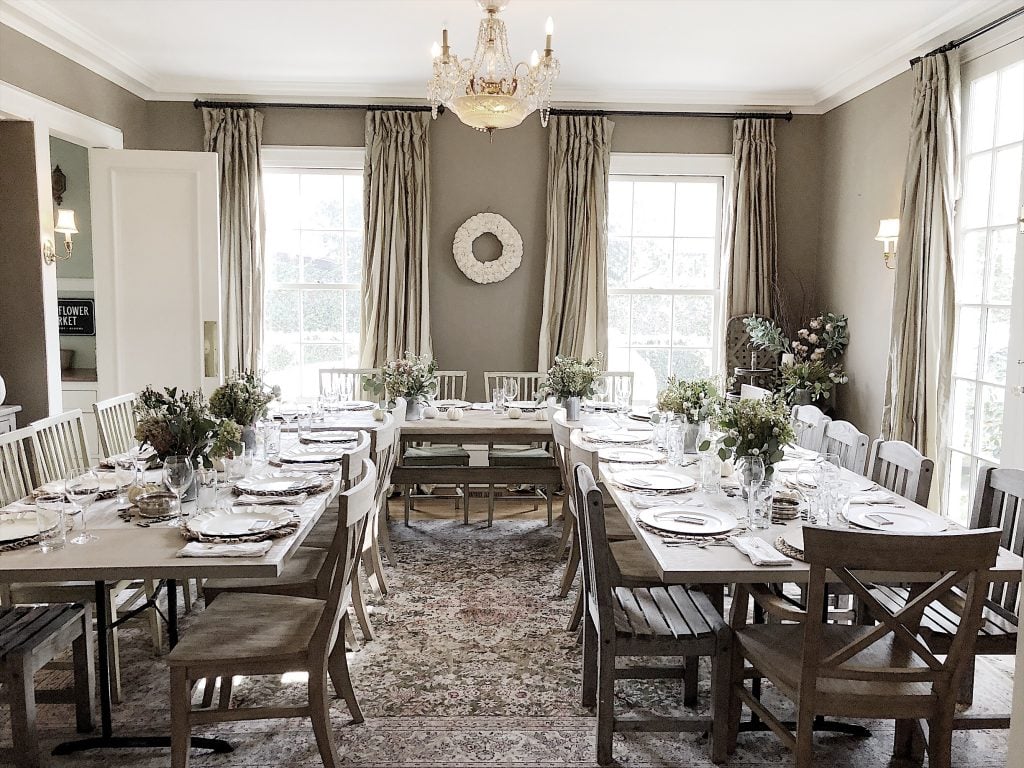
You all know how much I love to entertain. Four years ago, I came up with an idea to solve my shortage of tables. I designed and made wooden tabletops that fit over standard plastic folding tables (the cheap kind). Today, I am sharing how to make my wood table tops.
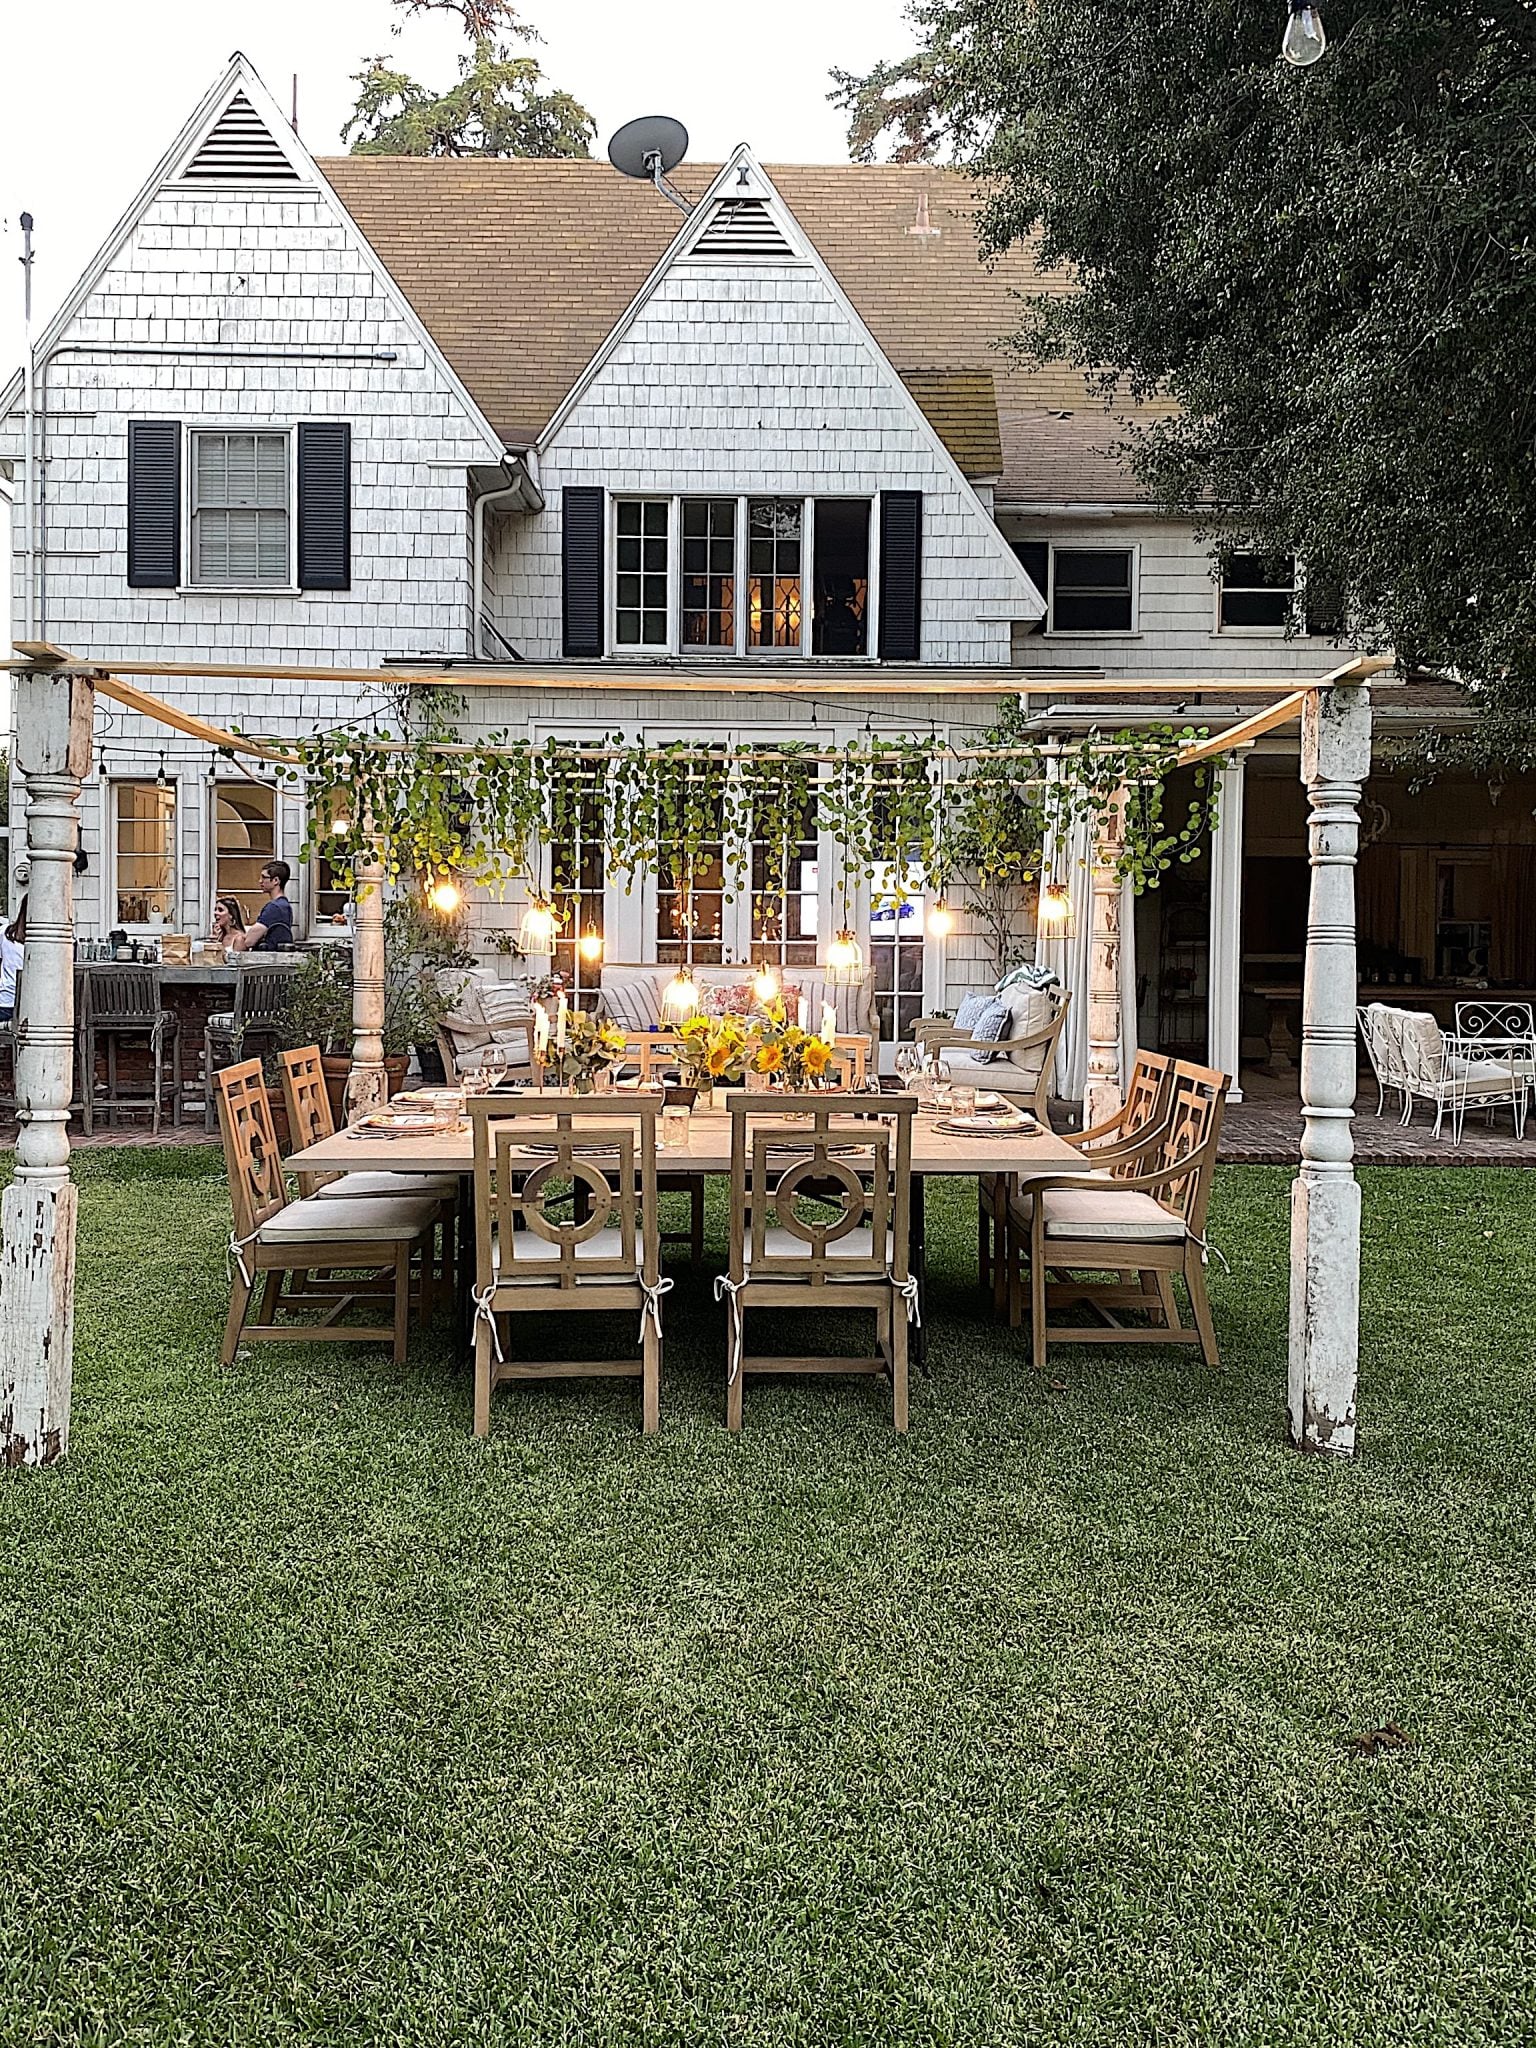


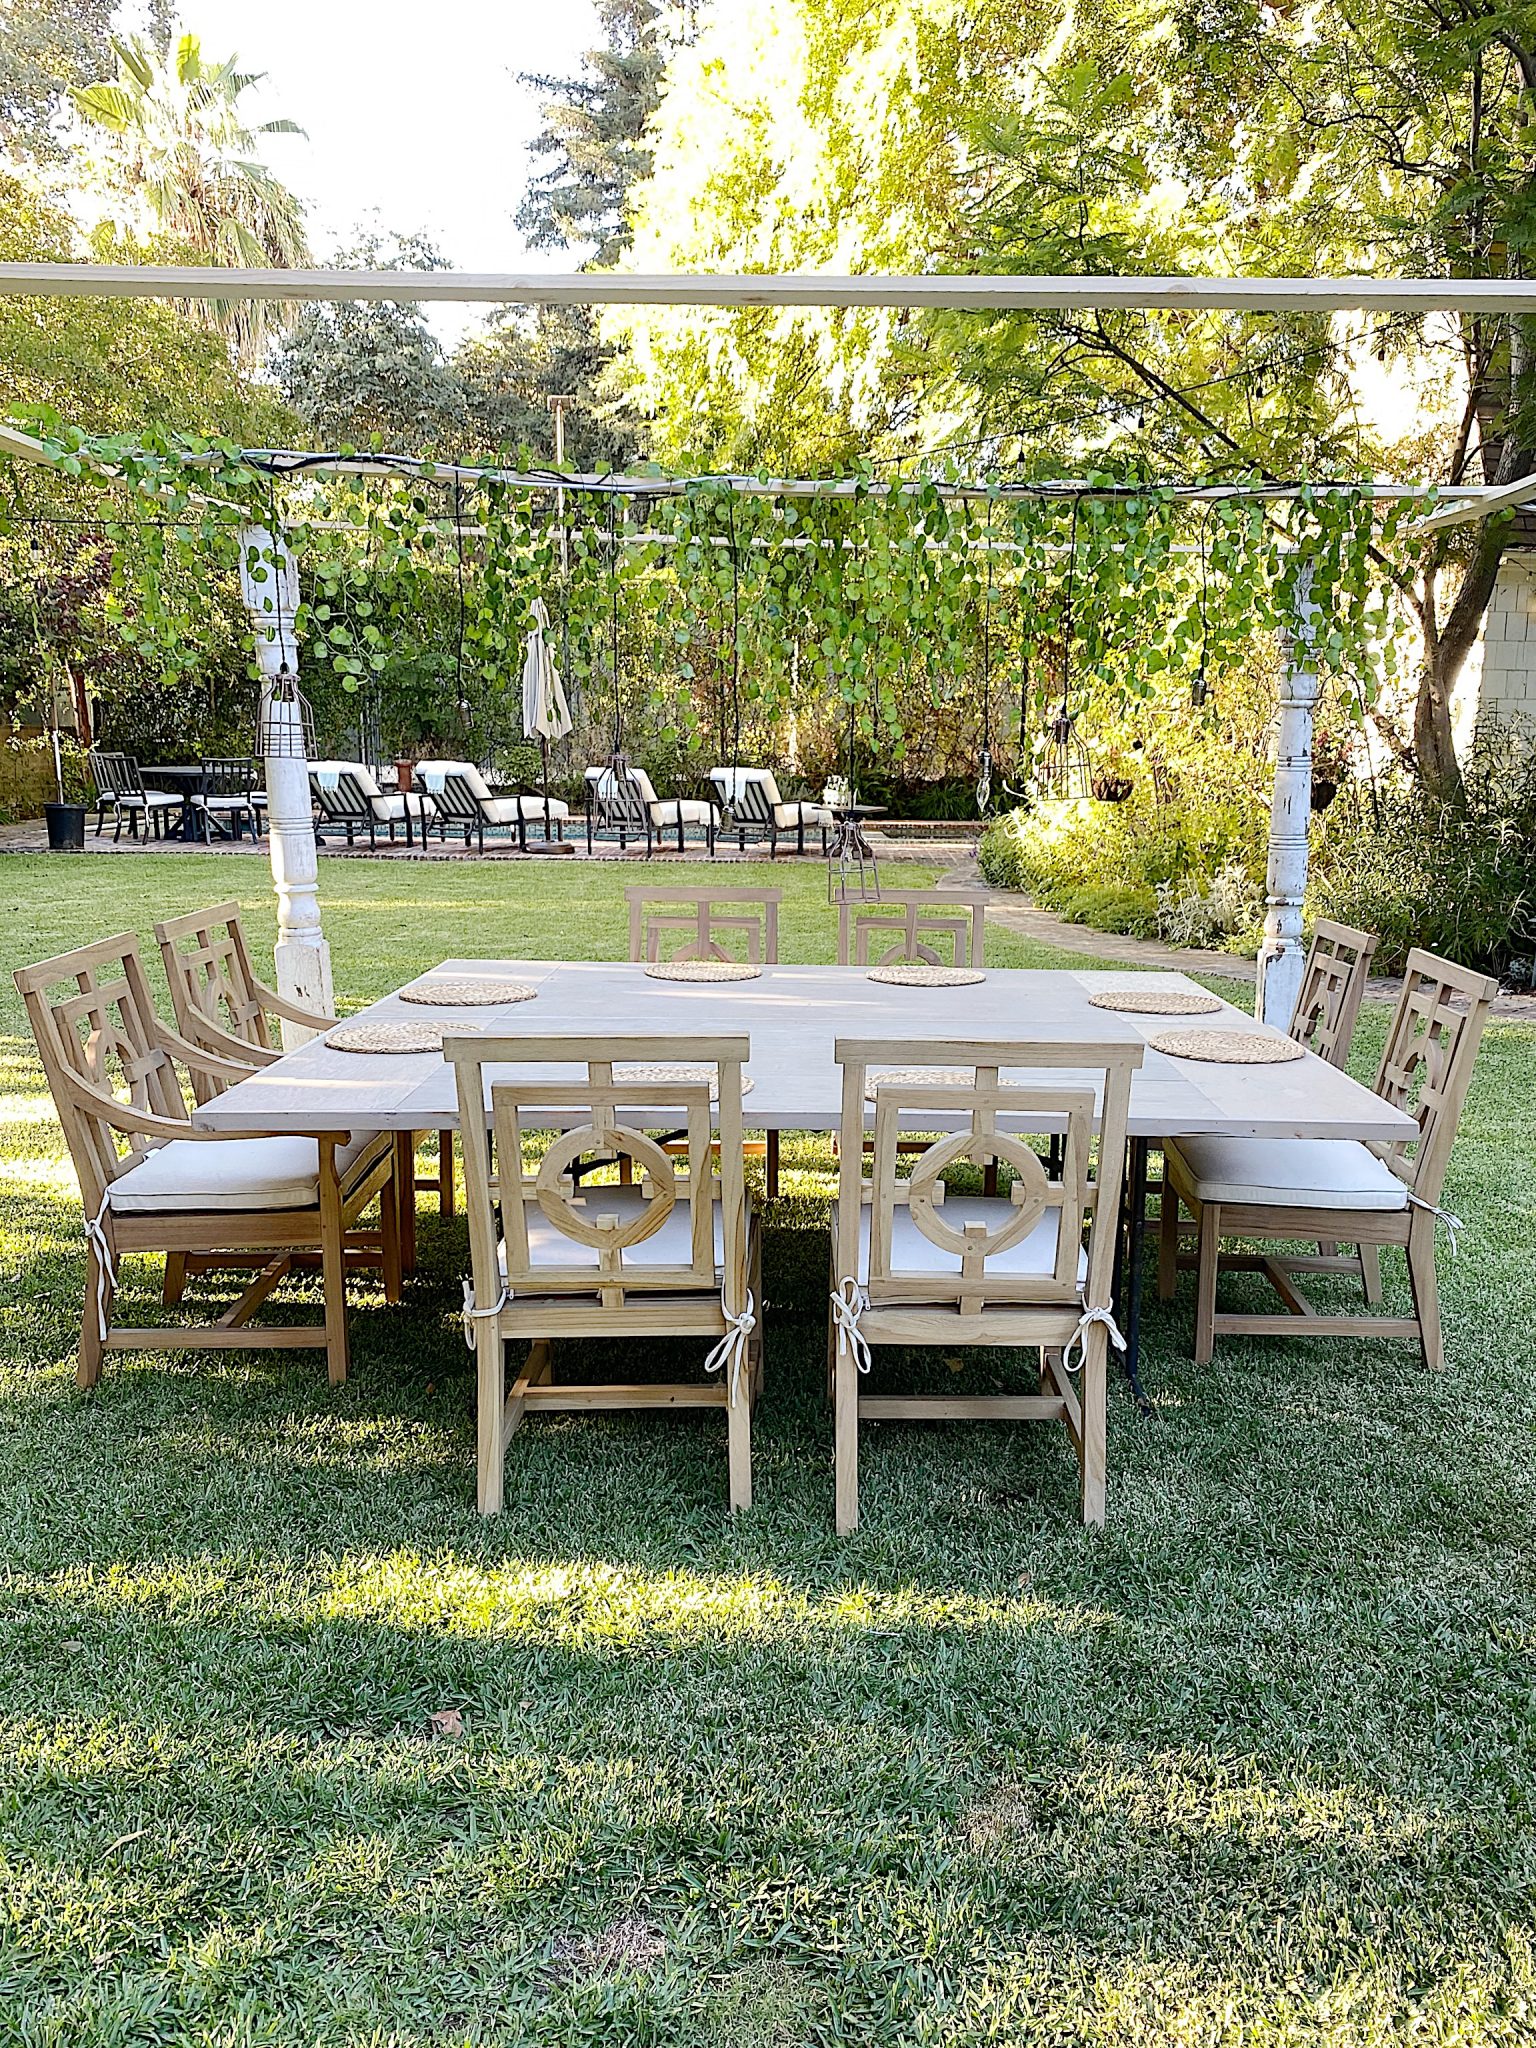
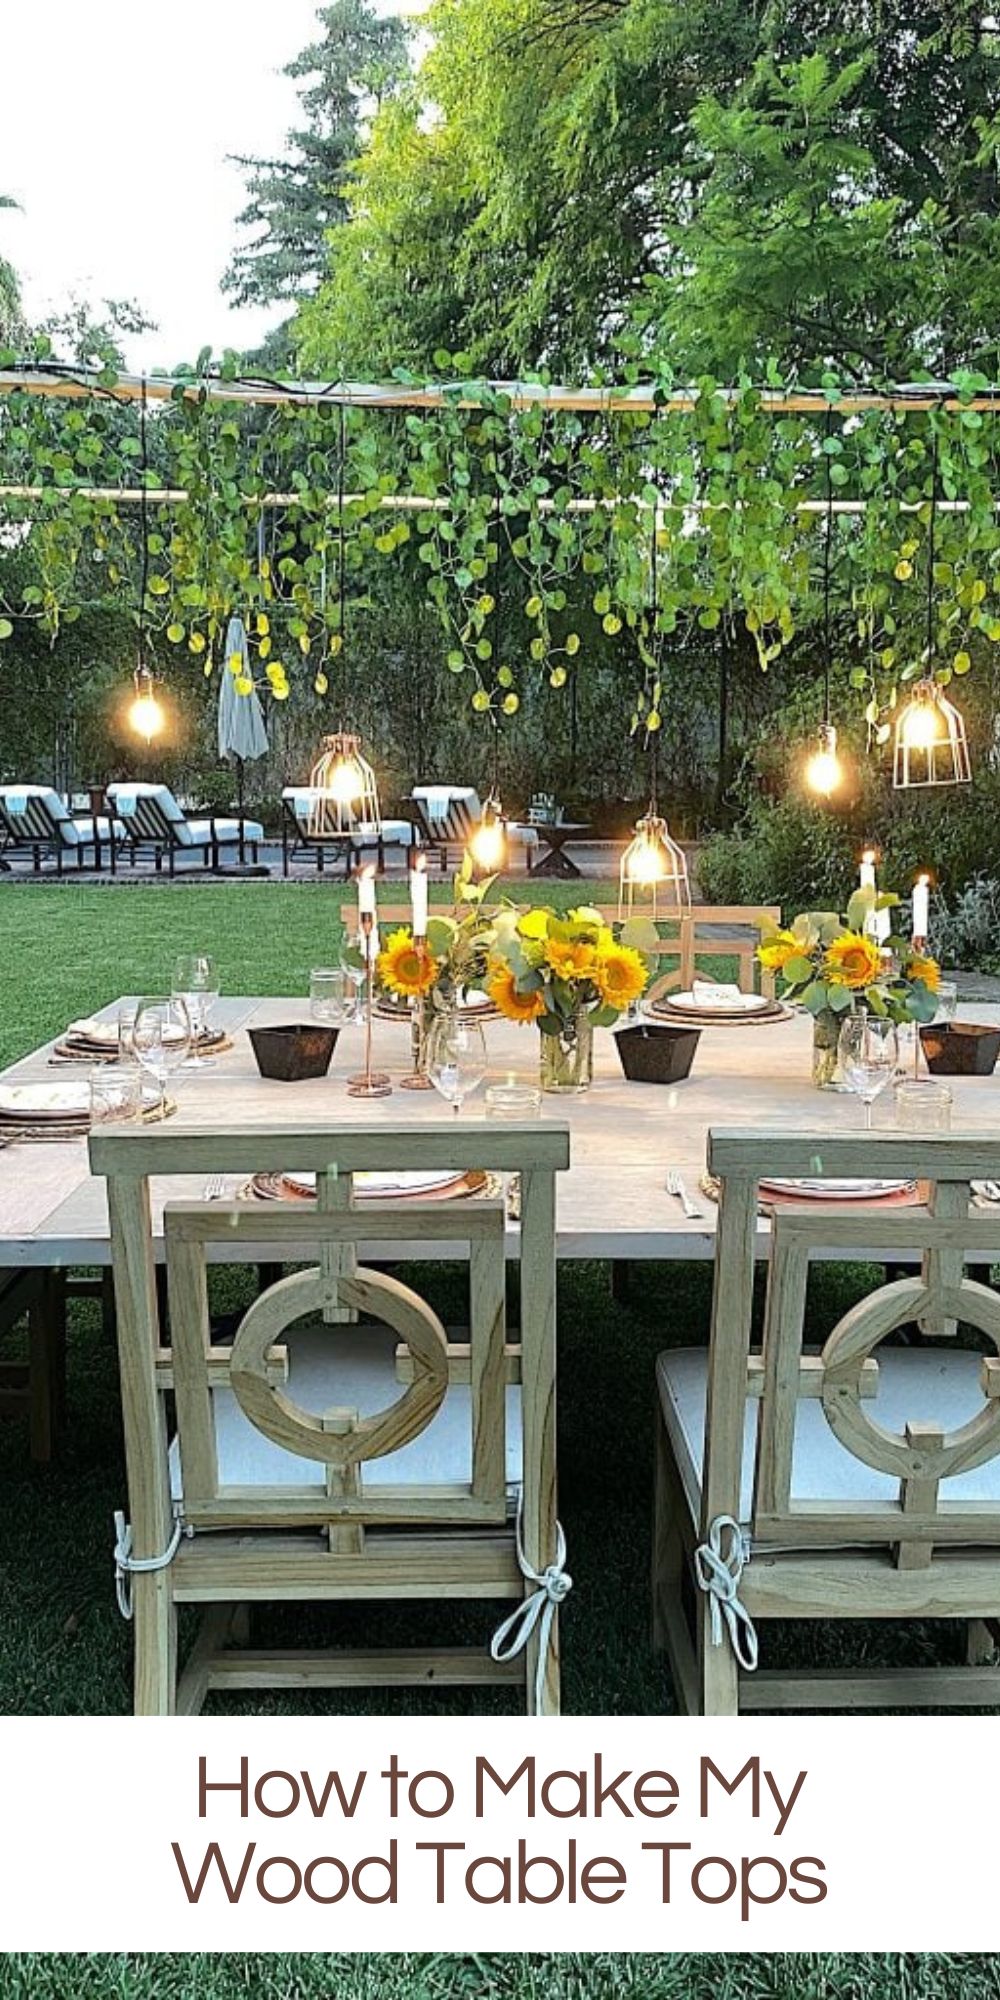
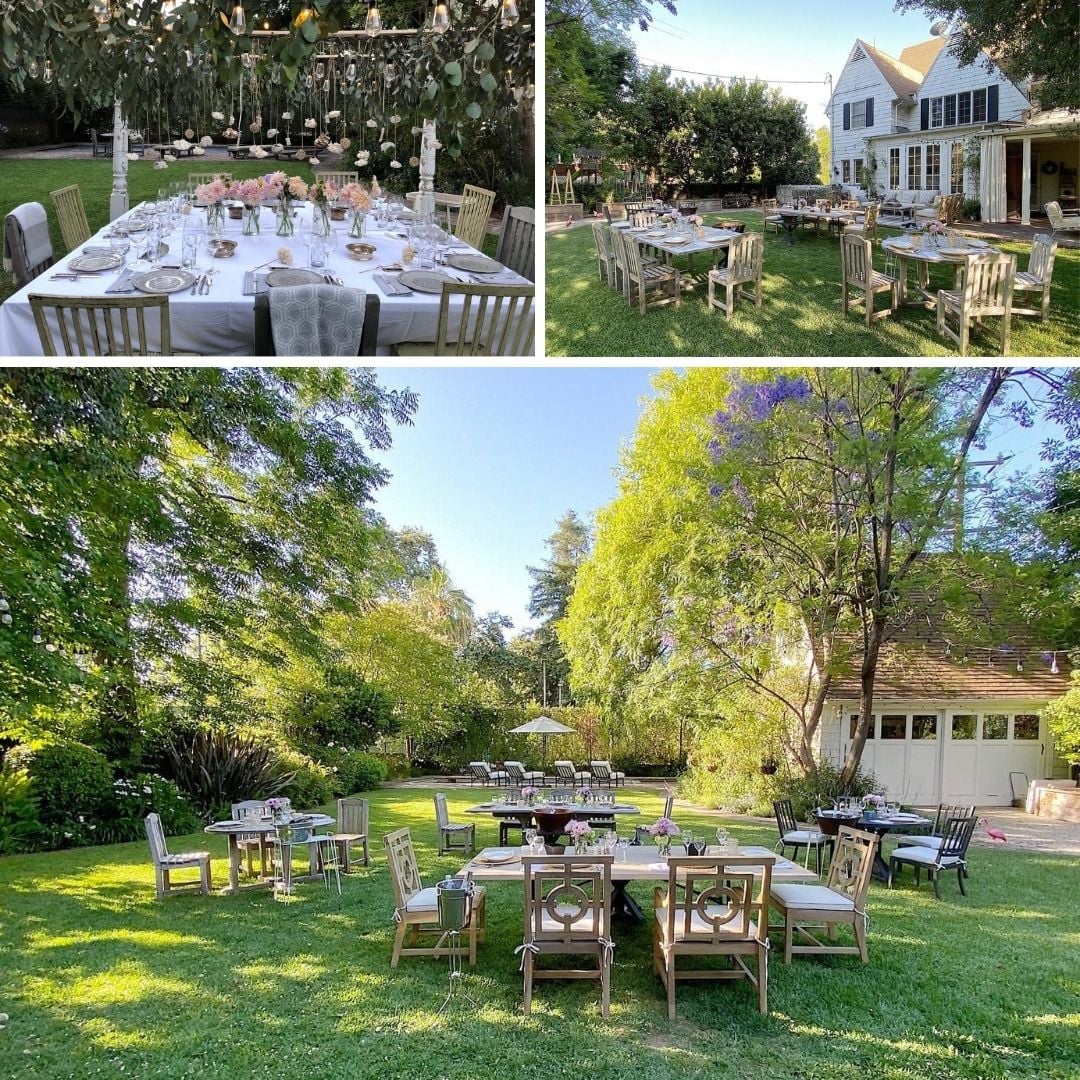
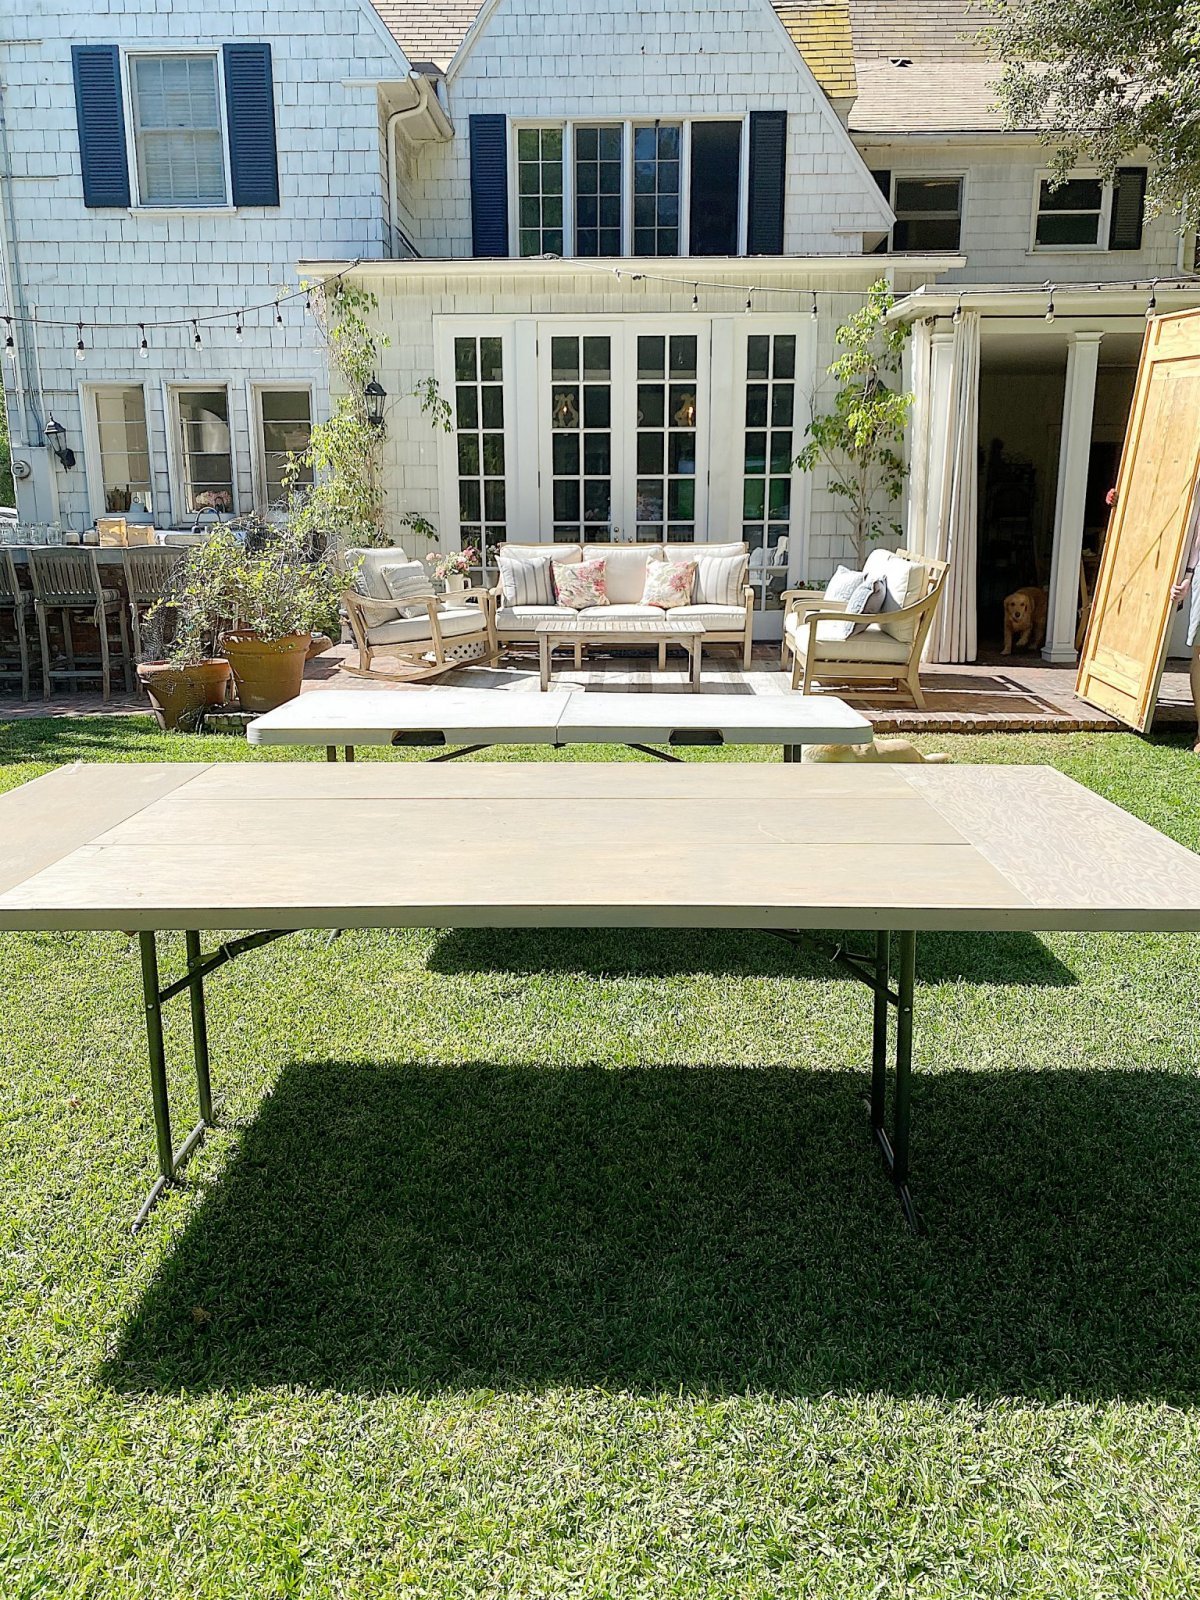
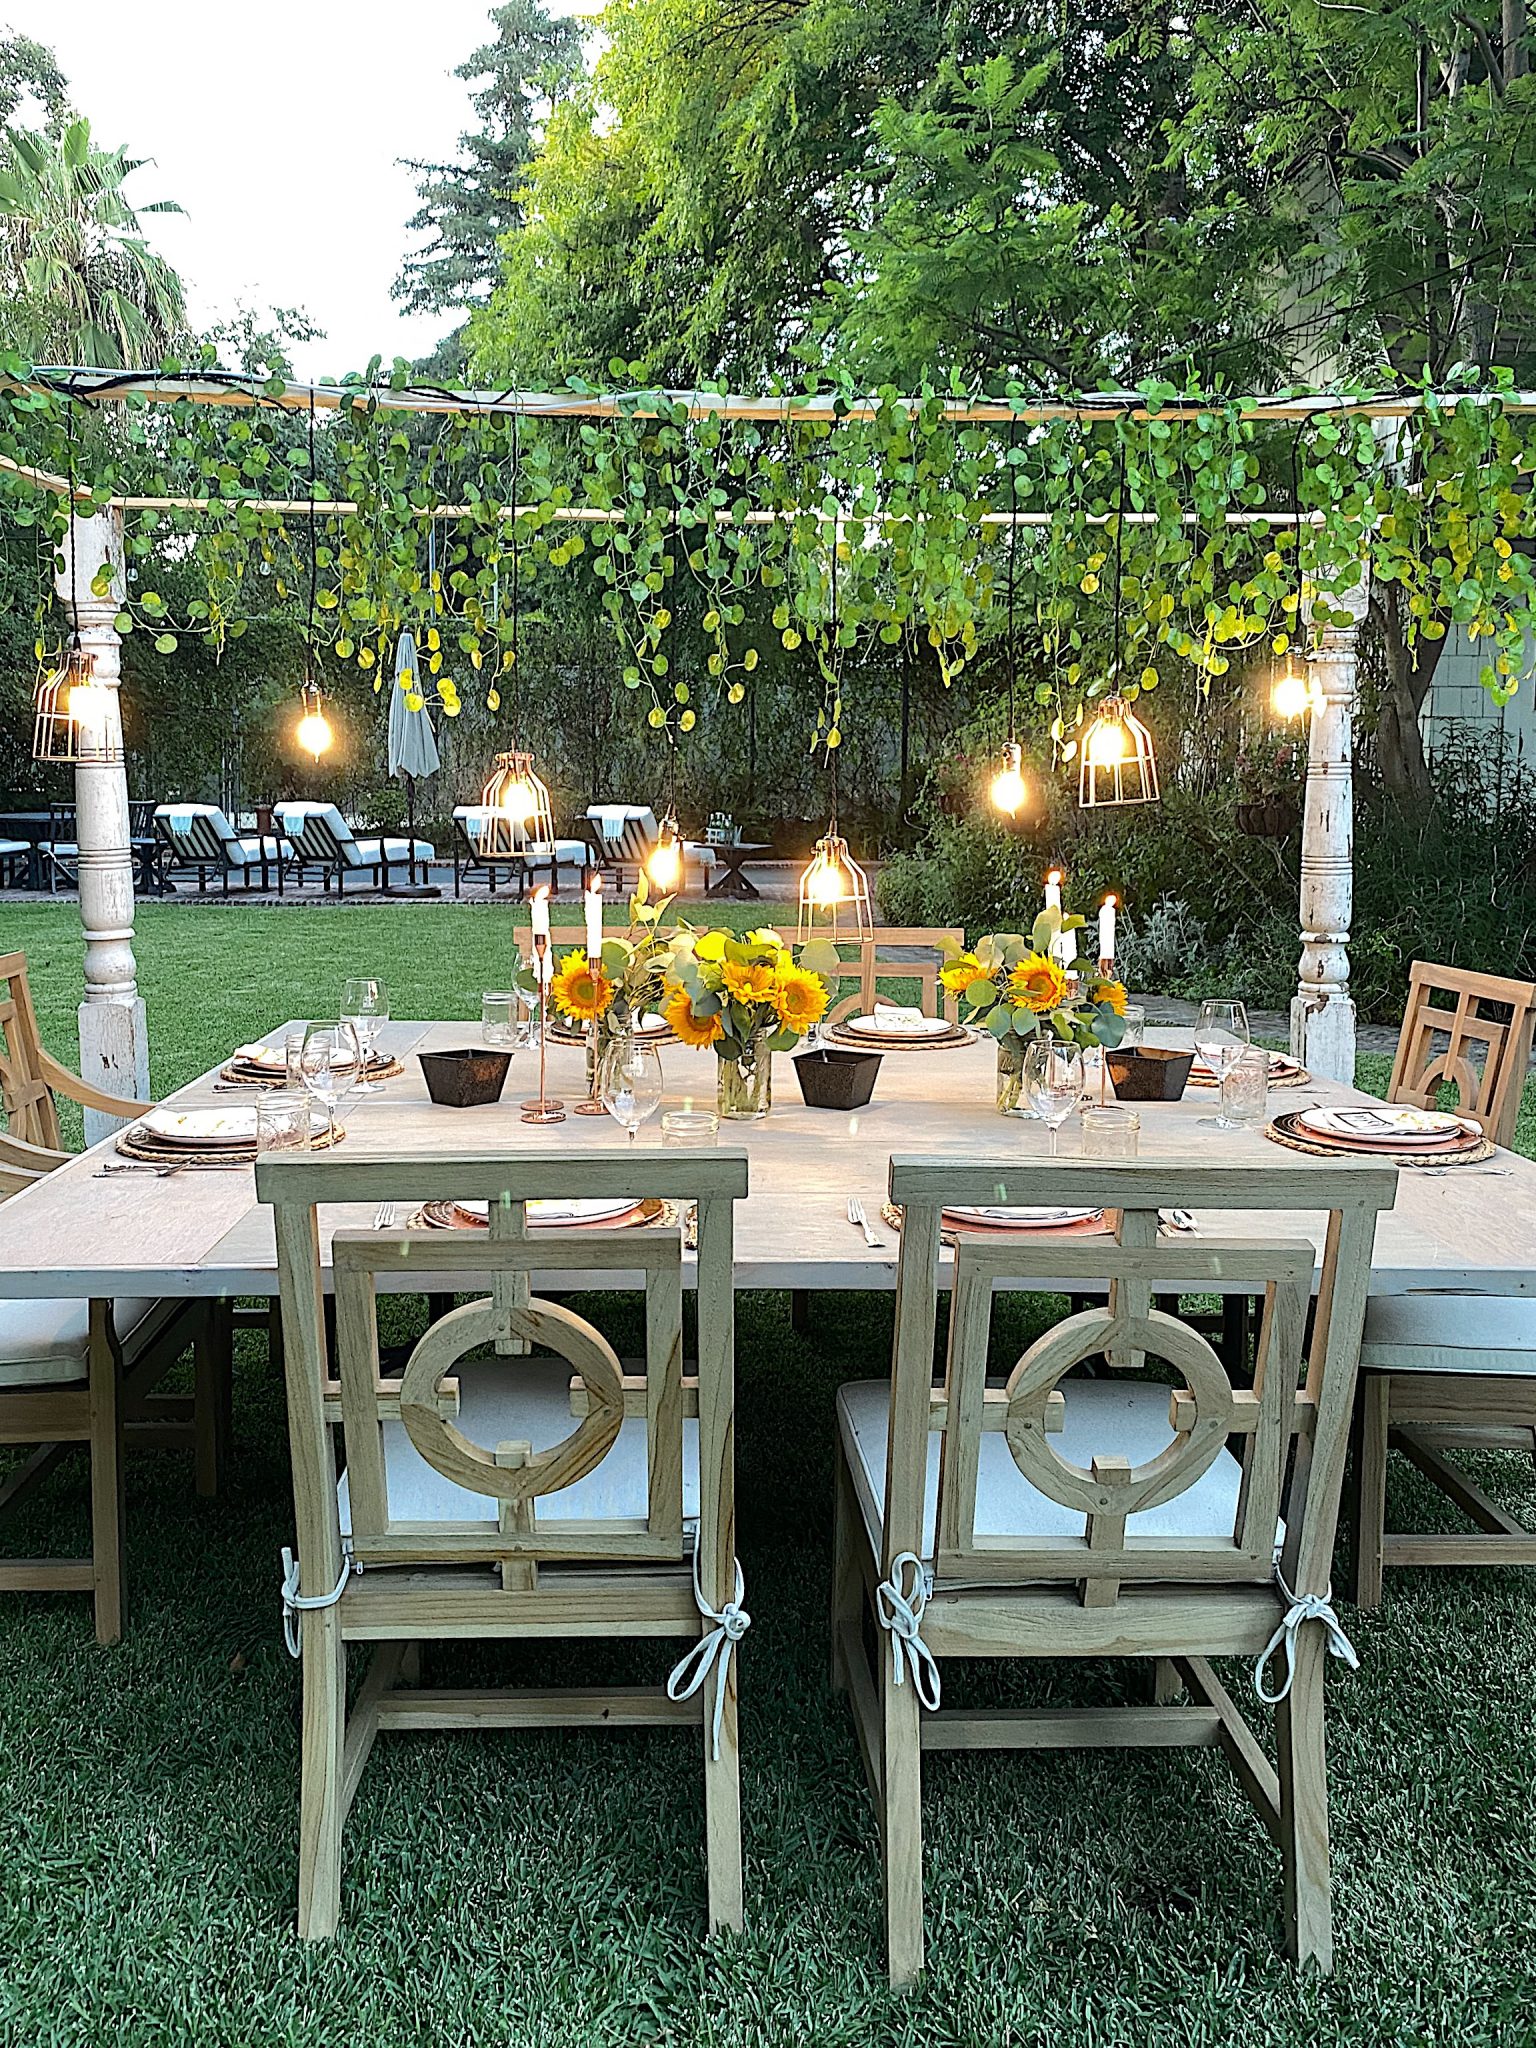
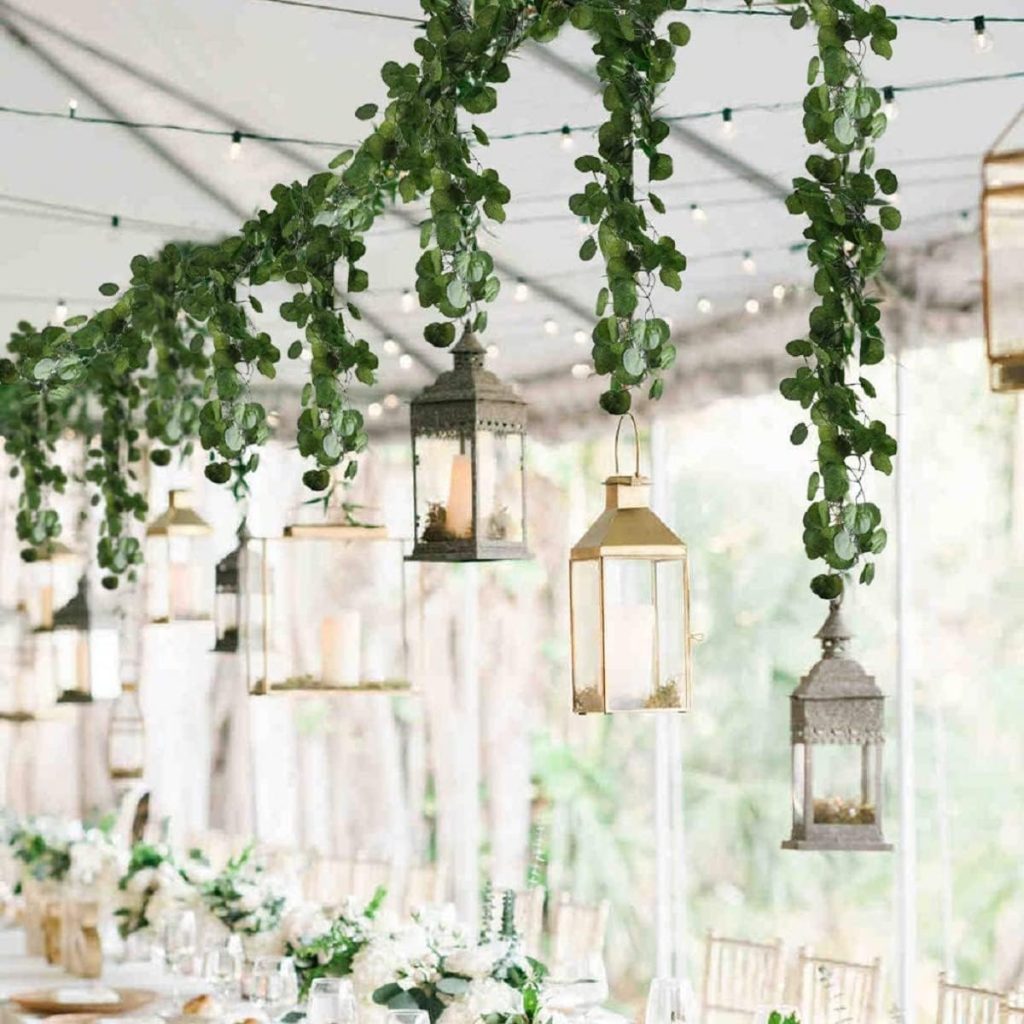
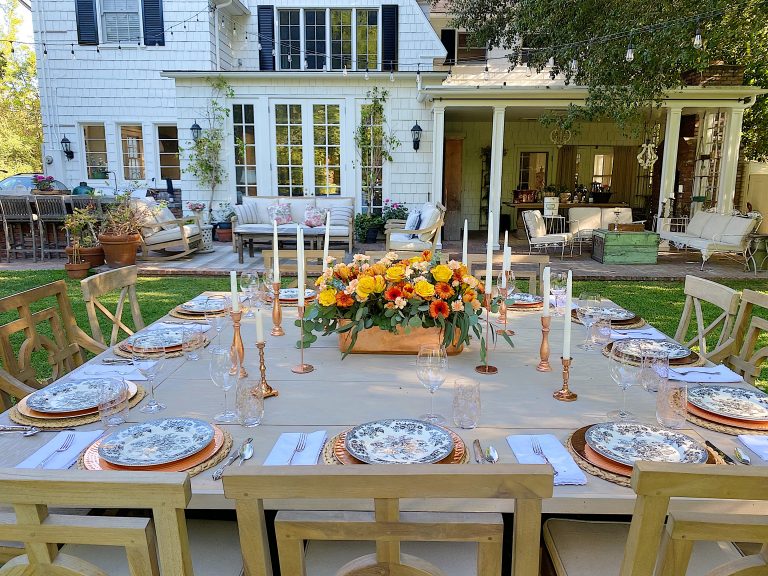
The photo above looks like an expensive wooden table. And yet, it’s actually two homemade tabletops sitting on two cheap folding plastic tables.
I think this just might be one of my best ideas ever.
Hundreds of you have asked about this DIY. I am so happy to share it today.
How to Use the Wood Table Tops
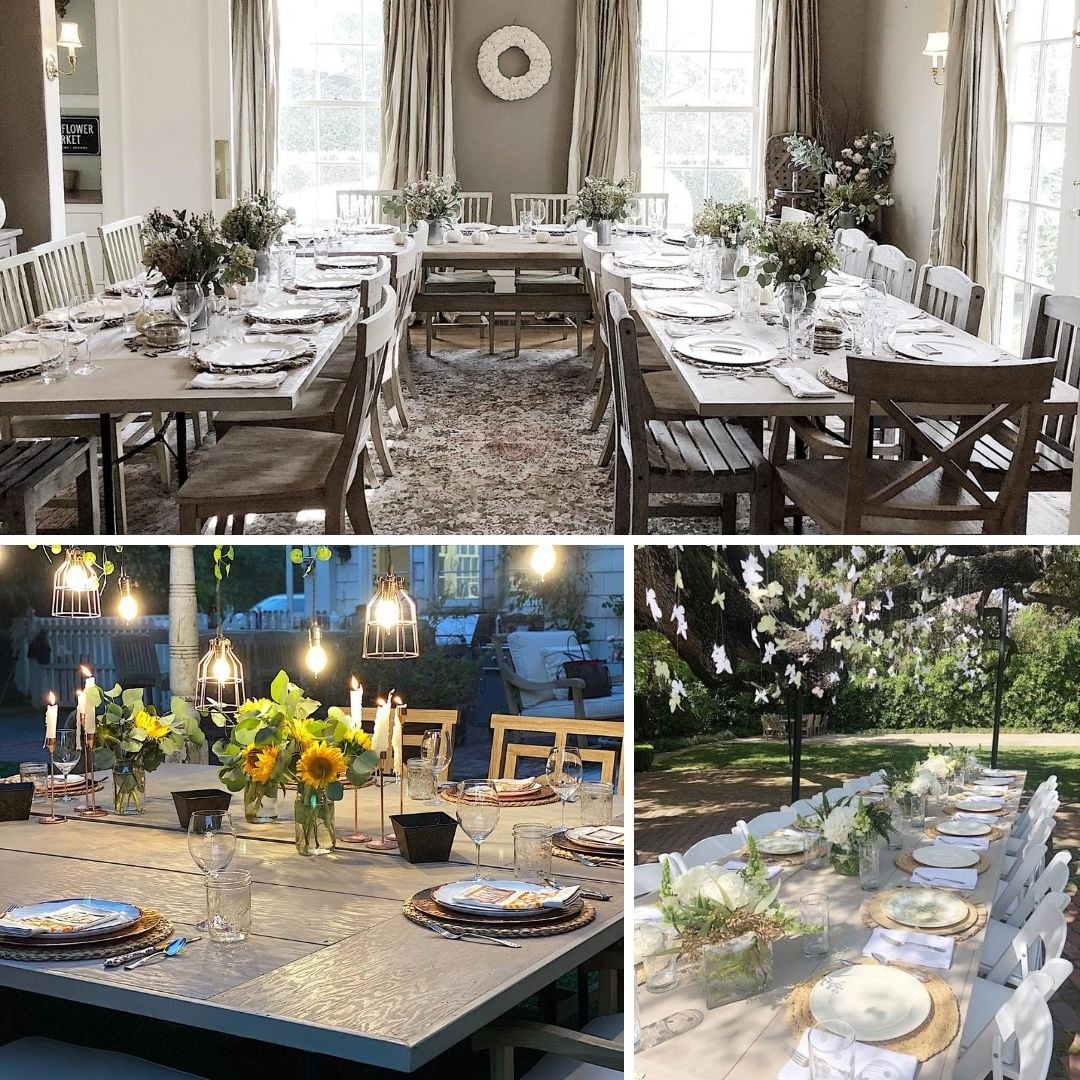
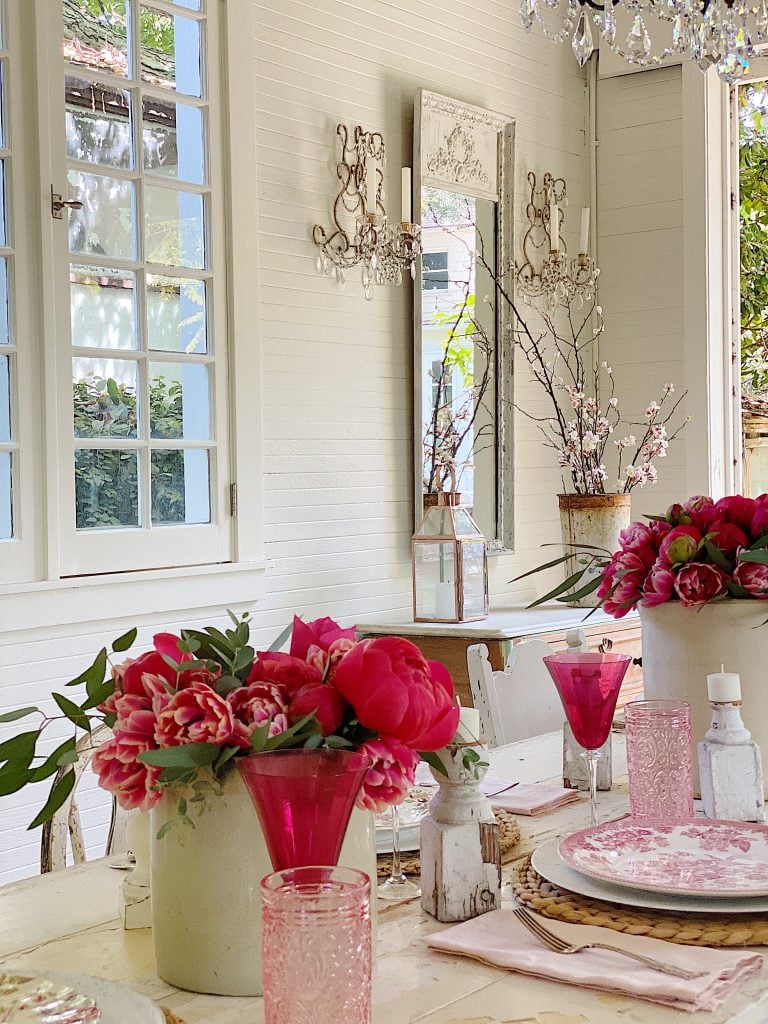
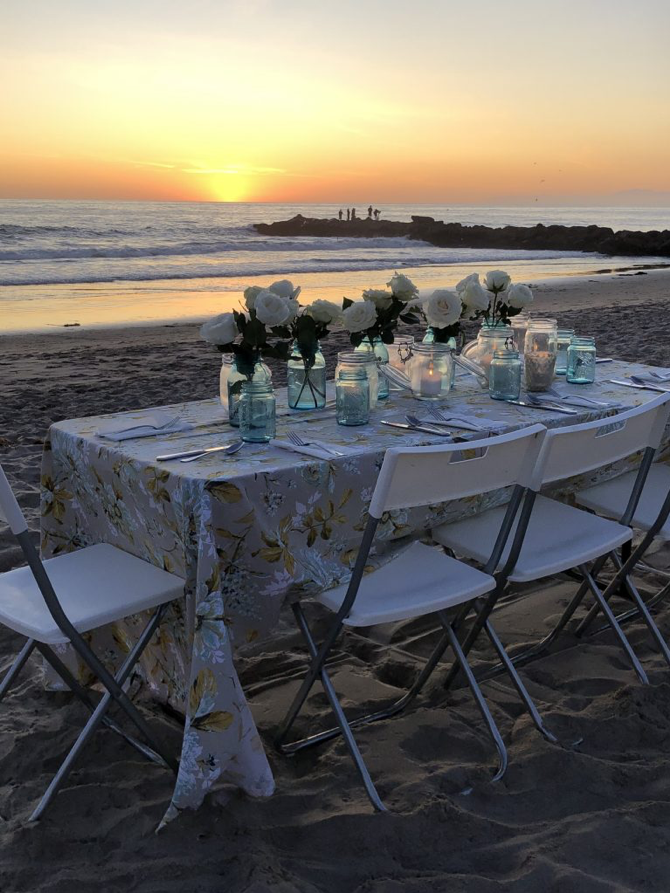
In the four years since I made these wooden tabletops, we have used them dozens of times. You can also see them here, here, and here.
I may use affiliate links on this blog, which means I earn a small commission if you make a purchase via the link. The price will be the same whether you use the affiliate link or go directly to the vendor’s website using a non-affiliate link.


Why Do These Wood Table Tops Work So Well?
These work well for many reasons.
- They look nice enough to use without a tablecloth.
- These table tops fit snugly over the plastic tables (there’s a frame underneath) and are very secure.
- They seat 6-8 people each.
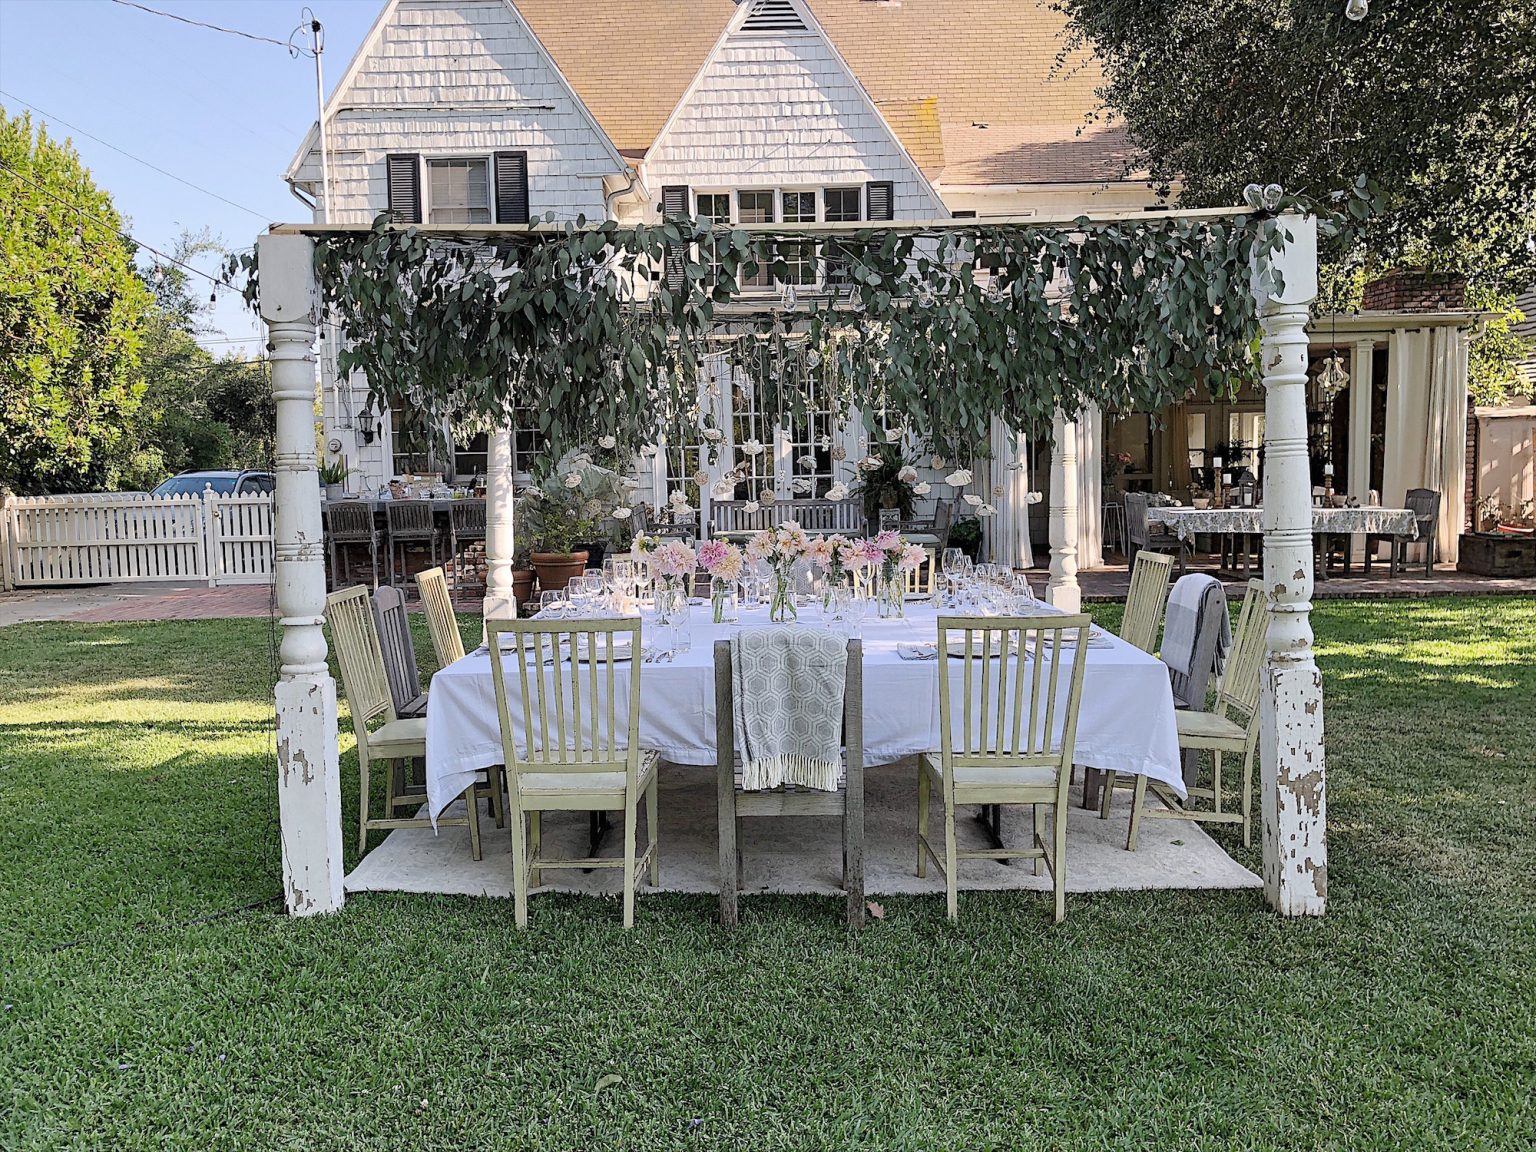
- If you make two tabletops, they can fit together to make a square or a long table that seats 12-14 people.
- Storage is easy. We store our two table tops behind the armoire on our covered back porch. (Although if you look closely at our back porch photos, you can barely see them behind the armoire.)
You can barely see Andrew and Dave carrying the wooden table top outside from the back porch in this photo.
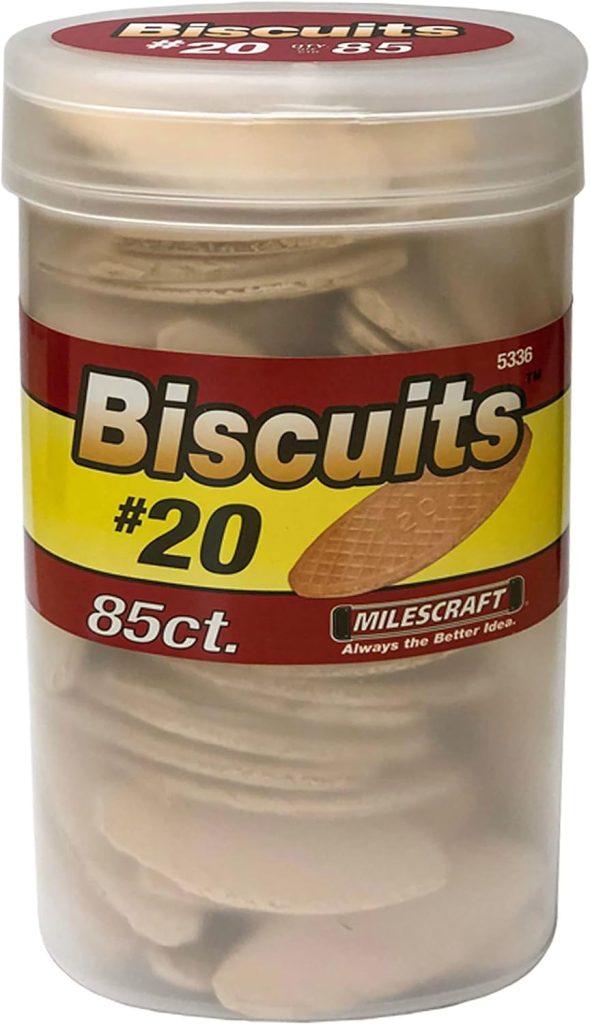
I did have help making these table tops. My handyman (who is used to my crazy ideas and helped me build our outdoor raised vegetable beds) has the tools and carpentry knowledge. Between the two of us, we make the perfect team. (Case in point … I had no idea what a biscuit joiner was. I mean, it sounds like a cooking tool. But apparently, it’s not.)
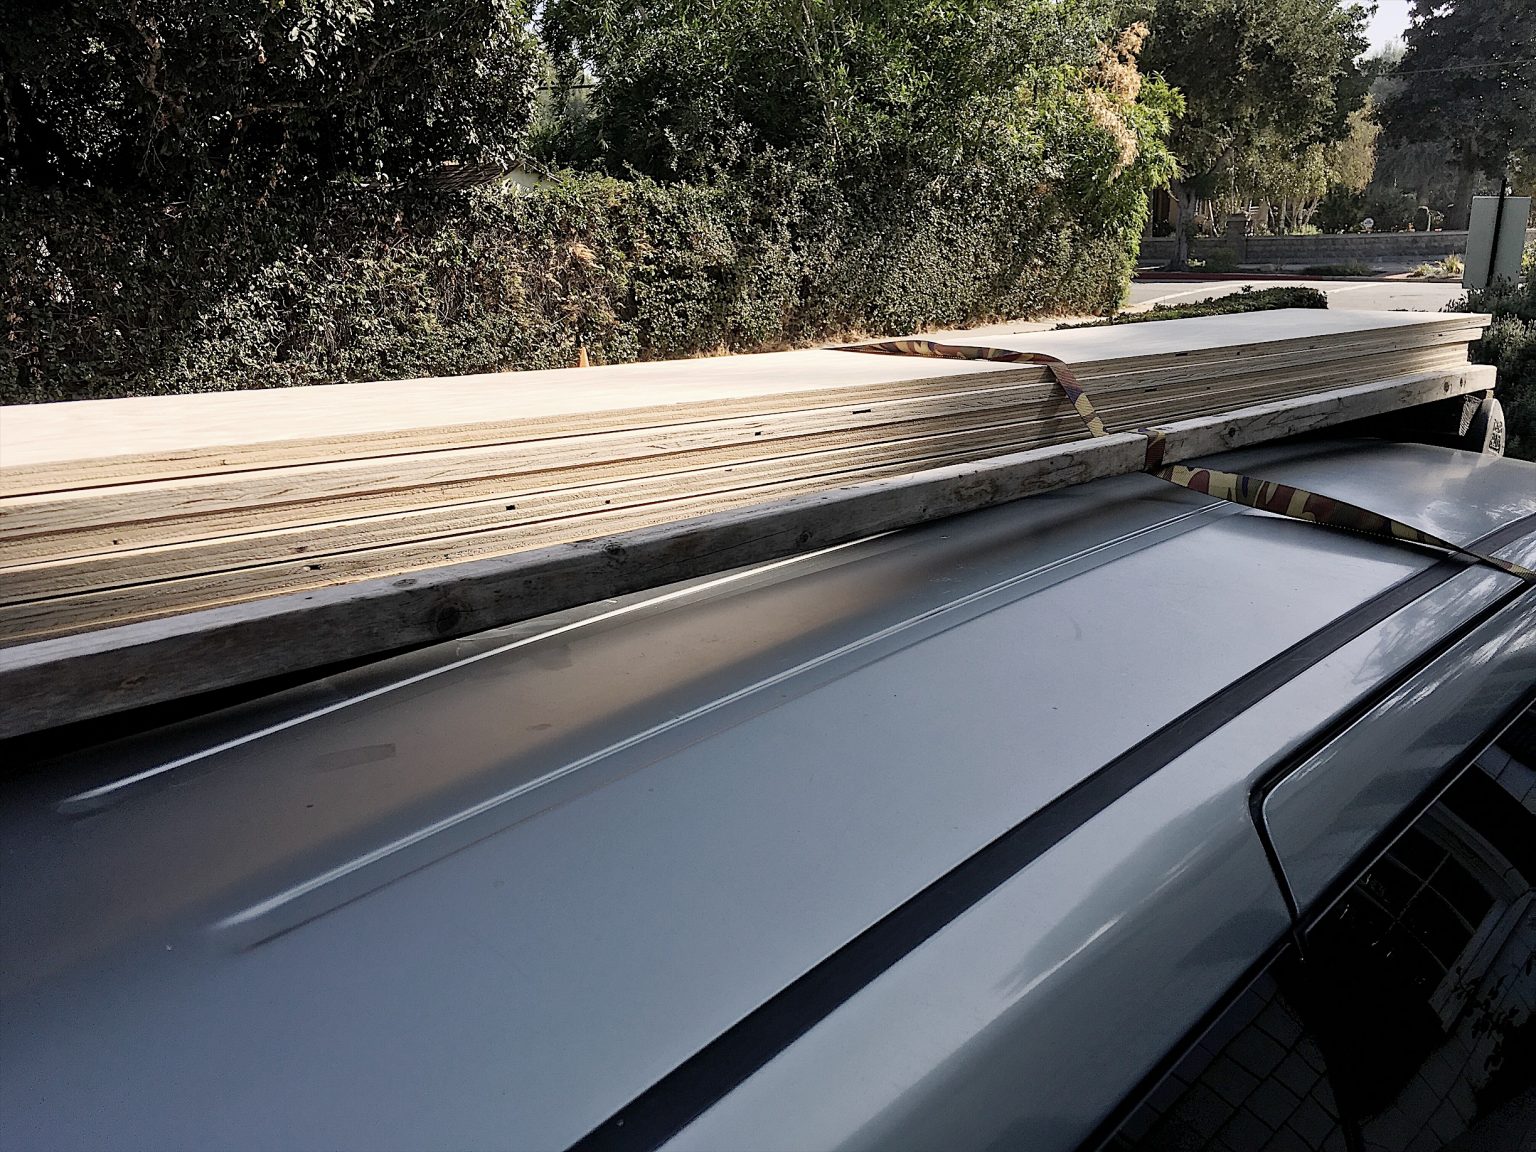
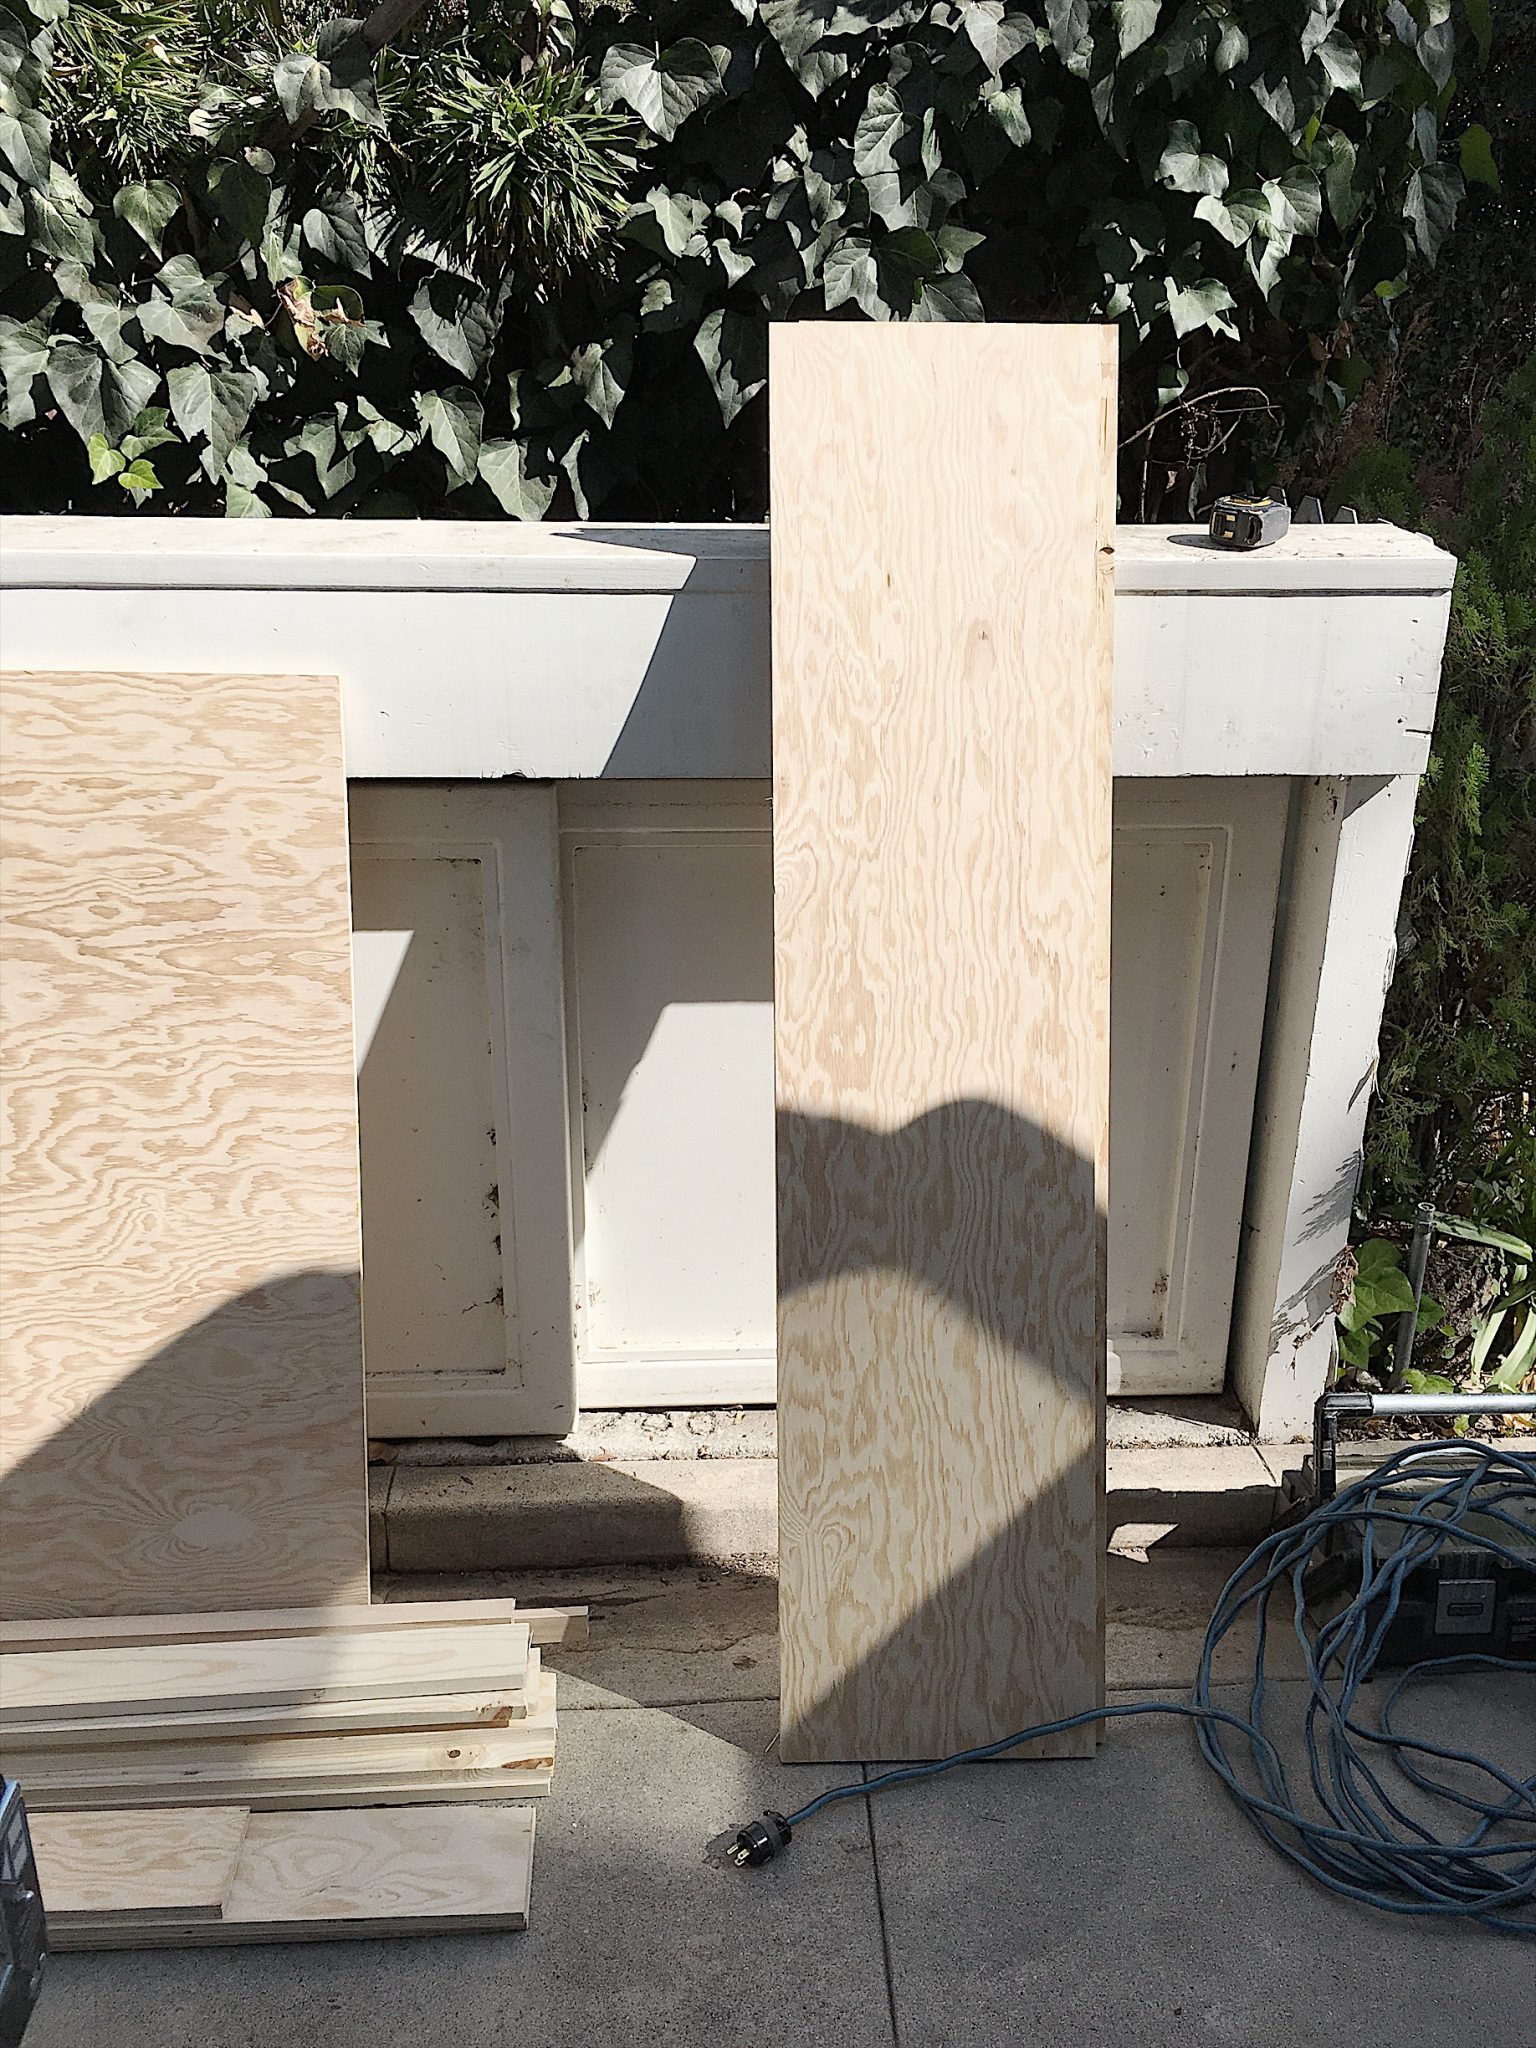
We bought the lumber at Home Depot and brought it home.
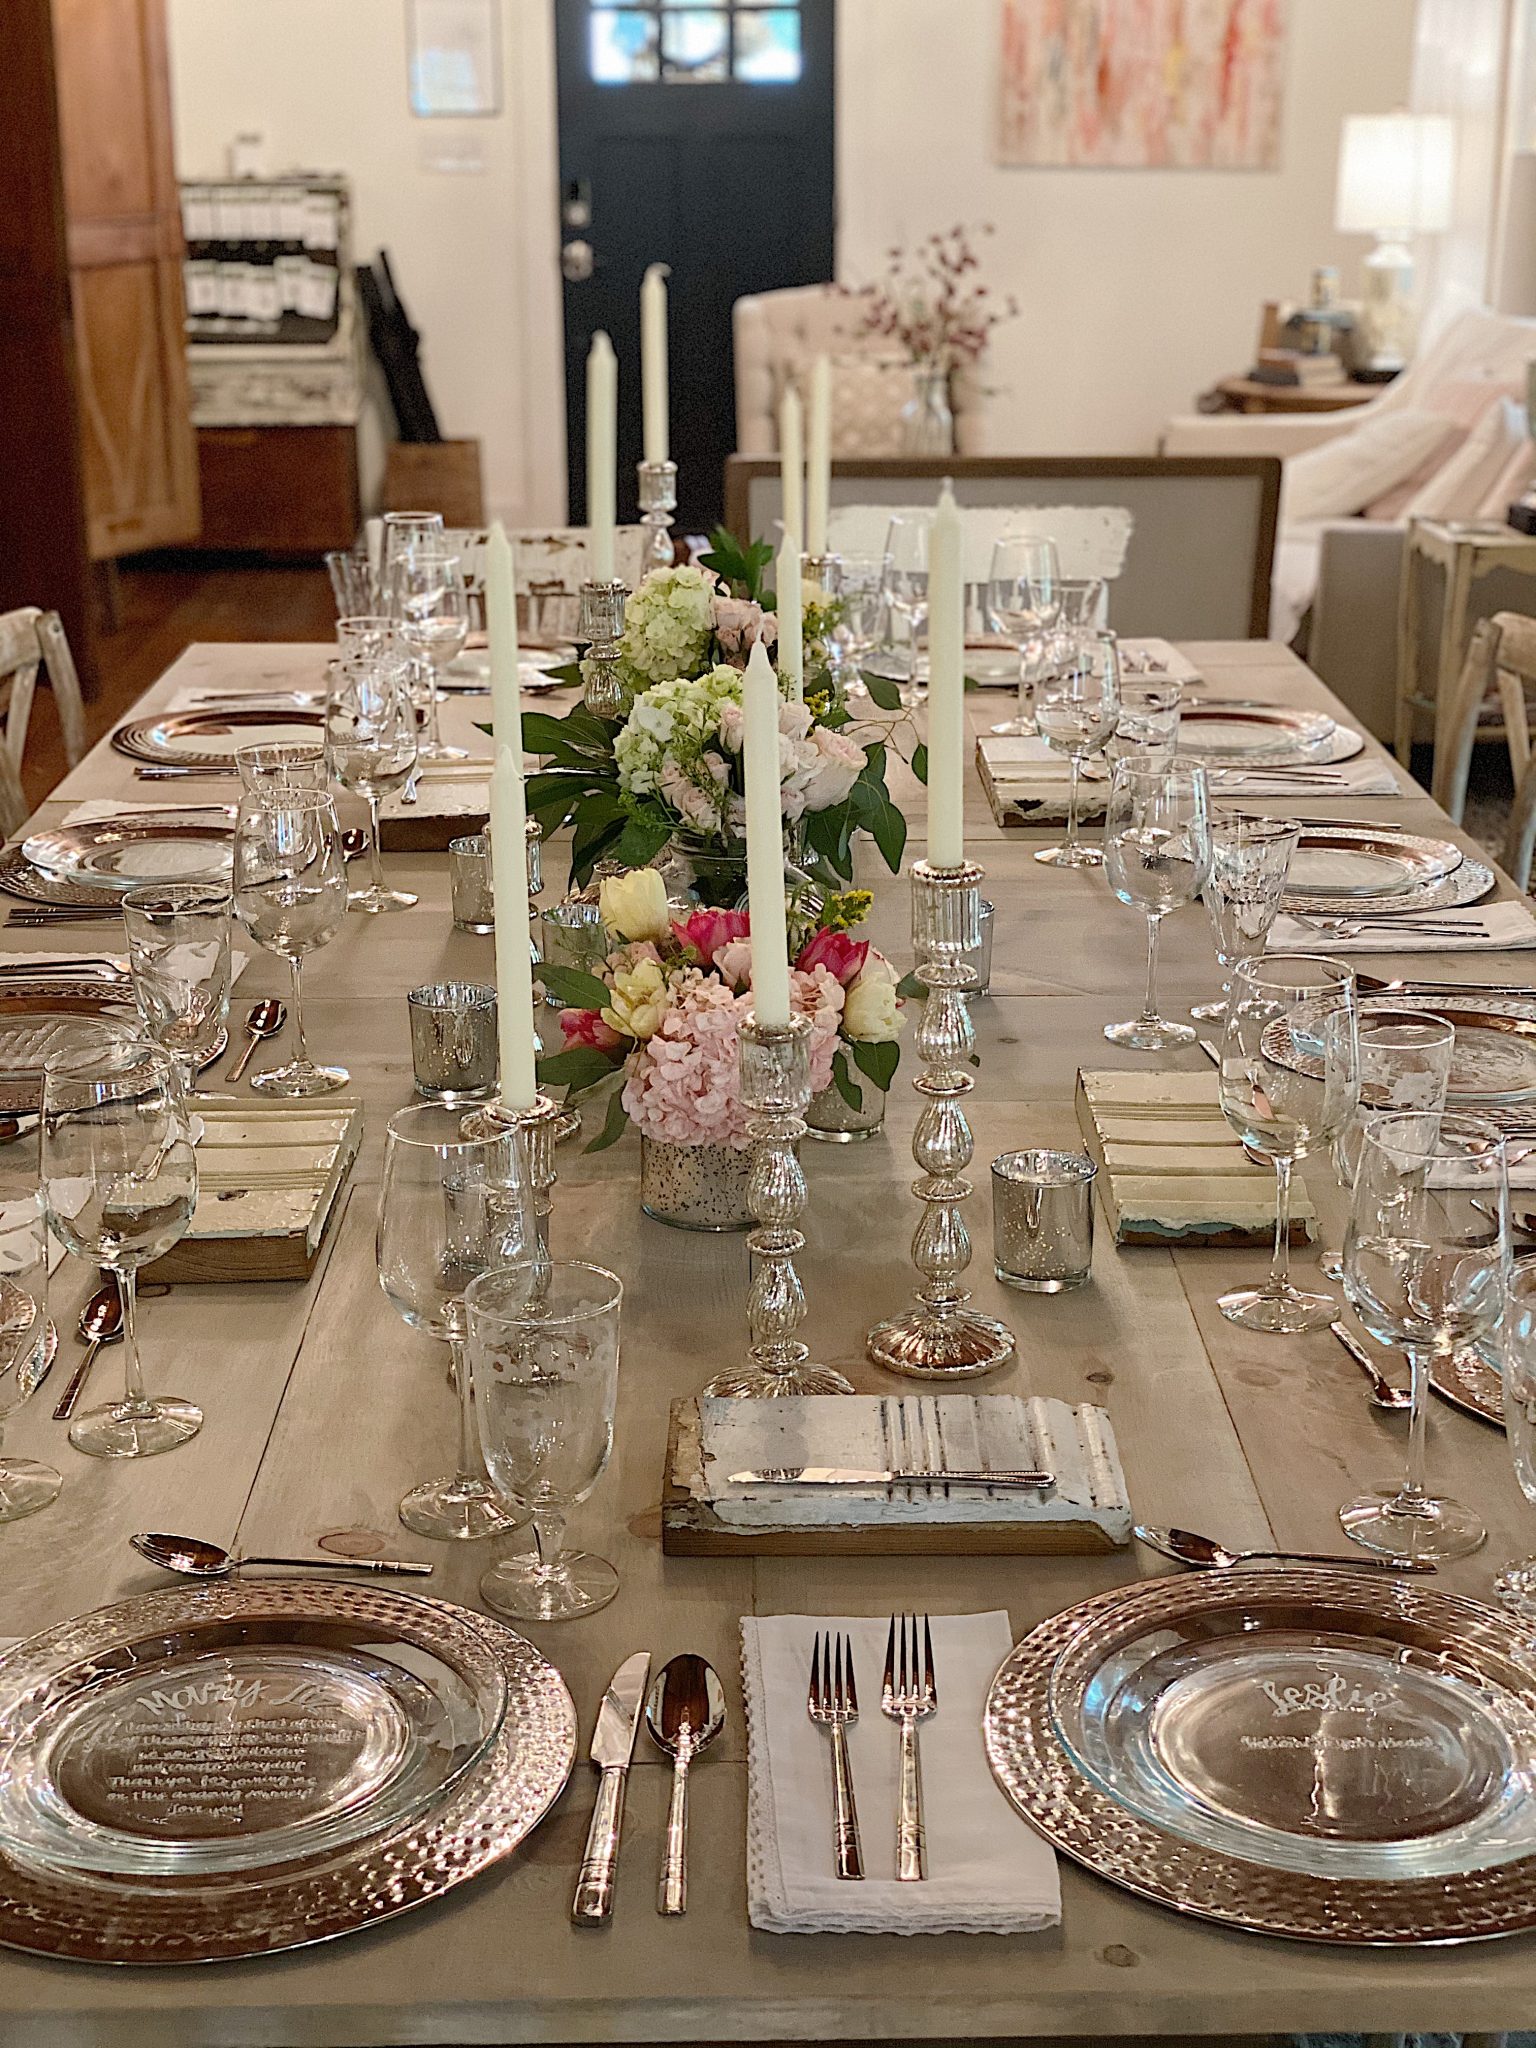
When I dreamed of making these, I thought I was making table tops that would always be covered with a tablecloth. Thus, I chose to use cheap lumber. But once I stained them, I realized they looked nice and didn’t need a tablecloth.
I have used our table tops in the dining room many times, and friends constantly ask when I got a “new dining room table.” They have a very farmhouse look and look great with our dining and outdoor chairs.
If I ever make them again, I will likely upgrade the lumber. But it certainly isn’t necessary.
What You Need to Make Wooden Table Tops
Three – 1 in. x 6 in. x 8 ft. Premium Kiln-Dried Square Edge Whitewood Common Board
One – #20 Wood Biscuits (and a biscuit joiner tool)
Three – 1 in. x 2 in. x 8 ft. Select Kiln-Dried Square Edge Whitewood Board
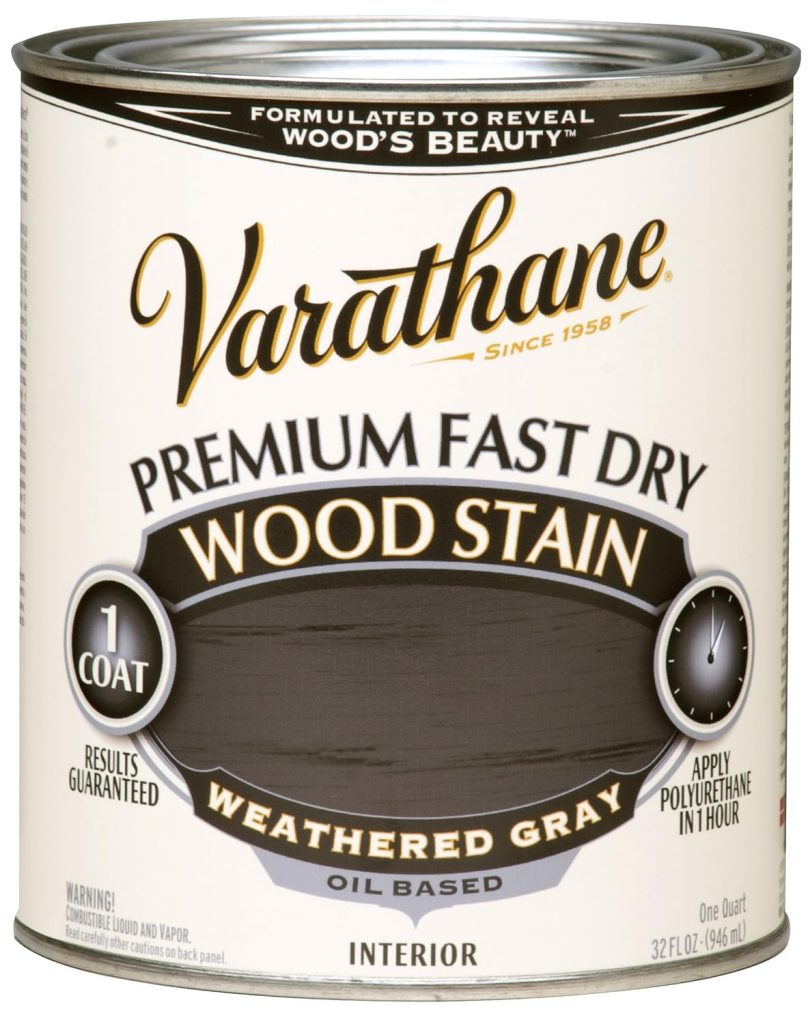
One can – Fast Dry Wood Stain (I used gray.)
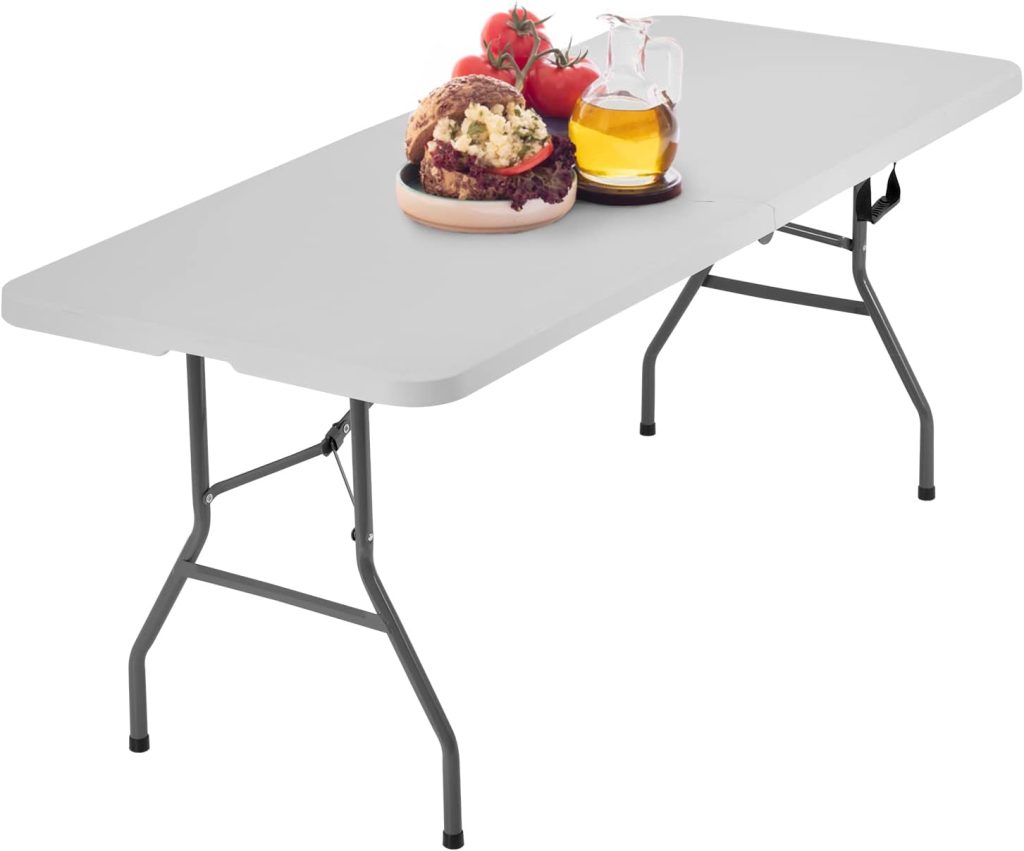
One six-foot plastic folded table.
The finished size of the table is 94′ x 44″. This includes a 1″ trim around the entire outer edge.


Cut Lengths
Cut the plywood into three 14″ x 64″ lengths and two 14″ x 42″ lengths.
Next, cut the 1″ x 6″ boards (for the underside frame) into two 92″ lengths and two 30 1/2″ lengths. (These measurements are based on using a 72″ x 30″ plastic folding table. I suggest you cut the two 92″ boards, but wait to cut the shorter boards until later.)
Cut the 1″ x 2″ boards to your finished tabletop size. Remeasure the outside frame once the table is assembled and incorporate the mitered edges. The finished table top should measure roughly 94″ x 44″.
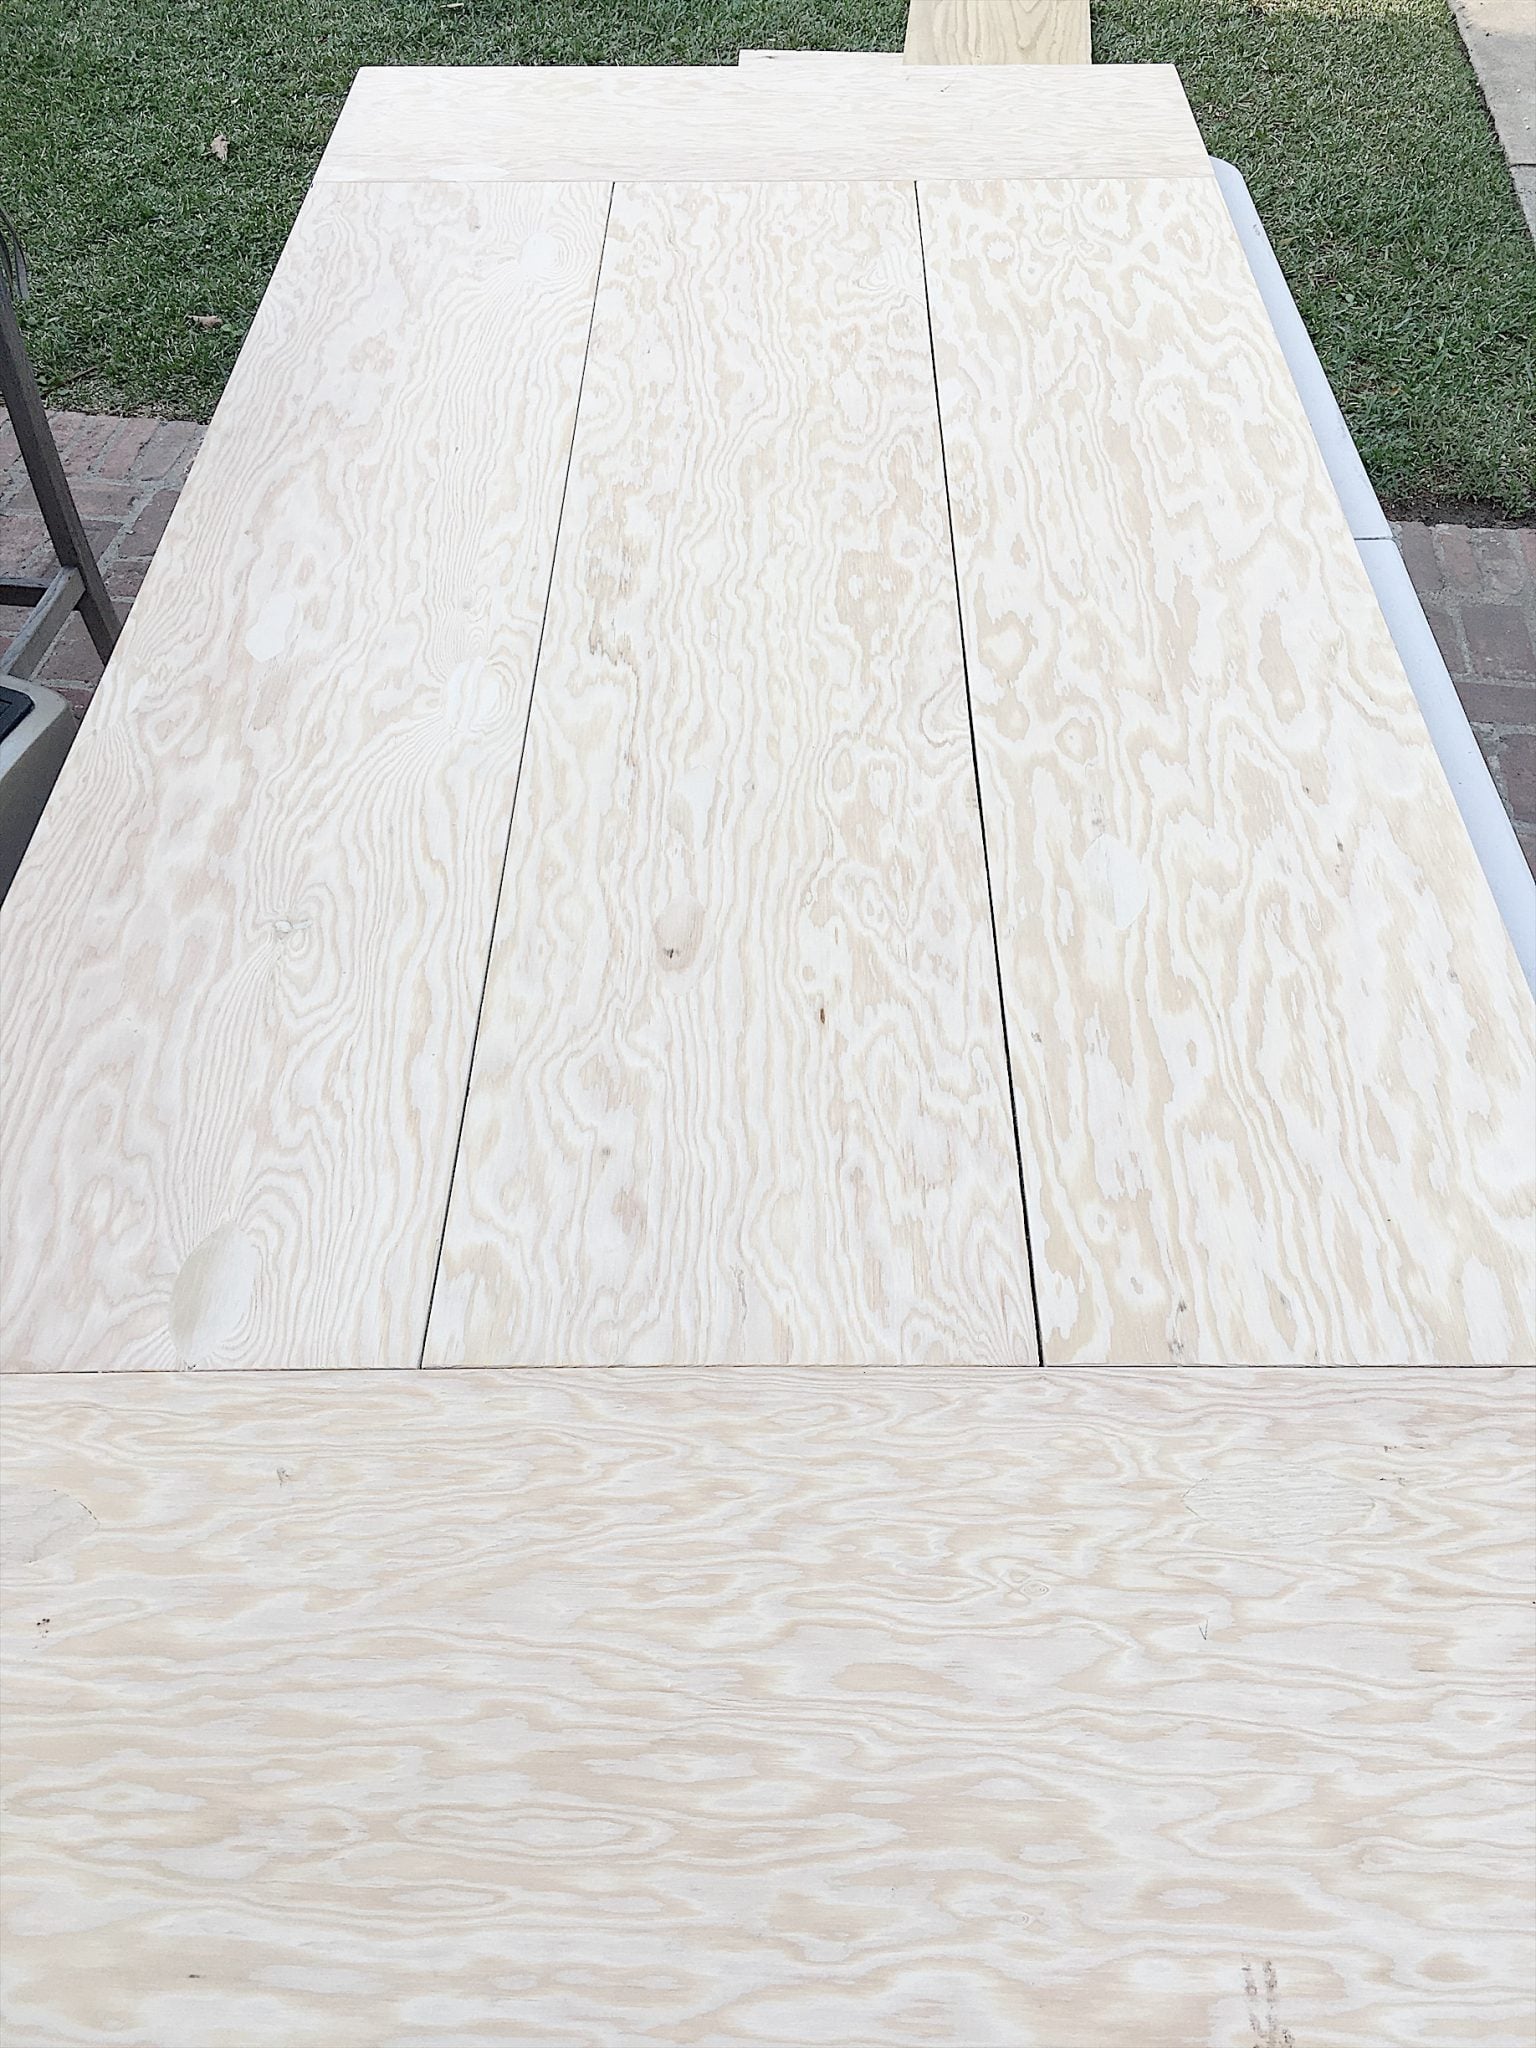
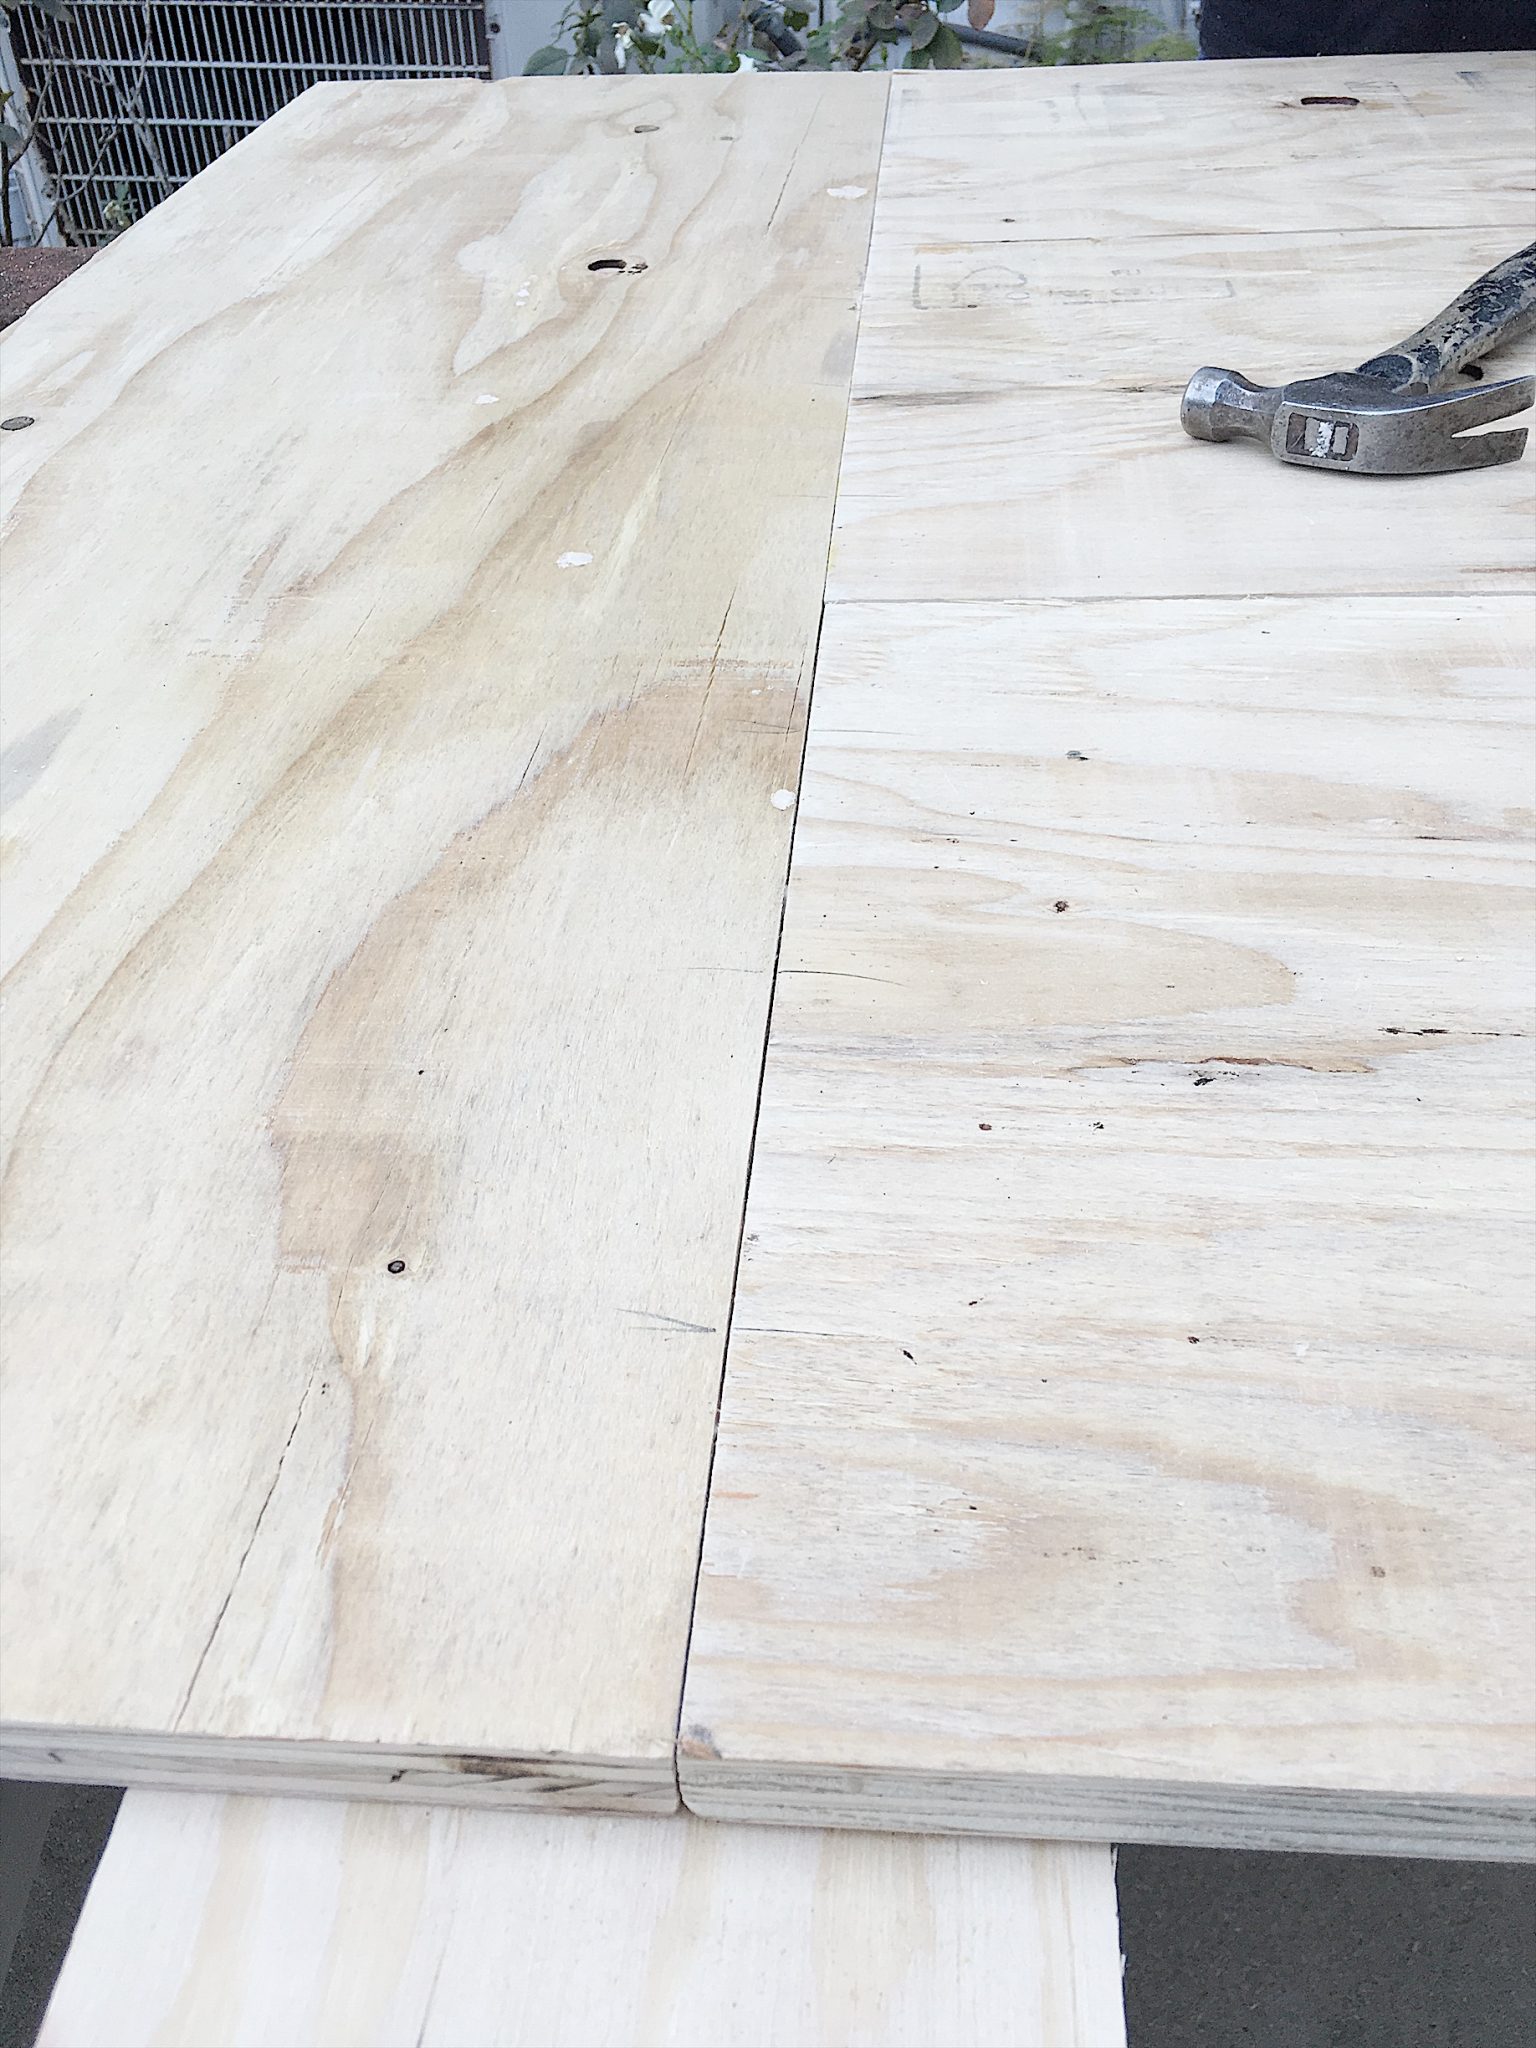
The overall design of the tabletop consists of three long vertical pieces of wood and an additional vertical piece at each end. I copied this from our Pottery Barn table. I think many dining room tables have this same design.
Obviously, we used the nicest side of the wood for the top.
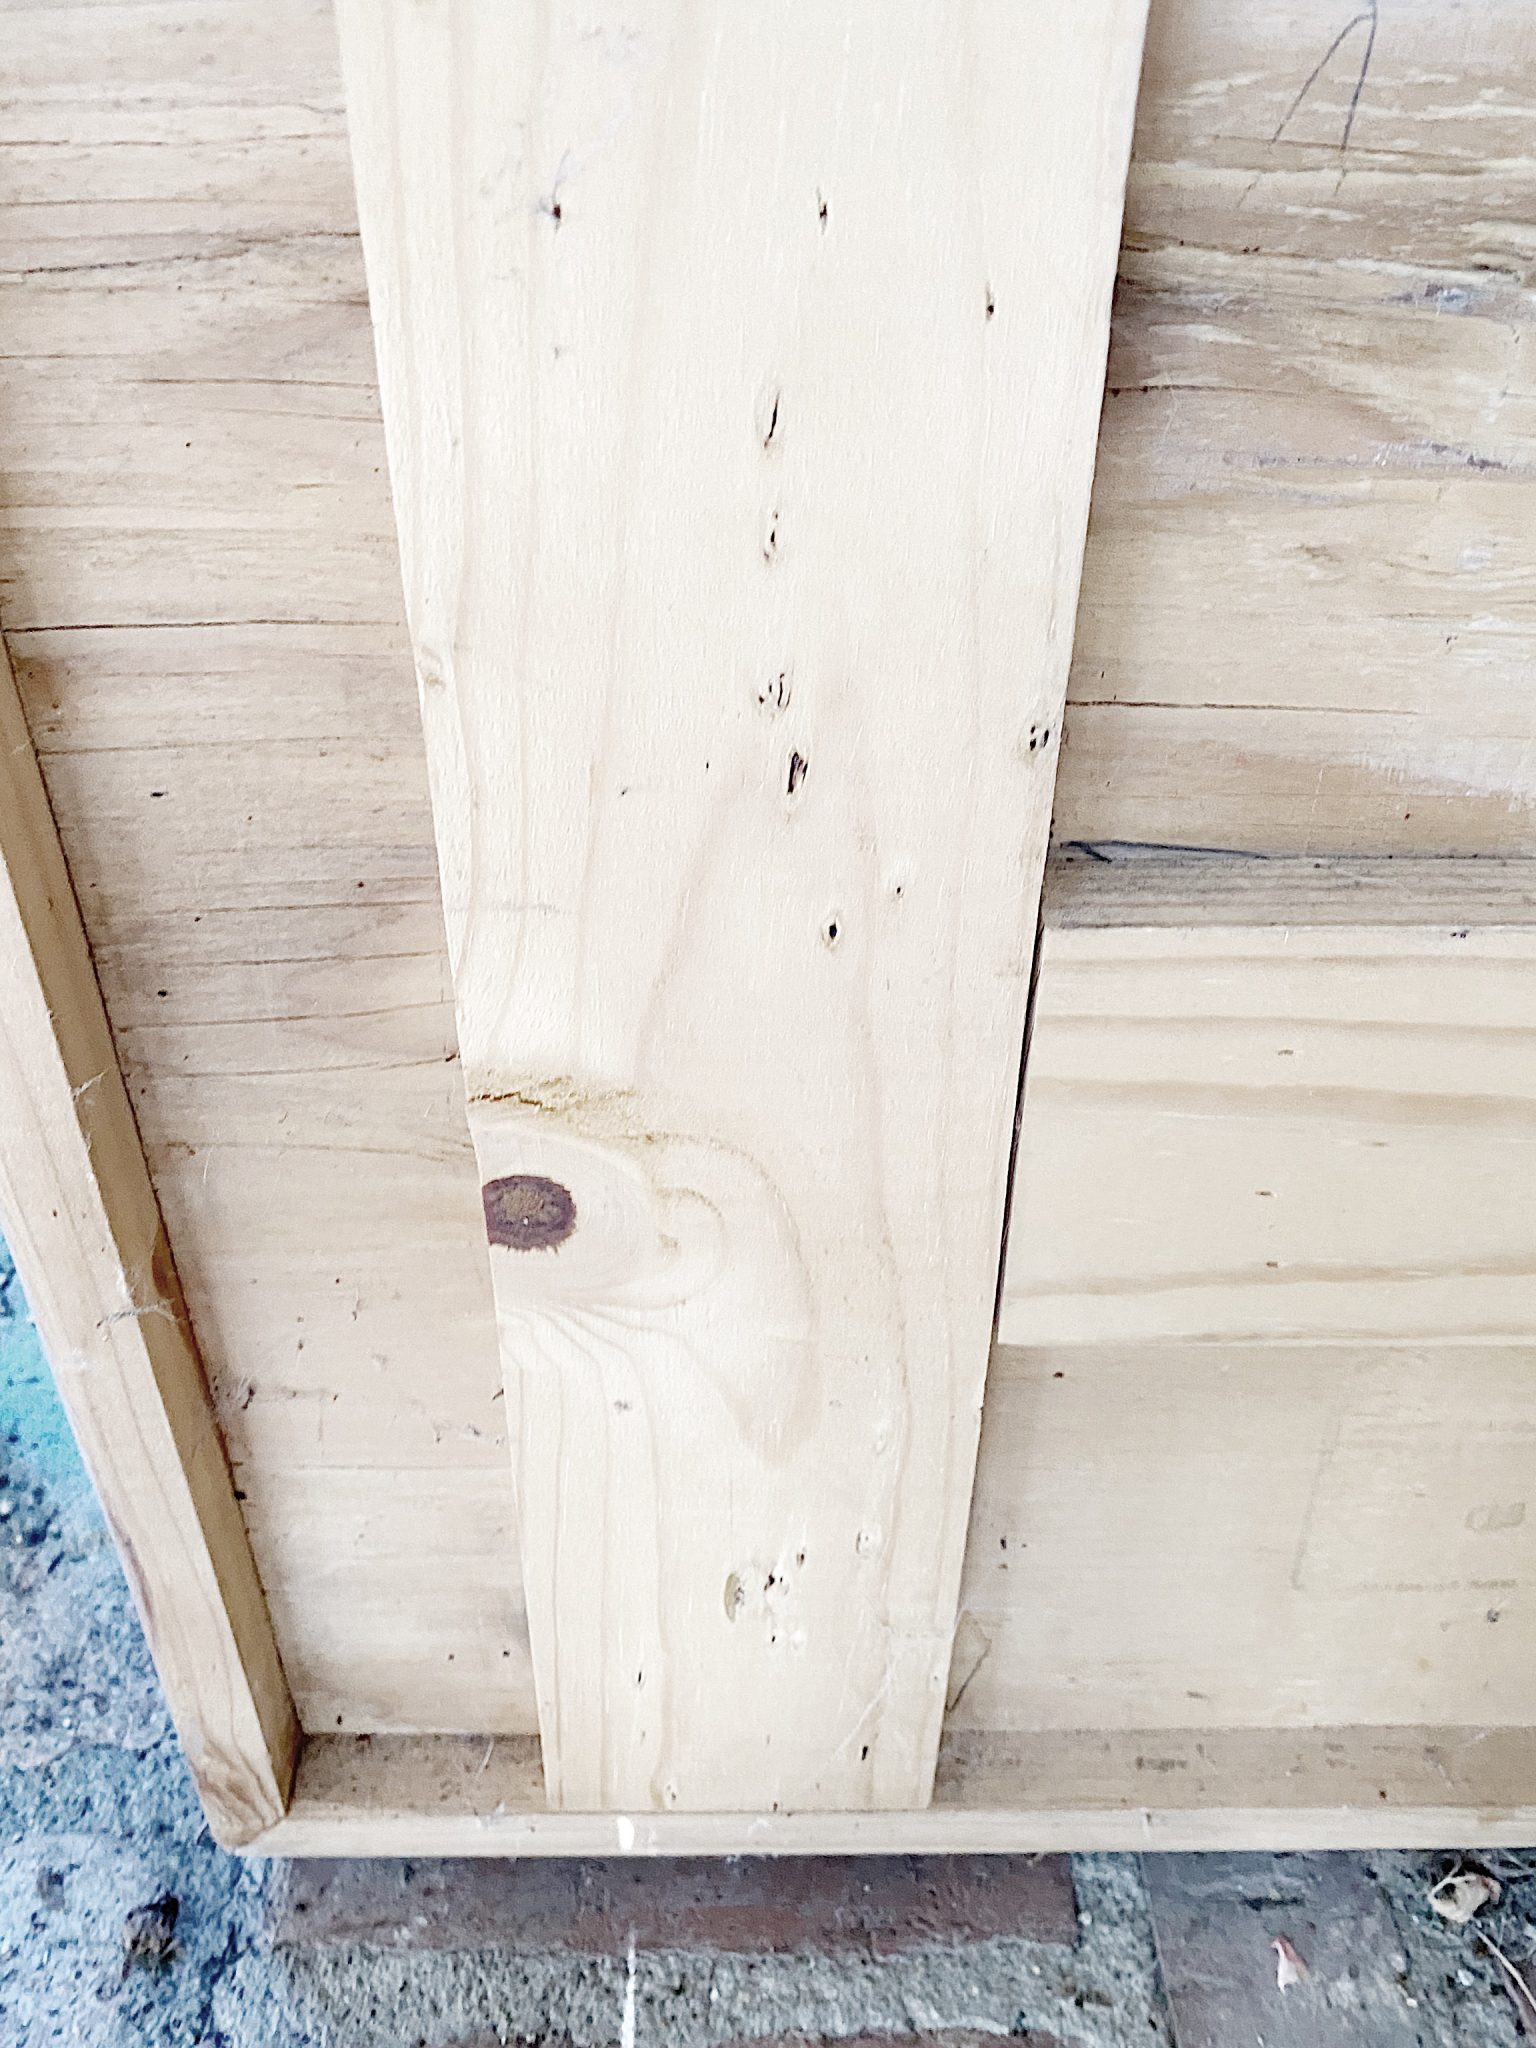
This is the underside pictured below.
My favorite part of these tables is the underside. I wanted the tabletop to fit snugly on the table, so I put a frame on the underside that would sit perfectly on top of a cheap, foldable plastic table.
That might be my most brilliant idea ever.
You can see one of the plastic tables through the gate. Yes, it is one of those cheap tables that many of us already own.
Here is the underside of the table below.

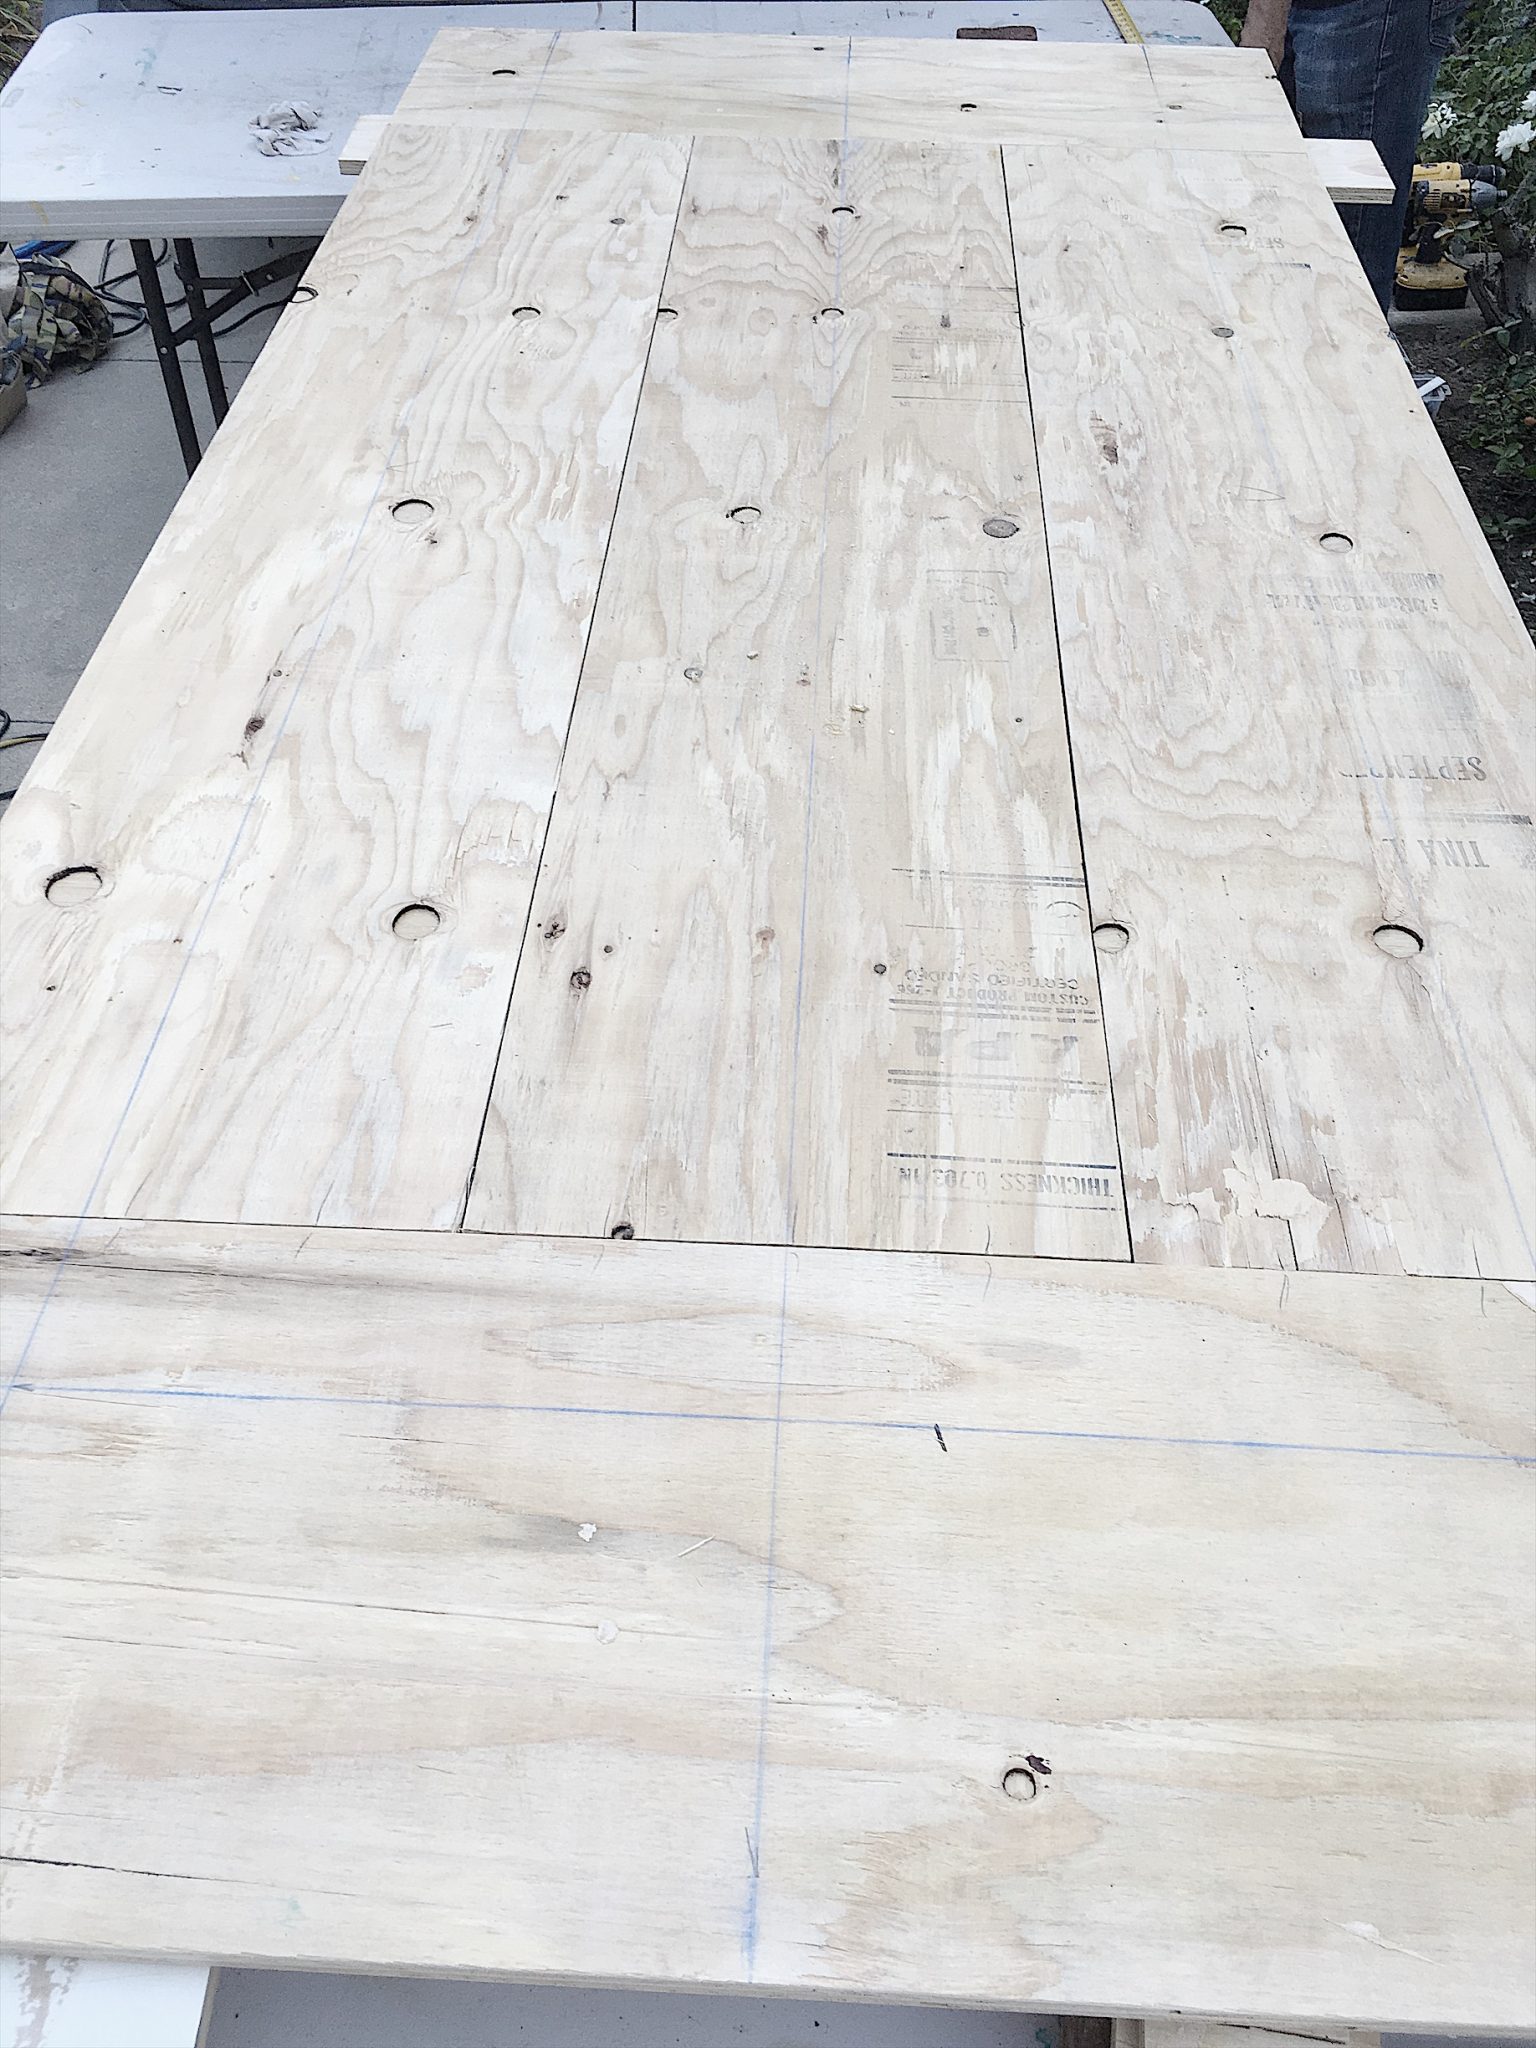
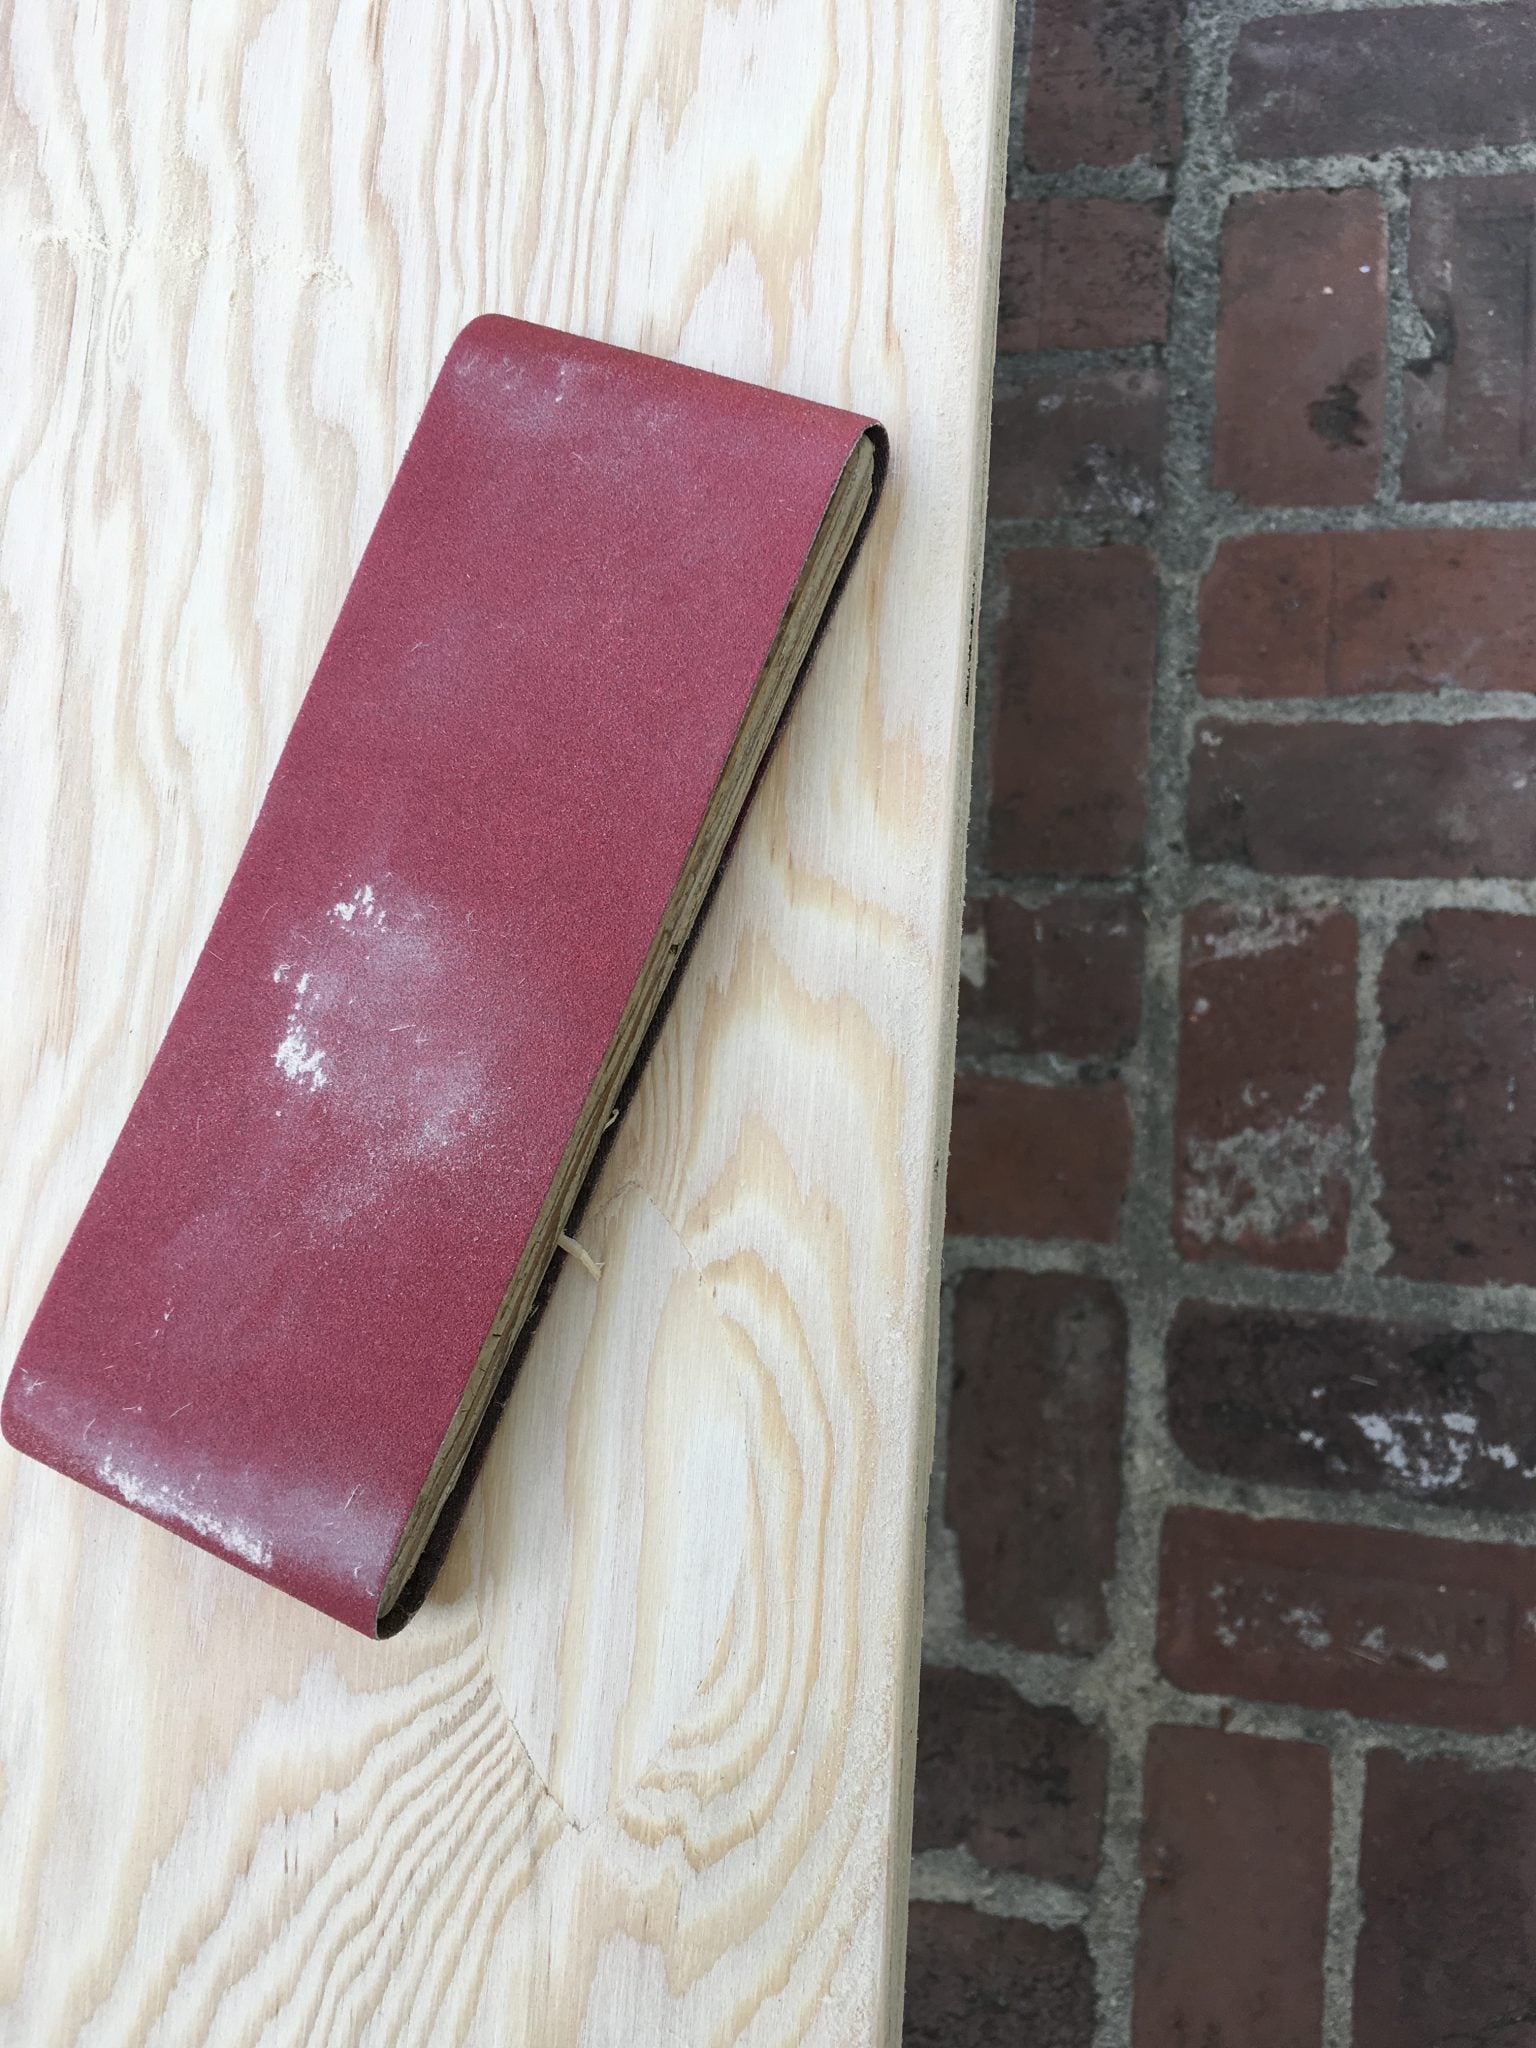
Because of the low-grade wood, there was a lot of sanding involved. With more excellent wood, this might not be as necessary. (Note to self for next time.)
Building the Wood Table Top
Even though there is a frame on the underside of the table top, you still need to secure the three vertical pieces of wood to the horizontal ends. That’s because the frame doesn’t lie directly below the seam.
We used a biscuit joiner to attach the three horizontal boards to each end board (the biscuit joiner is not a cooking tool). (Please see below, as there is a different way to do this without the biscuit joiner.)
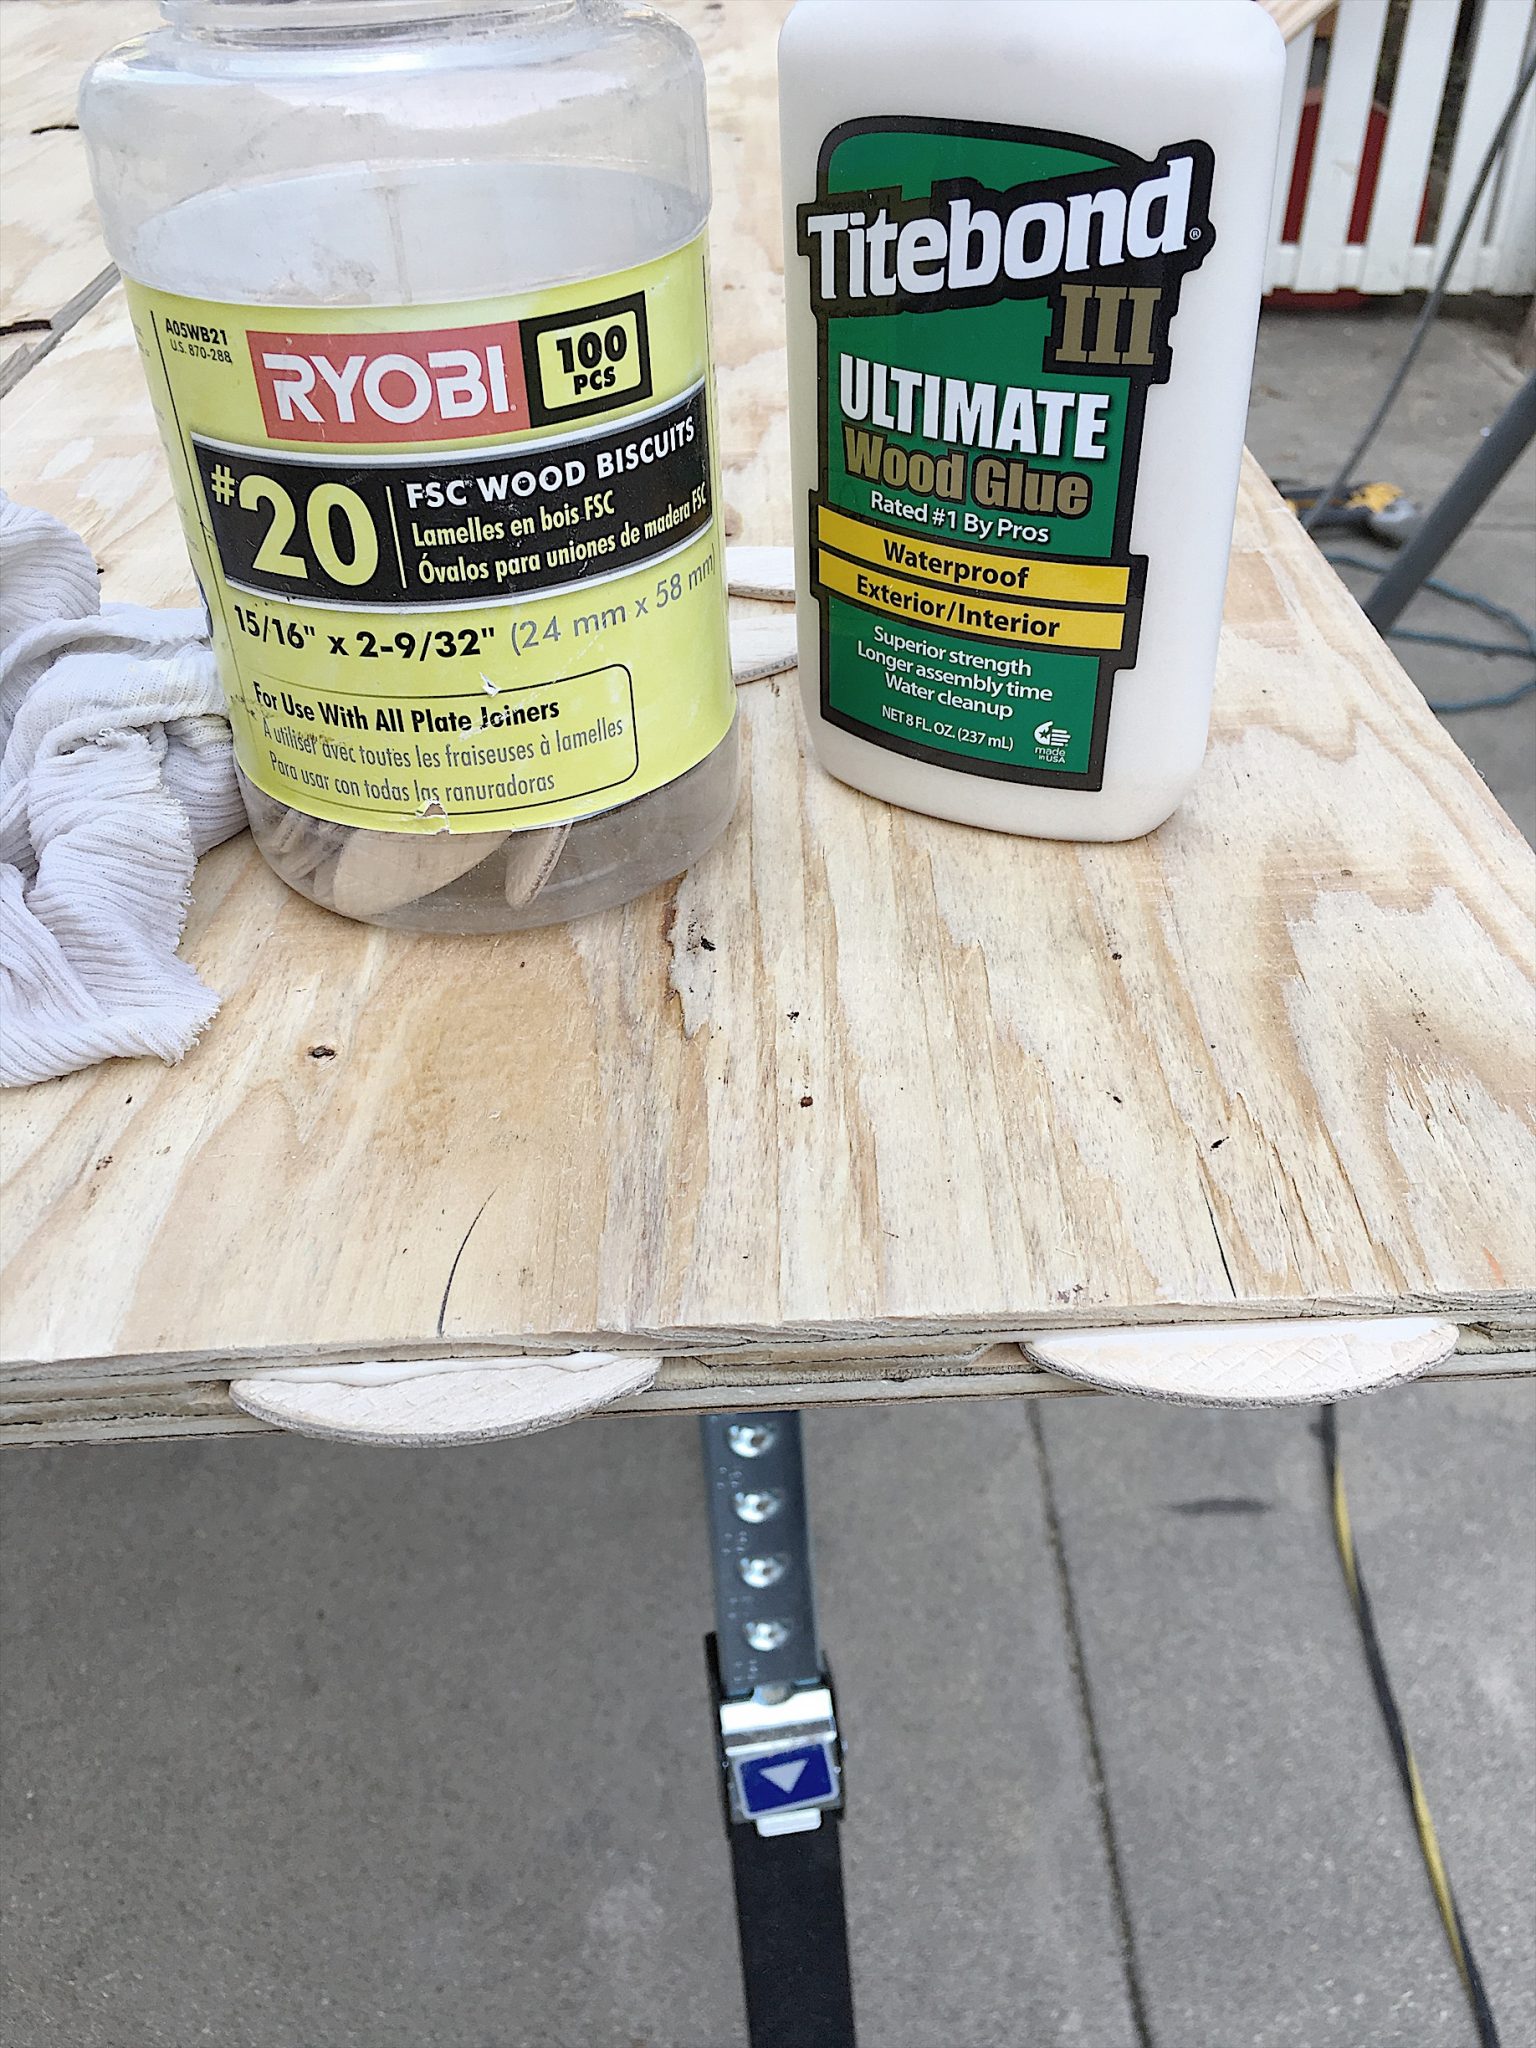
You need a biscuit joiner (or sometimes a plate joiner), a woodworking tool used to join two pieces of wood together. It actually cuts a special hole (or slot) at the end of the wood. And yes, I did use this tool! First, I cut two biscuit slots at each end of the longer (vertical) boards. (Don’t try to cut the corresponding slots in the side of the shorter horizontal boards until later.)
Then, I gently tapped one of the wood biscuits into each slot.
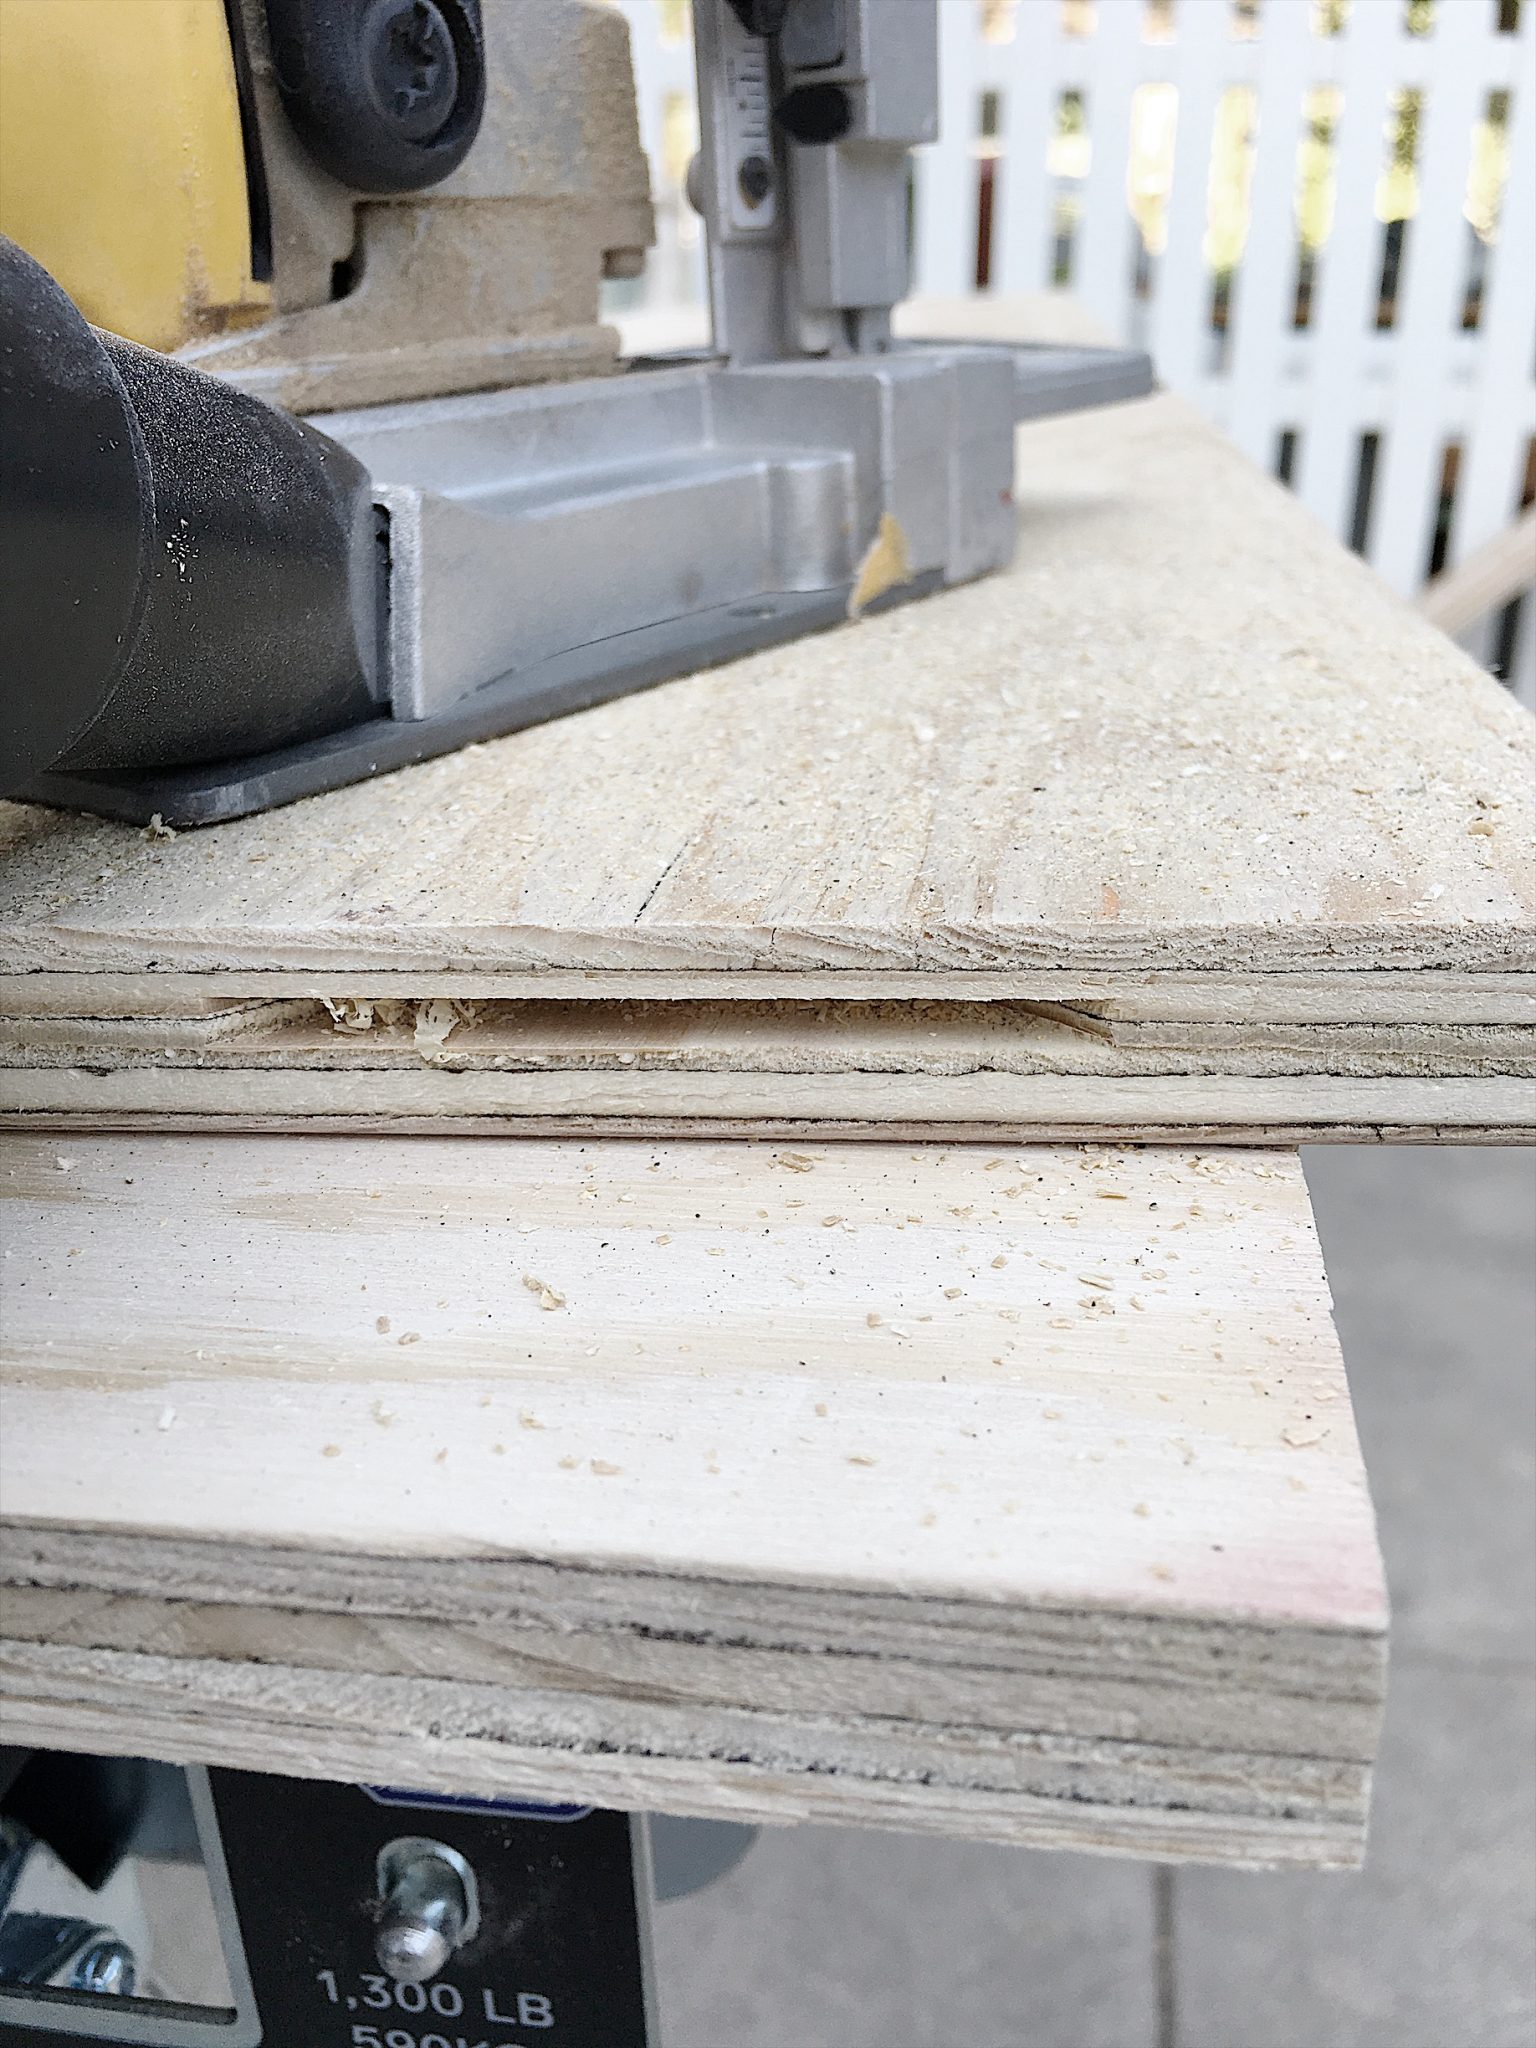
I didn’t want the boards to be too close together, so we added a quarter-width between them. (This is certainly not required and caused quite a bit of angst for my handyman. You would think that by now, he is used to my crazy requests.)
Next, cut the slots in the smaller horizontal boards.
So, how do you get the slots to match? Lay the boards flat, mark a centerline on both sides of the biscuit, and cut the slots on the smaller boards accordingly.
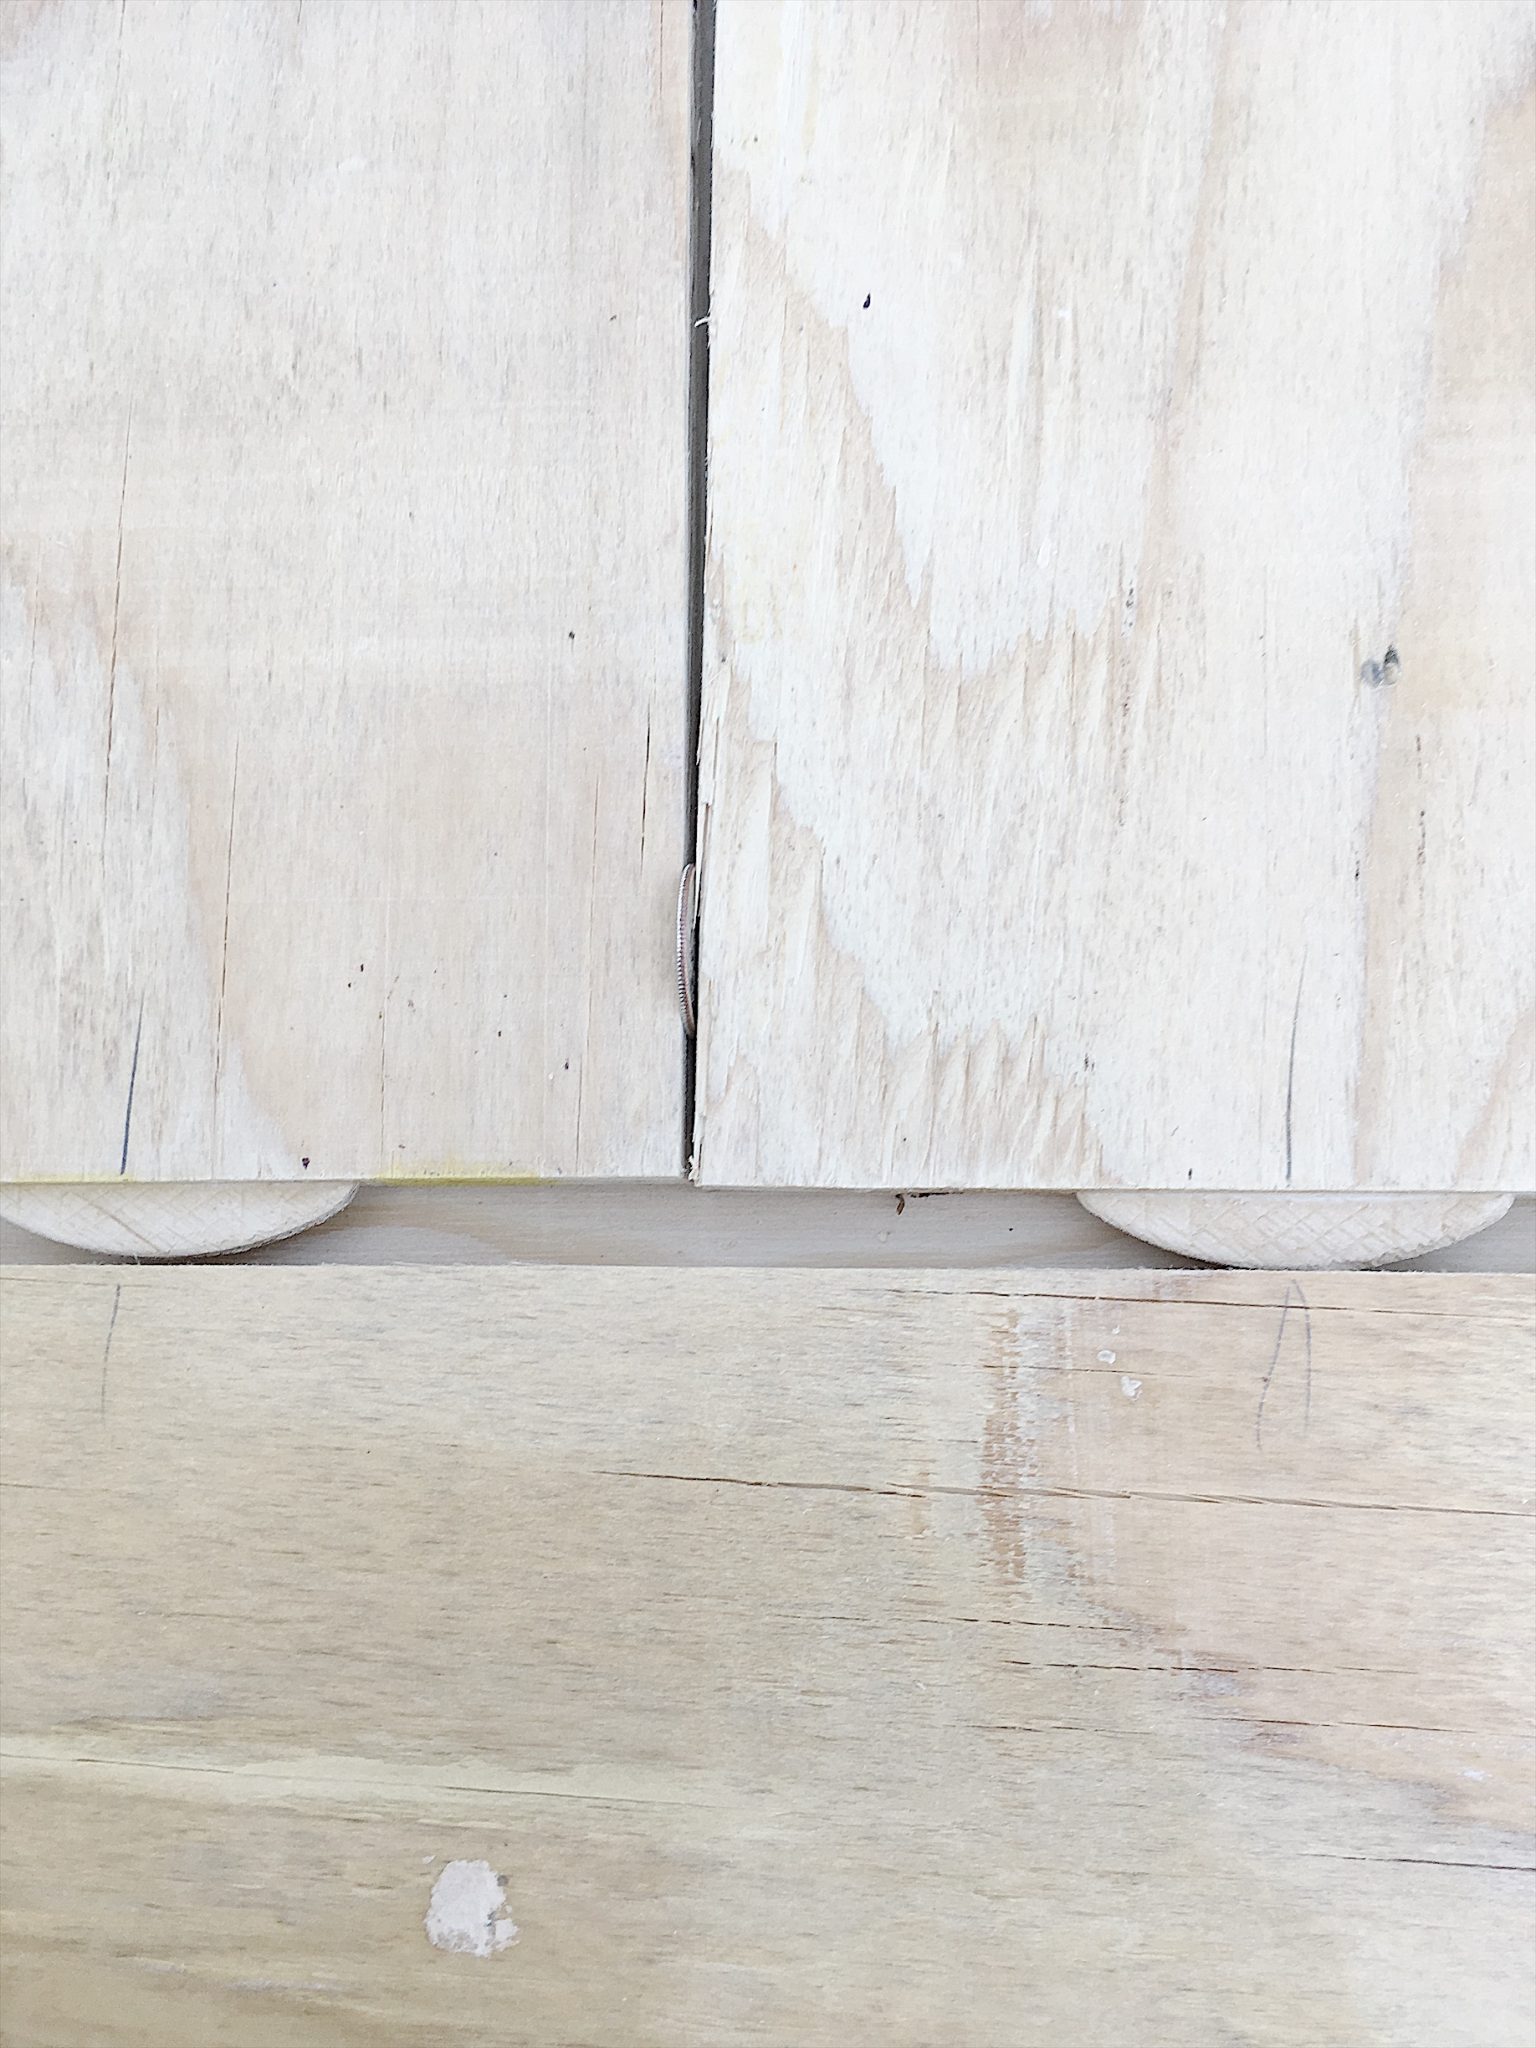
Once the slots are cut, apply wood glue to the empty slot and tap the boards together. Let dry.
If you aren’t too excited about using a biscuit joiner, you could use metal straps to join the boards instead. You only need to figure out whether the straps will keep the table from fitting snugly on top of the plastic table. I think if you placed them evenly throughout the underside, then this might work. It certainly is easier!
The next step is to attach the frame underneath.
Lay the tabletop on the right side down and mark the center lines with a chalk line. Then place your plastic table on top. Confirm the size of the frame by adding 1/4″ around the outside of the table. Make sure the frame is centered on your table and straight on all sides.
Attach the 1″ x 6″ boards to the underside of the table top with screws.
Next, we added a mitered frame around the outside edge.
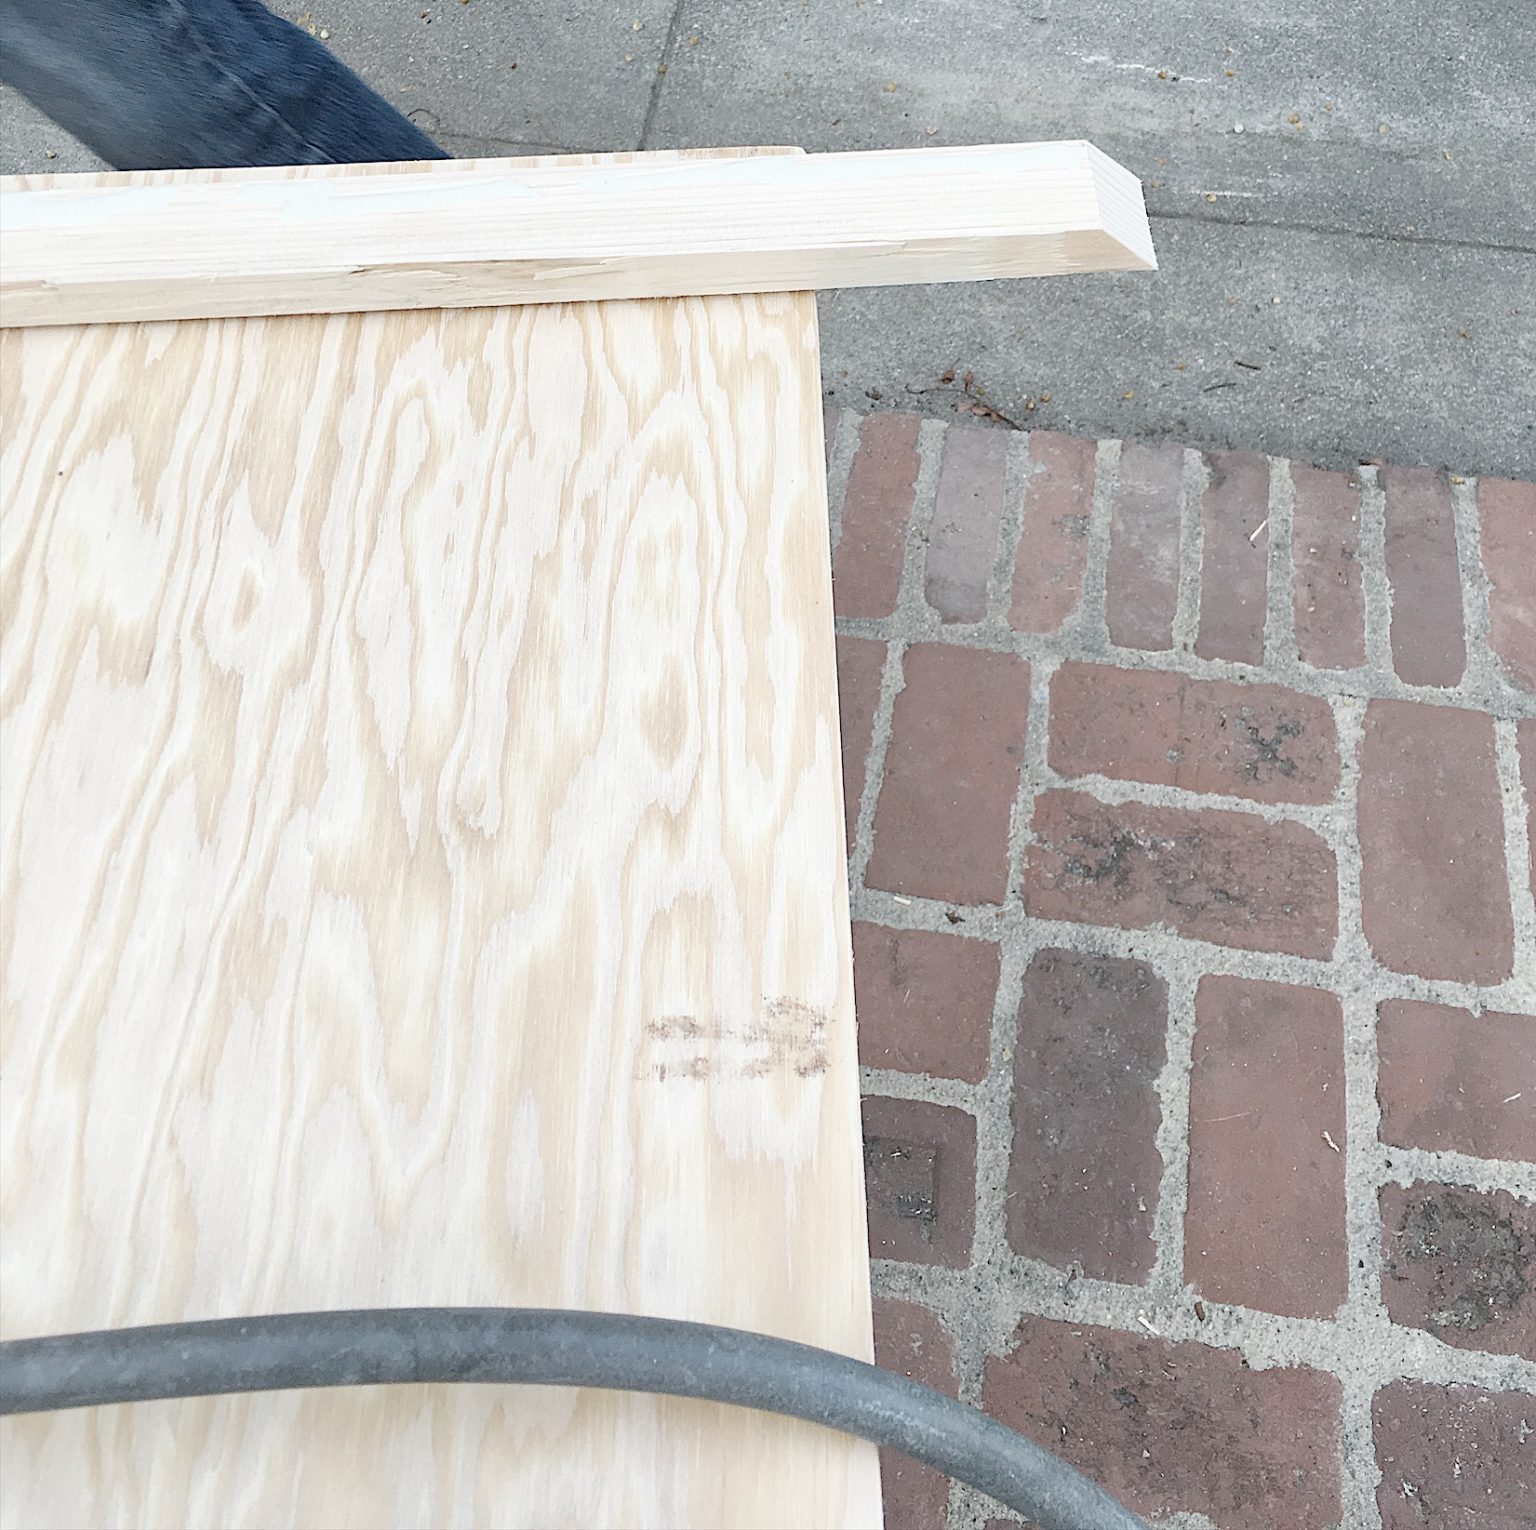
I wanted the frame to drop down a bit so it would make the tabletop look even thicker than it was. So, we used the 2″ side for the drop.
The last step is to stain the tables. I used gray stain, but you can use any stain you want. I also didn’t seal the wood, but I suggest you use some protective coating.
When you are done, your table tops should look like this!


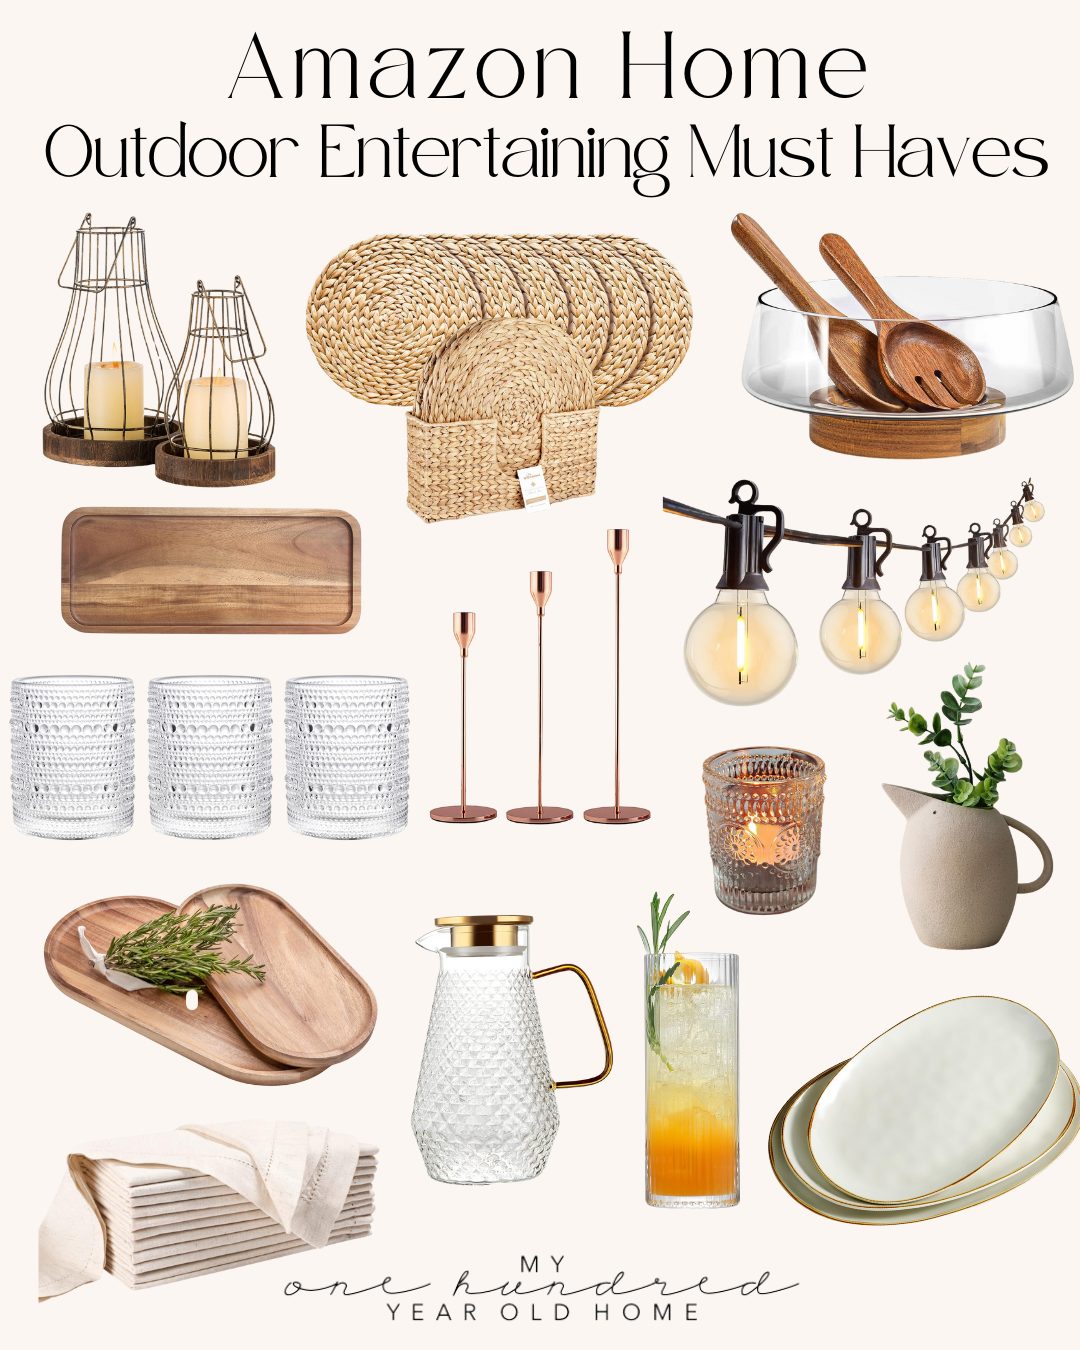
My Favorite Outdoor Entertaining Must Haves!
Similar Posts
Pin the image below to your DIY or wood project boards on Pinterest (just click the Pin button in the top left corner). You can also follow along with me on Pinterest!
For more real-time updates, follow me on Instagram @My100YearOldHome

Genius! I wish I had a reason to need larger tables because I would totally have my husband make these. I am saving this post because you just never know!
Yay! You never know 🙌🏻😉
Always wonderful! You are so multitalented.
Leslie, I know this post is about the tables, but would you remember where are your chair covers from?
Thank you.
Fabulous!!!! But,but,but where can you find decent folding chairs?!?!?
We did this too back in the 80s when our family was large and often had 20-25 for holiday meals. I’m husband came up with this idea after tiring of the years of moving around big tables and table leaves. . Thanks for the trip down memory Lane.