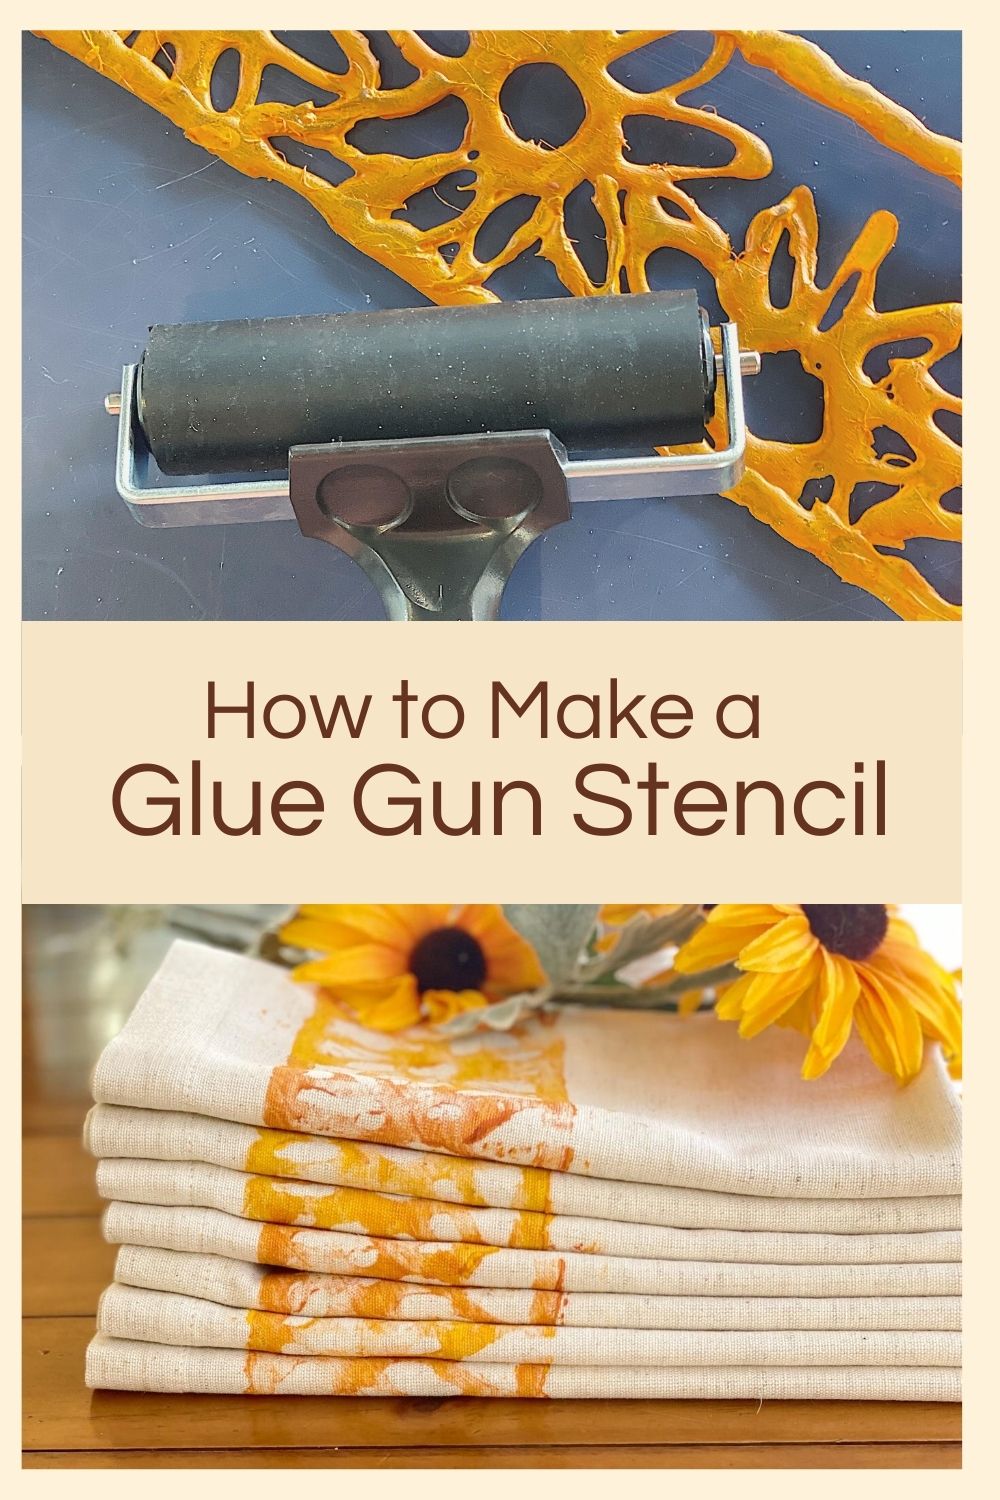
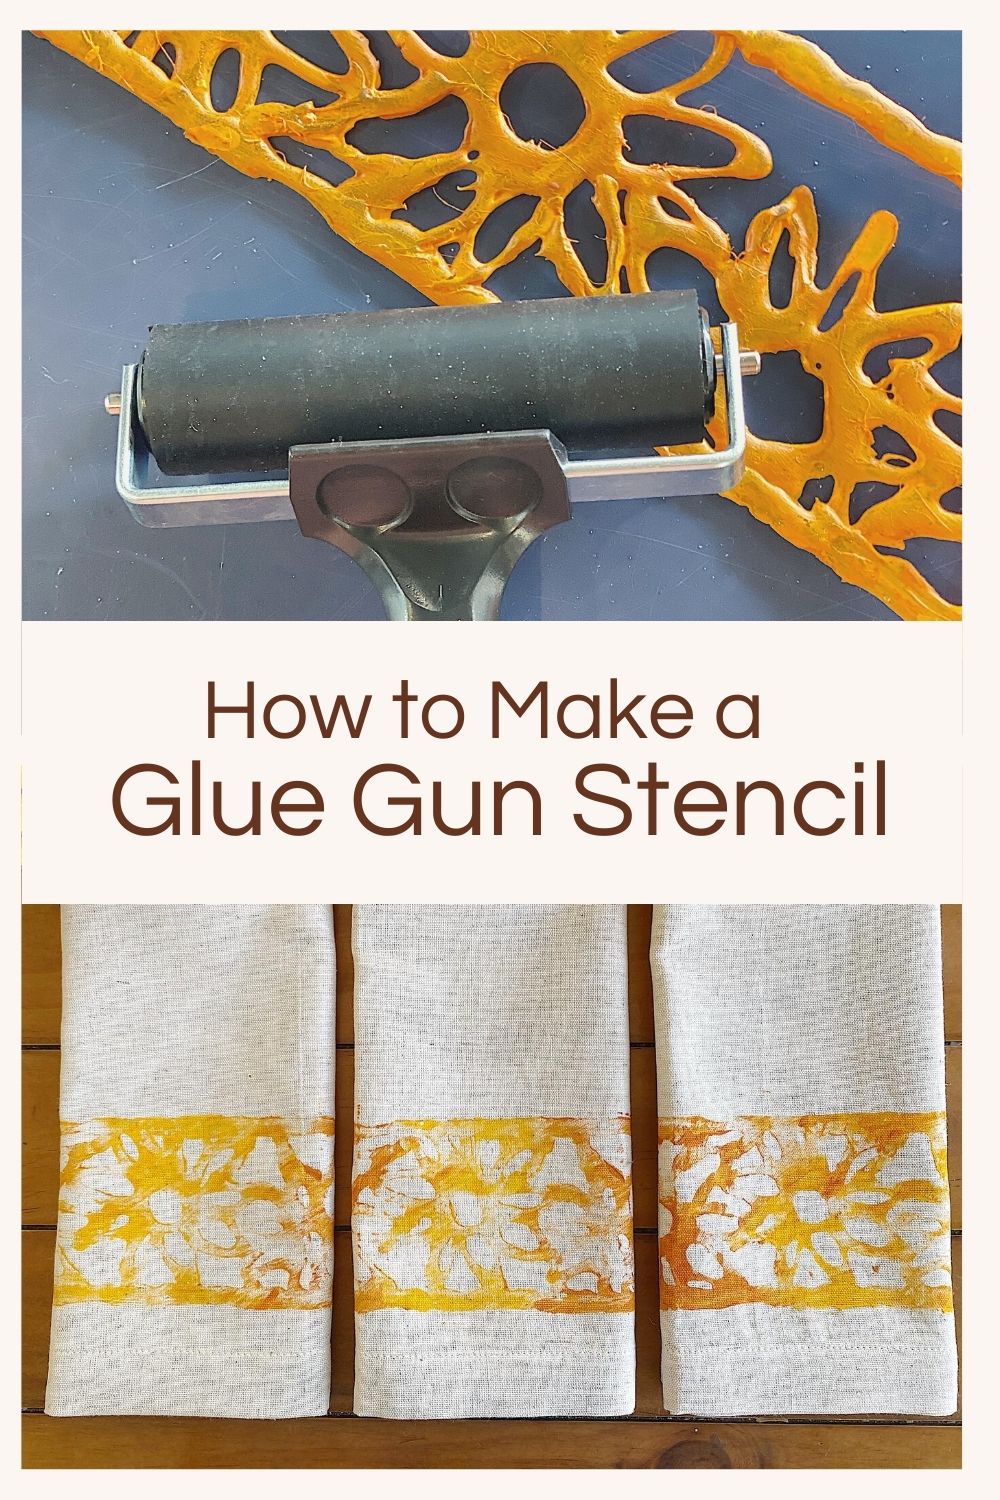
How to Make a Sunflower Stencil with a Glue Gun
I just taught myself how to make a sunflower stencil with a glue gun. I learned a few things along the way and love the result.
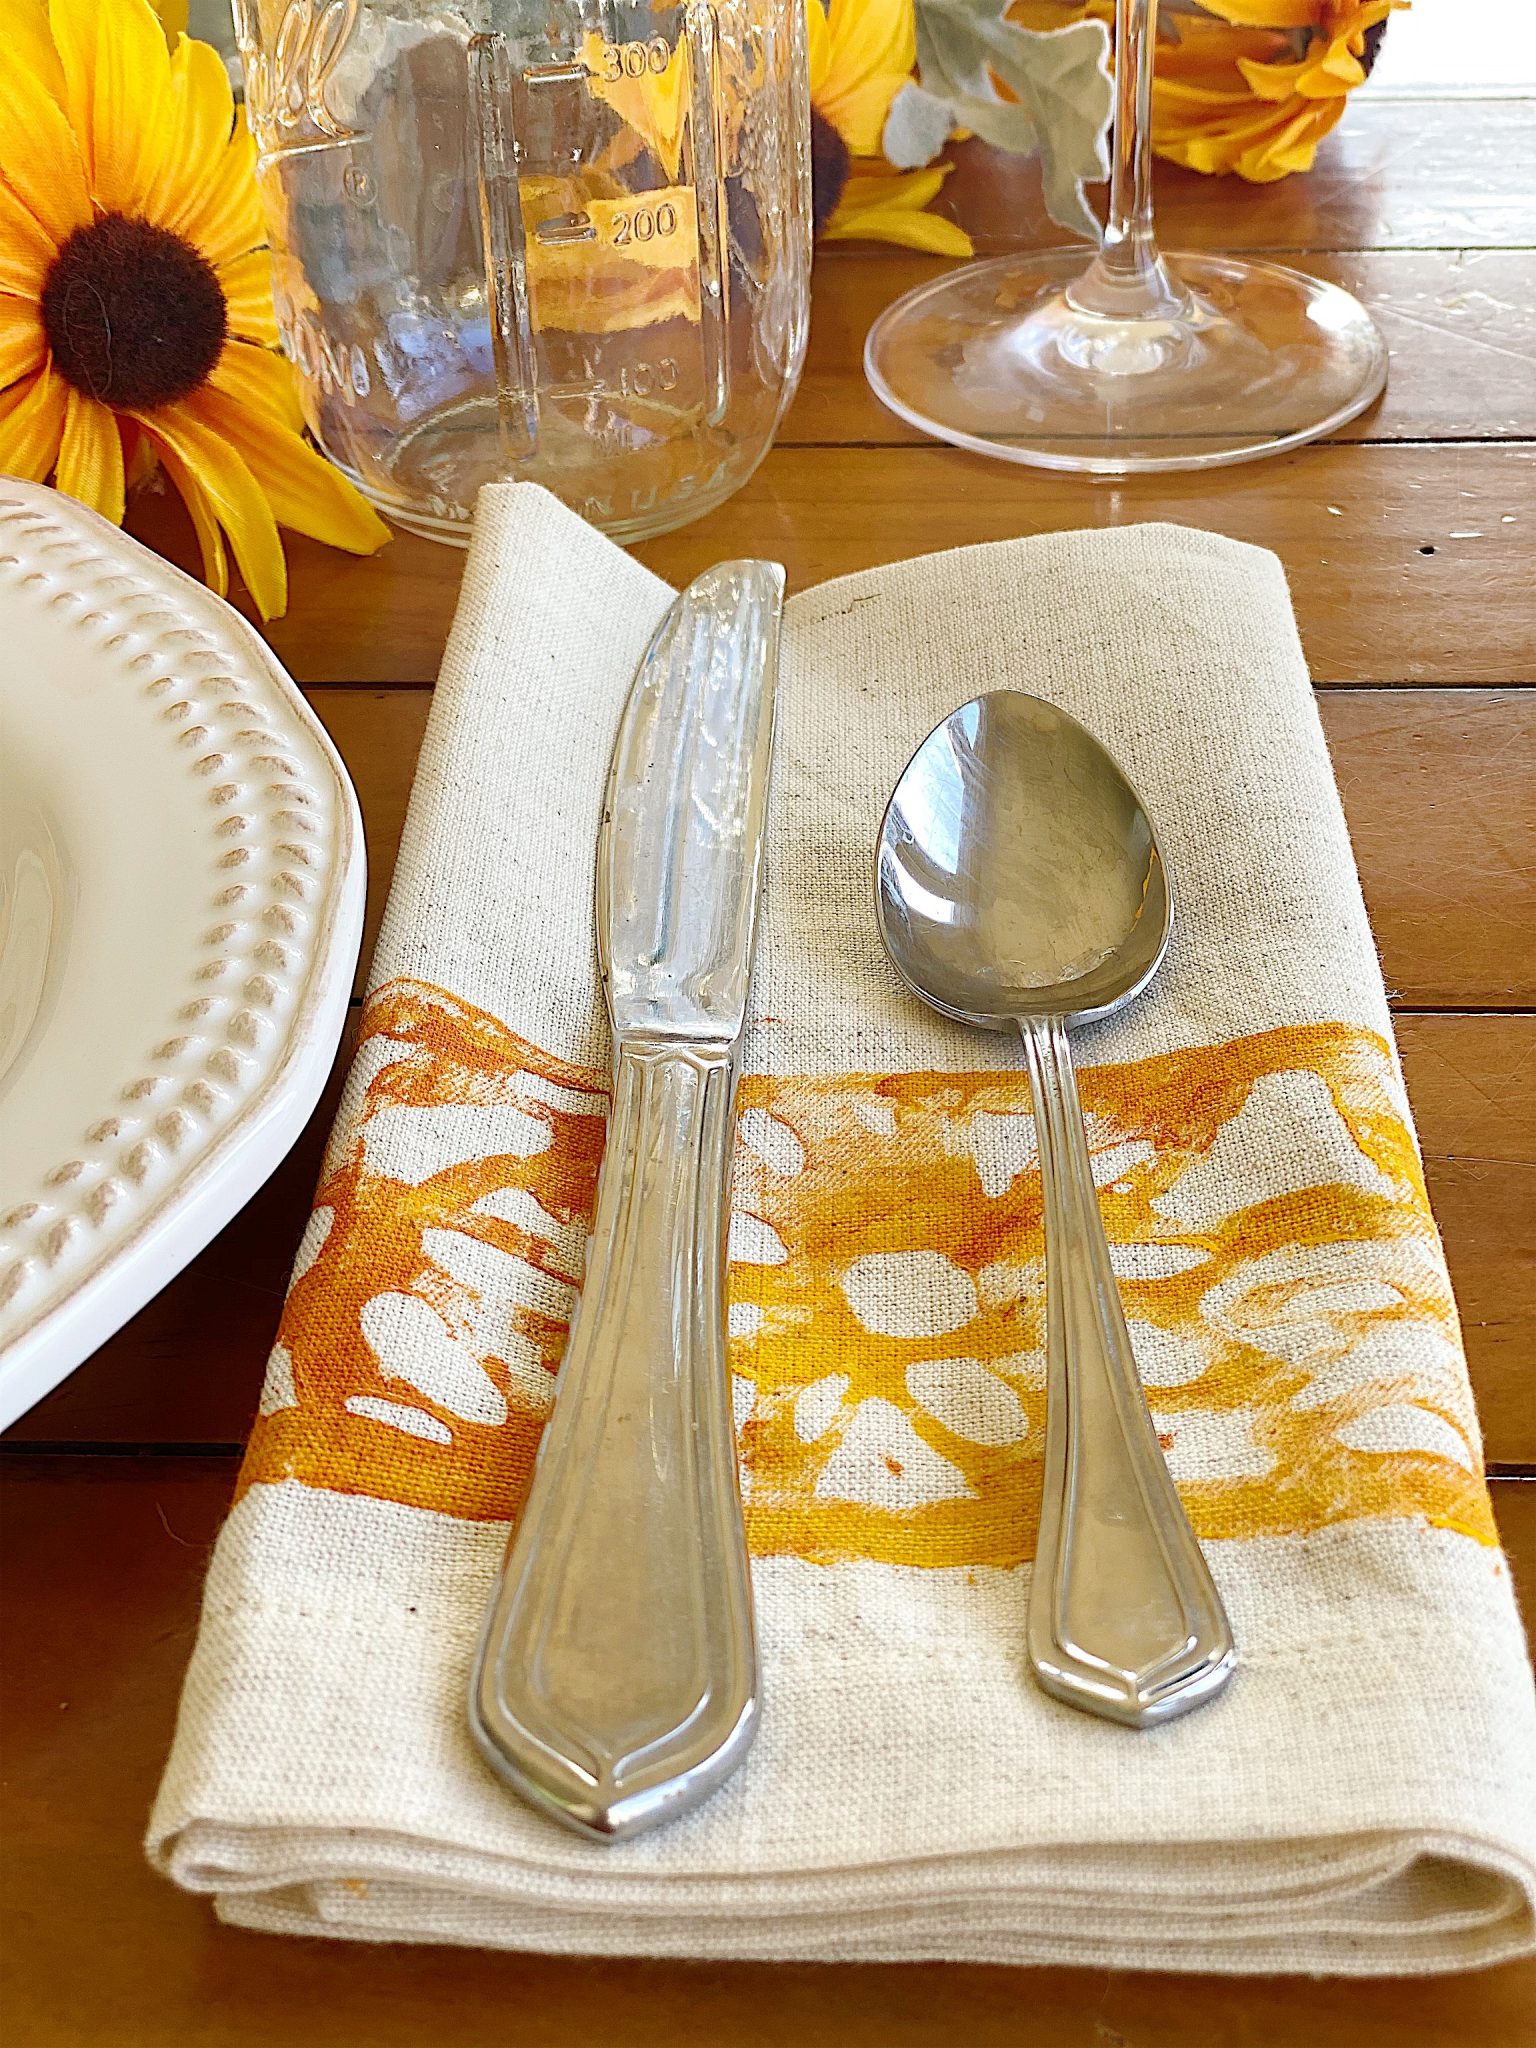
These sunflower stencil napkins are perfect for our family dinner party later this week! It’s easy and fun, and you can make any shape. Follow these steps to learn how to make a stencil with a glue gun.

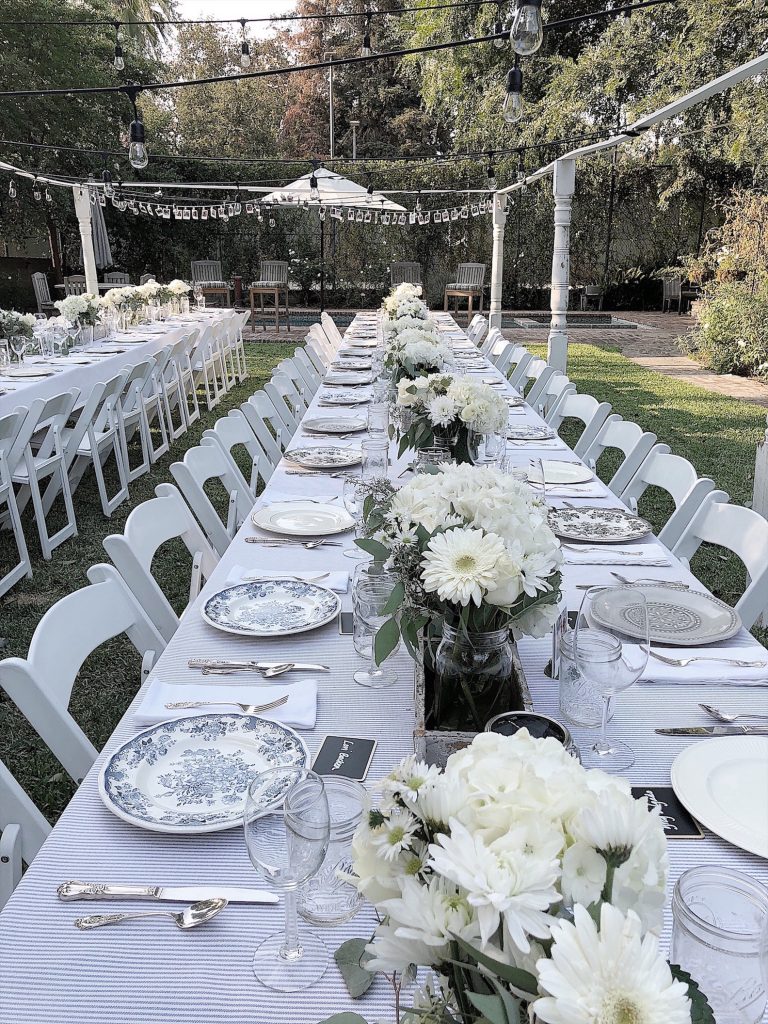
Recently, we hosted a dinner for some friends in our backyard. I chose a sunflower theme and thought it would be fun to use my favorite stenciled napkins. Today, I am sharing how to make a sunflower stencil with a glue gun.
Who knew you could make a stencil with a glue gun?
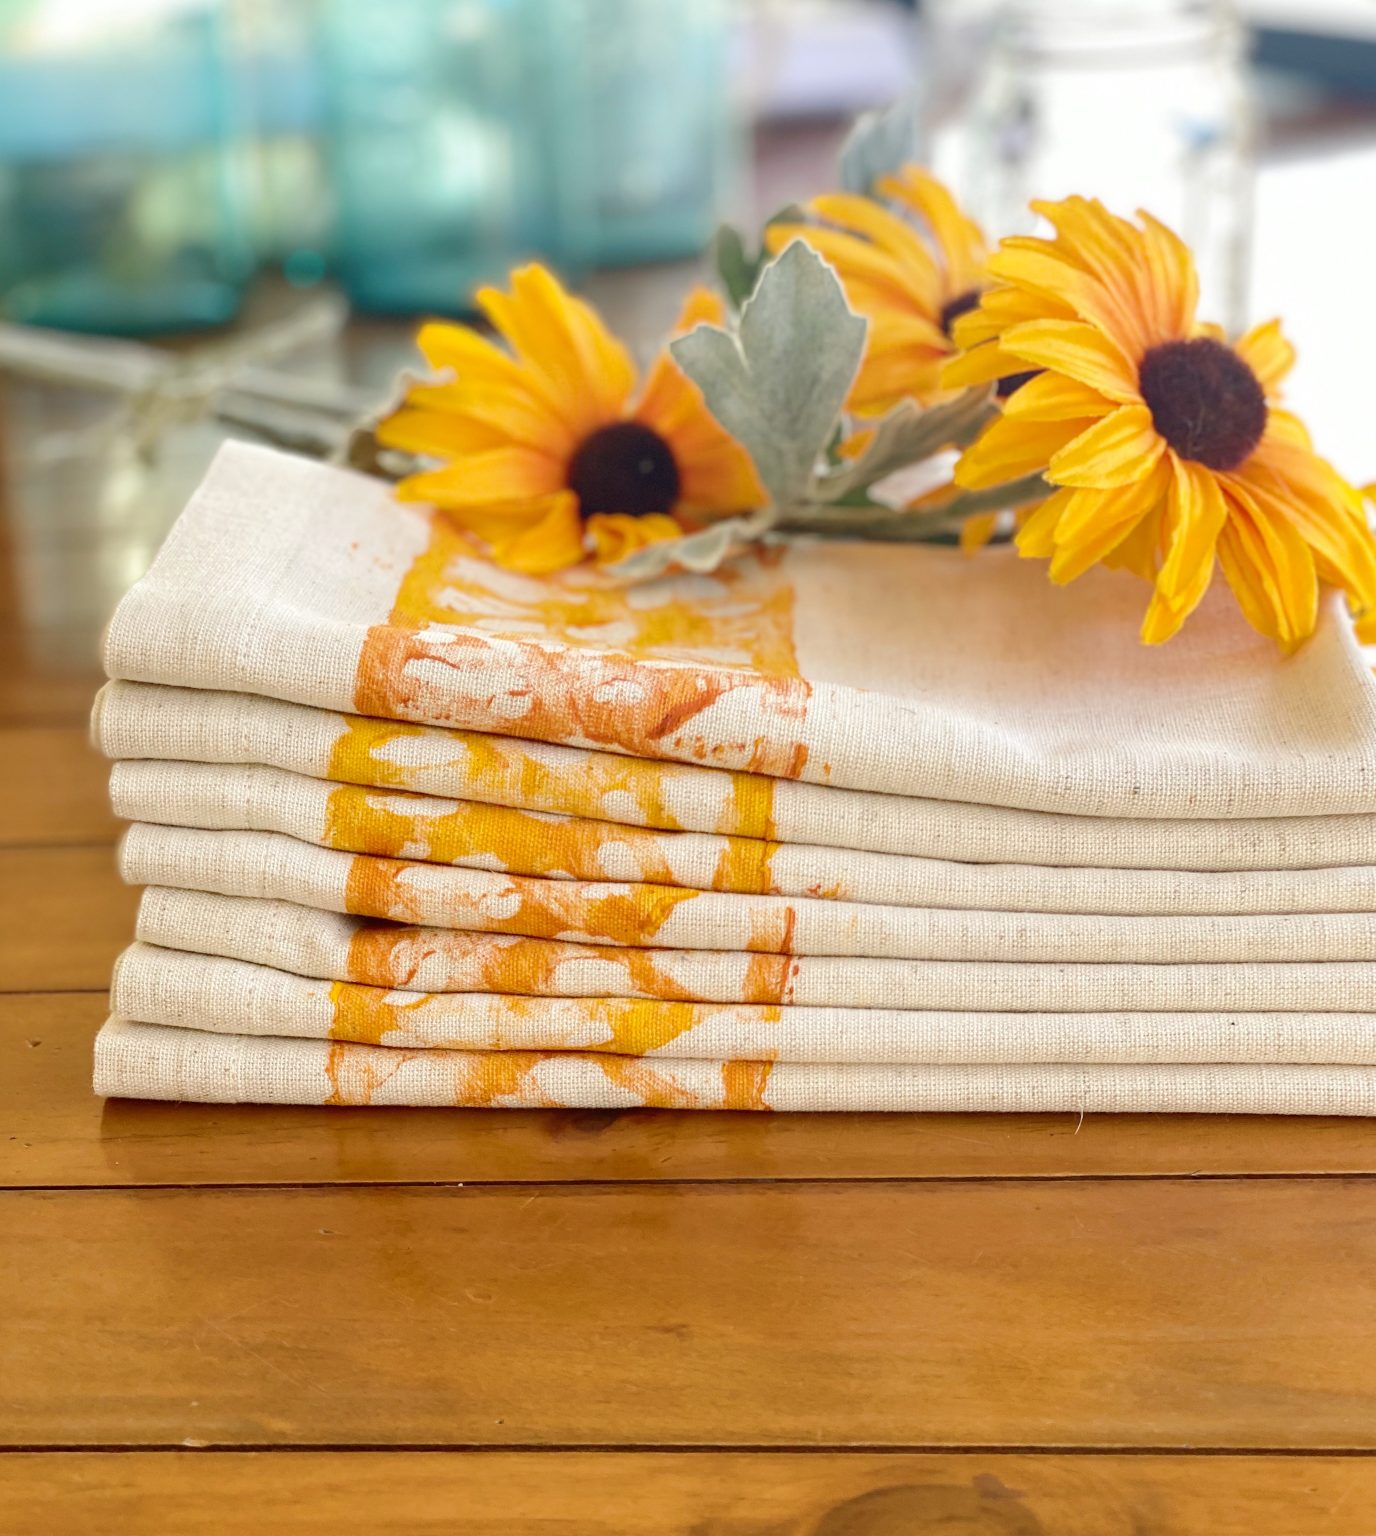
Aren’t these wonderful?
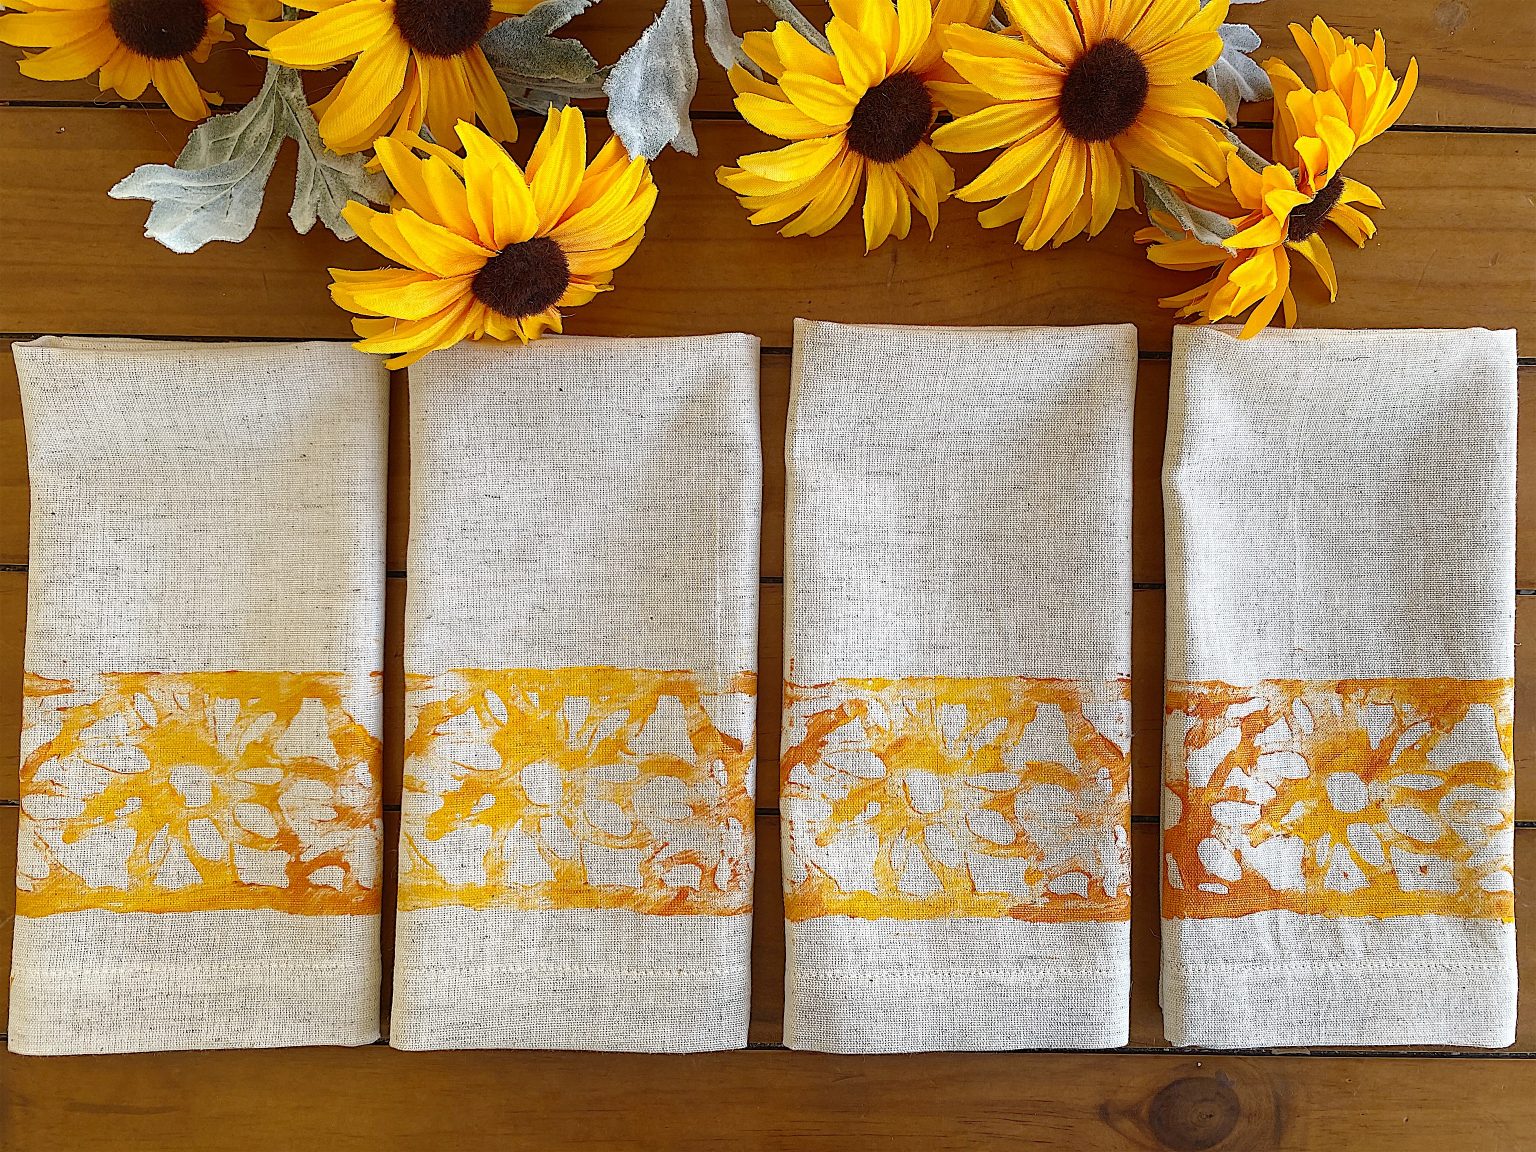
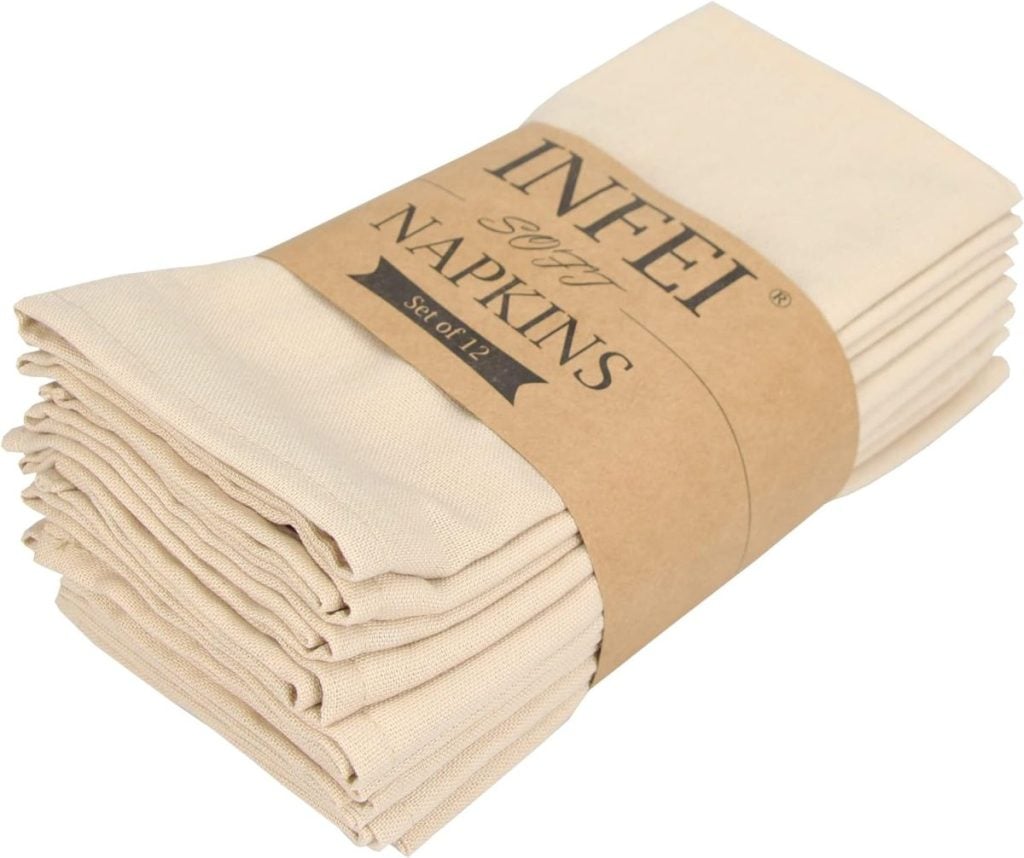
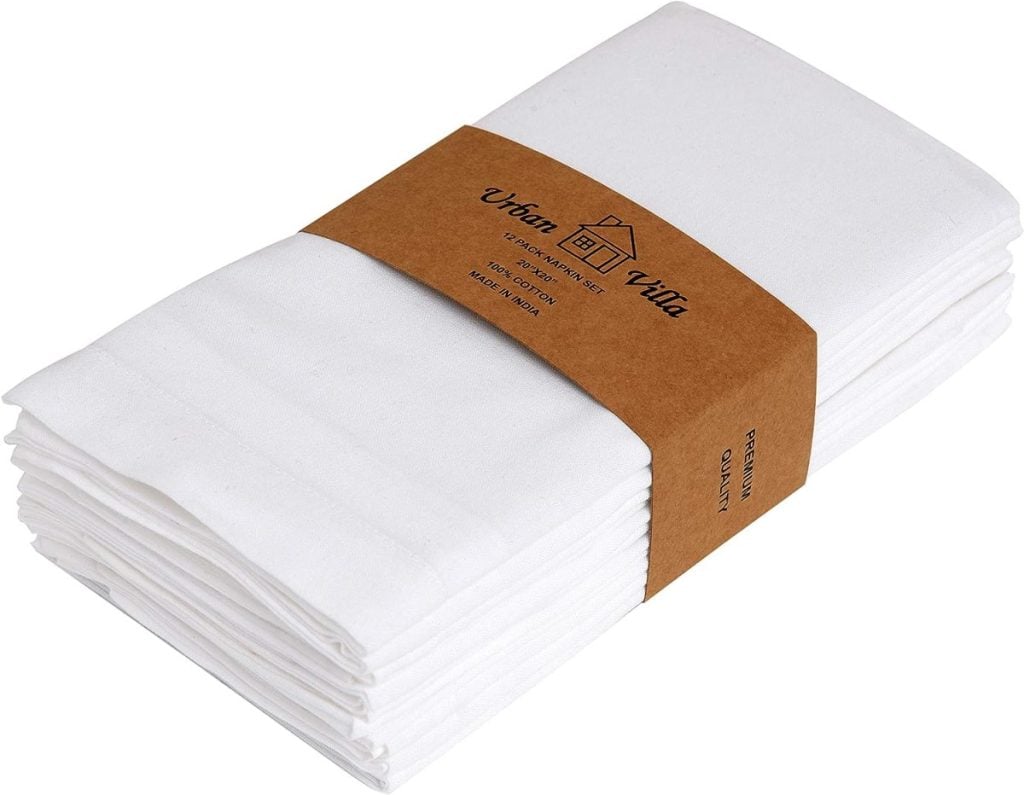
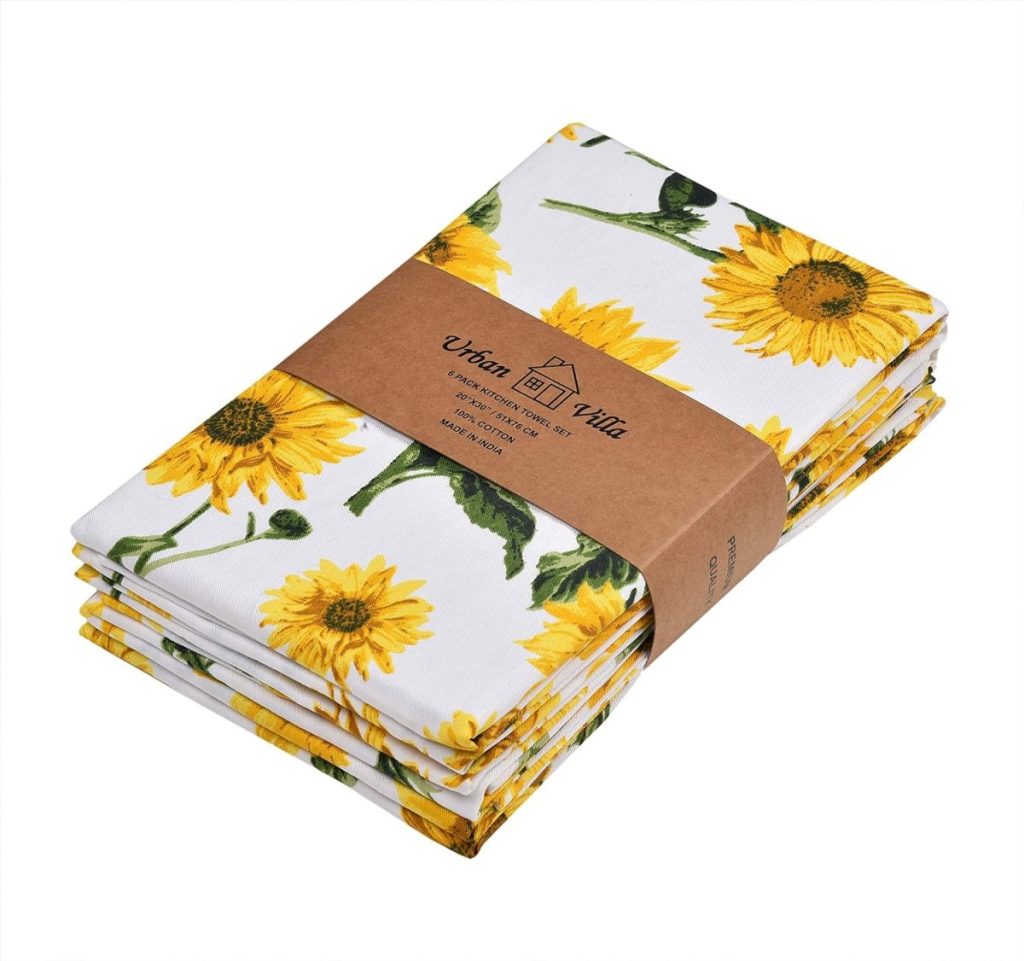
I love how these came out! The best news is that the napkins—20% linen and 80% cotton—cost about $2 each.
Making a stencil with a glue gun is not hard to do. You need to do just a few things to make it work.
First, don’t try to make a perfect stencil. As you can see from my stencil, it is far from ideal, but I love it that way!

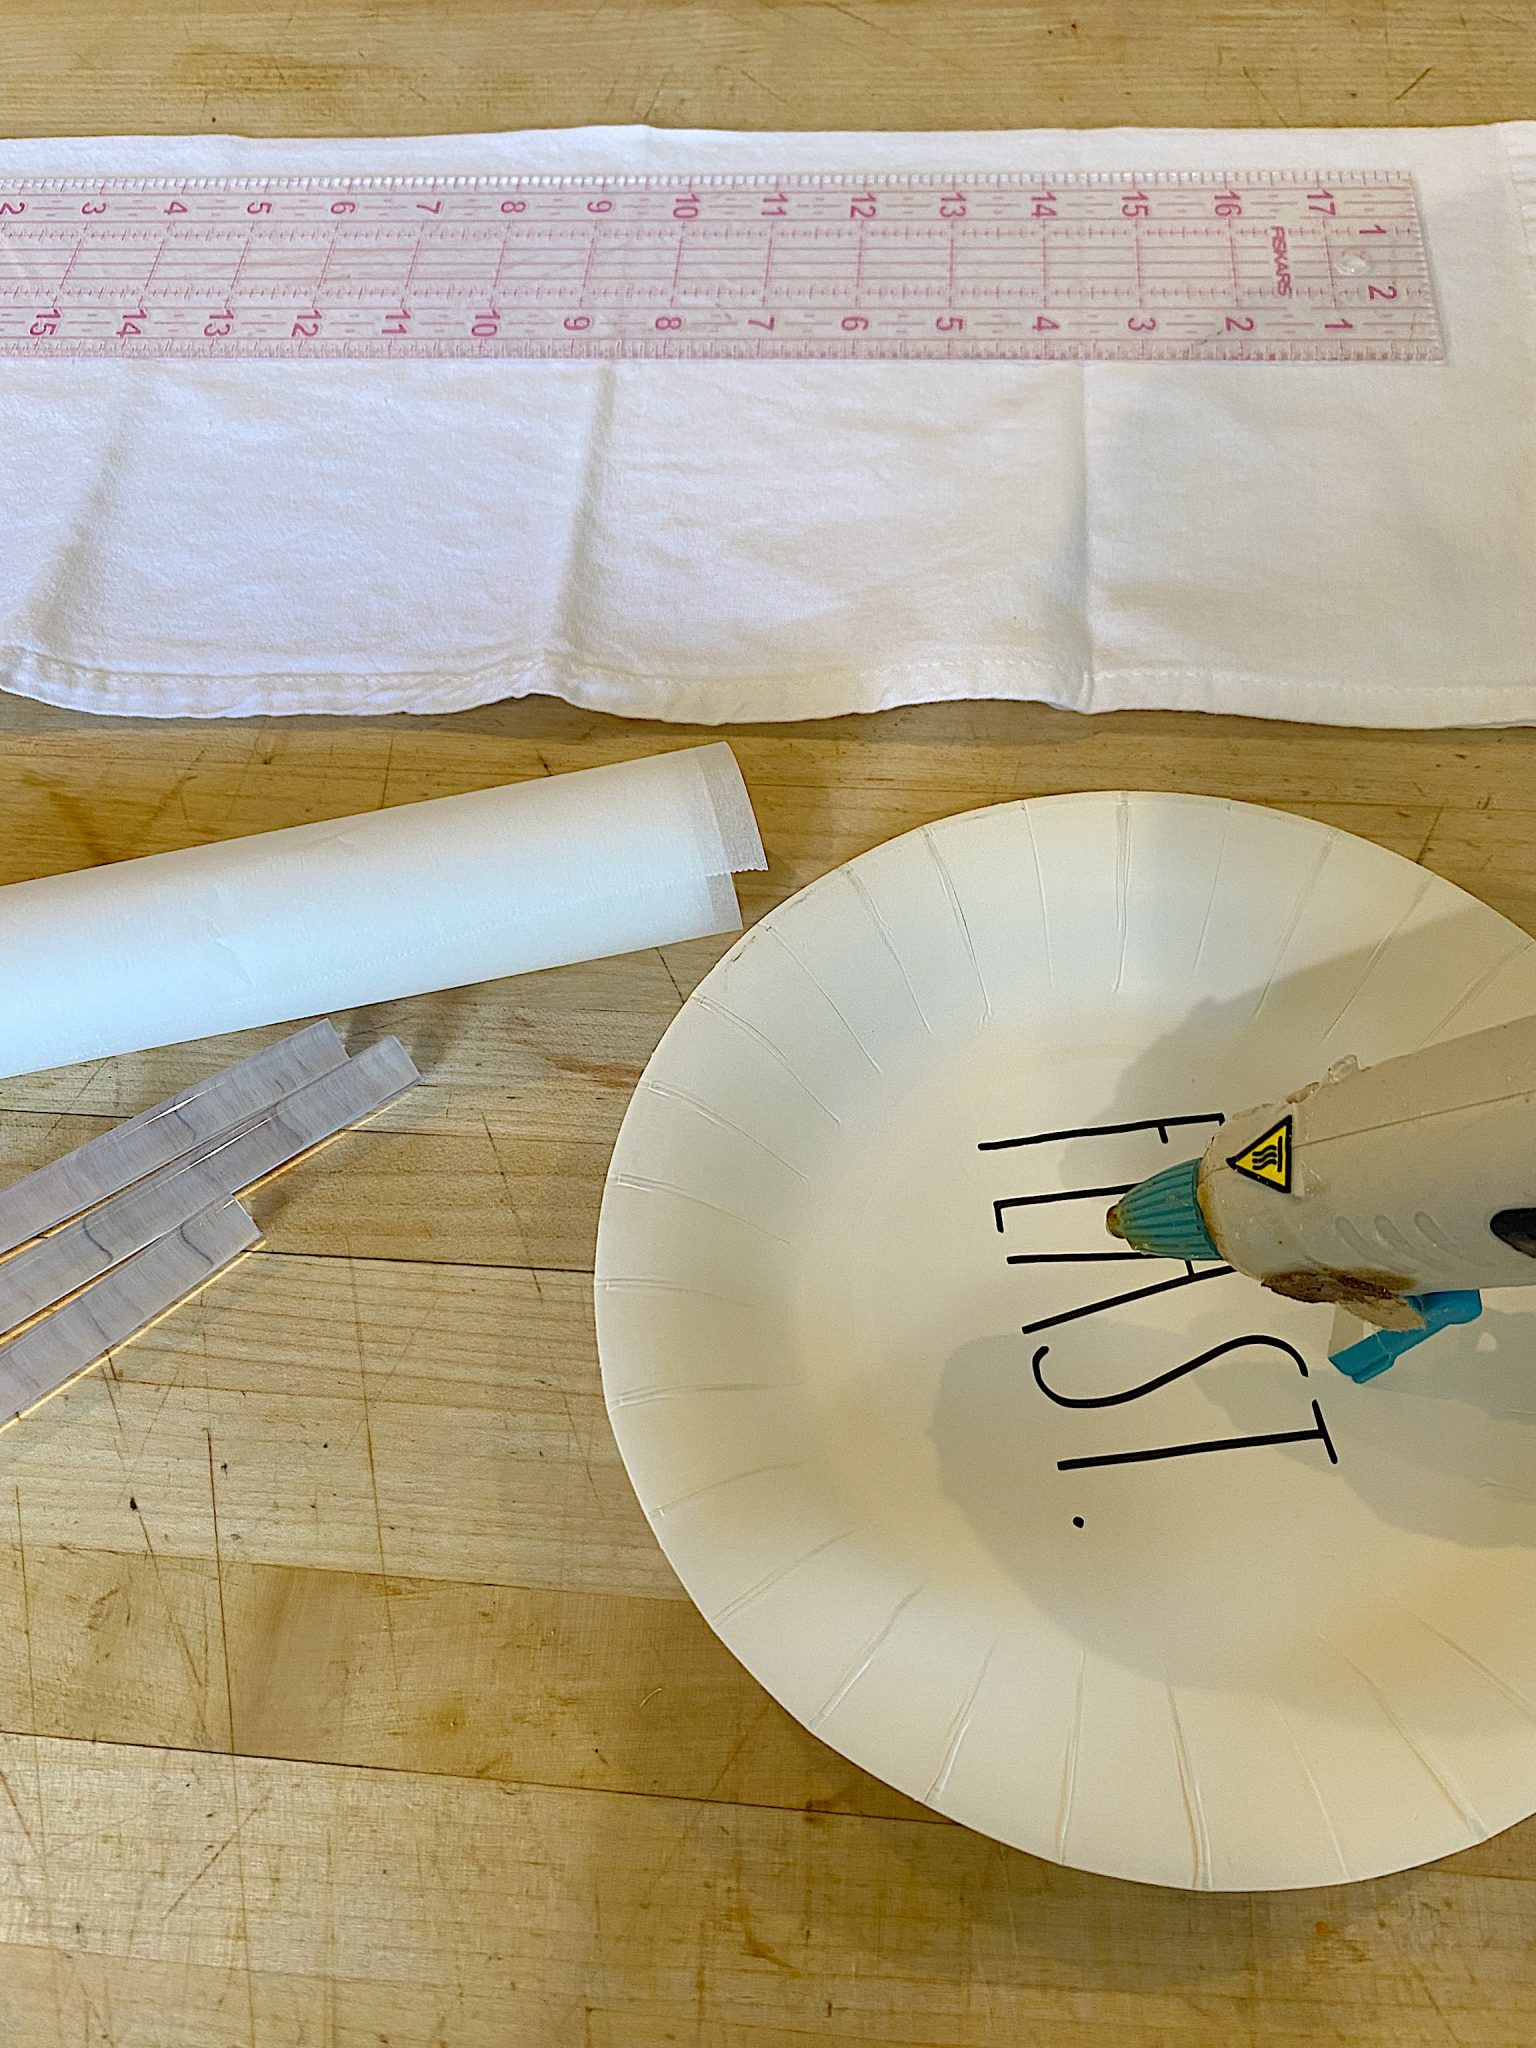
What You Need to Make a Stencil With a Glue Gun
Parchment paper (I always get the brand with lines on it. It’s much easier to work with!).
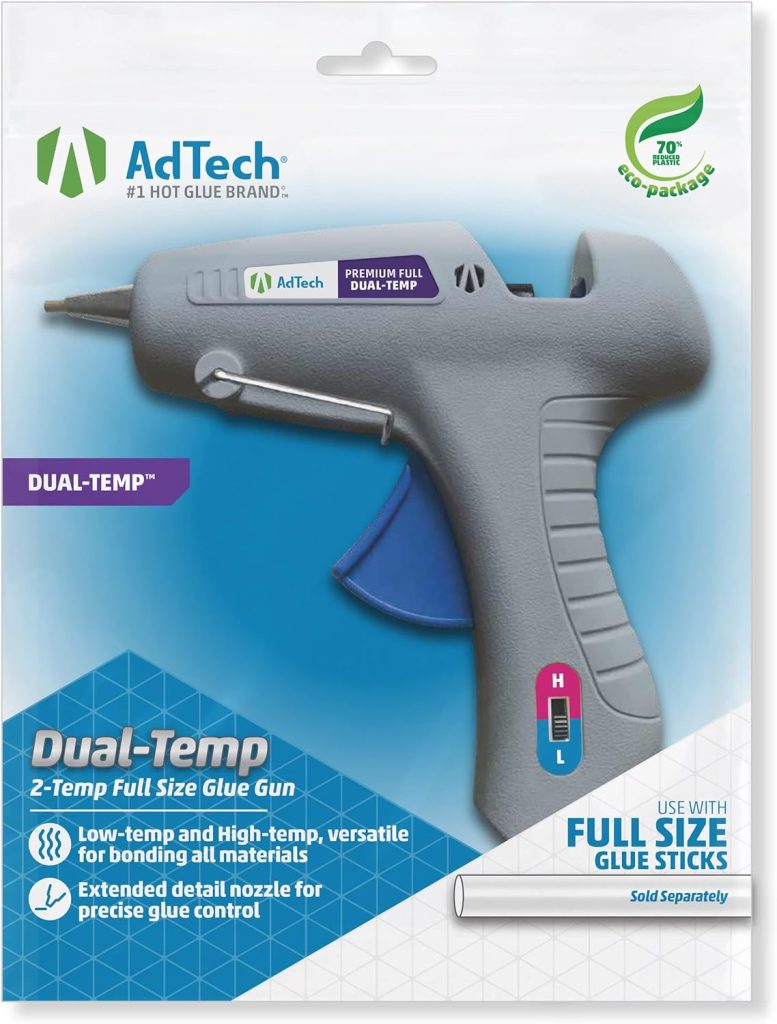
Hot glue gun (not the mini tip) and lots of glue sticks
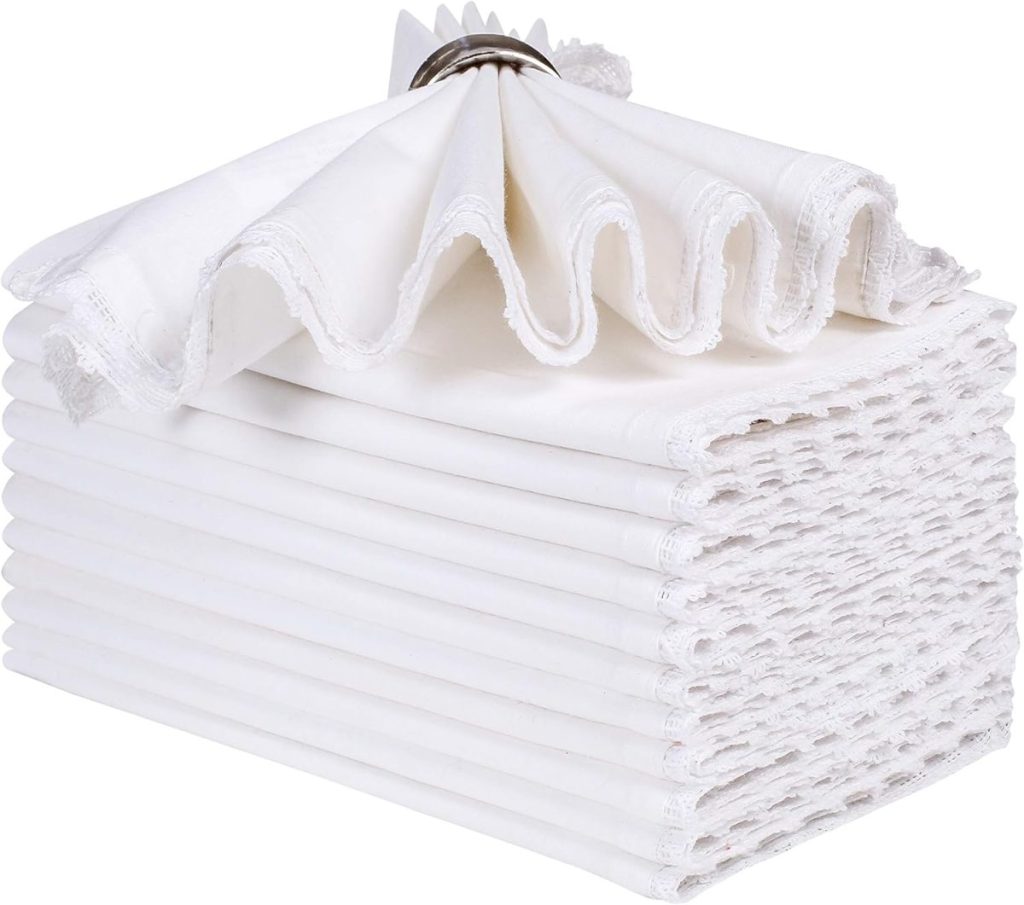
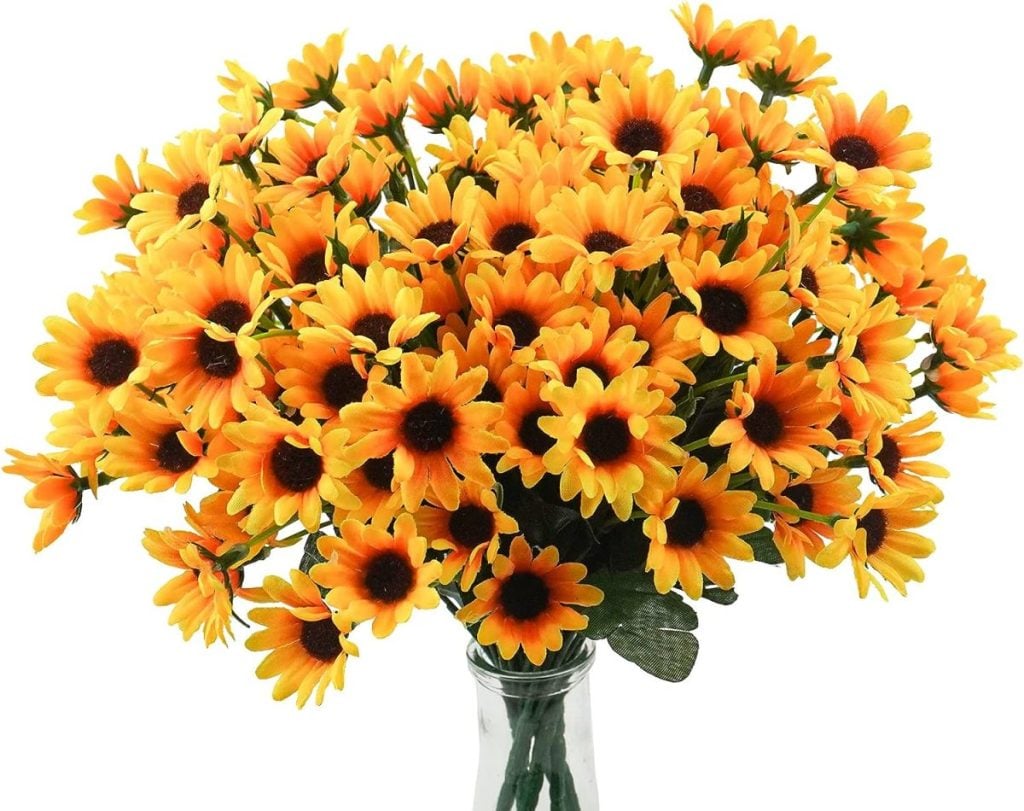
Cloth napkins. You can also try these, these, and these.

Making the Sunflower Stencil
Initially, I thought I wanted a pattern for my stencils, but I ended up making up the design. If you want to use a pattern, print any design and place it under the parchment paper as a guide.
I did use the pattern to create the outside edge of the design.
Before you start, it is essential to know that the bottom edge of your stencil will be the side you apply the paint to and use as a stencil. That is because the glue will be flat. (Don’t worry if the stencil looks lumpy on the top as you add glue.) Technically, this means the stencil will print right side up, so you don’t have to worry about anything printing backward.
I started making the sunflower stencil by just “painting” with the glue gun. Your design needs to connect to the outside edge, and all your glue lines need to connect, so think about that when choosing your design.
Once I had glued the flowers, I went back and thickened any of the glue lines that were too thin. I did this by adding more glue to the thin lines.
The last thing I did was create an outline around the outside of my design.
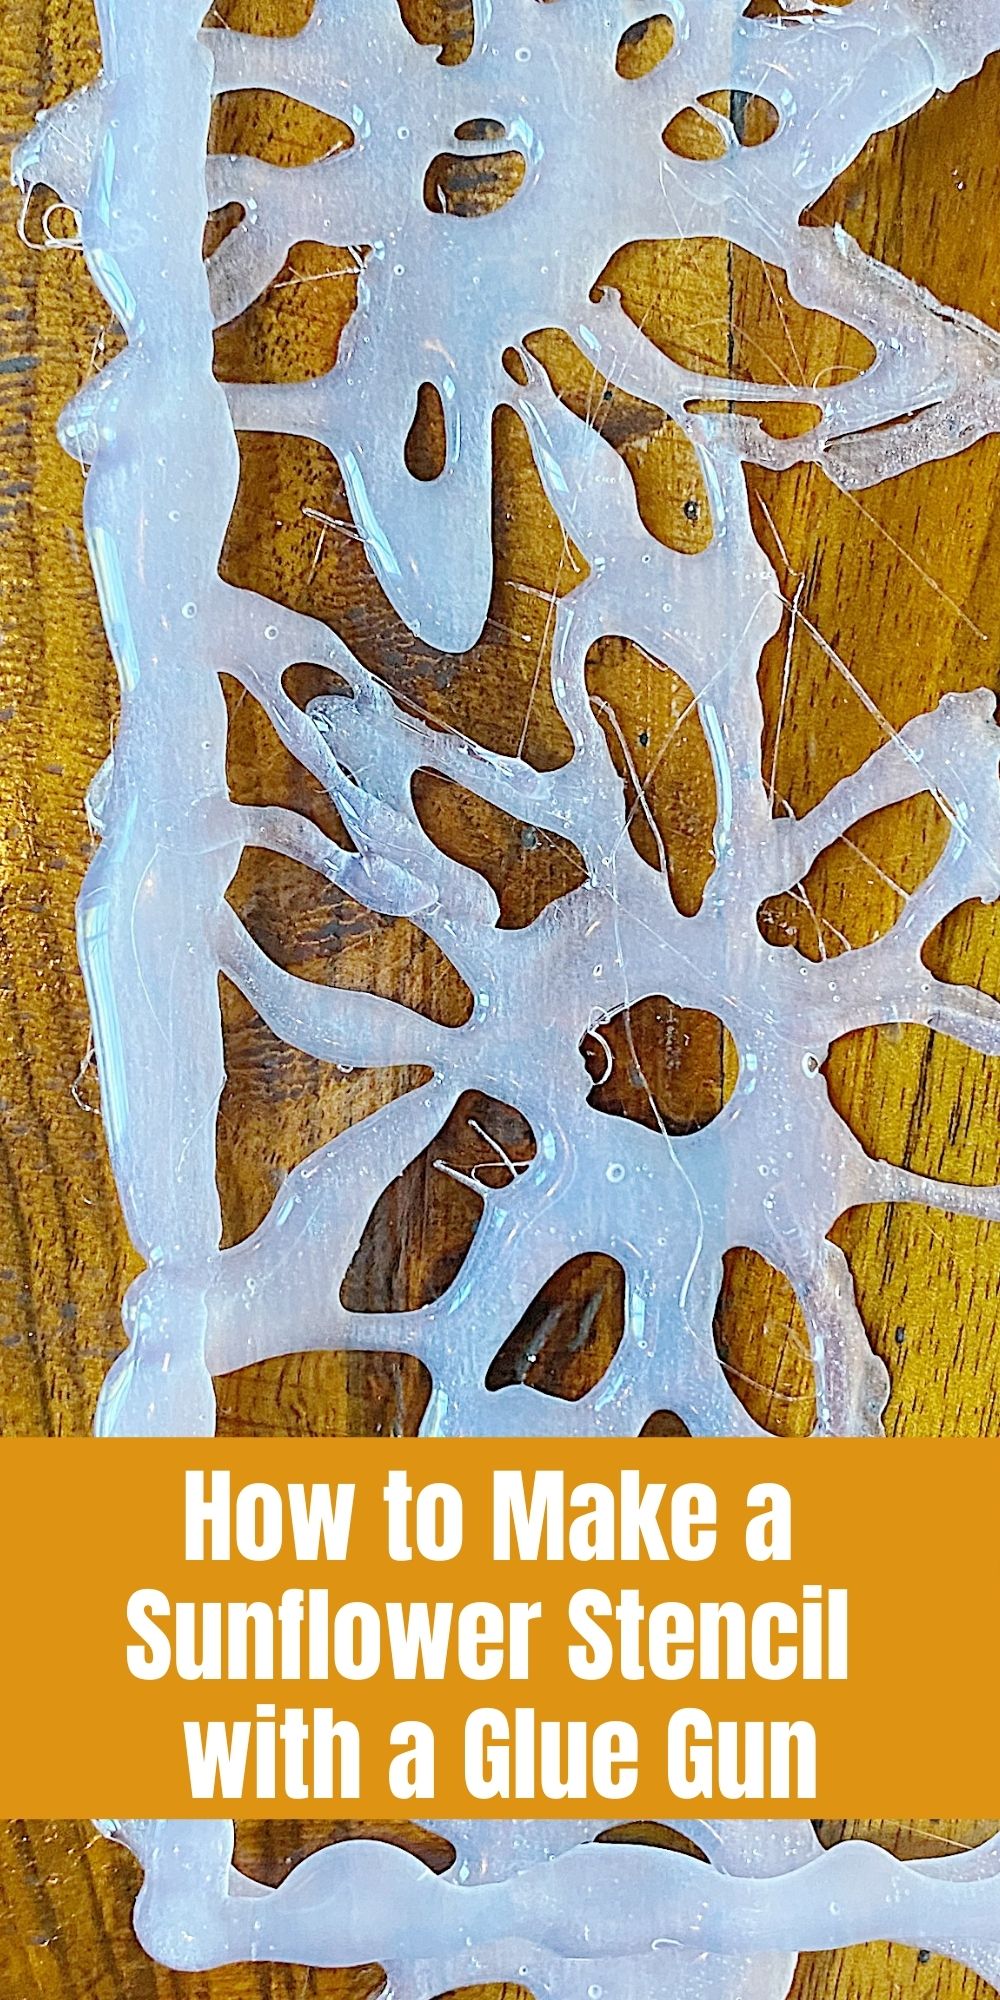
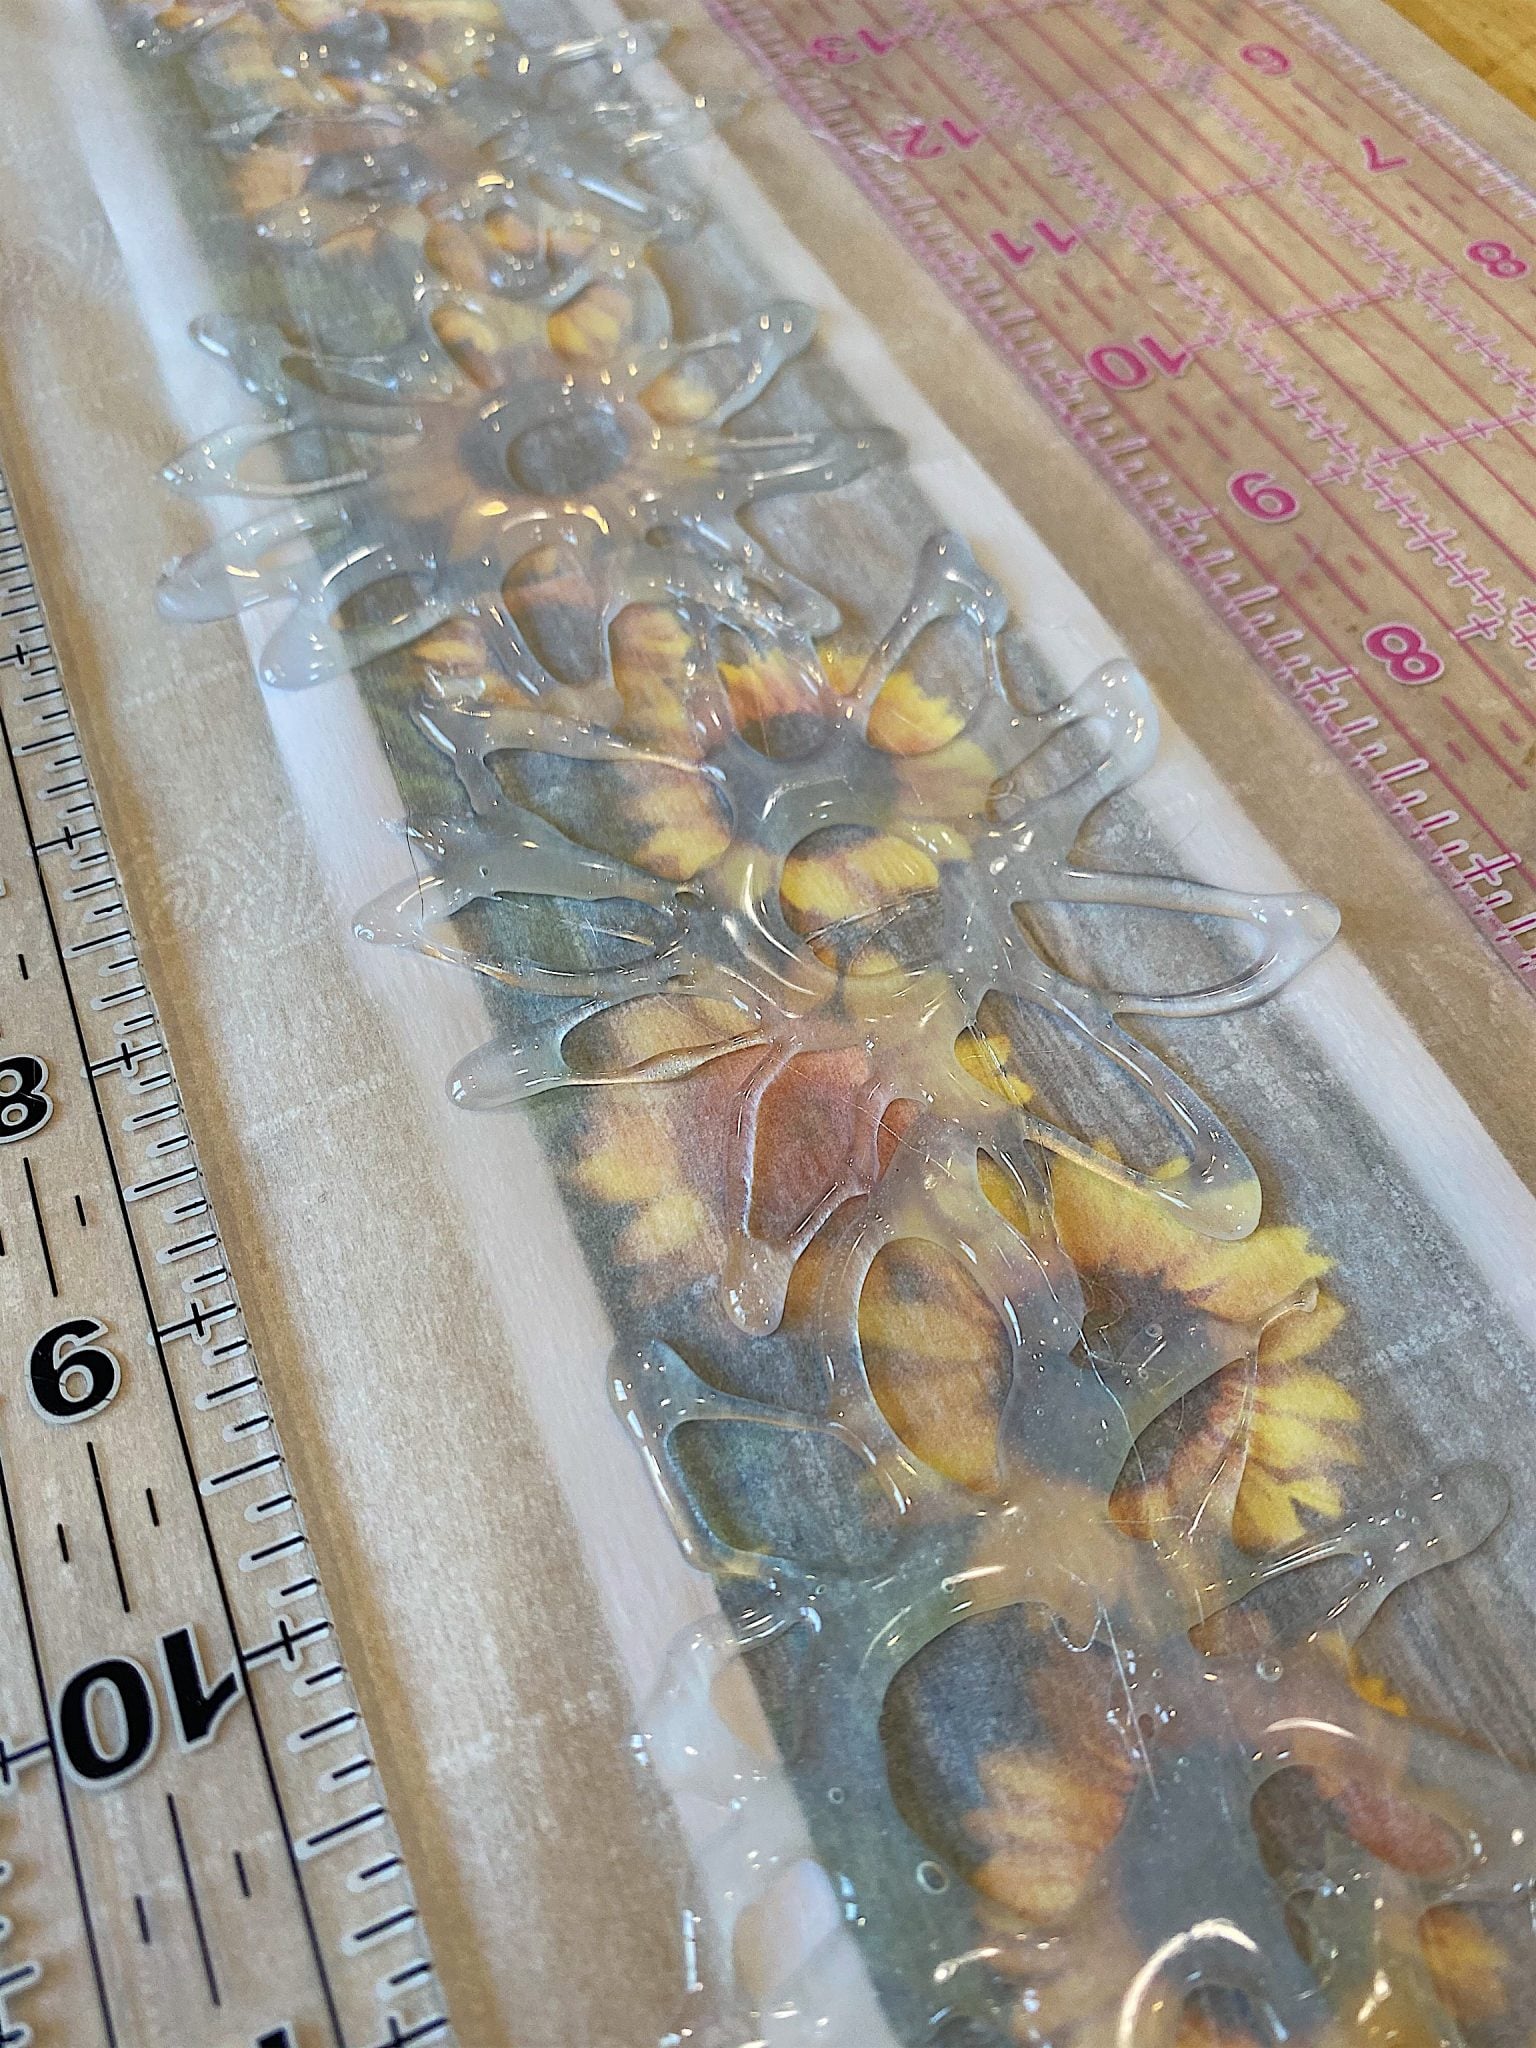
This is what my sunflower stencil looked like as I added the glue. Once dry, use a pair of tweezers to remove the super-thin extra glue strings. You can also use a hairdryer to melt the very thin glue strands quickly.
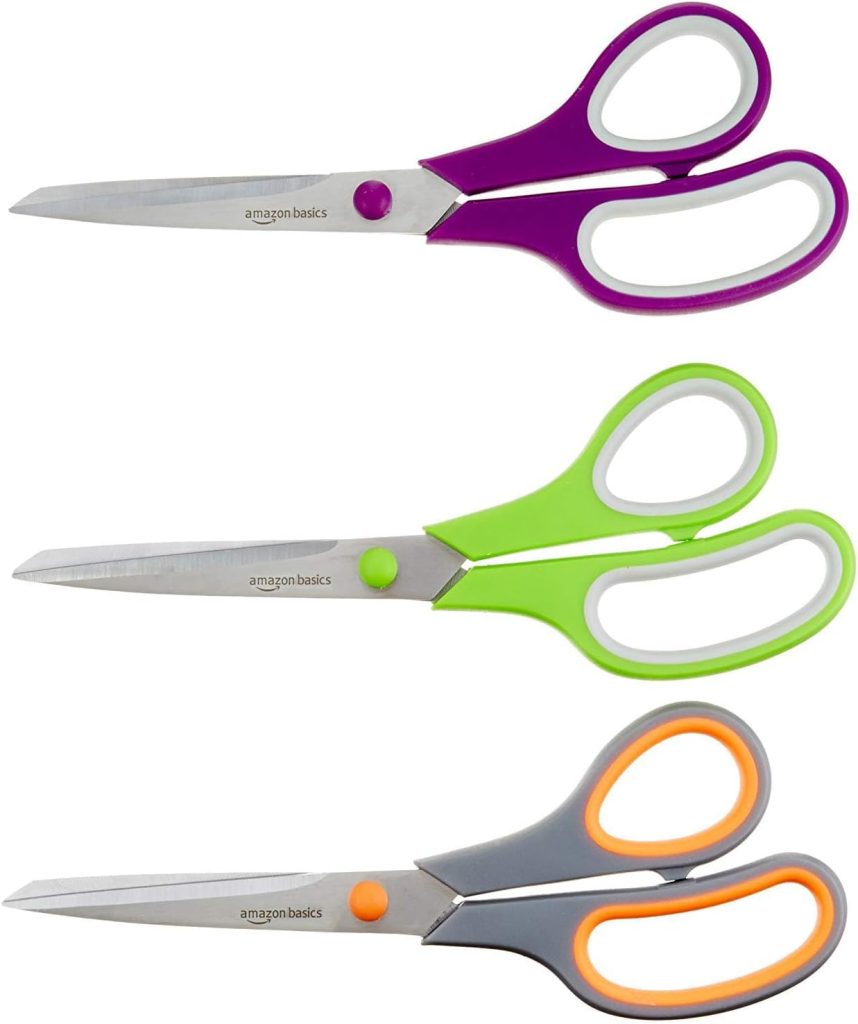
The outside edges of my stencil were not straight. That was easy to fix; I cut off the uneven edge with scissors.
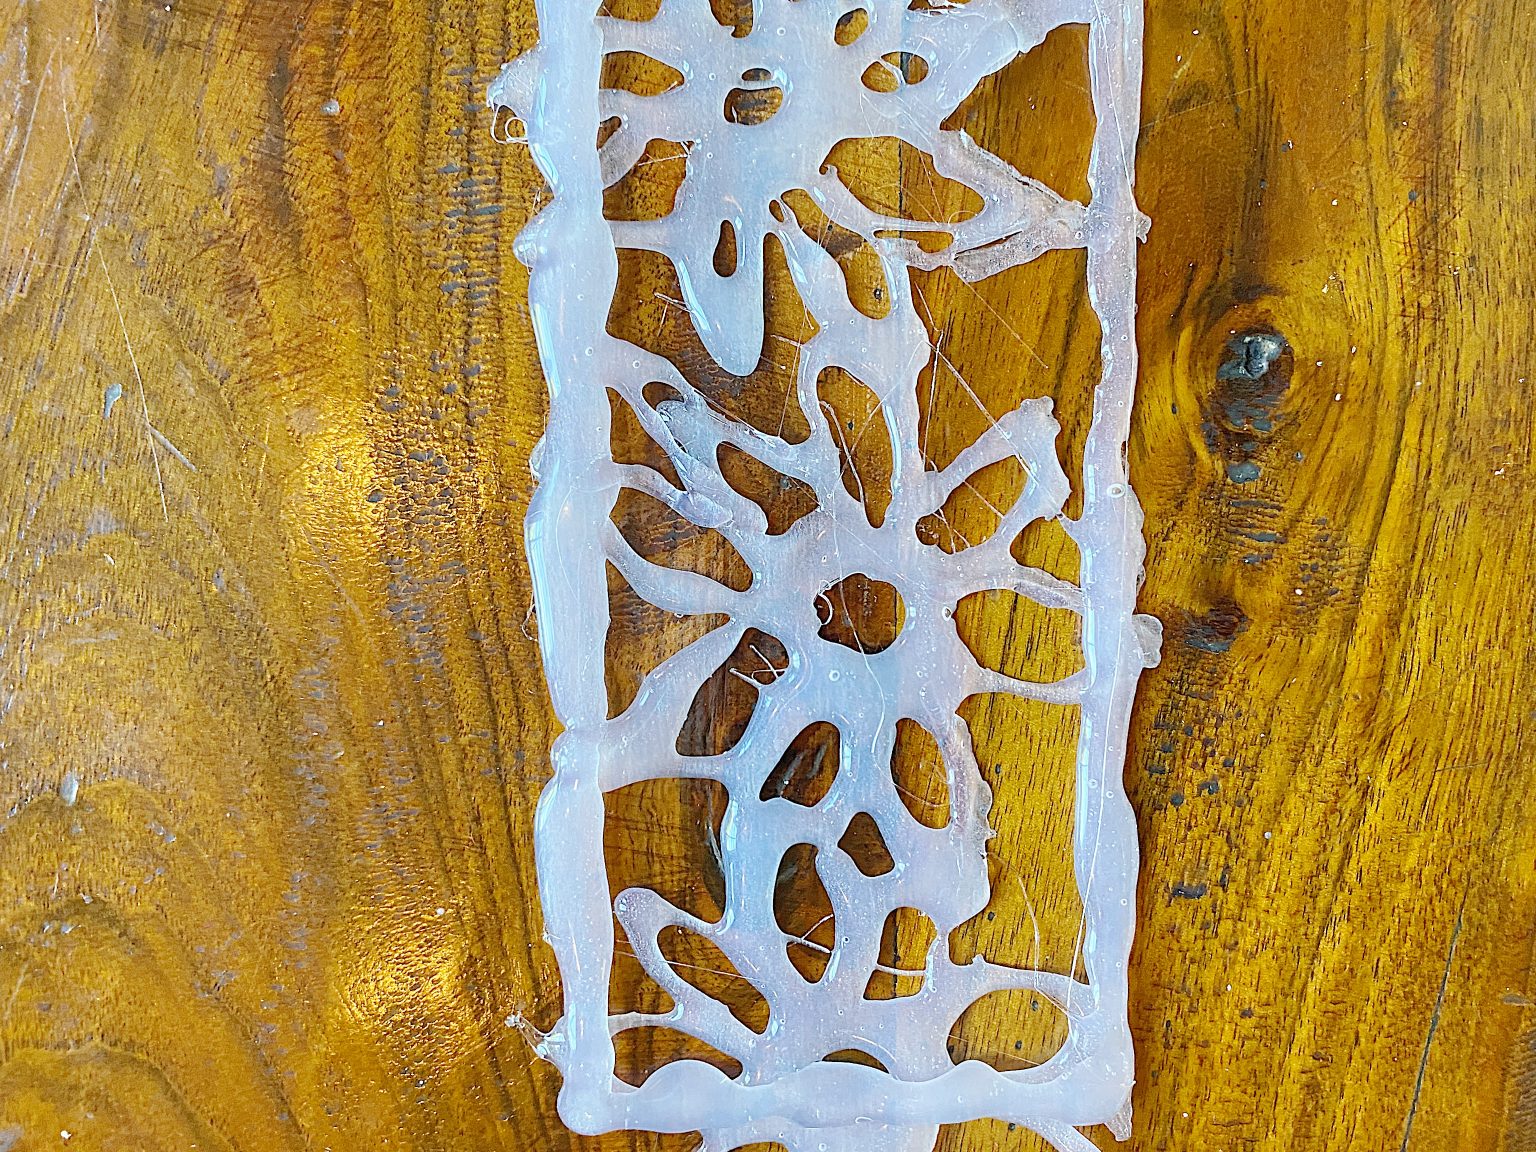
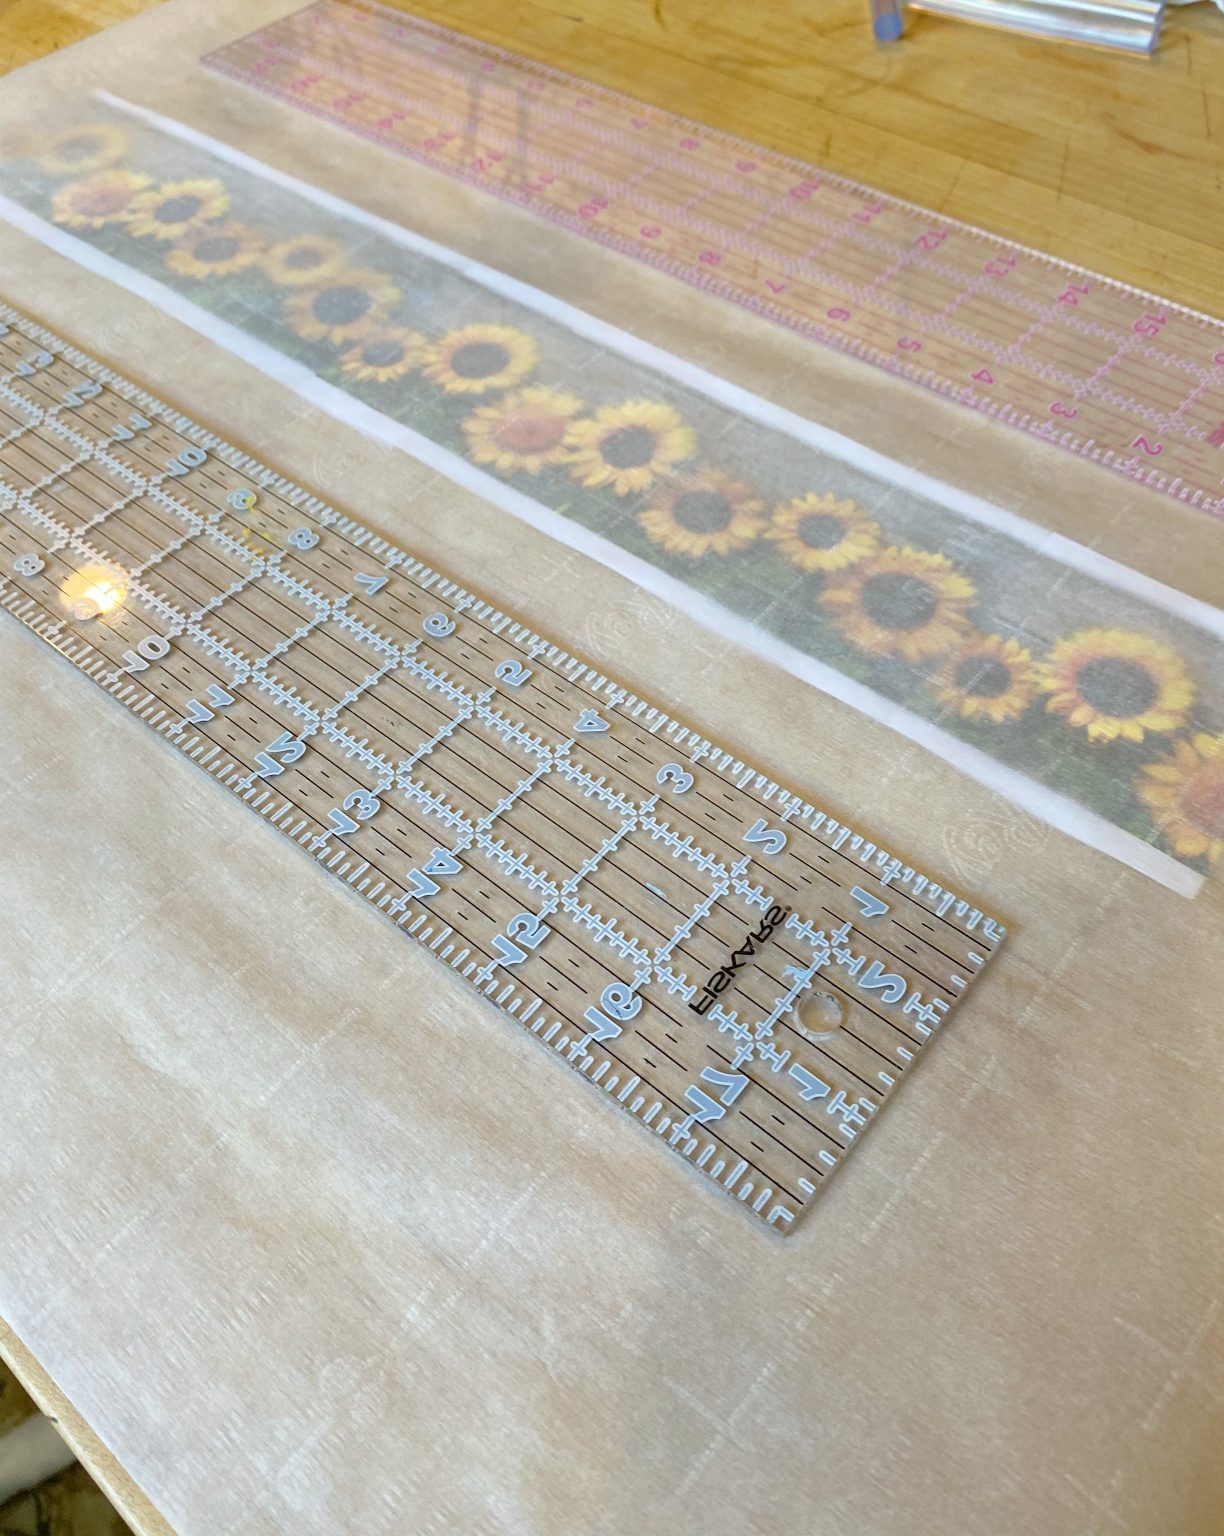
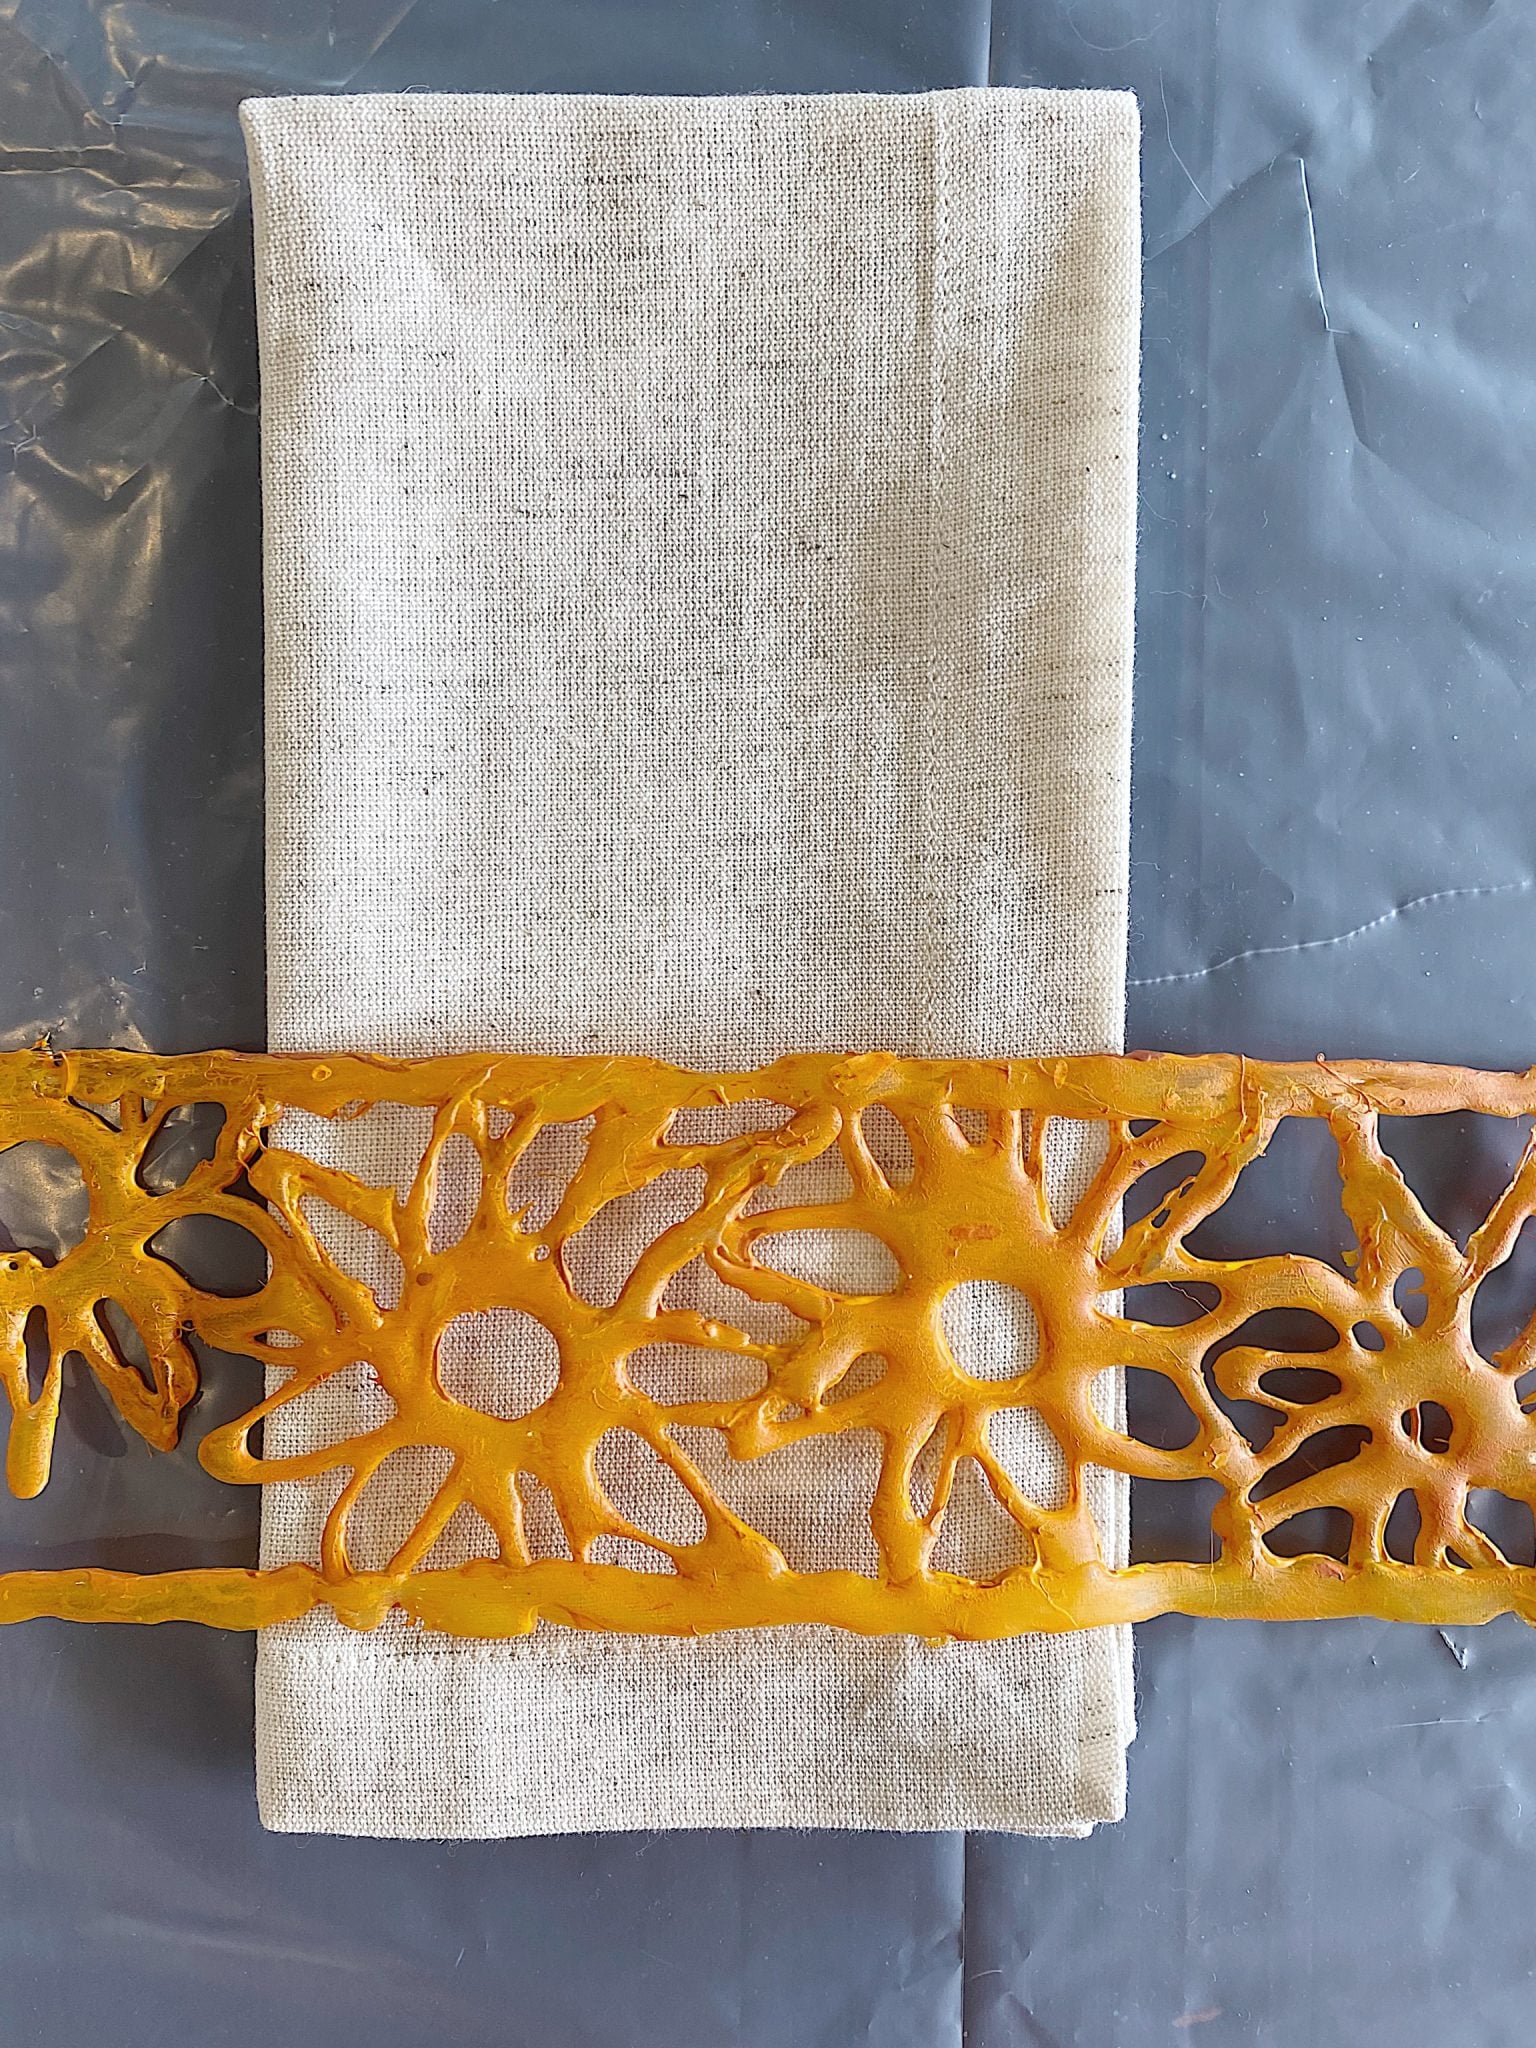
Here is what the bottom side of your stencil will look like. Notice how flat it is!
Using the Sunflower Stencil
I have an essential tip that you need to do before you start stenciling.
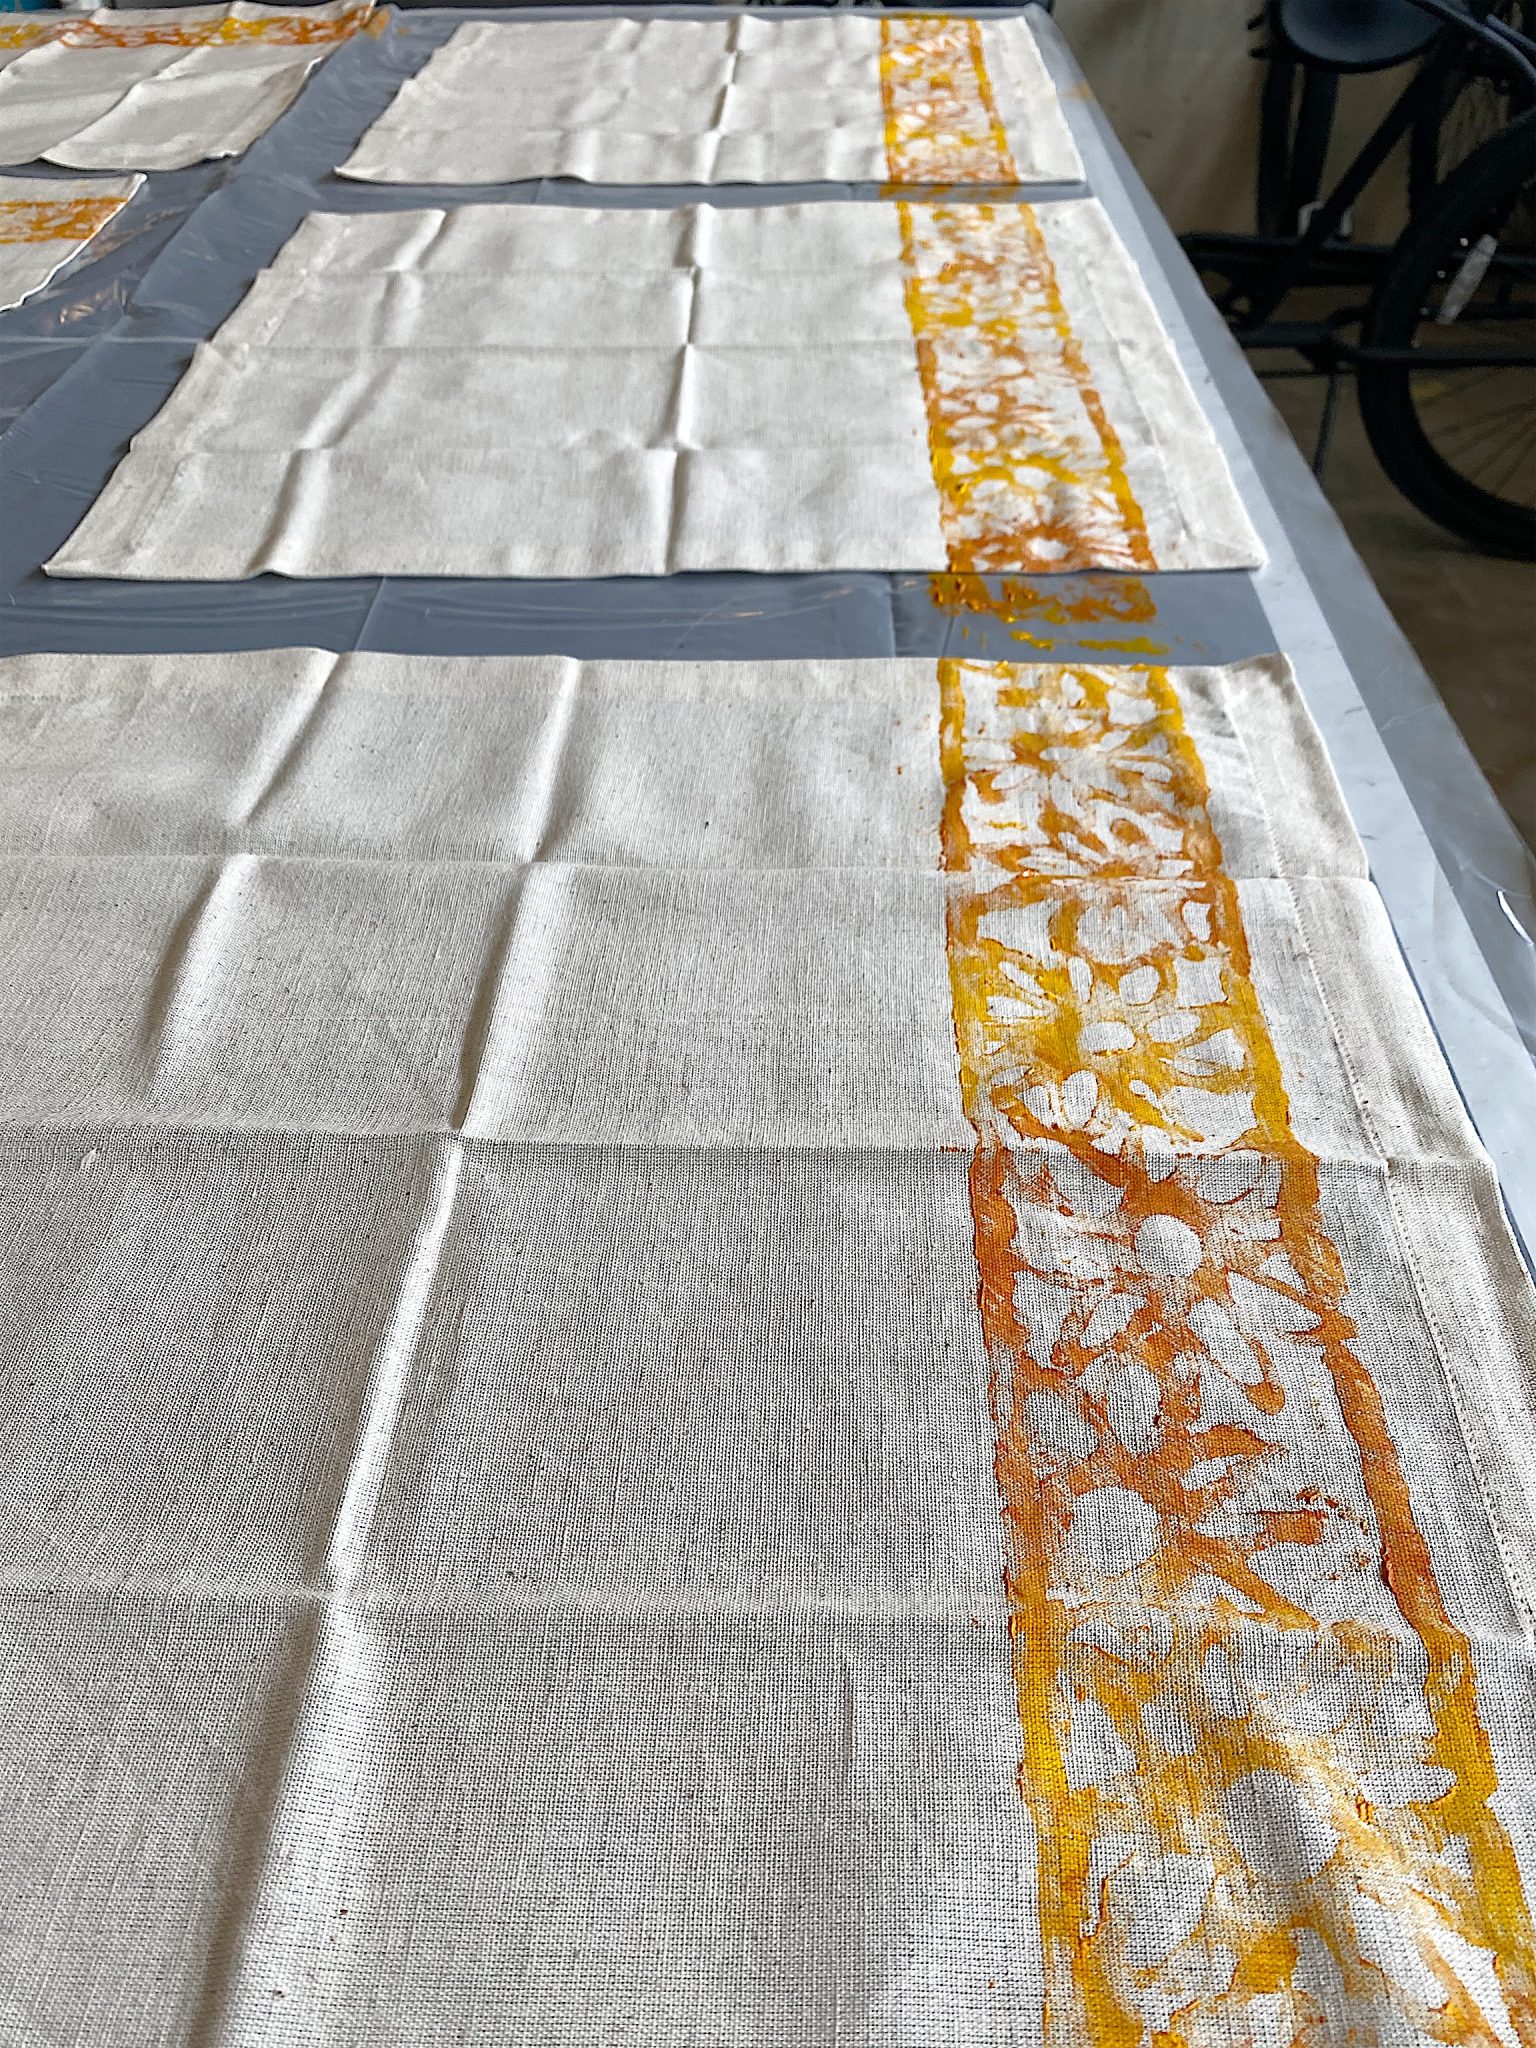
To prevent paint from getting everywhere, set up an area where you can place your napkins flat and not remove them until they dry. Trust me, if you don’t do this, you will have paint all over your napkins! (I learned the hard way.)
I used our ping pong table at the beach house!
Also, I didn’t iron them because I wanted to use the fold lines as a guide to keeping my stencil straight.

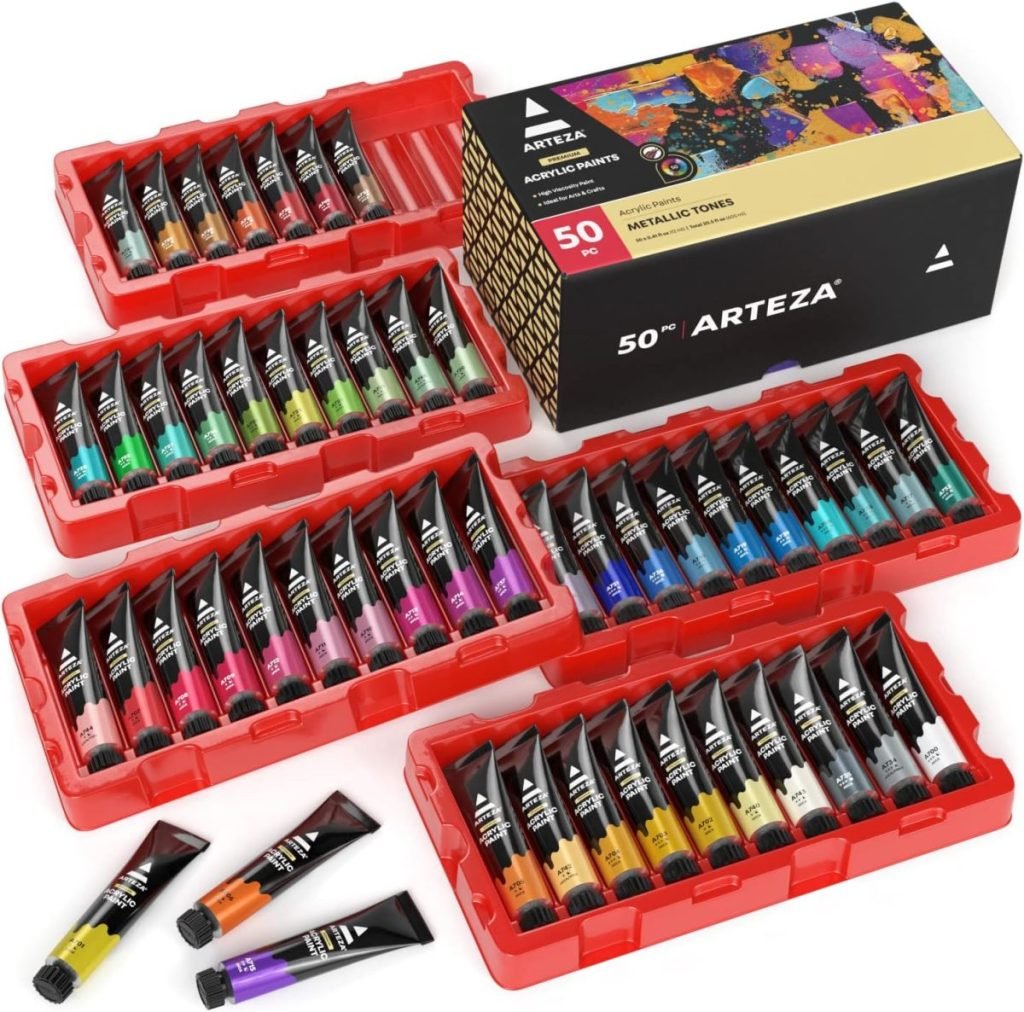
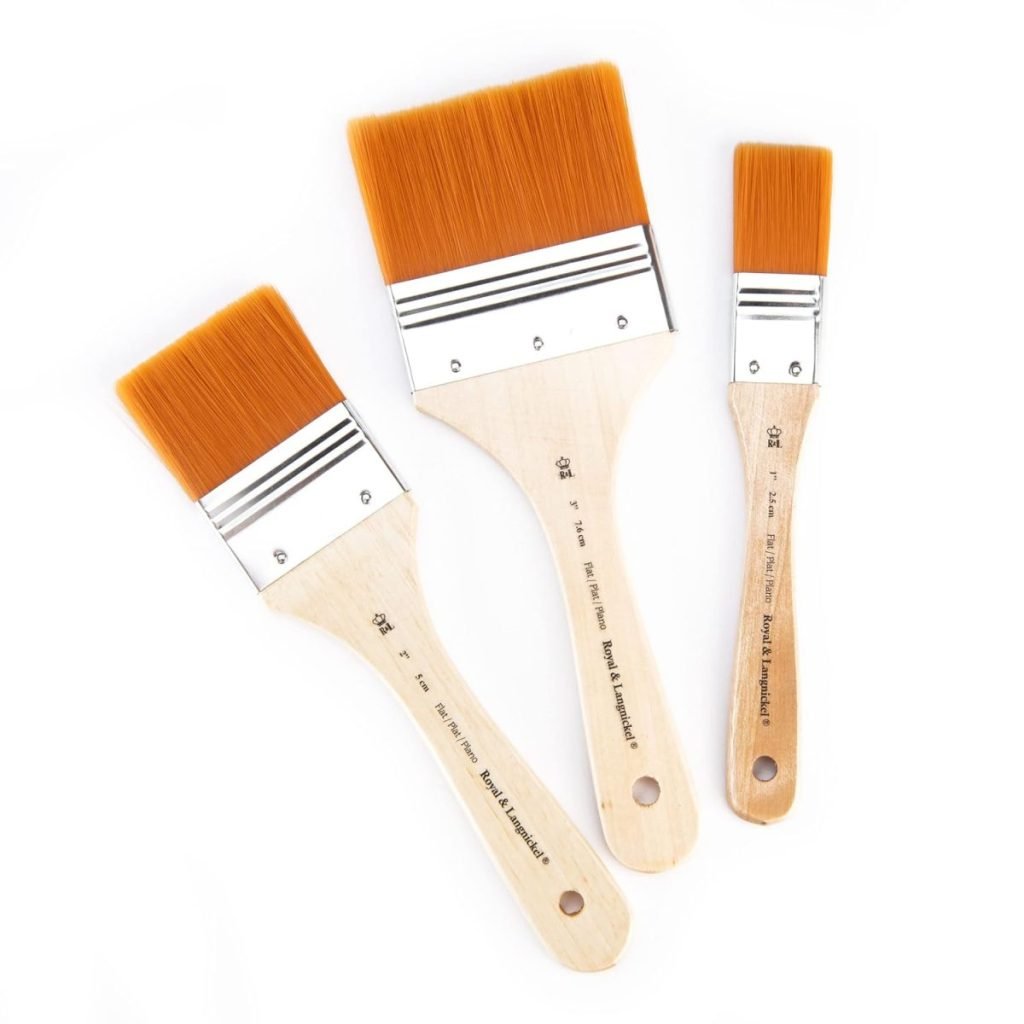
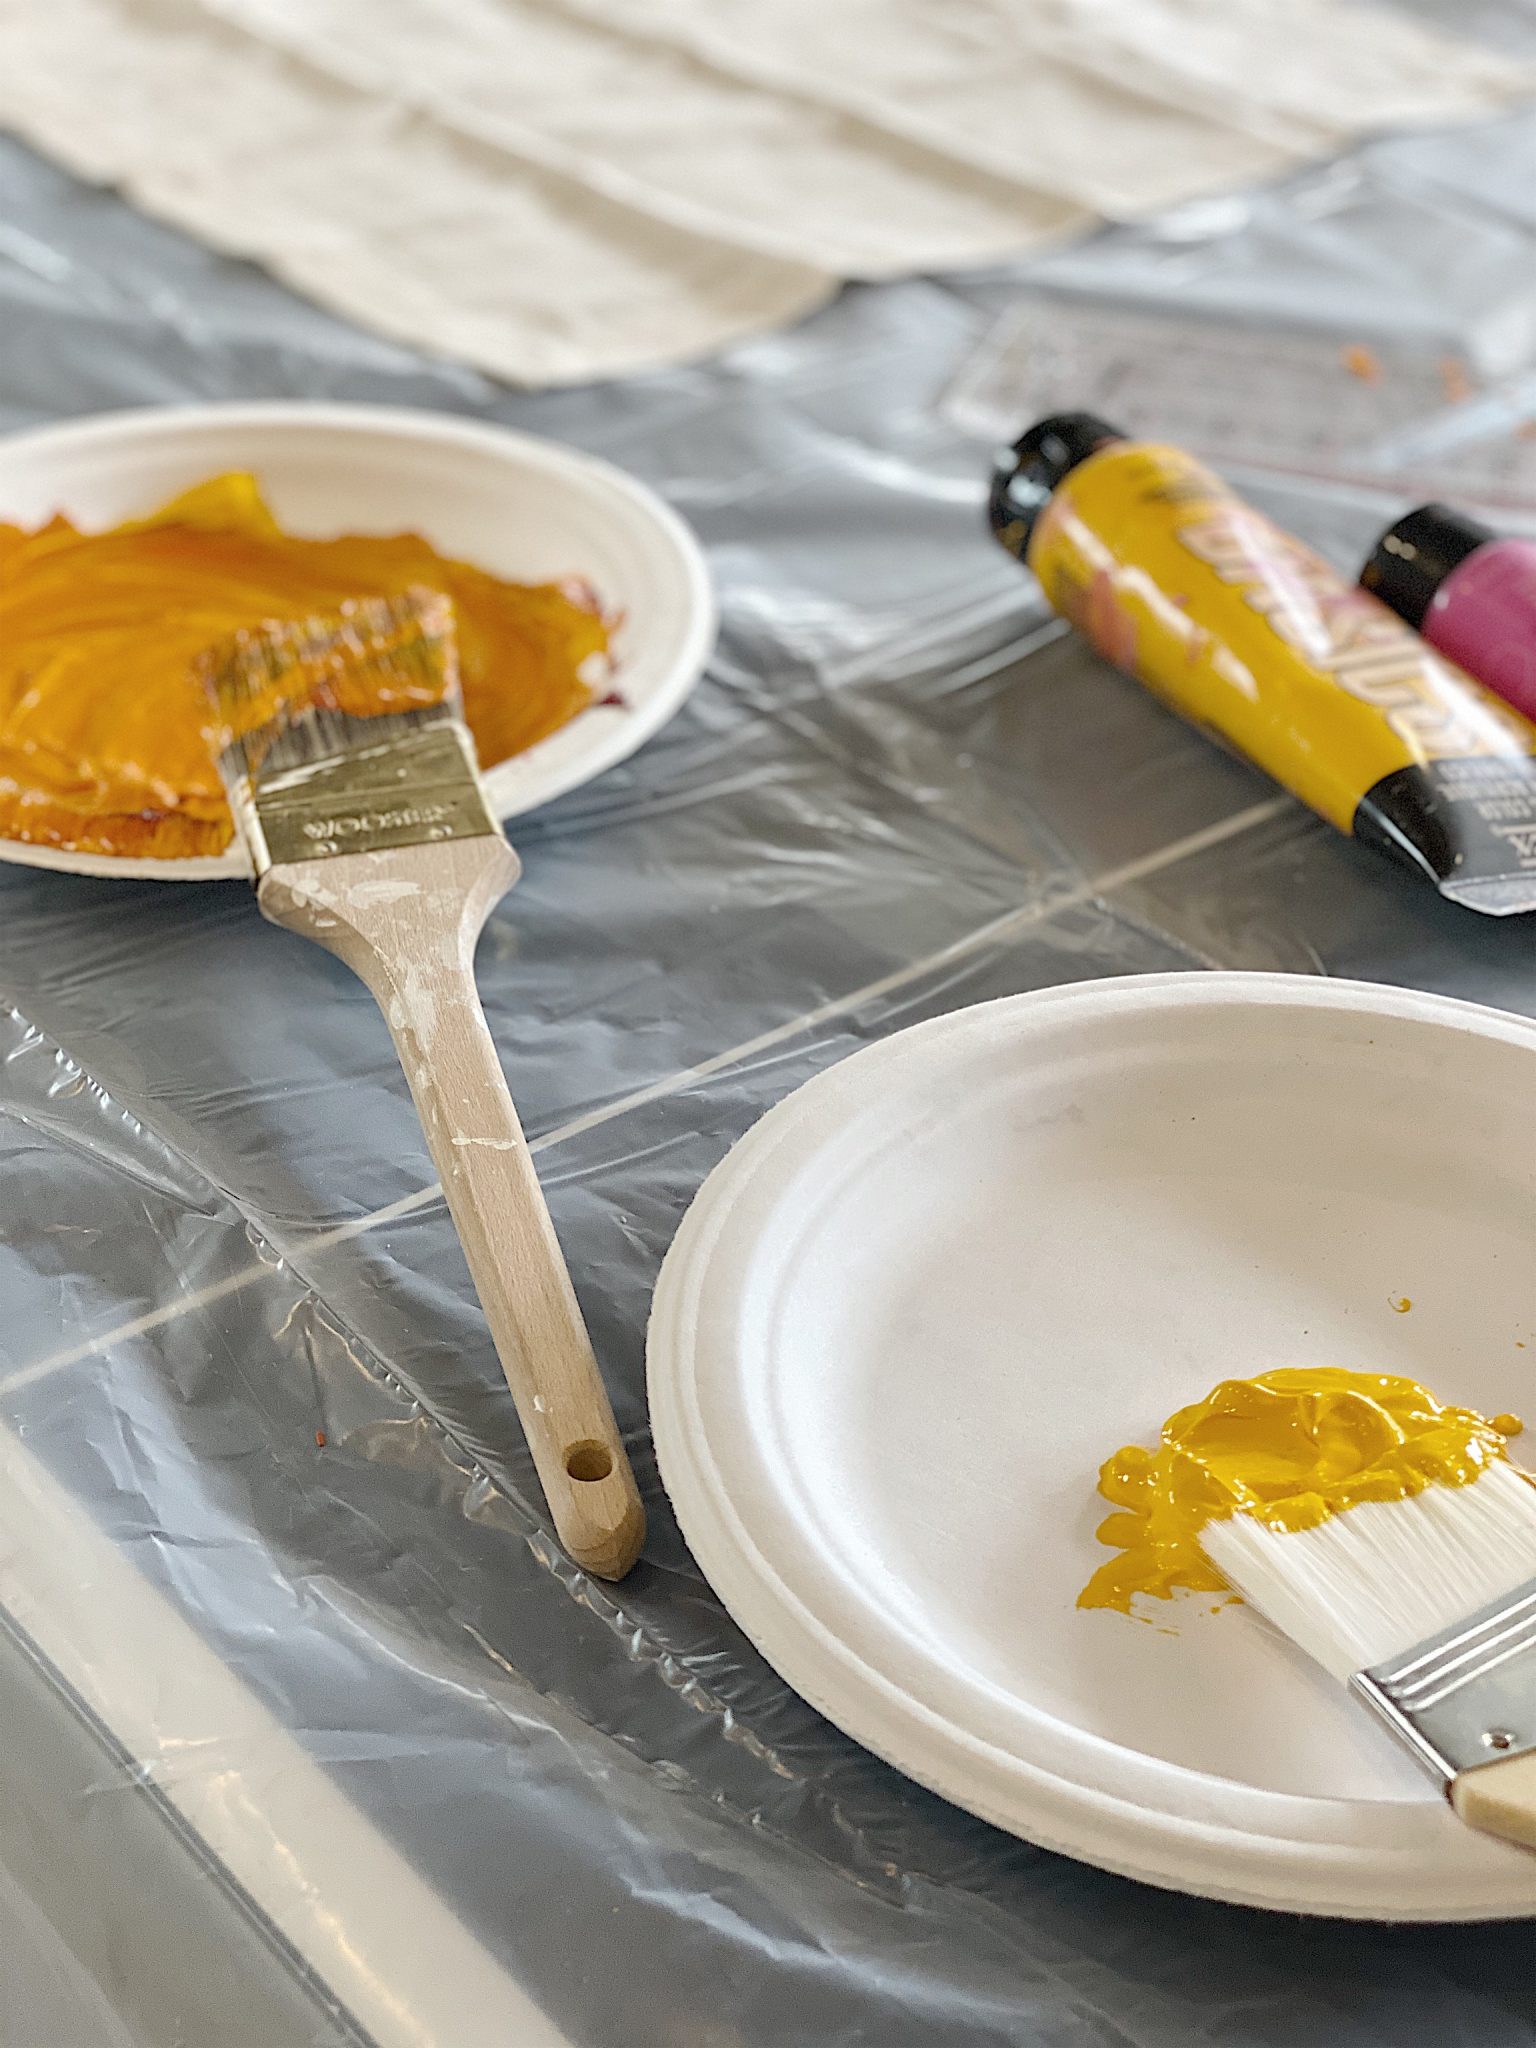
Next, mix up your paint. I wanted to use two colors and mixed them on two plates. Use a different paintbrush for each color.
Next, decide where you want your stencil design to go on your napkin. I chose the bottom edge.
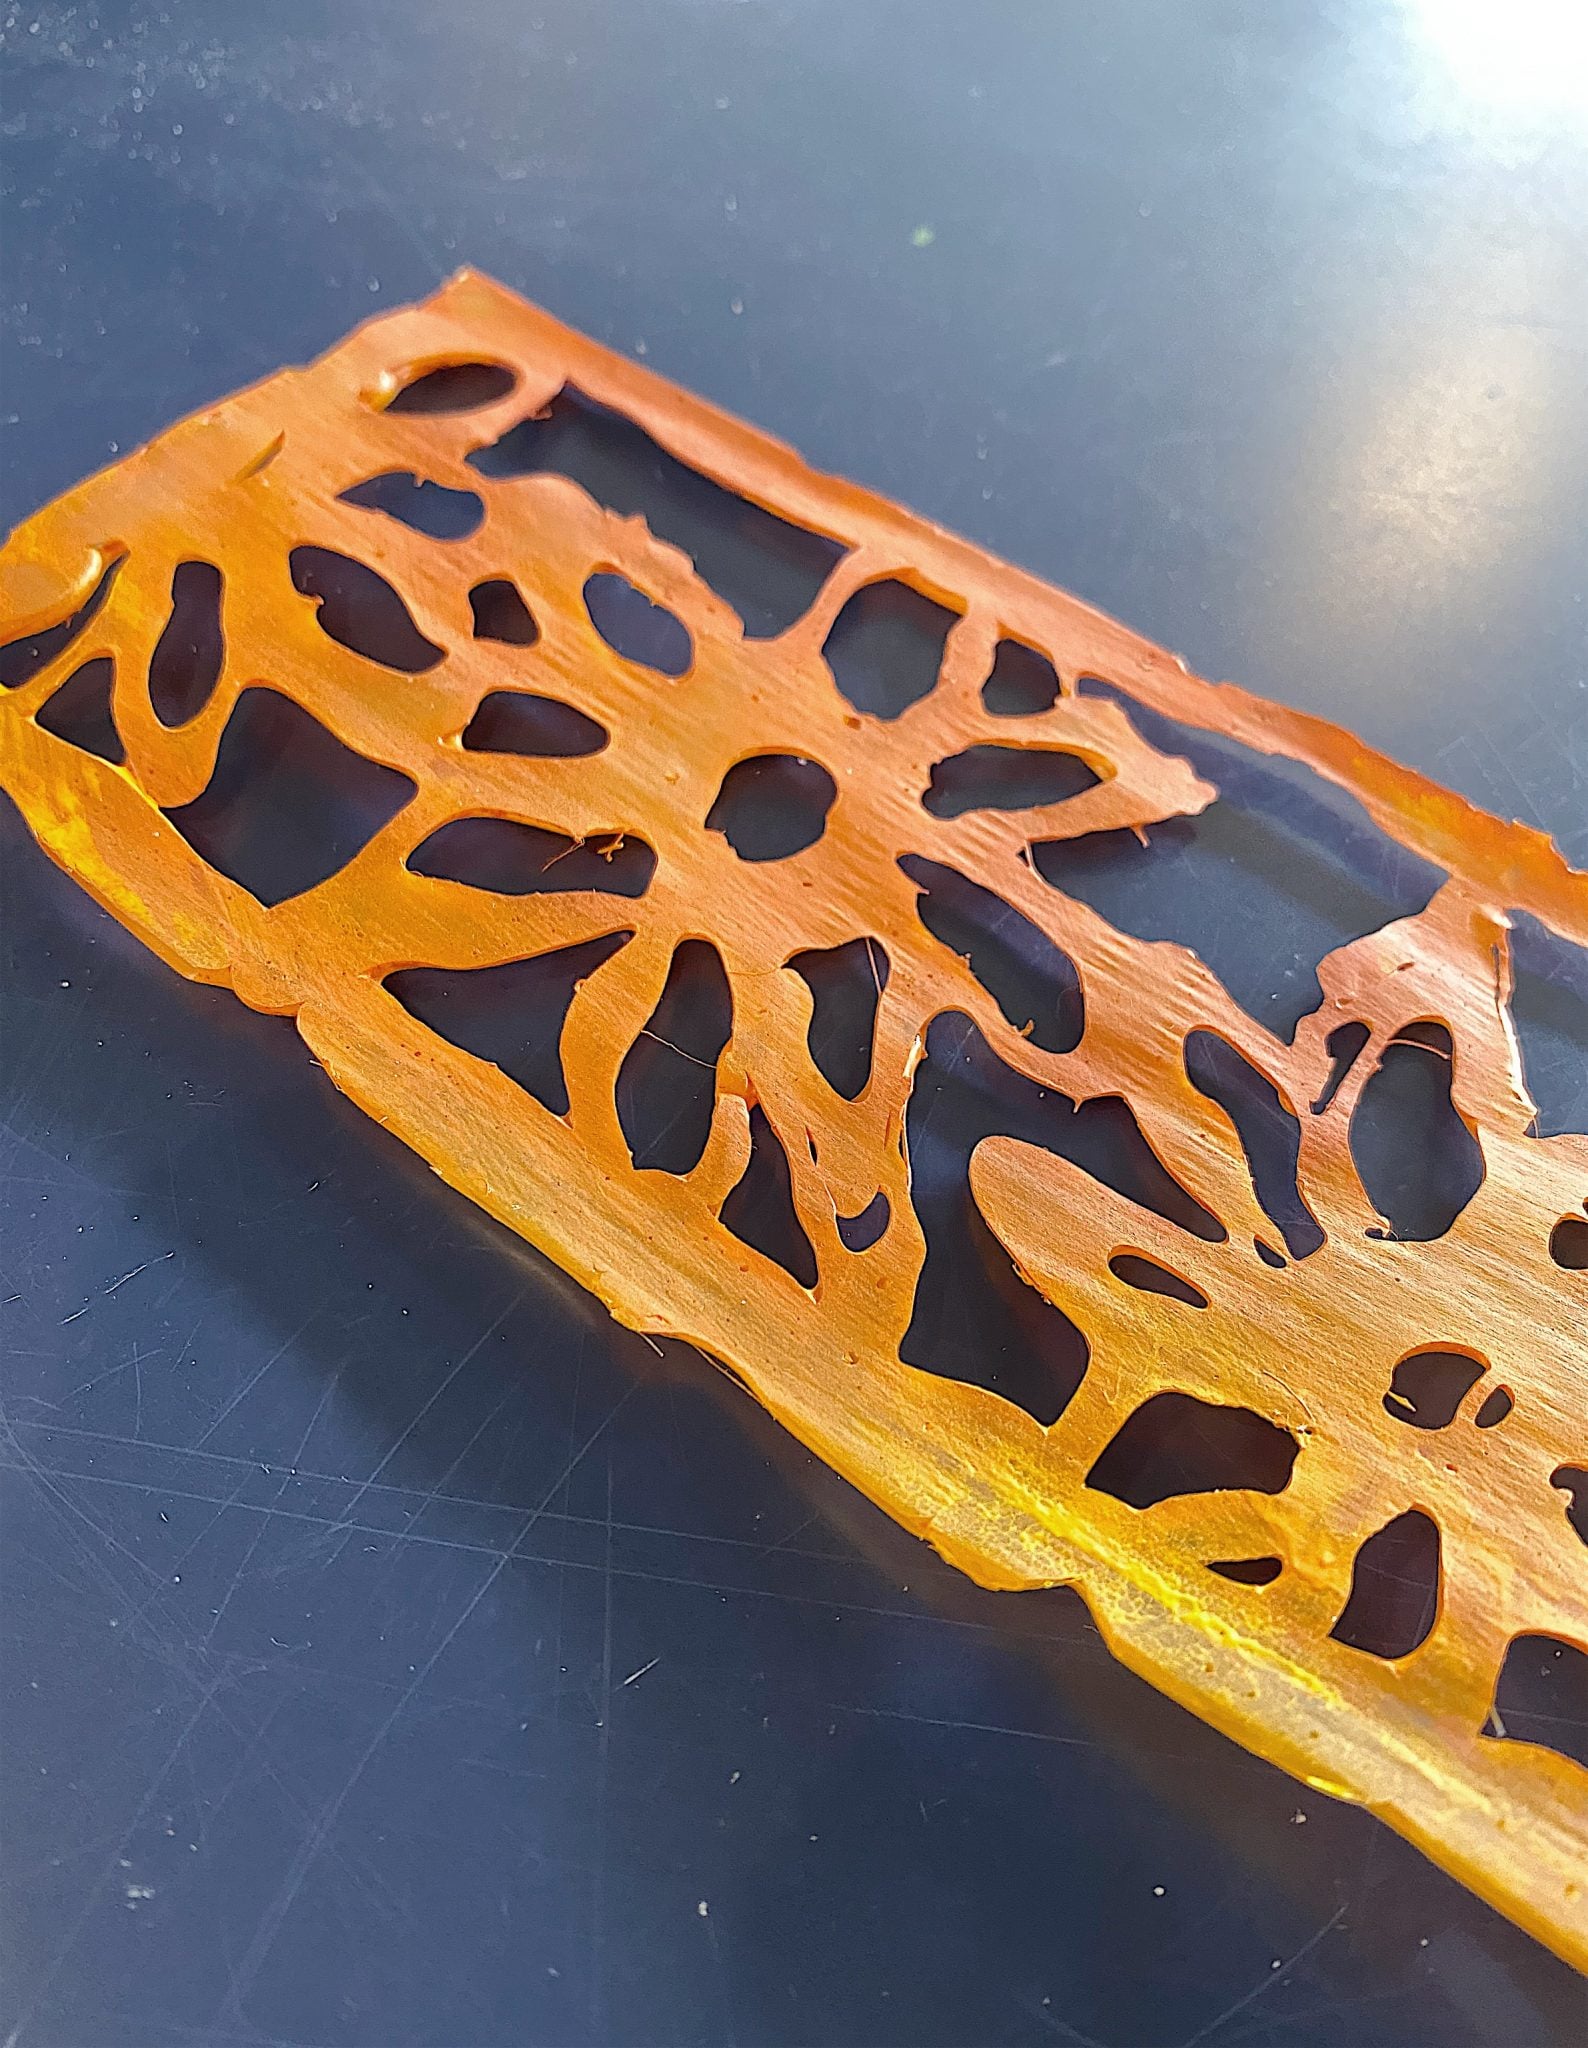
Next, apply the paint to the FLAT side of your stencil. I painted part of the stencil orange and other parts yellow.
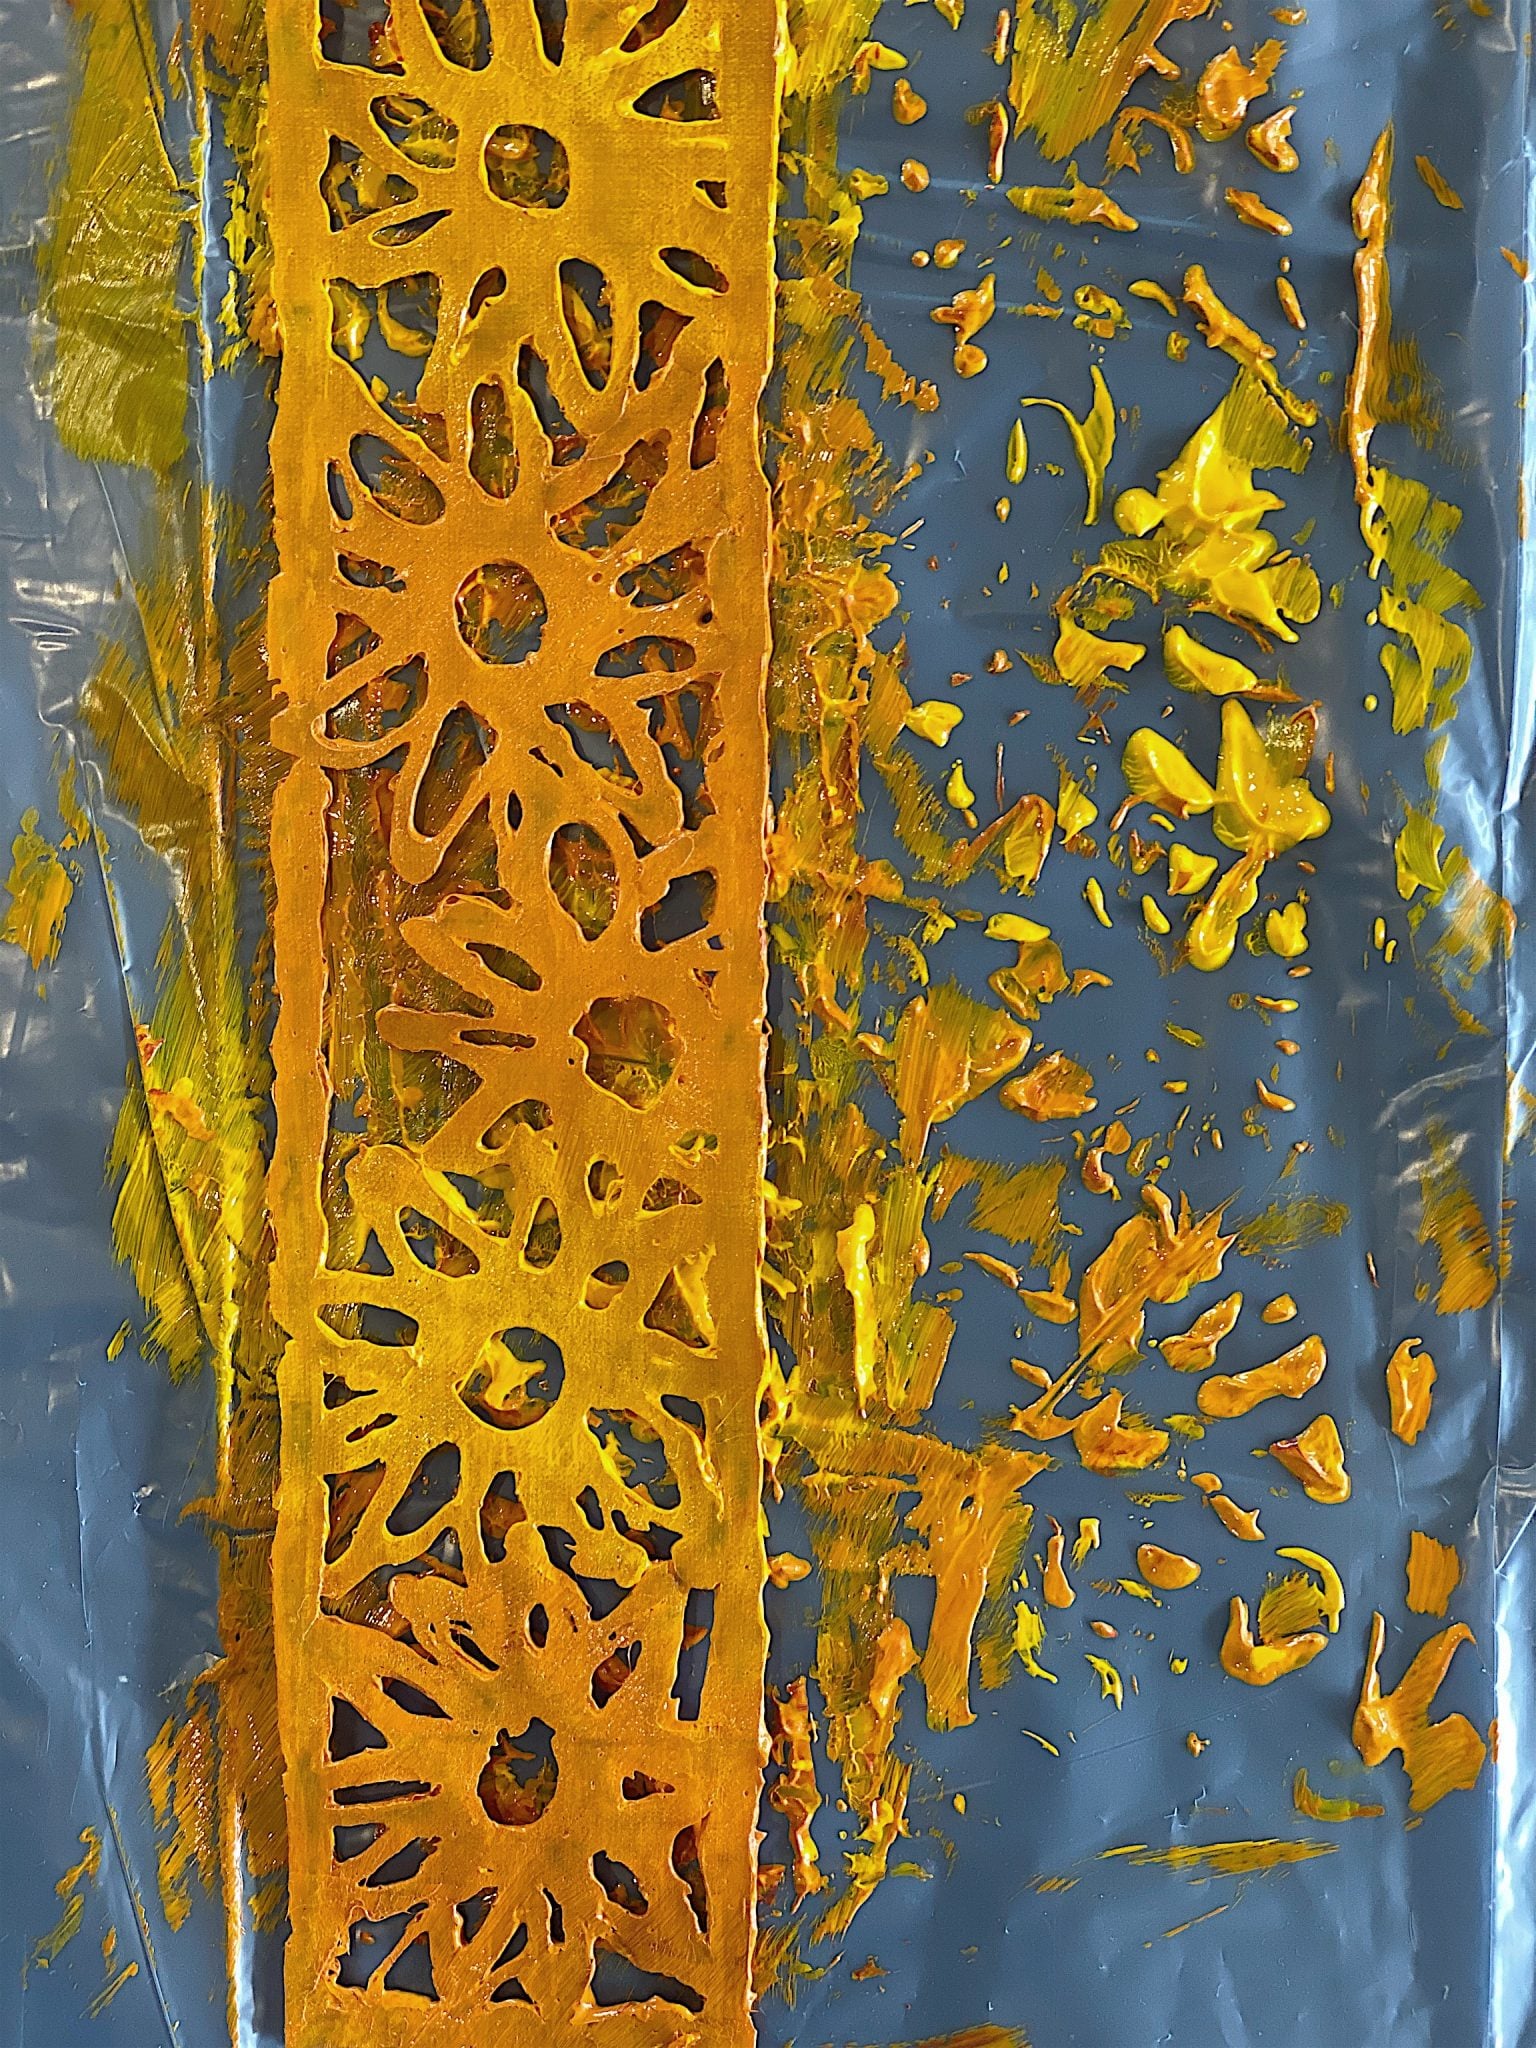
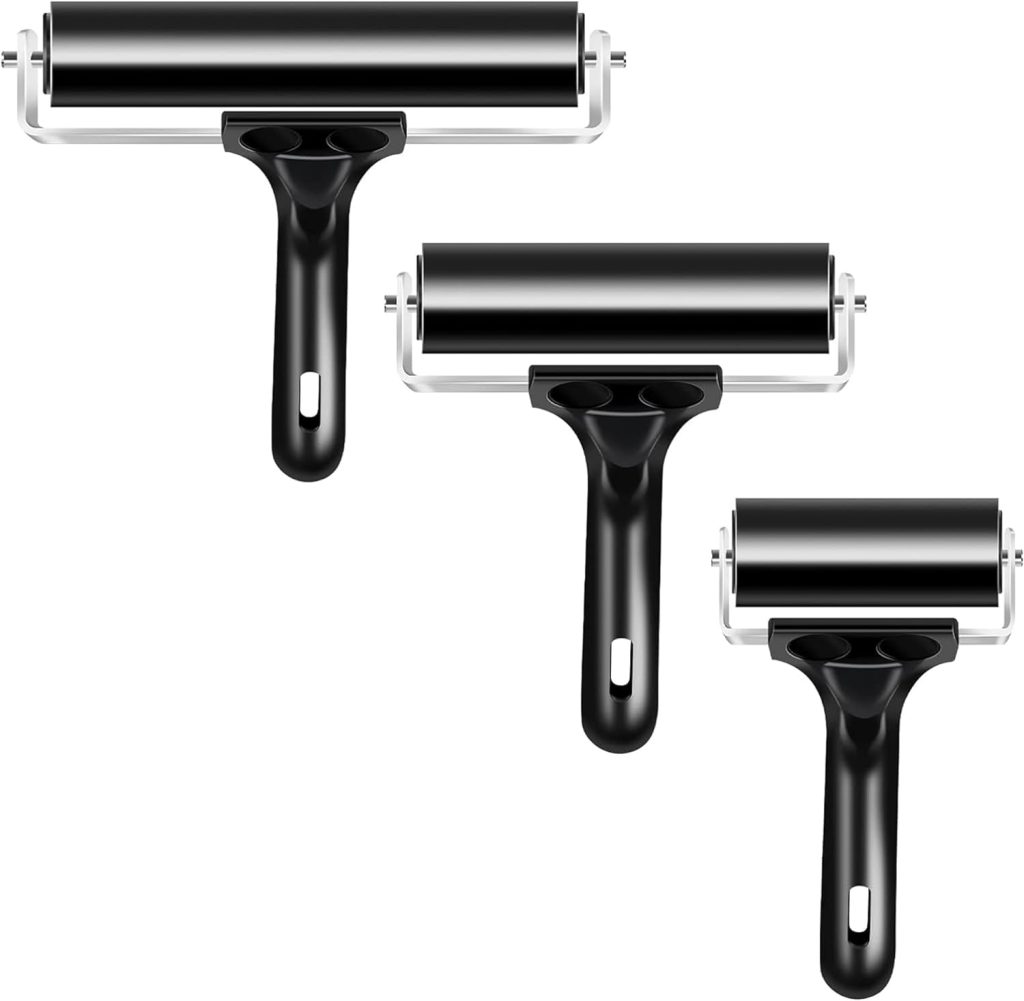
Carefully lay the stencil down on the napkin. Roll the brayer over the stencil a few times to adhere the paint to the napkin.
If you made a thin stencil, keep the brayer flat. Paint will be on it (as will the top of the stencil!).

Please don’t move the napkins until they are dry. You will have paint on your hands. A few extra paint marks don’t matter, but I love how well this system worked.
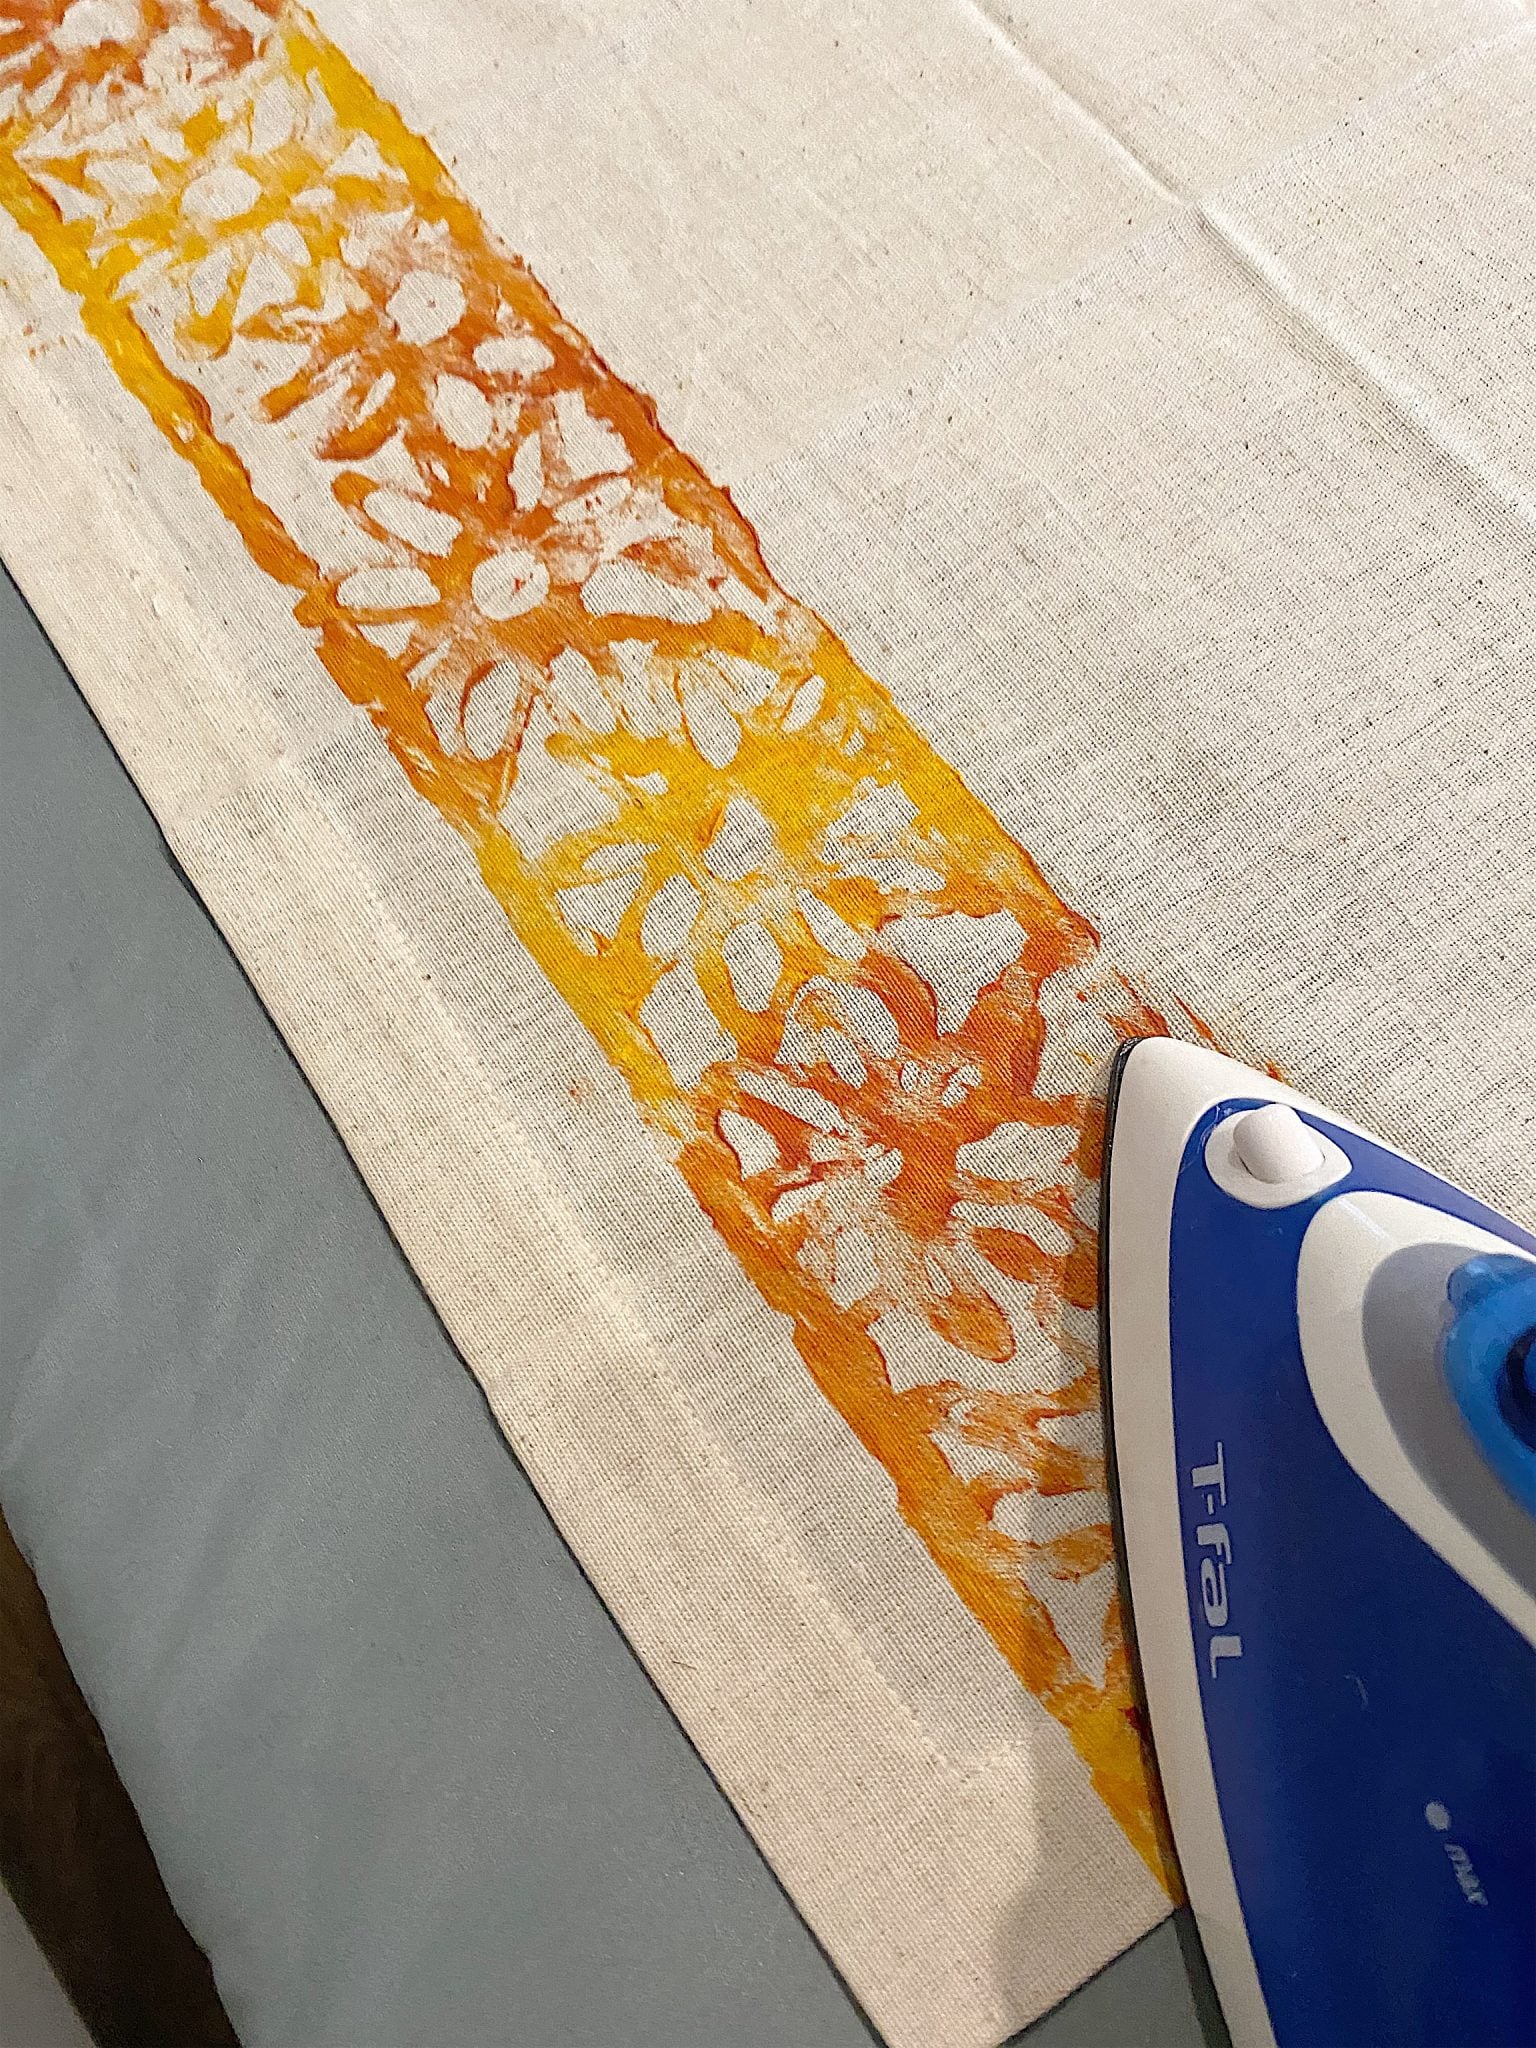
Seal the Paint by Ironing
Technically, I didn’t use fabric paint. Feel free to use it if you want. But as long as you iron the paint (after it is dry), it should survive many launderings.
How do I know this? An entire section of my wardrobe has clothes stained with acrylic paint from my abstract artist painting days many years ago!
I love these napkins and promise to make more this summer and share them here.
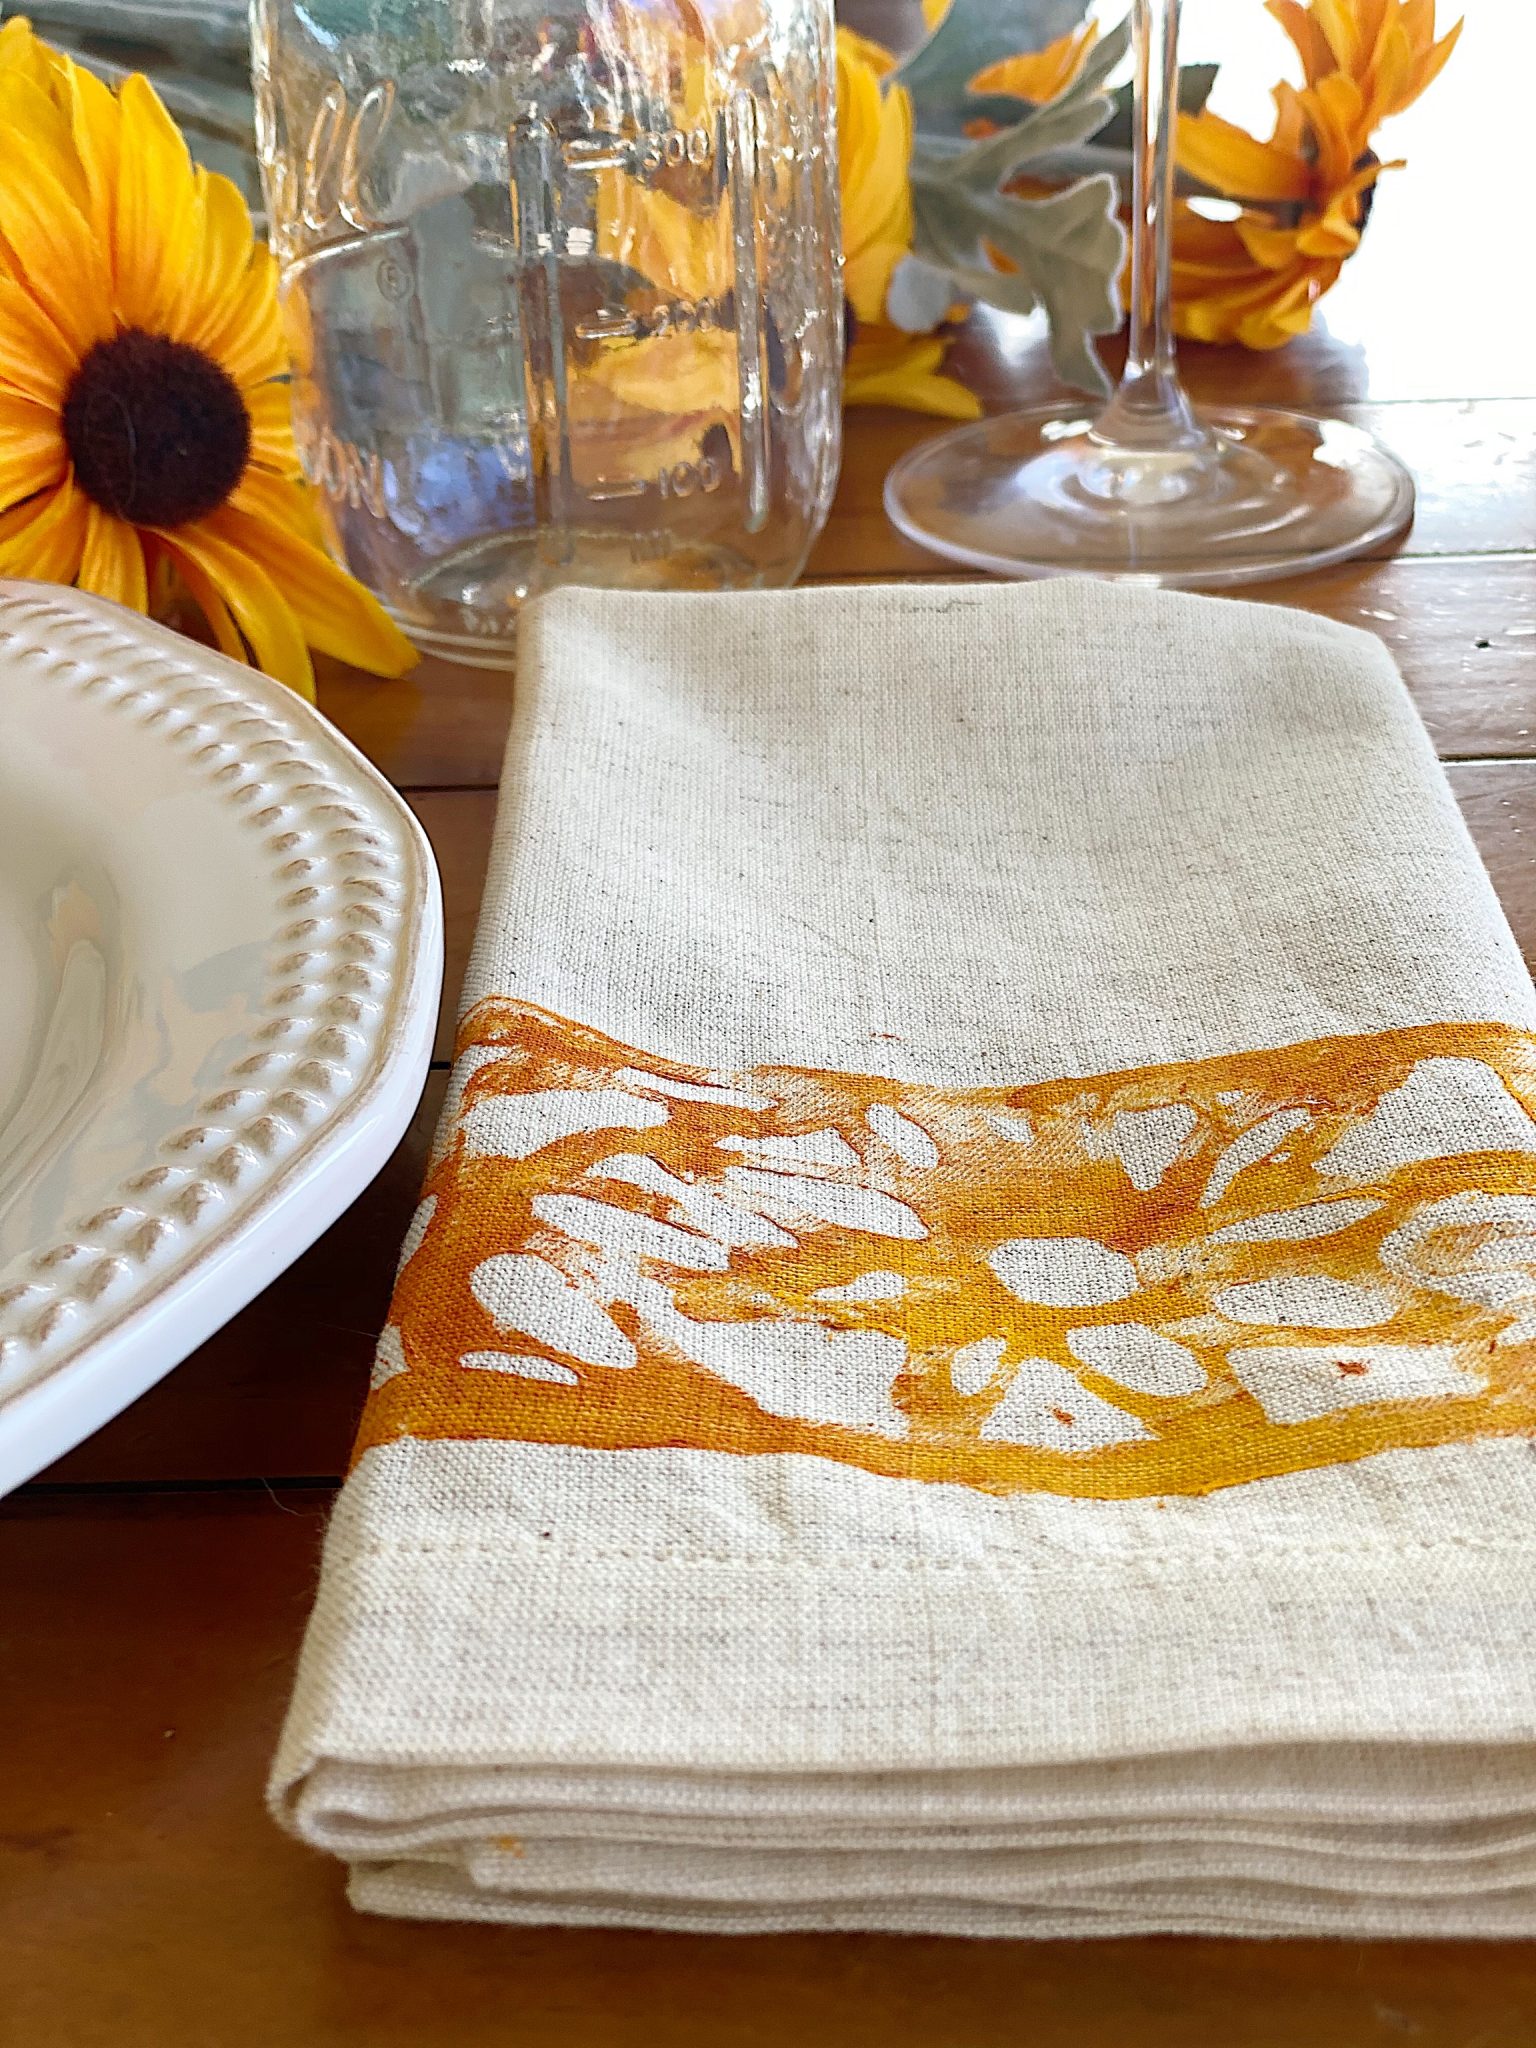
I love how these stenciled napkins looked on my table.
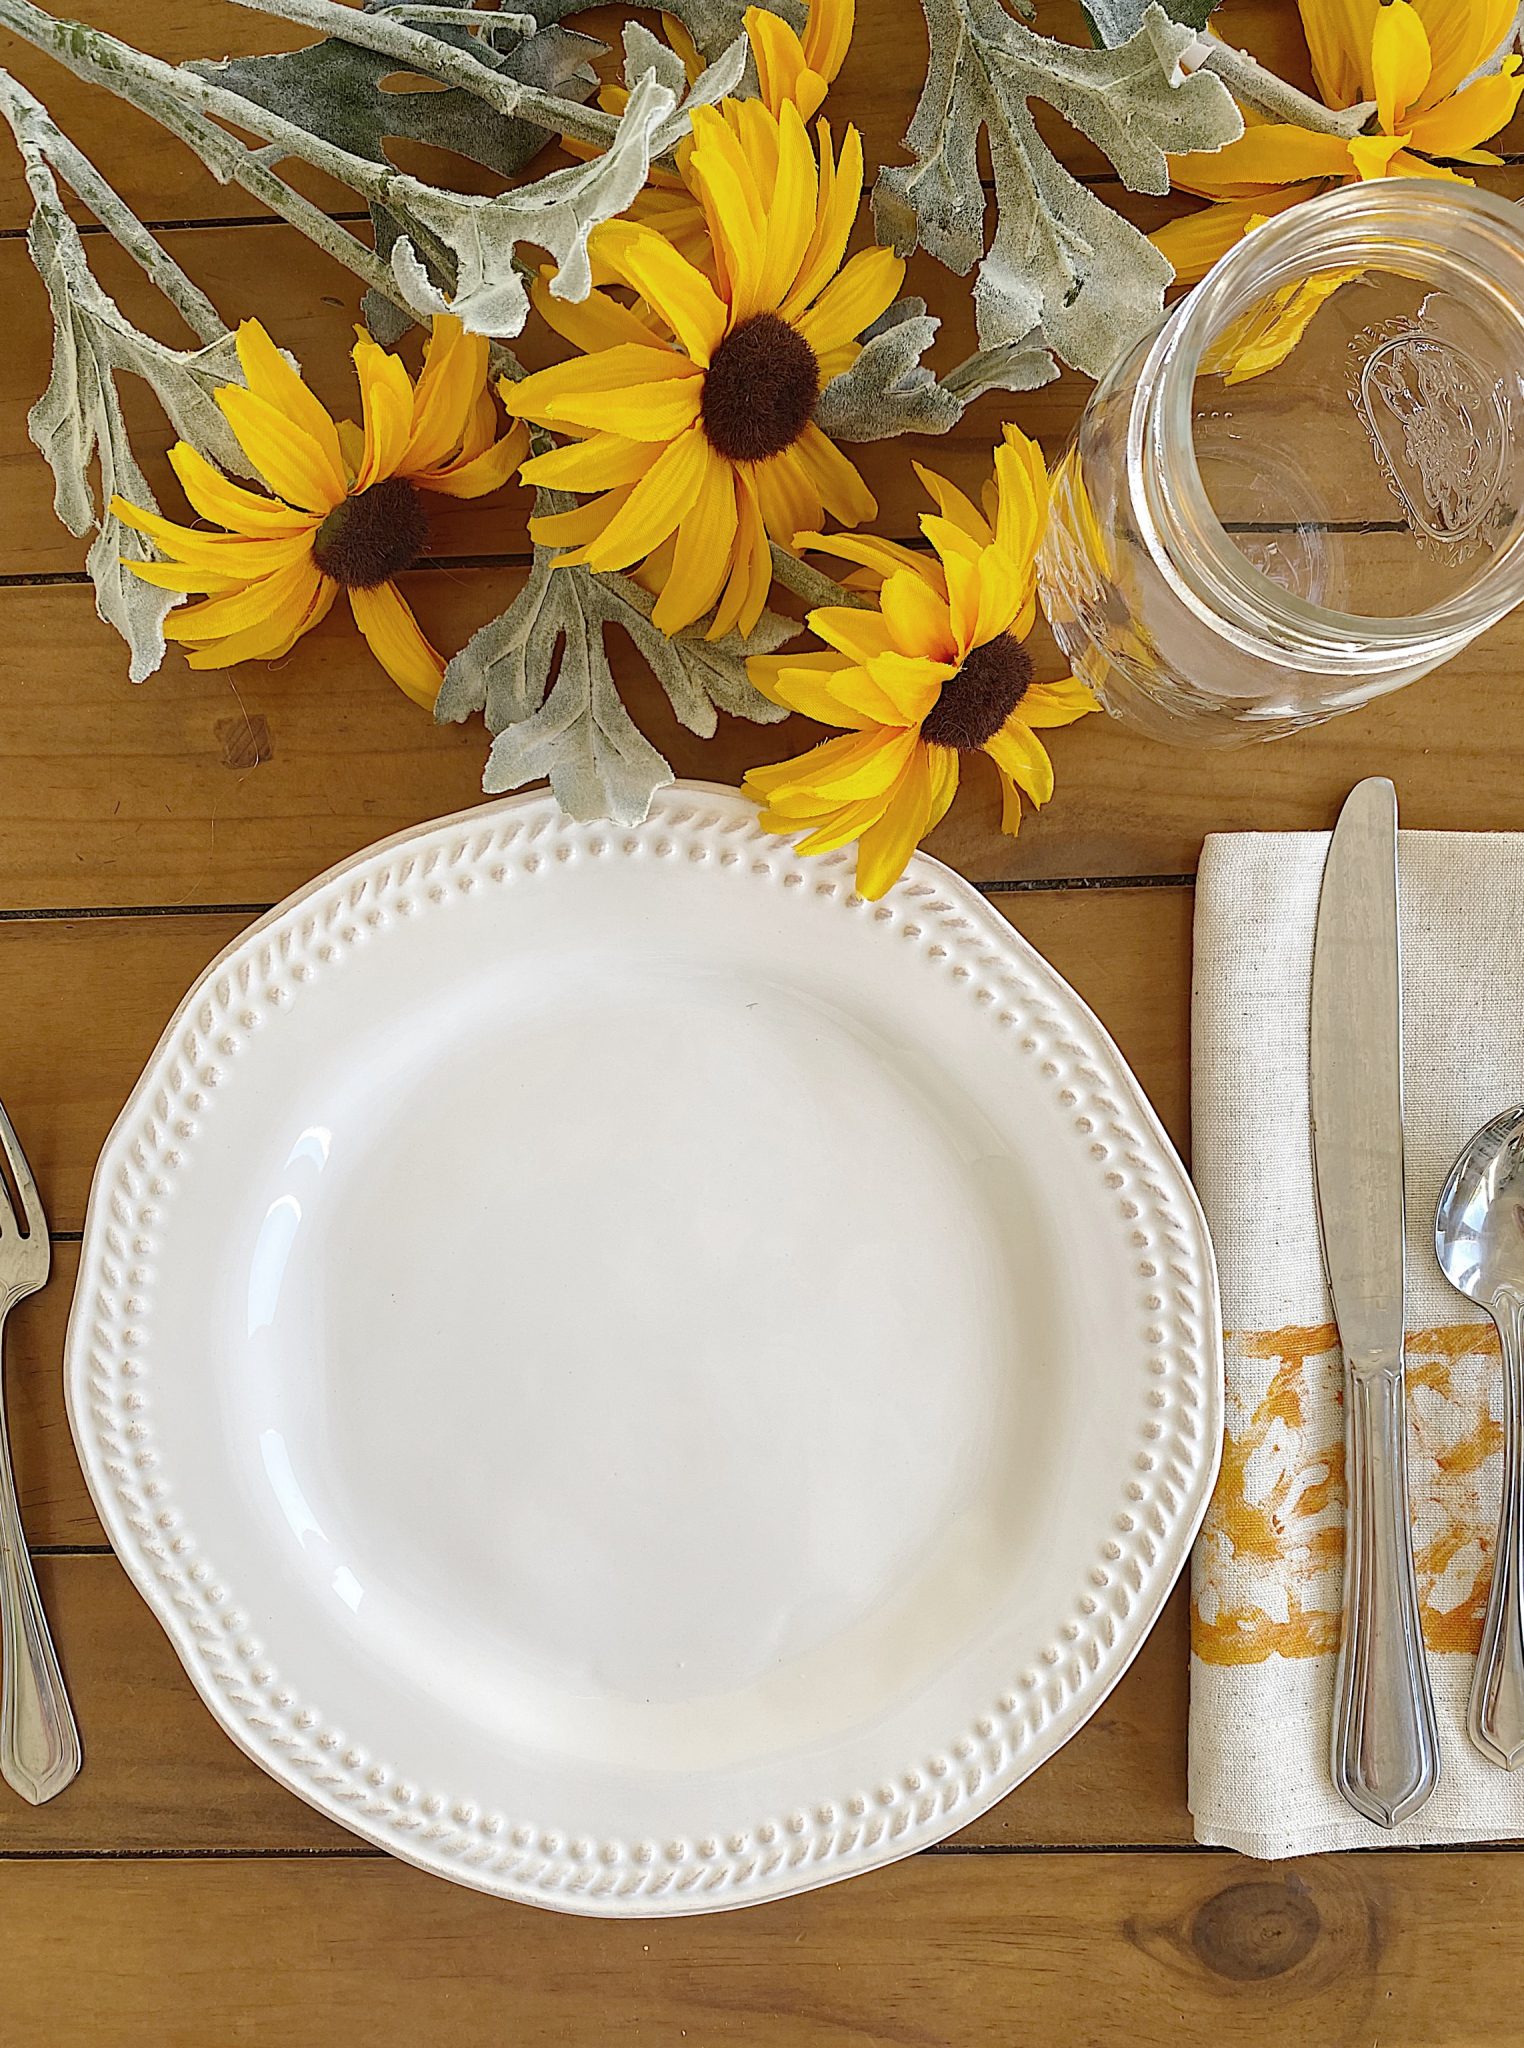
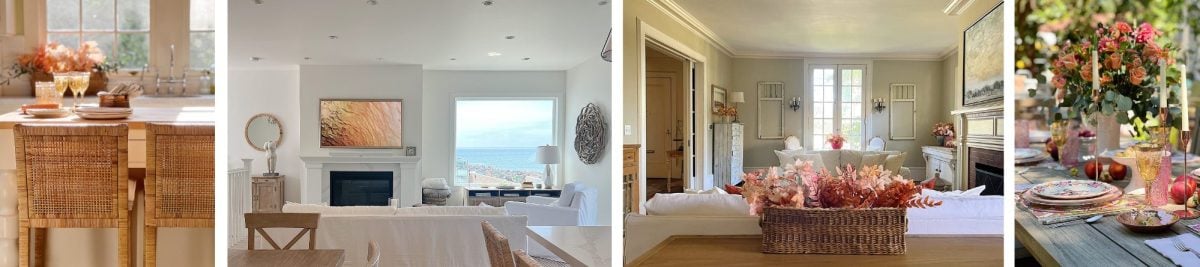
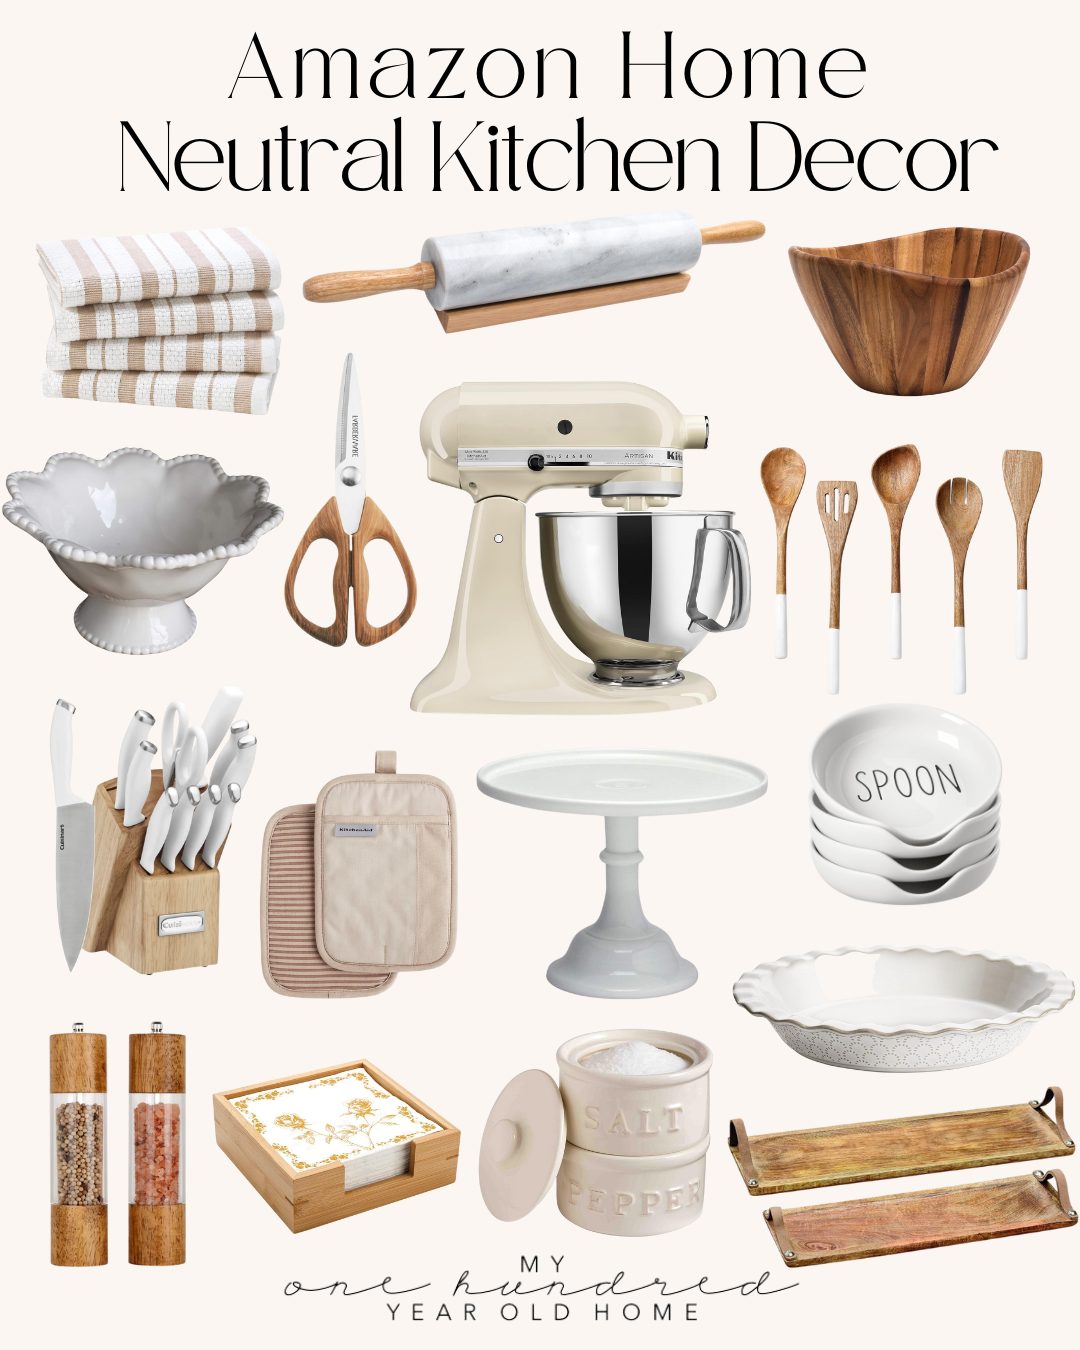
Gorgeous Neutral Kitchen Decor
You can pin the image below to your Craft or fall decor boards on Pinterest (click the Pin button in the top left corner) or follow me on Pinterest!
For more real-time updates, follow me on Instagram @My100YearOldHome

Leslie these napkins are beautiful! Thanks for the tutorial and all the tips, I may just have to try these. LOVE cloth napkins, use them always at dinners with my family, I am the mom of two boys, I actually think they appreciate it now that they are adults!
That is so great, I really love them as well! So glad you enjoyed this project, Nancy!
Use a hair blow dryer to remove glue strings on any project. Works like a charm. They just disappear.
Genius, Nancy! I will have to give it a try.
Love these , thanks for showing how to make them you have made a simple napkin look a million dollars well done.
I am so glad I was able to help you, Su!
Simply gorgeous. Love your creative idea. Would like to my My hand at it.
Cookie, I am sure you would be just great!
I LOVE this idea – it is like the batik stamp style. You are so stinking creative and resourceful.
Thank you so much, Kristin! You are too kind!
I had been searching all the tricks of using hot glue sticks and gun, but this idea is unique and creative. I am very much interested in your ideas.
Thank you so much! I am so pleased you found this helpful.
Can the stencil be refused later with different colors or will I need new stencils?
You can absolutely reuse it.
Leslie
What setting do you use on the iron? Temperature and steam/no steam? Anything to protect the iron? Many thanks…can’t wait to try this!
Amazing! Absolutely gorgeous too. Thanks Leslie.
Thanks!
So creative! These would make wonderful “one-of-kind gifts” for so many occasions.. Thank you for your explicit directions and photos! God bless.
Oh I am so glad you loved it!
This is fine if you have the money to pay for all the materials, way expensive ! Cheaper to buy them .
I love this! Genius🇺🇦❤️
Thanks Nancy!
These are absolutely fabulous!! I love this idea, and I am definitely going to try this. So many possibilities for design with the hot glue. Thanks so much for sharing this!!
Thanks so much Kim!
I have to re read your instructions. One stencil will make all 12? Do you wash it in between? Or do u make 12 stencils?
Thanks. They r lovely. What a great idea.
Yes one stencil is fine and I didn’t wash it in between. You just have to make sure the napkins are layer down flat and do not move them till they are fully dried.
Hi , do you put the hot iron directly on the fabric to set the stencil paint ? Or did you buffer the iron from the paint with parchment paper or other fabric? Thanks , Elizabeth