How To Make a Wine Cork Dartboard
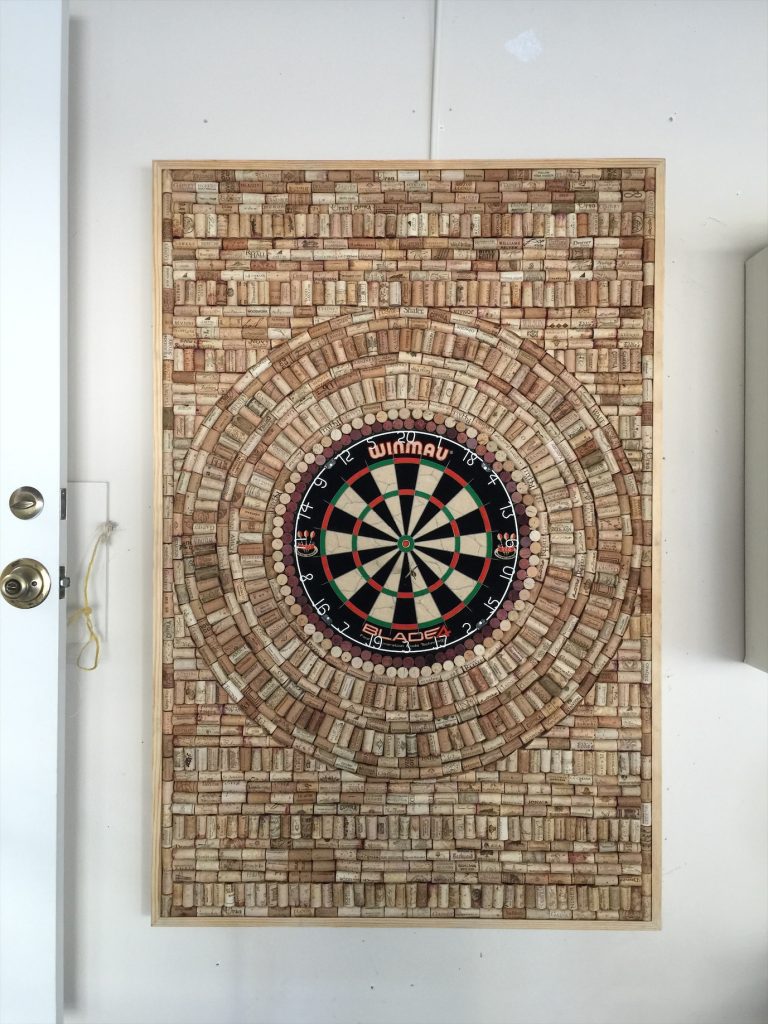
Today I am sharing how to make a wine cork dartboard that I made for our “man cave garage” in Ventura. Not only was it a fun project, but the boys love it!
Every time I share a photo of our garage at the beach house, I get tons of inquiries about our dartboard. Is it made out of corks? Where did you buy it? By any chance did you make it? The answer is that our dartboard is made out of corks and yes, I did make it. Today, I am going to show you how to make a wine cork dartboard.
Before I start my tutorial, there are a couple of things I need to share. First, I made a really large dartboard. It’s probably a bit too big. Although there are a few dart marks on the wall outside of the corkboard so maybe I got it right.
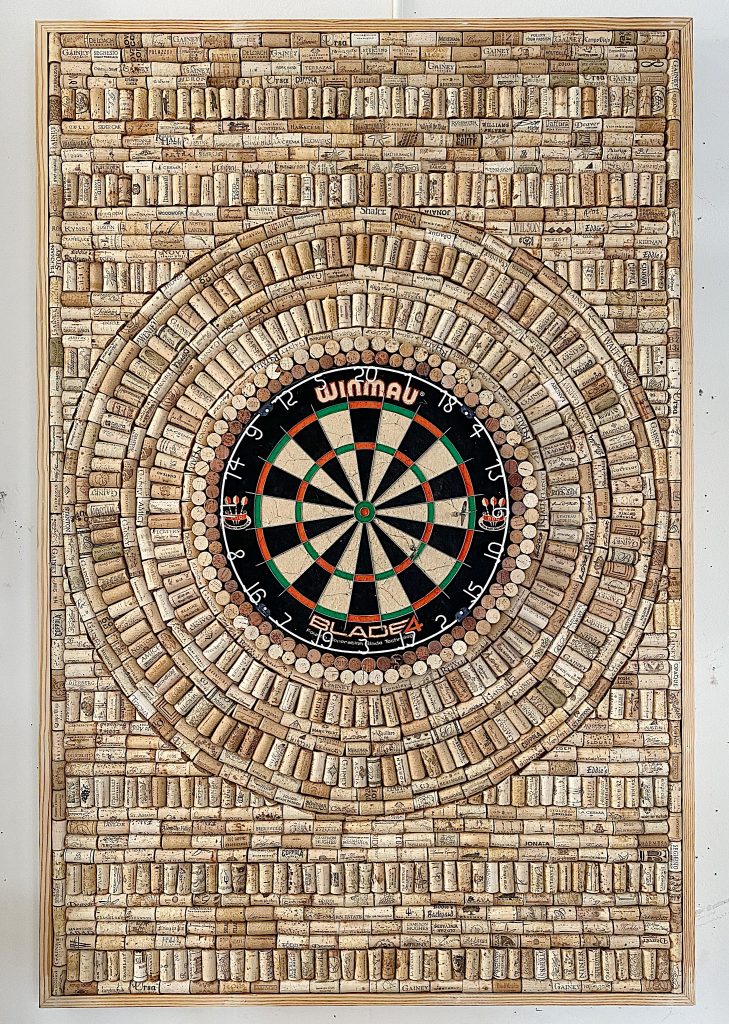
My wine cork dartboard measures 60″ tall by 40″ wide. It also took about 1200 corks.
You do not have to make one this large. When you determine your size, you should know that the bullseye on your dartboard should be 5’8″ off the ground. So make sure the size you select allows for the hanging height requirement.
Where Can You Find a Lot of Wine Corks?
It’s not likely that you have enough wine corks sitting around the house to make this dartboard. We certainly did not! So where do you find wine corks?
- You can buy them on Etsy. But I suggest you find them for free.
- Go wine tasting and ask every winery for extra corks.
- Visit your local restaurants in town and ask them to save the corks for you for one week. You will not believe how much wine they serve!
- Ask a local college that teaches a wine course to save them for you.
- Visit any wine stores or wine bars and ask them to save the corks for you.
- You should know that all of the corks are not the same size. Some are fatter and shorter. So sometimes you can switch out a few corks to make them fit.
What you Need to Make a Wine Cork Dartboard
- A Dartboard
- One piece of wood, cut in the size of the finished dartboard (I used plywood but our dartboard is really heavy. If you can use a thinner piece of wood I would suggest it.)
- Wood trim for mitered edges
- Assorted wine corks (the quantity depends on the size of your board)
- Glue gin and lots of glue sticks
- Exacto knife to cut corks
How to Make a Wine Cork Dartboard
- Measure your board and cut the trim and add the miter edged frame. Attach with a nail gun or hammer.
- Determine where you want to place the dartboard. I made a rectangle board (although a lot of the ones you can buy are square). I place the dartboard above the centerline.
- Determine the design you want to use. I got pretty fancy, but then again I have a tendency to do that. Feel free to copy mine! I will mention that once you finish adding corks around the outside of the dartboard, you might want to measure to see if the corks will fit. This may cause you to change your design because you want the corks to fit in the frame.
- Glue the dartboard in place with your glue gun. Make sure it is straight.

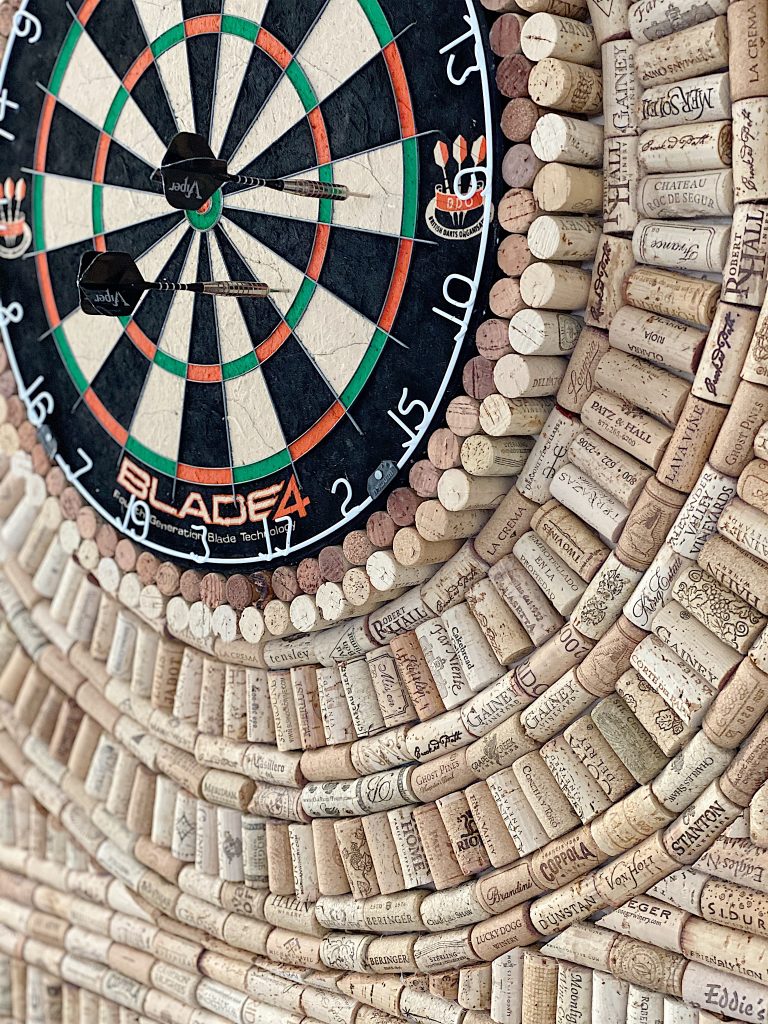
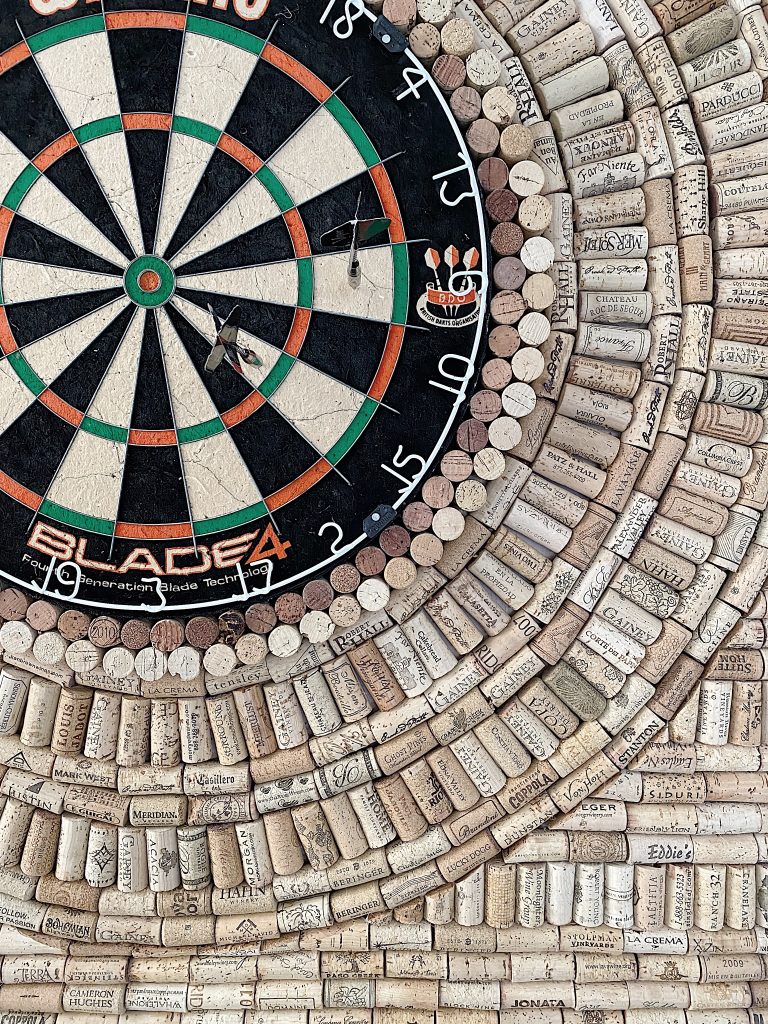
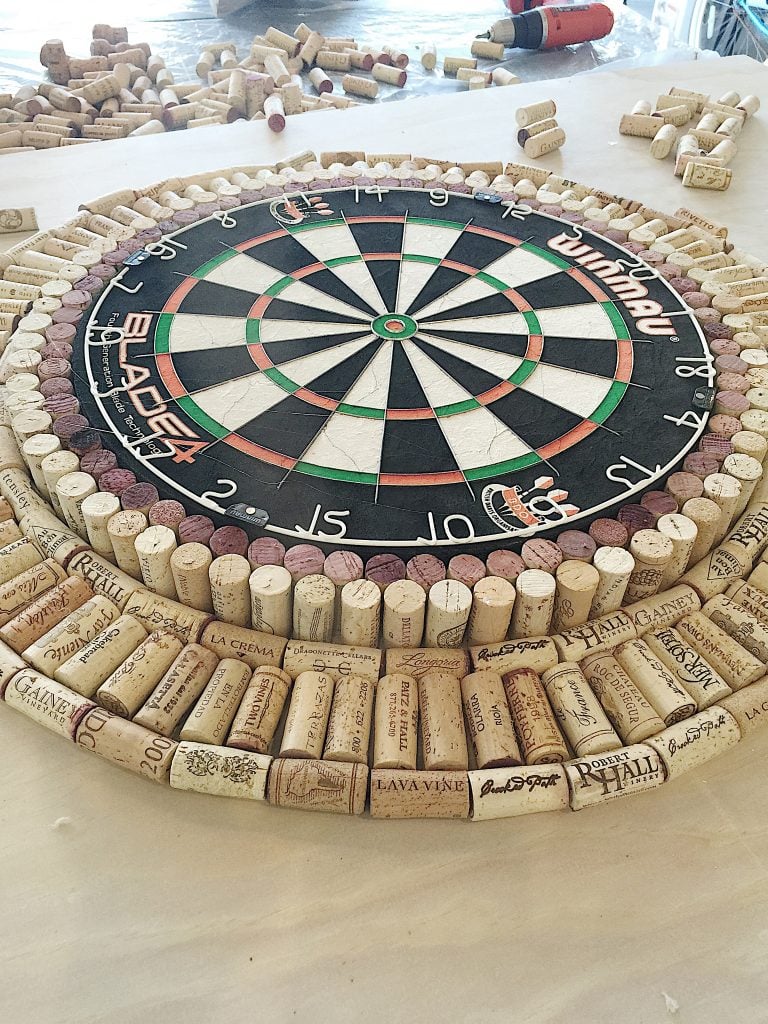
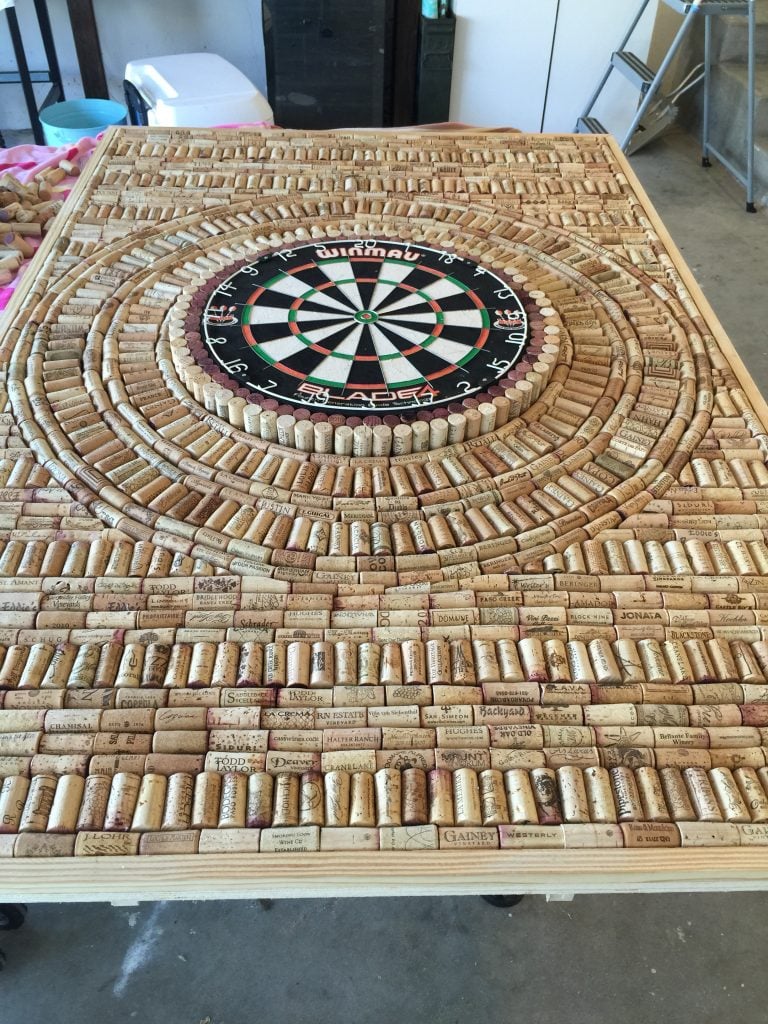
- As you can see from the photo above, I flipped some red wine corks and added them around the edge of the dartboard. You can add some glue to the side of the corks to secure the dartboard in place. Continue adding corks.

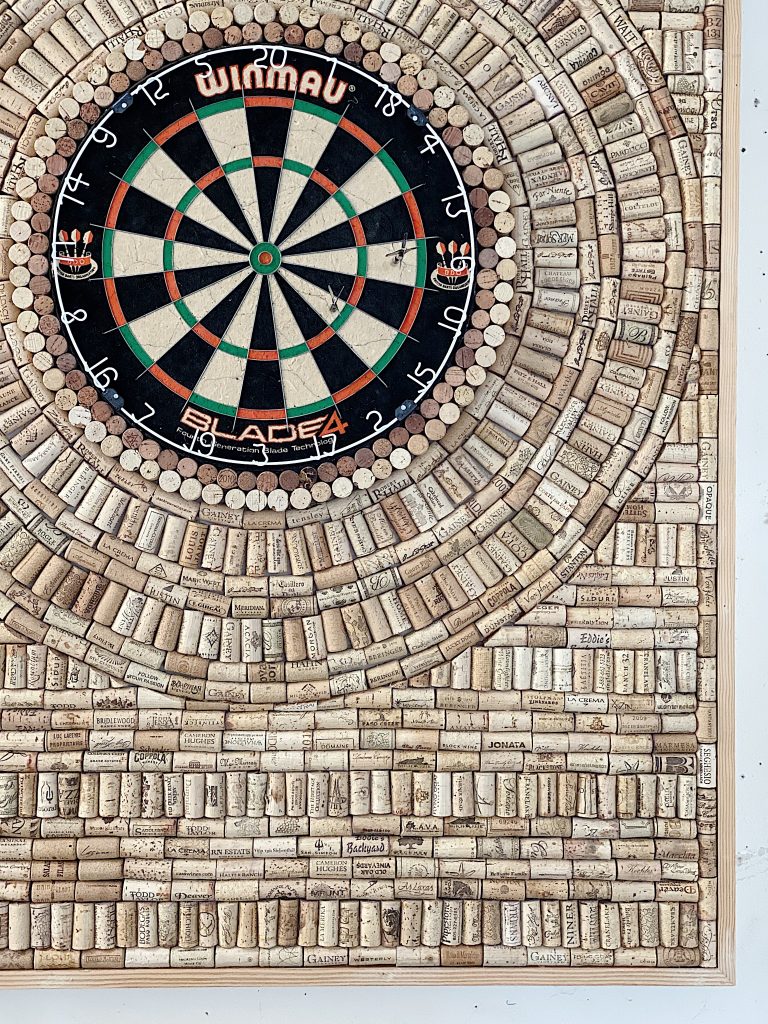
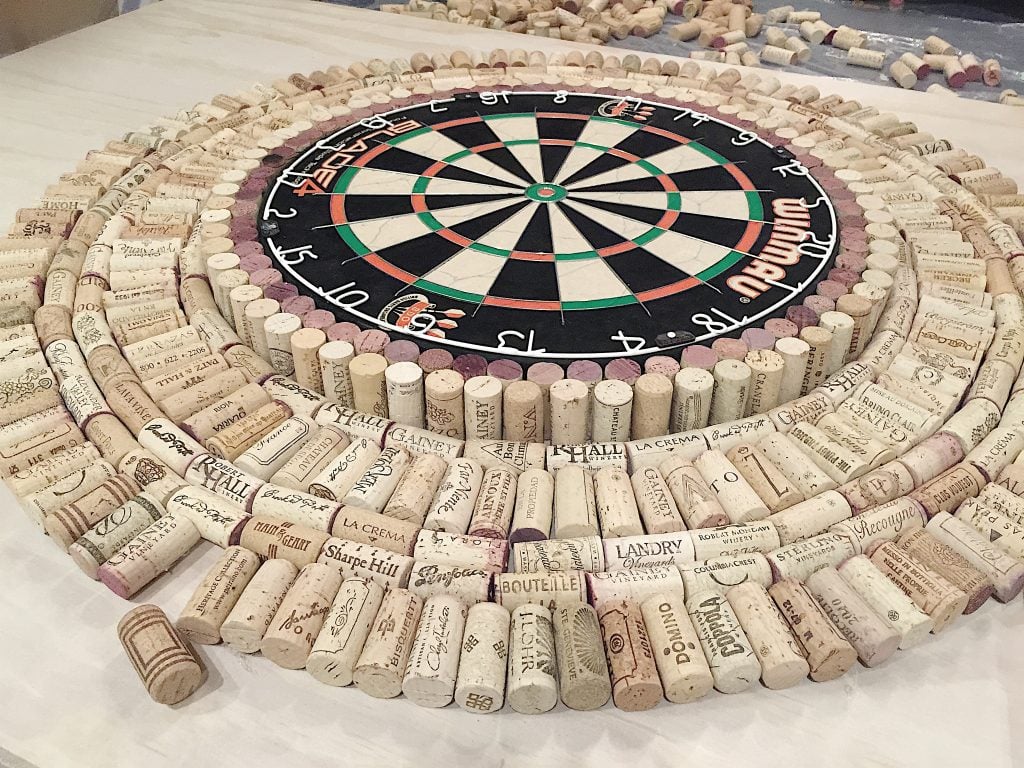
- Add more rows of corks around the dartboard until you get within the width of two corks of the outside edge.

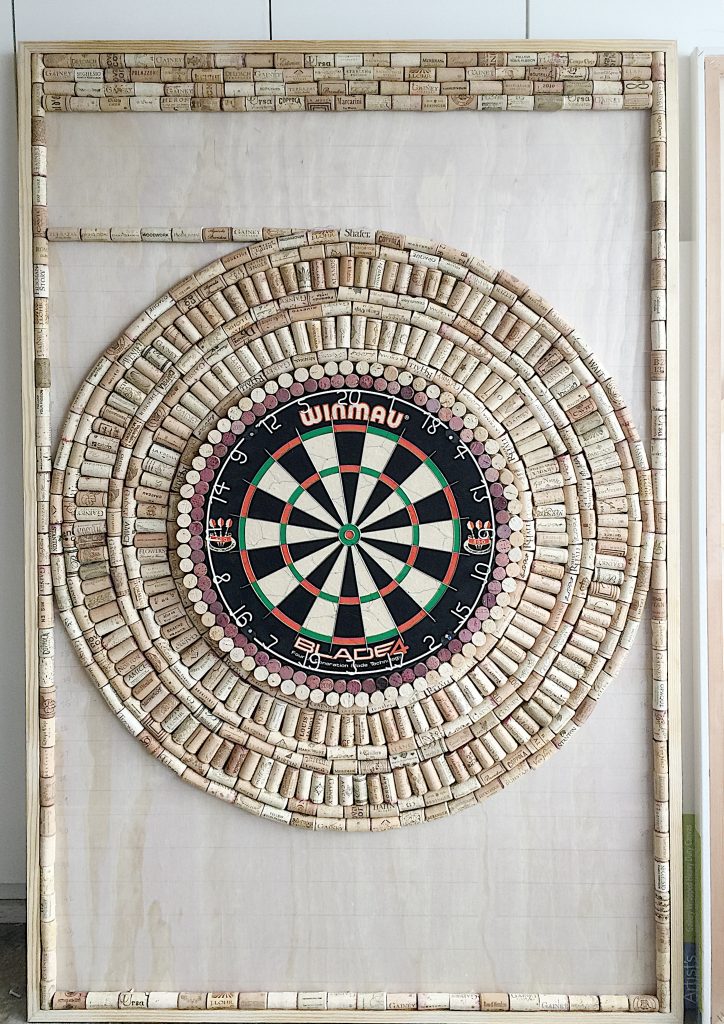
- Add corks all the way around the outside edge. I laid them in first to make sure they would fit. I didn’t want to end up with a half cork at the top! At this point, I drew some straight lines which measured the height of one cork across the board. I wanted to make sure my lines were straight and this helped a lot.
- As seen in the photo above, I started my straight line of corks at the top and bottom of the circle of corks. I added this line of corks AFTER I measured the corks from the top and bottom. Once again, I didn’t want to have to cut an entire row of corks in half. By measuring first, I knew where to start my first horizontal line of corks. You will need to start cutting corks so that they will fit. It takes a bit of practice, but it doesn’t need to be perfect. It was at this point that I ran out of corks! Fortunately, I had a friend who taught wine classes and she brought me a bag of about 400 more corks!

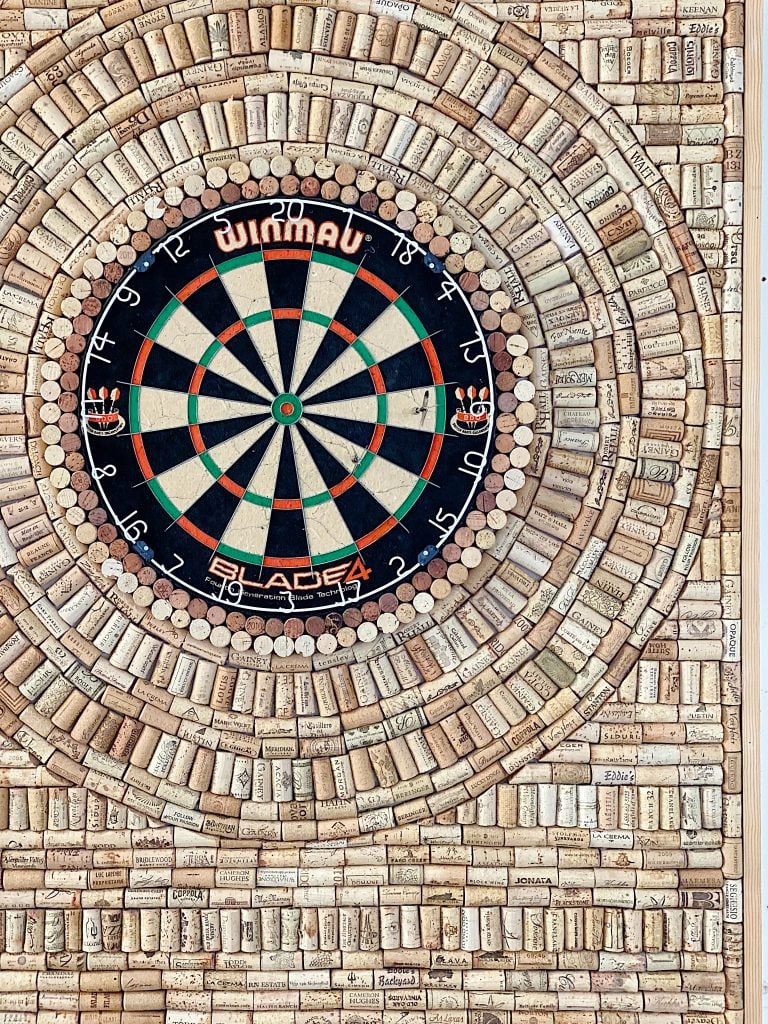
- Continue filling in the board.
- It was at this point that I realized it would be a lot easier and a lot less painful if I placed the hot glue on the board and not on the corks. My fingers were burned and once I figured this out, everything went so much better!

- It took me a few days to finish the wine cork dartboard. Aside from the burns on my fingers, it was an awesome project.
The most rewarding part of this project was the reaction I got from my kids. They were so impressed and happy that I made this.
Of course, that made it worth every second it took me to make this!
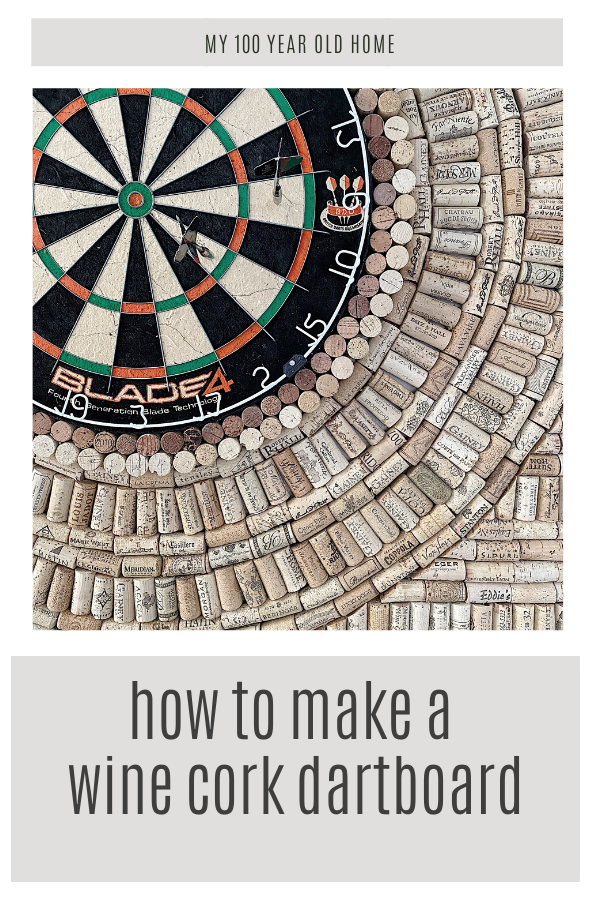
Pin the image below to your Craft or Game boards on Pinterest (just click the Pin button in the top left corner). You can also follow along with me on Pinterest!
For more real-time updates, follow me on Instagram @My100YearOldHome




My oldest son was a server at Red Lobster during his twenties, and boy could he save some corks for me!
Great project I’m going to have to try this. I’m wondering could you use a ready made bulletin board as the base?
Sounds like a great idea!! I was thinking the same thing. I don’t know why it wouldn’t work?!! 😍
I am sure it would!
I am sure you can. That’s a great idea.
Love this SO much Leslie!
Thanks Ann! I am so glad you like it! Haven’t we played darts on this before?
This is awesome and I love the design. I plan to try it, but since we don’t have any dart board enthusiasts in the family, I am going to do a circular painting for the center (maybe wine bottle and glasses?) surrounded by the corks. A slightly smaller version, of course. Thanks for sharing. So creative!
You can do it my friend!
HA! Now I have something to do with the 8 Zillion corks my husband is always asking me if I really need!! ❤️ Thanks!
Love, love, love it!!!Just curious…How did you hang it?
Beautiful! What are the dimensions of your dart board??
It’s in the blog post it I think it is 60” x 40”.
Great job and thanks for the inspiration. I am actually working on a corked dart board project myself. I have the board made, framed and stained. Now I have to add the dart board and start adding the corks. You mention an exacto knife to cut the corks. I haven’t tried cutting them yet, but is it that simple? Any cutting tricks or tips for cutting the corks? Thanks in advance and glad to found your site through my search!
Steam you corks for about 10 minutes. They will expand closer to their original size and become easier to slice. It also seems to ‘brighten’ them up a little as far as the color is concerned, they look refreshed I guess.. 😁
I have heard if you boil the corks first they are easier to cut
Ooo what a good idea! Thanks Tom!
SUCH A GREAT IDEA. I AM WONDERING WHY YOU DIDN’T GO WITH SQUARE INSTEAD OF RECTANGLE. IT MAY HAVE BEEN A PLACEMENT ISSUE? I JUST THOUGHT THAT HAVING THE SAME DISTANCE ALL THE WAY AROUND FOR DARTS TO HIT WOULD HAVE BEEN BENEFICIAL.
I really like this idea. However, to maintain a dartboard you should rotate the numbers. How does this design allow you to rotated the dart board every few months?
Lovely job. If the dart board is used a lot it might need to be turned and eventually replaced. Just a thought. I think I’ll try this project. Thanks for sharing.
I hope you try it! Thanks Neil!
I’m going to make one of these. I’m wondering what kind of glue you used to glue the corks to the backboard.
Are any of the corks cut in half? Or just sized as to complete the design?
Would you sell your board or would you make any to sell?
Just finished this project. Thank you for the inspiration and tips.
Yay! I hope you love it as much as I love mine!
I absolutely love this and I’m inspired. But as a long-time darter I see some problems. The main one is changing out the dartboard. Unfortunately they don’t last forever and have to be rotated and ultimately replaced. There are special hanging brackets, but they require lifting the board and lowering it into the bracket. I will be mulling over this as I figure out how to create my own cork background. Thank you for the inspiration!
How did you hang this on the wall ….being that it is so heavy?