How to Make a Spring Wreath
I am so excited to share today a spring wreath I made from pinecones. You can make this wreath with Items you pick up in your yard.
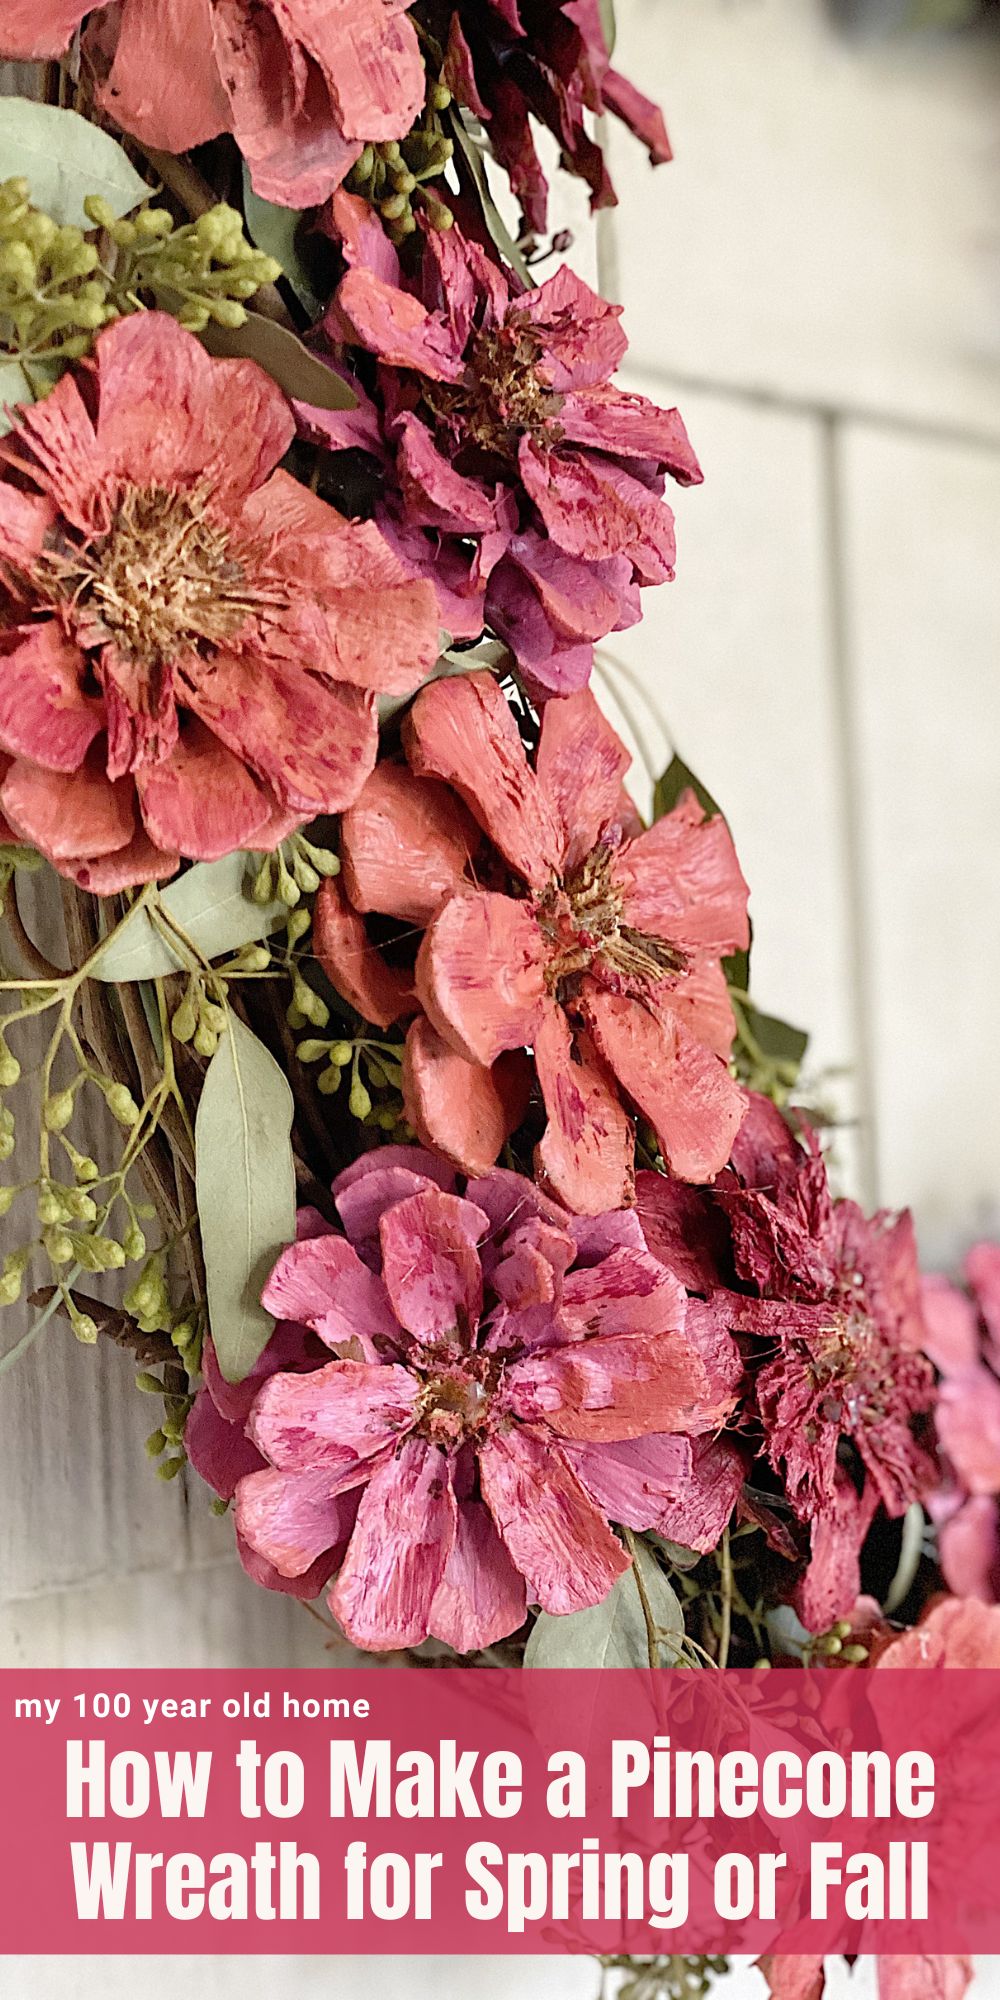
Pinecone flowers? Yes, these flowers are made by cutting pinecones into flowers! Today I will show you step by step how I made this gorgeous spring wreath.
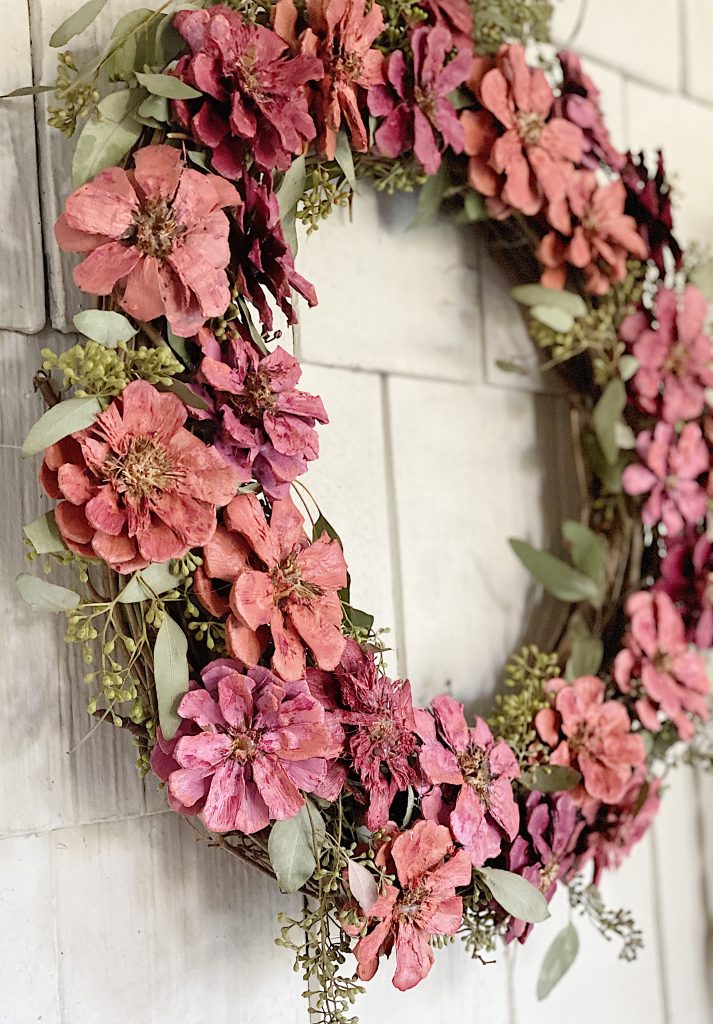
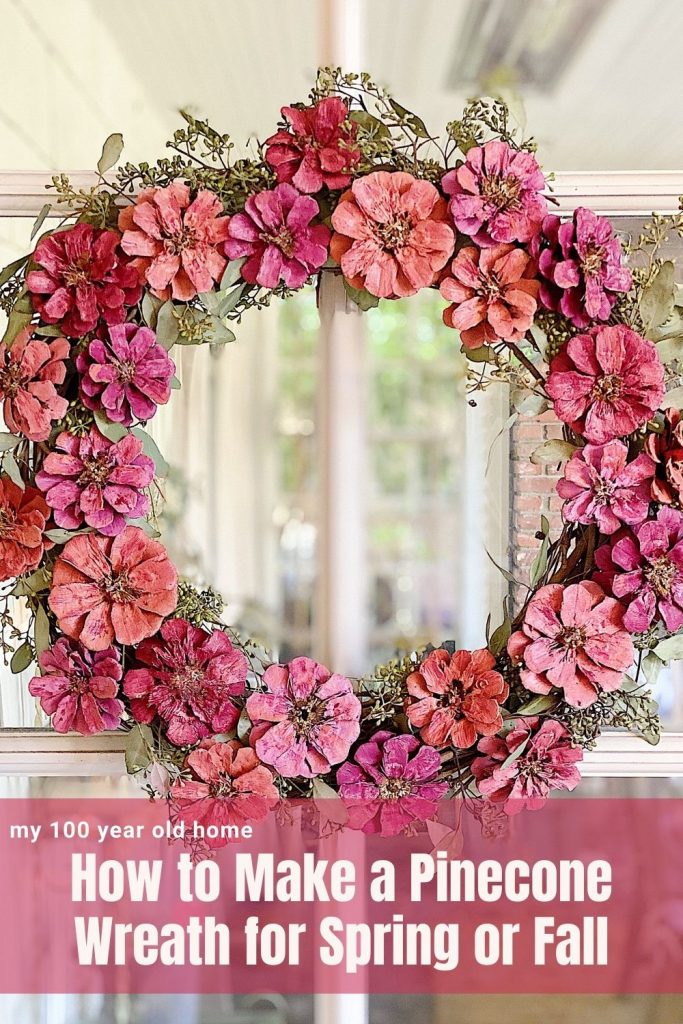
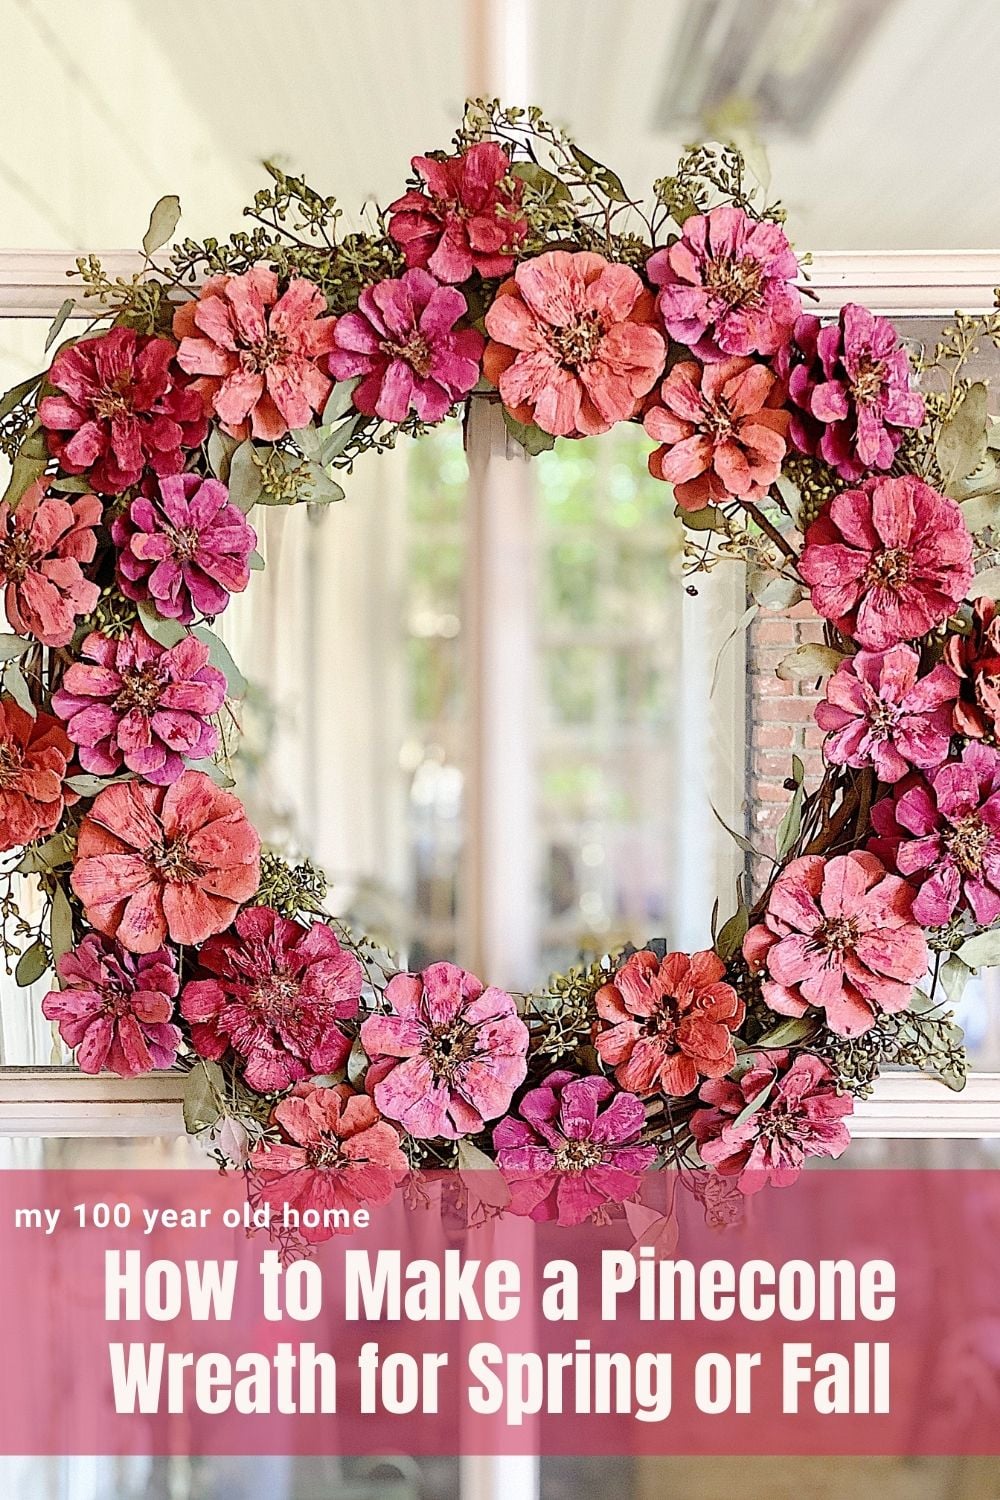
This might be my favorite wreath that I have ever made. I called it a spring wreath, but it can also be a fall wreath! The best thing is that most of you can make it from things you can gather in your backyard. Can you guess what this wreath is made from?

Pinecone Flowers
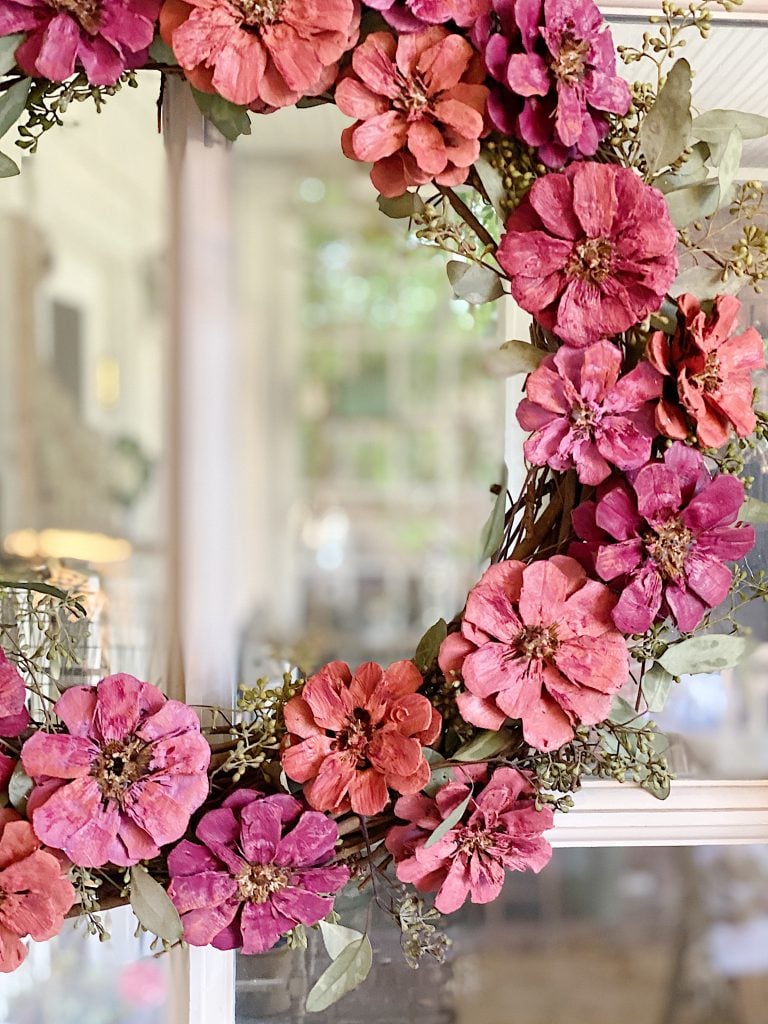
I know it’s hard to believe. Because pine cones have never looked so good. This DIY was amazing and I love that it looks so great for Spring and Fall. I kind of made it up as I went along but I think you will find the DIY below fairly easy. The only hard part was cutting the pine cones.
Be sure to scroll to the bottom of this post to see my DIY video.
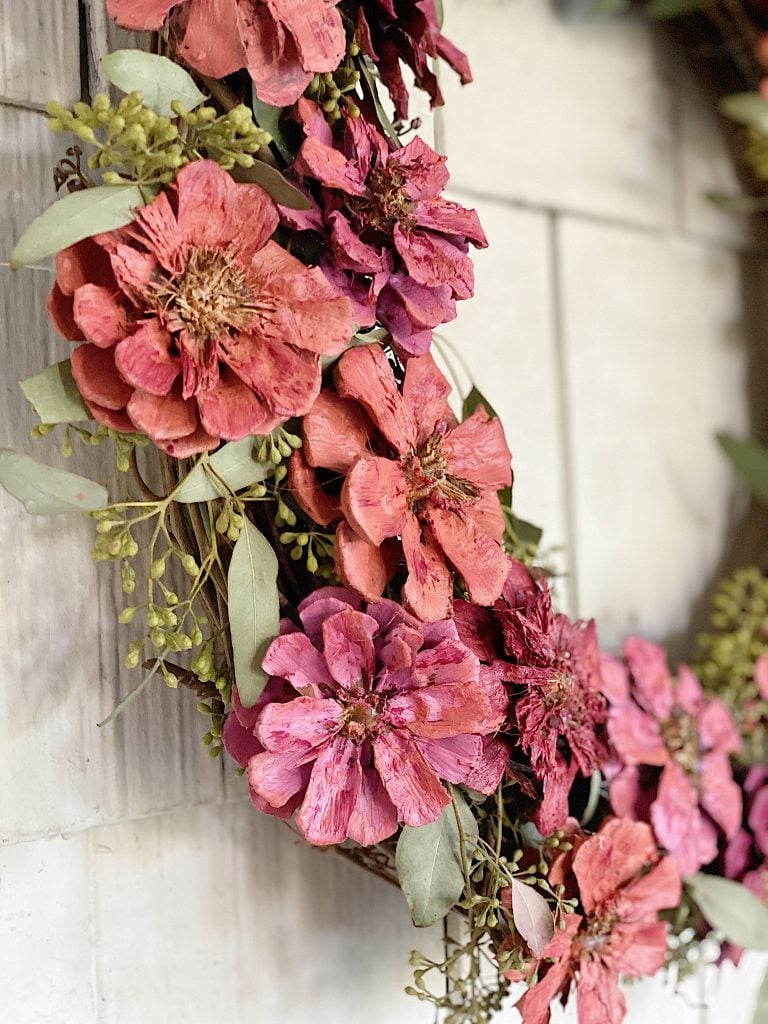
What You Need to Make a Pinecone Wreath
**All items with links are listed below**
Pine cones (about 18)
Grapevine wreath (I used a 16″)
Acrylic paint (alizarin crimson, medium yellow, white)
Tin snips or gardening shears
Glue gun
Assorted greenery (eucalyptus)
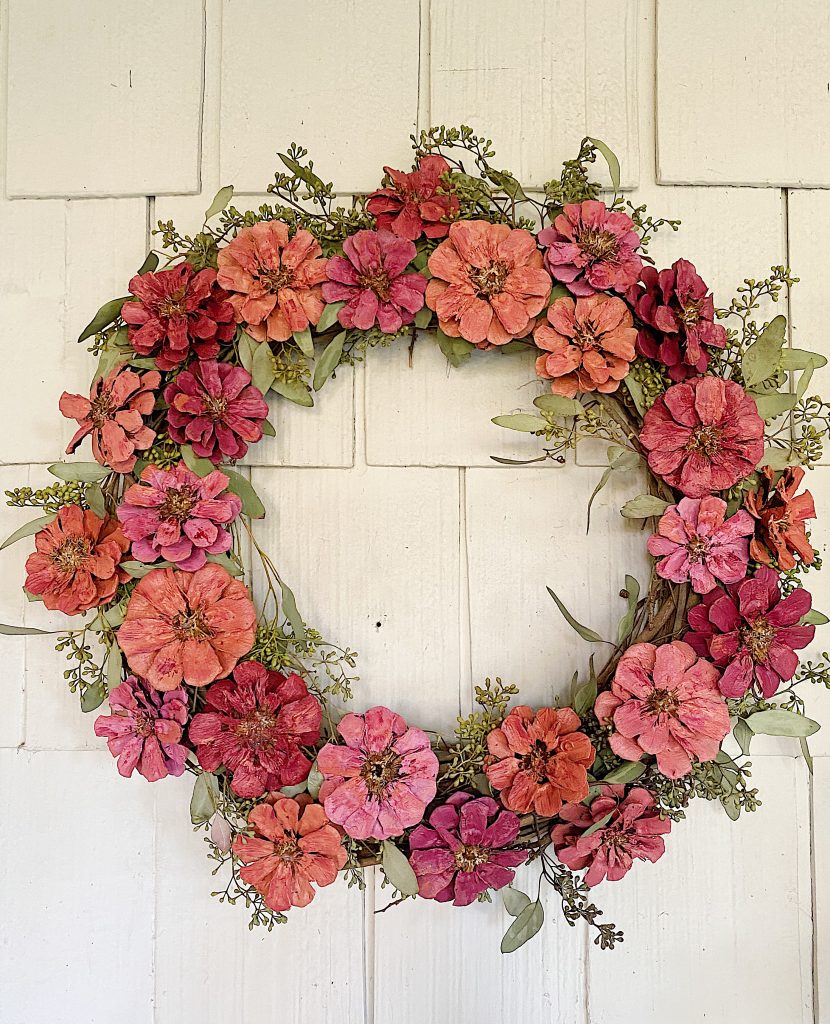
How to Make a Spring or Fall Wreath
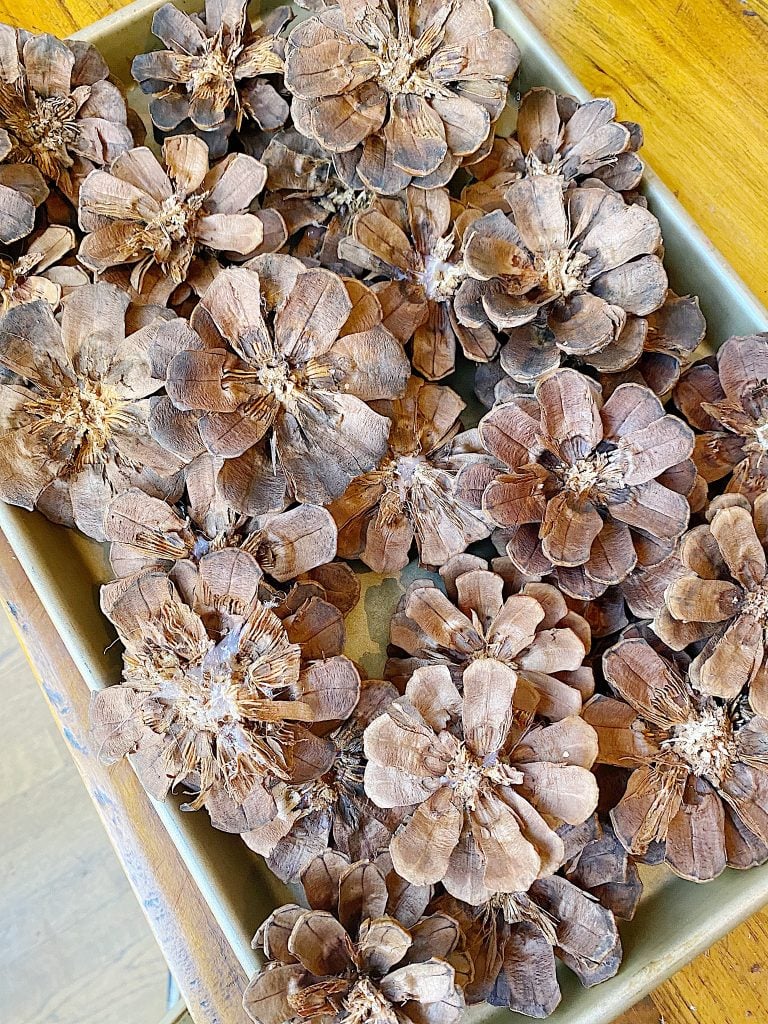
Cutting the pine cones into flowers is the hardest part of making this wreath. I used a pair of red tin snips which didn’t work too great but I found a set of garden snips when I was almost done with the cutting that worked very well. (They are linked below.)
I was able to cut two flowers out of each pine cone and I didn’t use the top part.
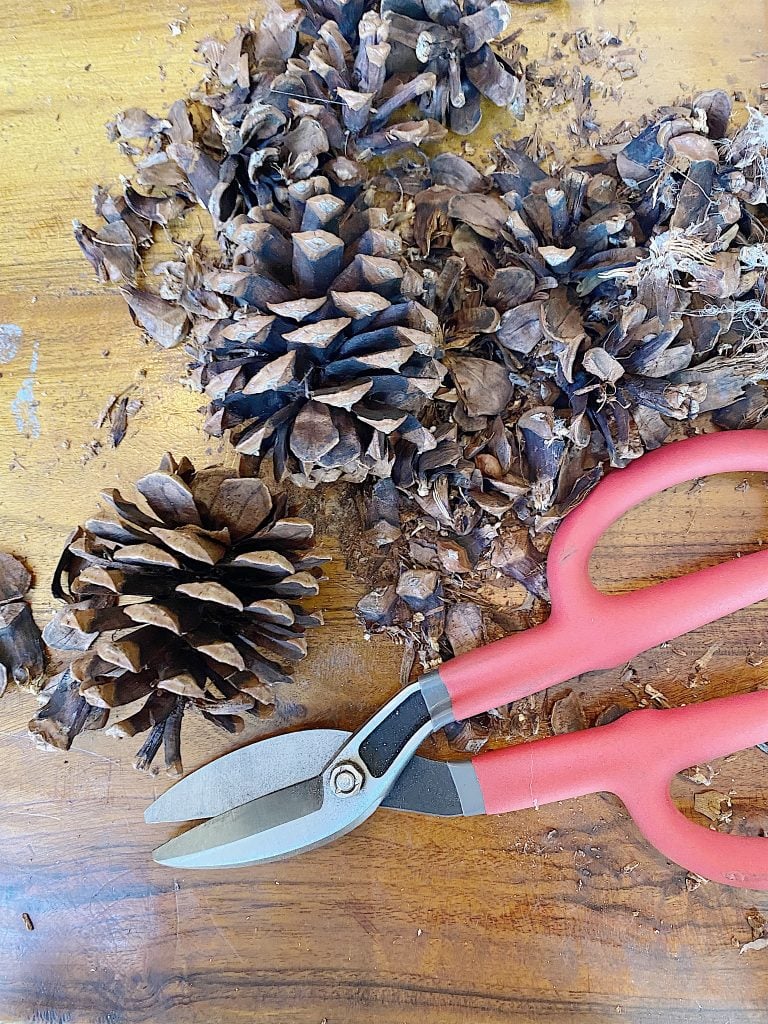
I had to cut around each side of the pinecone before I could cut all the way through. On a few occasions, the pinecone flower broke into a few pieces. But that was no problem as I just put them back together with a glue gun.
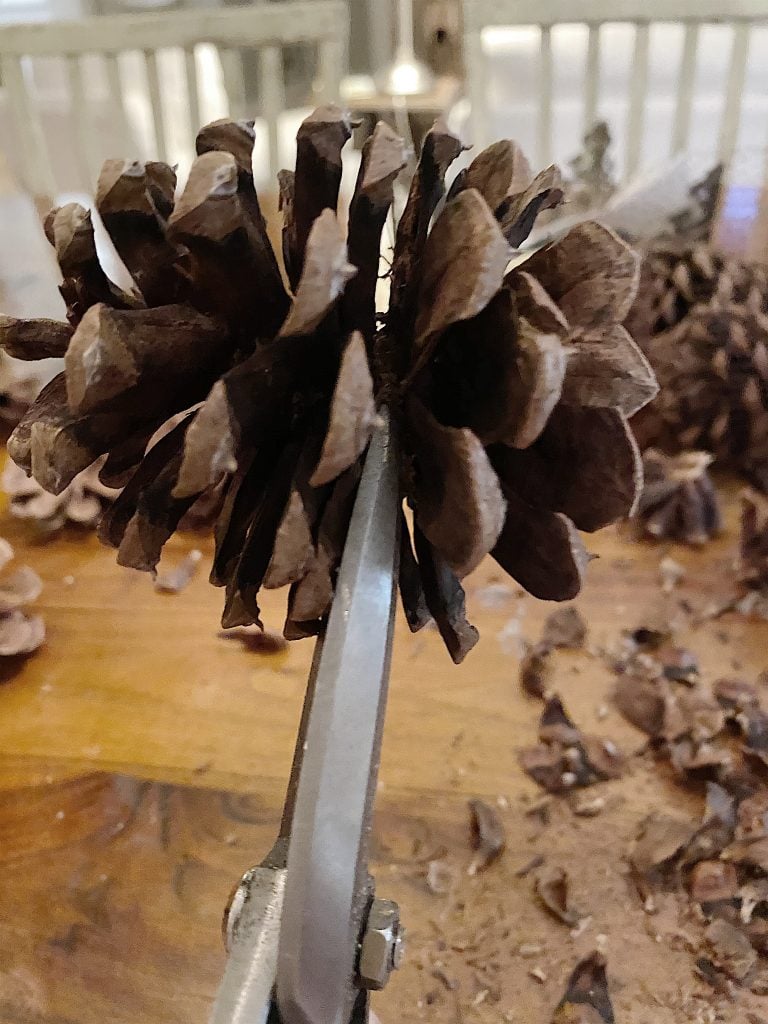
Each flower had two to three rows of scales. And I didn’t use the tops of the pinecones but there is no reason why you couldn’t.
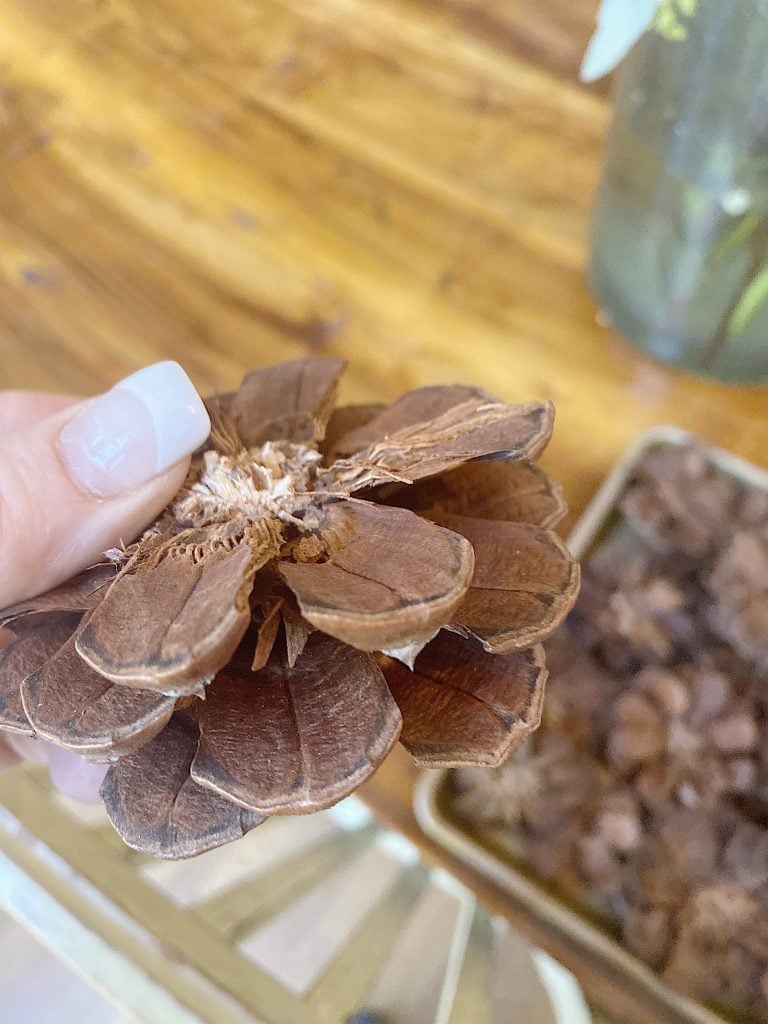
It took me a few hours. Most of the pine cones netted a total of two flowers.
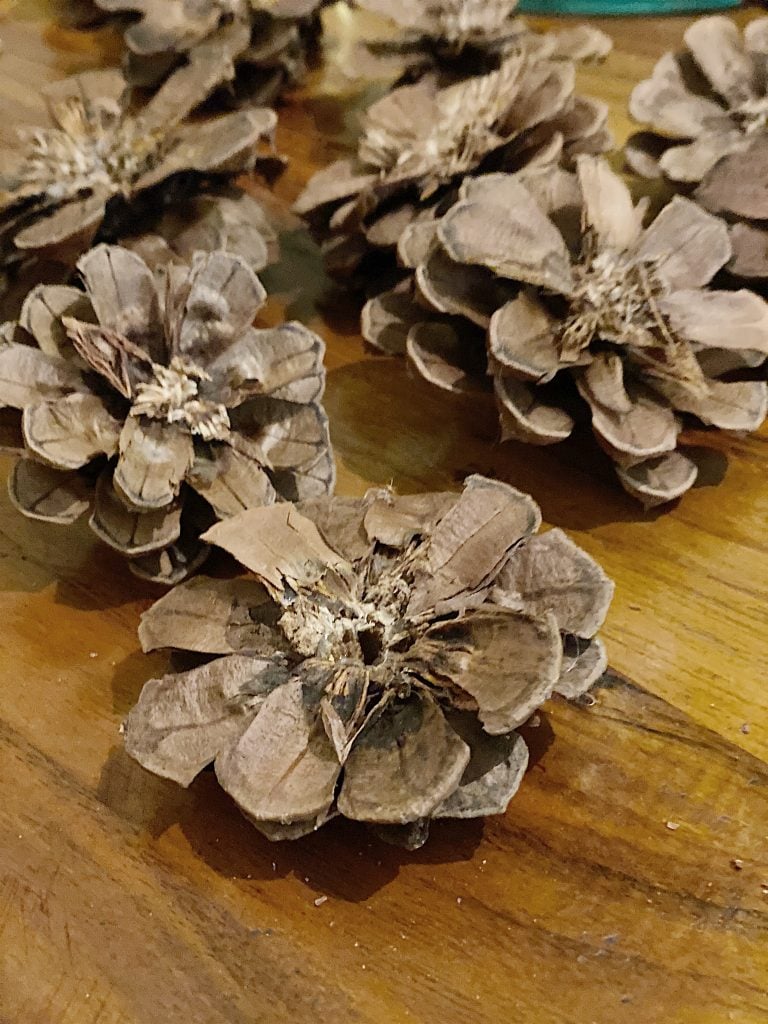
I used 25 cut pine cone flowers on my wreath. Of course, you may need more or less depending on the size grapevine wreath you use. (I used a 16″.)
Painting Pinecones
Painting the pine cones was my favorite part. And this is the part where you need to pay attention.
I have two really important color tips for you. So be sure to read below.
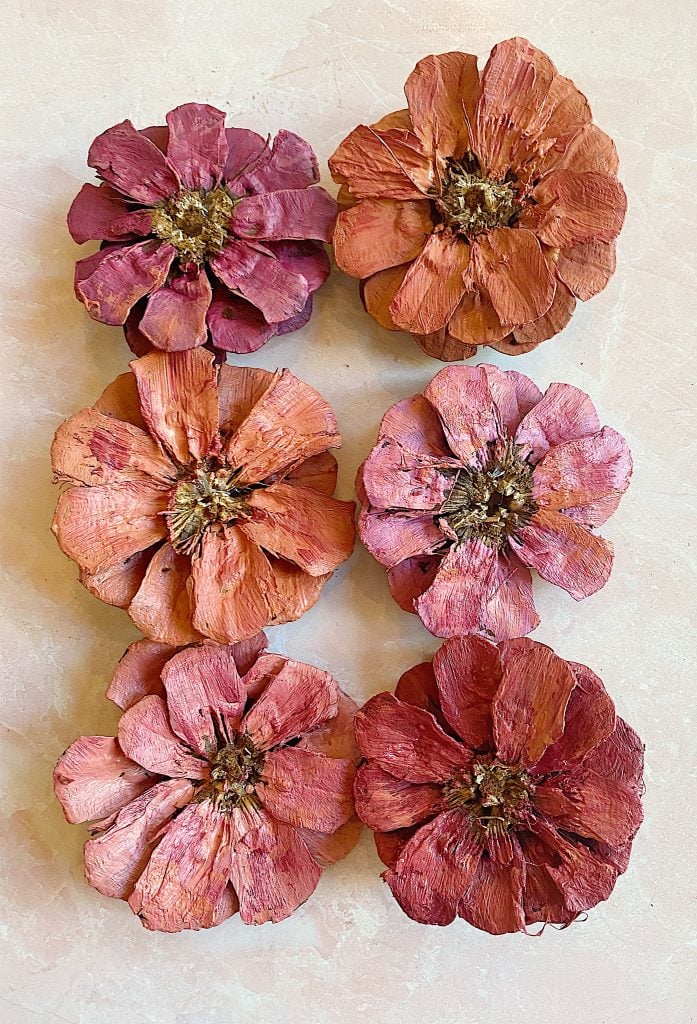
It’s easy to buy six small bottles of paint and paint the pine cones each color. But often that will result in a wreath that isn’t color cohesive. Can you tell the colors of the pine cones below were made from two colors and white? Anytime your color palette is created from two colors, all of your colors will be cohesive.
Mixing Colors
I mixed six colors using Alizarin Crimson (burgundy) and Medium Yellow (and white) and put them in paper cups. The colors ranged from lots of burgundy and a tiny bit of white or yellow to lots of yellow with a tiny bit of white or burgundy.
You can see the colors I mixed in the photo above. (I should have taken the photo before I added the highlights because some of them look more similar than they are.)
The next thing you need to do is paint all of your pine cones with a base coat. I painted six pine cones in each of the six colors.
But here is the important step, I then went back and lightly brushed on some highlights of the other colors on each pine coneflower.
This is what my pine cones looked like after I painted the first coat.
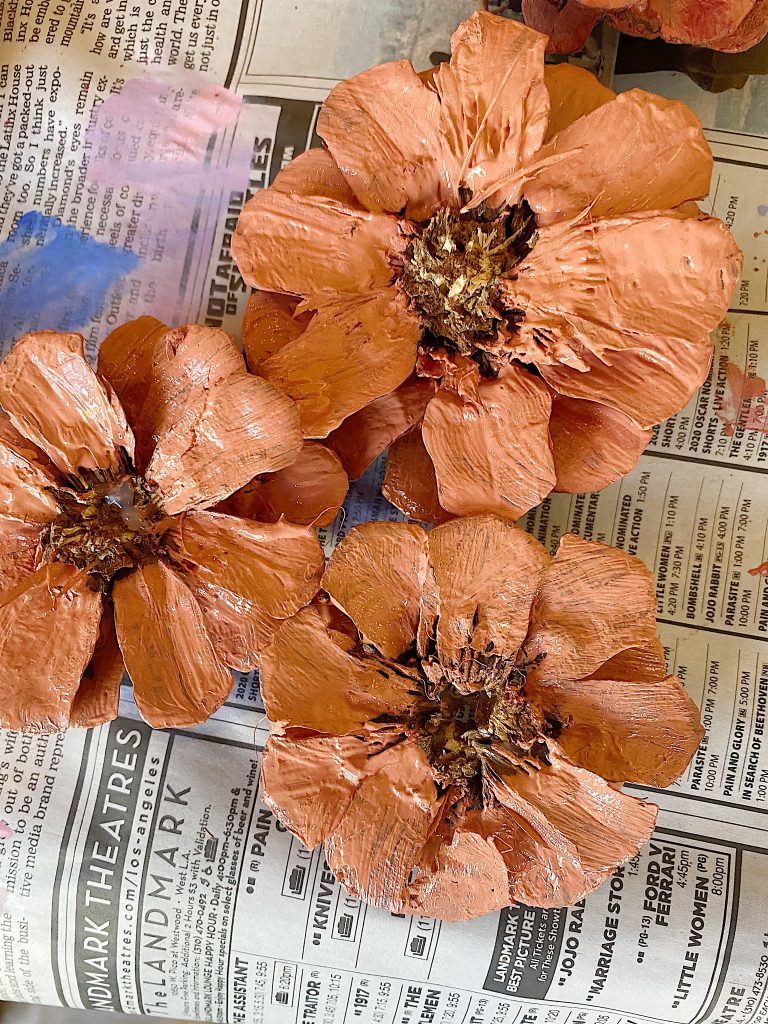
And here is how they looked with a highlight of one of the other colors. After they dried I added even another one of the colors.
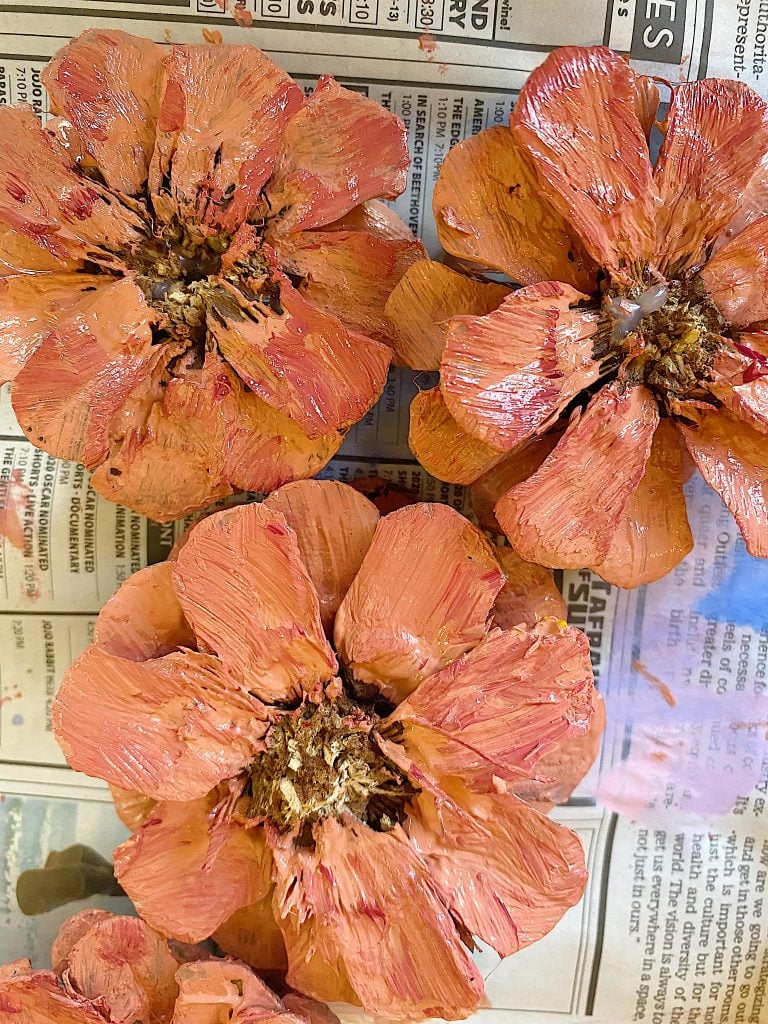
This photo shows the pinecones and how the color highlights make them even more harmonious.
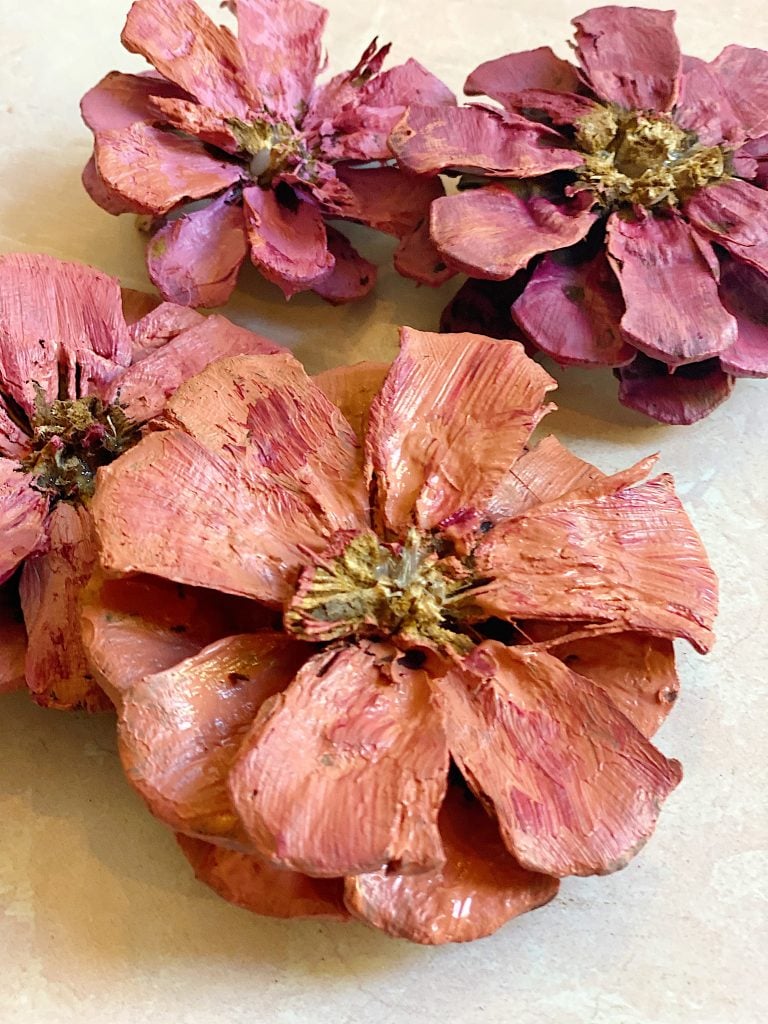
I love how they look!
For a foolproof way to mix these colors, pick one color, a warm yellow, and white. Then mix to get different shades. You can see below that I used the Alizarin Crimson (which is a burgundy shade) and I added different but very small amounts of yellow and white to get the different shades.

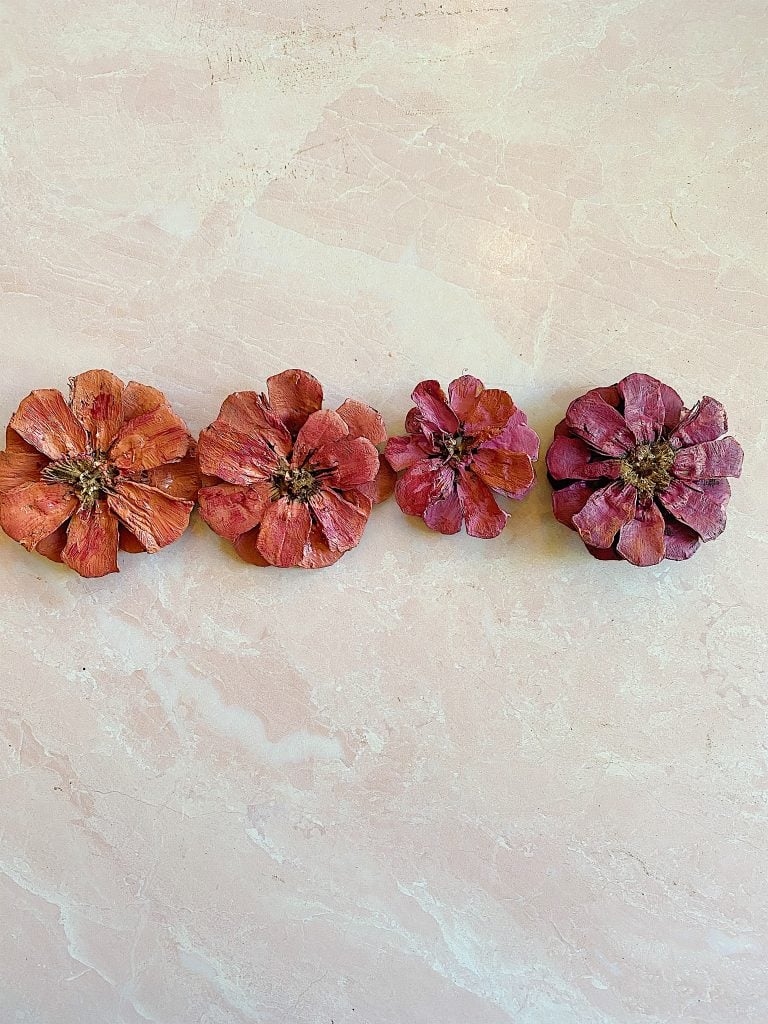
The colors are bright and definitely perfect for a spring or fall wreath!

Assembling the Wreath
Assembling the wreath is very easy. I had painted some smaller pine cones because I thought I might need them. But I ended up leaving them out.
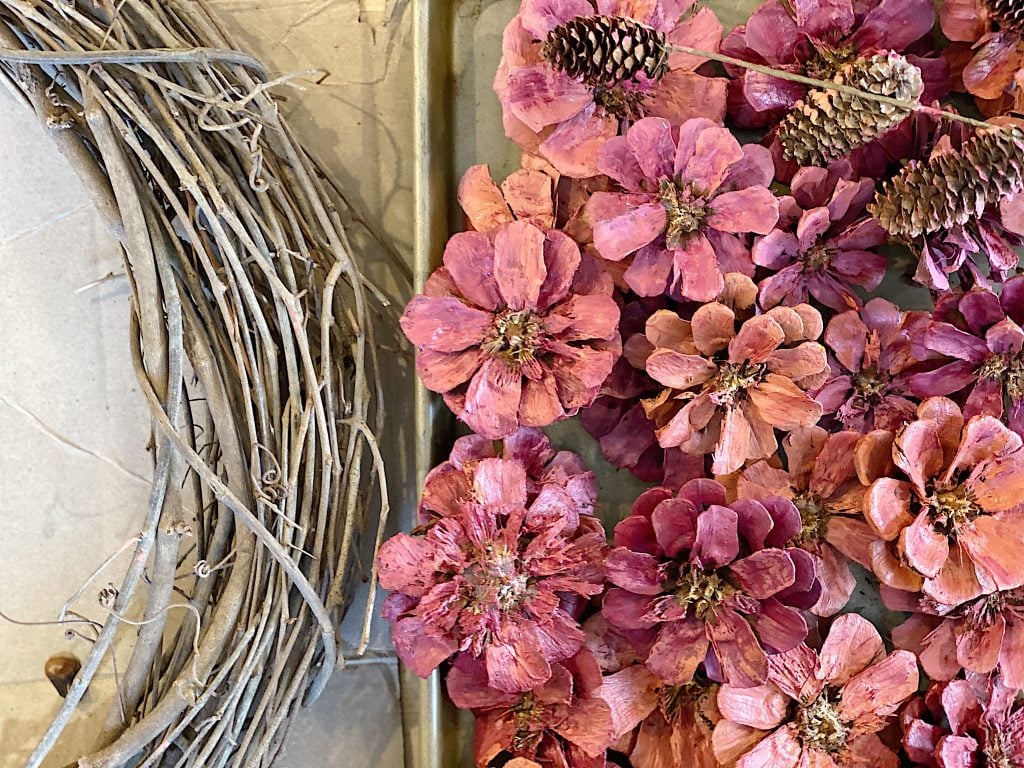
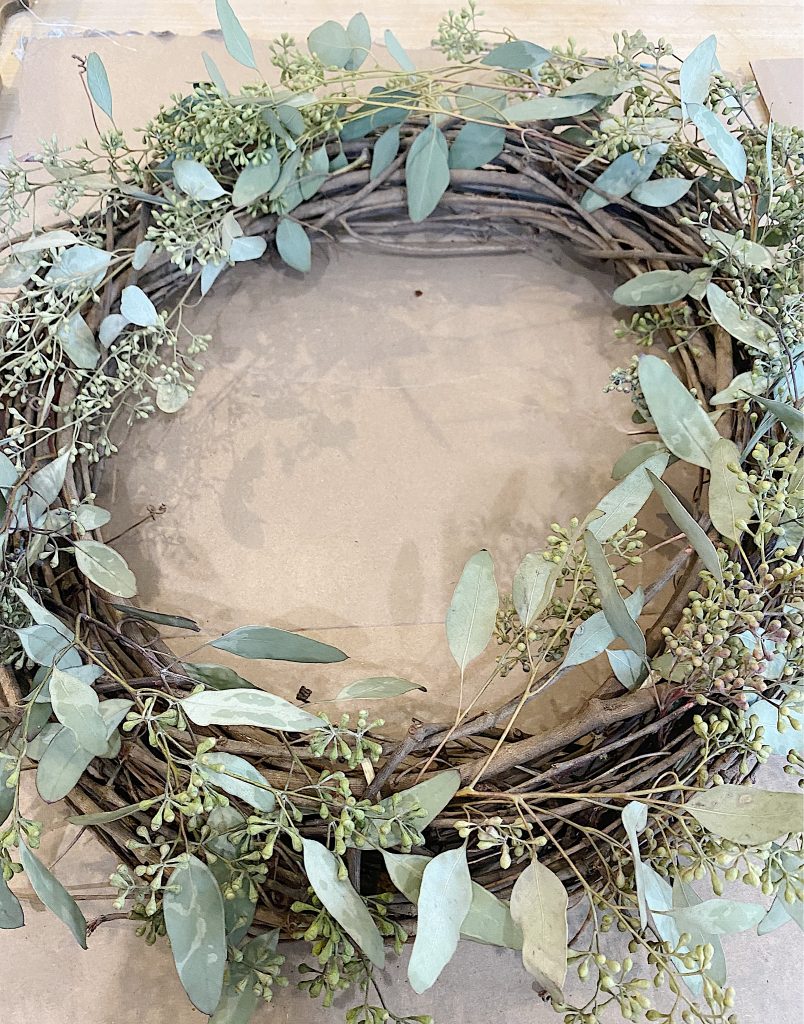
I had some week-old eucalyptus in vases (that had dried) and it worked perfectly. You can use any type of greenery, faux or real, or in my case, dried and neglected.
I stuck the stems of the eucalyptus into the wreath. Don’t use too much, just enough to offer light coverage.
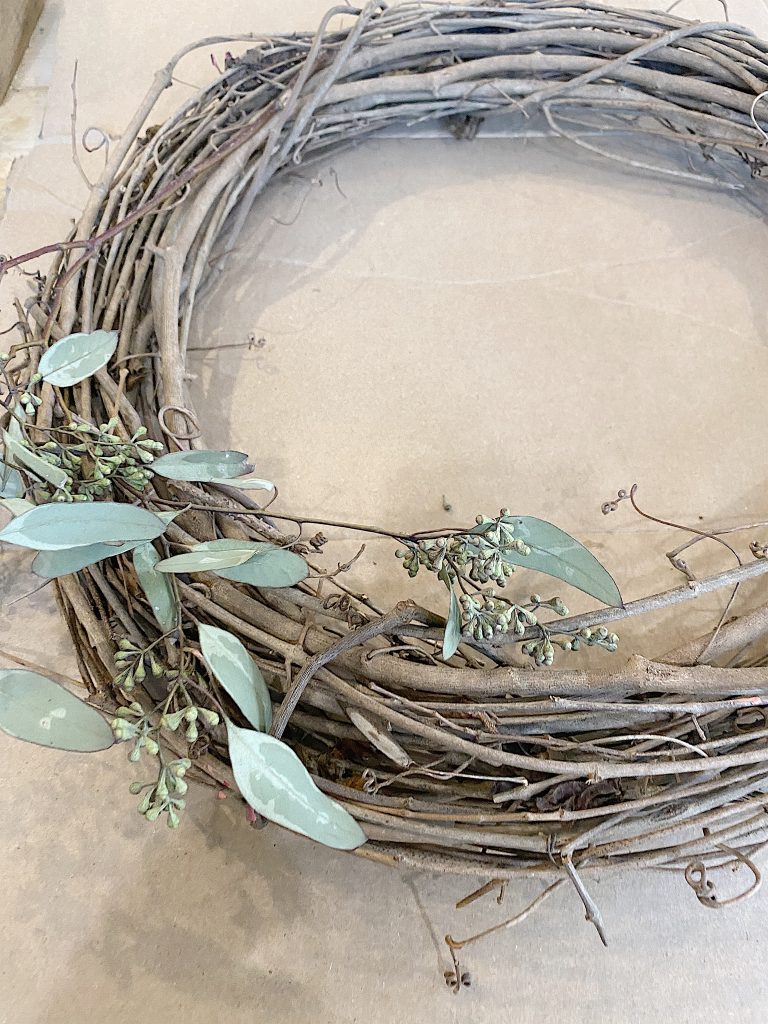
Add in the greenery all the way around being sure to follow the same direction all the way around. Stick the stem into the wreath to secure it (although the glue used to attach the pinecones will also secure the greenery).
With a hot glue gun, attach the pinecones to the wreath.
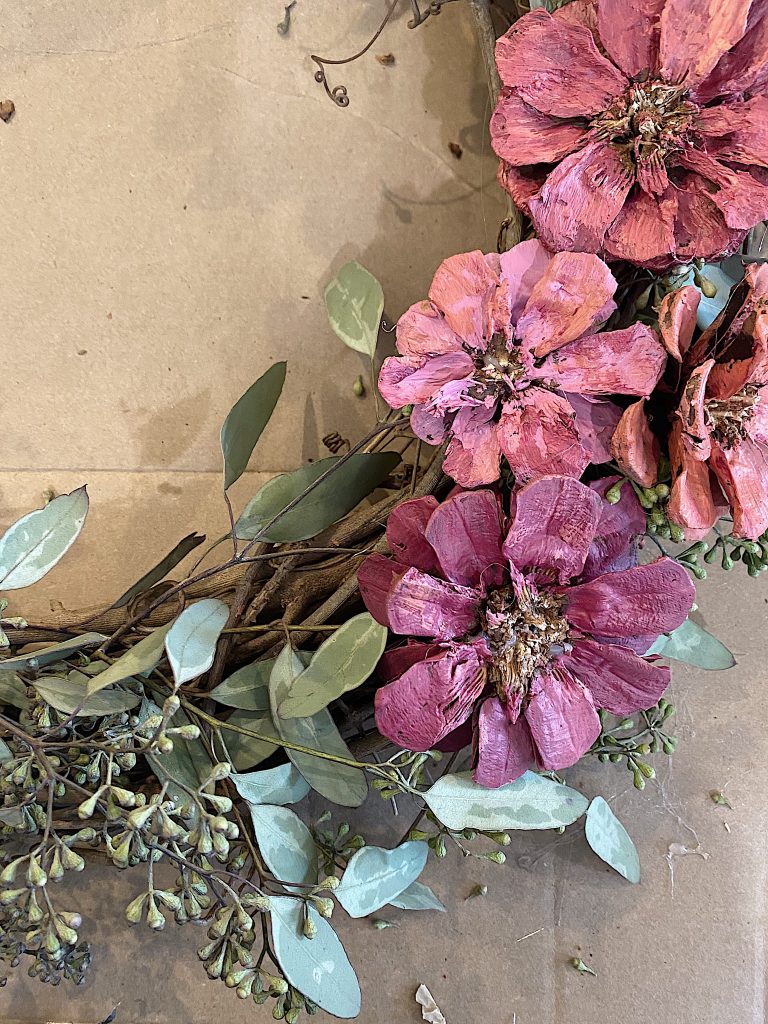
Work your way around the wreath by adding more pinecones.
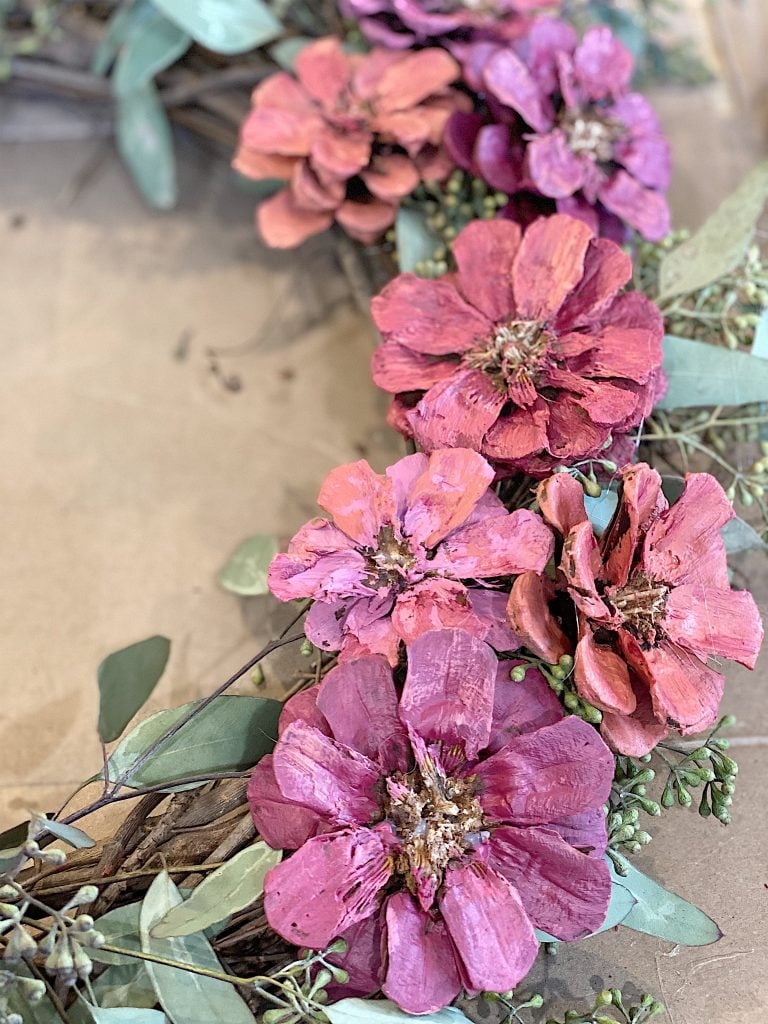
That’s all it takes!
Watch my video to see more details.
I can’t wait to make more of these!
Ready to make this amazing wreath? Click on the items below for everything you need to make this wreath.
Watch My Amazon Live
Click here to watch any of my Amazon Live shows. All shows are recorded.
You might enjoy all of the craft items I shared as seen in the Amazon Live featured below.

Check out all of these amazing DIY wreaths.

Magnolia Wreath – The Happy Housie // DIY Orange Wreath – The Handmade Home // Magnolia Farmhouse Wreath – Tatertots & Jello // Driftwood Welcome Wreath – My Sweet Savannah

Front Door Decorating Ideas – Sanctuary Home Decor // Book Page Wreath – The DIY Mommy // Moss Ball Floral Wreath – Lolly Jane // Floral Winter Wreath – A Blue Nest // Spring Floral Wreath – Jennifer Maune

Heart Emoji Wreath – Cassie Bustamante // How To Make A Spring Wreath – My 100 Year Old Home // Strawflower Heart Wreath – Finding Lovely // Felt Flowers Wreath – Happy Happy Nester

Simple Spring Wreath – Art of Everyday Living // Coffee Filter Wreath – She Gave It A Go // Minimalistic Spring Wreath – Taryn Whiteaker Designs // How To Make A Spring Wreath – Hallstrom Home // Eucalyptus Wreath – Twelve on Main
Pin the image below to your Craft or spring decor boards on Pinterest (just click the Pin button in the top left corner). You can also follow along with me on Pinterest!
For more real-time updates, follow me on Instagram @My100YearOldHome





Beautiful! Love the pink and orange-y tones.
Thank you! I love them too!
Your creativity and eye for using colors is so special. Your crafts tasteful, never cheap looking crafty. Even a nontalented, clumsy old lady as myself can follow your directions and be pleased with the results! Thank you for sharing and teaching.
Finding reliable DJs in St Charles can make a big difference for any event, from weddings to private parties and corporate functions. A professional DJ understands crowd energy, music flow, and smooth transitions that keep guests engaged. With the right sound system and playlist, your celebration feels organized and exciting. jcenmotion focuses on quality music, clear sound, and a friendly experience that matches your event style. Choosing experienced DJs in St Charles helps ensure your event runs smoothly and leaves lasting memories for everyone attending.