How to Make a Dress Form Christmas Tree Skirt
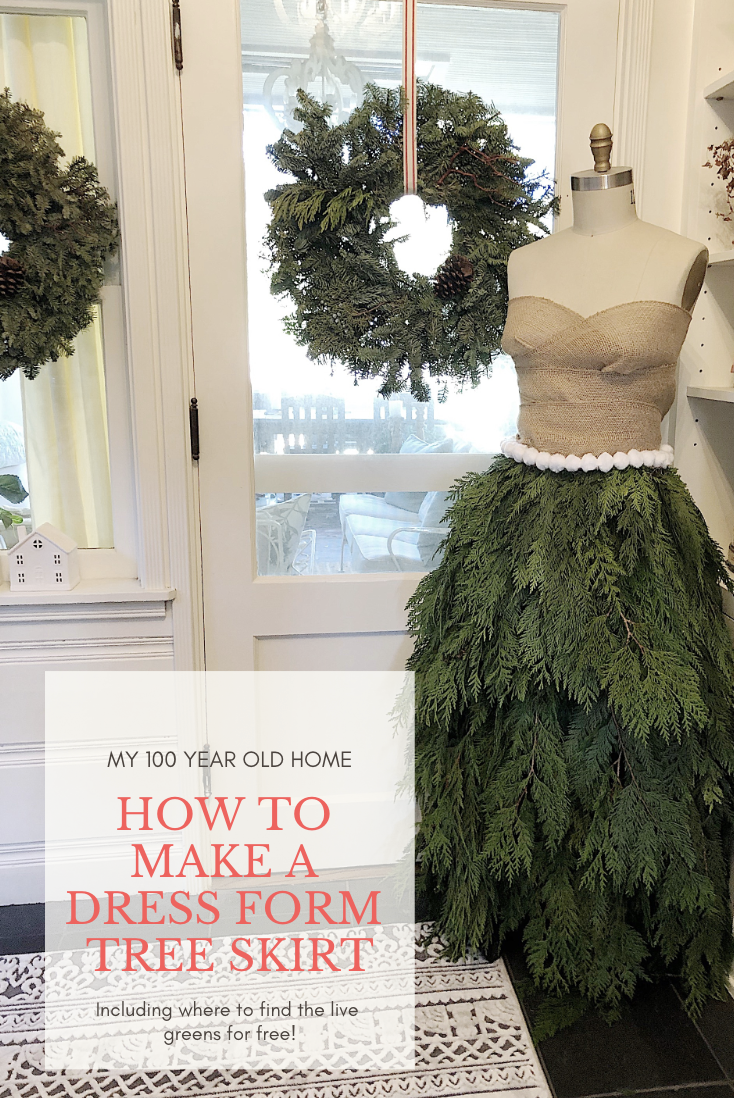
Decorating my dress form is such a fun DIY. It’s very inexpensive to make a Christmas tree skirt. (And I am thinking I might just create a different skirt for each season.) This is my favorite skirt to create for my dress form. It smells so good!
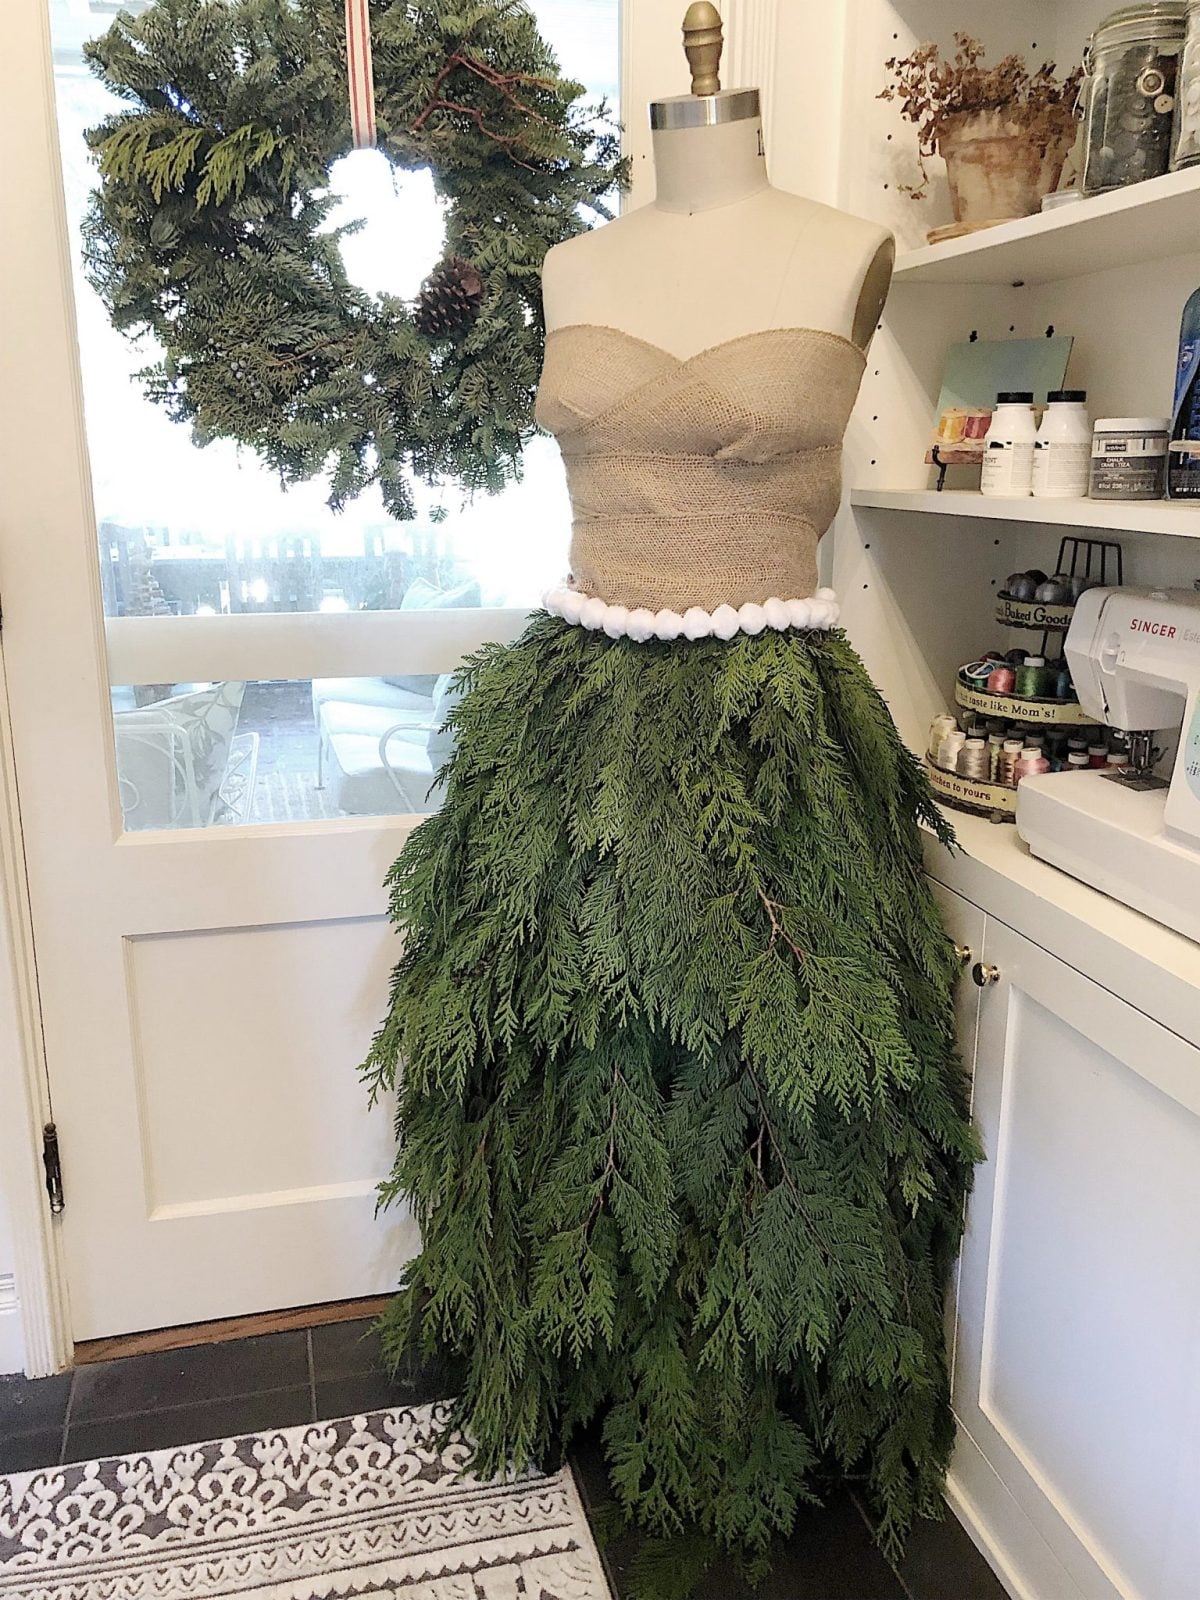
I am so fortunate to be joining ten other bloggers for a Christmas DIY hop. If you are coming from Little by Little Farmhouse I am sure you enjoyed seeing the clever oranges DIY! Be sure to read all the way to the bottom as you will see photos for ten wonderful DIY projects created by ten very talented bloggers!
And now let’s start with this really fun tree skirt project.
What You Will Need
One roll of chicken wire
Soft wire and wire cutters
Fresh pine greens
Fabric for bodice
Decorative trim for belt
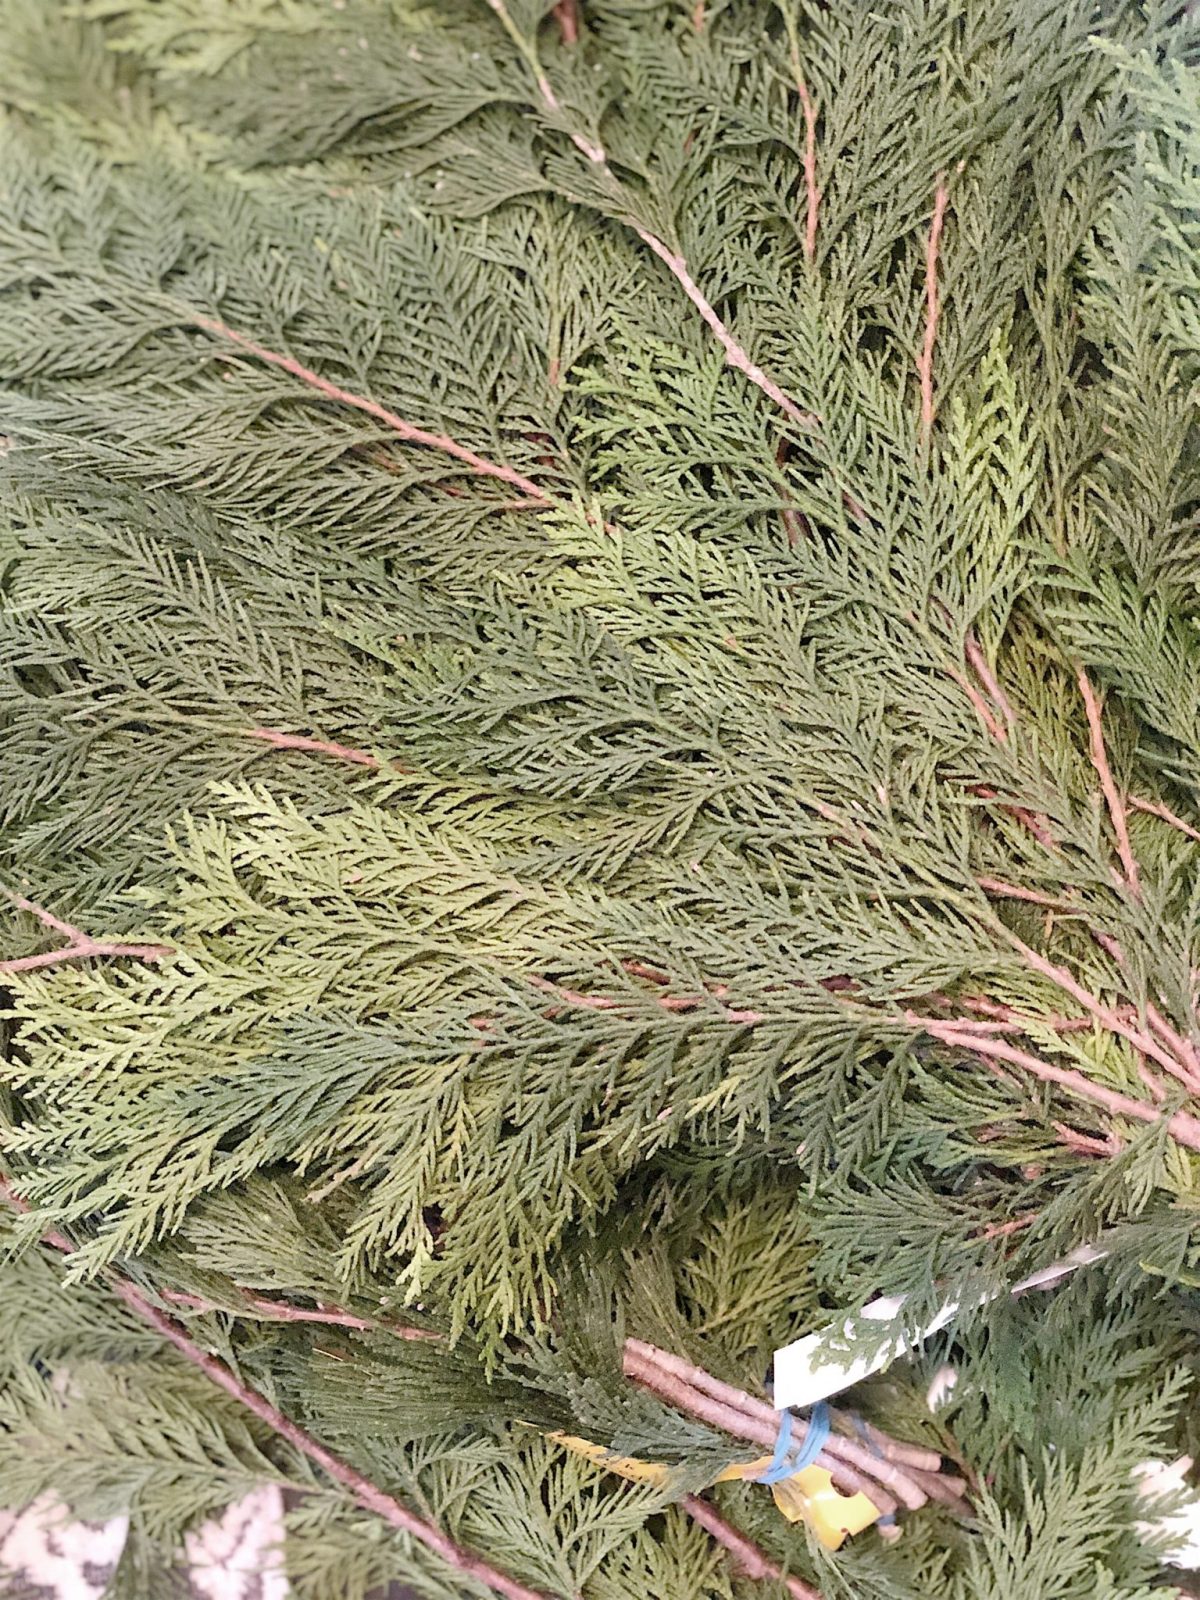
The least expensive thing you will need for the skirt is the fresh pine branches. Our local hardware stores give away the branches in their Christmas tree section. Most of the national hardware chains do the same. These are fresh branches cut off the bottom of the trees and I love that they give them away.
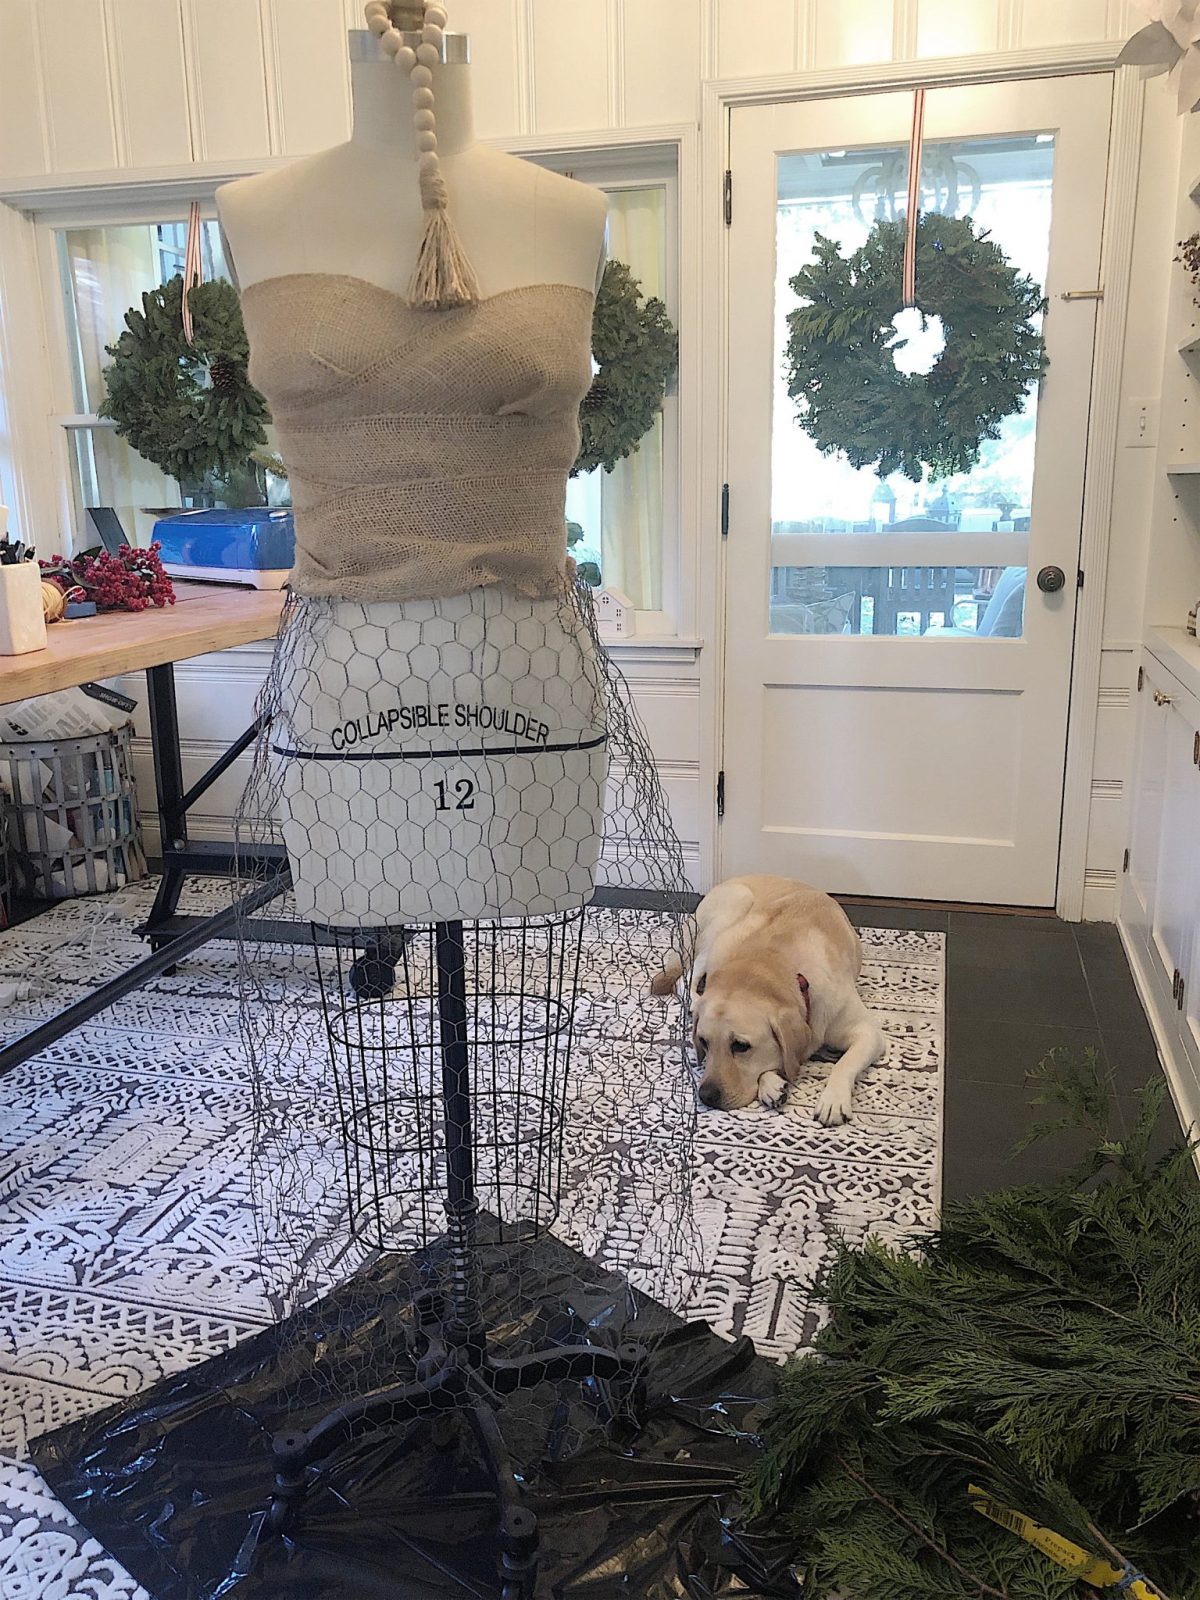
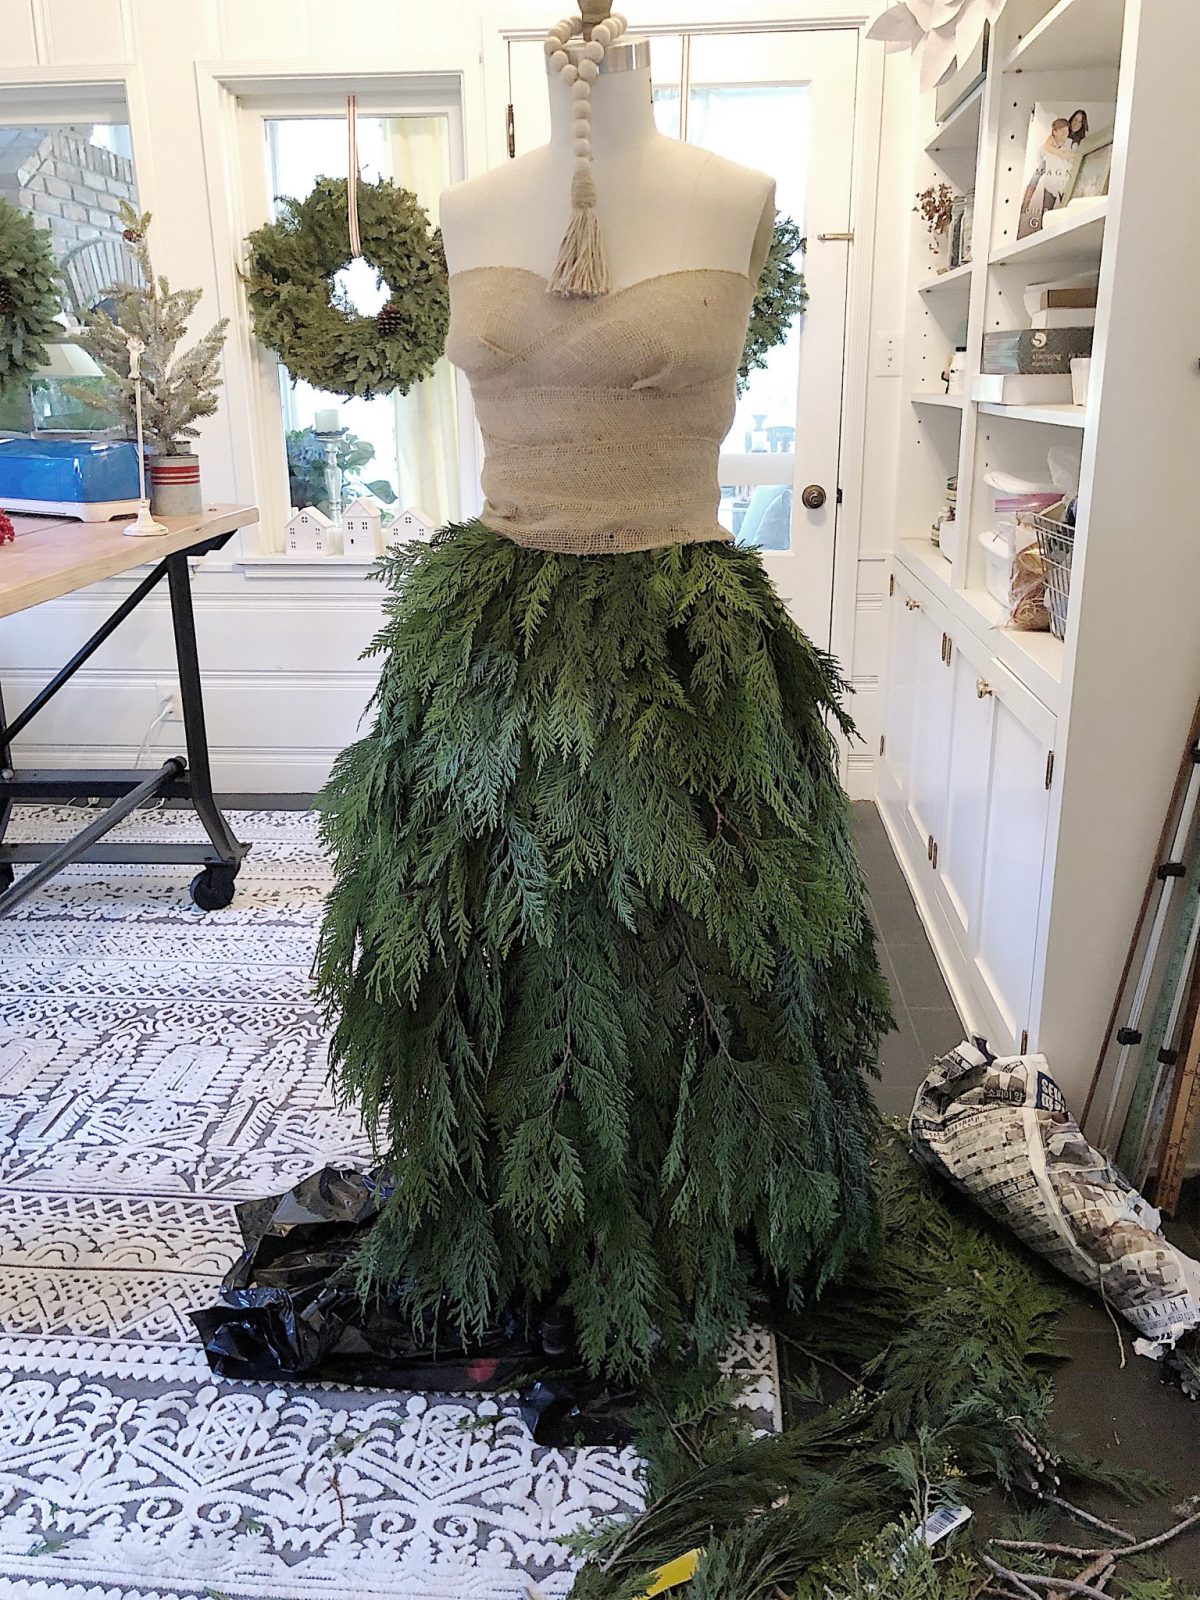
The first thing you need to do is mold a chicken wire skirt over the dress form. I cut a very rough-sized front and back and attached the sides with the wire. I bent the chicken wire to give the shirt some shape and made darts at the top of the skirt by folding the chicken wire and securing it with wire.
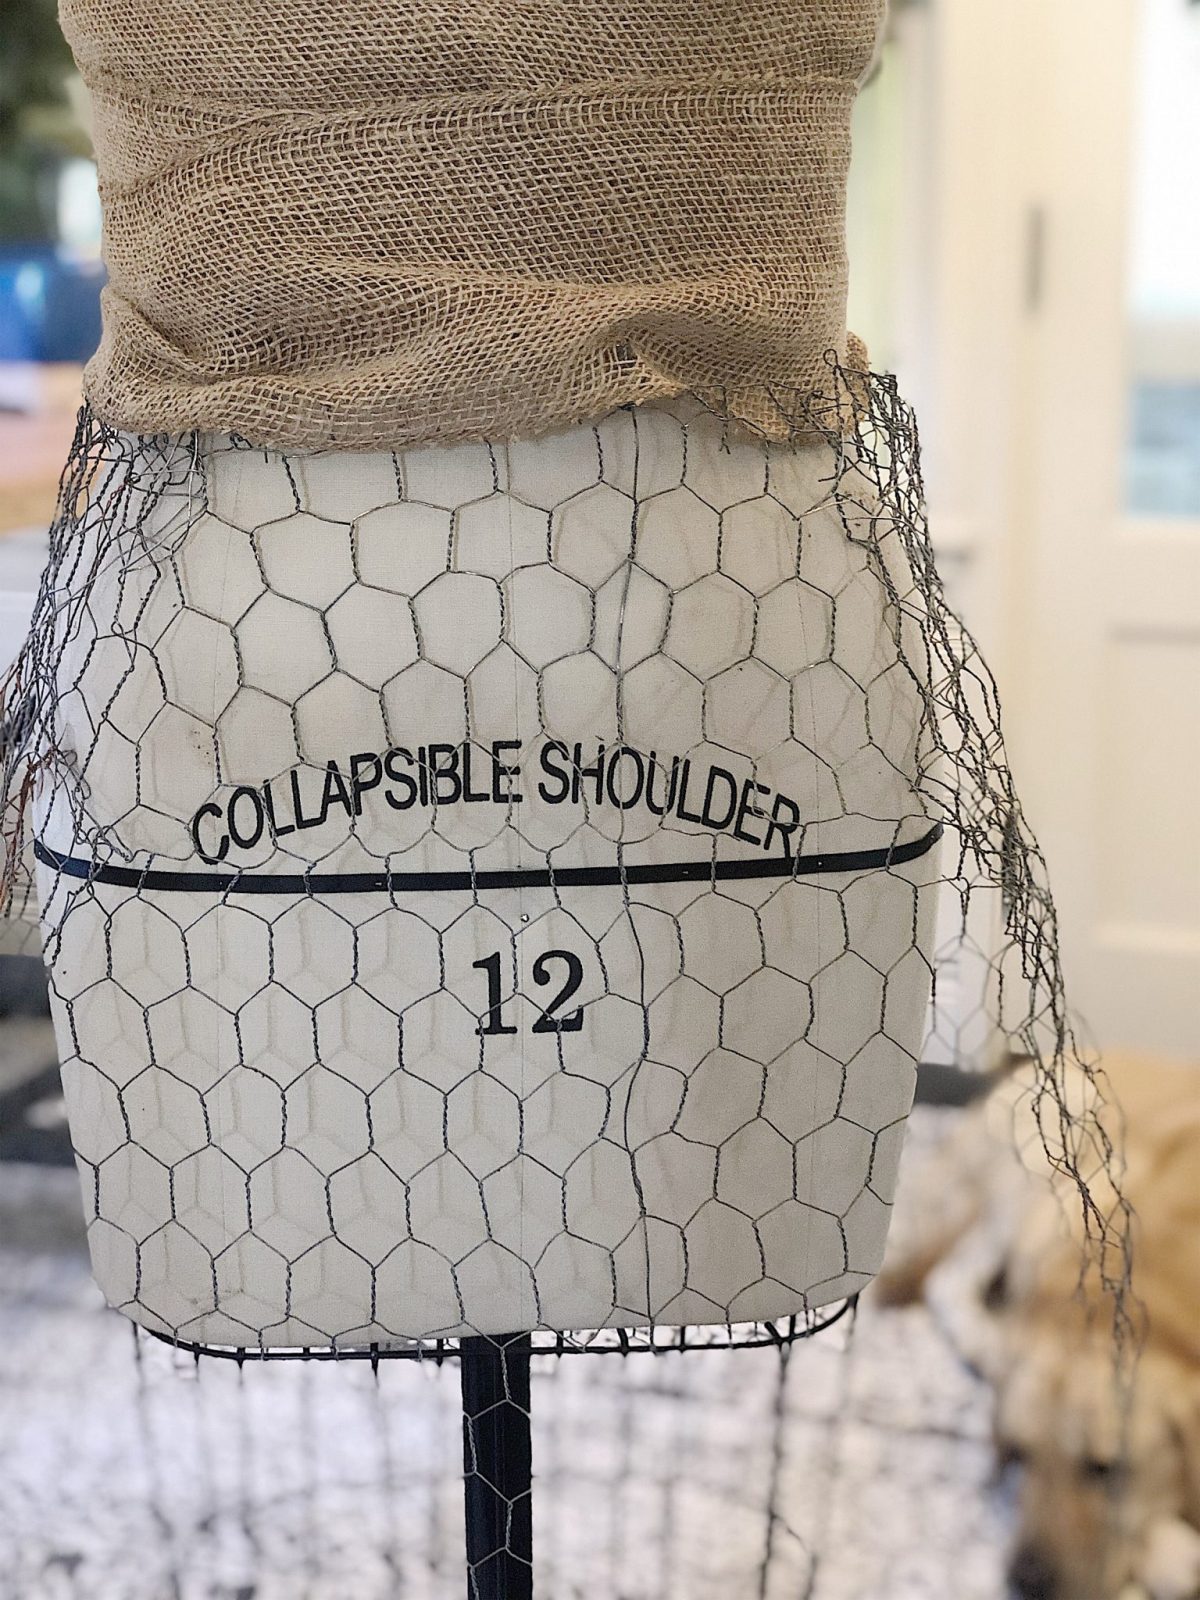
I also had some very wide burlap ribbons that I used for the top of the dress. I just kind of wound it around the dress form and secured it with straight pins.
Next comes the fun part … creating the skirt.
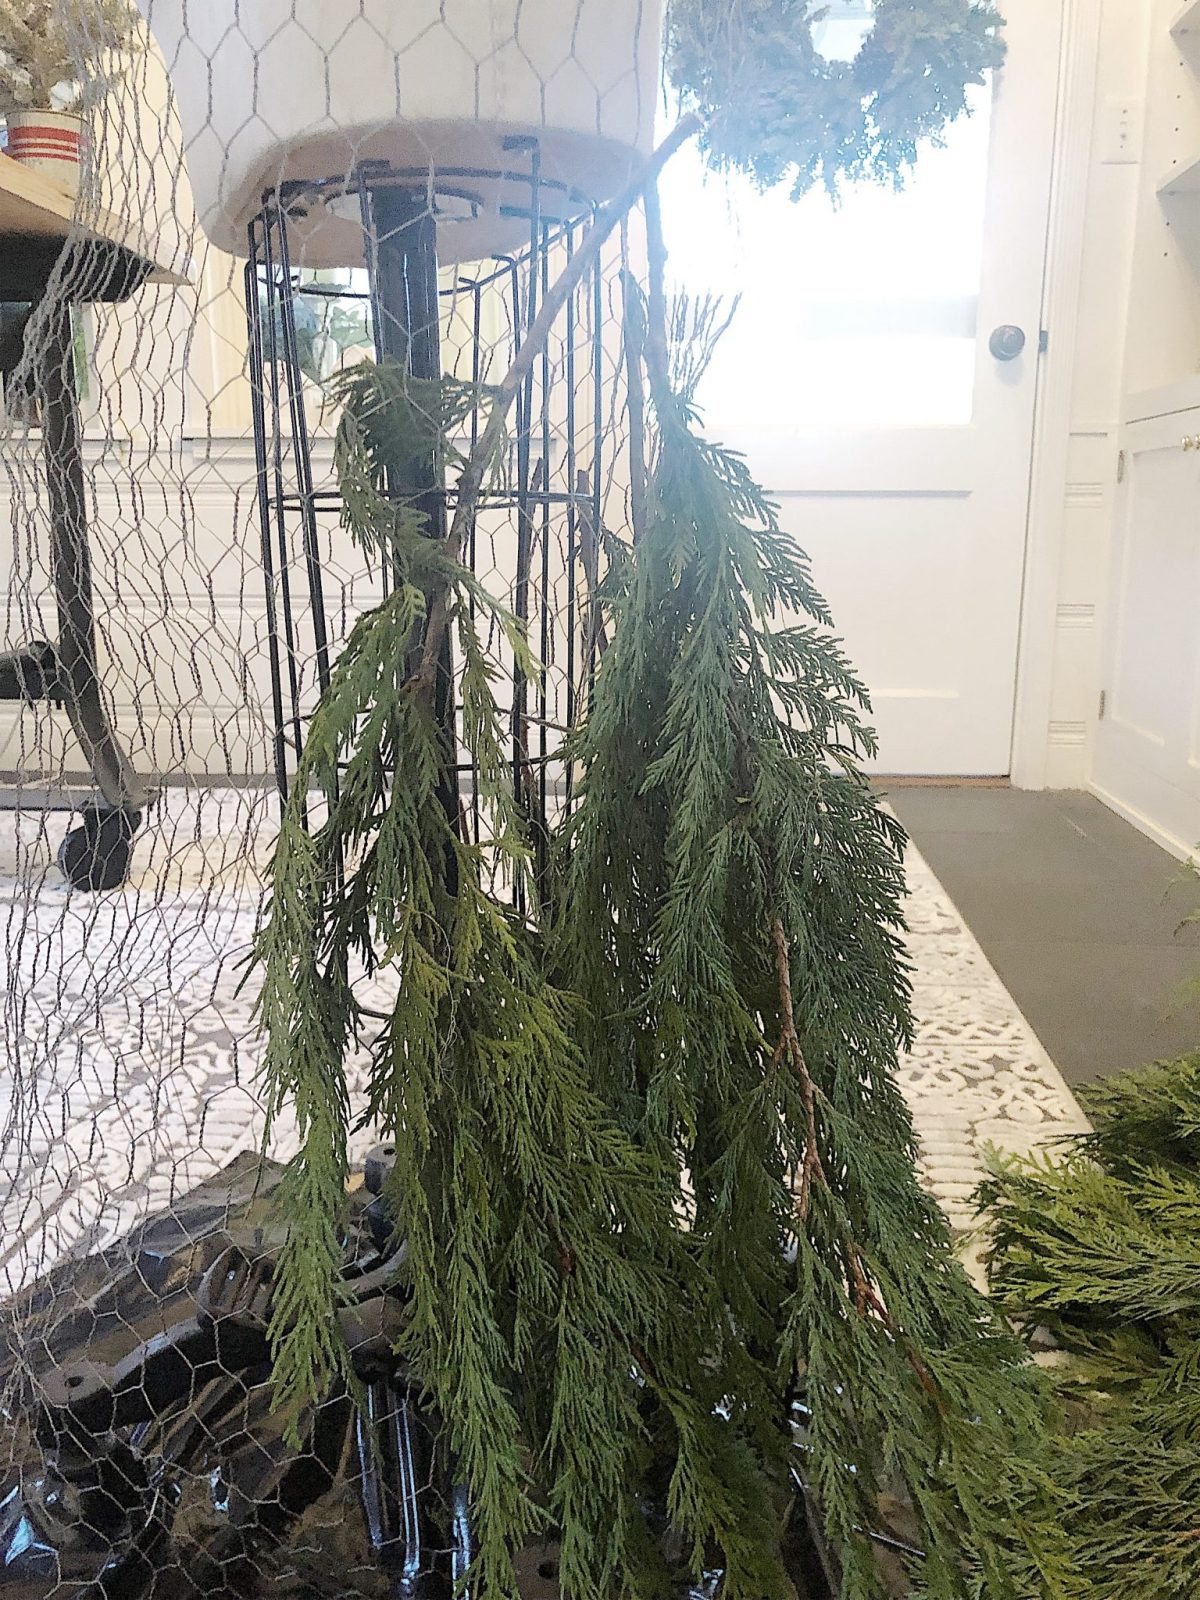
It’s important to start at the bottom of the skirt. Take each branch and weave it through the chicken wire. Start on the outside, stick it through a hole, and weave it back through another hole at the top. this will help secure the pine branch. Fill in the skirt around the back, taking care to keep the skirt length the same.
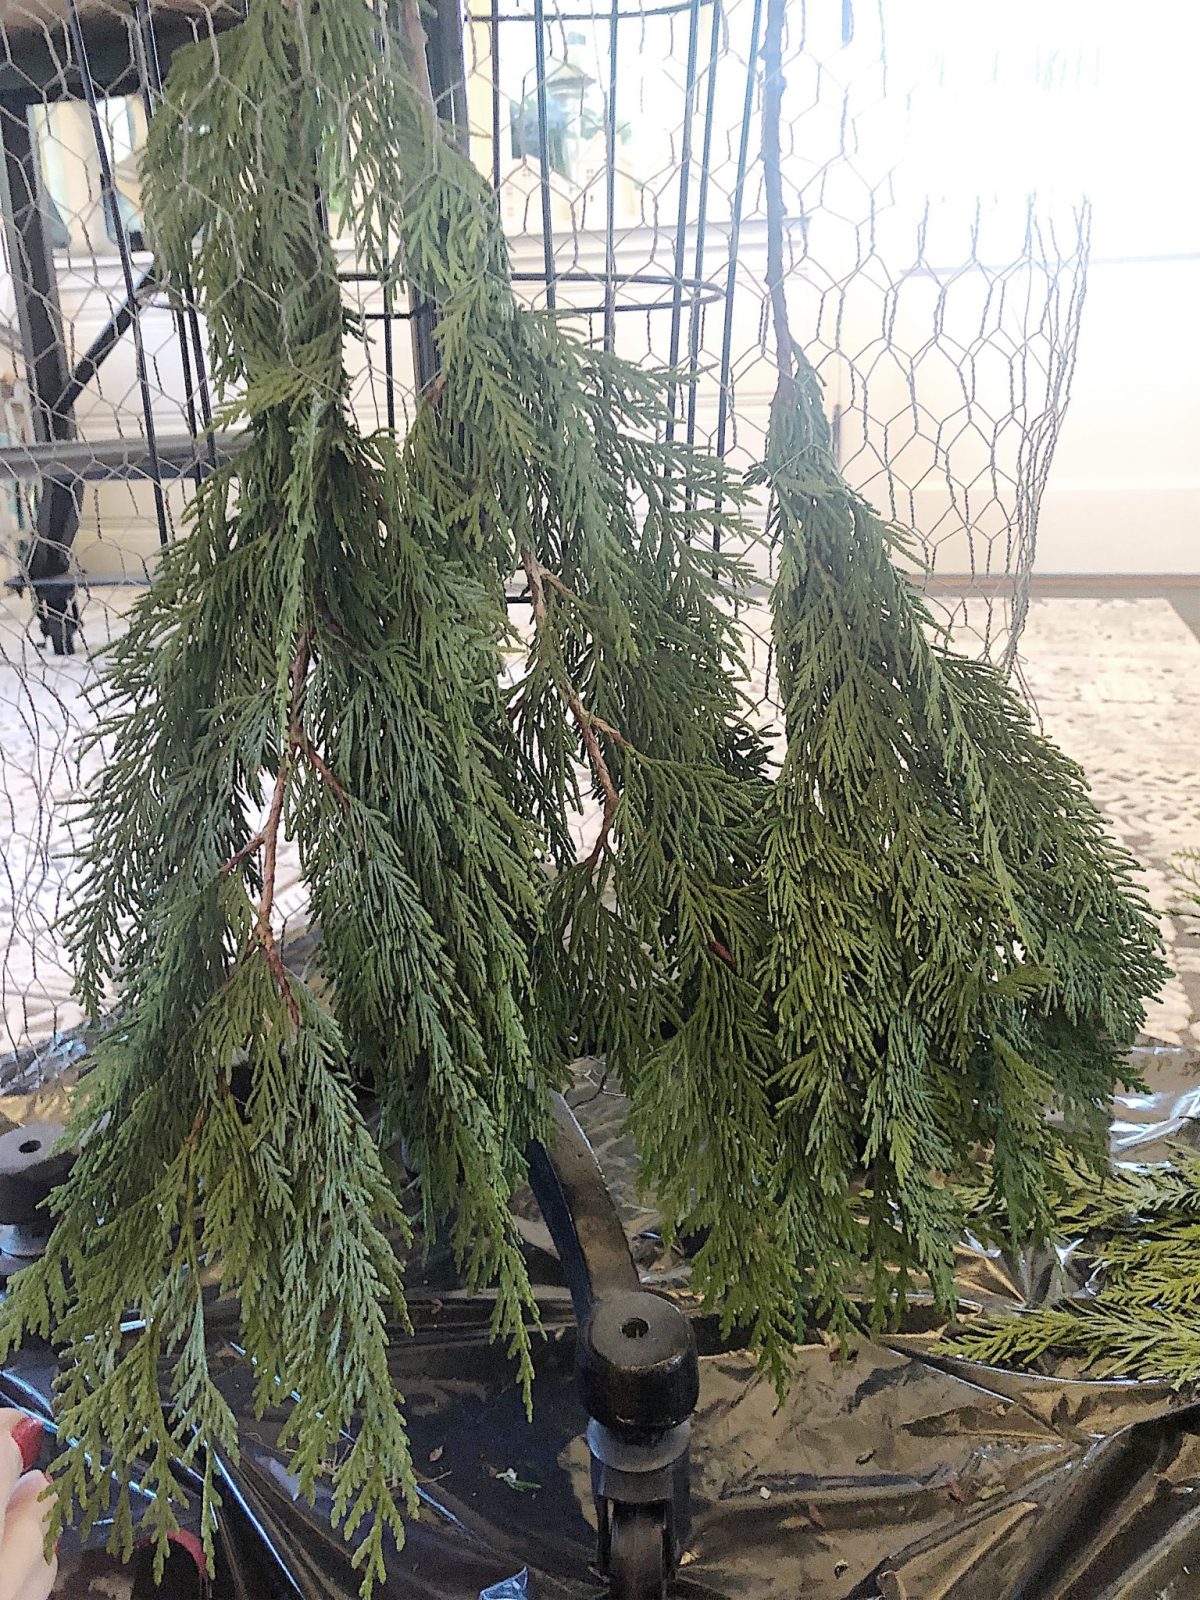
I like to work in sections or layers. For this skirt, I created three layers of branches. I wanted a top layer so that the skirt would have a peplum.
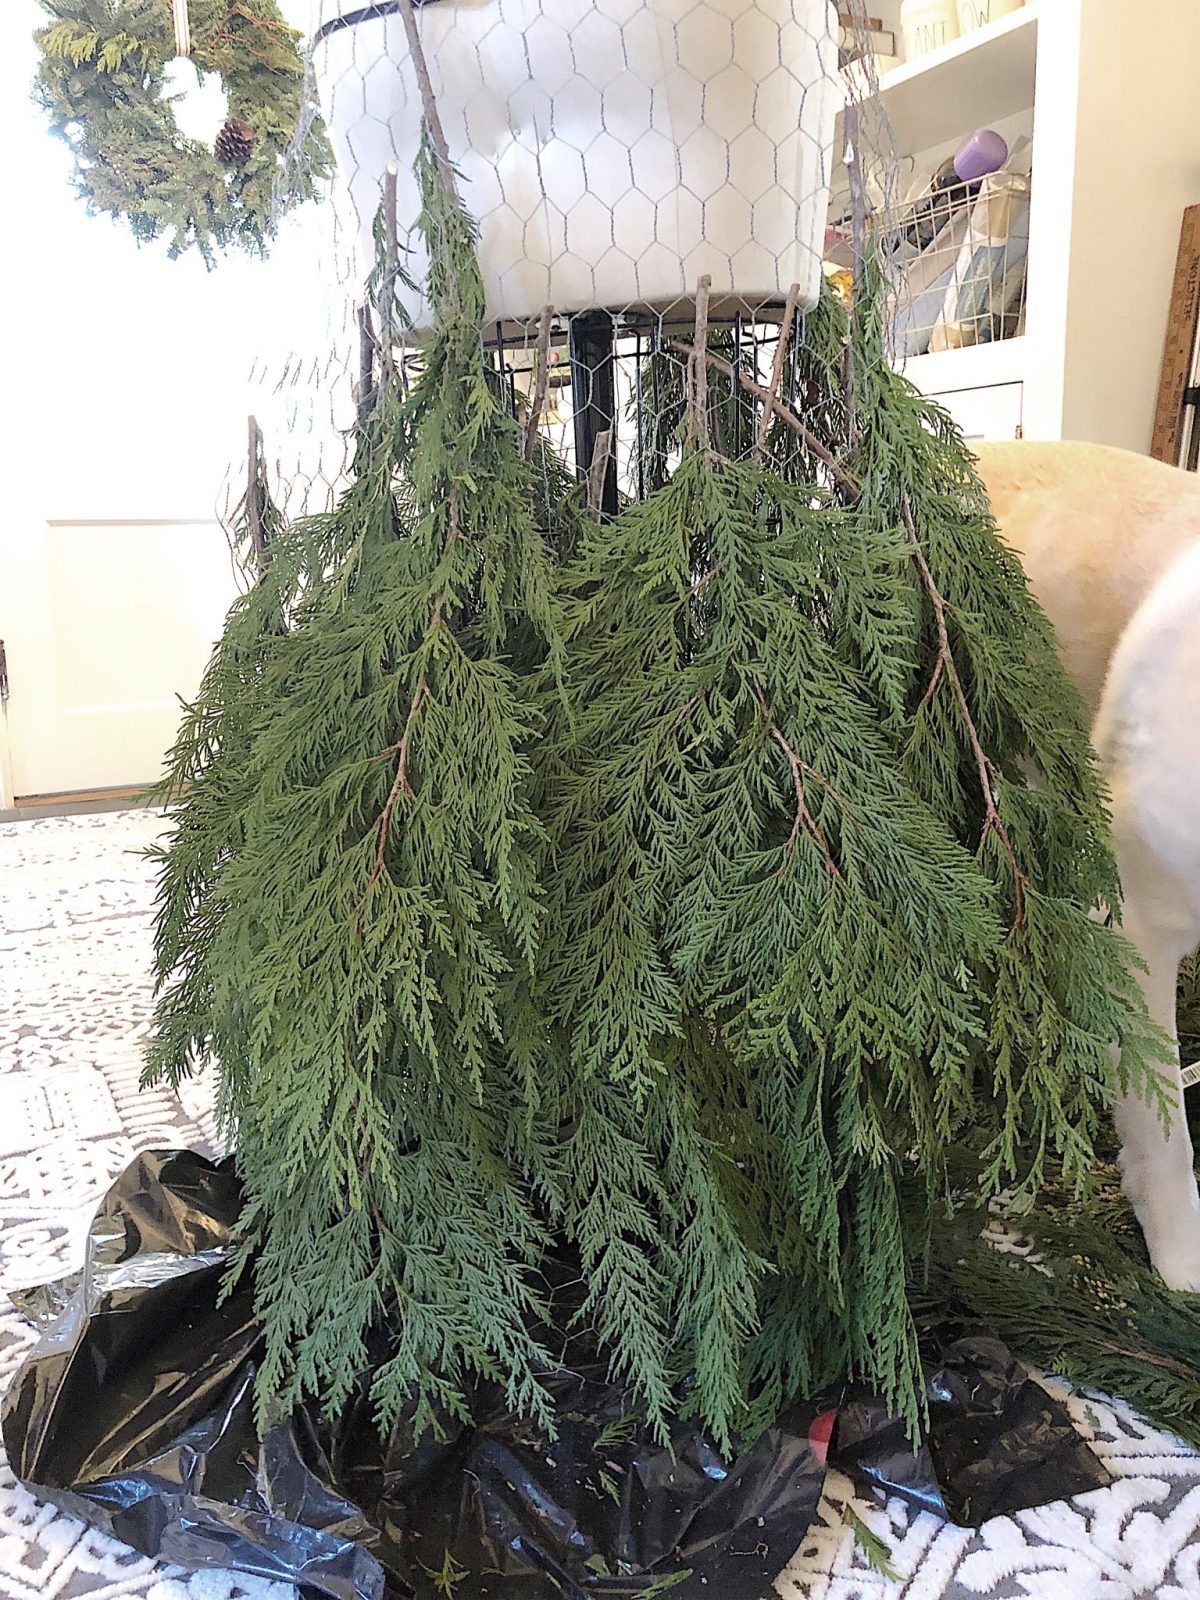
You don’t have to be too careful, the skirt really kind of happens. And it smells so darn good that it is such a fun project!
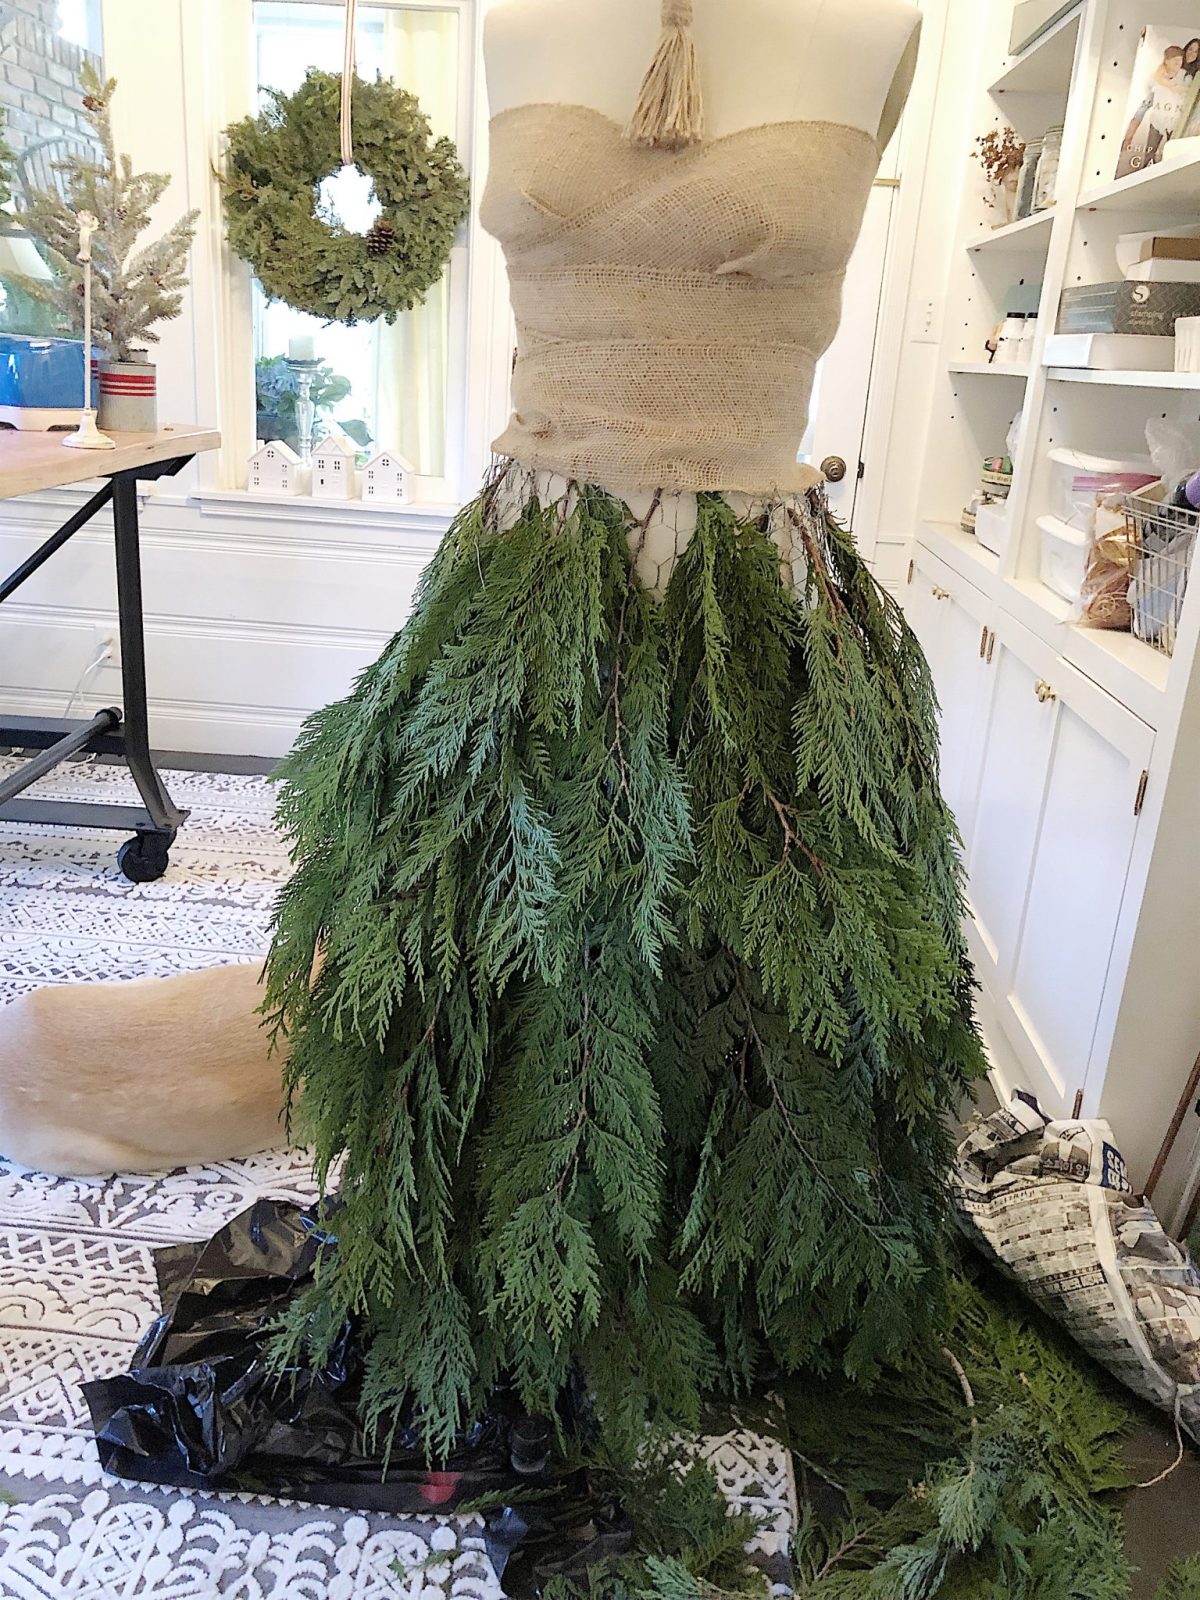
When you get to the top of the skirt, cut some small branches to fill in the holes. As you can see, I kind of created a fourth short layer of branches.
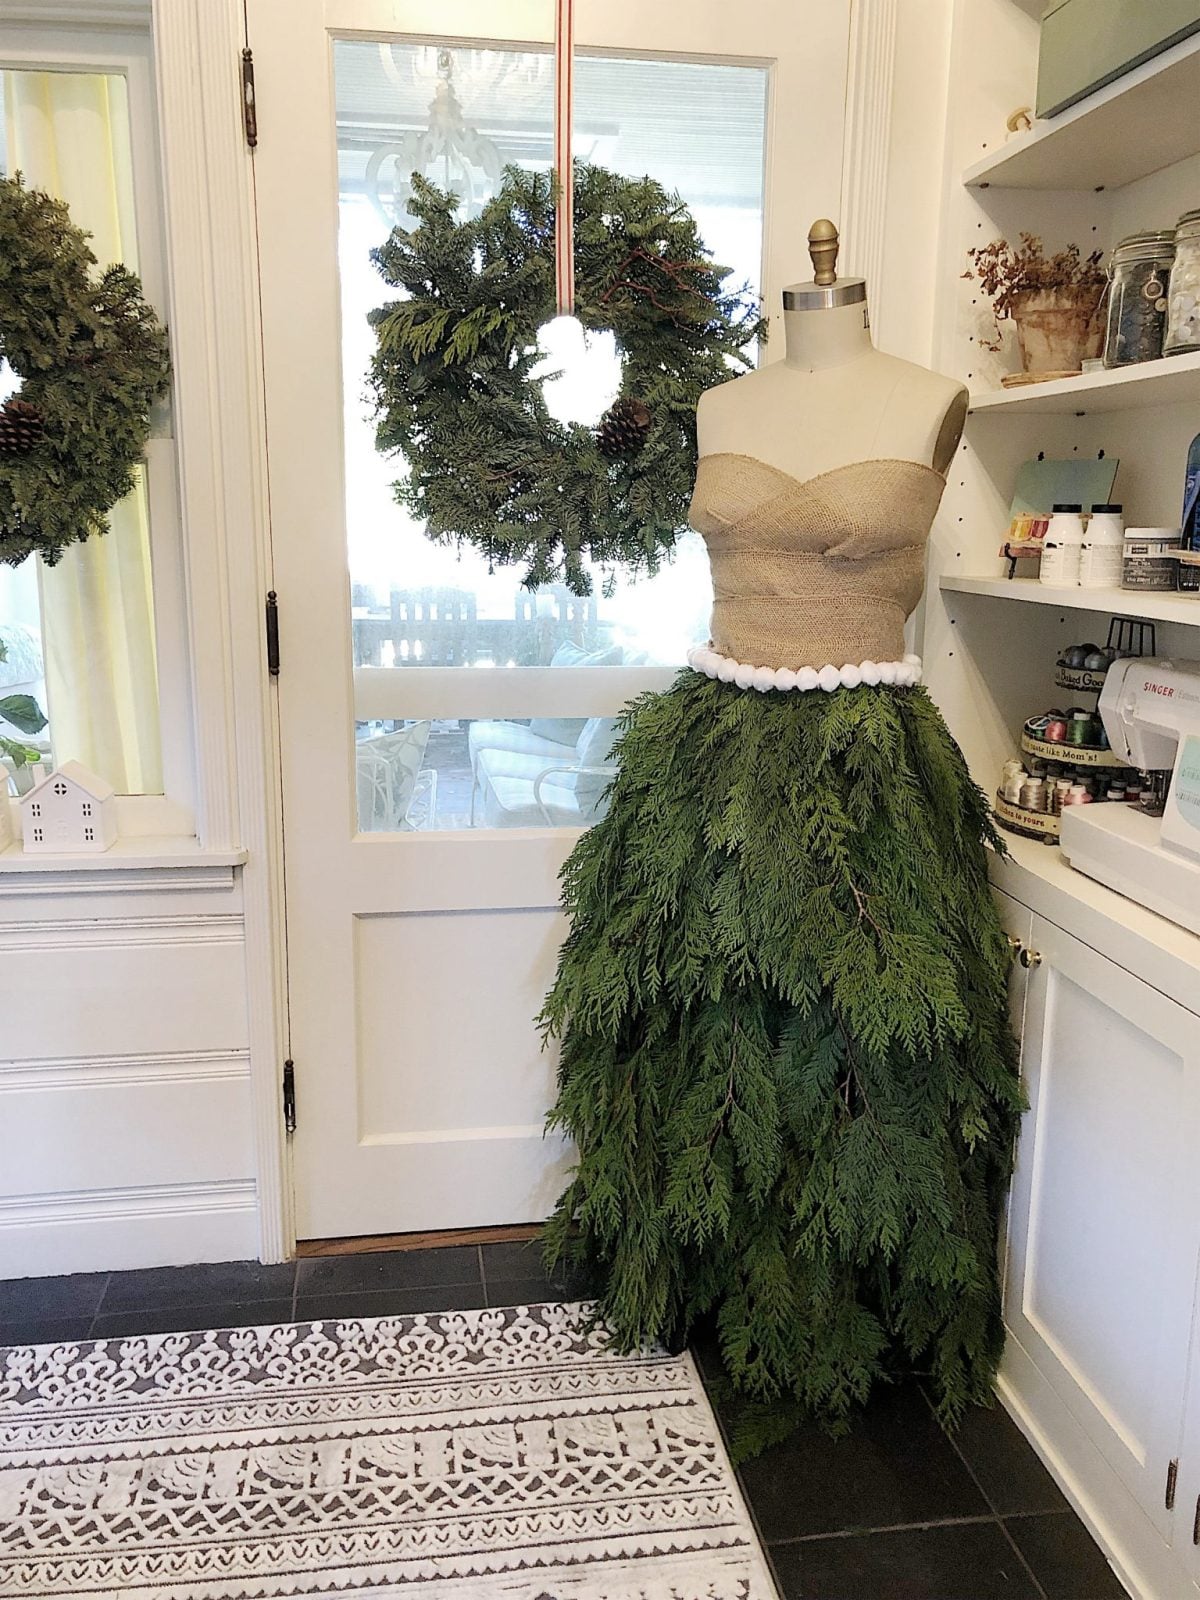
Next, I created a small belt with a string of pom poms I found in one of my Christmas boxes. I love how it turned out.
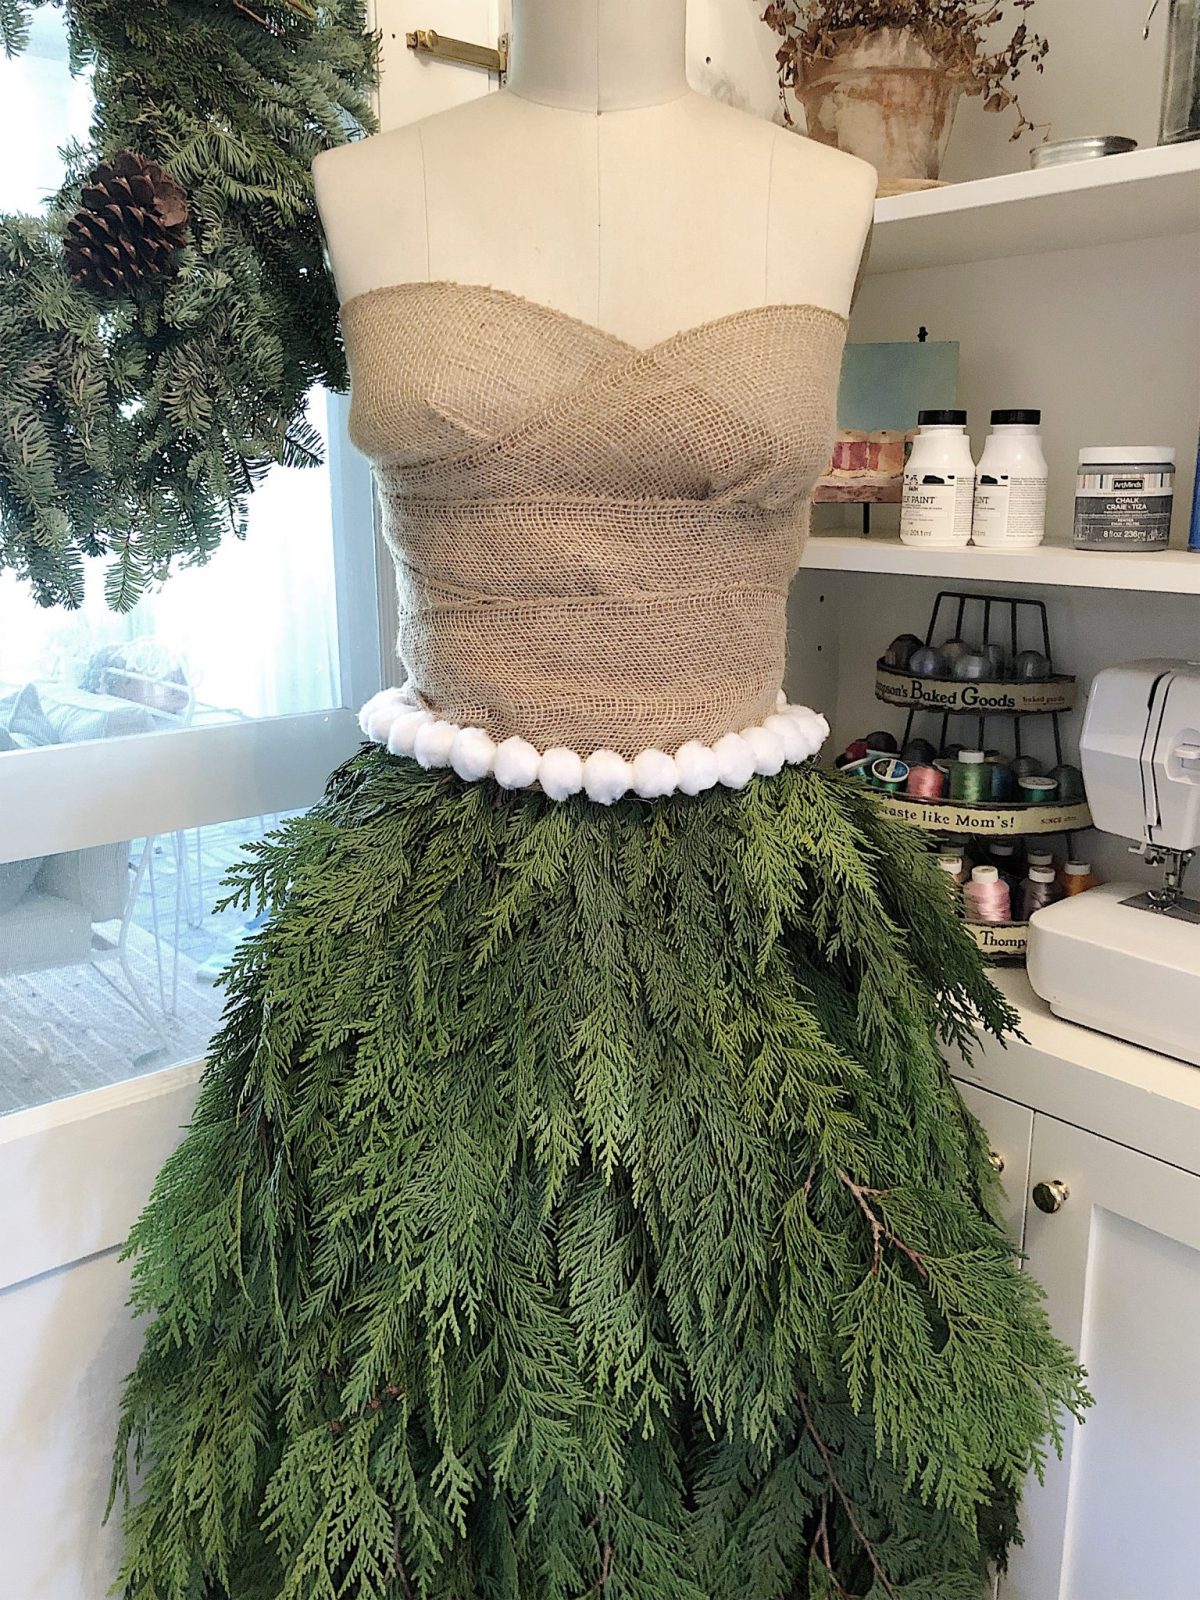
I did try to use some crystals on the bodice but it was what I call “a fail”. I didn’t have enough crystals and they just didn’t look right. I think it looks more like a corset!
I believe it’s a good thing the crystals ended up on my trees instead. Oh well …

This skirt is more my style with the pom poms. And it has made my craft room smell amazing!
Next, you are going to want to head on over to Notting Grace to see her amazing tarnished silver ornaments. This is a wonderful DIY tour and all of the projects are listed below.
2018 Christmas I DIYed That Home Tour

A Blue Nest | Cuter
Tudor | Joy in Our Home | Little by Little Farmhouse
My 100 Year Old Home | Noting Grace | Repurpose and Upcycle | The Homemaking
Momma

The Tattered Pew | Thrifty and Chic Decor | Uniquely Taylor
Made
Feel free to share or pin this post here!



Leslie – I just love this idea! Now I need to find a dress form of my own! The pom-pom detail is perfection and I love that your sweet pup sat by your side! Thanks for the inspiration and for joining our hop!
Very cute! 💕
Leslie this is the most creative Christmas DIY I’ve seen! I love it.
This is gorgeous, Leslie, and much easier than I would have thought! I’m definitely making one of these for Ava’s room next year!
Love this version.. Will definitely try this, this
Week!! Thanks
Absolutely stunning 😉 I love how the outfit has a beige shoulderless burlap top, then
turns into a gorgeous layered green tree garland skirt. the white pom pom belt really
sets the outfit off…