How to Dye Easter Eggs Using Silk Fabrics
Every spring, I love trying new ways to decorate Easter eggs. I revisited one of my all-time favorite techniques: dyeing Easter eggs with silk fabrics.
There’s something nostalgic and satisfying about sitting down with eggs, your favorite materials, and a little time to get creative—especially when the end result looks like this!


How to Dye Easter Eggs Using Silk Fabrics: A Gorgeous No-Skill-Required Technique
Initially inspired by Martha Stewart’s Egg Dyeing with Silk Fabrics project, this method has truly become my go-to for creating beautiful, one-of-a-kind eggs with vibrant patterns—no painting or art skills required!
This idea was first shared by my idol Martha Stewart in 2013. I have thought about it for years, but I am not sure why I haven’t shared it here before.
I have a feeling you are going to love this.
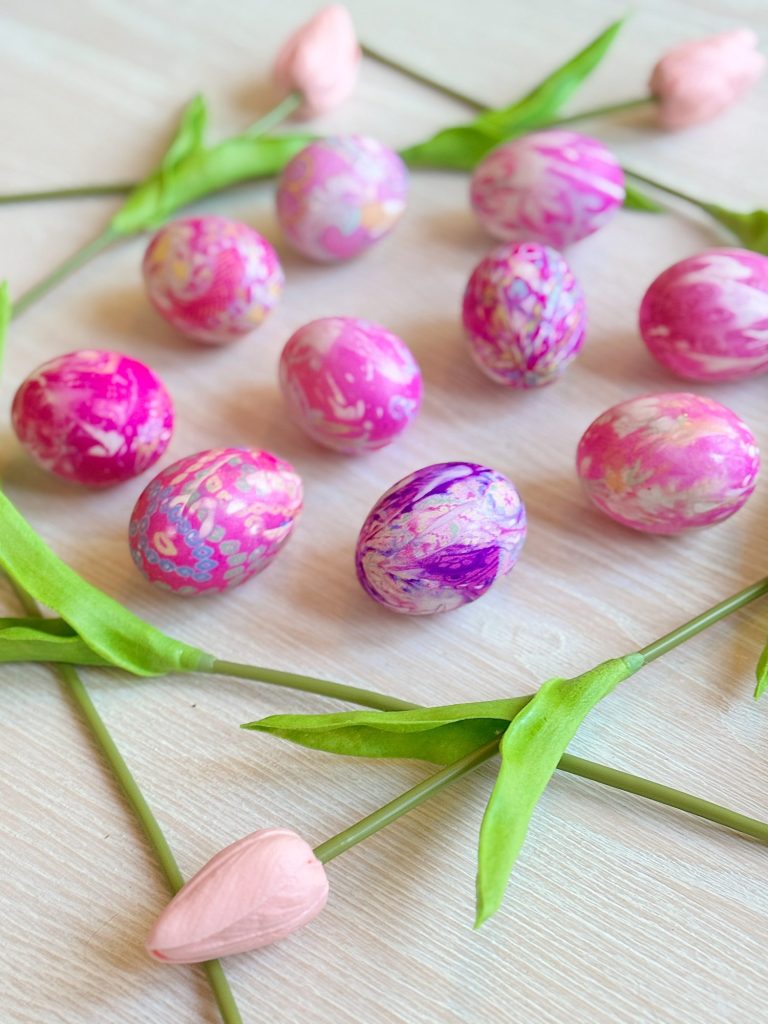
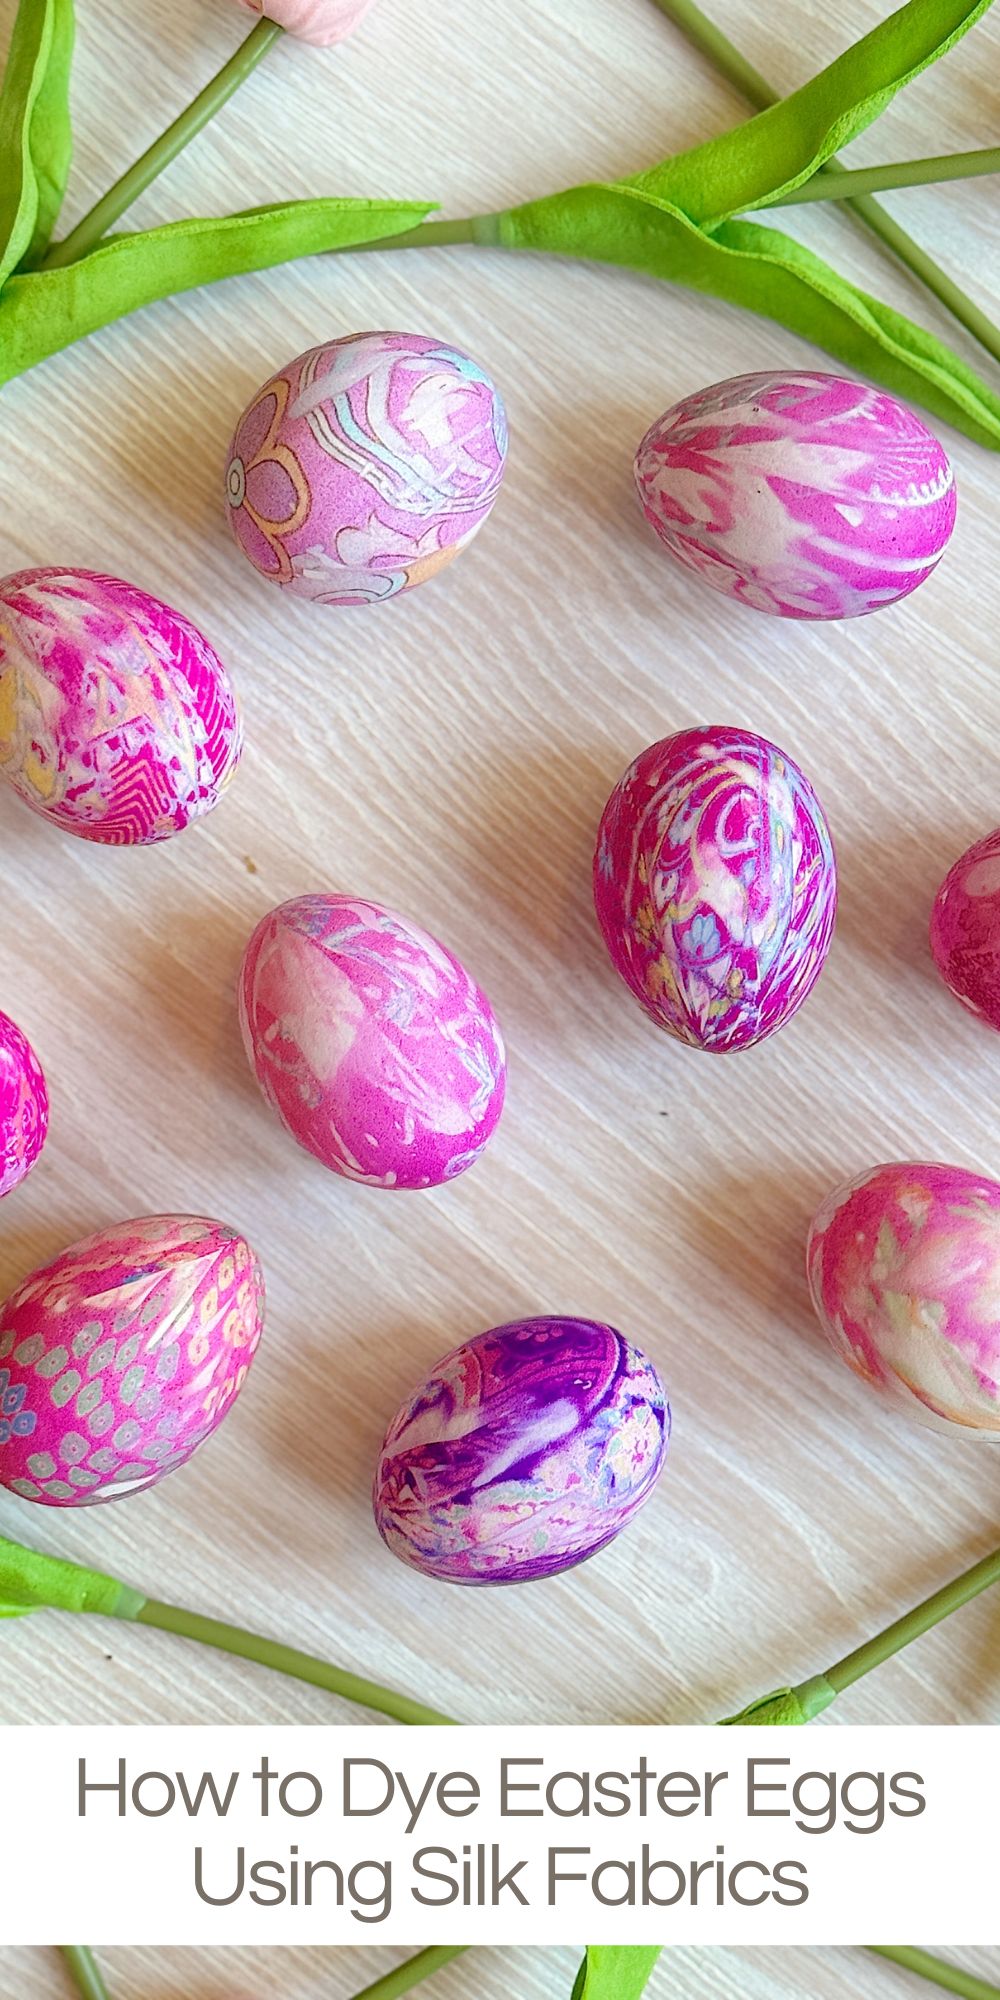
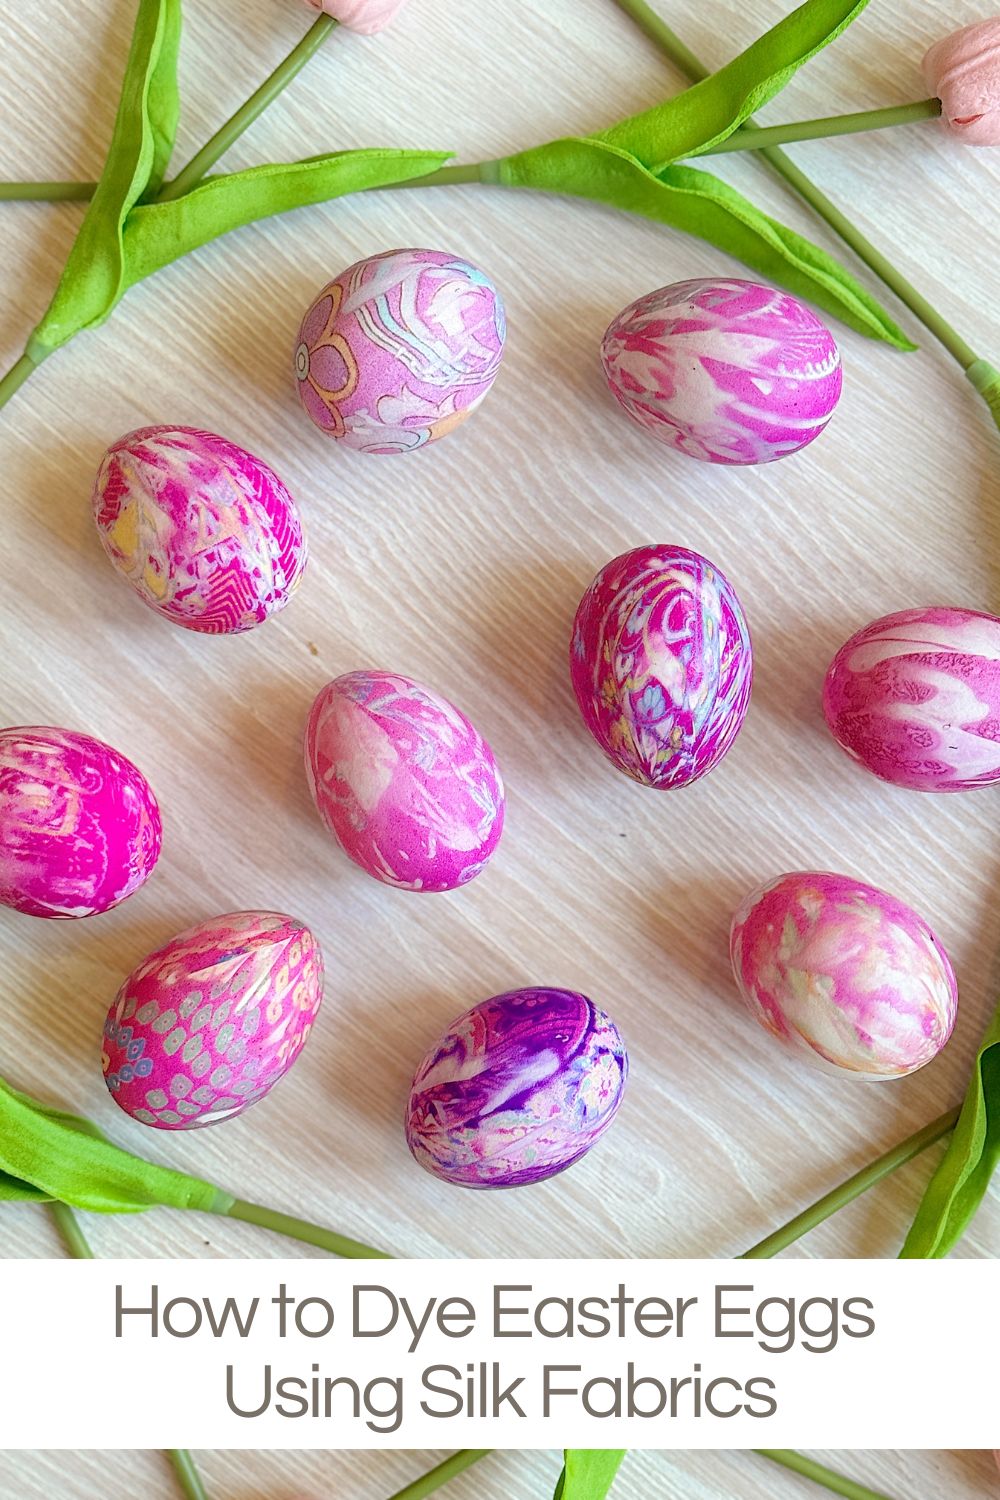
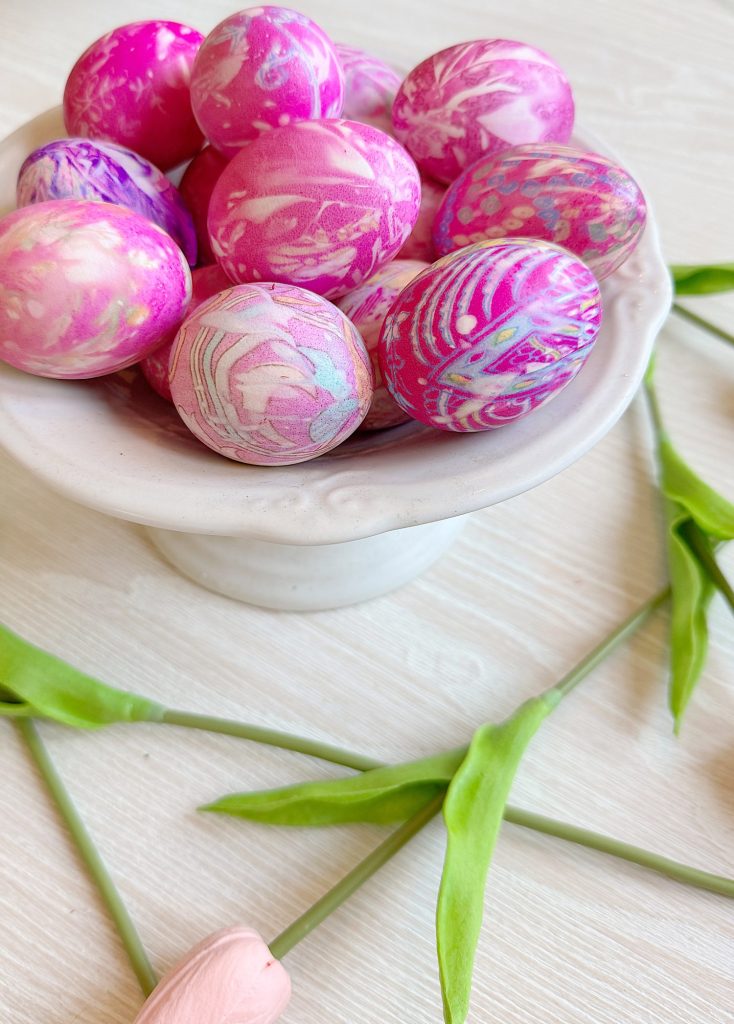
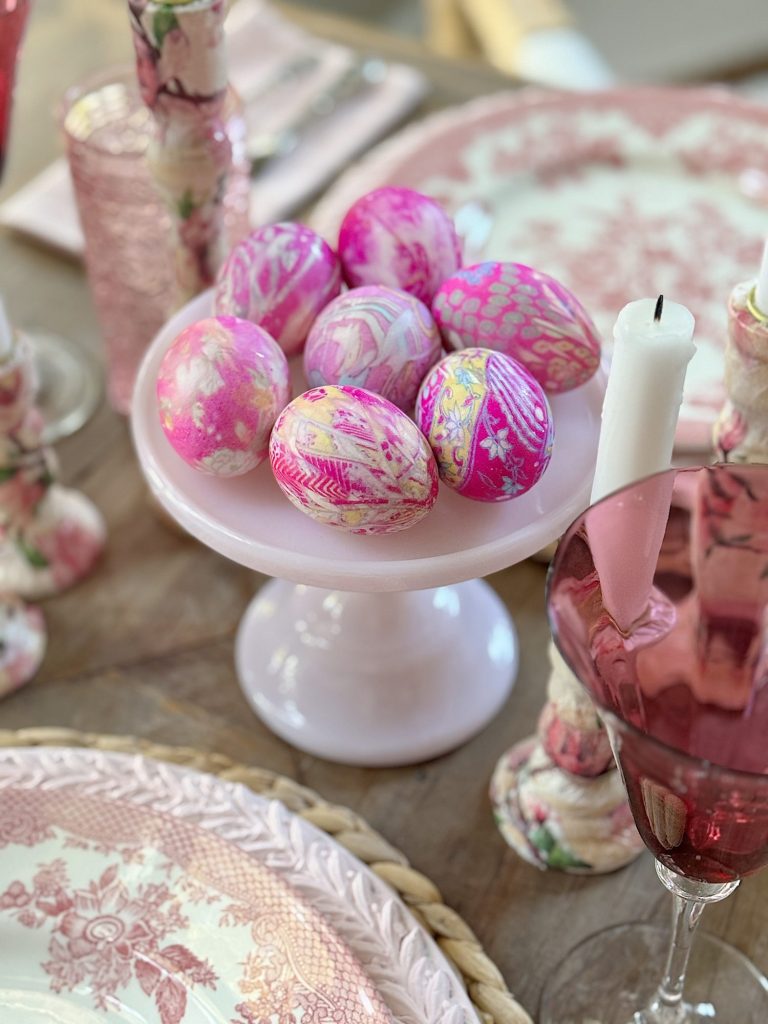
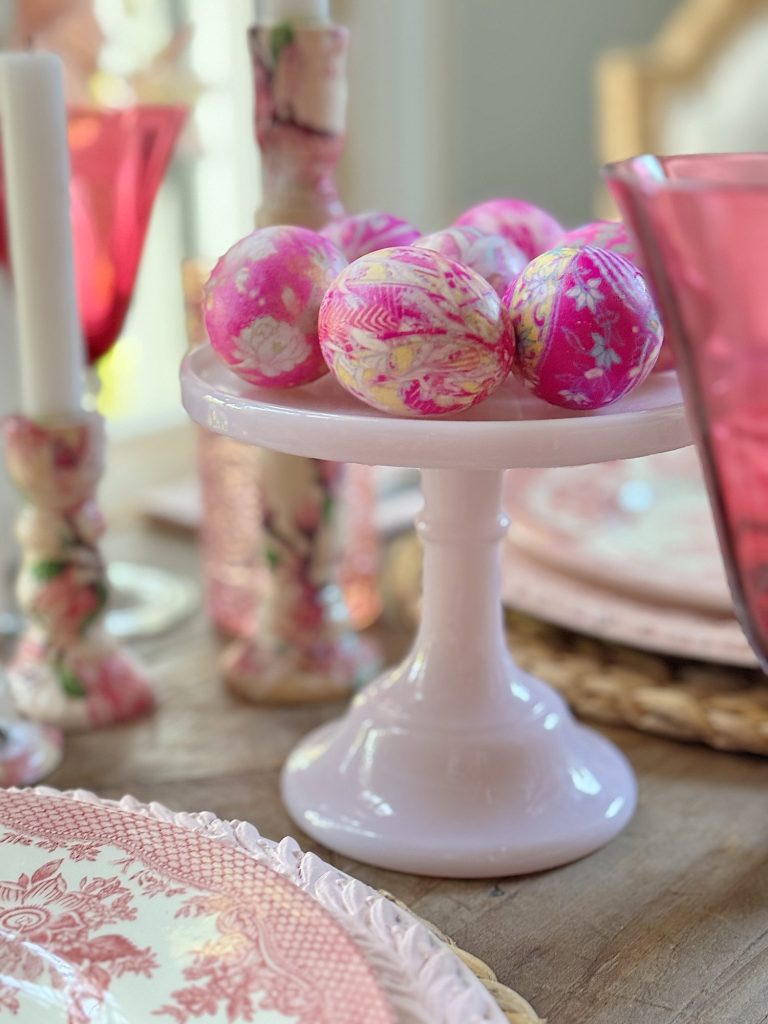
Who knew Amazon sold pieces of silk fabric? I selected pink, and he results were terrific. The fabric’s rich colors and intricate patterns transferred perfectly onto the eggs, giving them a professional, almost marbled effect.
Whether you’re crafting with kids or want an elevated spring decor look, these eggs will surely wow your guests.
Today I will explain every step of the silk-dyeing process, what materials to use, tips for the best results, and how to display your finished eggs. Let’s get started!
I may sometimes use affiliate links on this blog, which means a small commission is earned if you purchase via the link. The price will be the same whether you use the affiliate link or go directly to the vendor’s website using a non-affiliate link.

What Is Silk-Dyed Egg Decorating?
Unlike traditional methods that rely on food coloring or dyes, this technique uses 100% silk fabric to transfer colors and patterns directly onto the shell of a hard-boiled egg. The process involves wrapping the egg in silk, securing it, and then boiling it with vinegar to “set” the pattern. The result is a stunningly colorful egg that looks hand-painted—but the silk does all the work!
Martha Stewart introduced this idea years ago; since then, it’s become a cult-favorite Easter DIY. I’ve tried it multiple times over the years, and this time, I wanted to share exactly what worked for me, using modern materials sourced from Amazon.
Materials You’ll Need:
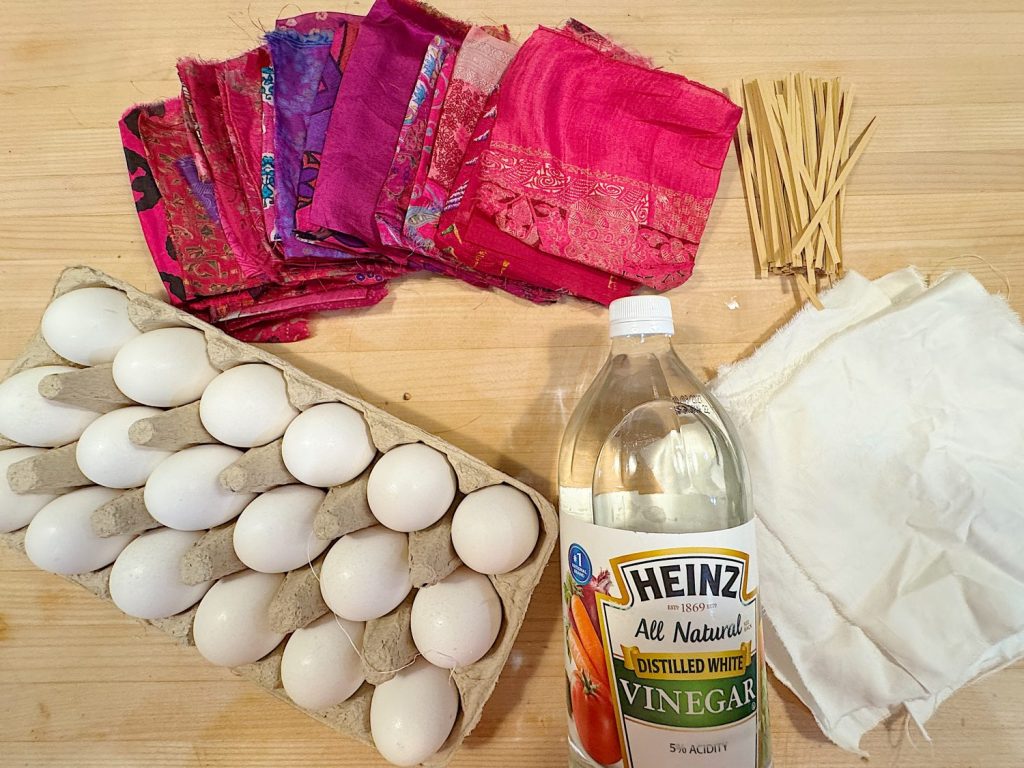
- White eggs (raw)
- 100% silk fabric (neckties, scarves, or fabric scraps) – see below!
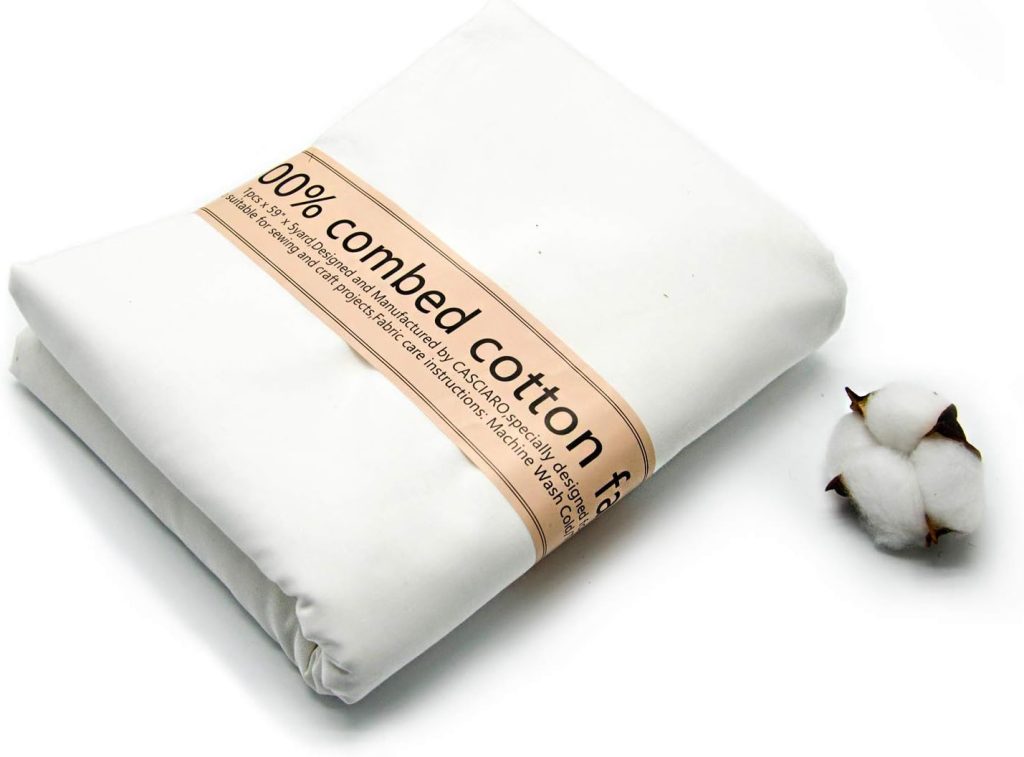
- White cotton fabric or an old pillowcase (to secure the silk)
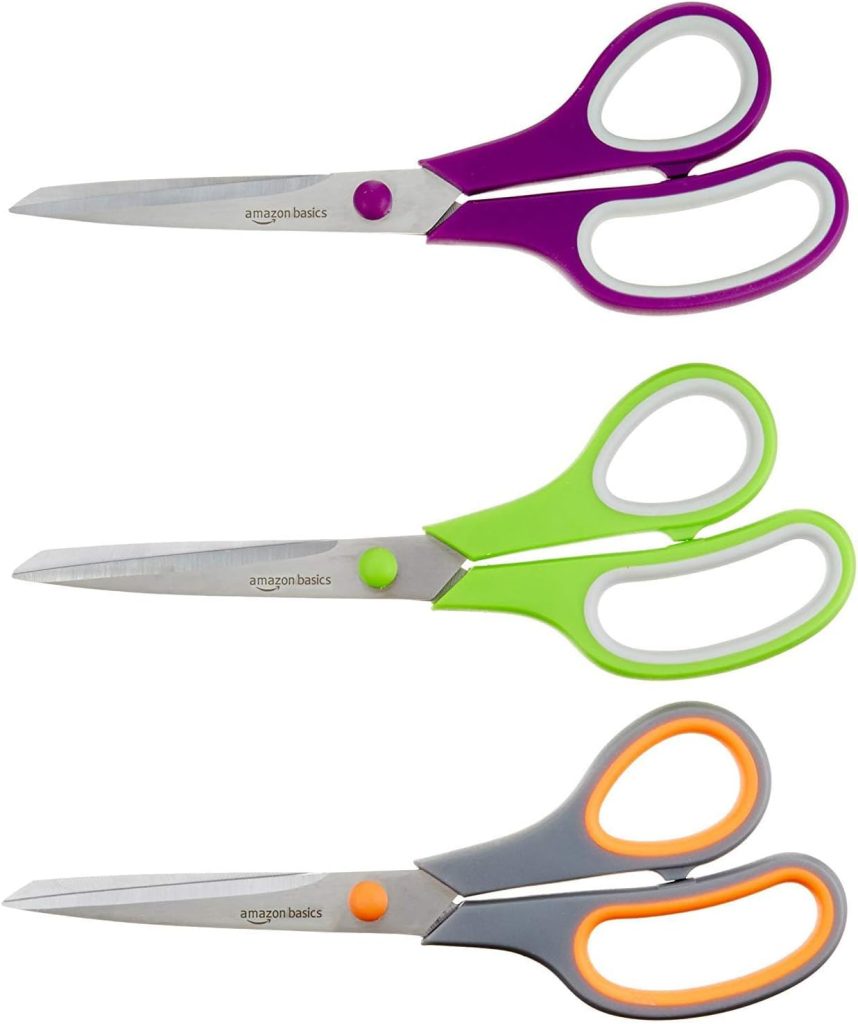
- Scissors
- Twist ties, rubber bands, or string
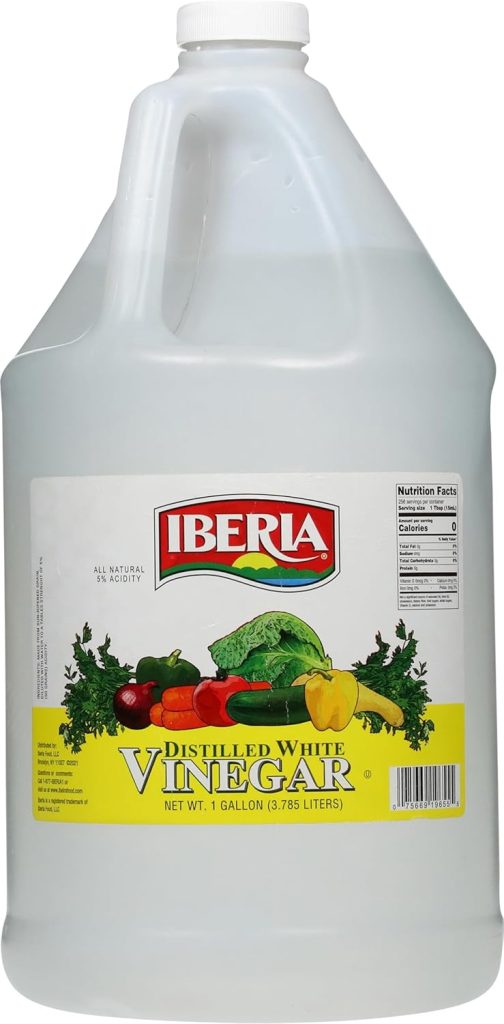
- White vinegar
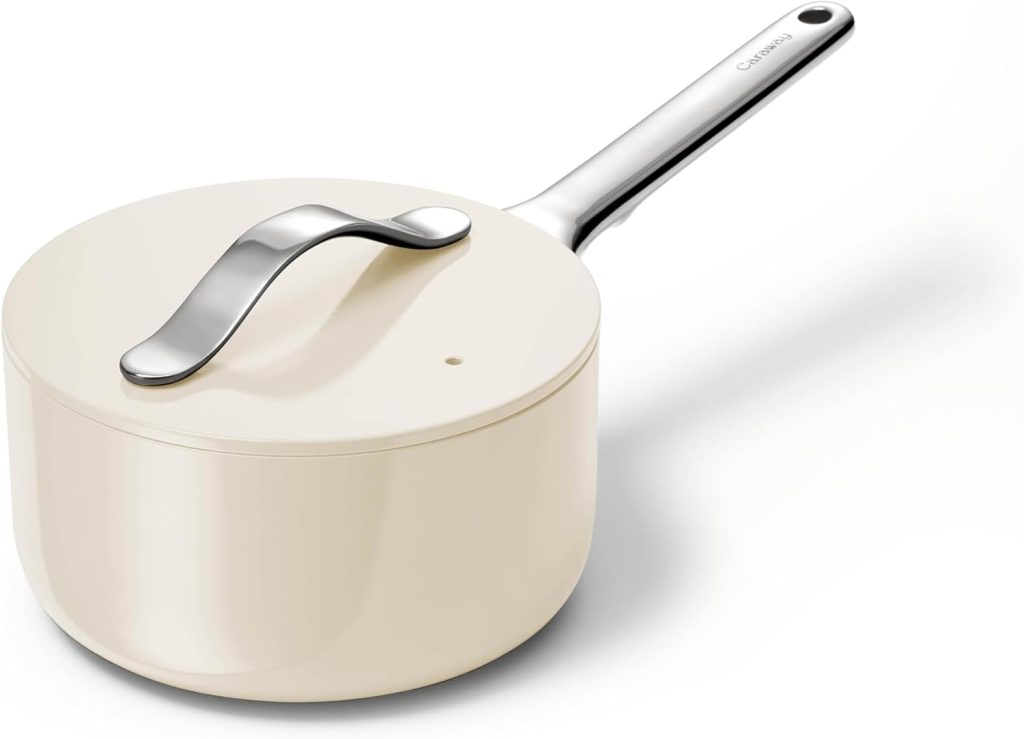
- A non-aluminum pot
- Water
- Tongs or a slotted spoon
- Paper towels or a drying rack


Choosing the Right Silk
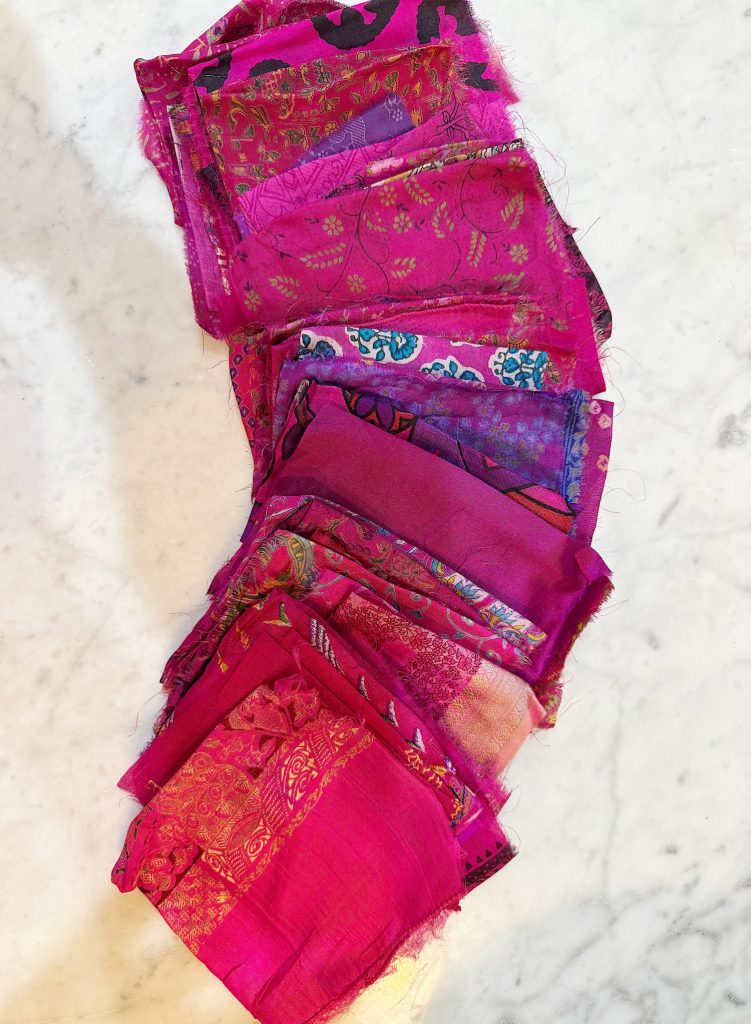
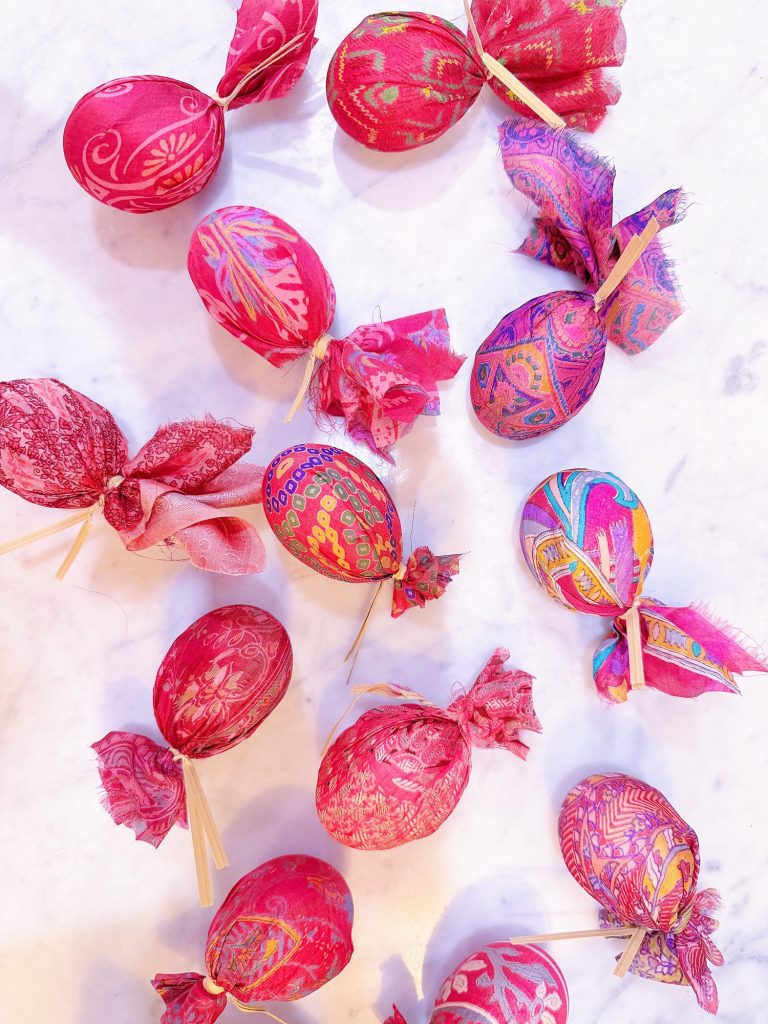
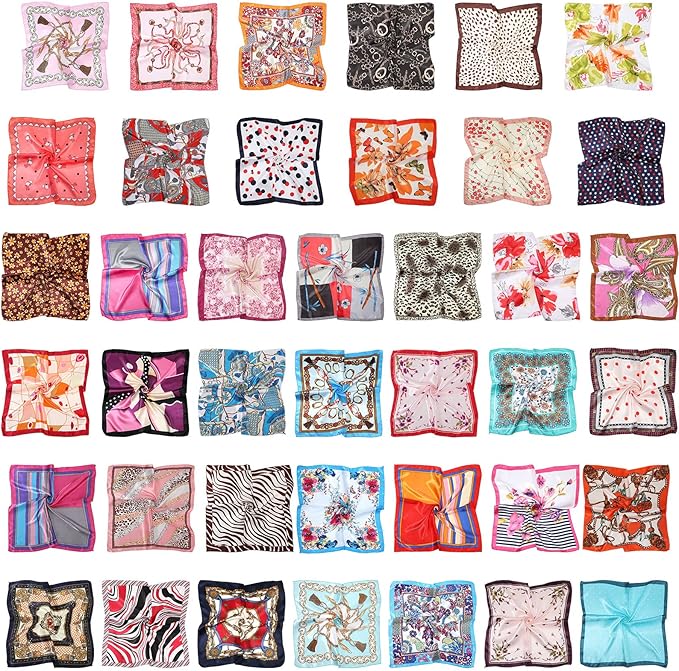
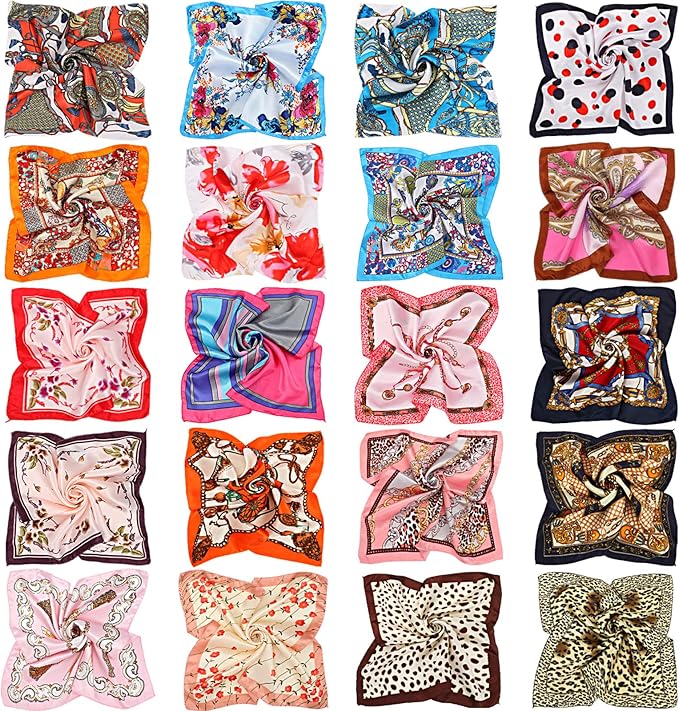
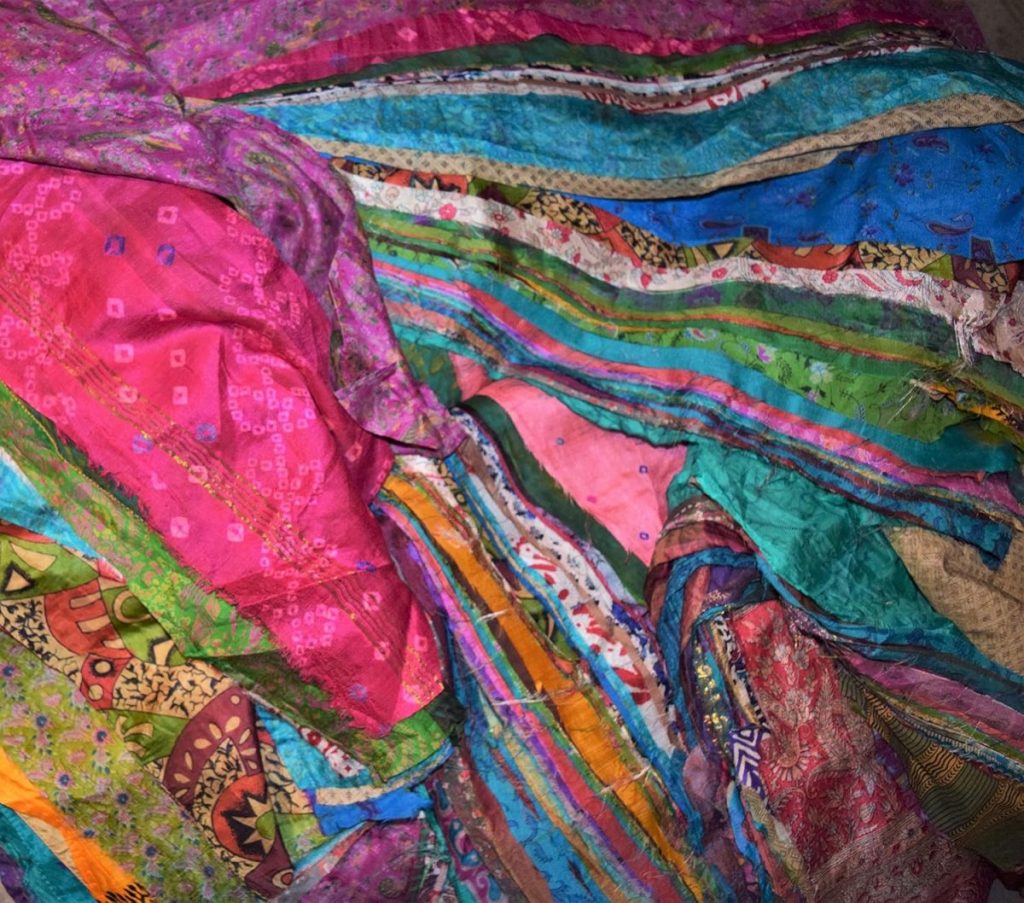
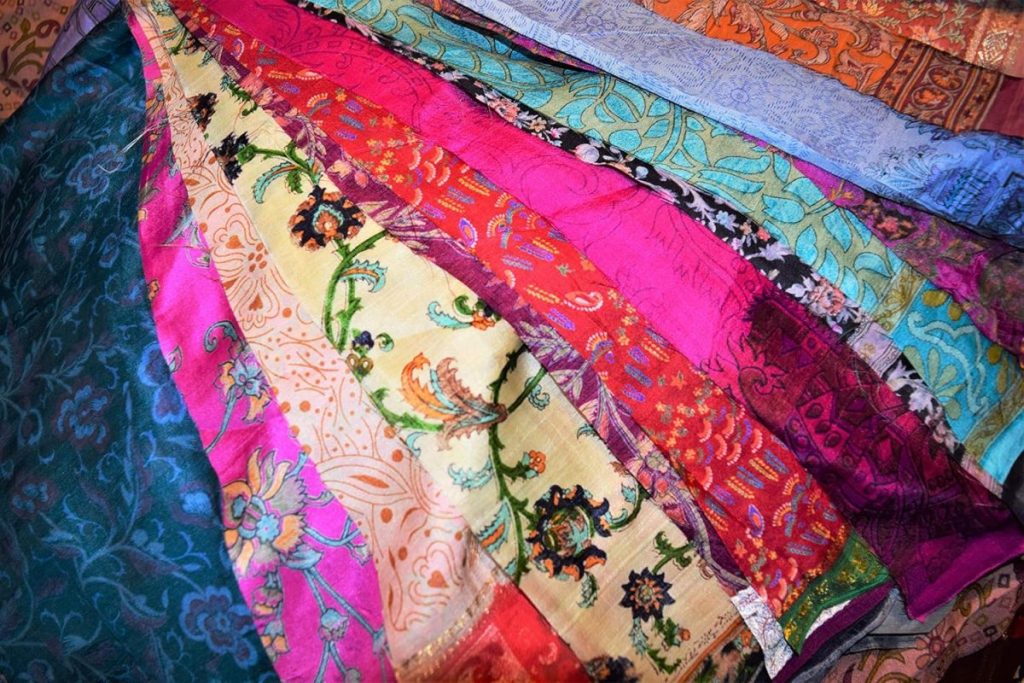
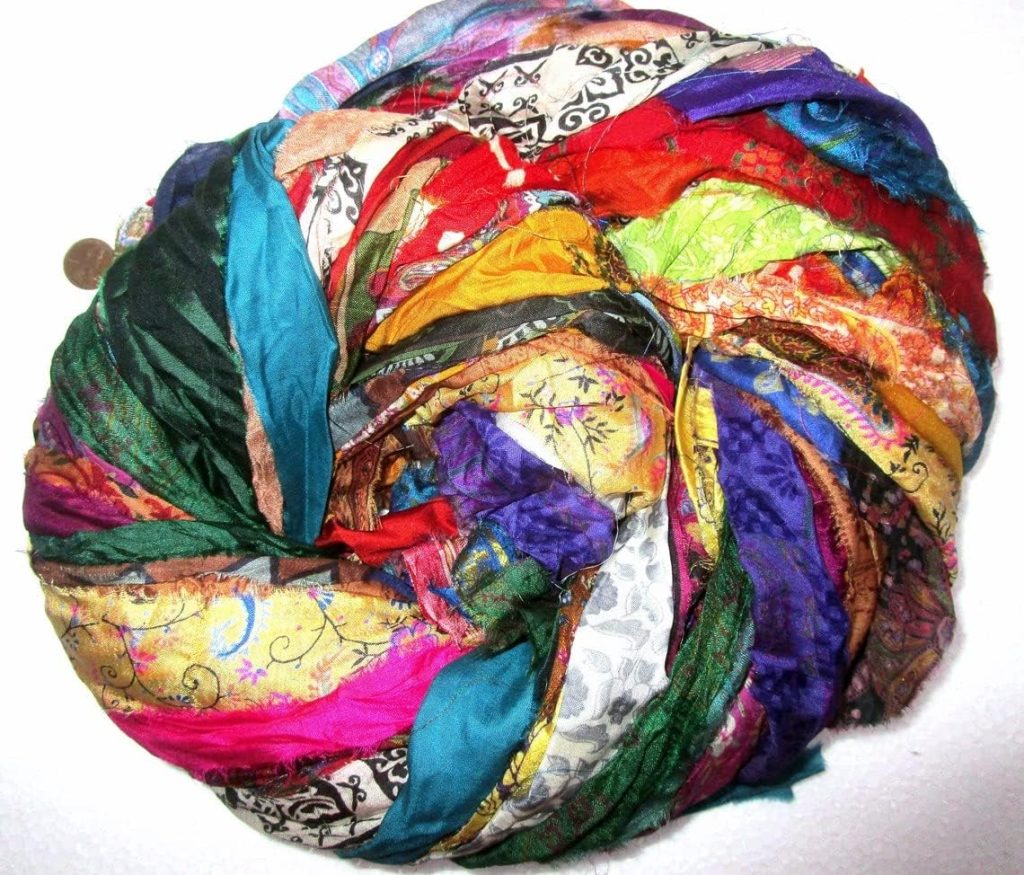
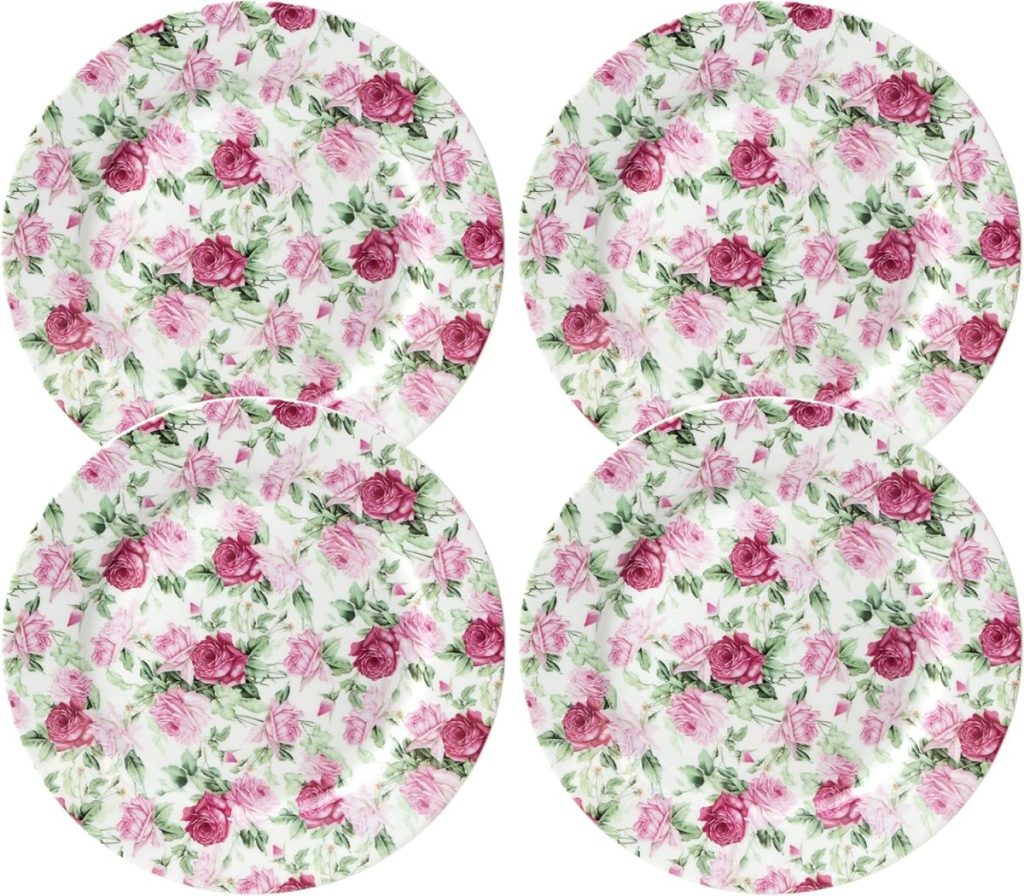
The secret to great results is choosing 100% silk. Polyester or synthetic blends won’t work—the pattern won’t transfer. I found a bundle of silk neckties, scarves, and fabric squares on Amazon and chose the silk squares as they gave me a beautiful variety of colors and prints to work with. Look for bold, contrasting patterns—think paisleys, florals, geometric designs, and vibrant color palettes.
Below are some silk options that come in strips—these might be easier to use as an alternative to the squares! Wrapping the eggs with the fabric is the most challenging part and I think strips would be much easier!
Step-by-Step Instructions
1. Cut Your Fabric
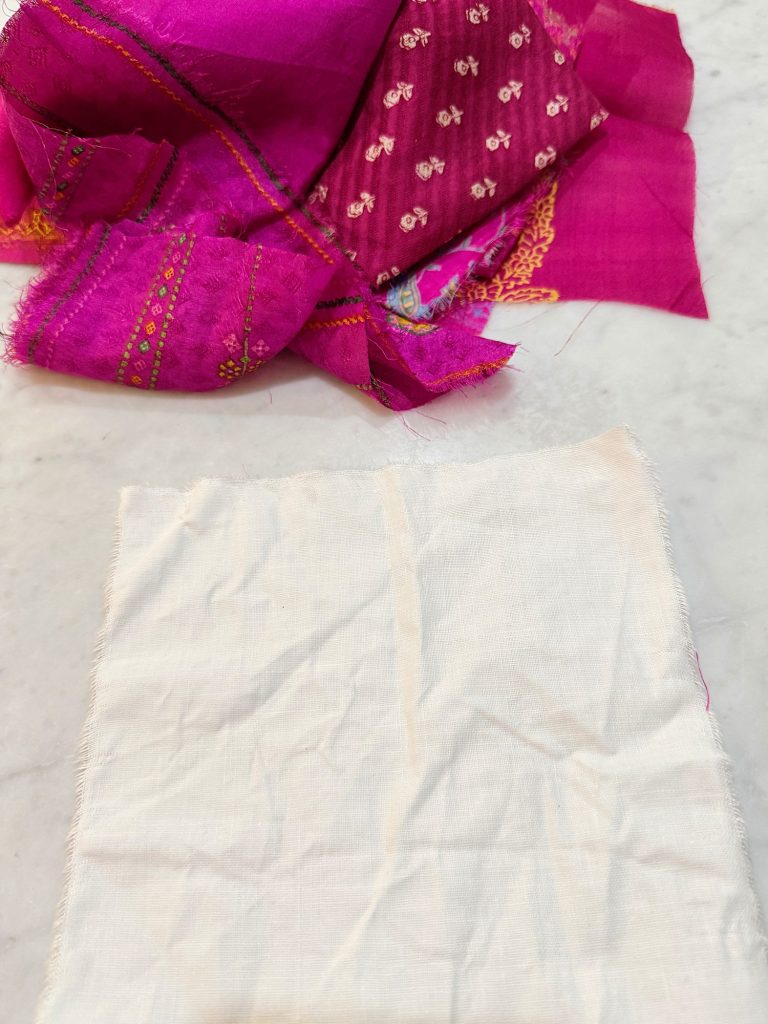
Start by cutting your silk into squares large enough to wrap around an egg completely—usually about 6″ x 6″ works for a standard egg. If you’re using a necktie, you might have to trim it creatively to get a wide enough section. If you buy the silk squares like I did you don’t need any cutting.
Cut the same size square from your white cotton fabric as well. I just tore my squares from some leftover white fabric. You’ll use this to secure the silk around the egg while it boils.
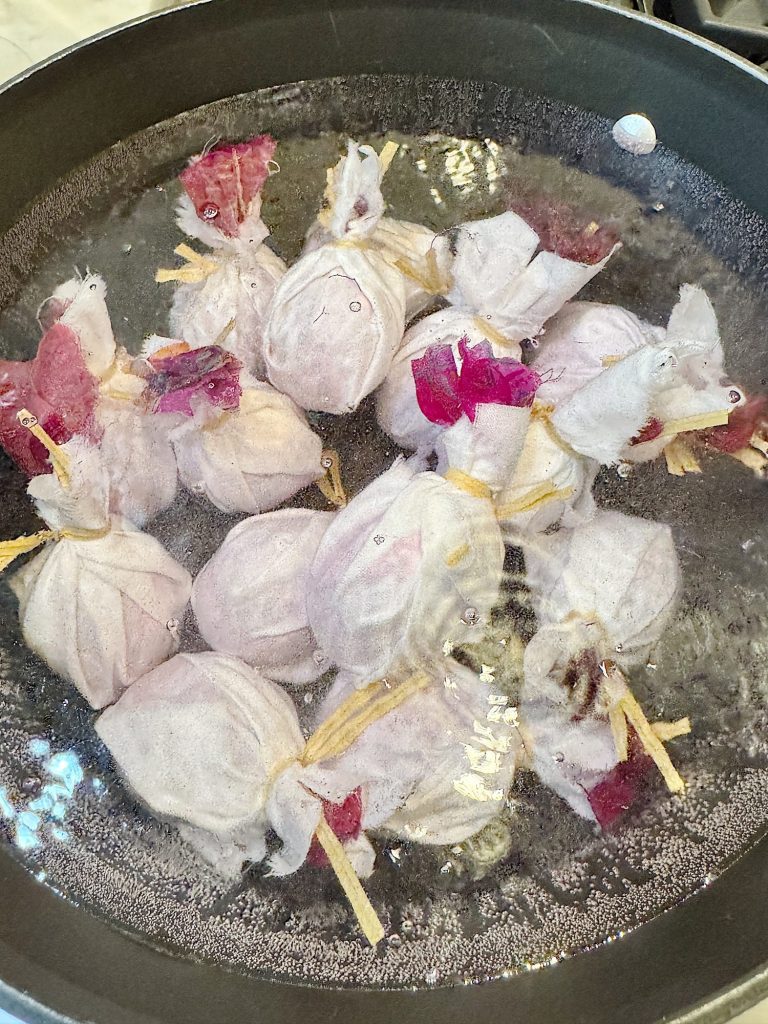
2. Wrap the Eggs
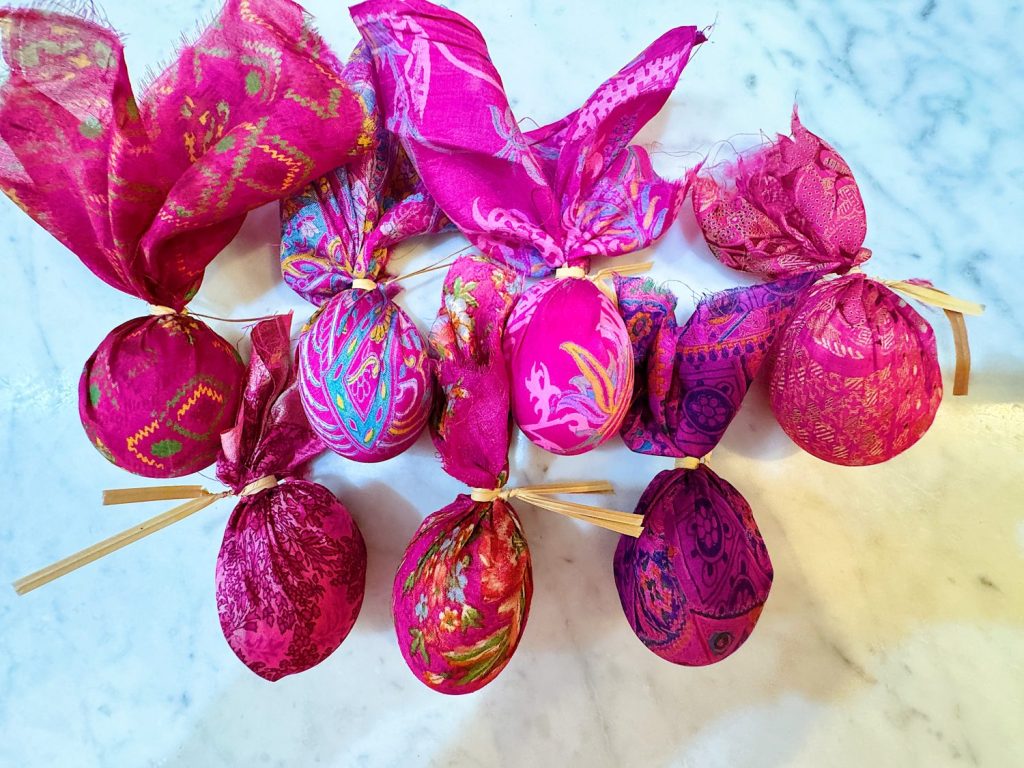
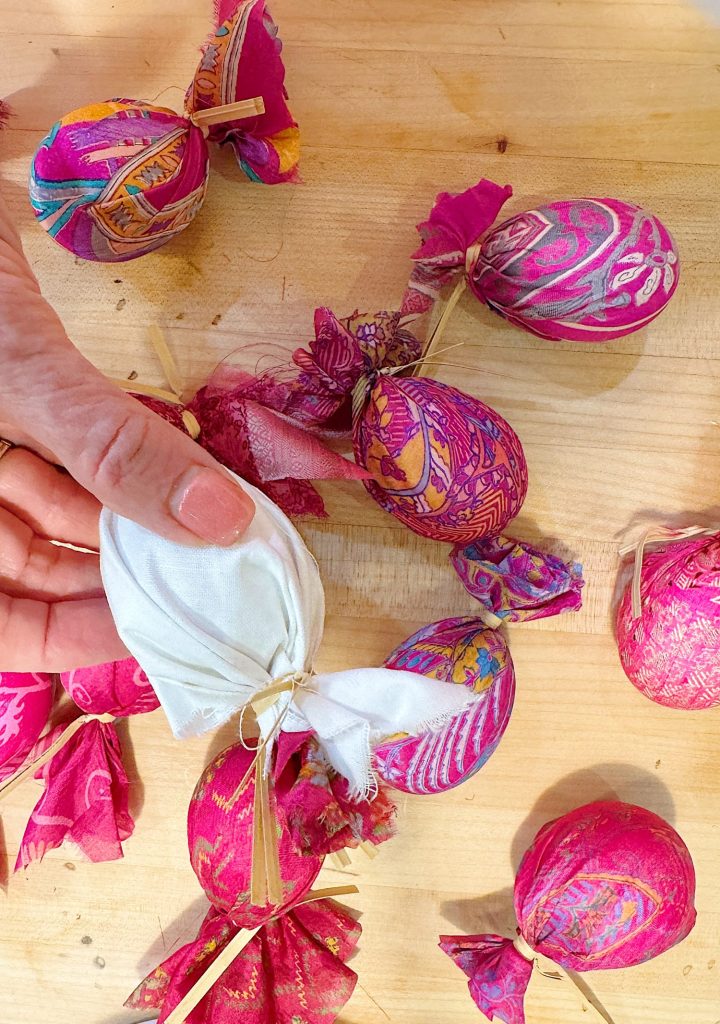
Place the silk fabric’s right side (printed side) against the eggshell. Wrap the silk tightly around the egg so the fabric makes good contact with the surface.
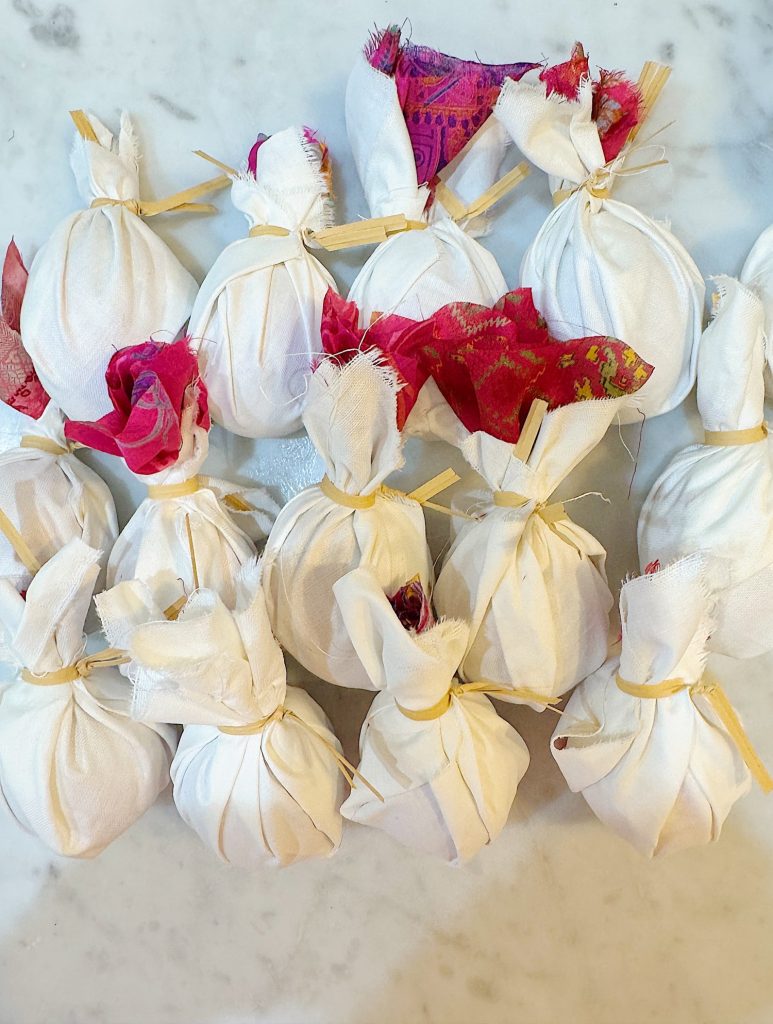
Once wrapped, place the cotton square over the silk-wrapped egg and secure everything tightly with a twist tie, string, or rubber band. The tighter the fabric is wrapped, the more precise and vivid the transferred pattern will be.
Tip: It helps to gently stretch the silk over the egg for a snug fit, especially around curved areas.
3. Prepare the Dye Bath

Fill a large non-aluminum pot with water. Add about 1/4 cup of white vinegar per quart of water. The vinegar helps set the dye from the silk onto the eggshell.
Place your wrapped eggs into the pot. It’s okay if they touch slightly, but try not to overcrowd the pot—each egg should be fully submerged.
4. Boil and Simmer
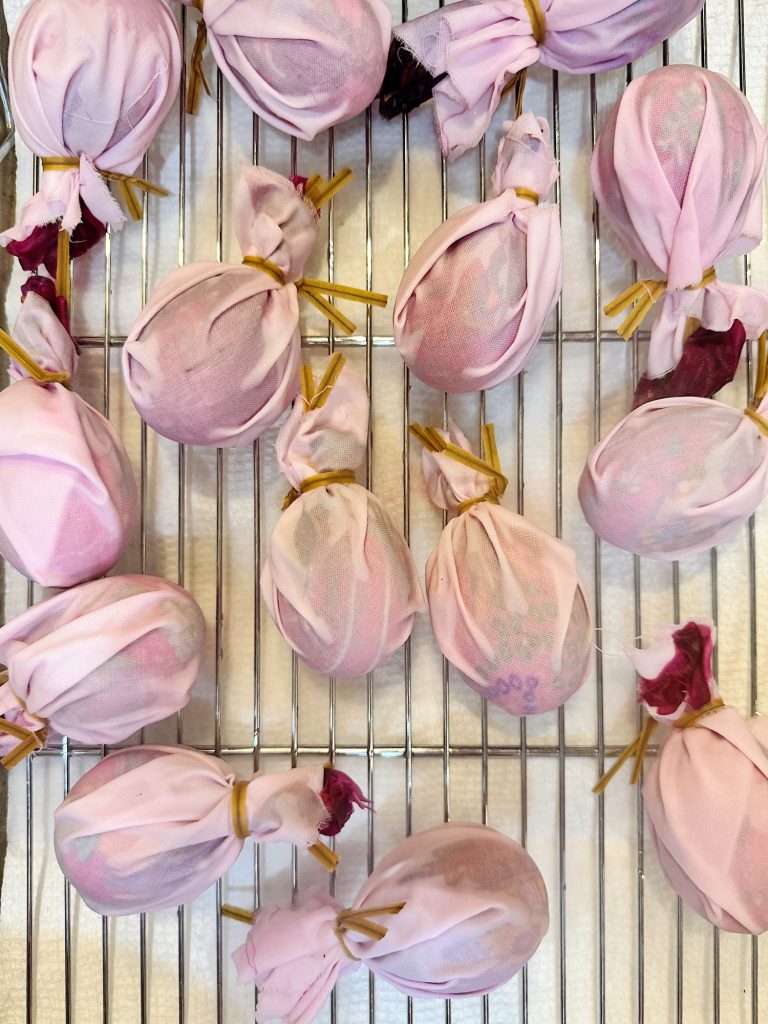
Bring the water to a gentle boil over medium heat. Once boiling, reduce to a simmer and cook the eggs for about 20–25 minutes. This not only sets the dye but also fully hard-boils the eggs.
After cooking, carefully remove the eggs using tongs or a slotted spoon and set them aside to cool on a paper towel or drying rack. Let them cool completely before unwrapping.
Optional: If you prefer to hollow your eggs so they last forever, you can blow them out before wrapping. Just be extra careful during the boiling stage!
5. Unwrap and Reveal!
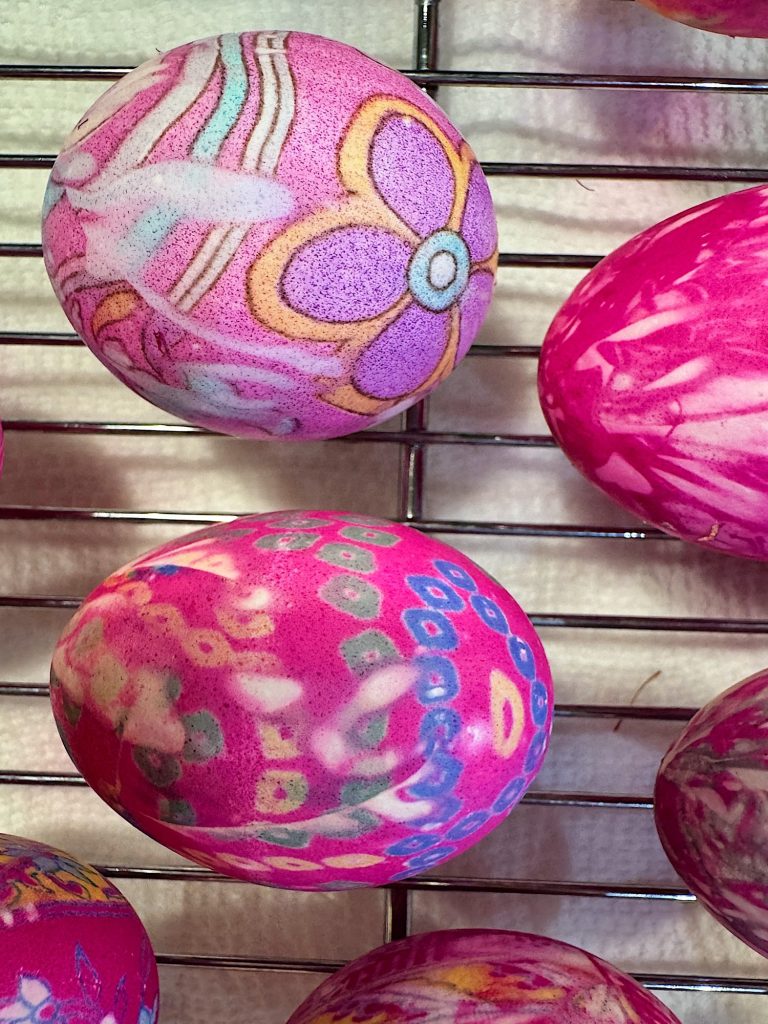
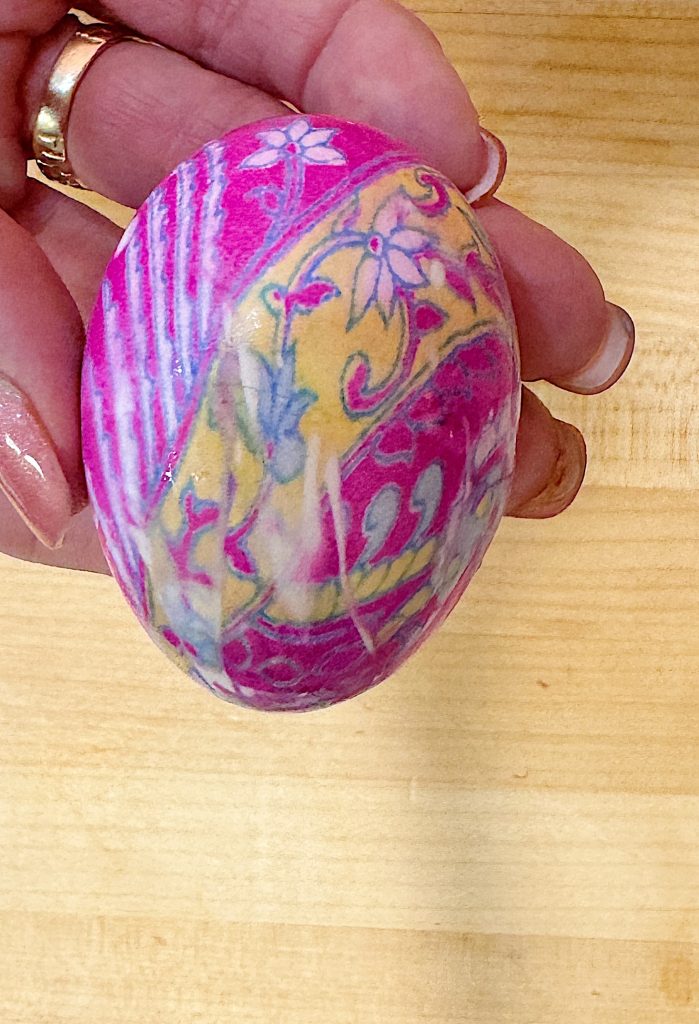

Once the eggs are cool enough to handle, unwrap them gently and prepare for the big reveal! This is my favorite part. You’ll be amazed at how the patterns and colors transfer. Each egg will be unique, and often more vibrant than the original fabric.
Troubleshooting & Tips for Best Results
- Use white eggs for the most vivid color transfer.
- The tighter the silk, the better the result. Loose fabric can lead to blurry or uneven patterns.
- Don’t skip the vinegar. It’s essential for helping the silk dye bond with the shell.
- Experiment! Some silks transfer brightly and boldly, others subtly and elegantly. That’s part of the fun.
- Reuse your silk for a few eggs, but be aware that the pattern fades a bit each time.
How Long Do the Eggs Last?
Since these are hard-boiled eggs are best displayed within a week if left out at room temperature. If you want to keep them for longer or year after year, blow out the eggs before dyeing or use wooden or ceramic craft eggs instead. Just be extra gentle, especially if you’re boiling hollow eggs.
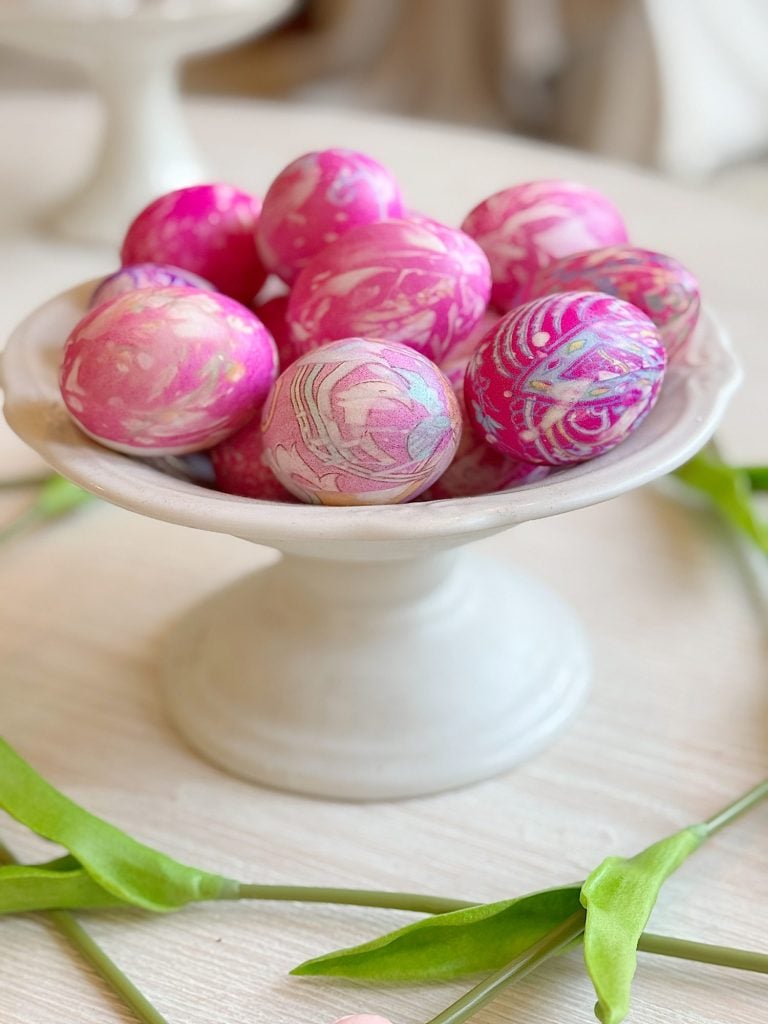
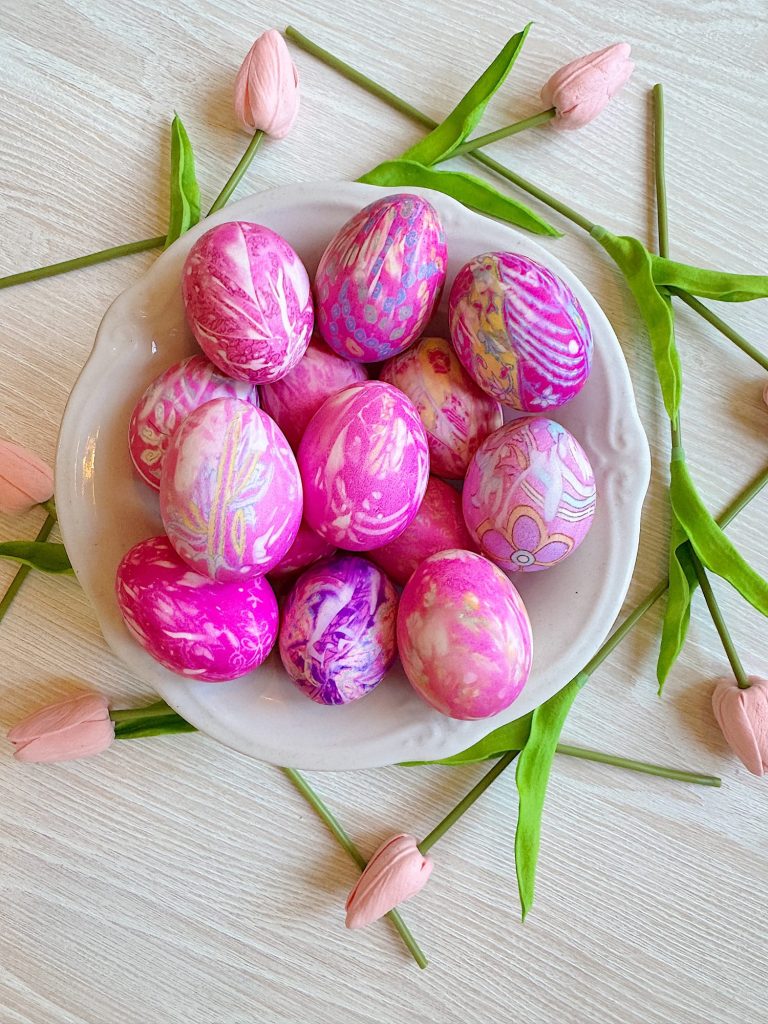
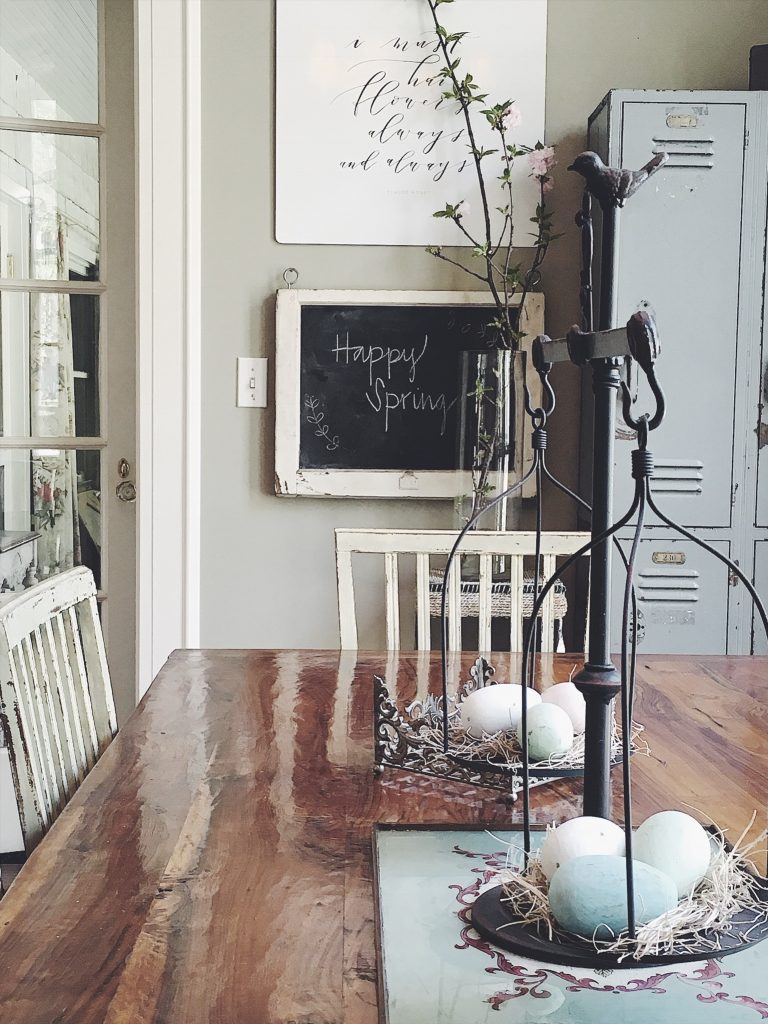
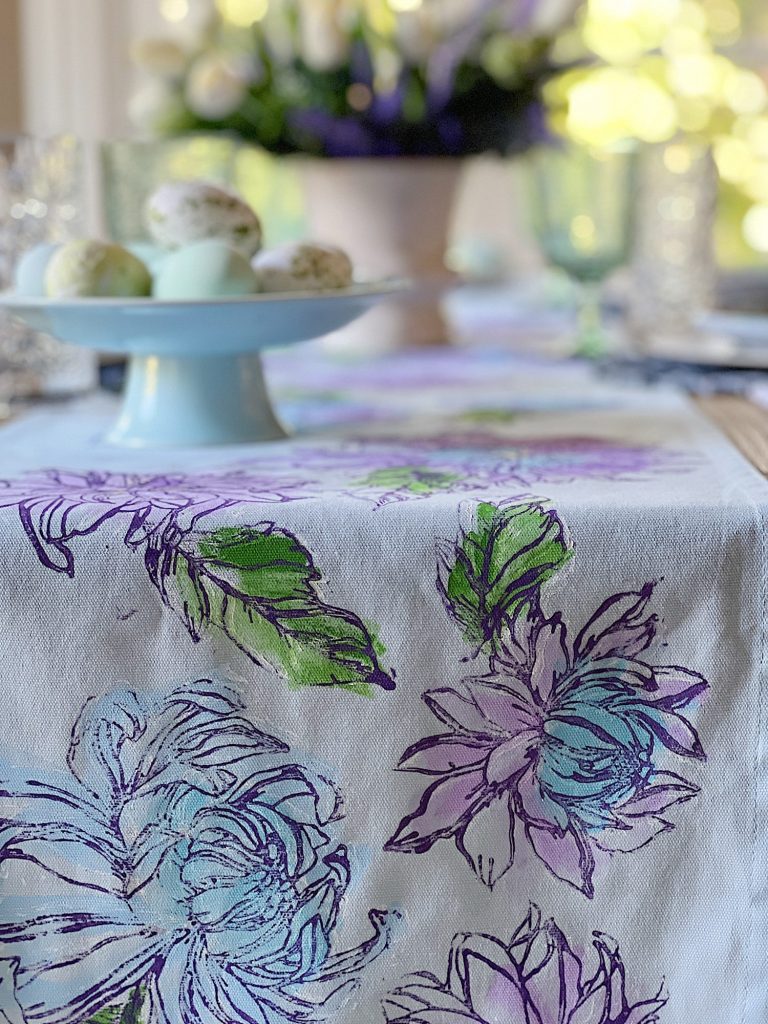
Displaying Your Silk-Dyed Easter Eggs
These eggs are indeed works of art and deserve a beautiful display! Here are some ideas:
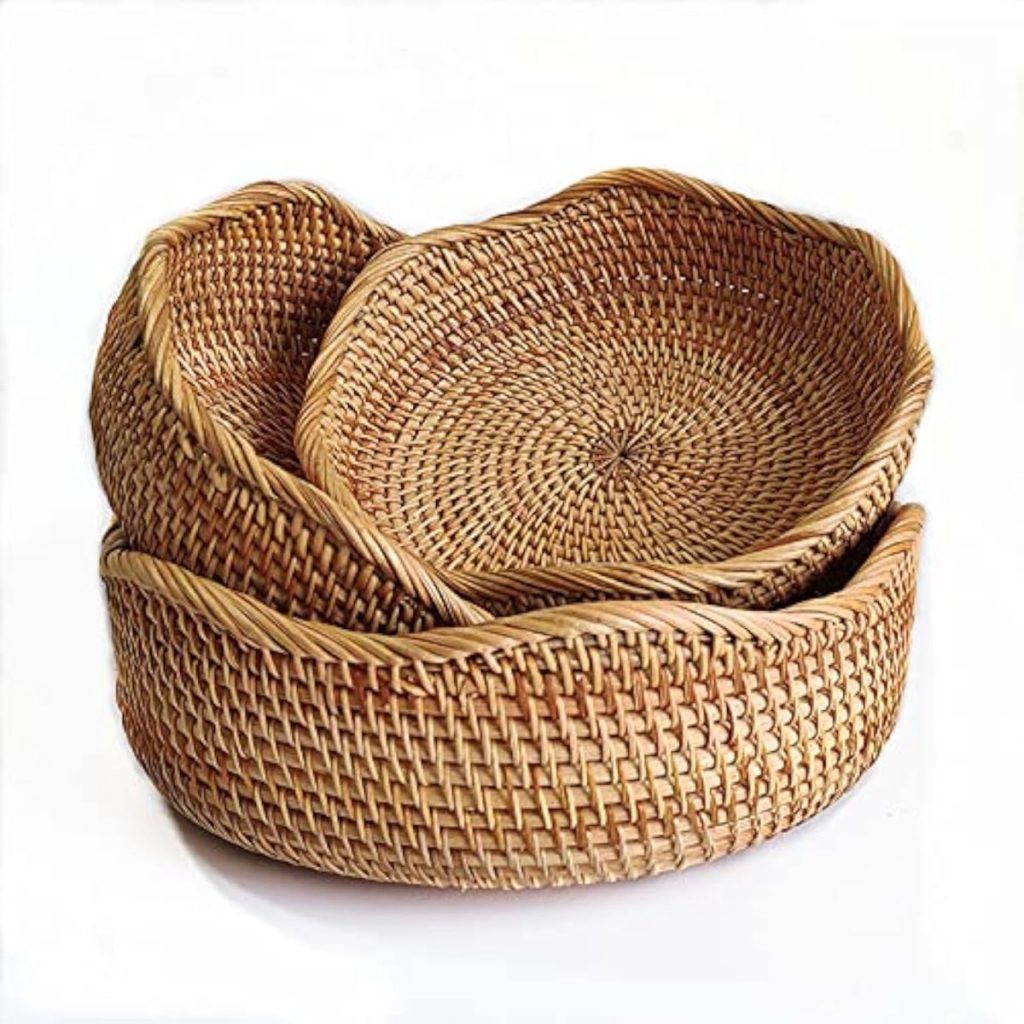
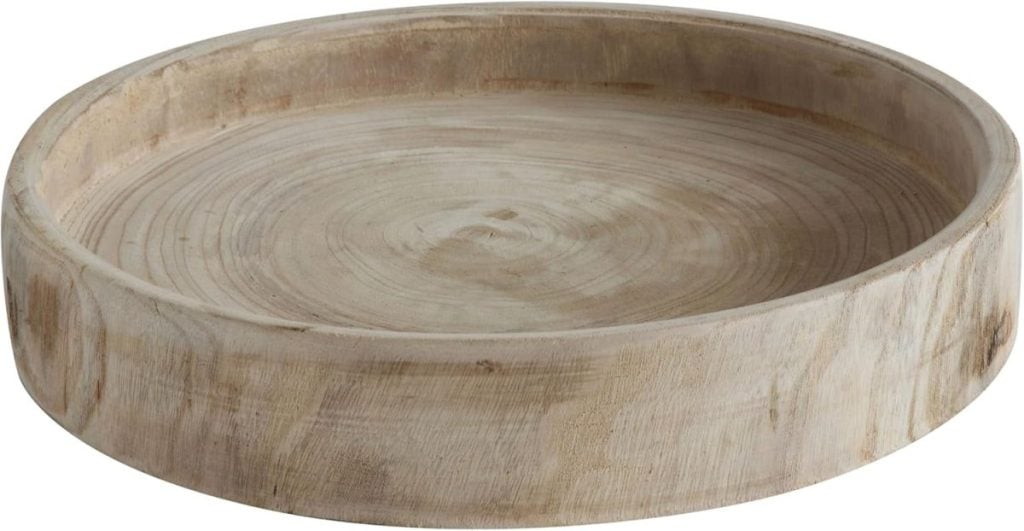
- Nestled in a wicker basket with shredded paper or moss
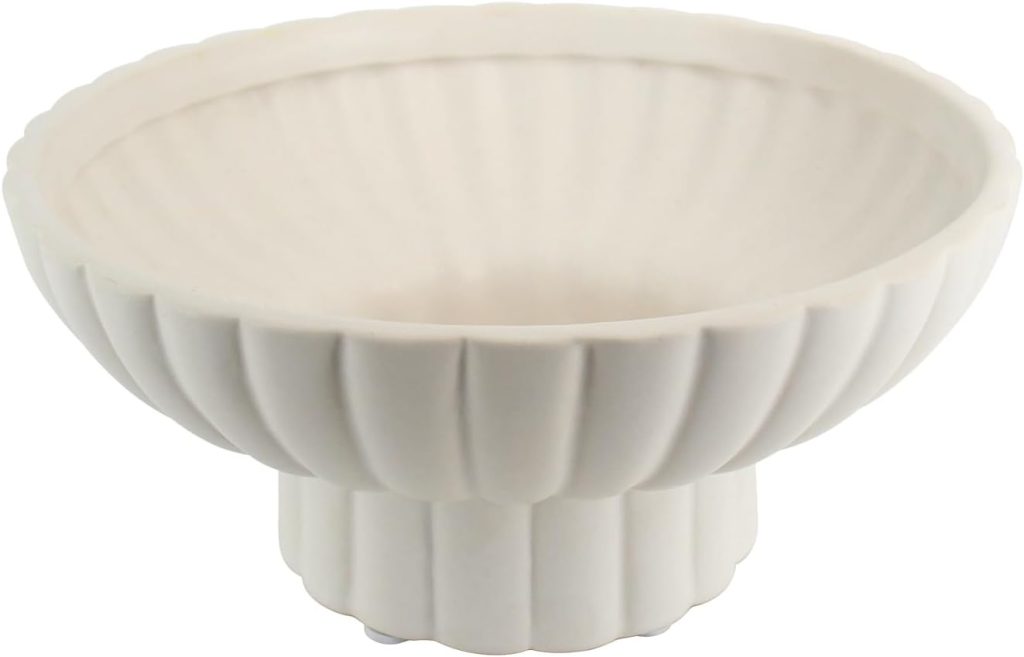
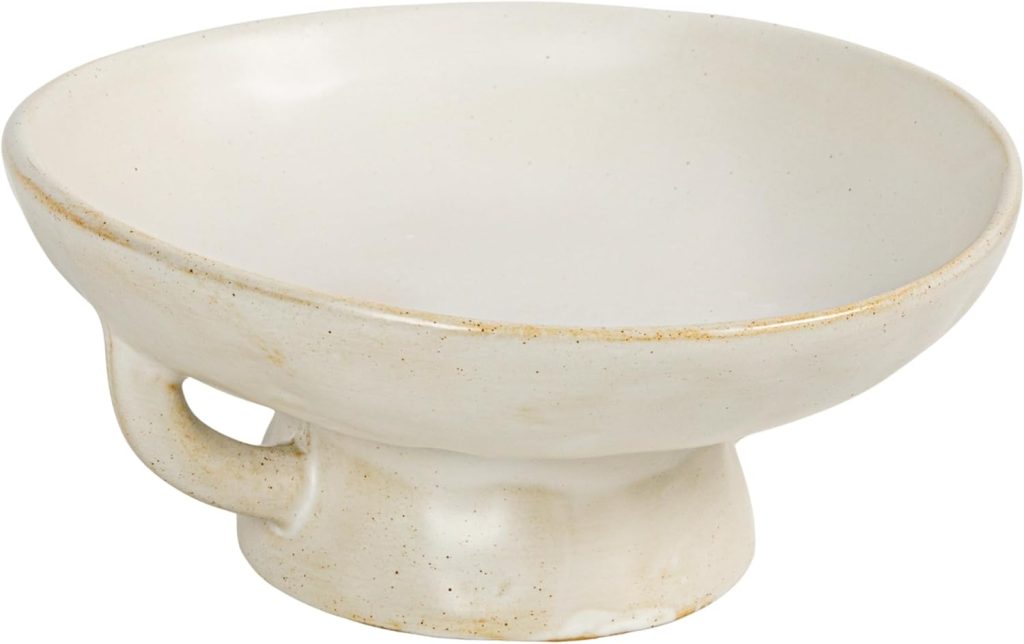
- Grouped in a dough bowl or vintage compote dish on your table
- Displayed in an egg carton lined with fabric or straw for a farmhouse look
- Scattered along your Easter brunch table as name place settings or favors
- Hung from an Easter tree if you hollowed them out ahead of time
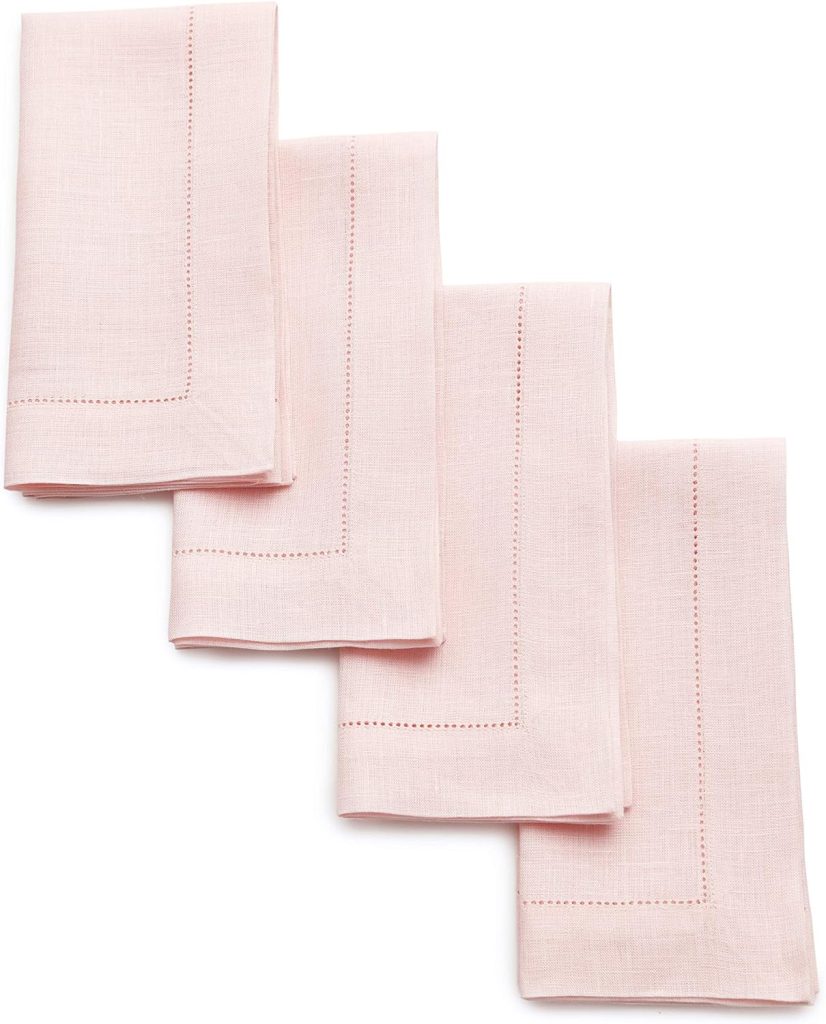
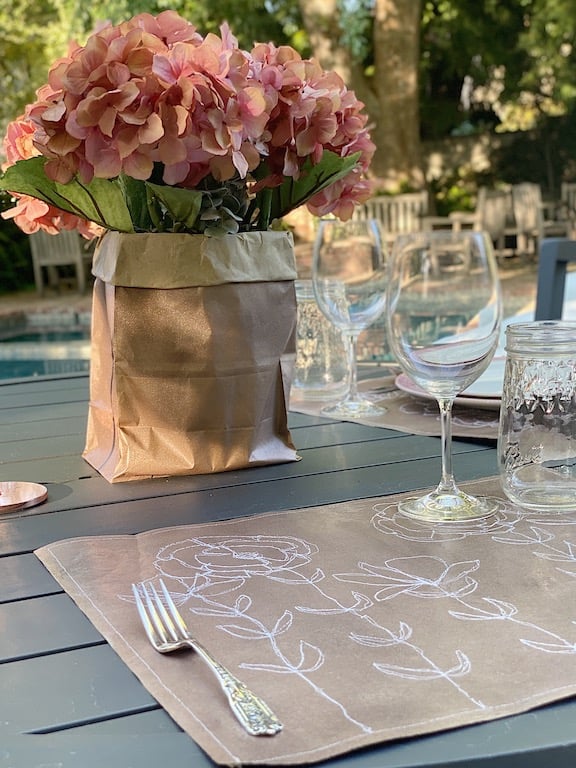
Add a few sprigs of greenery, a soft linen napkin, or a bunny figurine, and you’ve got instant spring charm.


Why I Love This Technique
There are so many reasons why this is, hands-down my favorite way to decorate Easter eggs:
- No artistic skills are required. The silk does all the work!
- The results are elegant and sophisticated.
- It’s an excellent project for all ages. Kids love unwrapping the eggs to see the patterns.
- It uses recycled materials—thrifted or old silk ties get a new life.
- It makes a great group or family activity.
Plus, there’s something magical about turning an ordinary egg into a piece of art with nothing but fabric and vinegar.


Final Thoughts
If you’ve never tried dyeing Easter eggs with silk before, I can’t recommend it enough. It’s a fun, simple, and rewarding craft with a significant wow factor. I was so impressed with the silk fabrics I ordered on Amazon—they gave me the perfect mix of patterns and colors to make each egg special.
Whether decorating for an Easter brunch, putting together an Easter basket, or just looking for a relaxing spring DIY project, silk-dyed eggs are a timeless and beautiful choice.
If you try this technique, I’d love to see how your eggs turn out! Please tag me on Instagram or leave a comment below. Happy egg dyeing and Happy Easter!

If you enjoy my blog, you can sign up to receive my updates here.
.Easter Decor Favorites
Latest Posts
-
Five Easy Steps to Adding Hanging Planters in Your Yard
Today, I am sharing how I created the hanging planters in our backyard. I love mine so much! Hanging planters look lovely in any yard. My hanging planters have been looking awful all winter long. Here are five easy steps to add (or redo) hanging flower baskets in your yard. Adding hanging planters is a…
-
Spring Cleaning and Sunday Morning Coffee
I don’t know about you, but every spring I feel this strong pull to refresh something in our home, and this year I started in a place that might surprise you. It’s Spring Cleaning time! The very first room on my spring-cleaning list was our nursery. And yes, I know that sounds a little unexpected,…
-
Best Easter Brunch Egg Dish: Loaded French Onion Frittata
Easter brunch is one of those special meals where the table is complete, the laughter is loud, and the food is nothing short of spectacular. If you want to wow your guests with something savory, cheesy, and unforgettable, let me introduce you to your new Easter brunch hero: a Loaded French Onion Frittata.
-
The Best Spring Pillow DIY – A Handmade Spring
There are certain projects that start as an idea and quietly turn into something you love far more than you expected, and this Spring pillow is exactly that. As part of my A Handmade Spring series, I wanted to create something soft, beautiful, and full of texture, and this pillow checked every box. This pillow…


My Recent Instagram Posts

You can pin the image below to your boards on Pinterest (click the Pin button in the top left corner) or follow me on Pinterest!

For more real-time updates, follow me on Instagram @My100YearOldHome

I love these eggs Leslie! Thank you for sharing the technique. I have left over wooden eggs for a project I did last year and am curious if you ever tried this with wooden eggs. It would be nice to be able to reuse them. Thanks!
Leslie,
Wondering the same thing, with the cost of eggs today! I have some wooden eggs, can I do the same technique with them?
What a creative and heartwarming idea! Personal touches like notes on pillowcases really make a home feel special. If you love turning ordinary moments into something magical, you might enjoy trying Nano Banana Video—it lets you create fun and personalized videos from images or clips, perfect for capturing special memories like these.
I love how thoughtful little gestures, like these pillowcase messages, can make people feel loved. If you want to add another layer of creativity, Text to Song AI can turn your words or personal messages into songs—imagine sending a personalized tune along with a heartfelt note!
I really enjoyed reading this—so simple yet so meaningful! For a fun way to take a short break while thinking about these creative projects, SpeedStars Game is a fast and exciting game to enjoy some playful energy after your crafting session.
This sounds like such a unique and creative way to dye Easter eggs! I’ve never heard of using silk fabrics before, so I’m really intrigued. It’s great that you’re revisiting an all-time favorite technique – makes me think it must be a fantastic method. Can’t wait to learn more!
This sounds like such a unique and creative way to dye Easter eggs!