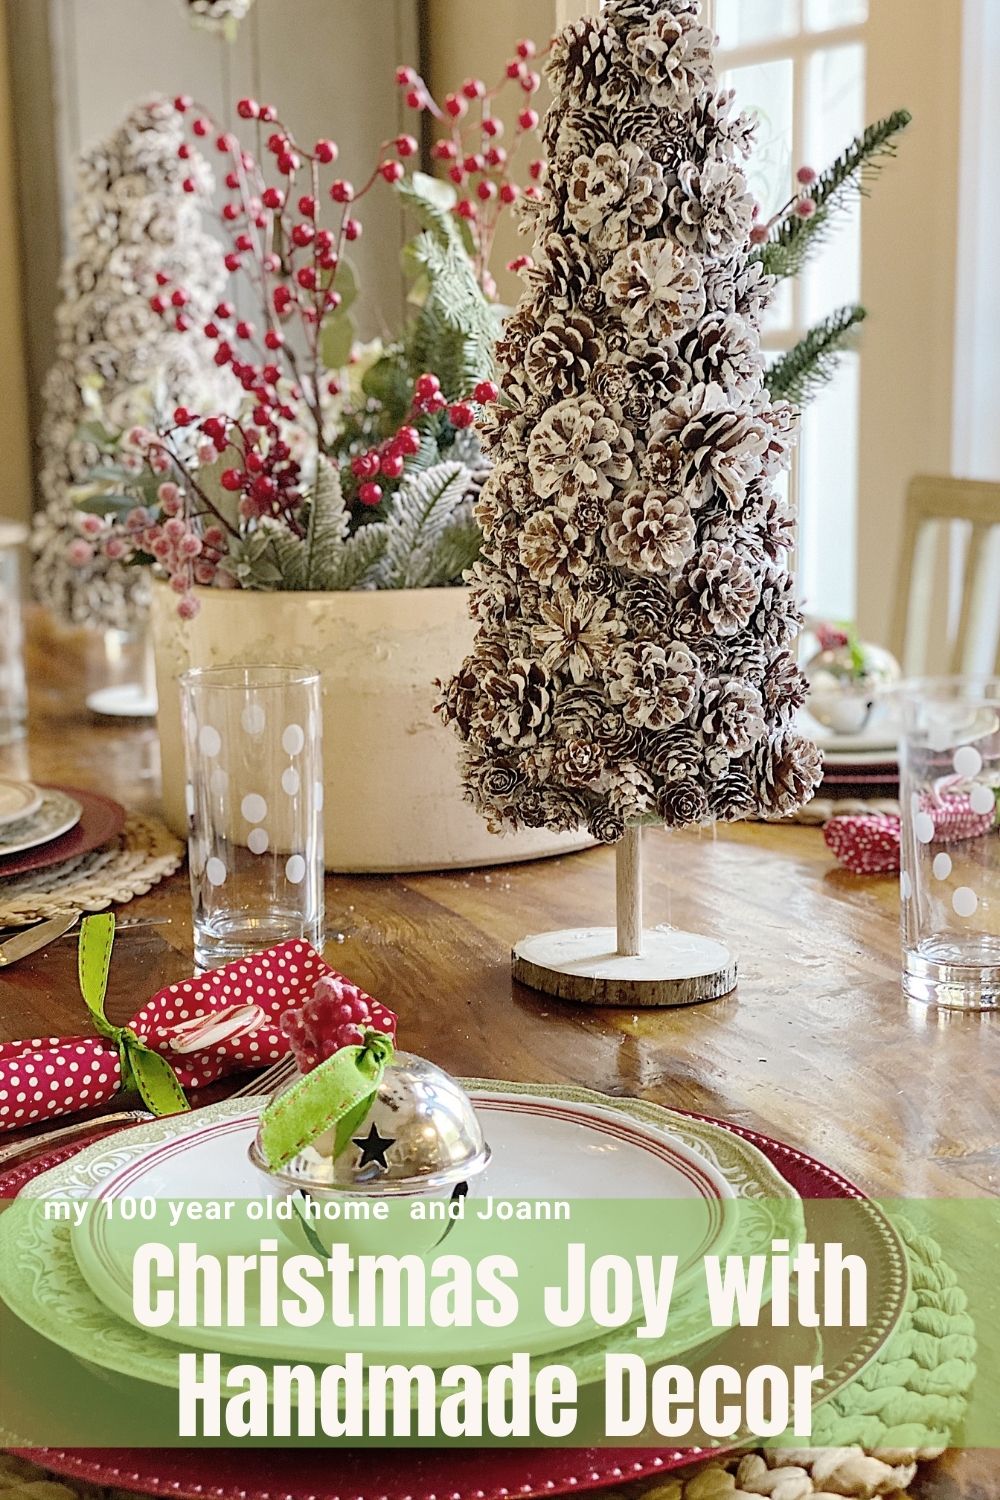
Christmas Joy with Handmade Decor
Today, I am sharing lots of Christmas joy I created in our family room a while back, along with many wonderful items I made from pinecones.
Yep, pinecones! I love handmade decor; these projects have brought me so much Christmas joy. Want to learn how to make them?


How to Create Christmas Joy in Your Home
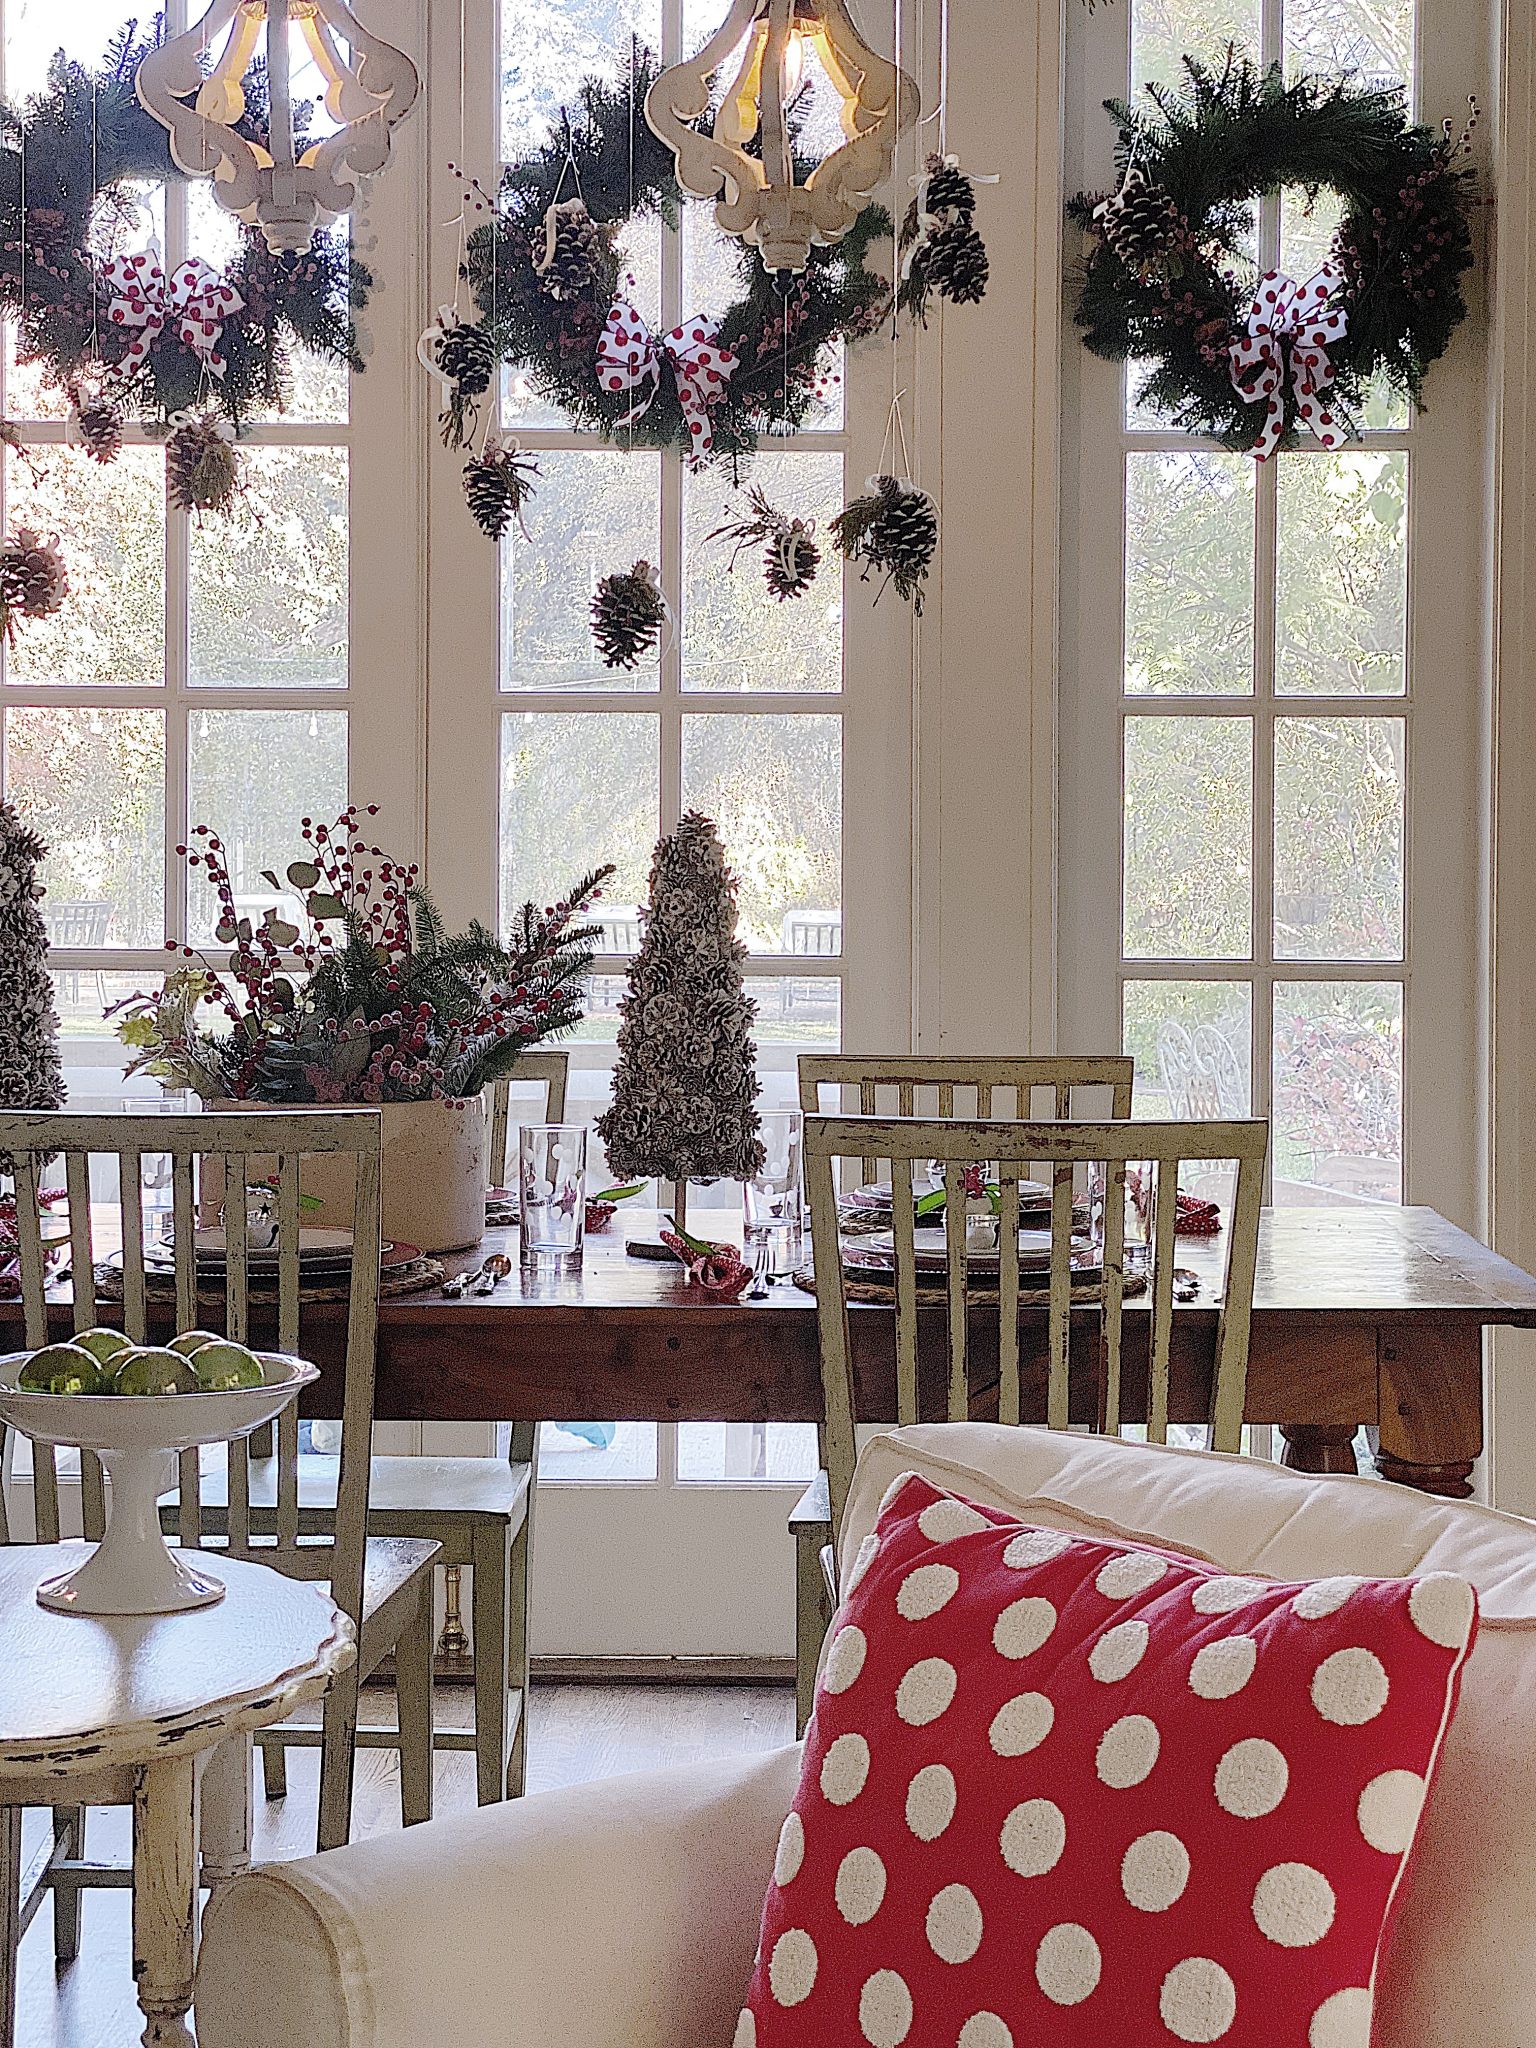
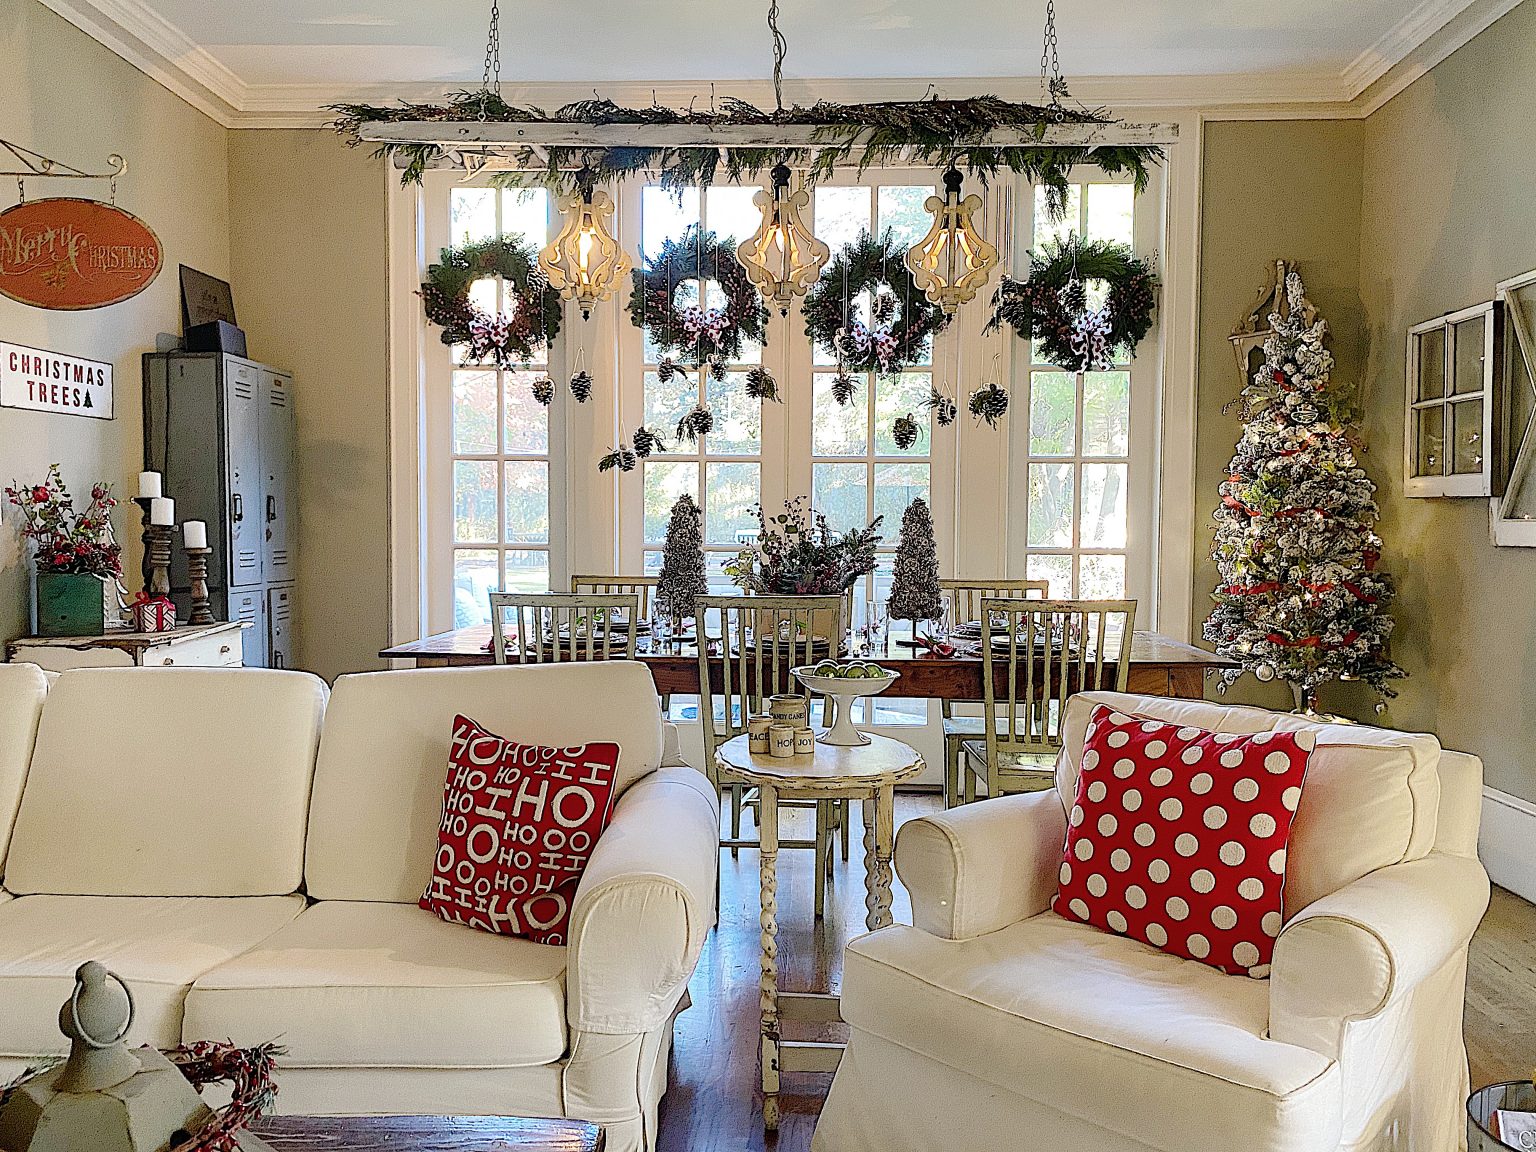
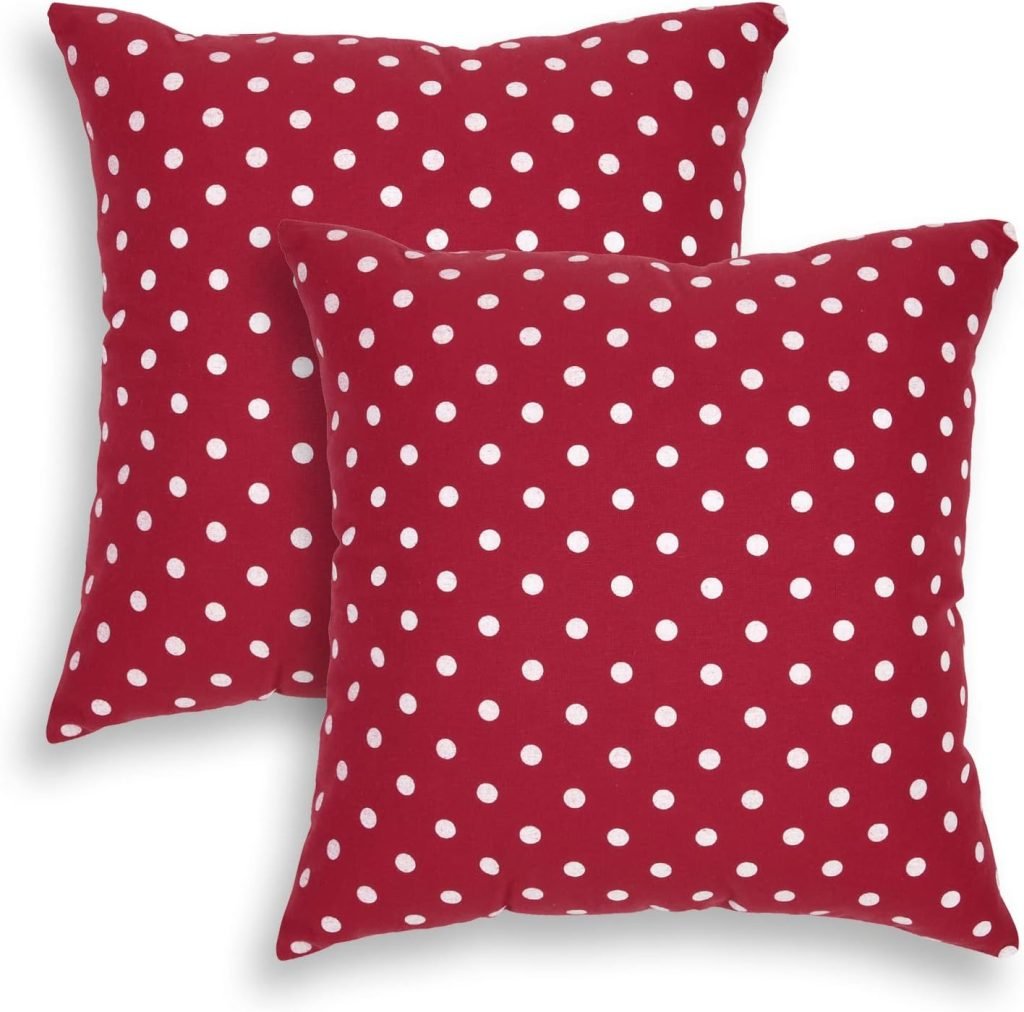
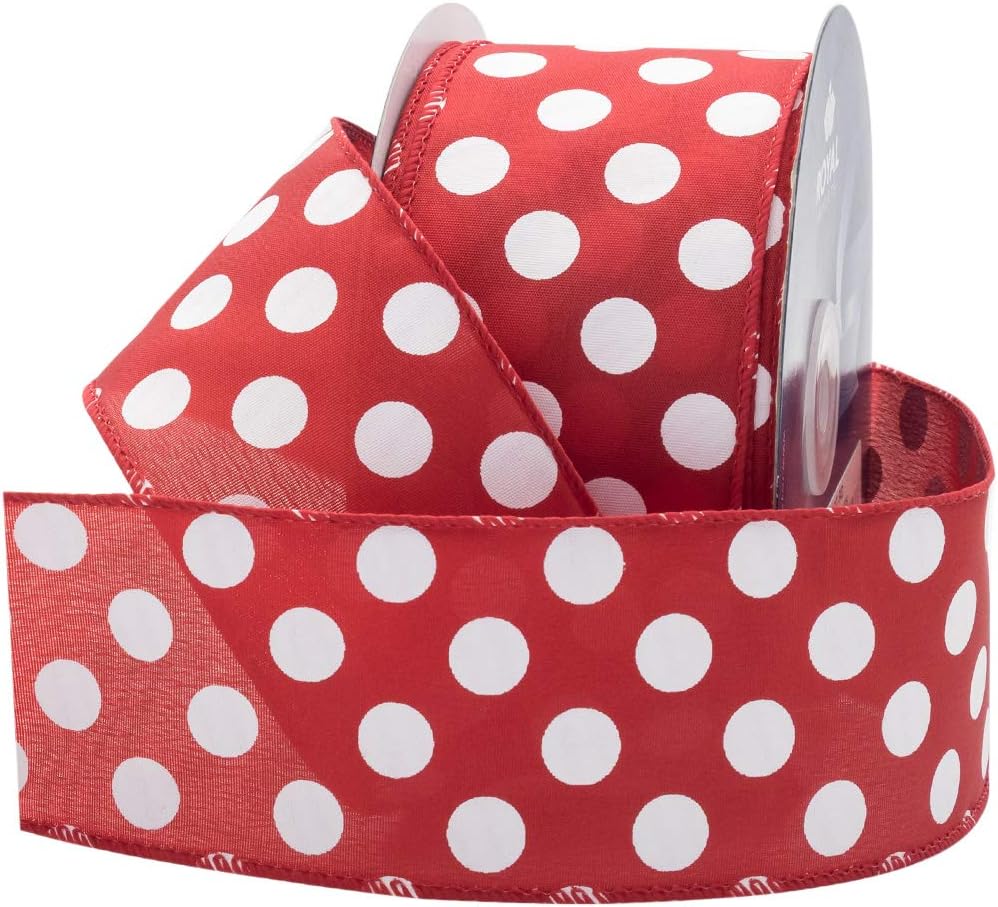
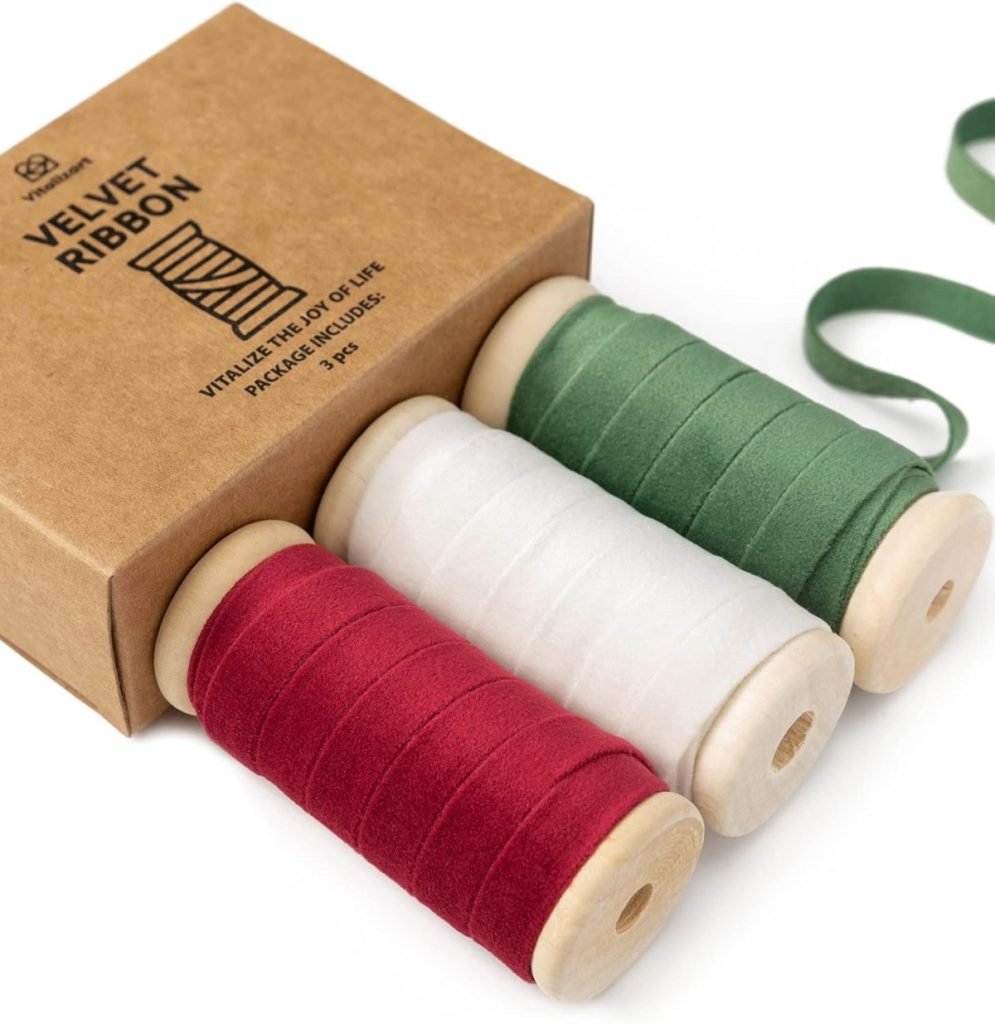
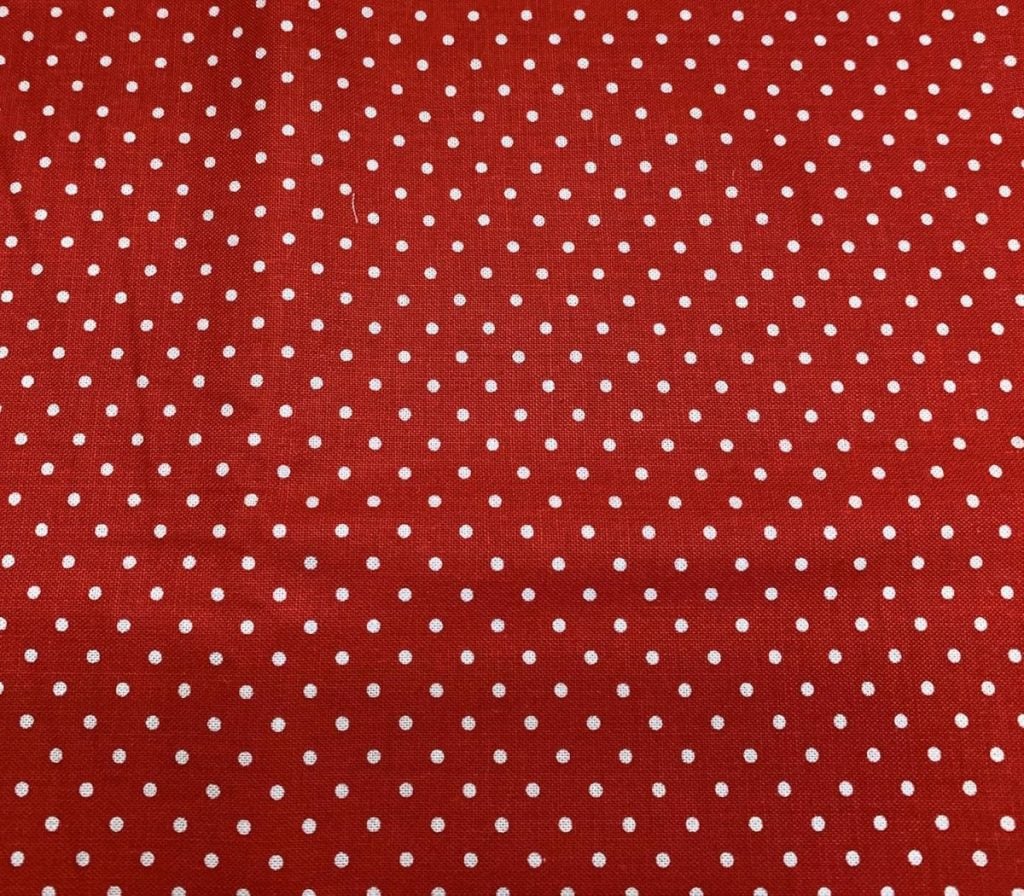
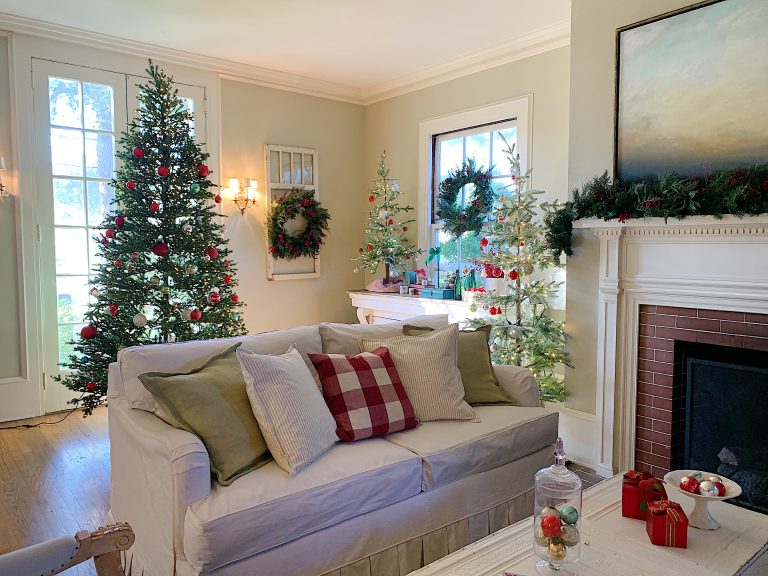
When decorating a room for the holidays, I think the process is easier when you have a theme. I wanted to use a lot of red and white in our family room a few years ago, so I used a polka-dot theme. The ribbons on the wreaths, the pillows, and the napkins all have polka dots. The glasses on the table do, too!
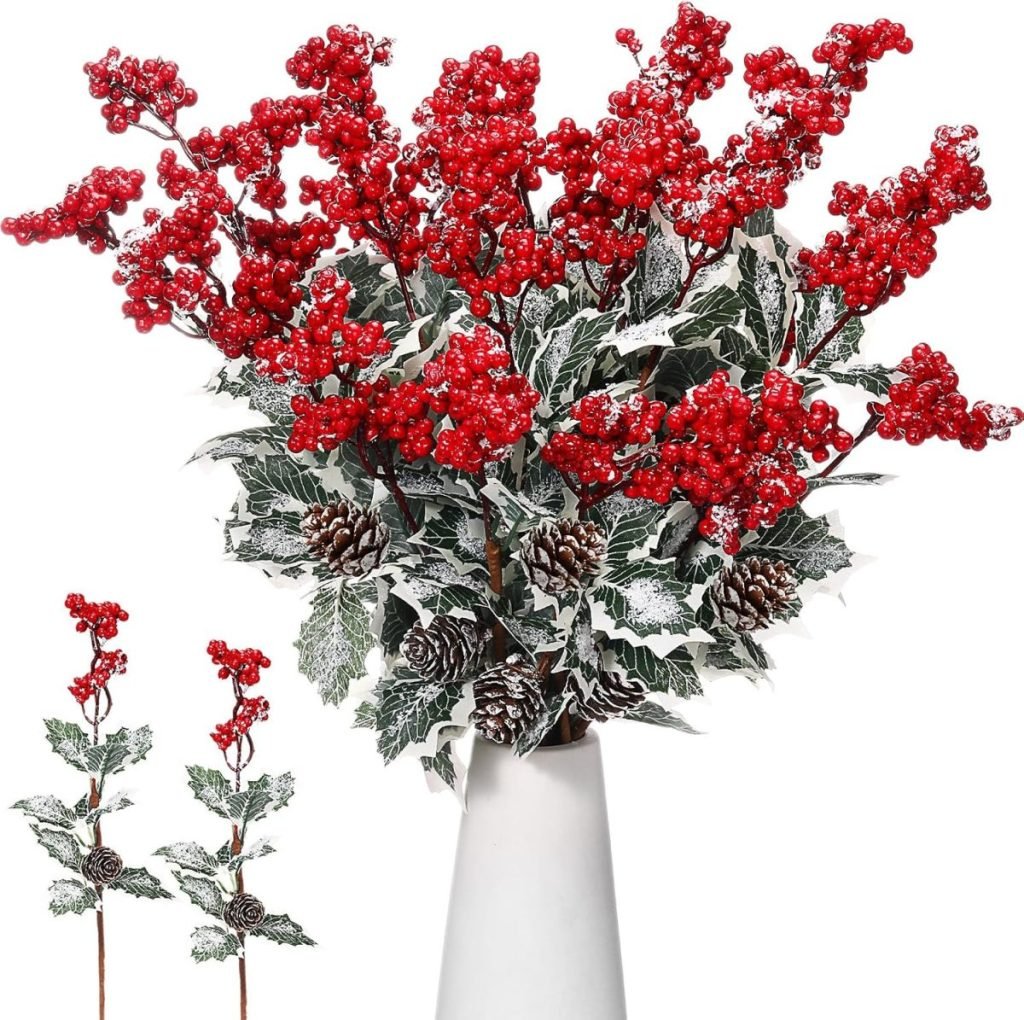
For the family room, I bought fabric, pillows, greenery, berries and picks, pinecones, tree ornaments, ribbons, bells, and more.
I did three craft projects, bought fabric, and made red and white polka dot napkins.
I painted pinecones and hung them from the ceiling andI also made these pinecone trees, and I love them!
On this blog, I may sometimes use affiliate links, which means a small commission is earned if you purchase via the link. The price will be the same whether you use the affiliate link or go directly to the vendor’s website using a non-affiliate link.

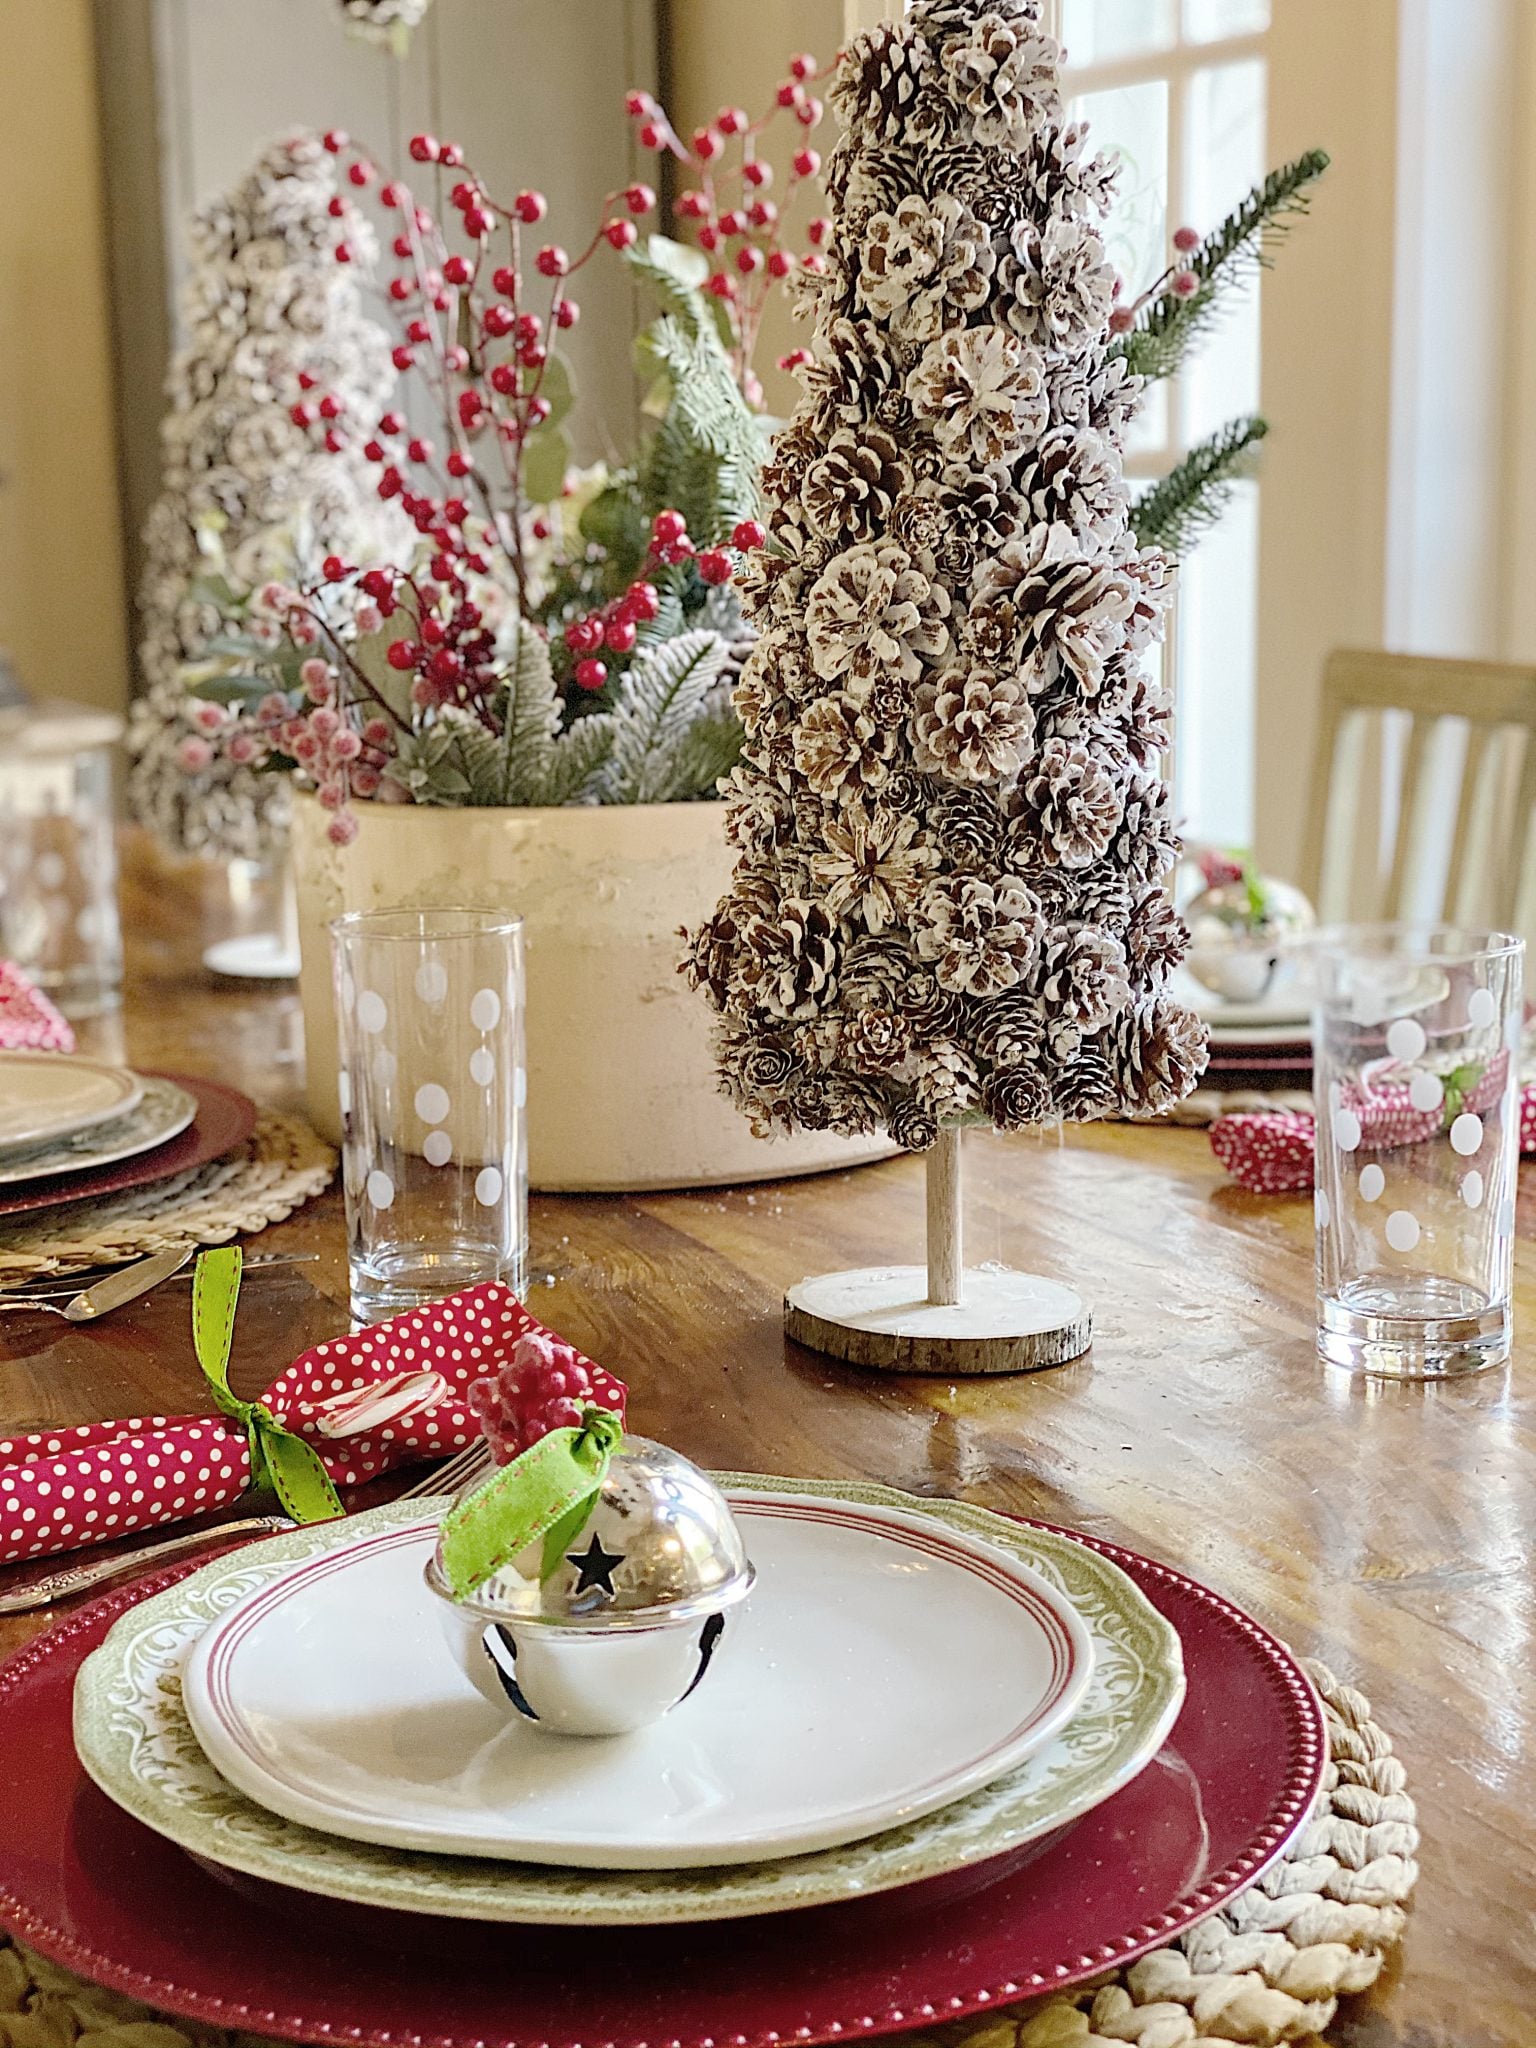
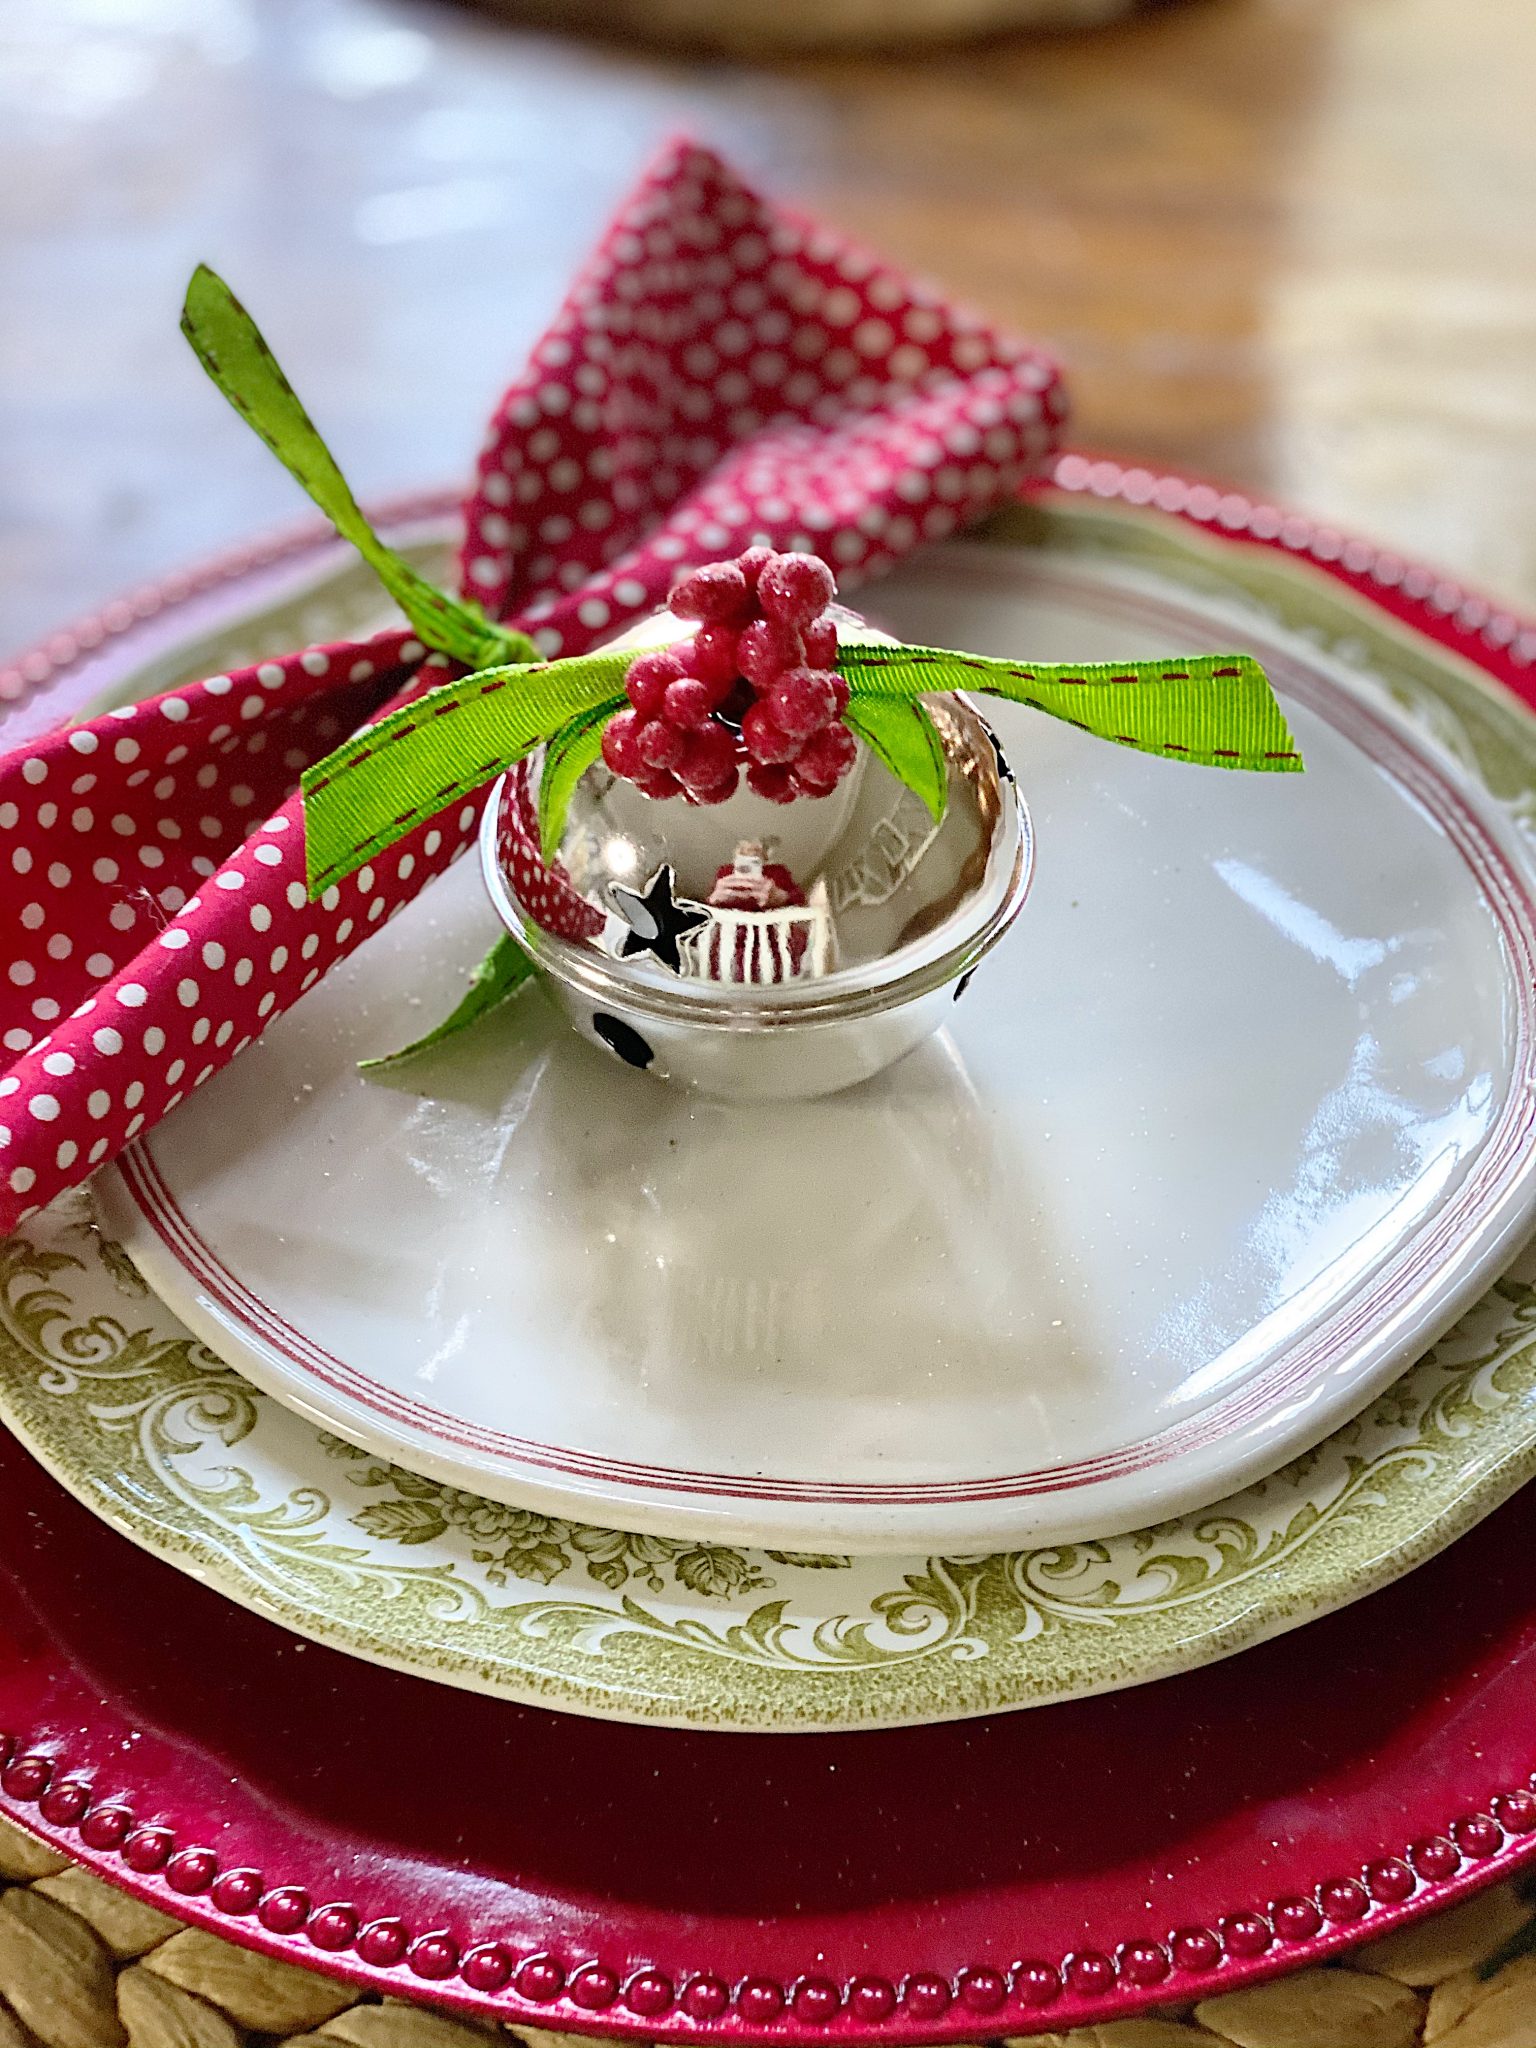
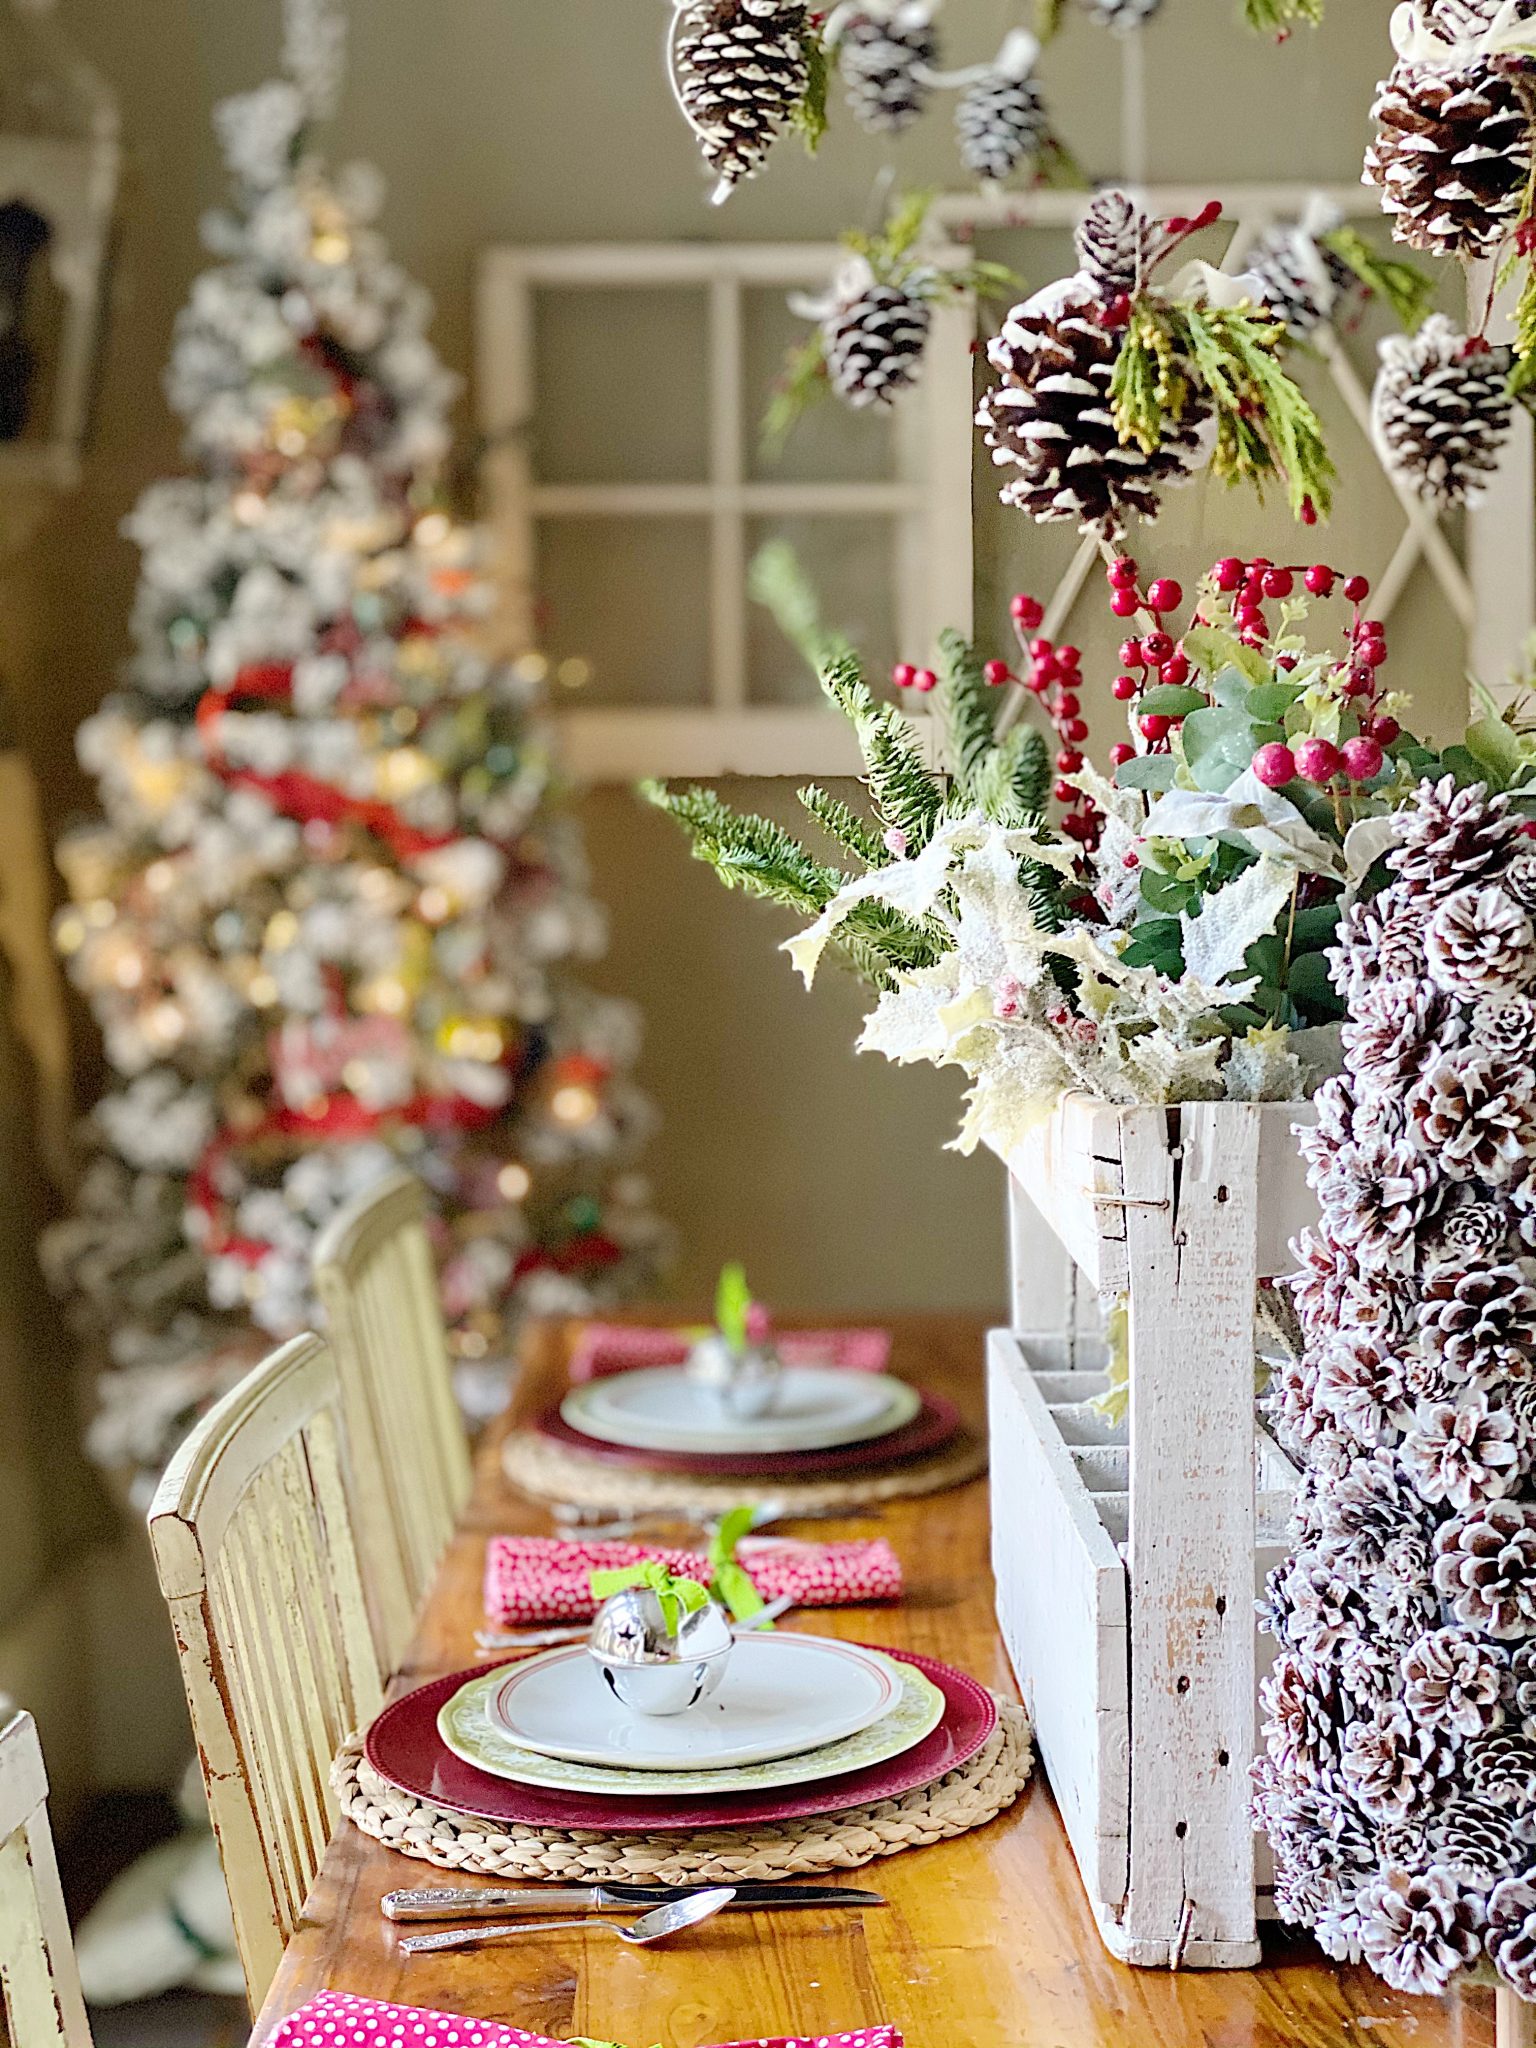
Setting the table for Christmas
I love setting the table in our family room, and this Christmas joy theme is one of my favorites.
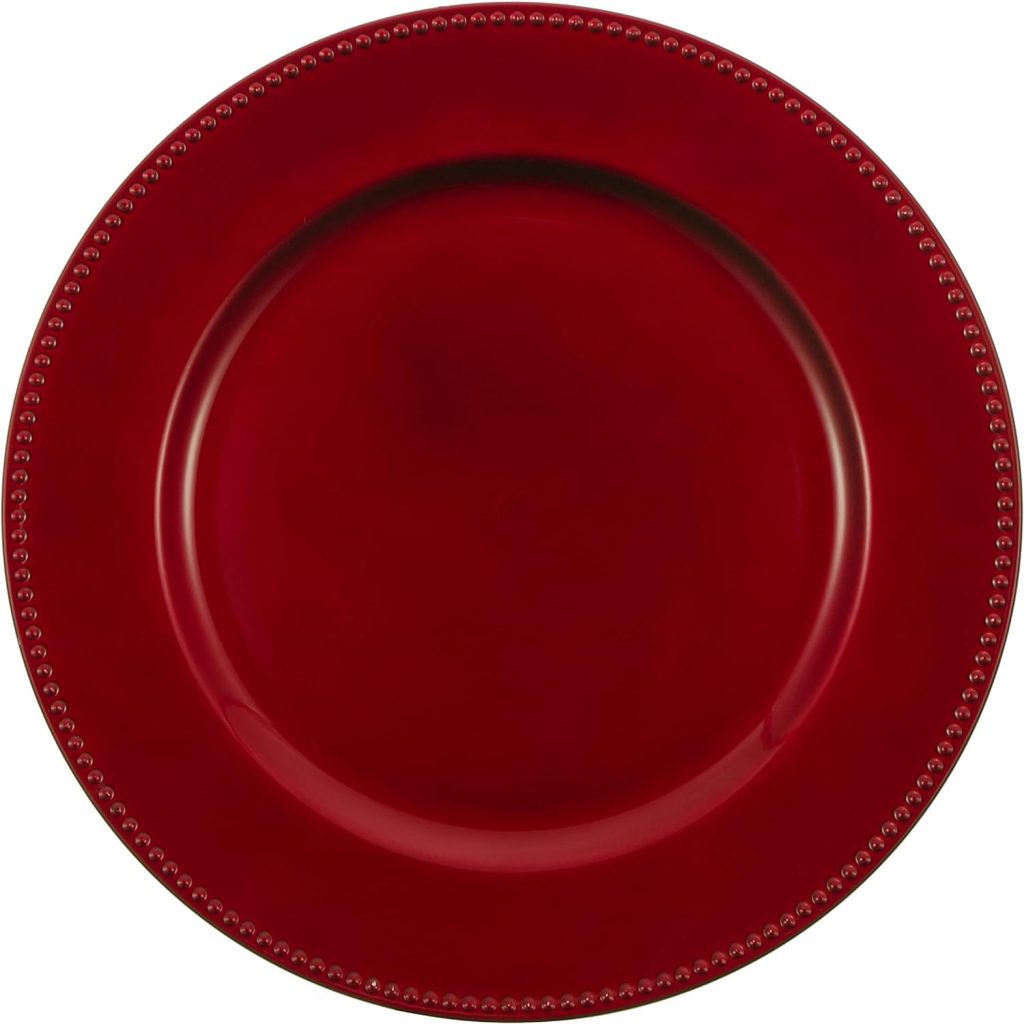
For years, I have been collecting vintage dinner plates, so it was easy to head to my butler’s pantry and pick out the dinner and salad plates.
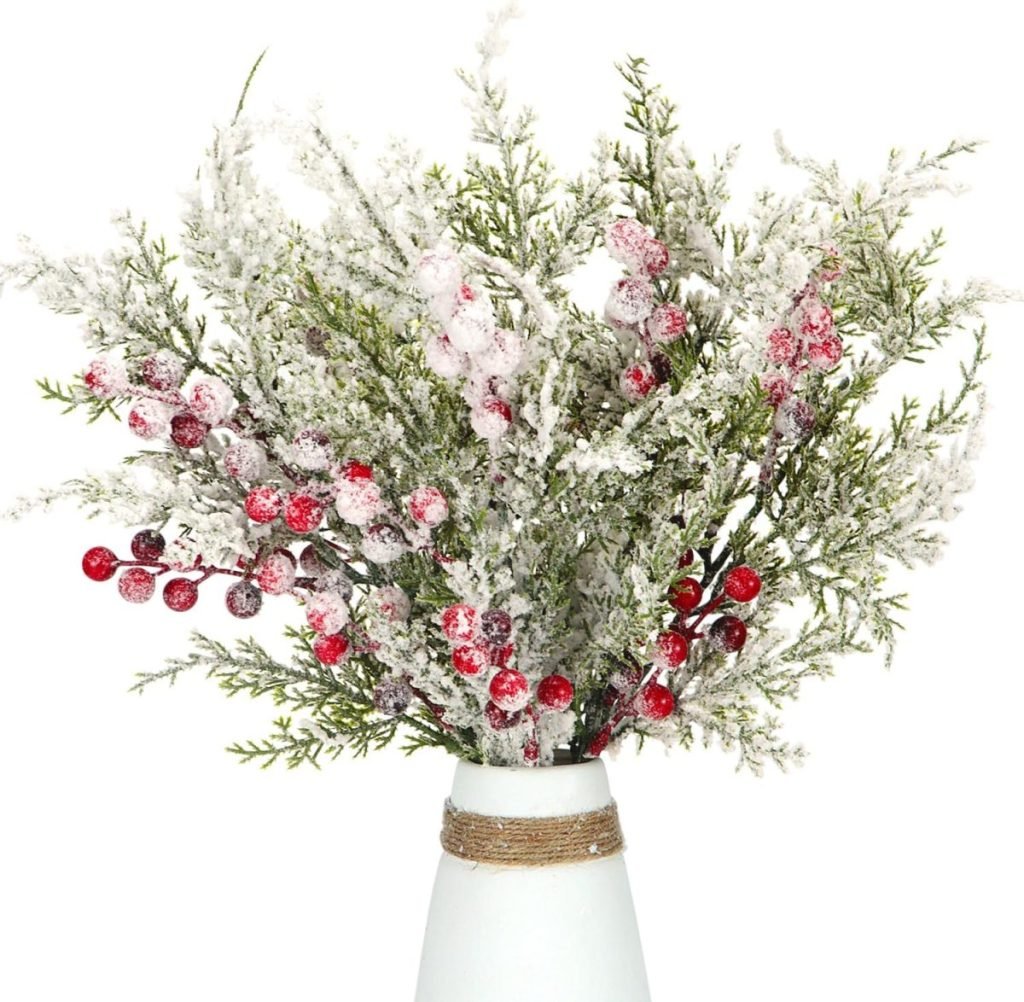
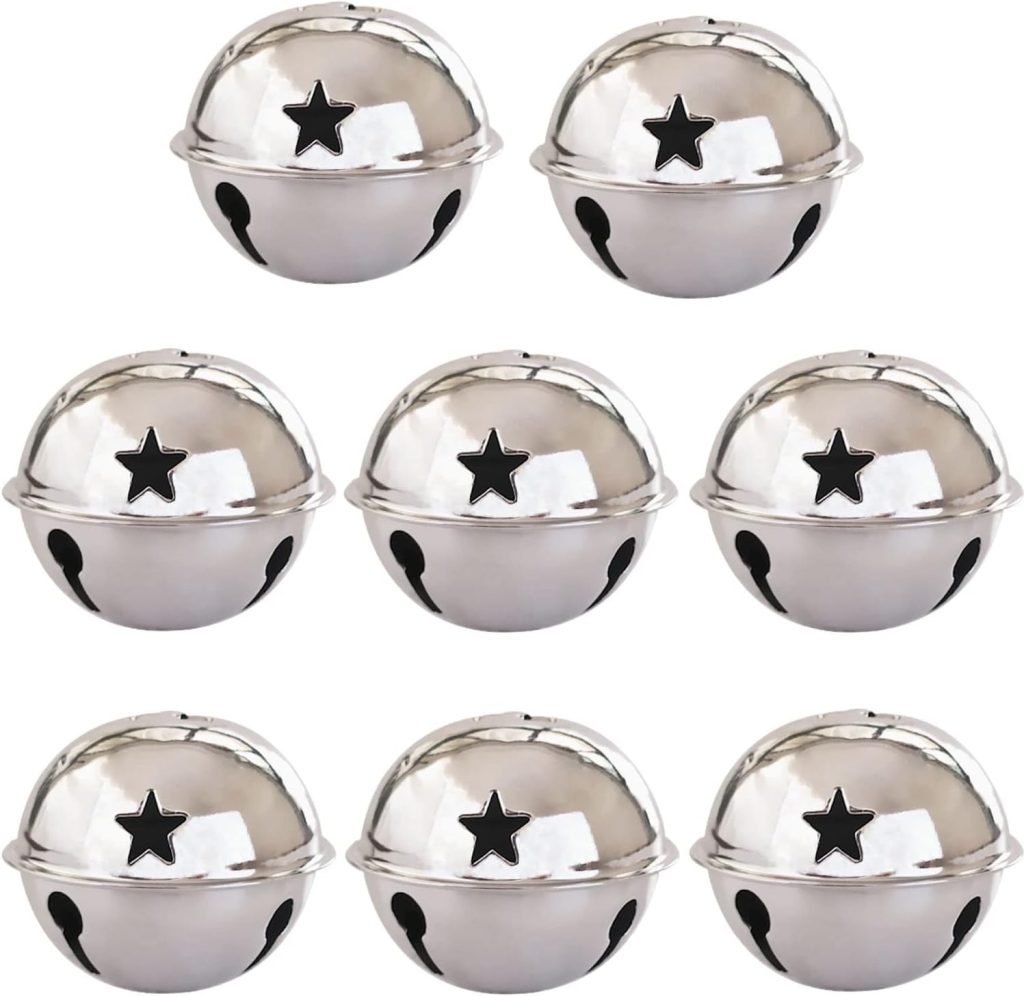
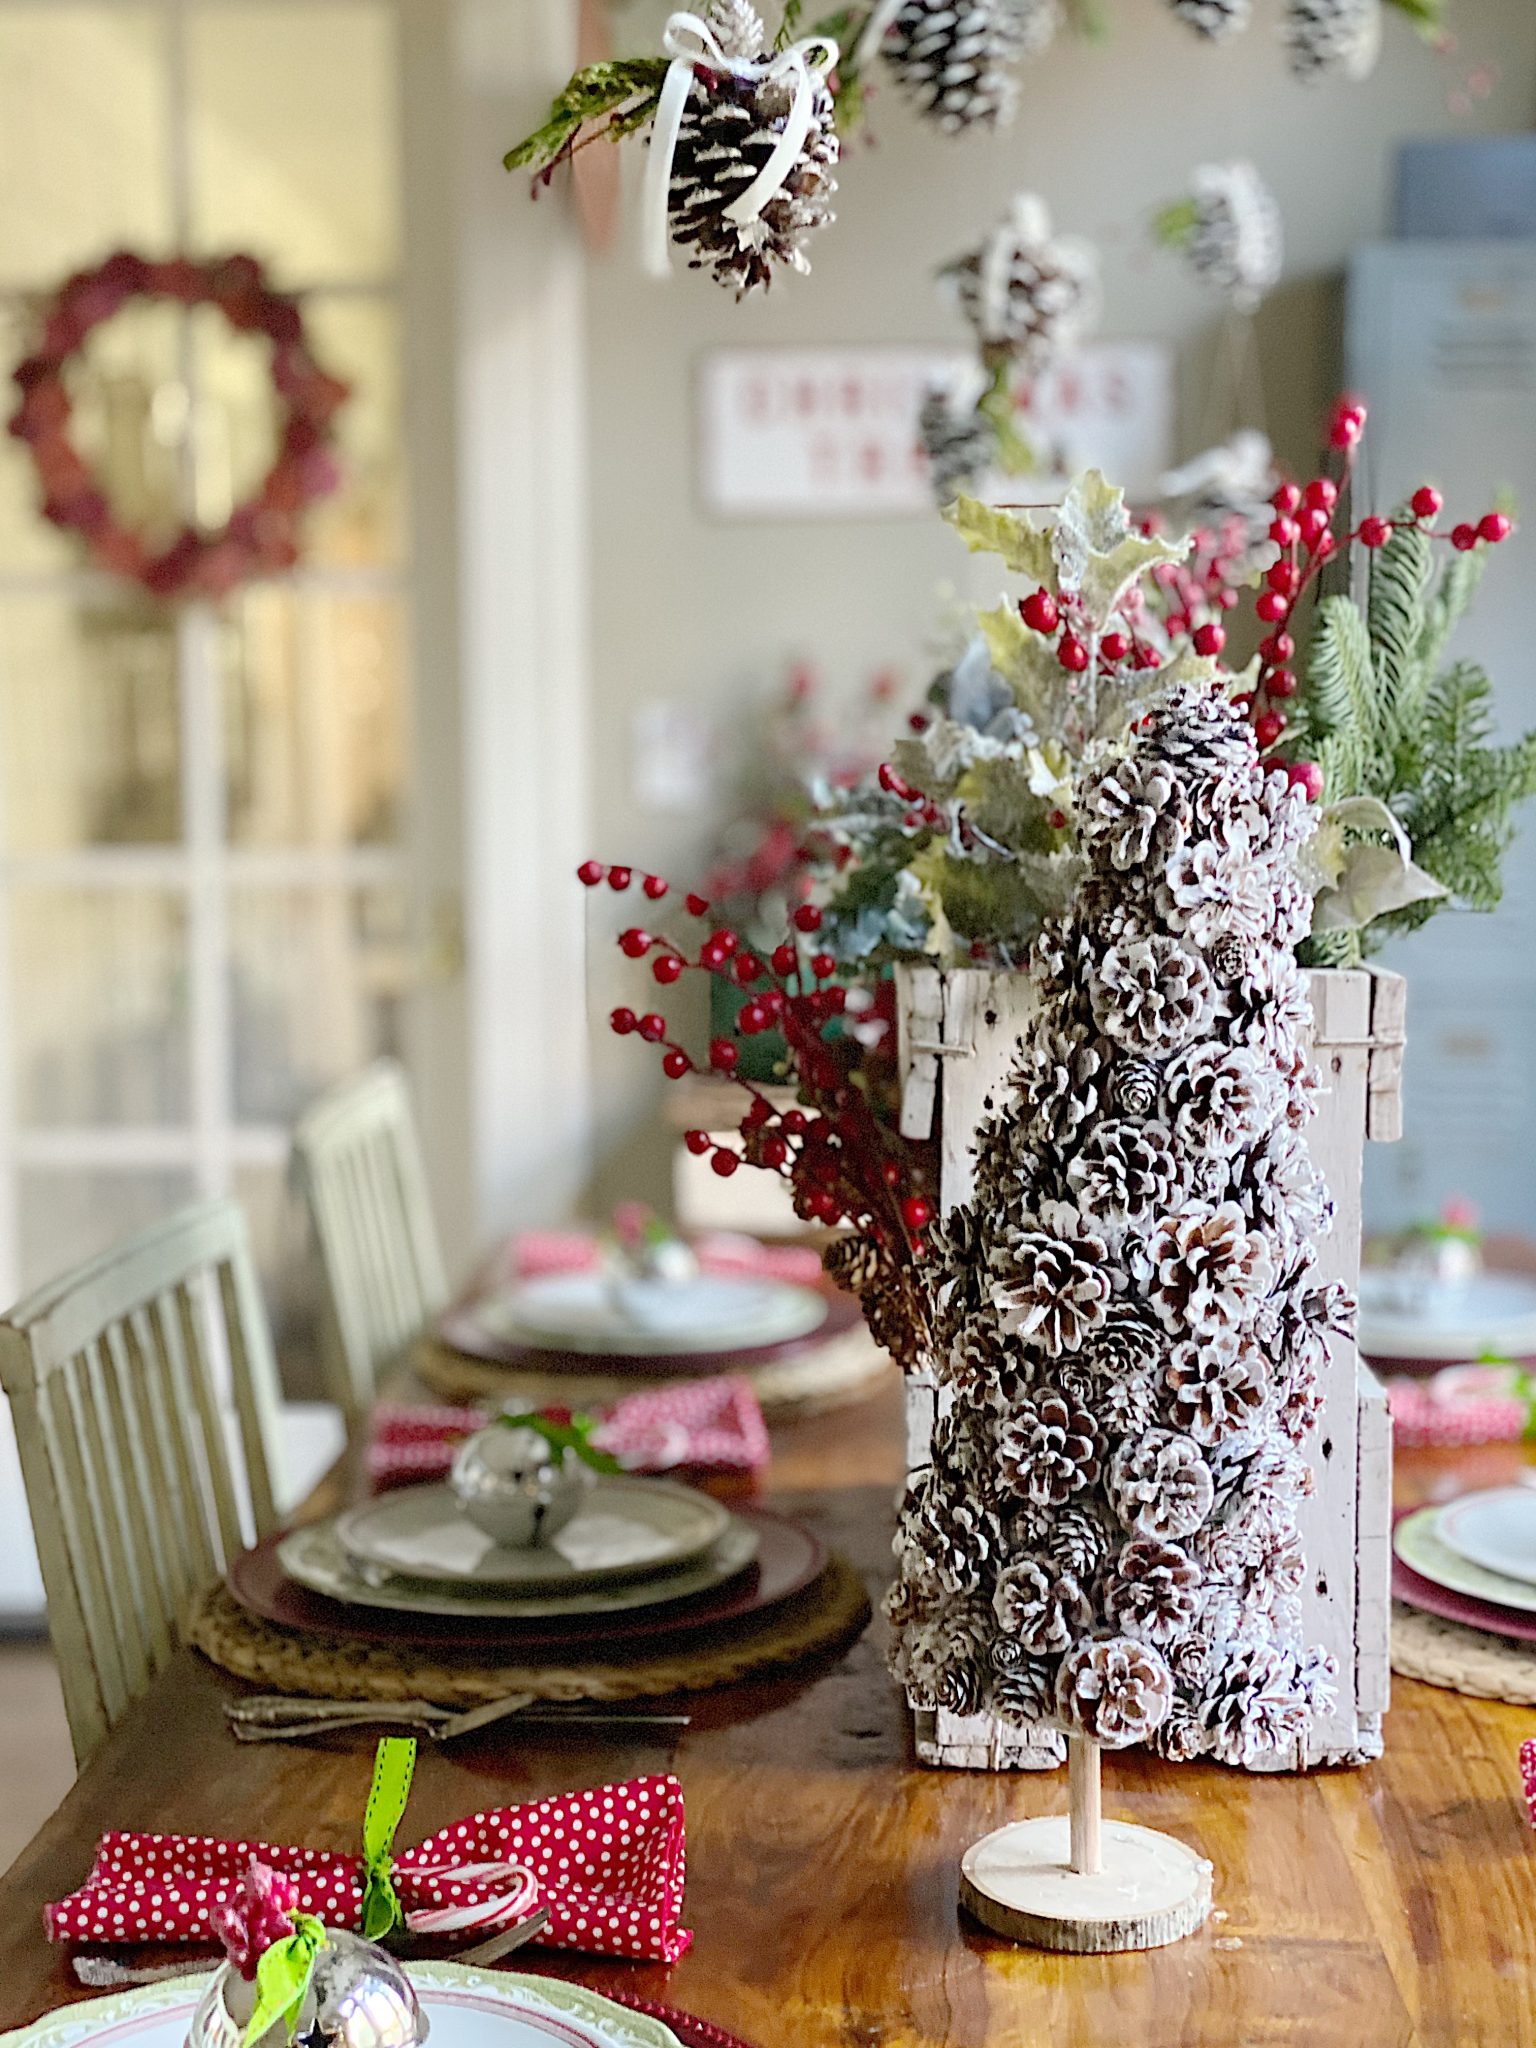
I added bells as a table favor on the plates (although it’s only our family this year, so I might be able to keep them!). I used one of my vintage crocks and filled it with beautiful Christmas greenery.

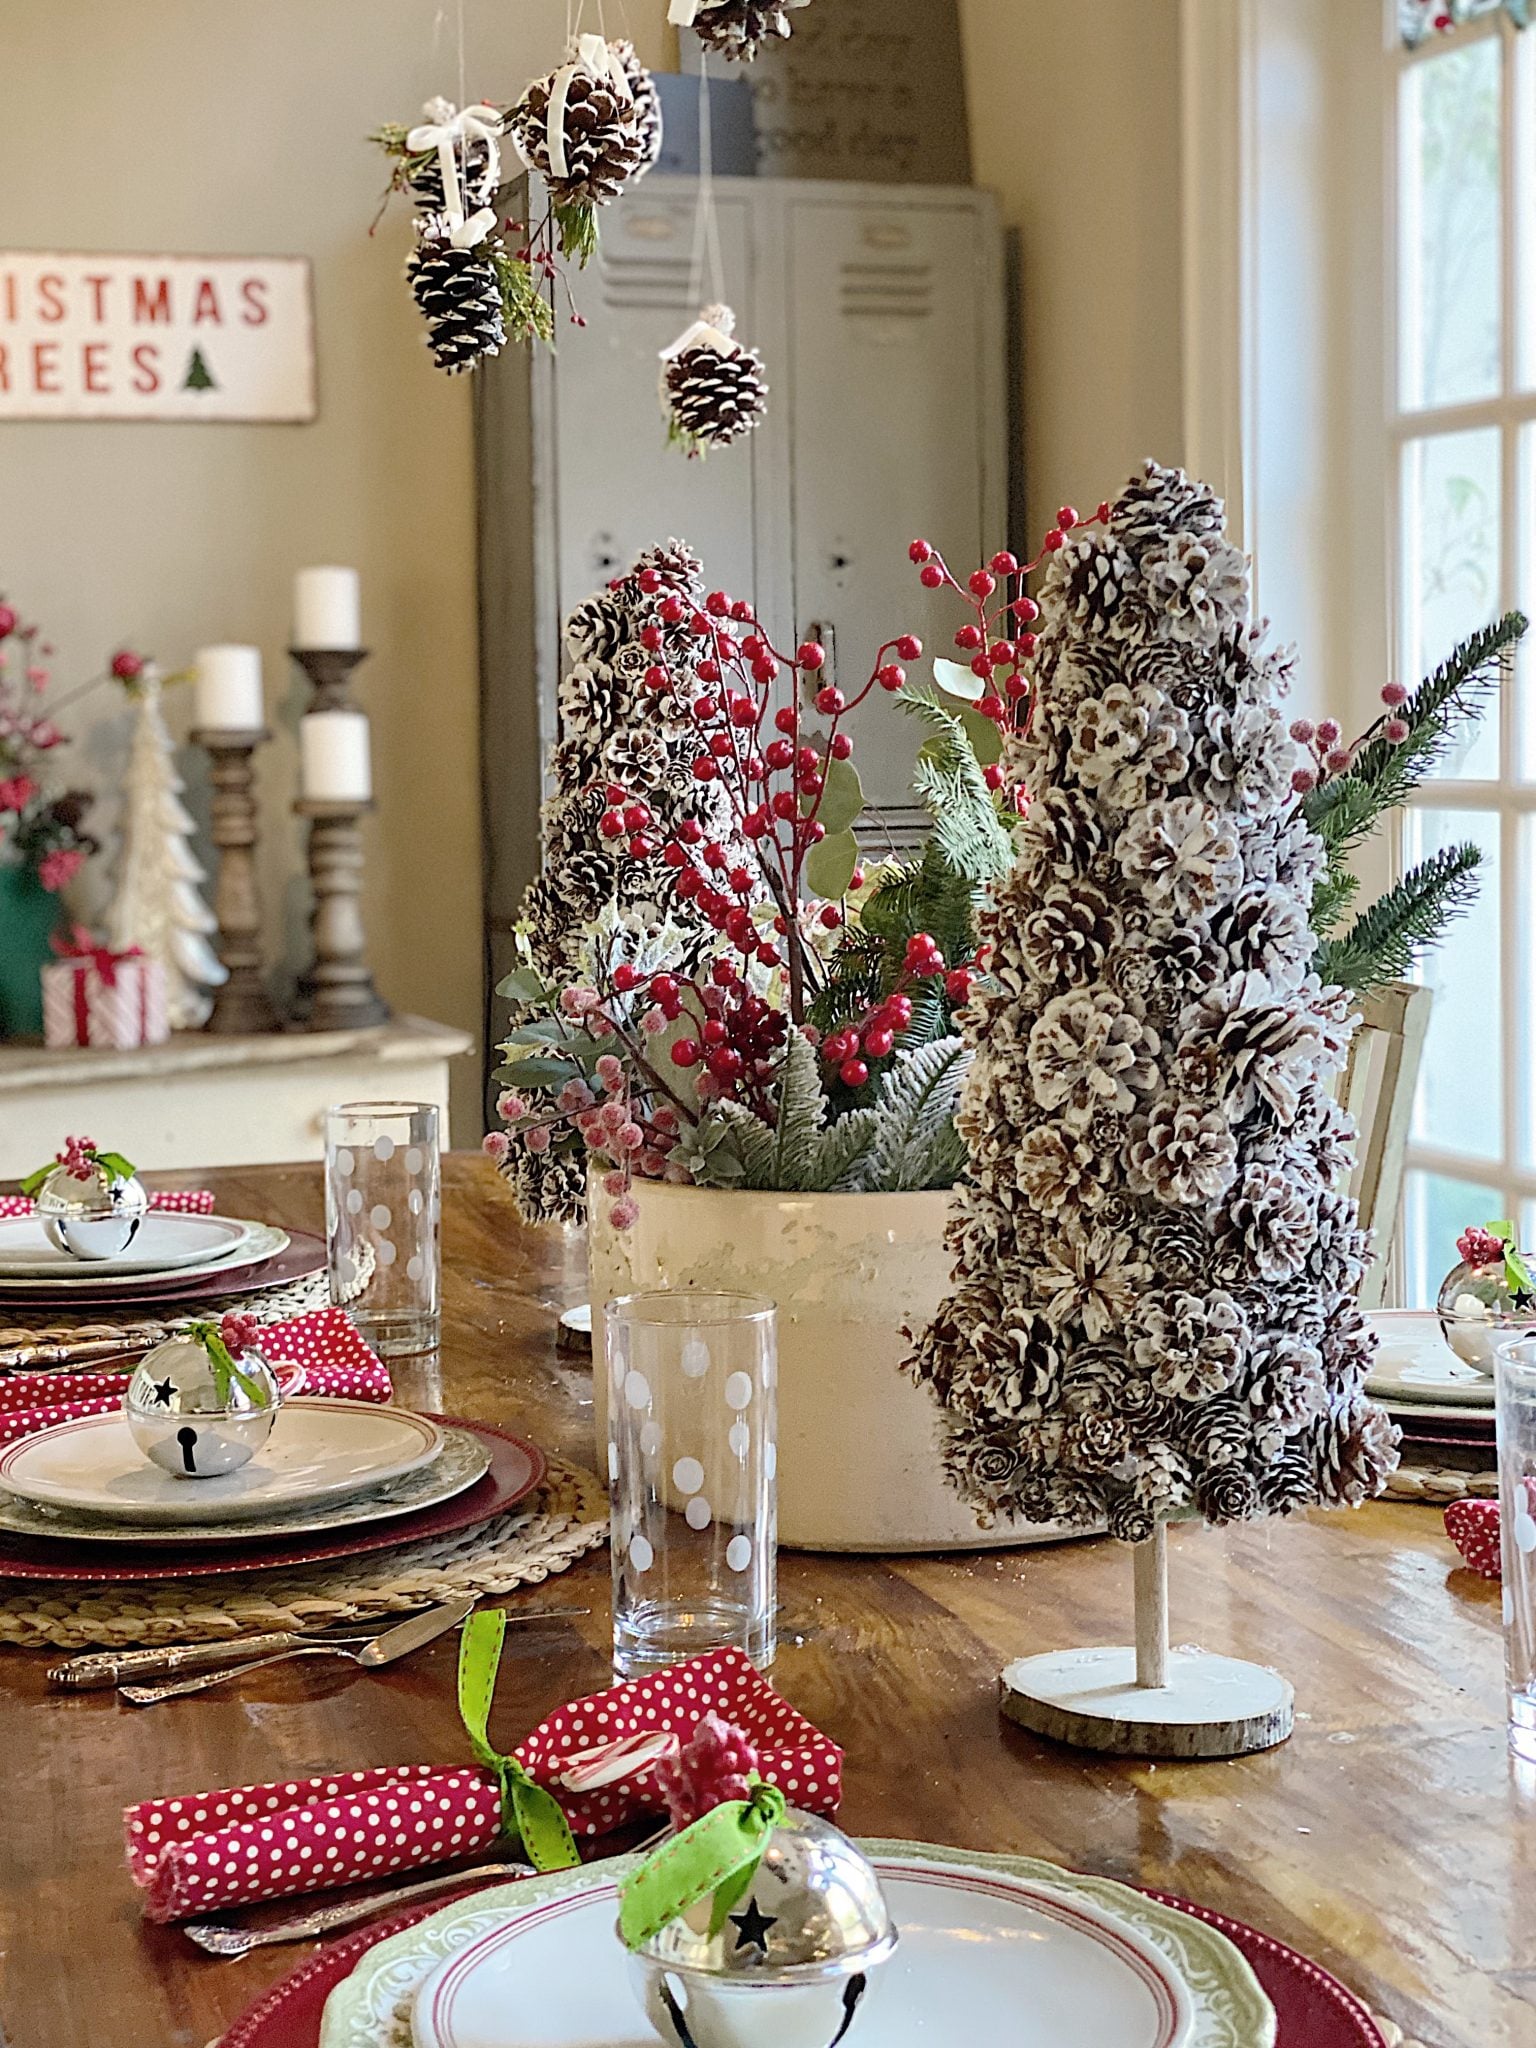
Hanging Pine Cones
I hung pine cones from the ceiling with a fishing line to add fun!
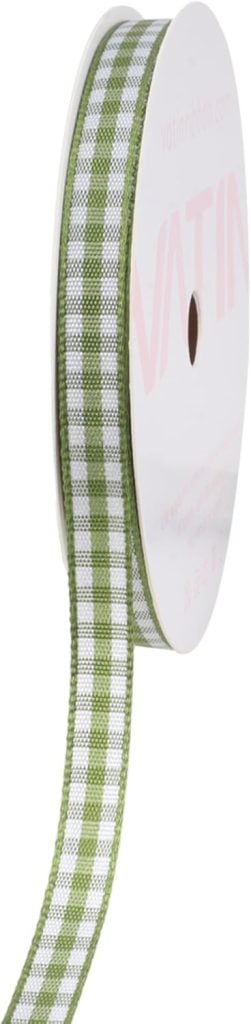
What You Need to Make Hanging Pinecones:

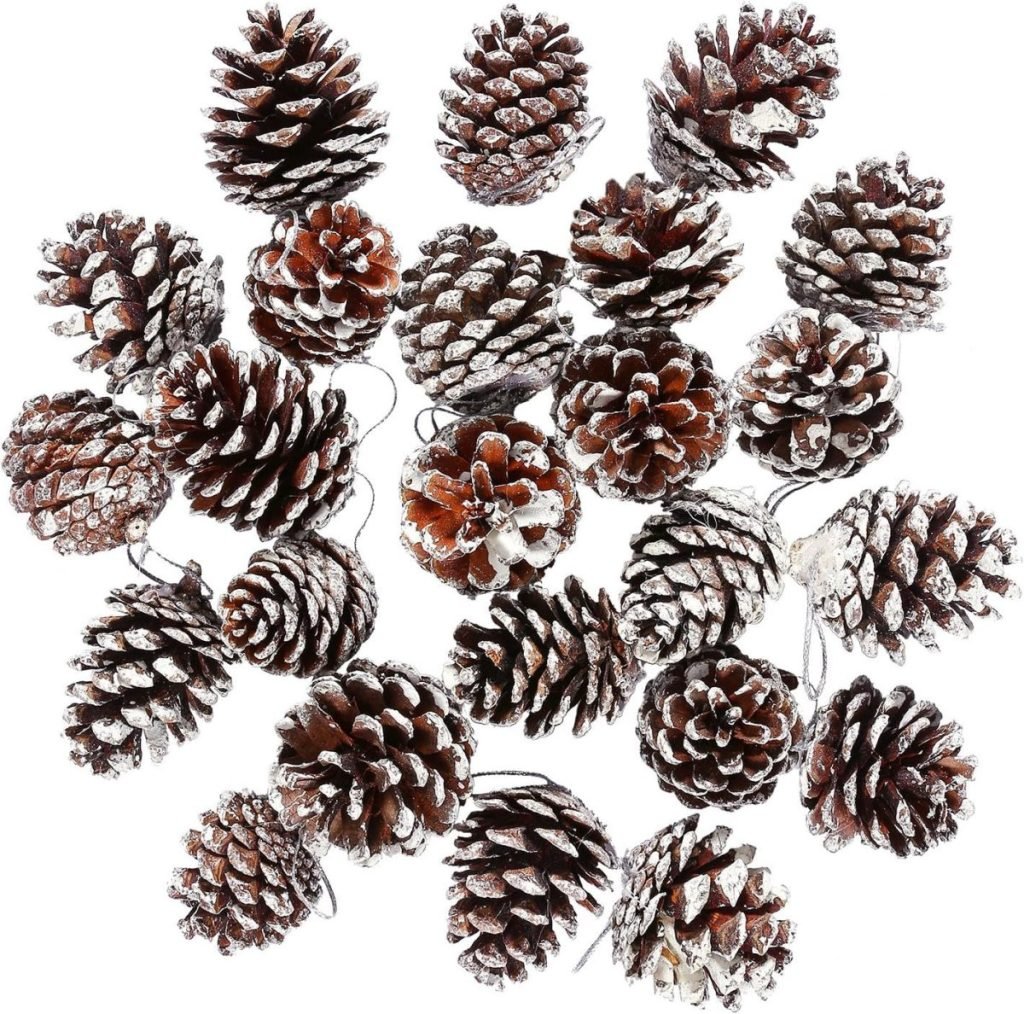
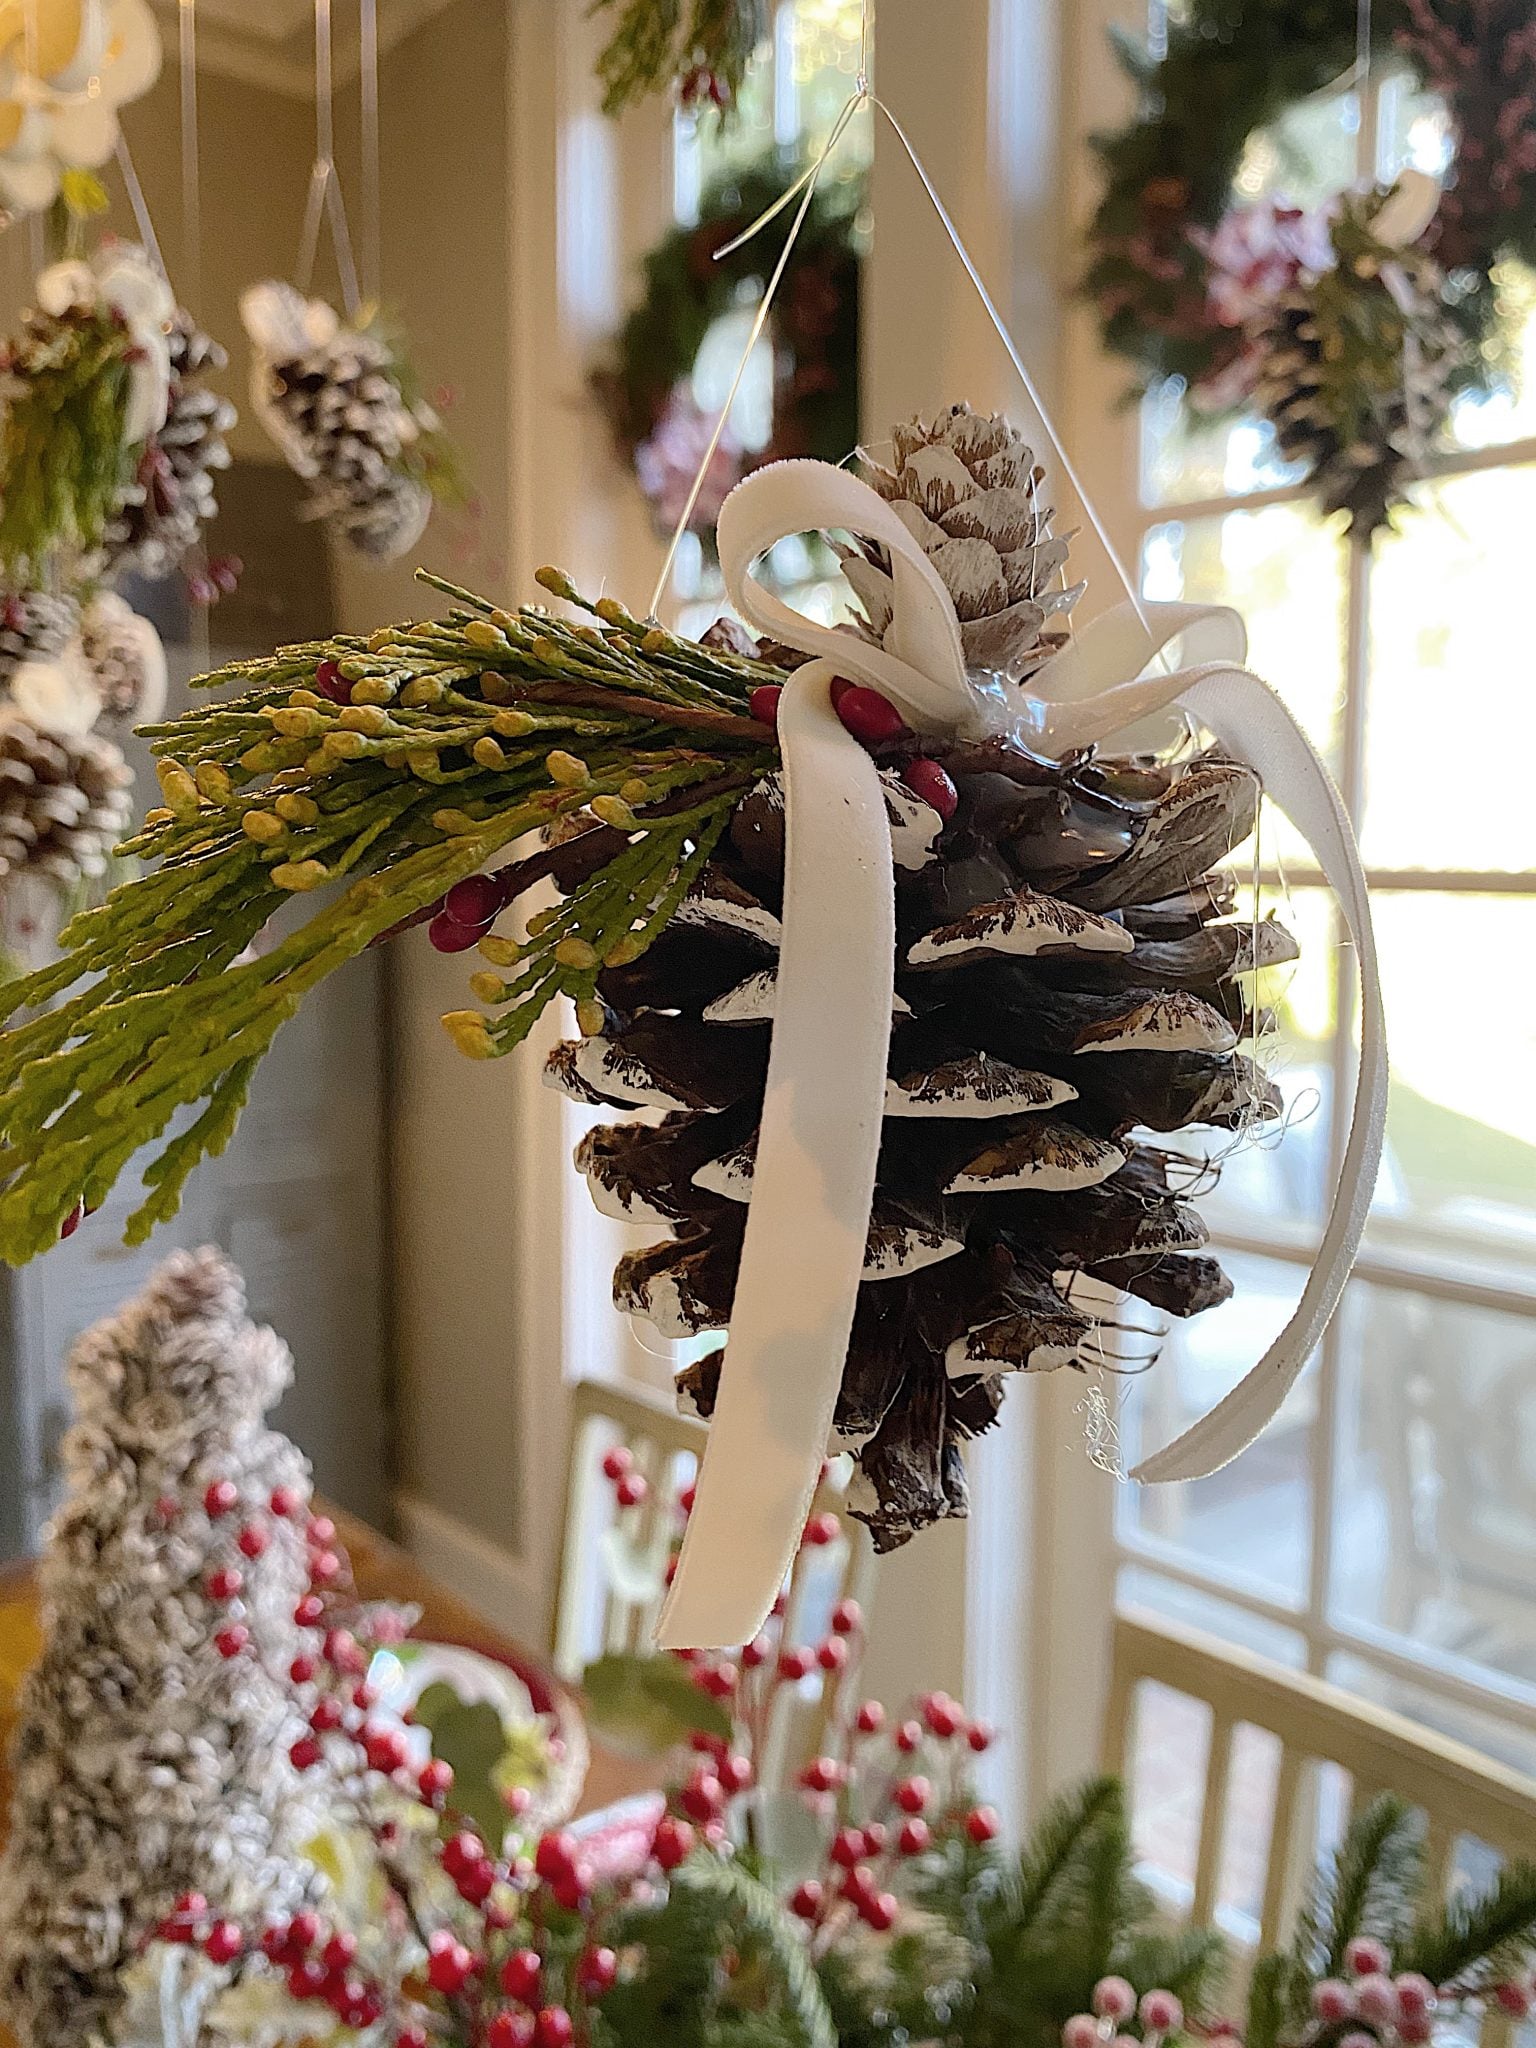
To start, I painted the tips of the pinecones (which takes only about a minute per pinecone).
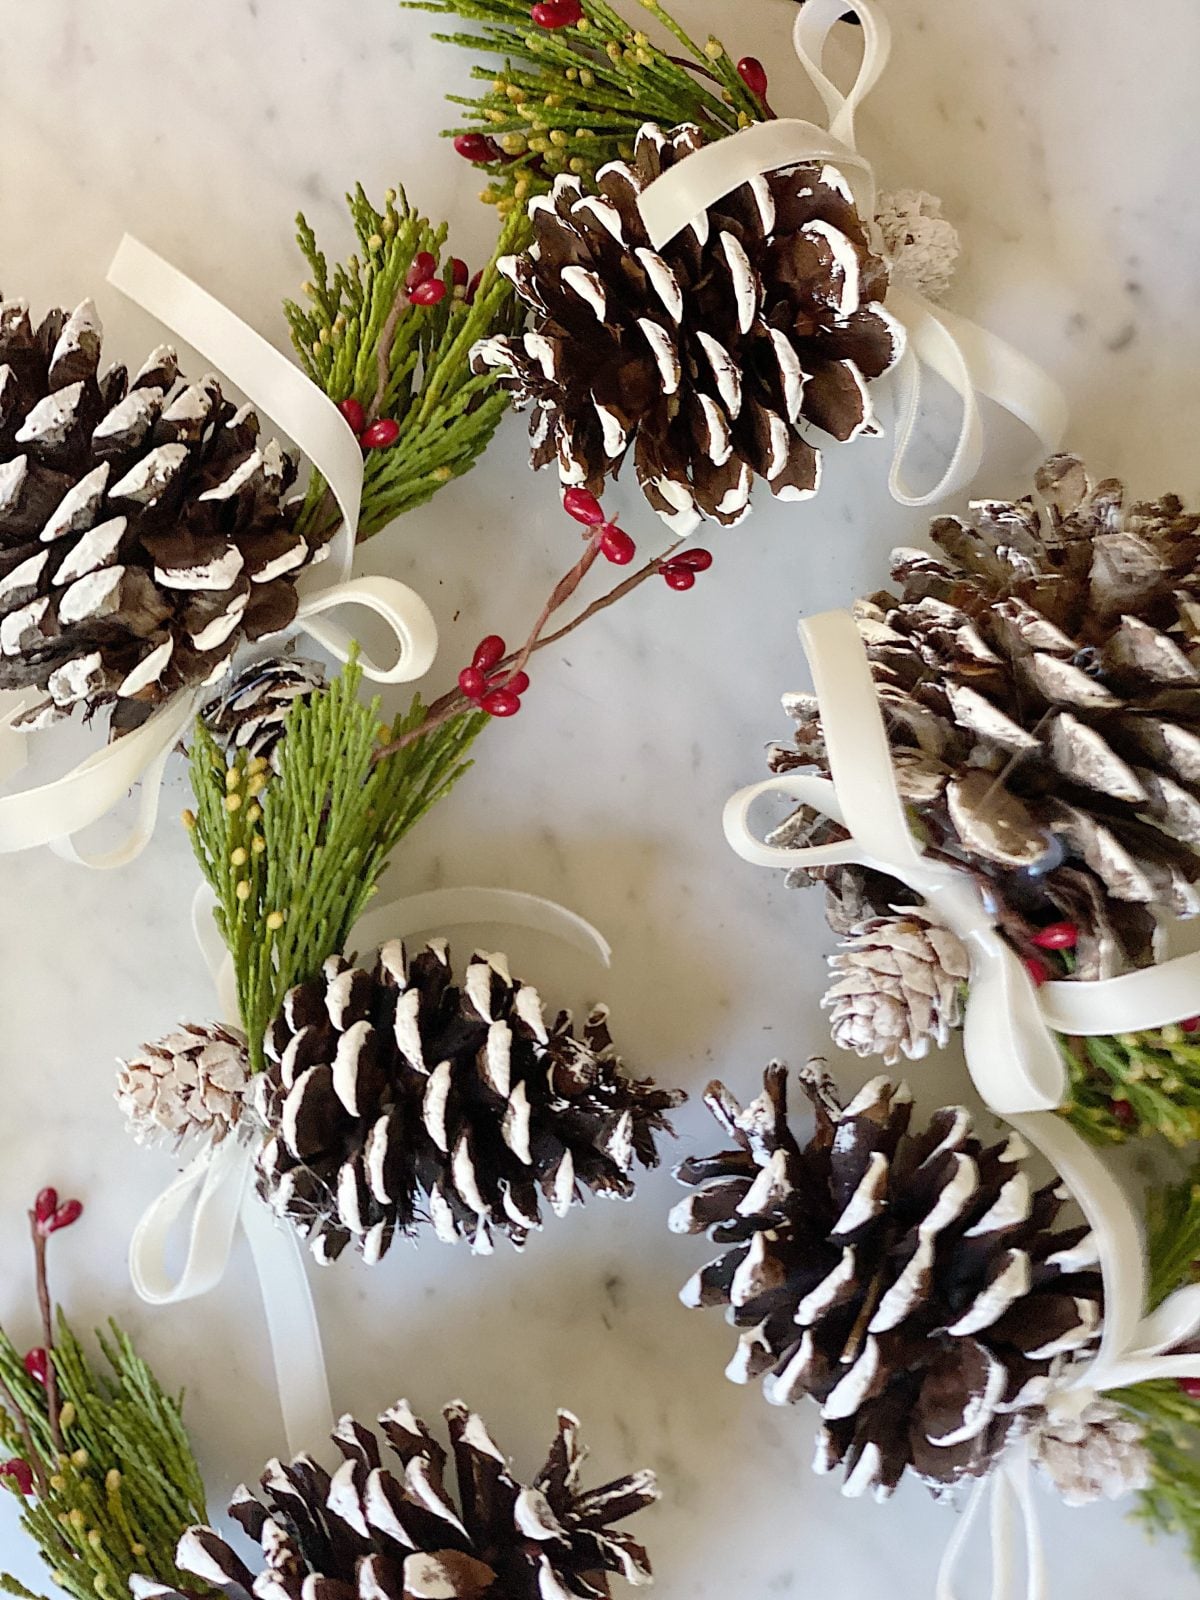
I used my glue gun to add fresh cedar, faux red berries, a velvet ribbon, and a tiny pinecone. I attached fishing with the glue gun for hanging.

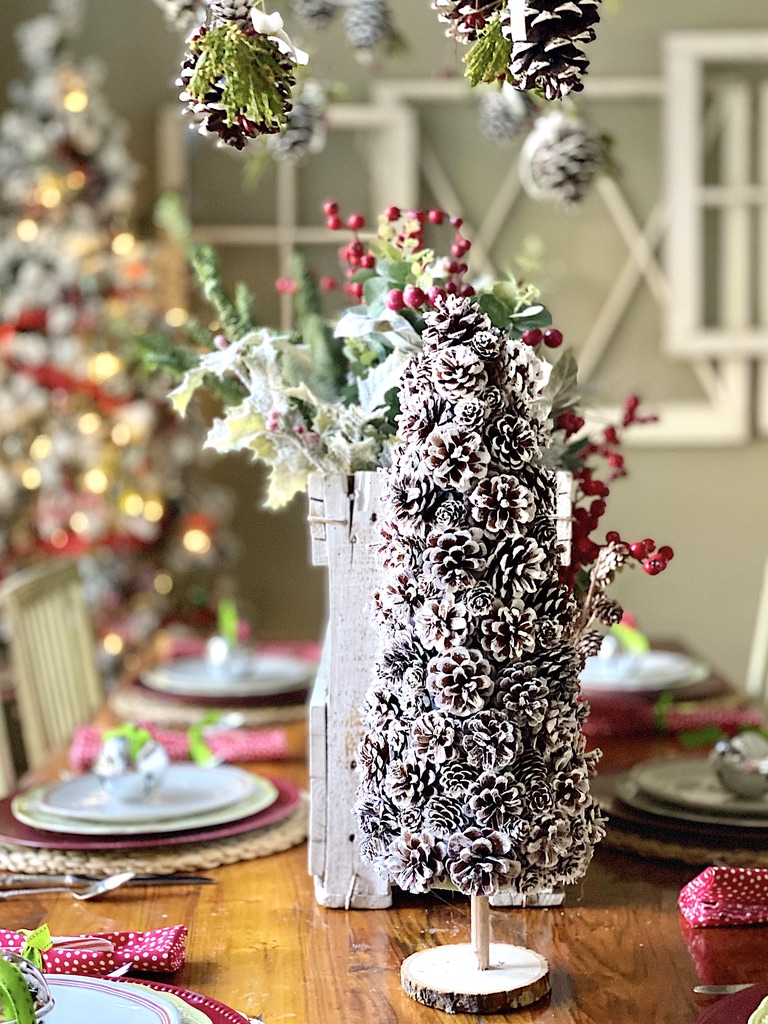
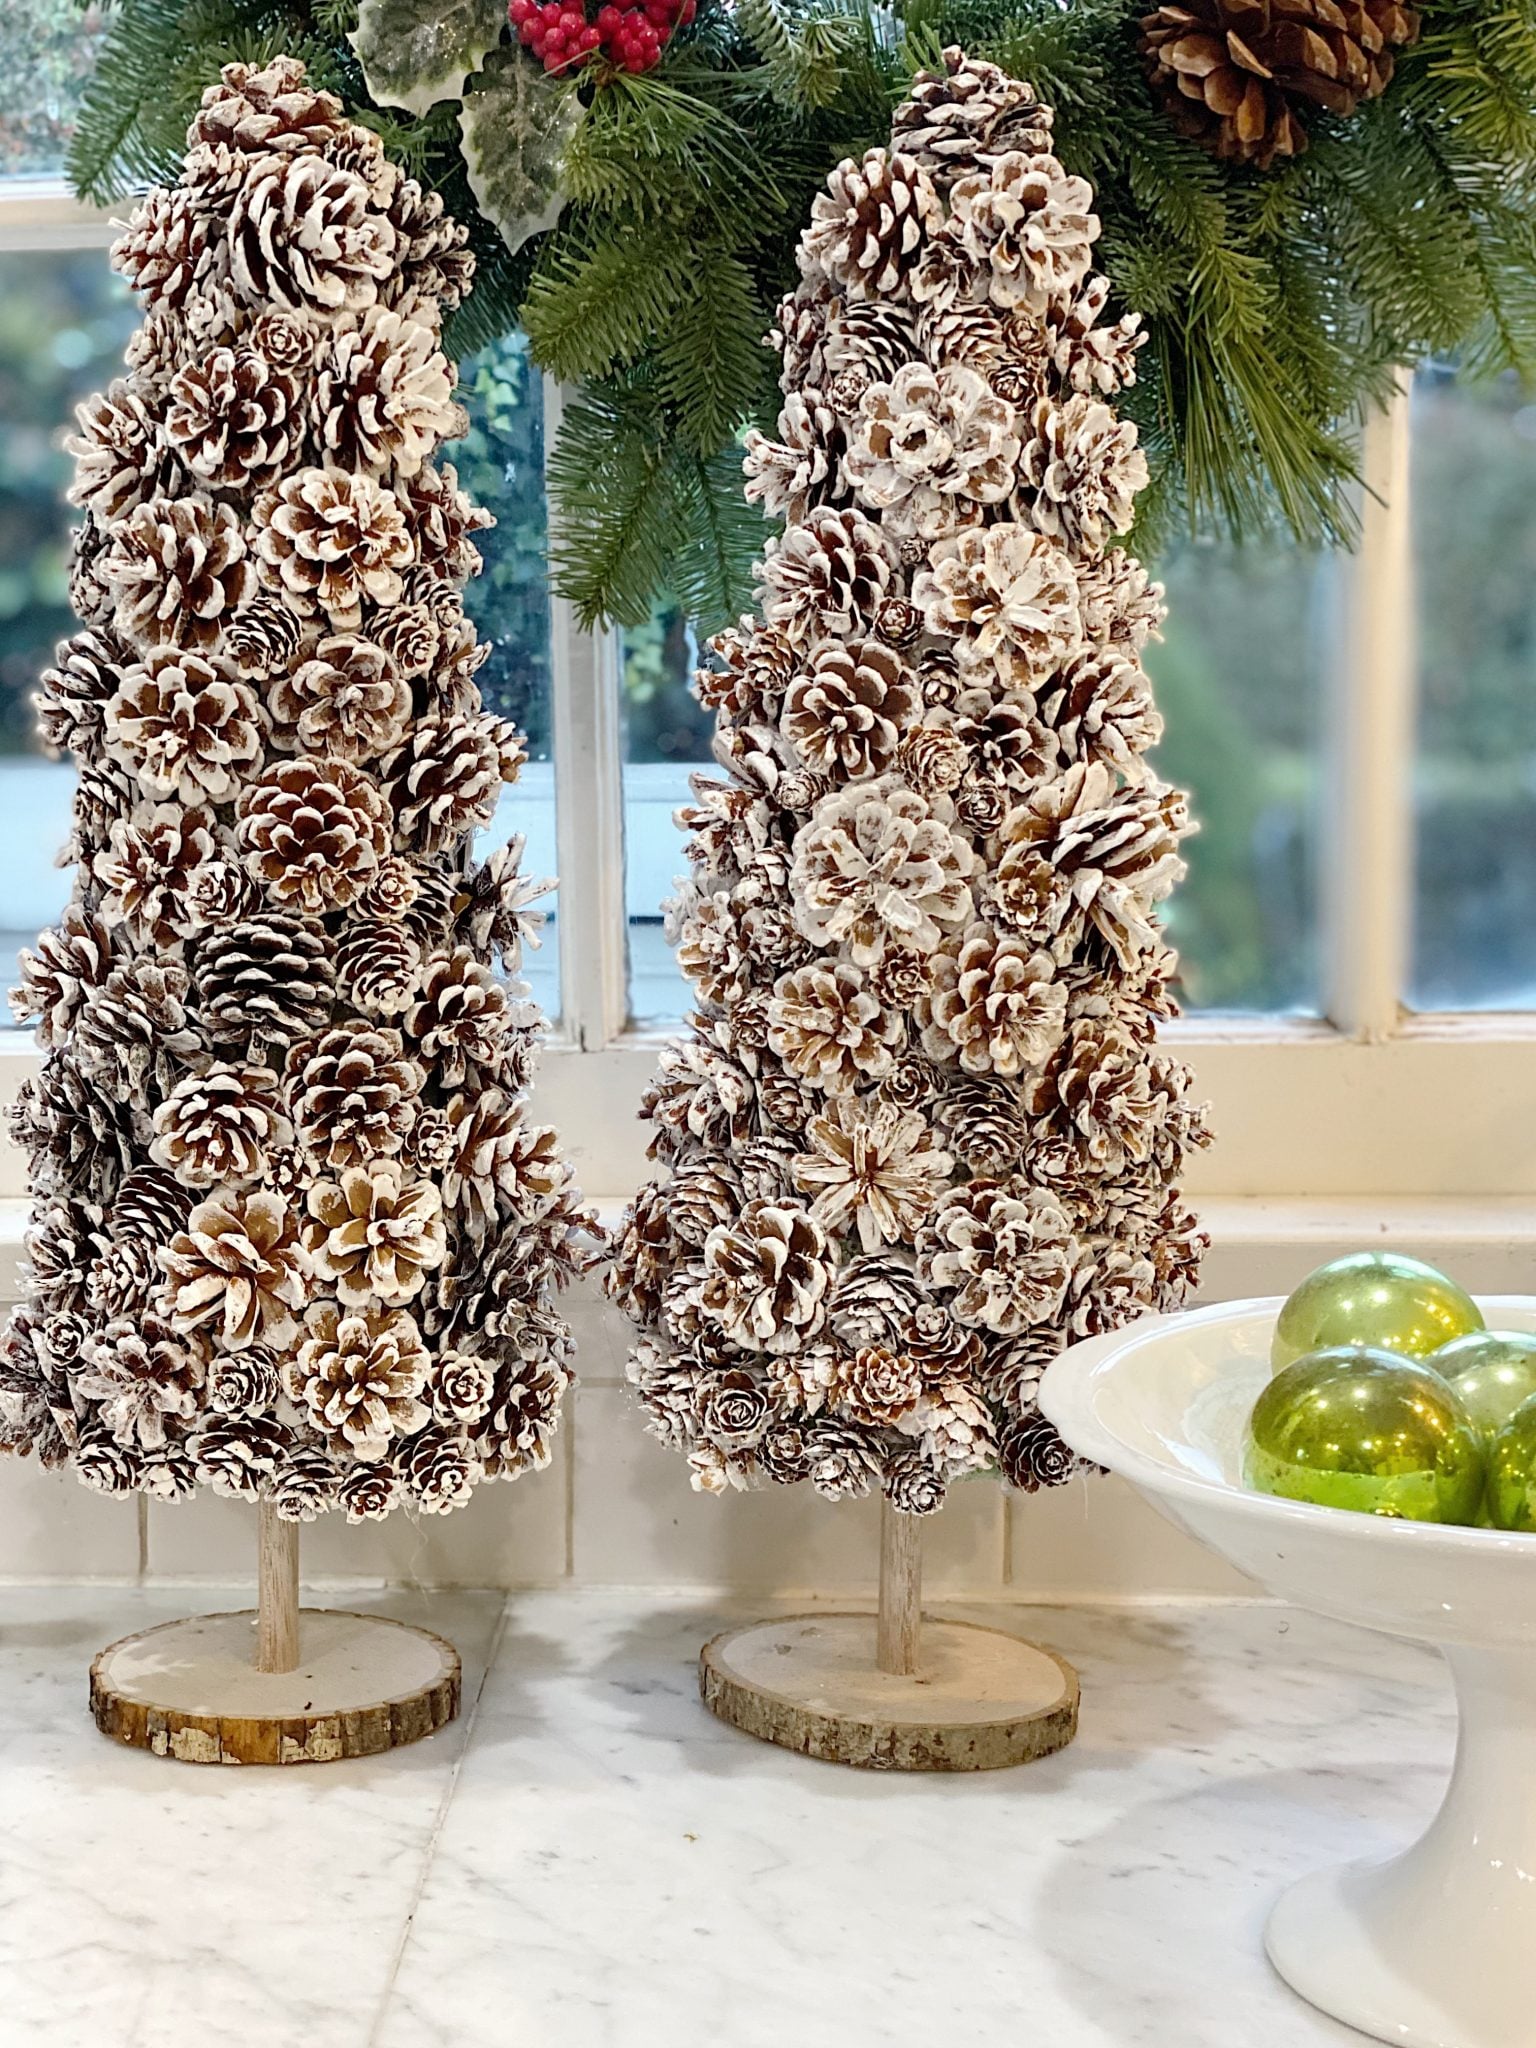
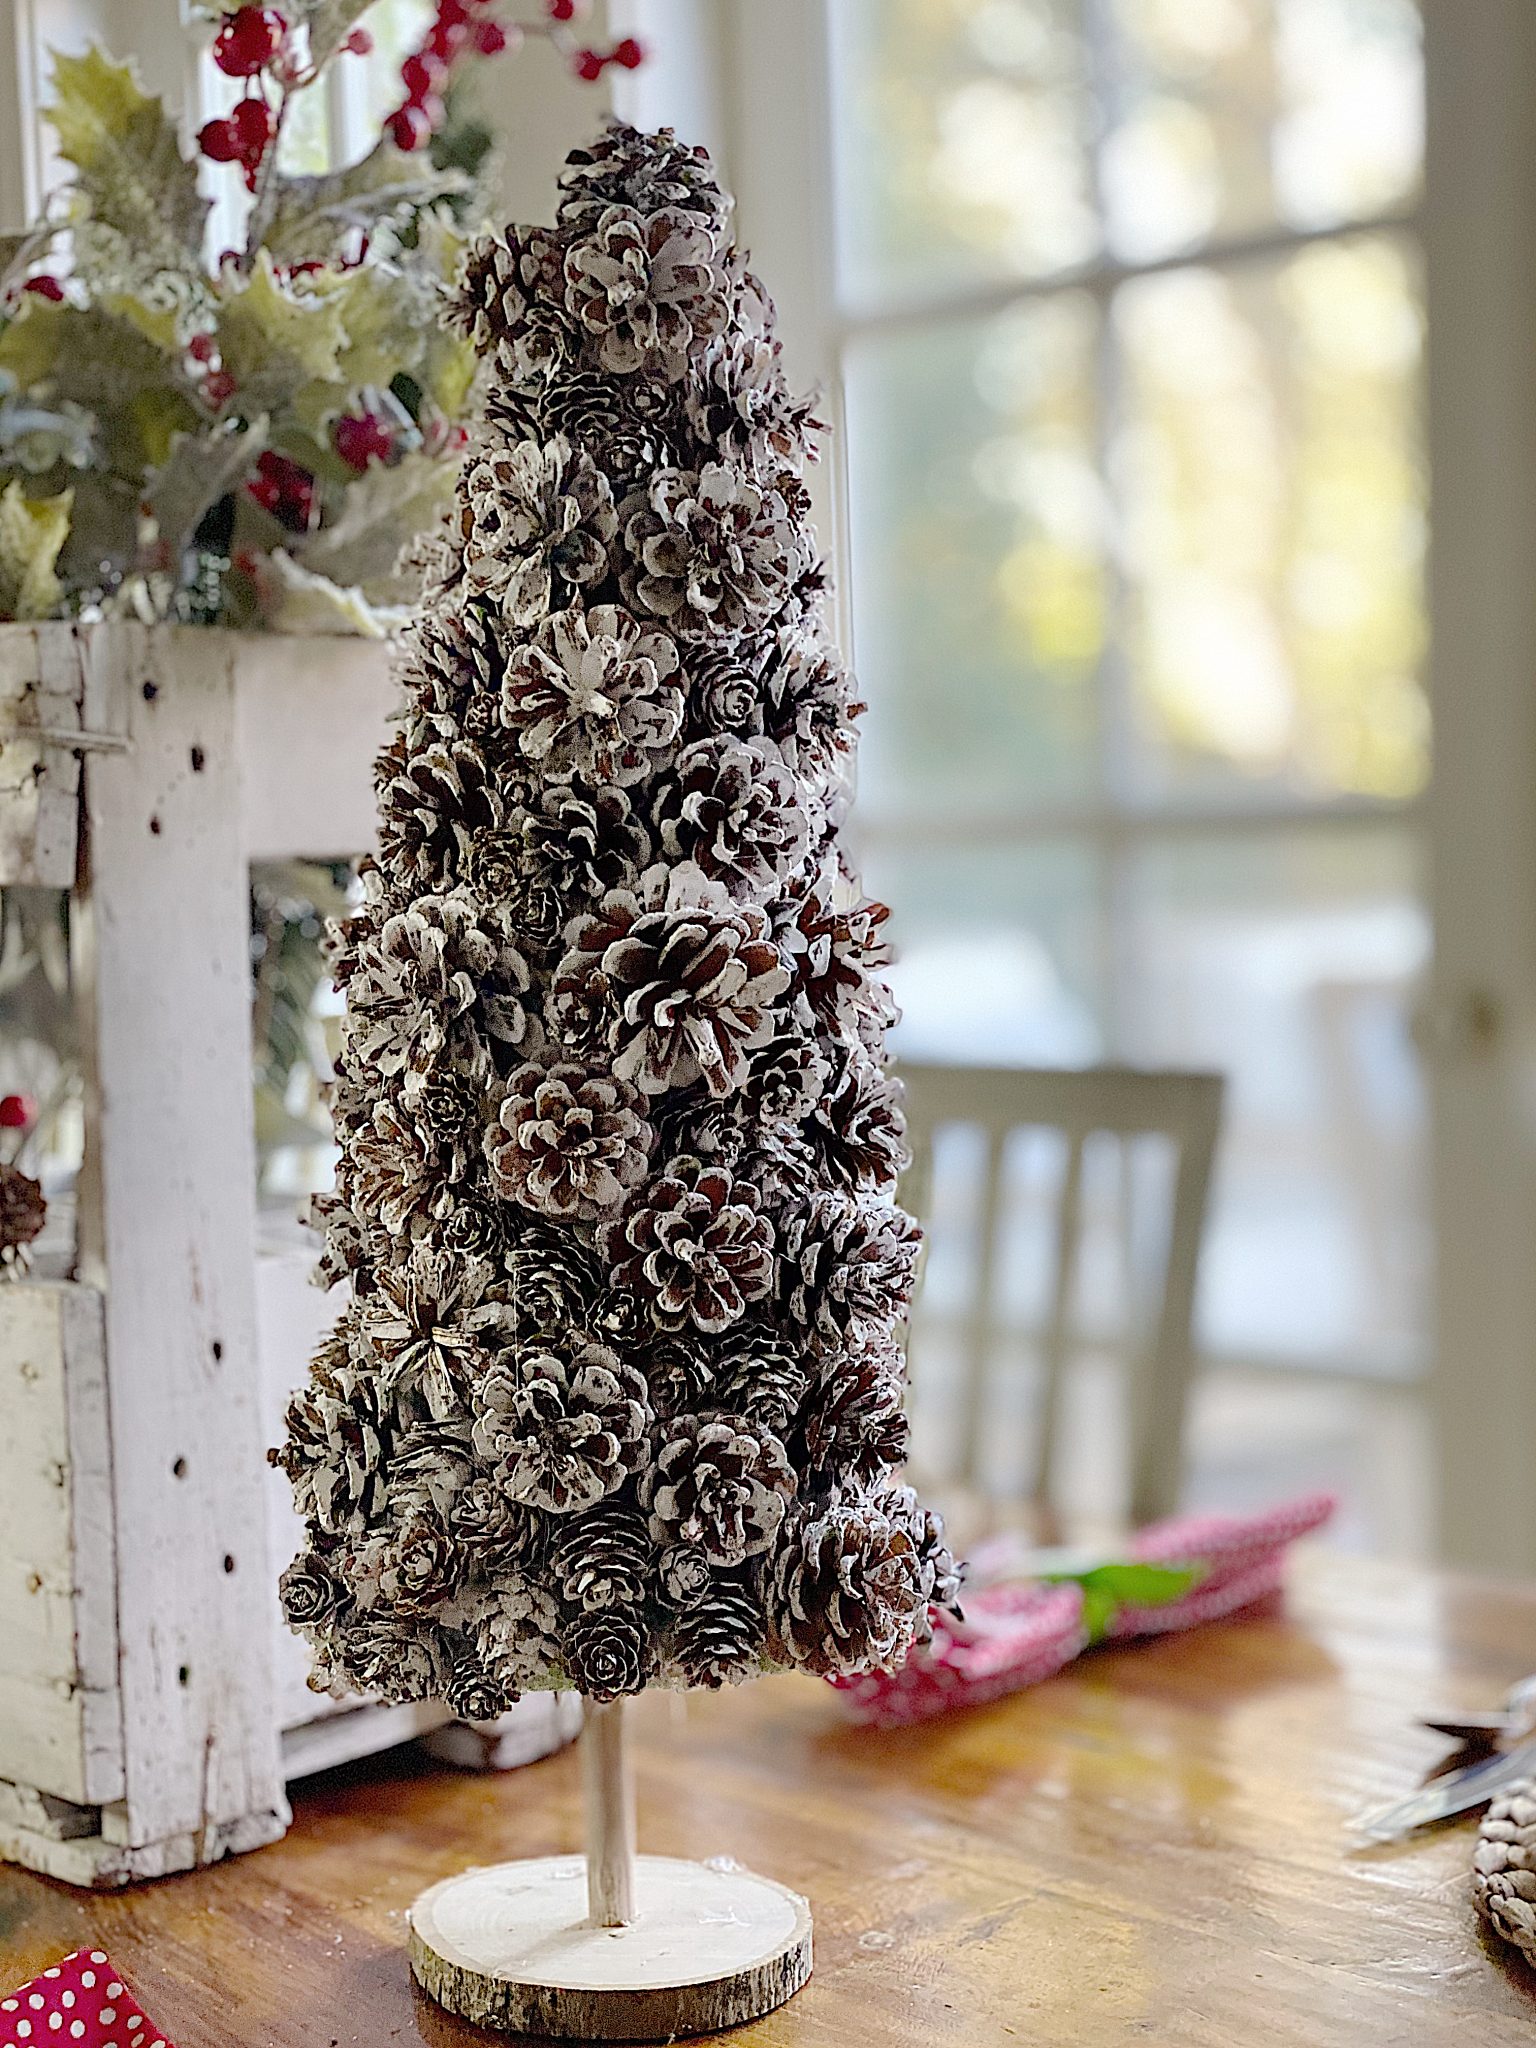
Pine Cone Trees
I am obsessed with the pine cone trees I made. Aren’t they the best?
Here is my tutorial on making these Pinecone tree crafts.
My live craft demonstration took place today on my Facebook.
Watch my live demonstration here!
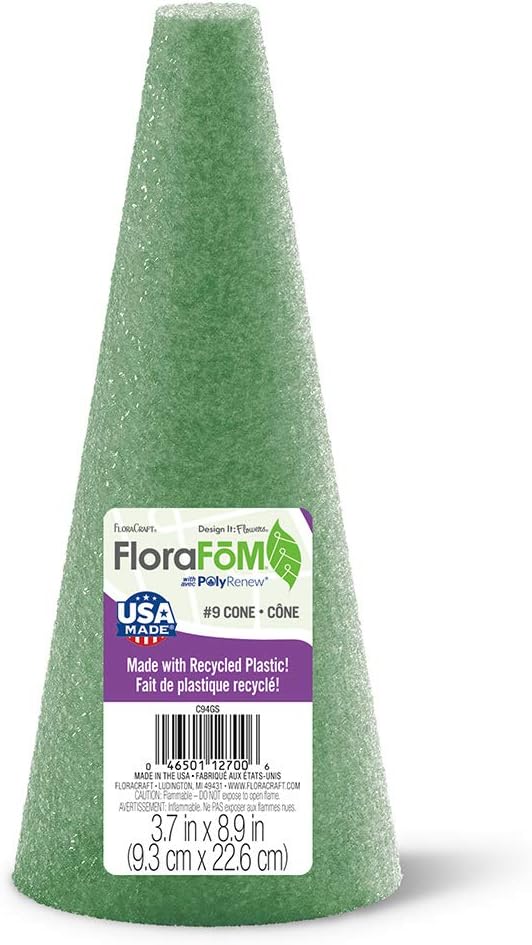
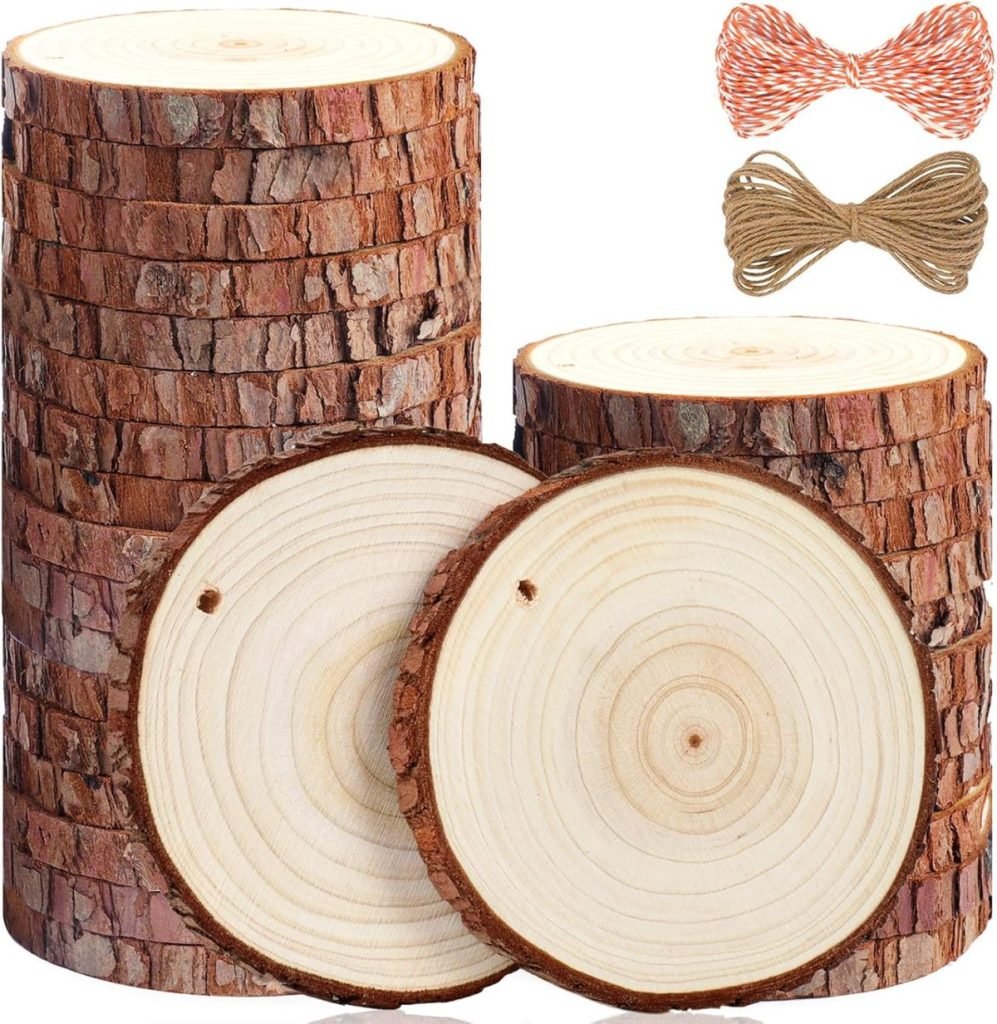
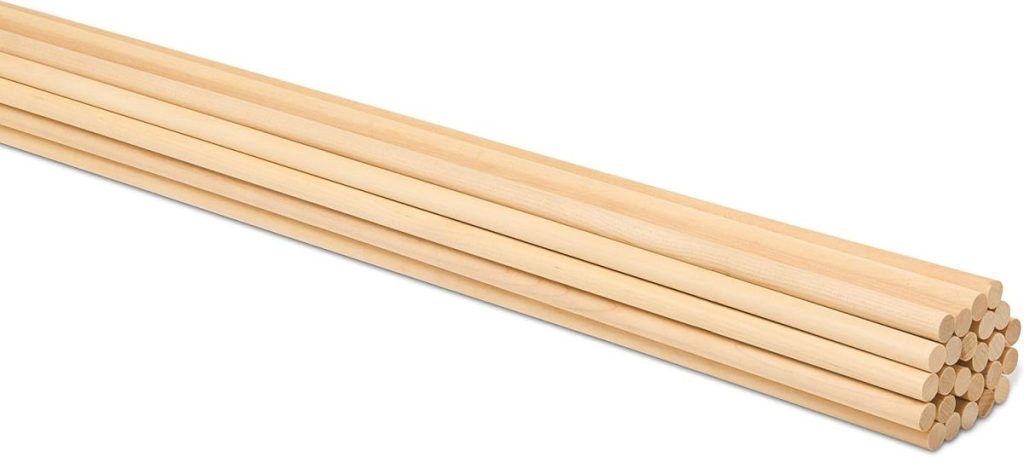
What You Need to Make Pinecone Trees
Medium and small pine cones (1″ and 1/2″) – approximately 100 total – Small Pine Cones
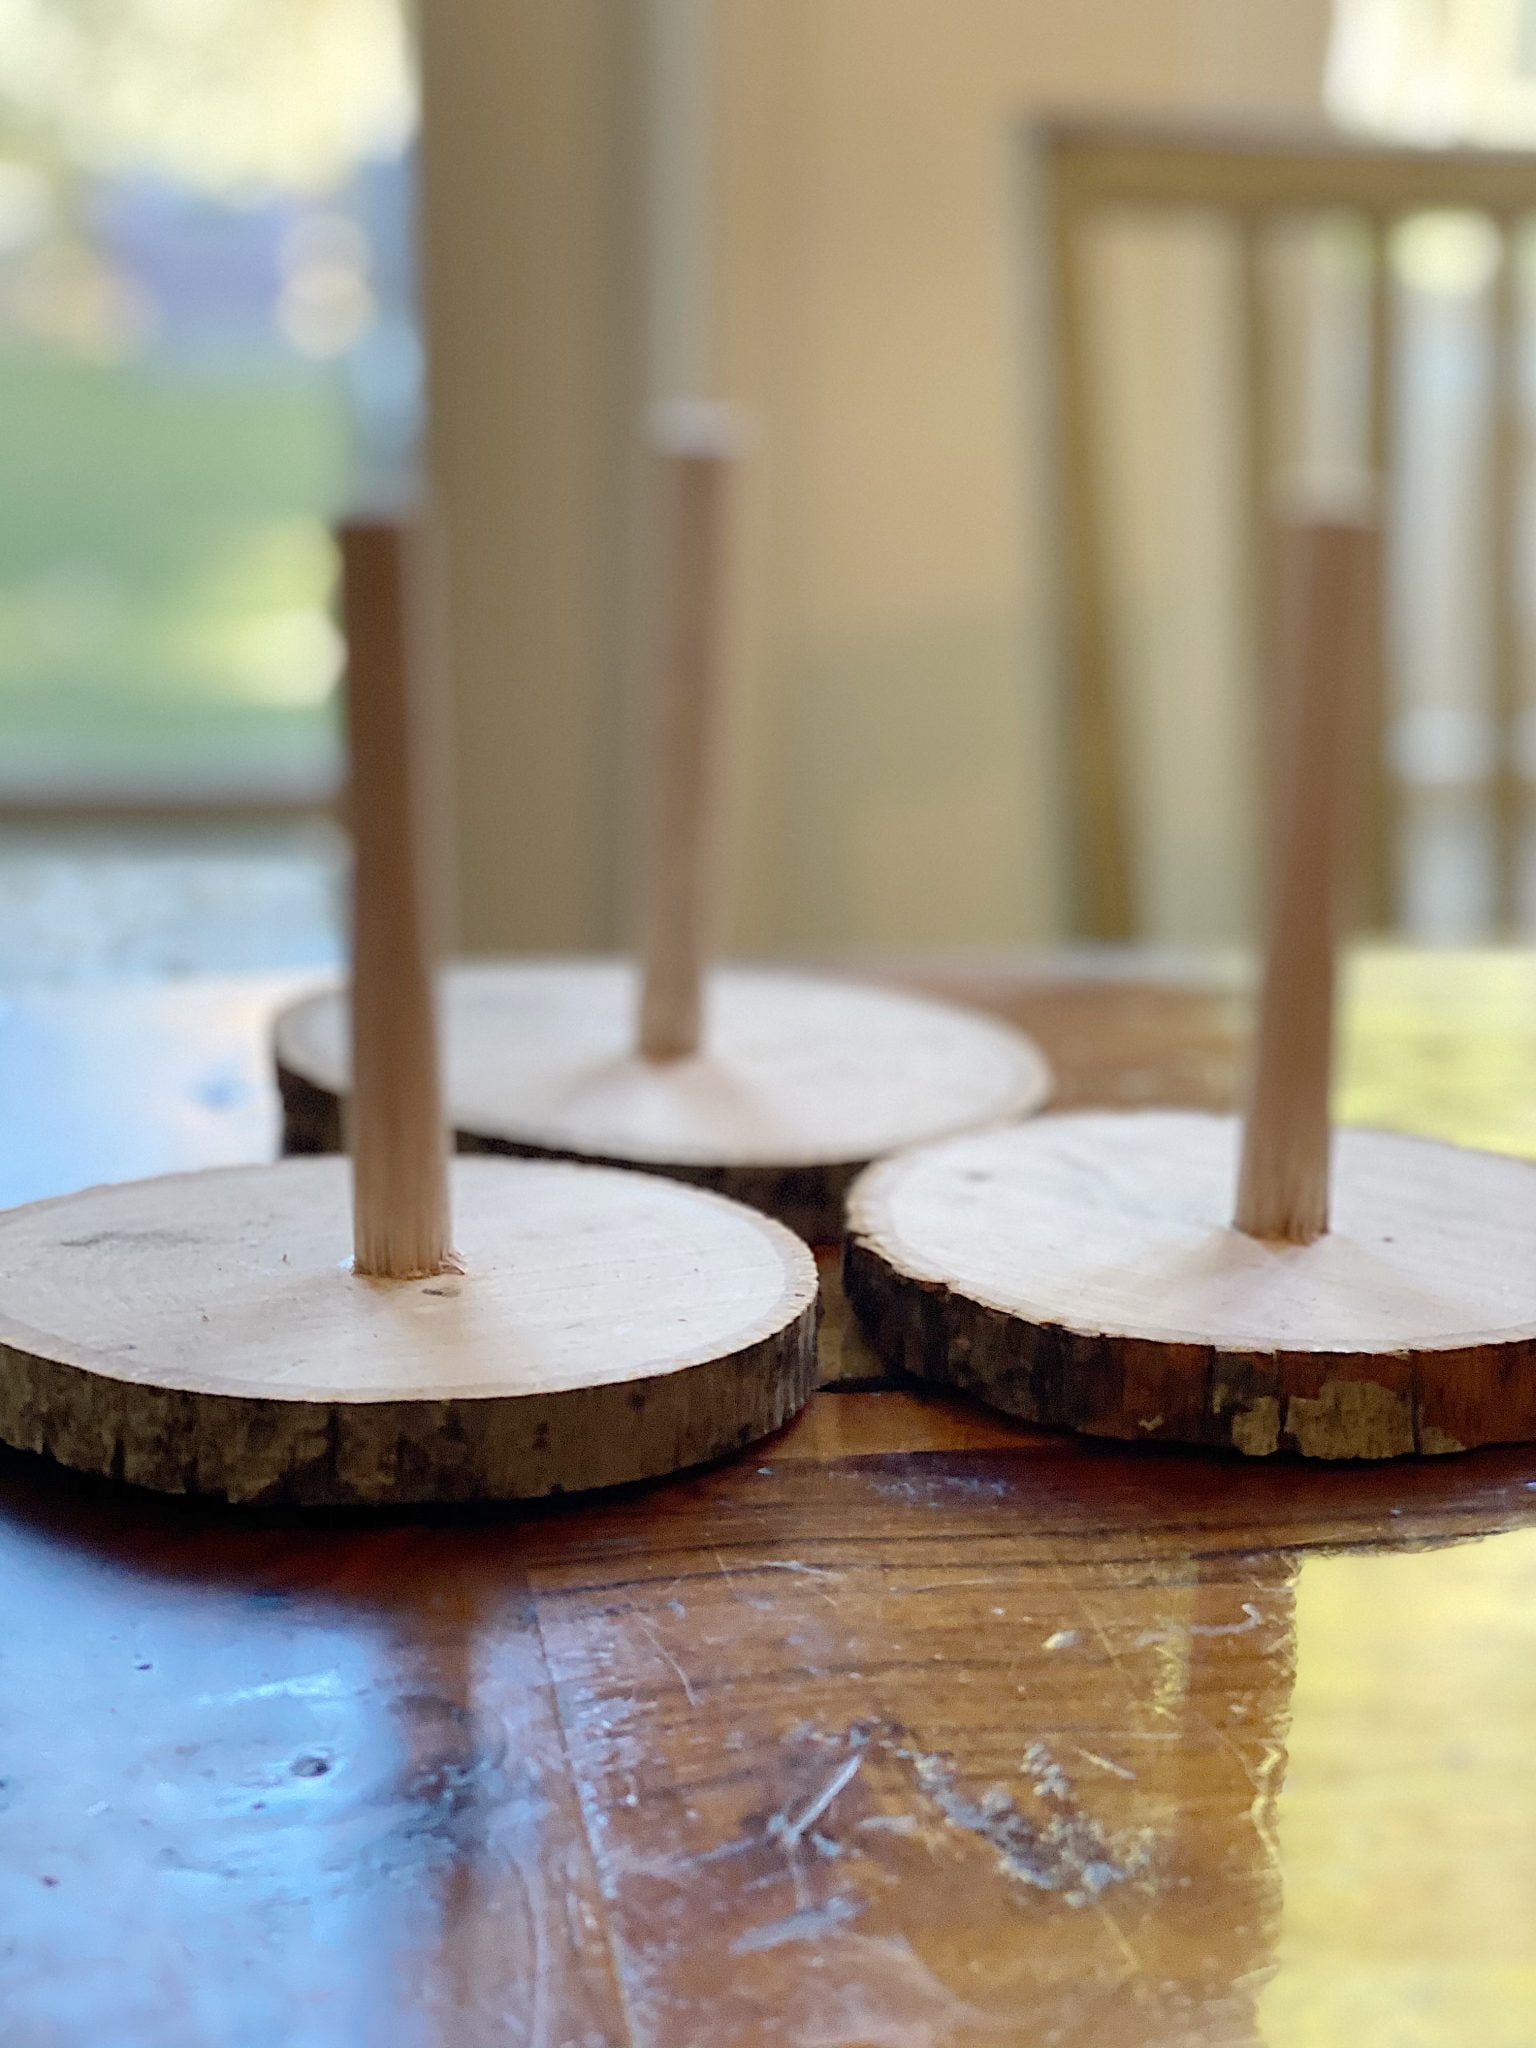
1/2″ wooden dowel, cut to 6″ long
Glue sticks and glue gun (you need a lot!)
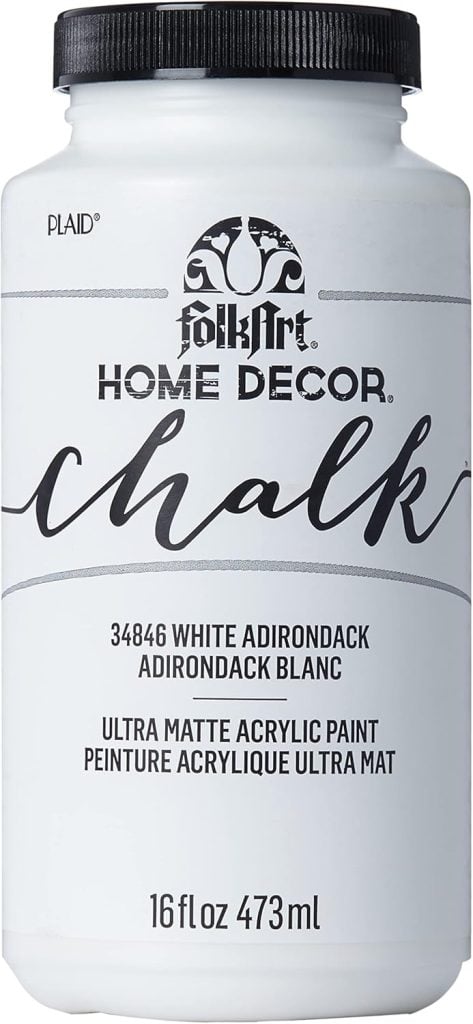
Paint the pine cones with chalk paint. Let dry.
To make the pinecones, drill a hole in the center of the wood disk and use a screw to attach the dowel. Screw it in through the bottom.
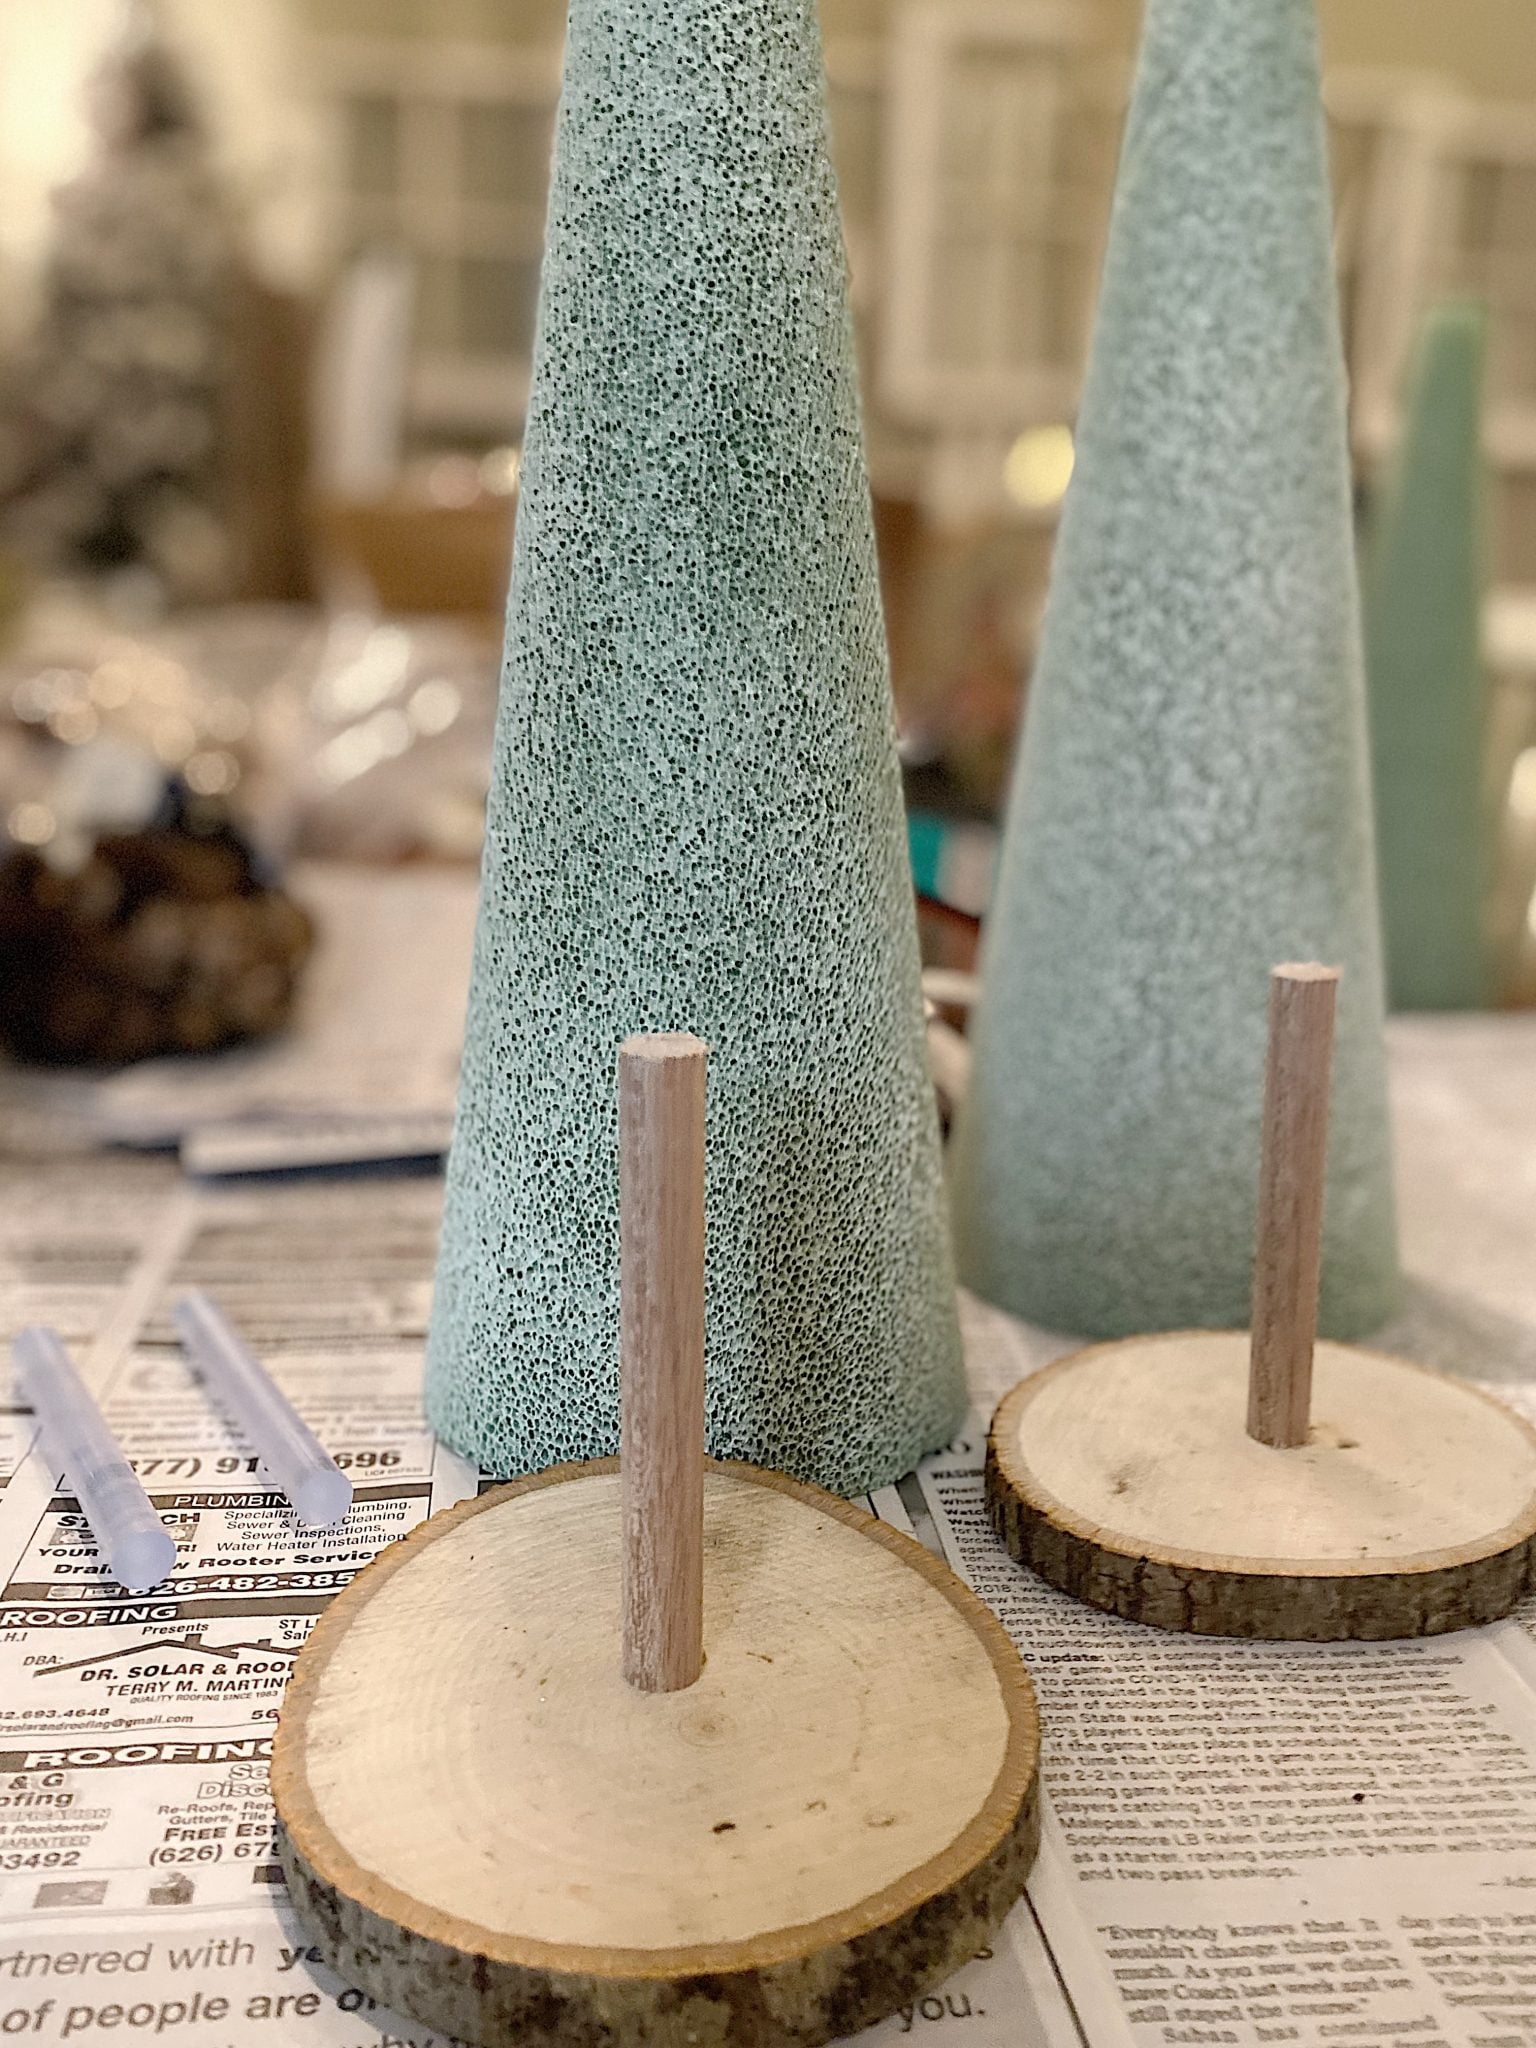
Spray paint the cones white. I used an old can of paint that didn’t work well (the nozzle was old!). However, spraying the cone white is highly recommended.
Lightly place the base into the center of the bottom of the foam cone. Push up about 1 – 1 1/2″ and secure with hot glue.
Start at the top and glue one pine cone upside down on the top. Continue gluing in a freeing style, but place some of the pinecones facing downward. Fill the open areas with the smaller pine cones.
It took me a while, but I finally figured out how to make the gluing of the pine cones a lot easier. Put glue on the foam cone, place the pine cone, and hold. Add more glue so the pine cone will stick to the nearby pine cones. Gluing them to the other pinecones will help secure them. Before I did this, they kept falling off!
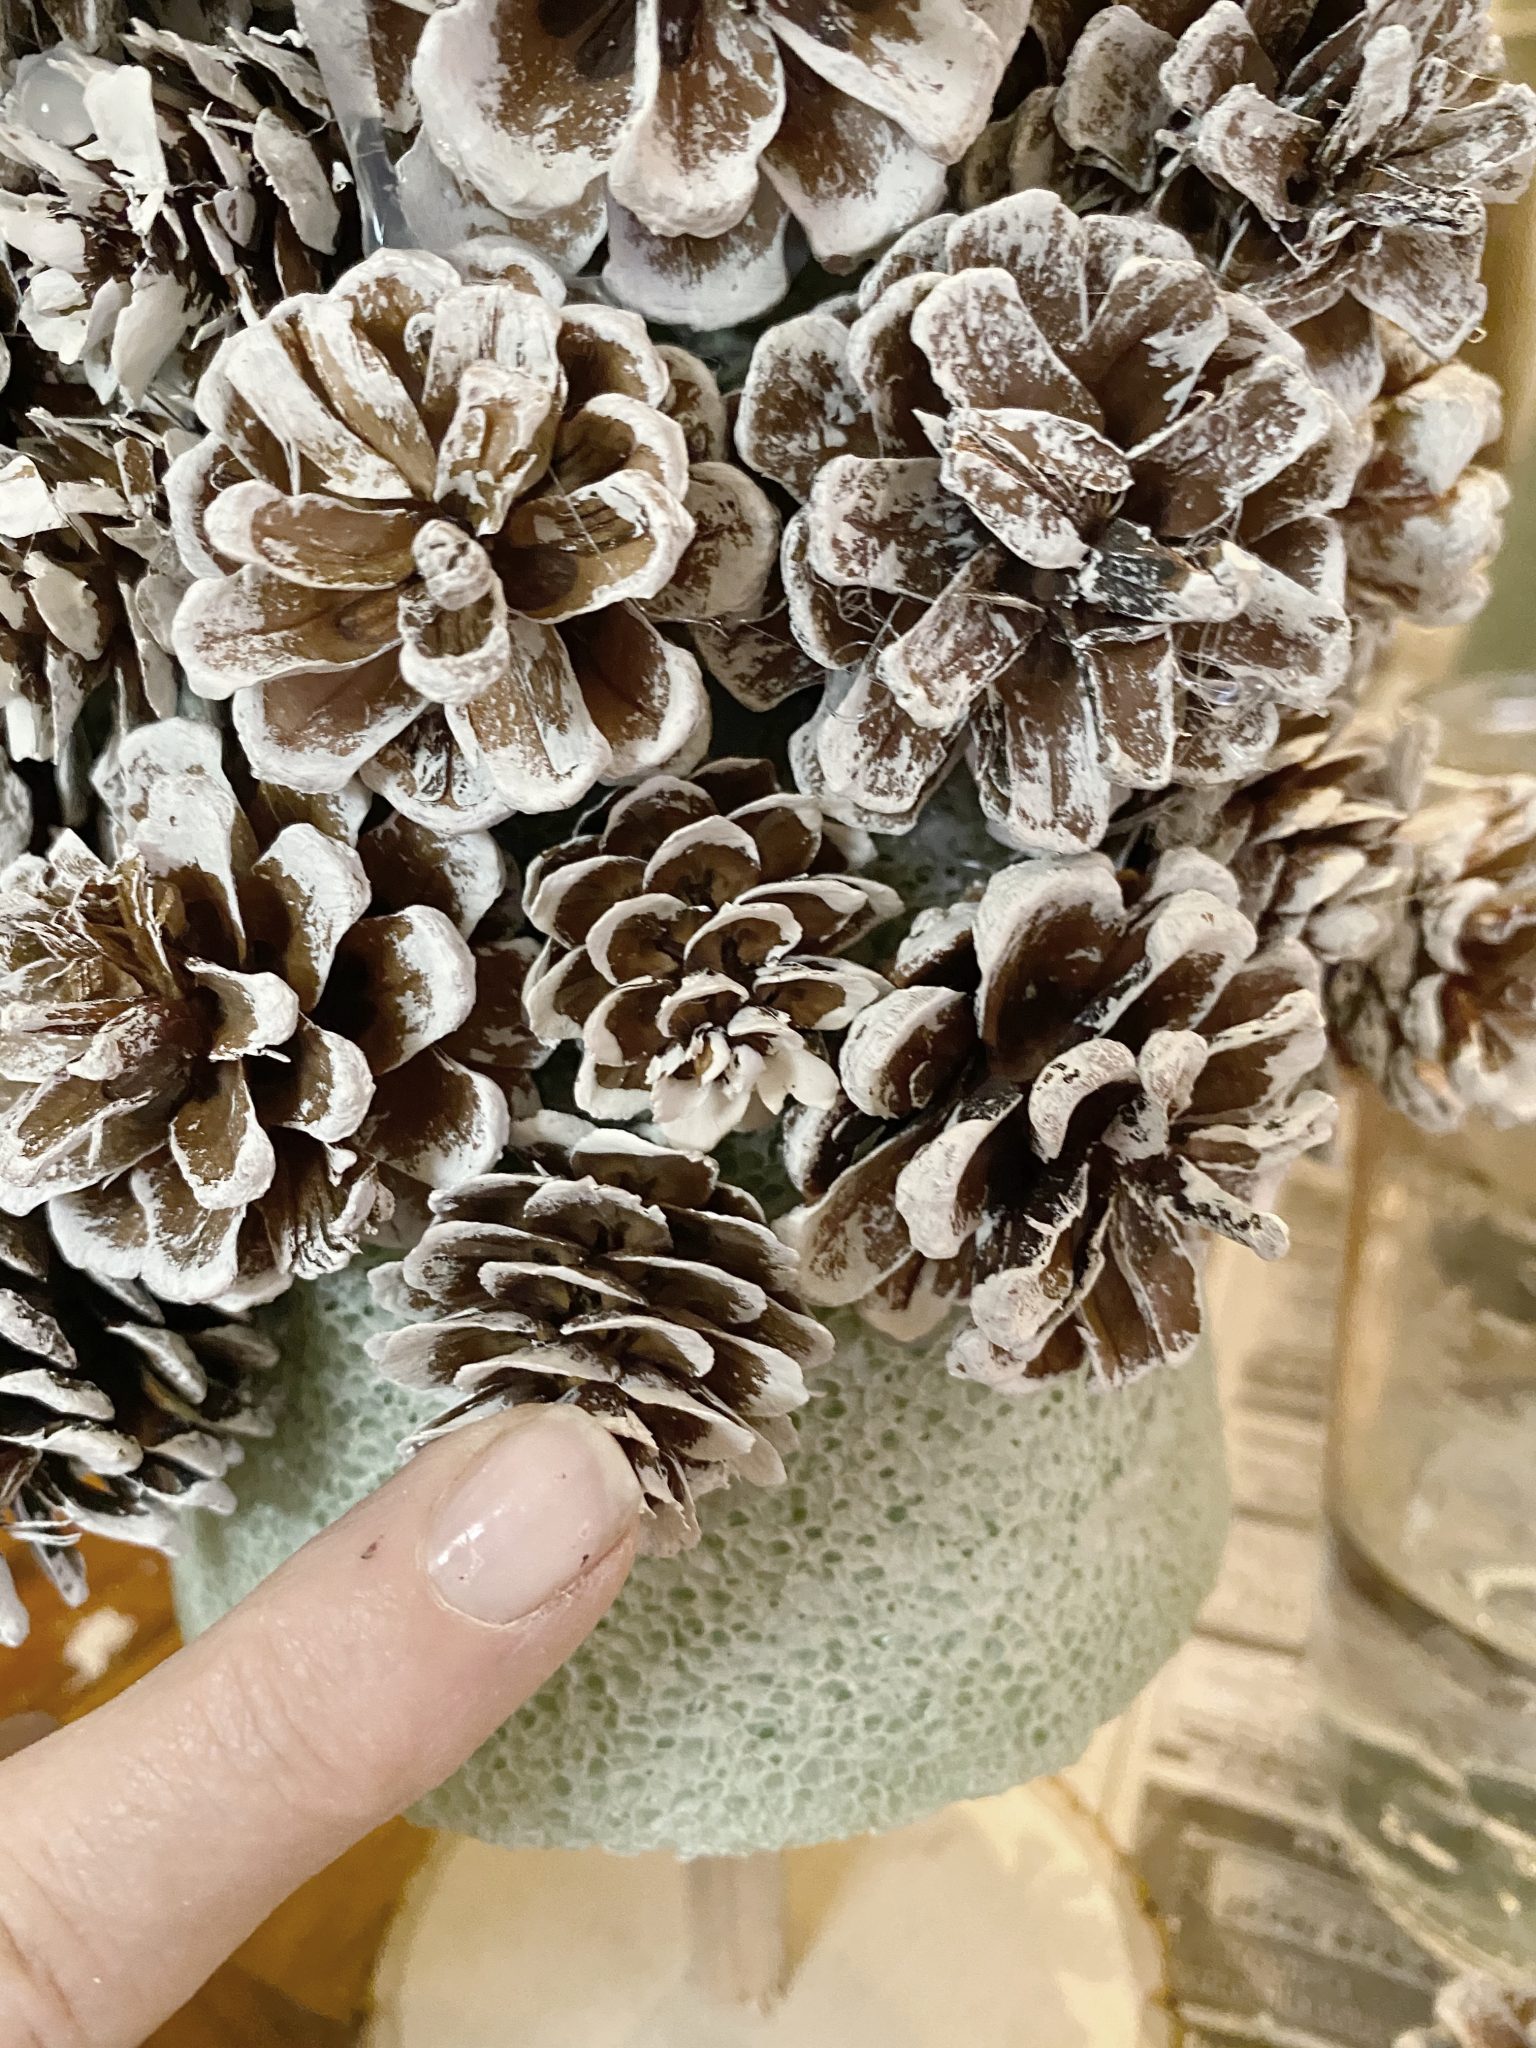
Continue gluing to the bottom of the cone, covering the foam at the bottom.
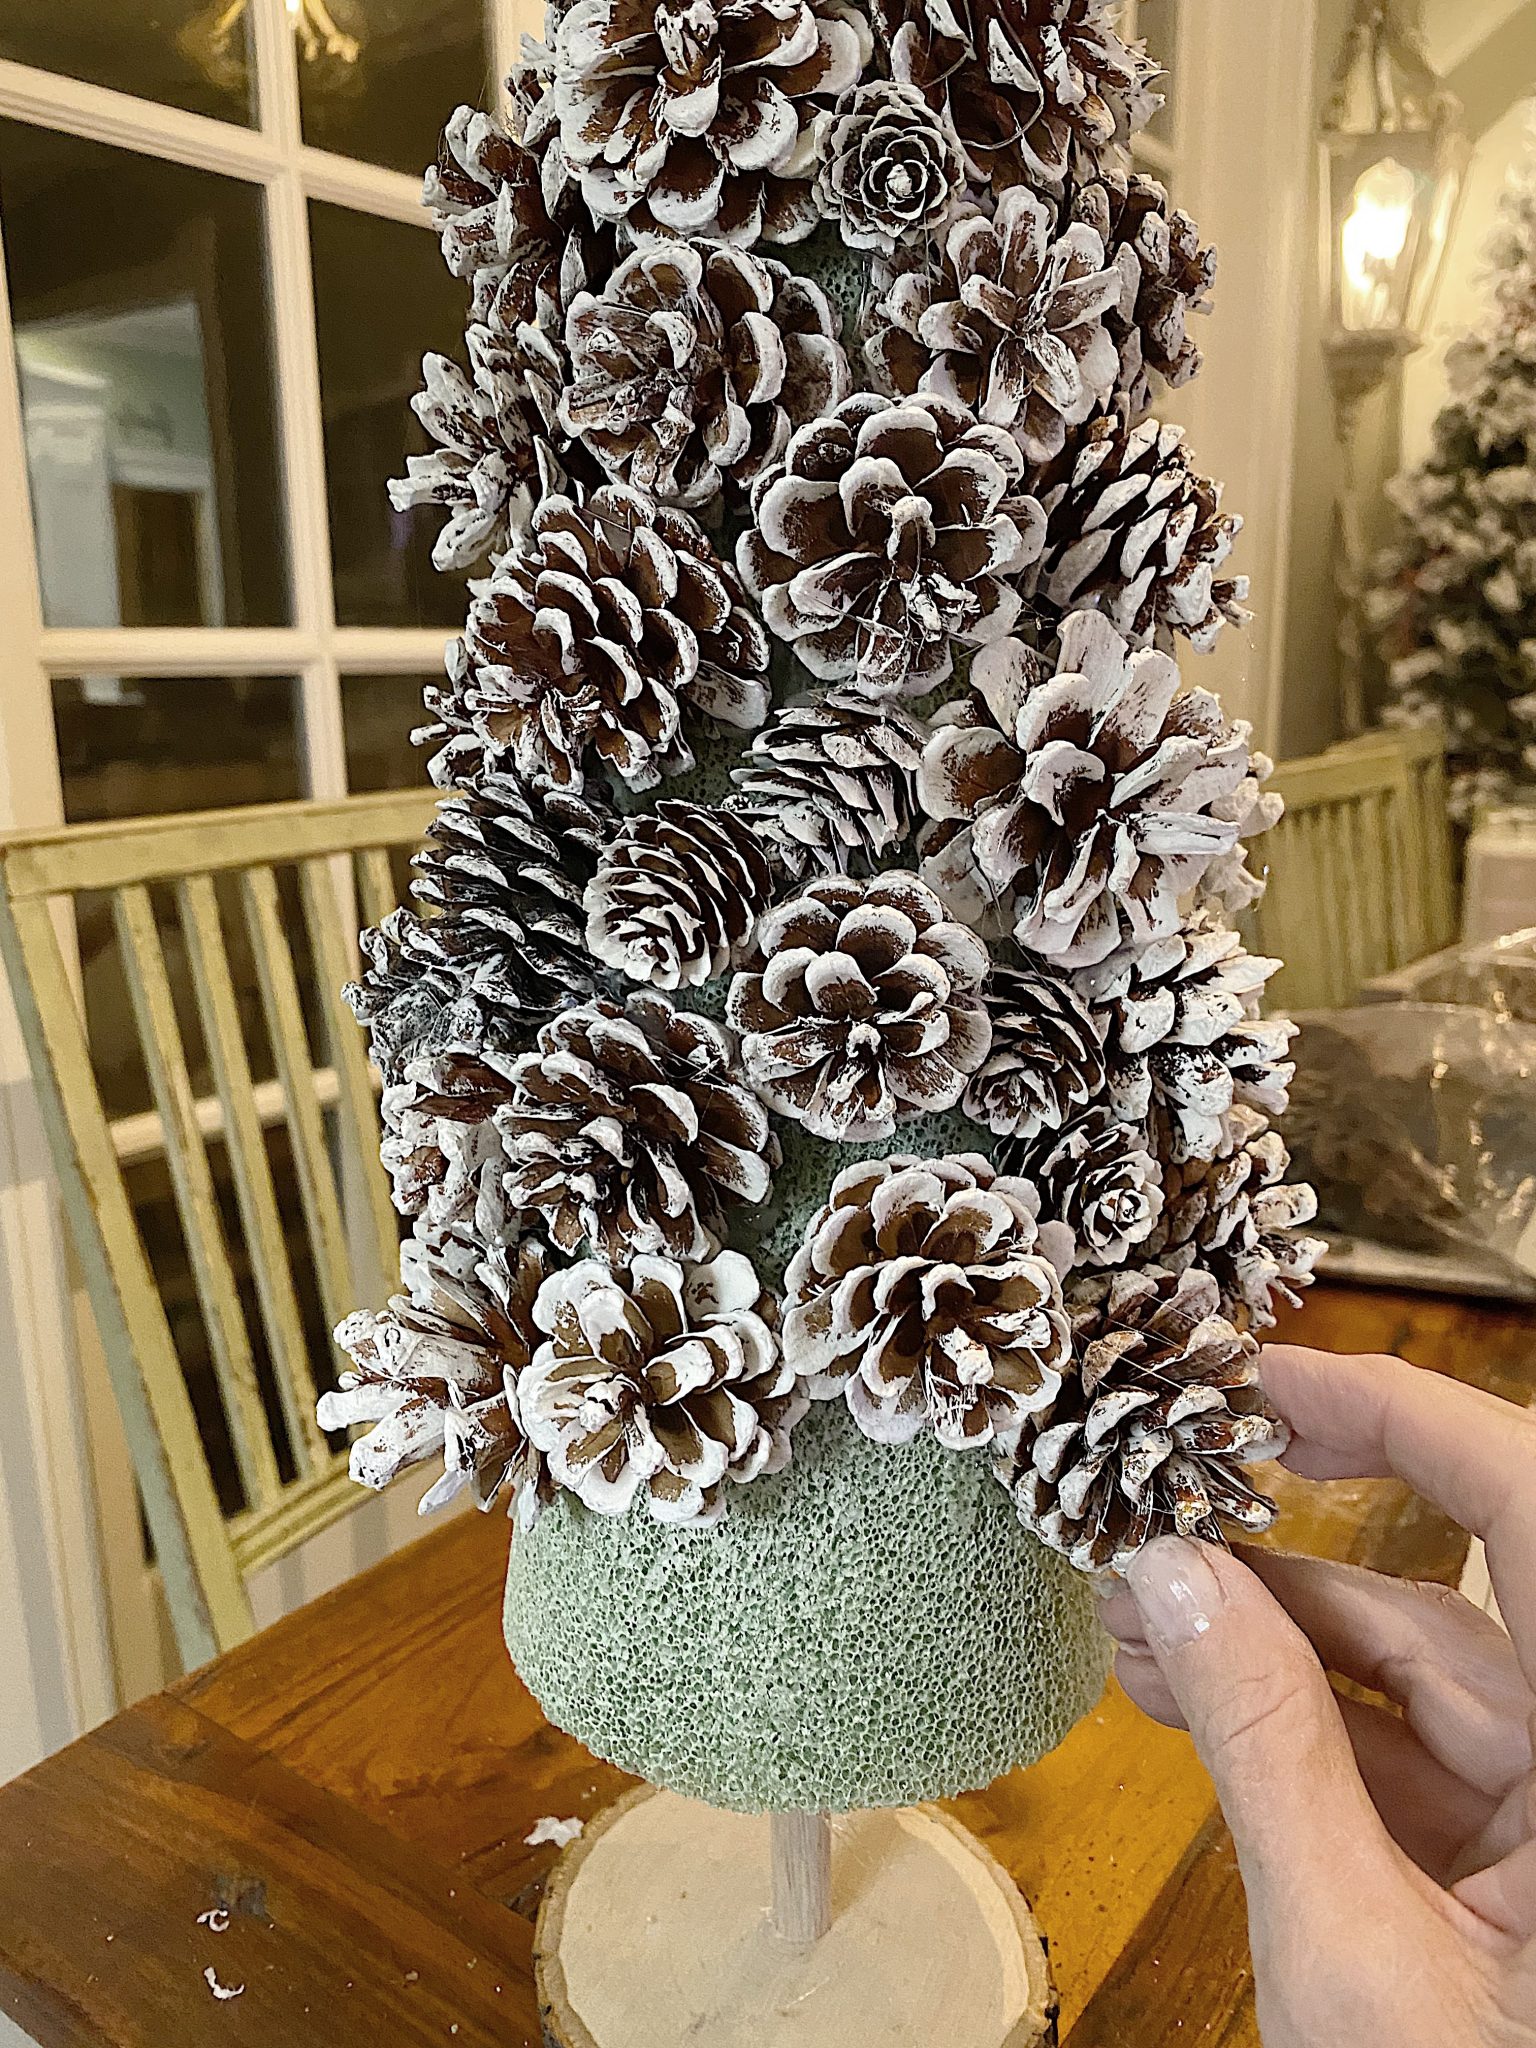
I love these so much!
Homemade Polks Dot Napkins
Don’t these look festive?
I love the polka dot napkins. I bought the cutest red and white tiny dot fabric and ripped the fabric into 20″ squares. If you rip the cotton fabric, you don’t need to sew them!
The centerpiece is full of faux greens, branches, and picks. I even added some fresh cedar!


Doesn’t this look festive?
I hung fresh cedar wreaths in the windows and added red and white polka dot bows.
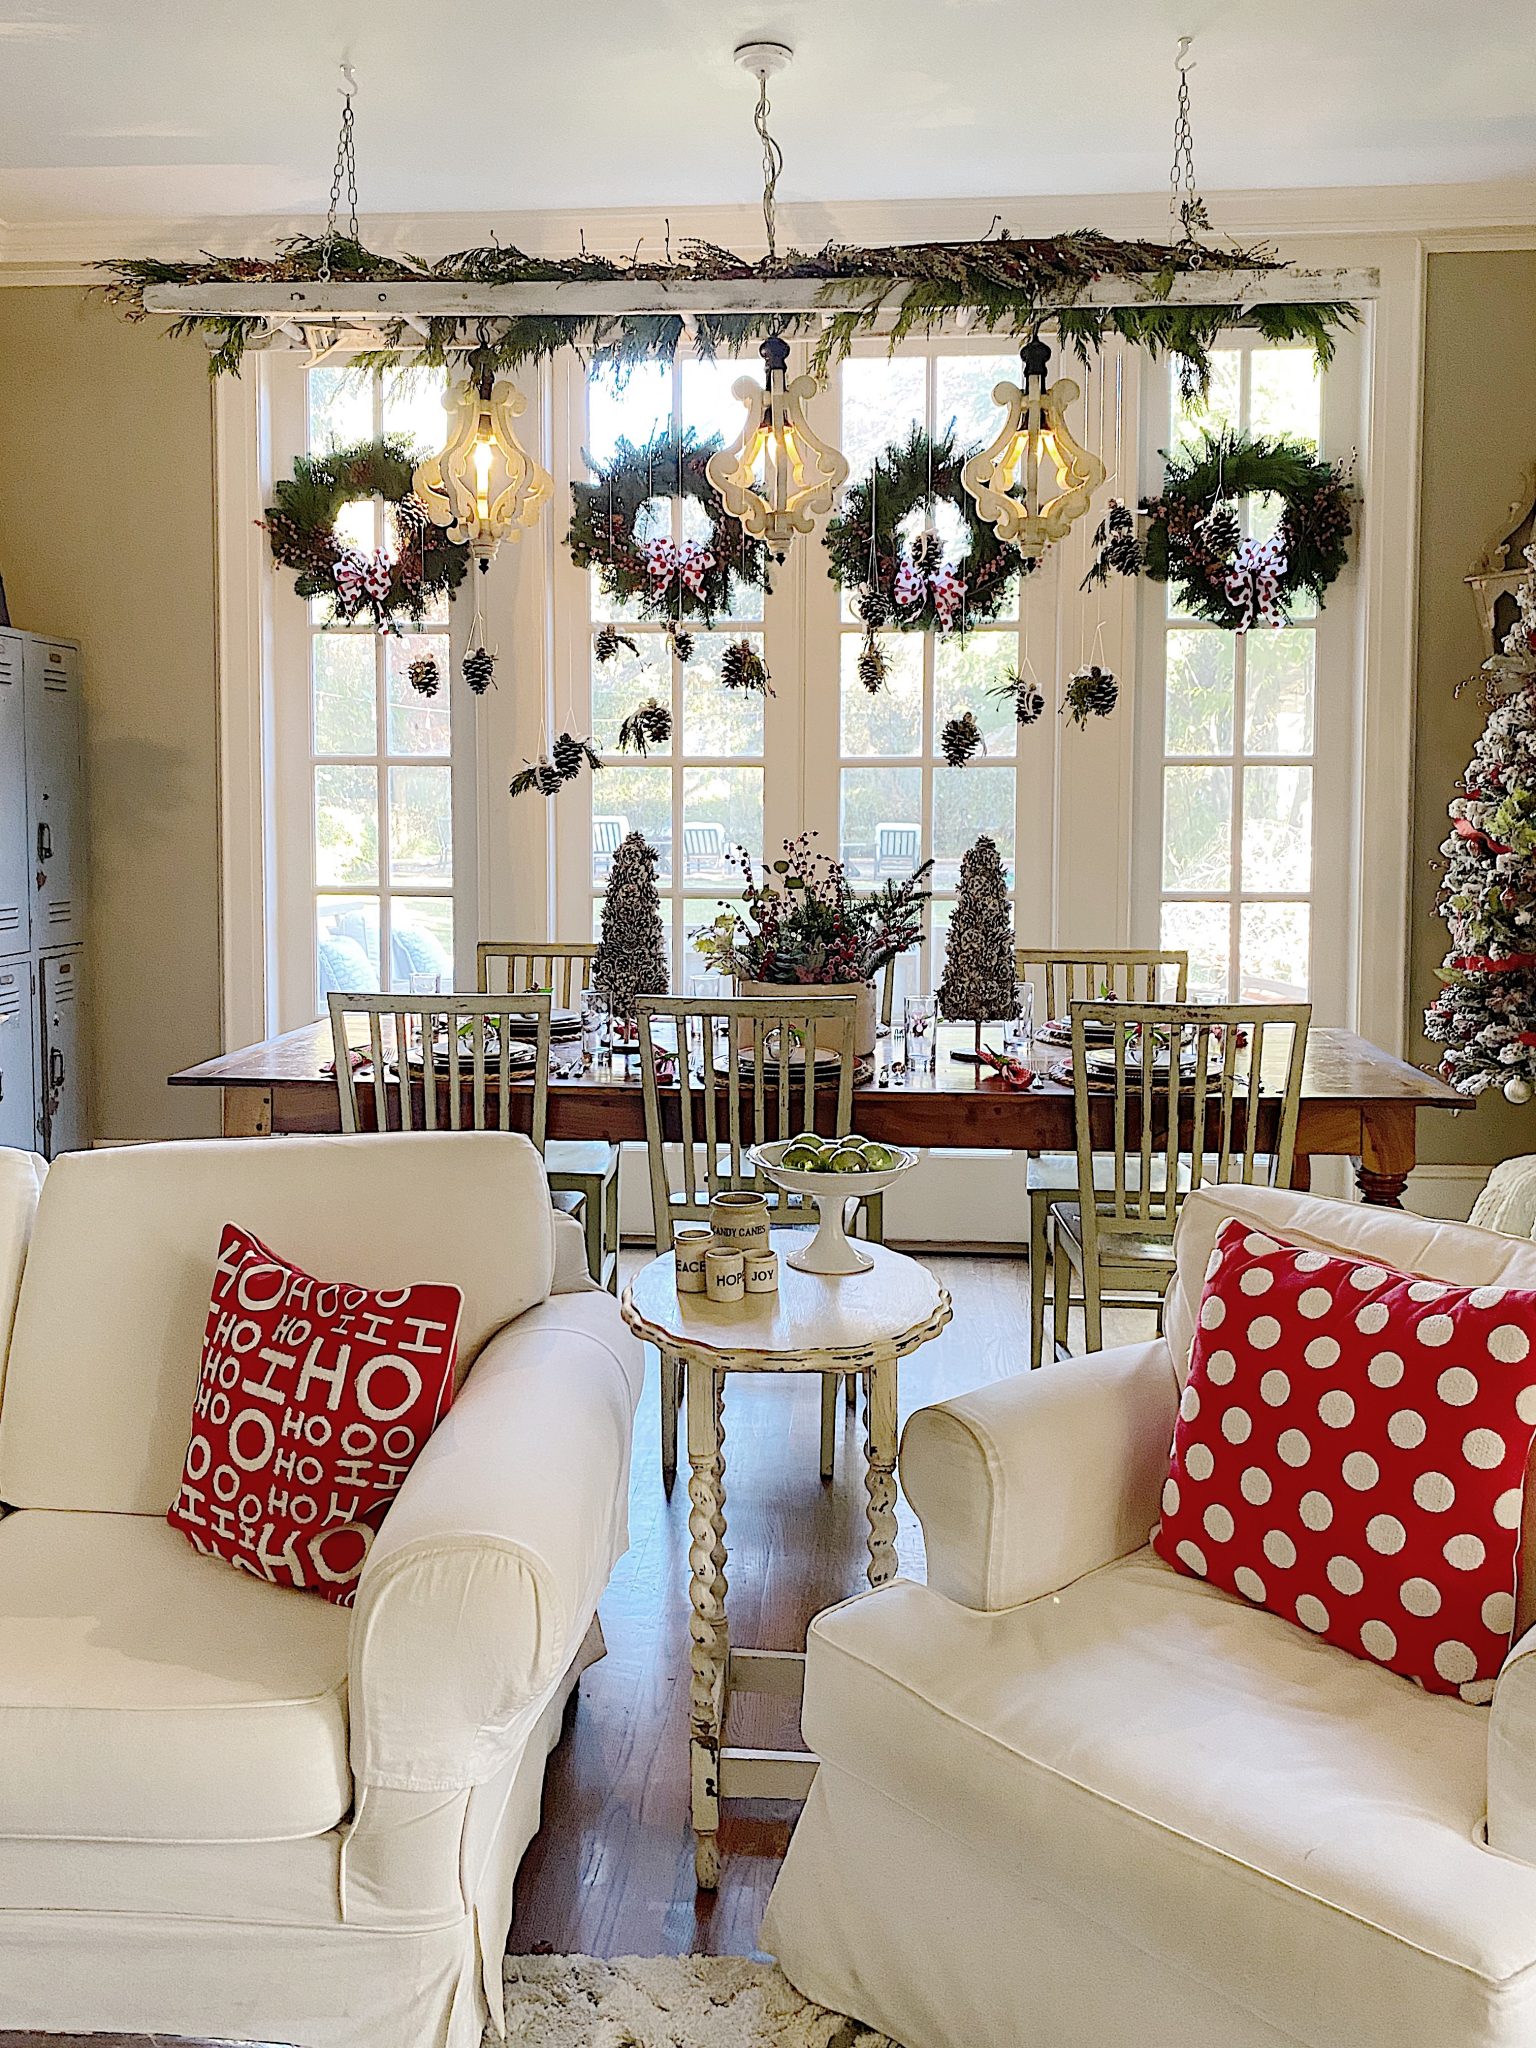
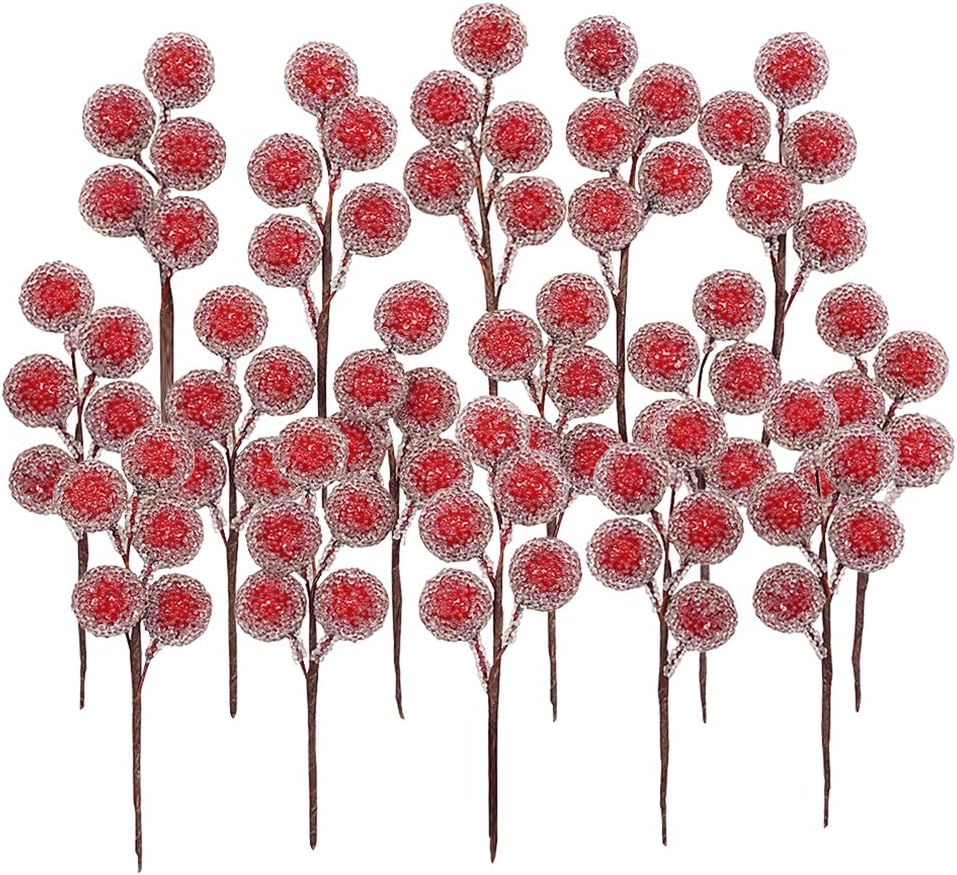
I also decorated a tree with berry picks, red frosted berries, ribbon and ornaments.
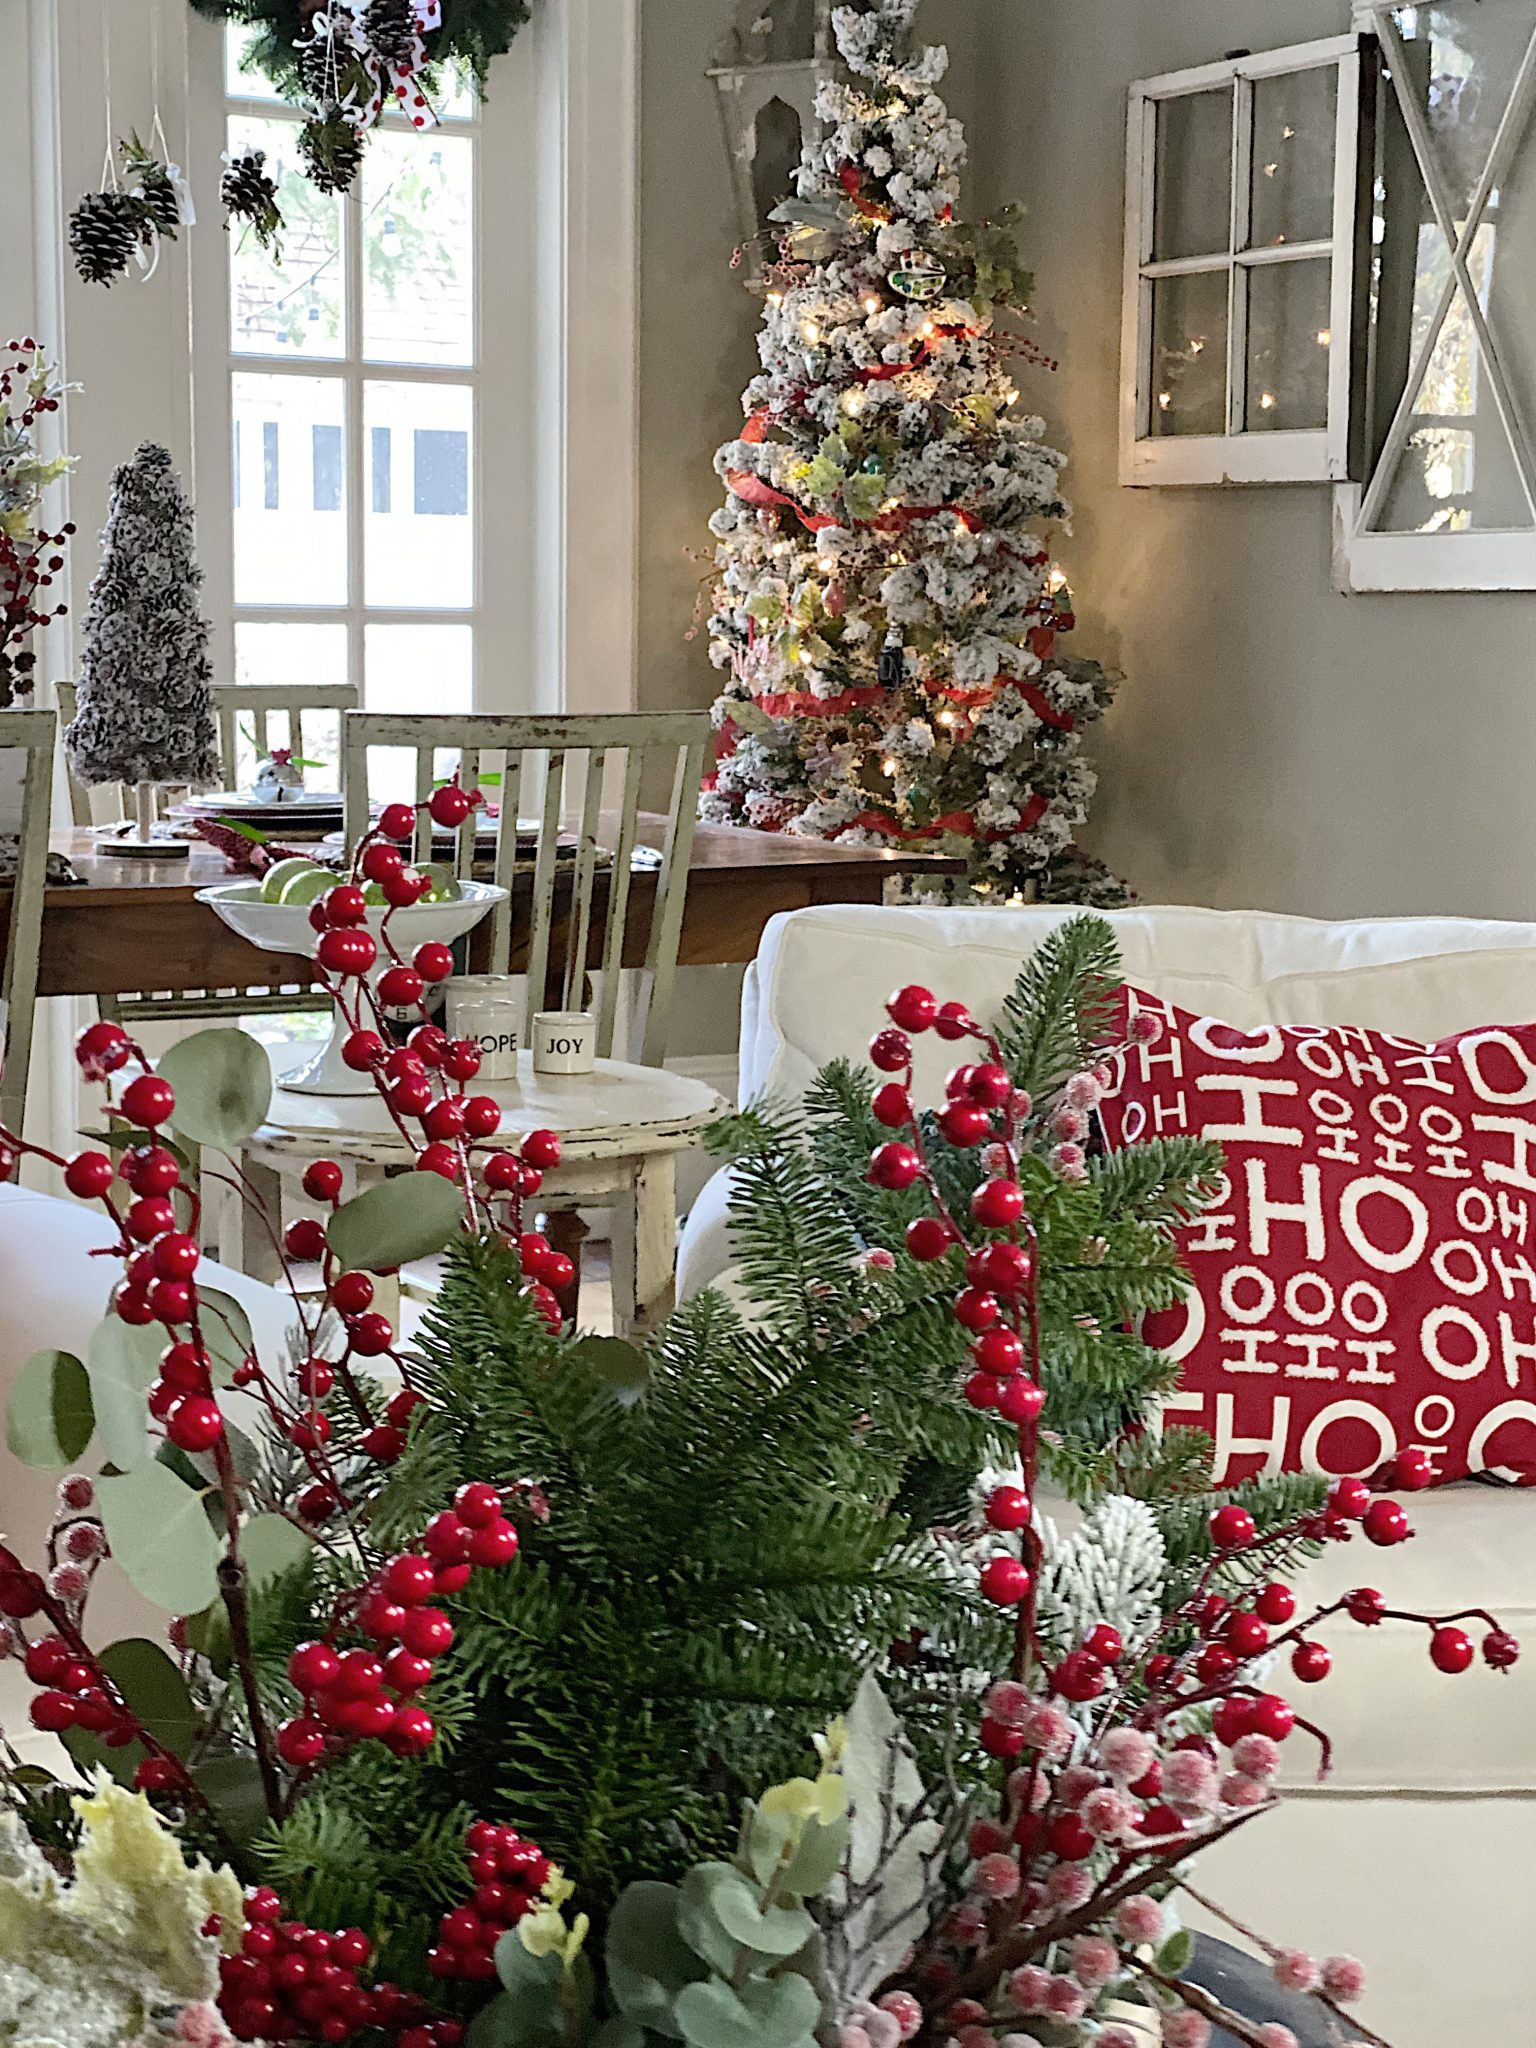
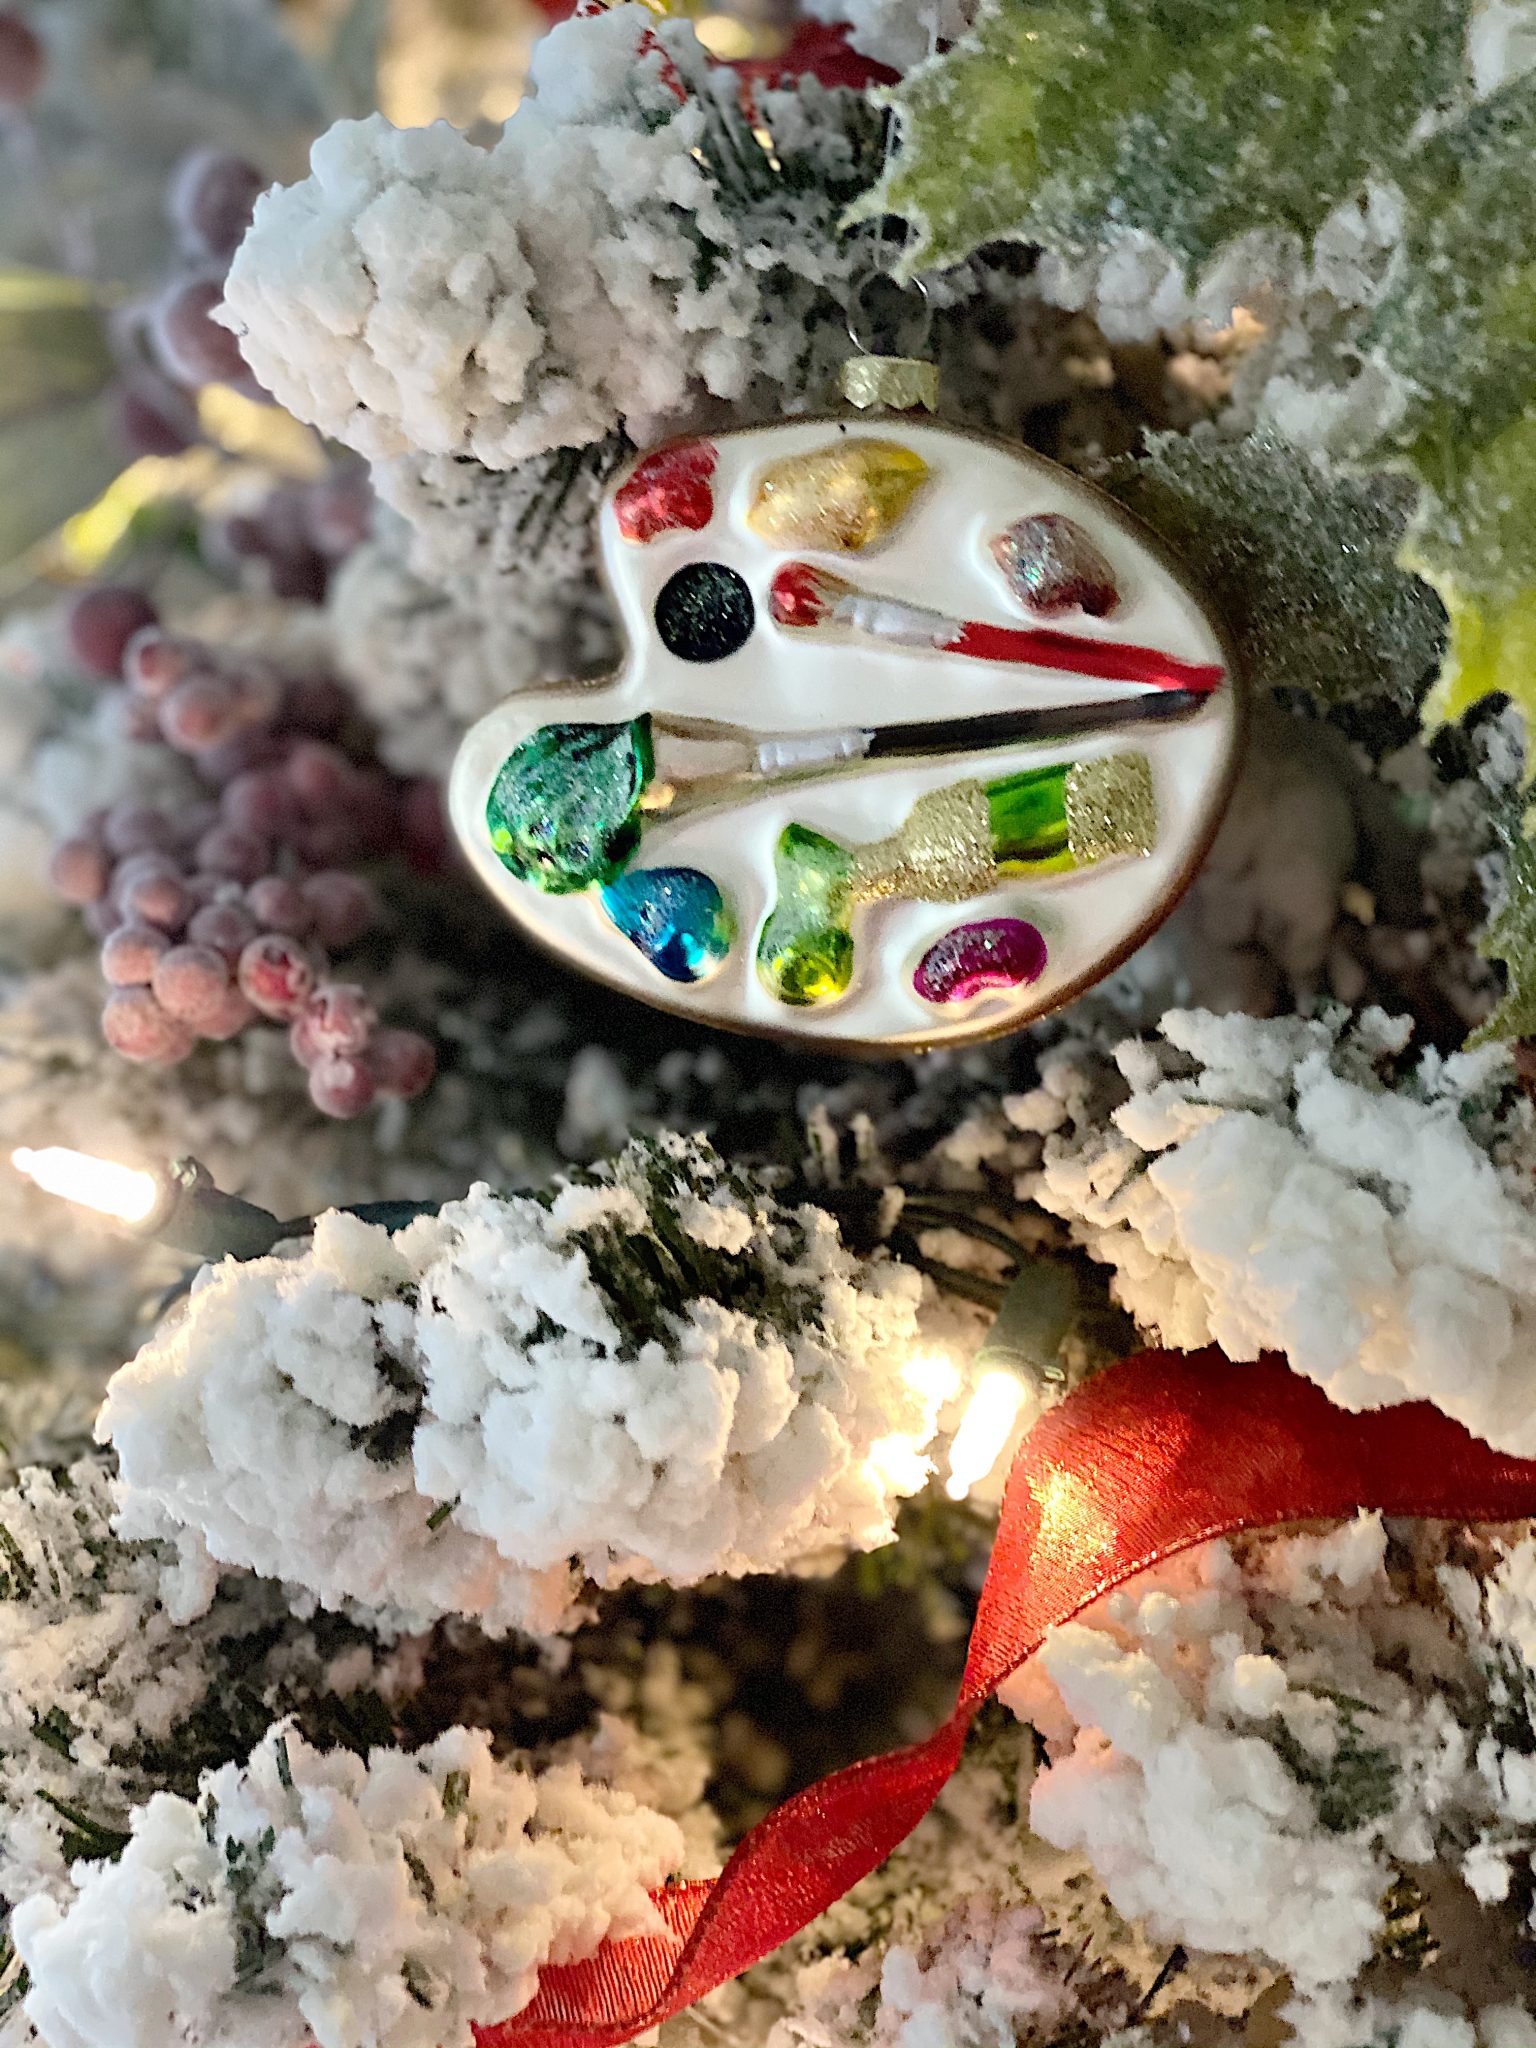
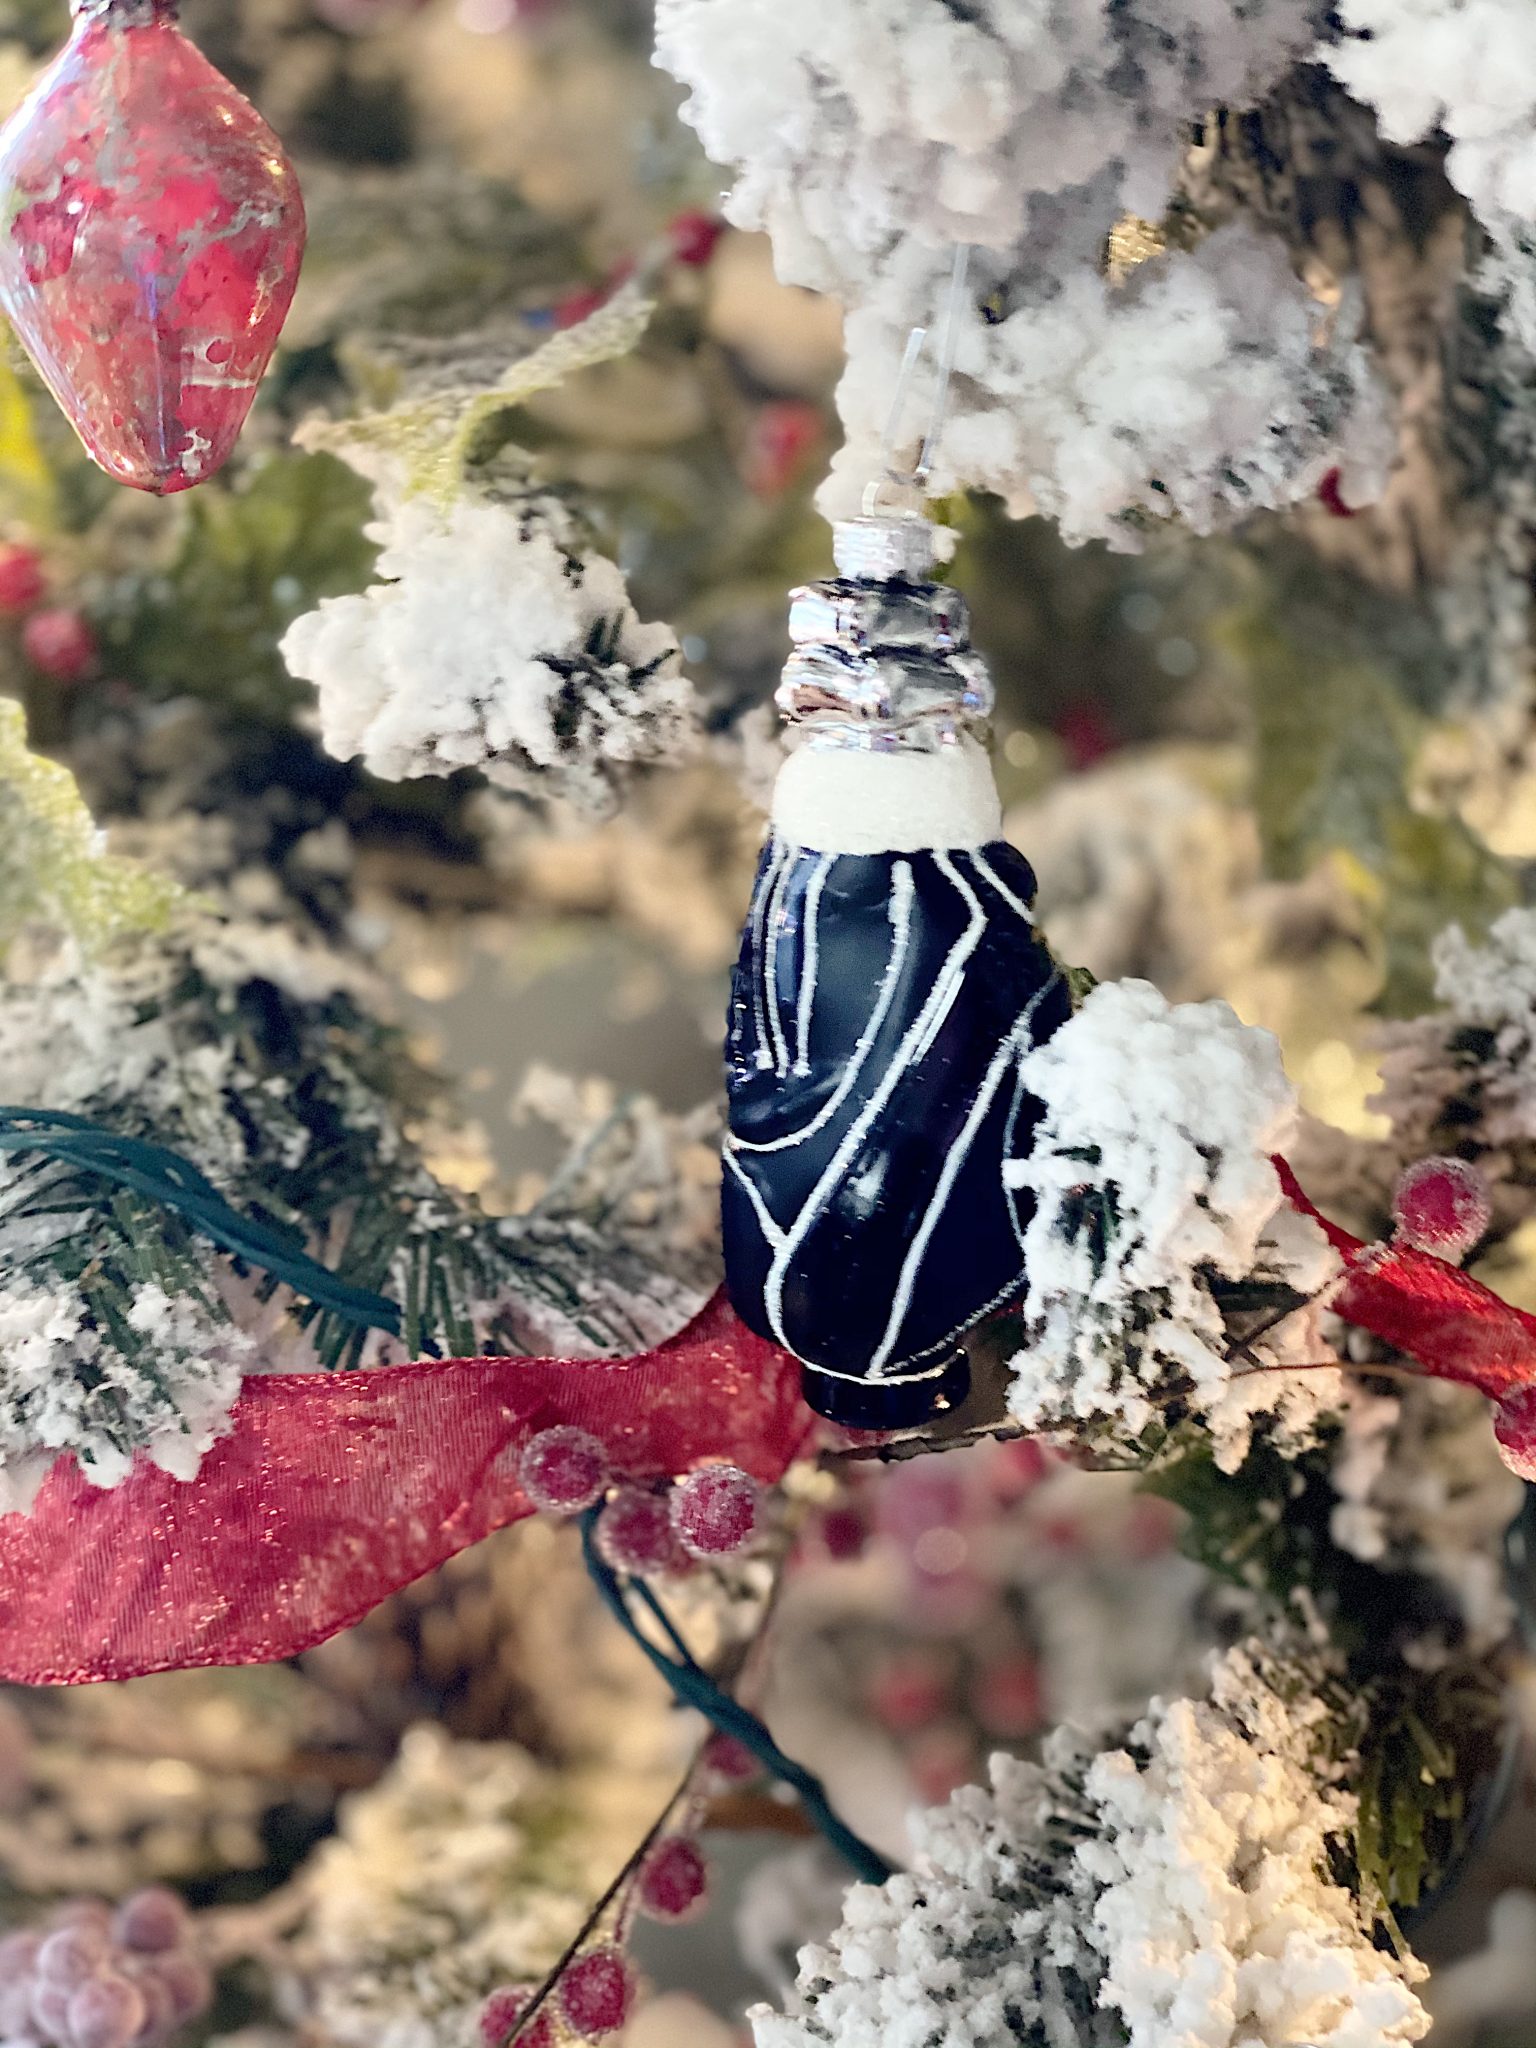
And I found the cutest ornaments that fit our family perfectly.
Isn’t this artist’s palette adorable?
And look at this golf bag ornament!
I hope I have inspired you to add Christmas joy to your home. You will love the result all you need are handmade holiday items!
Favorite Christmas Tree Decorations
My Holiday Gift Guide
We created an interactive Holiday Gift Guide with new shopping ideas for everyone on your list. We picked our favorite gifts and stocking stuffers!
Tap on the photo below, scroll through the Gift Guide, and select any item to see more.
Error embedding FlippingBook shortcode, please check the flipbook url. (https://online.flippingbook.com/view/255578963/)Pin the image below to your Craft or Holiday decor boards on Pinterest (click the Pin button in the top left corner). You can also follow along with me on Pinterest!
For more real-time updates, follow me on Instagram @My100YearOldHome


What a happy festive table you have made! Thanks for sharing it.
Your family room and table look amazing! Everything you create is always so impressive. Thank you Leslie.
Absolutely beautiful, it is definitely Christmas feeling at your house!
Everything looks so gorgeous and welcoming. You are one talented lady. Thank you for sharing your home with us.
I love checking in with you every week and seeing all the projects you are working on. One thing that I would love for you to do is take us on a tour of your 3rd floor storage that you speak of often. You seem to have so many items that you bring out and I would love to know how you store them all so that you know what you have and you can put your hands on them when you want them. I have started taking pictures on my phone of all my wreaths and stuff so that I know if I have items before I go out and buy duplicates. Looking forward to a tour.
I would love to see her craft room too and see how that is set up.
Hope you and your family have a joyous Christmas. Thanks for all the amazing craft.
Love!! Love!! Love the Pine Comb Christmas Trees!! Can’t wait to make them❤️❤️❤️
Hello! I love ALL of this! I was wondering if you might be able to estimate the yardage required for the napkins when you are making them? I love the idea so much but wonder how to calculate. Thank you!