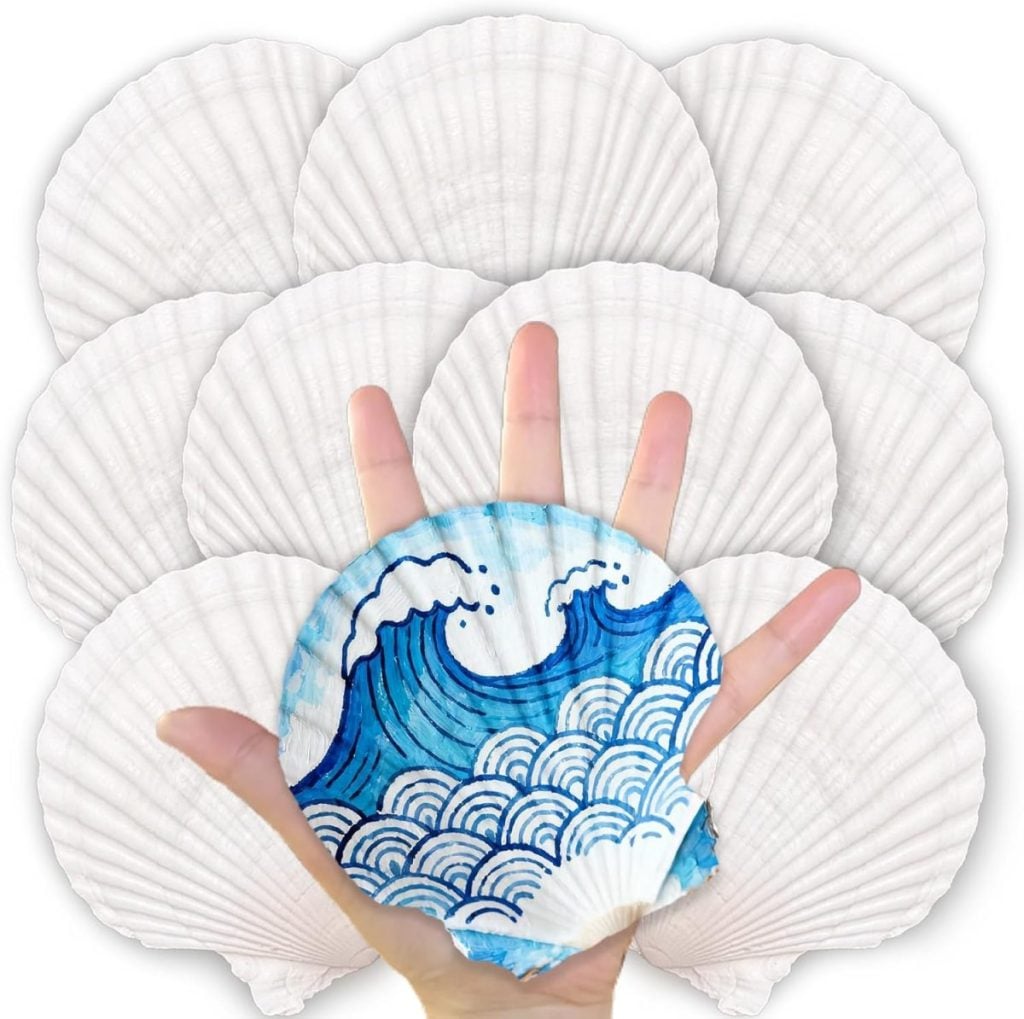
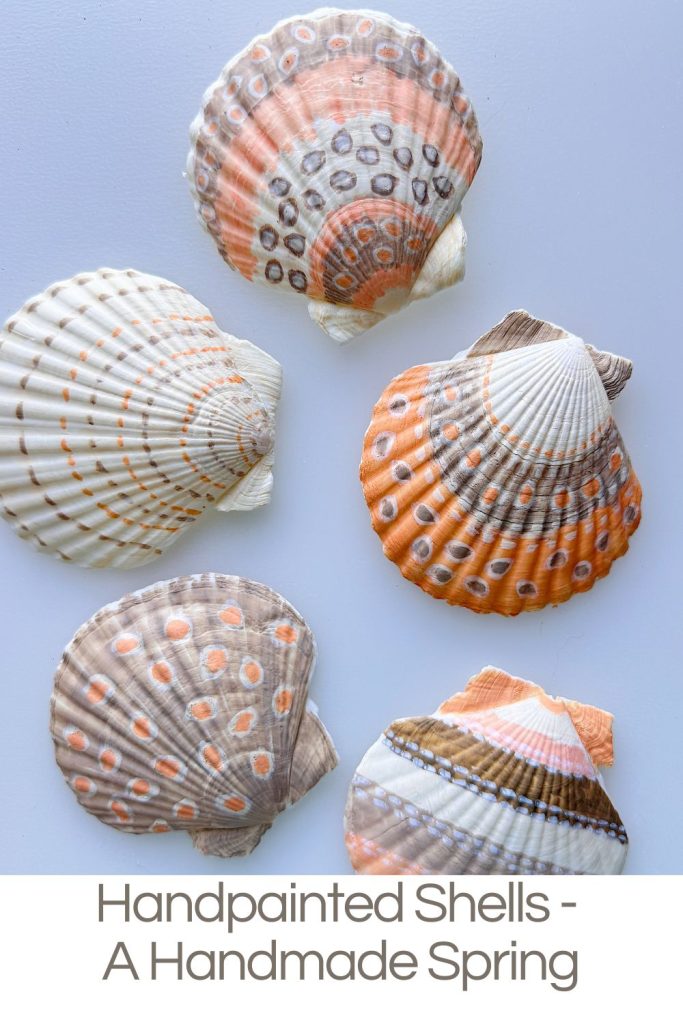
Handpainted Shells – A Handmade Spring
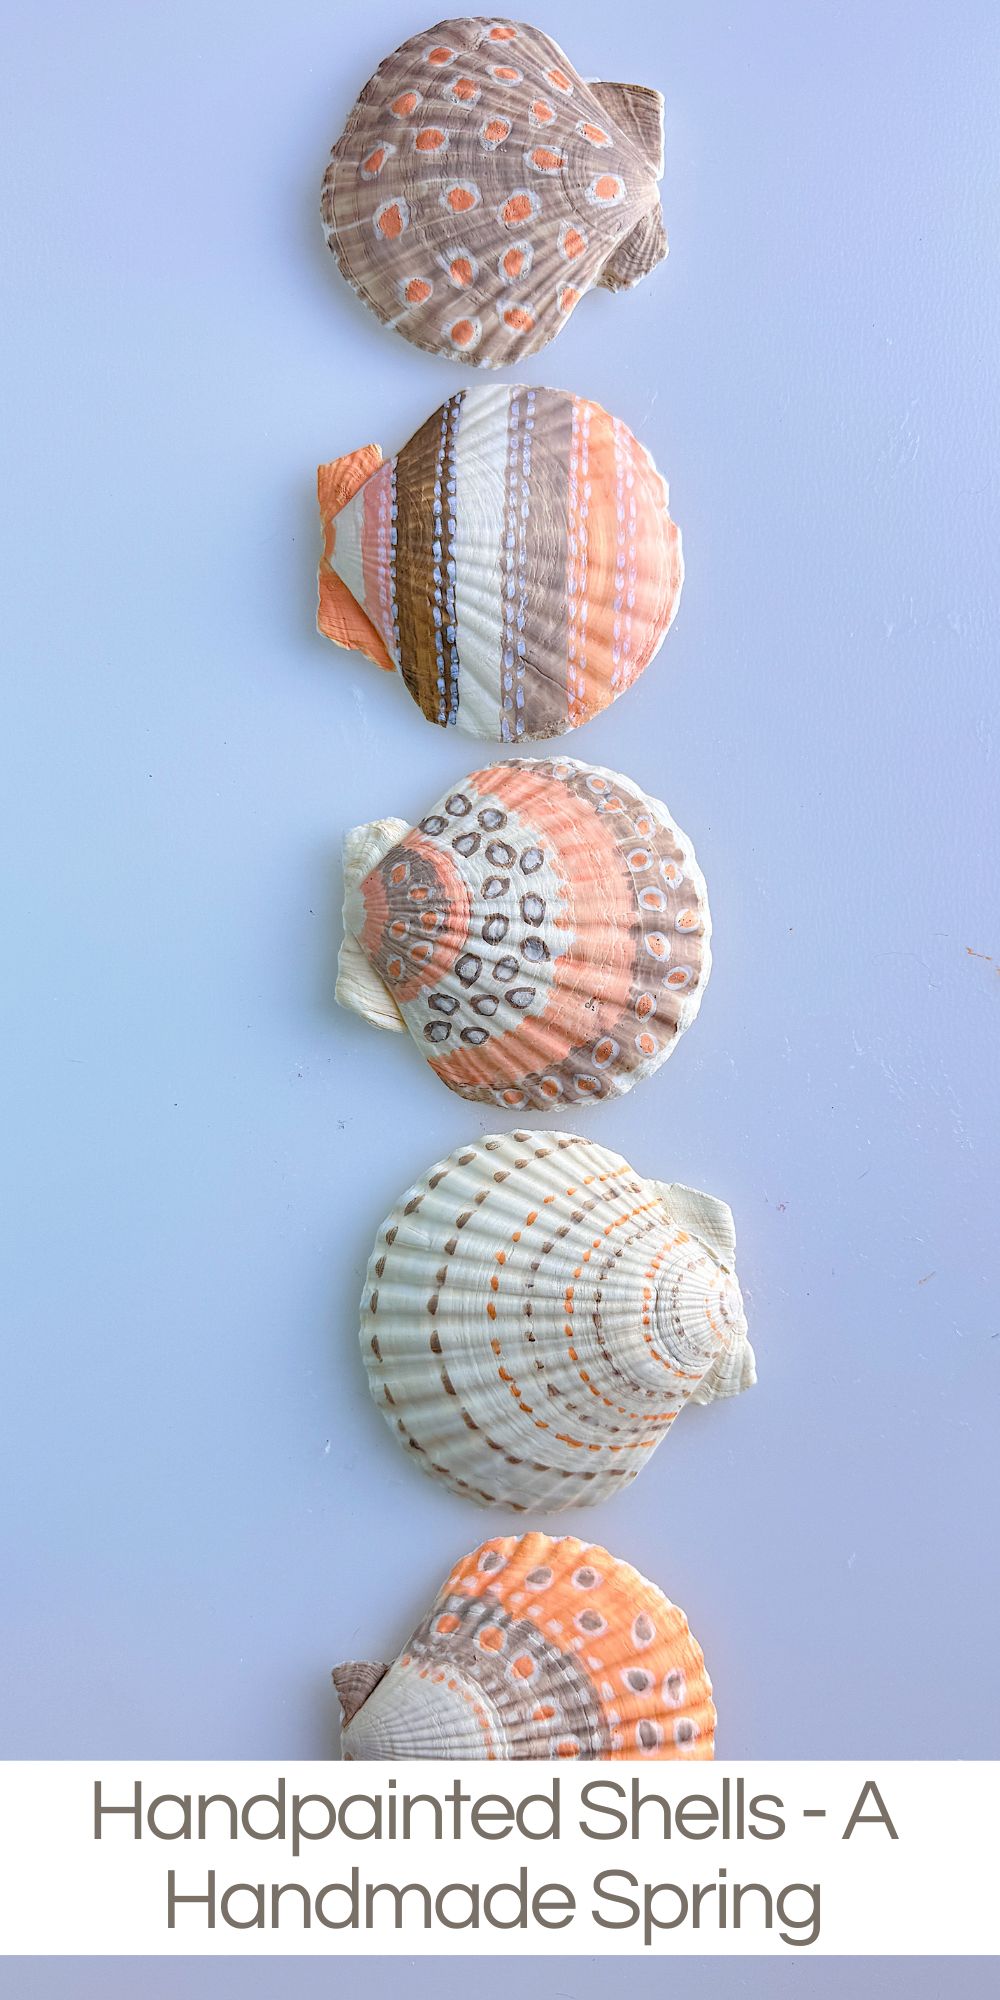

These handpainted shells are easy, relaxing, and surprisingly beautiful. I used acrylic markers, which made this project so easy for my next A Handmade Spring project.
Sometimes the best projects are the ones that don’t require a lot of planning, a long supply list, or perfect precision. This is one of those crafts.


Easy Handpainted Shells Craft with Acrylic Paint Markers

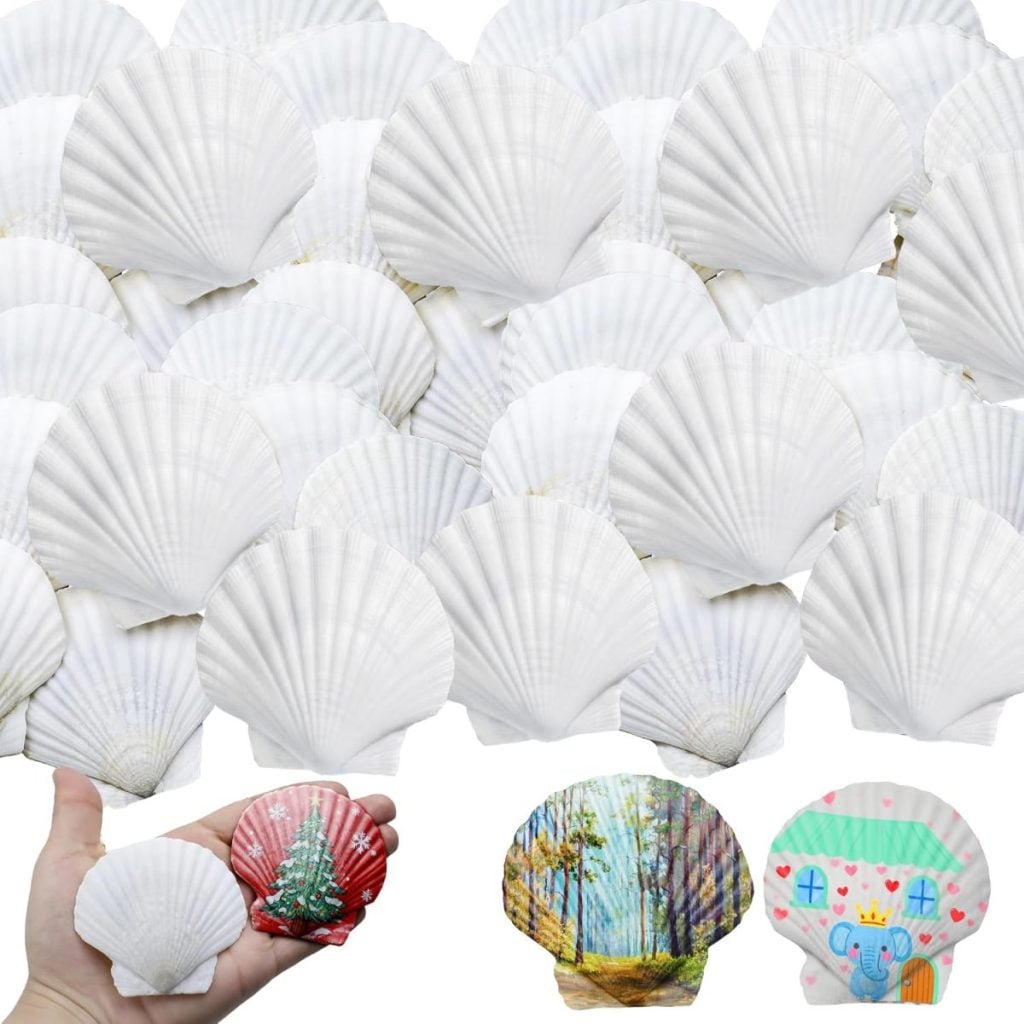
The best news about this craft? All you need are white scallop shells and a set of acrylic paint markers. That’s it. No complicated prep, no drying time between layers, and no special skills required.
And yet, the finished shells look like something you might find in a boutique coastal shop.

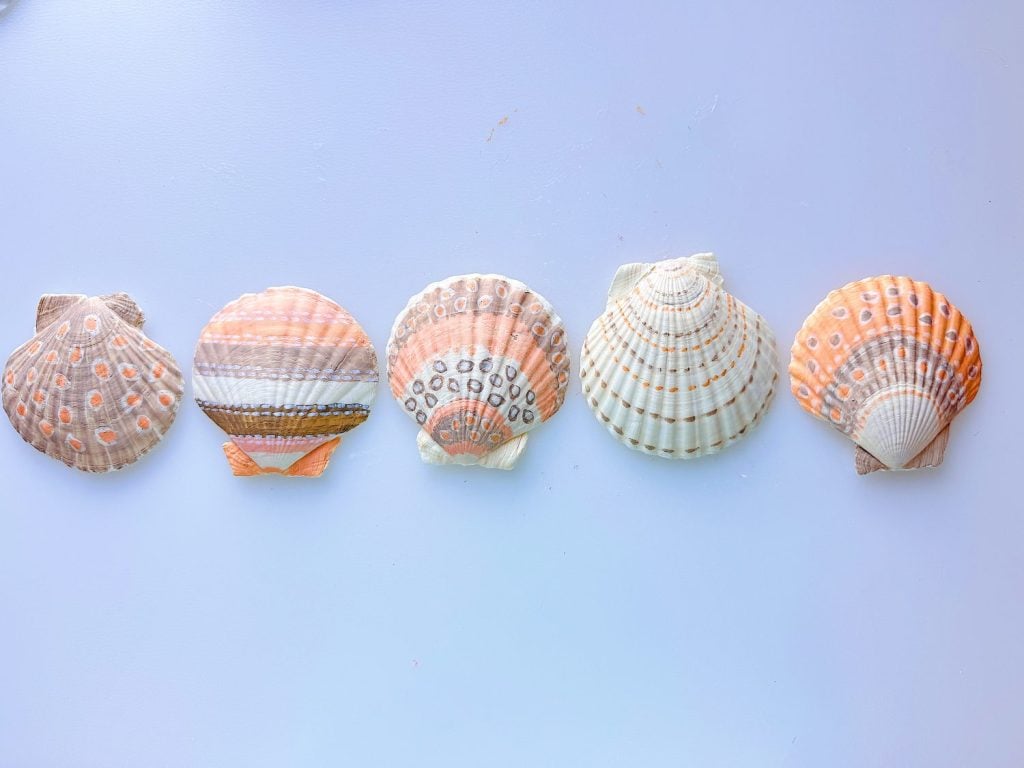
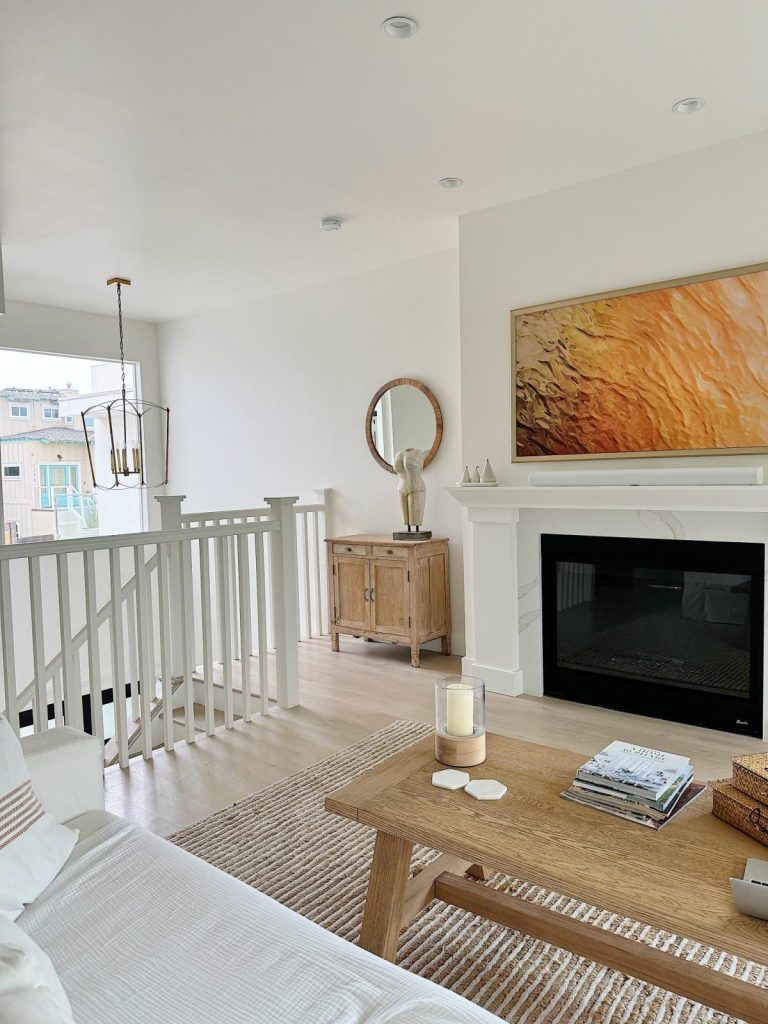
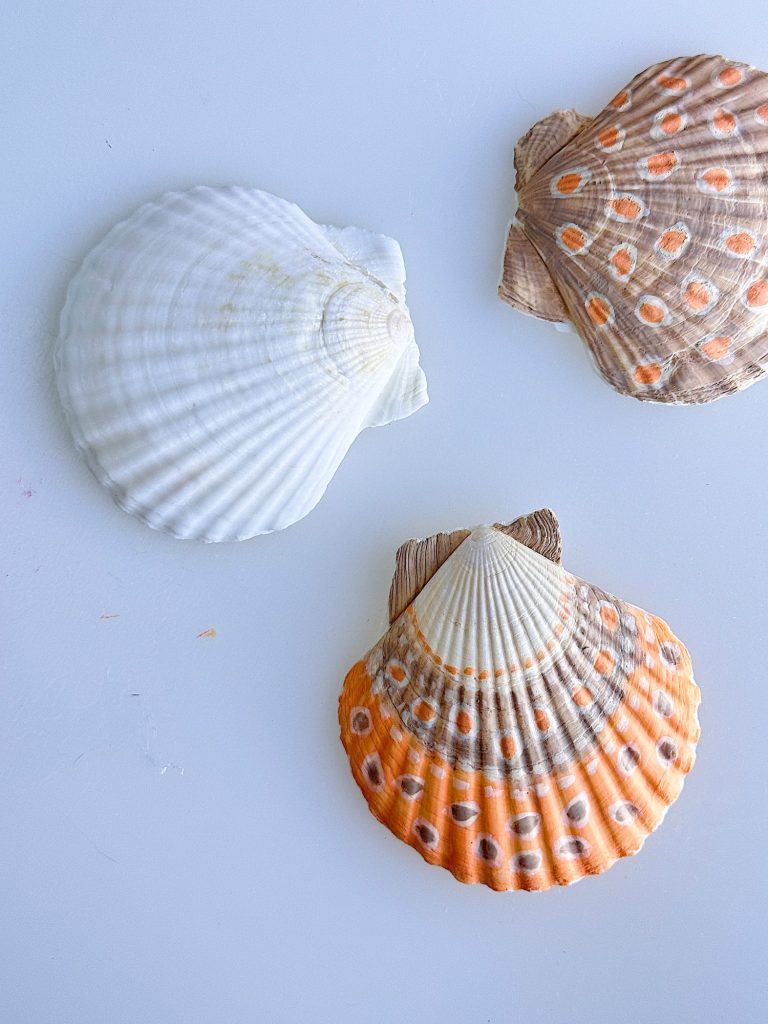
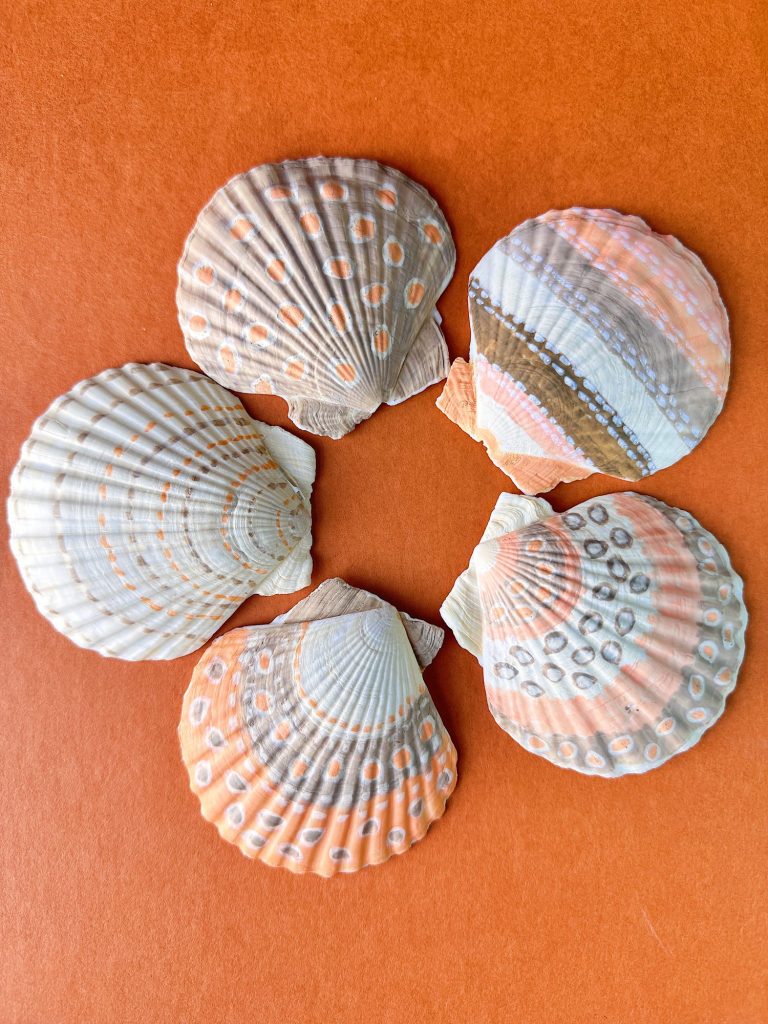
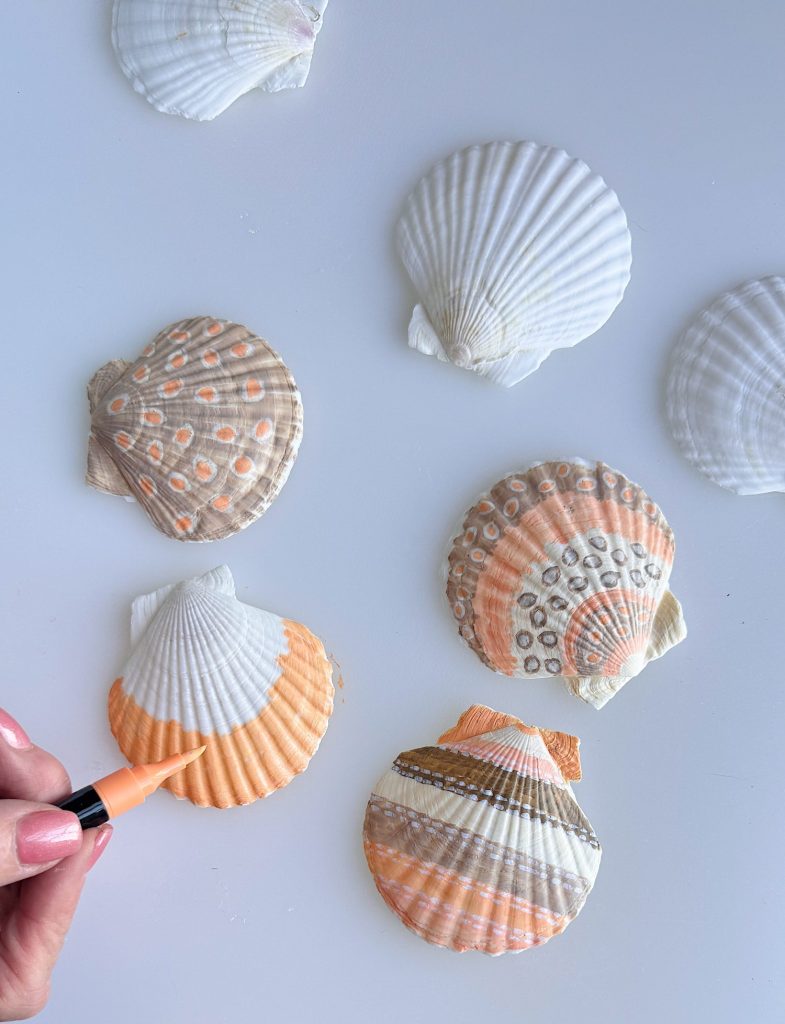
I made these for our beach house, and I wanted them to feel soft, natural, and understated. Instead of bright or bold colors, I chose a muted palette of tans, warm oranges, and a soft off-white. The result feels calm, coastal, and perfectly at home near the ocean.
What I love most about this craft is that the less perfect you try to be, the better the shells look. Loose, slightly uneven lines and organic shapes give them so much character.
Why You’ll Love This Craft

This is the kind of project you can do in one sitting and feel completely satisfied when you are done.
It takes very little time.
It uses only a few materials.
It’s easy enough for beginners.
Every shell turns out unique.
It’s relaxing and almost meditative.
And best of all, the finished shells are incredibly versatile. You can use them all over your home or for entertaining.
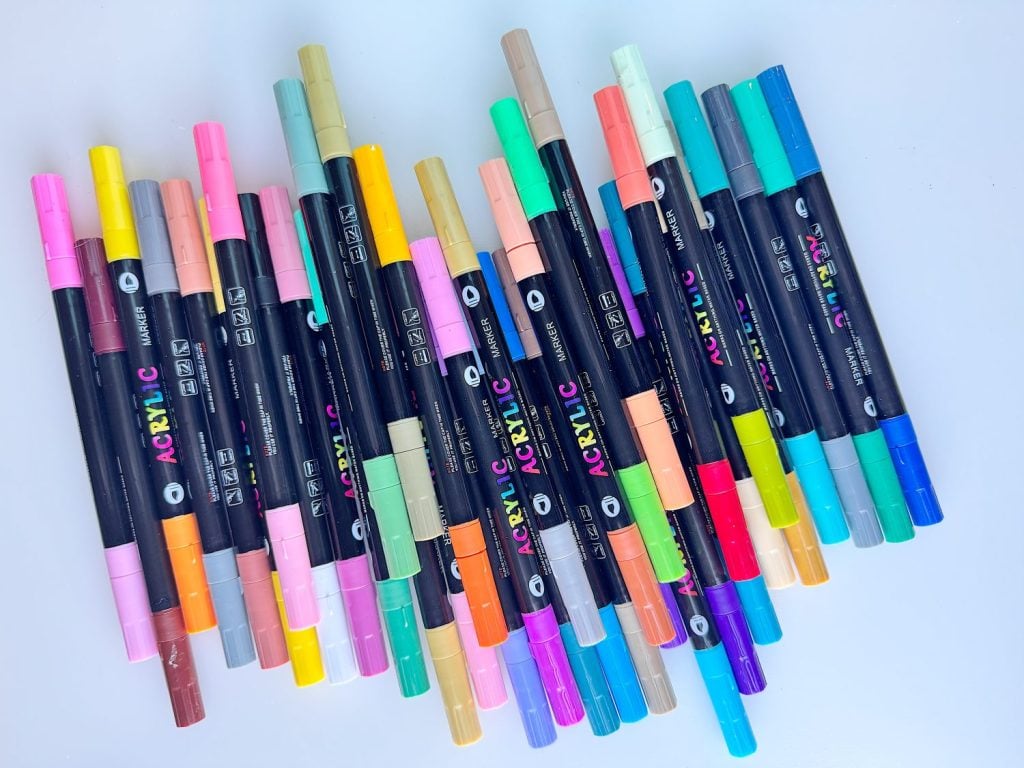
Supplies You’ll Need
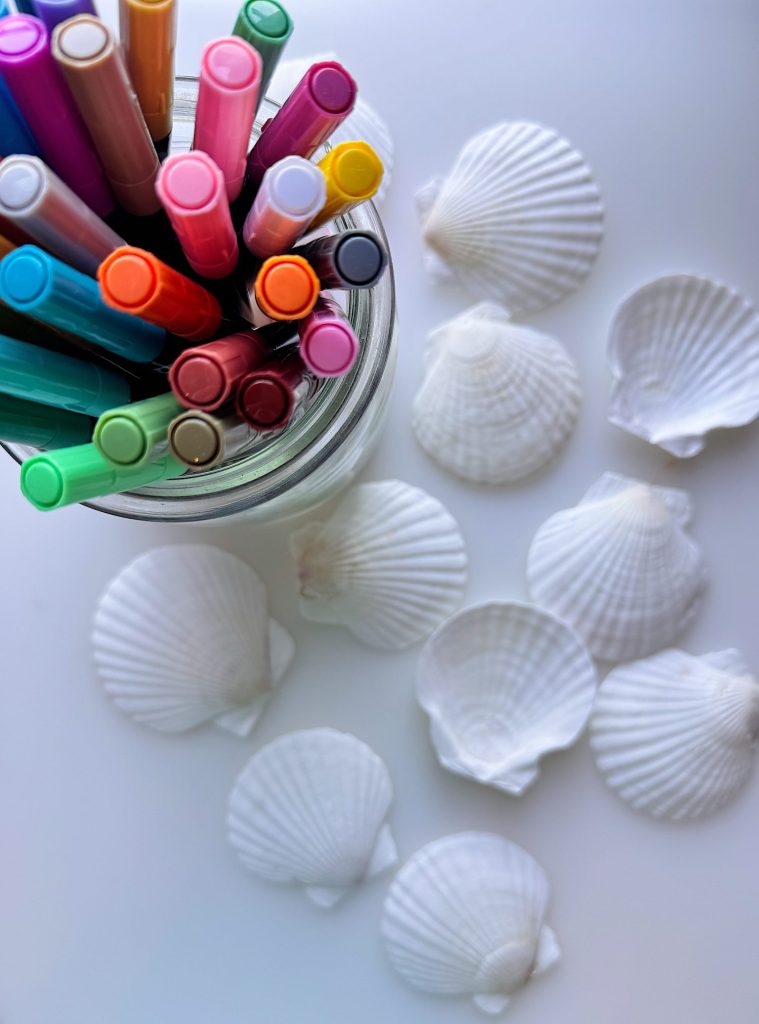
You truly only need a few things:
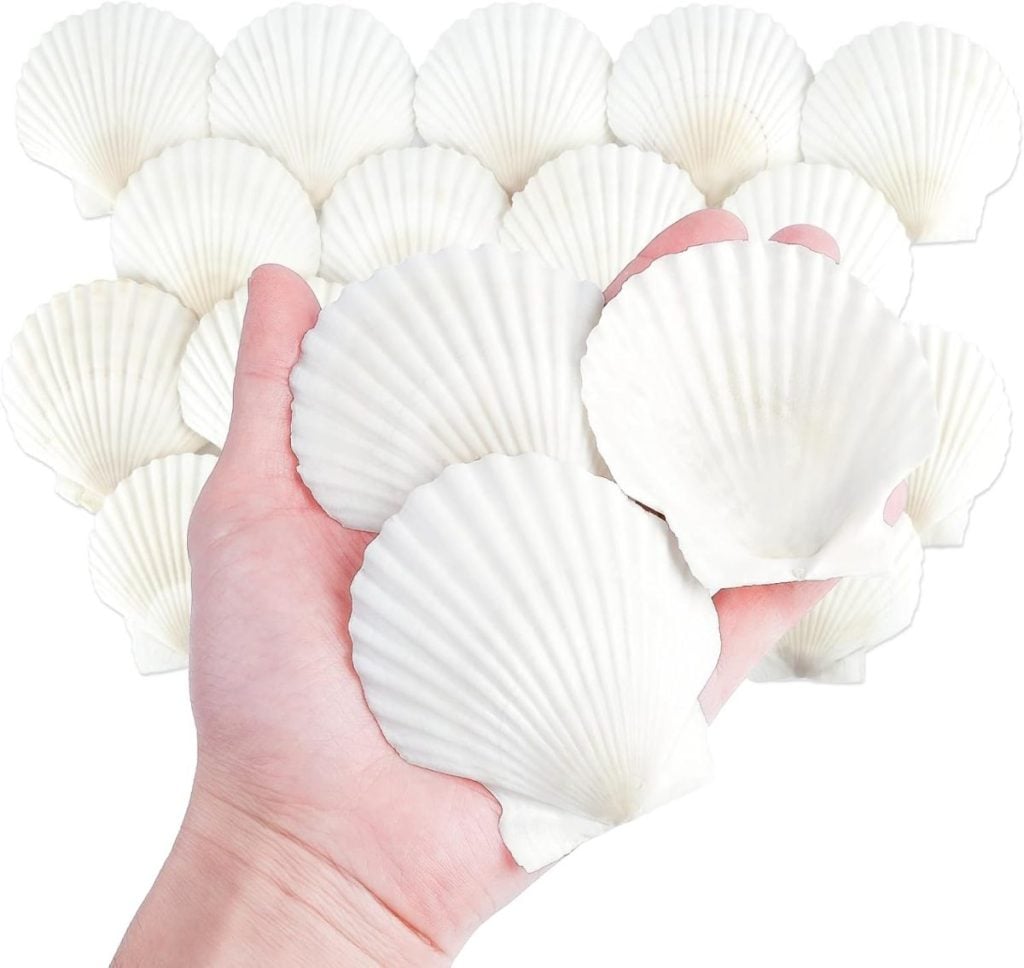
- White scallop shells
- Acrylic paint markers
- Paper towel or cloth (optional for quick clean-up)
On this blog, I may sometimes use affiliate links, which means a small commission is earned if you purchase via the link. The price will be the same whether you use the affiliate link or go directly to the vendor’s website using a non-affiliate link.
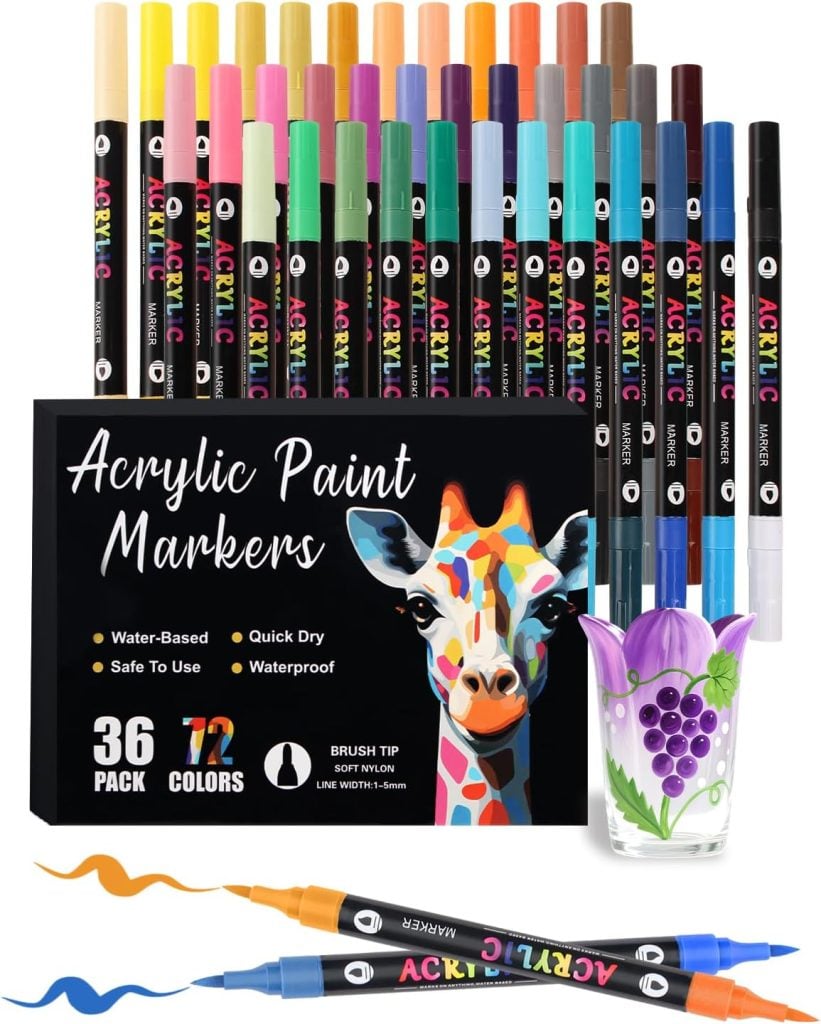
That’s it. No brushes, no palettes, no water cups.
If your shells are freshly collected, just make sure they are clean and dry before you start. Most craft store shells are ready to use right away.
Choosing Your Color Palette
Before I started, I thought about where I would be using these shells. Since they are for our beach house, I wanted something that felt soft and natural.
I chose warm tan, muted orange, and soft off-white. This combination feels coastal without being overly nautical. It blends beautifully with neutral decor and adds just enough warmth to feel interesting.
You can absolutely use brighter colors if you prefer. But I would recommend choosing just a few colors so the collection feels cohesive.


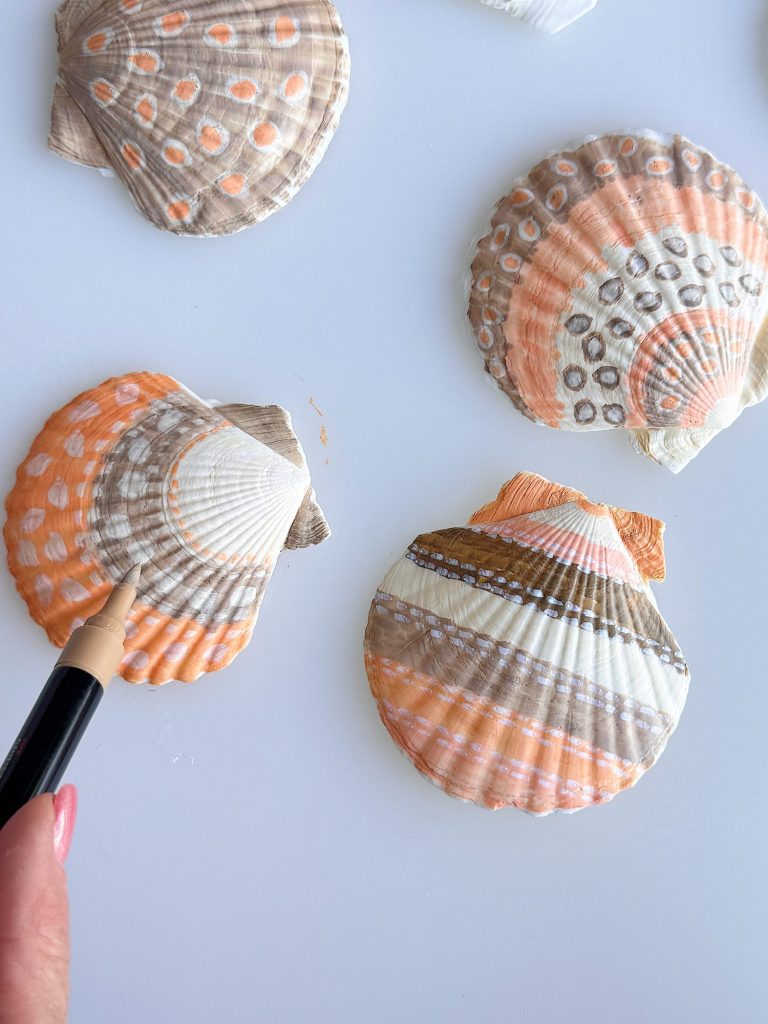
How to Paint the Shells
This is where the fun really begins. There is no right or wrong way to do this, which is why I love it so much.
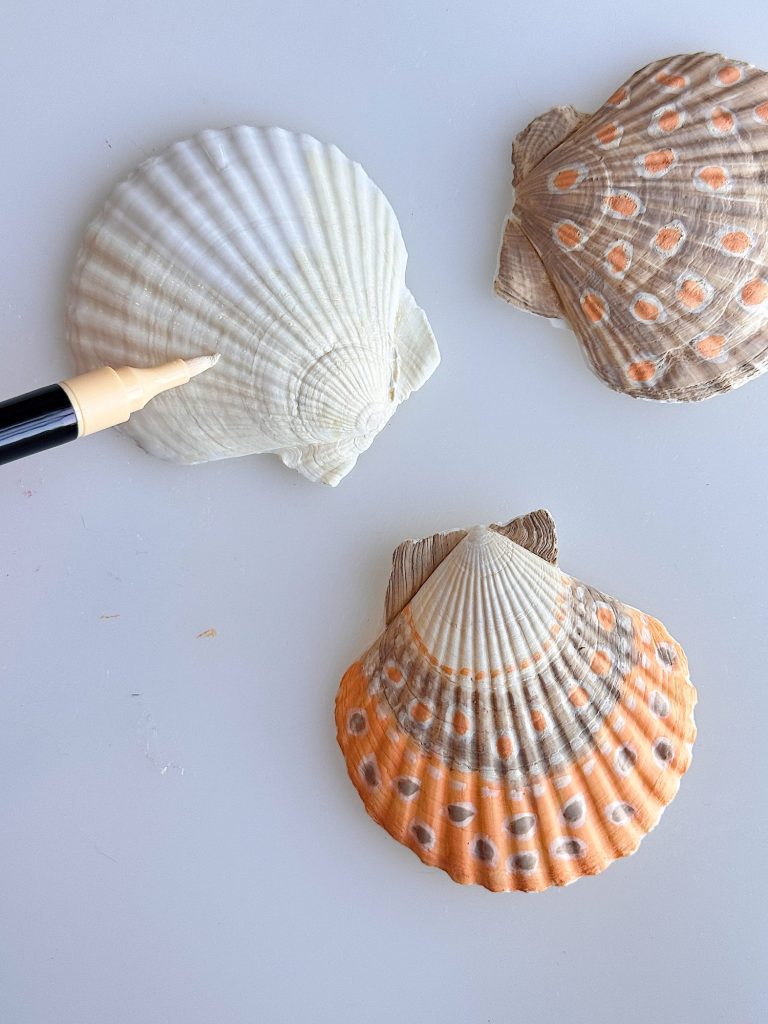
Step 1: Start with a Clean Shell
Make sure your shell is clean and dry. Place it on a flat surface so it doesn’t wobble.
Step 2: Decide Your Design
Look at the natural ridges of the shell. These lines are your best guide. Instead of fighting the shape, work with it.
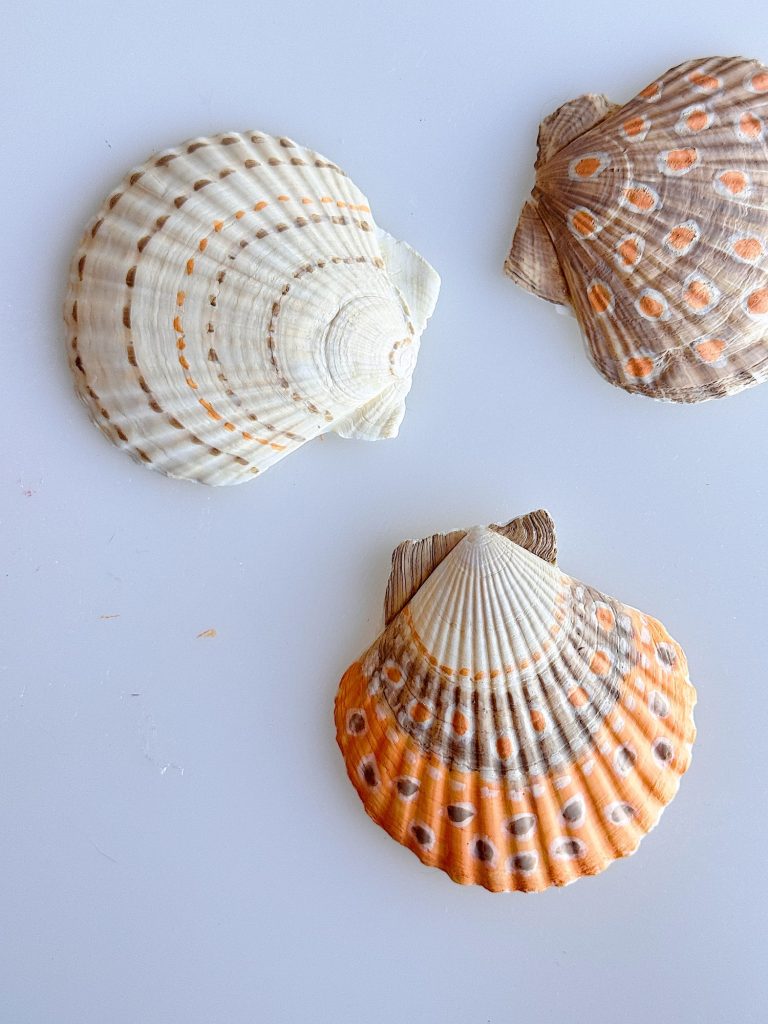
Some of my shells are fully painted in one color. Others have patterns that follow the shell’s natural curves.
Step 3: Paint the Entire Shell (Optional)
For a few shells, I colored the entire surface with one paint marker. This creates a beautiful base and allows you to layer additional designs on top if you want.
Step 4: Add Simple Patterns
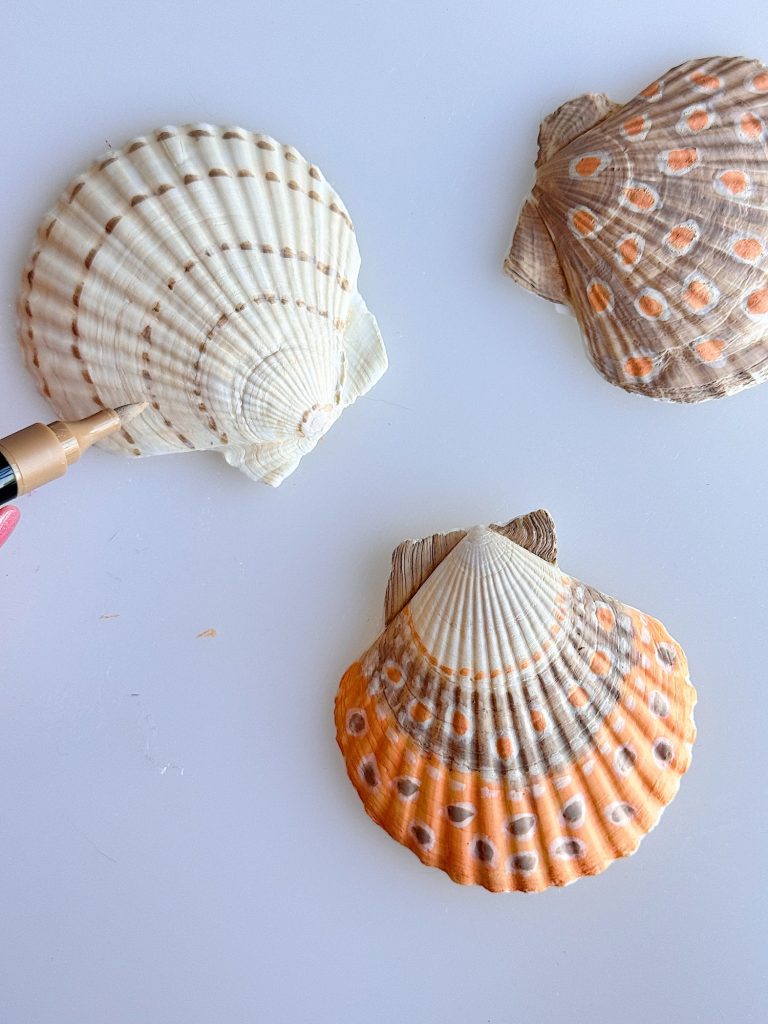
Most of my designs are made up of just two decorative strokes:
- A small dash
- A rounded or oval shape
For the oval shapes, I often added a second color inside, which gives a layered, dimensional look.
Step 5: Follow the Natural Lines
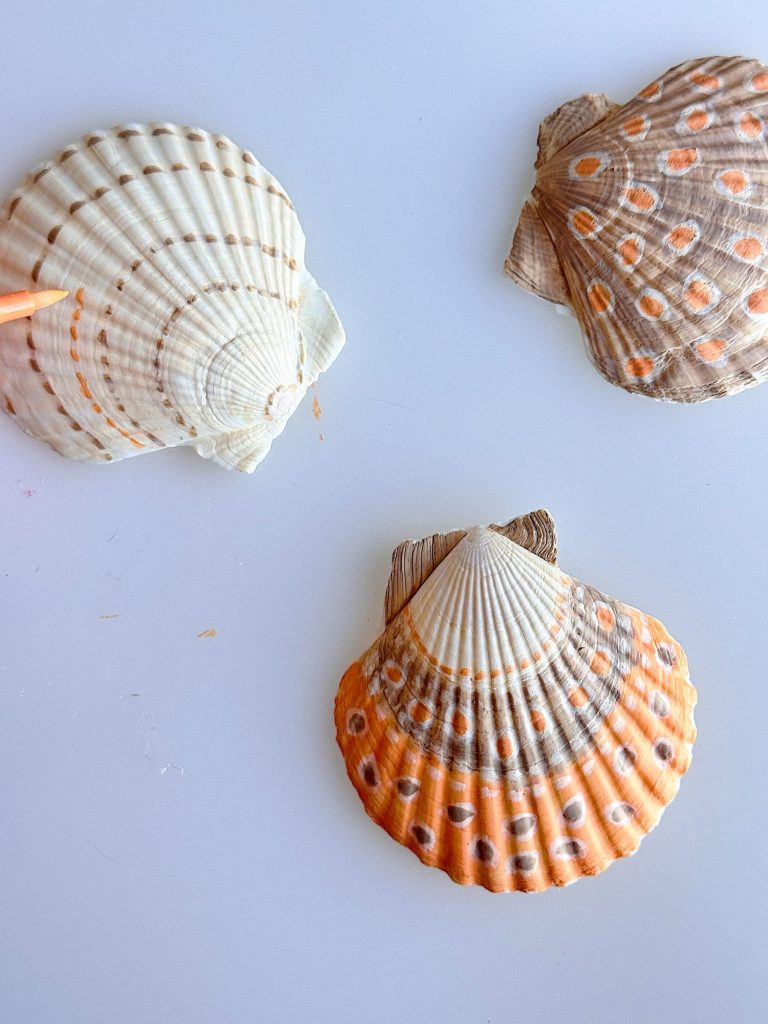
Instead of measuring or spacing perfectly, I let the shell guide the design. The ridges naturally create sections, making it easy to keep everything balanced without overthinking it.
Step 6: Keep It Loose
This is the most important step.
Do not try to make everything perfect. Slightly uneven dots, imperfect spacing, and hand-drawn lines are what make these shells so charming.
In fact, the messier they are, the better they look.
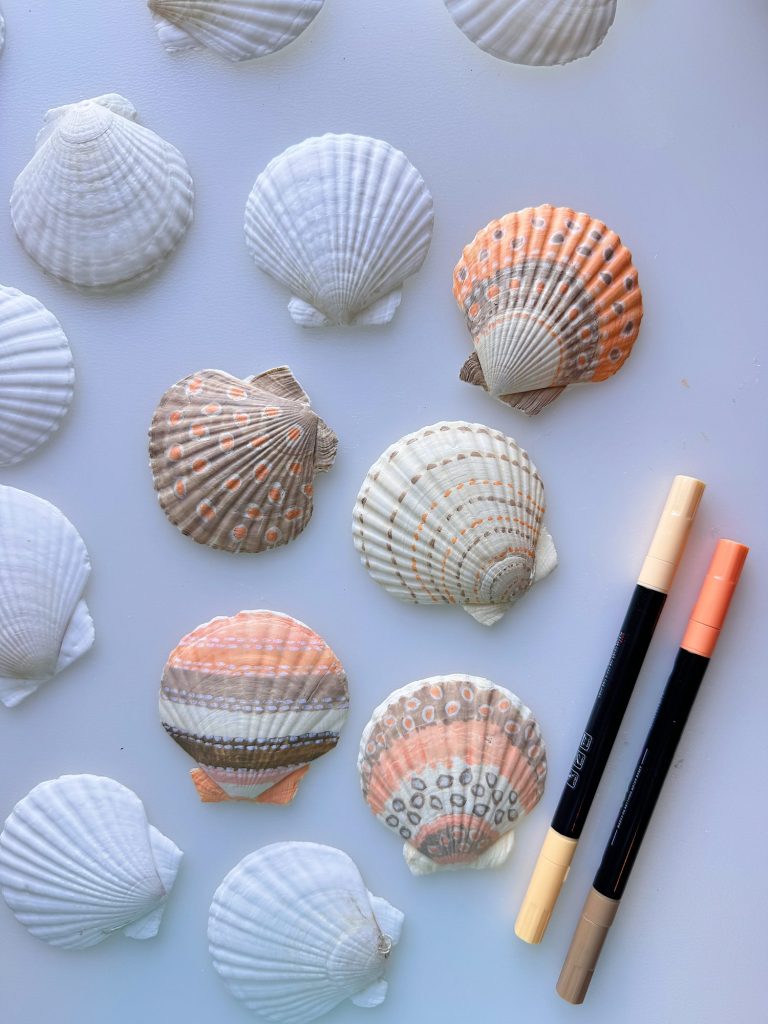
My Favorite Design Ideas
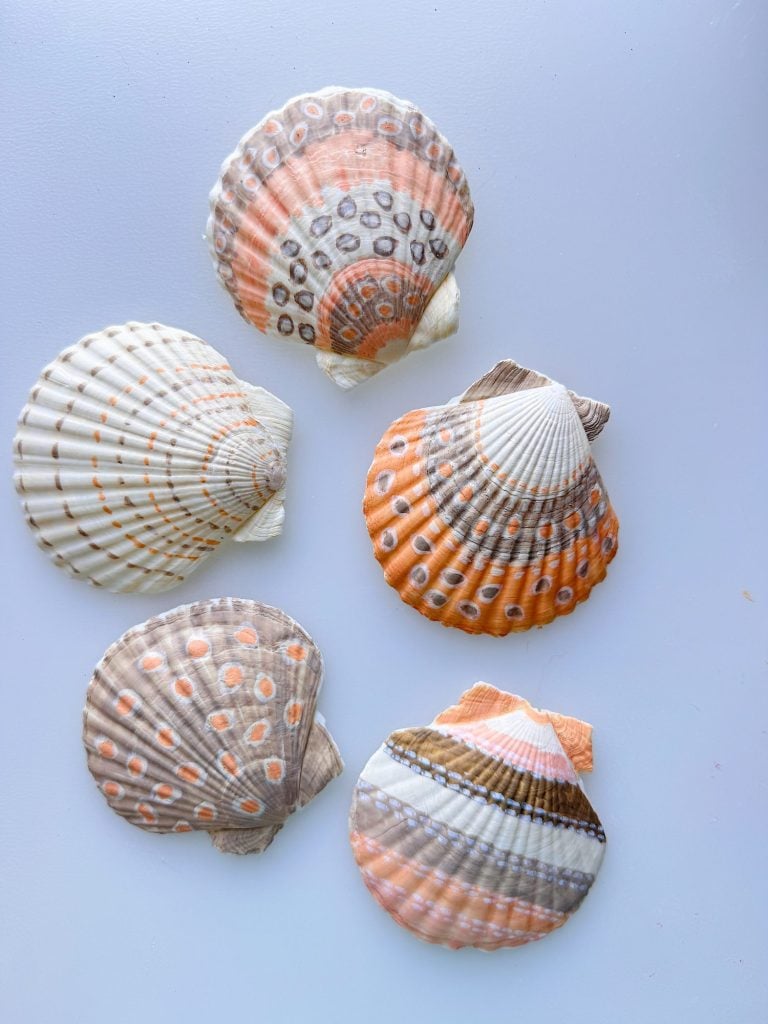
Here are a few patterns I used that worked beautifully:
- Rows of small dashes following the shell ridges
- Polka dots spaced along the natural lines
- Larger oval shapes with a contrasting color inside
- Half-painted shells with color blocking
- Alternating rows of dots and lines
Each shell becomes its own little work of art.
Why Acrylic Paint Markers Work So Well
If you’ve never used paint markers before, you are going to love them.
They are easy to control.
The color is opaque and vibrant.
No brushes are needed.
No water or cleanup is required.
They allow you to draw directly onto the shell, which makes the process feel more like doodling than painting.
The Beauty of Imperfection
One of the things I noticed right away is that the shells that felt the least “perfect” were actually my favorites.
The slightly uneven dots. The lines that aren’t exactly straight. The shapes that vary just a little bit.
All of these details make the shells feel handmade and organic. And that’s exactly the look I wanted.
So if you’re doing this project, let go of the idea of perfection. You’ll enjoy it more, and your shells will look even better.
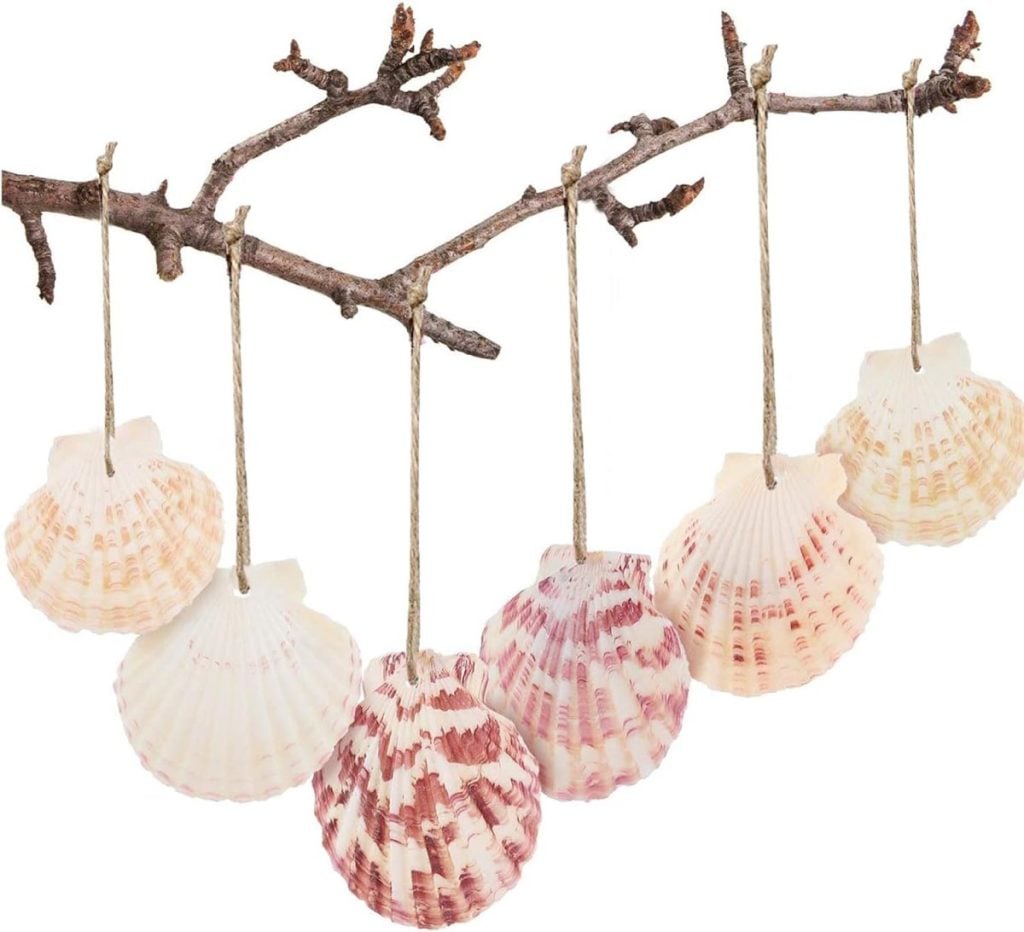
Ways to Use Painted Scallop Shells
Once you start making these, you’ll quickly realize how many ways you can use them.
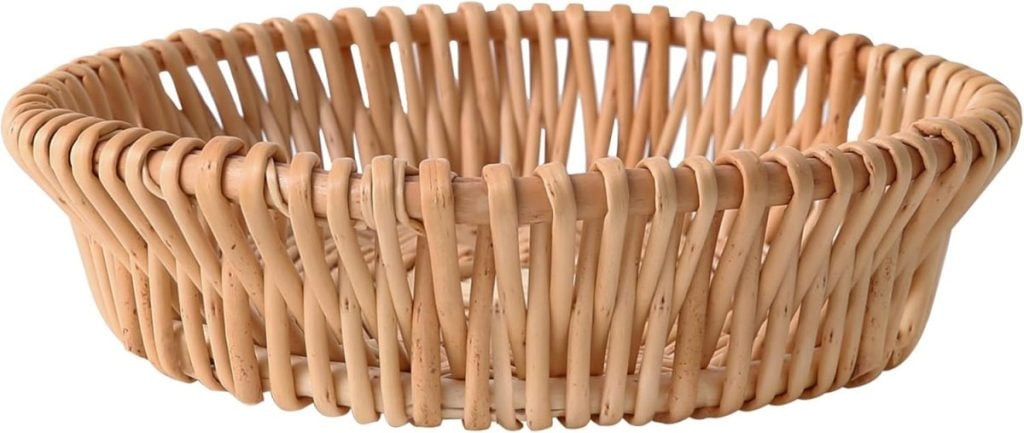
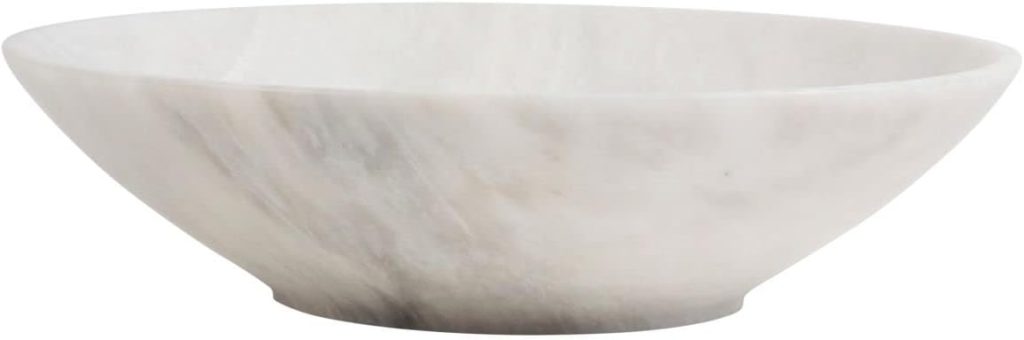
Decorative Bowls
Fill a bowl with painted shells and place it on a coffee table or console. It’s simple, but so pretty.
Table Decor
Scatter them down the center of a table for a coastal-inspired setting.
Place Settings
Use one shell at each place setting. They can even double as place cards.
Party Favors
These would be beautiful for a beach-themed party or bridal shower.
Shelf Styling
Add a few shells to a bookshelf or open shelving for a subtle coastal touch.
Gift Toppers
Tie one onto a wrapped gift for something unexpected and personal.
Bathroom Decor
They look lovely styled in a small dish in a guest bathroom.

Tips for the Best Results
Here are a few things I learned while making these:
Work in natural light if possible so you can see the colors clearly.
Test your marker on paper before starting.
Rotate the shell as you paint to keep your hand comfortable.
Don’t overthink the design.
Stop before you overwork it.
Sometimes less really is more.
Final Thoughts
If you’re looking for a simple craft that delivers a big impact, this is it.
These painted scallop shells are easy to make, inexpensive, beautiful, and endlessly versatile.
I love that each one is different, and I love that they reflect a relaxed, natural style that feels perfect for our home.
If you try this project, remember the most important tip:
The looser you paint, the better they look.
How to Follow Along With A Handmade Spring
Each week, a new spring craft will be shared here on the blog. I will also be sharing behind-the-scenes moments, progress videos, and finished projects on Instagram so you can see each craft come to life.
You can jump in at any point. There is no need to start at the beginning or complete every project. Choose the ones that speak to you and make them your own.
If you love seasonal crafting, this series is designed to inspire you throughout spring.
Here are all of the A Handmade Spring craft projects so far. Next week is our last week!


Latest Posts
-
How to Make My Wood Table Tops
We entertain a lot, and a few years ago, I got tired of renting plastic tables. So, I built my own wood tabletops that look like our expensive dining room table! You all know how much I love to entertain. Four years ago, I came up with an idea to solve my shortage of tables….
-
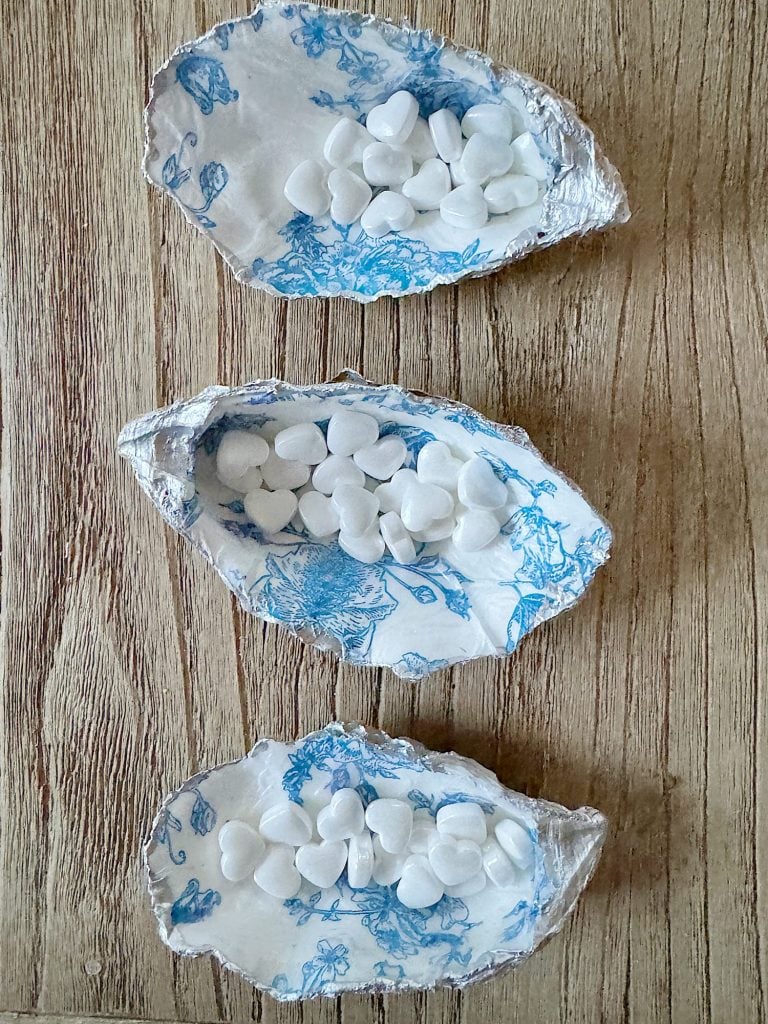
Oyster Shell Art Craft
Are you looking for a creative way to add a touch of coastal charm to your bridal shower decor? Look at these DIY oyster shell candy holders! Today, I am going to share the simple steps for making these decorated oyster shell art pieces for a bridal shower and some tips on where to find…
-
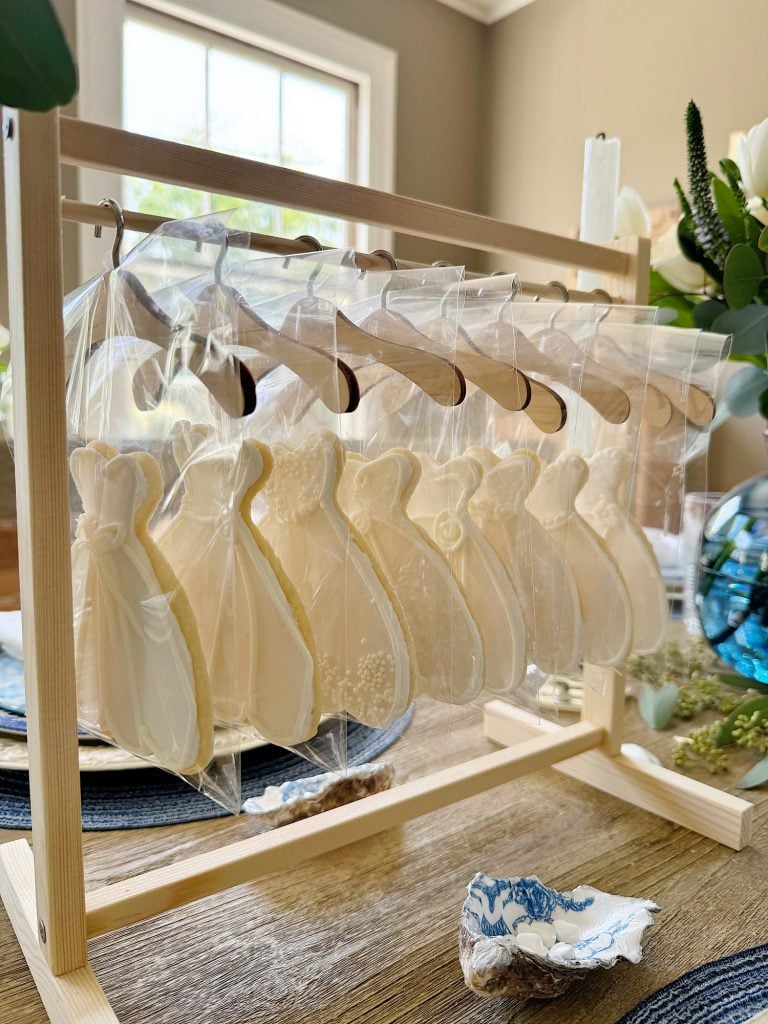
The Cutest Centerpiece and Bridal Shower Gifts
I love revisiting the bridal shower I hosted for my son Michael and his fiancé Ellie, when I wanted to create something truly unique that could also be used as bridal shower gifts. Drawing inspiration from the elegance of a bridal shop, I designed a centerpiece that would steal the show and double as gifts…
-
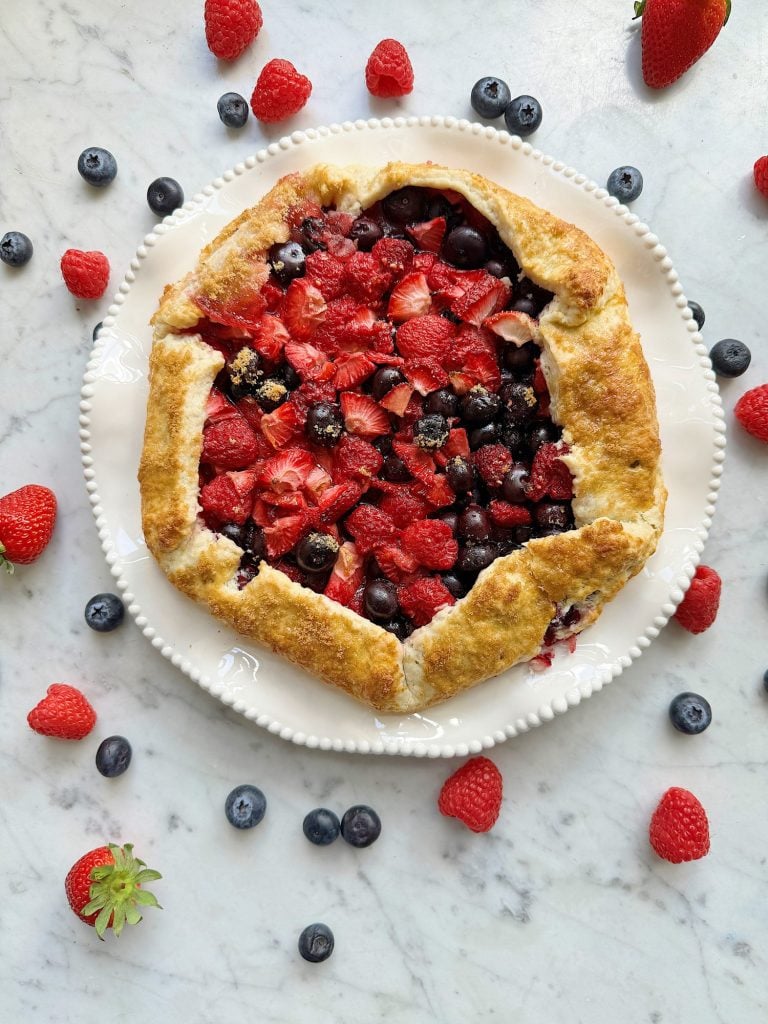
Strawberry, Raspberry and Blueberry Galette Recipe
Mother’s Day is just over a month away, and what better way to celebrate the moms in our lives than with a homemade Strawberry, Raspberry, and Blueberry Galette? Not only does this delectable Berry Galette look fantastic, but it is also so easy to make! This delightful combination of sweet berries and flaky pastry crust…
My Recent Instagram Posts

You can pin the image below to your boards on Pinterest (click the Pin button in the top left corner) or follow me on Pinterest!
For more real-time updates, follow me on Instagram @My100YearOldHome