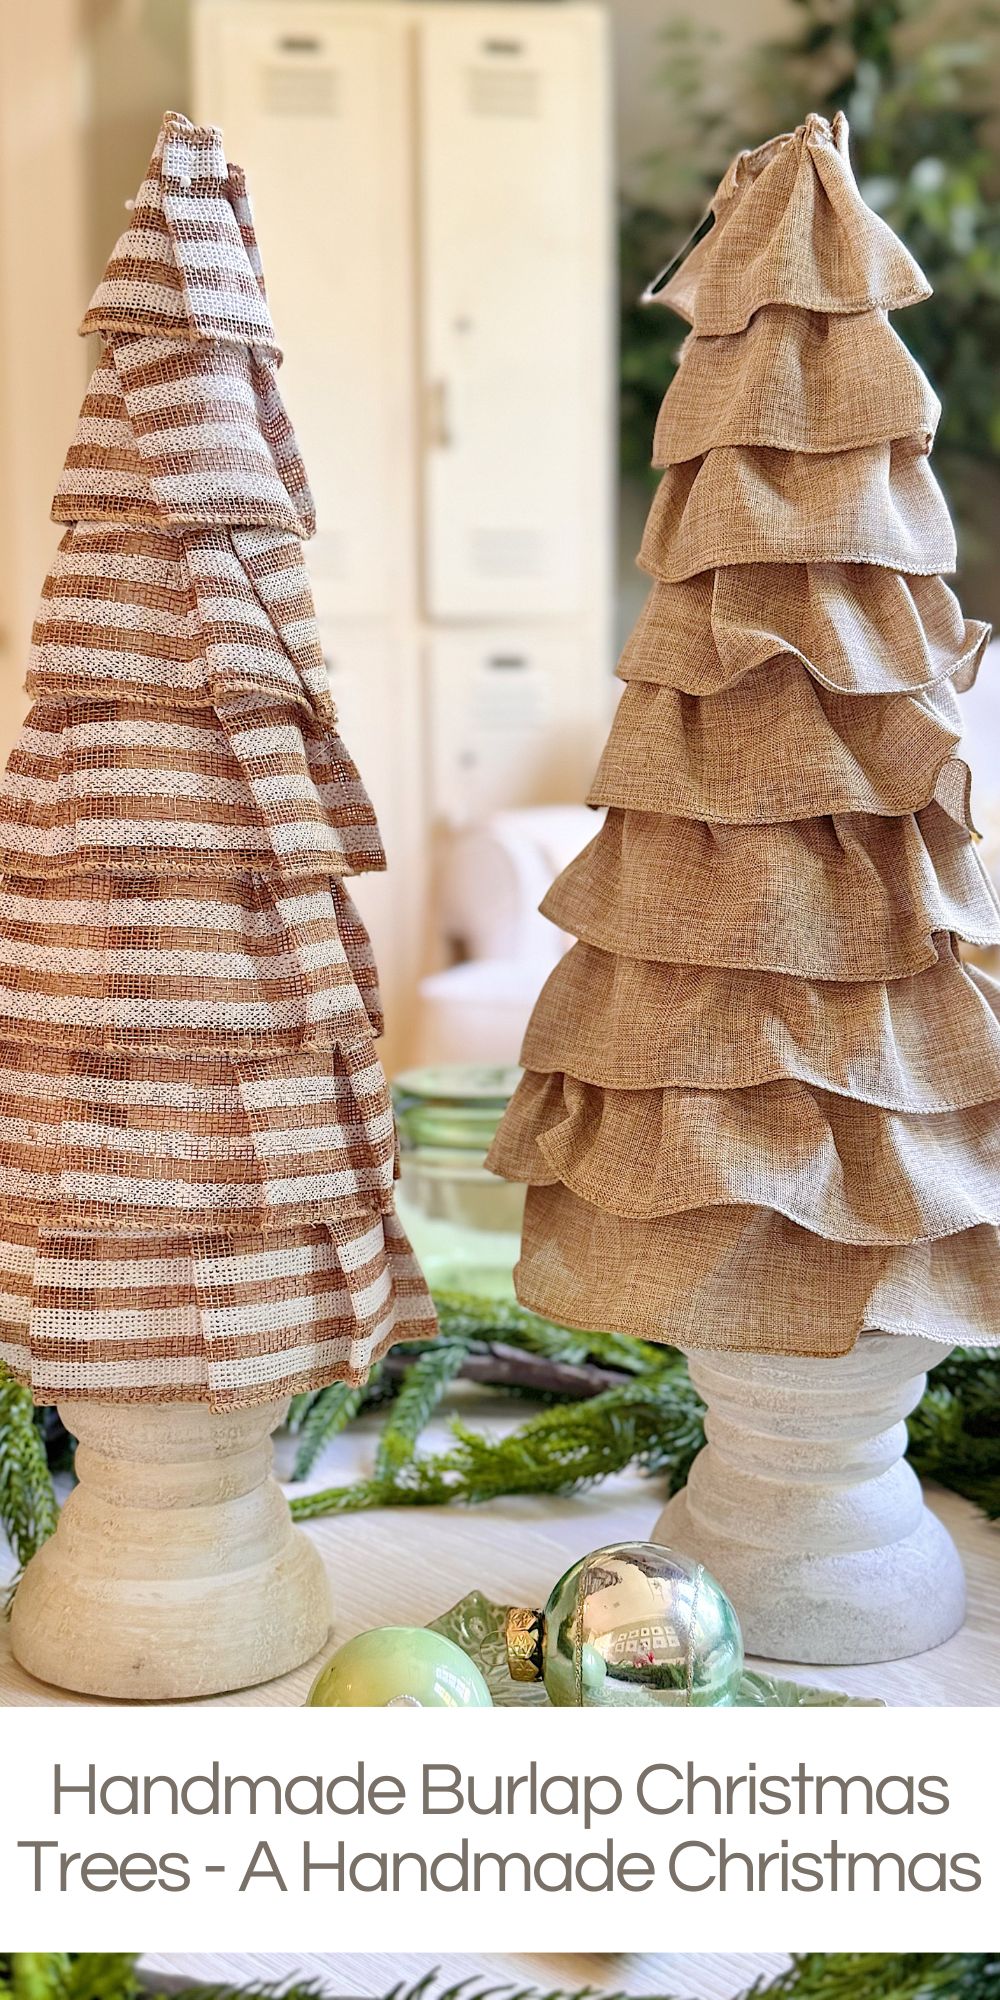
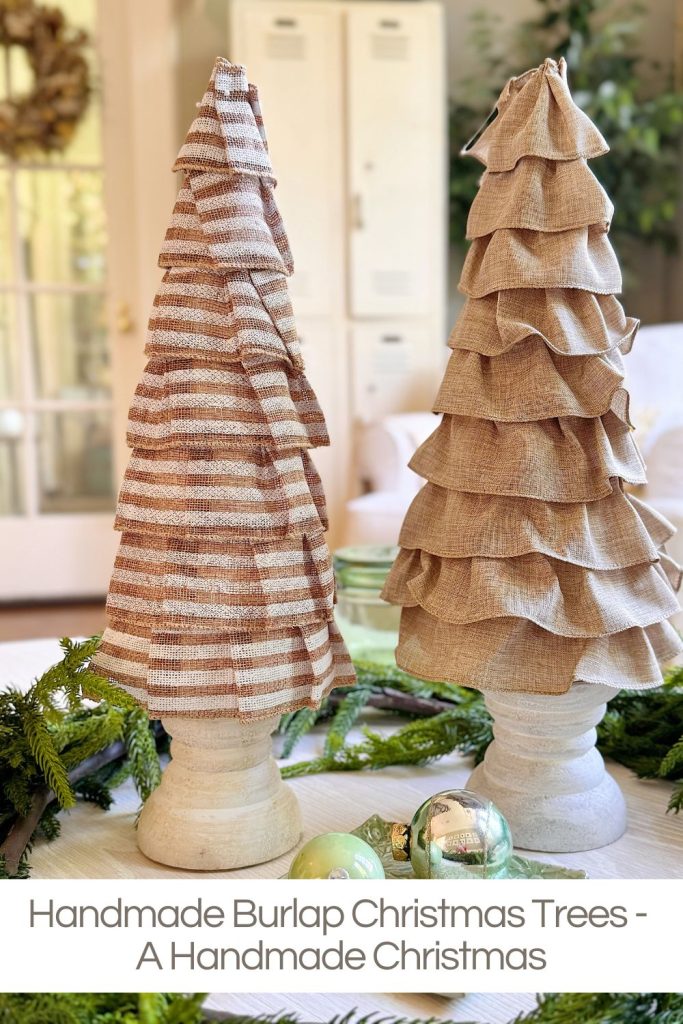
Handmade Burlap Christmas Trees – A Handmade Christmas
This week marks week five of my A Handmade Christmas series, and I couldn’t be more excited to share one of my favorite projects so far: handmade burlap Christmas trees.
Each week, I’ve been unveiling a new craft to inspire your holiday décor, and these trees might be the most versatile yet.
Burlap Christmas Trees
Every holiday season, I love challenging myself to create something new and handmade that brings warmth, charm, and creativity to our home décor. This year, one of my favorite projects has been making burlap Christmas trees. They’re rustic, cozy, and so easy to customize.
The best part? These tabletop trees can be used in so many places around the house—from the mantel to the dining table—and they look like something straight out of a boutique.
I love that these Burlap Christmas trees are rustic, cozy, and so easy to customize. The best part? These tabletop trees can be used in so many places around the house—from the mantel to the dining table—and they look like something straight out of a boutique.
On this blog, I may occasionally use affiliate links, which means I earn a small commission if you purchase through the link. The price will be the same whether you use the affiliate link or go directly to the vendor’s website using a non-affiliate link.

Why Burlap Trees?
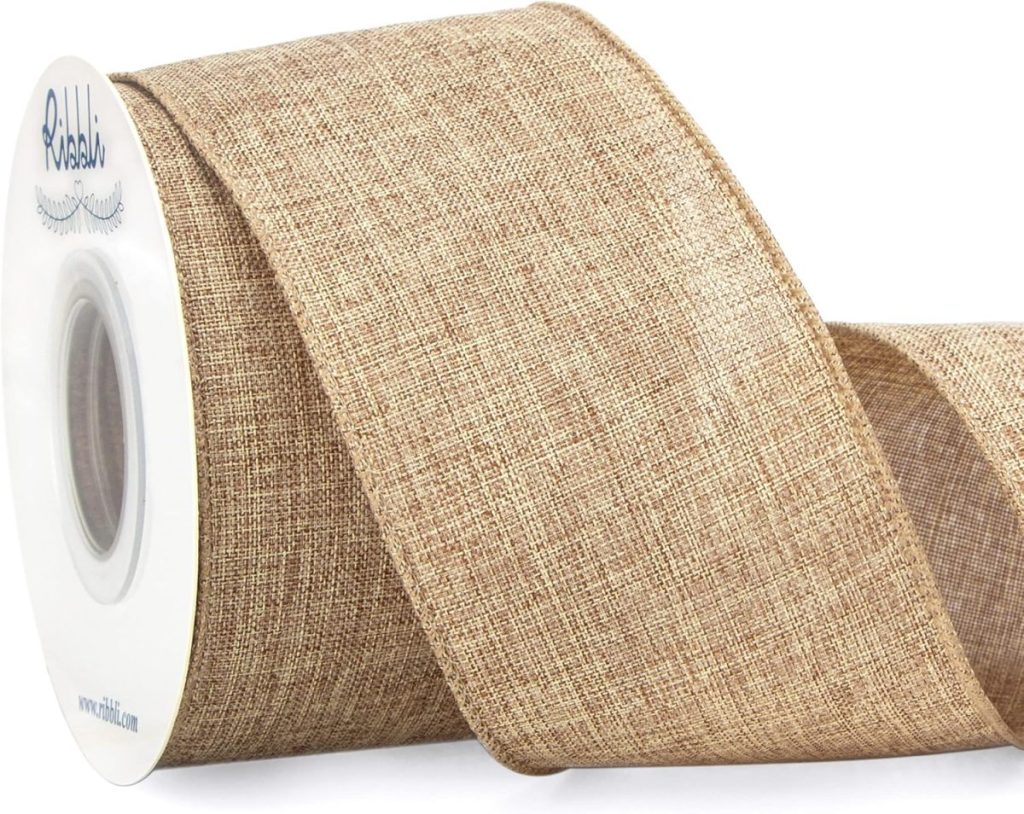
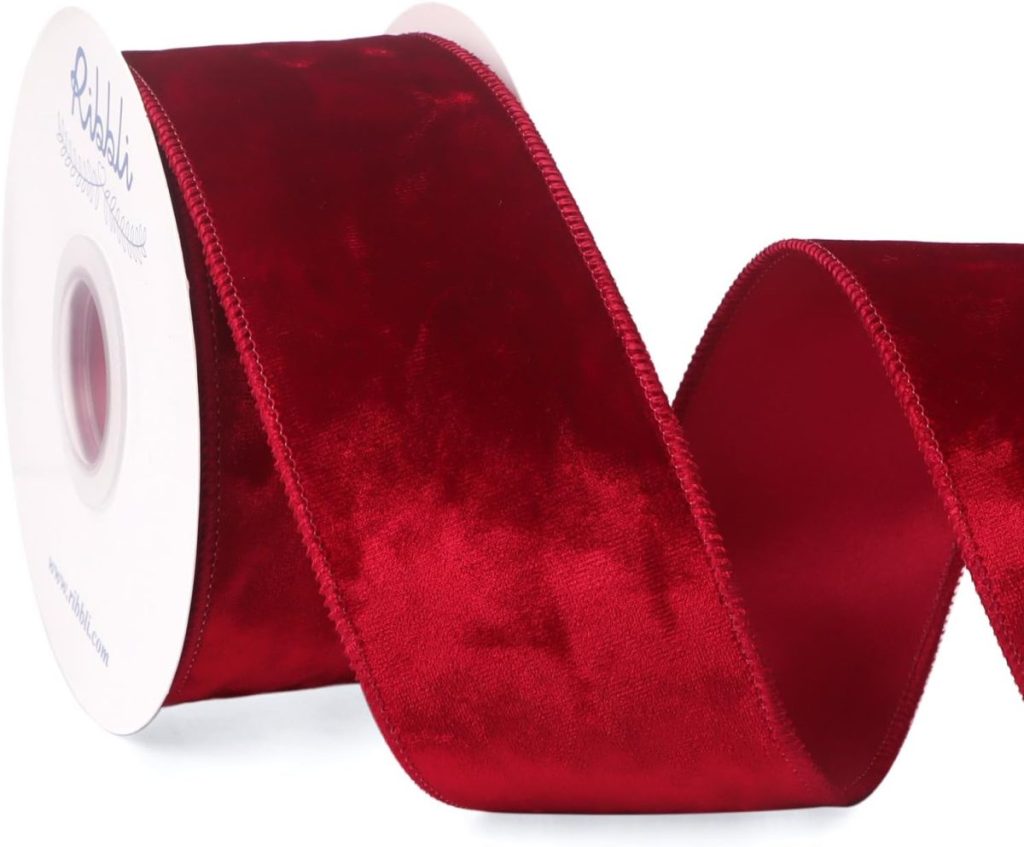
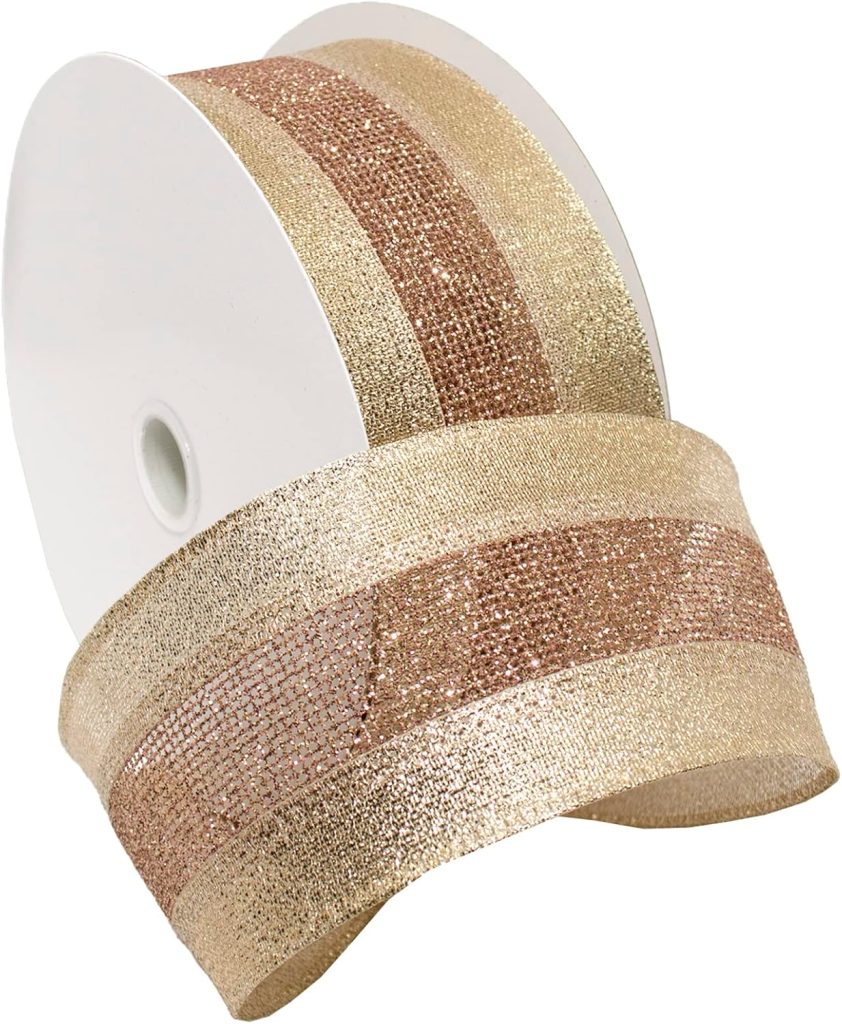
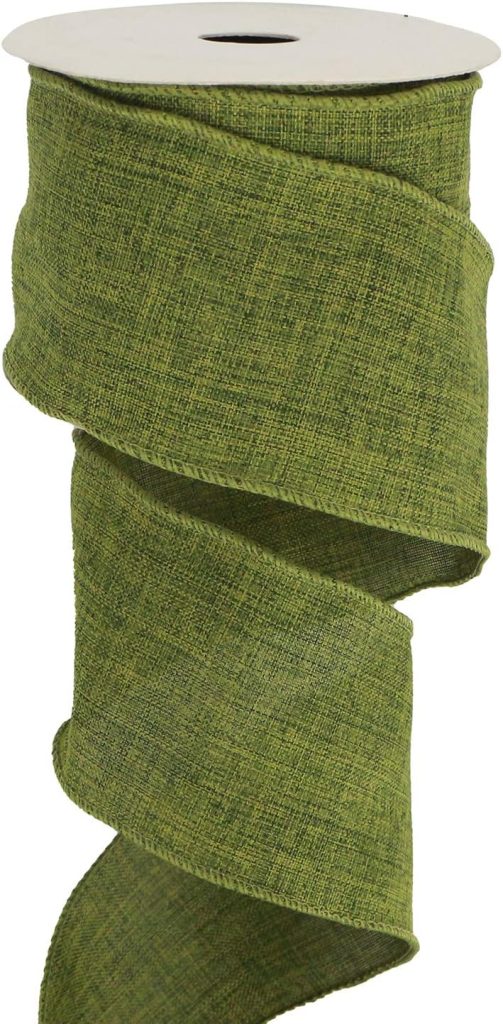
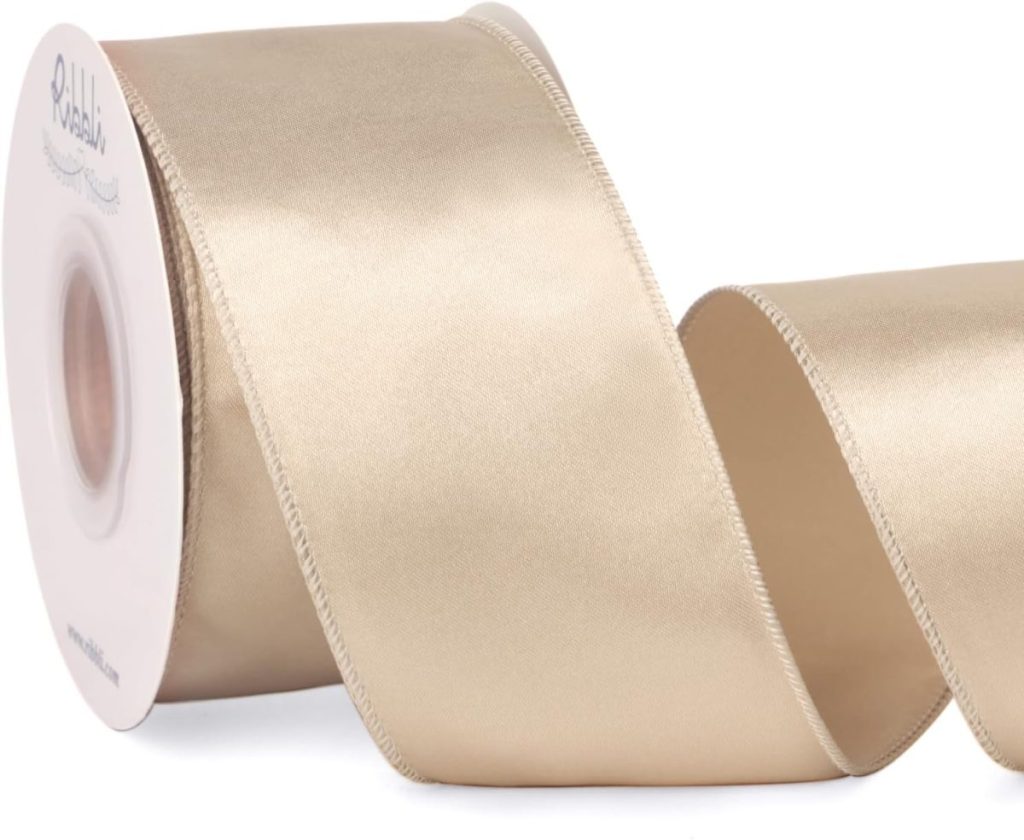
Burlap is one of my favorite materials to work with during the holidays. It has a natural texture that pairs beautifully with greenery, twinkle lights, and metallic accents. It’s also inexpensive and easy to manipulate, making it perfect for DIY projects.
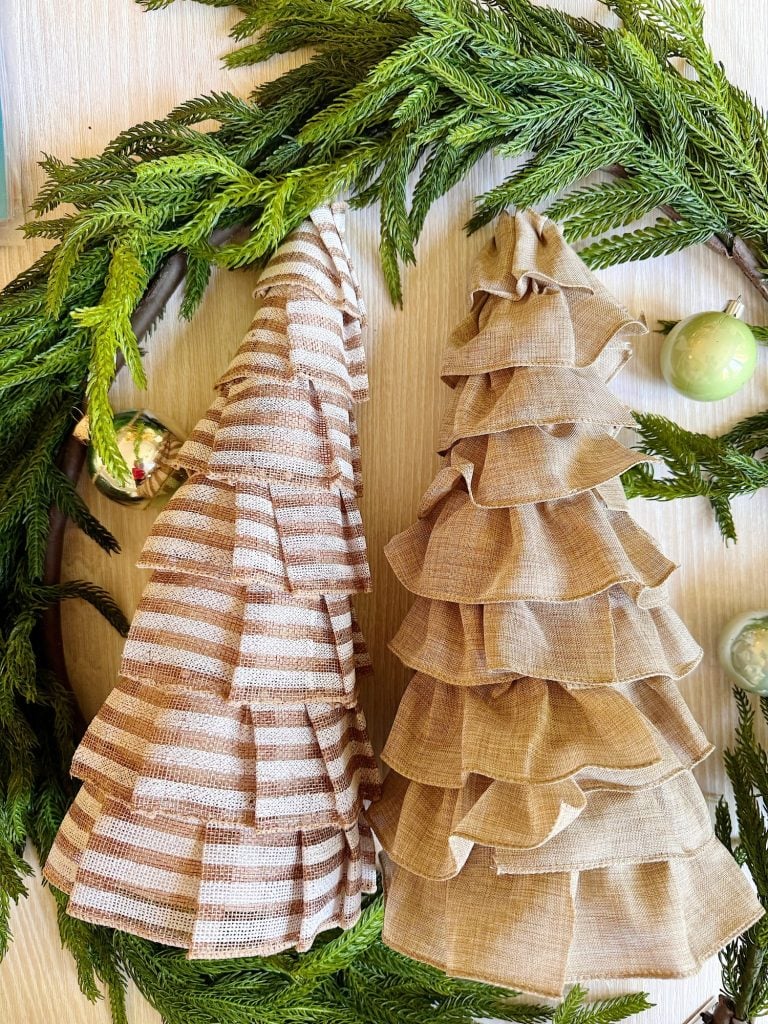
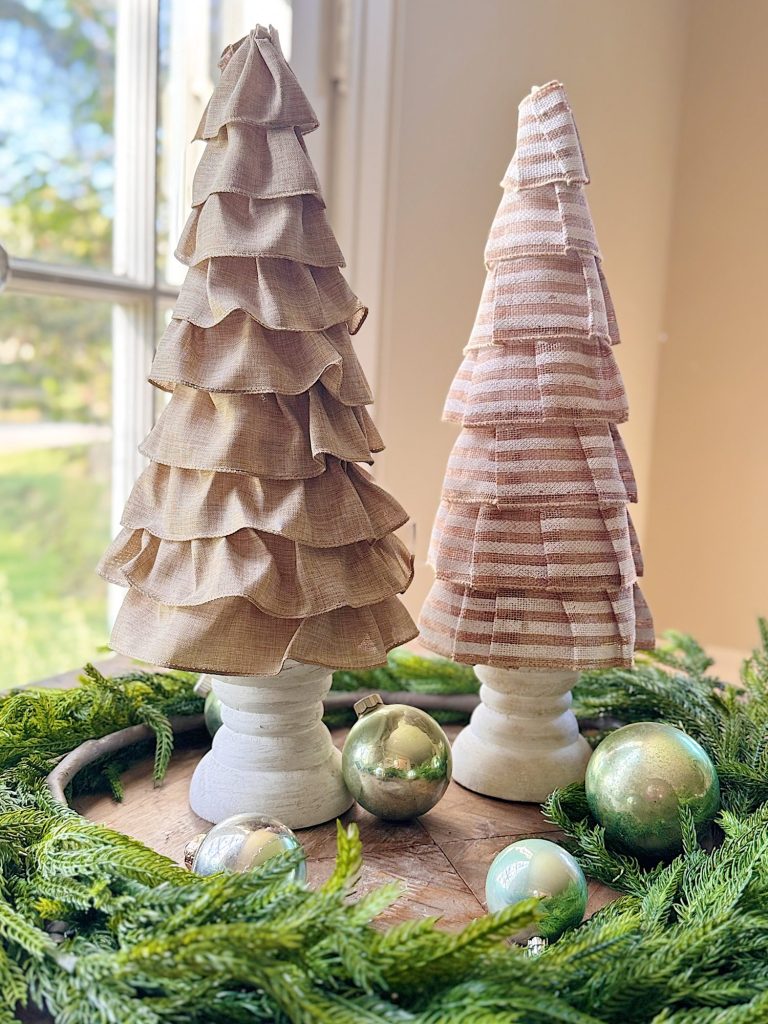
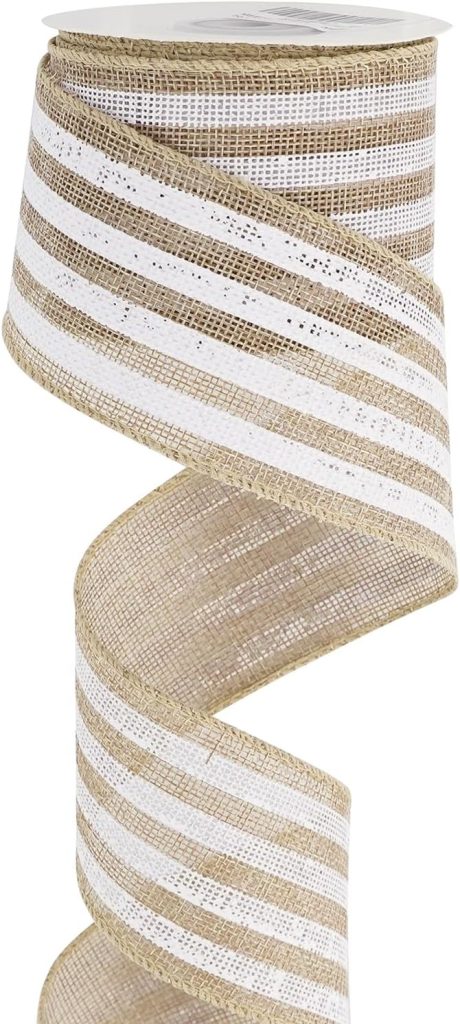
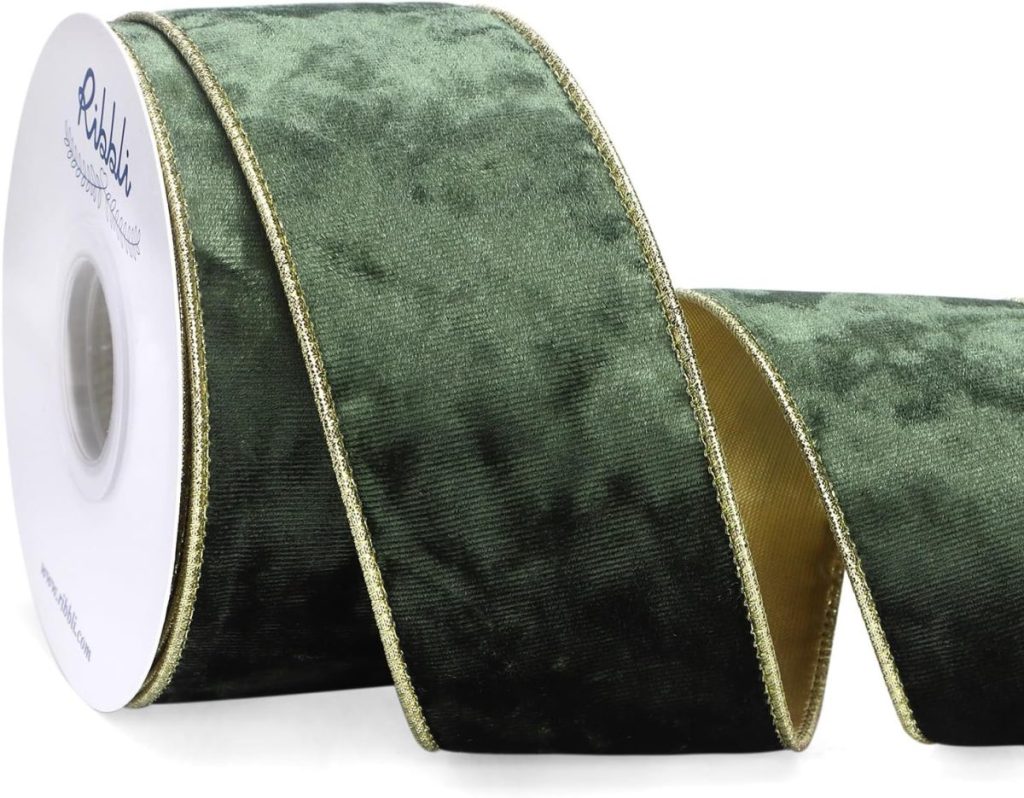
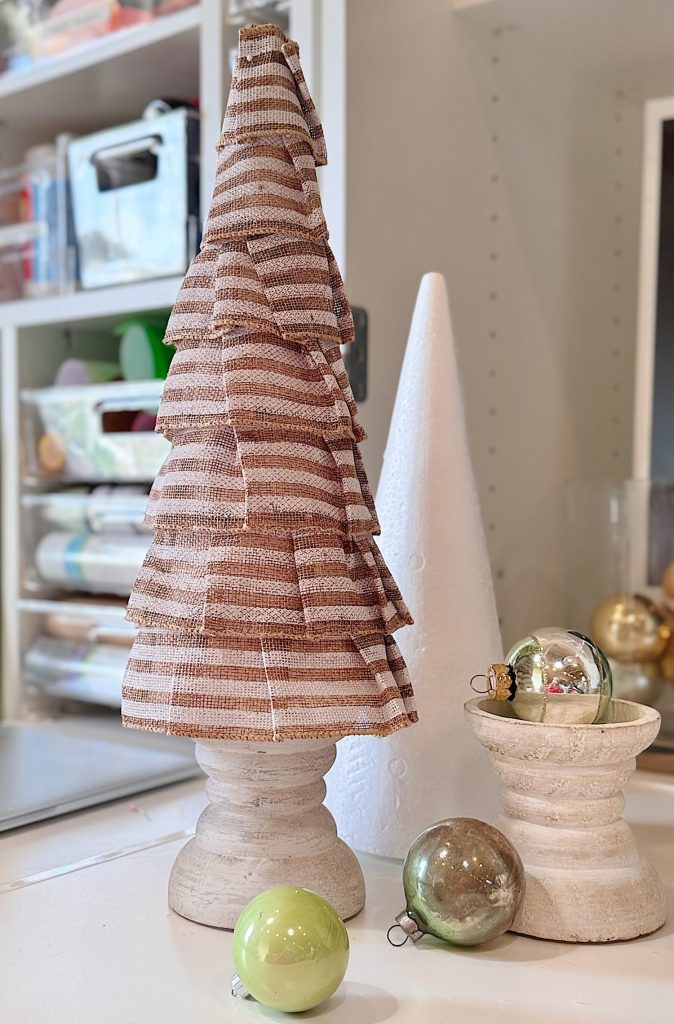
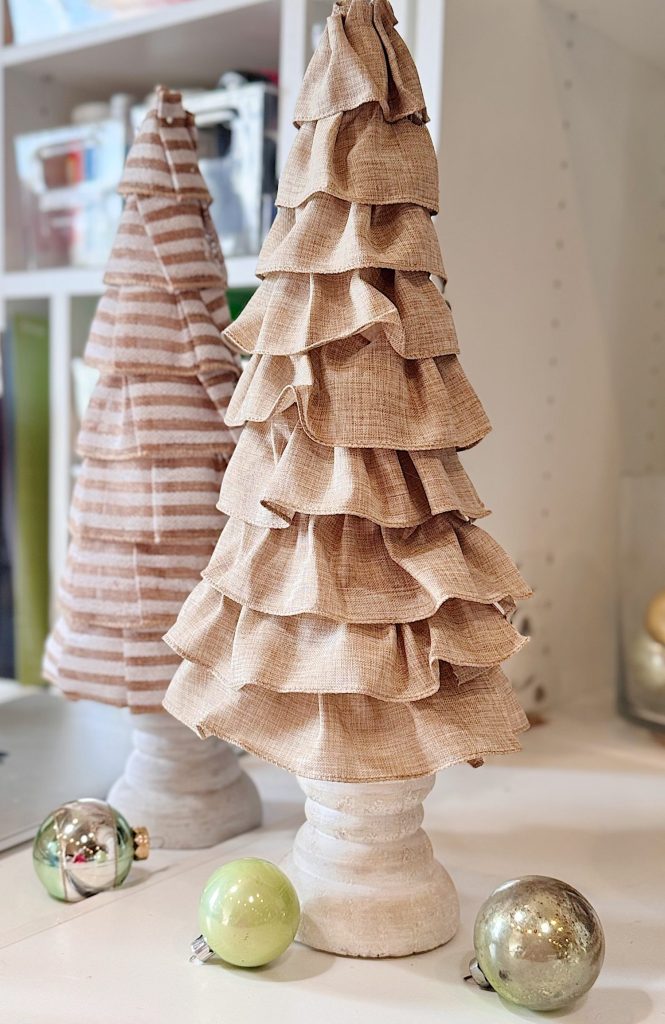
I loved the idea of creating Christmas trees that felt homemade yet stylish. By pleating burlap ribbon and layering it up on a simple styrofoam cone, I was able to create trees that have incredible depth and charm. I made mine in two styles—one using plain burlap ribbon, and another using burlap with white stripes. The contrast looks fantastic when they’re grouped.
Supplies You’ll Need
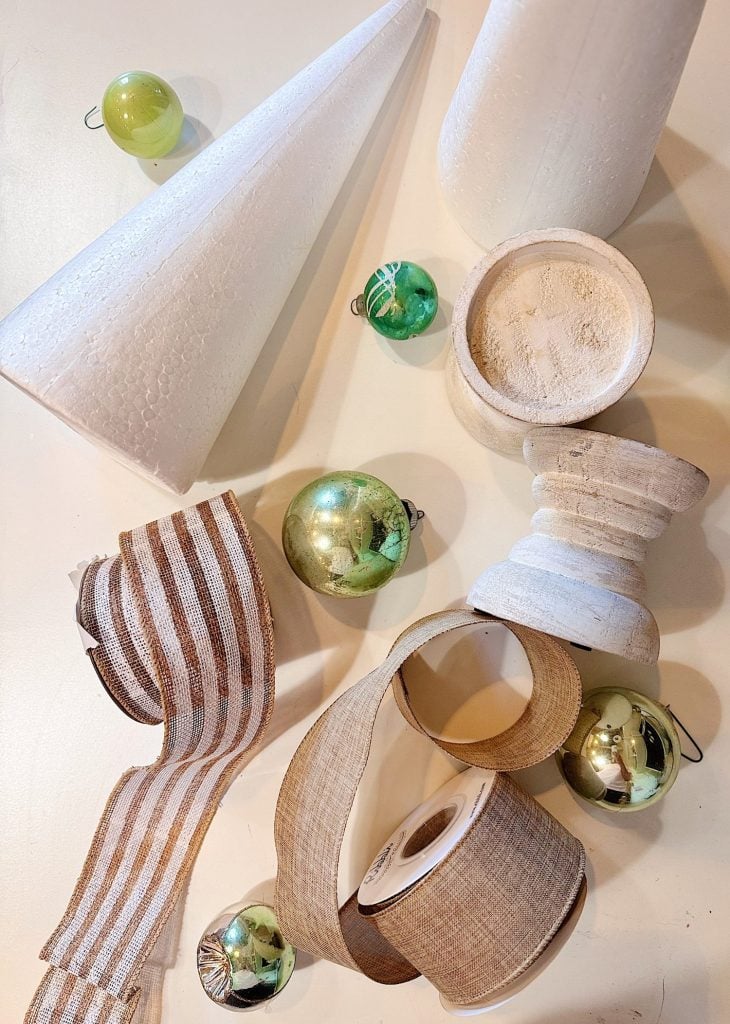
To make these trees, you only need a handful of supplies:
- Styrofoam craft cones (these come in multiple sizes—choose a variety for dimension)
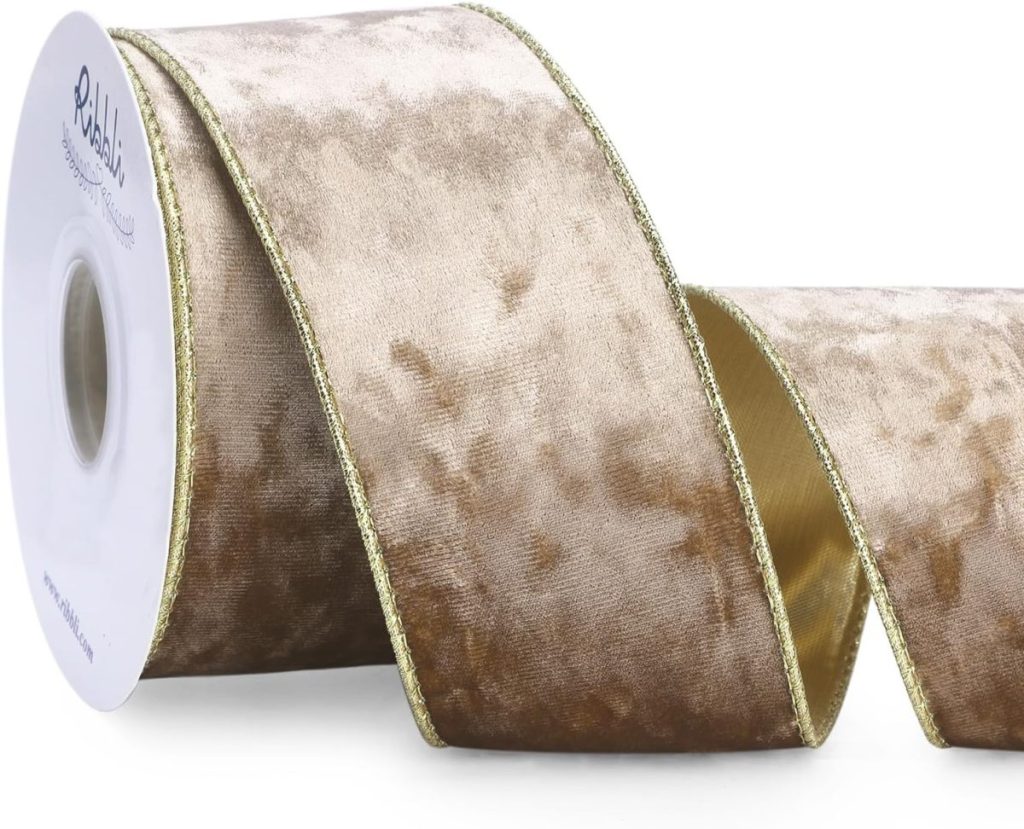
- Burlap ribbon (I used one roll of plain burlap and one roll of burlap with a white stripe)
- Hot glue gun and glue sticks
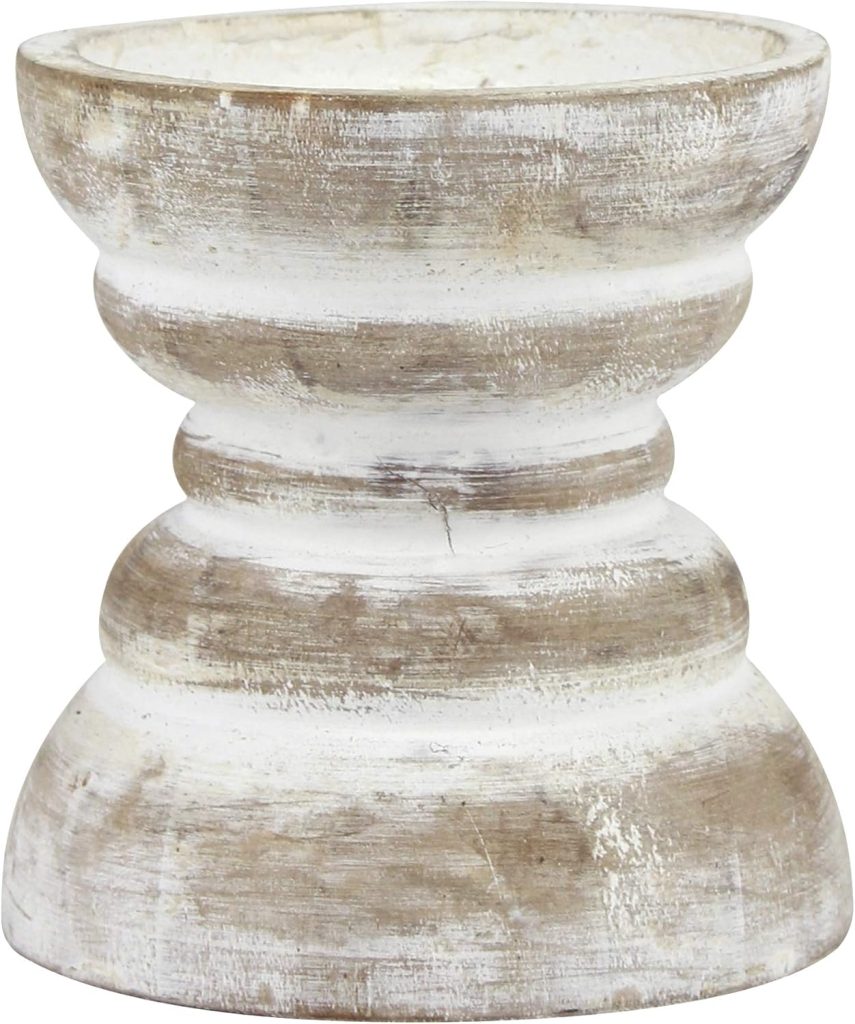
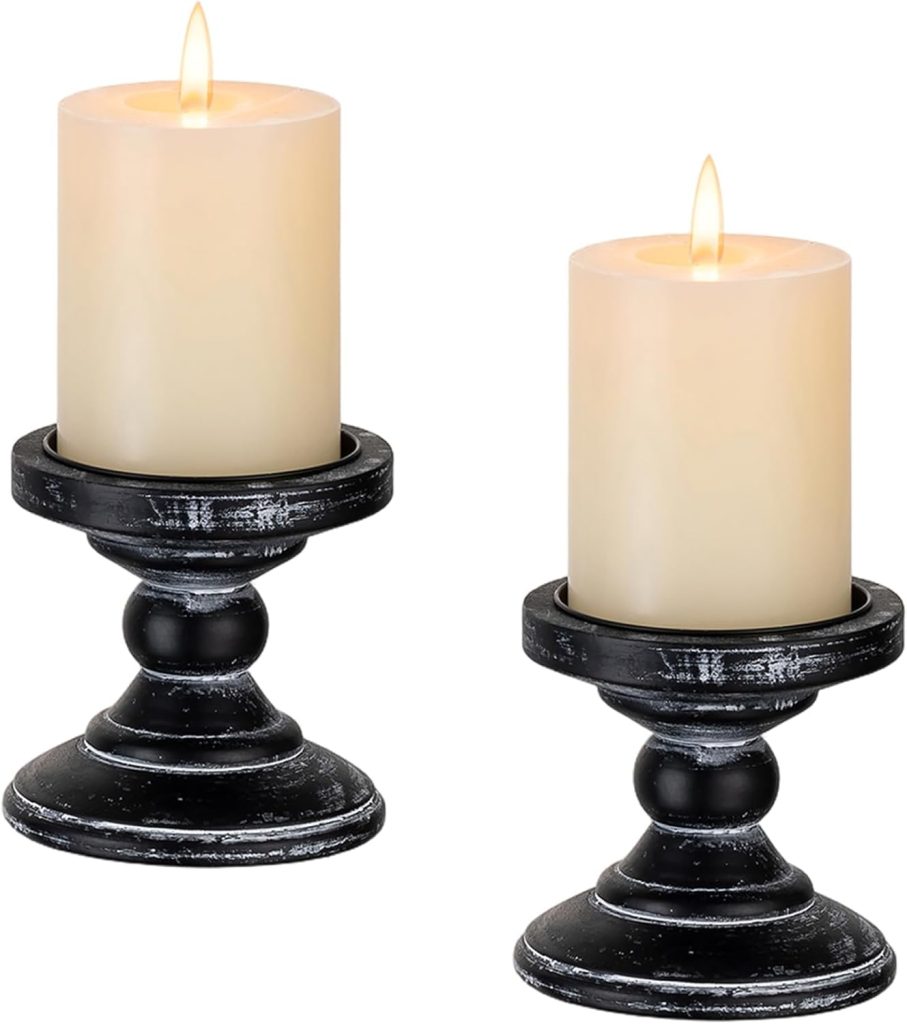
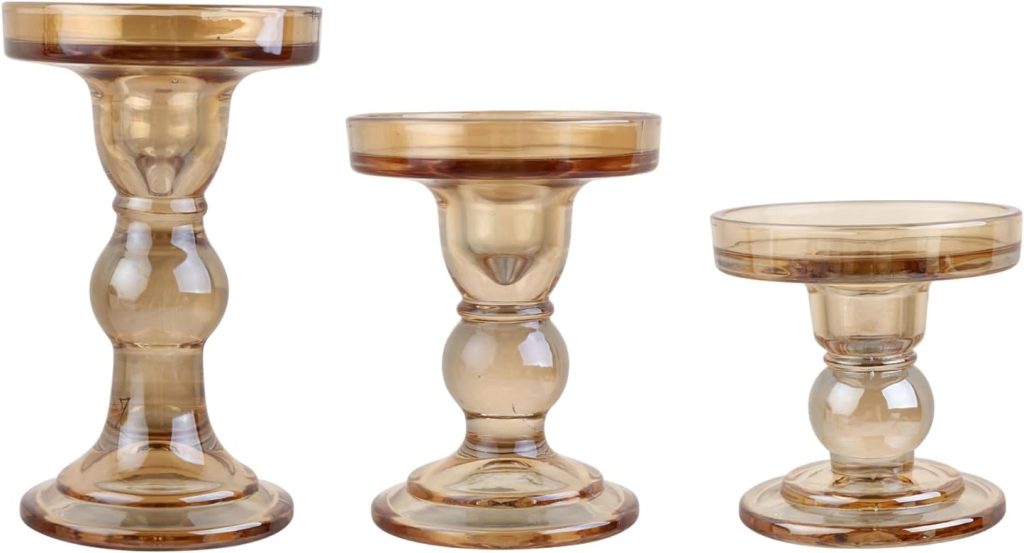
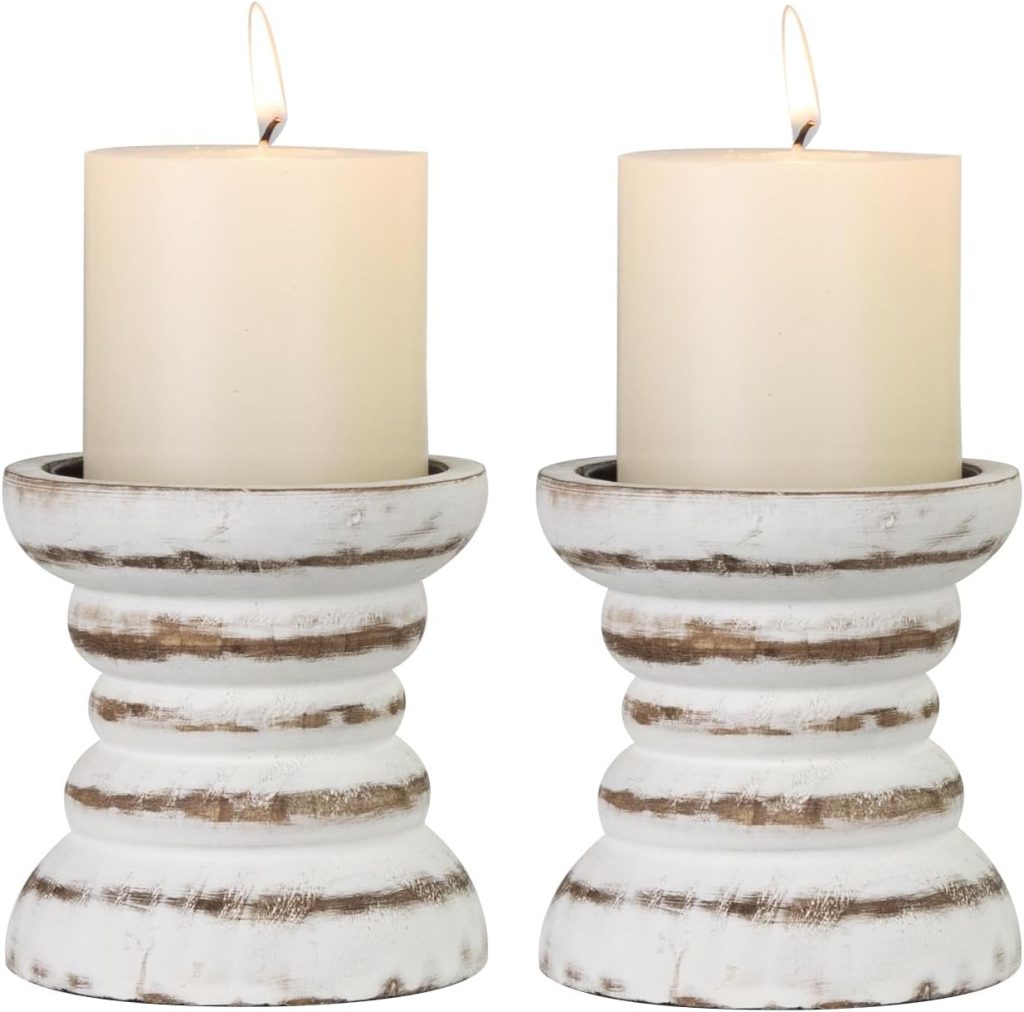
- Wooden candle pillars (for the bases)
- Scissors


That’s it! Just five supplies, and you’ll have the foundation for some of the cutest tabletop trees.
Step One: Prepping the Cones
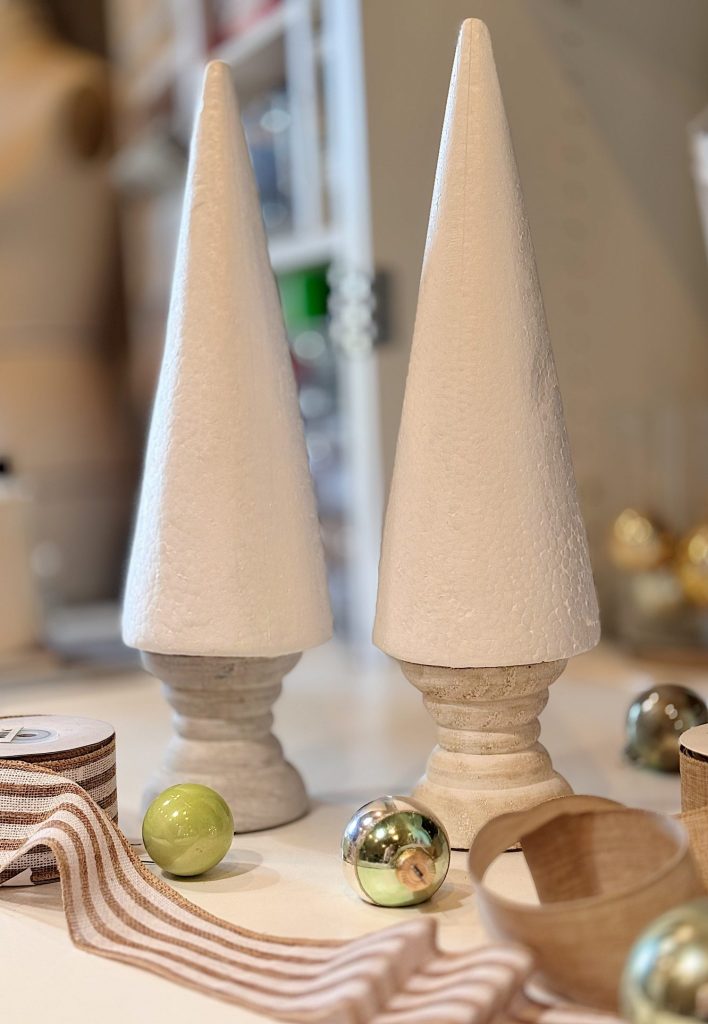
I started with styrofoam craft cones in different sizes. These are readily available at craft stores or online, making them the perfect base for this project. Having different heights and diameters helps create visual interest when you style the trees together.
I also purchased wood pillar candle bases. These are the perfect foundation for these trees and can also be used with your pillar candles.
Striped Pleated Burlap Tree
Step One: Pleating the Burlap
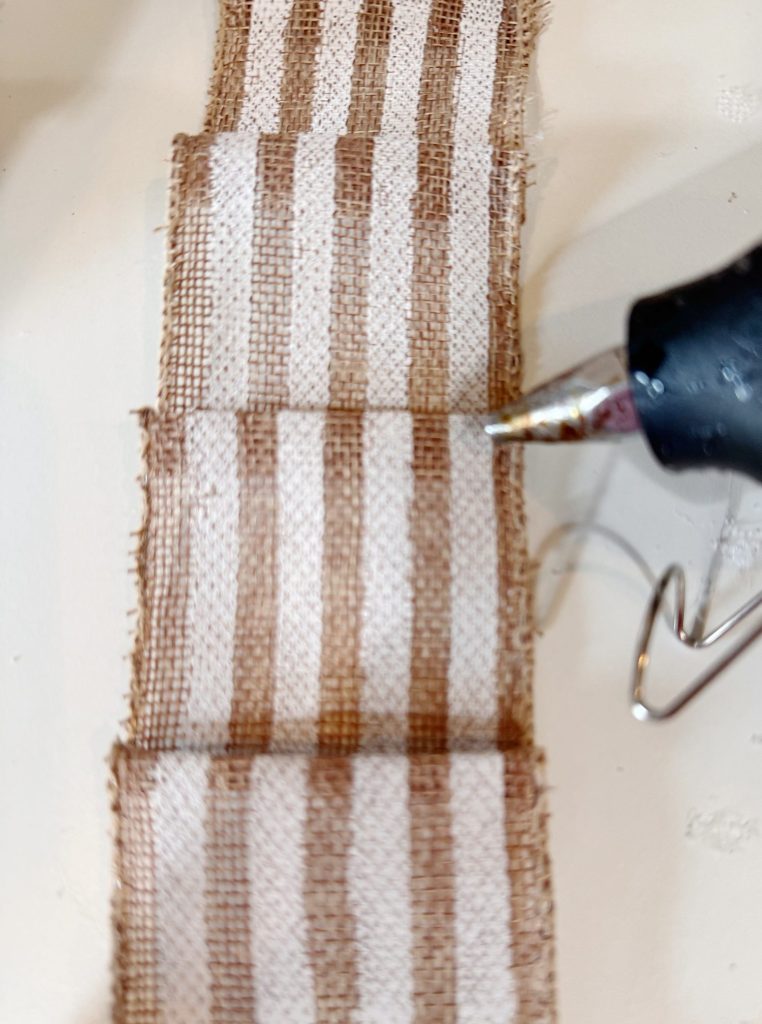
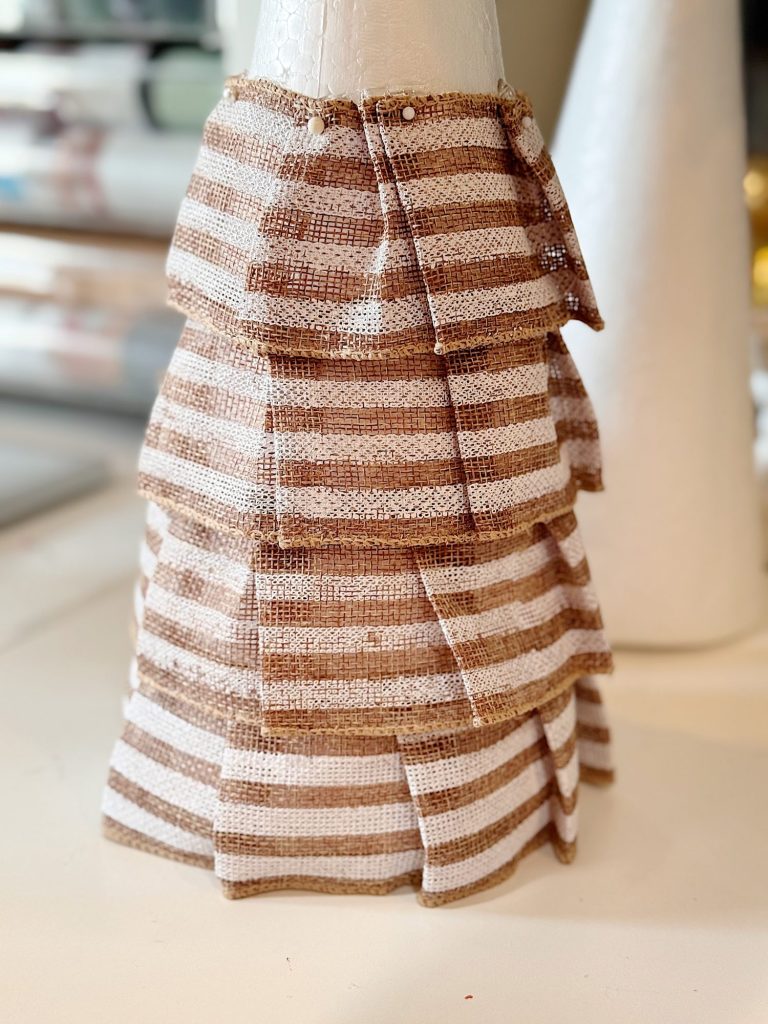
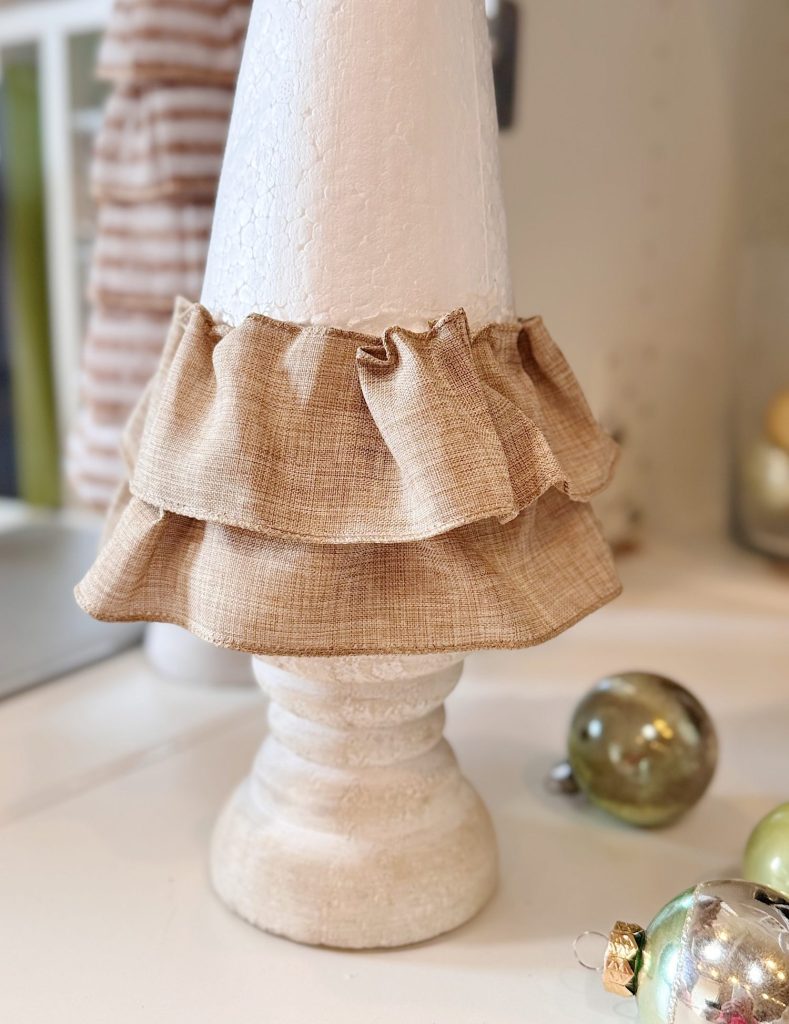
This step is the heart of the project. To create a ruffled effect, I pleated the burlap ribbon and then glued it around the cone. I began at the bottom and worked my way up, row by row.
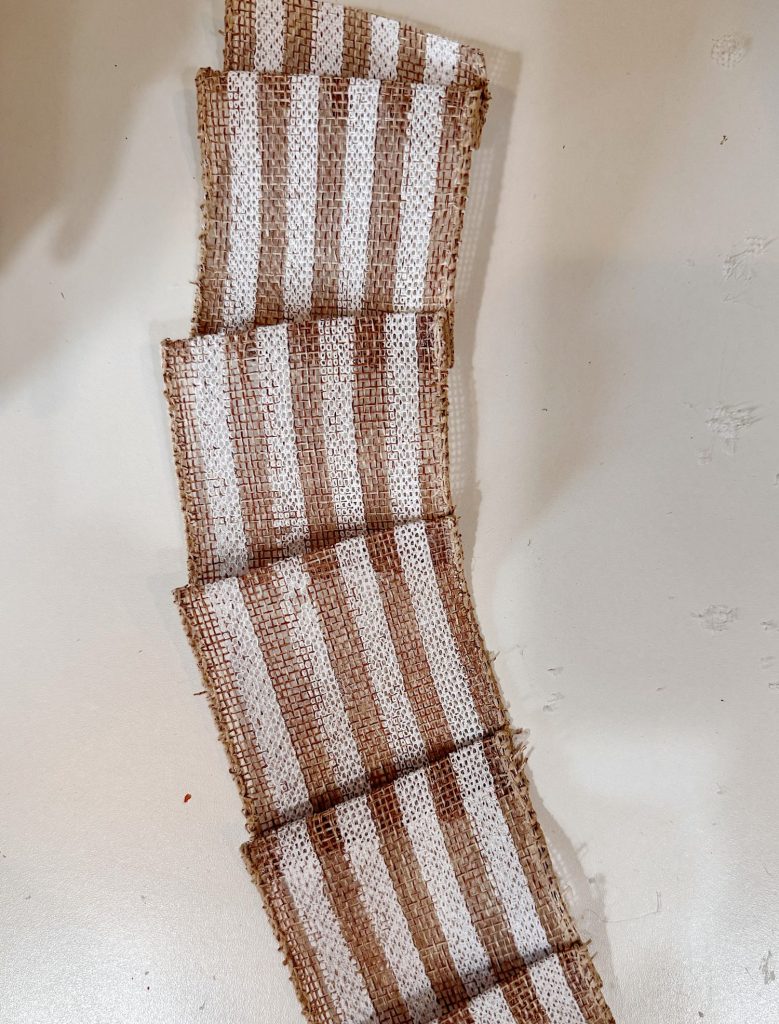
Using hot glue, I secured each pleat so that the ribbon flared slightly outward. This gave the trees volume and texture, almost like little layers of fabric leaves. The striped burlap created a beautiful pattern that looked both festive and rustic, while the plain burlap maintained a simple and elegant appearance.
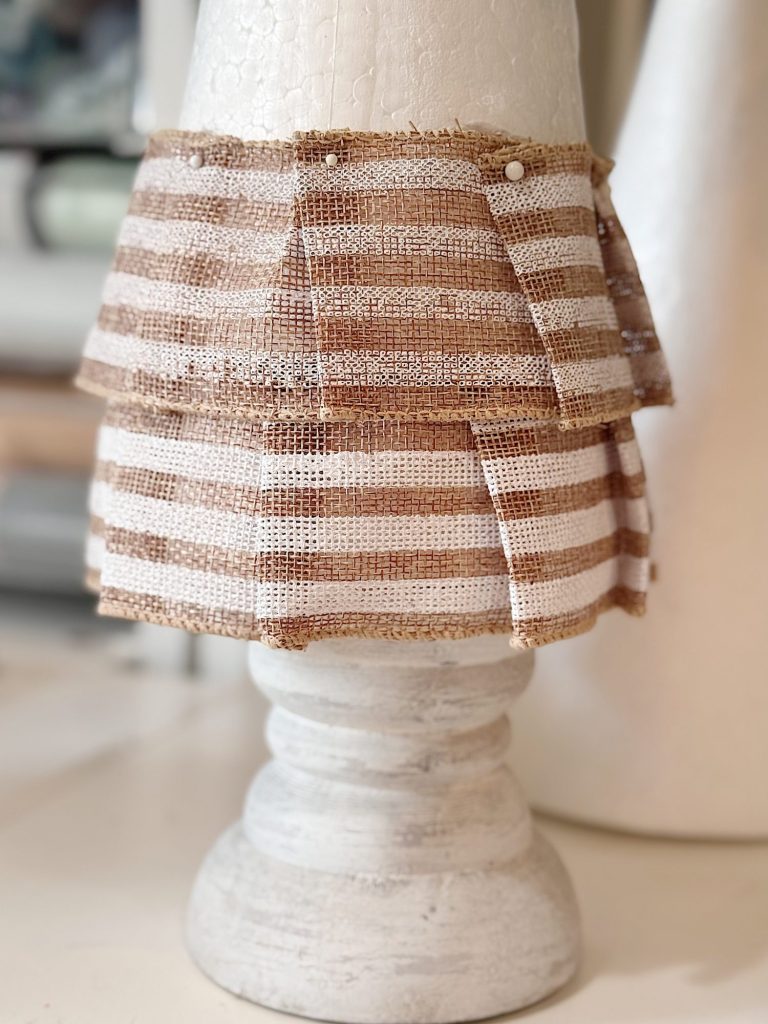
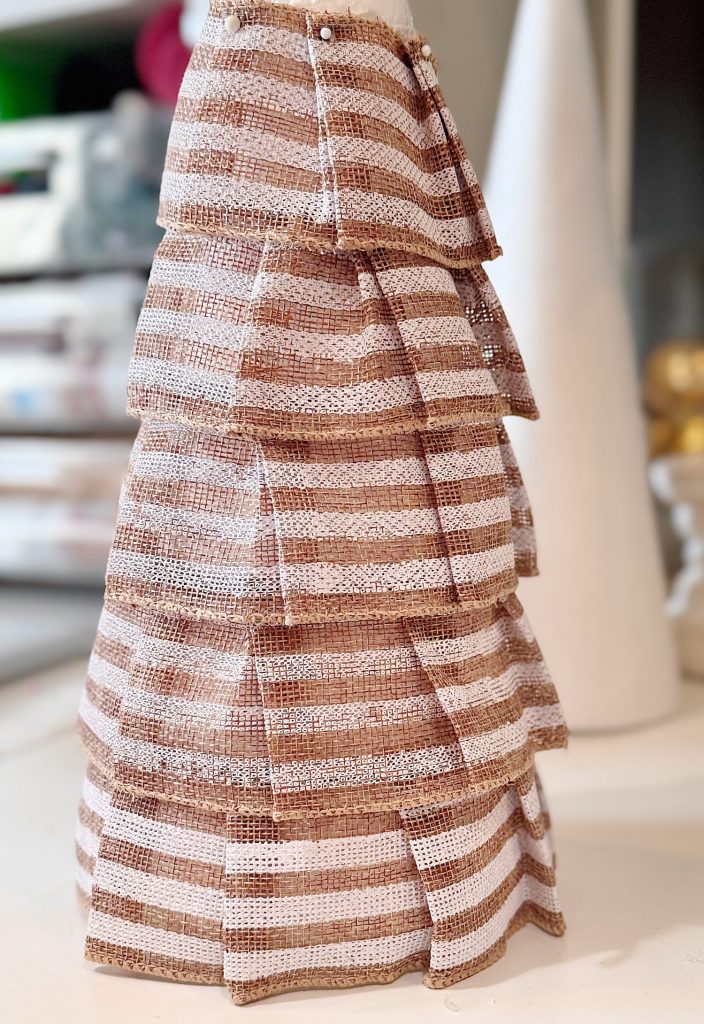
Step Two: Covering the Cone
I continued pleating and gluing until the entire cone was covered. Depending on the size of the cone, this can take anywhere from half a roll to a whole roll of burlap ribbon. Don’t worry too much about perfection, as slight variations in the pleats make the trees look more natural and handmade.
You can use straight pins to help hold the ribbon in place.
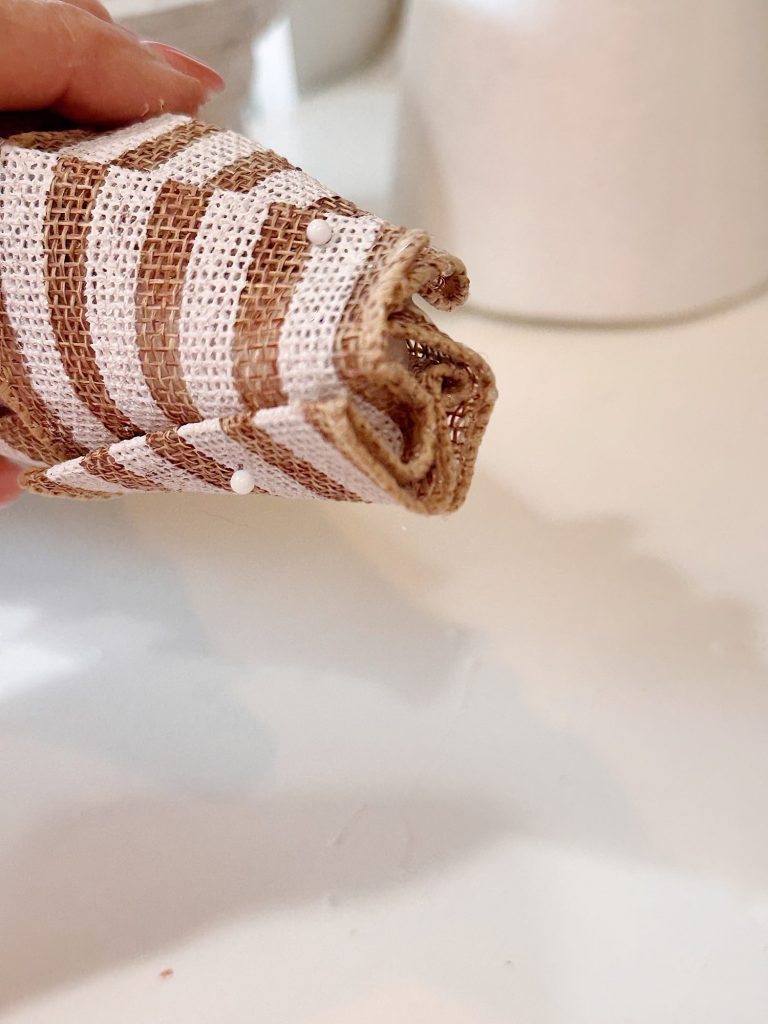
Once the top was finished, I trimmed the burlap neatly and secured the final piece with hot glue.
Step Three: Adding the Base
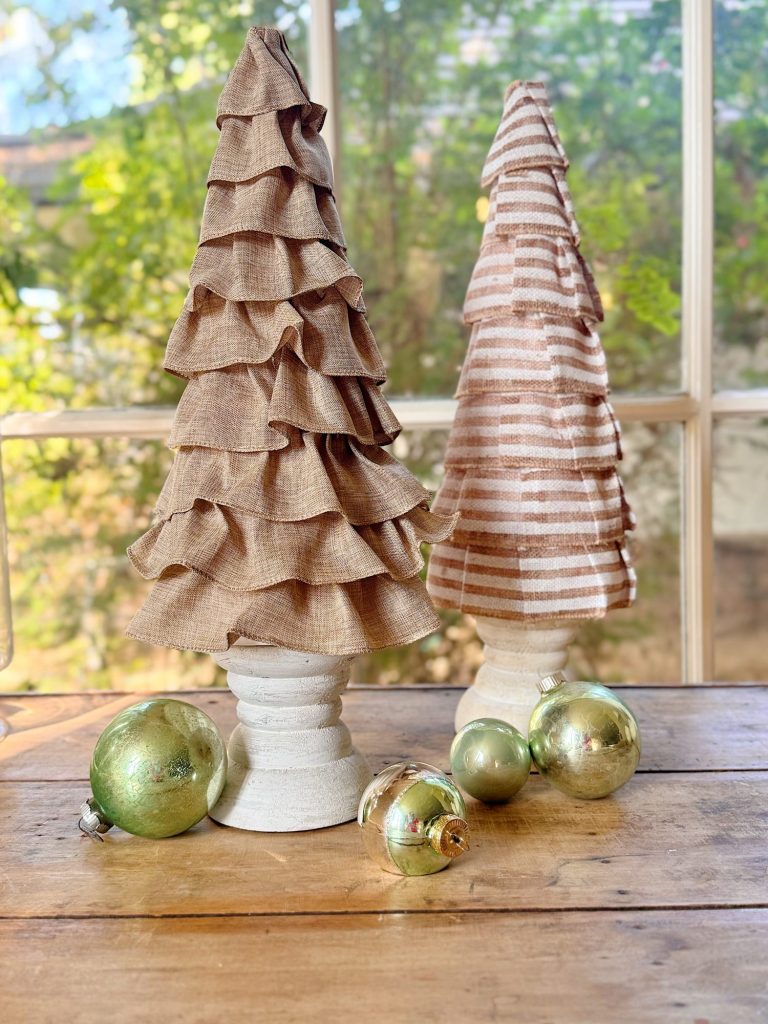
To give the trees a little height and presence, I decided to use wooden candle pillars as bases. These added instant charm and made the trees feel more like decorative objects than craft projects.
I attached the styrofoam cones to the candle pillars temporarily so that I could remove them later and reuse the candle holders. A little sticky putty or removable adhesive works perfectly for this.
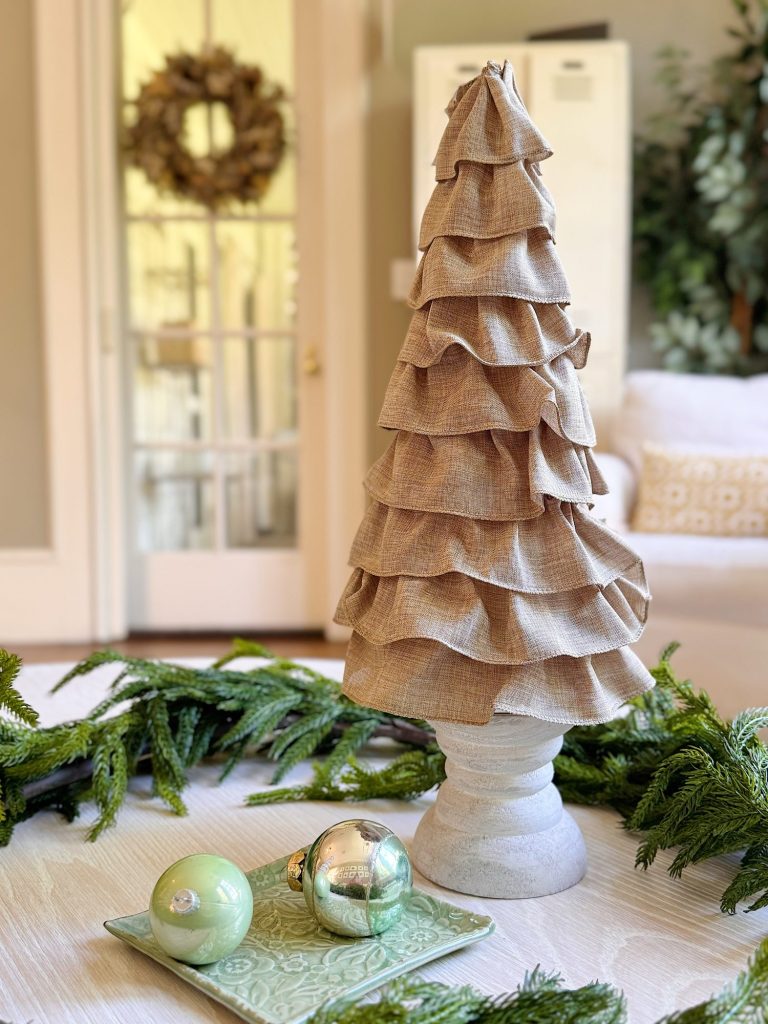
Ruffled Solid Burlap Tree
Step 1: Prepare Your Cone
Start with a white styrofoam craft cone. Place it on a flat surface or temporarily attach it to a wooden candle pillar for extra stability.
Step 2: Create Burlap Ruffles
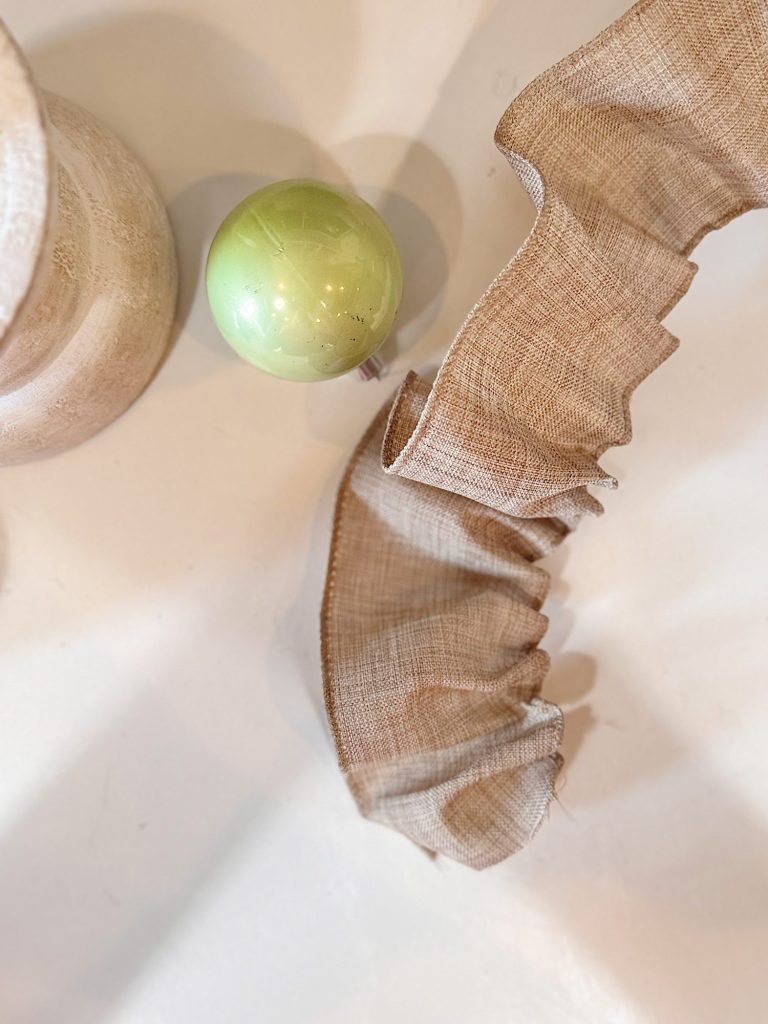
Using your fingers, bunch and pleat the ribbon to create soft ruffles. The wire in the edges makes this super easy to shape and gives the ribbon body.
Step 3: Glue the First Row
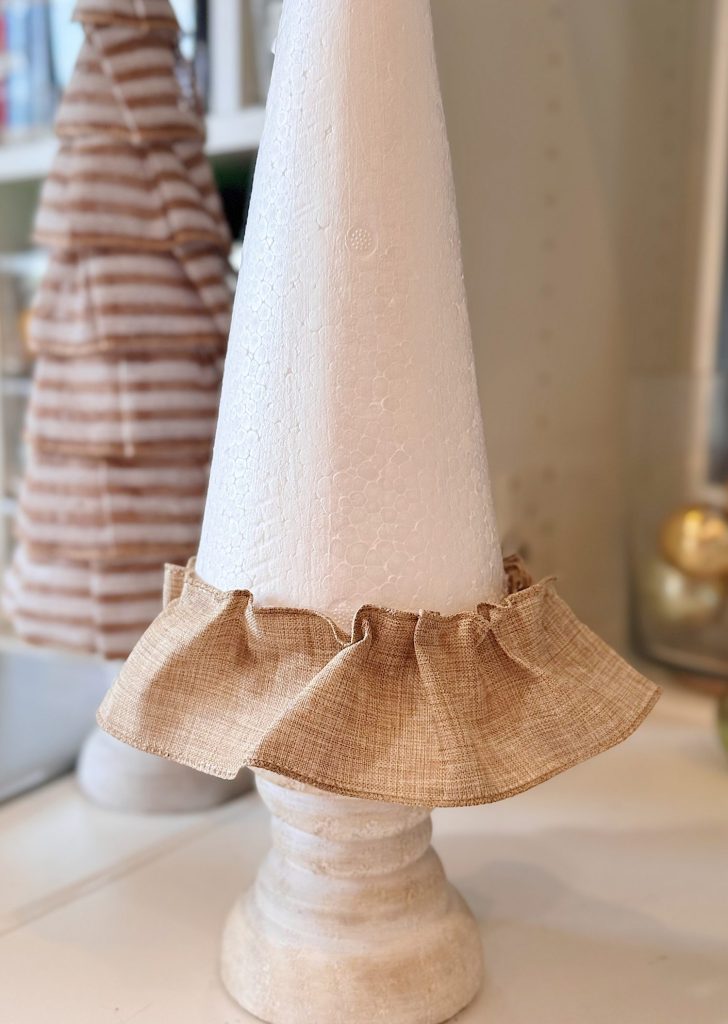
Starting at the bottom of the cone, hot glue your bunched ribbon around the base in a full circle. This first row will set the foundation for the layers above, so be sure it hangs slightly past the bottom edge of the cone to cover it completely.
Step 4: Continue Adding Rows
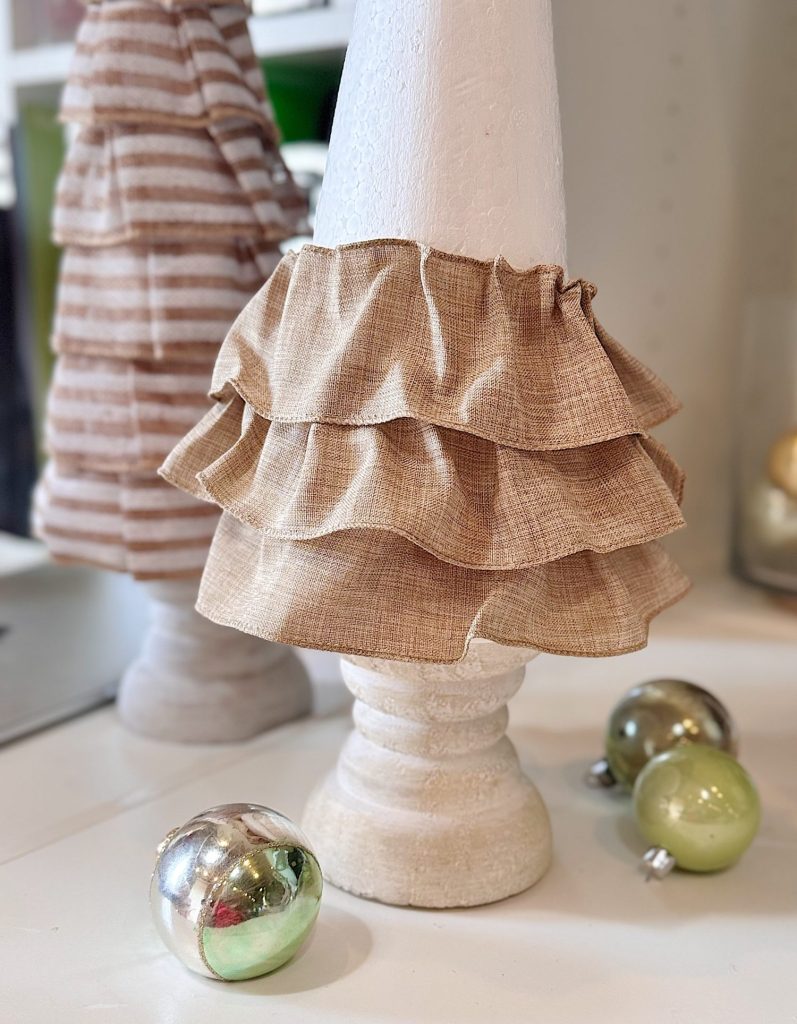
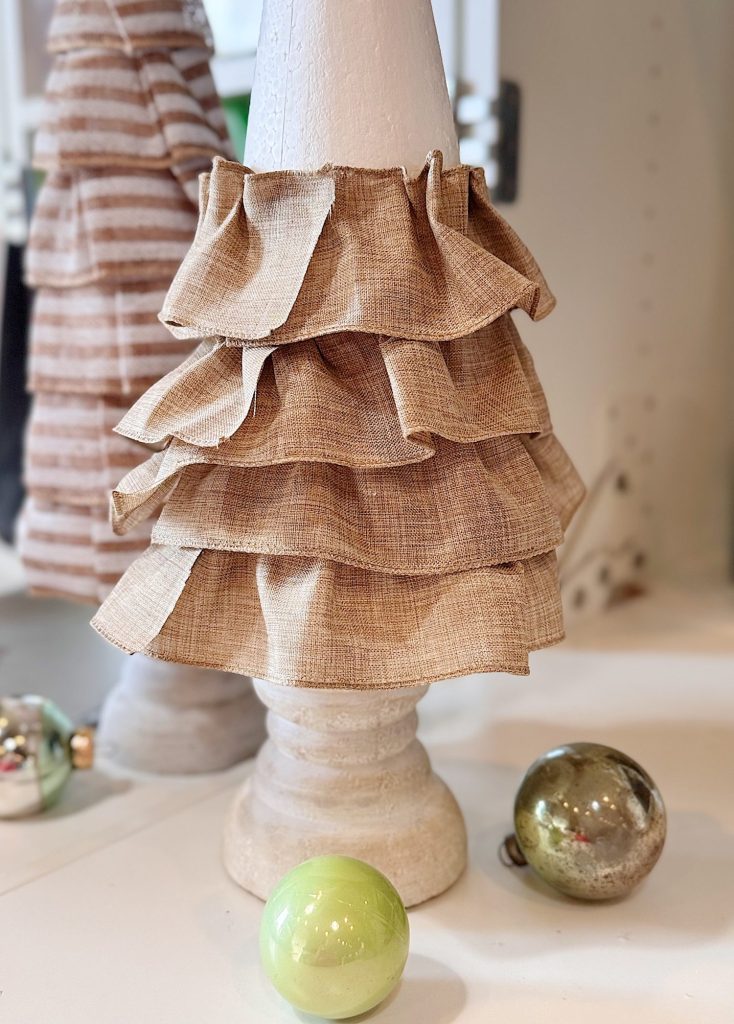
Work your way up the cone in rows. Pleat and gather the ribbon as you go, then hot glue each ruffled row directly above the last, overlapping it slightly so that no white styrofoam shows through.
Repeat this process until you reach the very top of the cone.
Step 5: Finish the Top
For the top, cut a small piece of ribbon, gather it into a little ruffle, and glue it carefully over the tip of the cone to hide any exposed styrofoam. Shape it with your fingers so it blends with the rows below.
Step 6: Add the Base
For extra height and charm, temporarily attach the cone to a wooden candle pillar. This gives the tree presence on a table or mantel, and because the attachment is removable, you can reuse the candle pillar later.
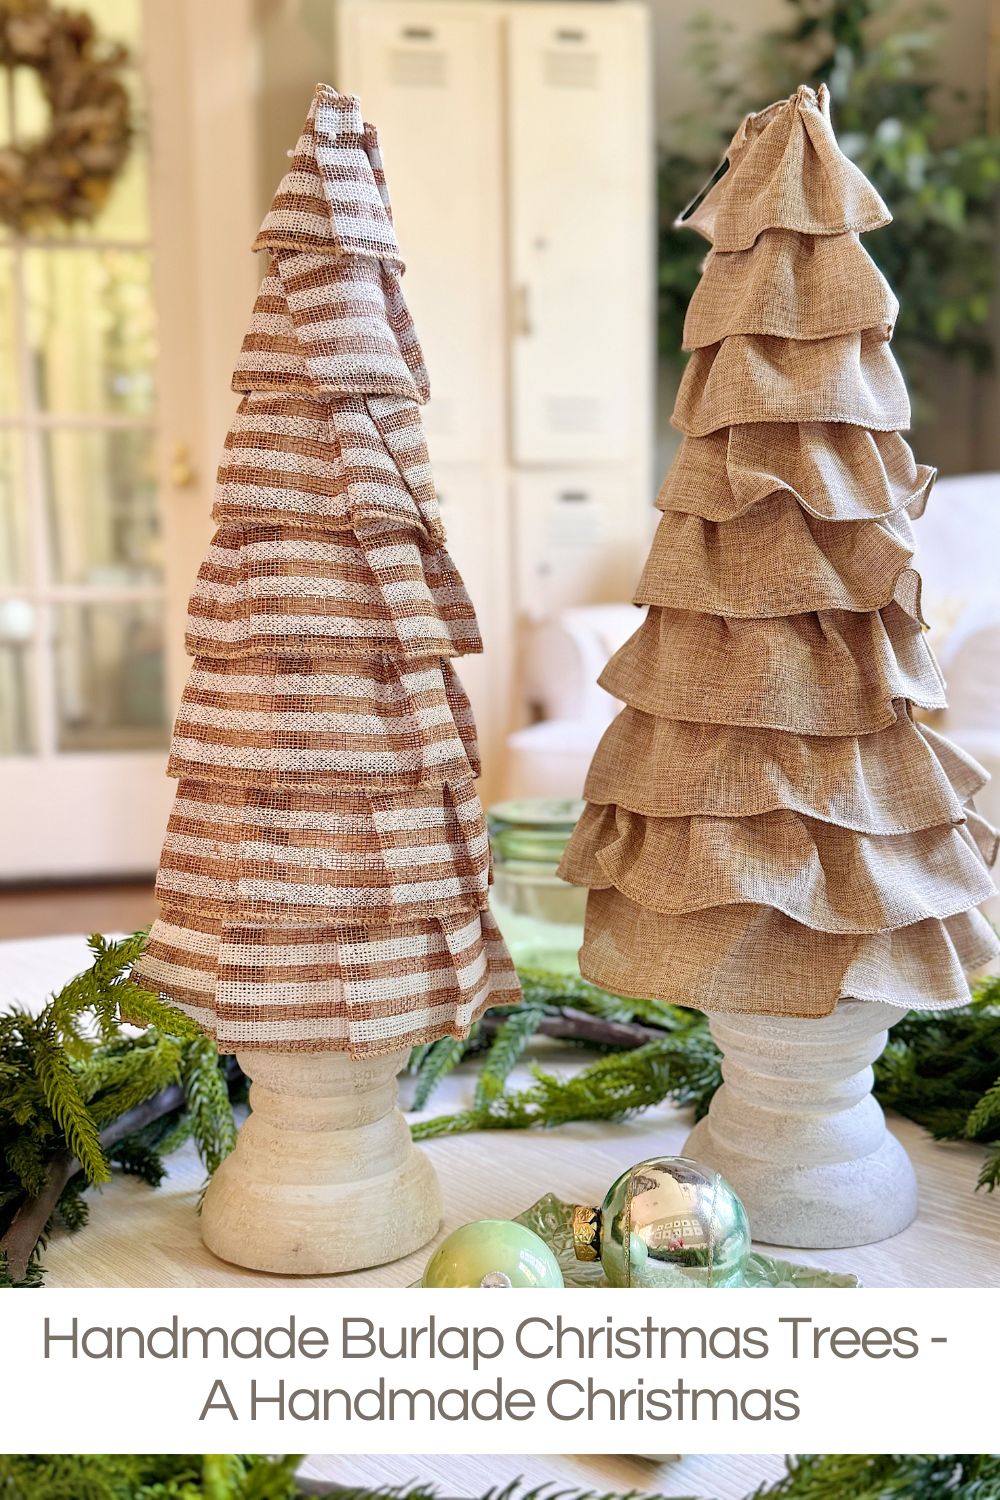
Your burlap tree is ready! Style it on your mantel, coffee table, dining table centerpiece, or entryway and group several together in different sizes for a cozy, layered holiday look.
✨ Tip: Mix and match plain burlap with striped or patterned versions to add interest when displaying multiple trees.
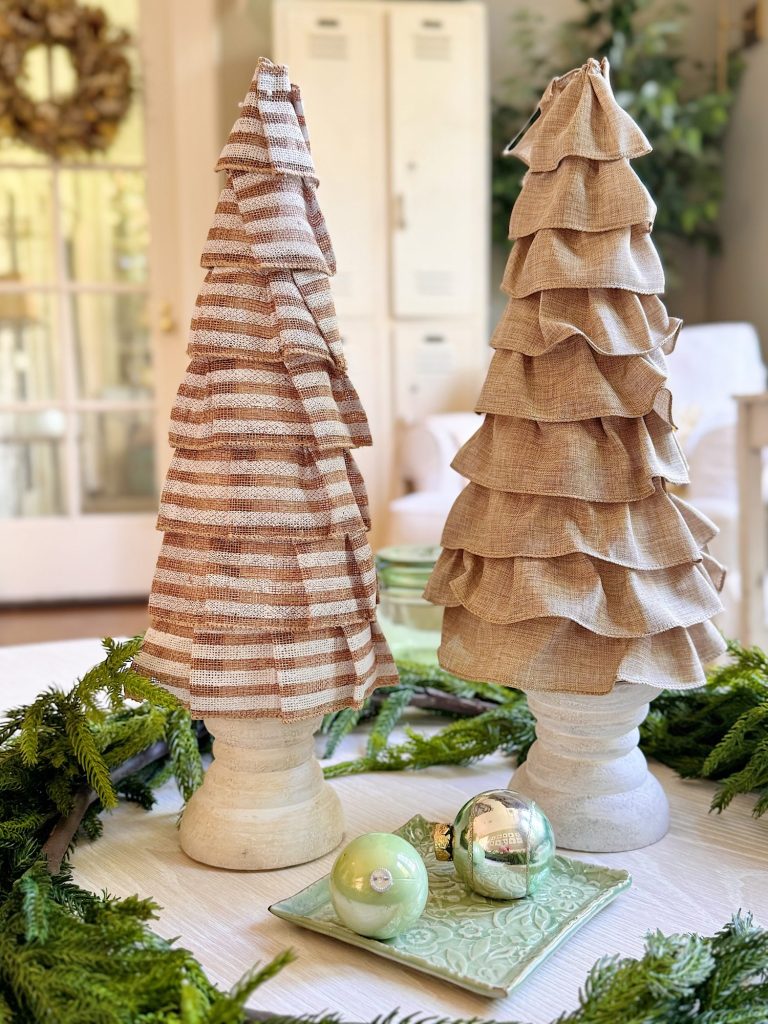
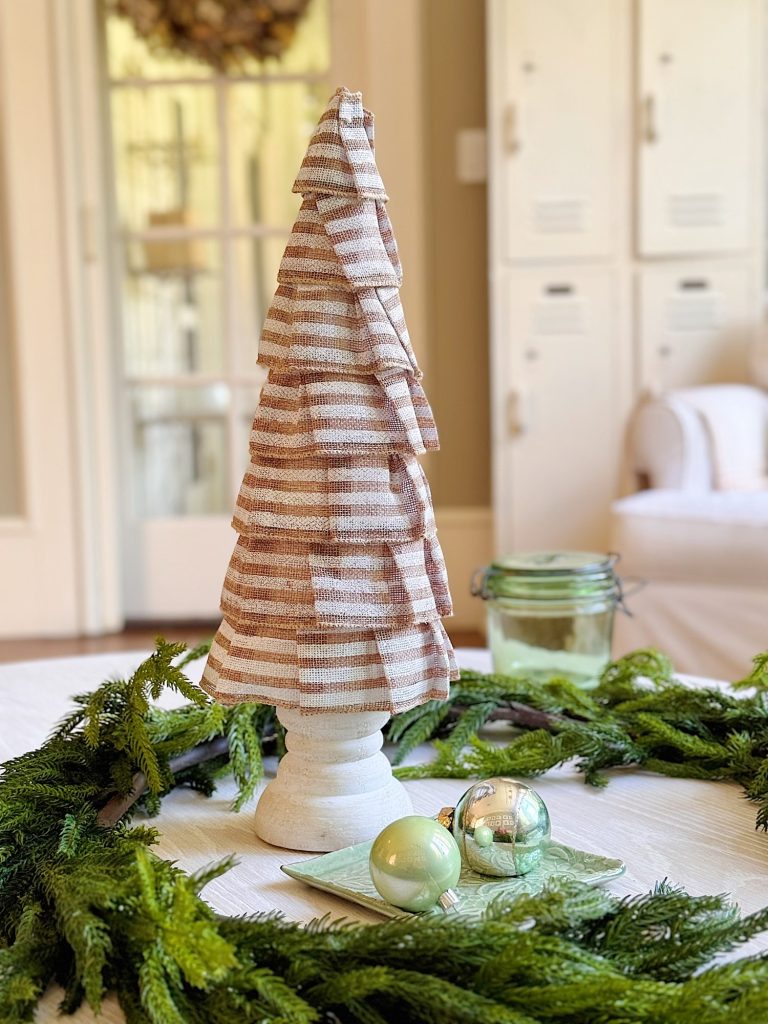
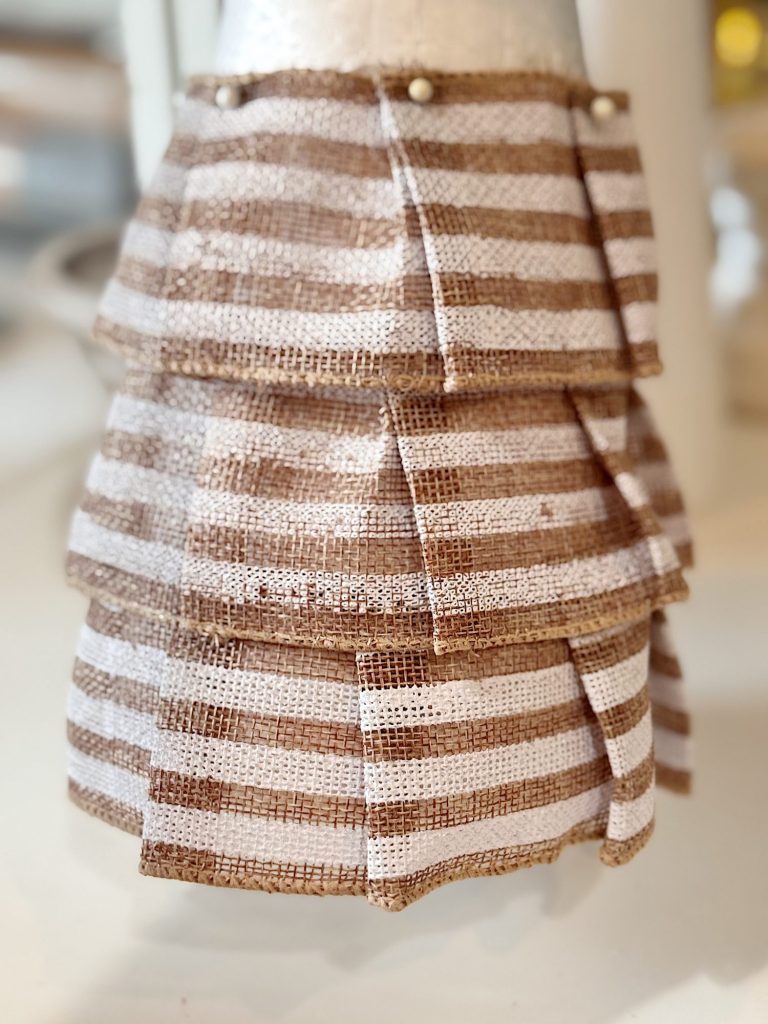
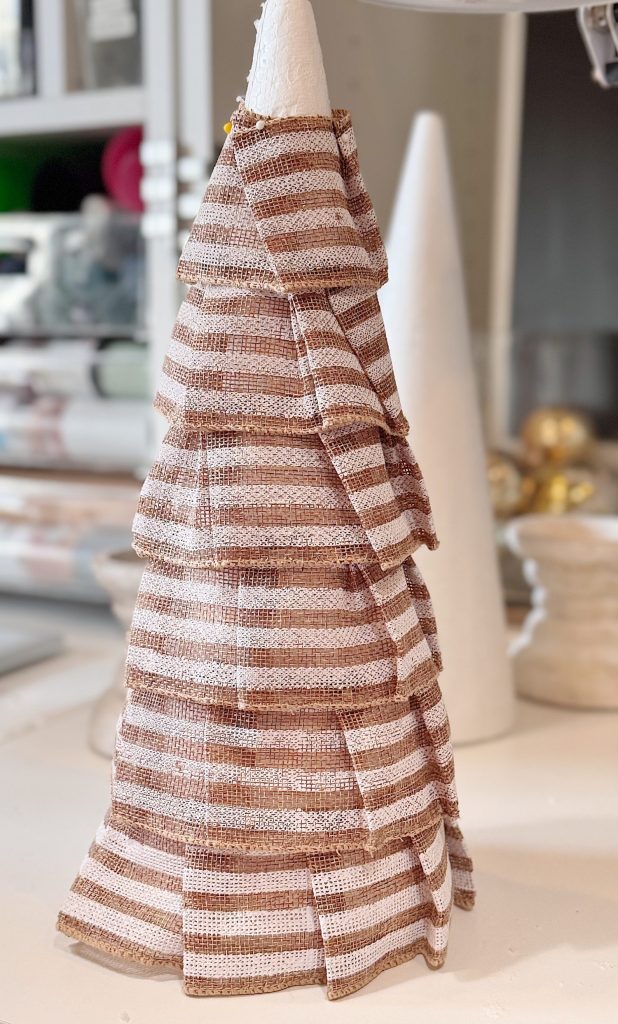
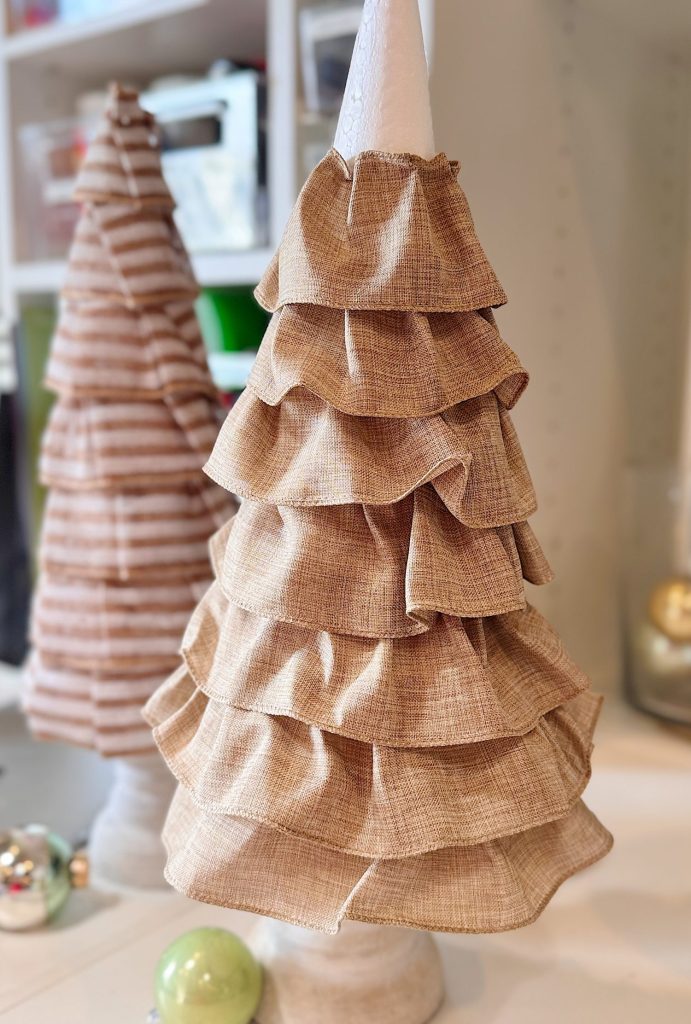
The Finished Look
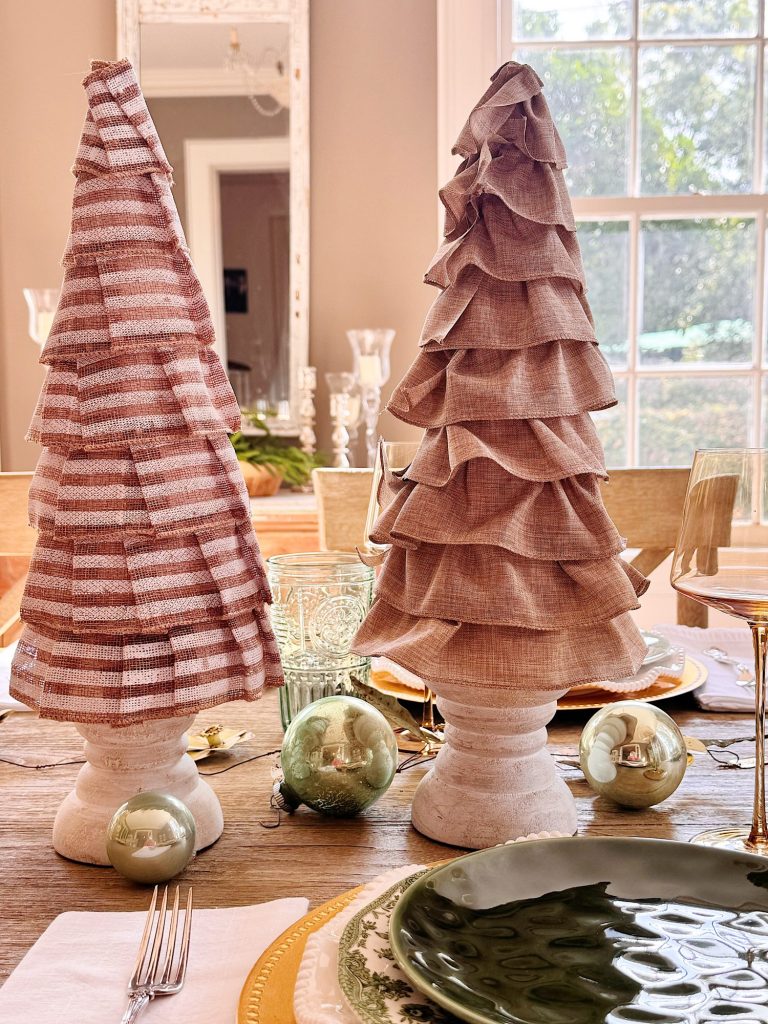
When I stepped back to look at my finished burlap trees, I was absolutely delighted with the result. They’re rustic, textured, and incredibly versatile. The striped burlap adds a fun twist, while the plain burlap maintains a classic look. Together, they create a warm, handmade vibe that feels perfect for Christmas.
Styling Ideas for Burlap Trees
These trees are incredibly versatile when it comes to decorating. Here are some of my favorite ways to use them around the house:
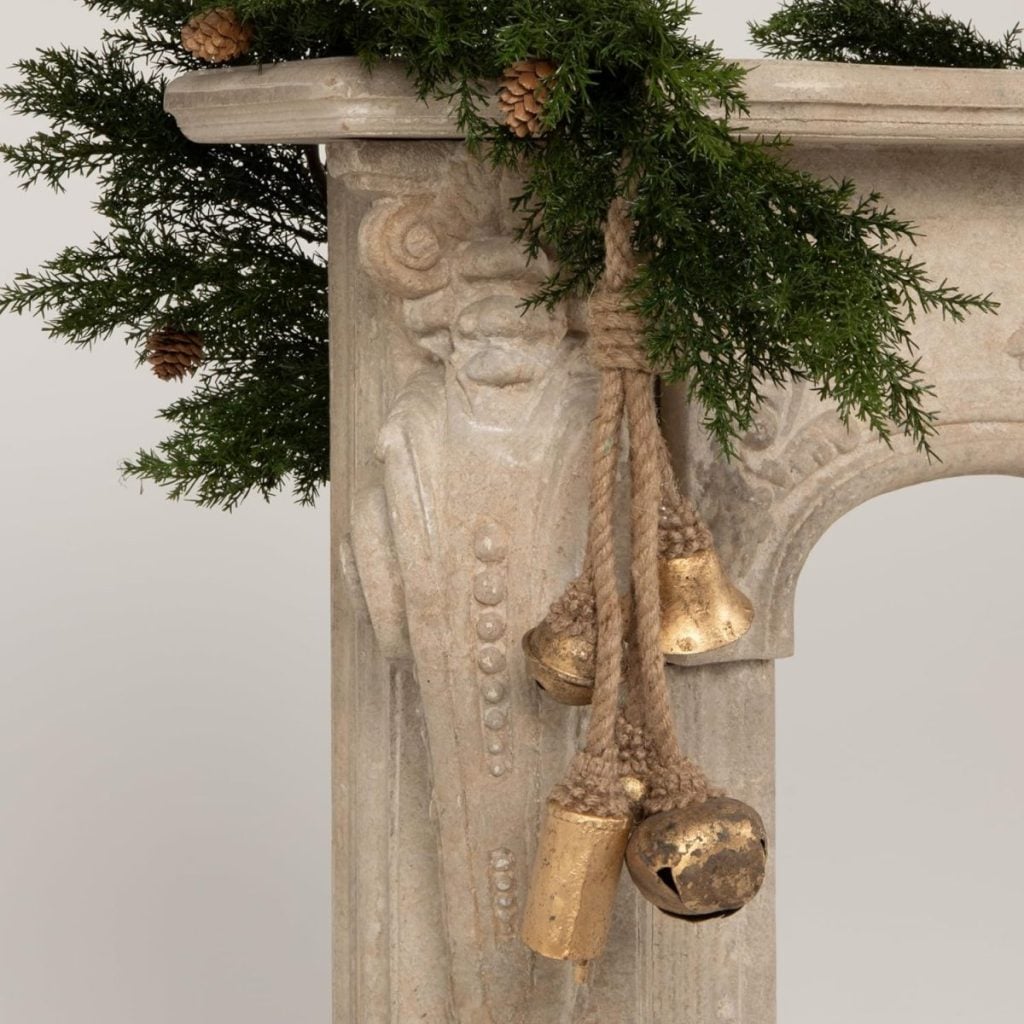
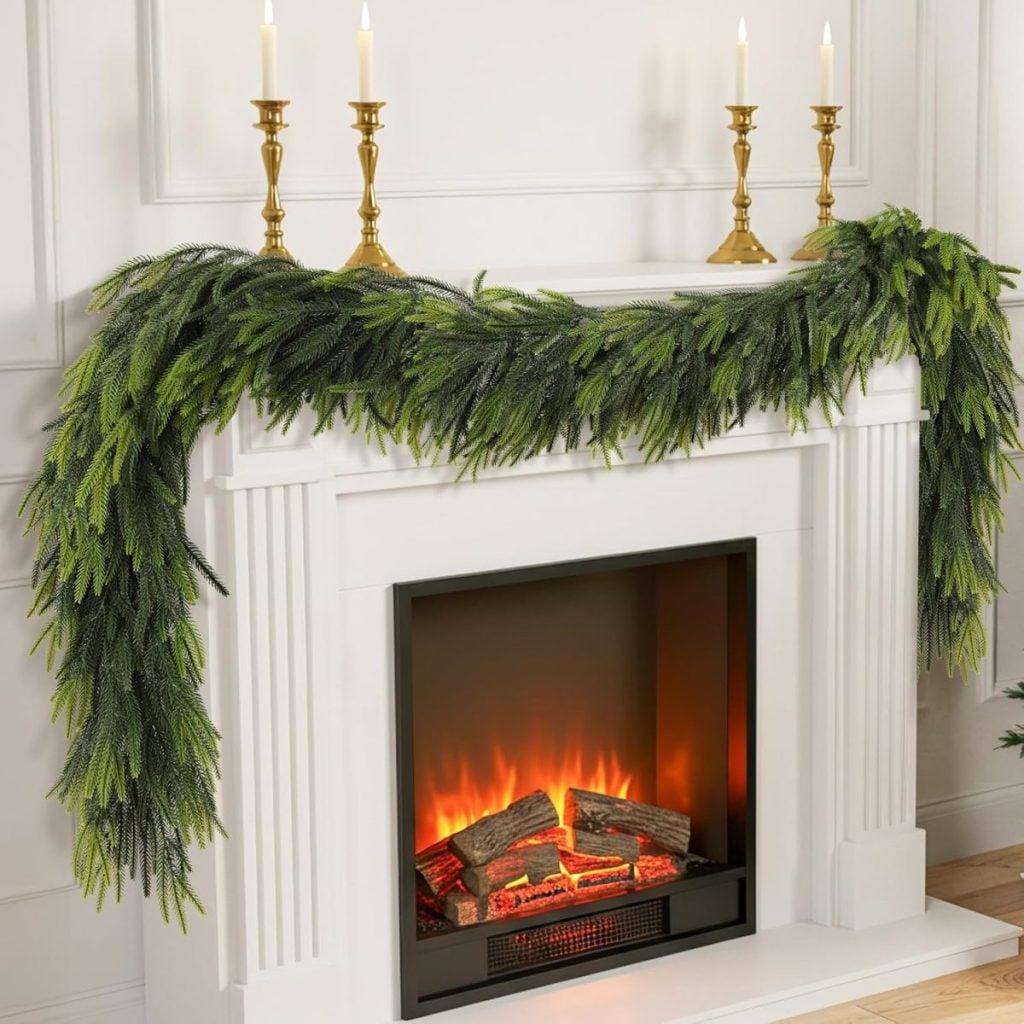
- On the mantel: Pair with greenery garlands and candles for a cozy, rustic look.
- Dining table centerpiece: Group three or more trees together on a tray with fairy lights for a magical tablescape.
- Kitchen counters: Add a touch of festive cheer to your kitchen by placing a tree near your baking station.
- Bookshelves: Nestle a tree between books and small décor items for a seasonal touch.
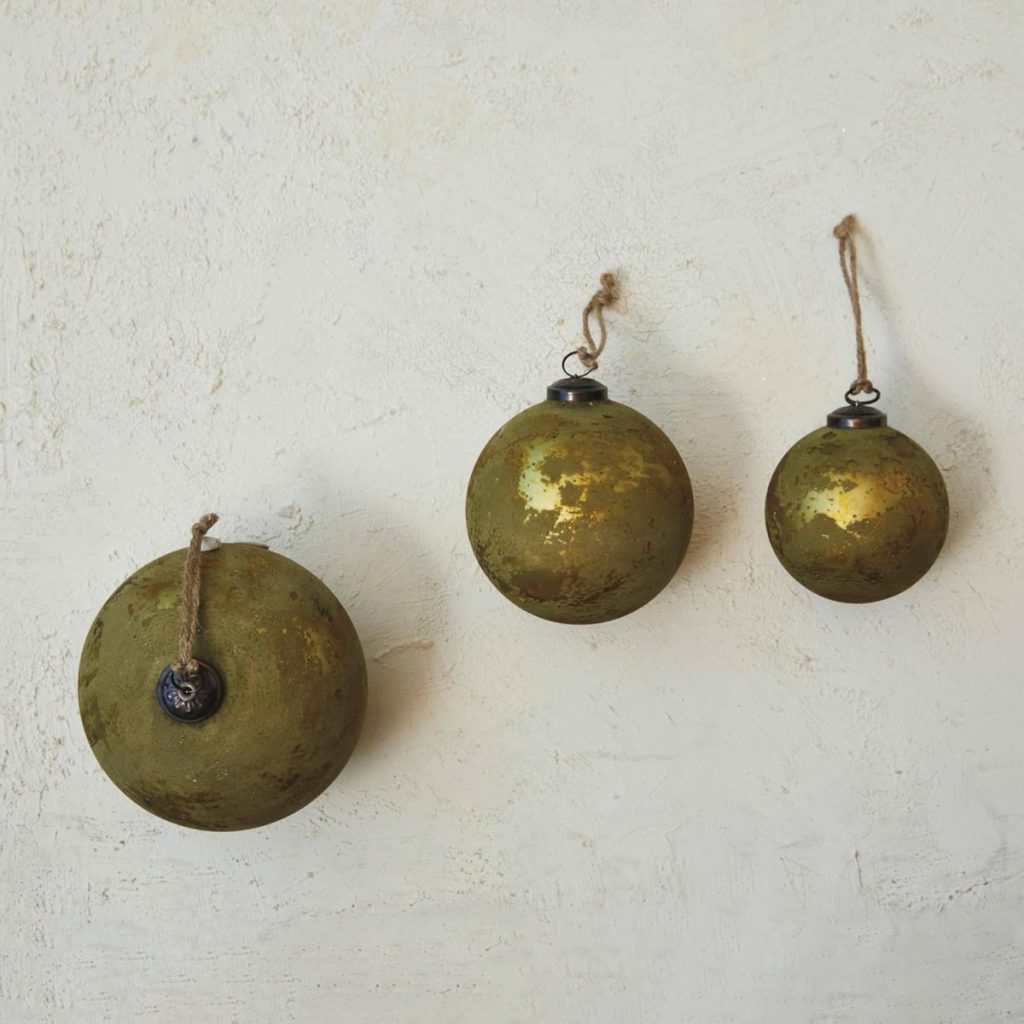
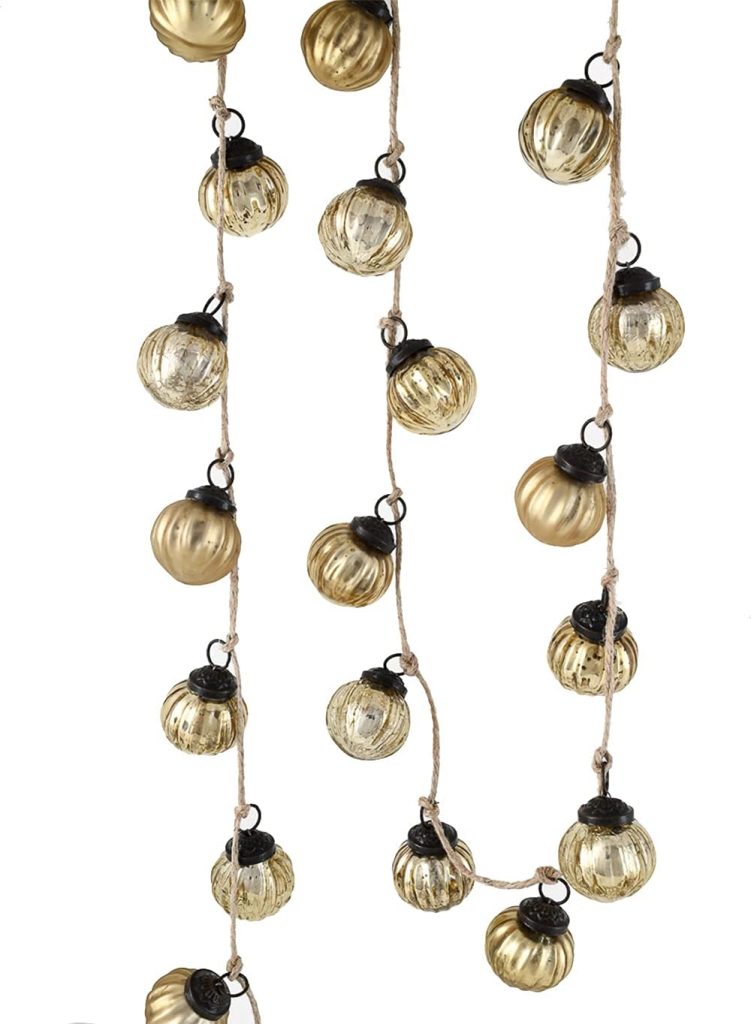
- Entryway table: Welcome guests with a grouping of trees surrounded by pinecones and ornaments.

Because they’re lightweight, you can easily move them from room to room as you update your holiday décor throughout the season.
Tips for Success
- Choose good-quality burlap ribbon: Look for ribbon with finished edges to prevent fraying.
- Mix sizes and textures: Using different cone sizes and alternating burlap patterns creates a more dynamic display.
- Hot glue carefully: Burlap has holes, so be mindful of hot glue seeping through. Work slowly and protect your fingers!
- Reuse what you can: Attaching the trees temporarily to candle pillars means you can repurpose them after Christmas.
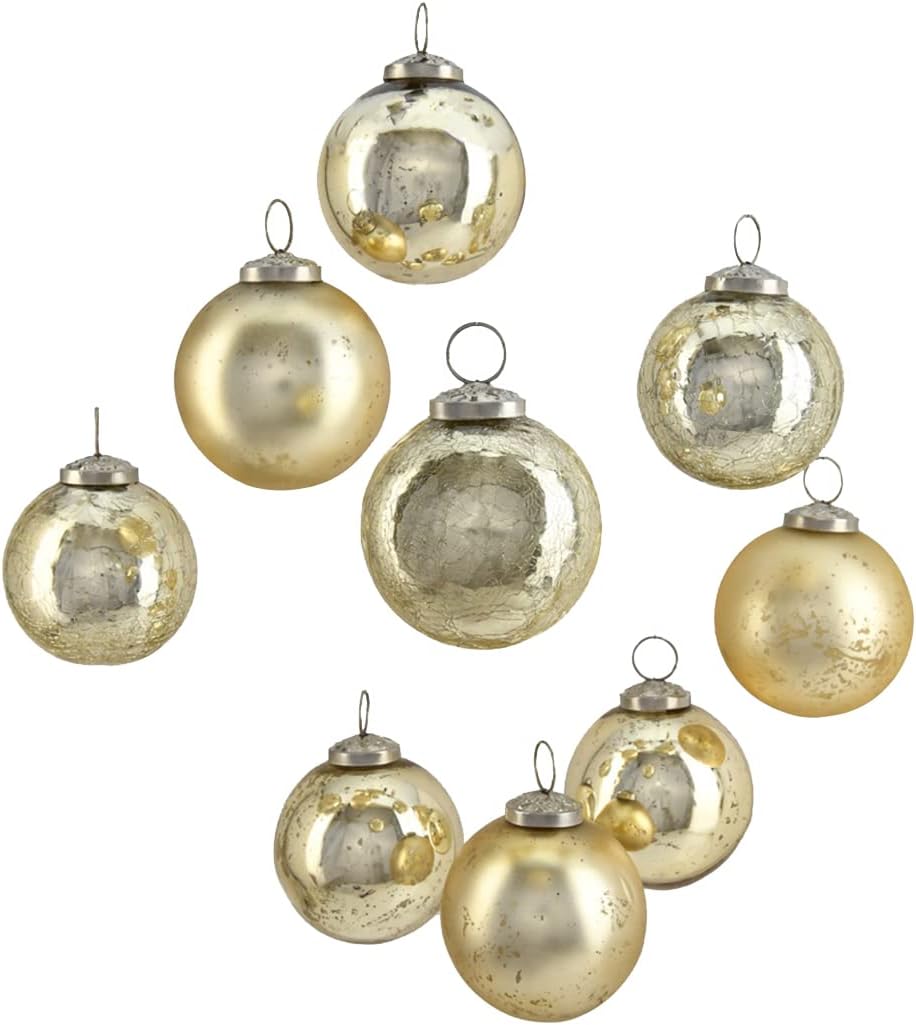
- Embellish if you wish: Add small ornaments, bells, or a dusting of faux snow for a more festive touch.
Why I Love This Project
There’s something so satisfying about creating holiday décor with your own hands. These burlap trees cost only a fraction of what store-bought tabletop trees would, but they look just as polished, if not better. And because I made them myself, I can tweak the design every year with new ribbon or different bases.
Plus, this project reminds me that handmade doesn’t have to mean complicated. Sometimes, the simplest supplies, such as ribbon, cones, and hot glue, can create the most beautiful results.
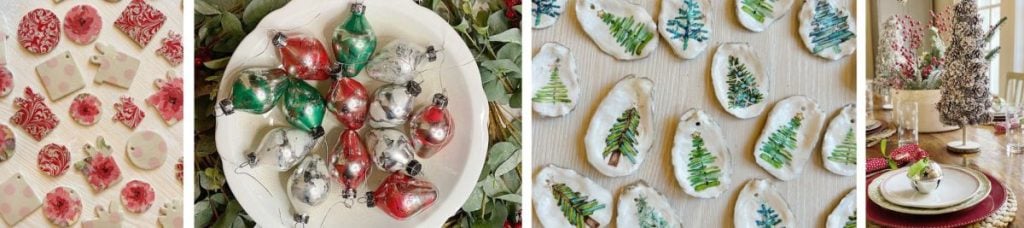
Sixteen Weeks of A Handmade Christmas

I’m thrilled to add these burlap trees to my series, A Handmade Christmas. Each project in this series celebrates the beauty of crafting during the holidays, from ornaments to centerpieces to unique décor pieces, such as these trees.
The joy of this season isn’t just about decorating our homes—it’s about the process of creating, sharing, and making memories. These burlap trees are a tangible reminder that sometimes the best holiday décor isn’t bought, it’s made.
Final Thoughts
If you’re looking for a festive project to try this holiday season, I can’t recommend these handmade burlap Christmas trees enough. They’re quick, inexpensive, and endlessly customizable. Whether you make just one or create a whole forest, they’re sure to add rustic charm to your home.
So grab a roll of burlap ribbon, fire up the hot glue gun, and start pleating. You’ll be amazed at how quickly these trees come together—and how much joy they bring to your holiday décor.
If you enjoy my blog, you can sign up to receive my updates here.
.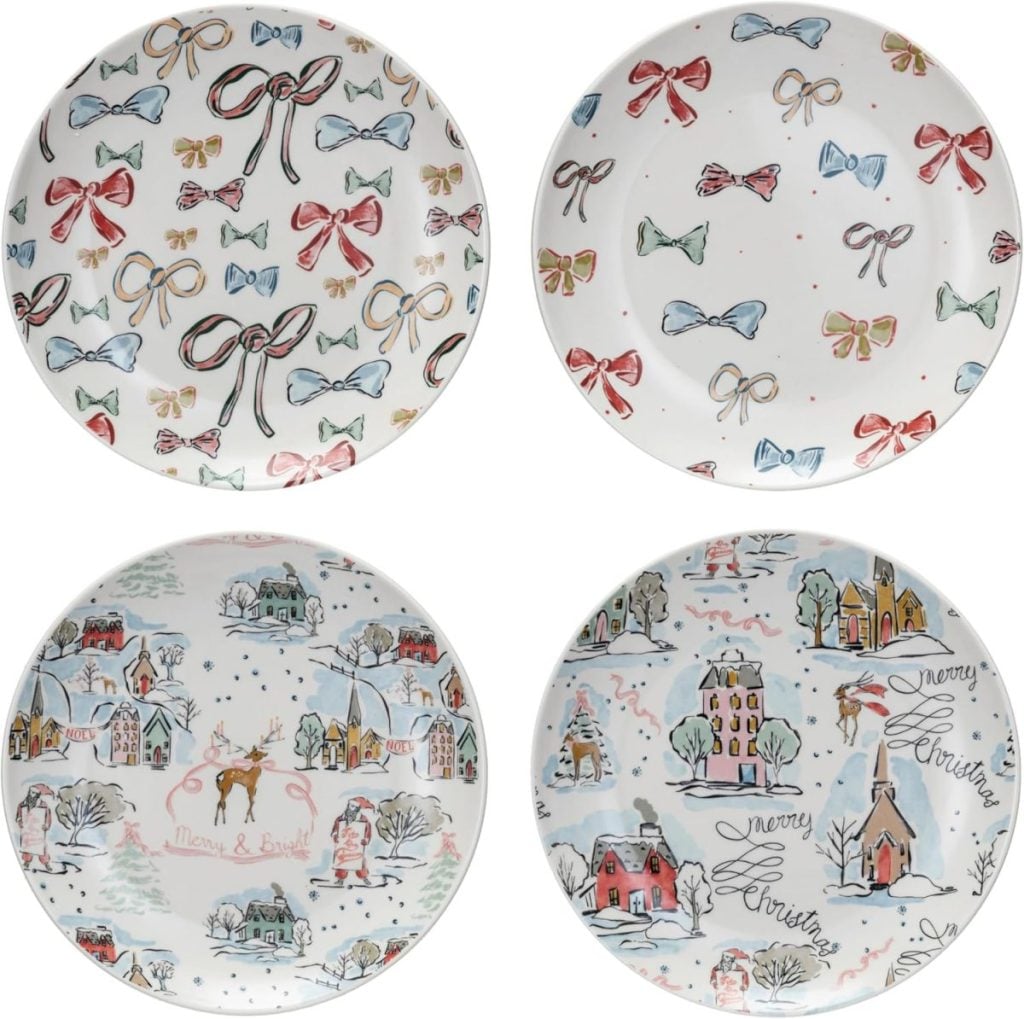
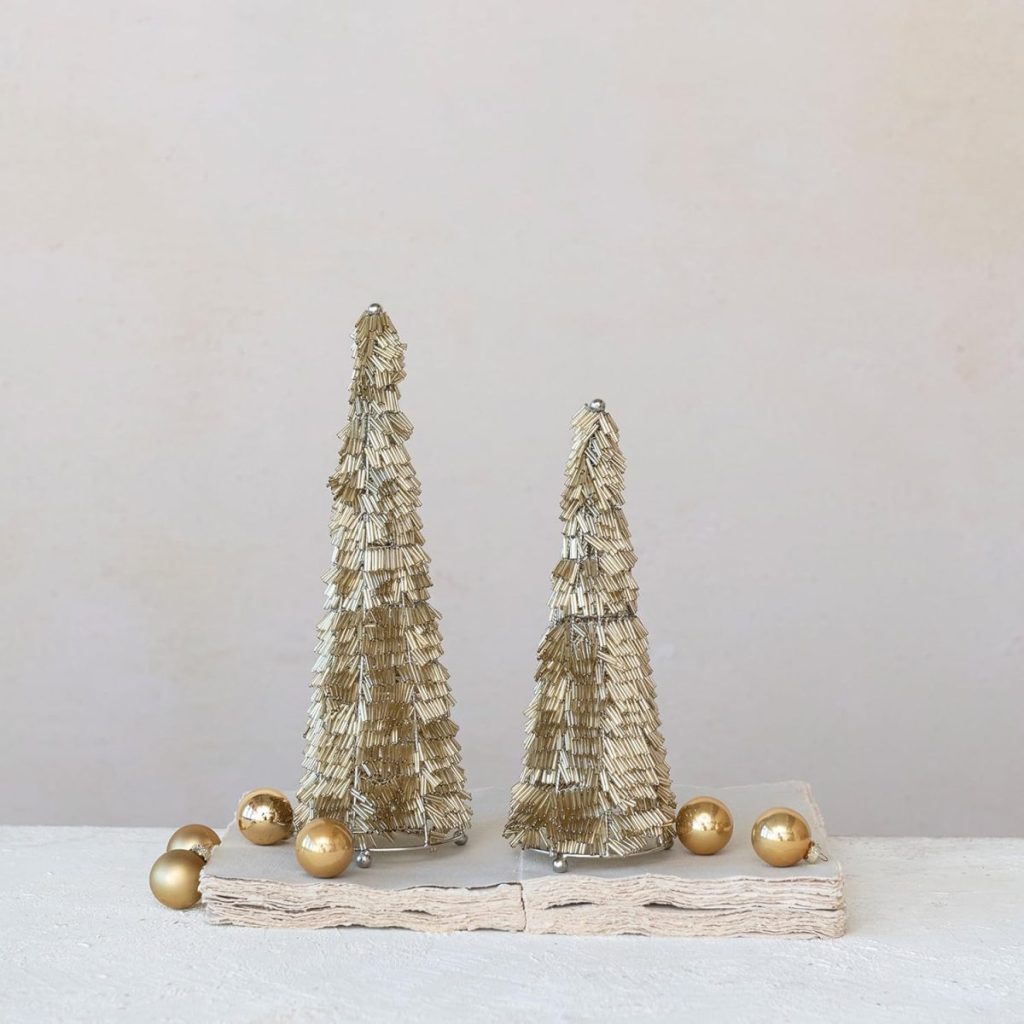
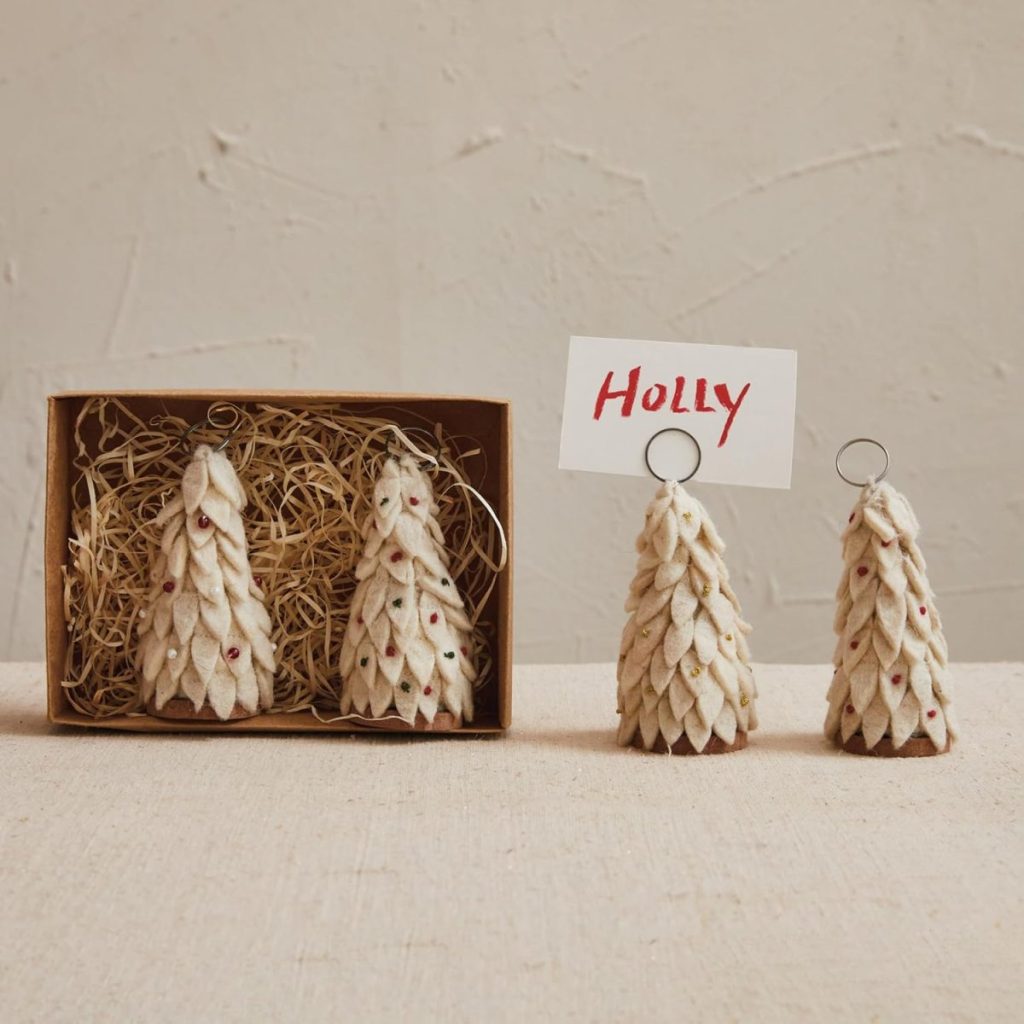
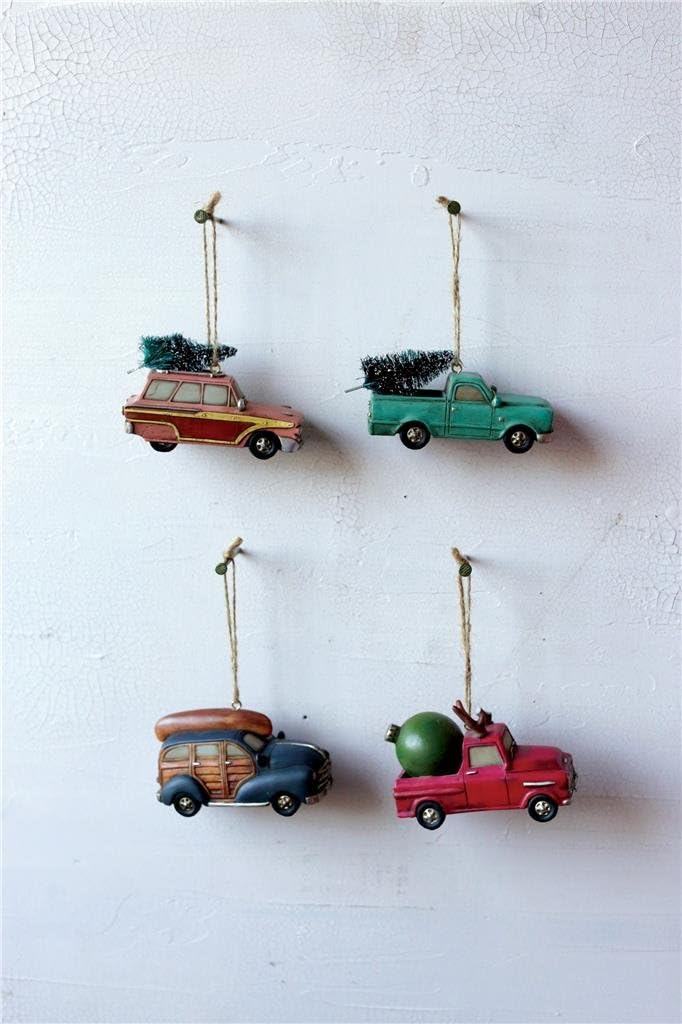
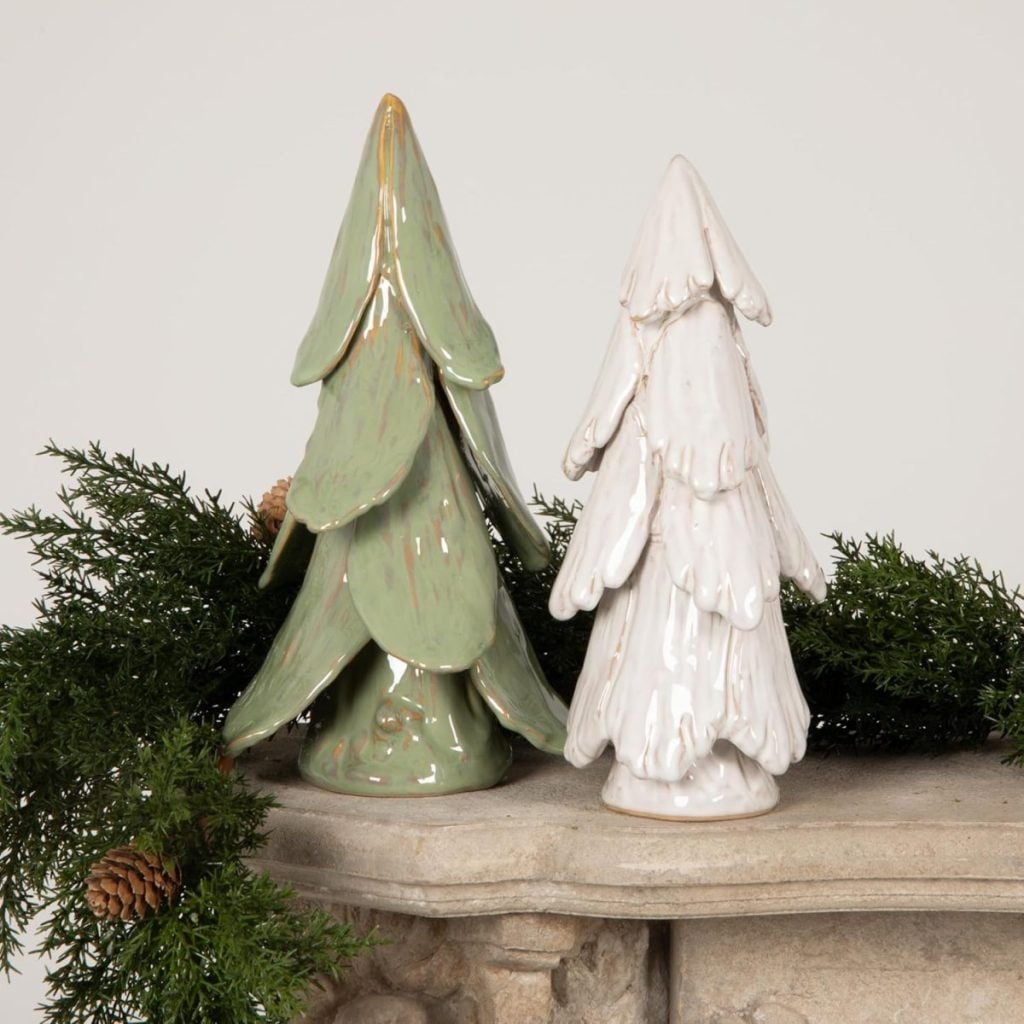
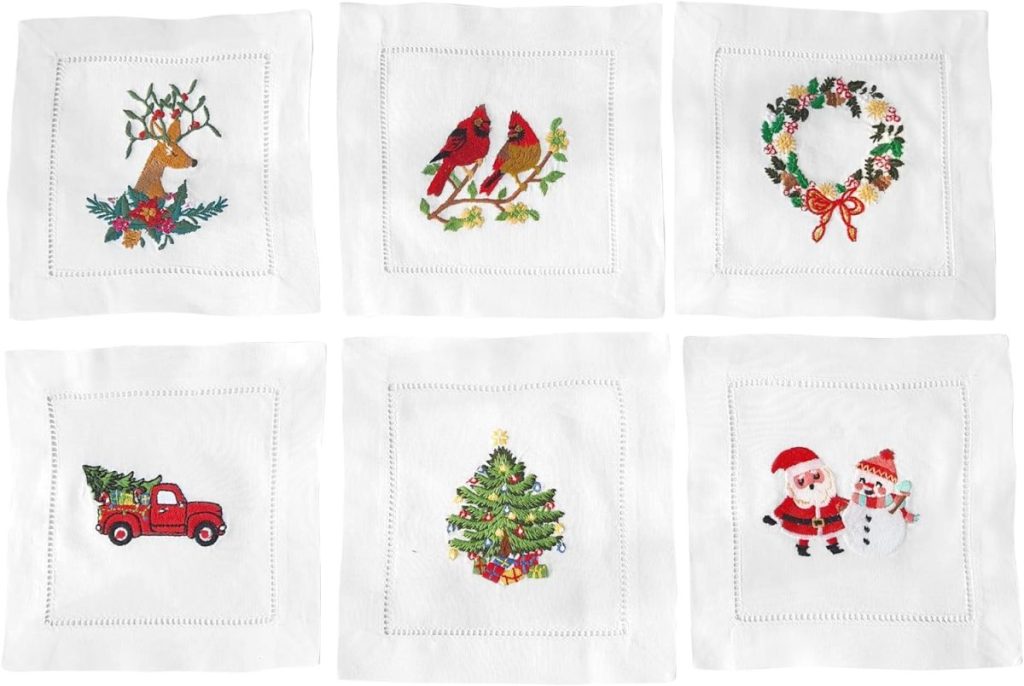
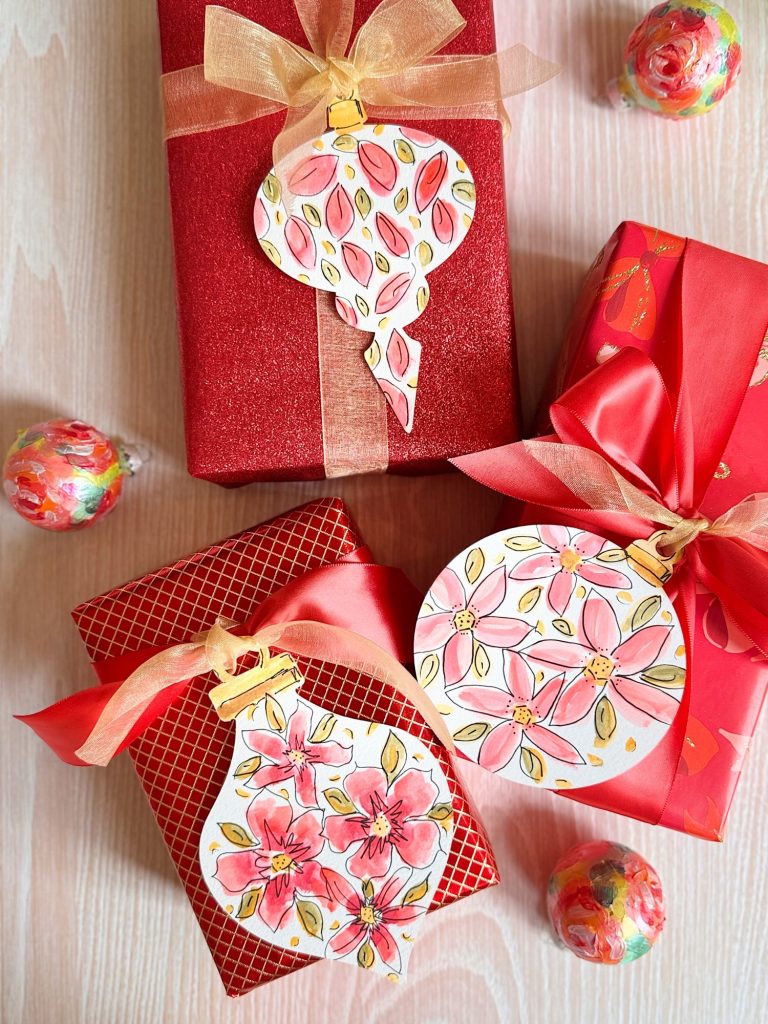
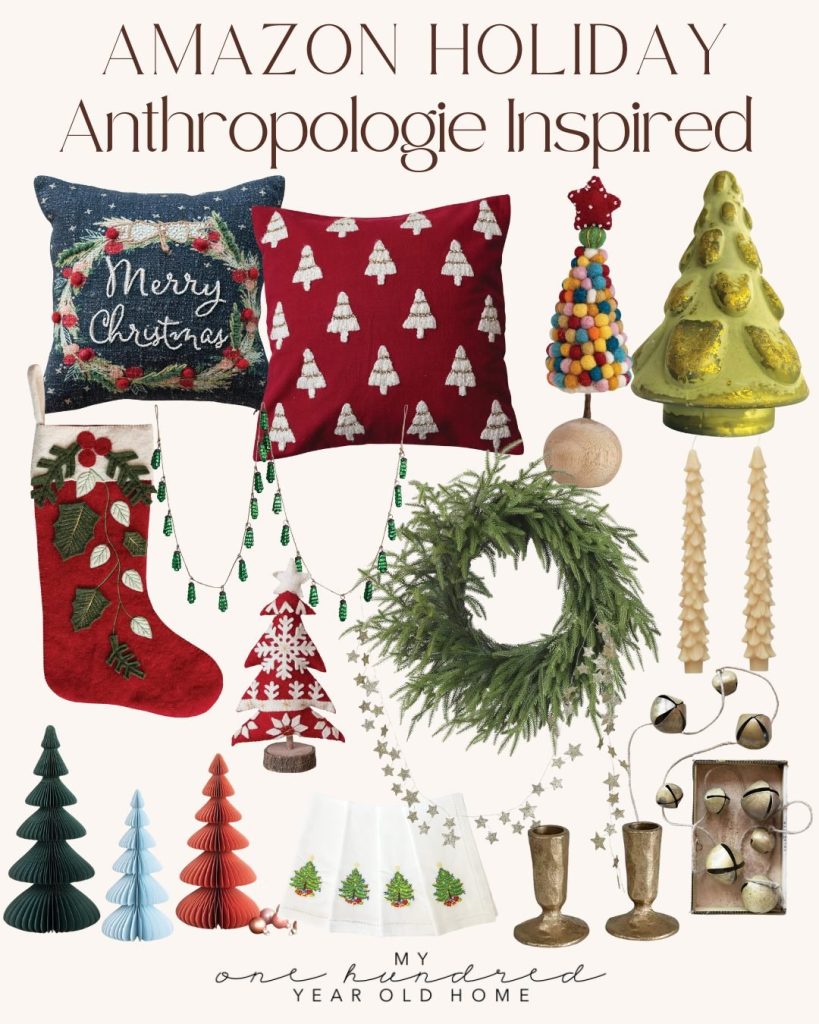
Anthropologie Inspired Christmas Decor
Latest Posts
-
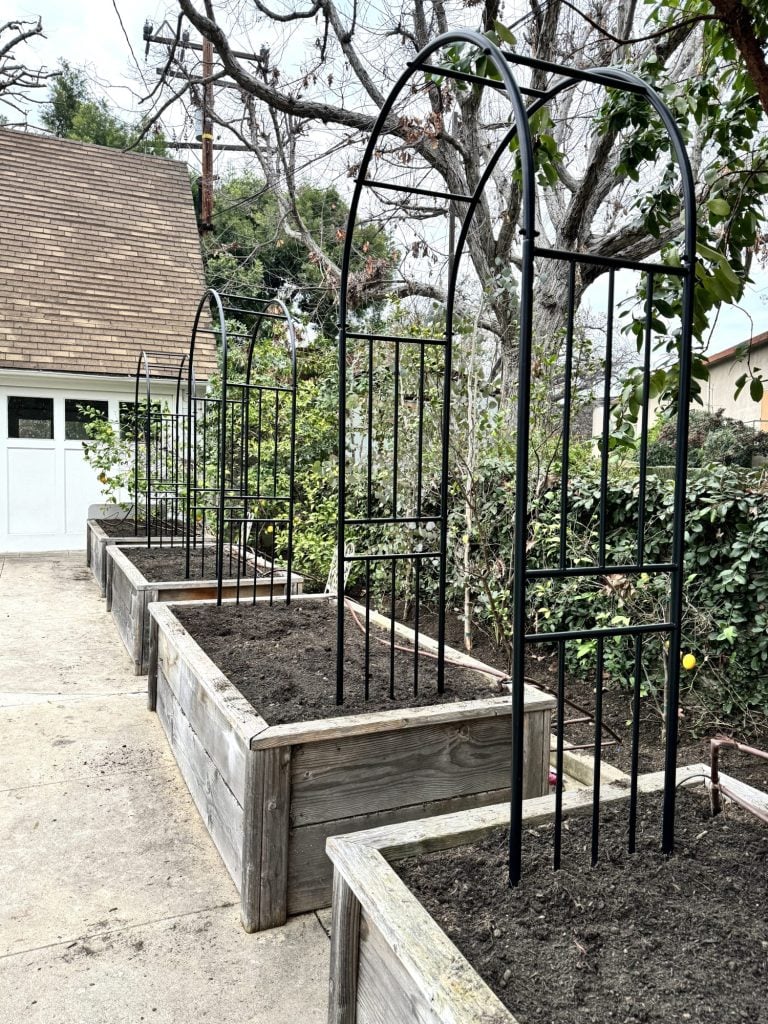
My Dream Vegetable and Herb Kitchen Garden
Two years ago, I tackled a big project – a vegetable kitchen garden. It was successful for the first year, and then it wasn’t. But I am going to do it again. But with a few modifications. In today’s fast-paced world, there’s something deeply satisfying about growing a kitchen garden. Not only does it reconnect…
-
Mixing New and Vintage Decor in the Beach House
Mixing vintage decor with new items in your home is a great way to add character and charm to your space. It worked in our beach house! Whether you’re a seasoned vintage collector or just starting out, incorporating vintage pieces into your home can create a unique and personalized look. Today, I will explore some…
-
A Joyous Spring and Sunday Morning Coffee
This week has been a whirlwind of travel, family time, and some very fun surprises. What a joyous Spring it has been! We spent a few wonderful days in Marin County with our kids and THREE grandkids, then Dave and I headed to Indian Wells to meet Matt and Polina for an incredible weekend at…
-
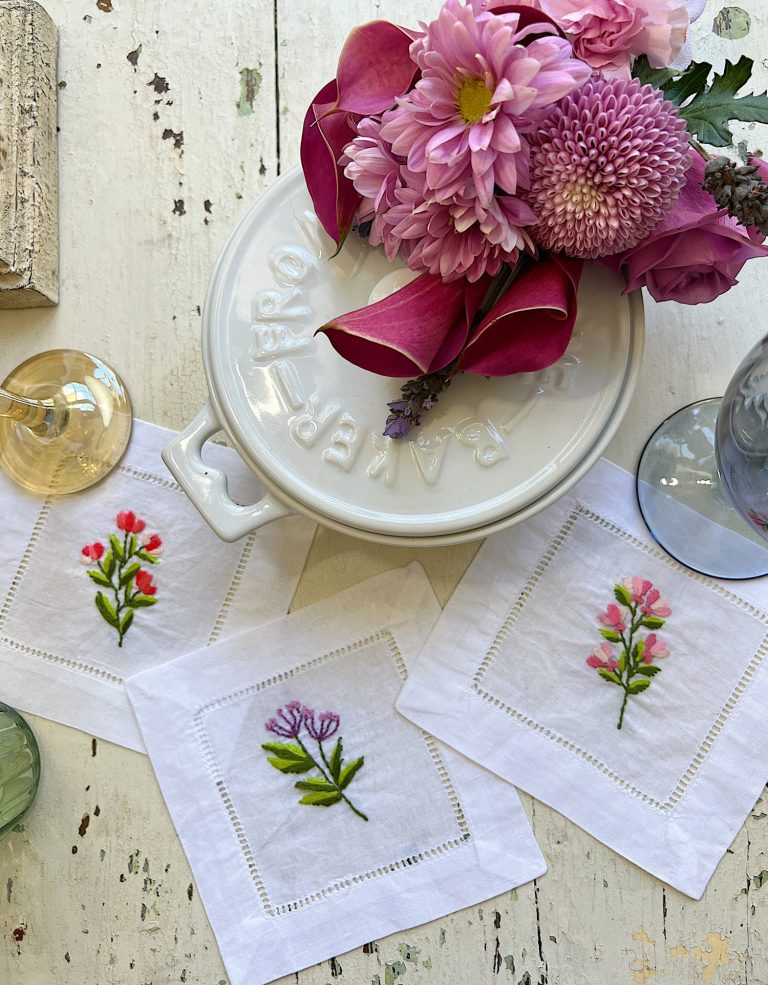
Spring Cocktail Napkins with Flower Embroidery DIY
I am very excited about these DIY spring cocktail napkins with flower embroidery. They are the perfect budget-friendly spring craft. Cocktail napkins are an essential part of any gathering or party. They add a touch of elegance to the setting and make guests feel special. If you’re hosting a party or want to add a…


My Recent Instagram Posts

You can pin the image below to your boards on Pinterest (click the Pin button in the top left corner) or follow me on Pinterest!
For more real-time updates, follow me on Instagram @My100YearOldHome
