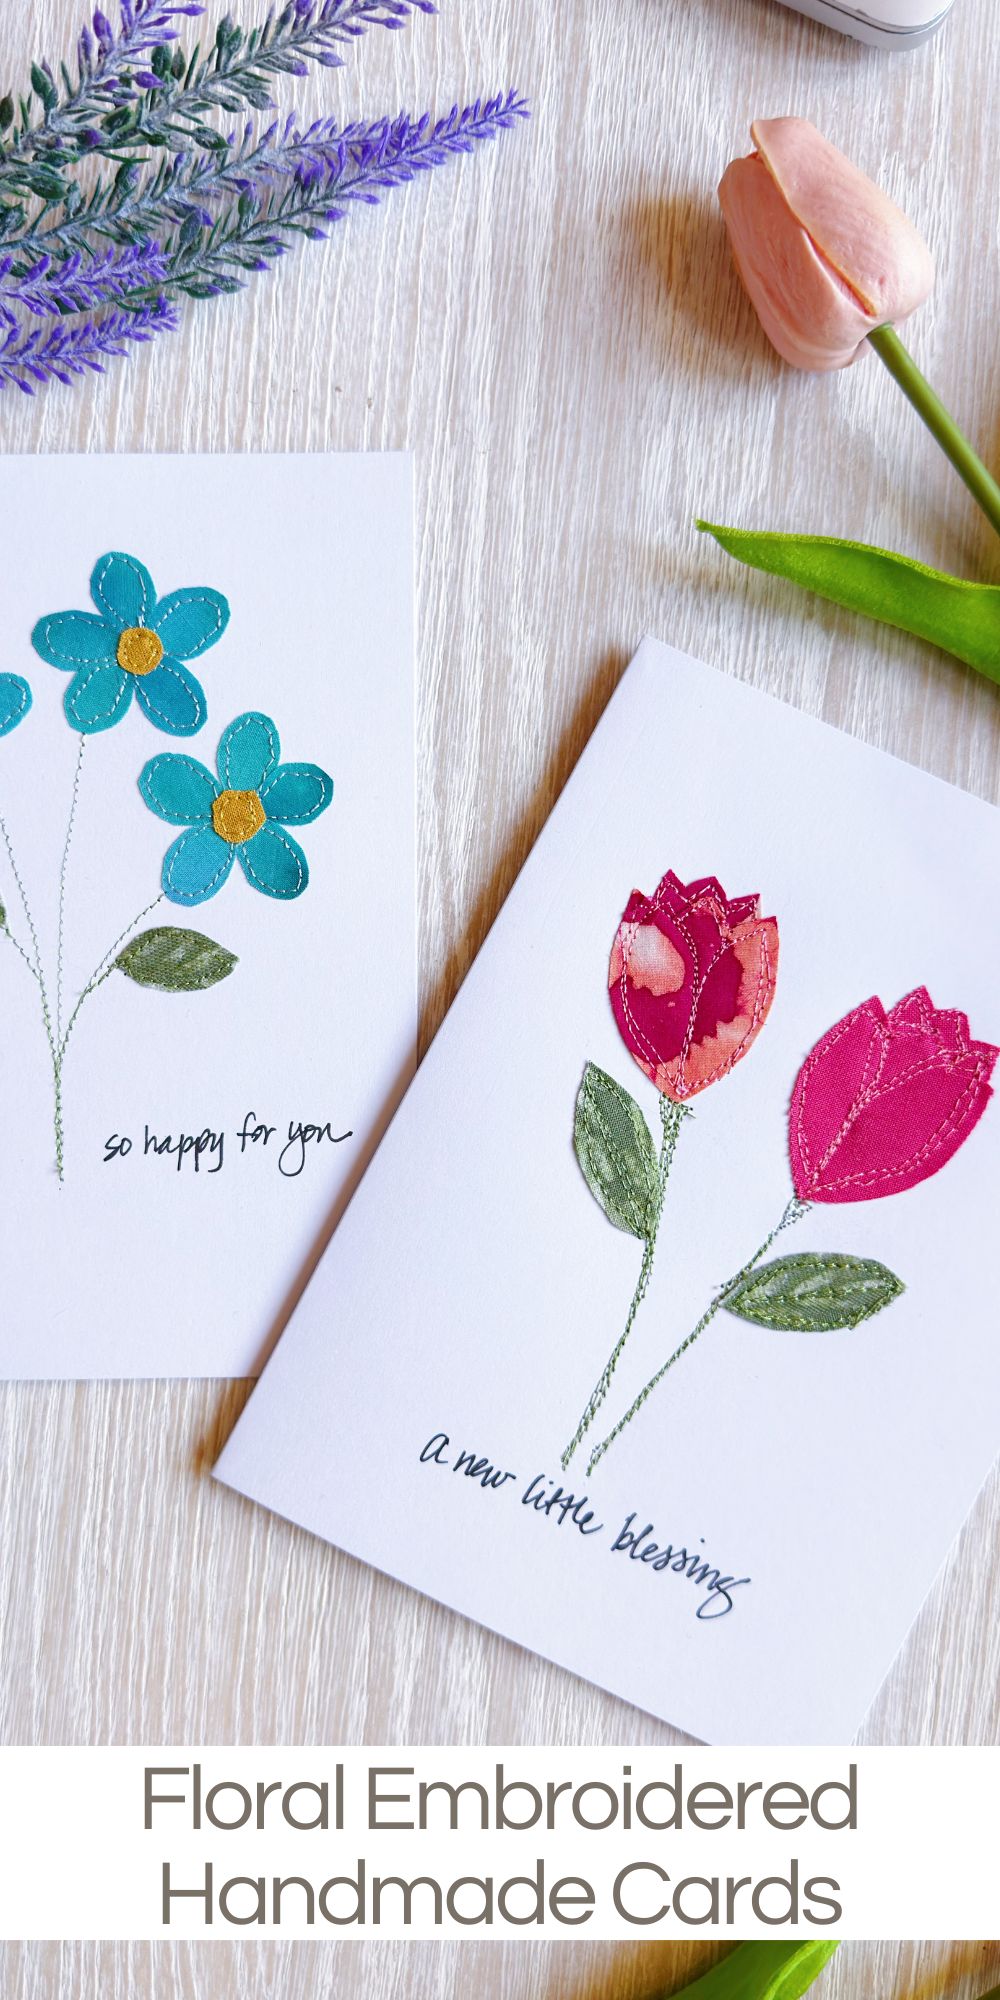
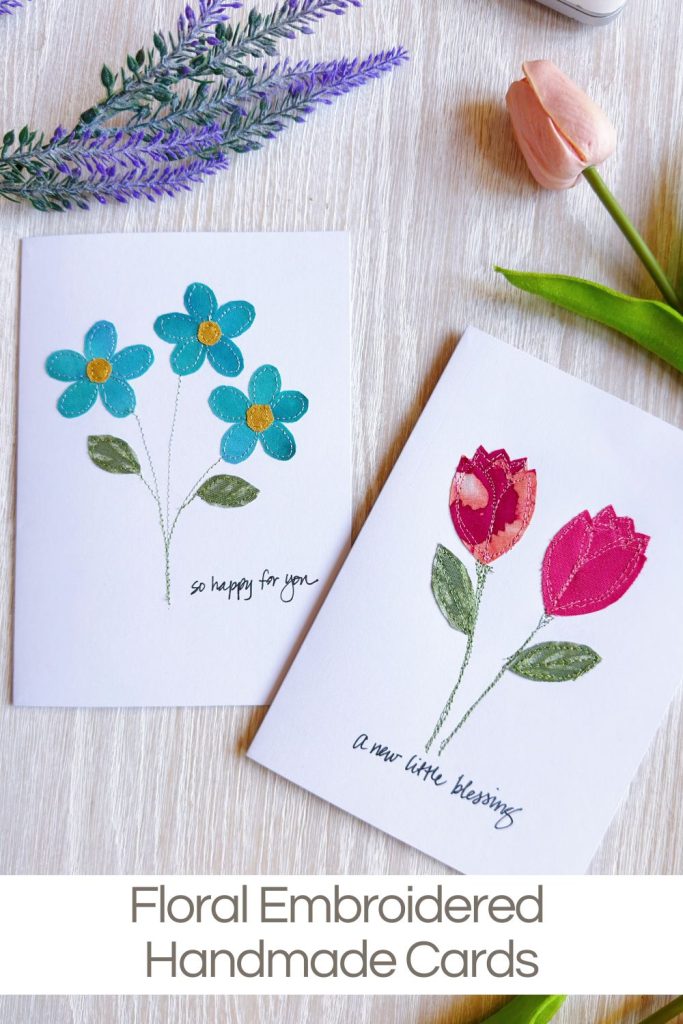
Floral Embroidered Handmade Cards

My Floral Embroidered Handmade Cards are one of those projects that combine creativity, storytelling, and meaningful making in the most beautiful way.
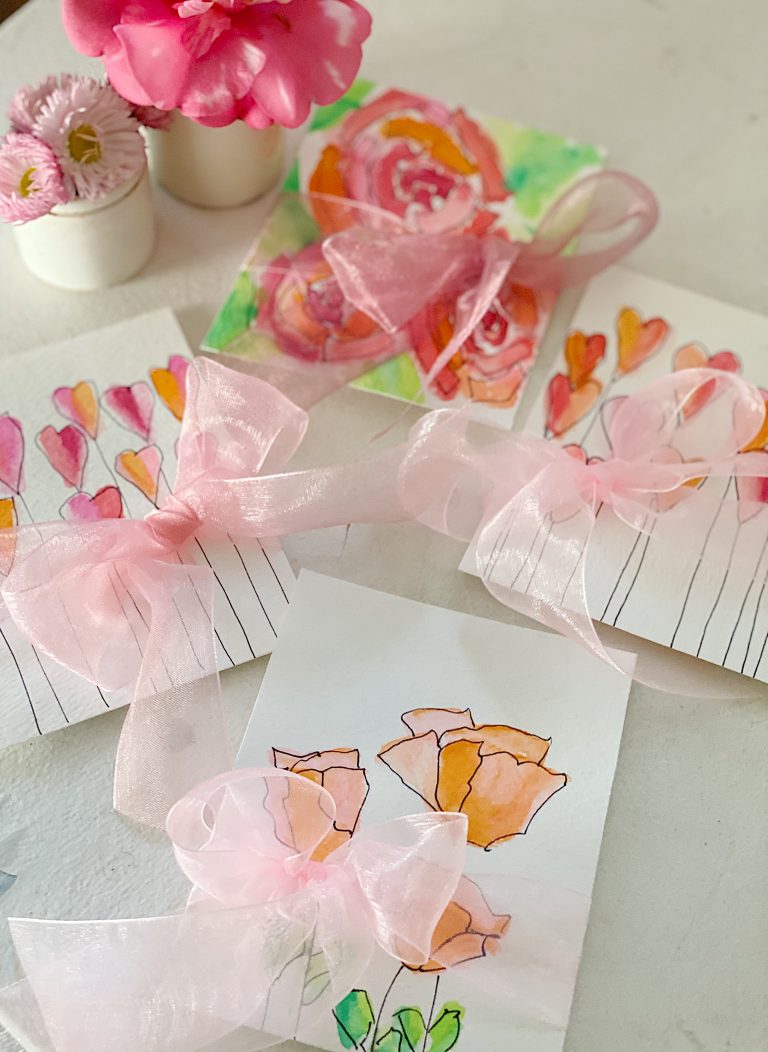
Using fabric scraps, simple stitching techniques, and a little imagination, I created a collection of stitched cards that feel personal, artistic, and truly special to give.


Floral Embroidered Handmade Cards Made with Fabric Scraps
Some projects surprise you in the best possible way.
You start with a simple idea, a few supplies sitting nearby, and a little curiosity. And before you know it, you’re completely immersed, making one after another because you just can’t stop.
That is exactly what happened when I made these embroidered fabric cards.
They are sweet, personal, handmade, and incredibly fun to create. And the best part is that they look detailed and artistic while actually being very simple to make.
These stitched cards combine fabric scraps, Sew and Stitch iron-on adhesive, and basic sewing techniques to create meaningful cards you can truly personalize.
If you love slow crafting, sewing projects with heart, or handmade gifts that feel special, this is a project you are going to love.
Why I Fell in Love With Making Embroidered Cards
There is something deeply satisfying about combining fabric and paper. The textures work beautifully together, and the stitched outlines add so much character and warmth.
I also love that every card feels completely unique.
Some projects are about perfection. This one is about personality.
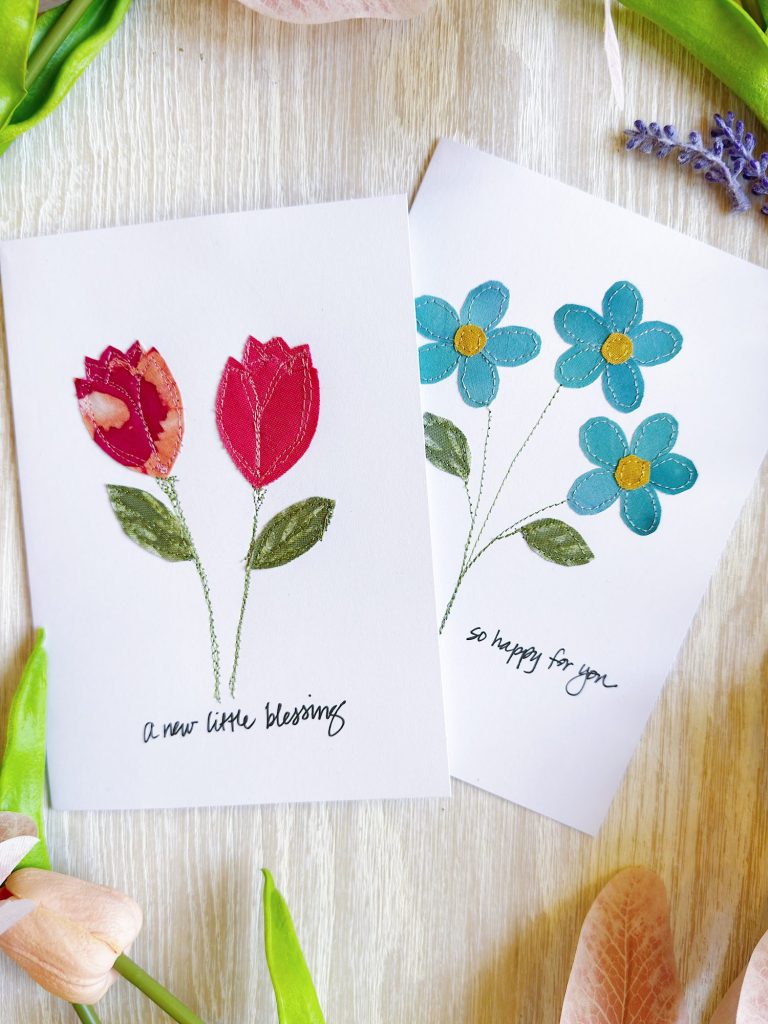
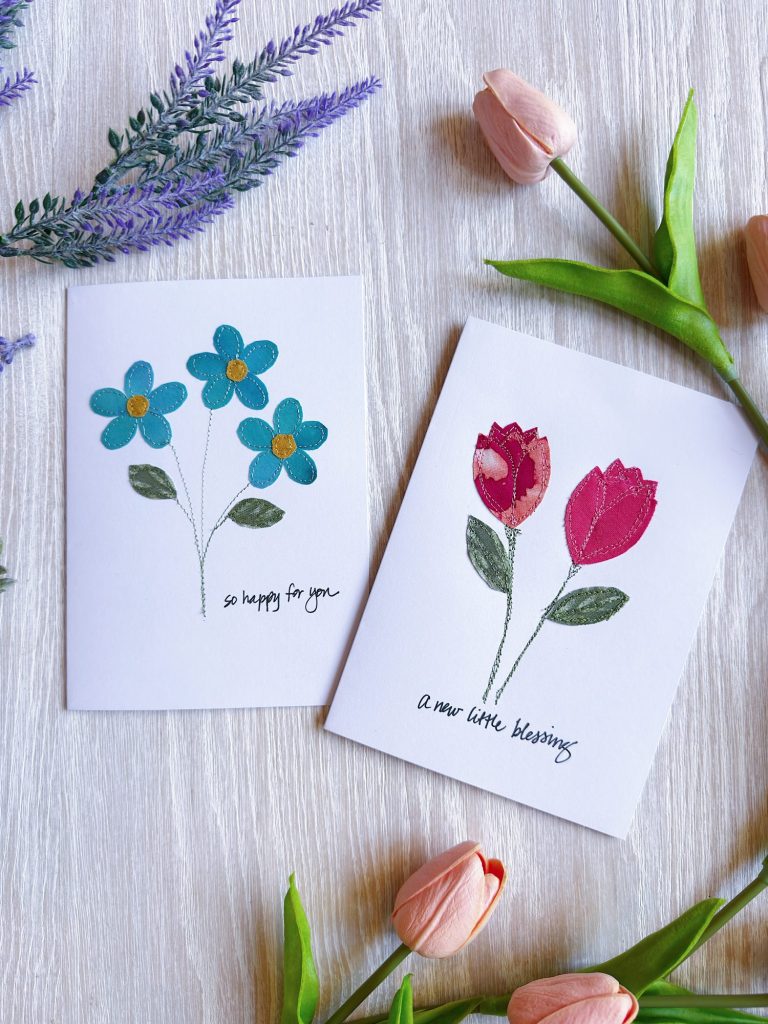
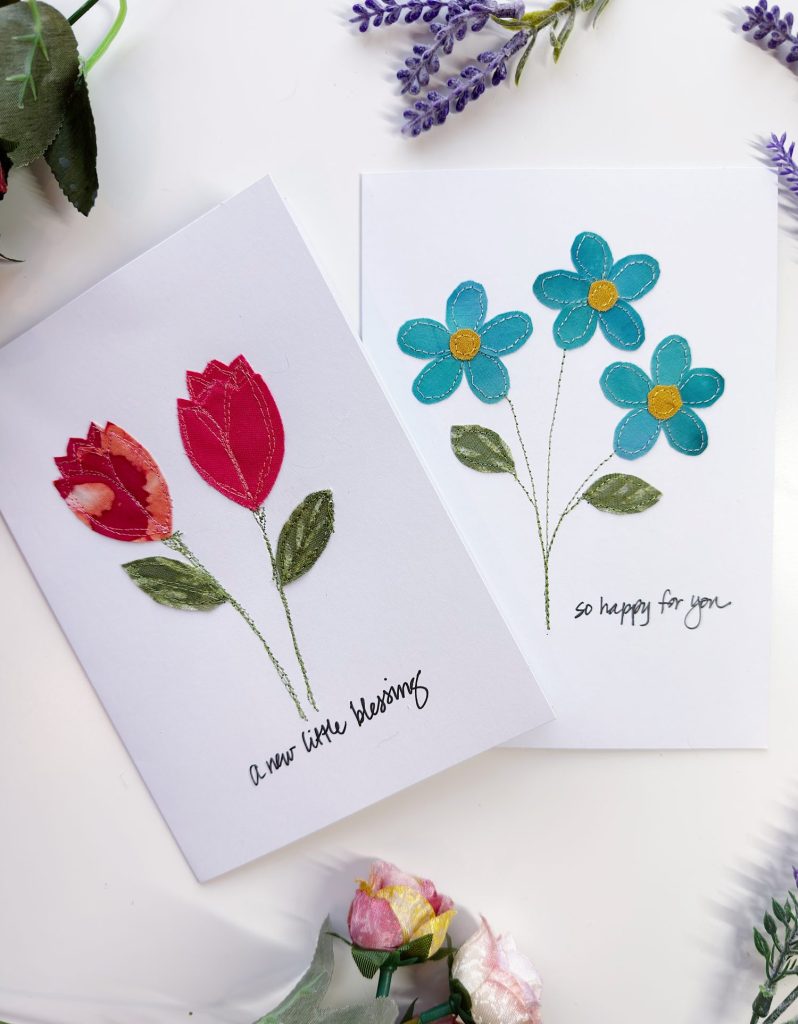
I made two different styles:
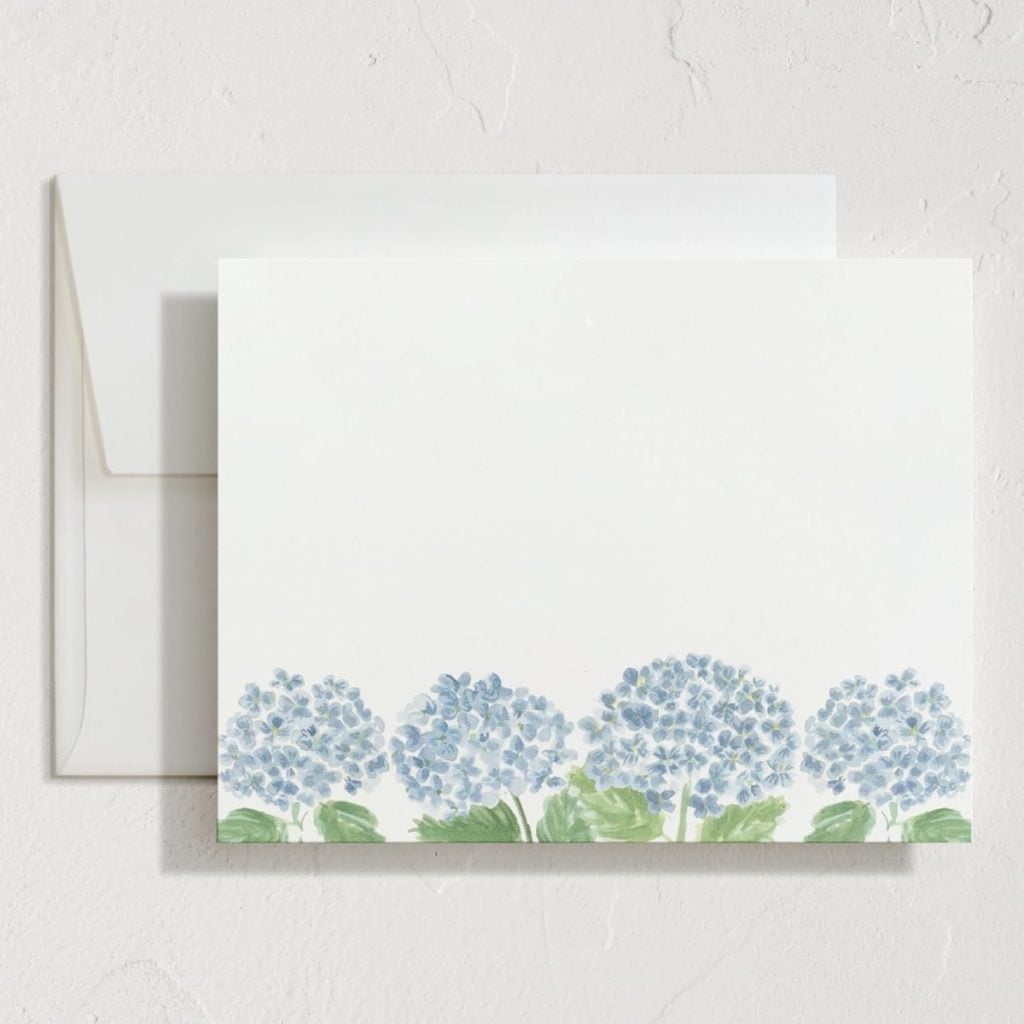
• Blue forget-me-not flowers stitched with a simple straight stitch
• Pink tulips created using free motion embroidery
Both techniques create completely different looks, and I honestly love them equally.
The straight-stitch flowers feel clean and graphic, while the free-motion tulips have a softer, more artistic feel.
Ok, maybe I prefer the artistic look.
The Secret Tool That Makes This Easy
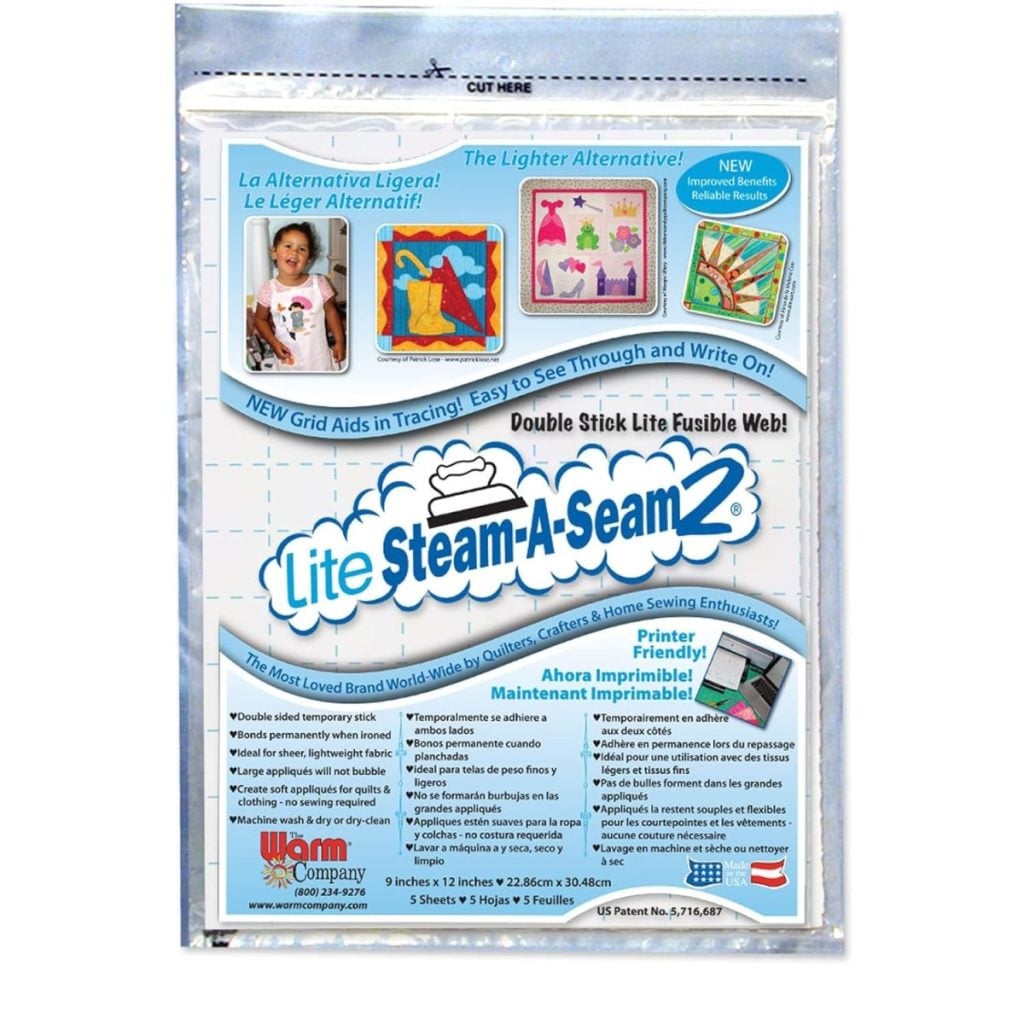
One of the reasons this project worked so well is because of Sew and Stitch iron-on adhesive.
If you haven’t used this before, it is truly a game-changer.
When you iron Sew and Stitch onto your fabric, it leaves an adhesive backing that allows you to place your shapes exactly where you want them before sewing.
No slipping.
No shifting.
And no frustration.
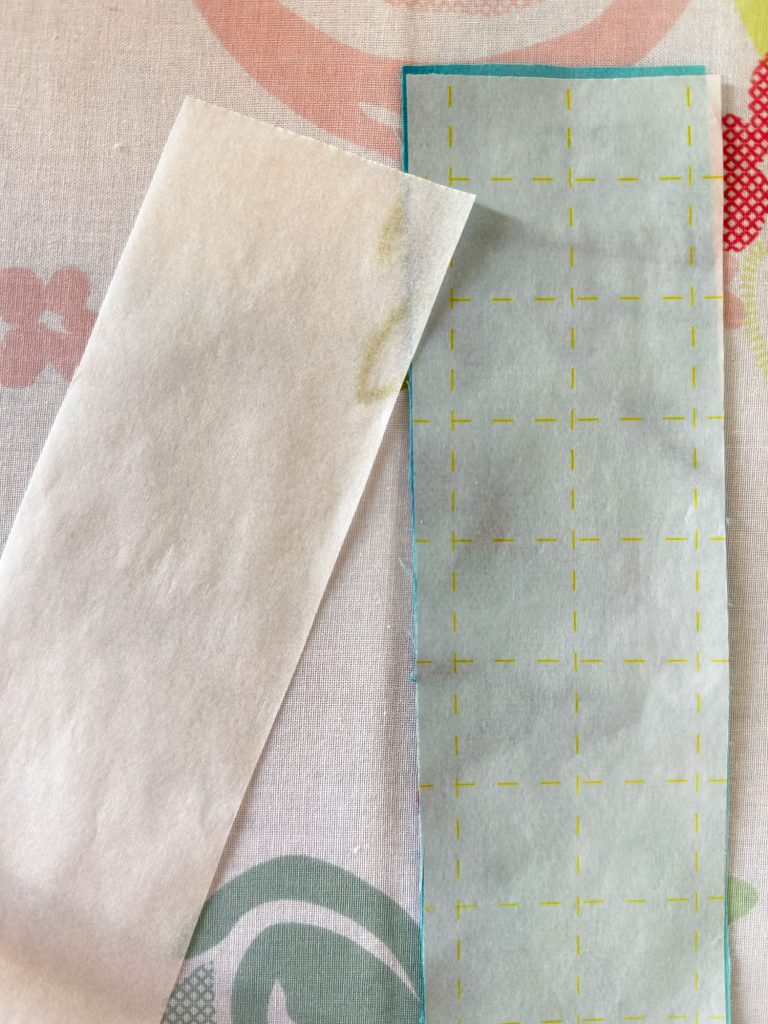
You simply iron the Sew and Stitch onto your fabric, with the yellow grid-printed side facing up. Once cooled, you peel off the backing layer, and your fabric becomes lightly adhesive.
This makes positioning petals and leaves incredibly easy and precise.
Supplies You Will Need
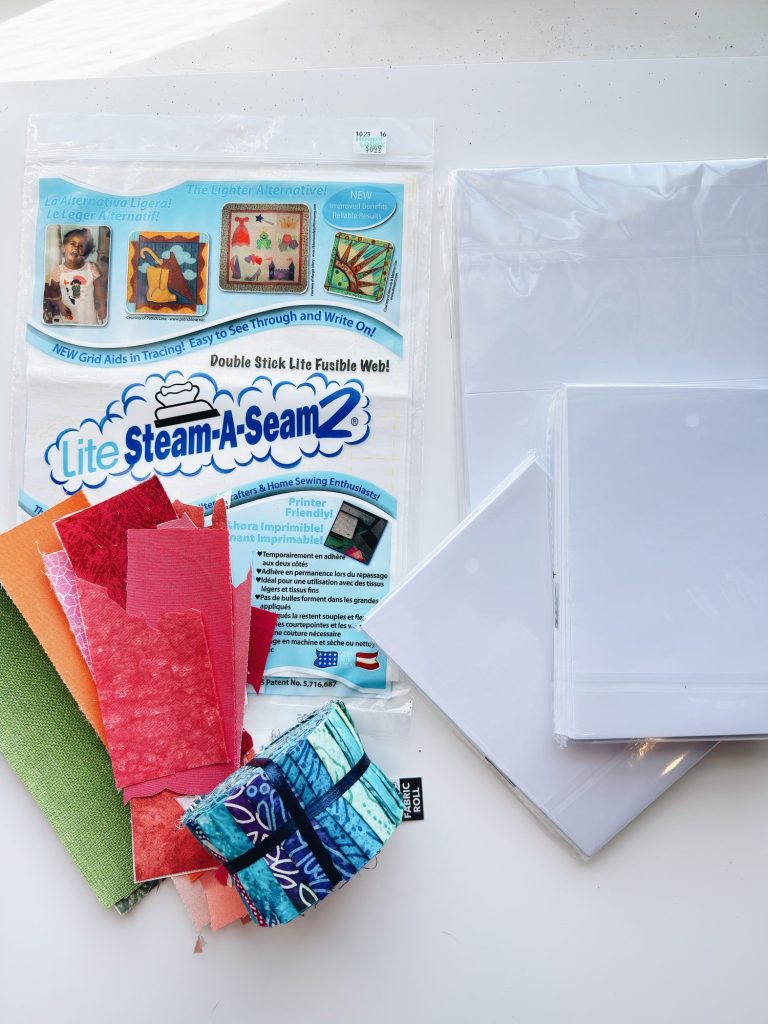
This is one of those wonderful projects that doesn’t require a long list of materials.
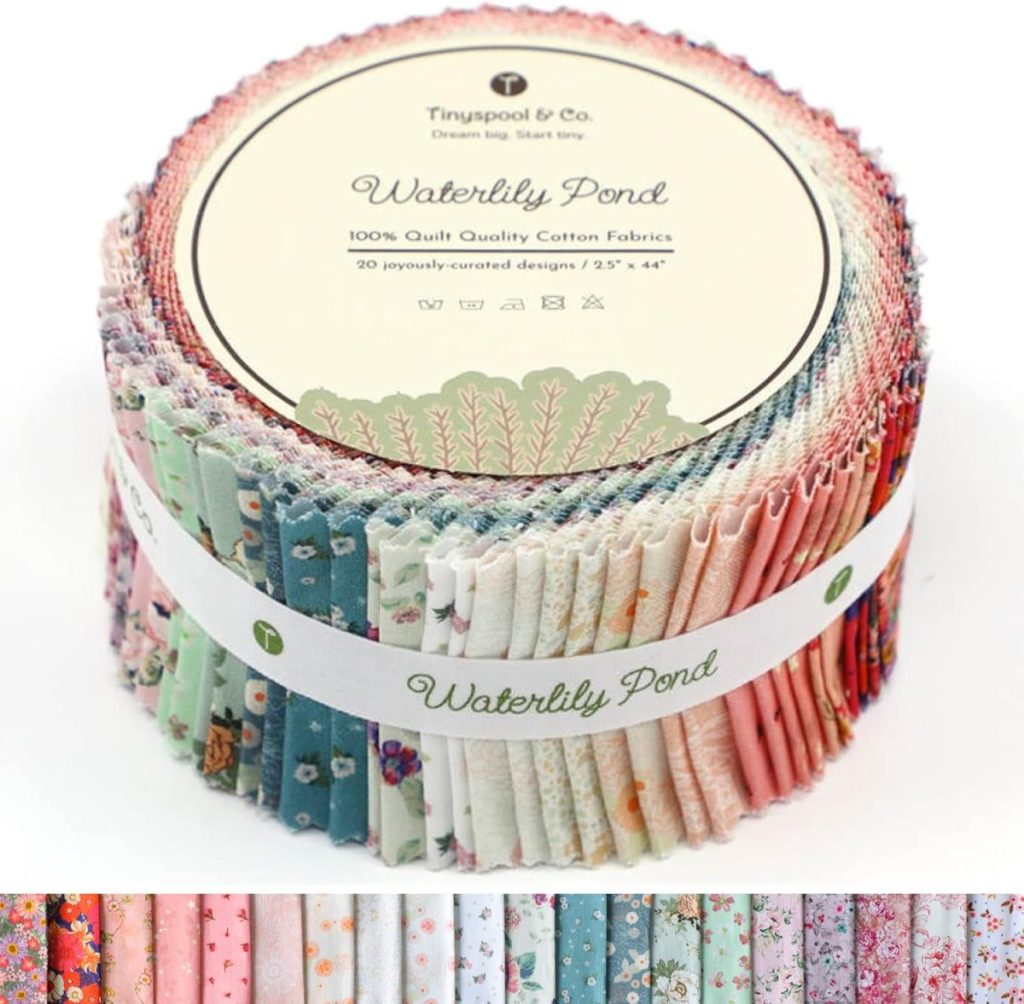
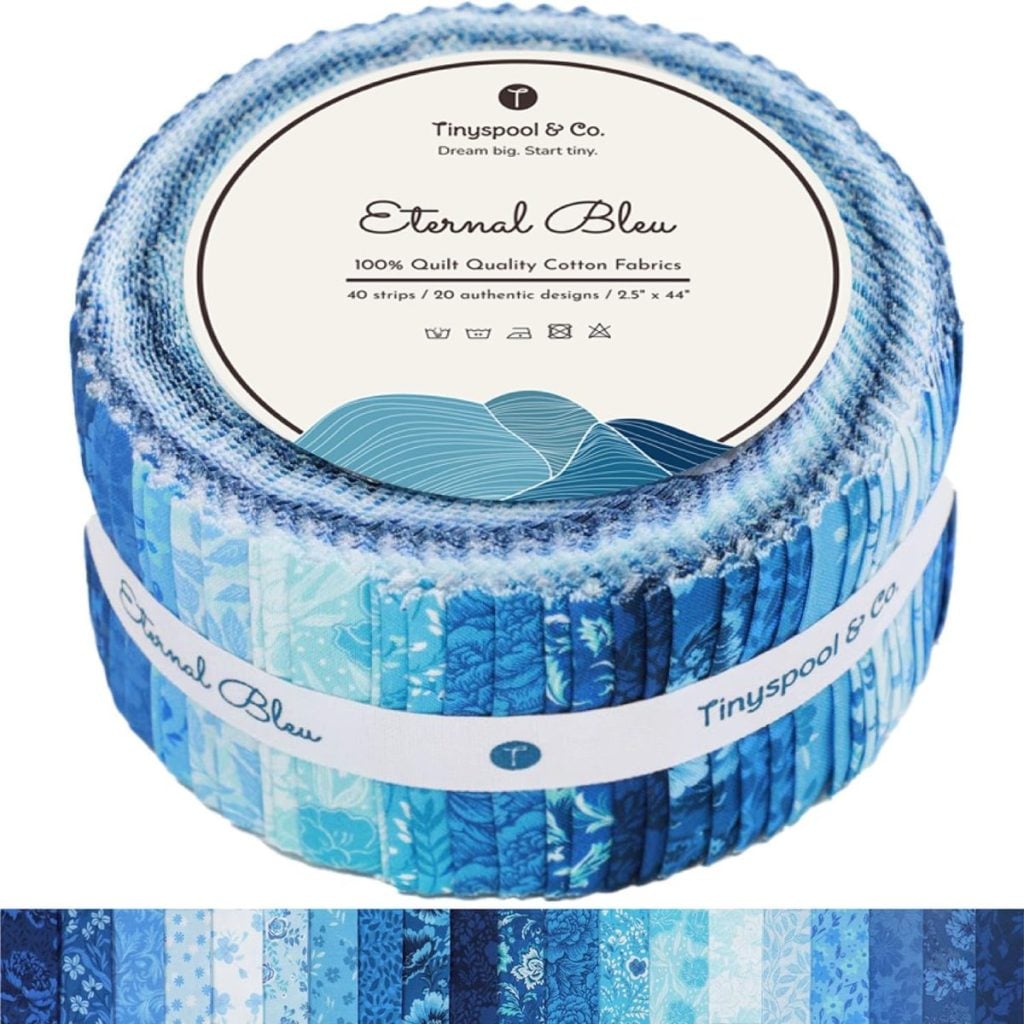
- Jelly Roll Fabrics or Fabric scraps (perfect for using leftovers from other projects)
- Sew and Stitch iron-on adhesive
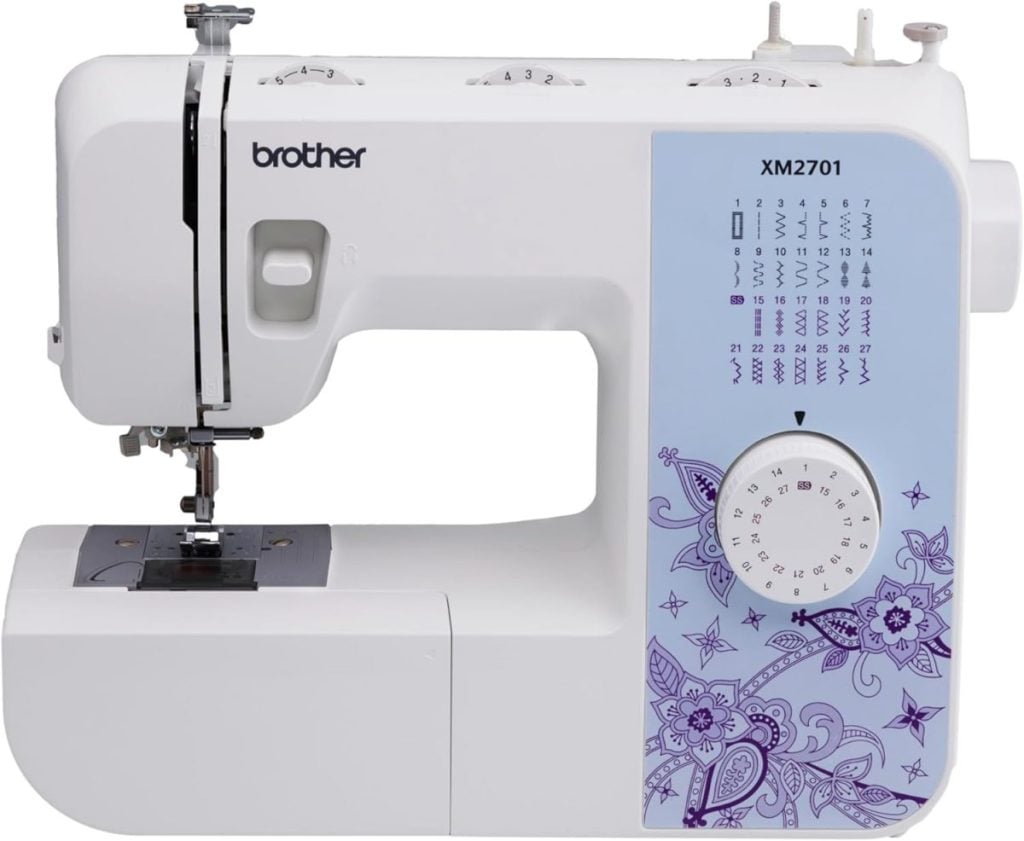
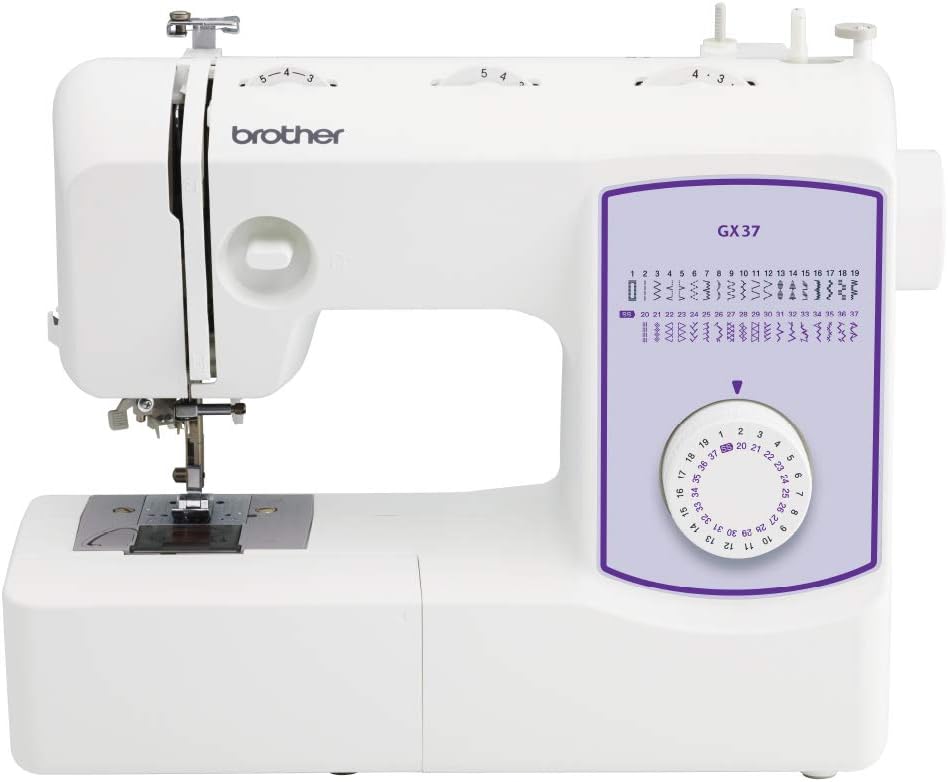
- Sewing machine
- Thread
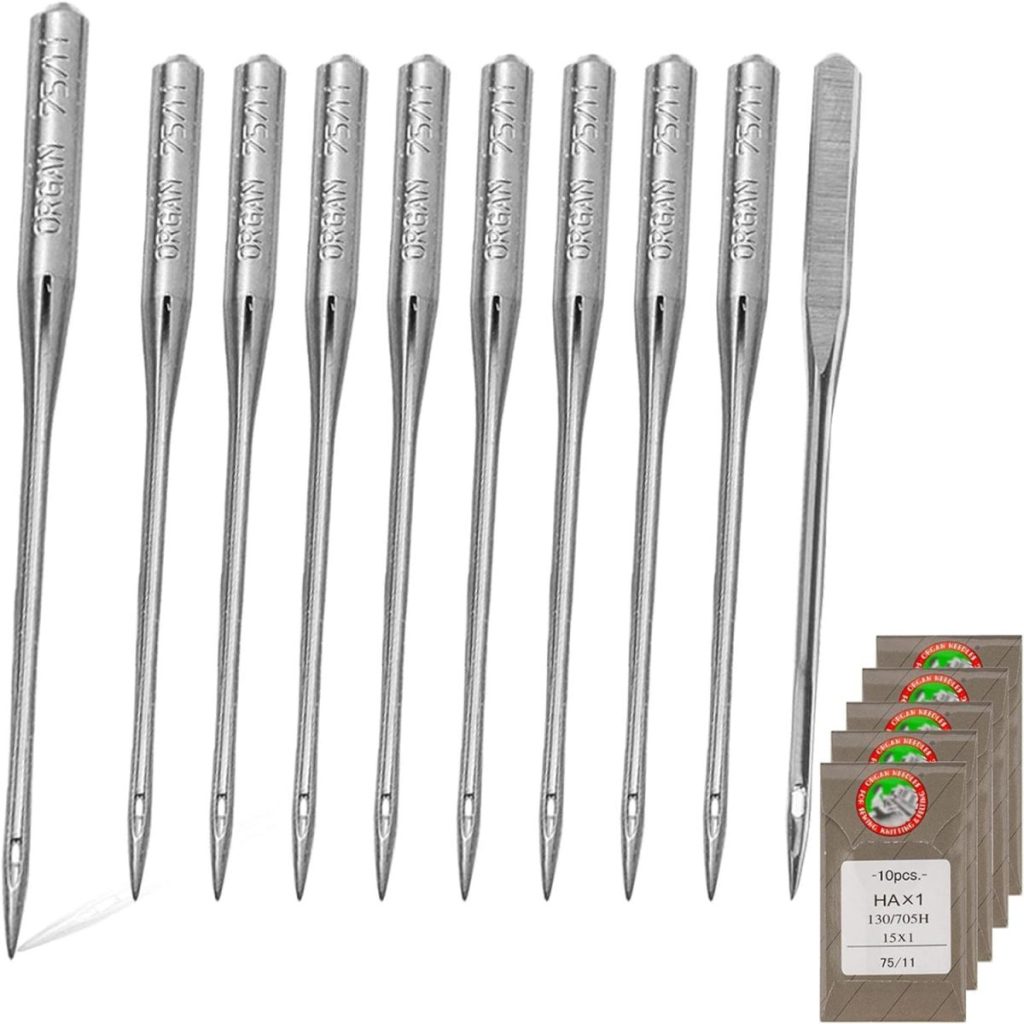
- Size 11 sharp sewing machine needle (the smaller needle leaves smaller holes in the card)
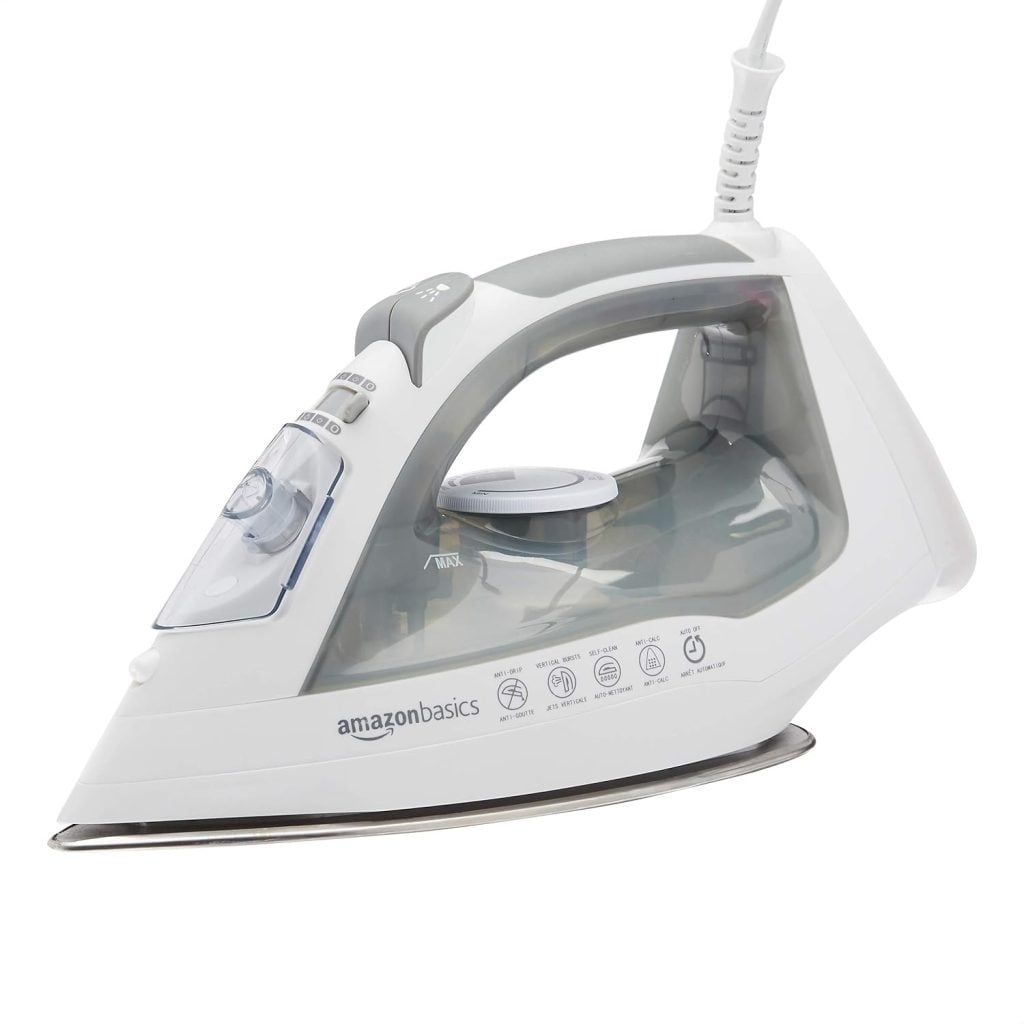
- Iron
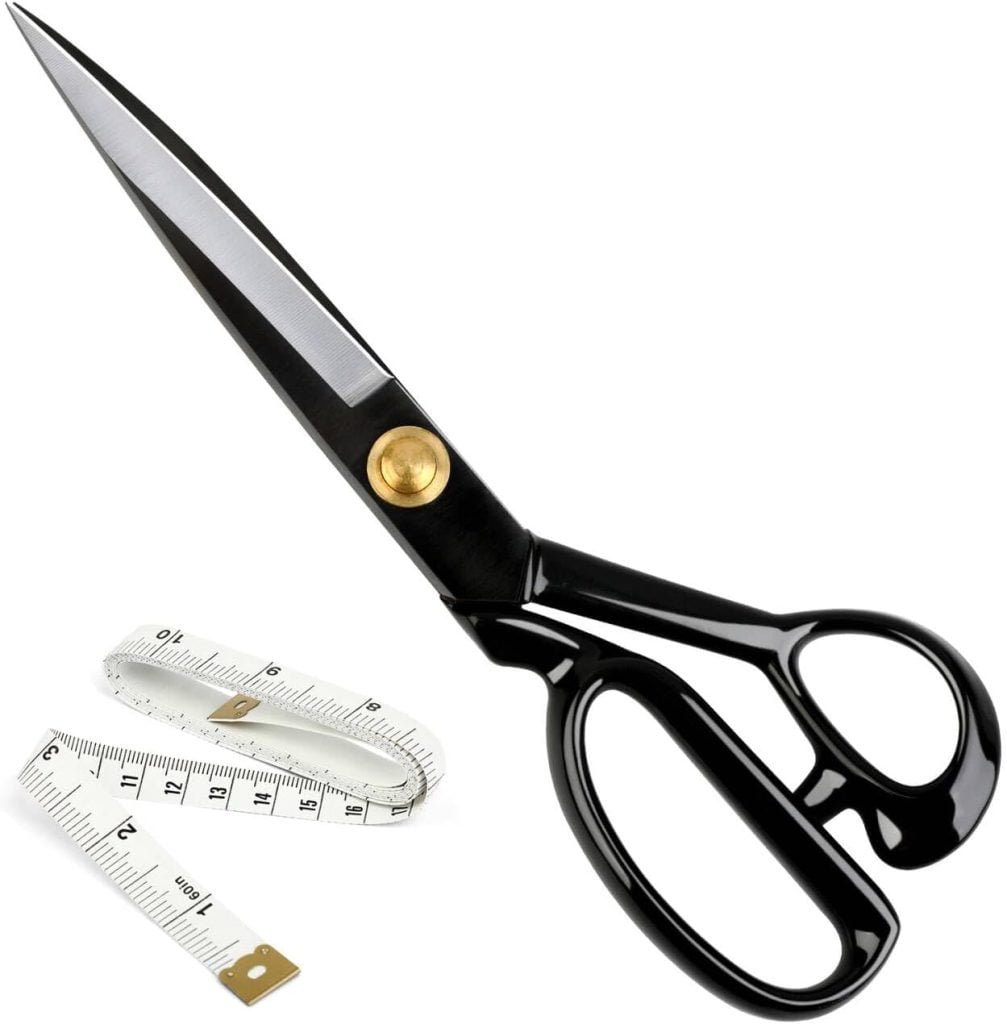
- Fabric scissors
- Folded blank cards (I used 5″ x 7″ white cards
- Free motion stitch darning foot
- Optional patterns or templates
- Embroidery Thread
I may sometimes use affiliate links on this blog, which means I earn a small commission if you purchase via the link. The price will be the same whether you use the affiliate link or go directly to the vendor’s website using a non-affiliate link.


That’s it.
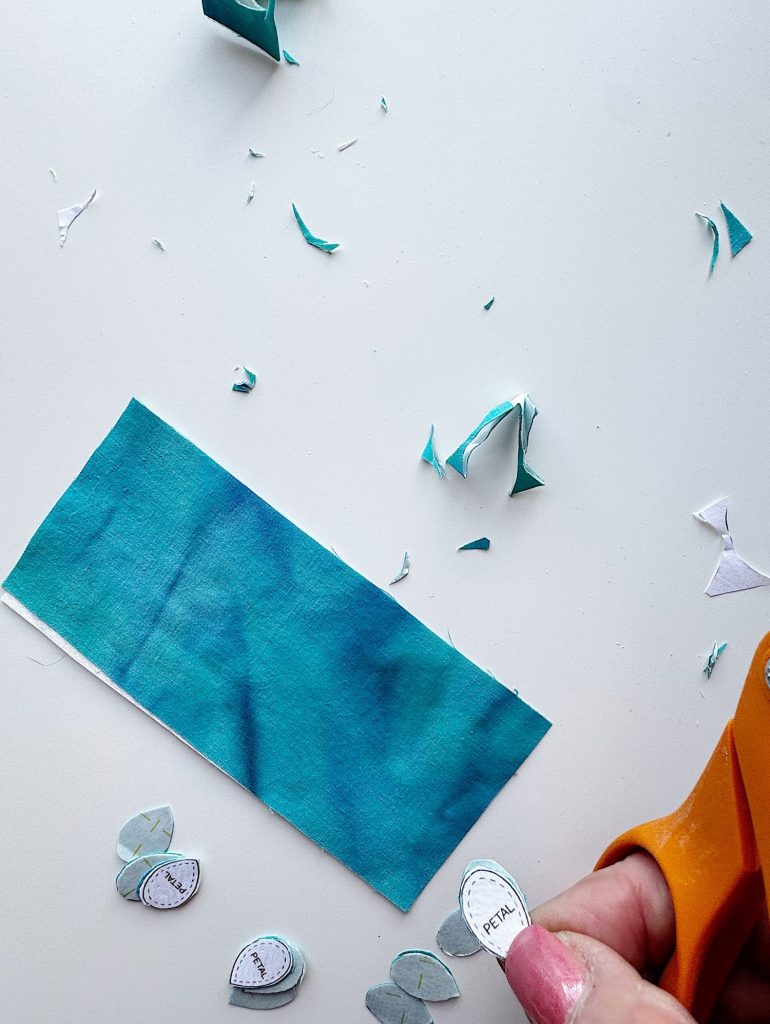
Step One: Create or Choose Your Flower Shapes

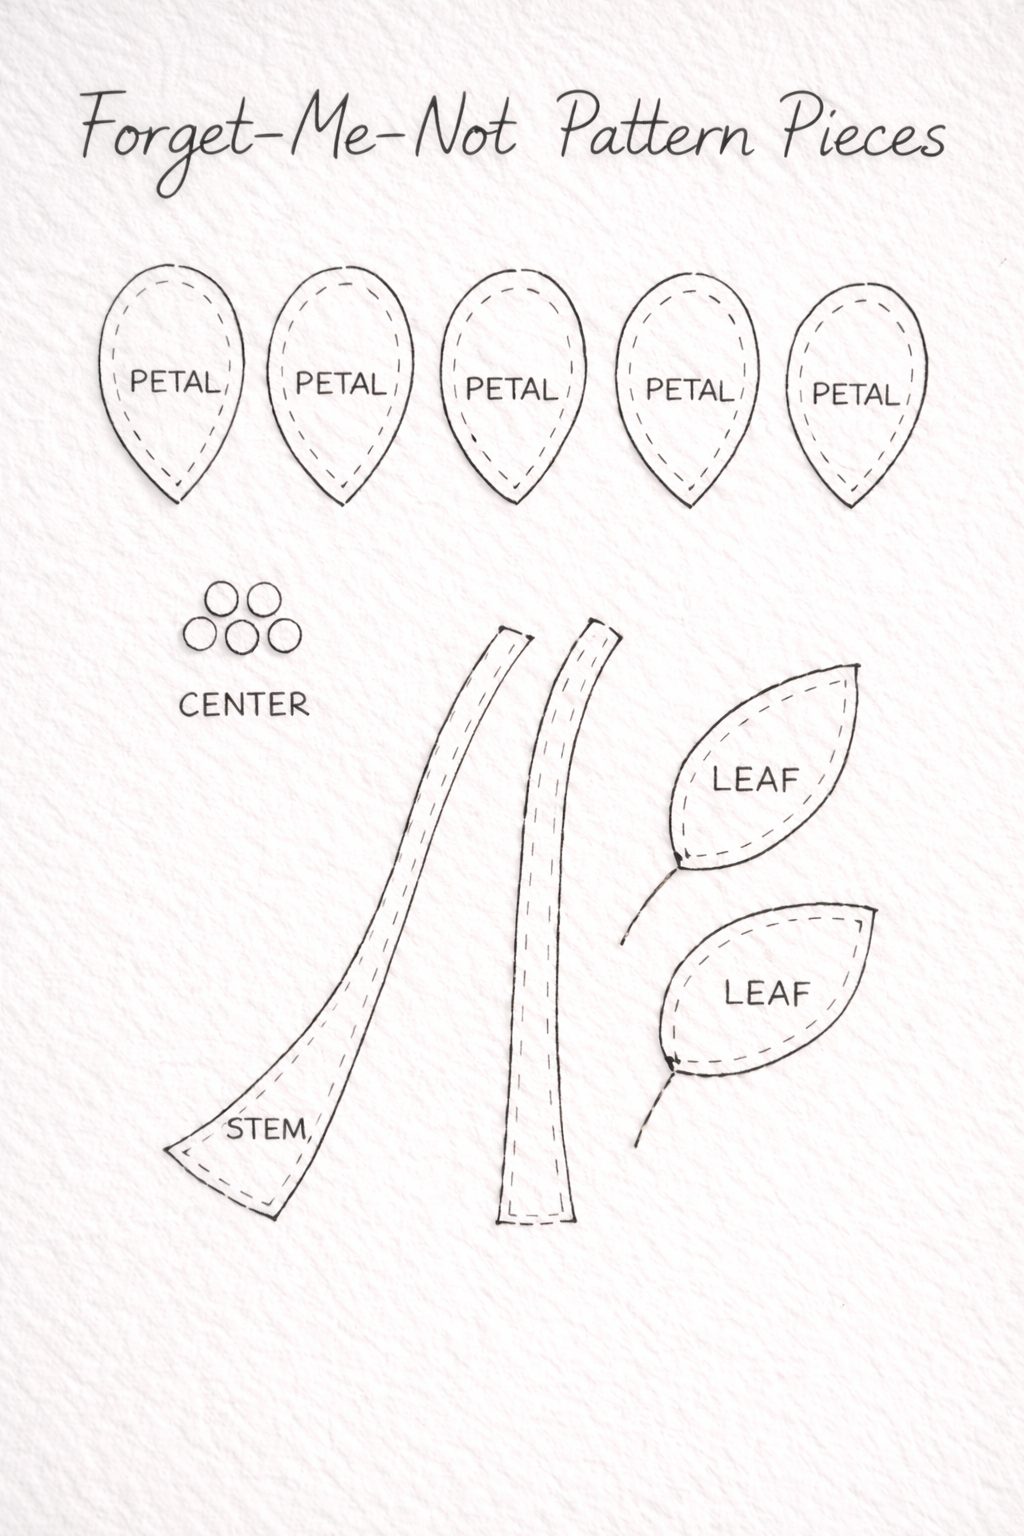
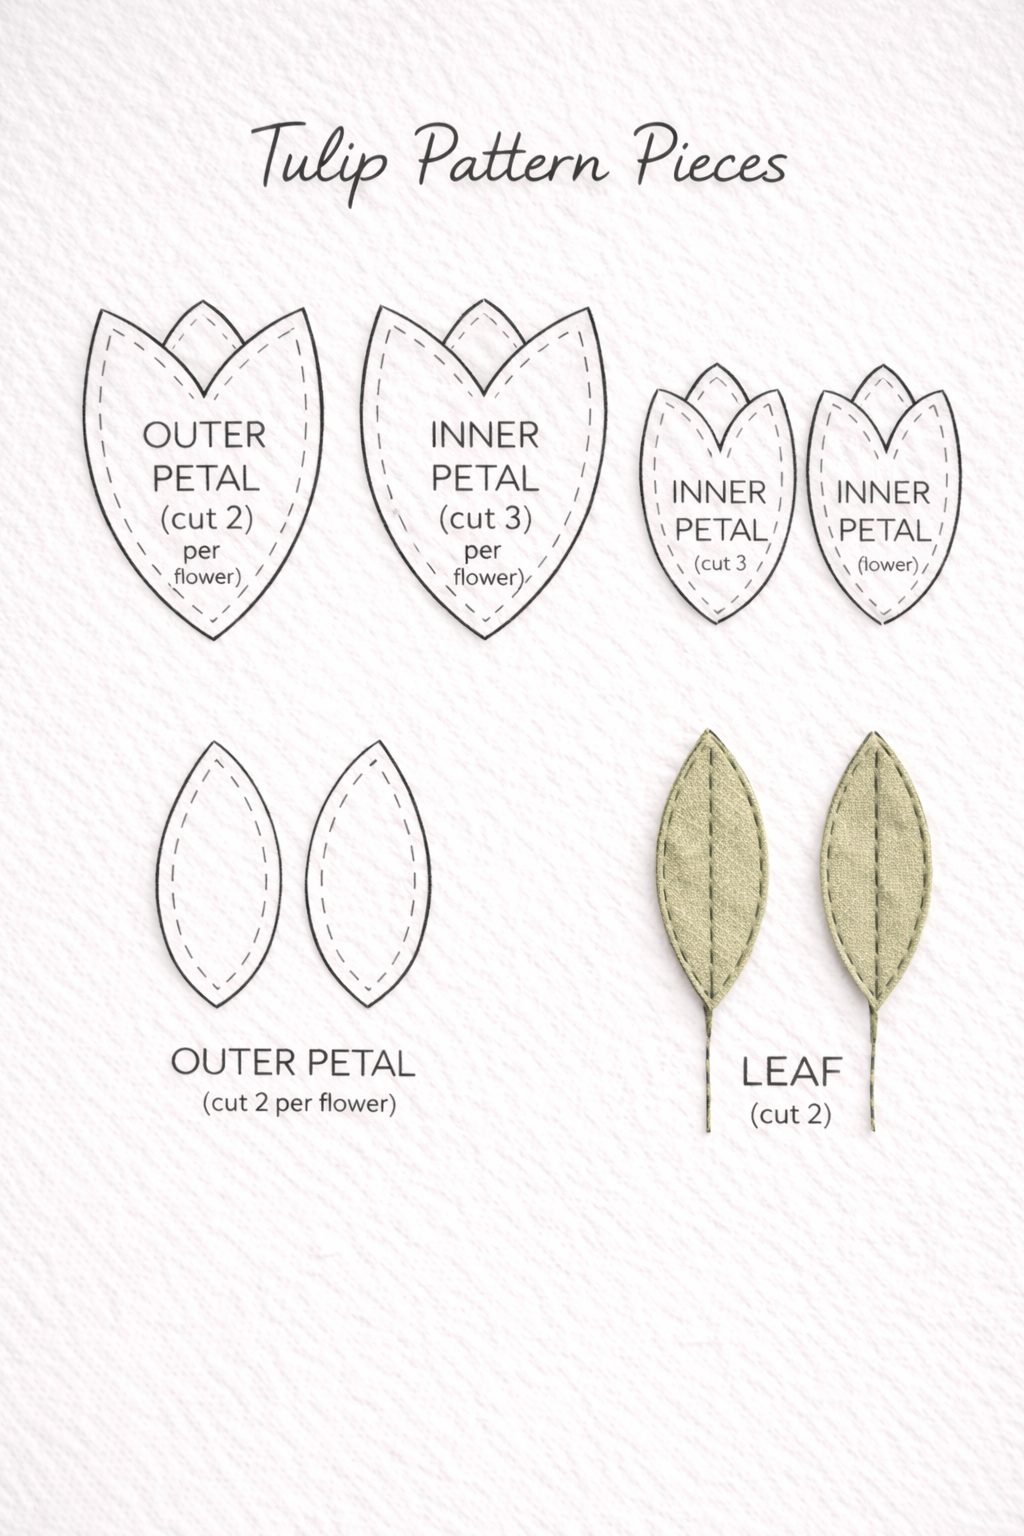
I designed patterns for the flowers I used, but honestly, you can absolutely cut your own shapes freehand.
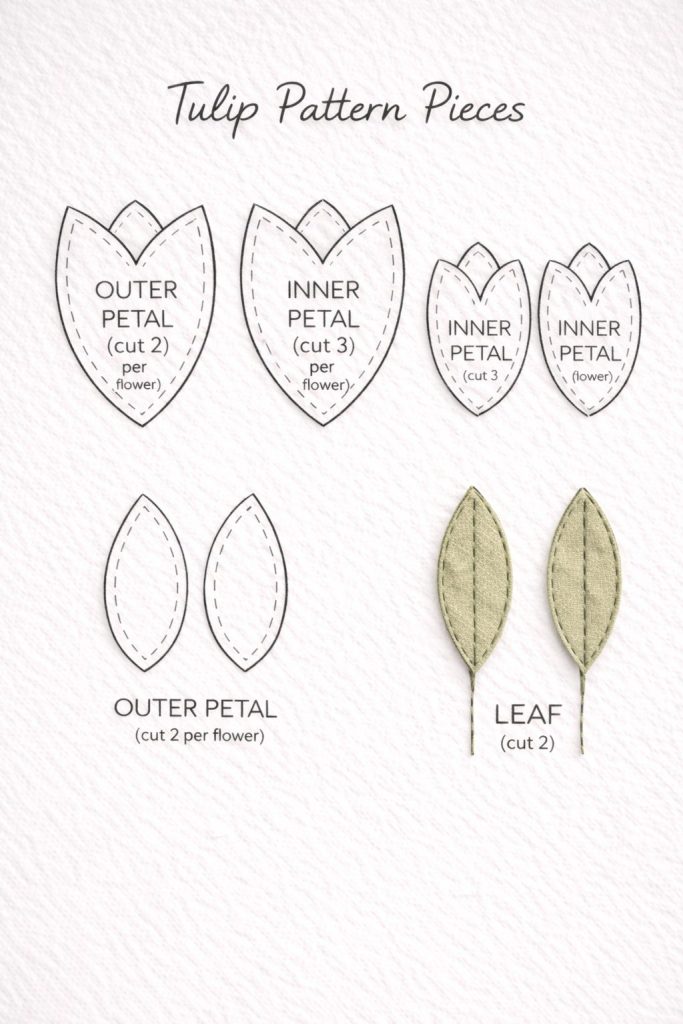
Download the two patterns below. If you want to use these for 5″x7″ cards, print the downloads at 50% of the size.
This is a wonderful way to use small fabric scraps you might otherwise discard.
For my cards:
The forget-me-nots were made from tiny petals arranged into clusters.
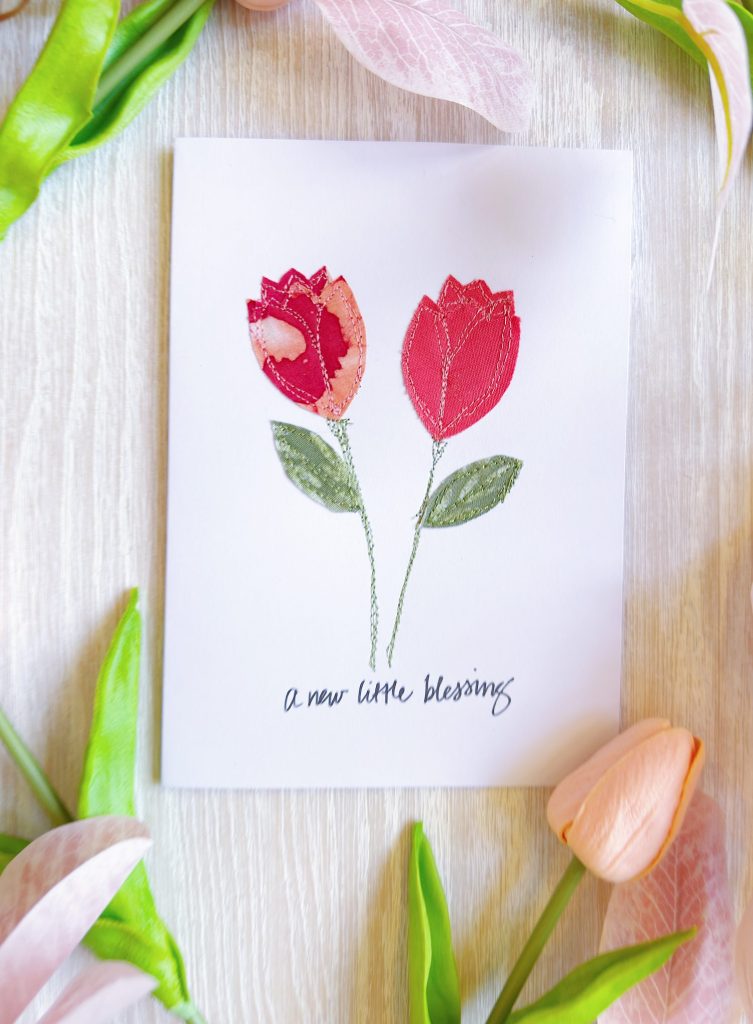
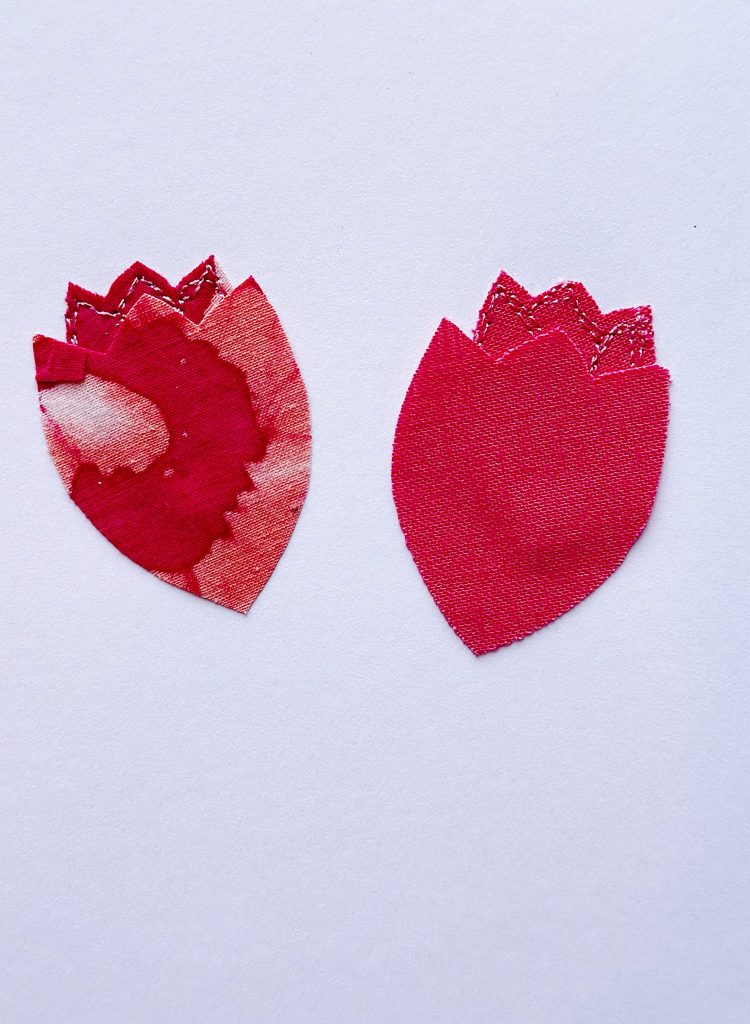
The tulips were created using simple petal shapes layered together for a dimensional effect.
If you prefer structure, use the patterns I provided.
If you prefer creativity, trust your instincts and cut shapes that feel right to you.
Step Two: Apply Sew and Stitch
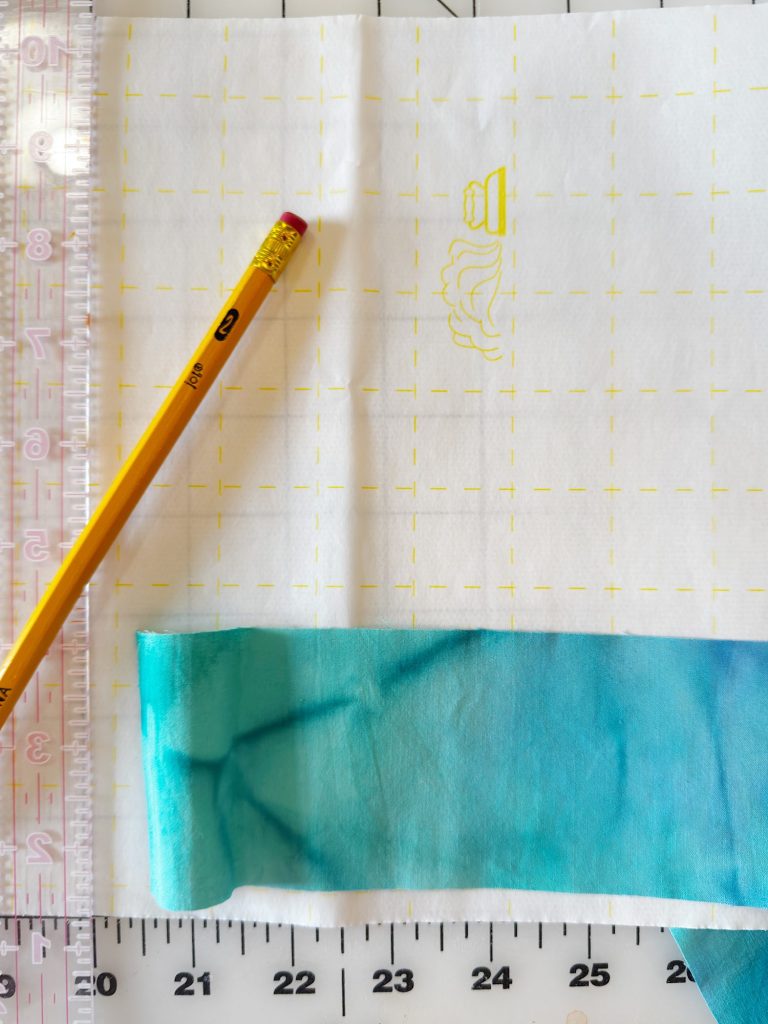
Iron the Sew and Stitch onto the back of your fabric pieces.
Remember:
Place the yellow grid, printed side up, when ironing.
Once adhered, cooled, and cut, you can peel away the backing paper to reveal the adhesive surface.
This is the moment when everything becomes easy.
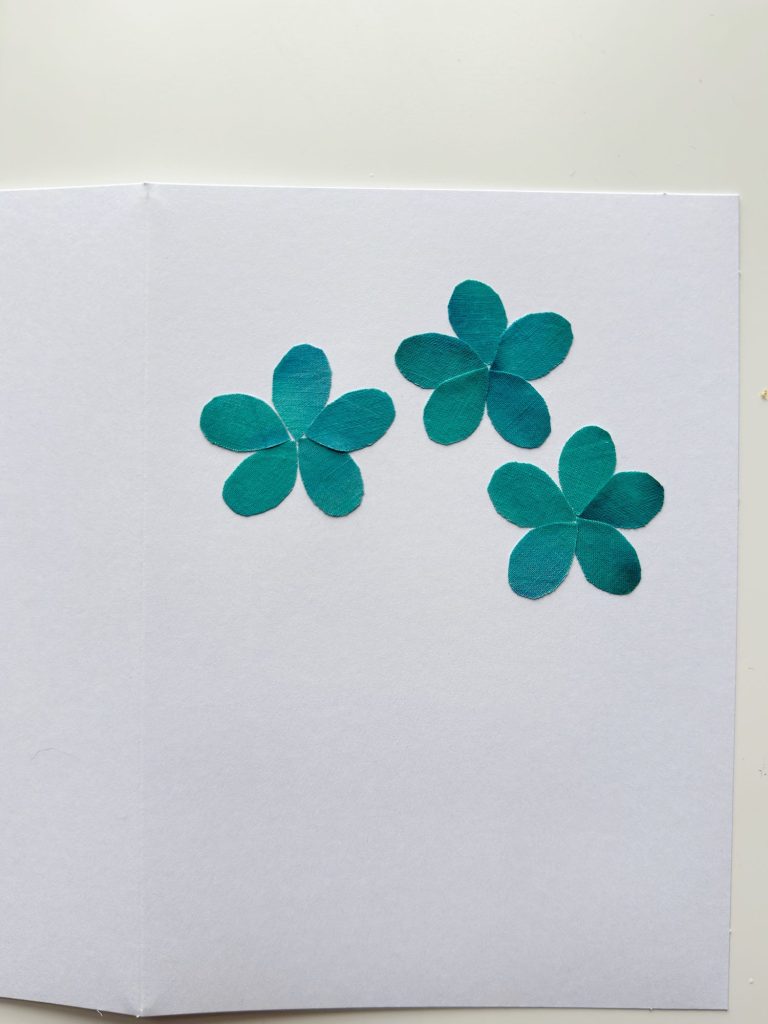
Step Three: Position Your Design
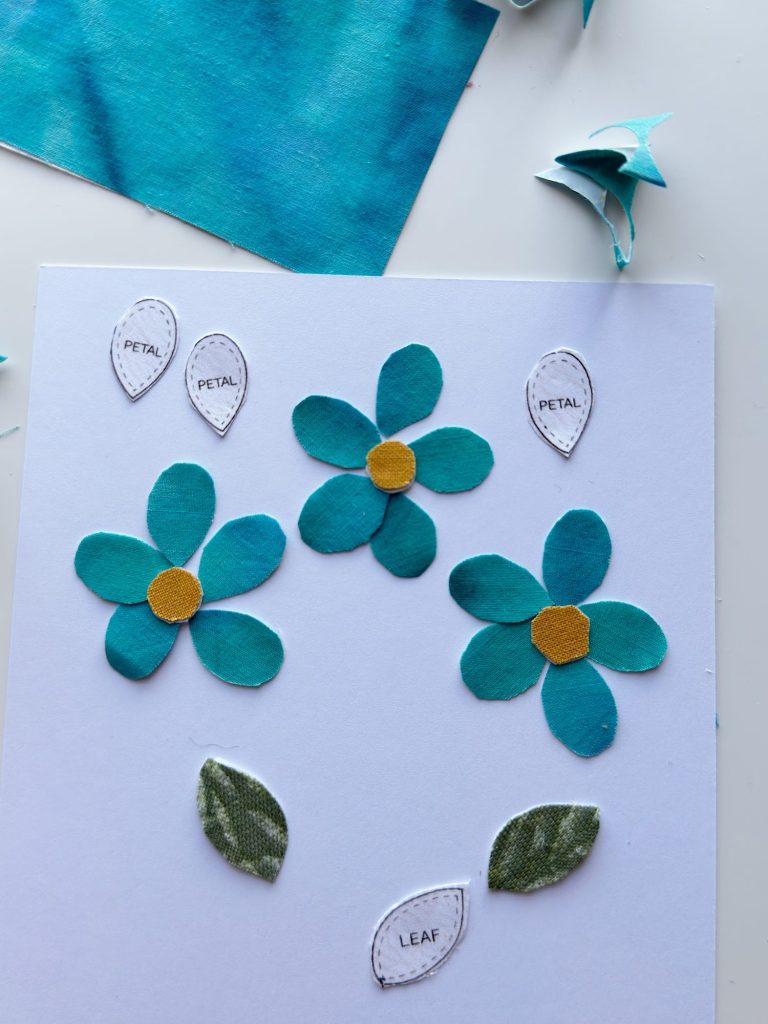
Place your fabric shapes onto the folded white cards.
I chose 5″ x 7″ blank cards because they feel substantial and provide enough space for the floral design to shine.
The adhesive allows you to experiment with placement without worrying about pieces shifting while sewing.
Play with composition.
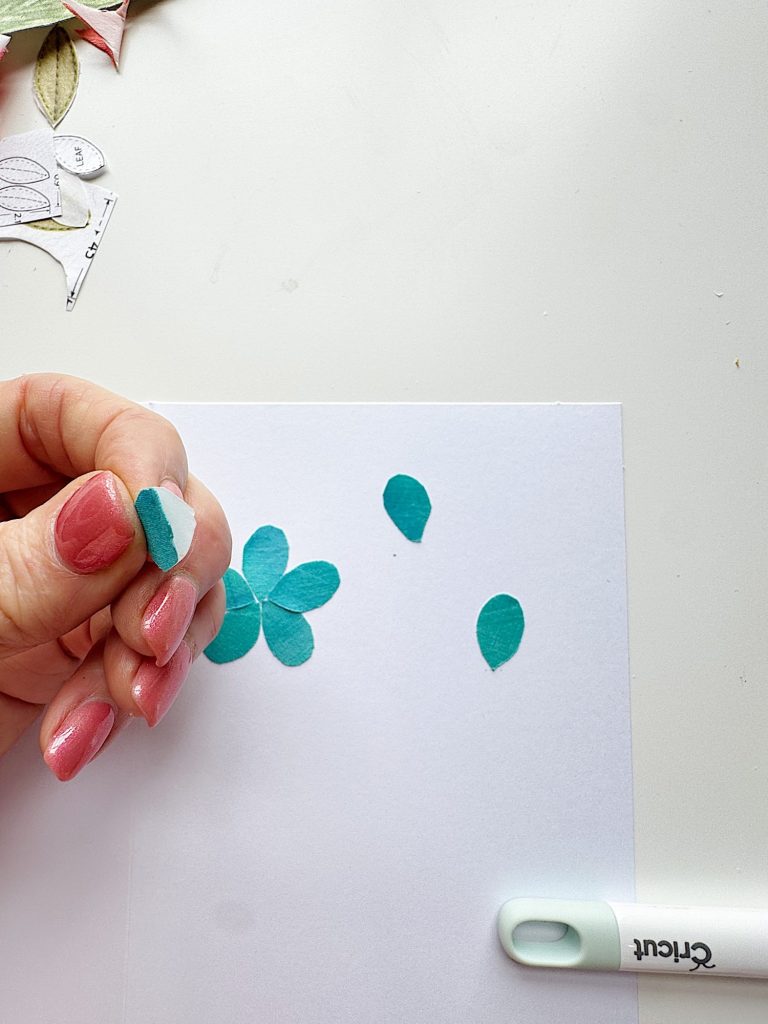
Move petals slightly.
Adjust leaves.
Step back and look at the balance.
This is where your creativity really comes alive.
Step Four: Stitch the Outline
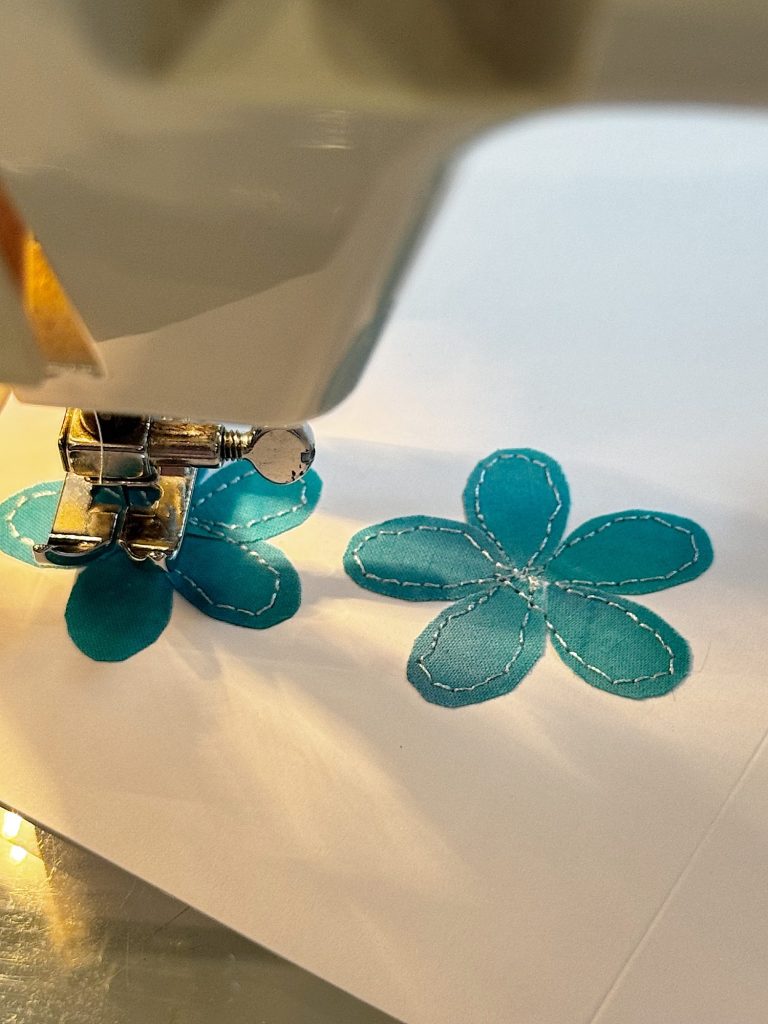
Once your pieces are in place, head to your sewing machine.
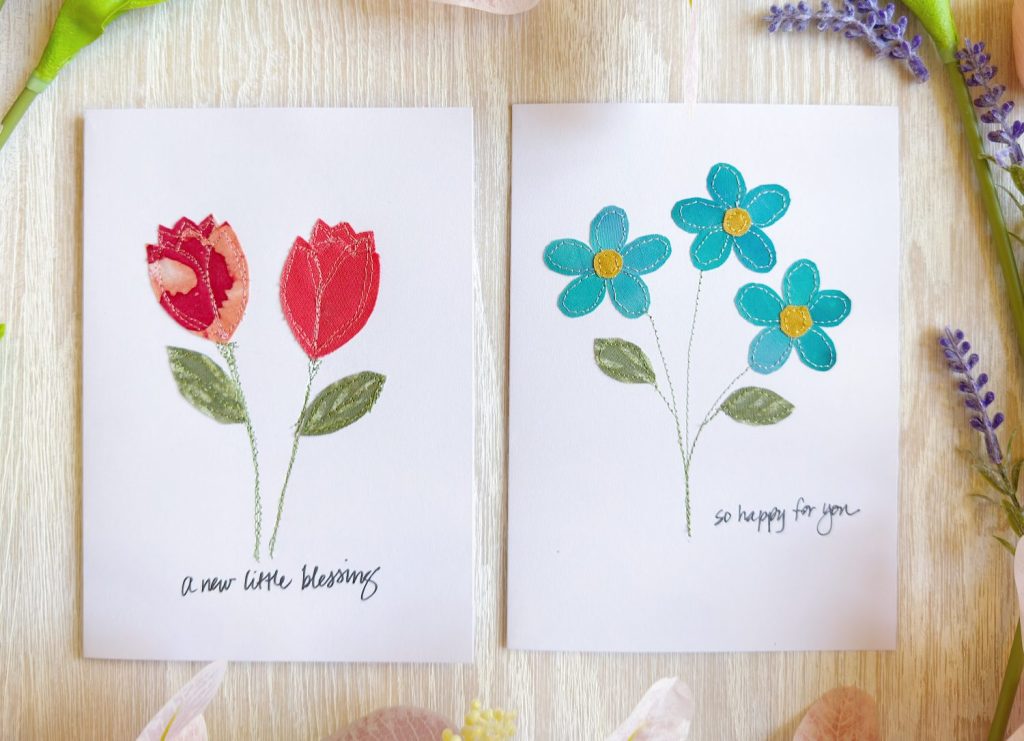
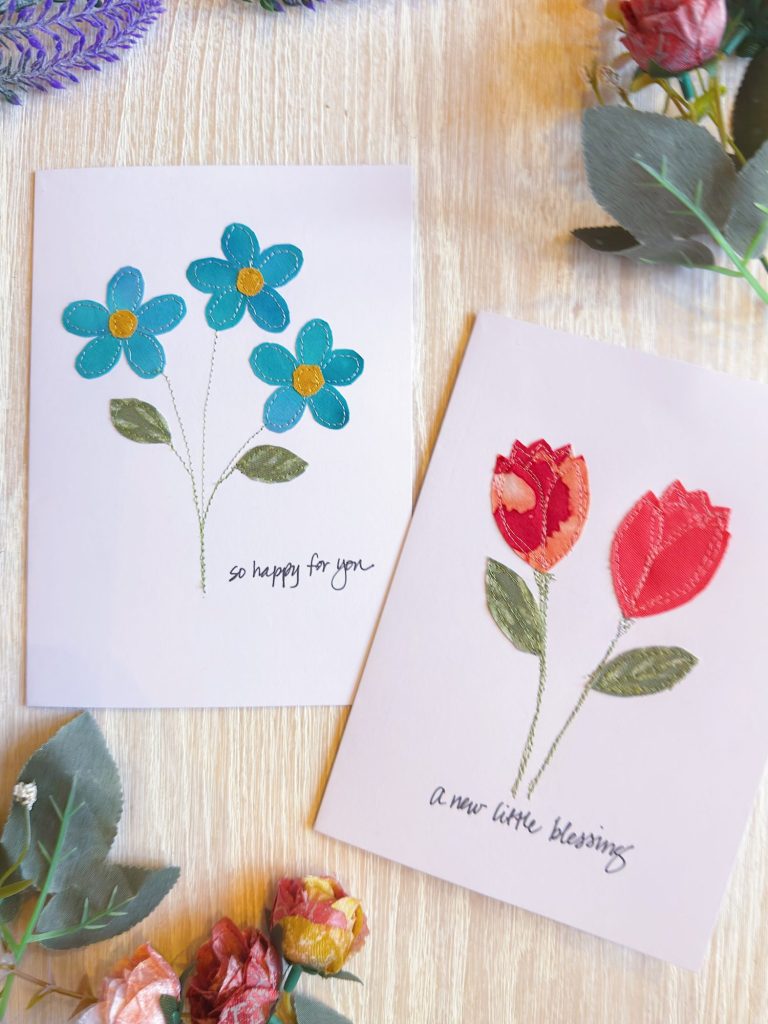
For the blue forget-me-knots, I used a simple straight stitch around the edges.
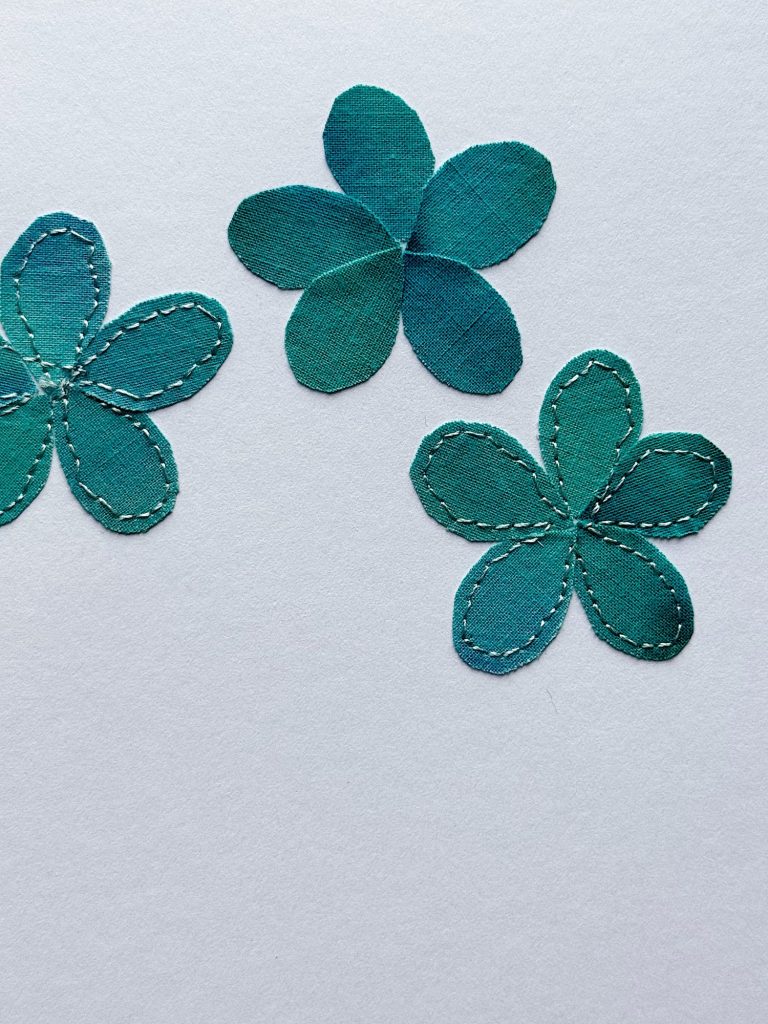
The visible stitches add character and make the cards feel truly handmade.
For the pink tulips, I used free motion embroidery.
Free-motion stitching lets you draw with thread. It creates movement and softness that works beautifully with floral shapes.
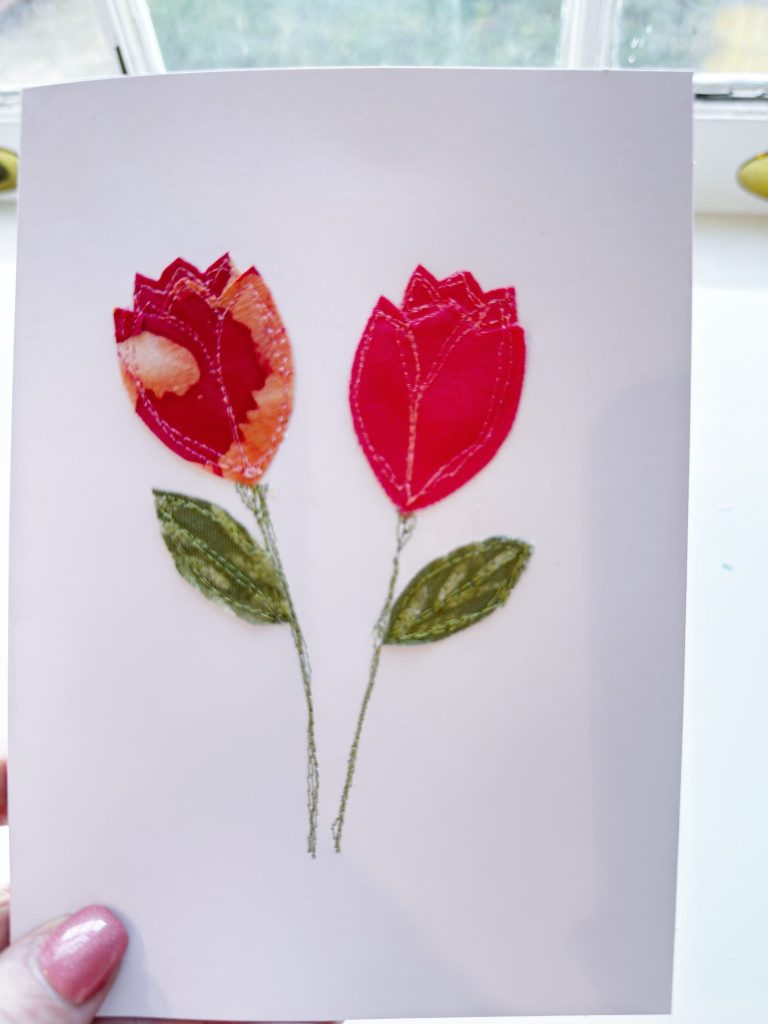
If free-motion embroidery feels intimidating, start with straight stitches. Both methods produce beautiful results.
Why the Stitched Outline Makes All the Difference

The stitched outline does more than secure the fabric.
It transforms the card.
The stitching adds texture, dimension, and artistry. It also softens the edges of the appliqué, making everything feel cohesive.
And perhaps my favorite part is that no two stitches look exactly alike. Each card becomes its own small piece of art.
Personalizing the Cards
Once the stitching was finished, I added handwritten messages inside each card.
This might be my favorite step.
Handwritten notes feel personal in a way that digital messages never can.
I also created a collection of heartfelt sayings you can use for different occasions.
Here are some categories I included:
Thank You Messages
Warm, thoughtful phrases that feel genuine and personal rather than formal.
- So grateful for you.
- Thank you from my heart.
- You made it so special.
- Your kindness meant everything.
- I will always remember this.
- Thank you for showing up.
- You made the day brighter.
- With love and gratitude.
- Thank you for being you.
- So thankful we shared this.
Birthday Wishes
Short, joyful sentiments that celebrate moments and memories.
- Celebrating you today.
- So happy you were born.
- A beautiful year begins.
- Wishing you joy today.
- Cheers to another year.
- Grateful for your friendship.
- You make life sweeter.
- Another year of you.
- Today is all yours.
- So much to celebrate.
Get Well Notes
Gentle encouragement that feels comforting without being overly sentimental.
- Sending you gentle healing.
- Thinking of you today.
- Rest, heal, and be cared for.
- Holding you in my heart.
- Wishing you comfort and strength.
- One day at a time.
- Sending warmth your way.
- Hoping each day feels better.
- Wrapped in love and healing.
- Take all the time you need.
- Here for you always.
- Sending quiet encouragement.
Congratulations Messages
Celebratory phrases that honor milestones big and small.
- So happy for you.
- This is worth celebrating.
- You did it.
- Cheering you on always.
- What a beautiful milestone.
- So proud of you.
- This is just the beginning.
- Celebrating this moment with you.
- Hard work paid off.
- So well deserved.
- A joy to witness.
- Here’s to what’s next.
Baby Congratulations
- Welcome little one.
- So much love begins here.
- A beautiful new chapter.
- Tiny hands, big love.
- Joy has arrived.
- Love just grew.
- Sweet beginnings start now.
- So happy for your family.
- A new little blessing.
- Your hearts just grew bigger.
- Made with love.
- The sweetest adventure begins.
Sweet, welcoming messages that celebrate new beginnings and growing families.
These small words add meaning to the handmade element, turning a craft into a keepsake.
Why Handmade Cards Matter
We live in a fast world where messages are often typed quickly and sent instantly.
Handmade cards slow things down.
They invite intention.
They show effort and care.
And when someone receives a stitched card, they immediately know that time, creativity, and thought went into it.
That is a powerful gift.
Tips for Success
Use lightweight fabrics for easier stitching.
Choose thread colors that either blend softly or intentionally contrast for visual interest.
Don’t worry about perfect stitching lines. The handmade feel is part of the beauty.
Start simple and experiment as you gain confidence.
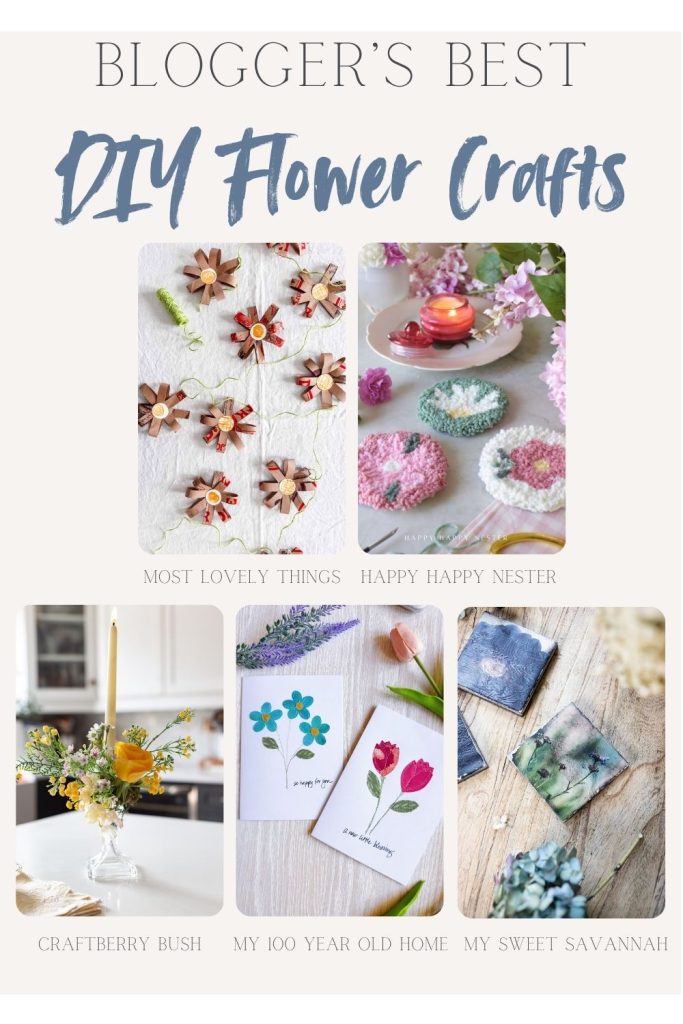
Blogger’s Best DIY Flower Crafts
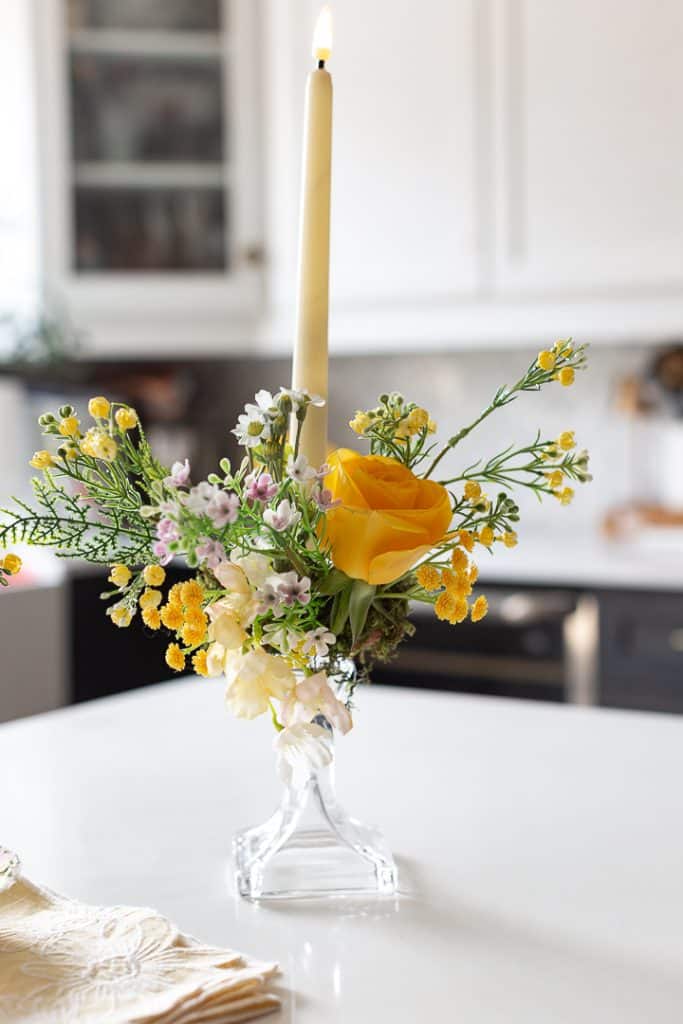
Candlestick Holder Floral Arrangement | Craftberry Bush
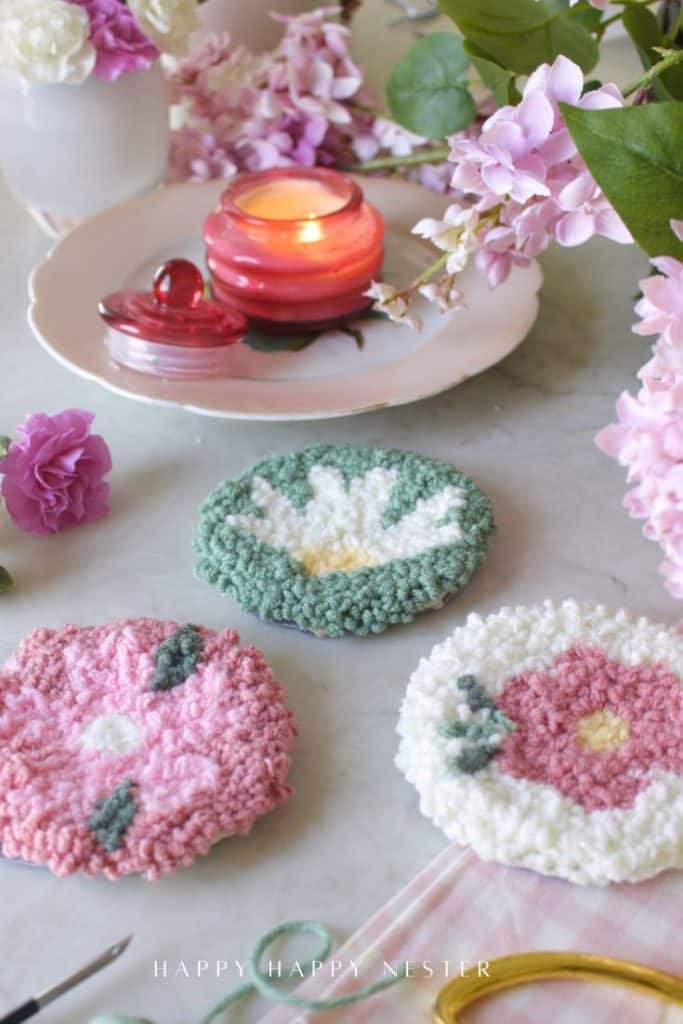
Punch Needle Crafting DIY | Happy Happy Nester
Punch Needle Crafting DIY is a cozy, beginner-friendly craft, and I had the best time making these three adorable coasters from a simple kit. This project comes together quickly and is perfect for adding a handmade touch to your coffee table or gifting to a friend. If you’ve been wanting to try punch needle embroidery, these cute little coasters are a fun and easy place to start.
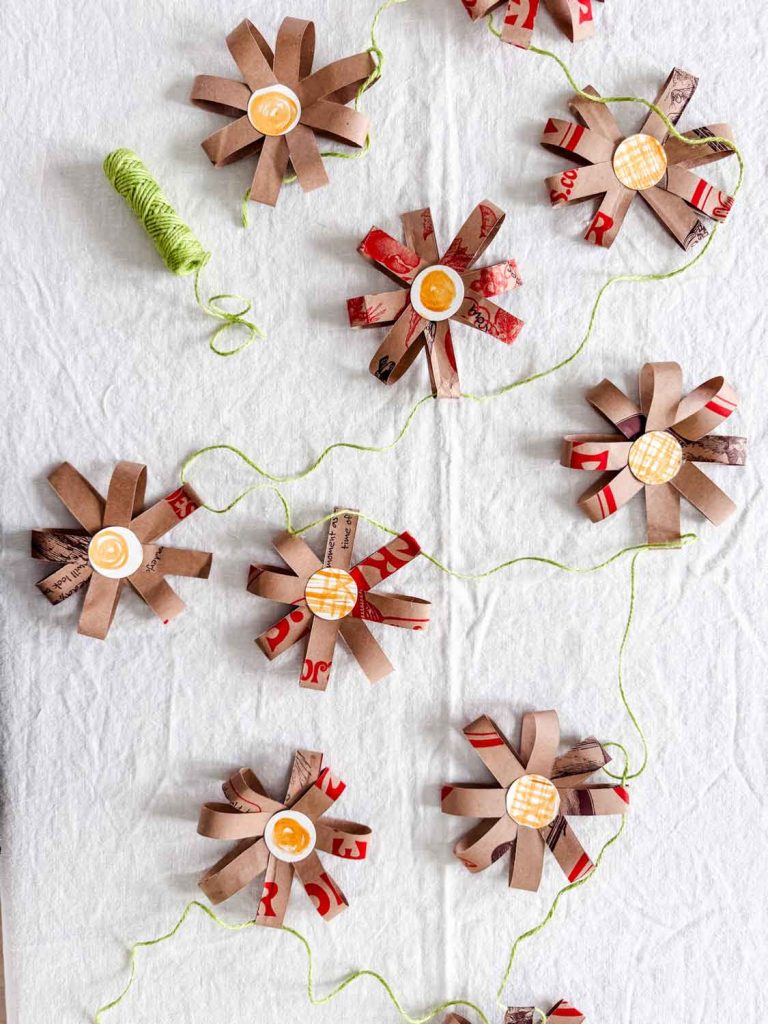
Paper Bag Flower Garland (Using a Trader Joe’s Bag) | Most Lovely Things
A simple paper flower garland made from a Trader Joe’s paper bag and hand-painted watercolor circles — an easy, charming craft that turns everyday materials into something unexpectedly sweet.
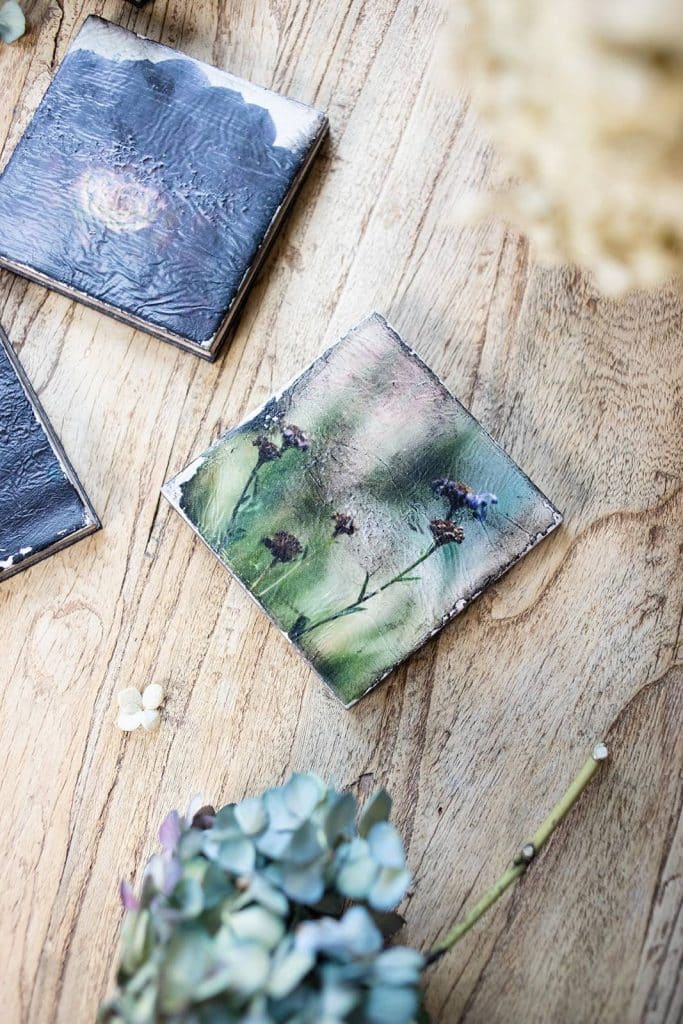
Floral Decoupage Tile Coasters | My Sweet Savannah
A Project You Will Want to Make Again and Again
These embroidered cards were honestly so much fun to make that I kept going long after I planned to stop.
They are relaxing.
Creative.
And endlessly customizable.
You can change the flowers, colors, stitching styles, and messages to match any season or occasion.
Whether you make one card or an entire collection, I promise this project will bring you joy.
And maybe, just maybe, it will inspire you to send more handwritten notes, share more handmade kindness, and keep creativity flowing in small, meaningful ways.
If you enjoy my blog, you can sign up to receive my updates here.
.Latest Posts
-
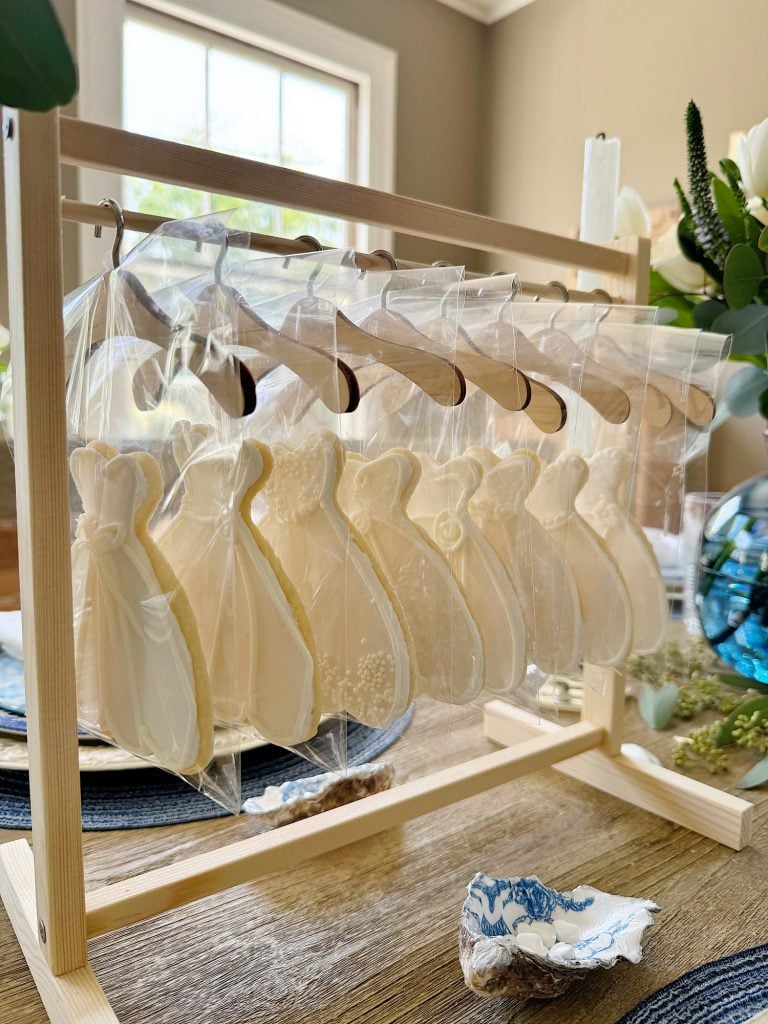
The Cutest Centerpiece and Bridal Shower Gifts
I love revisiting the bridal shower I hosted for my son Michael and his fiancé Ellie, when I wanted to create something truly unique that could also be used as bridal shower gifts. Drawing inspiration from the elegance of a bridal shop, I designed a centerpiece that would steal the show and double as gifts…
-
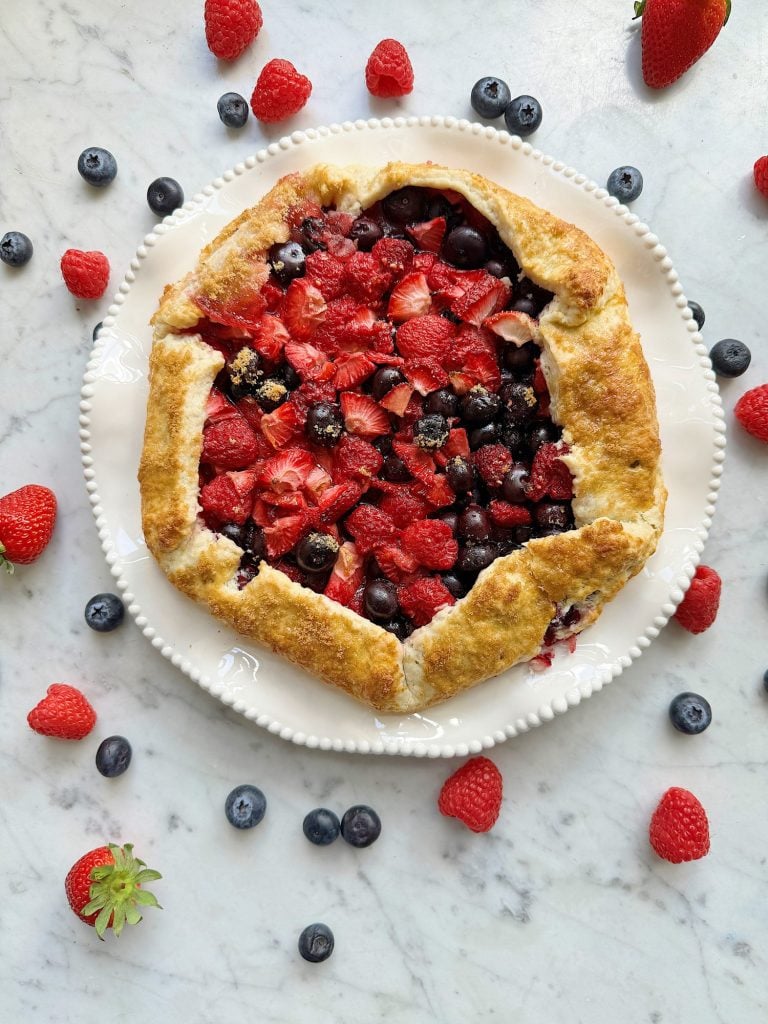
Strawberry, Raspberry and Blueberry Galette Recipe
Mother’s Day is just over a month away, and what better way to celebrate the moms in our lives than with a homemade Strawberry, Raspberry, and Blueberry Galette? Not only does this delectable Berry Galette look fantastic, but it is also so easy to make! This delightful combination of sweet berries and flaky pastry crust…
-
Loving Spring and Sunday Morning Coffee
I am loving spring, even with my ongoing battle with squirrels in the garden, and I am finally winning thanks to my new crop covers. And Happy Easter everyone! After last year’s tomato disaster, it feels so good to see my plants protected and growing again. I am also loving spring as we update our…
-
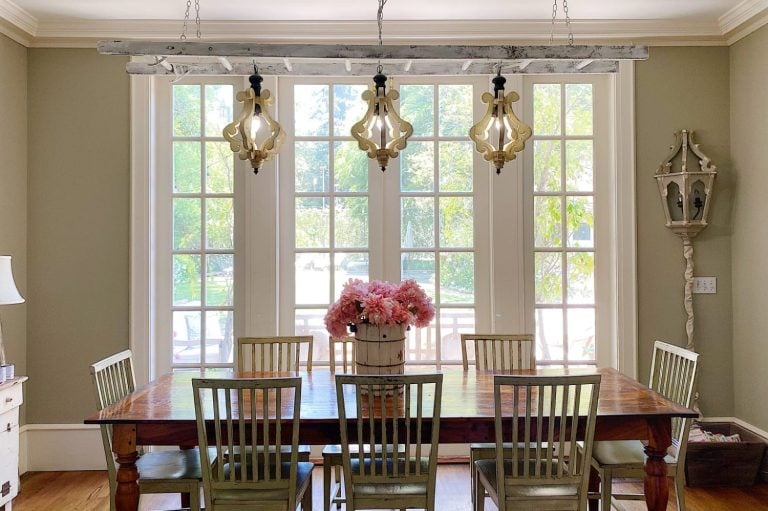
Seven Ideas for a Kitchen Island
Kitchen Islands are not only practical but also increase the value of your home. Today, I am sharing my white kitchen islands and seven ideas for yours. It is easy to be overwhelmed by the many choices available for kitchen islands. If you are on the fence about whether to add one or use it…
My Recent Instagram Posts

You can pin the images below to your boards on Pinterest (click the Pin button in the top left corner) or follow me on Pinterest!
For more real-time updates, follow me on Instagram @My100YearOldHome
THIS IS SUCH A FUN DIY!
Lelsie, these turned out so beautifully! Pinned!
Annie