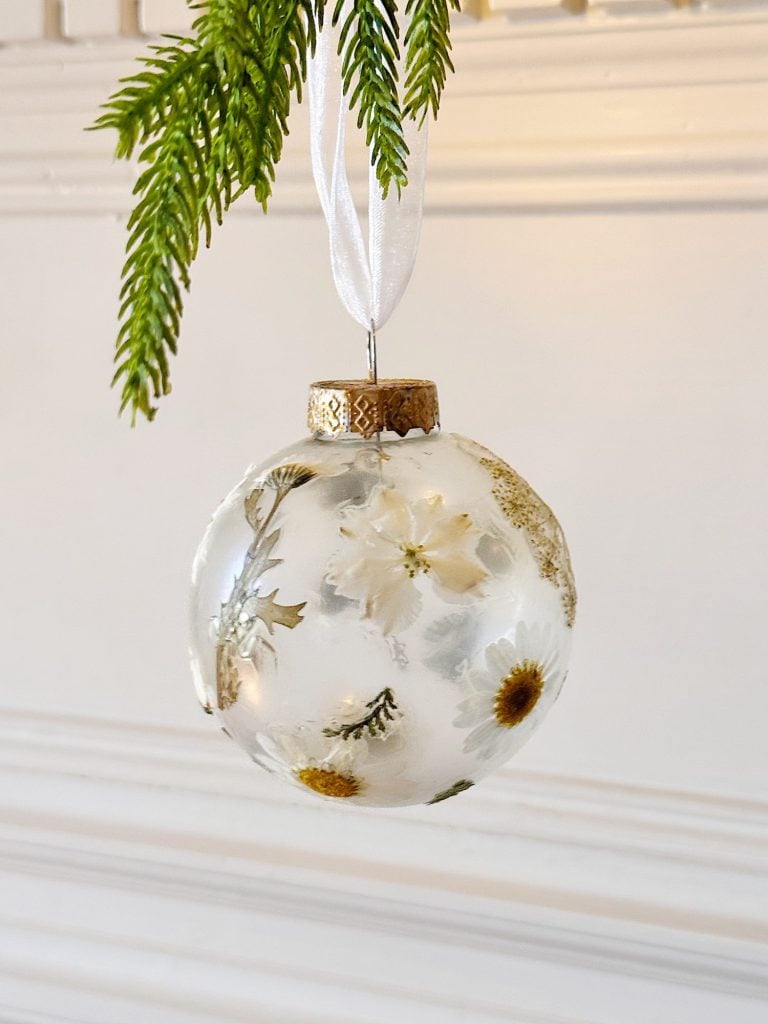
Family Christmas Ornaments – A Handmade Christmas
It’s week eight of my 16-week series titled A Handmade Christmas, and today I am sharing homemade Family Christmas Ornaments..
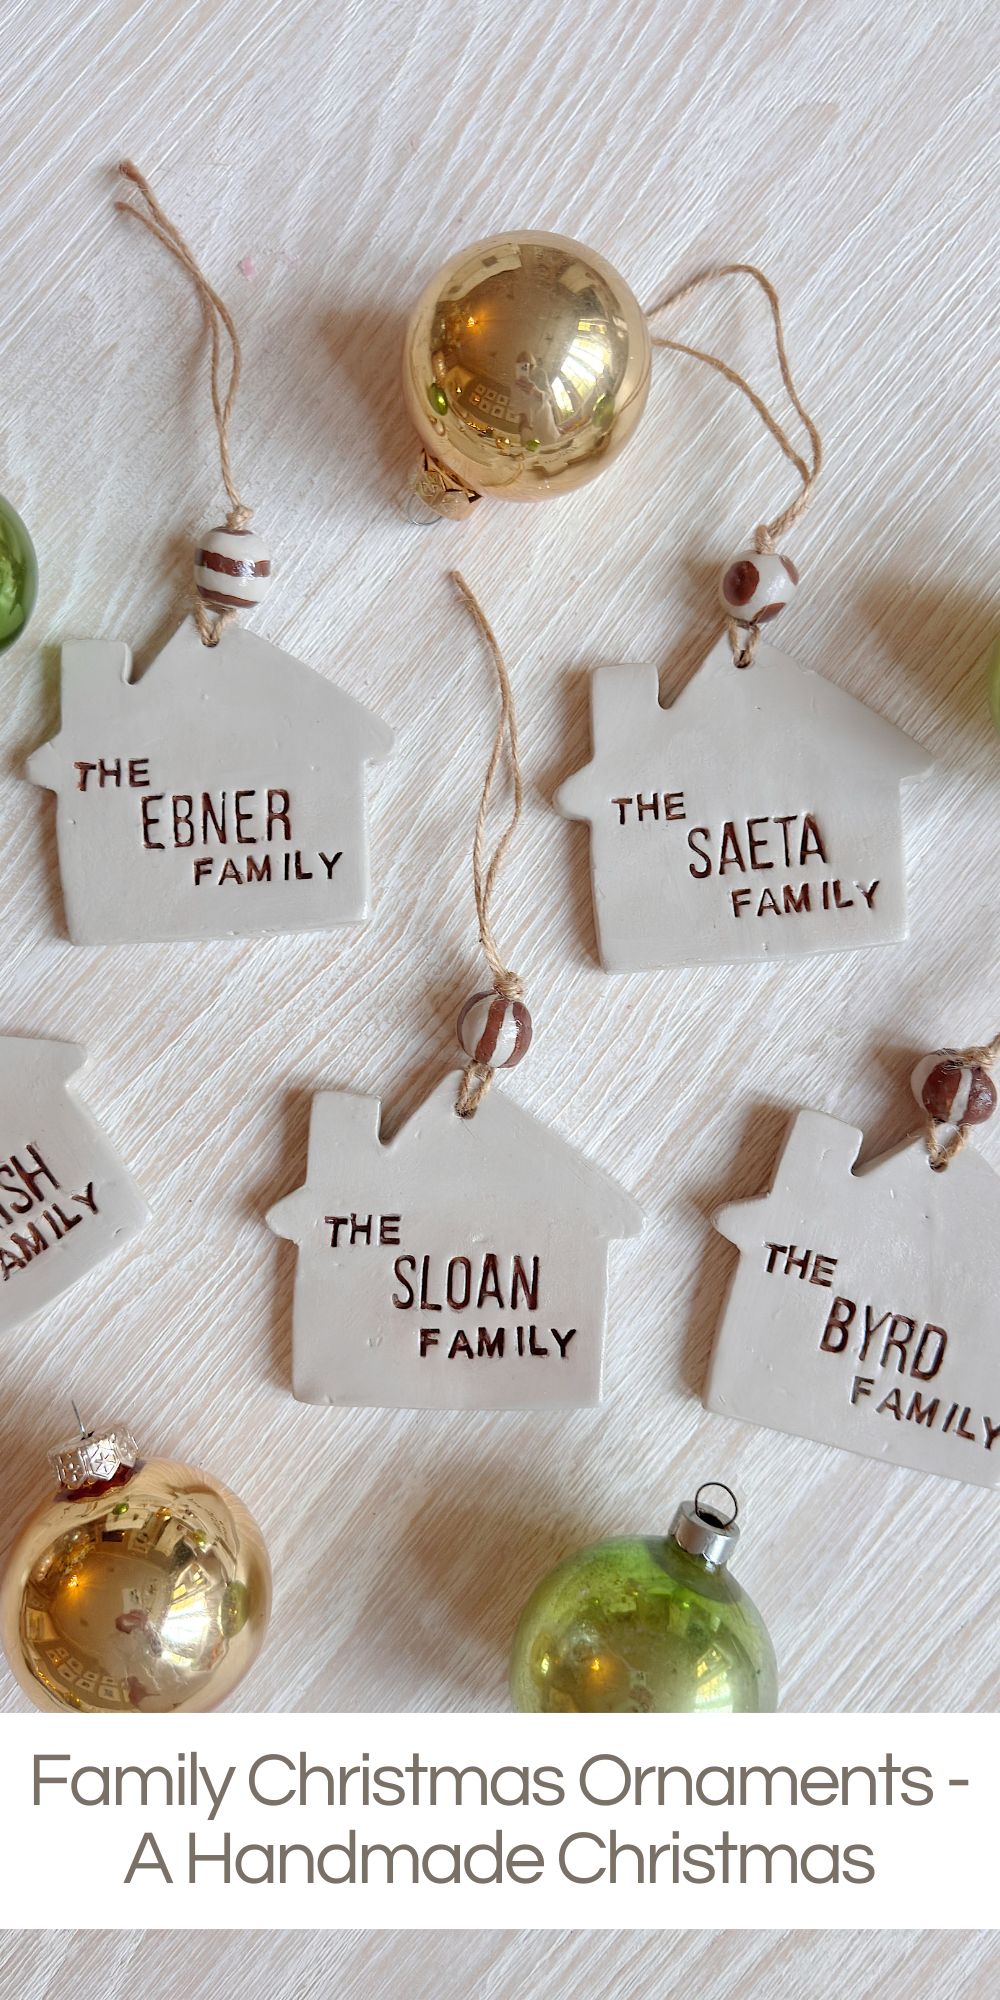
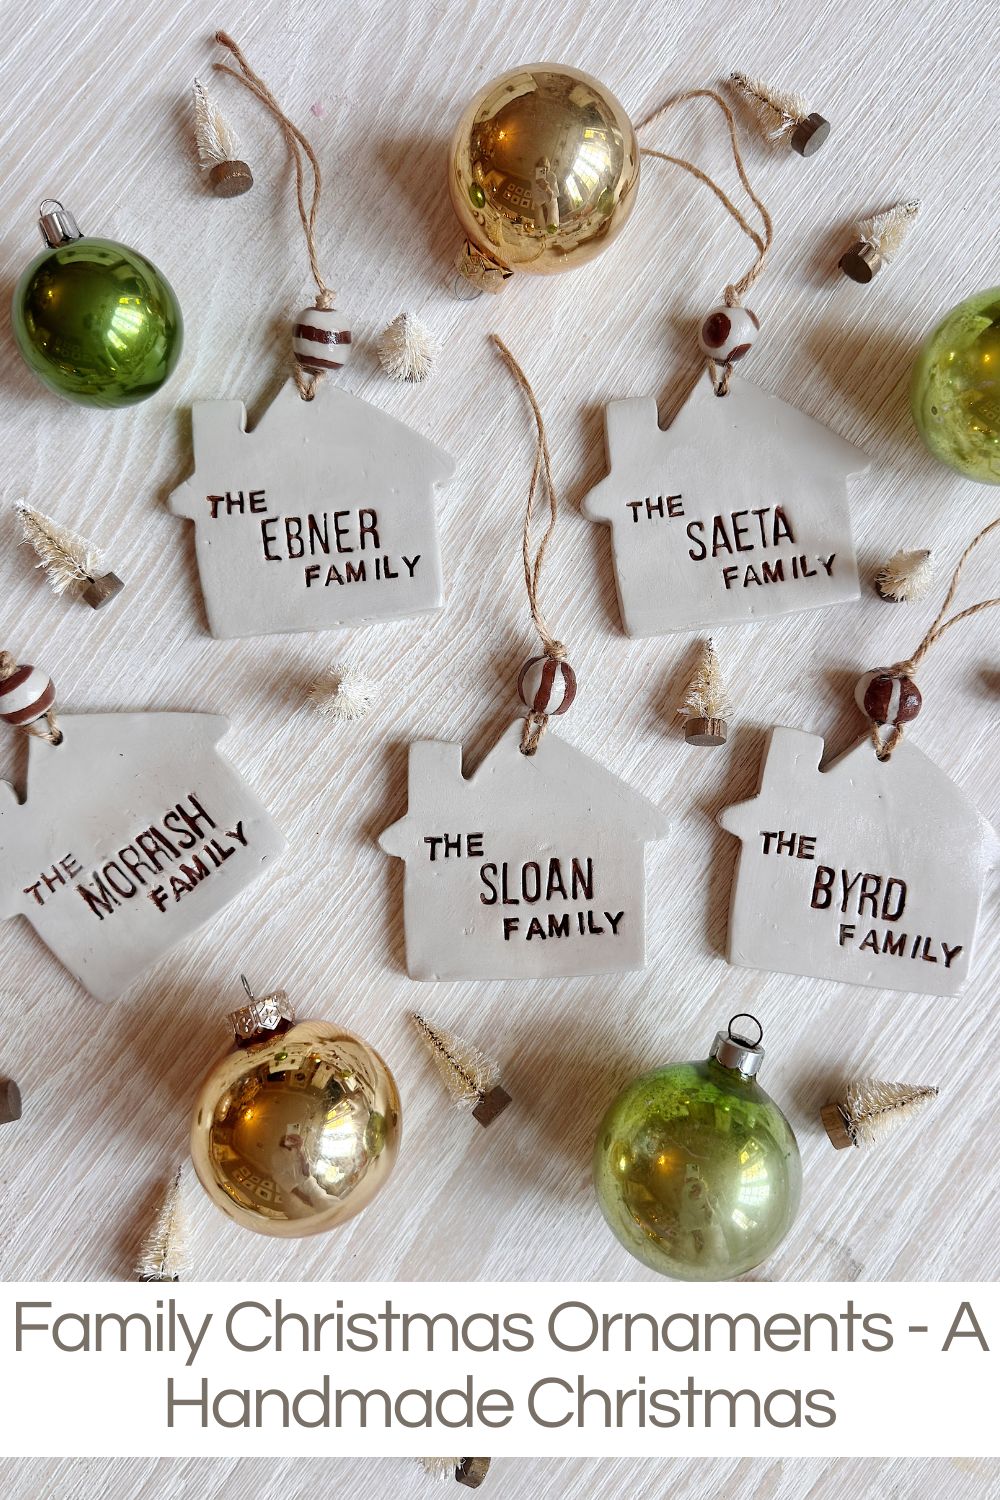
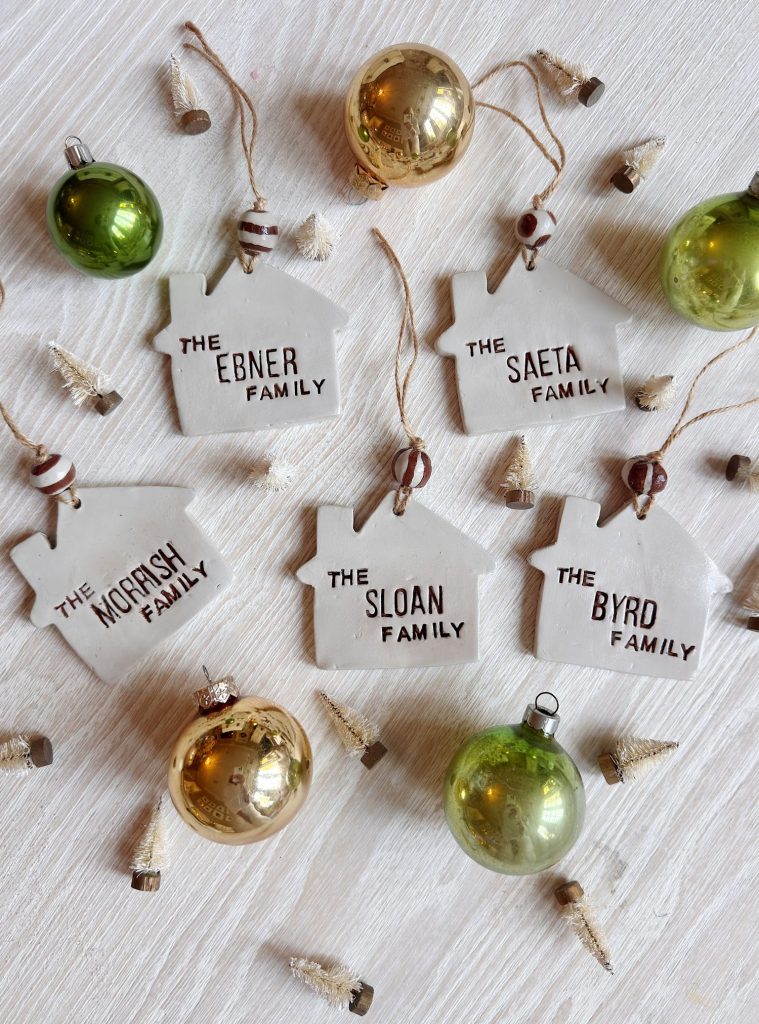
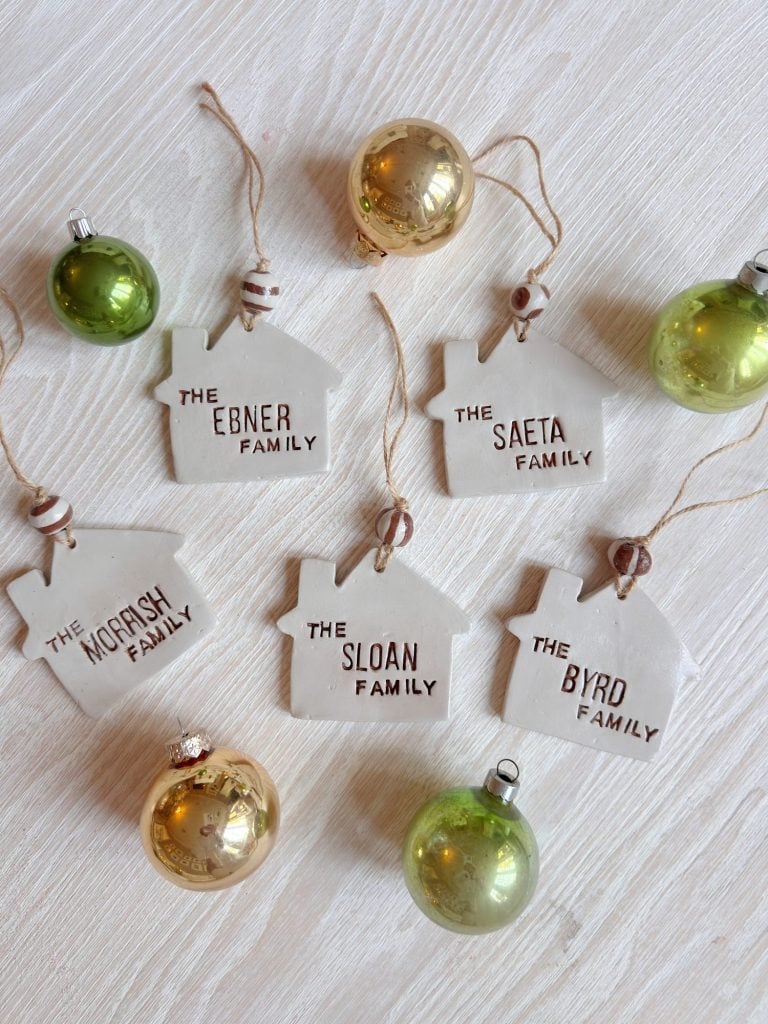
There’s something magical about creating handmade ornaments that celebrate the people we love most, our family. This year for A Handmade Christmas, I wanted to create a project that felt personal and timeless. These Family Christmas Ornaments made from air-dry clay are simple, elegant, and completely customizable.
Family Christmas Ornaments
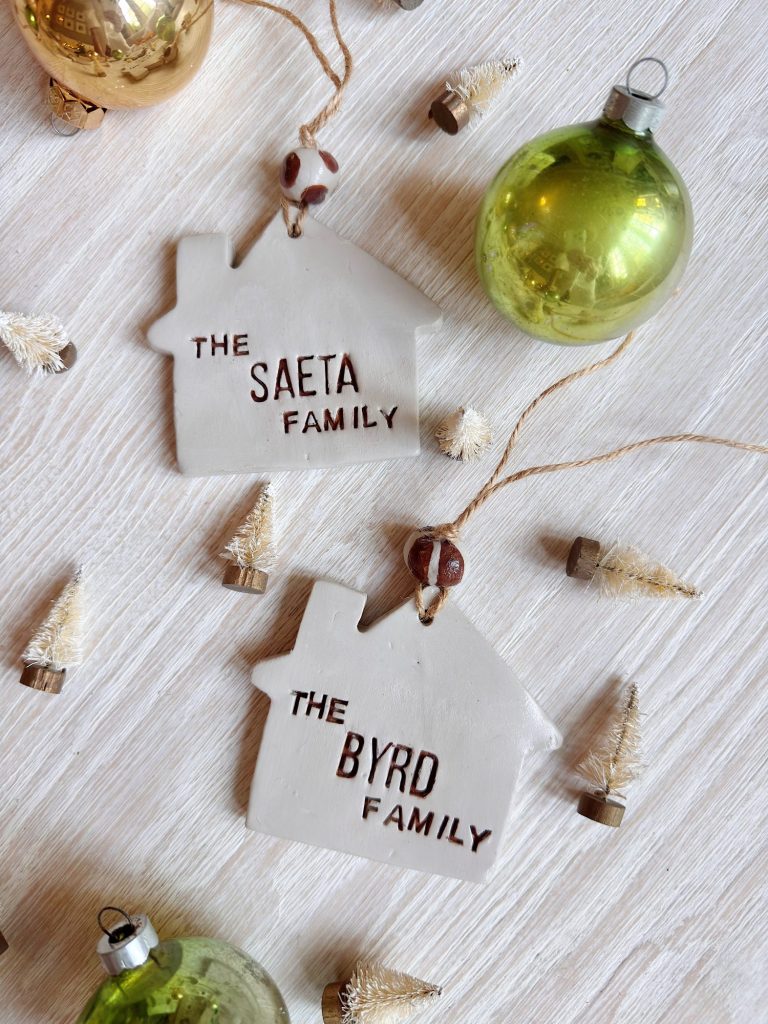
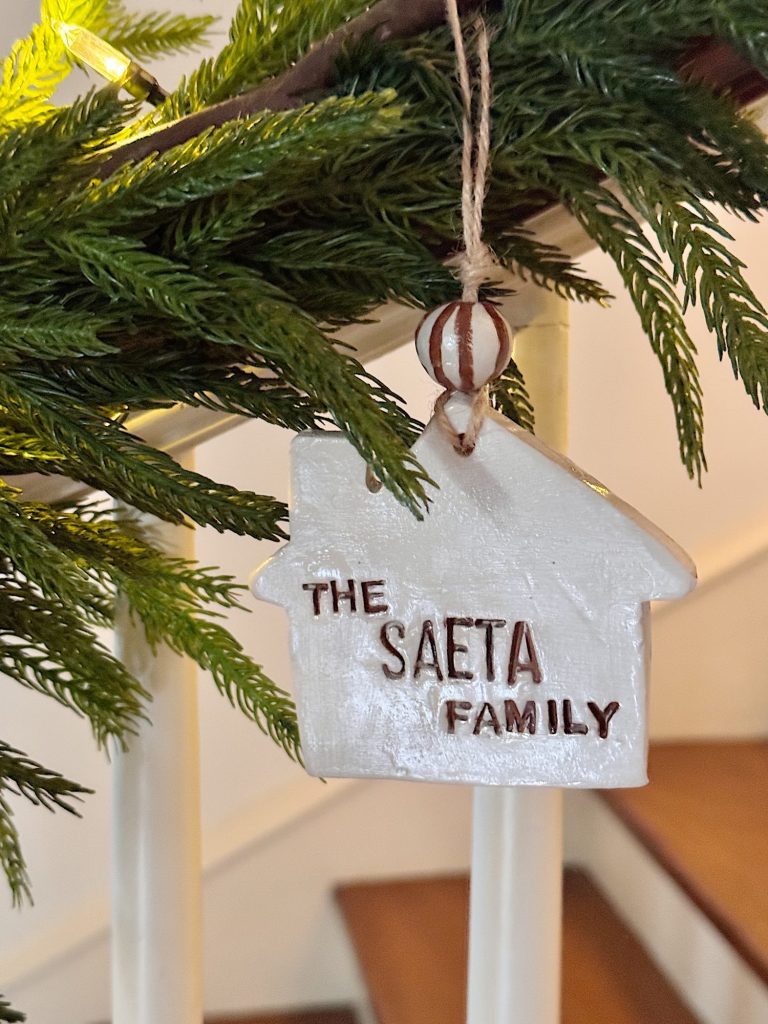
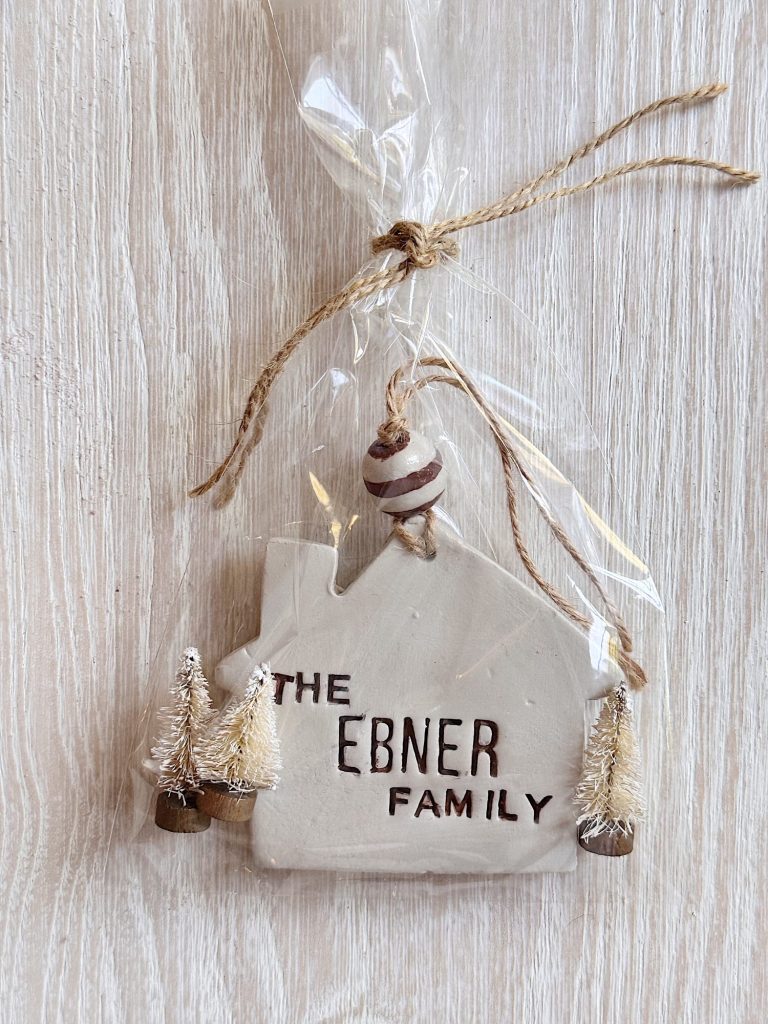
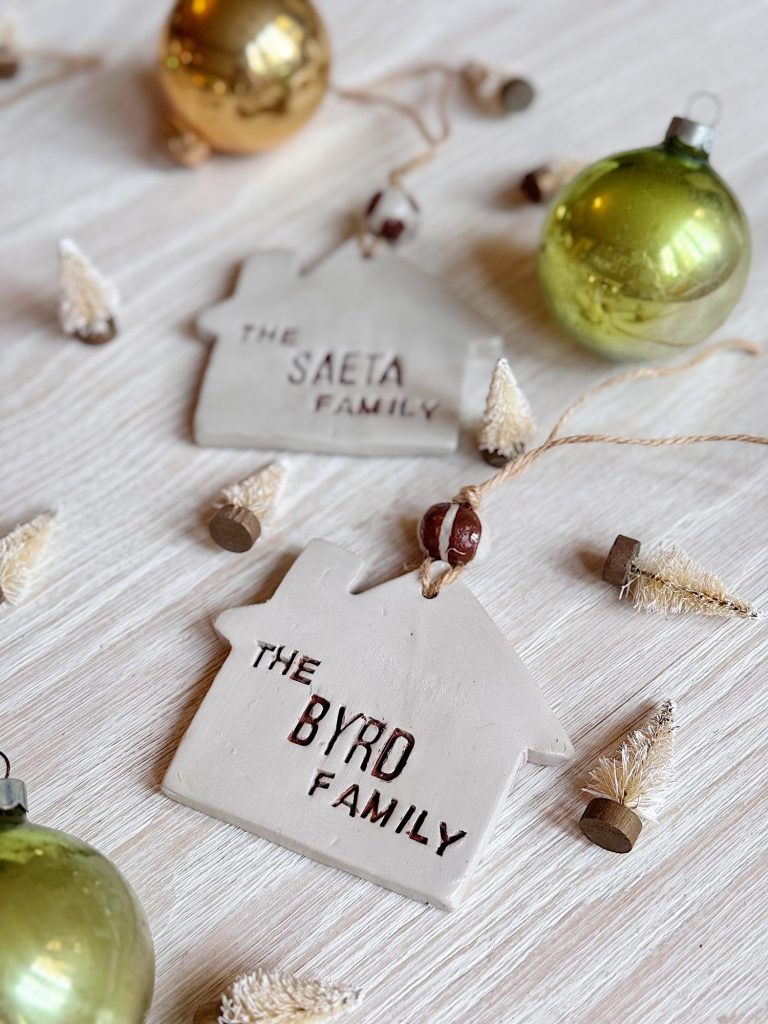
They’re shaped like a little house — because home is truly where the heart is — and each one carries the name of a family. You can make one for your own tree, gift them to friends, or even tie them onto wrapped presents for a thoughtful finishing touch.
The best part? You don’t need a kiln or any fancy equipment. Just a few supplies, some time to let the clay dry, and a creative spirit.
Why I Love This Project
Every Christmas tree tells a story, and these ornaments add a personal chapter. They’re minimalist and classic, yet incredibly meaningful. Whether your family is large or small, newly formed or generations deep, this project captures that sense of togetherness we all crave during the holidays.
I’ve made several for our family … one for each of our sons’ families and one for ours. When I look at the tree, I see not just pretty ornaments, but a reflection of love, legacy, and all the memories we’ve made together over the years.
Plus, the soft matte finish of air-dry clay and the embossed lettering feel cute enough to rival anything you’d find at a boutique.
Materials You’ll Need

Here’s what you’ll want to gather before you start:
- Air-dry clay (white or natural tone)
- House-shaped cookie cutter (about 3–4 inches tall)
- Rolling pin
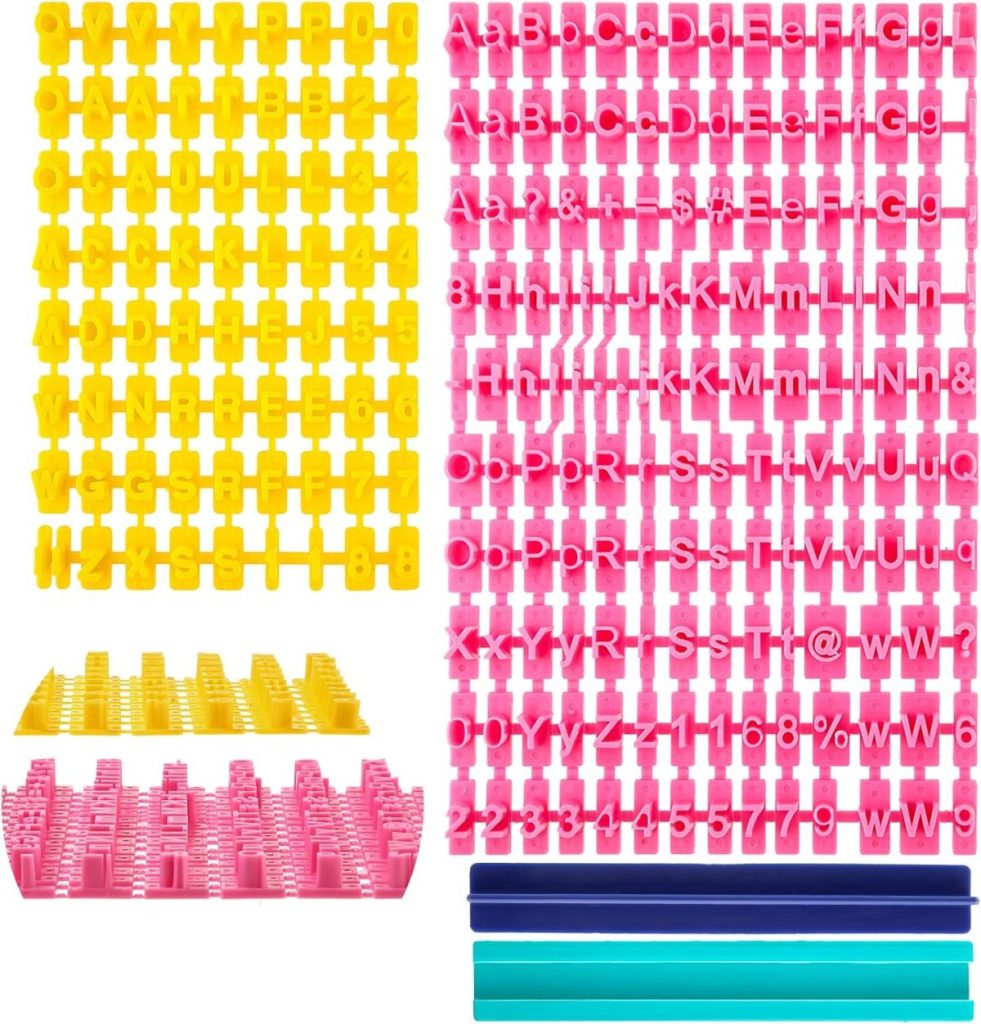
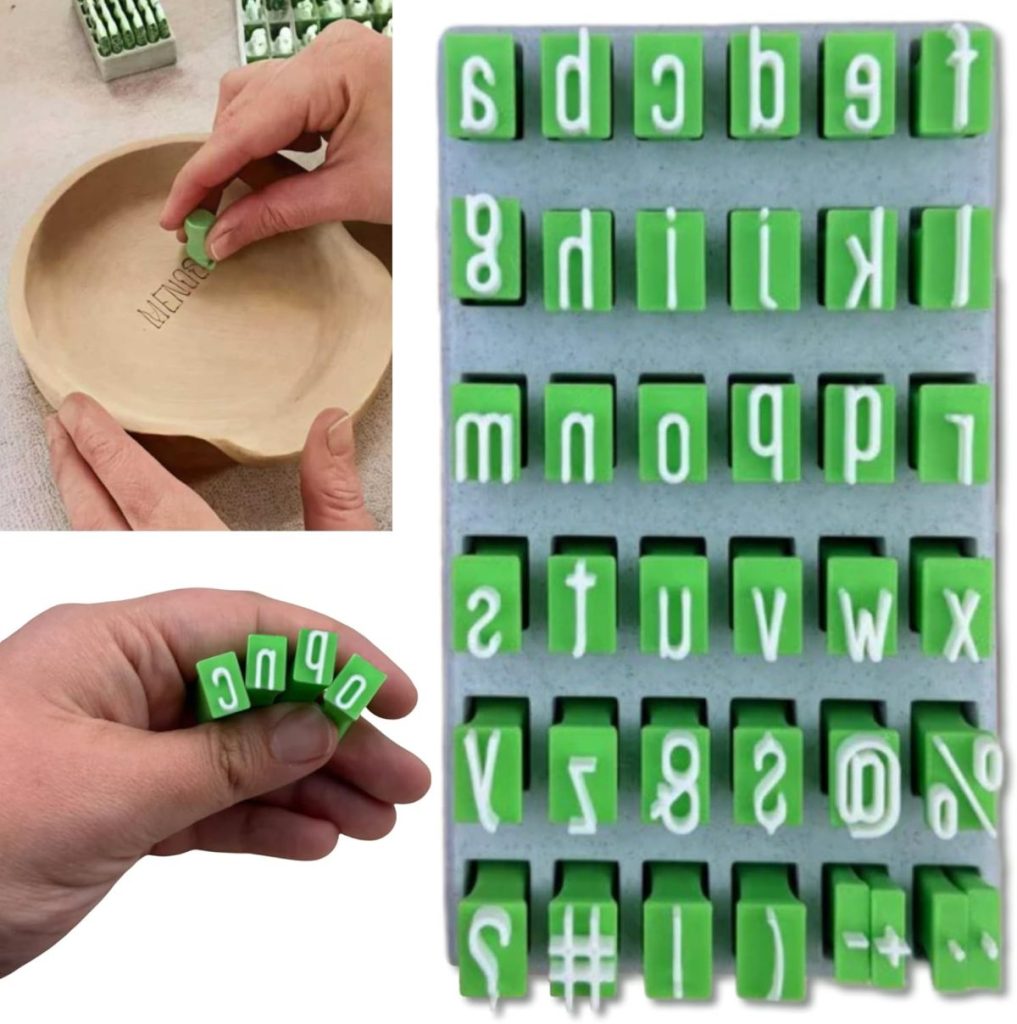
- Clay alphabet stamps (for smaller lettering)
- Larger alphabet stamps (to spell out family names)
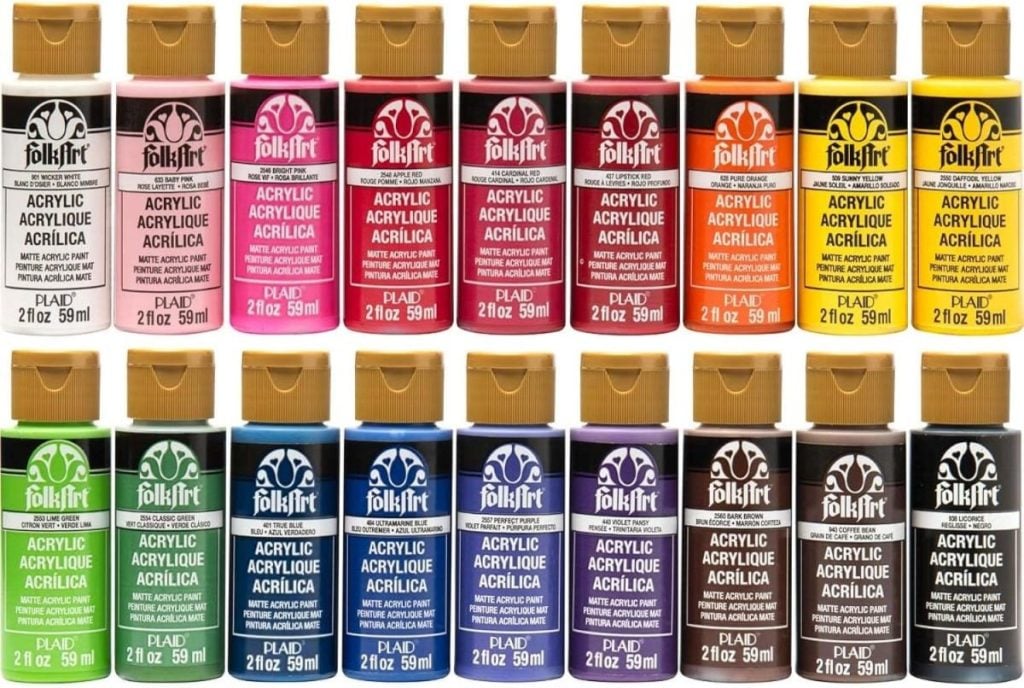
- Acrylic paint (optional — for accents or antiquing)
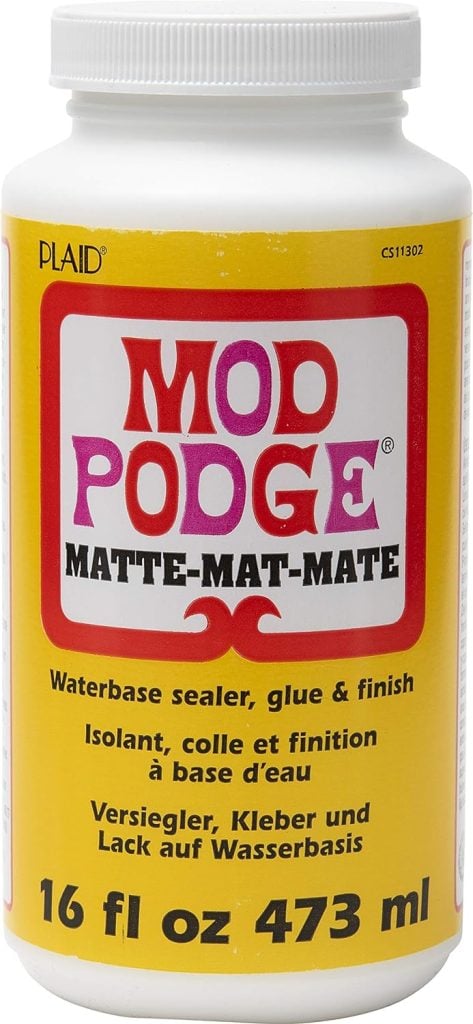
- Mod Podge (matte or satin finish)
- Clay glaze or clear acrylic sealer
- Small wooden beads (optional, for the hanger)
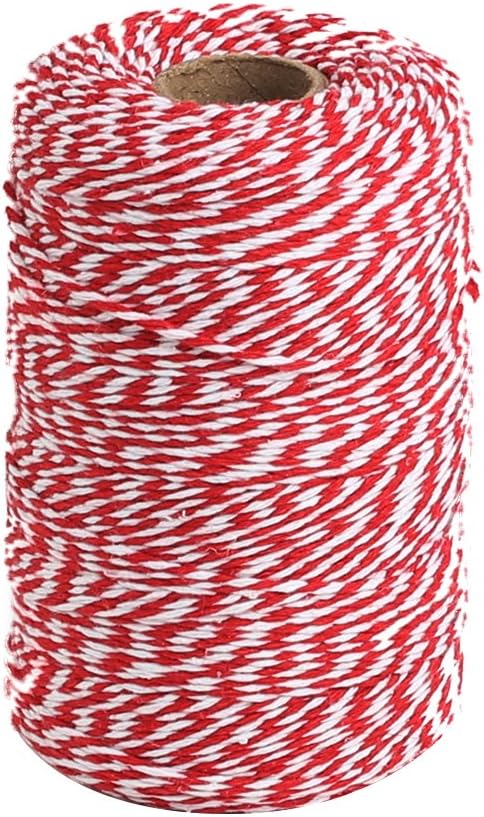
- Jute twine or ribbon
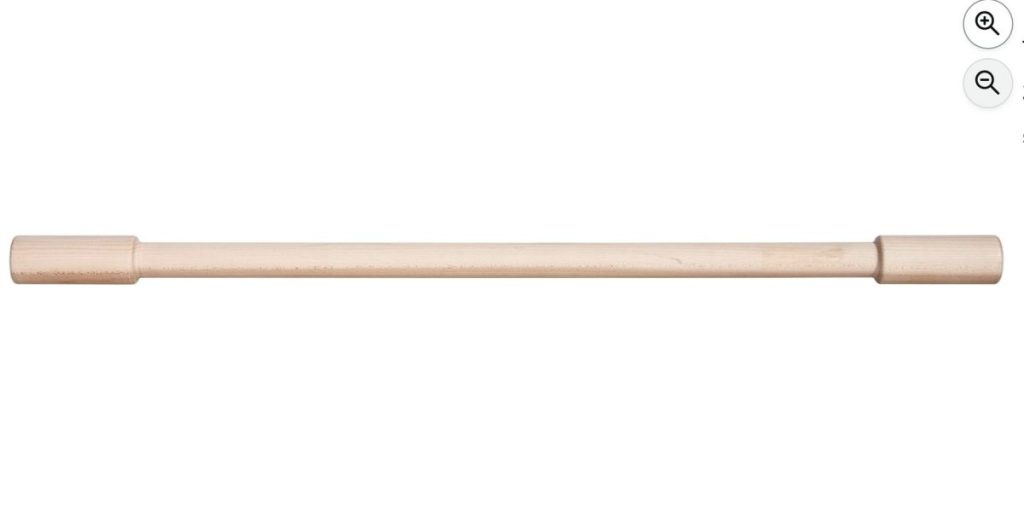
- Straw or skewer (to make a hanging hole)
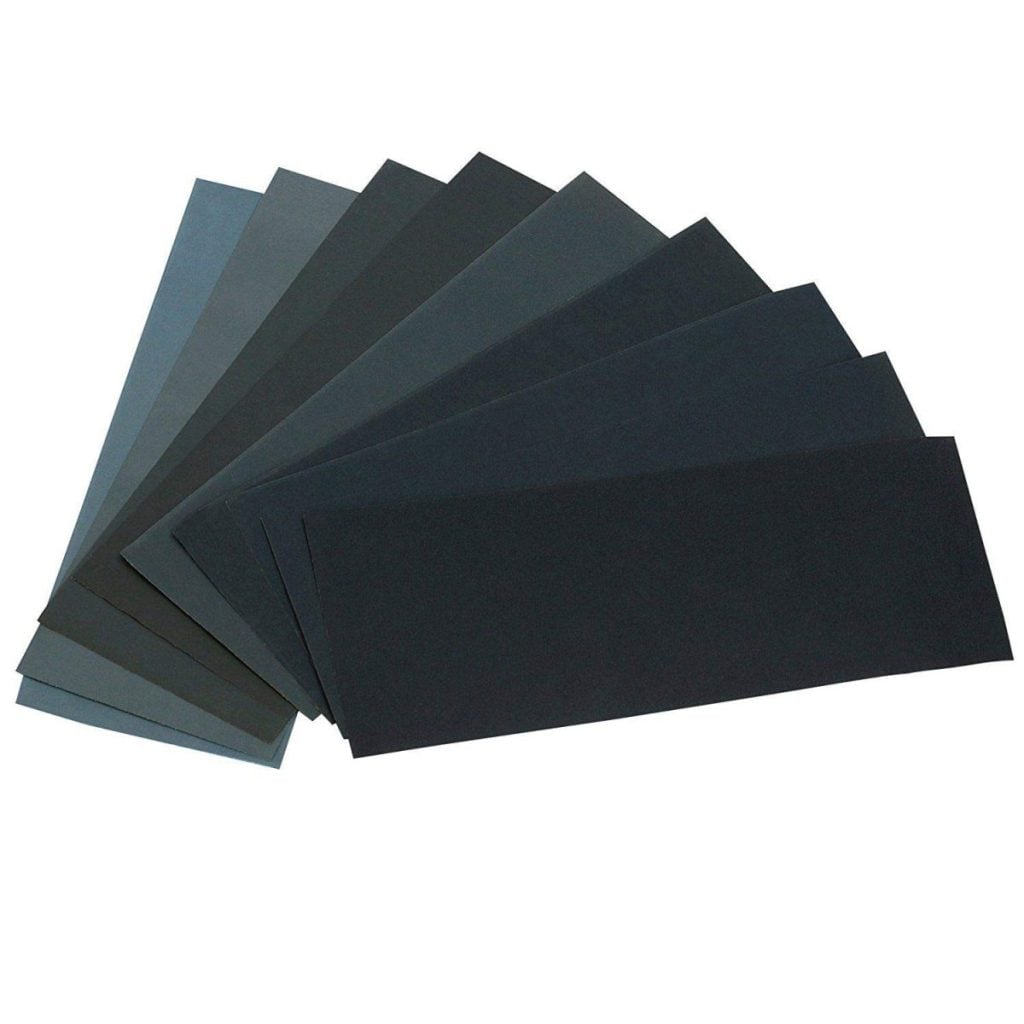
- Fine-grit sandpaper (for smoothing edges)
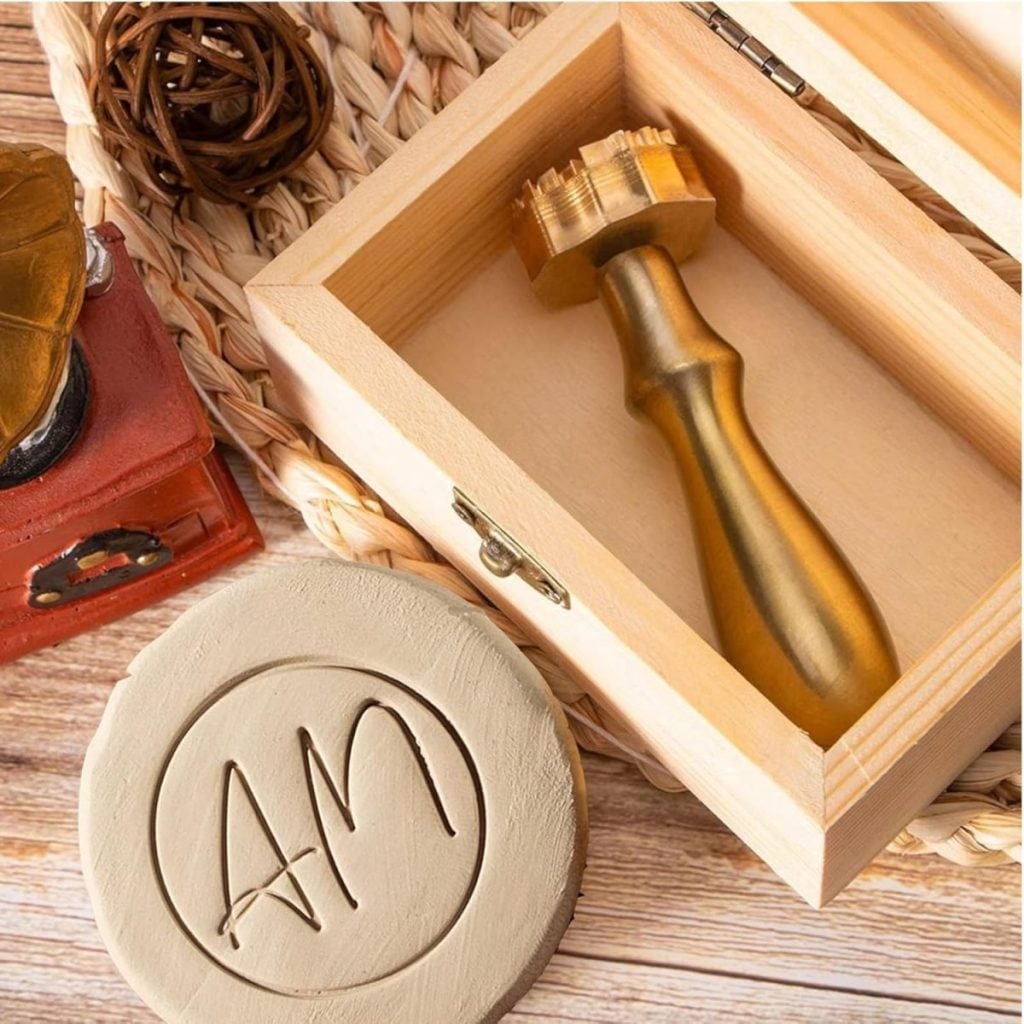
- Name stamp to “sign” your pottery pieces
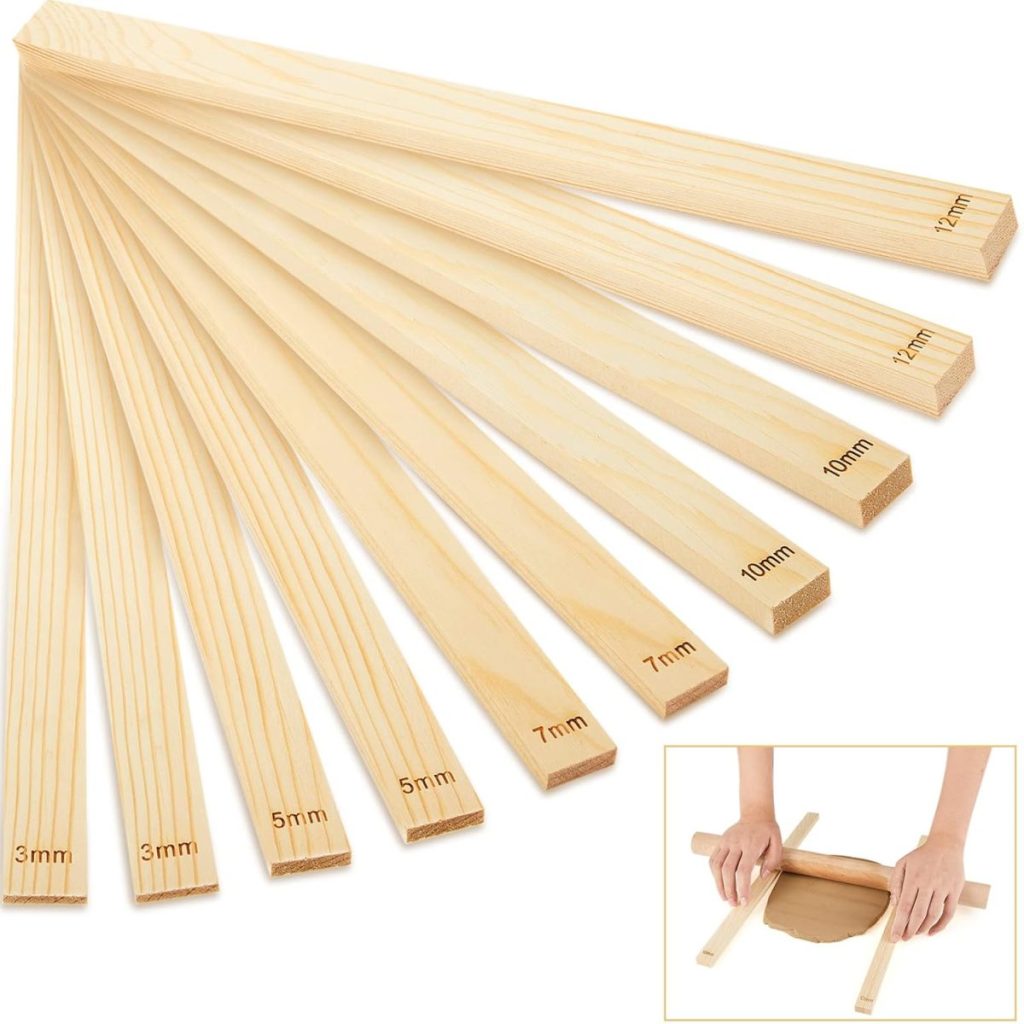
- Clay rulers
I may occasionally use affiliate links on this blog, which means I earn a small commission if you purchase through the link. The price will be the same whether you use the affiliate link or go directly to the vendor’s website using a non-affiliate link.
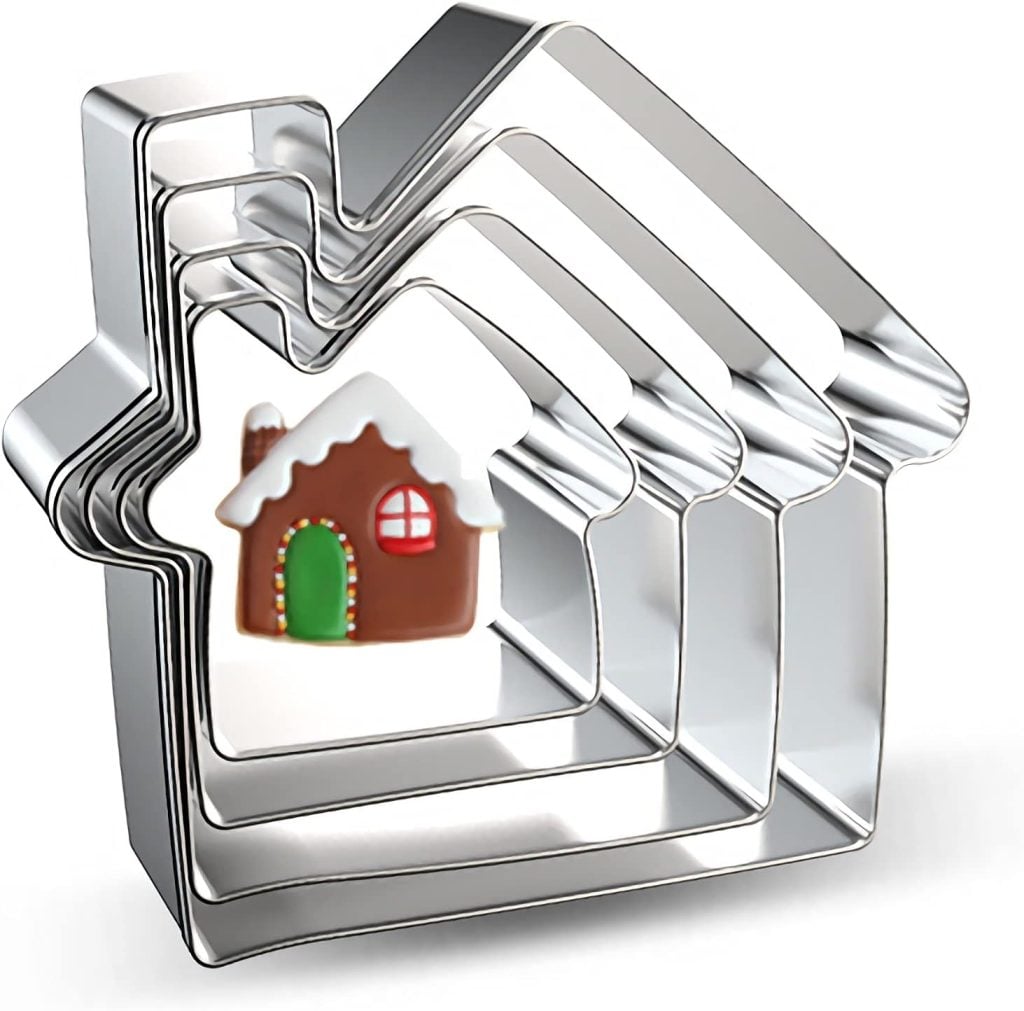
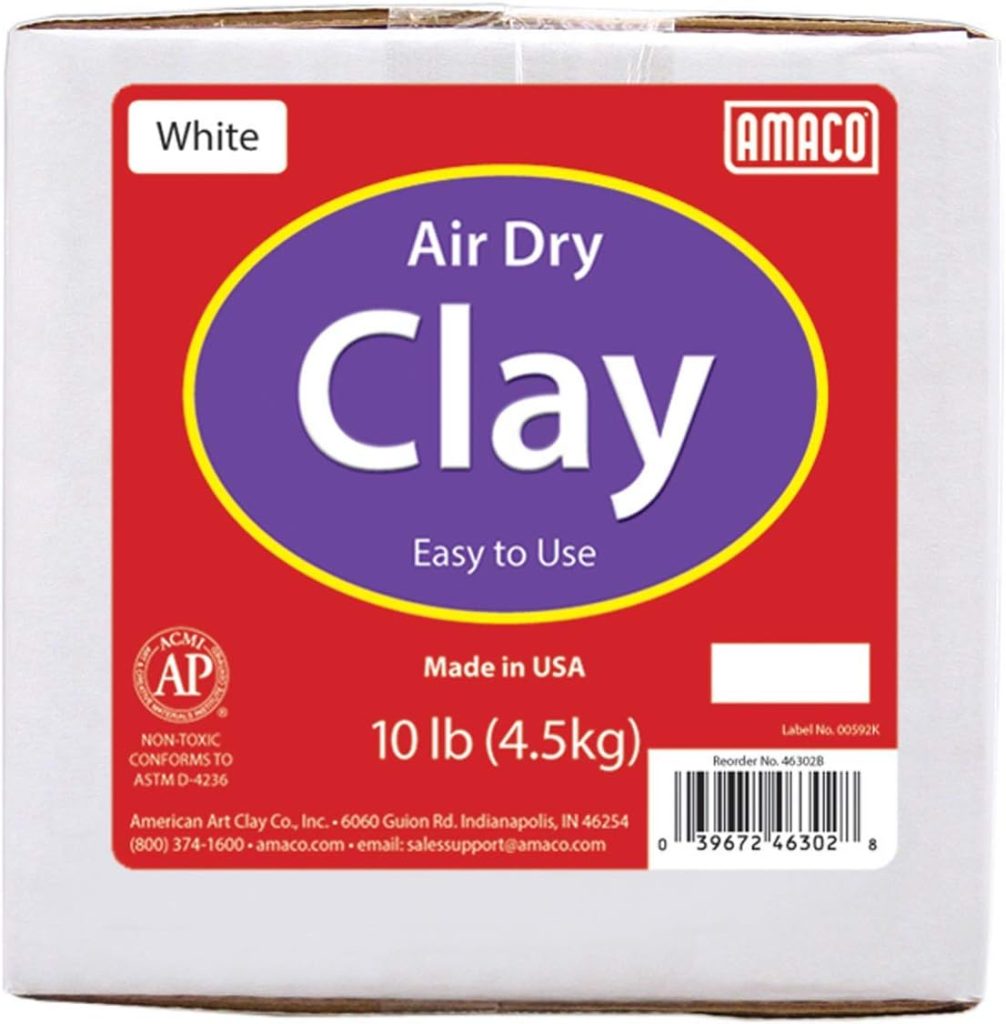
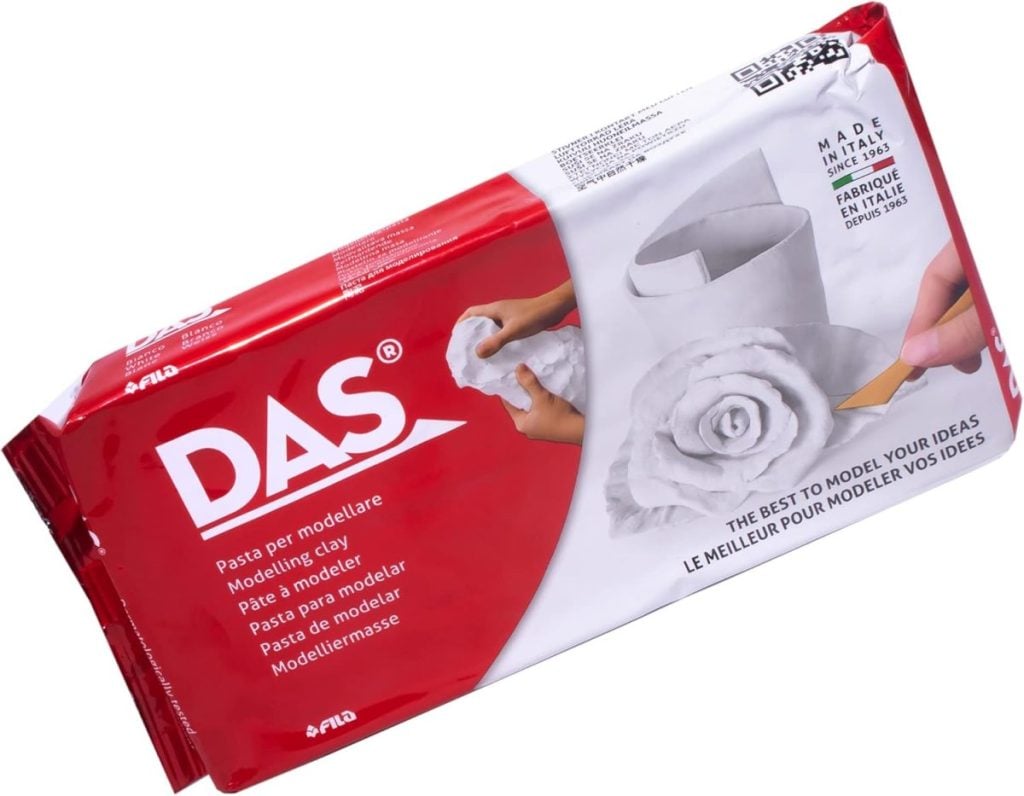

You can find everything at most craft stores or order them online. I personally used Arteza air-dry clay, a set of vintage-style alphabet stamps, and a simple house-shaped cookie cutter I found on Amazon.
Step 1: Roll Out the Clay

Start by preparing your workspace. I like to work on parchment paper or a silicone mat so the clay doesn’t stick.
Cut off a piece of air-dry clay and knead it gently until it’s soft and pliable. Then use your rolling pin to roll it out to about ¼-inch thickness. I usually roll them 3/8″ thick. Try to keep it even — this helps the ornament dry consistently without cracking. I use clay rulers to keep the thickness even.
If you prefer a perfectly smooth surface, you can roll the clay between two sheets of parchment paper. For a more handmade, organic feel, leave subtle texture.
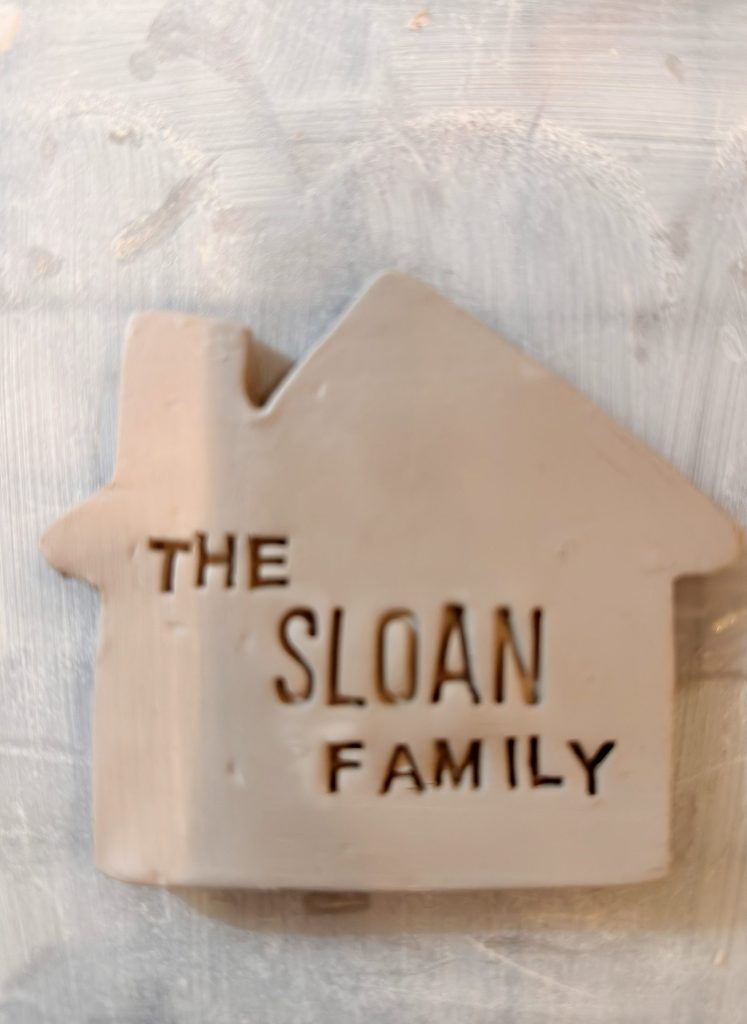
Step 2: Cut the House Shape
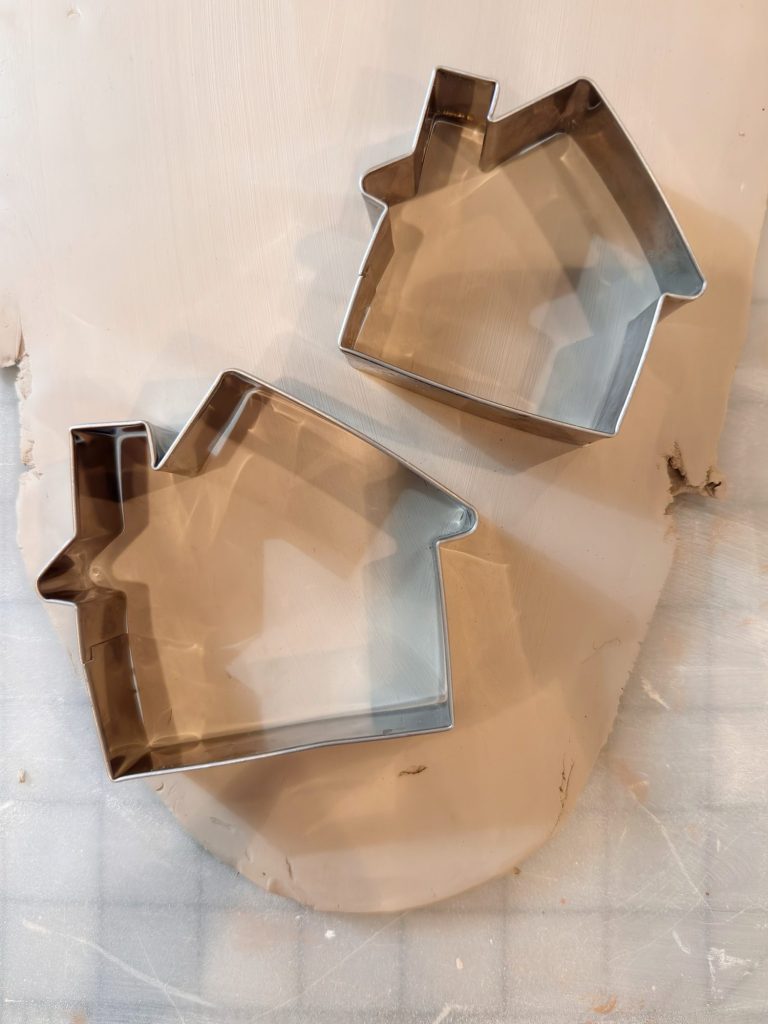
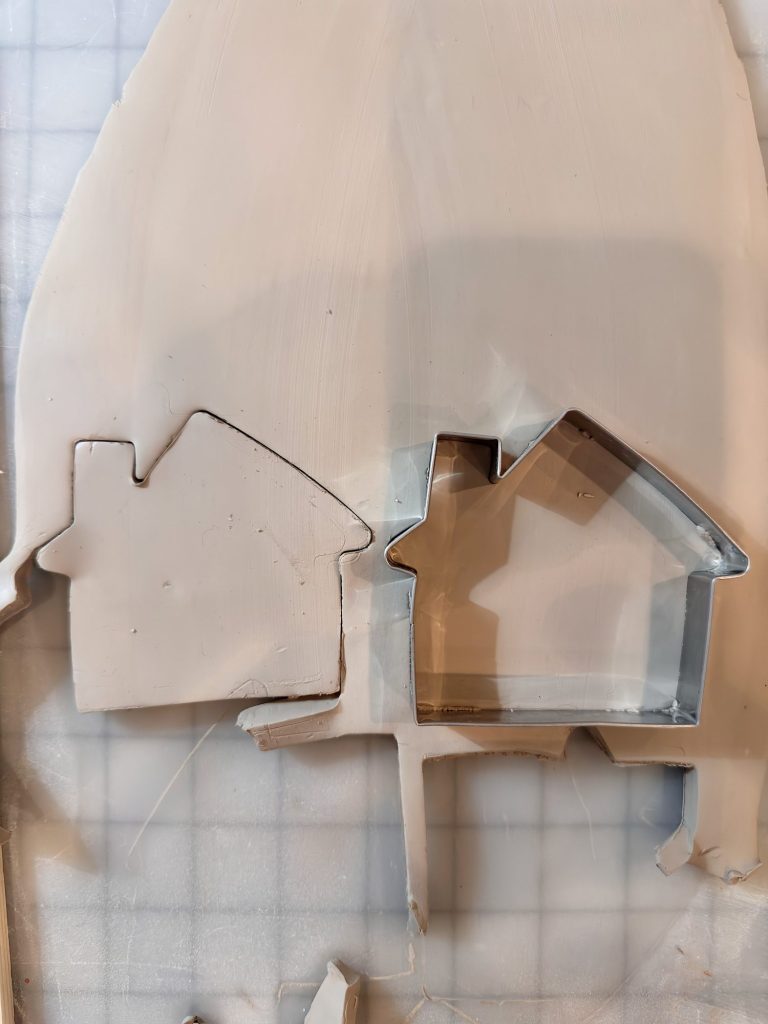
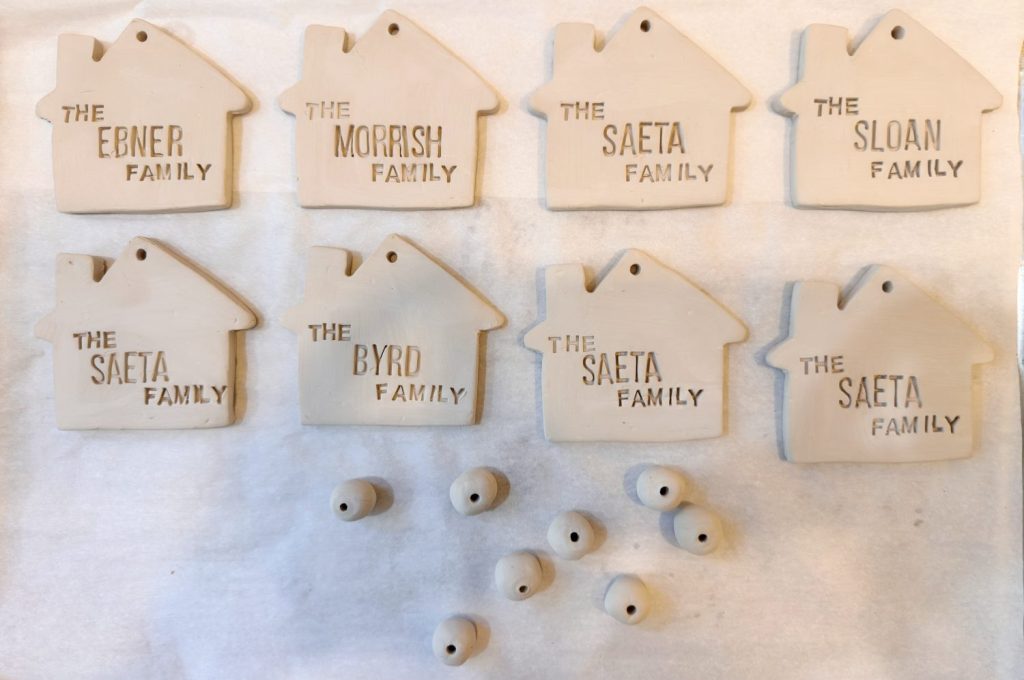
Use your house-shaped cookie cutter to press firmly into the clay and lift away the excess. You should have a perfect house shape ready to become your ornament.
If you’re making several ornaments, this is the time to cut all of your shapes. Keep a small piece of plastic wrap handy to cover unused clay so it doesn’t dry out.
You can also slightly round the corners with your finger if you prefer a softer silhouette.
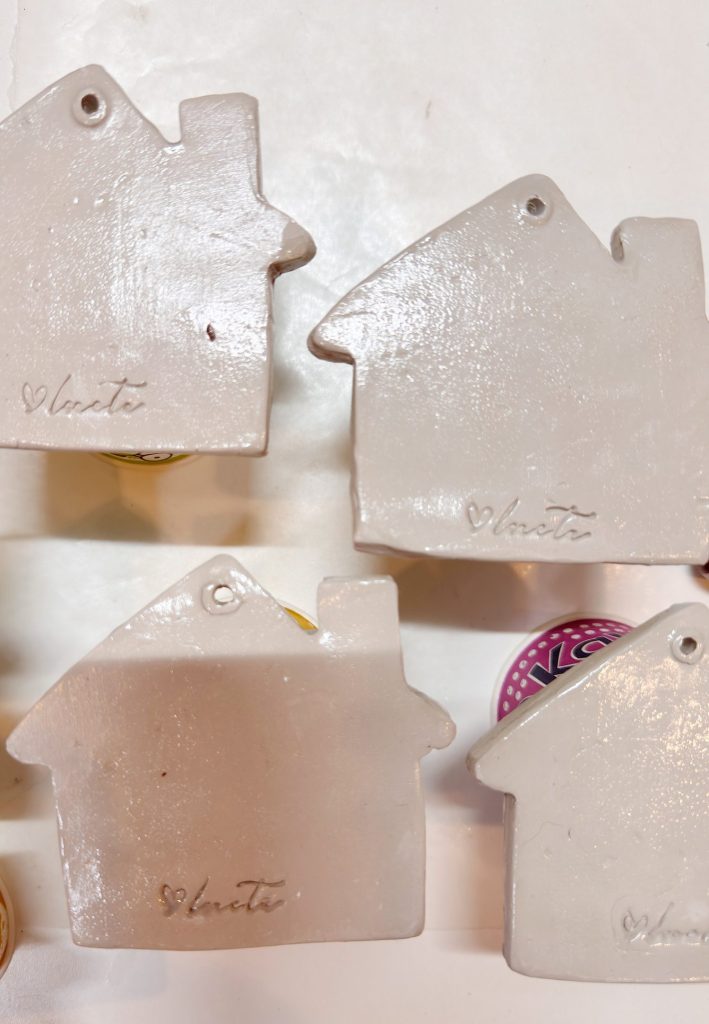
I ordered a stamp with my name and I use it on the back of all of my pottery projects. This one says Lsaeta. **DH – this is new
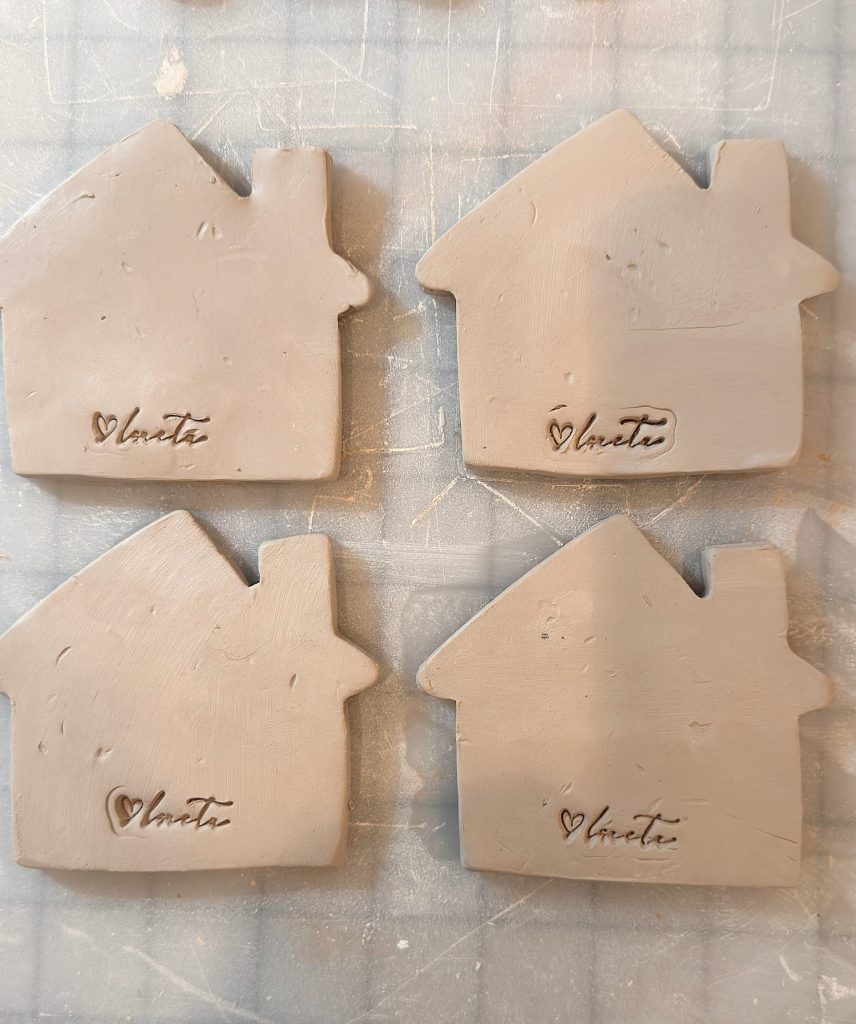
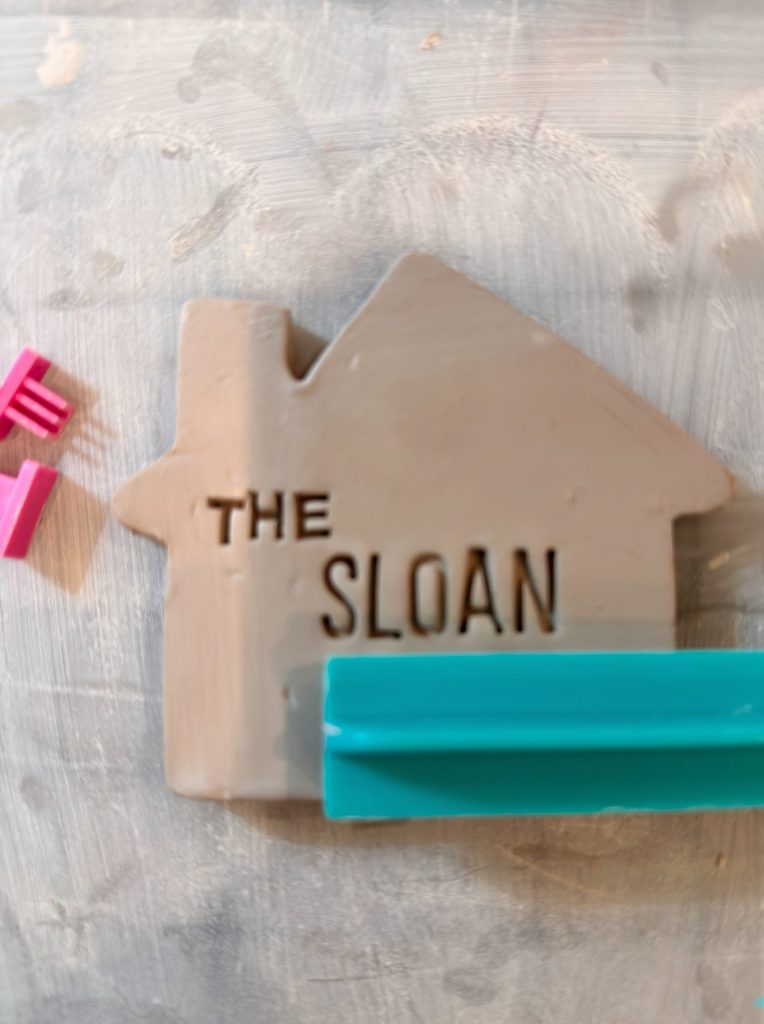
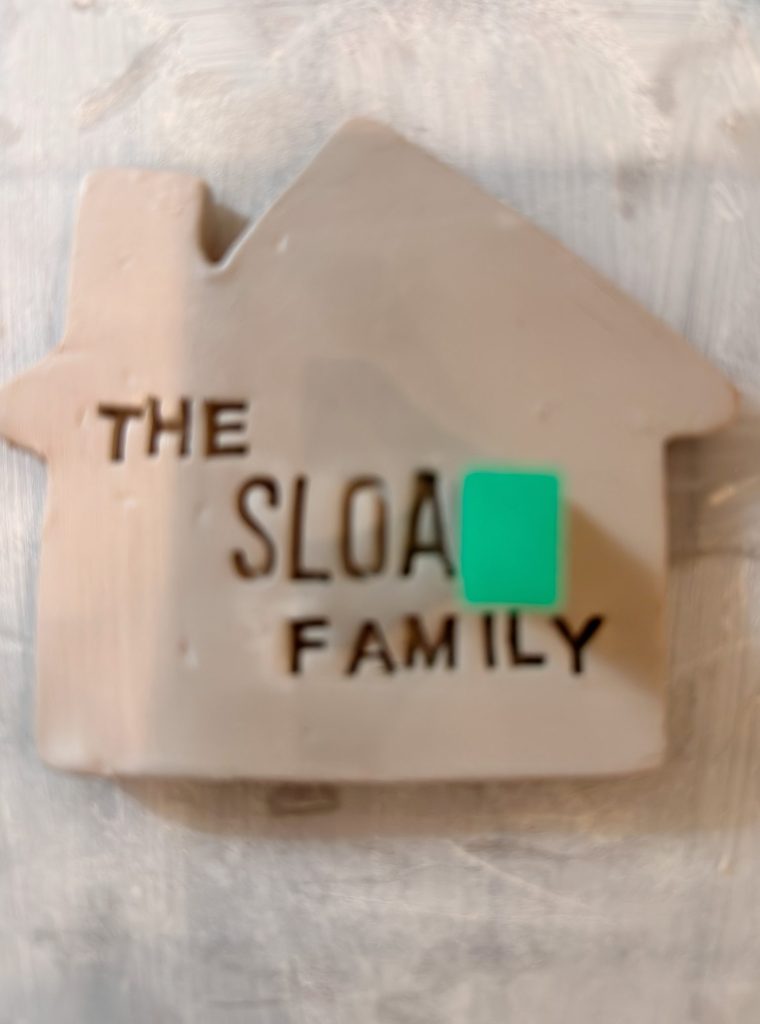
Step 3: Add the Family Name
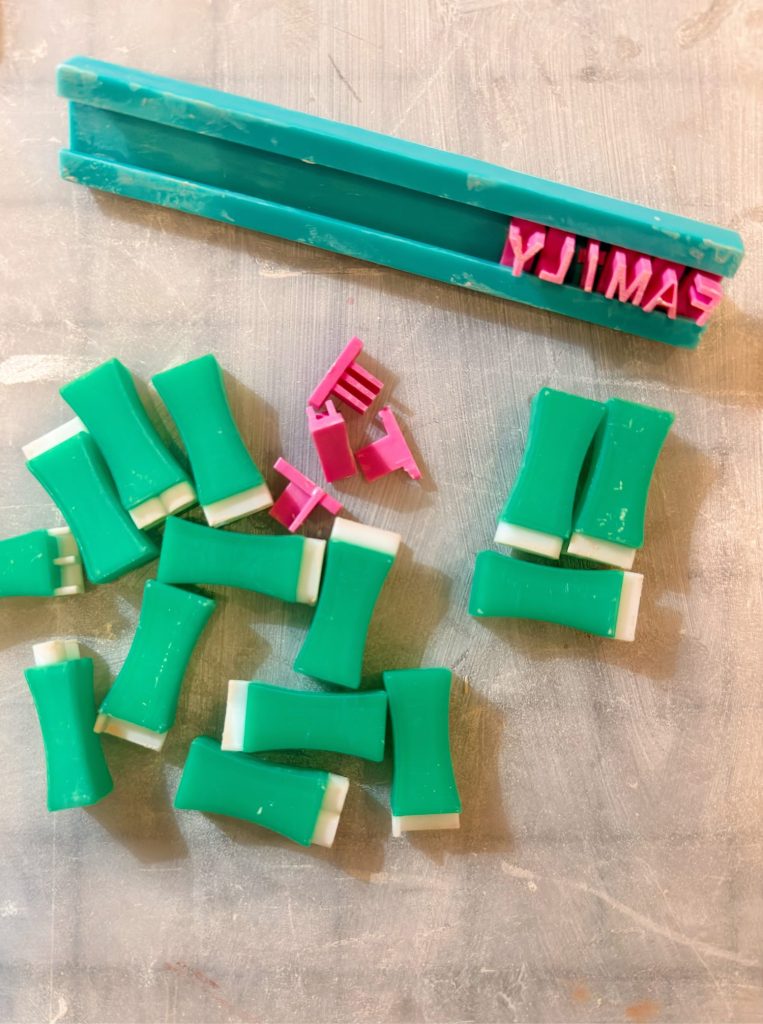
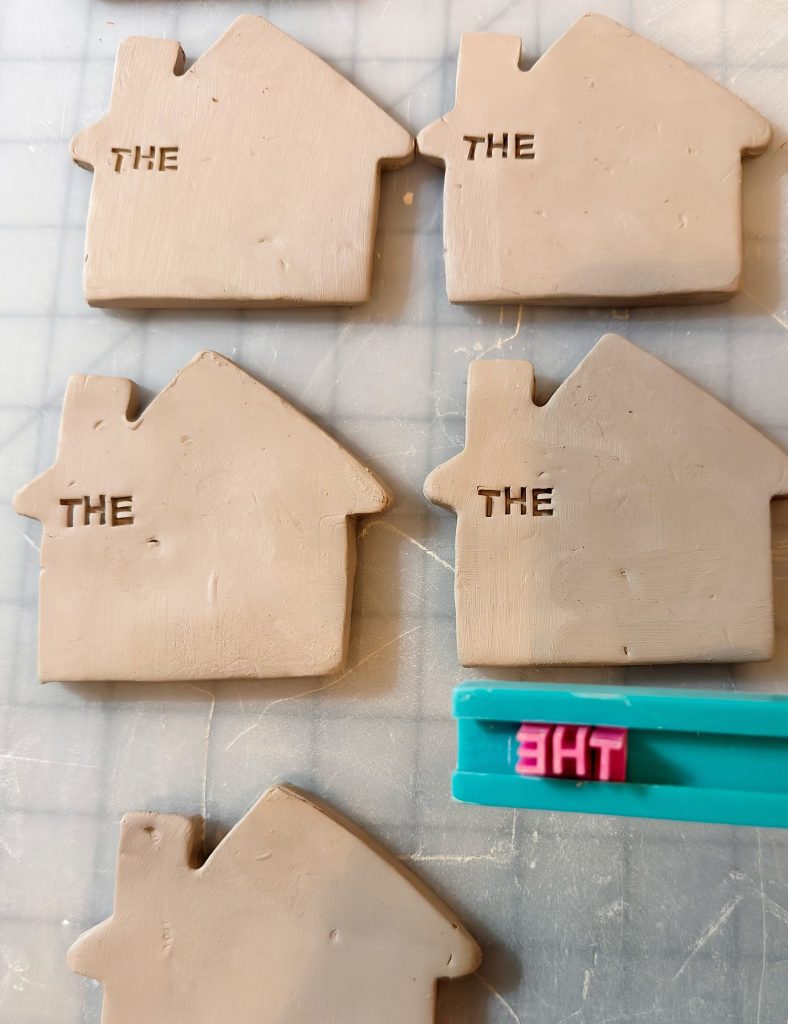
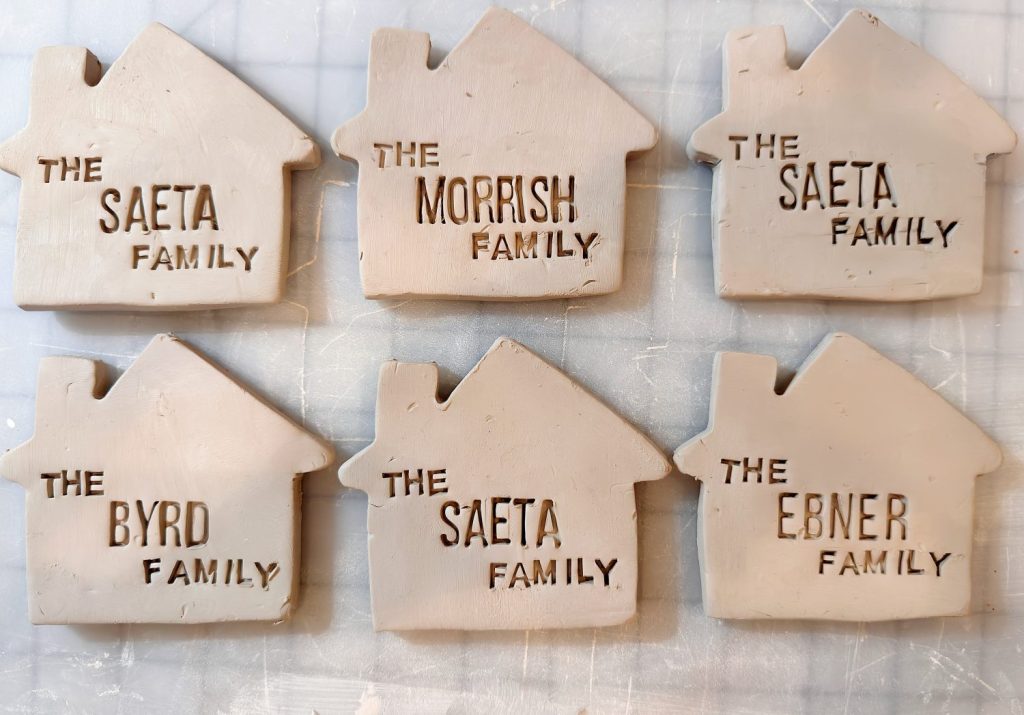
This step is where your ornament comes to life! Using your alphabet stamps, carefully press the letters into the clay to spell out your family name.
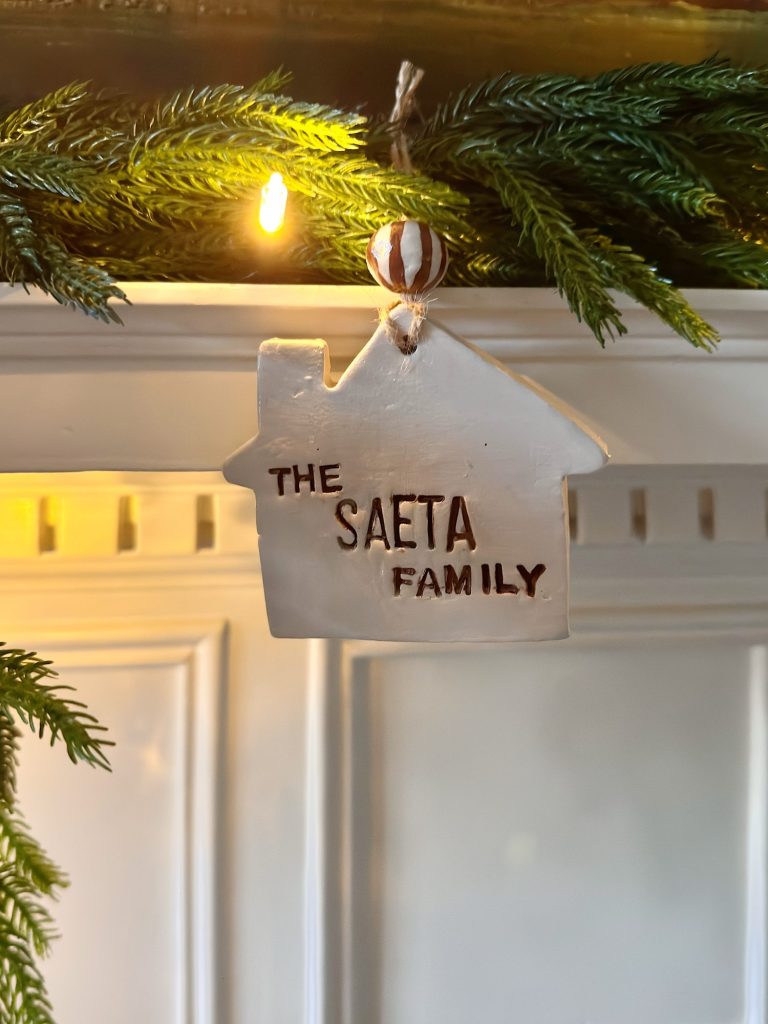
I like to stamp the word “THE” in small letters above the family name and “FAMILY” below it — just like the ornament in the photo. For example:
THE SAETA FAMILY
Make sure to press evenly so each letter is visible but not too deep. If you make a mistake, simply roll out the clay again and start over.
You can also add a year (“EST. 2024”) or a heart impression for extra charm.
Step 4: Make the Hanging Hole

Use a straw or skewer to poke a small hole near the top corner of the house. This is where you’ll thread your jute twine later.
Make sure the hole is big enough for the twine or ribbon to fit through comfortably once the clay has dried.
Step 5: Smooth and Perfect the Edges
While the clay is still soft, gently smooth any rough edges with your fingertip or a damp cloth. Once the ornament has dried, you can also use fine-grit sandpaper to refine the edges.
If you want to add texture, now’s the time — you can press lace, burlap, or a piece of linen lightly into the clay for a subtle pattern.
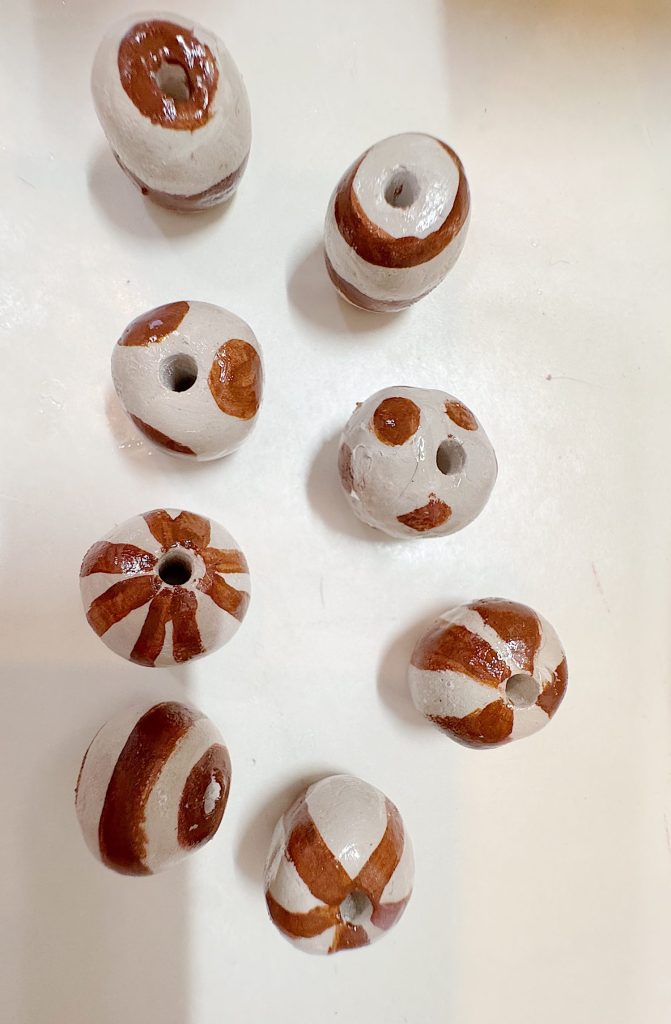
Step 6: Making the Clay Beads
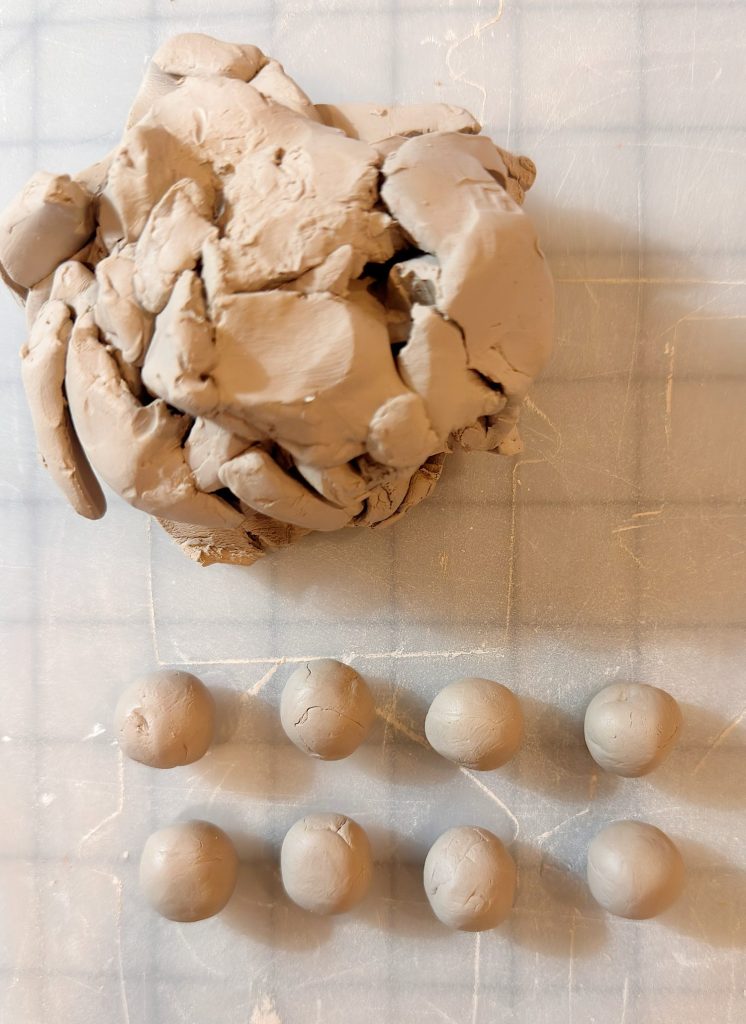
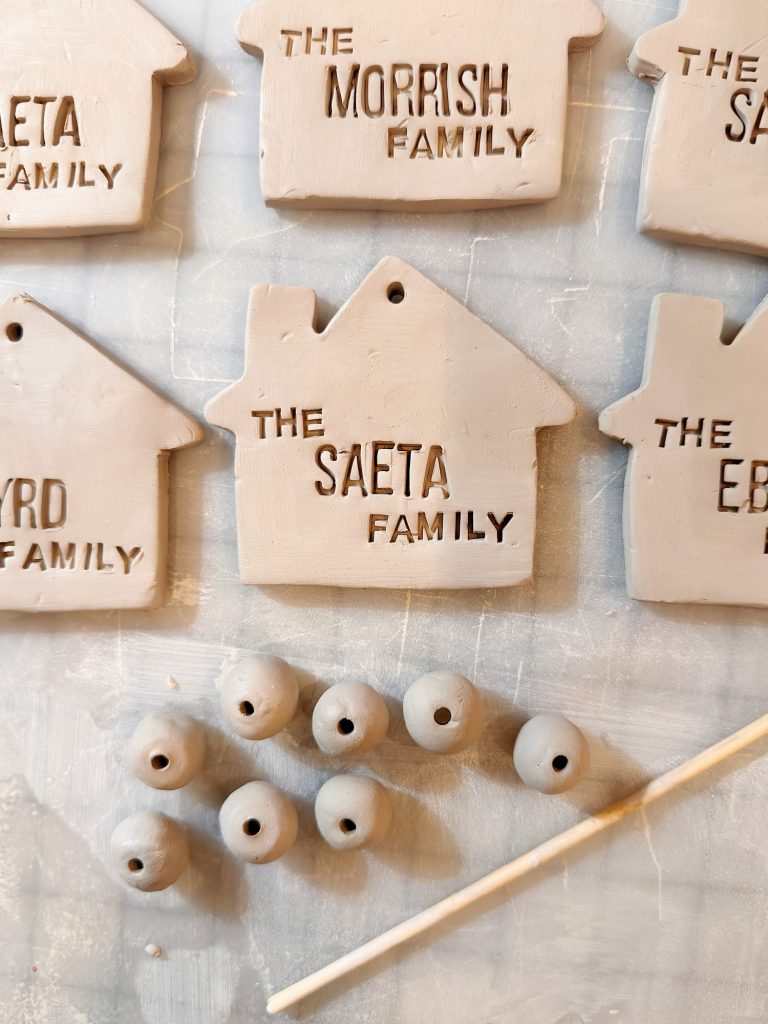
Although you can use wood or plastic beads, I chose to make my own. I painted them with acrylic brown paint and love how they turned out.
Step 7: Let the Clay Dry
Lay your ornaments flat on parchment paper and let them dry completely. Depending on the brand of clay, drying usually takes 24 to 48 hours. Flip them occasionally to help them dry evenly and prevent curling.
I always cheat and put my air-dry clay in the oven at 250 degrees for about twenty minutes.
Once dry, they should feel firm and slightly lighter in color.
Step 8: Painting the Letters
I painted the letters with brow acrylic paint to give the words more depth. After doing this, I don’t think you need to! Too much effort for the result. Hehe.
While I love the simplicity of white clay, you can customize these ornaments with a touch of acrylic paint.
Try dry-brushing a little gold or silver over the stamped letters for a subtle highlight. You can also antique the edges with soft taupe paint for a vintage effect, or paint the entire ornament a pastel shade to match your holiday color palette.
If you do paint, allow it to dry thoroughly before sealing with Mod Podge or clay glaze.
Step 9: Seal and Finish
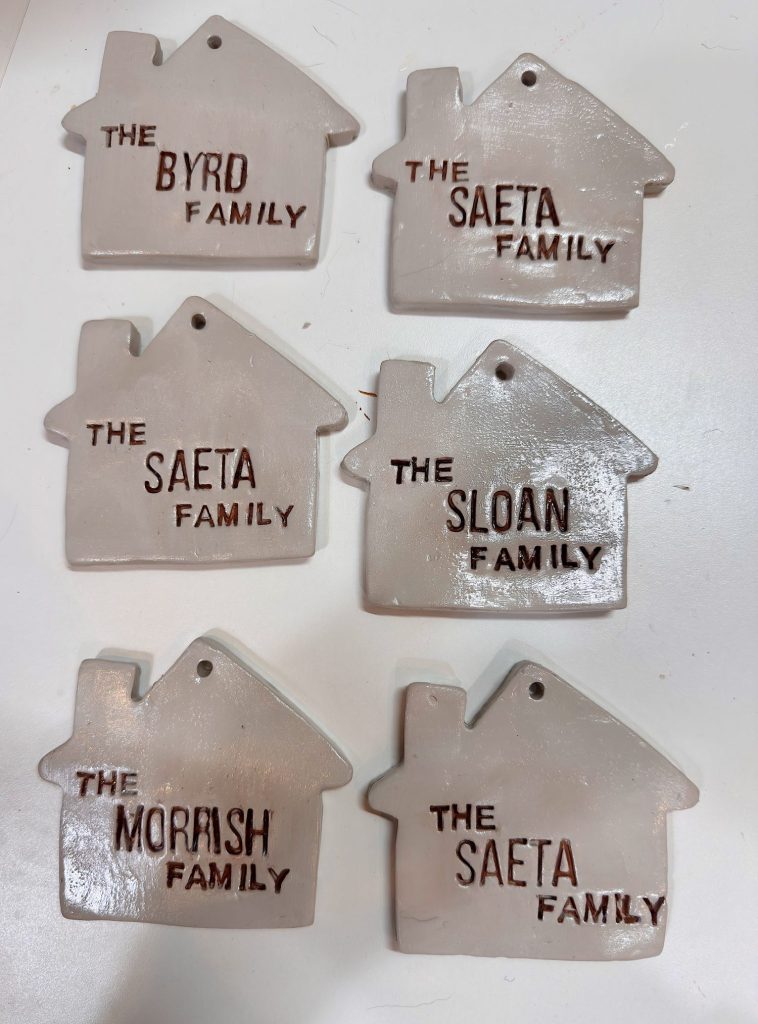
To protect the clay and give it a polished look, brush a thin coat of Clay Glaze over the surface. This sealer provides the clay with a glossy coating.
Since these ornaments are hanging, be sure to add the glaze to both sides.
This also helps protect the ornaments from humidity and adds a slight professional touch.
Step 10: Add the Twine and Bead
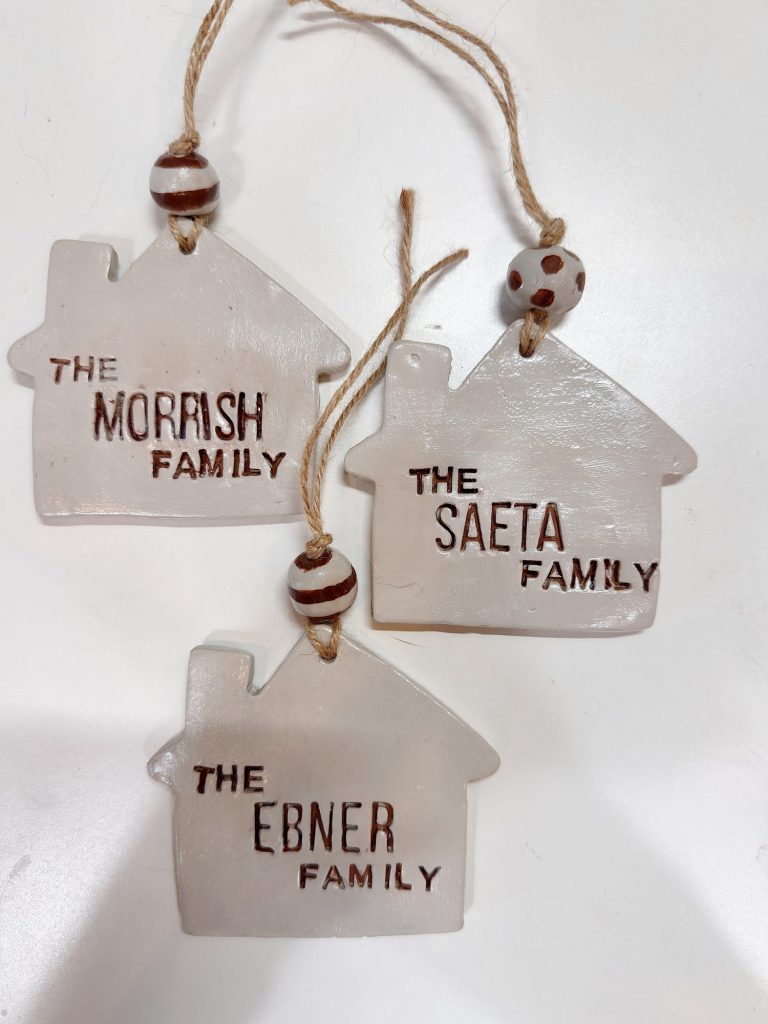
Cut a piece of jute twine about 10 inches long. Thread it through the hole and tie a small knot at the top. For extra charm, I slid on the homemade clay bead before tying.
If you prefer a more elegant look, use velvet ribbon or silk cord instead of twine.
Step 10: Display or Gift!
Your ornament is now ready to hang on your Christmas tree, tie onto a wrapped present, or gift to family and friends.
These make especially thoughtful gifts for newlyweds, new homeowners, or families celebrating a milestone year. Pair one with a handwritten note for a personal, heartfelt touch.
Tips for Success
- Use even pressure when stamping to keep letters uniform.
- Test first — roll out a small scrap of clay and practice stamping before working on your main piece.
- Keep clay sealed — air-dry clay can dry out quickly, so cover any unused portions tightly in plastic wrap.
- Customize endlessly! Add hearts, stars, or small cut-outs with mini cookie cutters for variation.
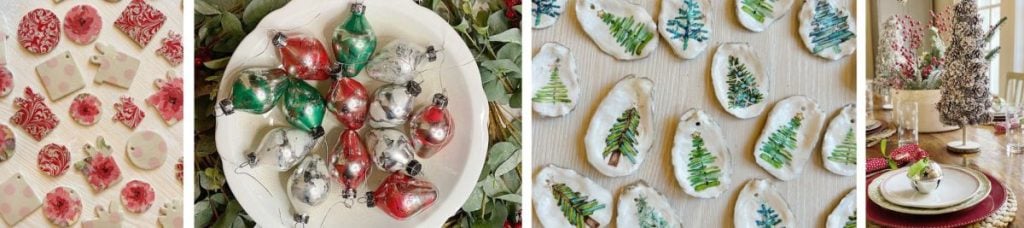
Variations to Try
Once you’ve made a few, you’ll want to experiment! Here are some fun ideas:
- Monogram ornaments — instead of the full name, stamp just the family’s initials.
- Address ornaments — stamp “123 MAIN ST.” for a sweet housewarming gift.
- Baby’s first Christmas — stamp the baby’s name and year for a keepsake.
- Pet ornaments — make one for each furry family member!
You can also use colored clay, metallic paint, or even gently press dried botanicals into the surface for texture before sealing.
How to Package and Gift
If you’re giving these ornaments as gifts, presentation makes all the difference. Here’s how I like to wrap them:
- Place the ornament in a small white jewelry box lined with shredded kraft paper or a bit of soft tissue.
- Tie the box with jute twine or ribbon and add a sprig of greenery or a cinnamon stick.
- For a finishing touch, attach a little tag that says “Handmade with love.”
You could even create a small set — one for each family member — and box them together as a beautiful heirloom-style gift.
Why Handmade Matters
There’s something special about the slow process of making by hand. In a world filled with store-bought decorations, a simple clay ornament carries warmth that can’t be replicated. Each little letter pressed into the clay, each brushstroke of paint, tells a story of care and creativity.
When I hang these on our Christmas tree, I’m reminded that home isn’t just a place — it’s the people we love, the traditions we create, and the joy we share through handmade touches.
Every year, I look forward to A Handmade Christmas because it brings me back to that spirit — the magic of making, the joy of giving, and the beauty of simple things crafted with heart.
Final Thoughts
These Family Christmas Ornaments are proof that meaningful doesn’t have to be complicated. With just a few materials and a bit of creativity, you can make something beautiful that will last for years to come.
Whether you create one ornament or a dozen, I hope this project inspires you to slow down, get your hands a little messy, and fill your holiday season with handmade joy.
So gather your clay, roll up your sleeves, and start crafting — your family story deserves a place on the tree this Christmas.
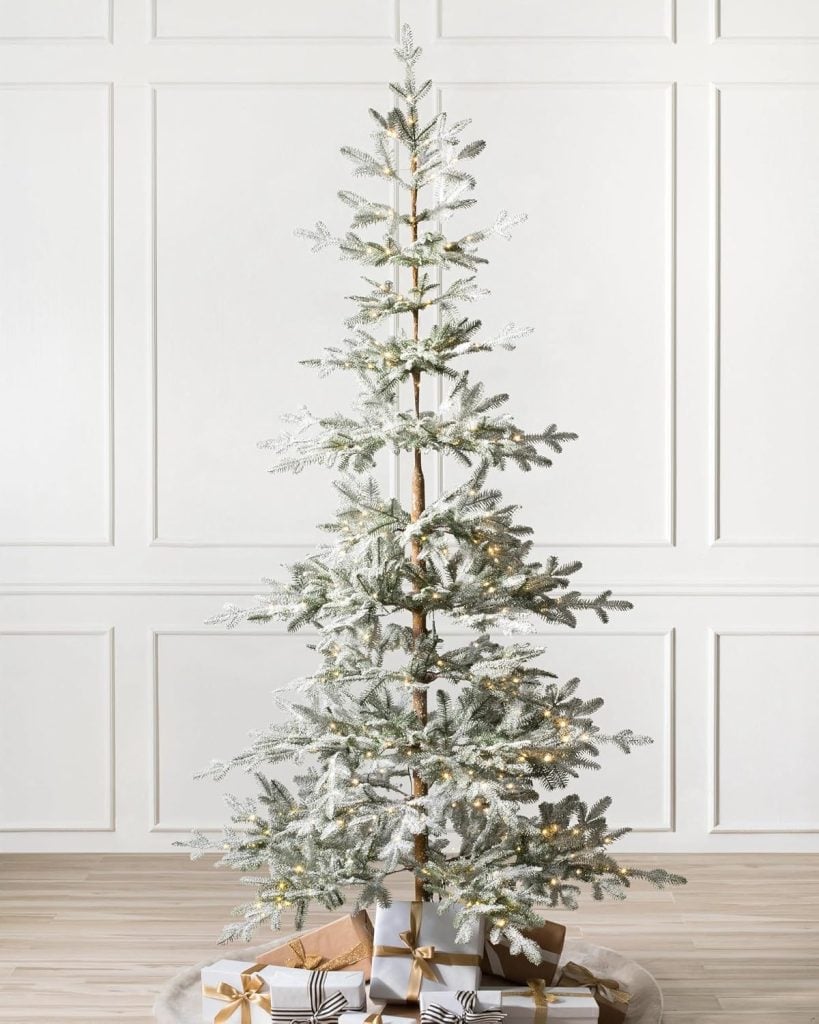

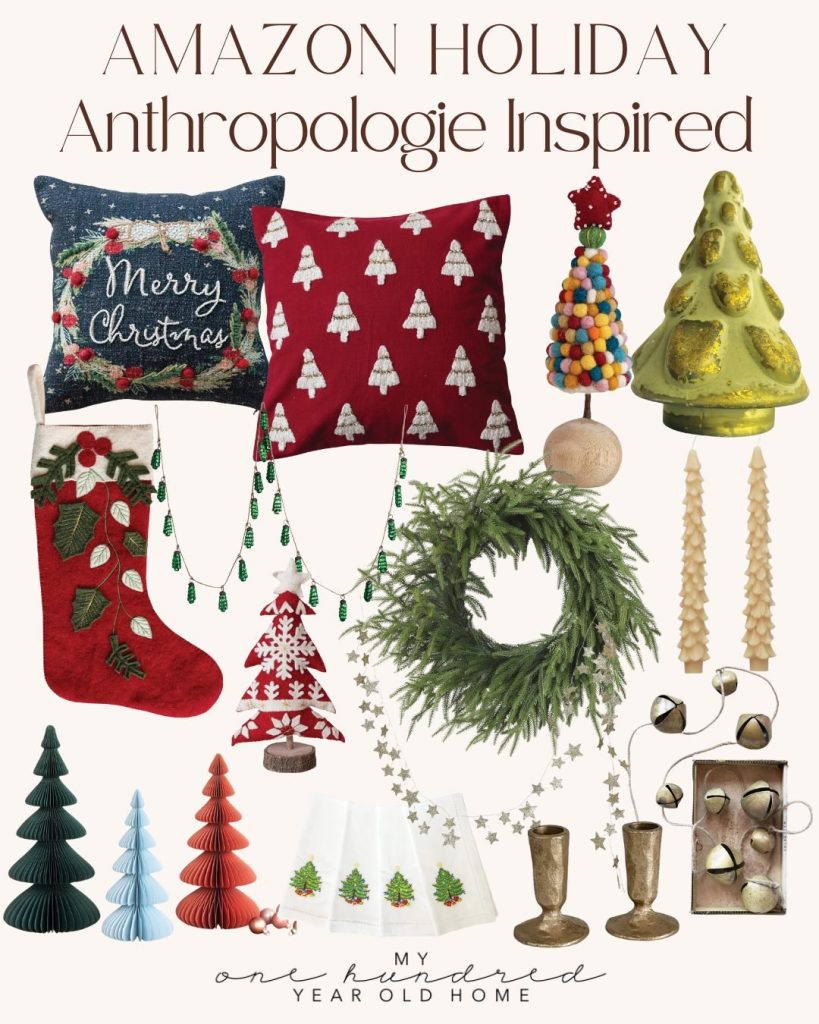
Anthro Inspired Christmas
If you enjoy my blog, you can sign up to receive my updates here.
.Sixteen Weeks of A Handmade Christmas
Here are the first seven weeks of A Homemade Christmas. Can you believe I have nine more still to share!

Latest Posts
-
Best Easter Brunch Egg Dish: Loaded French Onion Frittata
Easter brunch is one of those special meals where the table is complete, the laughter is loud, and the food is nothing short of spectacular. If you want to wow your guests with something savory, cheesy, and unforgettable, let me introduce you to your new Easter brunch hero: a Loaded French Onion Frittata.
-
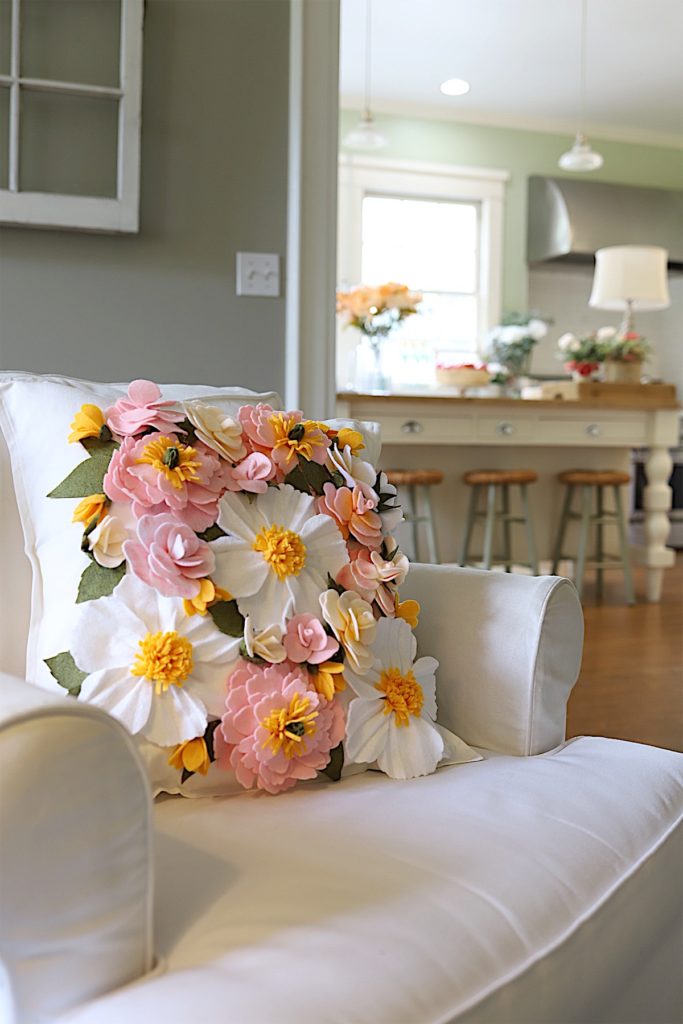
The Best Spring Pillow DIY – A Handmade Spring
There are certain projects that start as an idea and quietly turn into something you love far more than you expected, and this Spring pillow is exactly that. As part of my A Handmade Spring series, I wanted to create something soft, beautiful, and full of texture, and this pillow checked every box. This pillow…
-
DIY Clay and Metallic Foil Easter Eggs
With Easter just around the corner this week, I decided to create something special and truly unique for my spring décor … handmade clay and metallic foil Easter eggs. These little works of art are soft, pastel, and subtly shimmery, and they’re a beautiful way to add a handmade touch to your Easter celebrations. While…
-
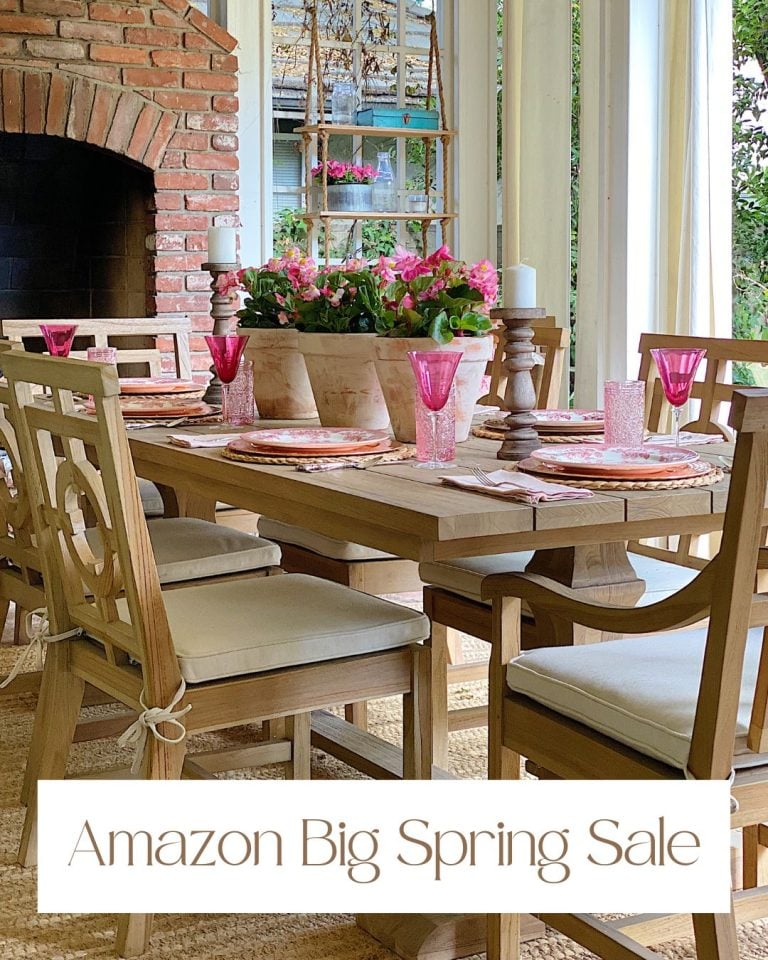
The Amazon Big Spring Sale is Here!
The Amazon Big Spring Sale is here! It runs from March 25th (today) through March 31st, and here are some of the best Amazon Deals ever! There are millions of deals available, and today I will help you find the best ones for everything you need. Now is the perfect time to shop for Spring.


My Recent Instagram Posts

You can pin the image below to your boards on Pinterest (click the Pin button in the top left corner) or follow me on Pinterest!

For more real-time updates, follow me on Instagram @My100YearOldHome
Did you use the white or natural clay? I am so excited to try making these. I’m planning on making these with my grandkids for gifts for their parents.