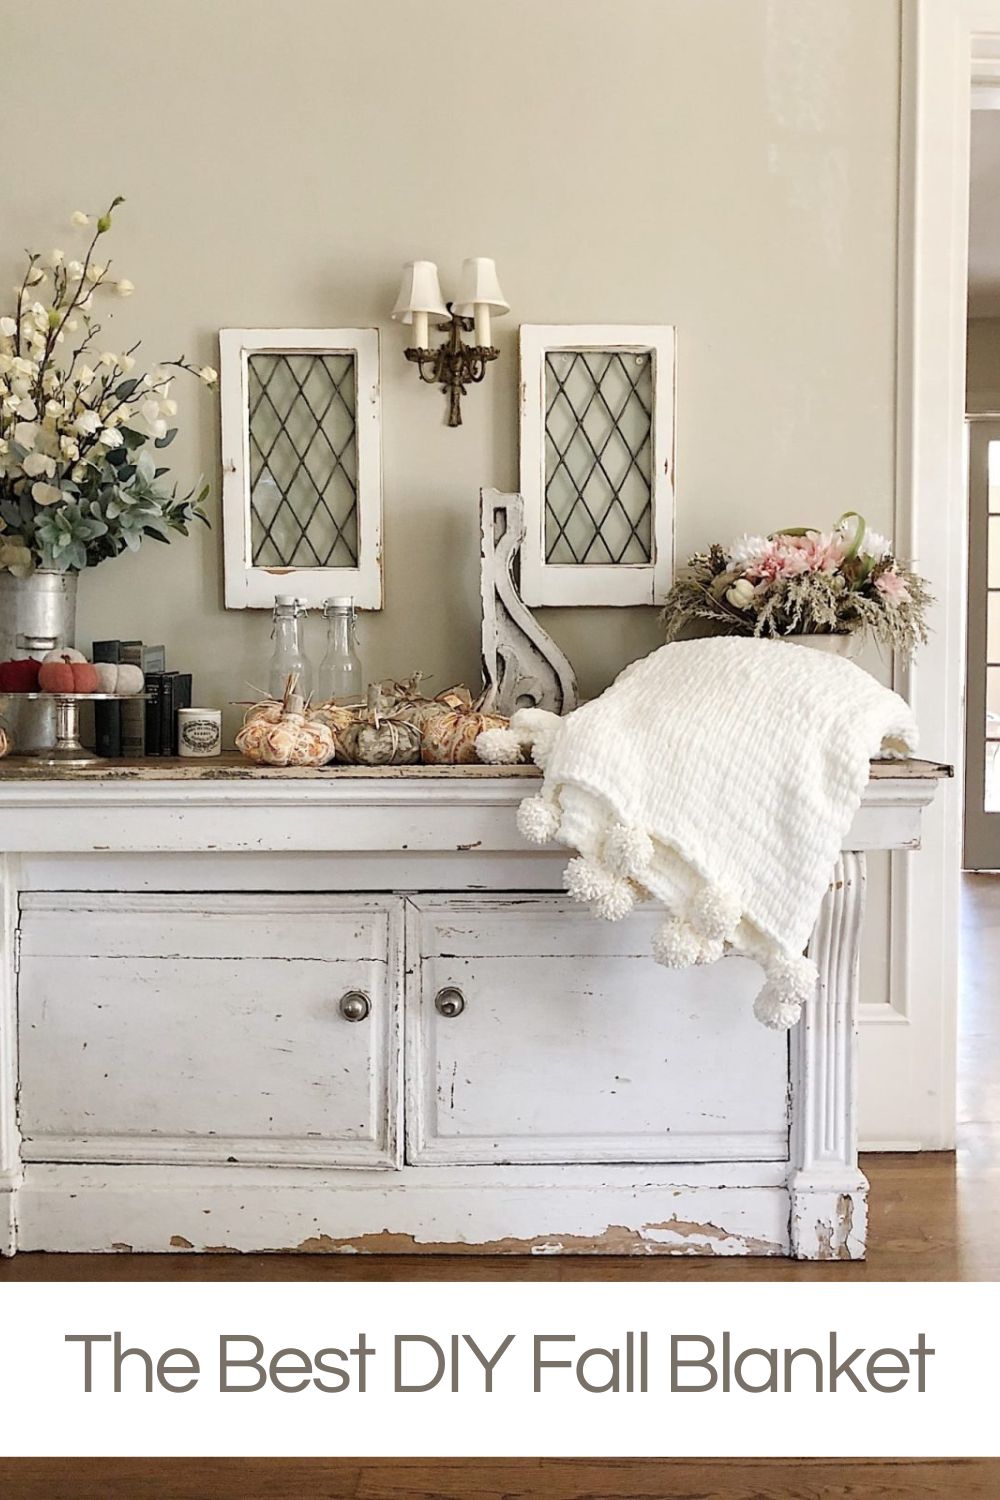
The Best DIY Fall Blanket
I am so excited to share my favorite DIY fall blanket project with you. I made this “finger-knitted” fall blanket, which is the best.
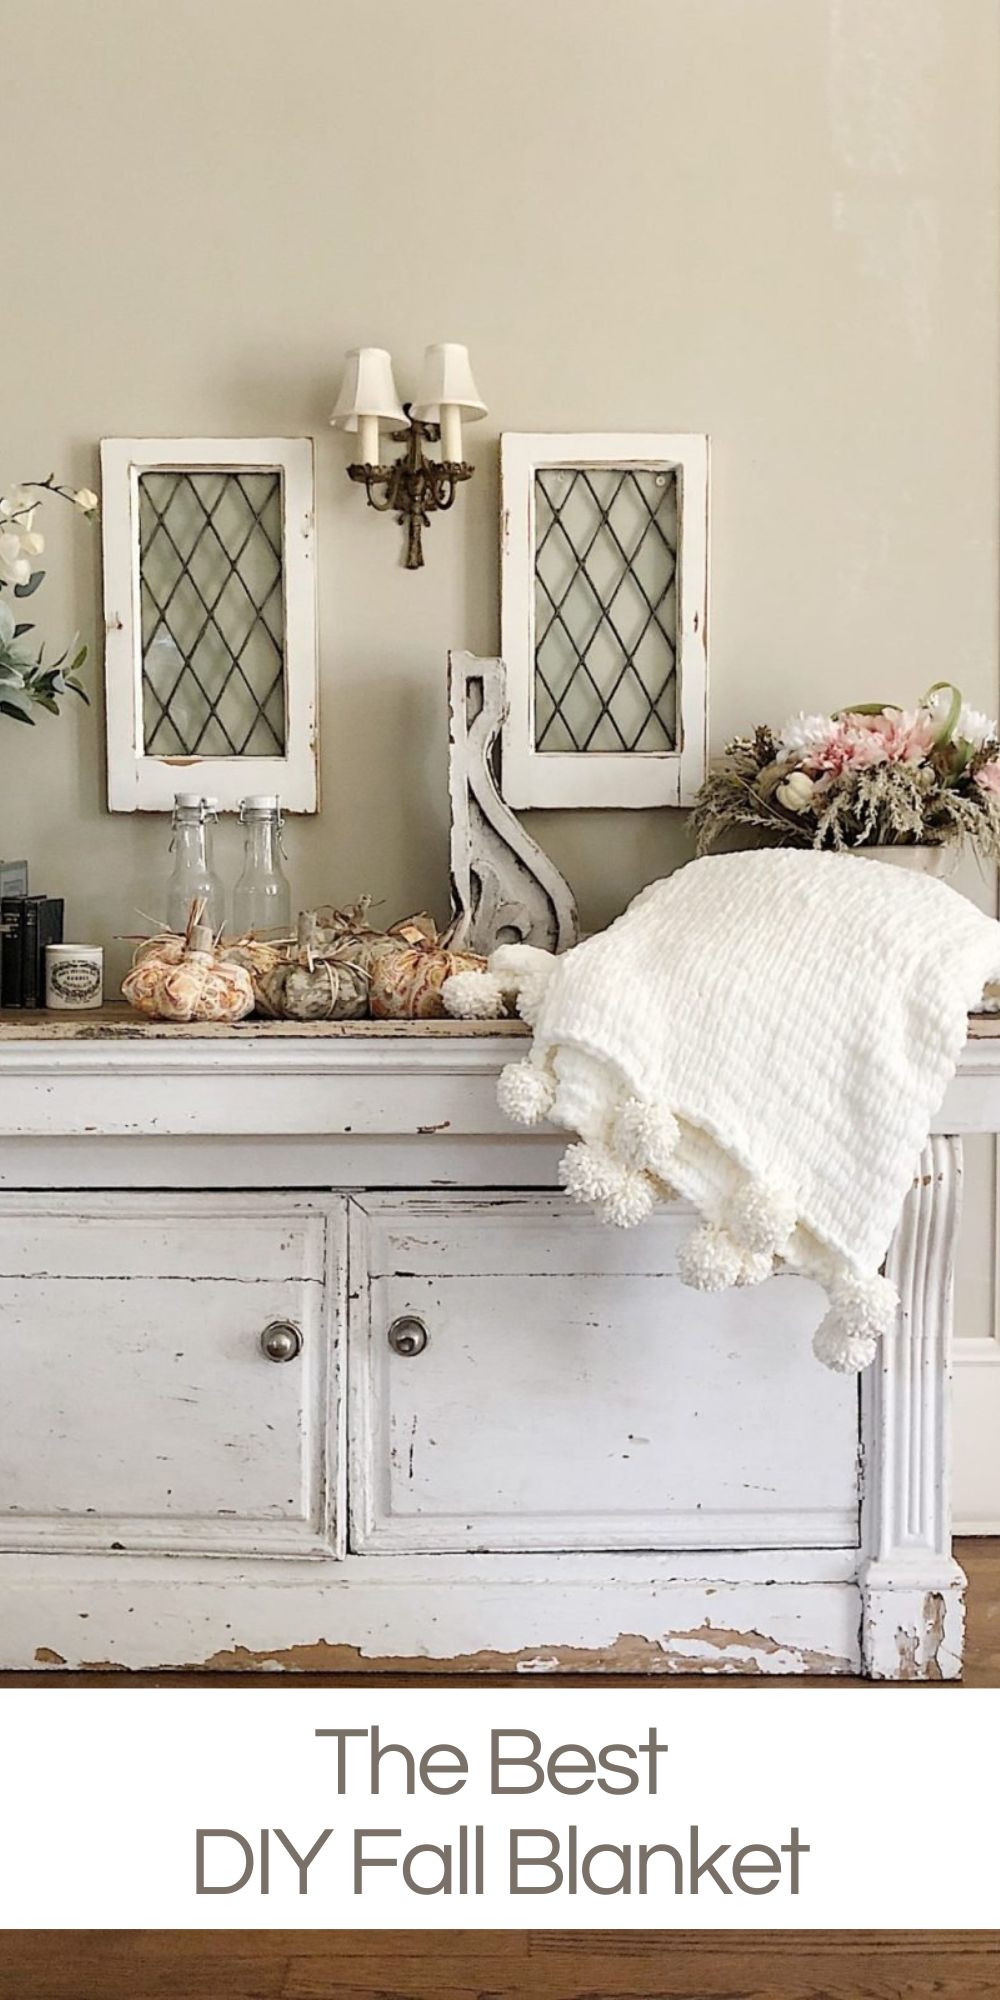
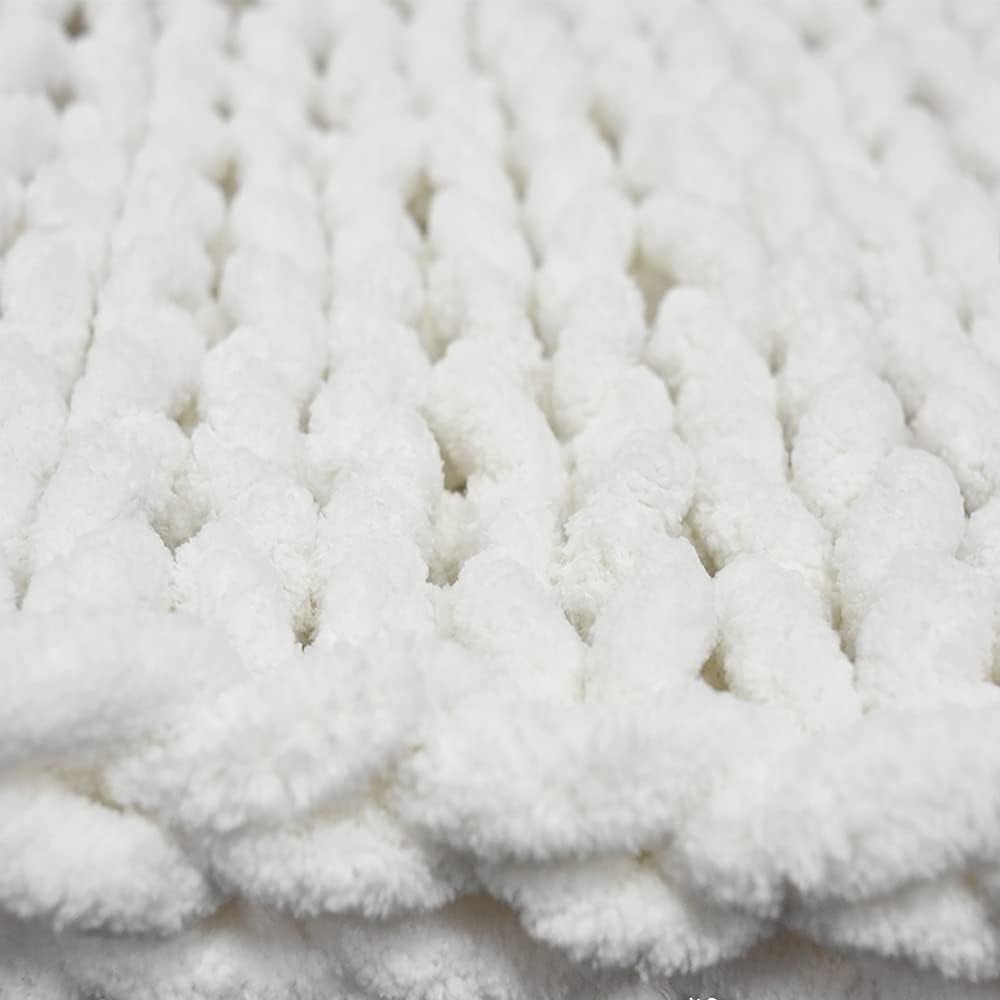
There is one thing about this blanket that you won’t believe. I made this fall blanket without knitting needles! Wait. What? That’s because I used looped yarn. The yarn is soft and squishy, perfect for a comfy fall blanket.


A DIY Fall Craft
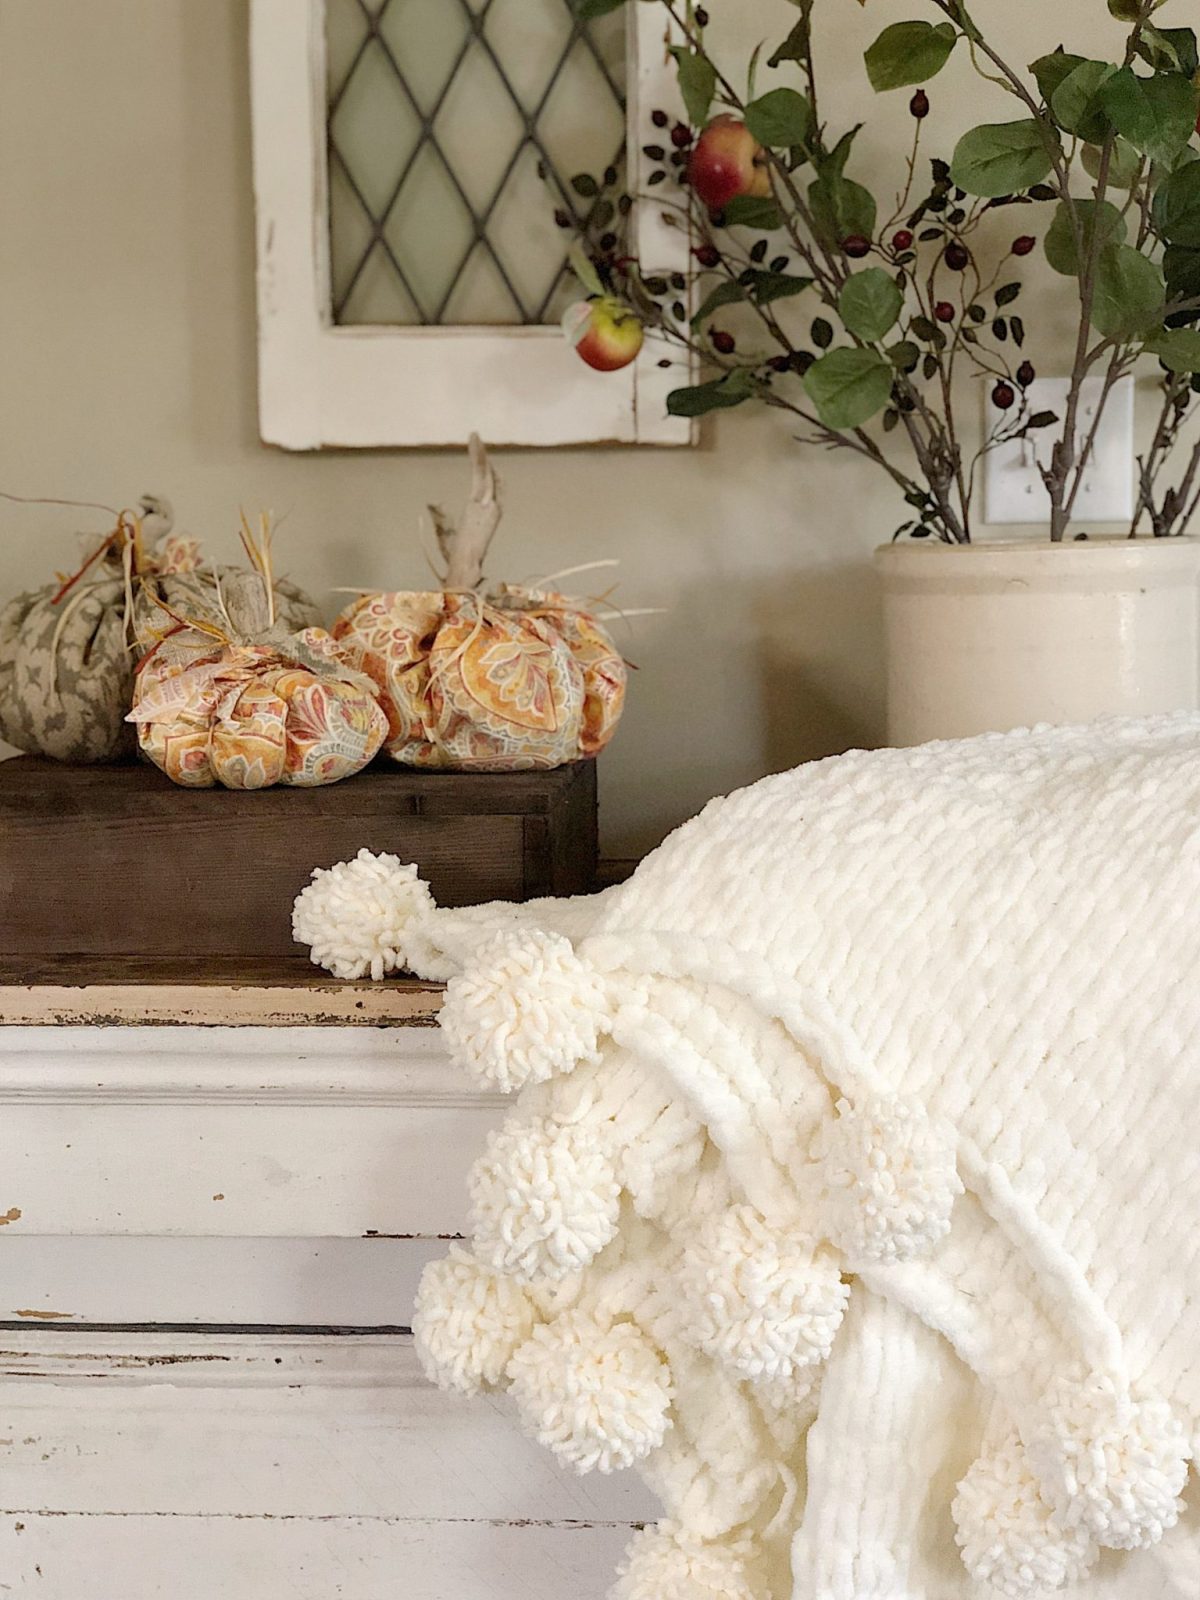
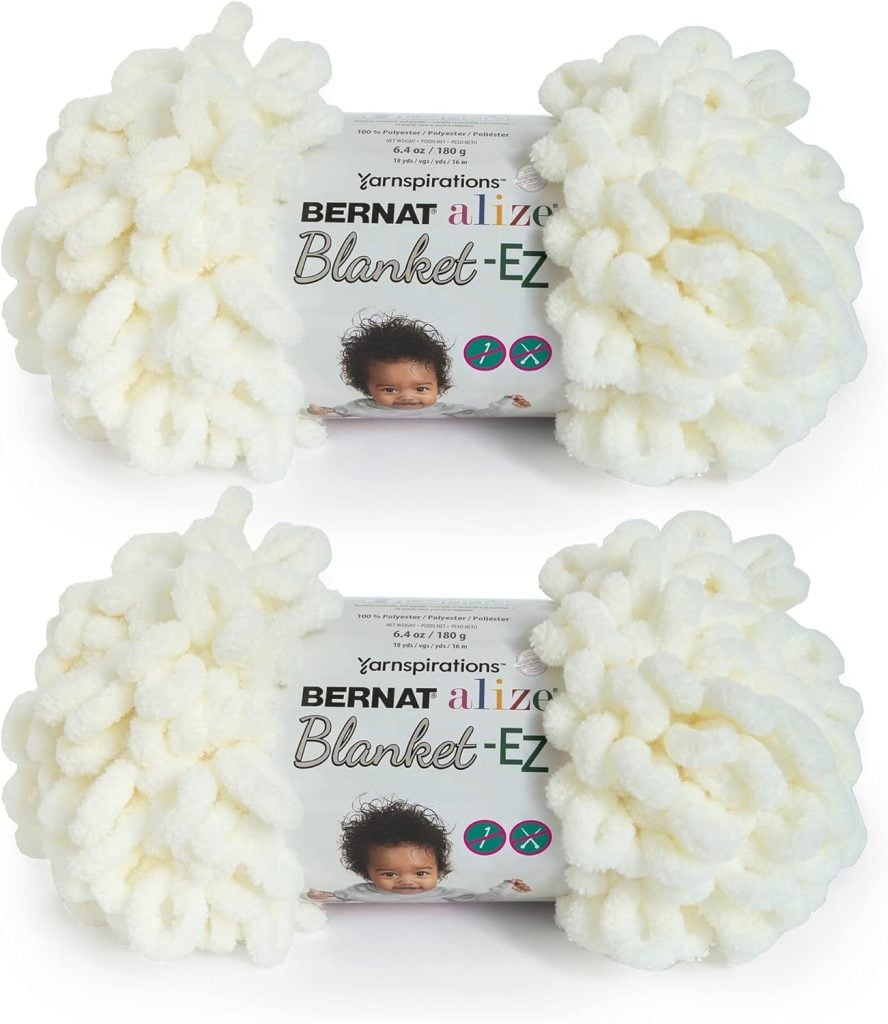
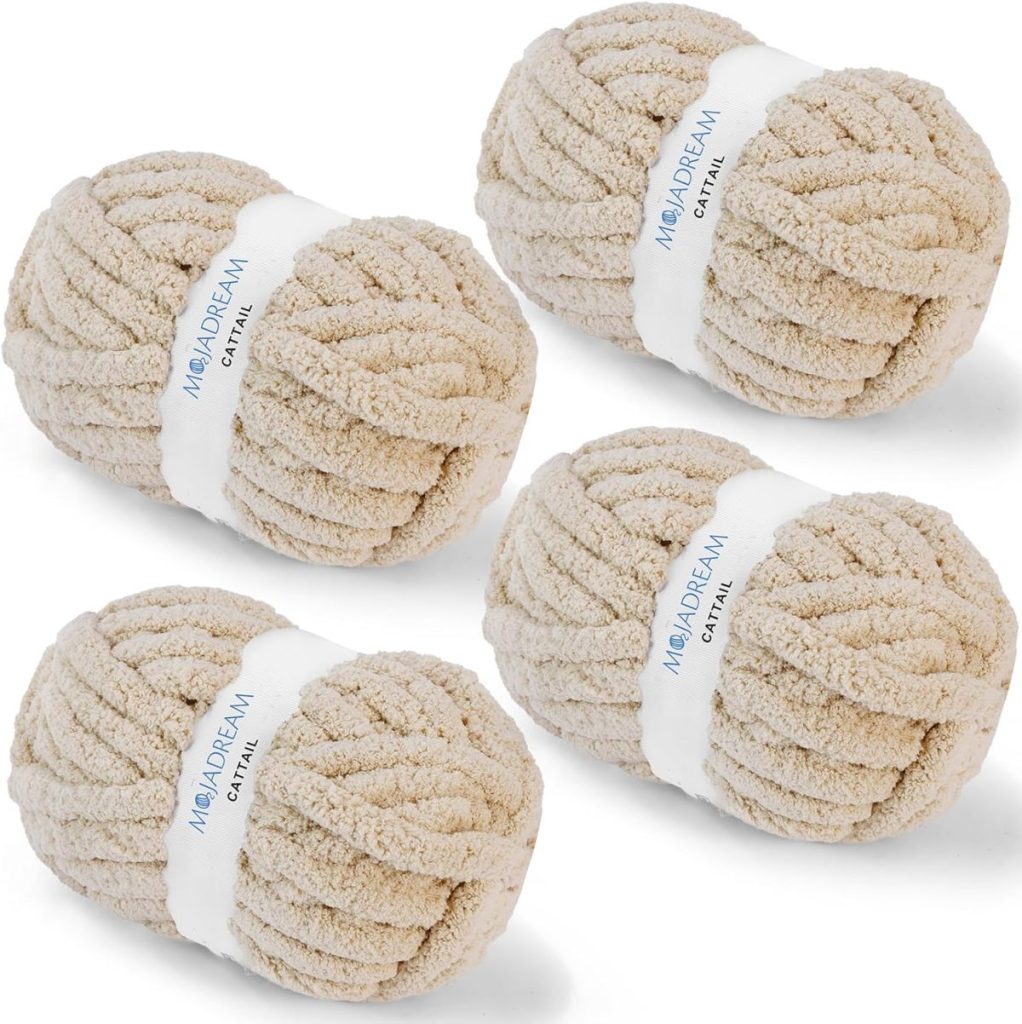
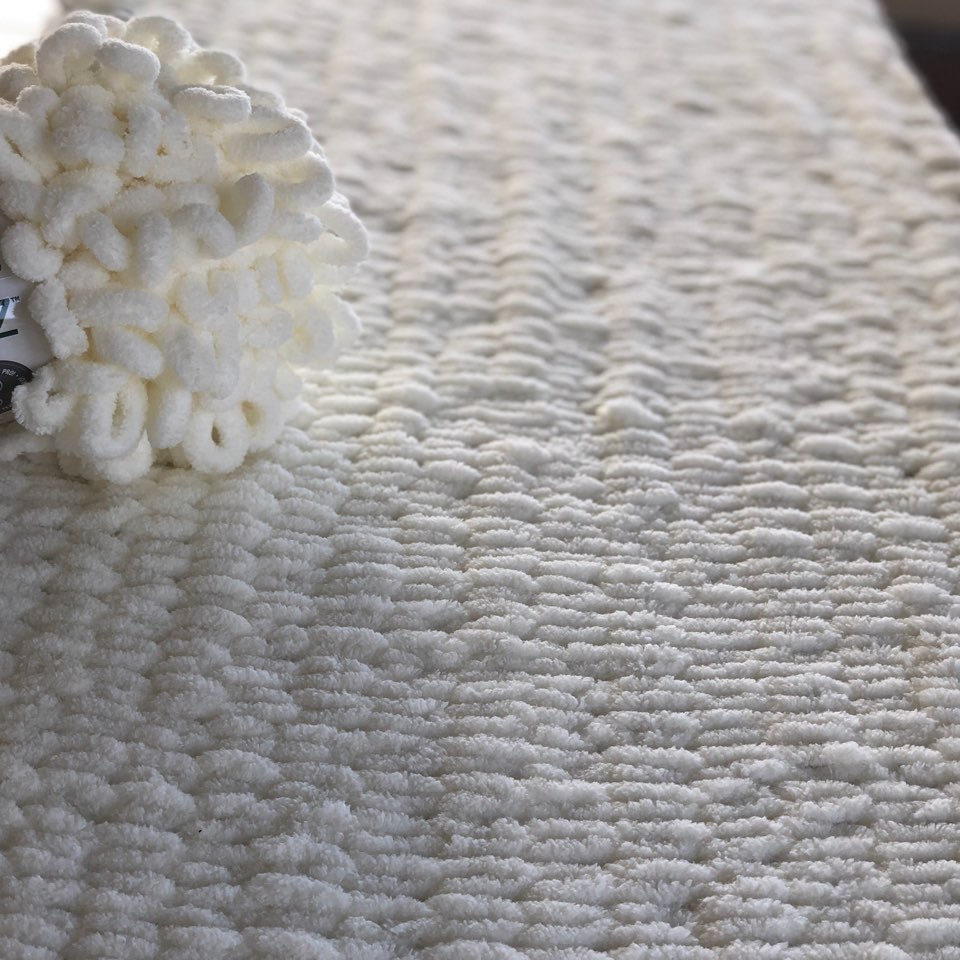
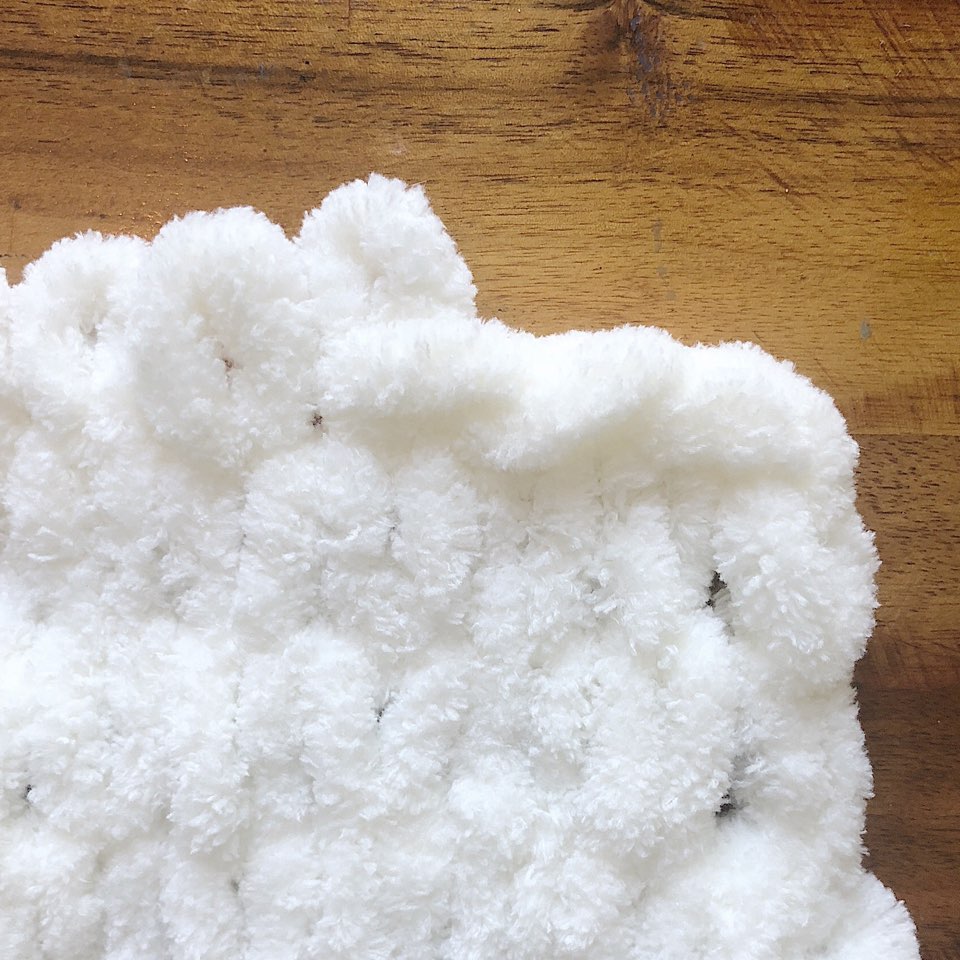
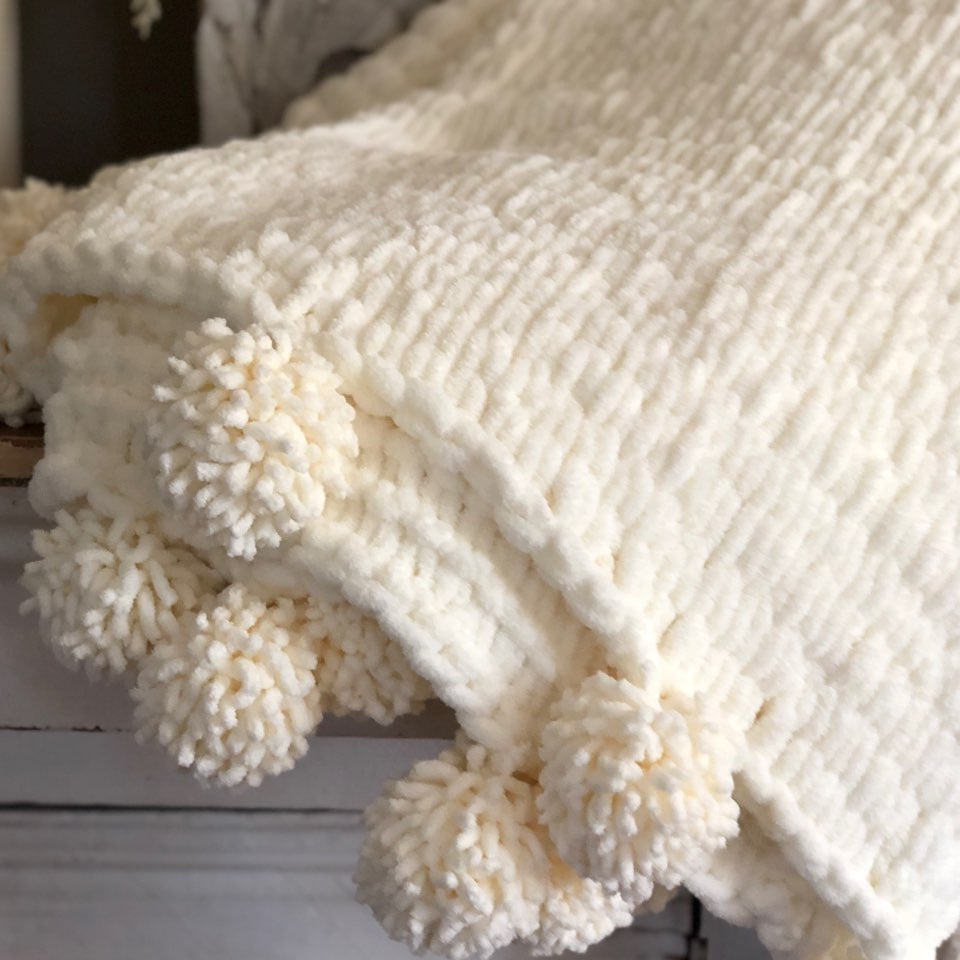
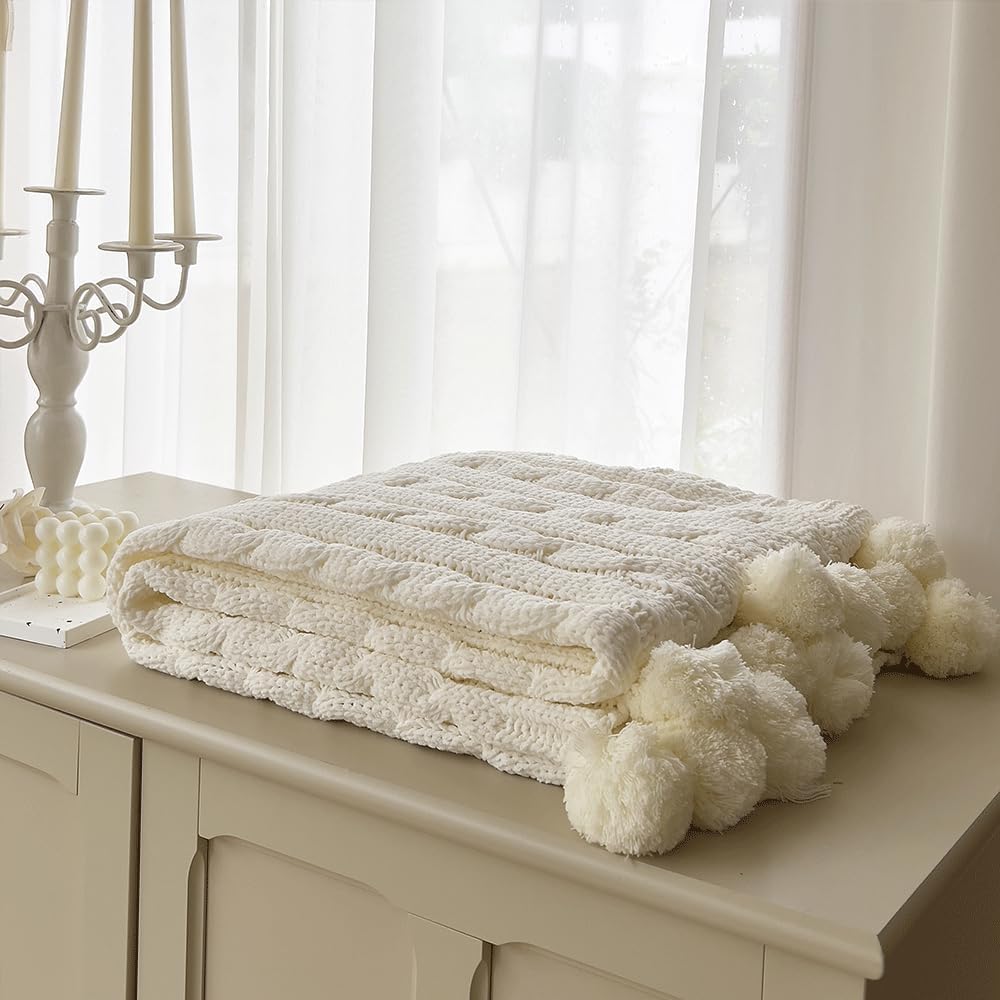
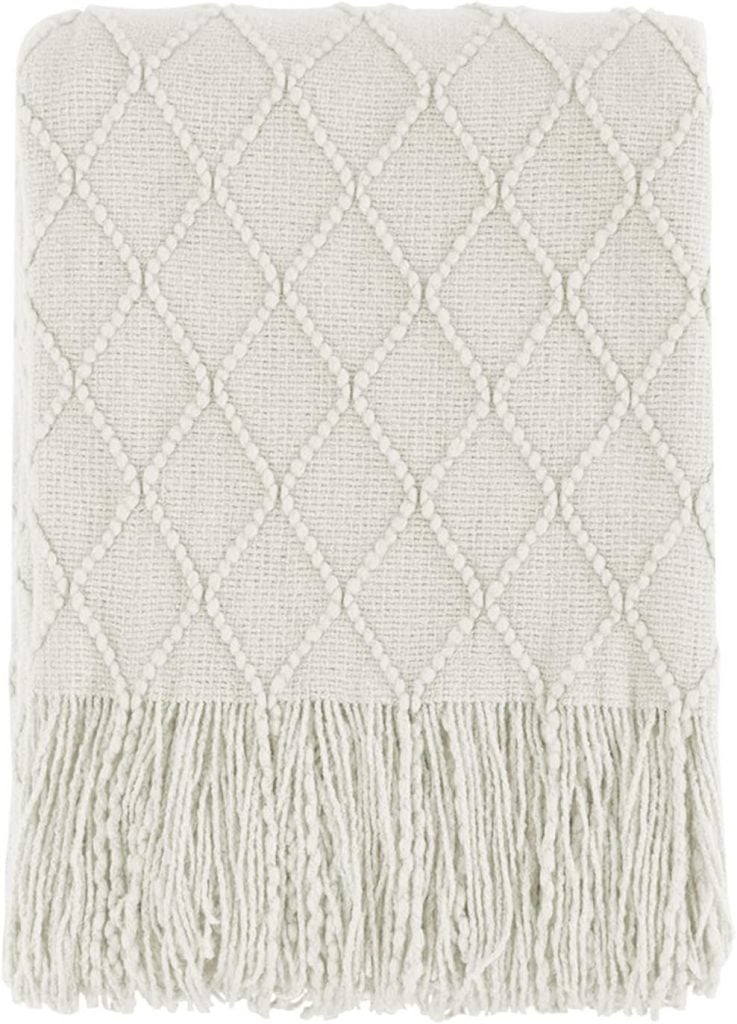
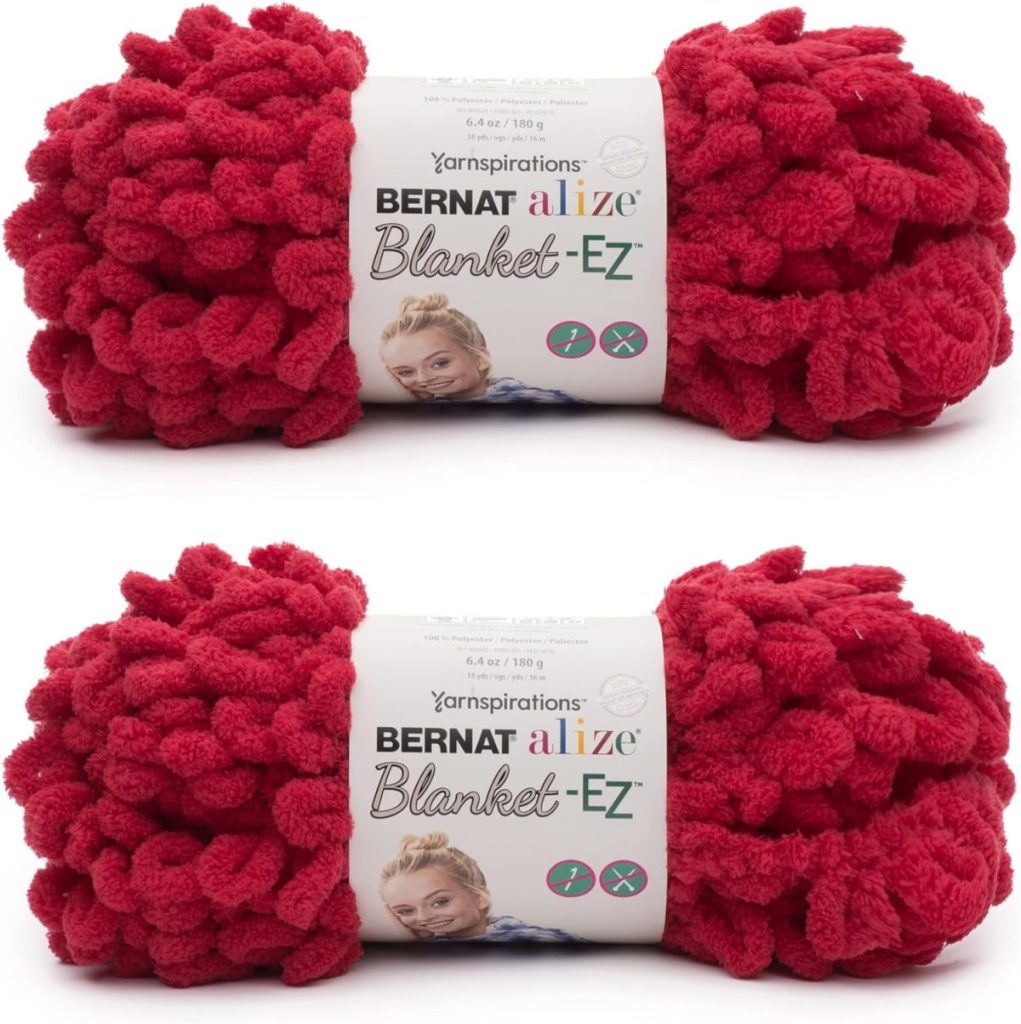
How incredible is this off-white soft, chunky chenille blanket with Pom Poms that I made? The yarn is called Bernat Alize Blanket-EZ Yarn. It is already looped, and all you do is put the loops inside the loops to knit a blanket. You do not use any needles!
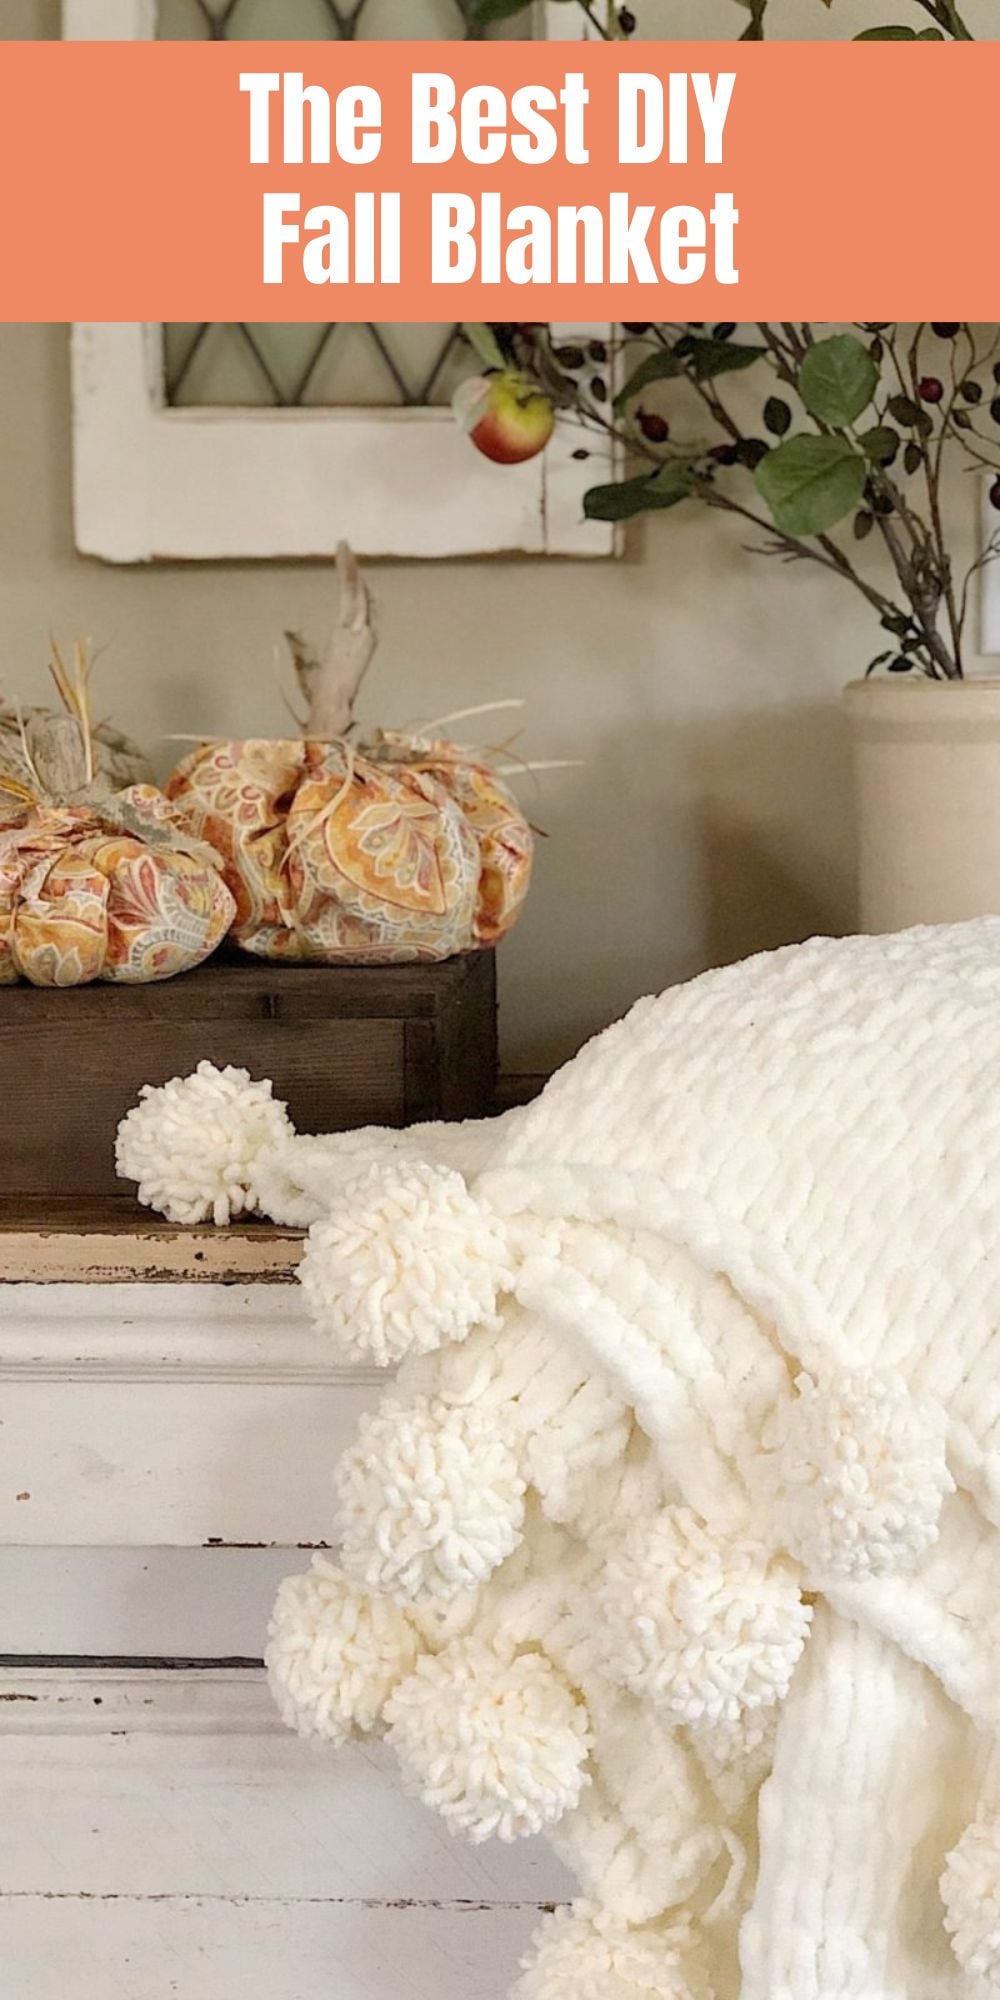
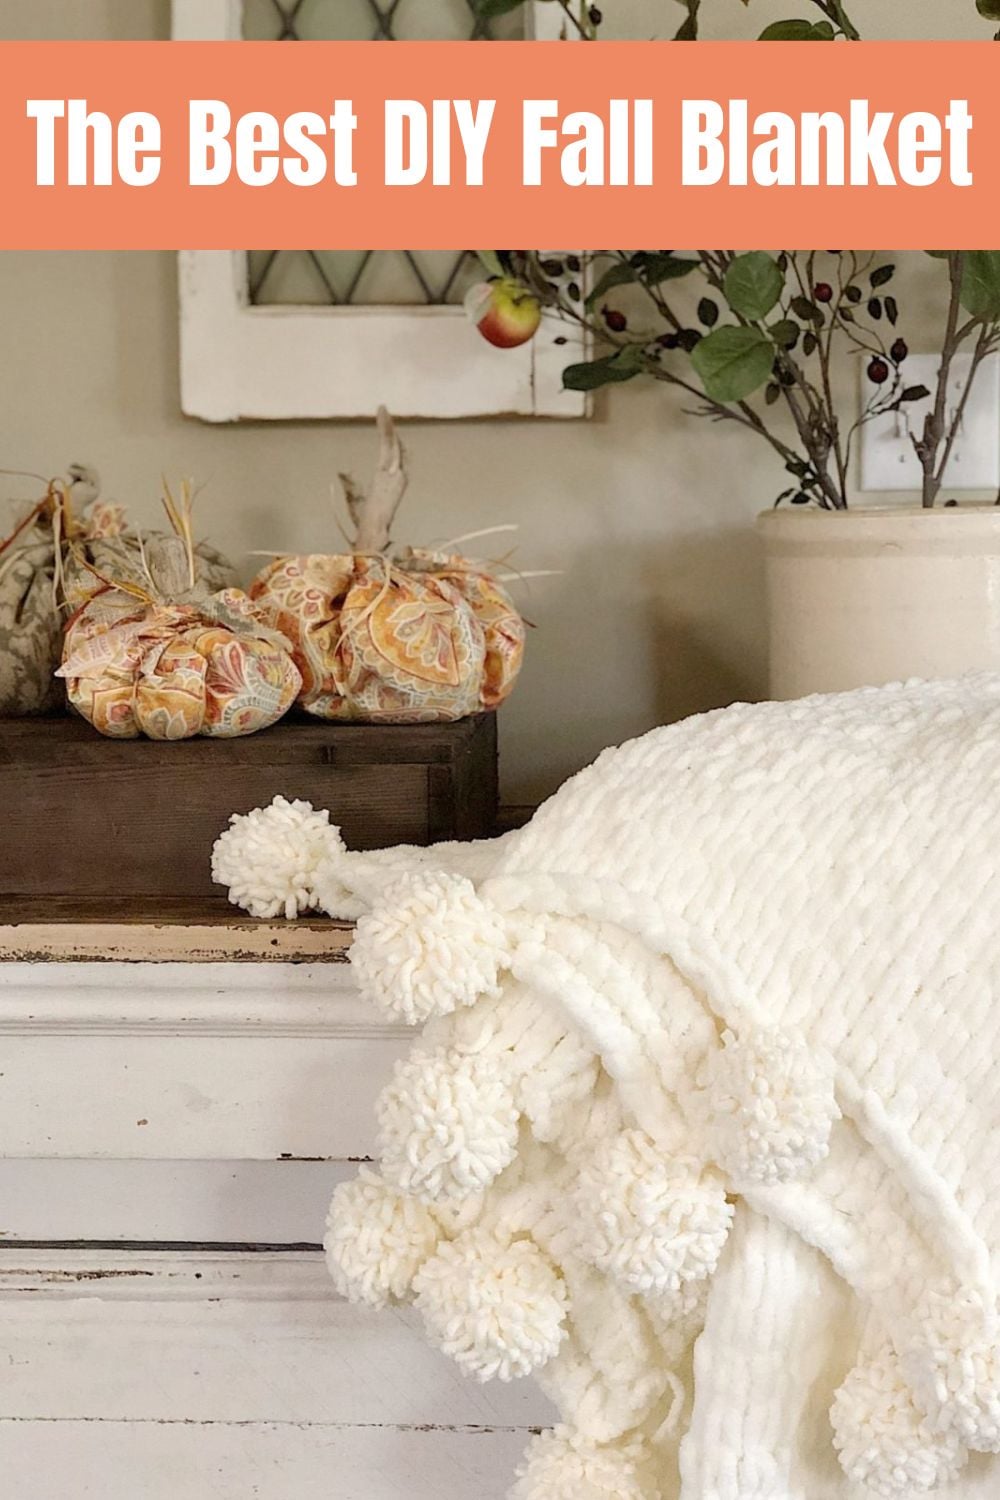
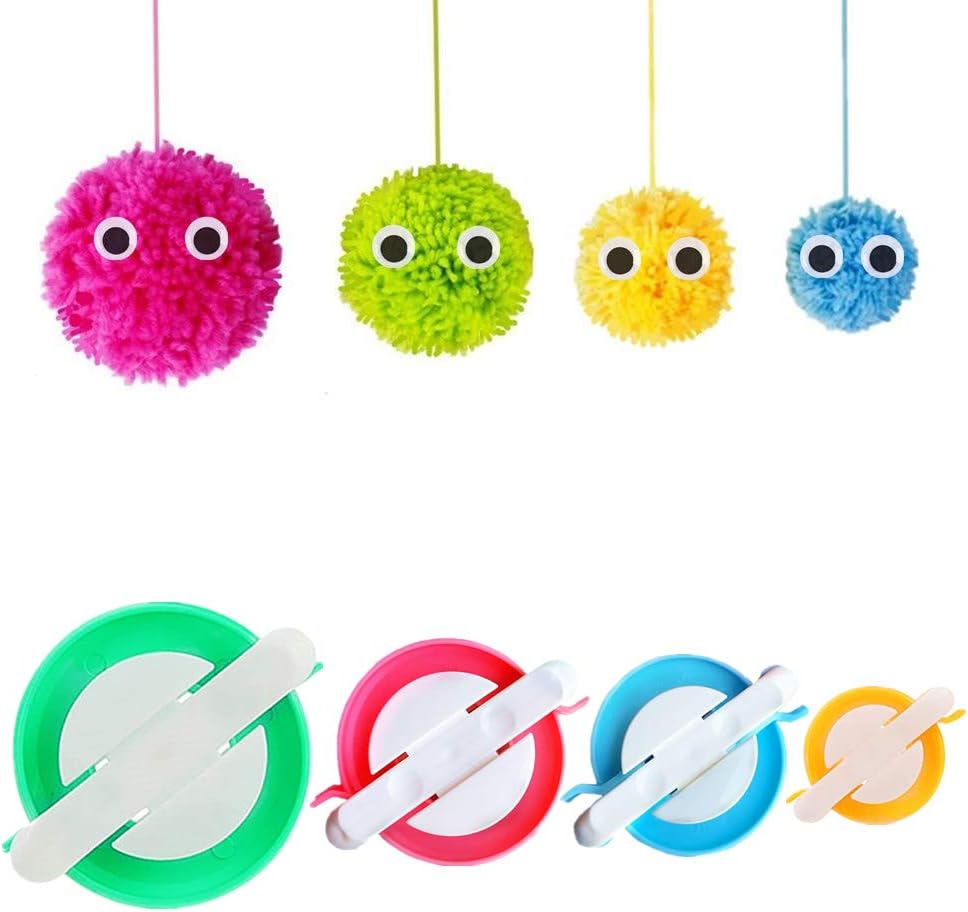
It is the softest yarn I have ever worked with, and I can’t even begin to tell you how much I loved making this! I added pom poms to the blanket using a Pom Pom Maker Large; it was so easy!
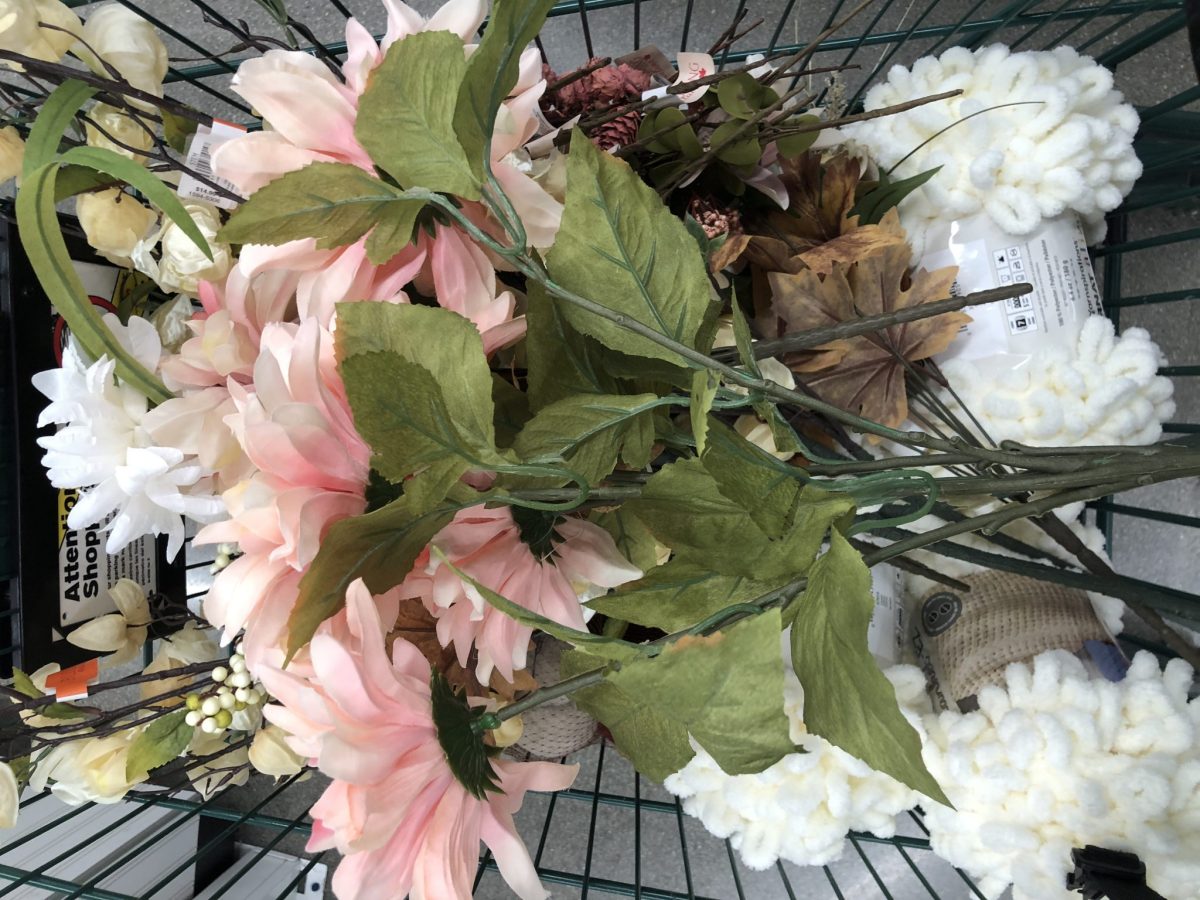
I shopped for this fall craft and found some of my favorite chunky chenille yarn, Bernat Alize Blanket-EZ Yarn (you can find it here). This yarn lets you knit a blanket without knitting needles, and it is incredible how quickly you can make it.
I worked on the blanket on and off for a week, and it came out better than expected. You could make it in a day if you worked on it straight. It is the coziest blanket ever!
I may sometimes use affiliate links on this blog, which means I earn a small commission if you purchase via the link. The price will be the same whether you use the affiliate link or go directly to the vendor’s website using a non-affiliate link.
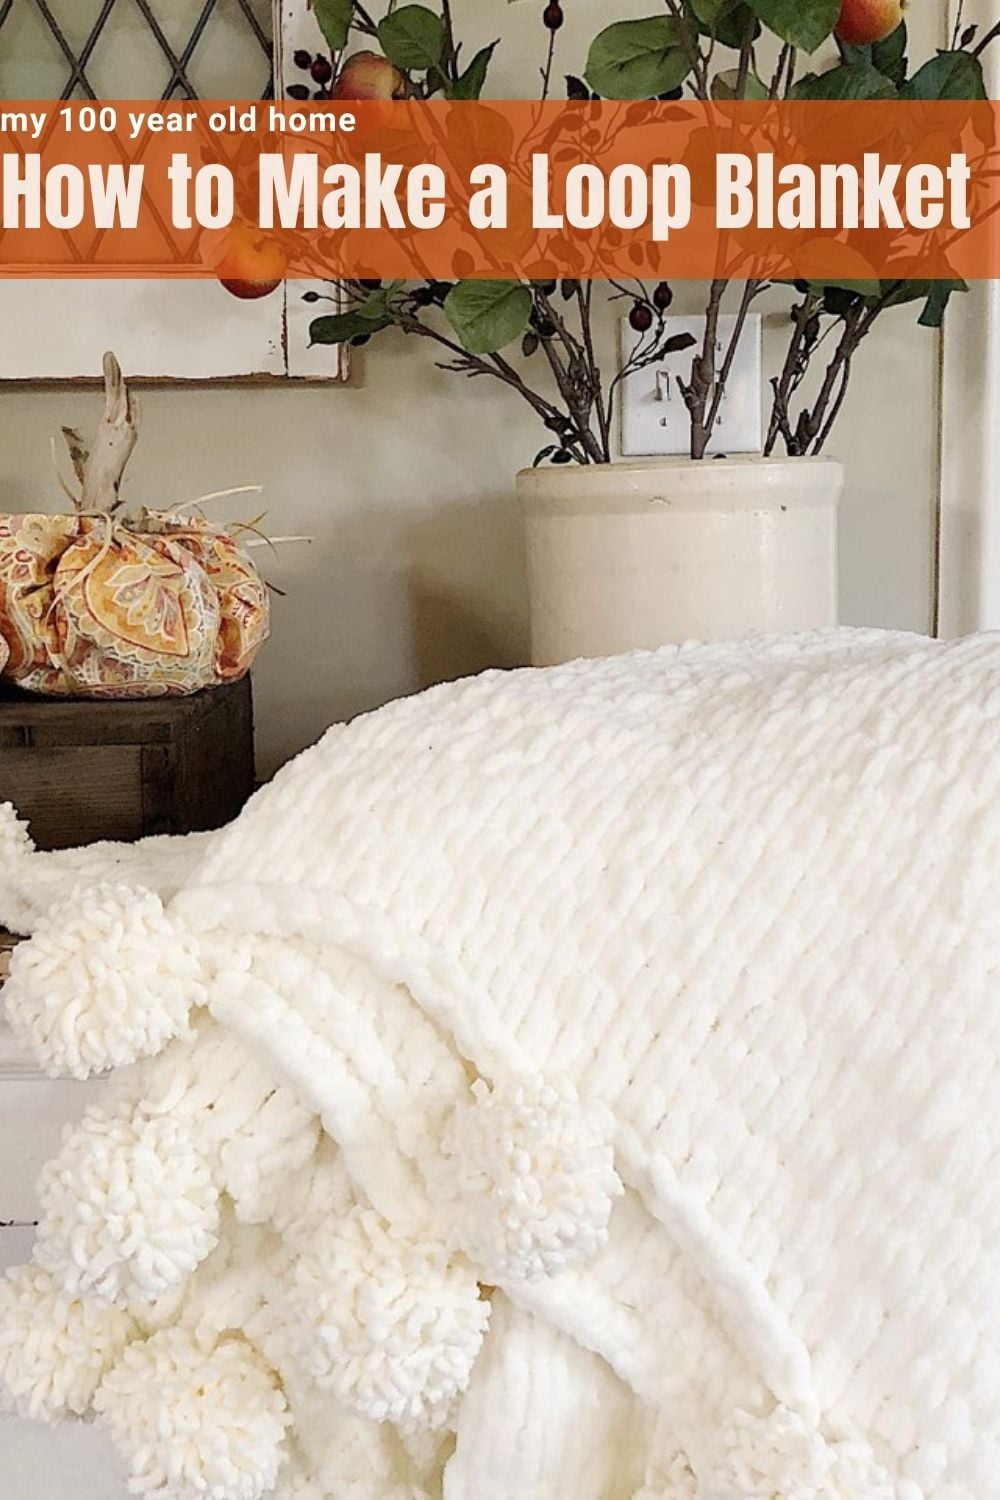
How to Make the Finger Knitted Pom Pom DIY Fall Blanket
Fall Blanket DIY
I took some photos and made this tutorial to show how easy it is to make. I also have a video on my Instagram that should help you see how easy this is!
All you need is your fingers to knit this blanket.

- one – Determine the width of your blanket and measure the length of your first row of yarn. My blanket measured 7 feet by 7 feet, requiring 10 balls of yarn. You might want to make one smaller!
- two – It’s easiest to make this on a flat surface. Once you have measured your width, pull the yarn above the row and lay it flat in the other direction.
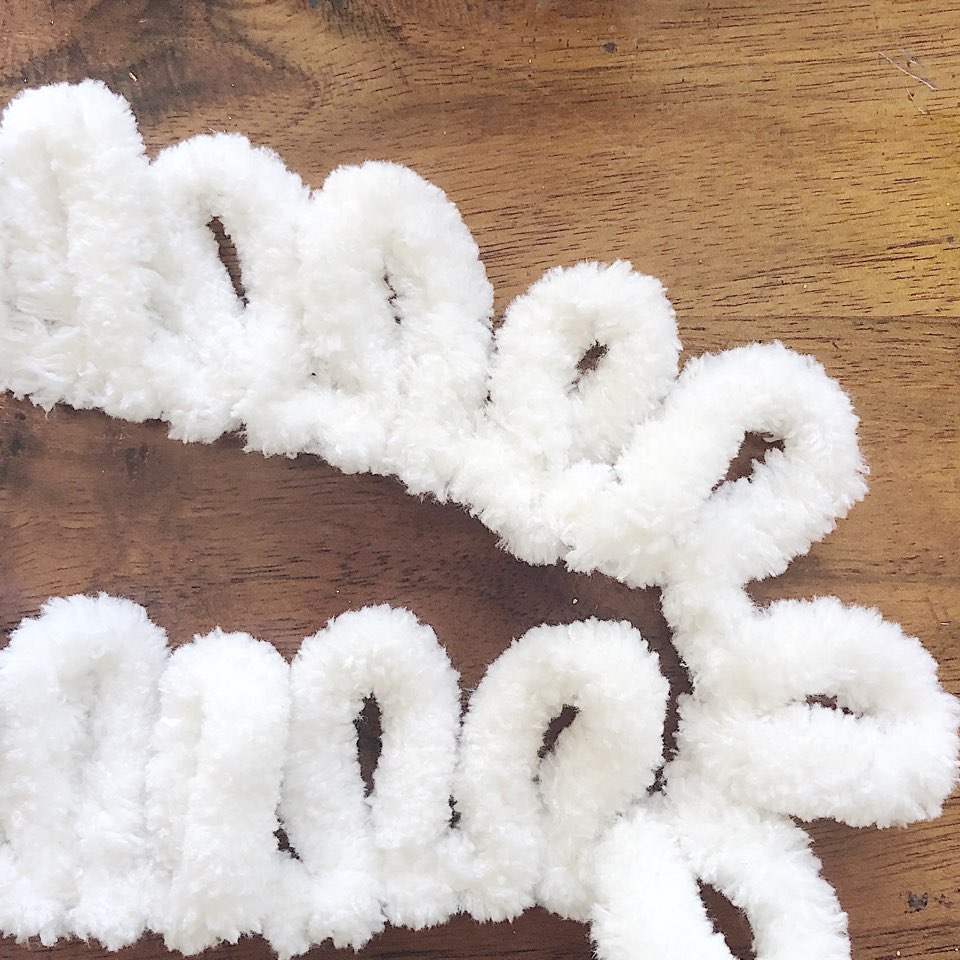
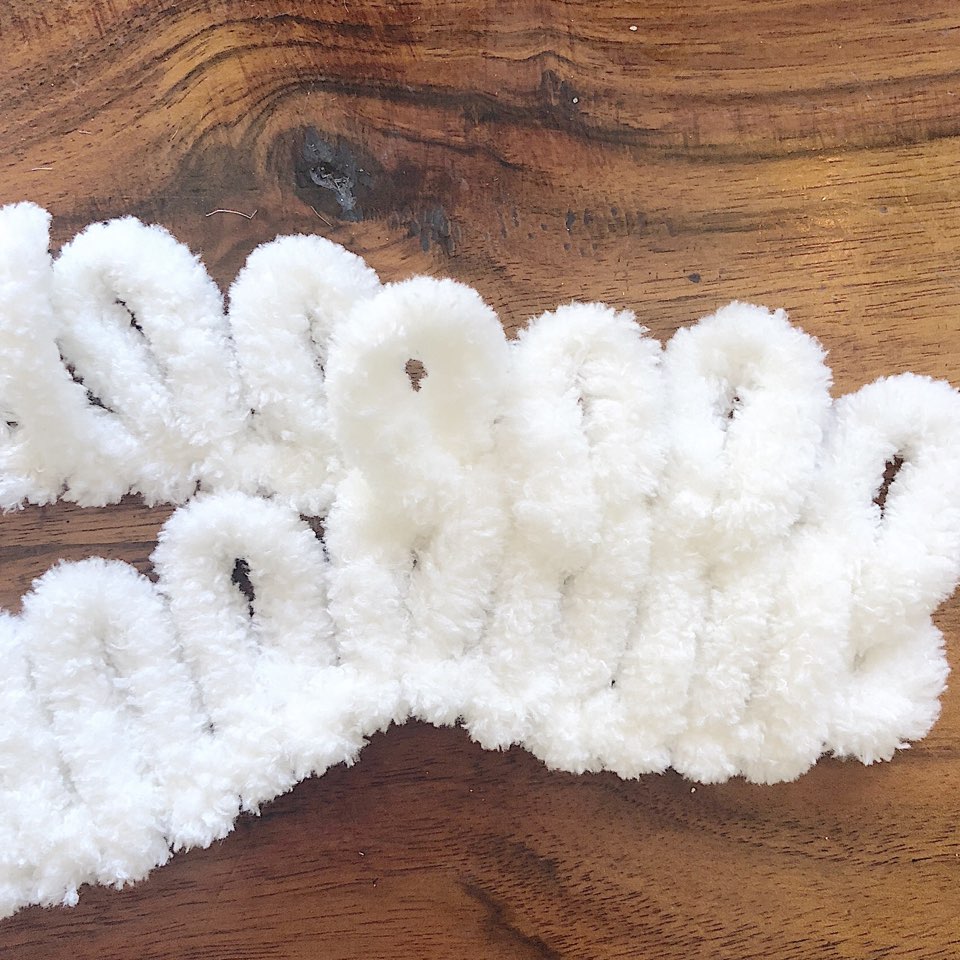
- three – Pull the top loop through the bottom loop. Make sure not to twist the yarn. This is all you need to do to knit the blanket!
- four – Continue each row. Be sure to make sure you don’t skip any loops. I flipped the blanket over and checked the back for slipped loops every few feet, just to be sure. I also liked to lay out the yarn so the loops were flat each time I started a new row.
- five – Continue looping until you reach your desired size.
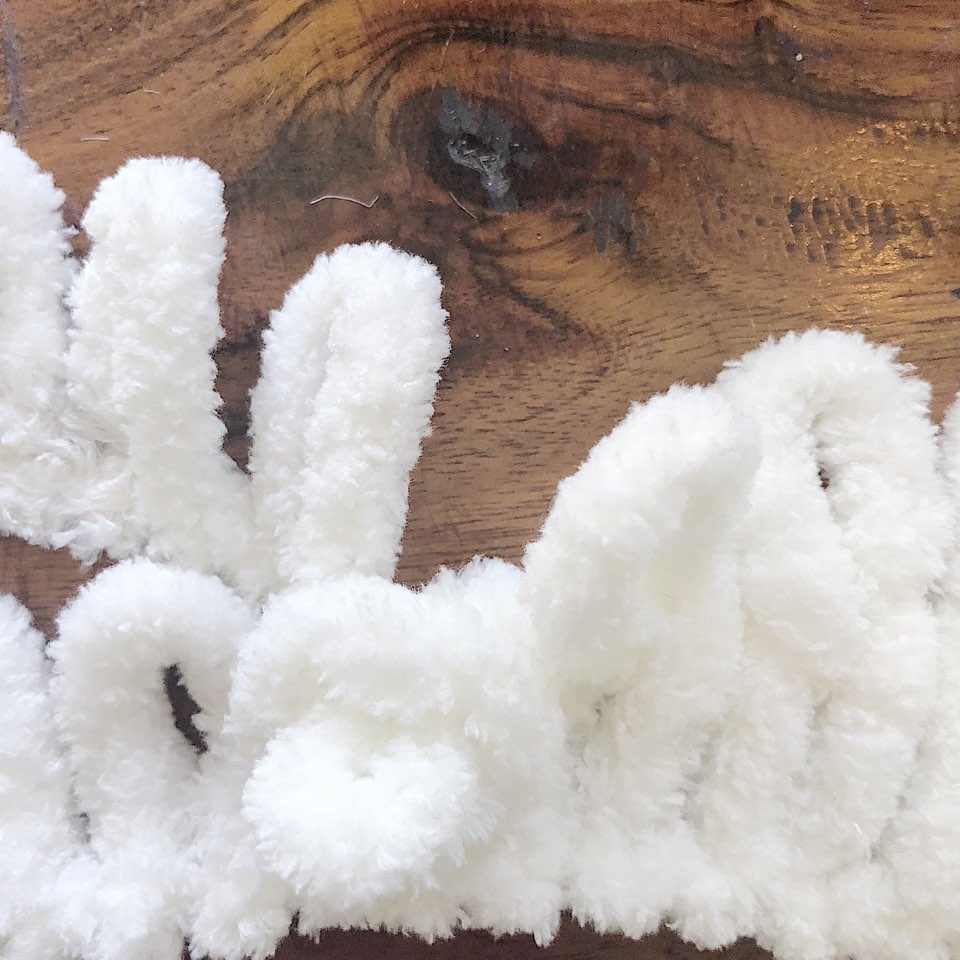
- six – To bind off, place the knitted loop closest to the edge through the loop next to it. Continue all the way across.
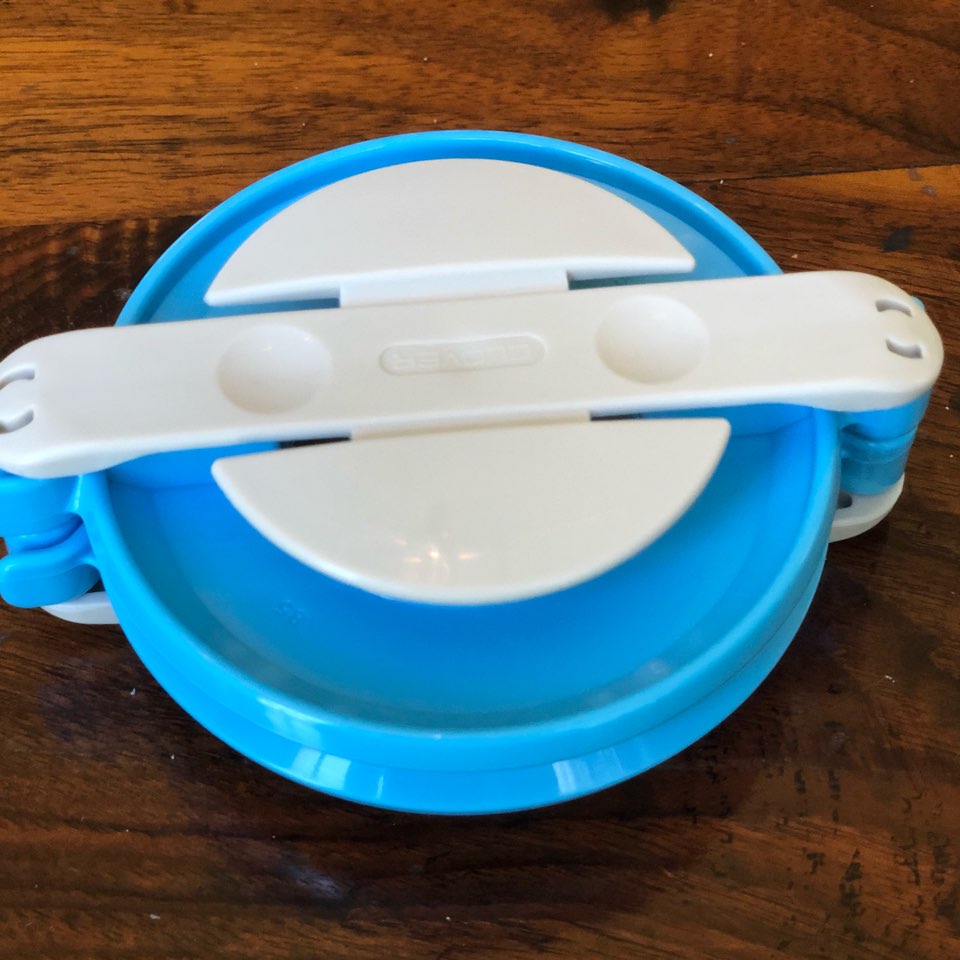
- seven -To make the pom poms, select the desired size of the pom pom maker.
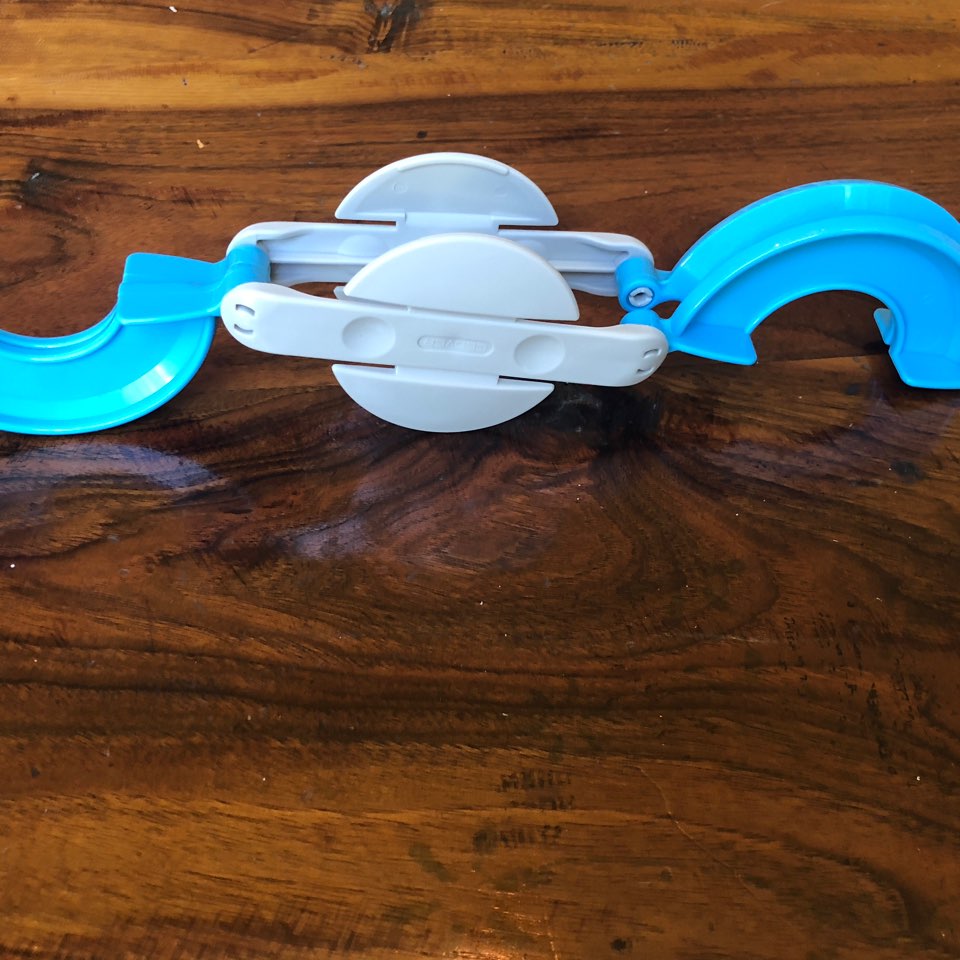
- eight – Open up the pom pom maker.
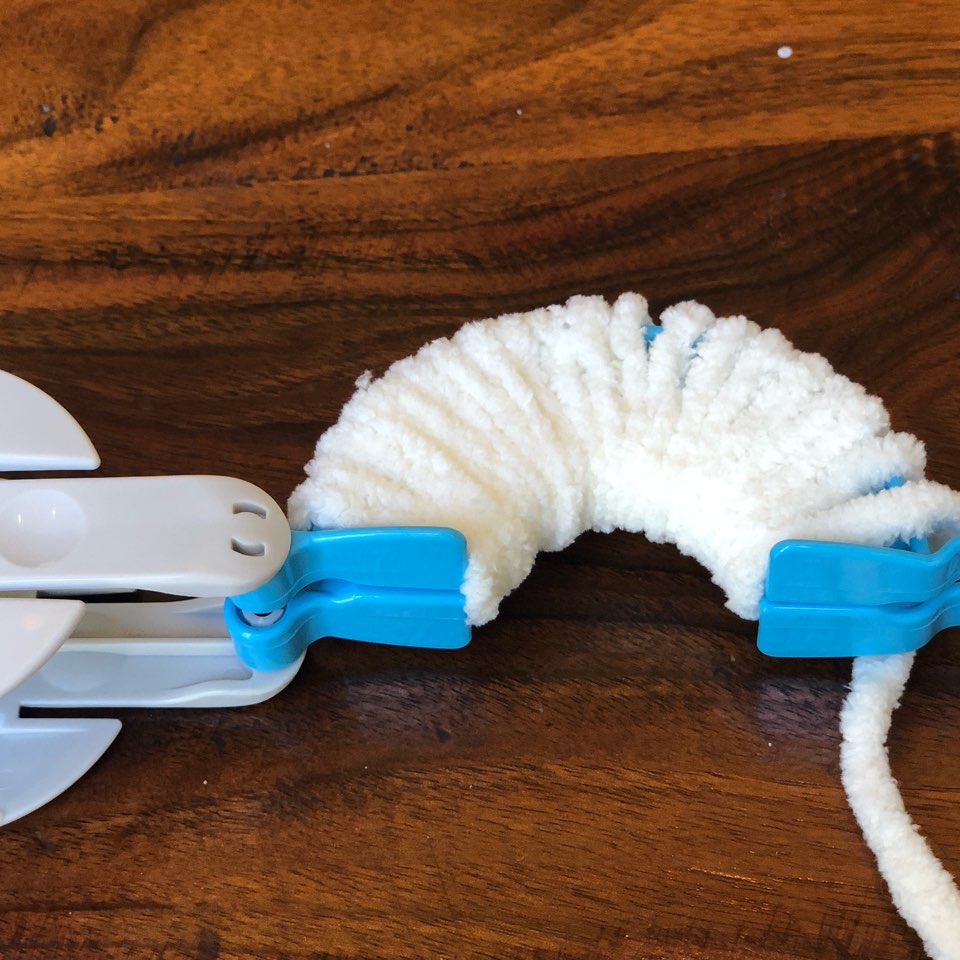
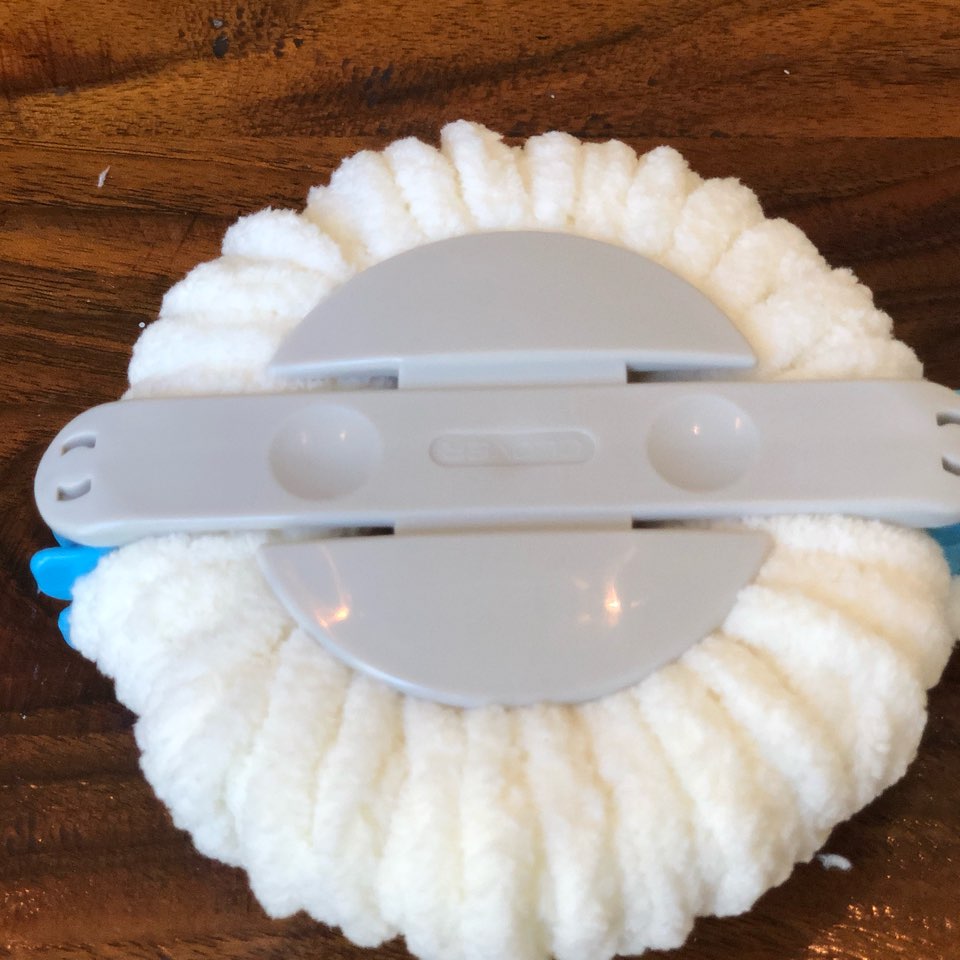
- nine – Open the pompom maker and wrap the yarn around the base three times on each side.
- ten – Close the base and repeat on the other side. Close the pom pom maker completely.
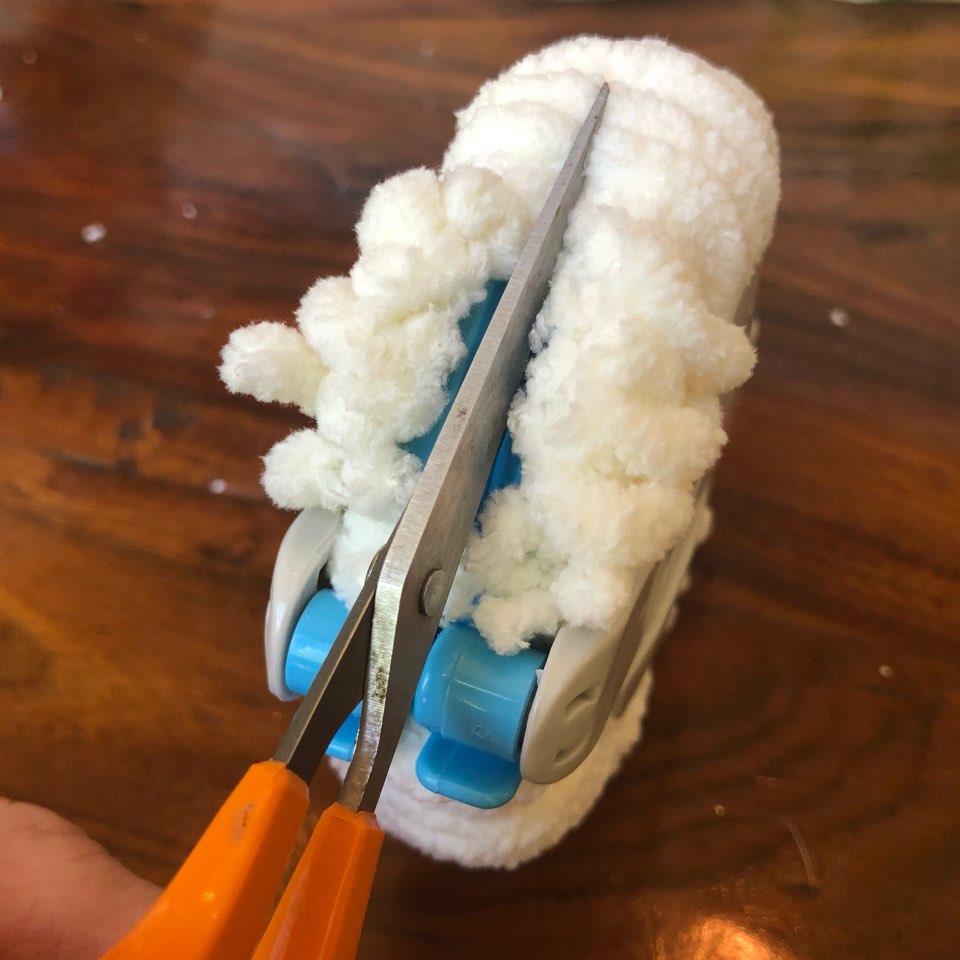
- eleven – Cut the yarn along the outside of the round base. You should follow the ridge with your scissors to get an even cut.
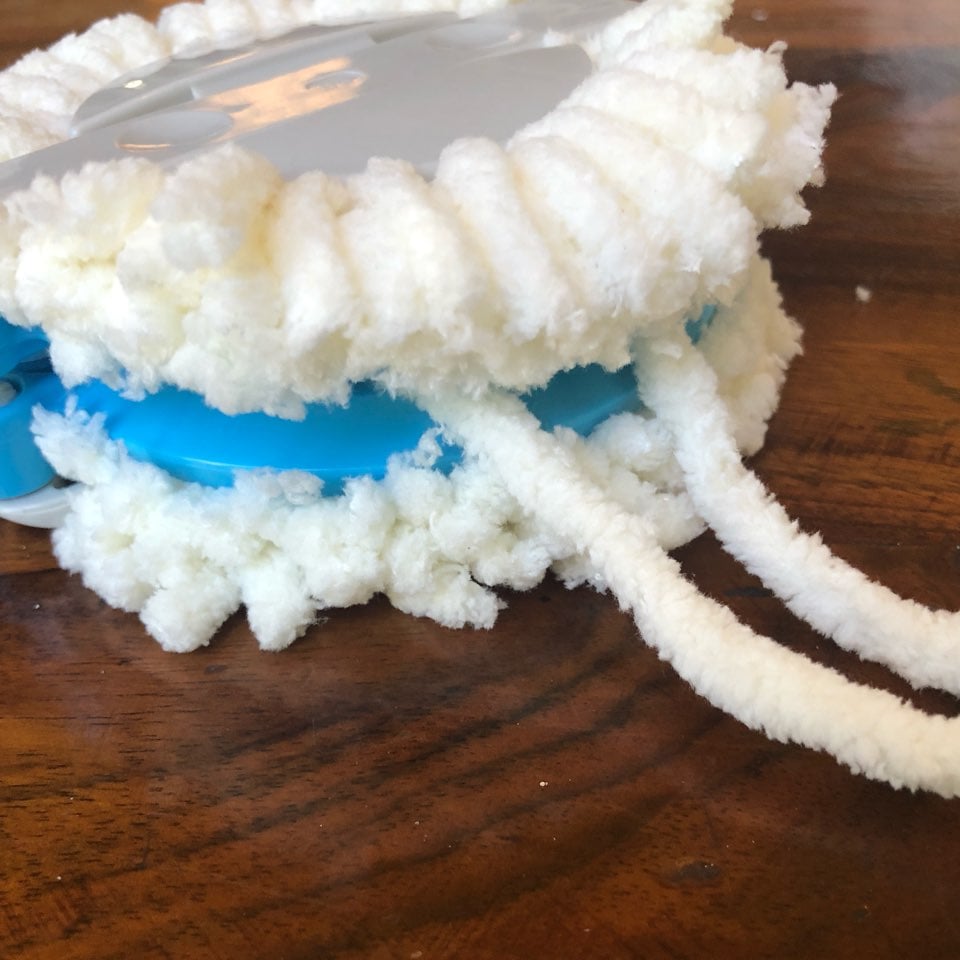
- twelve – Using another piece of yarn, loop it through the cut area, pull it tight, and knot it. Leave a long enough strand on each side to tie the pom poms to your blanket. Open up the pompom maker and pull out the pompom.
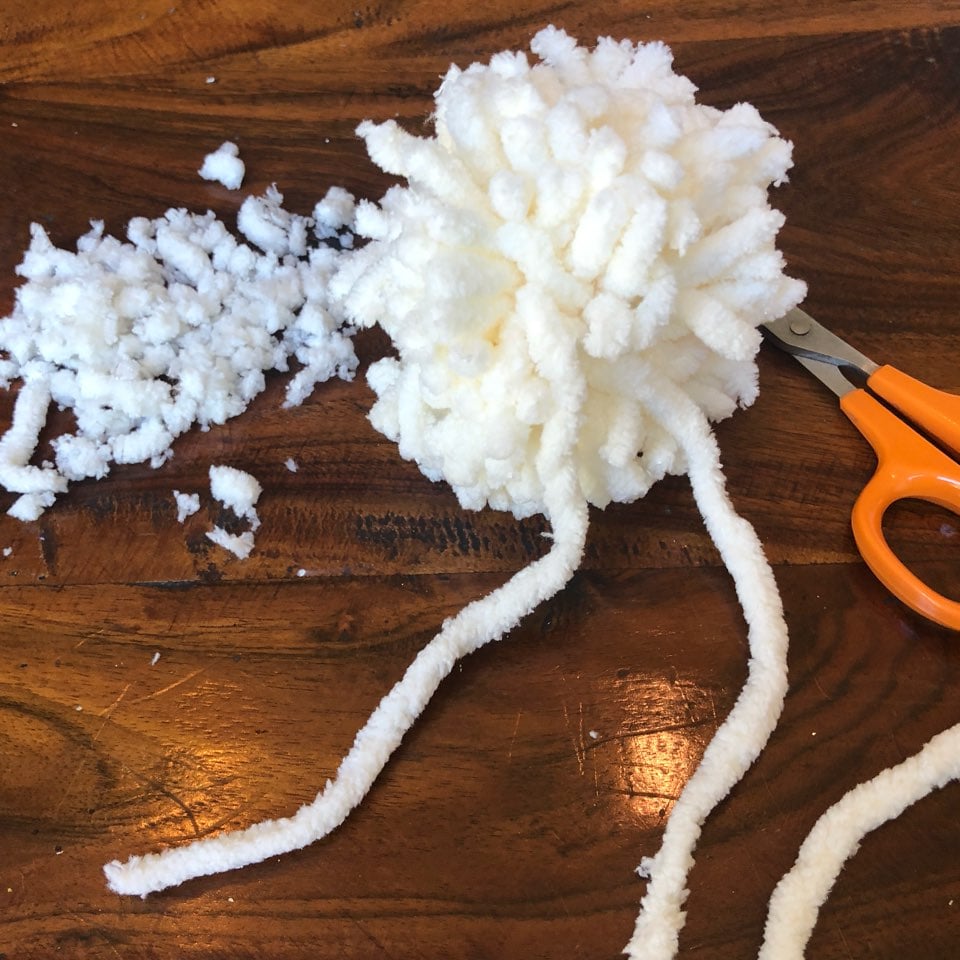
- thirteen – With sharp scissors, cut the threads to ensure they are all even. If you want a pom pom fuller than the ones I made, wrap the yarn around each side more than 3 times. I measured the ends and determined the distance to keep the pom poms evenly spaced. Then I tied them. I used ten pom poms on each end of the blanket.
Doesn’t my blanket look awesome?
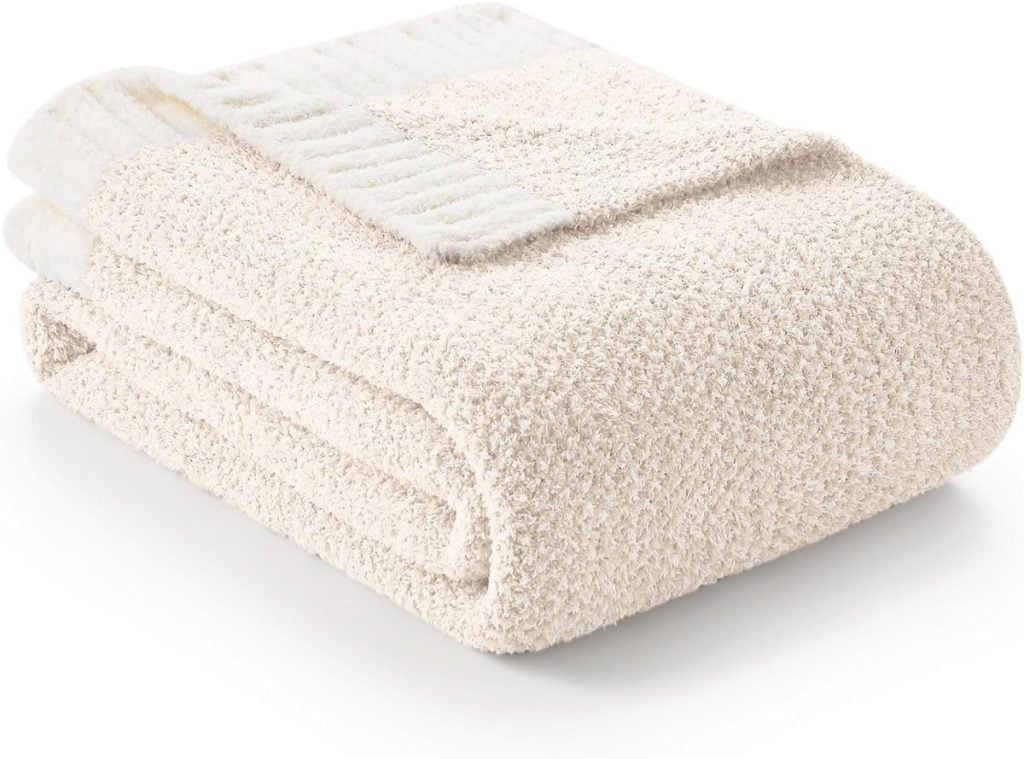
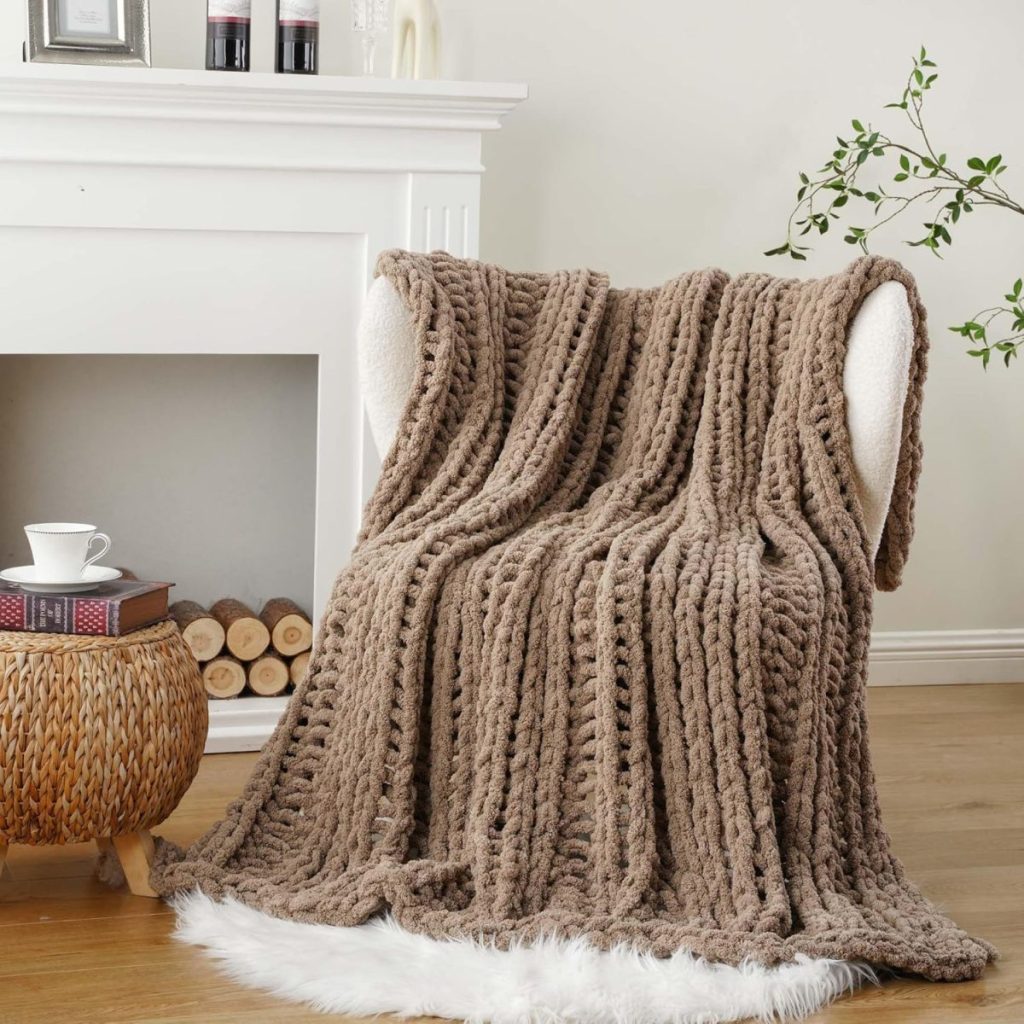
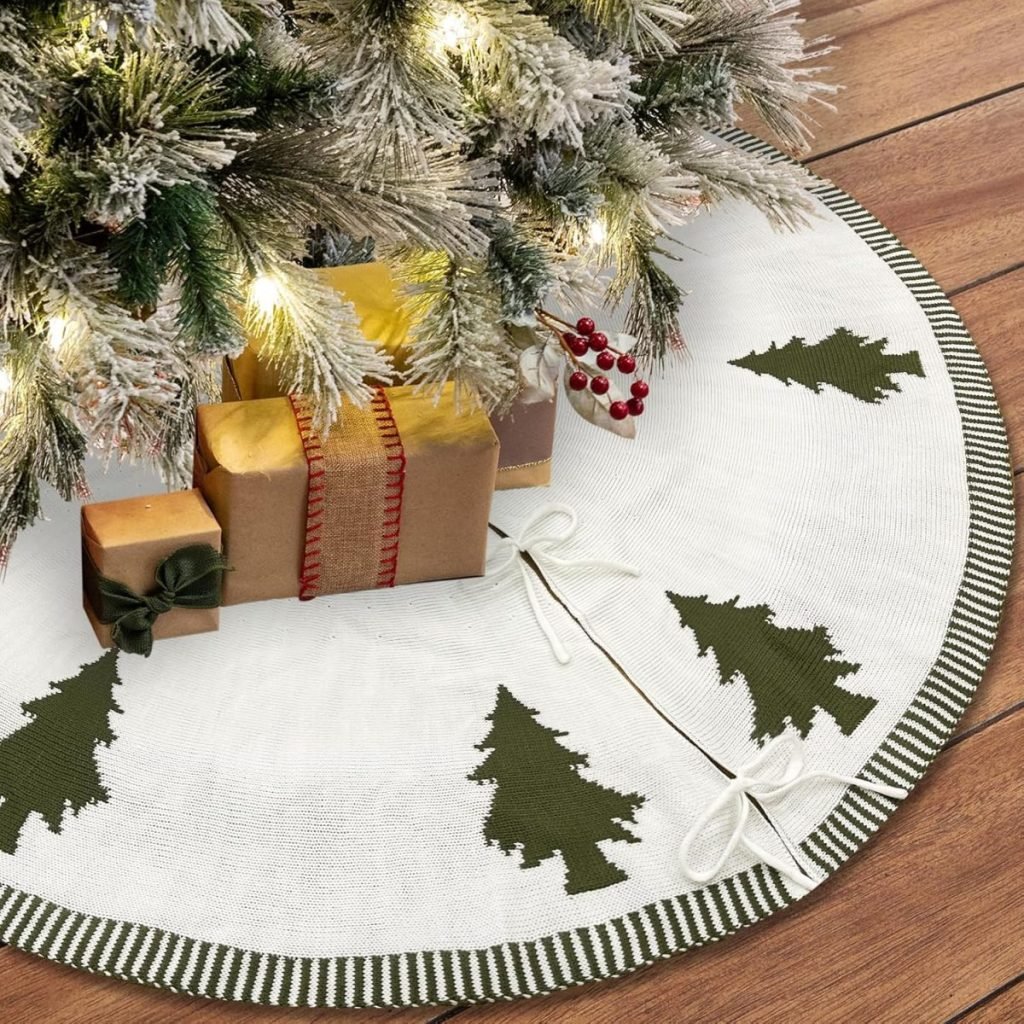
Not crafty? No problem. I found some wonderfully yummy fall blankets that are already made!

Video
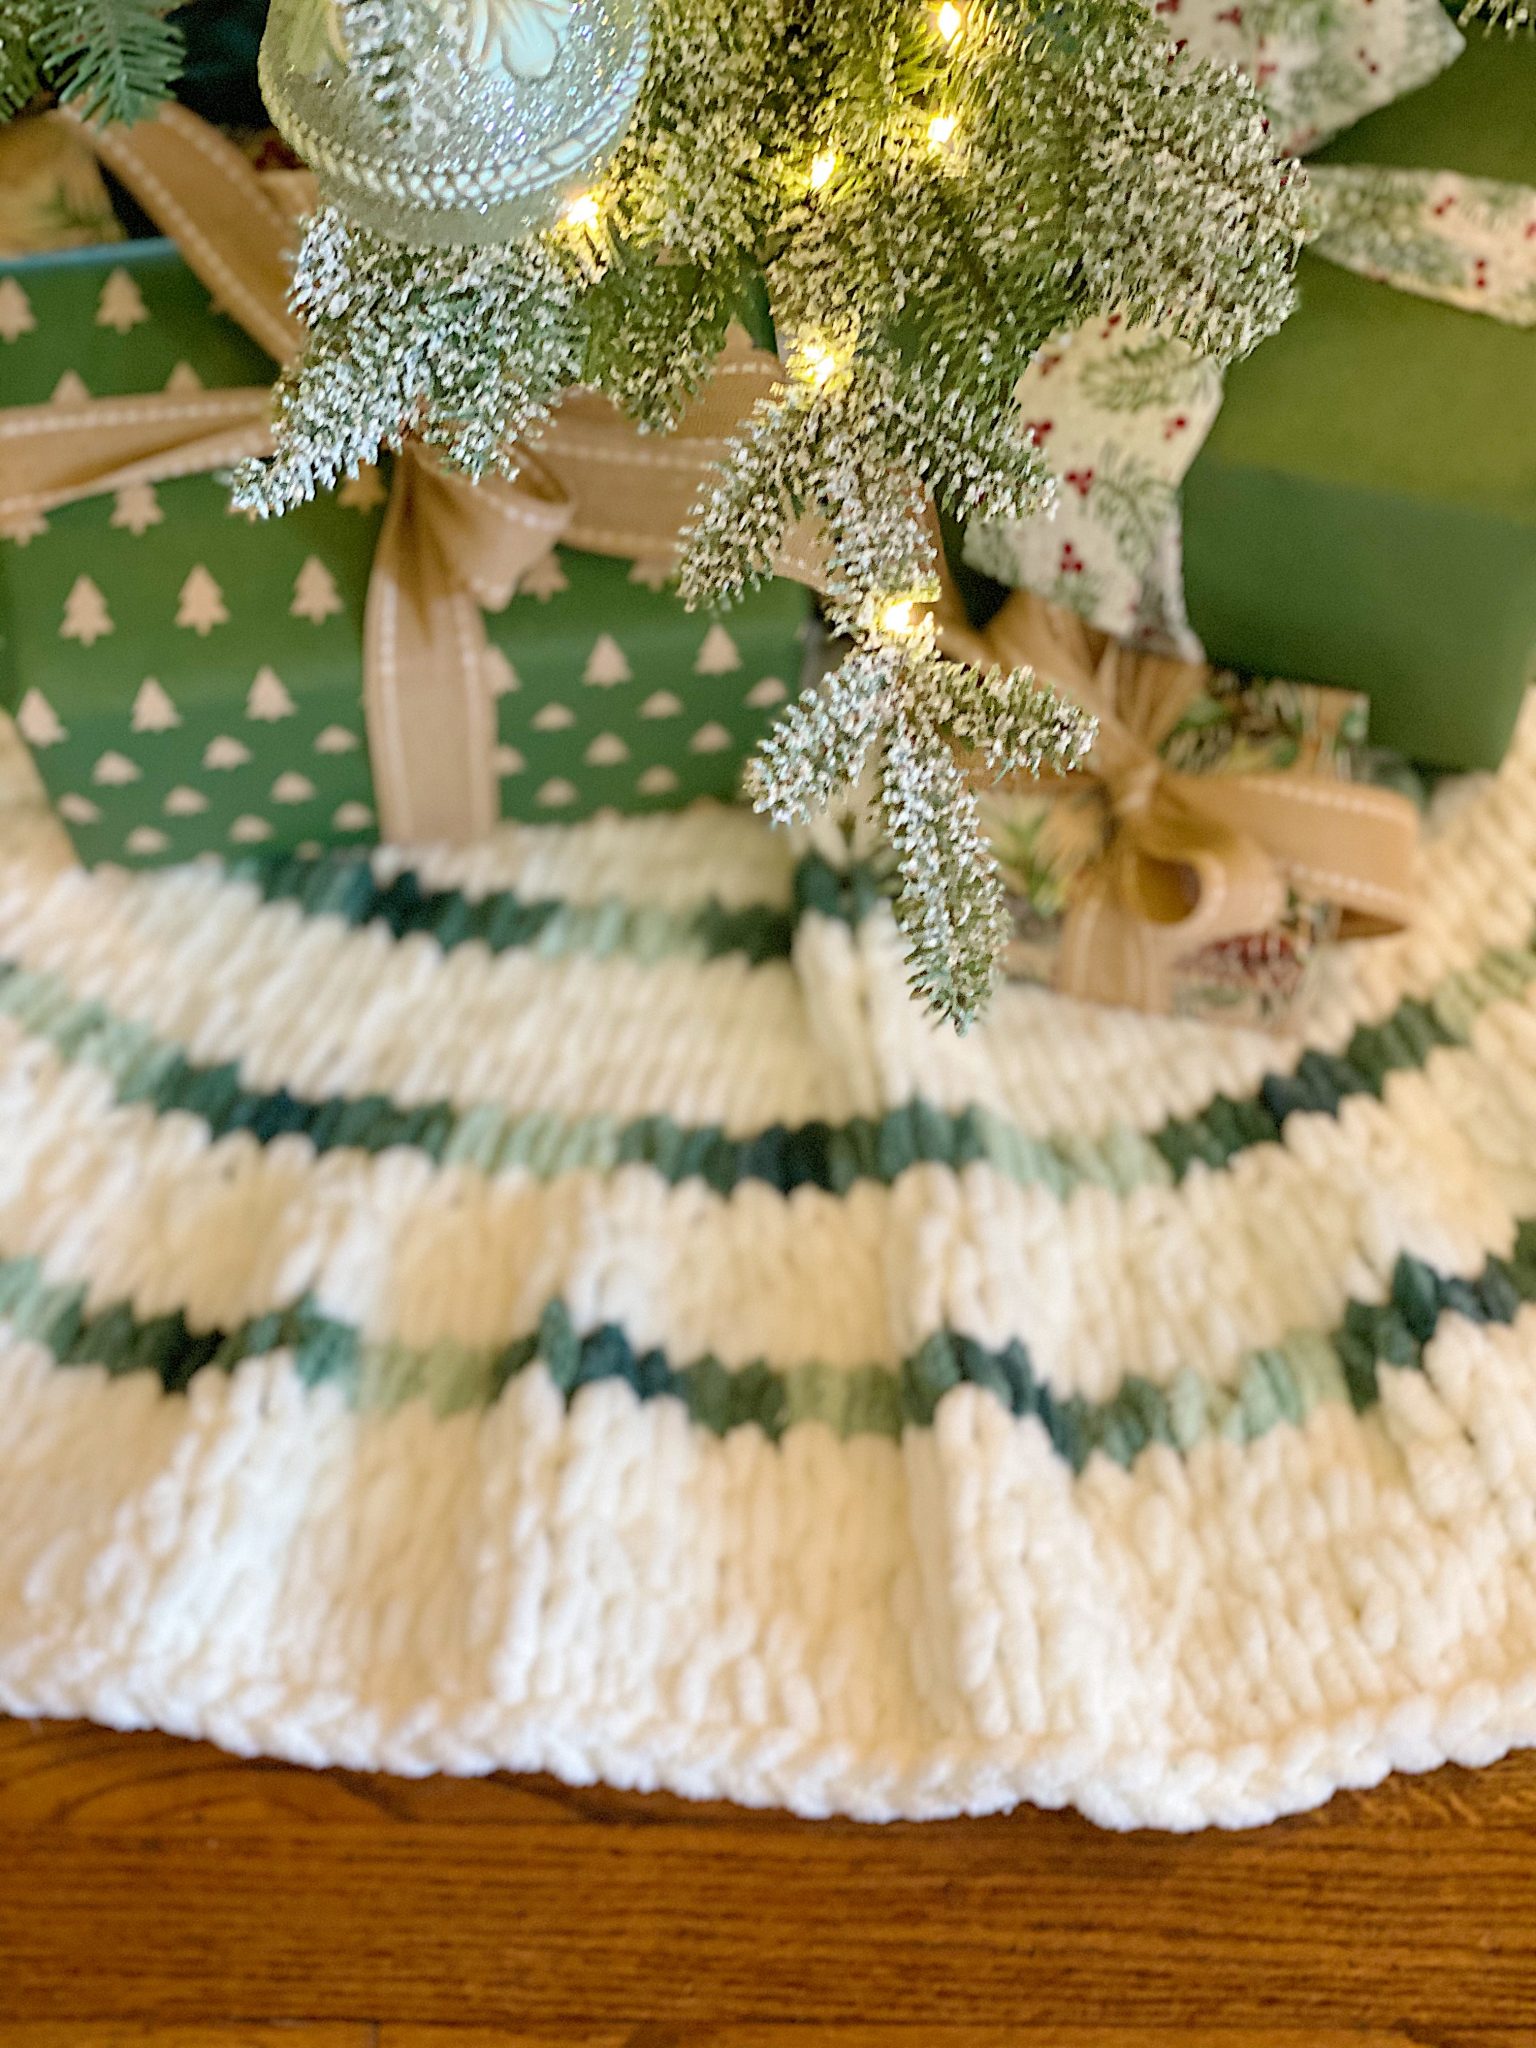
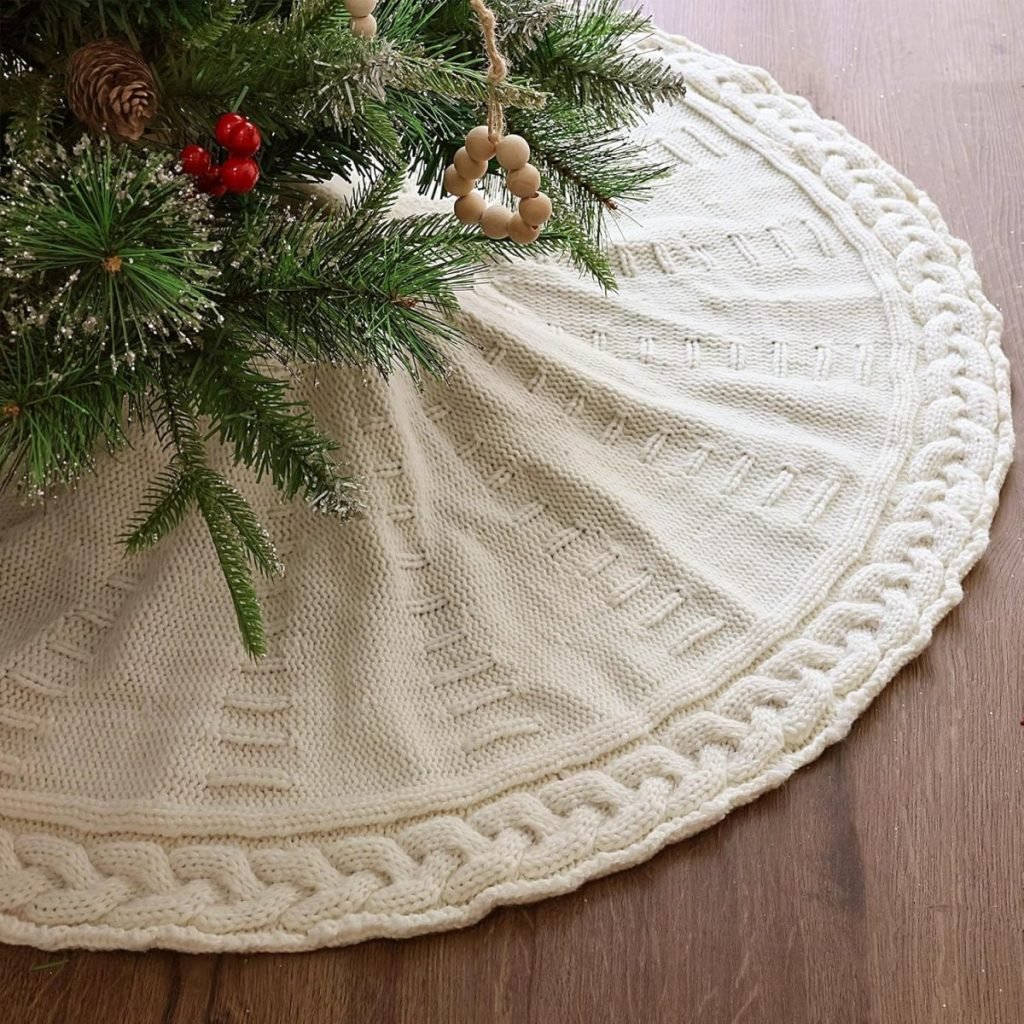
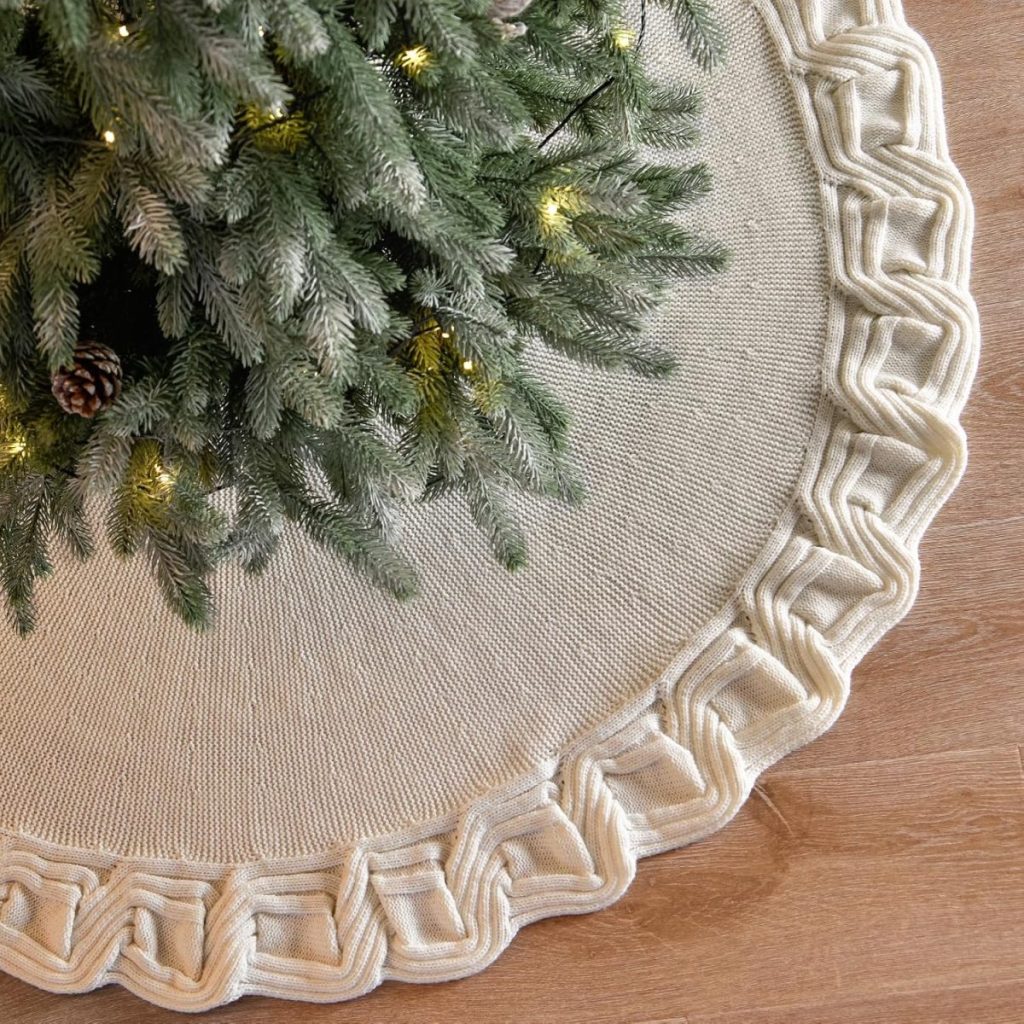
I loved making the blanket so much and also made this tree skirt from Bernat yarn! You can find all of the details about how to make it here.
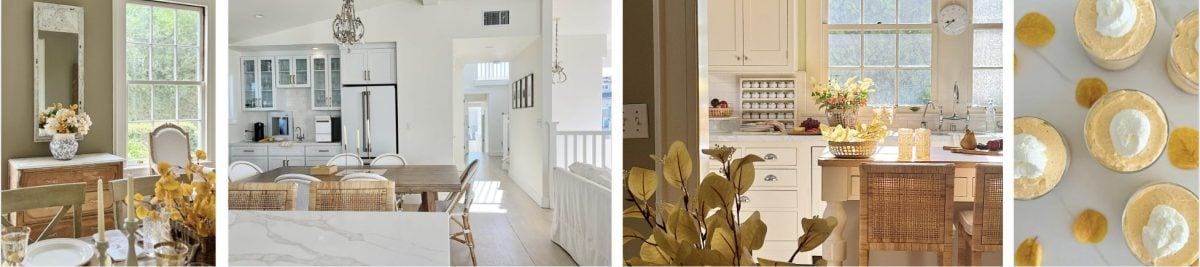
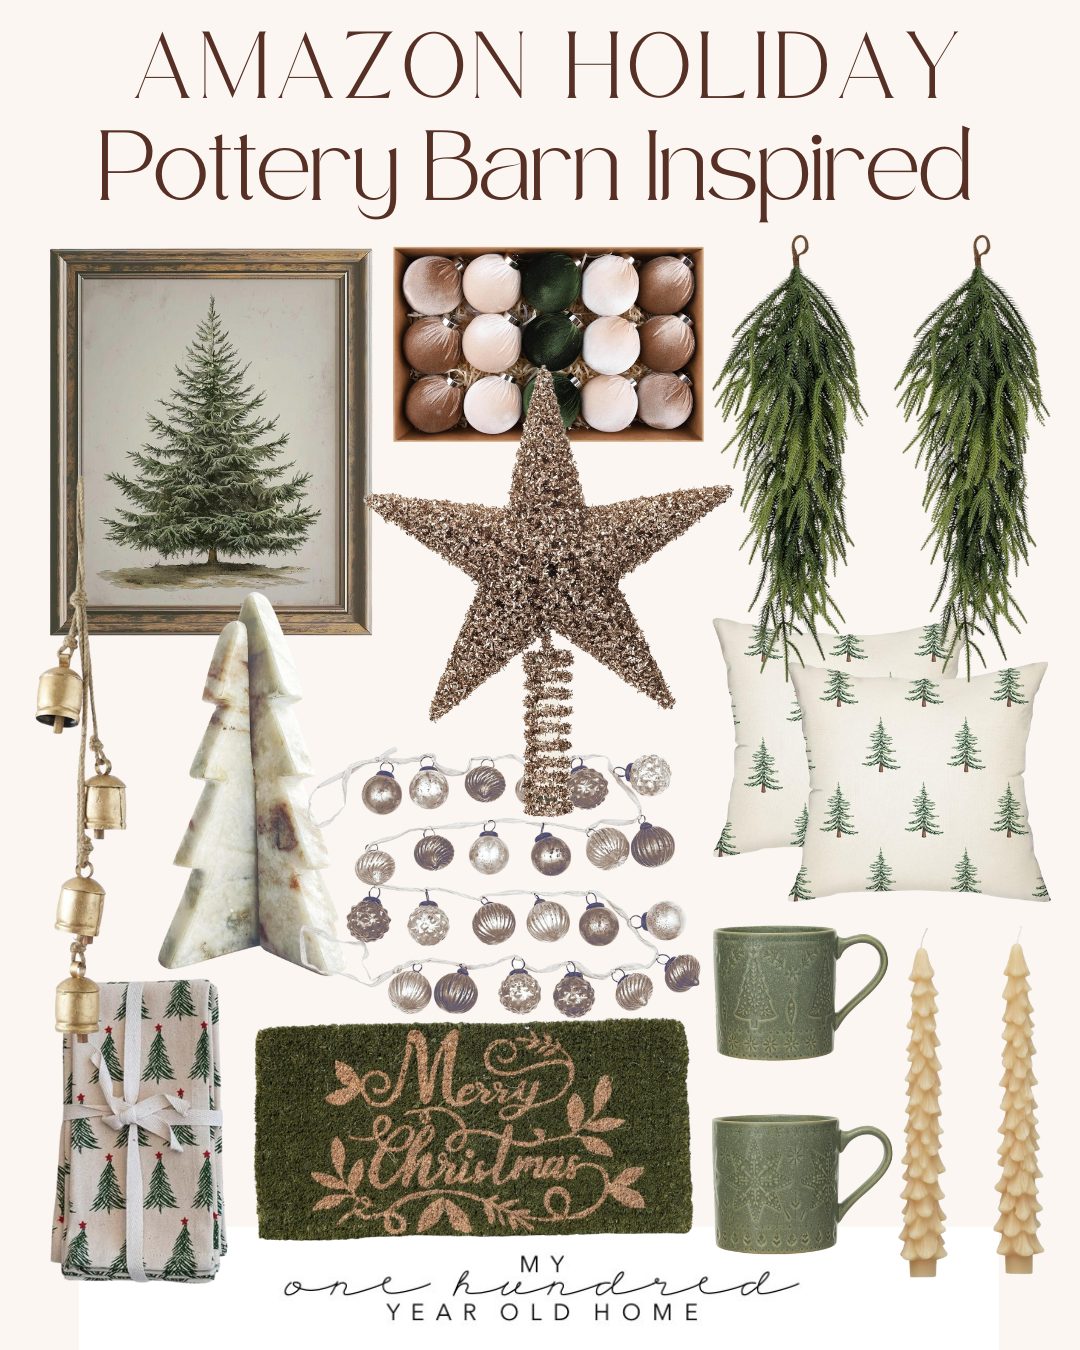
Pottery Barn Inspired Decor

A Home to Share, by Leslie Saeta
You can pin the image below to your fall decor and DIY boards on Pinterest (just click the Pin button in the top left corner) or follow me on Pinterest!

Excited to make this afghan, love it! Thank you.
You didn’t mention the yarn you used to make the pom pom’s. I assume it is the Bernat Velvet Plus Yarn in cream? How many balls of yarn did you use for 10 pom’s on each end?
Love the blanket. How many skeins of yarn did you use to make the 7ft X 7ft blanket? Thank you.
Whoever came up with the idea of looped yarn is genius!!!!! Love the blanket!!! I just purchased some of that same yarn to make wreaths for the holidays, I’m thinking I might just scrap that idea and go with a blanket!!!!! Thank you for your blog, love your color scheme, personally I never do traditional fall colors, I’m doing blue and green this year inside, and purple mums and kale with orange pumpkins on the outside. So hard to get into fall in Southern California, can’t wait for cooler temps!!!!
Thanks so much Cynde! Blue and green for fall is so creative, I bet your house looks beautiful!
Hi Leslie, I purchased the EZ yarn and I was surprised how large the loops were. By the picture you showed it looked tightly looped but then I saw another blanket on the bed, same color, which didn’t look tight and showed holes due to the large loops? I was only allowed to buy 4 balls of yarn at a time. I’m inclined to go in the loop twice to tighten it up and bulk it up. Could you please explain the differences of the blankets pictured above. Thanks for your help!
Working on the throw now. How do you finish off a skein and start a new one? Thanks
Hi Leslie,
I am excited to make the beautiful blanket! What yarn did you use for the pom poms? Was it the Bernat velvet in cream?
Thank you! Hallie
I love your front door wreath! How can I find one? Link?
Hi Leslie!
I just finished my last row on my beautiful blanket and I can’t quite understand how to finish off the edge. I need some help. Thank you!
KC
Leslie,
Just love the throw! Am working on the pom poms now. Having a hard time finding enough loop yarn, but still trying. Thanks so much for all your creative ideas. Love them all!
Thanks Debra!
Hi Leslie
What yarn do you use for the pompoms? And how do you finish of the end? Love this project
What a great blanket! Perfect inspiration for Christmas gifts!
Such a great idea Leslie! This blanket would make a great gift!
This is such a cute, fun project. Thank you for sharing this with us, Leslie. I must share this major mishap that I had the other day with this blanket. I had been making it on a flat surface. It was about a foot wide at this point. Being overly confident, I took the blanket and set it on my lap while we watched a long movie and there I went, working on my loops, adding another foot or so. I didn’t even know until I saw it the next morning that the weave on the second foot of blanket was completely different!! What? My heart stopped. I could only surmise that I flipped the blanket over when working on my loops that night. Ughh. So I’ve been staring at my blanket for the last 3 or 4 days now. How do I turn this lemon into lemonade?? I thought that maybe I could flip it over every foot or so and this change in pattern would look intentional but I have a feeling that it would look ridiculous so on day #5 (of staring at it) I decided to rip out the foot of the “new” pattern and do that part over. Just disheartening so…..be aware of the top/front side of your blanket so that you do not make the mistake that I did. Thank you.
I would love this, anyway we could get a printable for the pattern? Thank you!
Also wondering how to add on the next skein and finish it off when completed. Thank you!