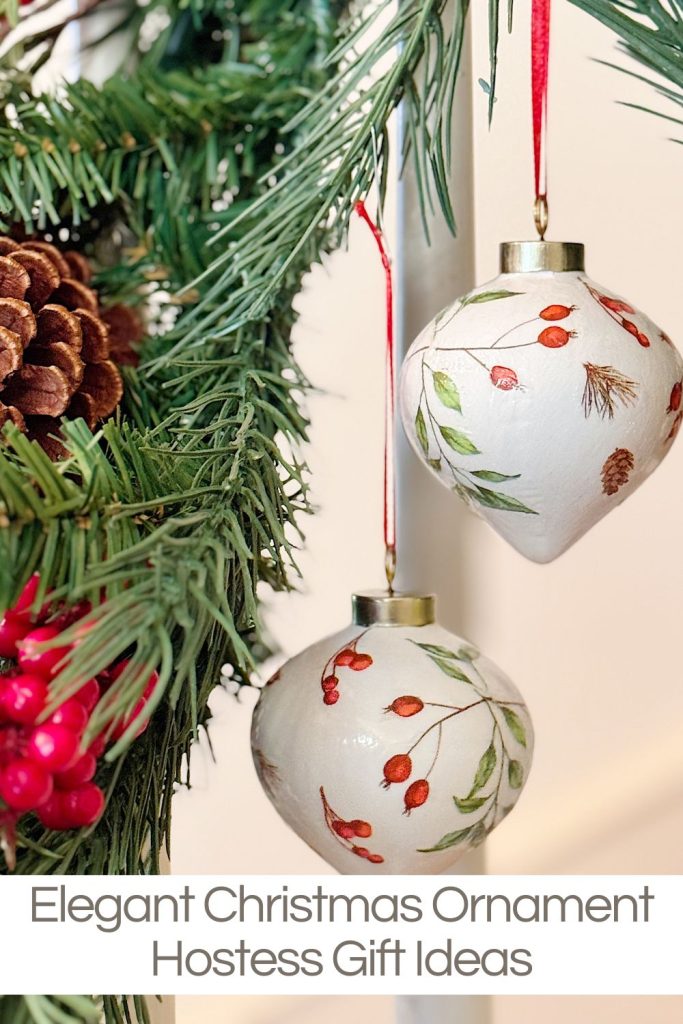
Elegant Christmas Ornament Hostess Gift Ideas


Finding perfect hostess gift ideas during the holidays doesn’t have to be complicated, especially when they come from the heart.
I love creating something handmade and meaningful to bring along to parties or family gatherings, and these vintage-style Christmas ornaments are elegant, easy to make, and the sweetest little gesture of gratitude. Whether you tie one around a bottle of wine, add it to a wrapped present, or give a set in a pretty box, this DIY hostess gift idea adds a personal, festive touch that feels every bit as special as the season itself.

Hostess Gift Ideas and the Sweetest DIY Vintage Ornaments
The holidays are all about connection, gathering with friends, celebrating traditions, and sharing moments that make the season magical. And if you’re anything like me, you probably find yourself looking for thoughtful ways to say thank you to those who open their homes and hearts this time of year.
I always like to bring a little something special when I’m invited to dinner, a party, or even a casual gathering, something meaningful and handmade.
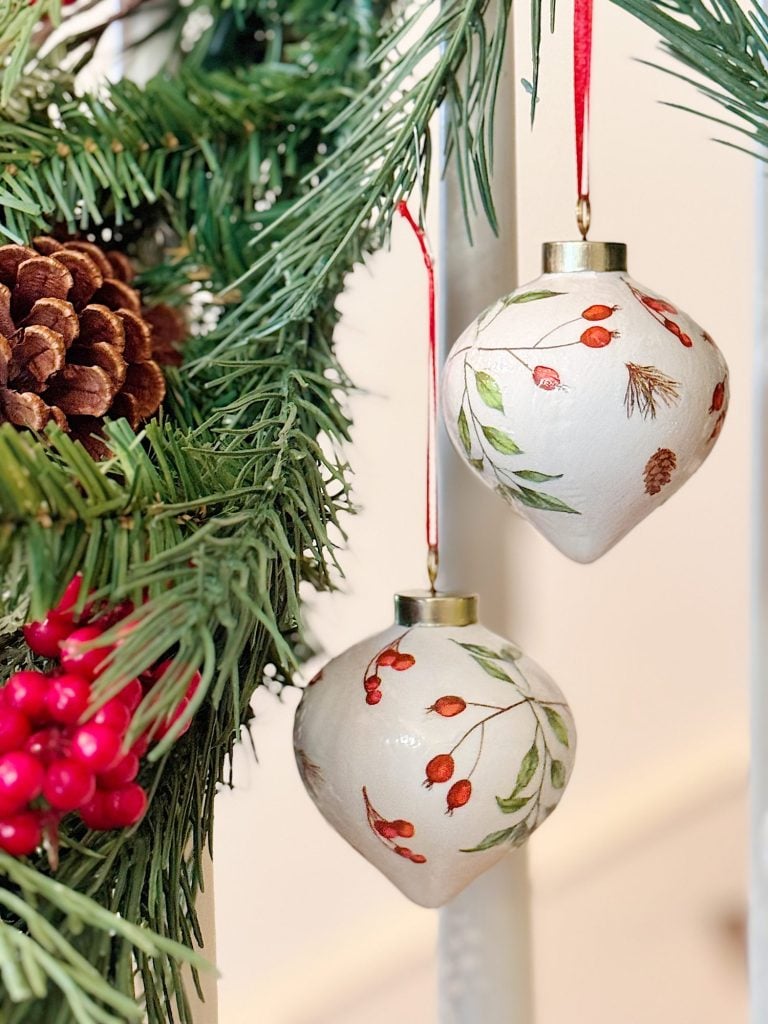
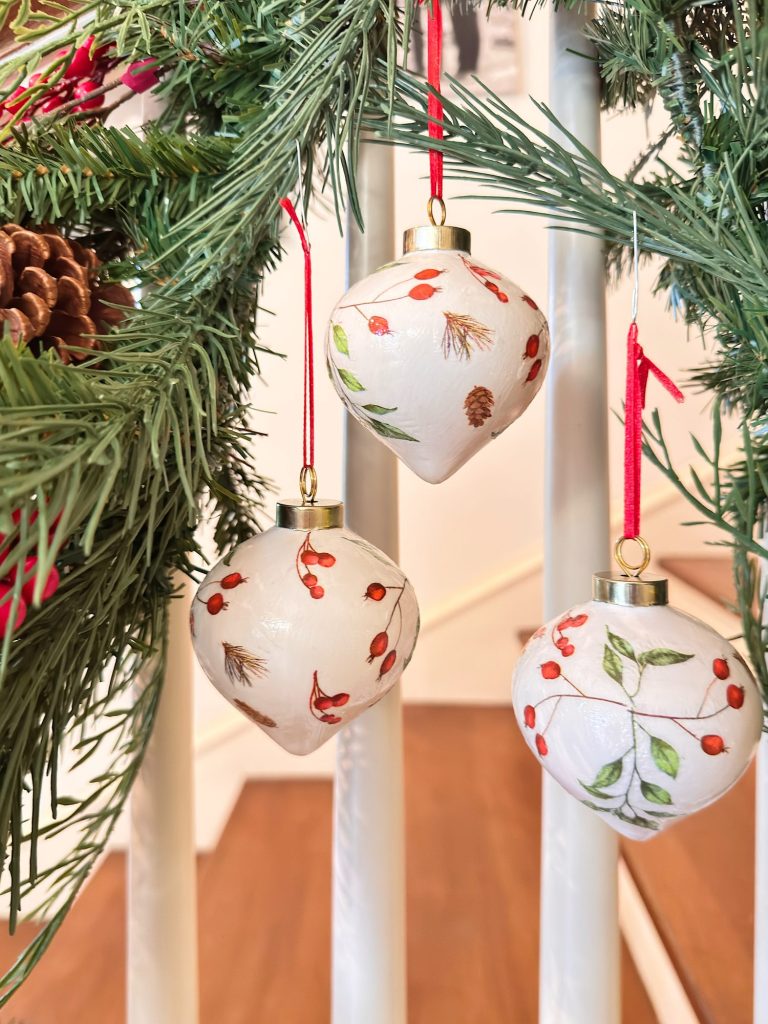
This year, I created the most charming little vintage-style Christmas ornaments, and they’ve quickly become my favorite hostess gift idea for the season.
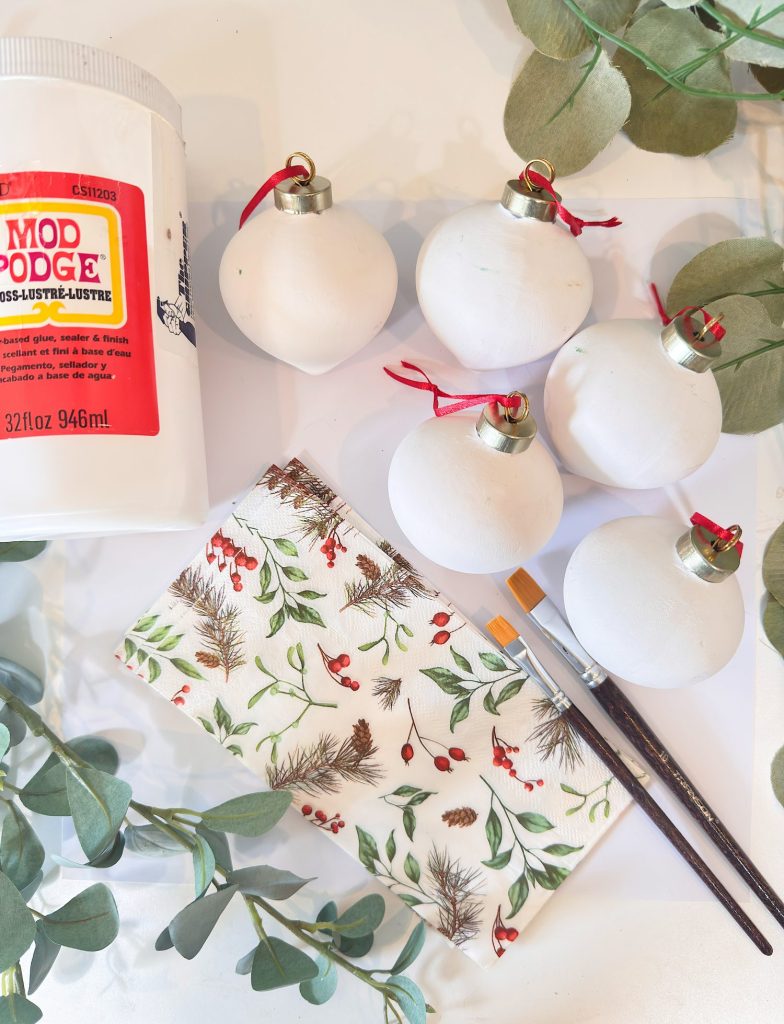
They’re classic, nostalgic, and full of that handmade touch I love so much. The best part? They’re incredibly easy to make with just a few simple materials … glass ornaments, paint, pretty paper napkins, and Mod Podge.
You can tie one around a bottle of wine, add it to a wrapped gift, or present a set of them in a pretty box. They’re the perfect blend of personal and beautiful — and I can’t wait to show you how to make them.
Why Handmade Hostess Gifts Mean So Much
There’s something extra special about giving a gift that’s been made by hand. It’s not just about the item itself; it’s about the time, thought, and care that went into creating it.
When you arrive at someone’s home with a homemade gift, it tells them, “You matter to me.” It’s a gesture that goes beyond convenience and trends; it’s a token of gratitude wrapped in creativity.
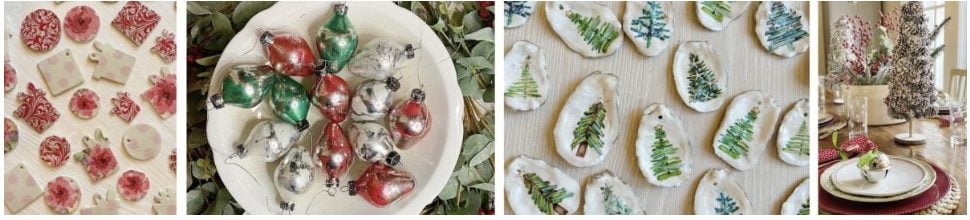
I’ve given everything from homemade jam and hand-poured candles to embroidered napkins and clay ornaments. But this year, I wanted to make something that felt a little vintage, something that reminded me of the delicate, European-inspired ornaments my mom used to hang on our tree when I was little.
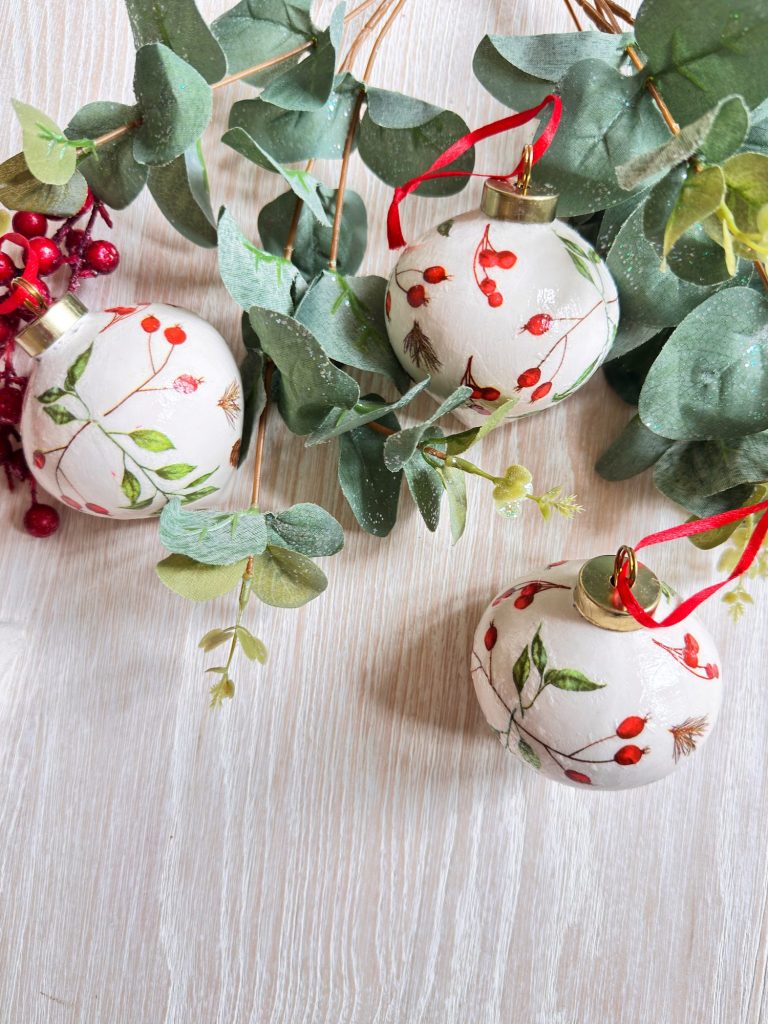
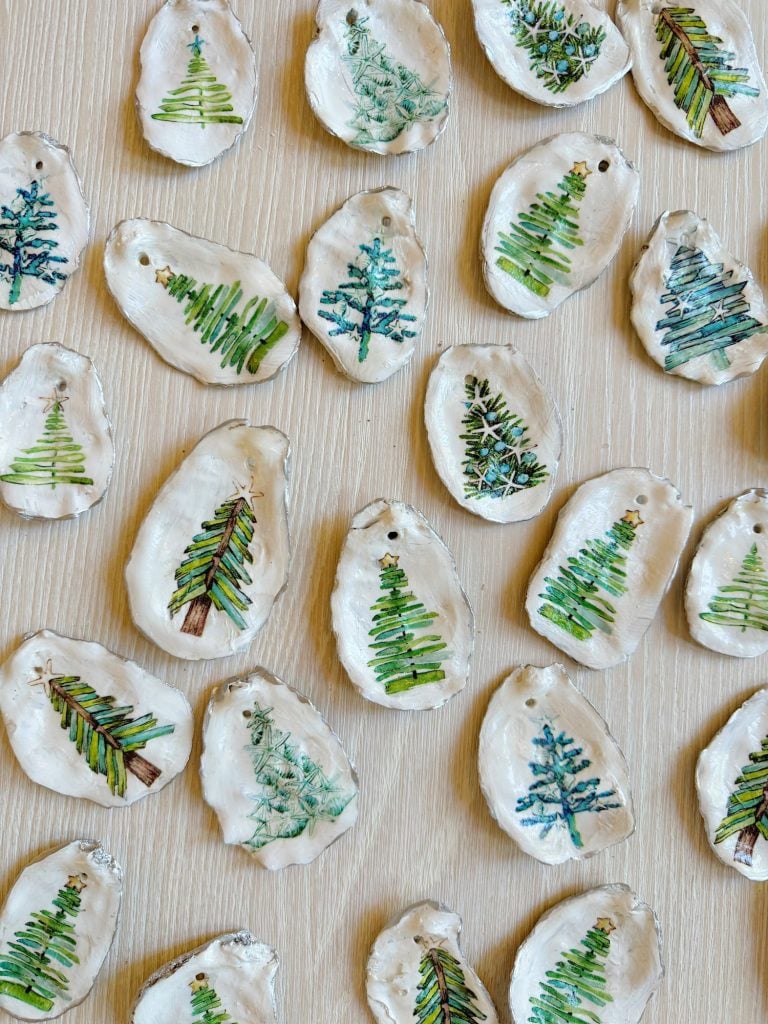
These DIY ornaments capture that nostalgic charm perfectly. The glass shapes feel timeless, and the floral and greenery details from the paper napkins add a beautiful, layered texture that resembles fine, hand-painted art.
They’re a lovely reminder that you don’t need to spend a lot to create something memorable. You need a little creativity and a lot of heart.
A Quick Reminder – Black Friday Starts Today
Click on a category below to shop my favorite Black Friday Deals happening right now!
2025 Black Friday Deals by lsaetaThe Inspiration Behind the Design and Supplies You’ll Need
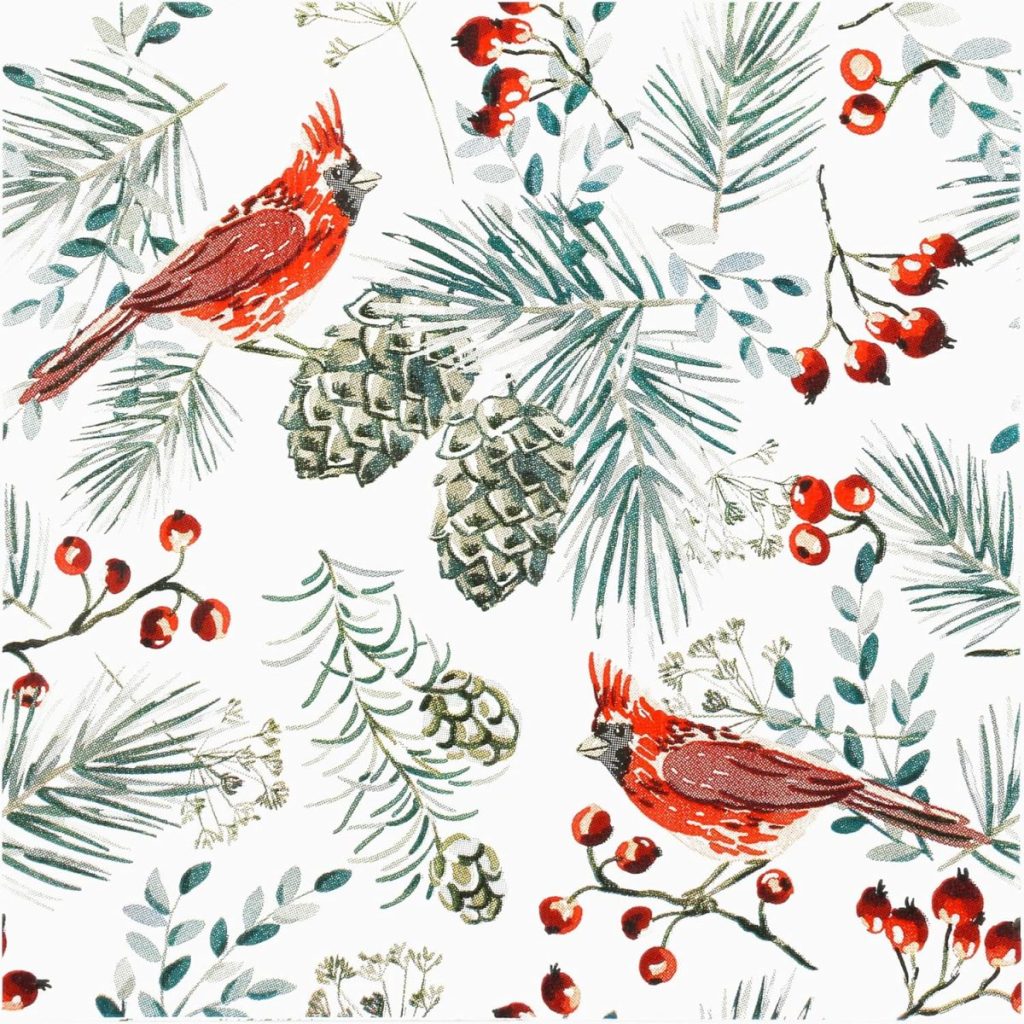
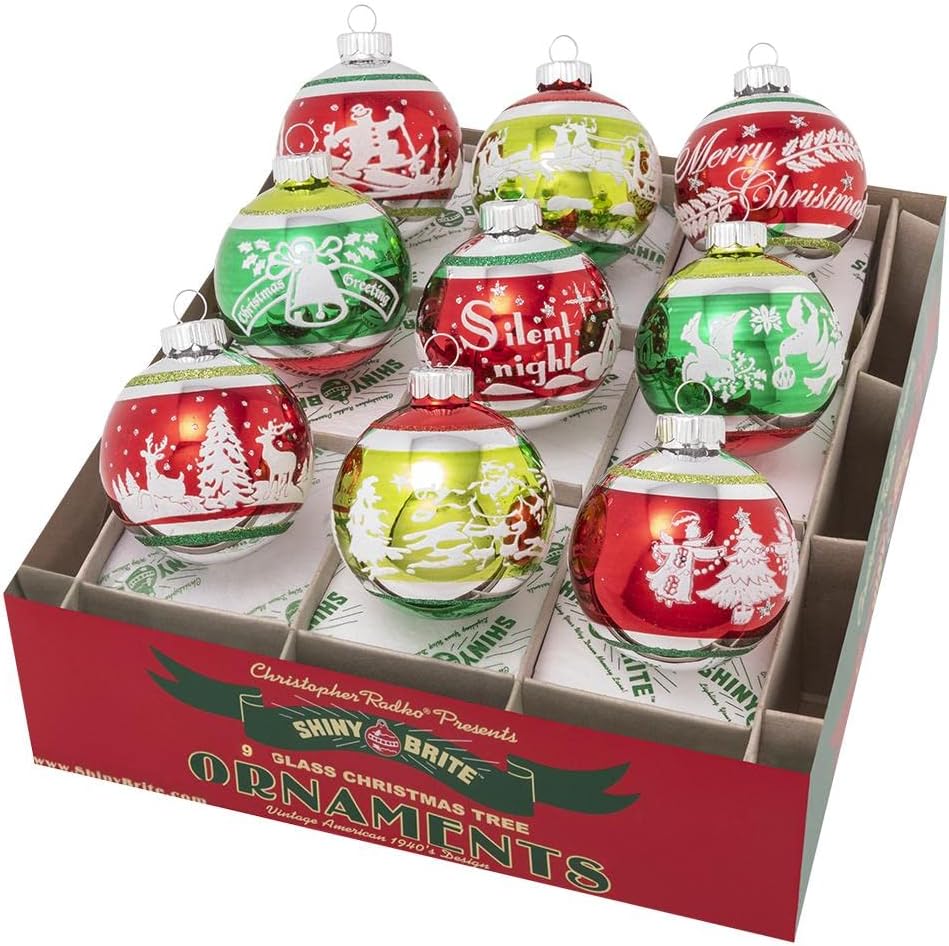
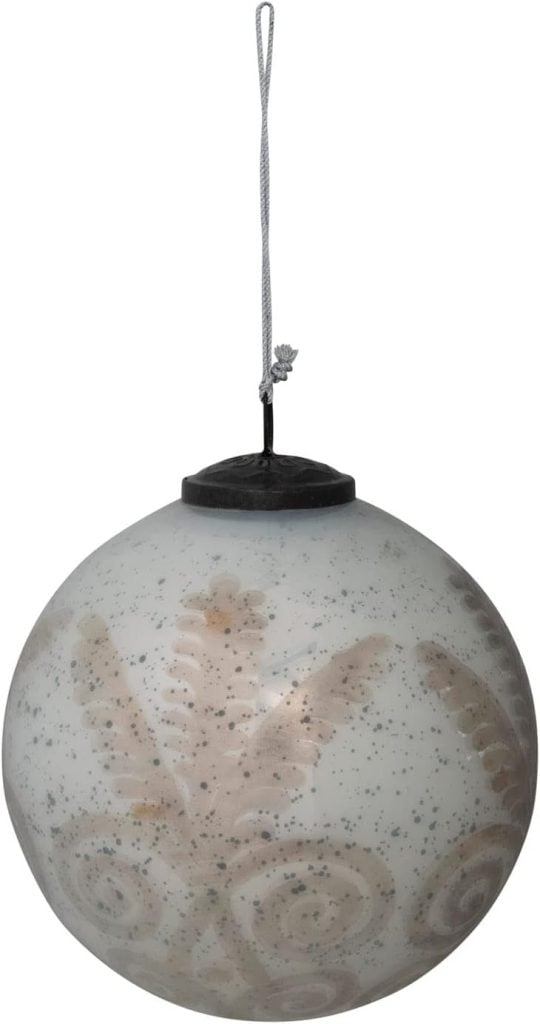
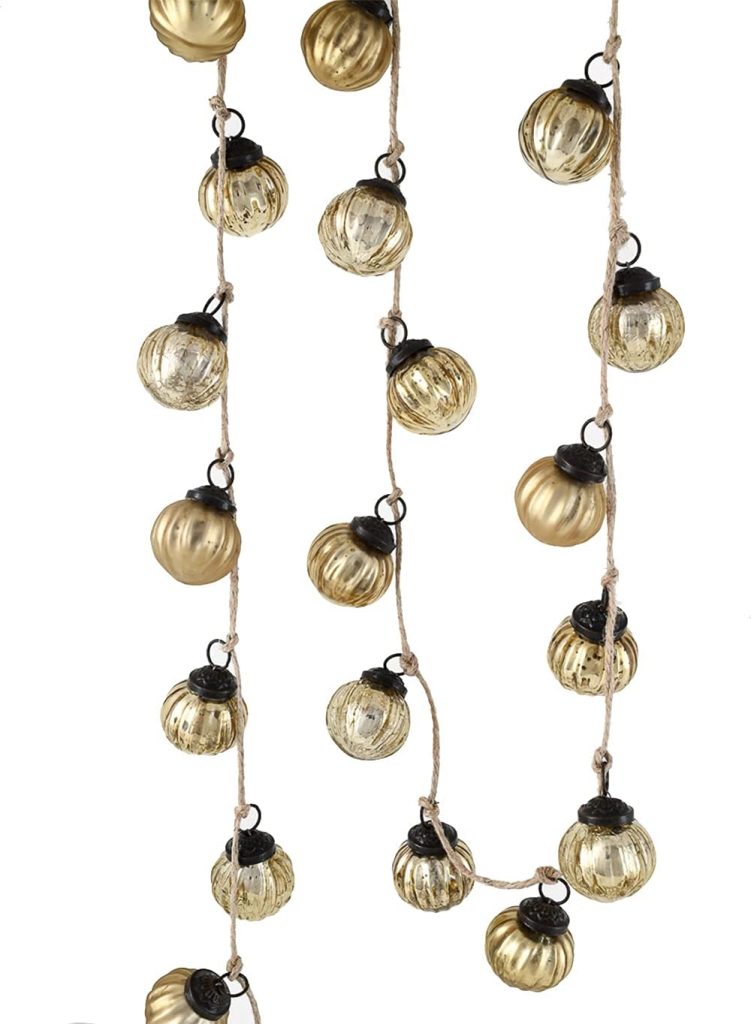
I love anything that looks like it has a story, vintage glass ornaments, mercury finishes, and soft botanical motifs that bring a bit of nature into holiday decor.
When I found a set of napkins featuring delicate watercolor-style greenery and red berries, I instantly knew I wanted to use them in a project. I’ve used Mod Podge for countless crafts over the years, from decoupaged pumpkins to textured trays, and I realized this same technique would work beautifully on ornaments.
If you love that cozy, vintage Christmas aesthetic, these ornaments are for you.
Here’s everything you need to make your own DIY Vintage-Style Christmas Ornaments:
Materials:
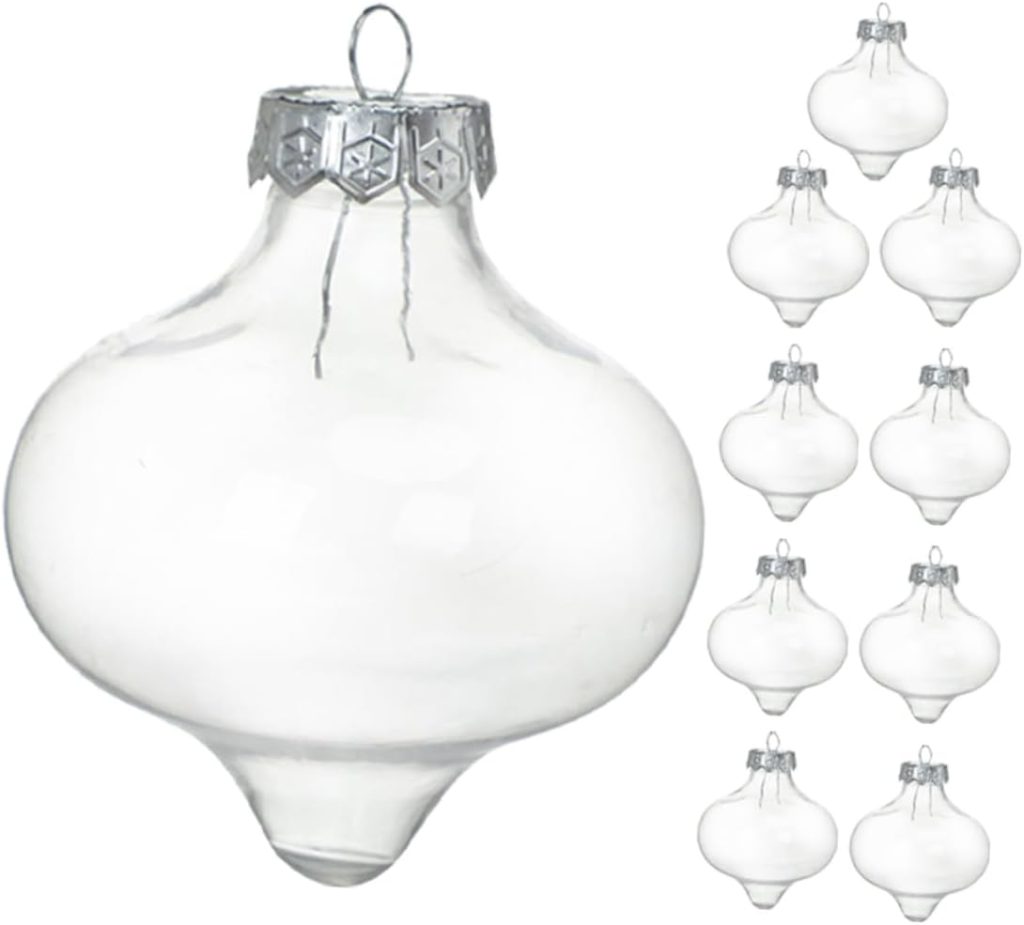
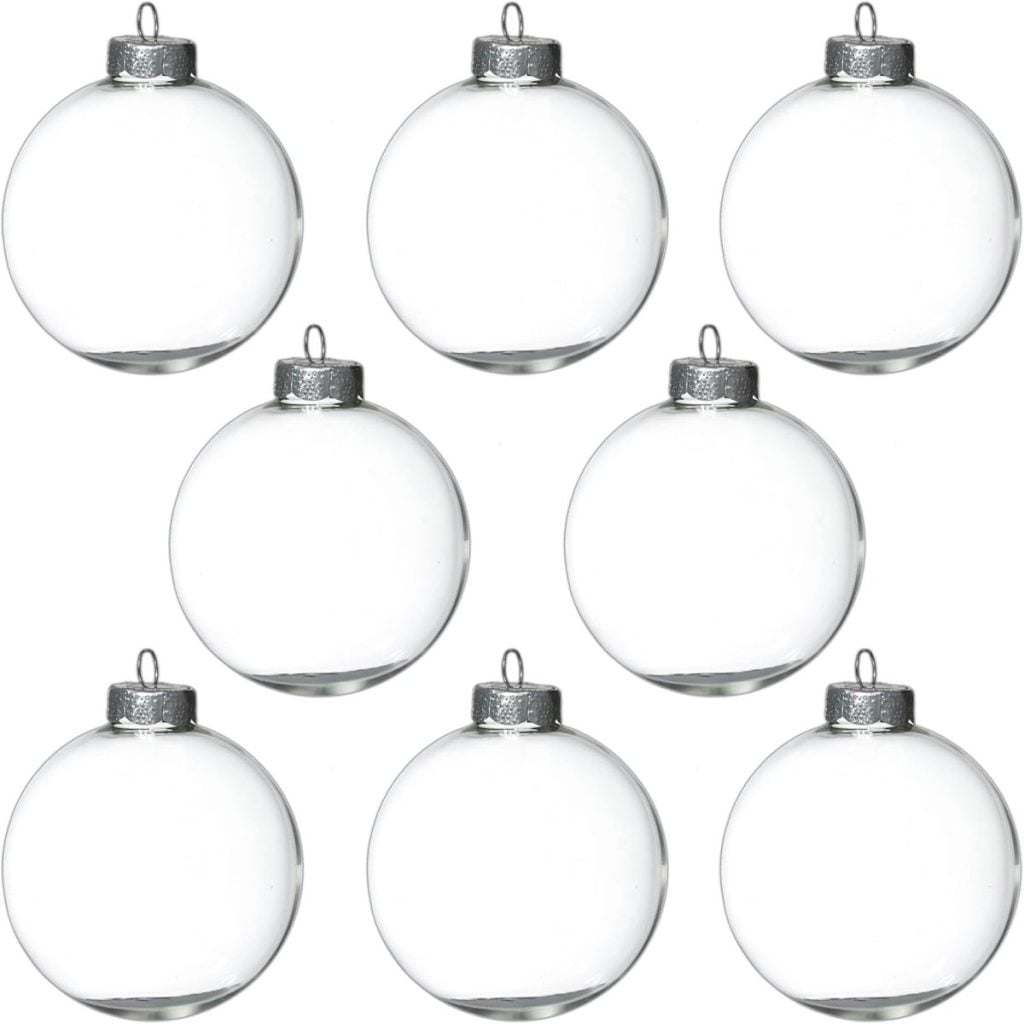
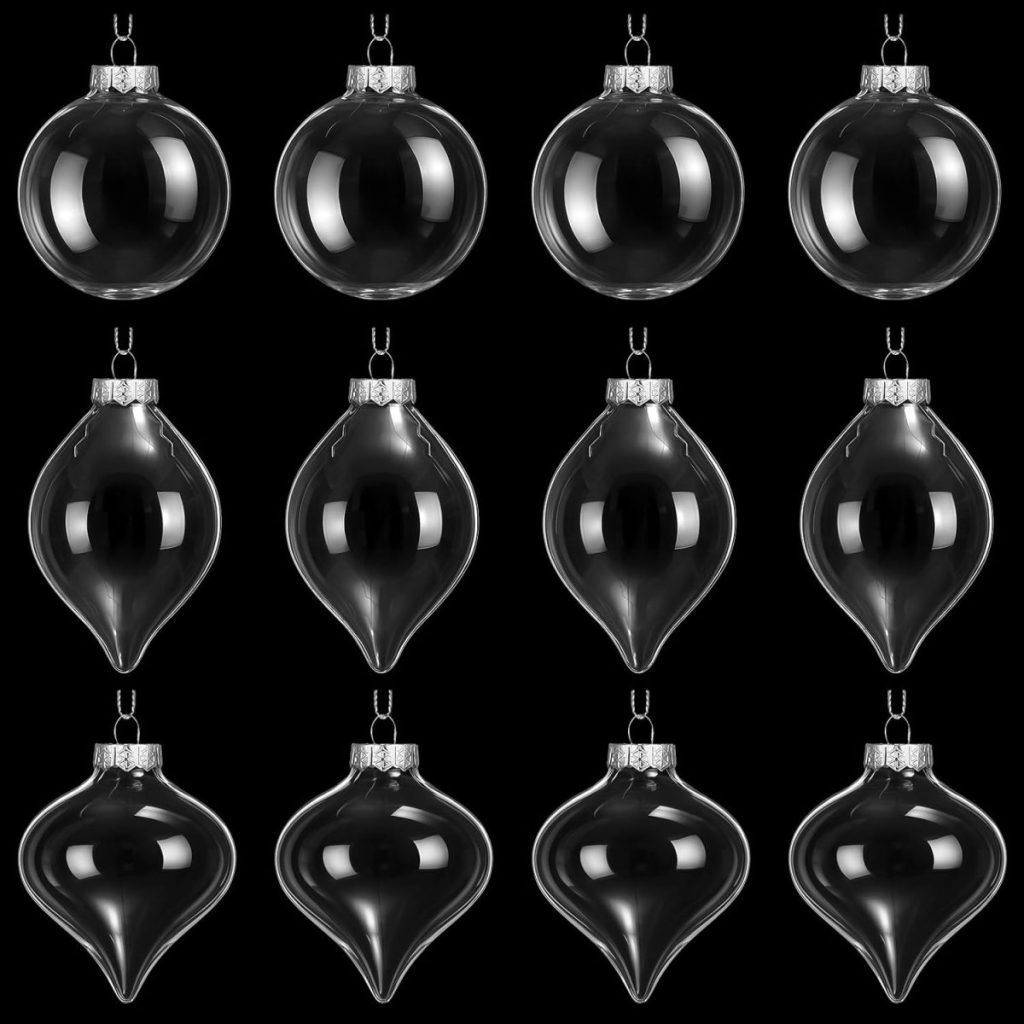
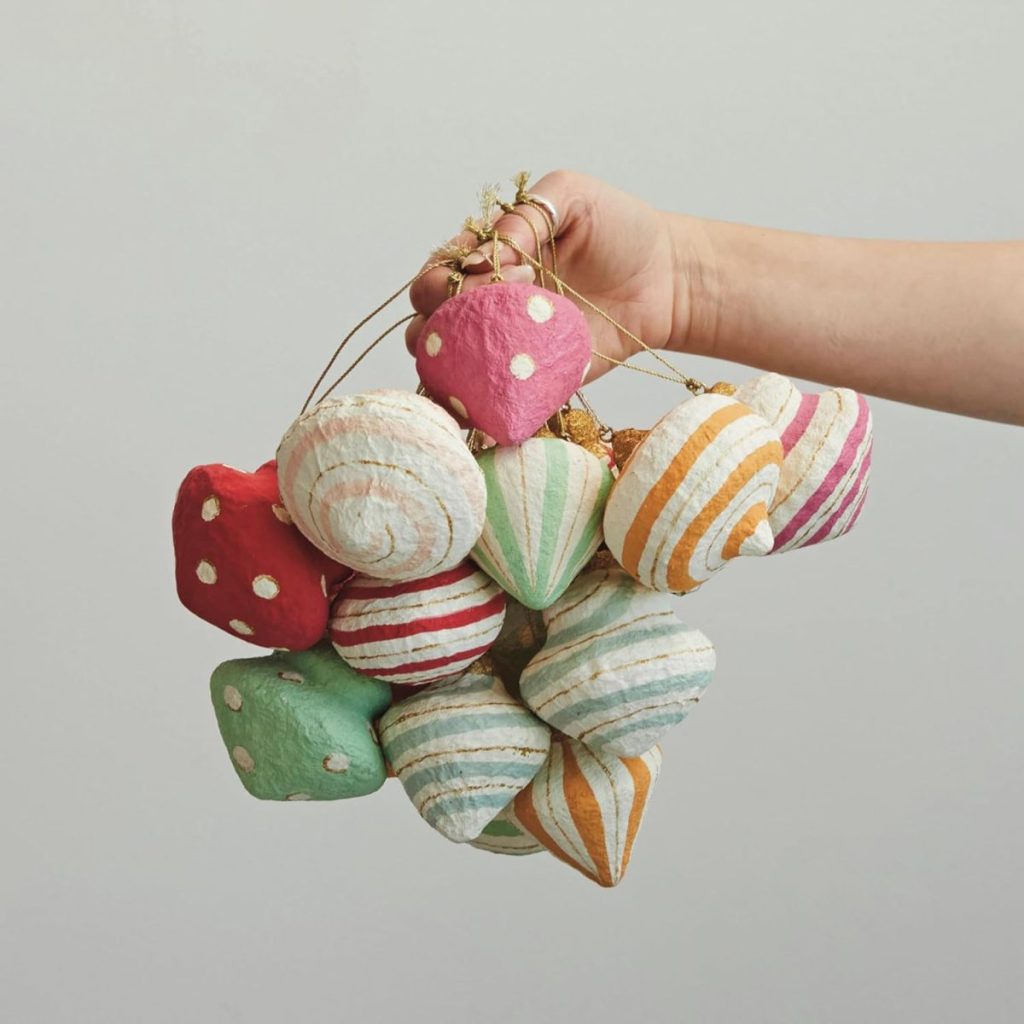
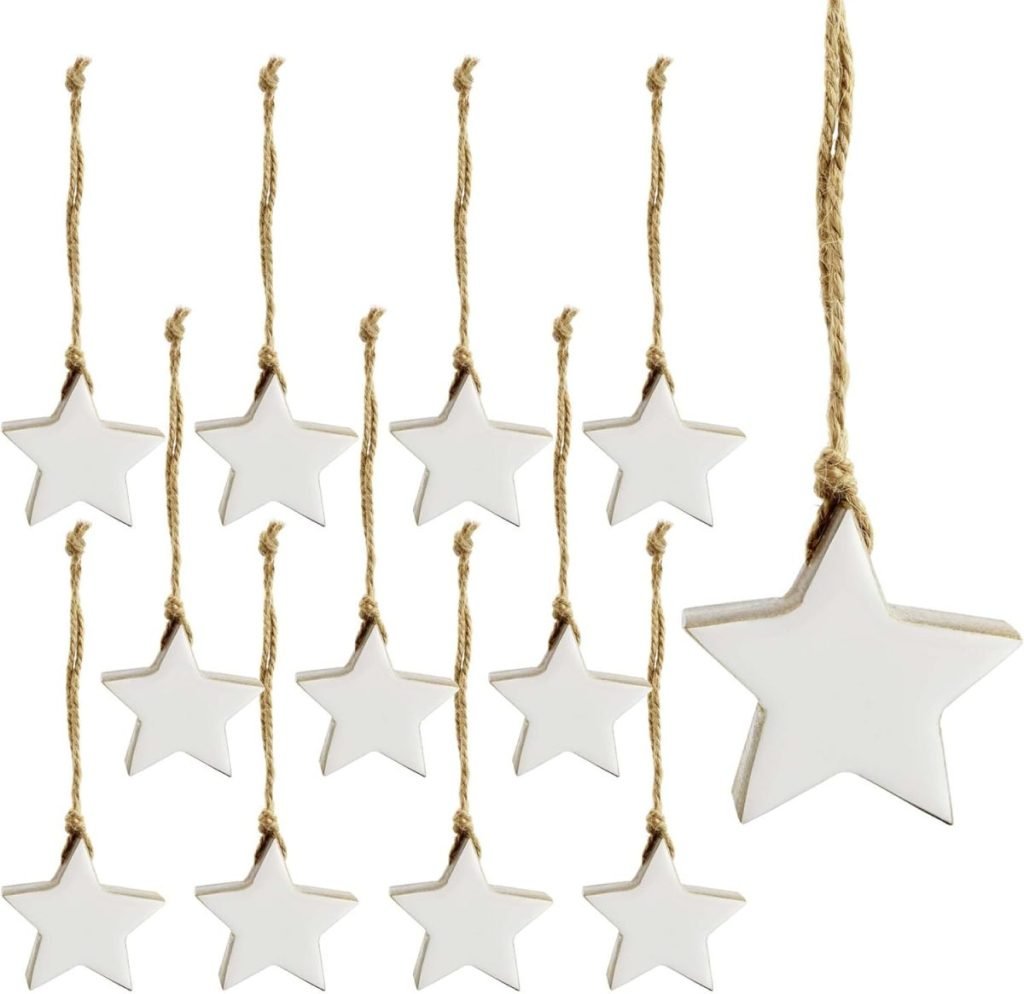
- Glass ornaments (round, teardrop, or finial shapes work beautifully)
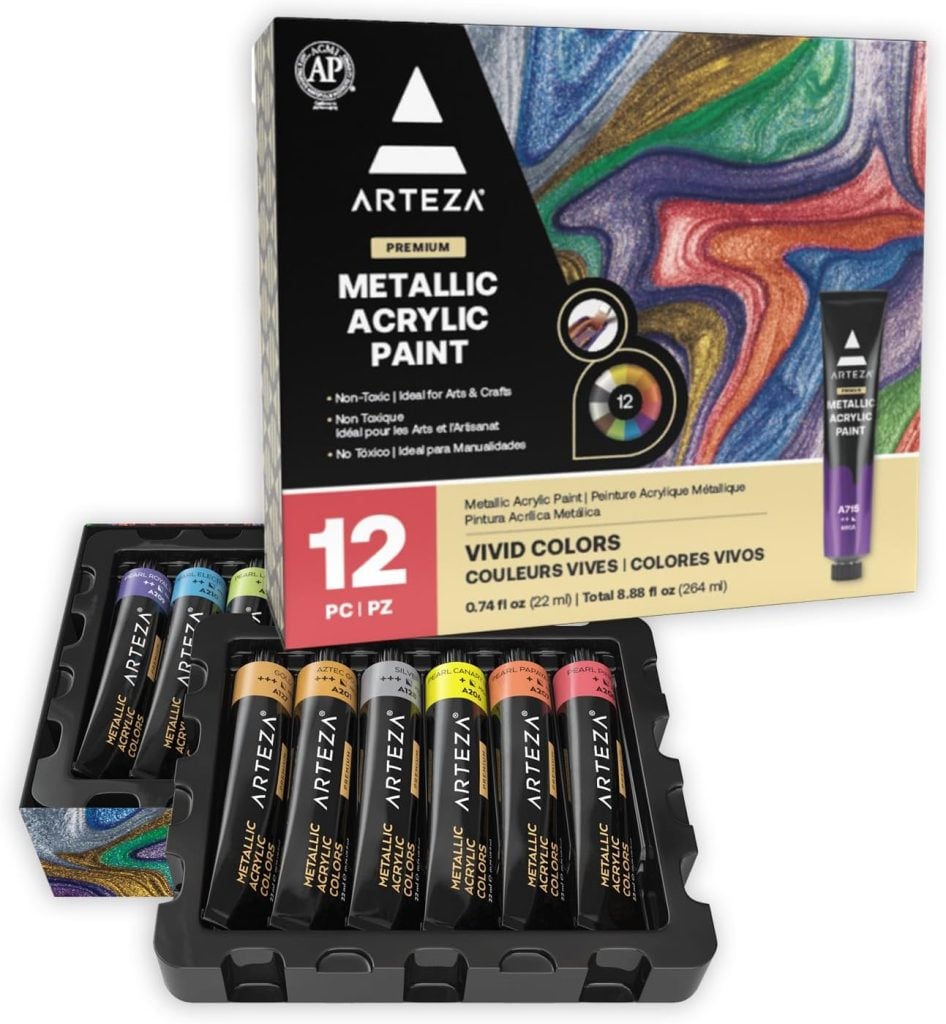
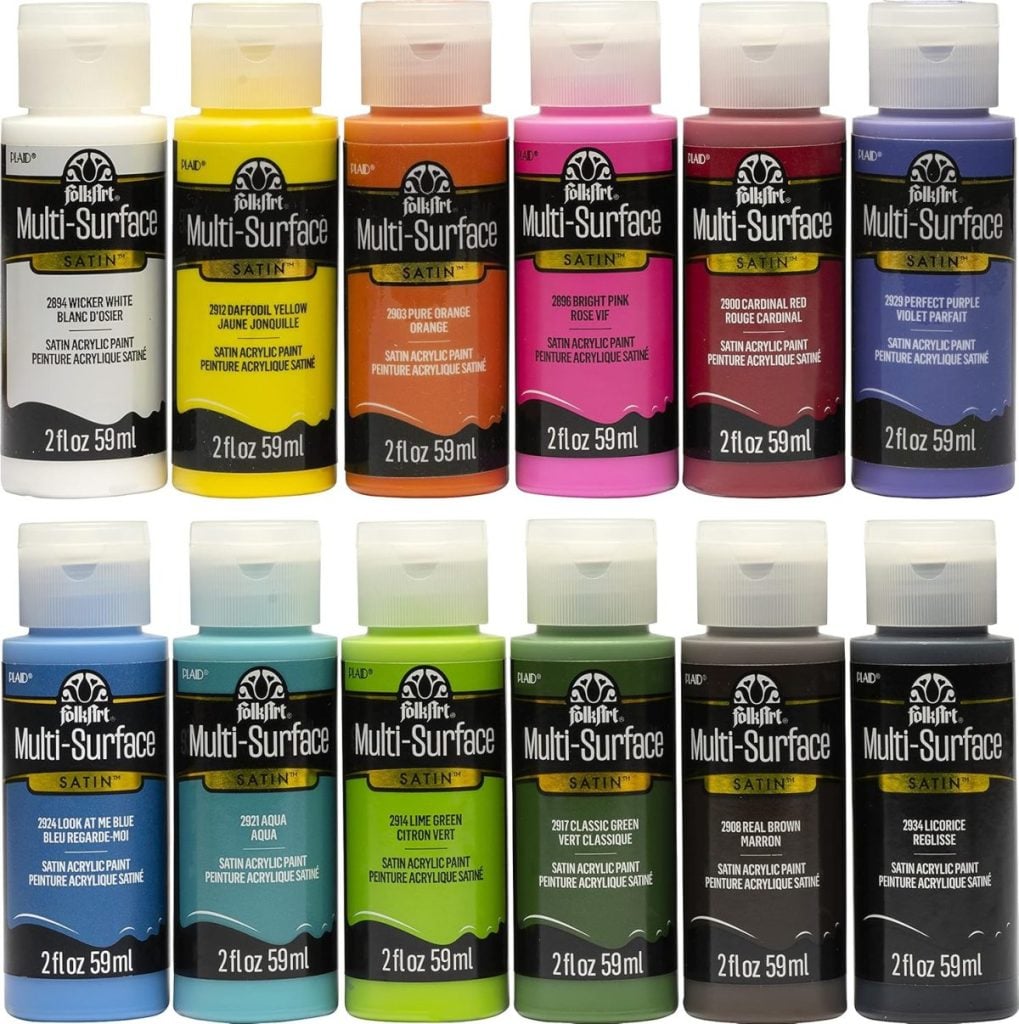
- Acrylic paint (in your favorite holiday colors — I used cream, but considered soft green, and antique gold)
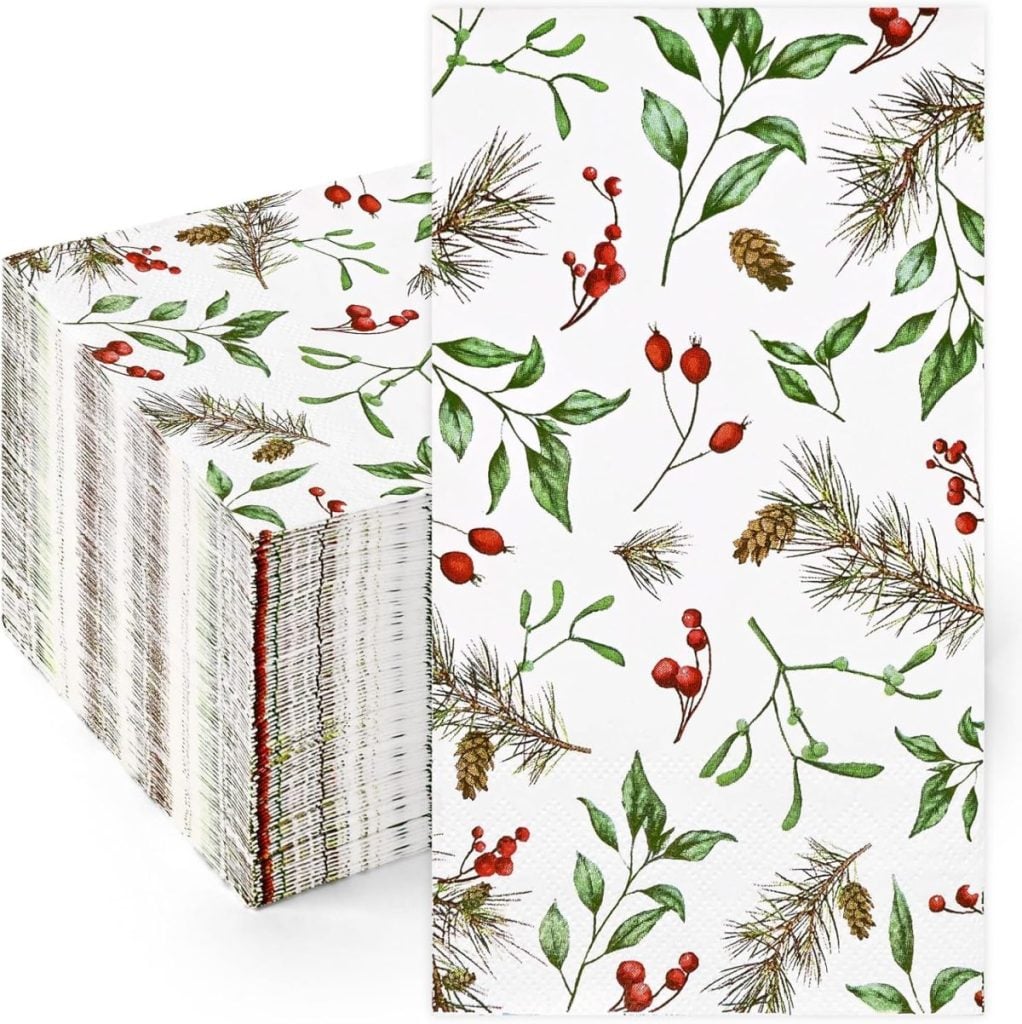
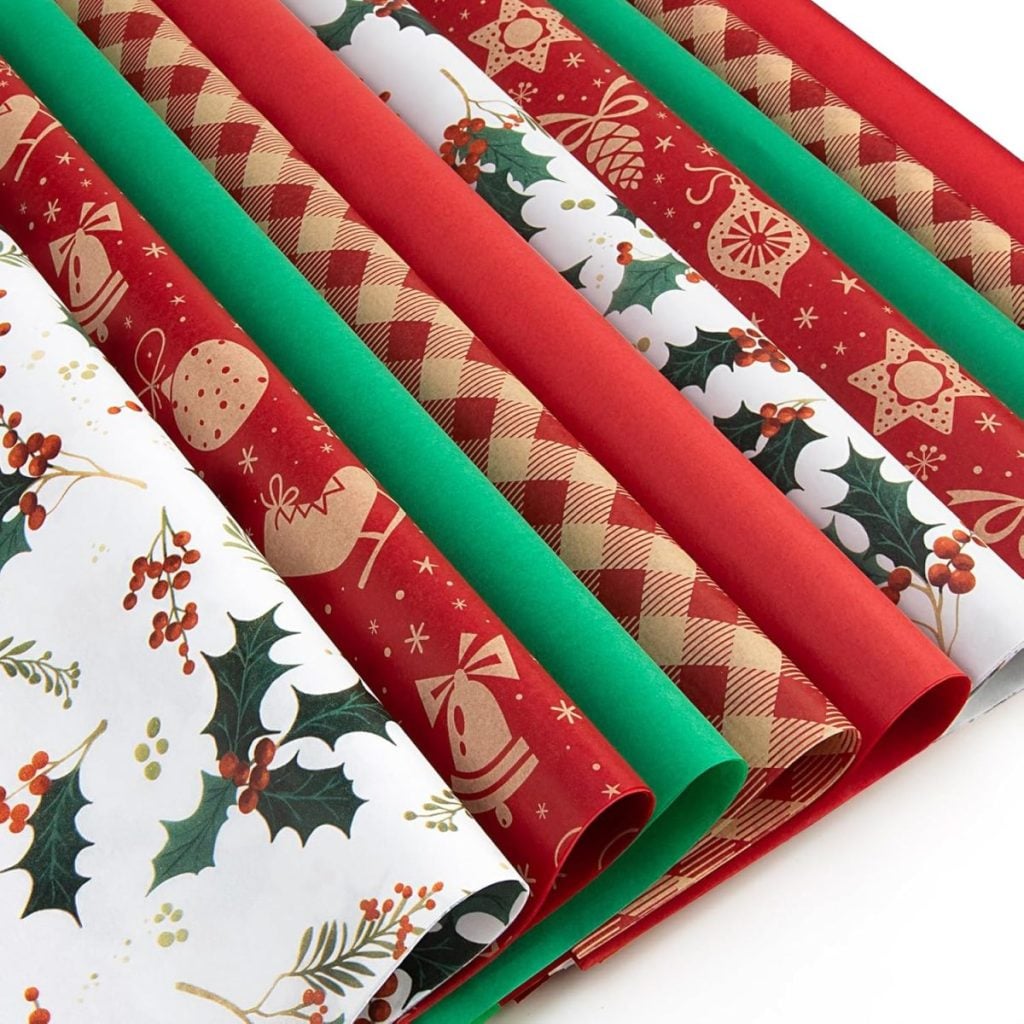
- Paper napkins with Christmas greenery or botanical patterns
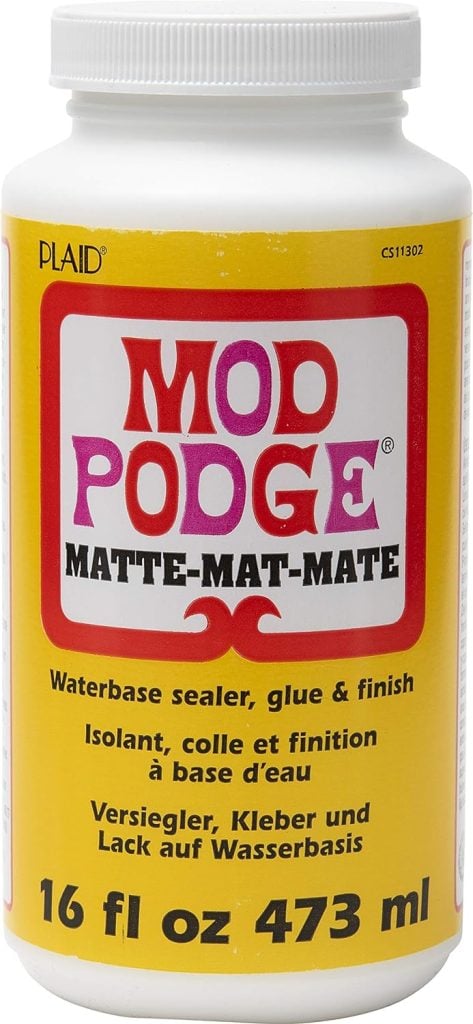
- Matte or Gloss Mod Podge (I used gloss)
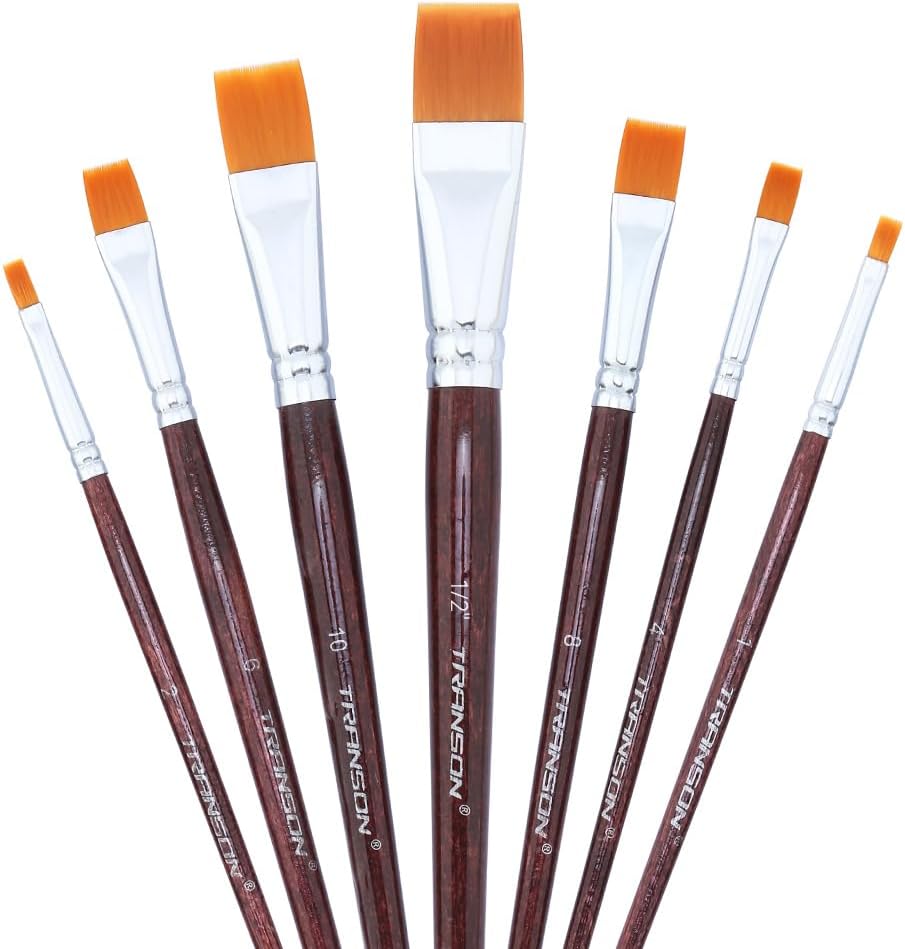
- Soft paintbrush
- Small scissors
- Gold metallic paint (for the ornament tops)
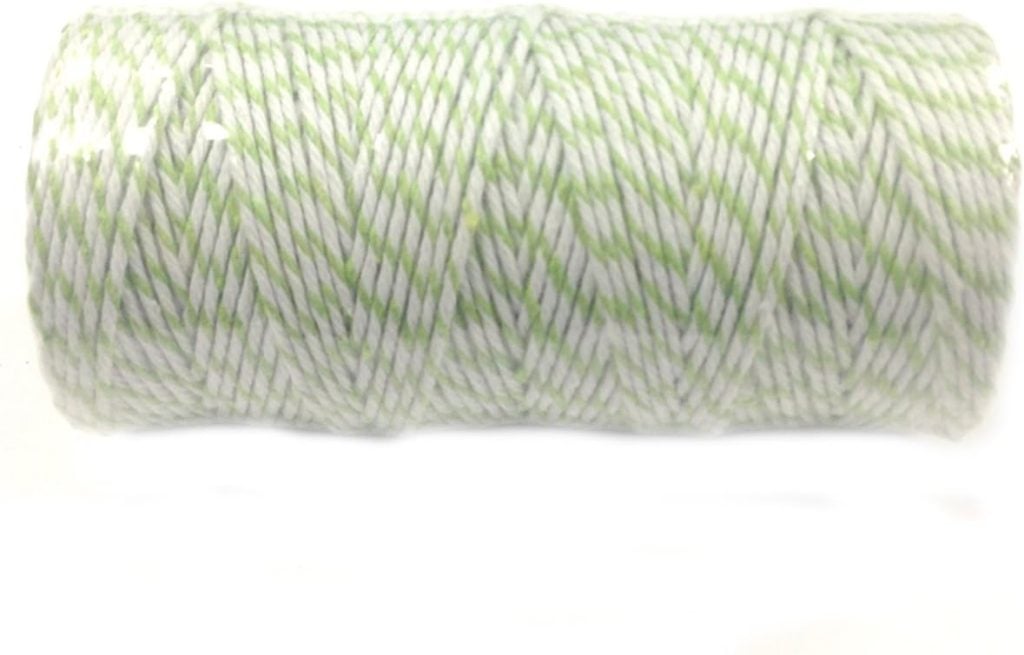
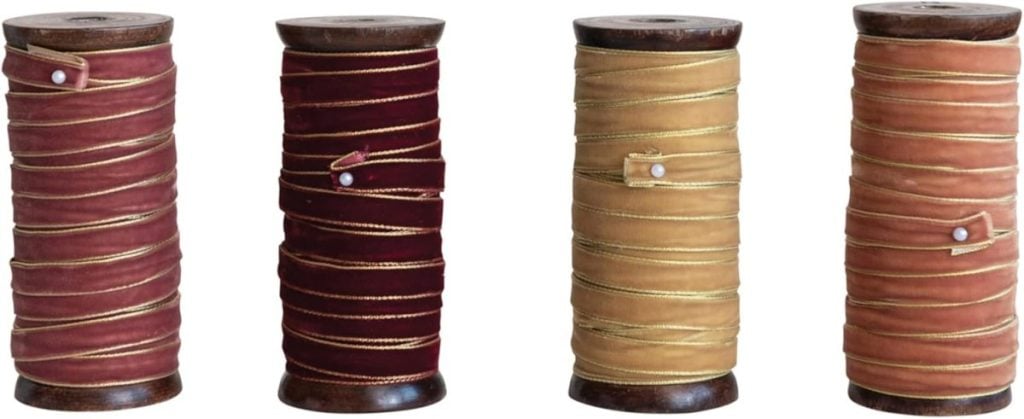
- Ribbon or twine for hanging (I love using velvet or silk ribbon for an elegant touch)


Optional:
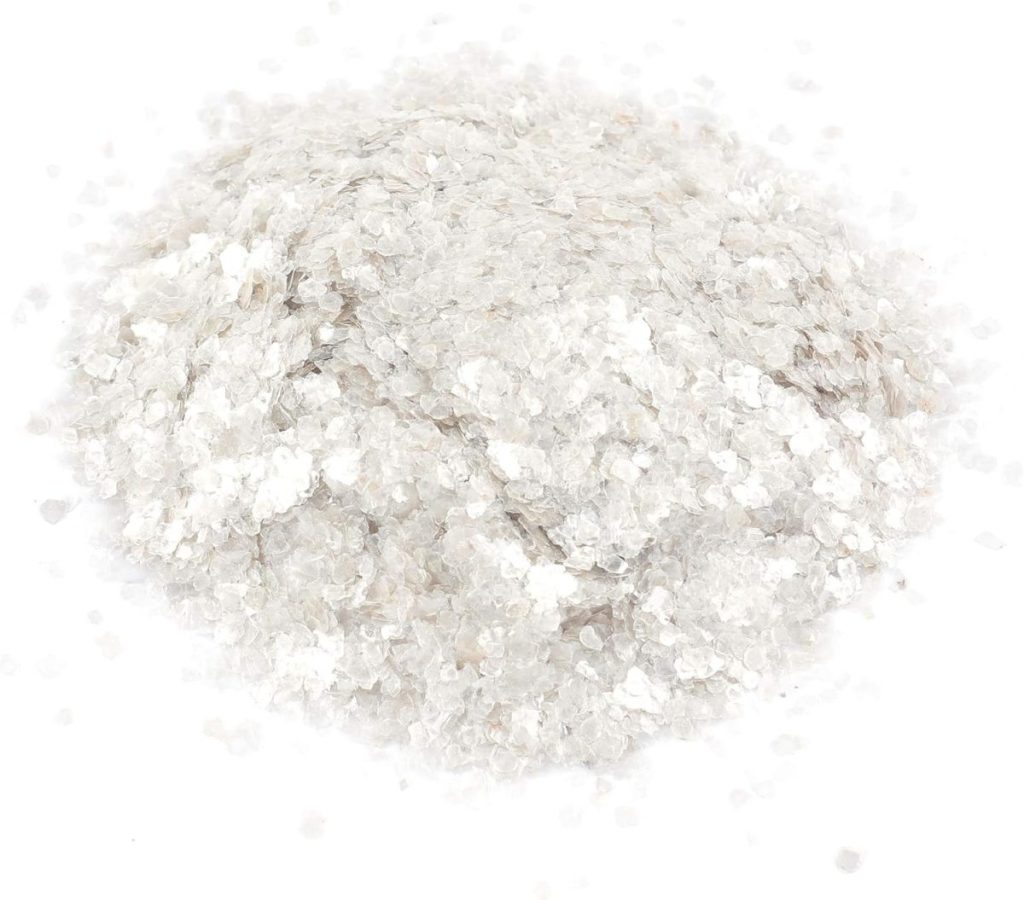
- Glitter or mica flakes for a subtle shimmer
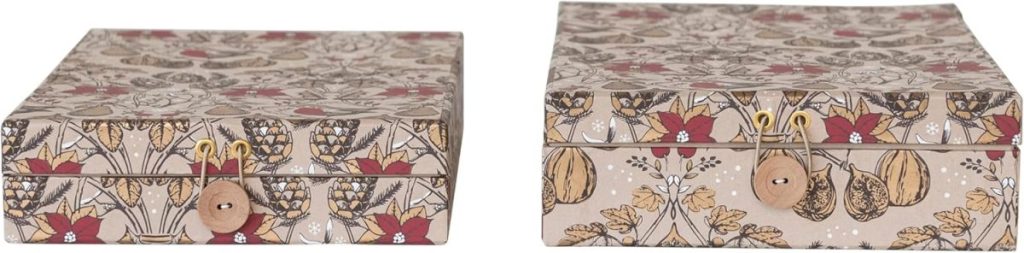
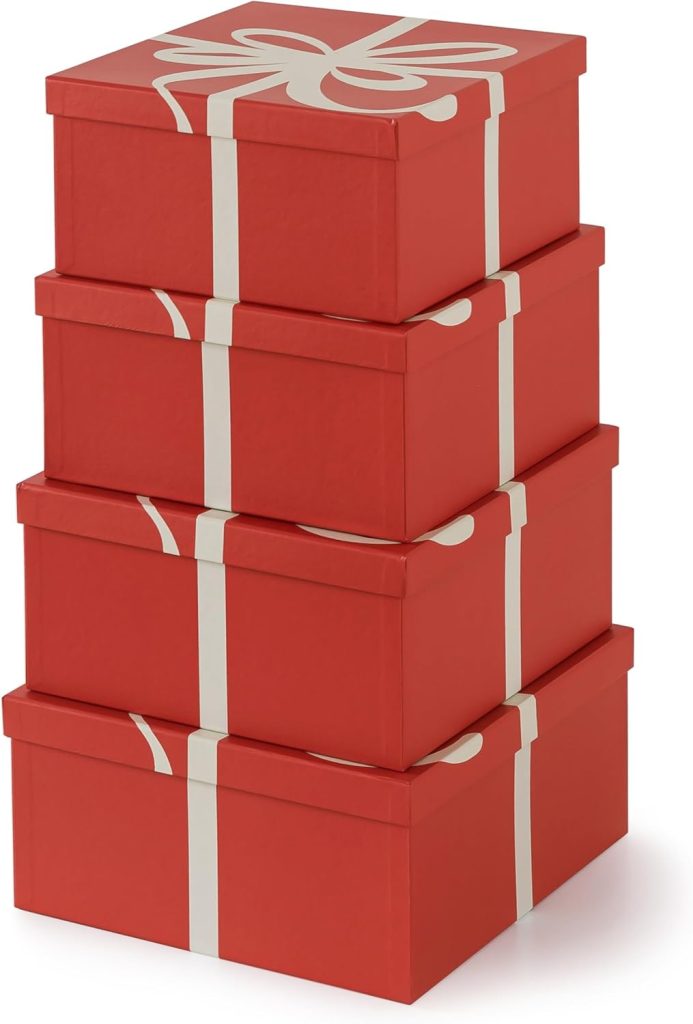
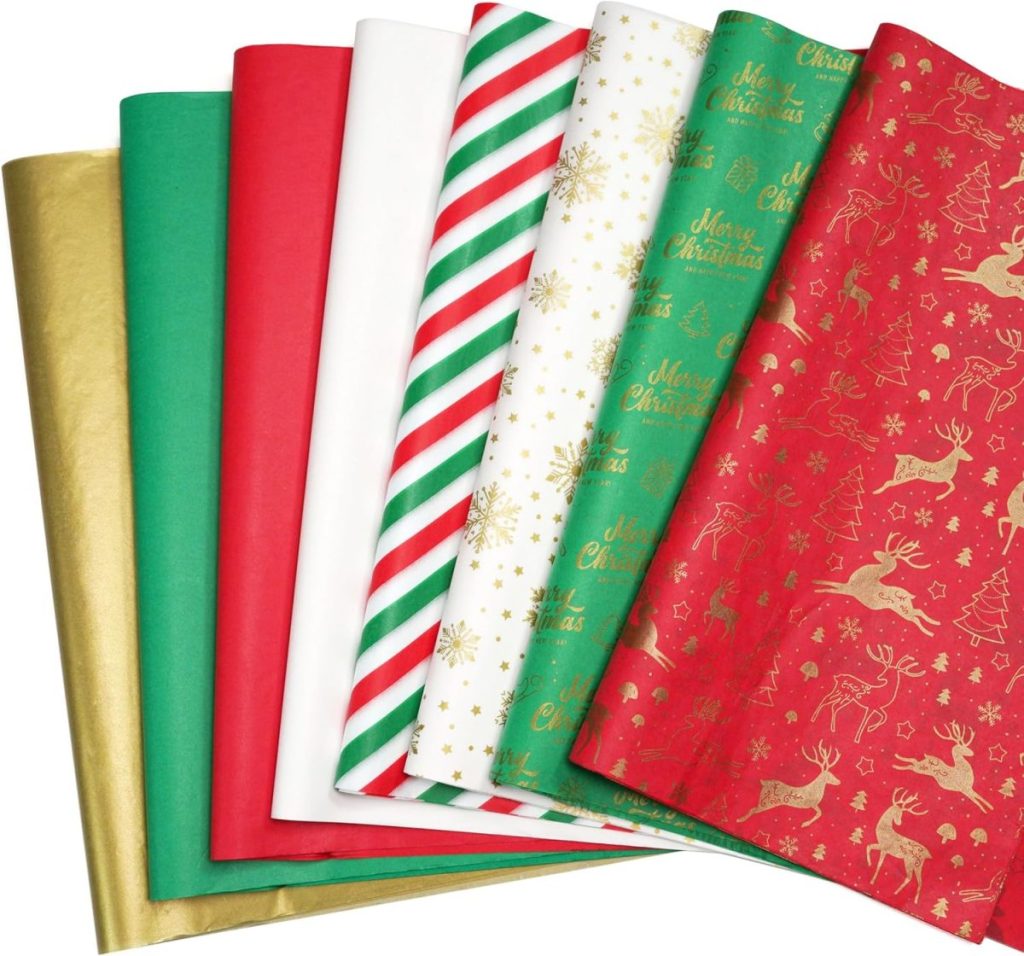
- Decorative box or tissue paper if you’re gifting them
Step-by-Step: How to Make DIY Vintage Ornaments
This is one of those projects that looks complicated but is actually very forgiving, and that’s part of why I love it. The process is quick, relaxing, and perfect for an afternoon of crafting by the fire with Christmas music playing in the background.
Step 1: Paint the Ornaments
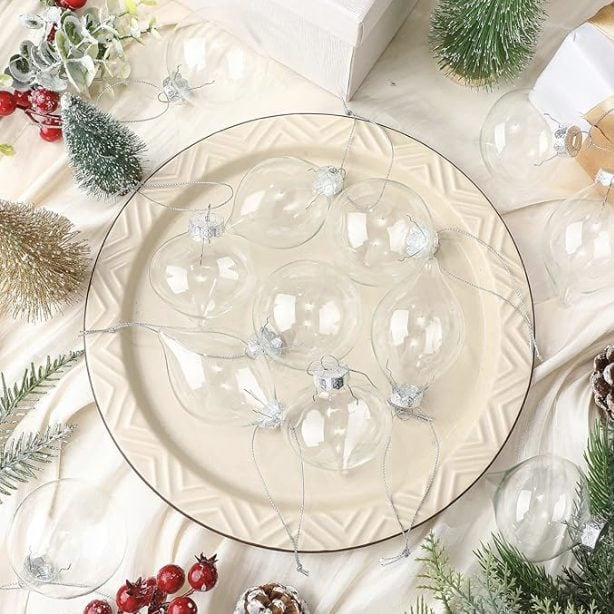
Start by removing the metal tops from your ornaments and setting them aside. Paint the surface of each ornament with acrylic paint using soft, even strokes.
You can choose any color palette that matches your decor. I had some vintage ornaments in my craft storage, so I used those, but you can achieve the same effect using these ornaments and some acrylic paint. These soft tones give a vintage look and make the greenery from the napkins stand out beautifully.
Allow the first coat to dry completely, then apply a second coat if necessary for full coverage.
Step 2: Prepare the Napkins
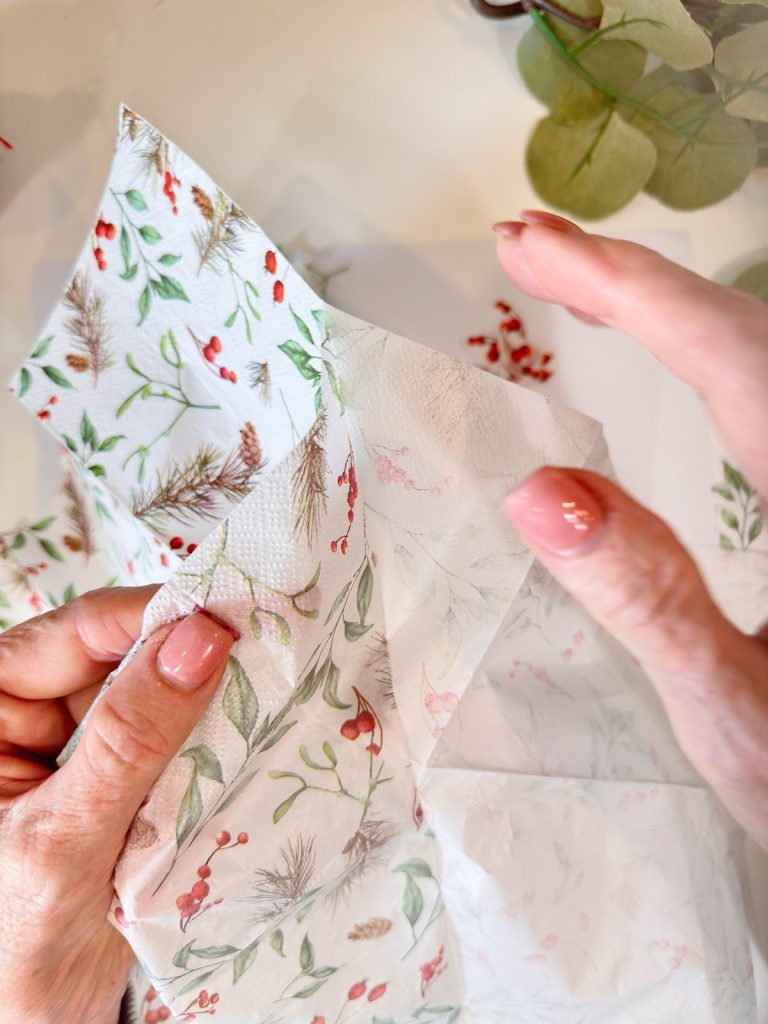
Next, take your decorative paper napkins and carefully separate the top printed layer from the plain backing layers. (Most napkins are 2- or 3-ply, and you only want the thin top layer with the design.)
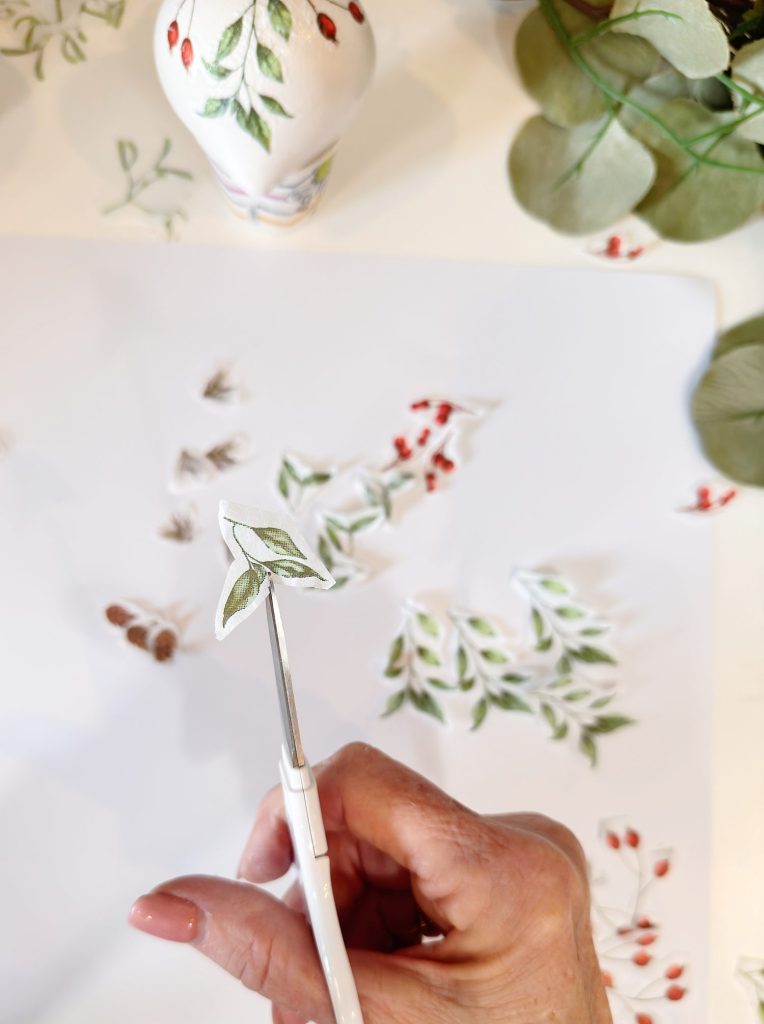
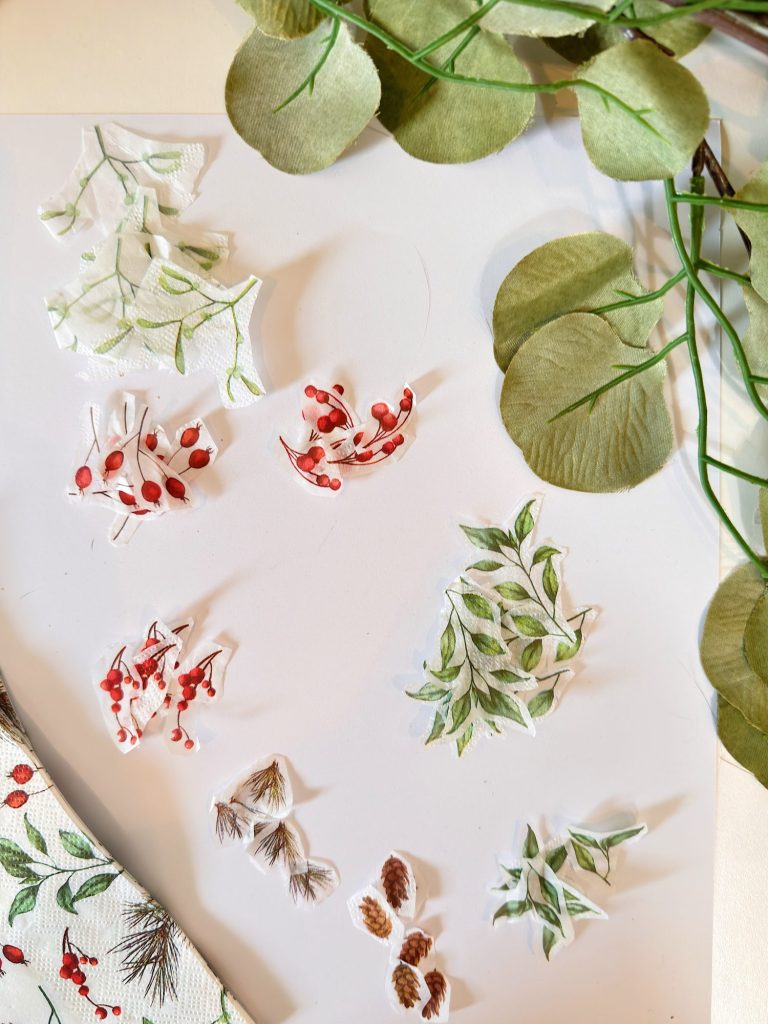
Then, cut out the sections of the pattern you want to use. I focused on greenery sprigs, holly leaves, pine branches, and berries. As I cut out the images I began to see how I wanted to use them as a design on the bulbs.
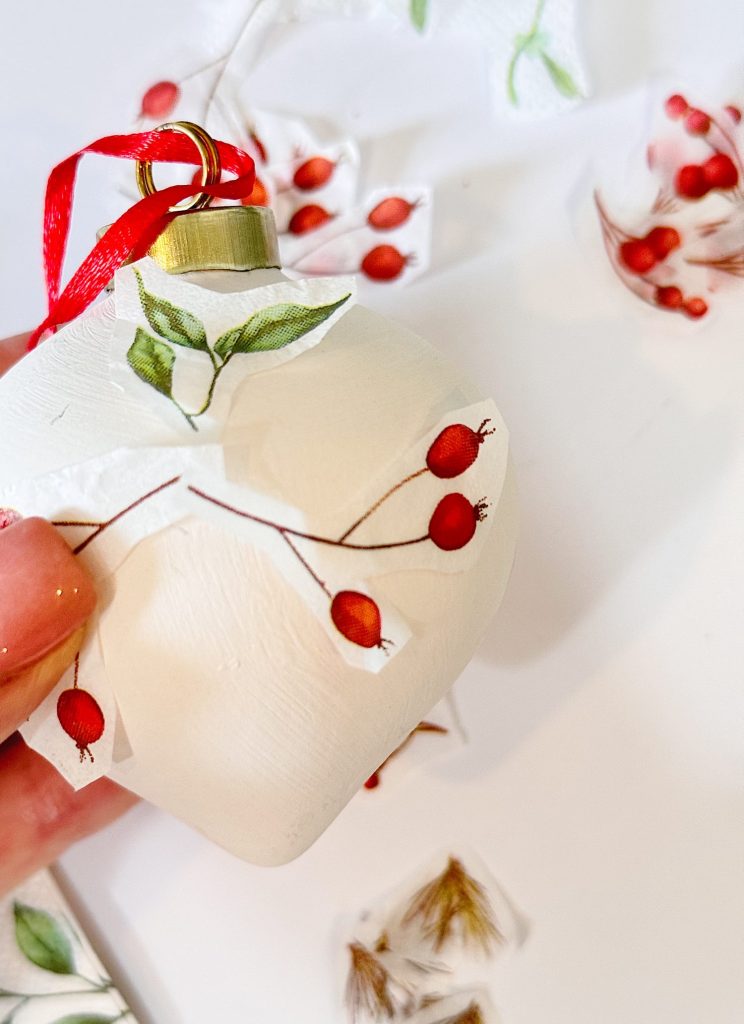
Step 3: Apply the Design
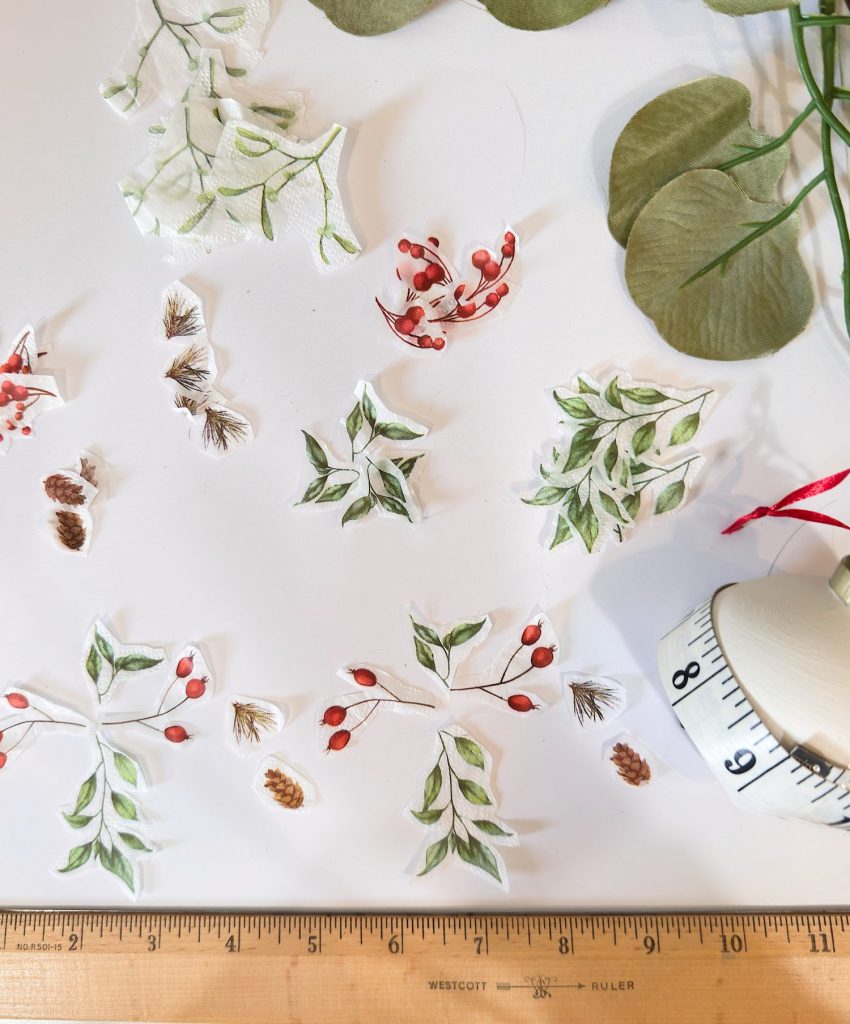
To finalize my design, I measured the circumference of the bulb and then laid out the napkin pieces so they would fit all the way around.
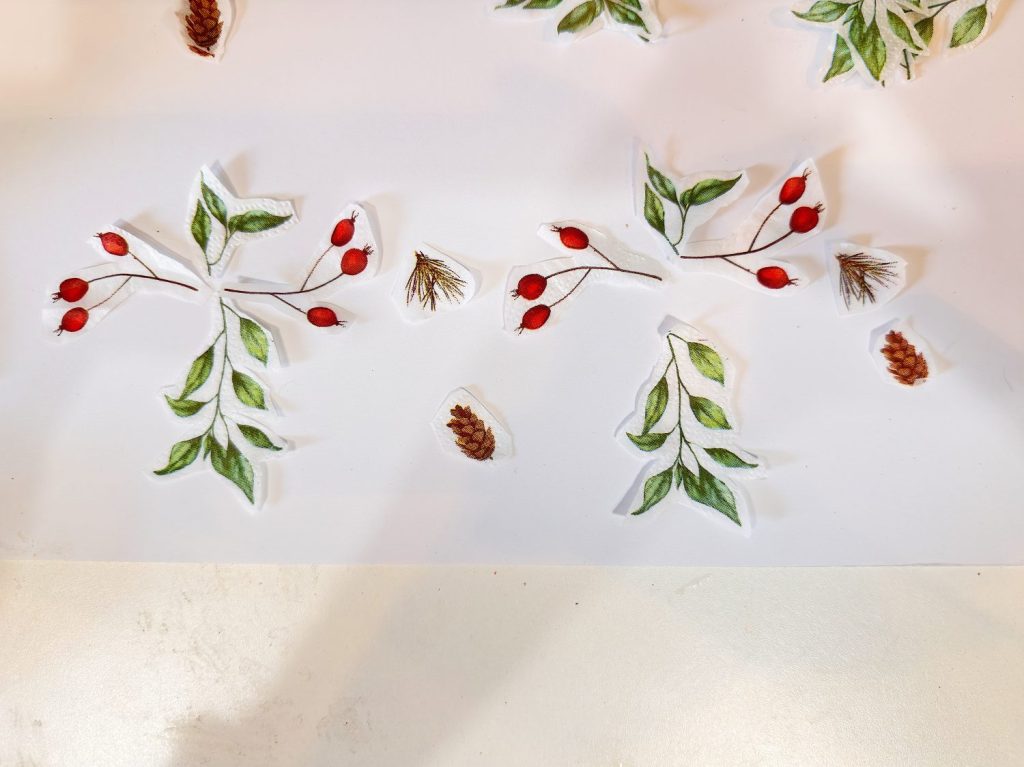
This is the design I chose for each bulb.
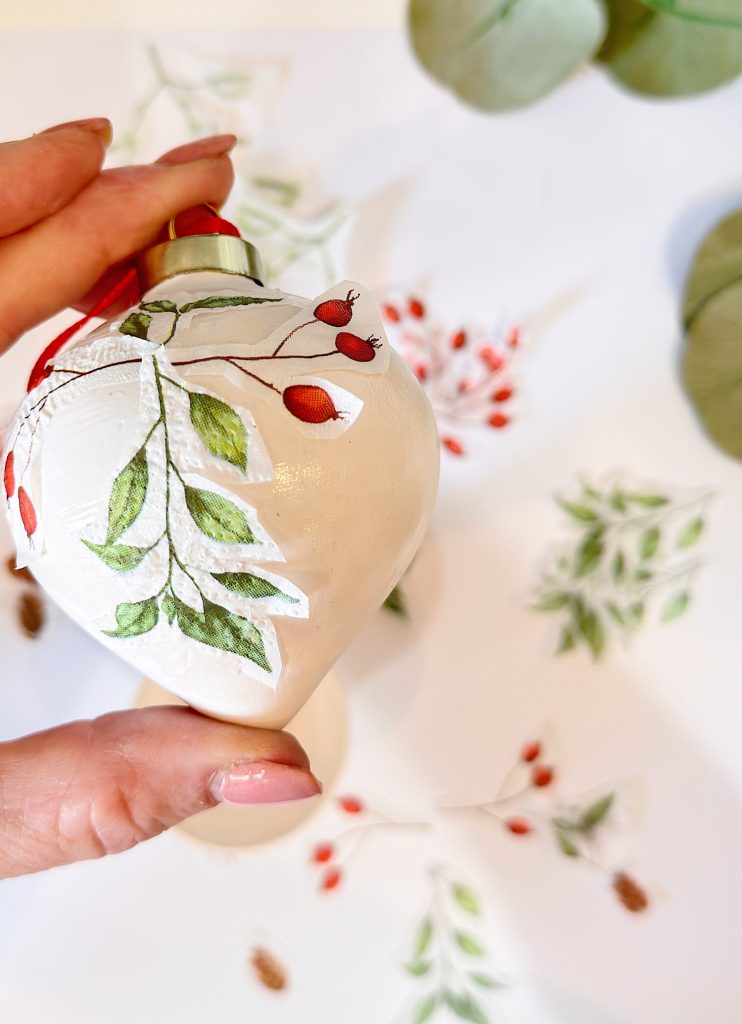
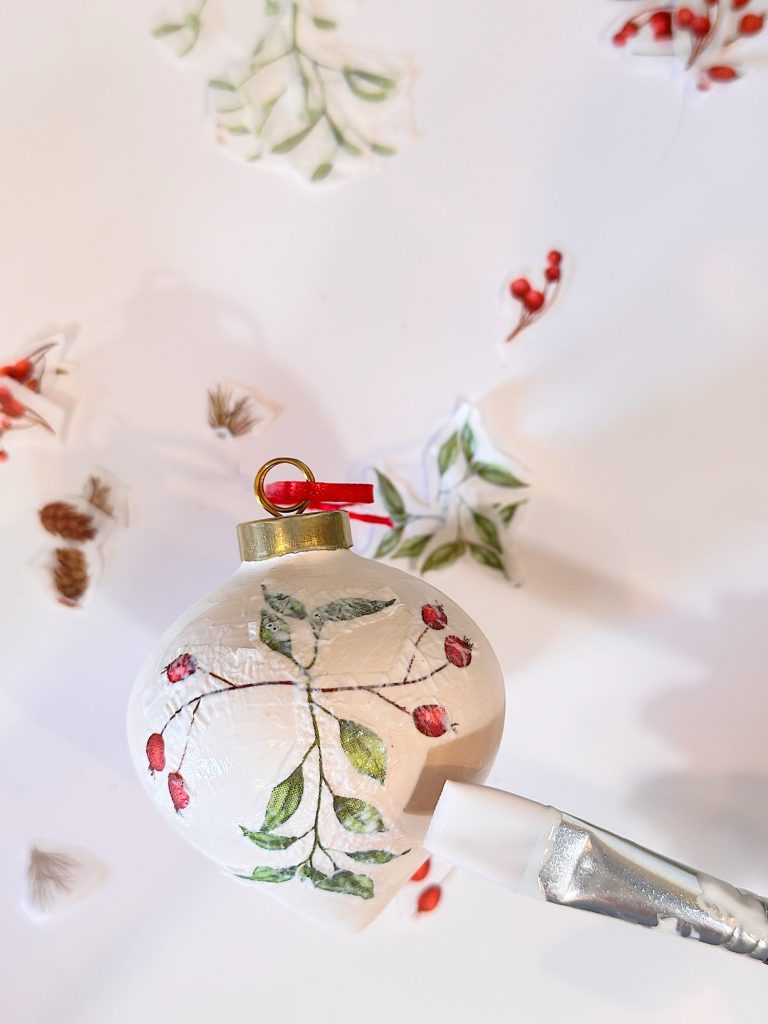
Working one ornament at a time, brush a thin layer of Mod Podge over the painted surface where you want to place your napkin design.
Lay the napkin piece gently onto the ornament and press it down lightly with your brush. Be gentle, as the napkin becomes delicate once wet. If it wrinkles, that’s okay! Those little creases actually add to the vintage charm.
Repeat the process on the other side of the ornament until you’re happy with the design.
Once the napkin is in place, let it dry and then gently brush another thin coat of Mod Podge over the top to seal it. Let it dry completely.
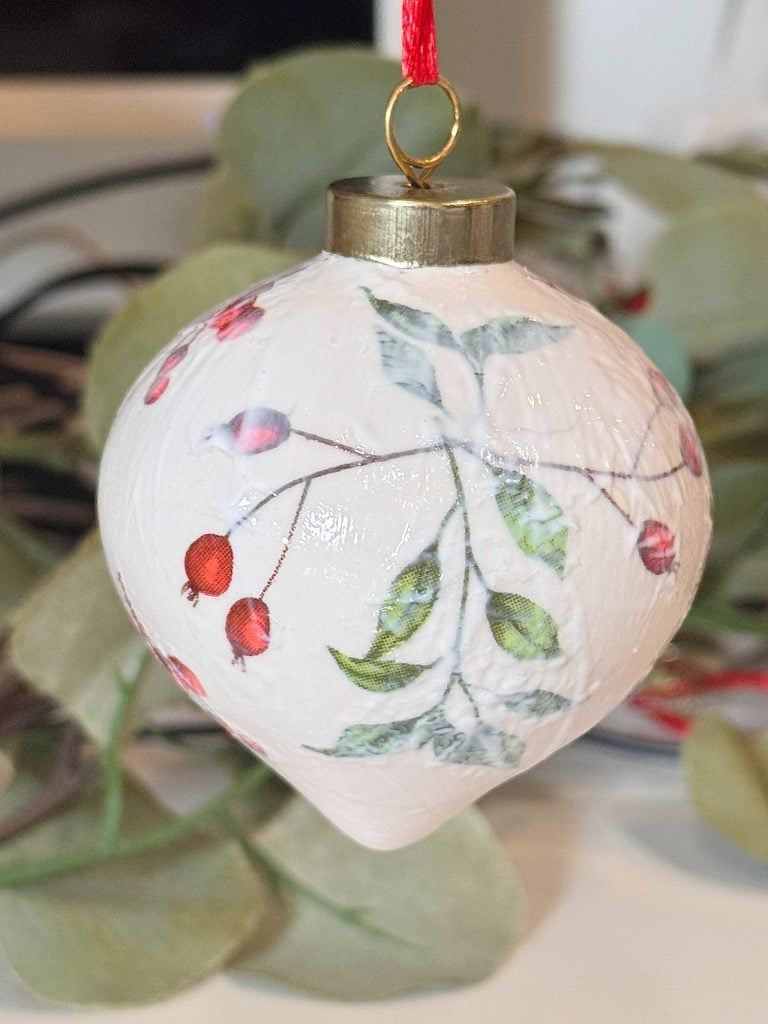
Step 4: Add Finishing Touches
Once your ornaments are dry, paint the metal tops with gold metallic paint for an elegant, polished look. You can also add a touch of glitter or mica flakes for a subtle shimmer.
Reattach the tops once everything is dry.
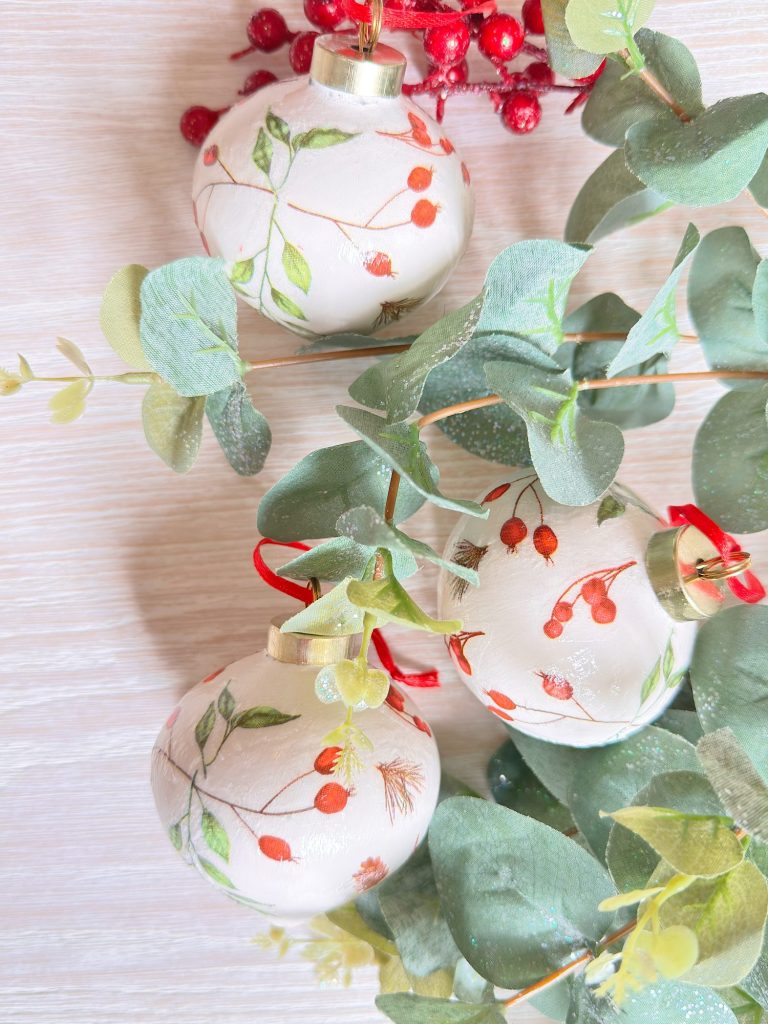
Finally, tie a beautiful ribbon through the loop at the top. I could have used velvet ribbon in deep red, forest green, and champagne, which adds that old-world holiday touch I adore.
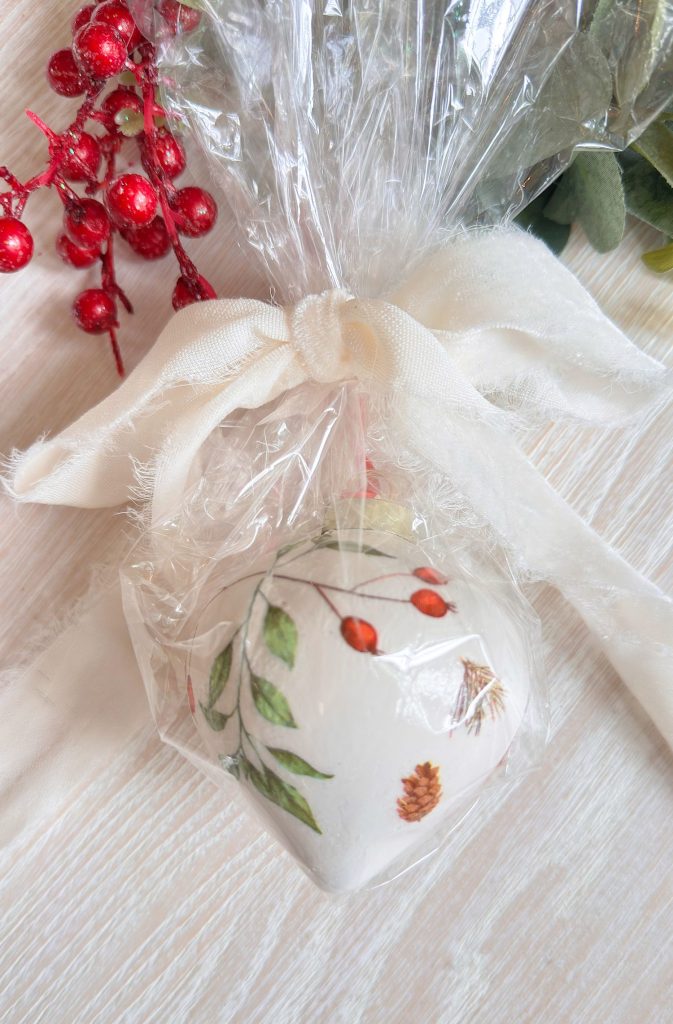
Step 5: Wrap and Gift
Now comes the best part, gifting them!
These ornaments look lovely on their own, but they’re even more special when paired with something thoughtful. Here are a few of my favorite ways to gift them:
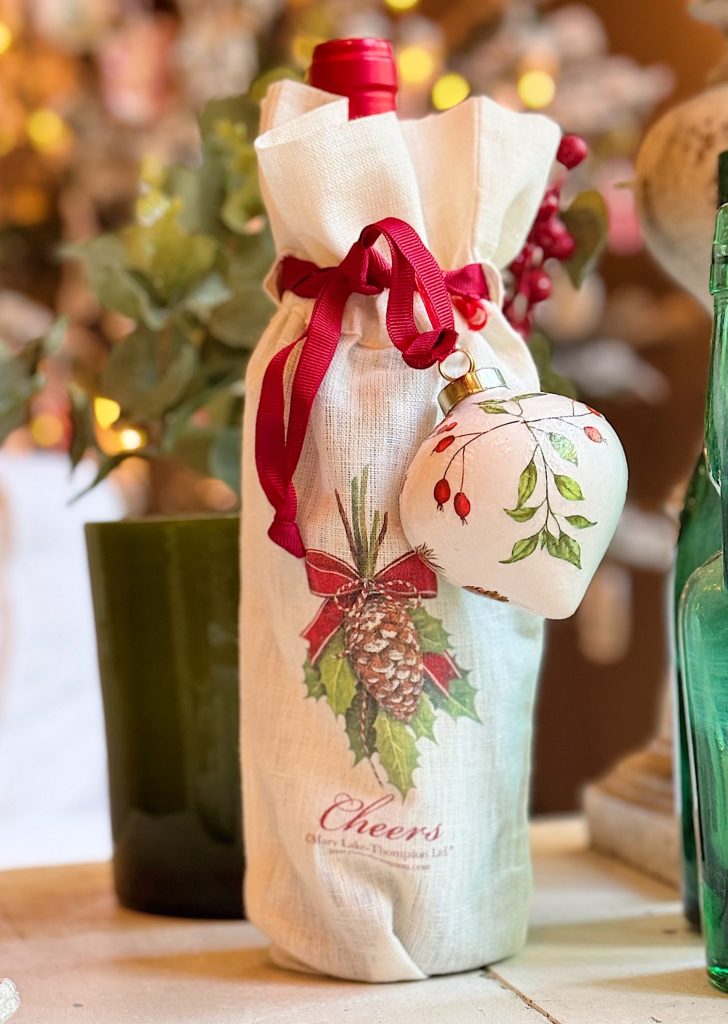
- Tied to a bottle of wine: Add a velvet bow and attach the ornament to the neck of a wine bottle for a festive hostess gift.
- On top of a wrapped package: Use one as a “bow” on a beautifully wrapped gift for a friend or neighbor.
- In a set of three: Place a few ornaments in a small box with tissue paper and a handwritten tag. It’s a perfect keepsake gift for anyone who loves vintage Christmas decor.
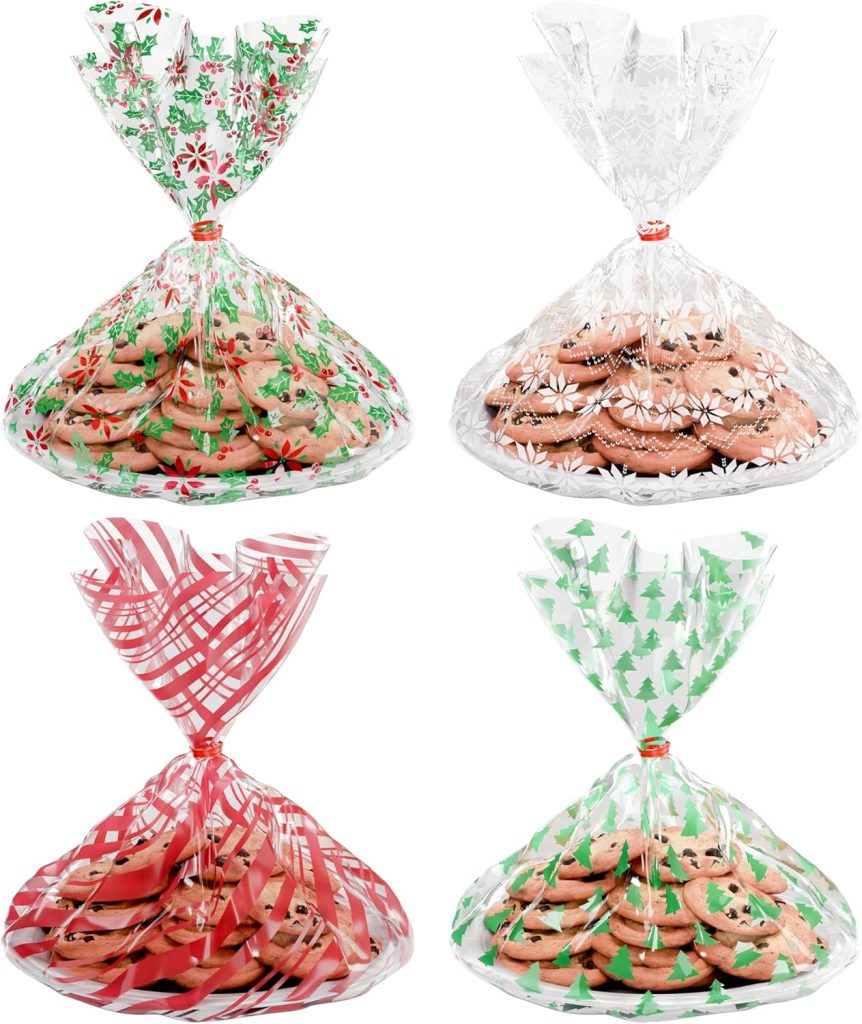
- With baked goods: Add one to a bag of homemade cookies or a loaf of holiday bread. It’s the little handmade touch that makes the gift unforgettable.


Tips for Success
Here are a few helpful hints I picked up while making these:
- Thin is key: The thinner the napkin layer, the more it melts seamlessly into the ornament.
- Don’t overthink placement: Each ornament turns out slightly different, and that’s what makes them charming.
- Use matte Mod Podge: It gives a beautiful, soft finish that enhances the vintage look.
- Test before sealing: If you want to add glitter, test a small area first to make sure it doesn’t overpower the napkin design.
- Batch your work: Paint all your ornaments first, then move to the Mod Podge step once they’re dry to streamline the process.
Why I Love These Vintage-Inspired Ornaments
Every time I make something by hand, I’m reminded why I love creating. These ornaments are simple yet so meaningful as they develop a sense of nostalgia, delicacy, and uniqueness.
When I tied one onto a bottle of wine for a friend’s holiday dinner, she gasped and said, “You made this?!” That’s when I knew I’d found my go-to hostess gift for the season.
I love that each ornament tells a little story — of creativity, care, and thoughtfulness. In a season where everything moves so fast, it feels great to sit down and create something beautiful with your hands.
Blogger’s Best Hostess Gift Ideas
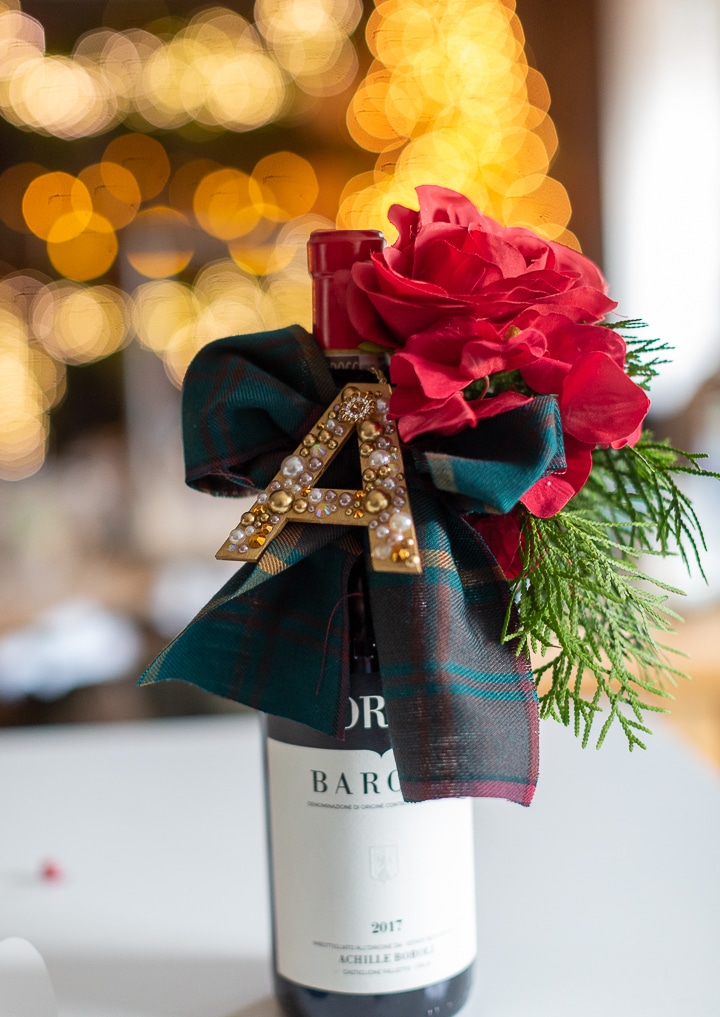
Pearl Monogram Ornament or Gift Topper | Craftberry Bush
These beautiful pearl monograms make beautiful gift toppers, ornaments or can also be used as table place settings.
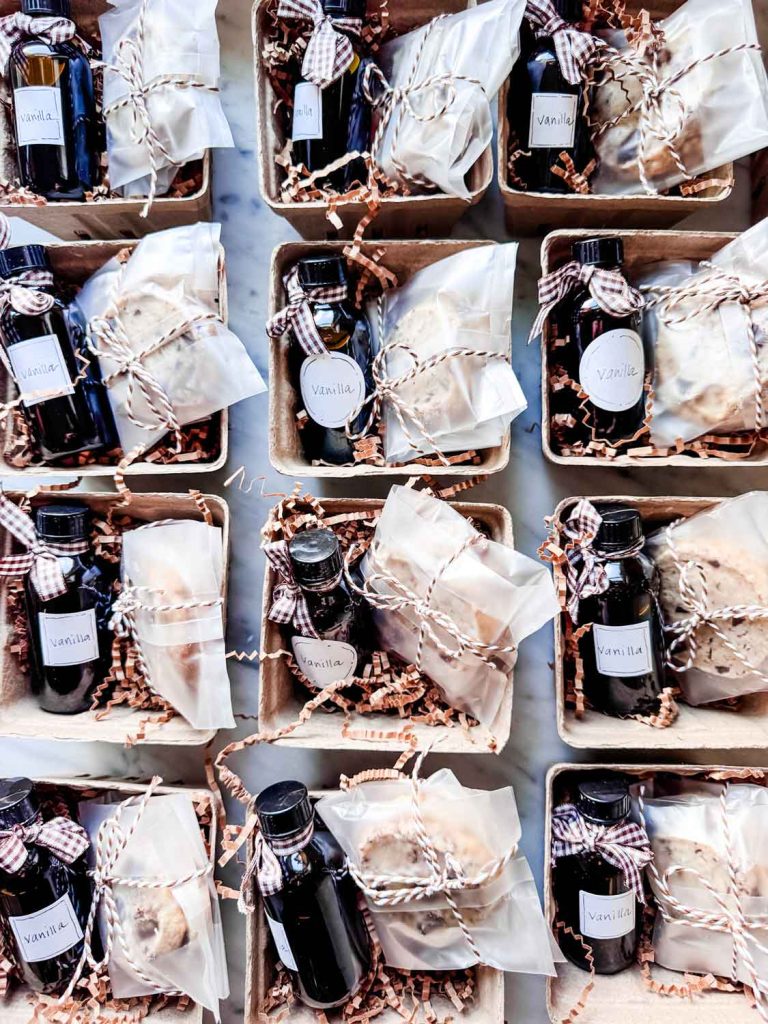
Homemade Vanilla Extract + Shortbread Cookies | Most Lovely Things
Homemade vanilla extract is the perfect little gift for anyone who bakes, especially at the holidays!
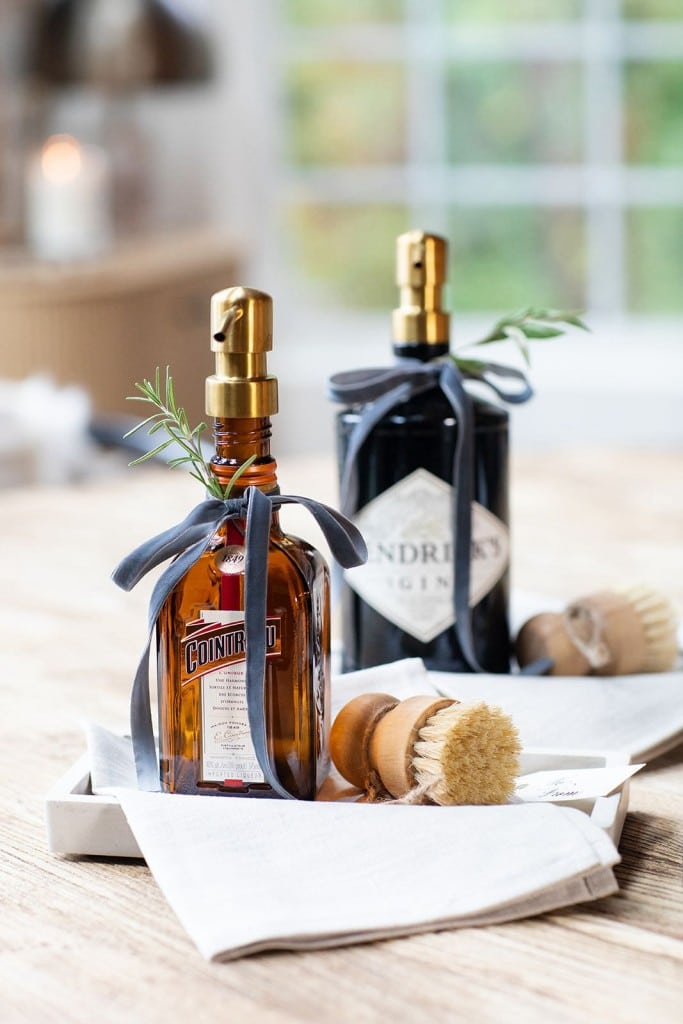
DIY Gift Idea Bottle Upcycled Soap Dispensers | My Sweet Savannah
I’m sharing how I upcycled empty Hendrick’s and Cointreau bottles into chic, high-end soap dispensers for our DIY Gift Ideas Blog Hop. This simple, affordable project looks incredibly thoughtful, styled on a concrete tray with a linen towel and wood scrubber—a neutral, modern gift anyone would love.
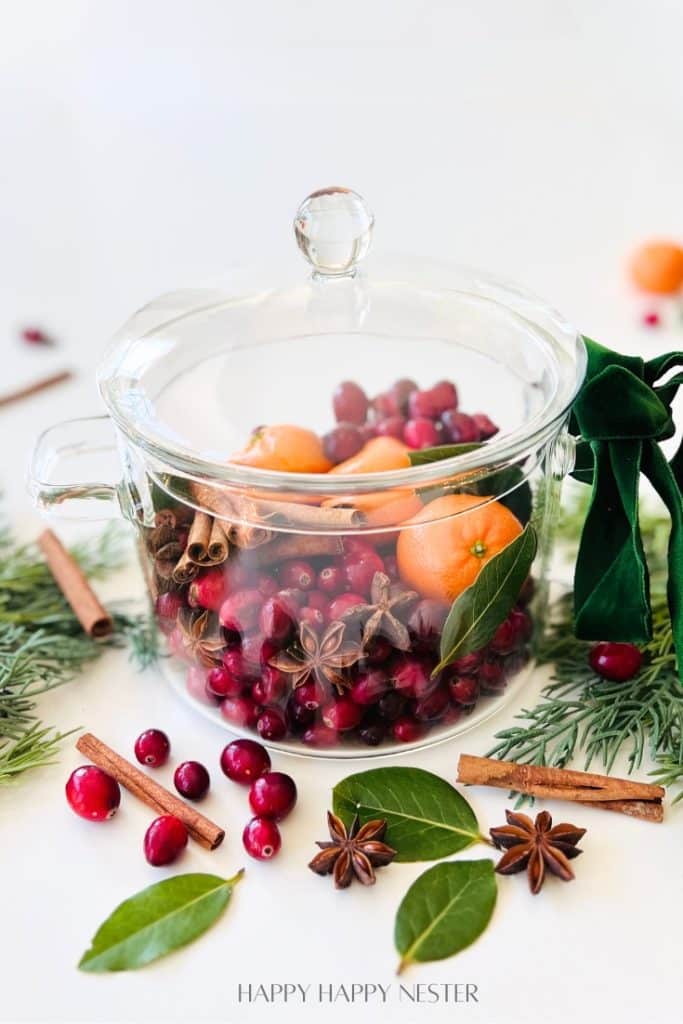
Simmer Pot Recipes (For Gifts) | Happy Happy Nester
Simmer pot recipes are among the coziest and most popular DIY gifts this season, and they’re a great way to fill your home with festive holiday scents. These simple stovetop recipes combine dried and fresh citrus, warm spices, and fragrant herbs to create a natural, long-lasting aroma that feels like Christmas in a pot.
The key is to give something that feels personal and thoughtful — it doesn’t have to be big or expensive to be meaningful.
A Handmade Touch for the Holidays
Handmade gifts carry a kind of magic that store-bought ones simply can’t replicate. They hold intention. Love. Time.
These vintage-style ornaments are one of those projects that remind me why I love crafting so much. They’re beautiful, meaningful, and simple, a perfect combination for this busy season.
Whether you’re making them to give, to decorate your own tree, or to add a personal touch to your gift wrapping, they’re sure to bring a smile to anyone who receives them.
As we head deeper into the holiday season, I hope this project inspires you to slow down, create something beautiful, and share a bit of handmade joy with the people who make your world brighter.
Because in the end, that’s what the holidays are truly about: connection, gratitude, and the thoughtful little gestures that make this season so special.
You Might Also Like:
- DIY Embroidered Handmade Ornaments
- Creative Ideas for Gift Wrapping
- Family Christmas Ornaments – A Handmade Christmas

BLACK FRIDAY DEALS START TODAY!


If you enjoy my blog, you can sign up to receive my updates here.
.Latest Posts
-
DIY Clay and Metallic Foil Easter Eggs
With Easter just around the corner this week, I decided to create something special and truly unique for my spring décor … handmade clay and metallic foil Easter eggs. These little works of art are soft, pastel, and subtly shimmery, and they’re a beautiful way to add a handmade touch to your Easter celebrations. While…
-
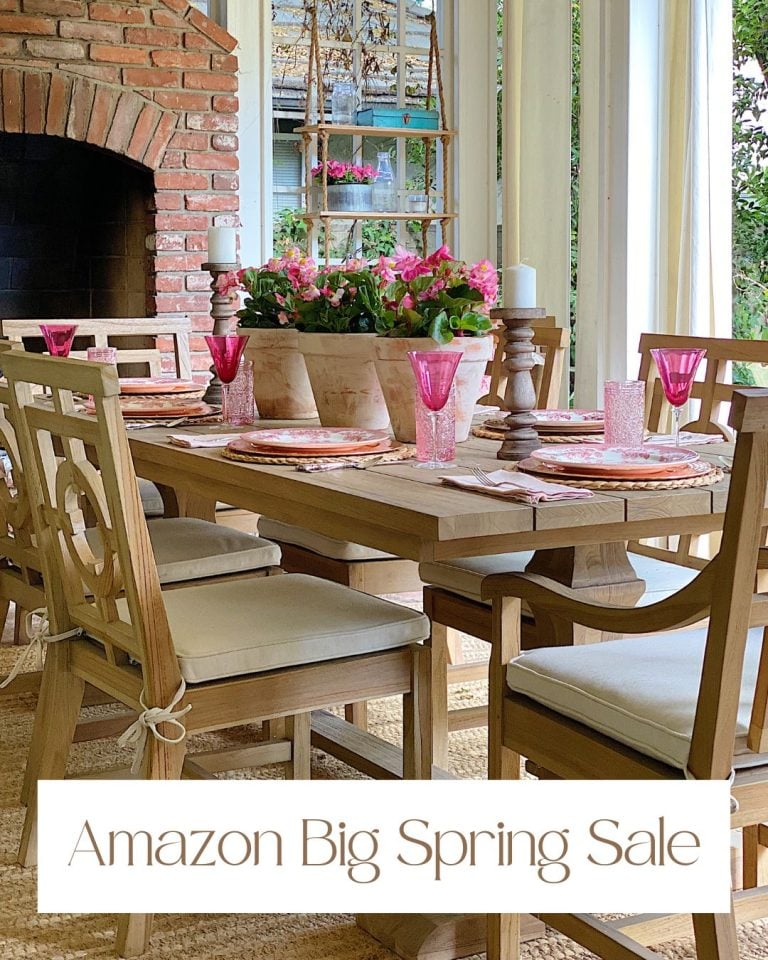
The Amazon Big Spring Sale is Here!
The Amazon Big Spring Sale is here! It runs from March 25th (today) through March 31st, and here are some of the best Amazon Deals ever! There are millions of deals available, and today I will help you find the best ones for everything you need. Now is the perfect time to shop for Spring.
-
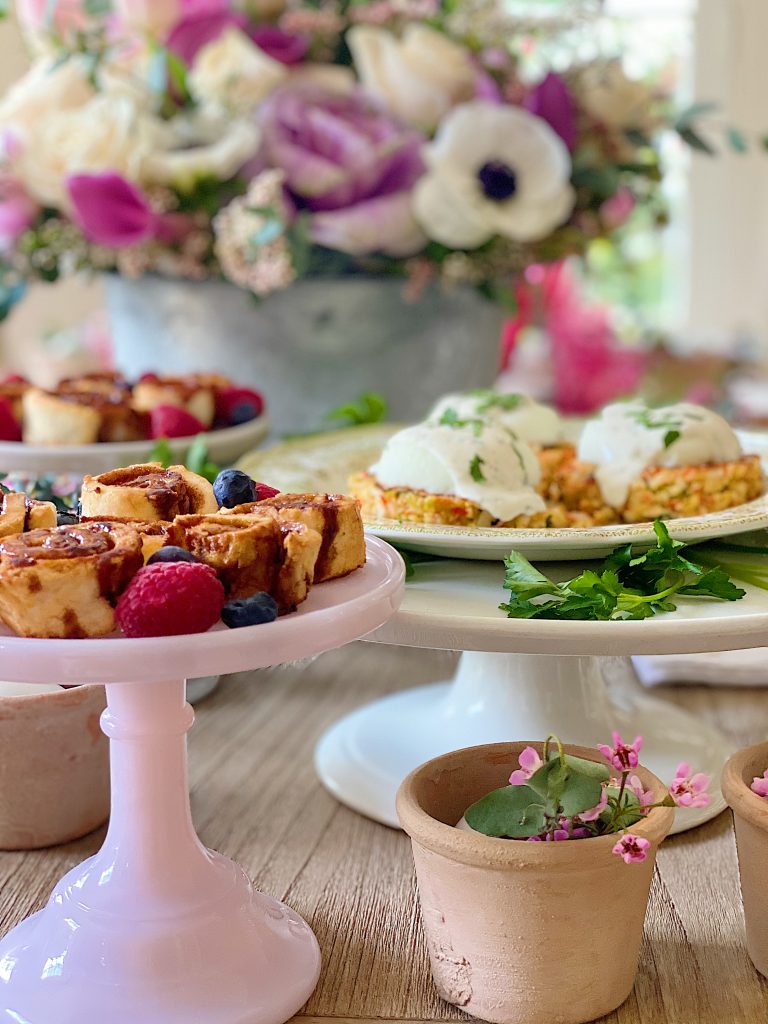
My Favorite Easter Brunch Recipe Ideas
Today, I am sharing some of my favorite Easter Brunch Recipe ideas. These recipes are amazing, and everyone in our family loved them! I used my favorite Easy Crab Cake recipe and created a menu with an “eggs benedict”-style entree, a new gluten-free cinnamon roll recipe, and fresh berries. This latest version of Eggs Benedict…
-
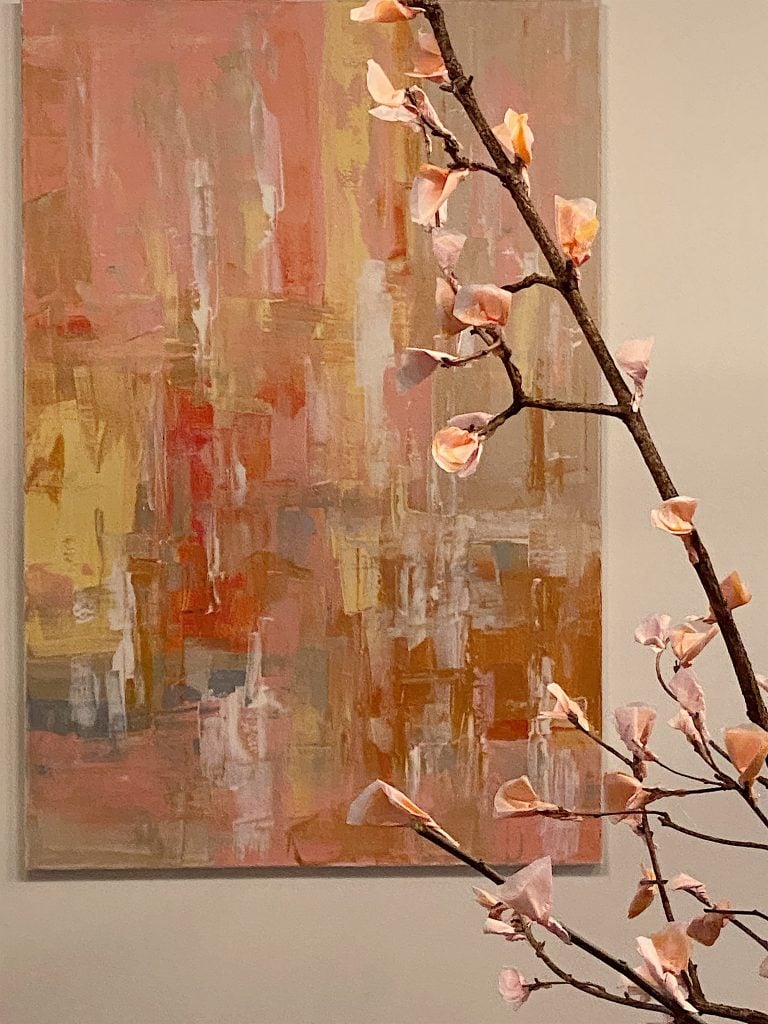
My Obsession with Abstract Wall Art
Abstract wall art, with its enigmatic allure and boundless interpretations, has long captivated the hearts of many, including myself. Believe it or not, I have ventured deep into the realm of abstract painting, creating expansive canvases as large as 12′ x 12′. I completed ambitious projects like painting thirty paintings in 30 days, inspired by…

My Recent Instagram Posts

You can pin the image below to your boards on Pinterest (click the Pin button in the top left corner) or follow me on Pinterest!
For more real-time updates, follow me on Instagram @My100YearOldHome