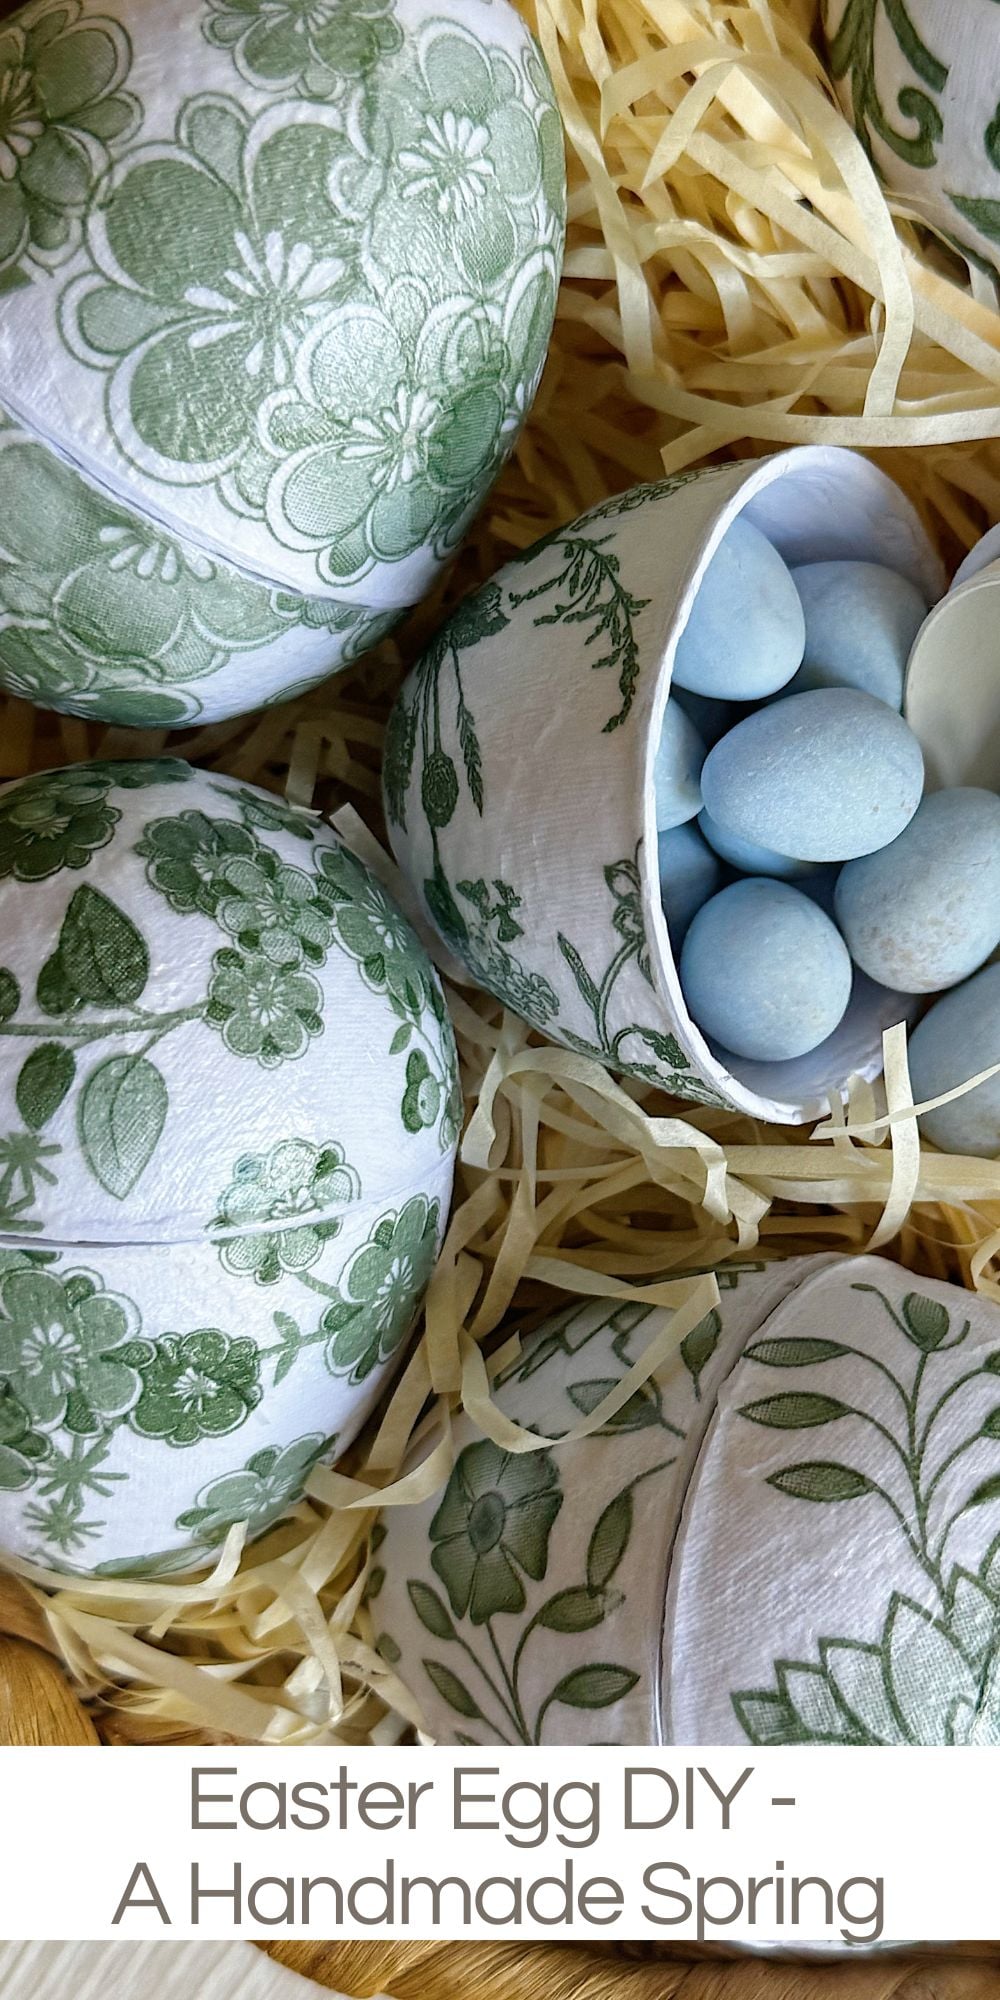
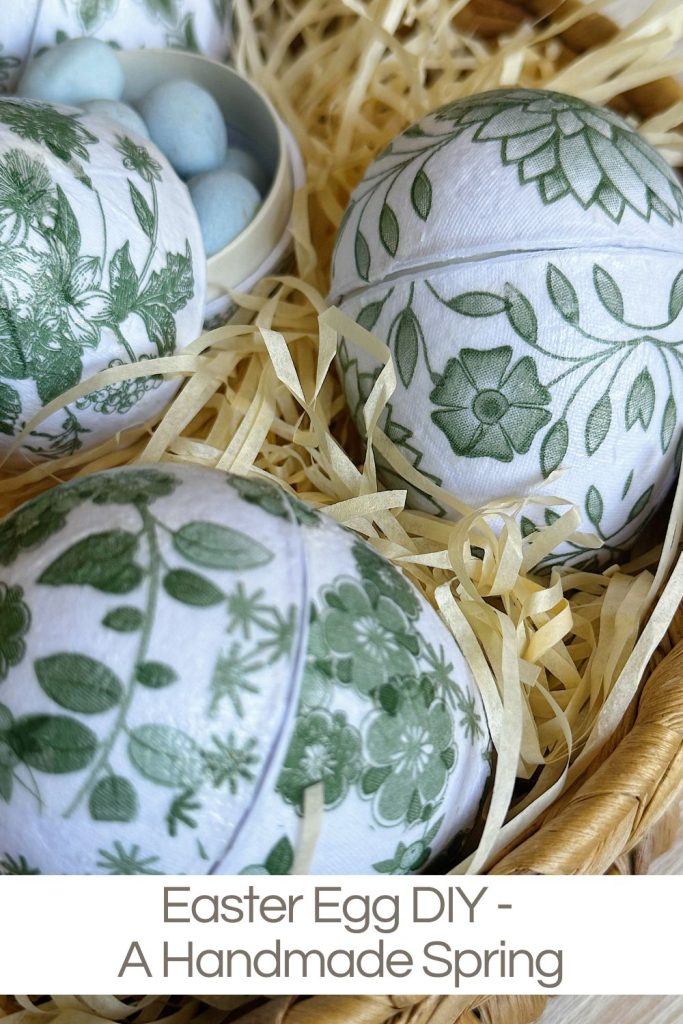
Easter Egg DIY – A Handmade Spring

This beautiful decoupage Easter egg DIY combines simple materials with a thoughtful technique that makes all the difference.
Using papier-mache eggs and botanical paper napkins, I created a collection that feels fresh, timeless, and completely handmade. The process was surprisingly easy, incredibly satisfying, and the results look far more detailed than the effort required. Today I am sharing exactly how I made them, what made this version work so well, and why these eggs have quickly become my favorite spring craft.


Easter Egg DIY
A Handmade Spring Craft Series
Every spring, I look for a new project that feels fresh, creative, and just a little bit unexpected. I love decorating for Easter, but I always want something that feels handmade, personal, and timeless rather than overly seasonal or disposable. This year, I created what may be my favorite Easter eggs ever, and I honestly did not expect them to turn out quite this beautiful.
These Easter eggs are made using paper napkins and decoupage, but the real secret to this project was not the technique. It was the type of egg I used.
Once I discovered papier-mache Easter eggs, everything about this craft became easier, more polished, and far more successful. Today I am sharing exactly how I made them, why they worked so well, and how you can recreate this project for your own spring decor.
If you love crafting with simple materials that create elegant results, this is a project you will absolutely want to try.
On this blog, I may sometimes use affiliate links, which means I earn a small commission if you purchase through the link. The price will be the same whether you use the affiliate link or go directly to the vendor’s website using a non-affiliate link.
Why These Easter Eggs Are Different
I have experimented with decorating Easter eggs many times over the years. I have painted them, dyed them, and tried different decoupage methods. Some worked well, and others were a little more challenging than I expected.
This time, I wanted something that felt elevated but still easy enough for anyone to make.
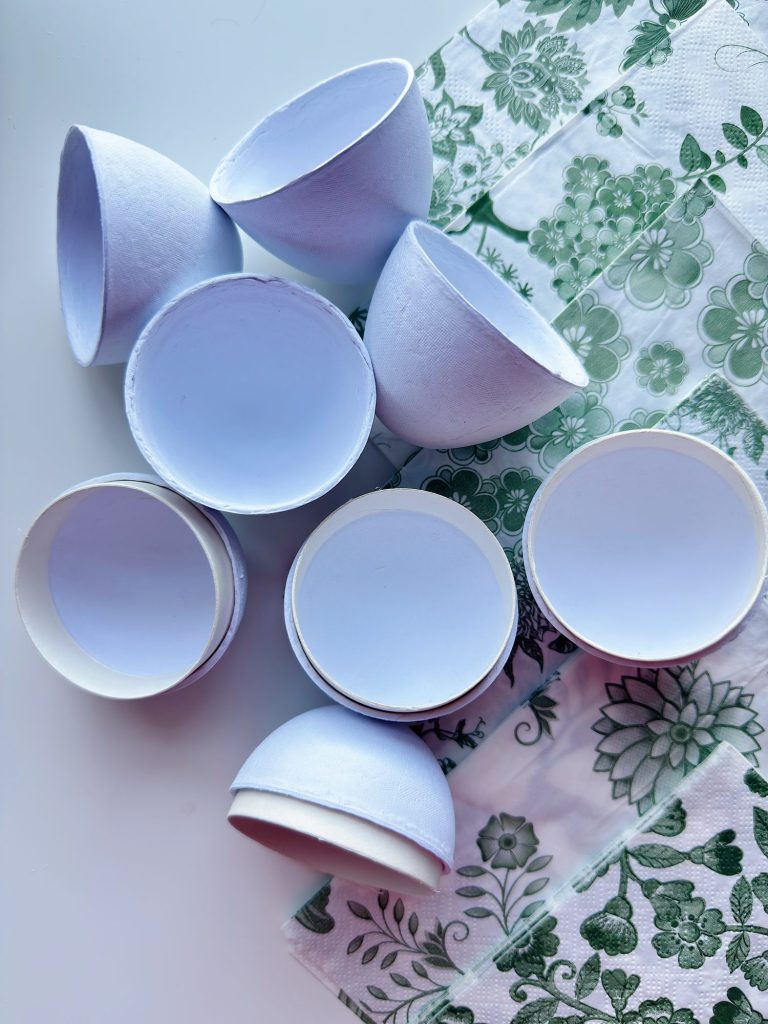
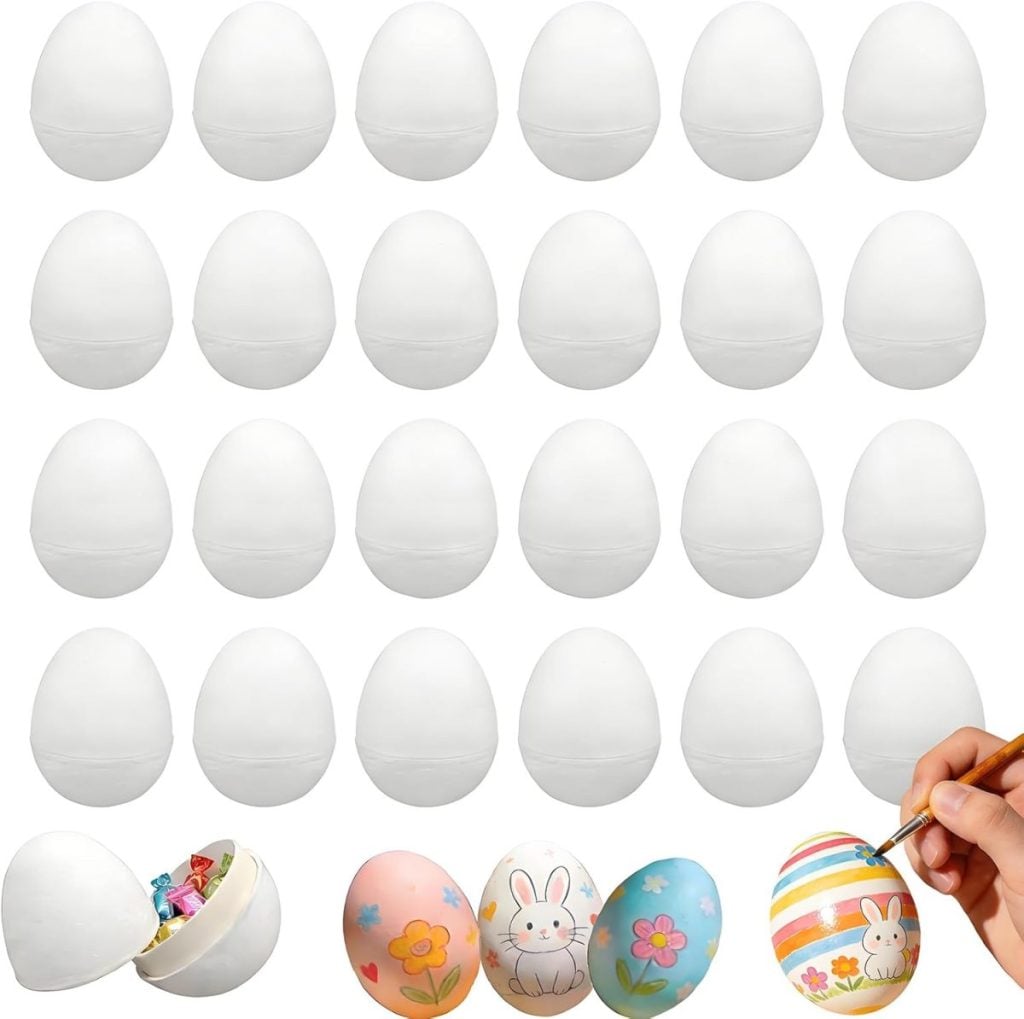
The biggest change I made was choosing paper mache eggs instead of plastic or foam eggs.
And honestly, this made all the difference.
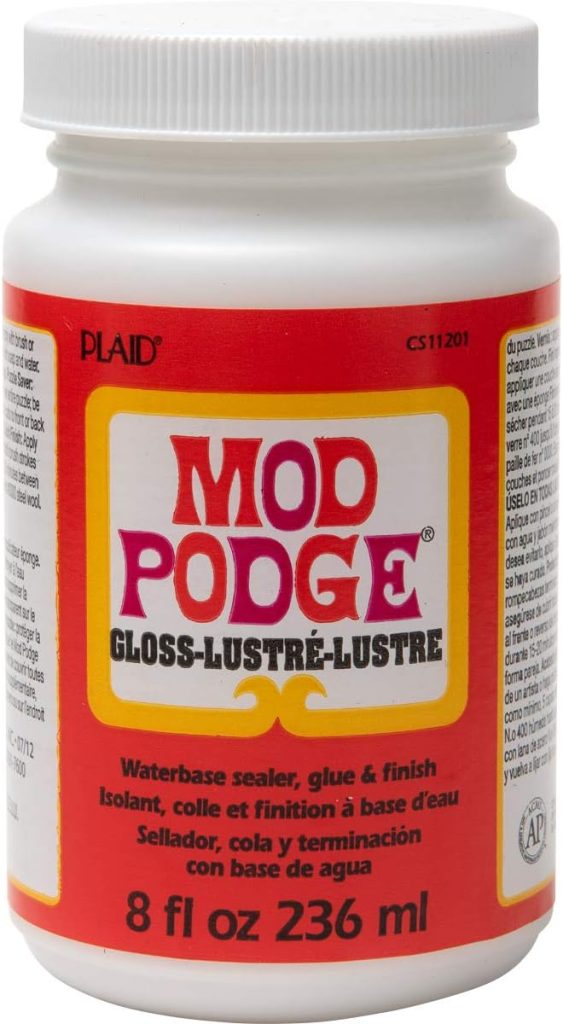
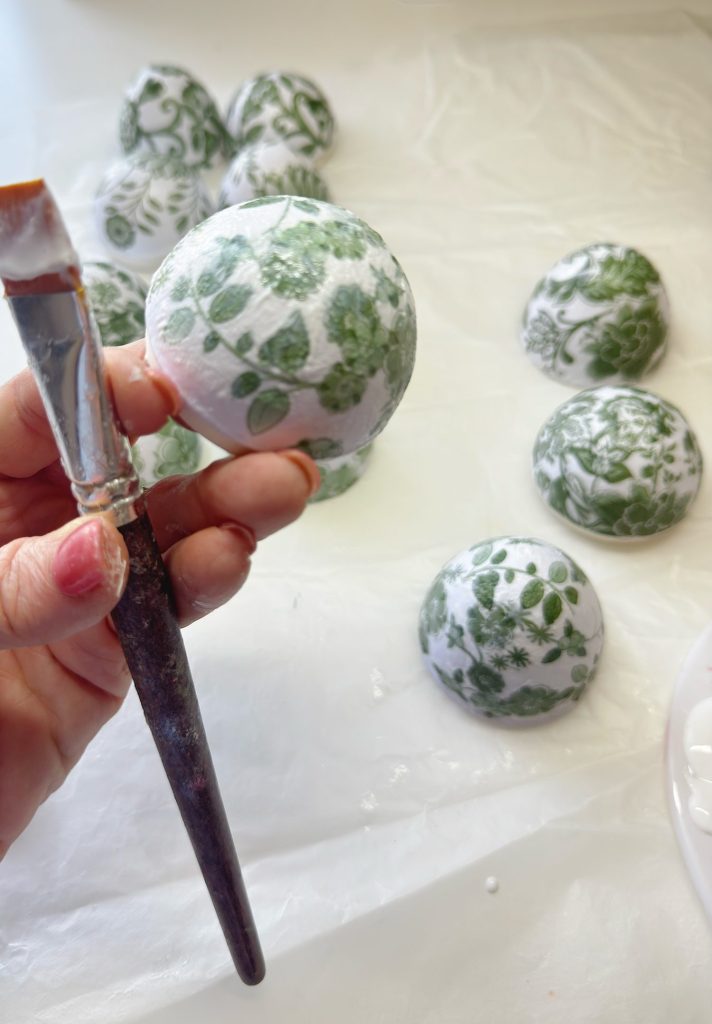
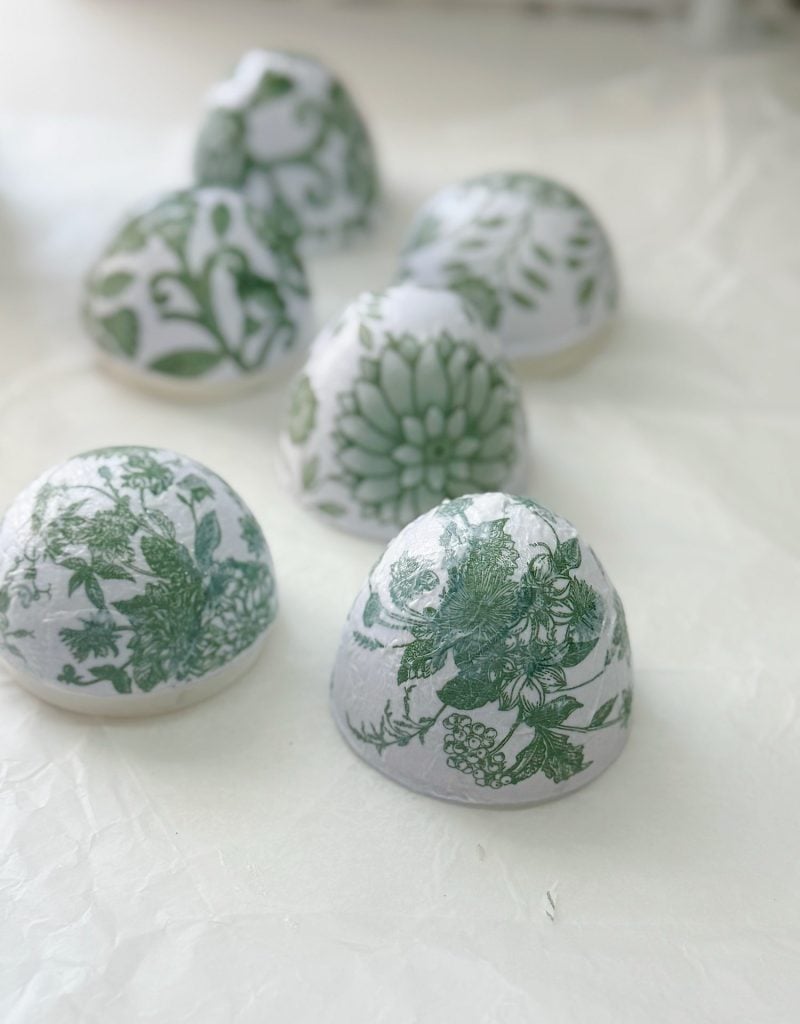
Paper mache eggs have a slightly textured surface that holds adhesive beautifully. Unlike slick plastic eggs, the Mod Podge grips easily and dries evenly. They also feel more substantial and have a lovely handmade quality that fits perfectly with my decorating style.
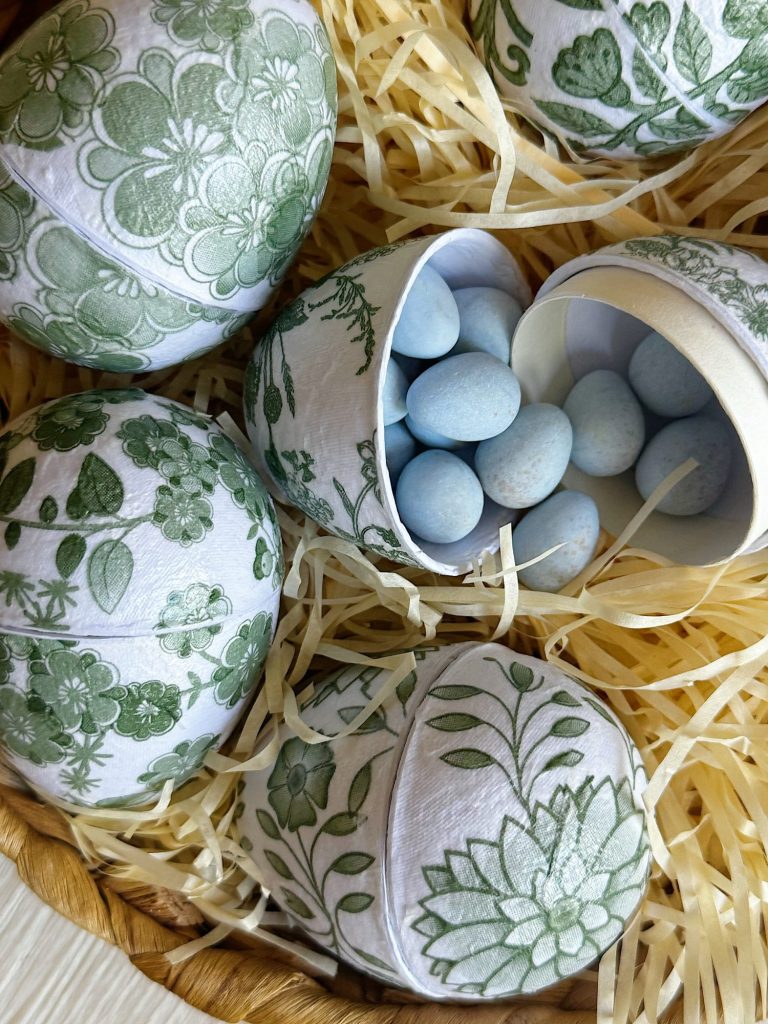
Another feature I loved is that these eggs open. That little detail adds so many possibilities. You can fill them with candy, display small treasures inside, or simply enjoy them as decorative pieces.
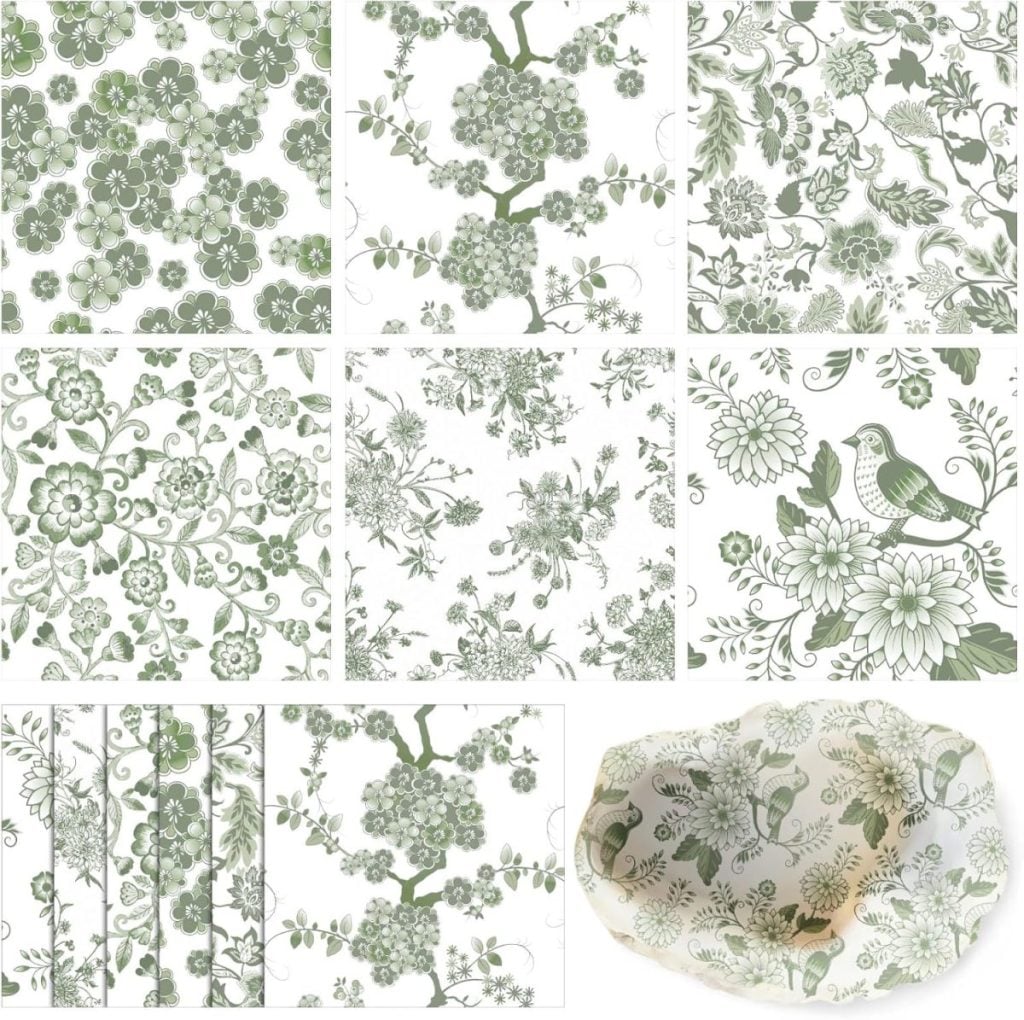
Choosing the Perfect Napkins
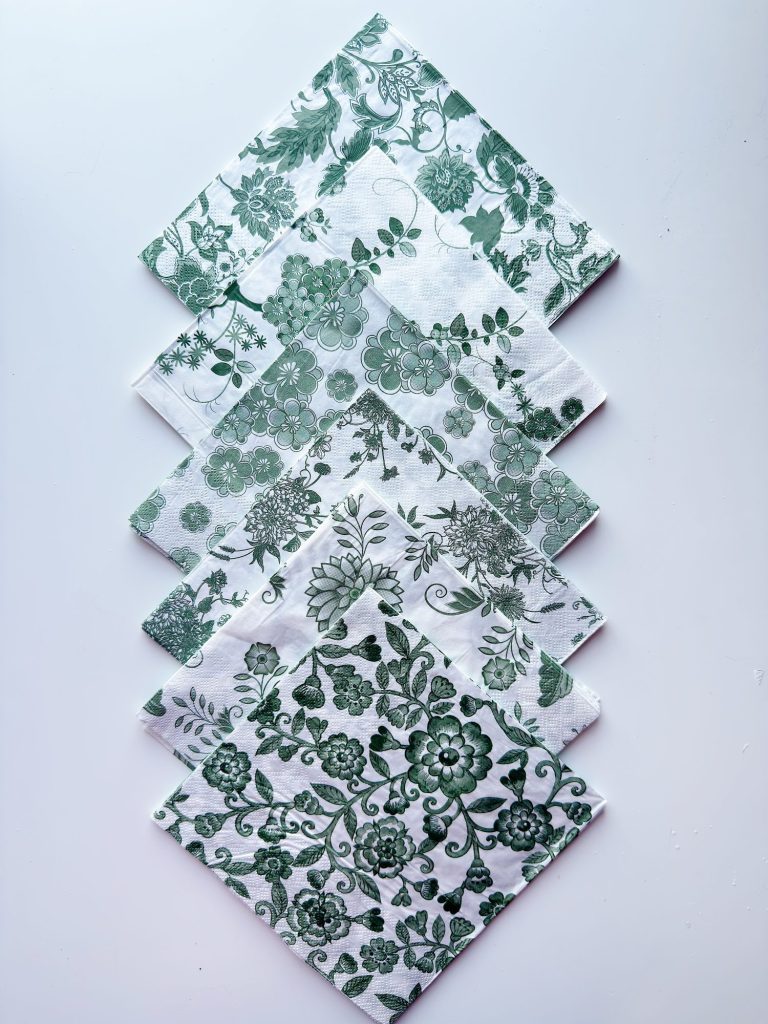
The second secret to this project was the napkins.
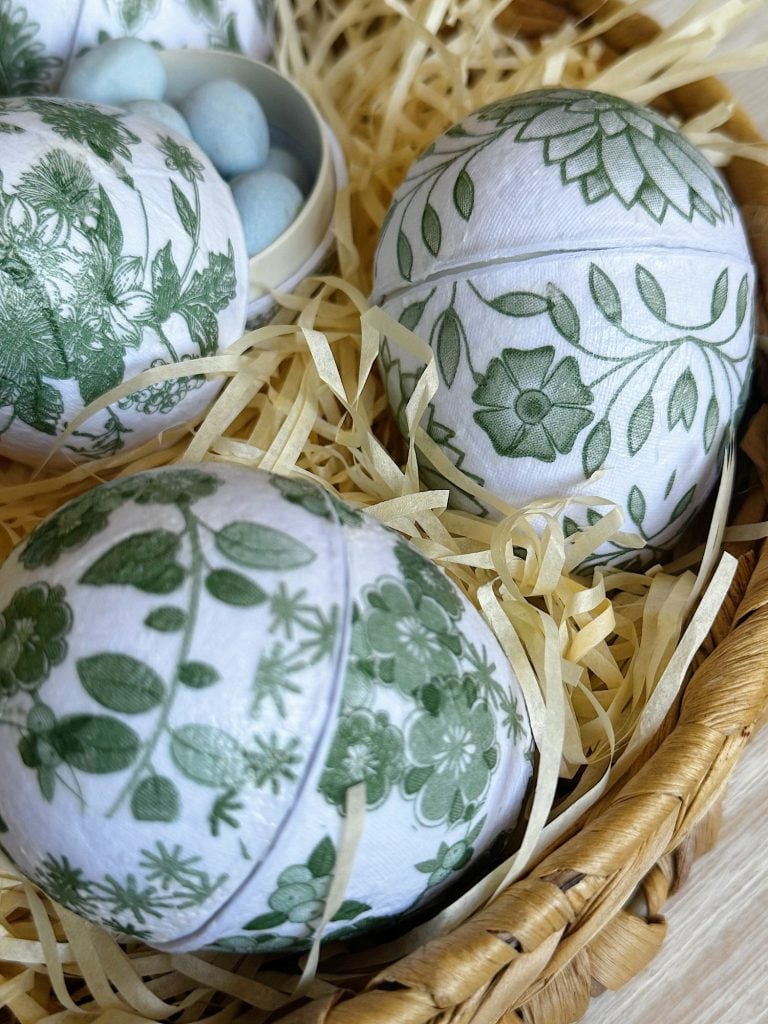
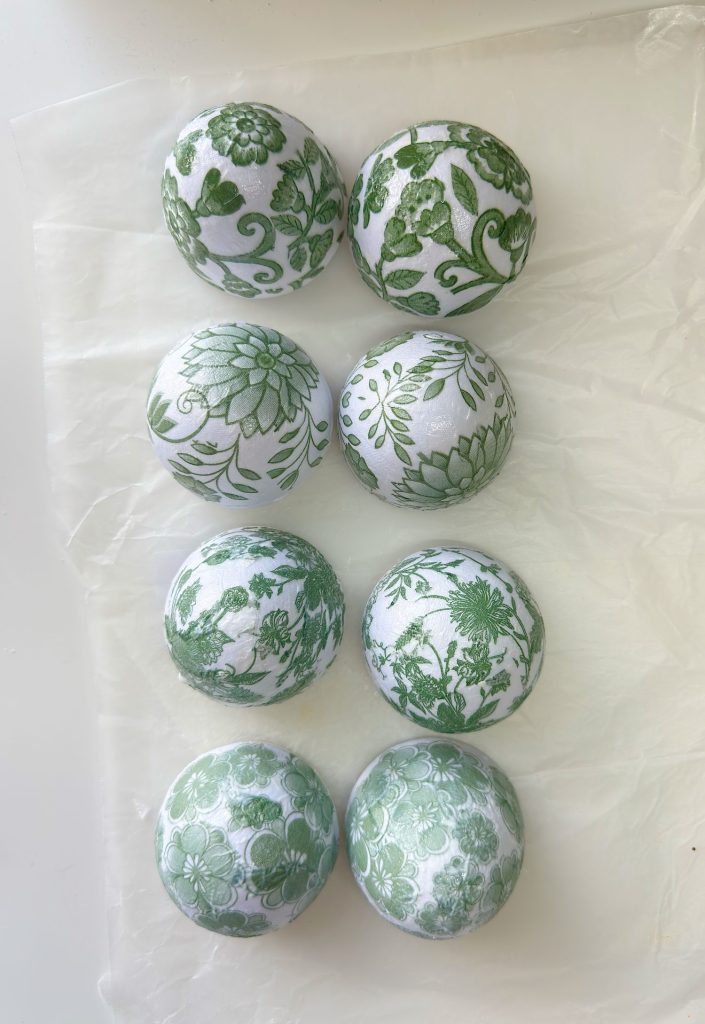
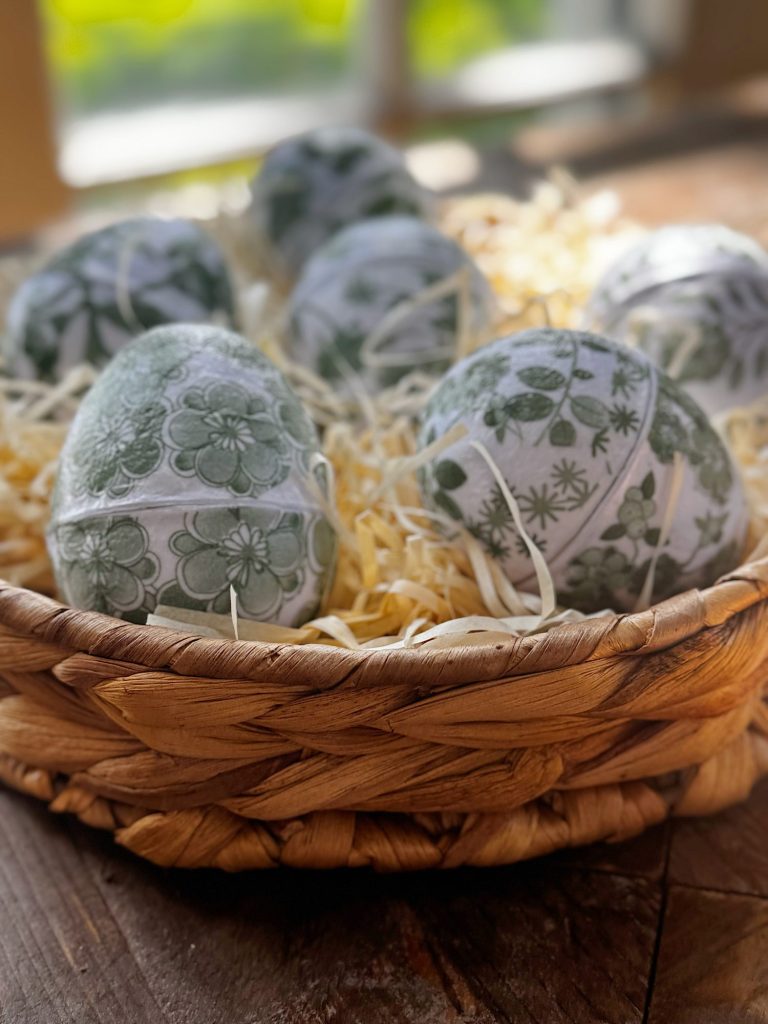
I found a paper napkin set with six botanical designs, all in soft green tones. The variety of patterns allowed me to create a collection of eggs that feel cohesive while remaining unique.
When selecting napkins for decoupage, look for:
• Thin decorative paper napkins with detailed designs
• Soft color palettes that complement your decor
• Botanical or floral patterns for a timeless spring look
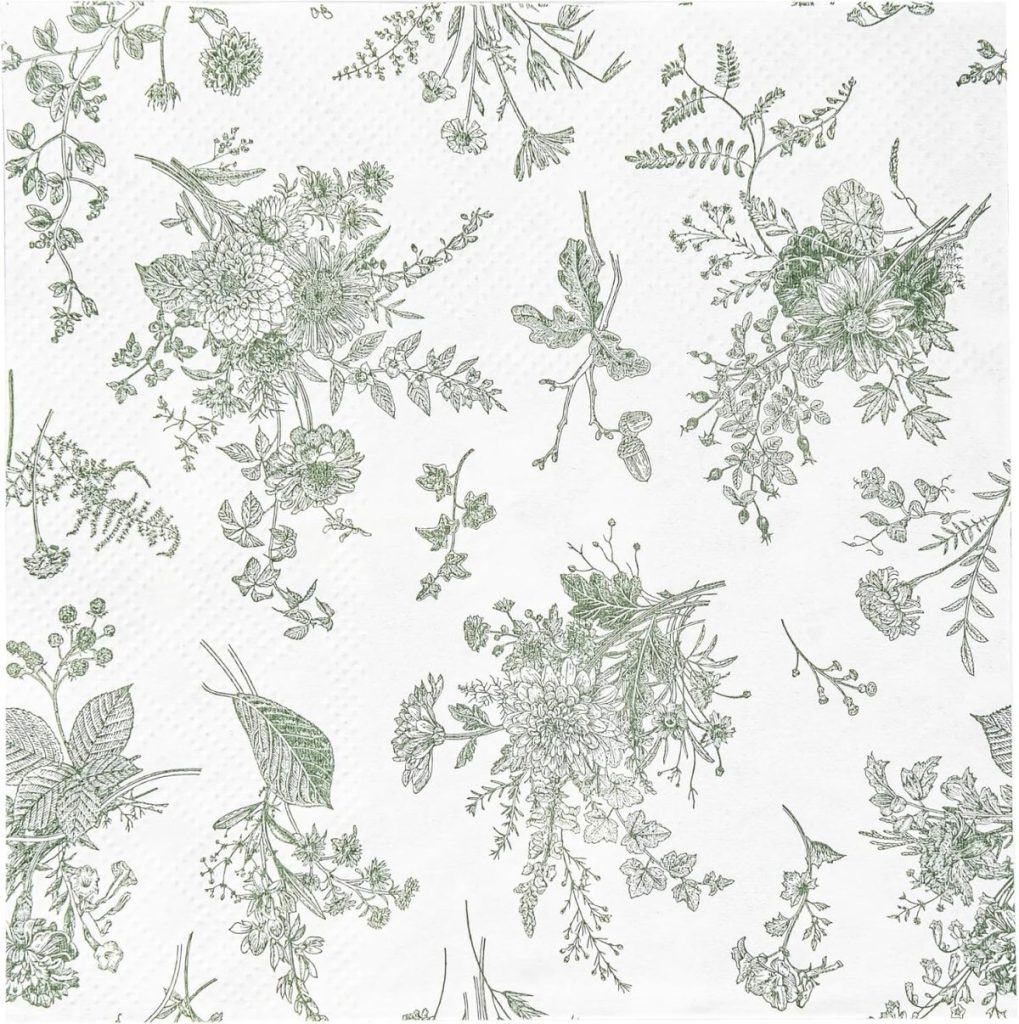

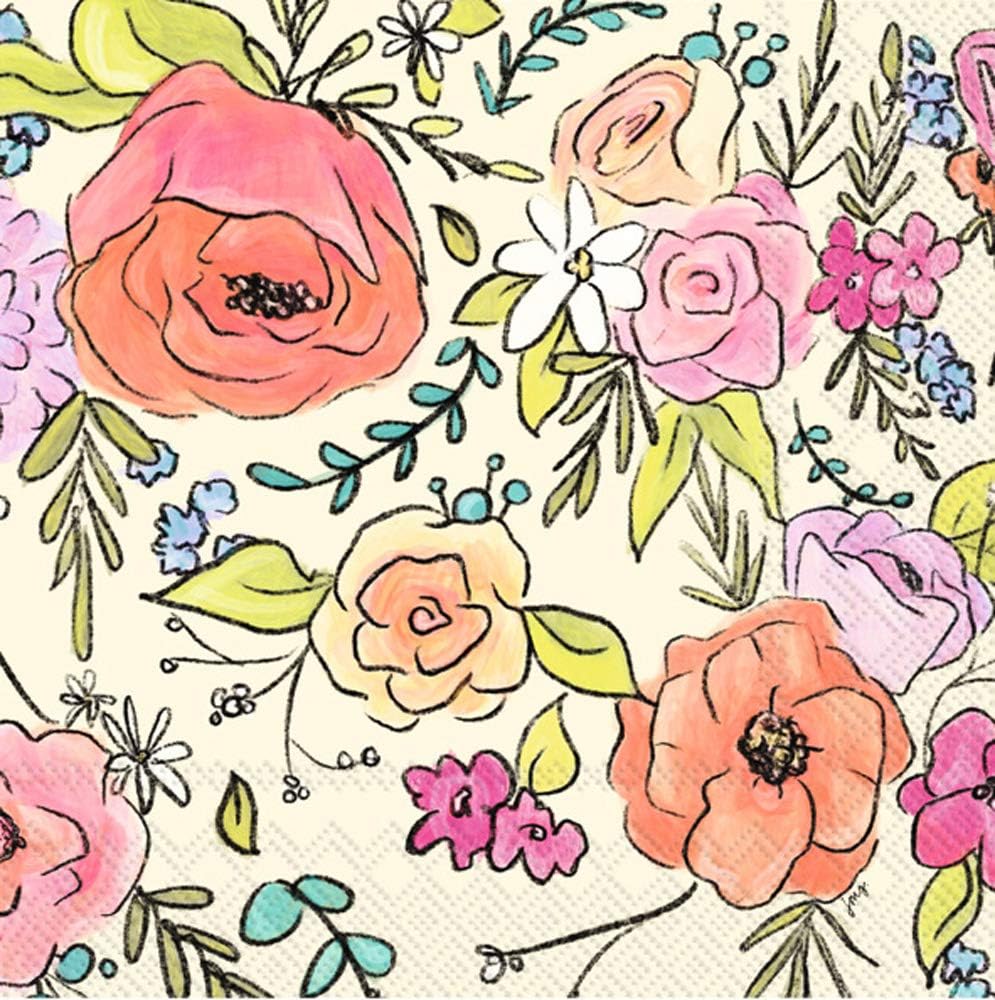
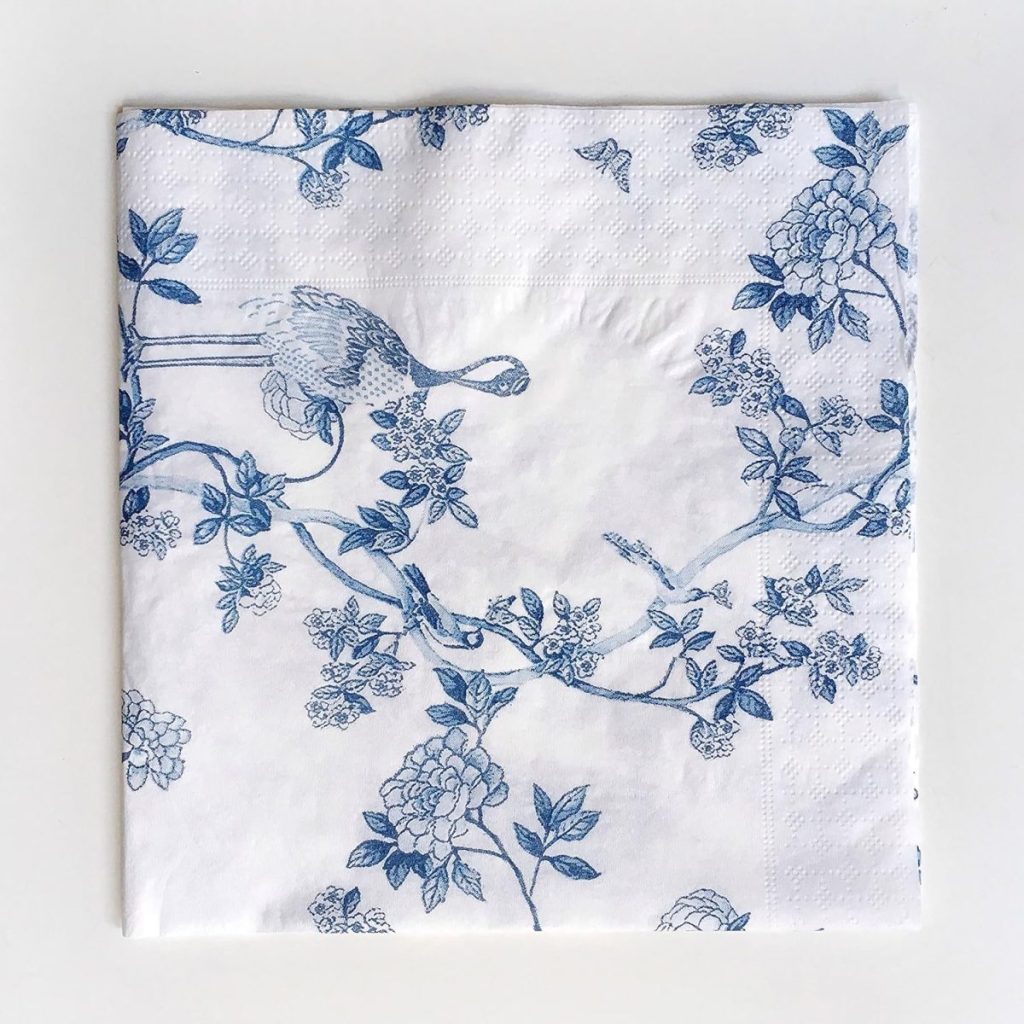
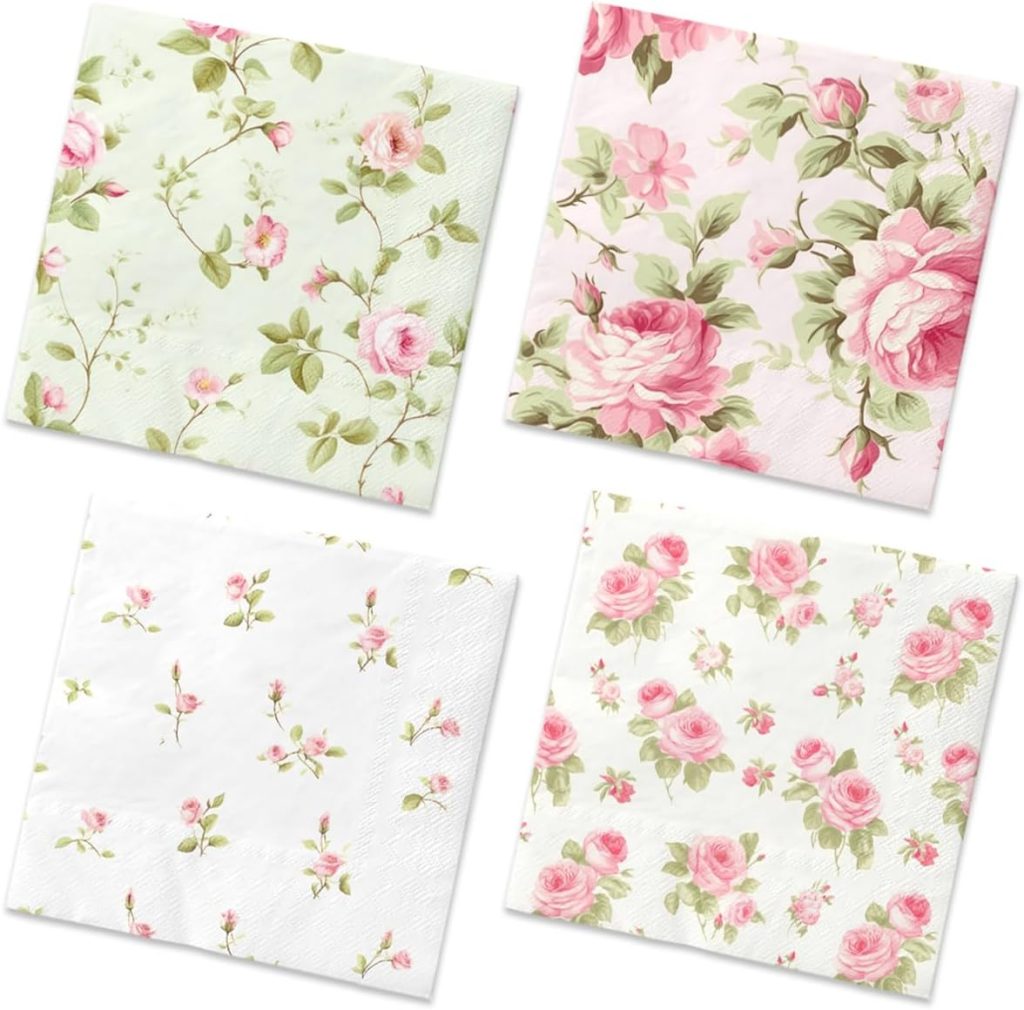
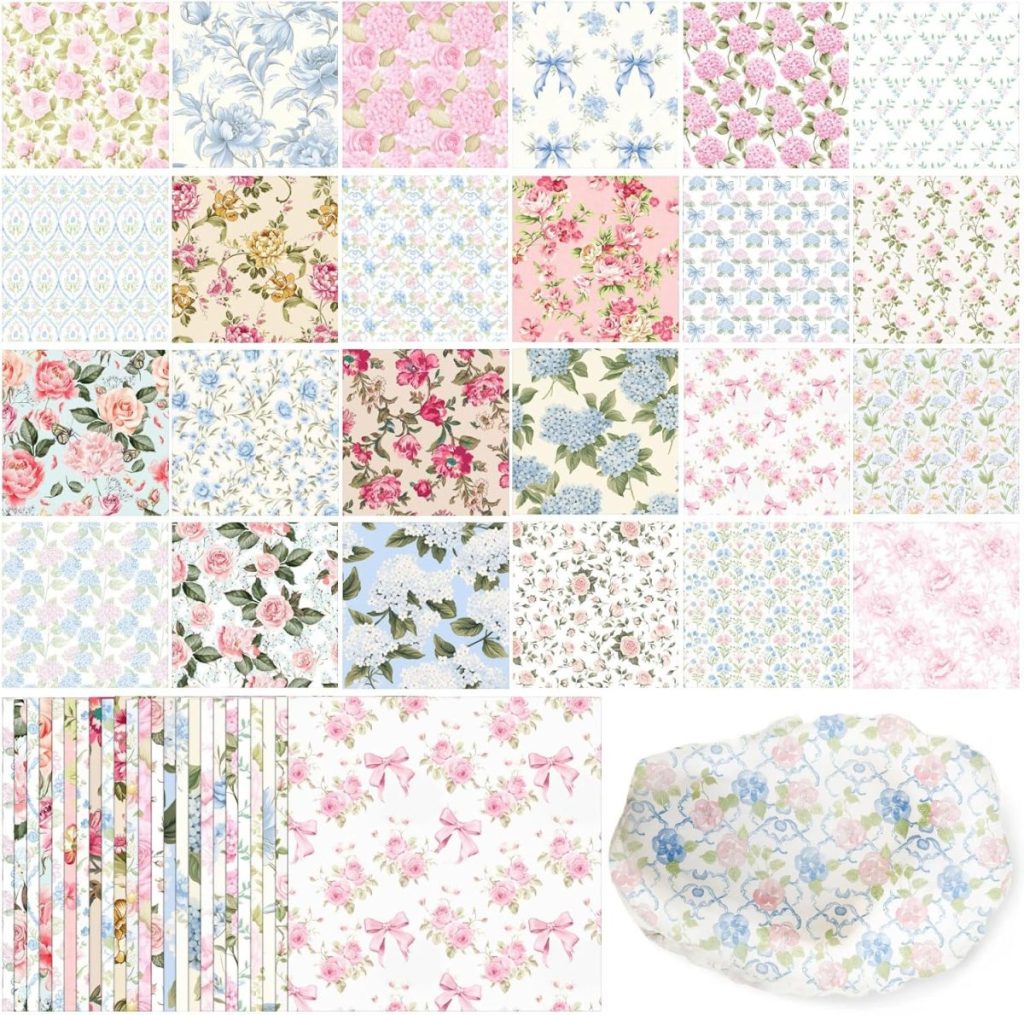
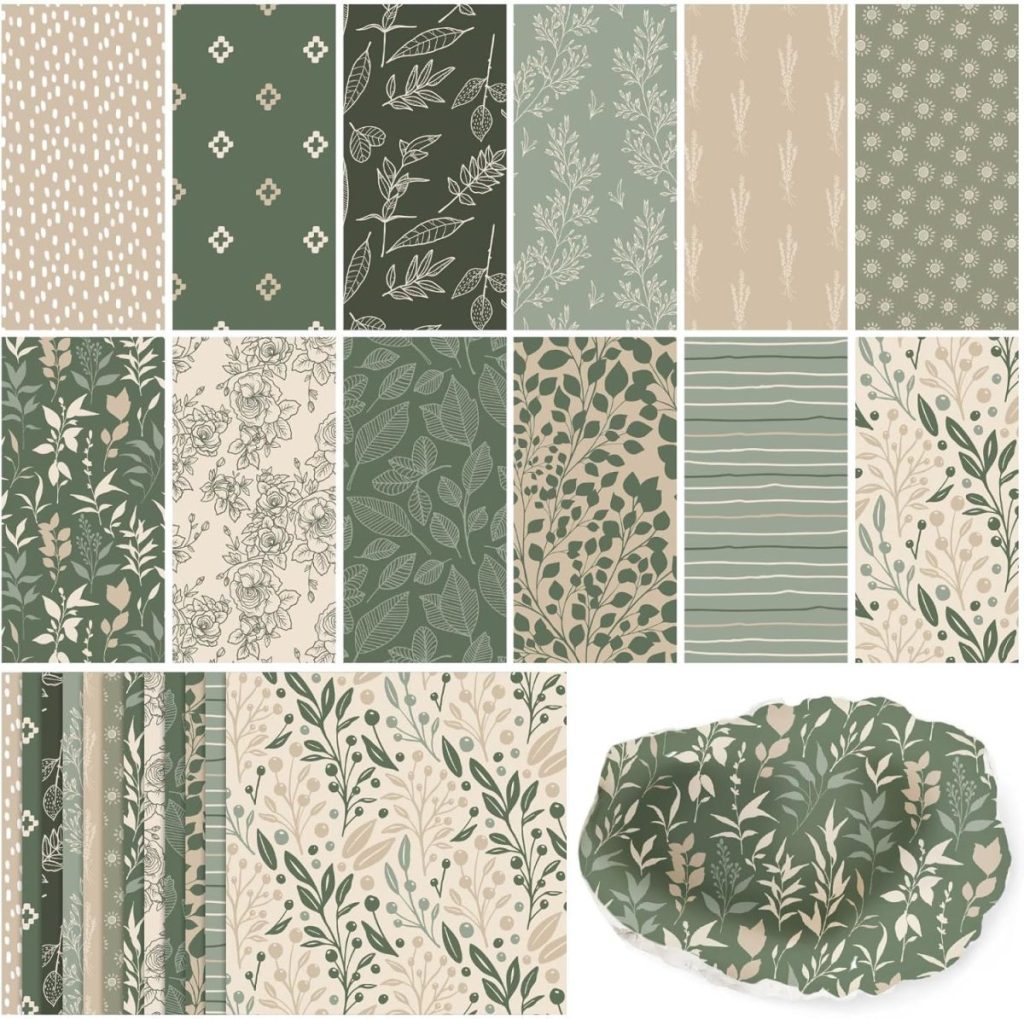

I loved how the green designs felt classic and almost vintage. They remind me of traditional European ceramics and give the eggs an elegant, collected feel.
A Small Change That Made a Huge Difference
In many decoupage tutorials, you will see instructions to wrap the napkin directly around the object’s surface.
I decided to try something different.
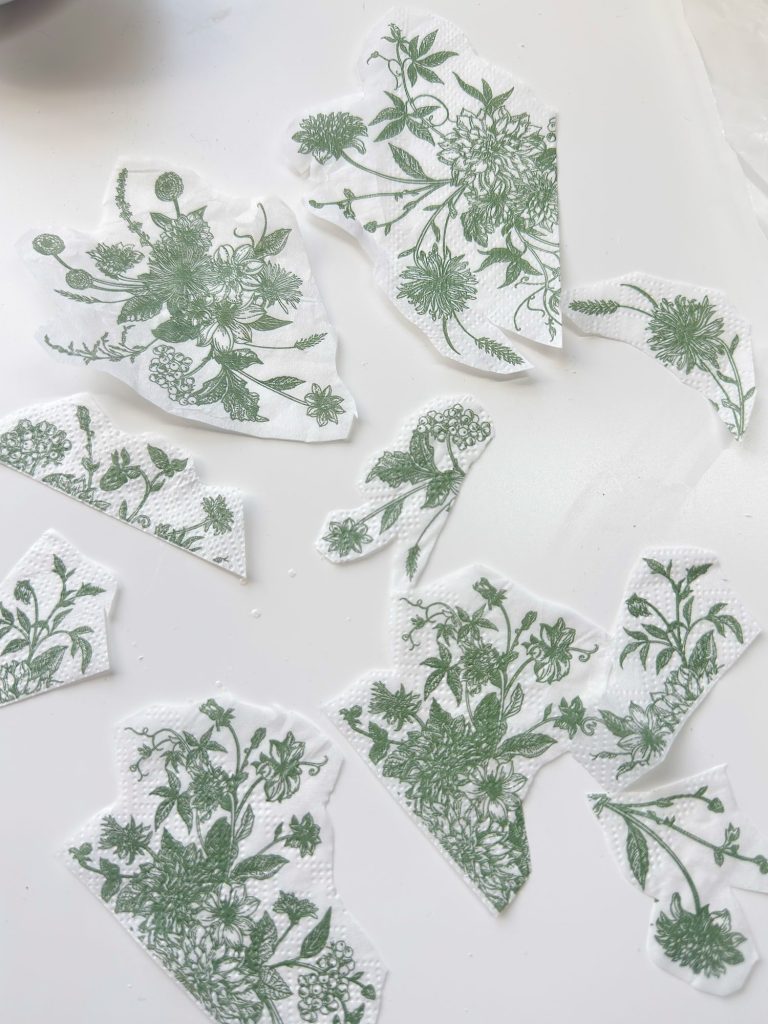
Instead of wrapping whole sections of napkin around the curved egg shape, I carefully cut out individual elements from the designs before applying them.
This completely changed the outcome.
Because eggs are curved in every direction, wrapping large pieces of paper around them often creates folds, wrinkles, and overlapping areas that disrupt the pattern. By cutting out the designs first, I was able to place each floral motif exactly where I wanted it without distortion.
This allowed the finished eggs to look intentional and almost hand-painted rather than covered in paper.
Supplies You Will Need
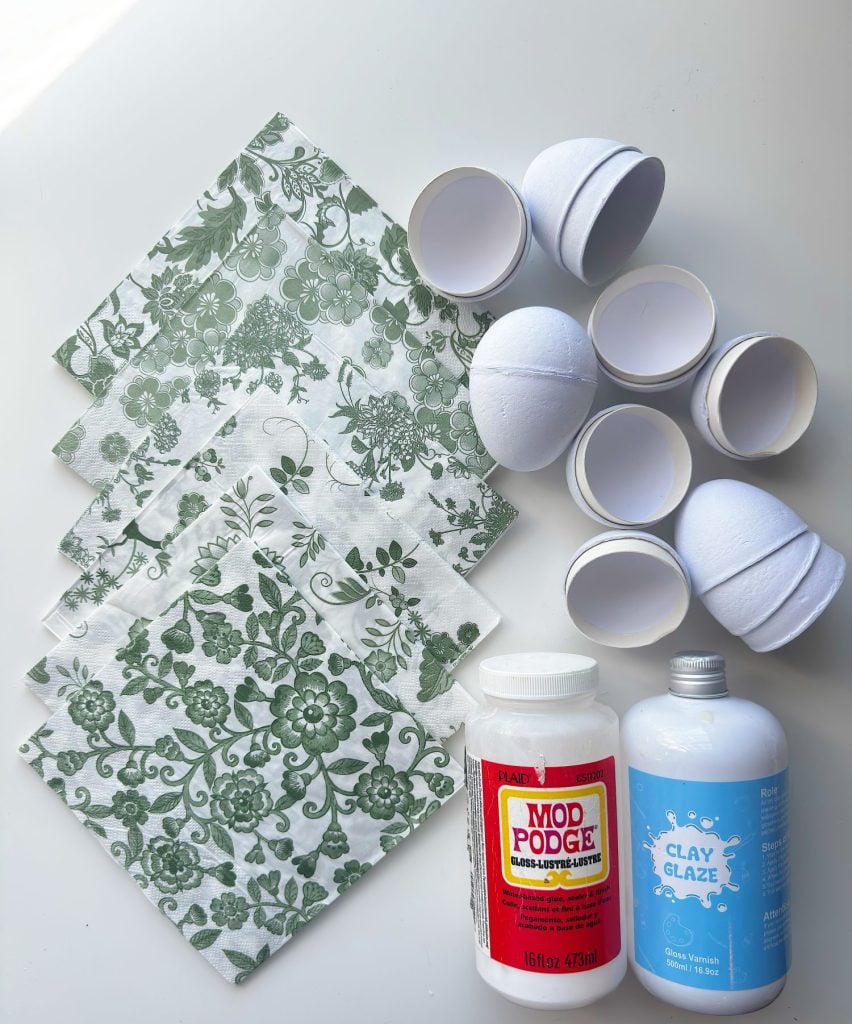
Here is everything I used for this project:
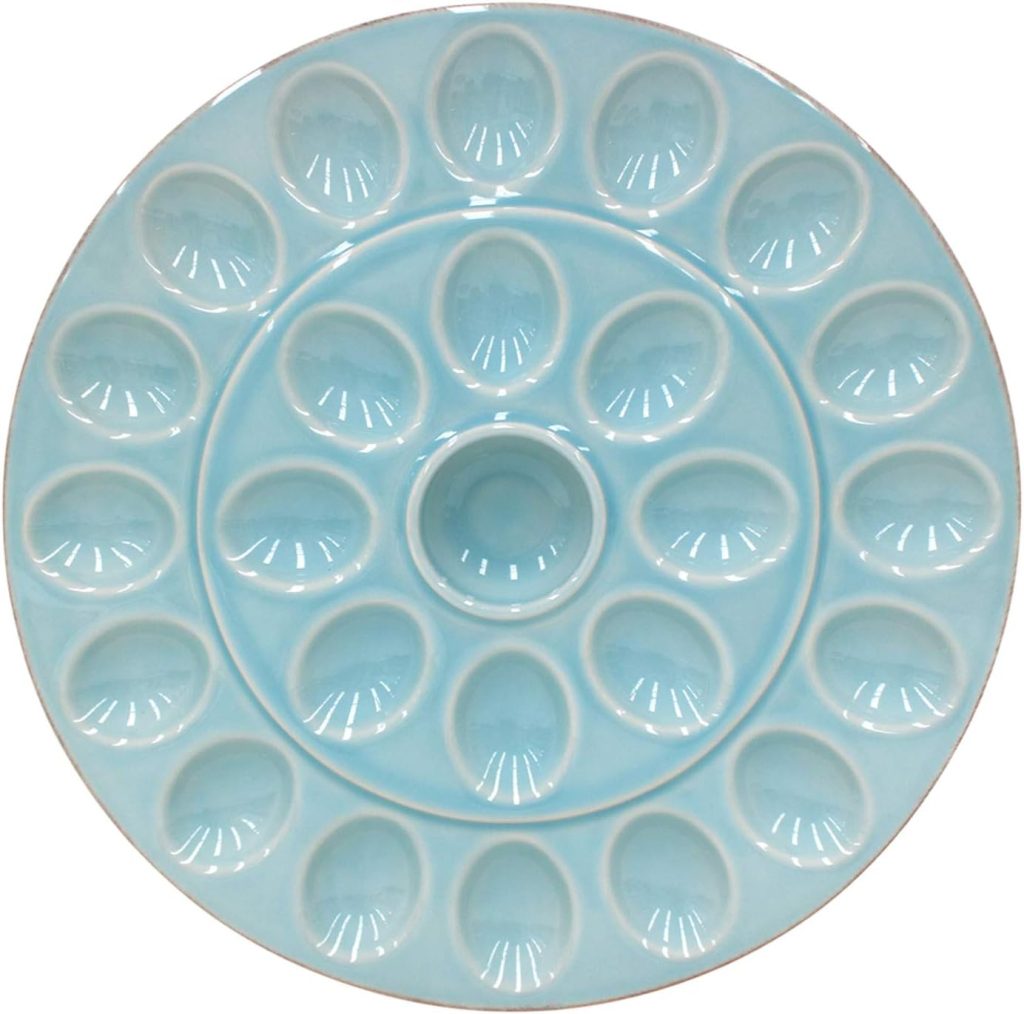
• Paper mache Easter eggs
• Decorative paper napkins
• Mod Podge (matte or satin finish)
• Small craft scissors
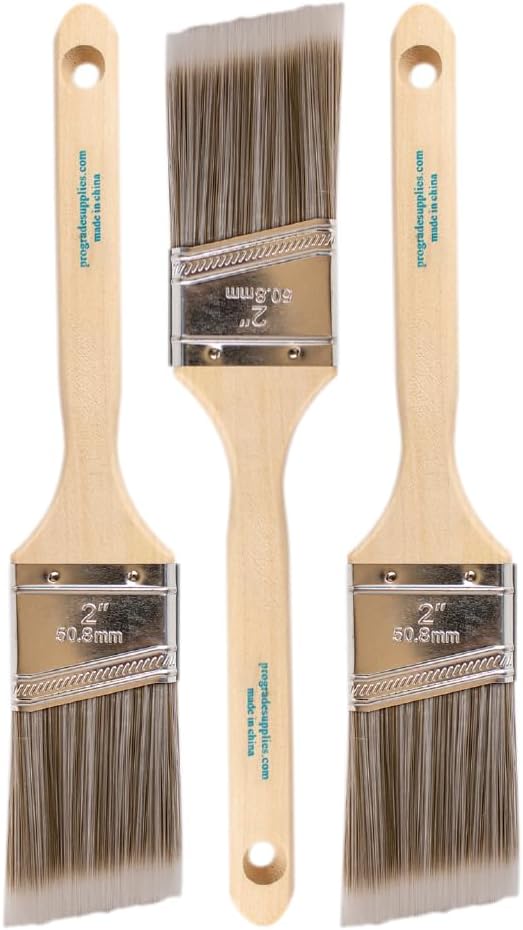
• Foam brush or soft paintbrush
• Wax paper or parchment paper for work surface


Optional:
• Clear acrylic sealer for extra durability
• Fine detail brush for smoothing edges
Step-by-Step Instructions
Step 1: Prepare the Napkins
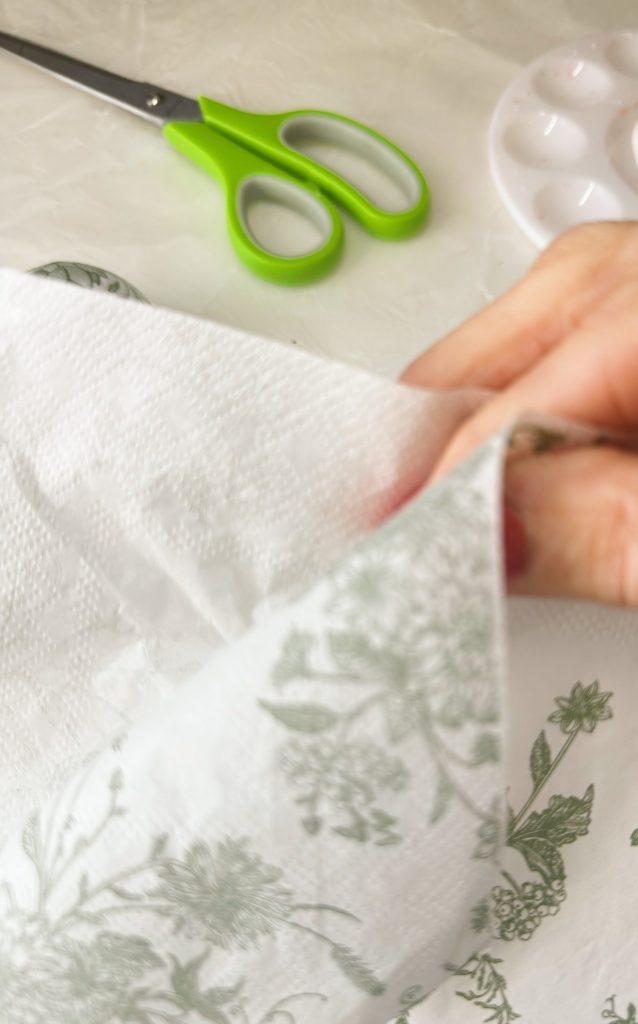
Begin by separating the decorative printed layer of the napkin from the backing layers. Most decorative napkins have two or three layers, but you only want to use the top printed layer.
Carefully cut out the individual flowers, leaves, or motifs you want to use. Take your time with this step because clean edges make the finished design look more refined.
Step 2: Plan Your Layout

Before using any adhesive, place the cut designs onto the egg to experiment with placement.
I like to rotate the egg and view it from every angle. This helps ensure the design feels balanced and natural.
Cut the napkin pieces in sizes that will fit the egg.
Because each egg opens, I also made sure to consider where the seam was so the design flowed nicely across the surface.
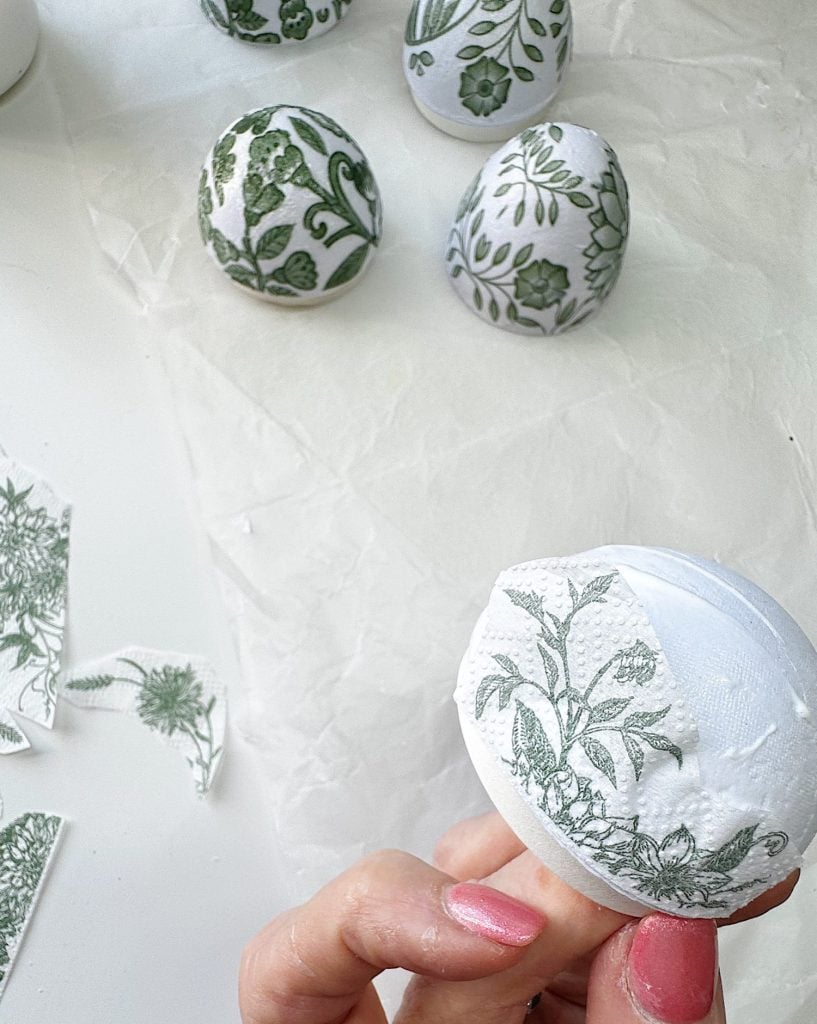
Step 3: Apply the Mod Podge
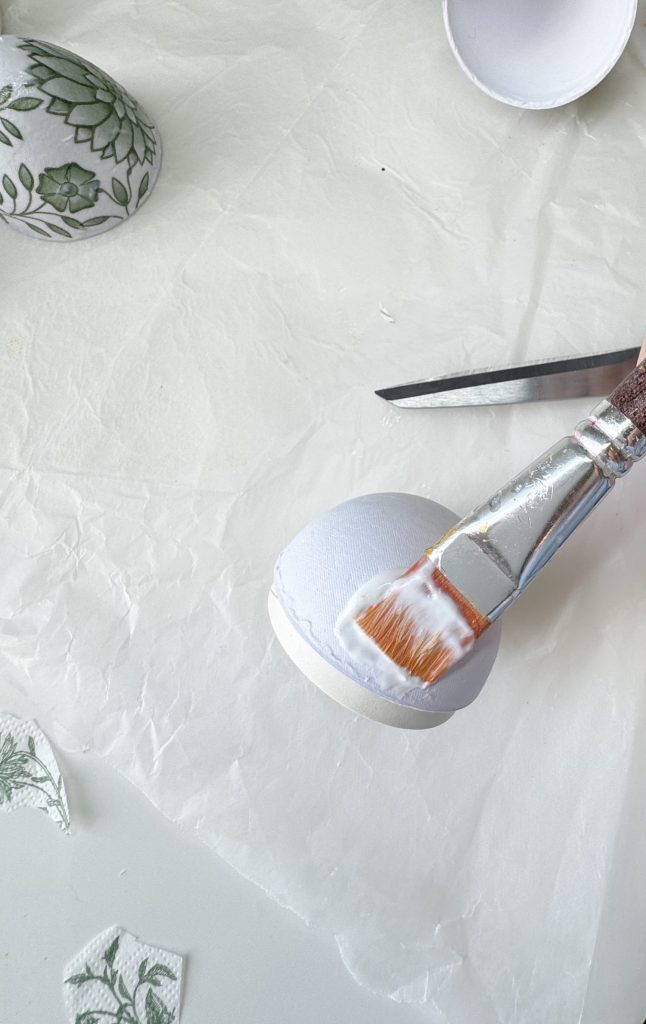
Using a foam brush, apply a thin layer of Mod Podge to the egg where the design will sit.
Gently place the napkin piece onto the adhesive and lightly smooth it down with your brush or fingertips.

Work slowly and carefully. The napkin is delicate, so gentle handling is important.
Step 4: Smooth and Seal
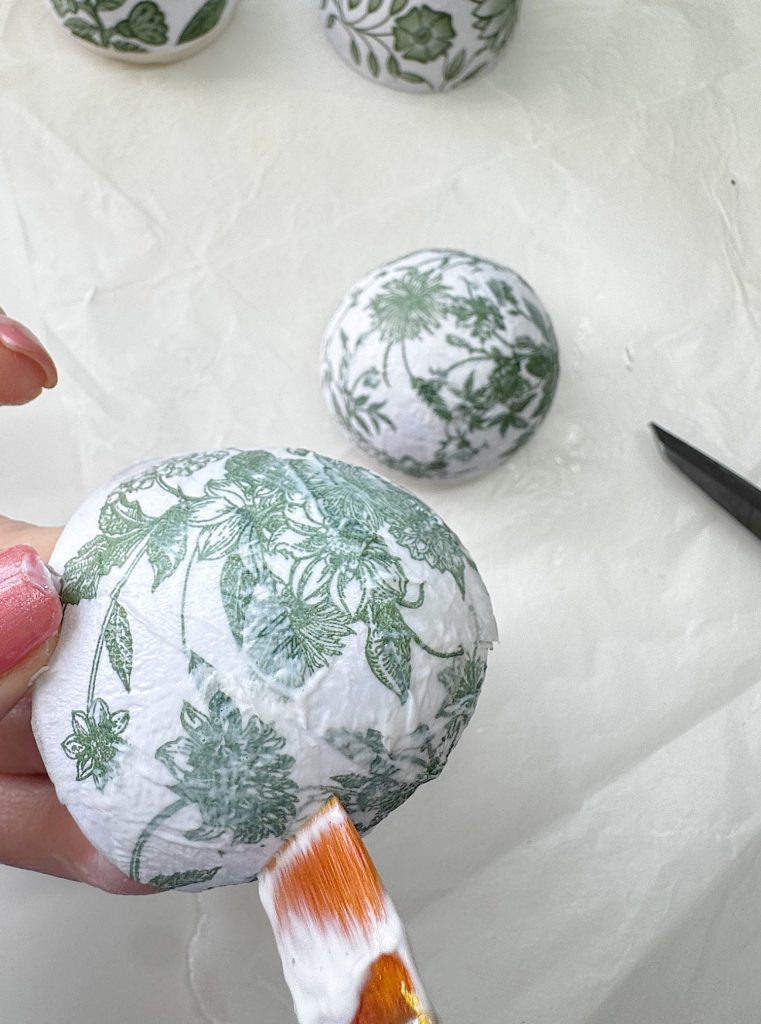
Once the napkin piece is in place, lightly brush another thin layer of Mod Podge over the top.
Do not oversaturate the paper. Thin layers prevent tearing and help achieve a smooth finish.
Continue adding pieces one at a time until you are happy with the design.
Step 5: Drying
Allow the eggs to dry completely before handling. I like to place them on wax paper so they do not stick to the surface while drying.
Why These Are My Favorite Easter Eggs
There is something about these eggs that feels both handmade and refined.
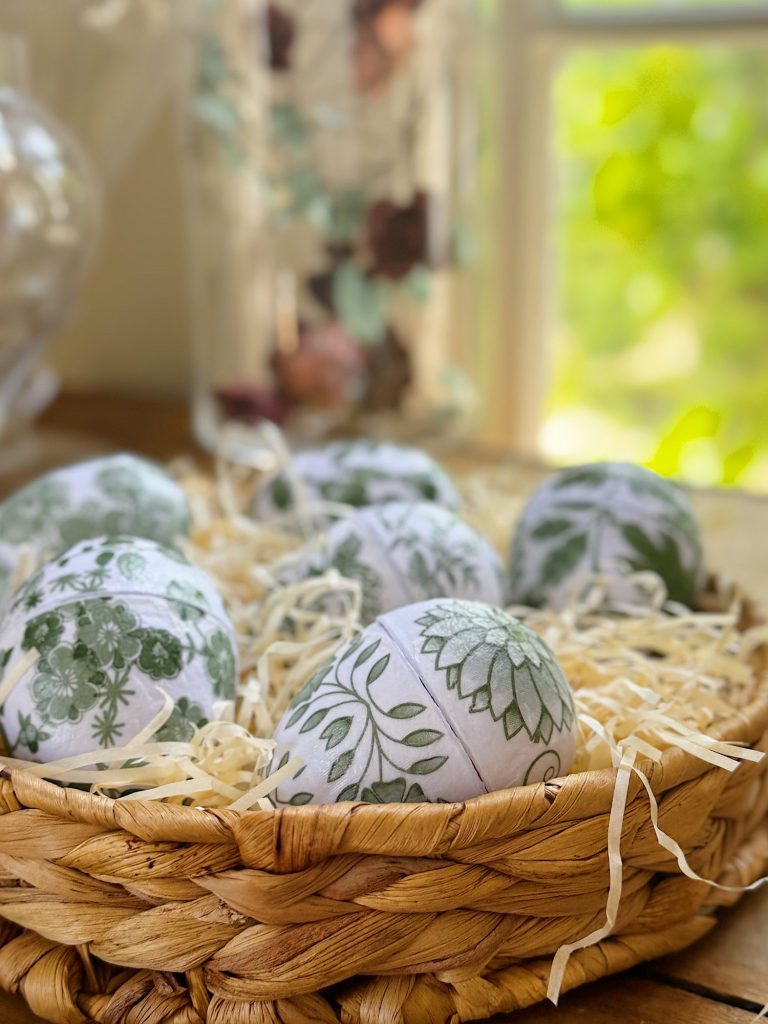
The paper mache base gives them a soft matte finish that looks almost ceramic. The botanical patterns feel fresh for spring but also classic enough to use year after year.
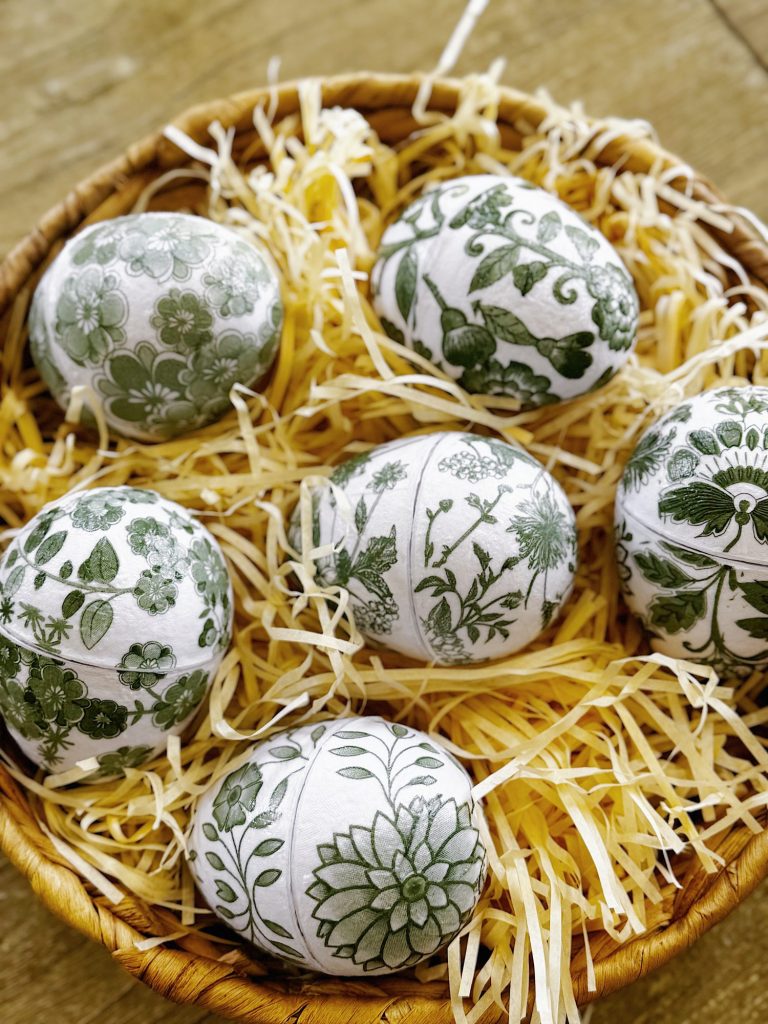
I especially love how no two eggs look exactly alike.
Each one becomes a small piece of art.
And because they open, they are also functional. You can fill them with candy for Easter baskets, place tiny notes inside, or use them as part of a table setting.
Styling Ideas for Your Finished Eggs
Once the eggs were finished, I had so much fun styling them throughout my home.
Here are a few ideas:
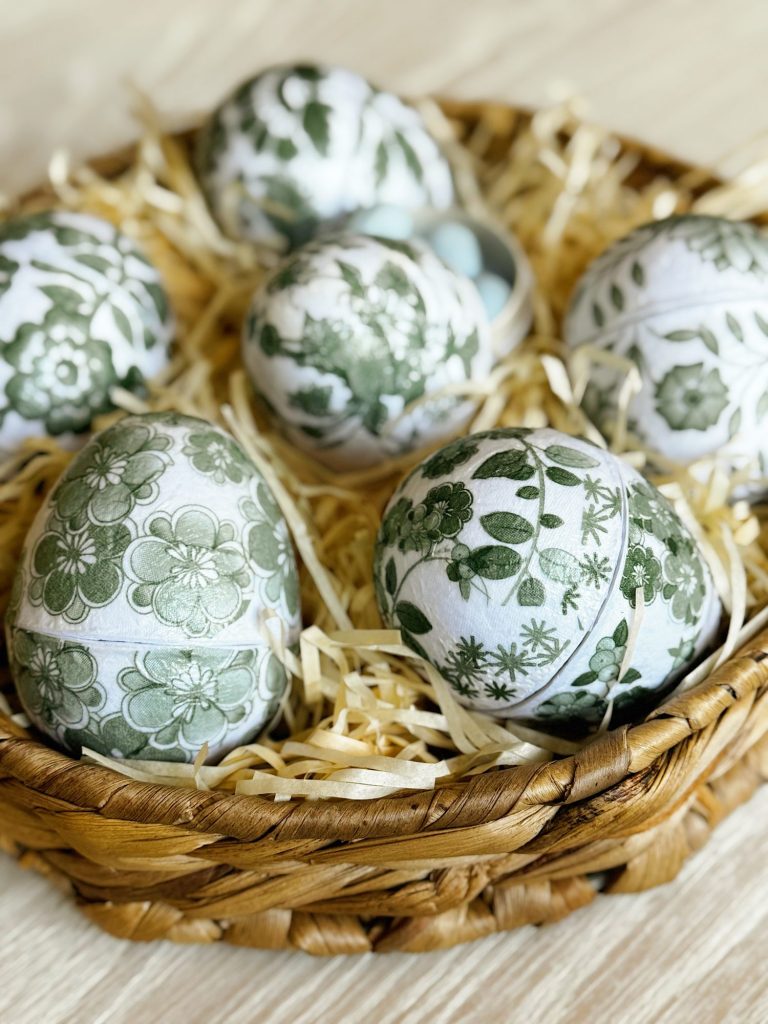
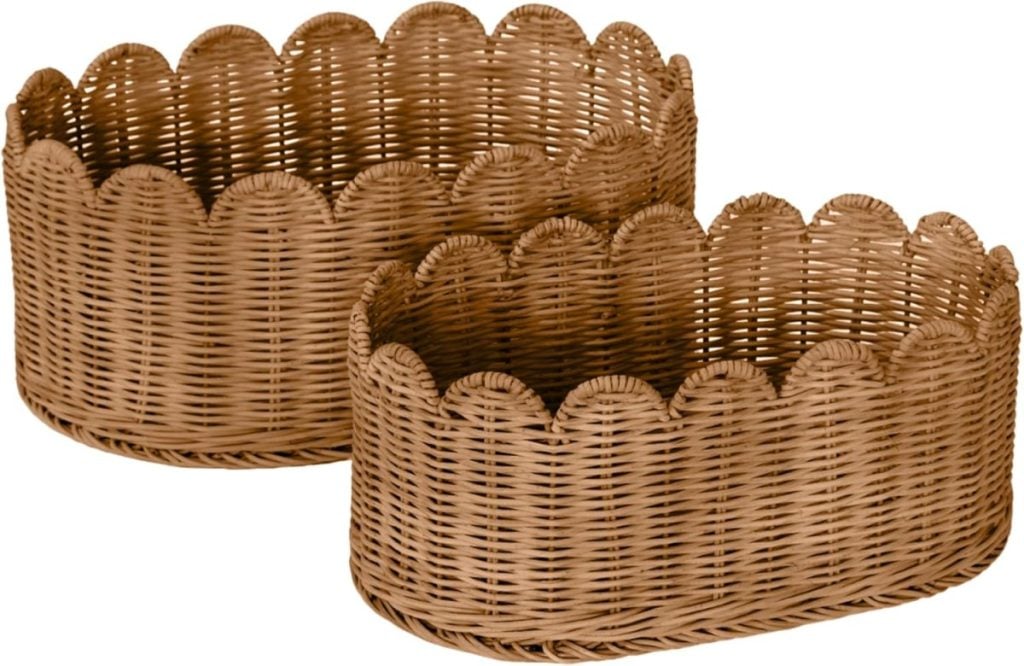
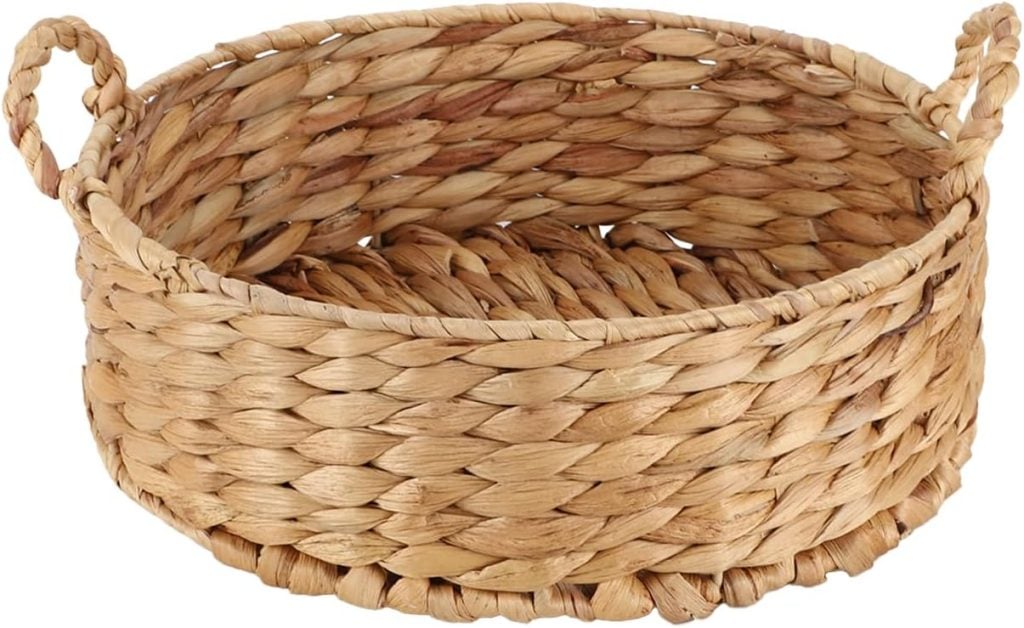
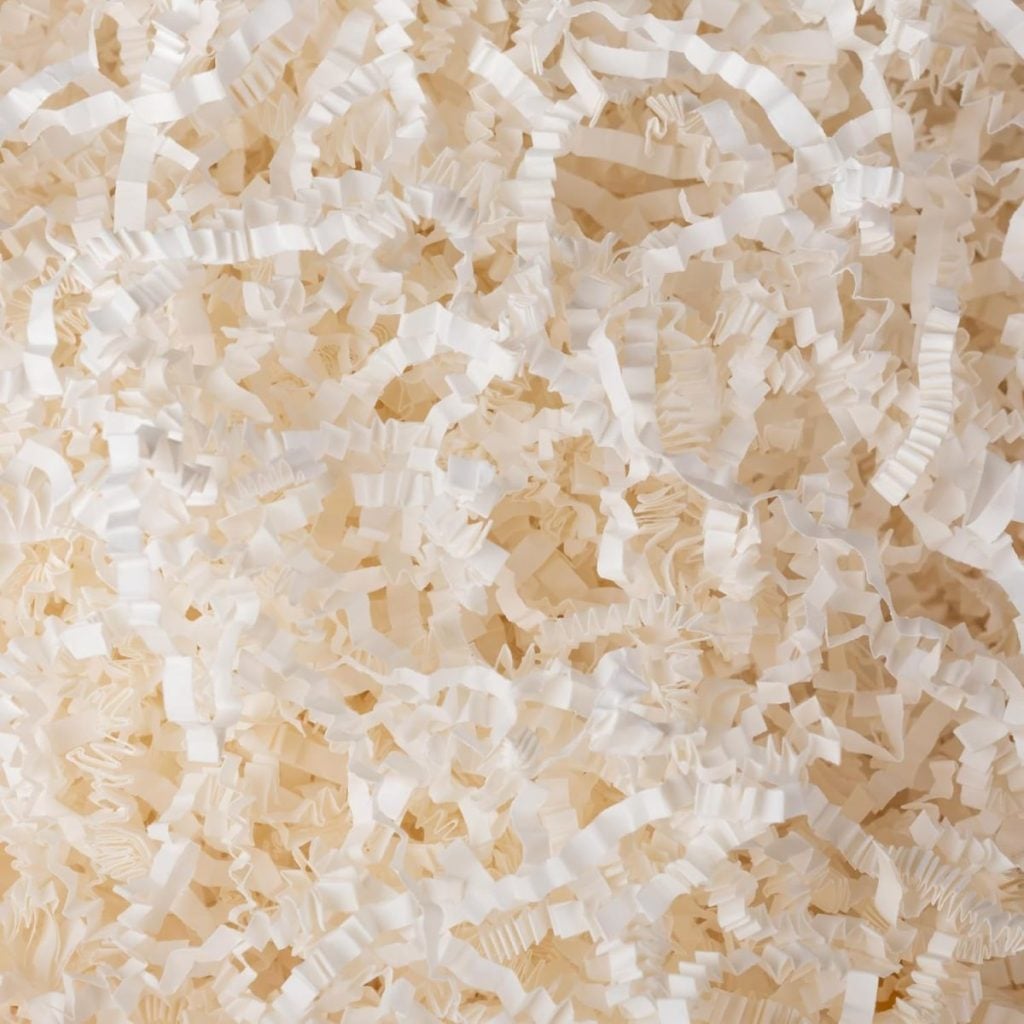
• Place them in a woven basket filled with shredded paper for a simple spring vignette.
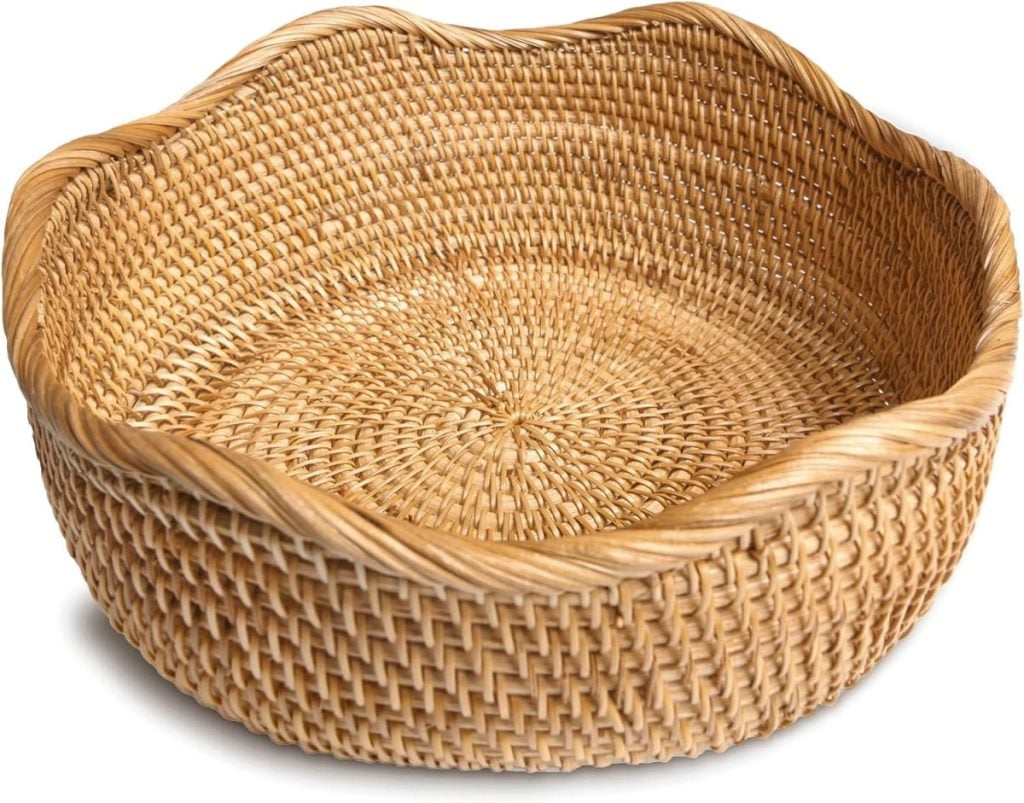
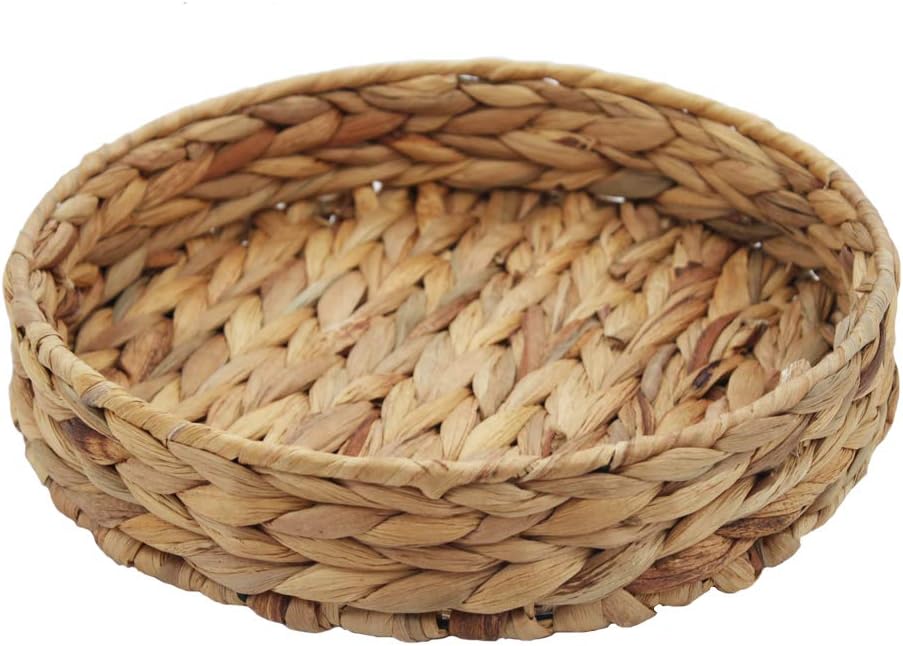
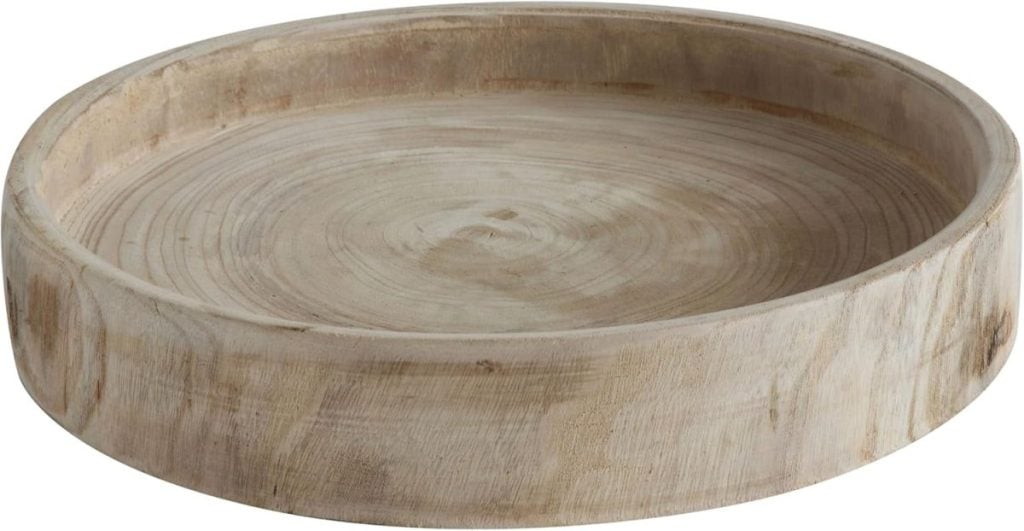
• Display them in a shallow bowl or tray on a coffee table.
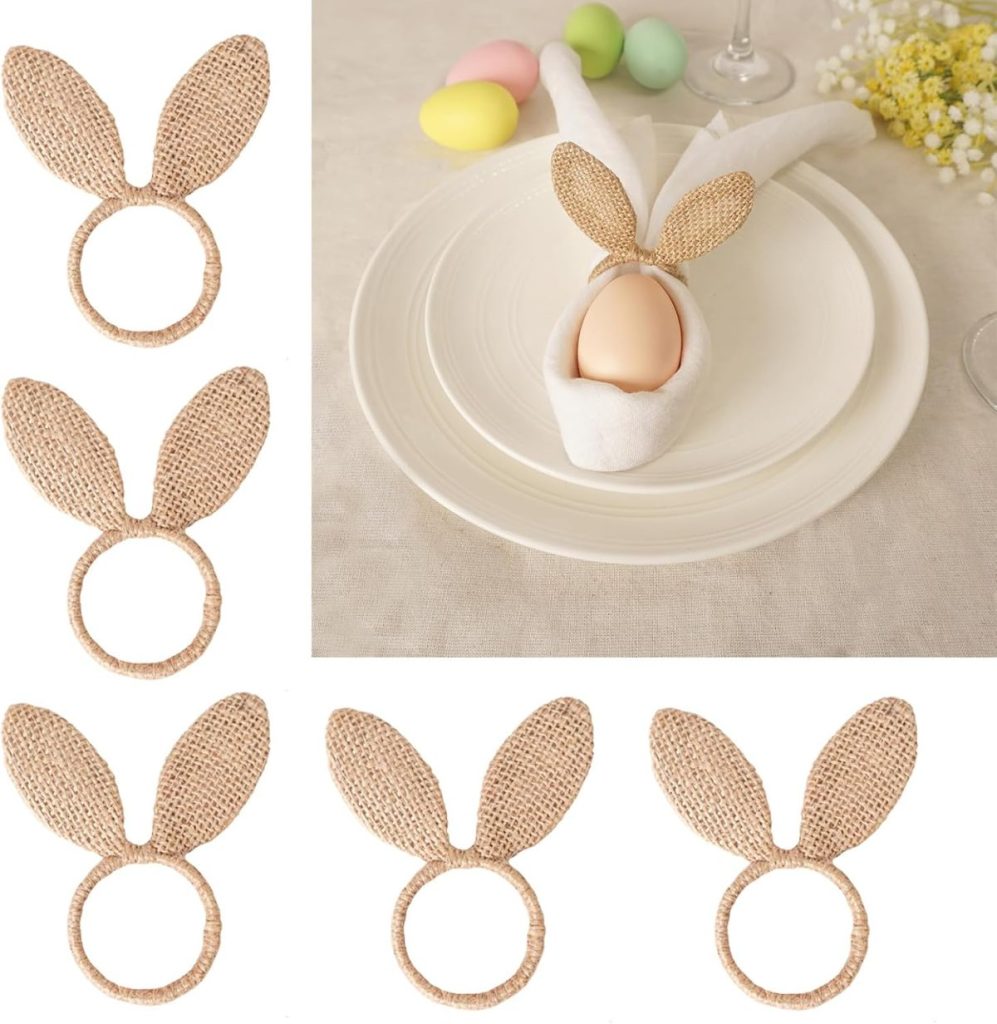
• Use them as place settings at an Easter brunch.
• Fill them with small treats for grandchildren or guests.
They look beautiful grouped together because the varied patterns create visual interest while still feeling cohesive.
Tips for Success
If you are new to decoupage, here are a few helpful tips:
Work with small pieces rather than large sections. This prevents wrinkles on curved surfaces.
Use thin layers of Mod Podge. Too much adhesive can cause tearing.
Allow each layer to dry before adding additional coats.
Take your time with placement. The more intentional your layout, the more polished your final result will look.
How to Follow Along With A Handmade Spring
Each week, a new spring craft is shared here on the blog. I will also be sharing behind-the-scenes moments, progress videos, and finished projects on Instagram so you can see each craft come to life.
You can jump in at any point. There is no need to start at the beginning or complete every project. Choose the ones that speak to you and make them your own.
If you love seasonal crafting, this series is designed to inspire you throughout spring.
Here are all of the A Handmade Spring craft projects so far. I can’t wait to share all twelve.
Final Thoughts
This Easter Egg DIY quickly became one of my favorite projects of the season. The combination of papier-mache eggs, carefully cut napkin designs, and simple decoupage techniques created something that feels special, personal, and beautifully timeless.
If you are looking for a spring craft that is relaxing, creative, and truly rewarding, I hope you will give this project a try.
And if you do, I would love to see your creations.
Happy crafting.


If you enjoy my blog, you can sign up to receive my updates here.
.Latest Posts
-
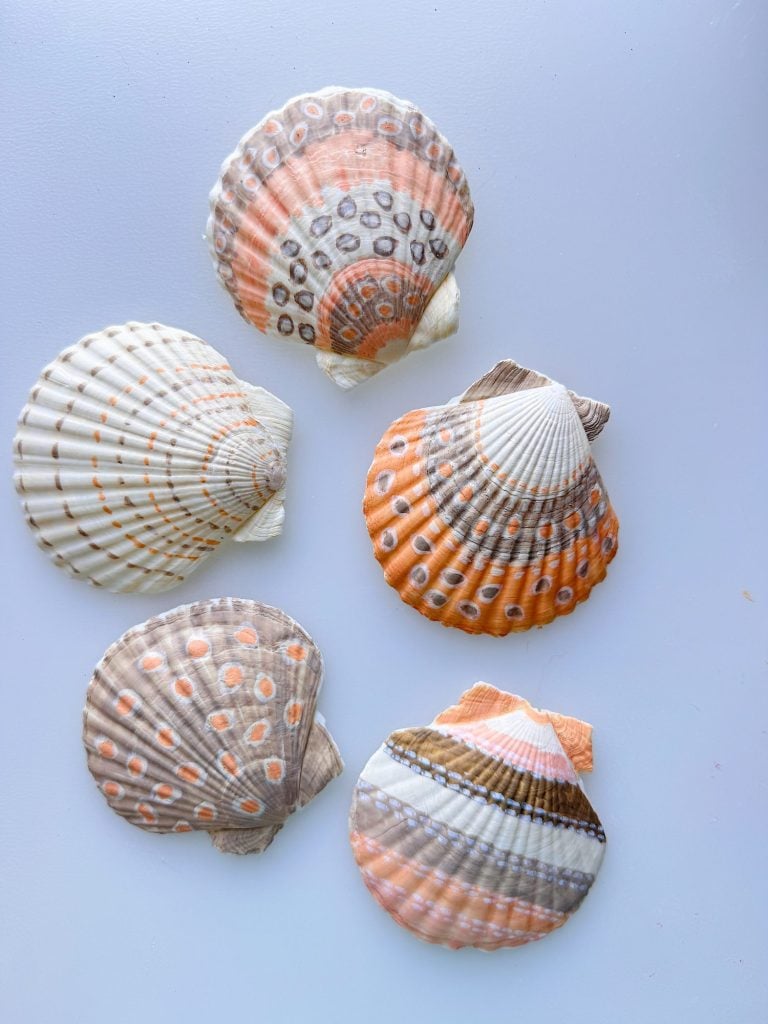
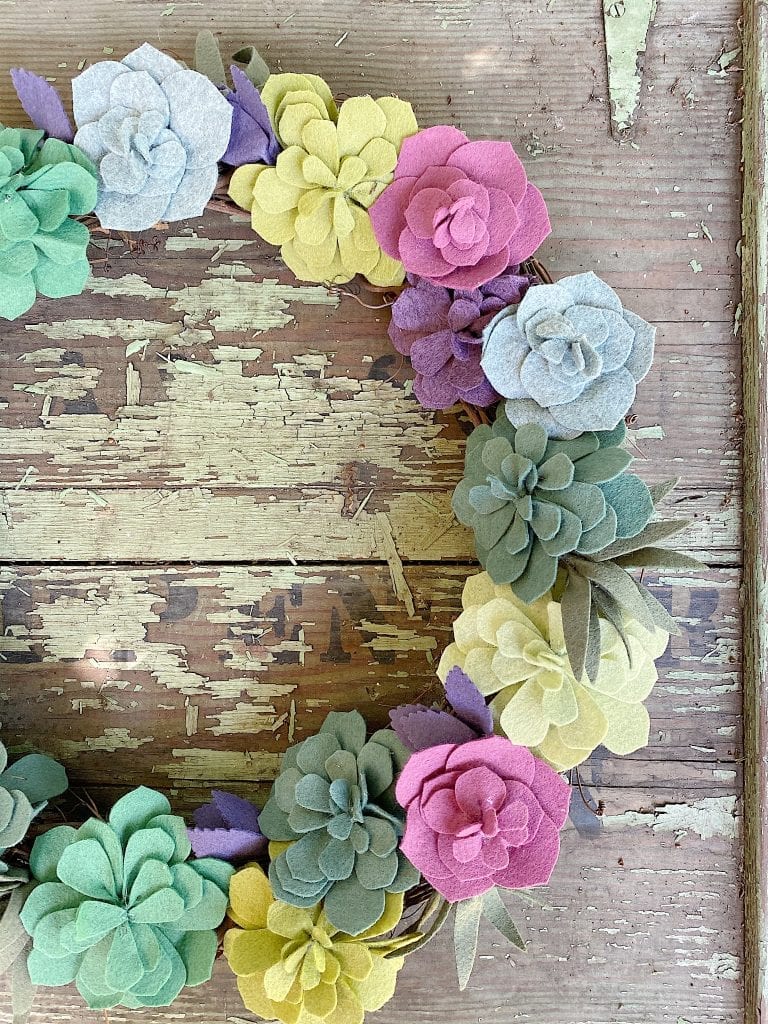
Handpainted Shells – A Handmade Spring
These handpainted shells are easy, relaxing, and surprisingly beautiful. I used acrylic markers, which made this project so easy for my next A Handmade Spring project. Sometimes the best projects are the ones that don’t require a lot of planning, a long supply list, or perfect precision. This is one of those crafts.
-
How to Make My Wood Table Tops
We entertain a lot, and a few years ago, I got tired of renting plastic tables. So, I built my own wood tabletops that look like our expensive dining room table! You all know how much I love to entertain. Four years ago, I came up with an idea to solve my shortage of tables….
-
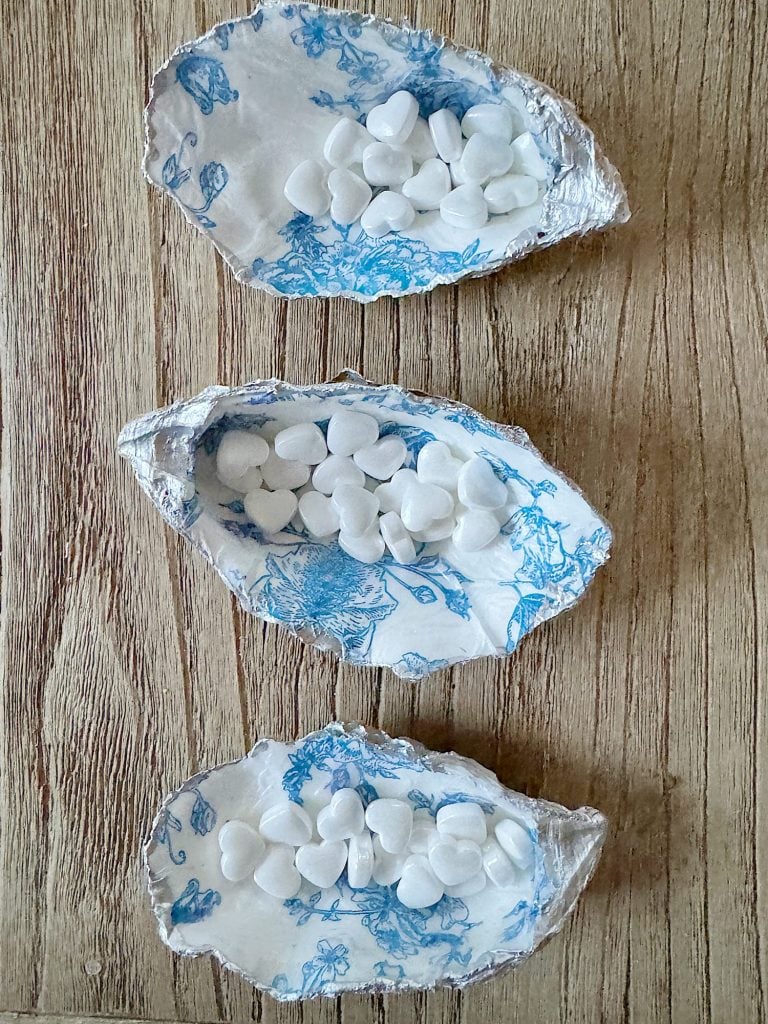
Oyster Shell Art Craft
Are you looking for a creative way to add a touch of coastal charm to your bridal shower decor? Look at these DIY oyster shell candy holders! Today, I am going to share the simple steps for making these decorated oyster shell art pieces for a bridal shower and some tips on where to find…
-
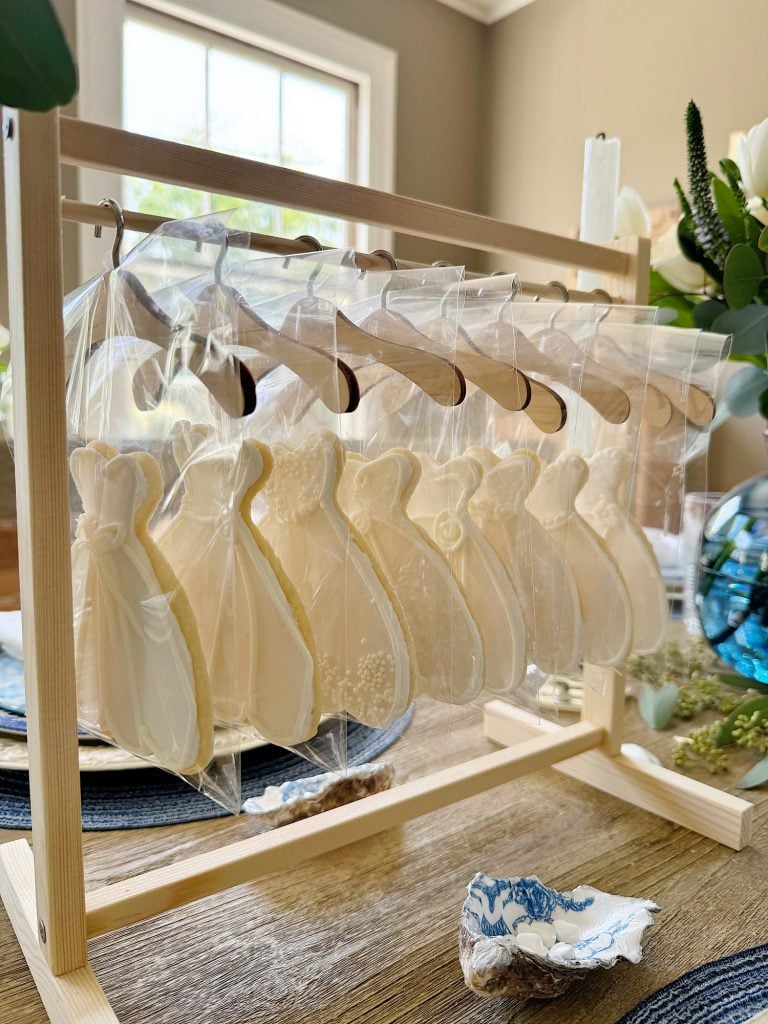
The Cutest Centerpiece and Bridal Shower Gifts
I love revisiting the bridal shower I hosted for my son Michael and his fiancé Ellie, when I wanted to create something truly unique that could also be used as bridal shower gifts. Drawing inspiration from the elegance of a bridal shop, I designed a centerpiece that would steal the show and double as gifts…
My Recent Instagram Posts

You can pin the image below to your boards on Pinterest (click the Pin button in the top left corner) or follow me on Pinterest!
For more real-time updates, follow me on Instagram @My100YearOldHome
Hi. Trying to boycott purchases from Amazon for obvious reasons. Would it be possible for you to offer some alternate purchases sources once and a while? It would be much appreciated.