DIY Valentine Decor
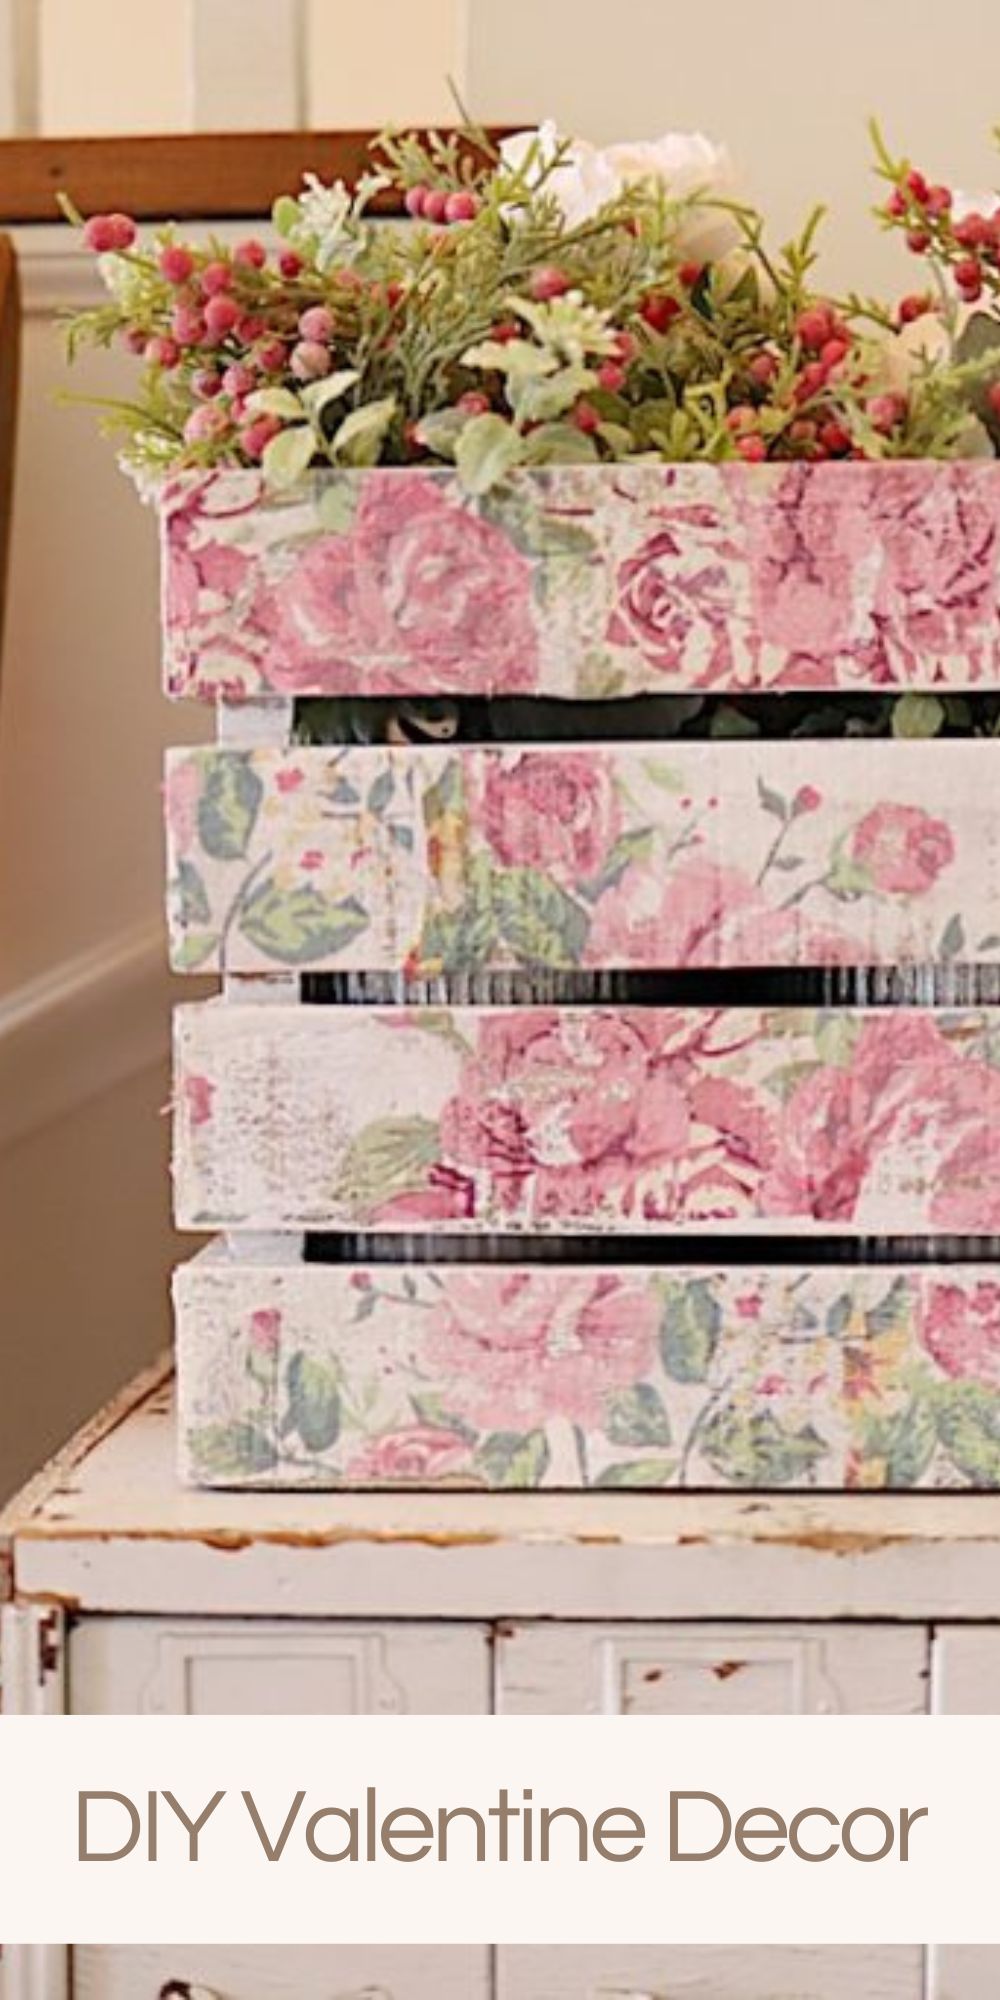

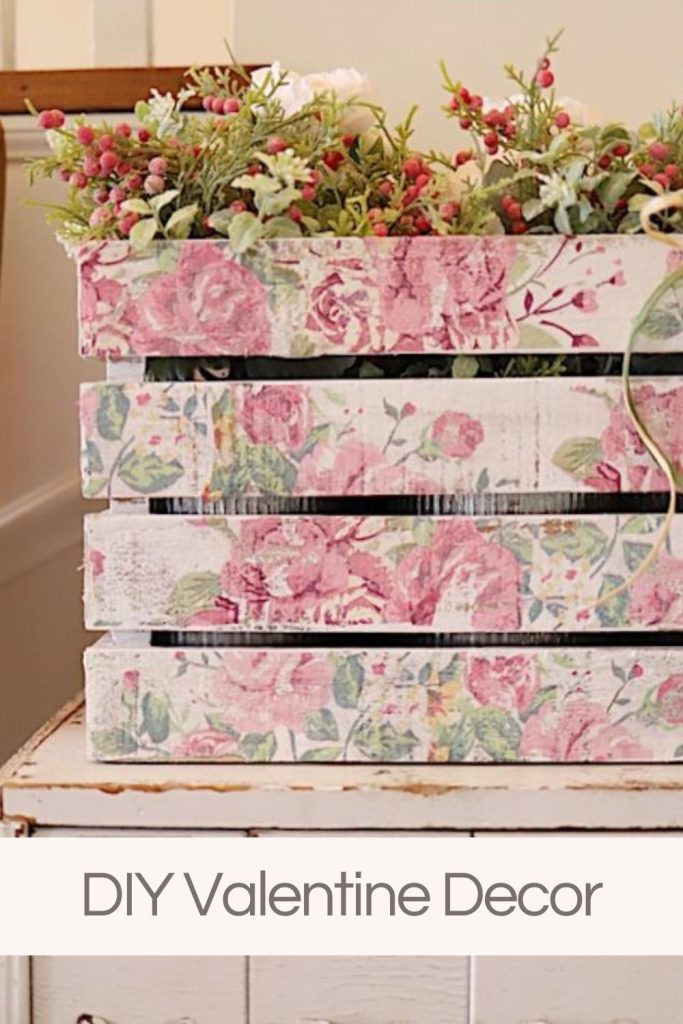
I created this DIY Valentine decor flower holder using a wooden crate, flowered paper napkins, and lots of glue!
Today I have partnered with five of my favorite bloggers for a “three-item” blog challenge. The premise of the challenge is that we have to create something using at least three pre-determined items. The three items were paper, ribbon, and glue. I created this DIY Valentine decor flower holder using a wooden crate, flowered paper napkins, and lots of glue!


DIY Valentine Decor

Was it hard for us to choose the three items for this DIY?
Absolutely. Let me just say that we changed the three items about ten times. Initially, the three “items” were either too far-fetched or too specific.
We finally settled on paper, ribbon, and glue. (I had Washi tape as one of the ingredients up until the last minute. Some of the bloggers used it and they should be given a prize! I can honestly say I am thrilled I did not have to include it in my project!)
Be sure to scroll to the bottom of this post to see photos and links to all of my fellow blogger’s posts!

On this blog, I may sometimes use affiliate links, which means a small commission is earned if you make a purchase via the link. The price you pay will be the same whether you use the affiliate link or go directly to the vendor’s website using a non-affiliate link.
What You Will Need
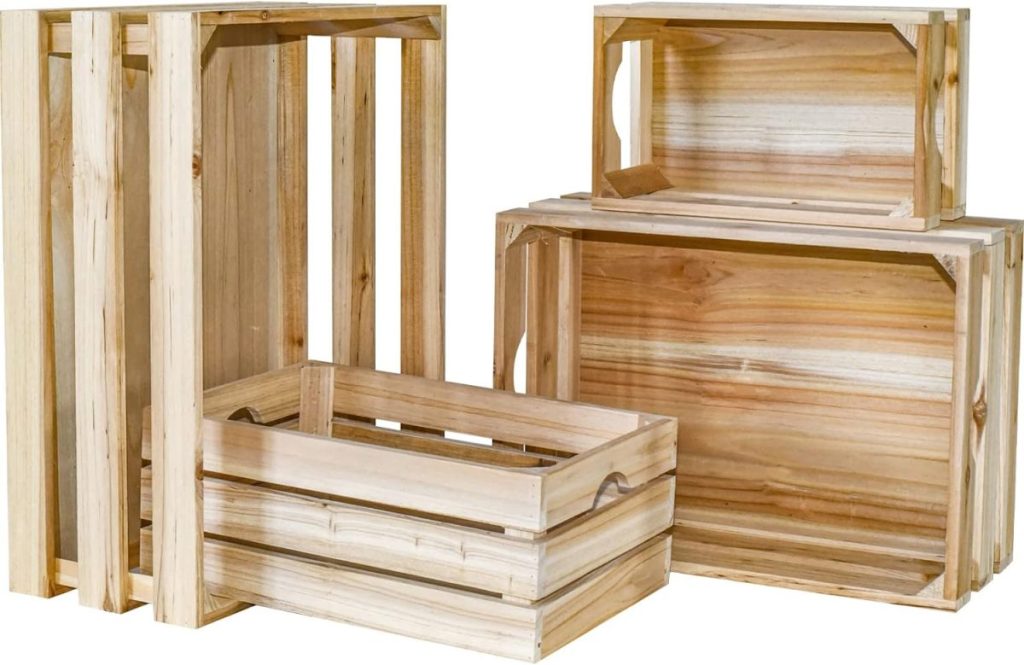
A wooden crate (Ideally you want an unfinished wooden crate!)
White acrylic paint (only if the crate isn’t a consistent color)
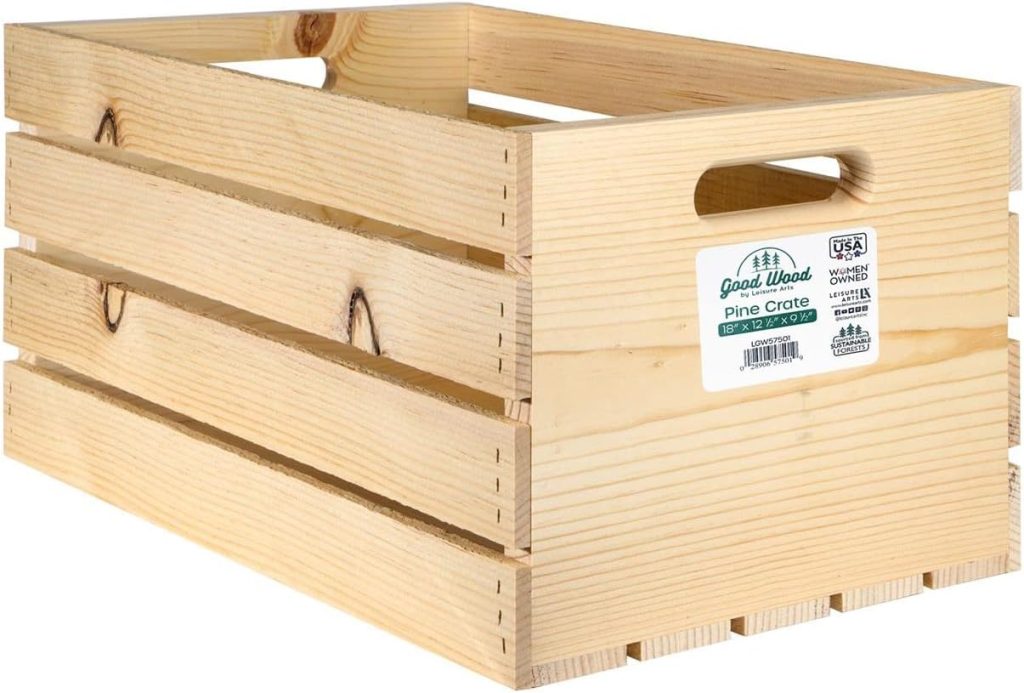

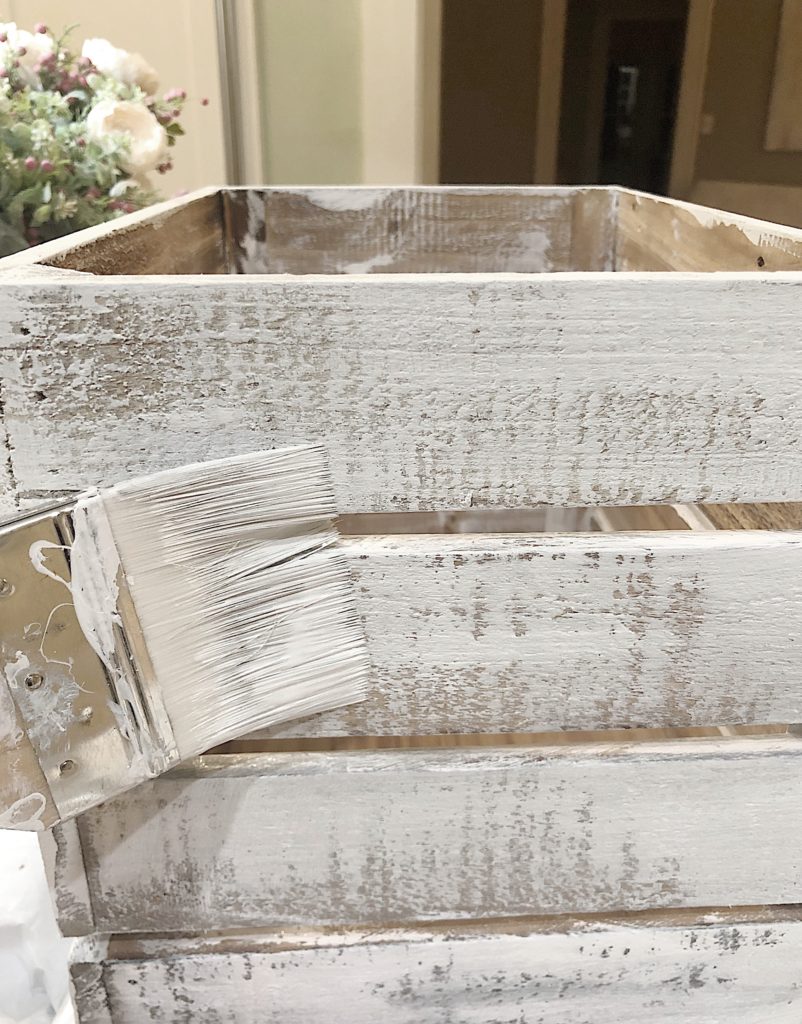
Step #1 – Paint the Crate
As you can see from the photo above, the crate I used had different colors of stain. Since I knew the stain would show through, I painted the crate white before I started. If you use an unfinished crate or one that is the same color, then you can skip this step.
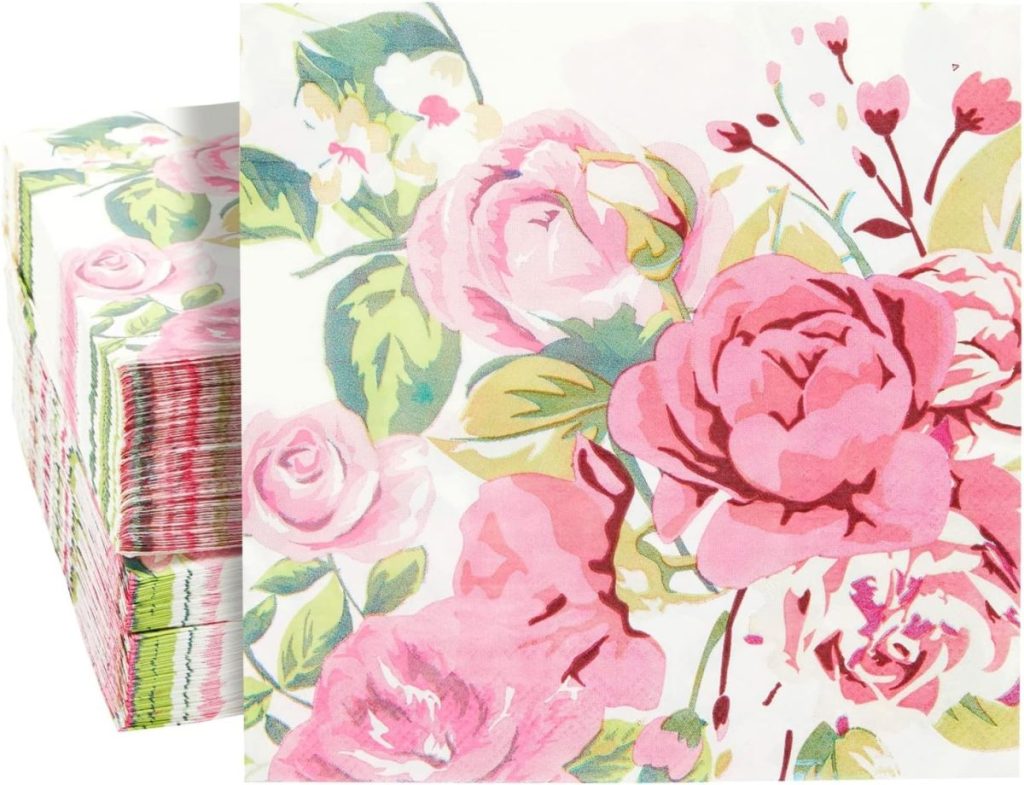
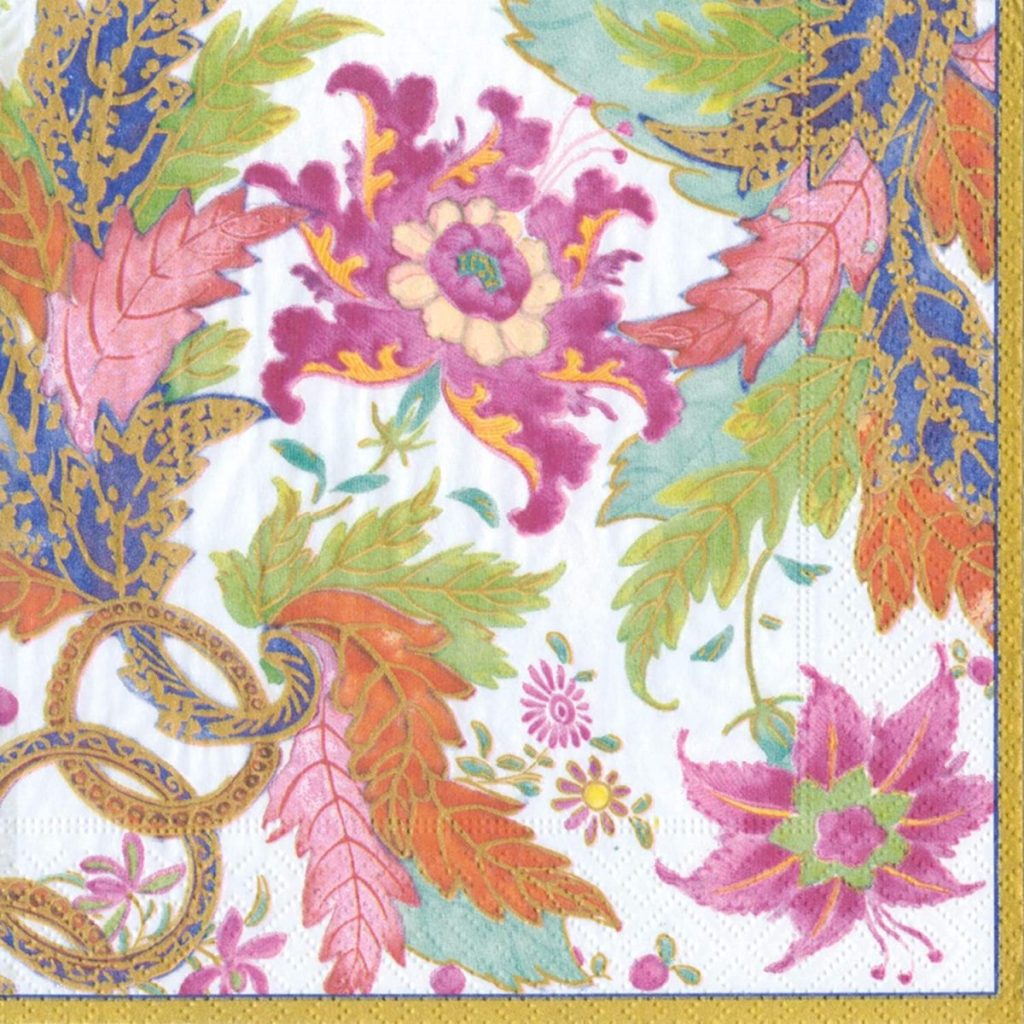
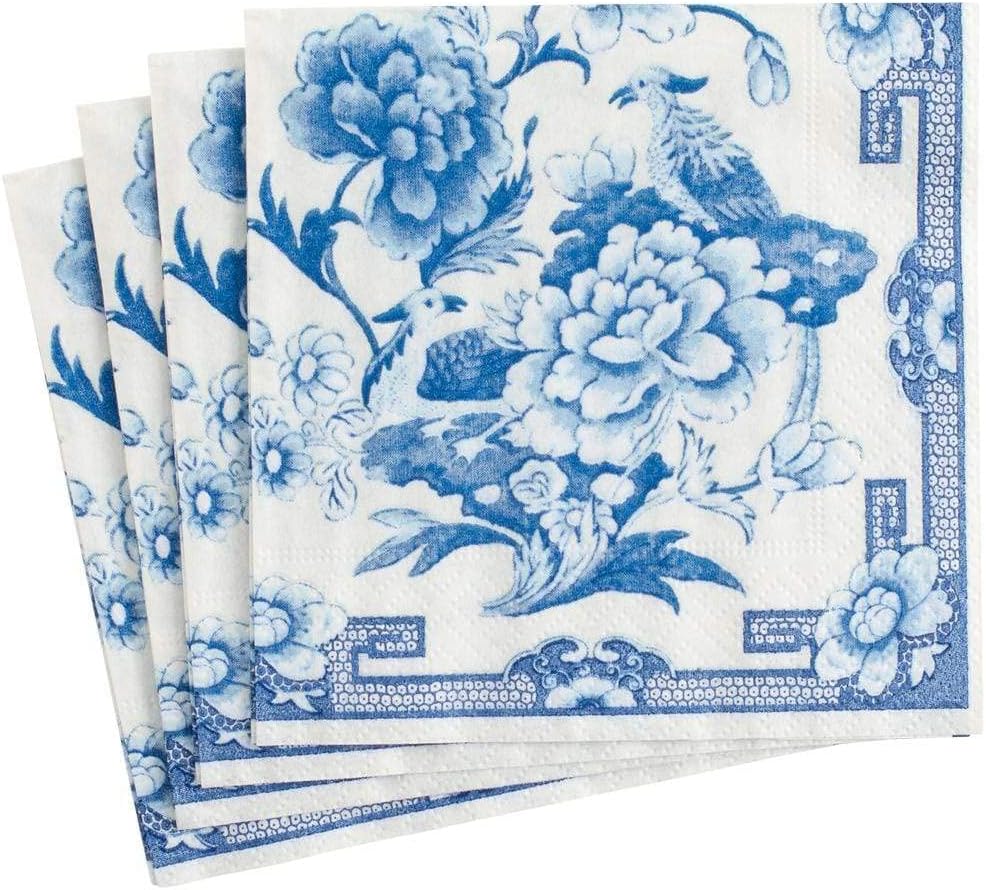
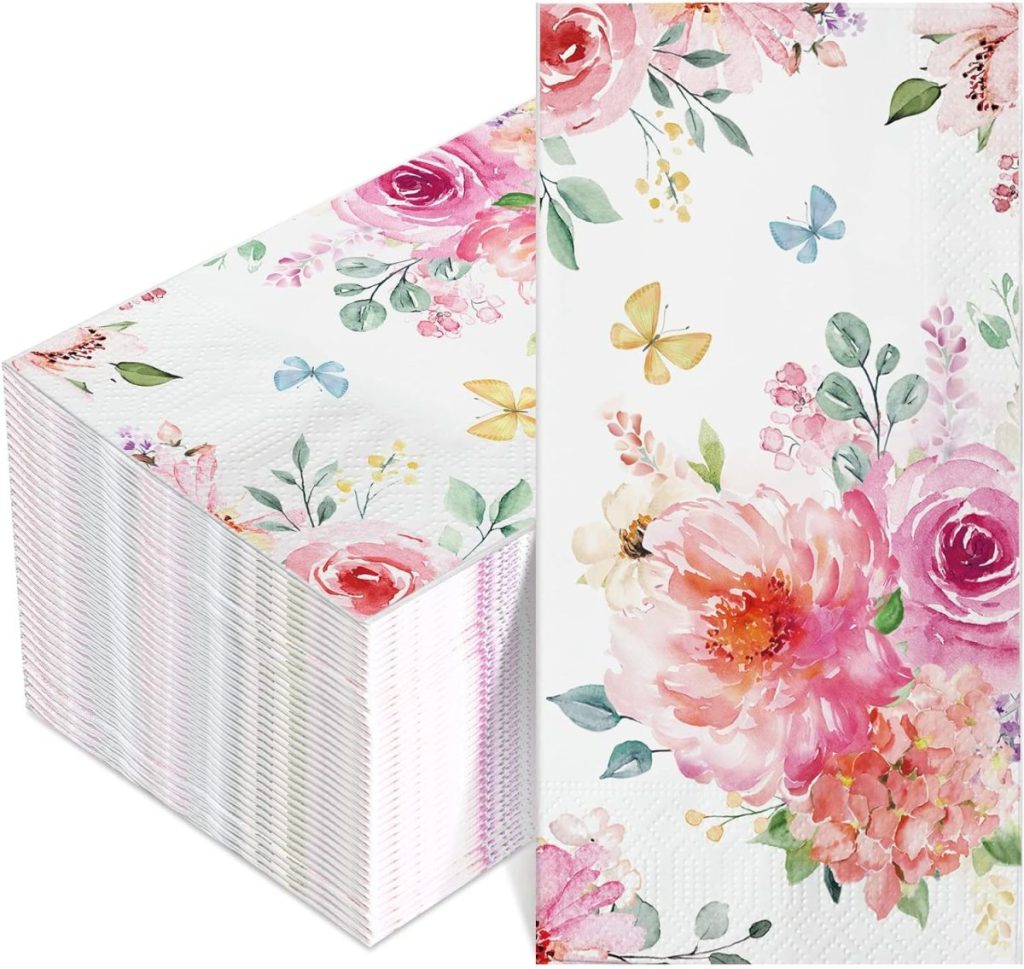
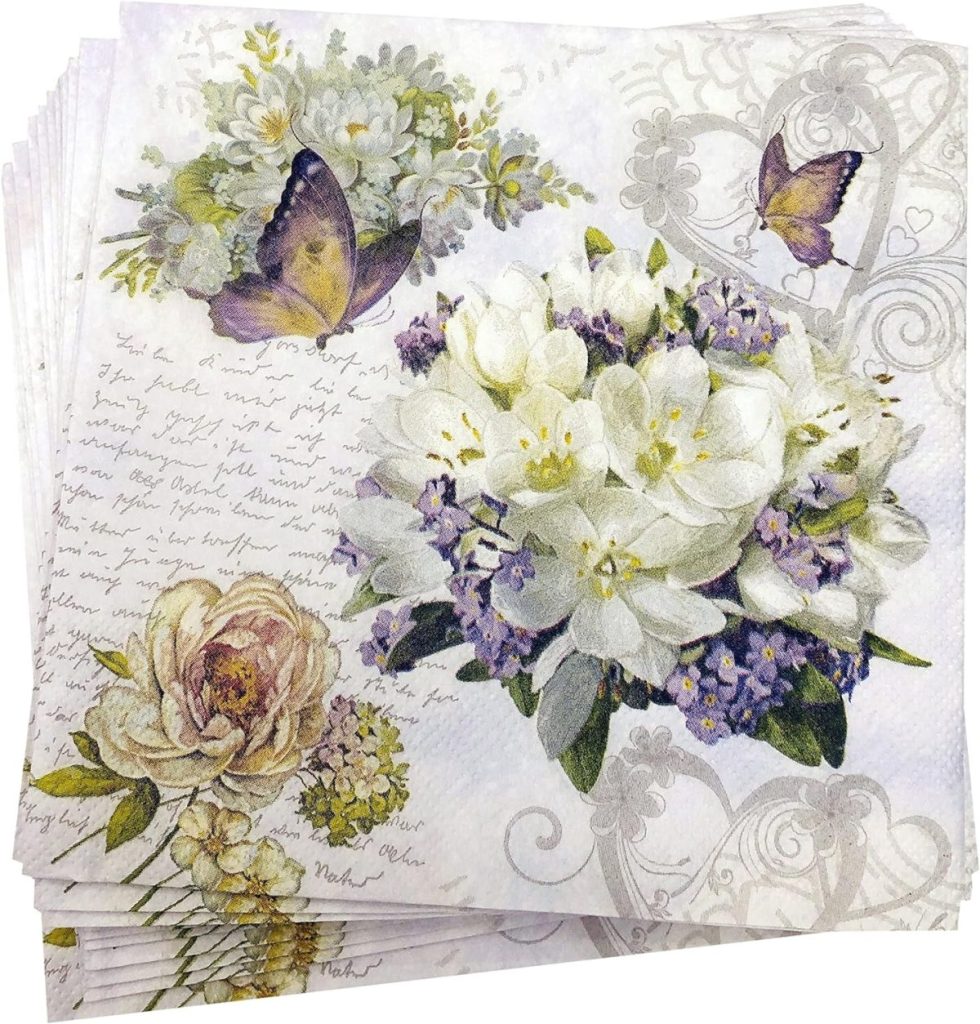
Step #2 – Cut the Paper Napkins
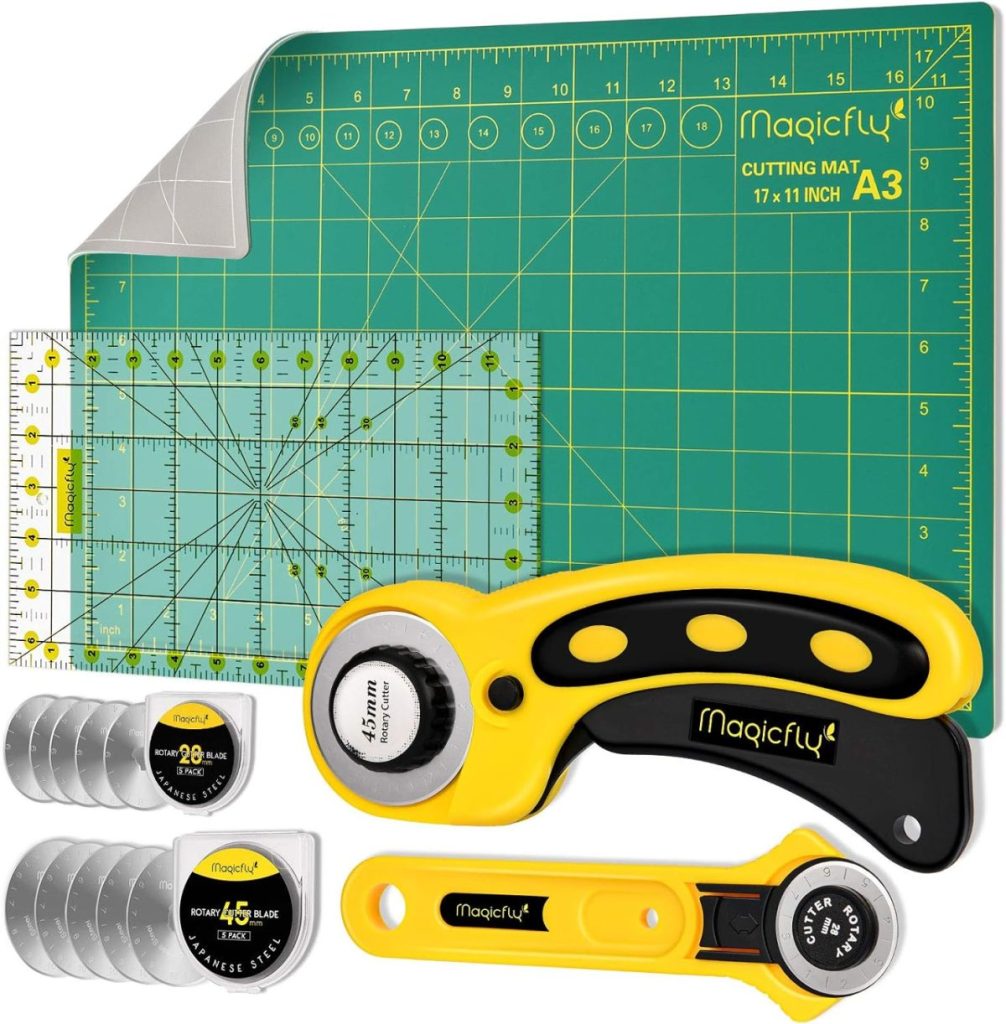
I measured the width of each board on the crate and using my rotary cutter, I cut out 2″ strips of the paper napkin. If the napkin is two-ply then remove the second solid color layer of the napkin (after you cut it) and discard.

I cut sixteen strips (one for each board) and had way too many!

Step #3 – Glue the Napkins to the Crate
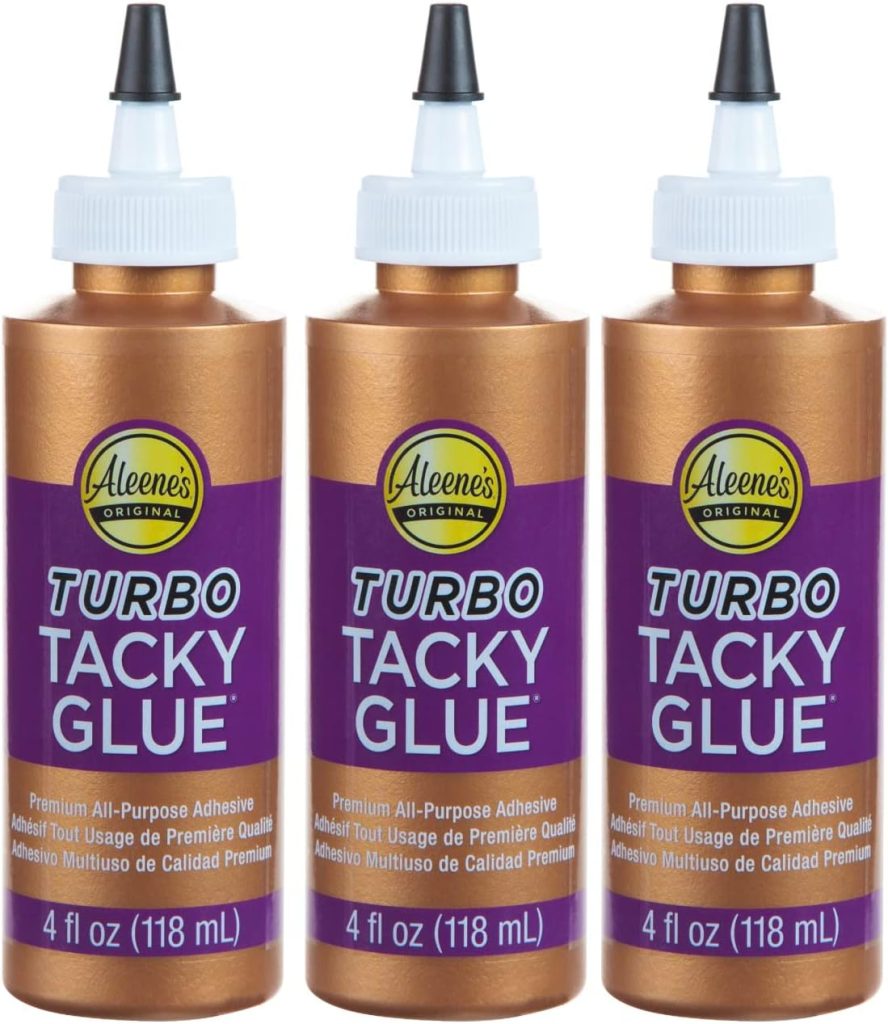
Add a half teaspoon of water to a generous amount of tacky glue to thin it out. Apply the glue with a paintbrush and cover a board about the length of one of the strips. Gently apply the paper strip to the board. Don’t worry about making it too perfect. (You will sand it later so it doesn’t matter.)
Gently press the napkin to adhere it to the wood, being careful not to pull it off (it is sticky!).
Continue all the way around until the first board is fully covered.
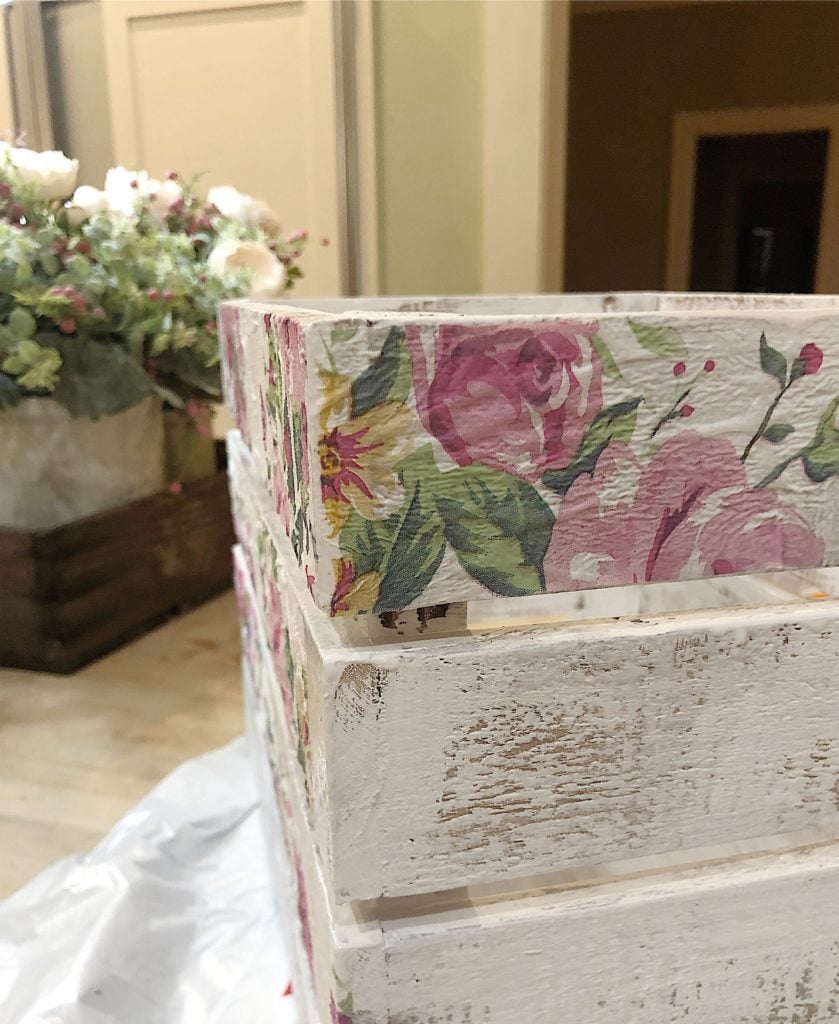
Add the paper napkin strips to the second board but start in a different place so the napkin patterns don’t match.
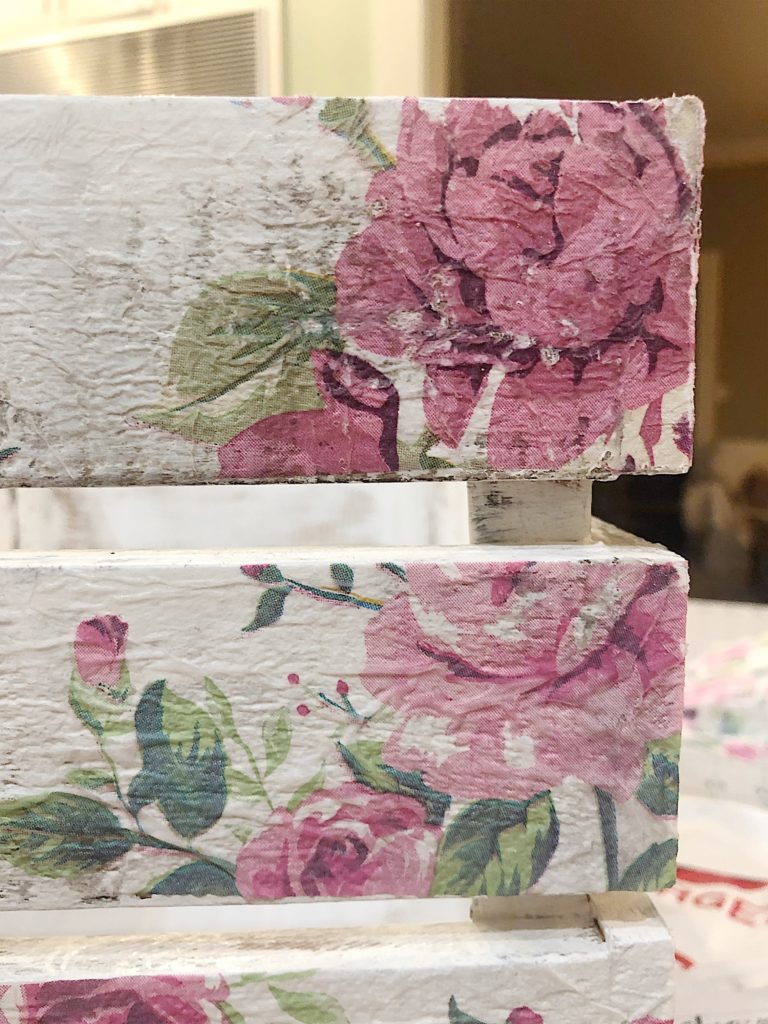
Continue until the entire crate is covered. Let dry overnight or until all of the glue is dry. (Don’t continue to the next step until you are 100% sure everything is dry.)

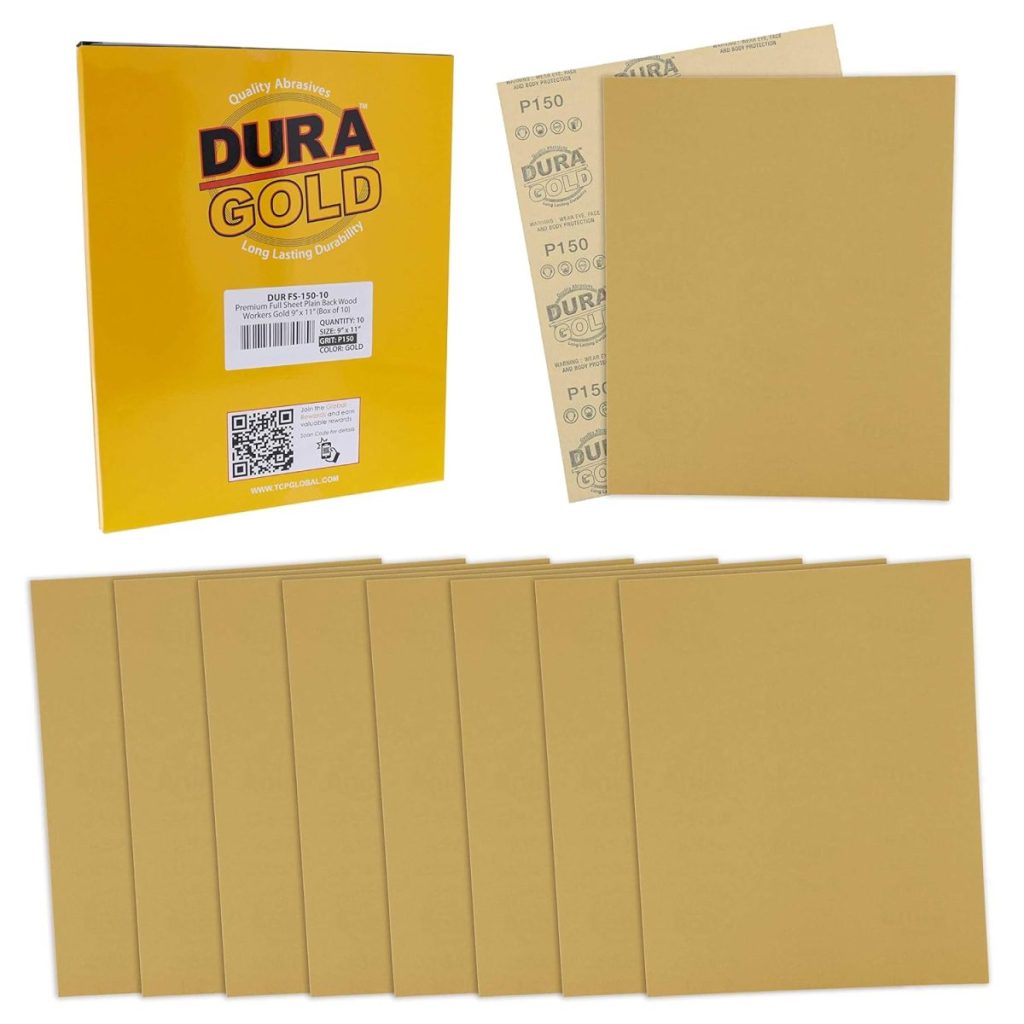
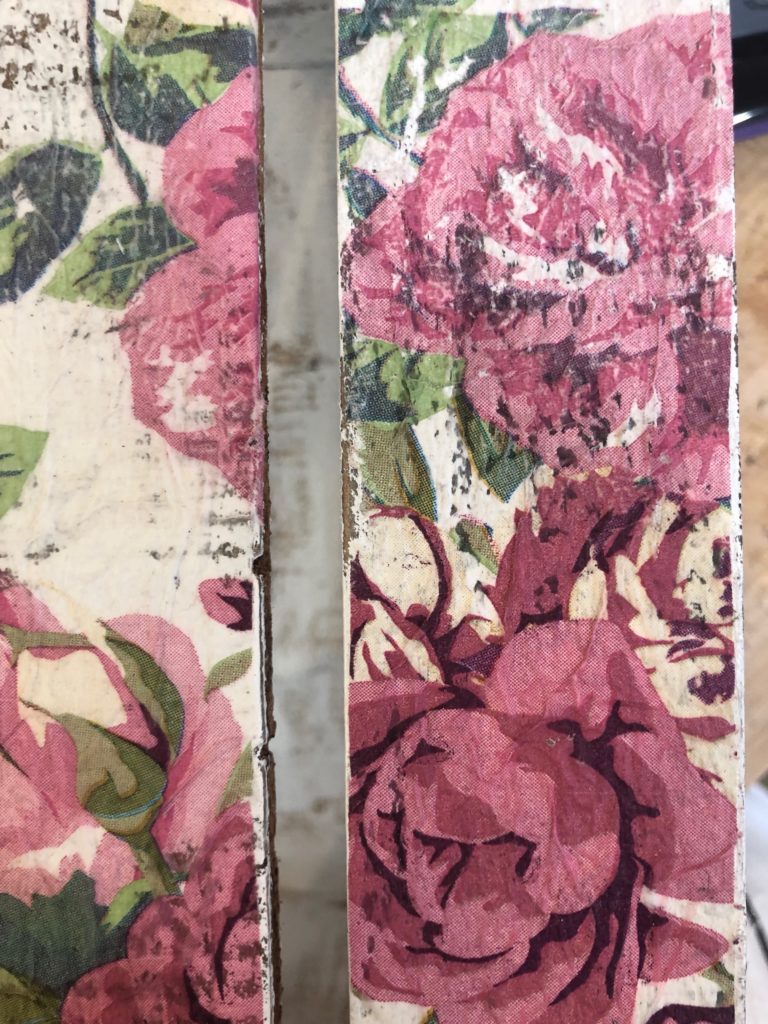
Step #4 – Sand the Crate
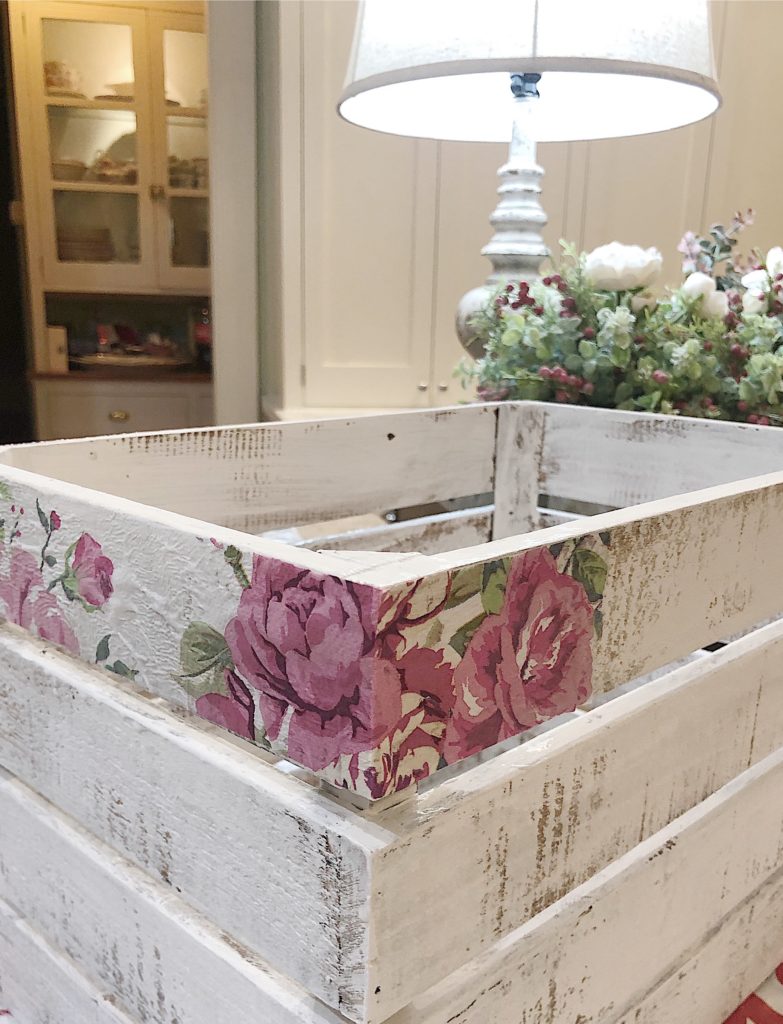
At this point, I thought the paper looked too intense so I decided to sand the boards to make them look more vintage. I love how they came out!
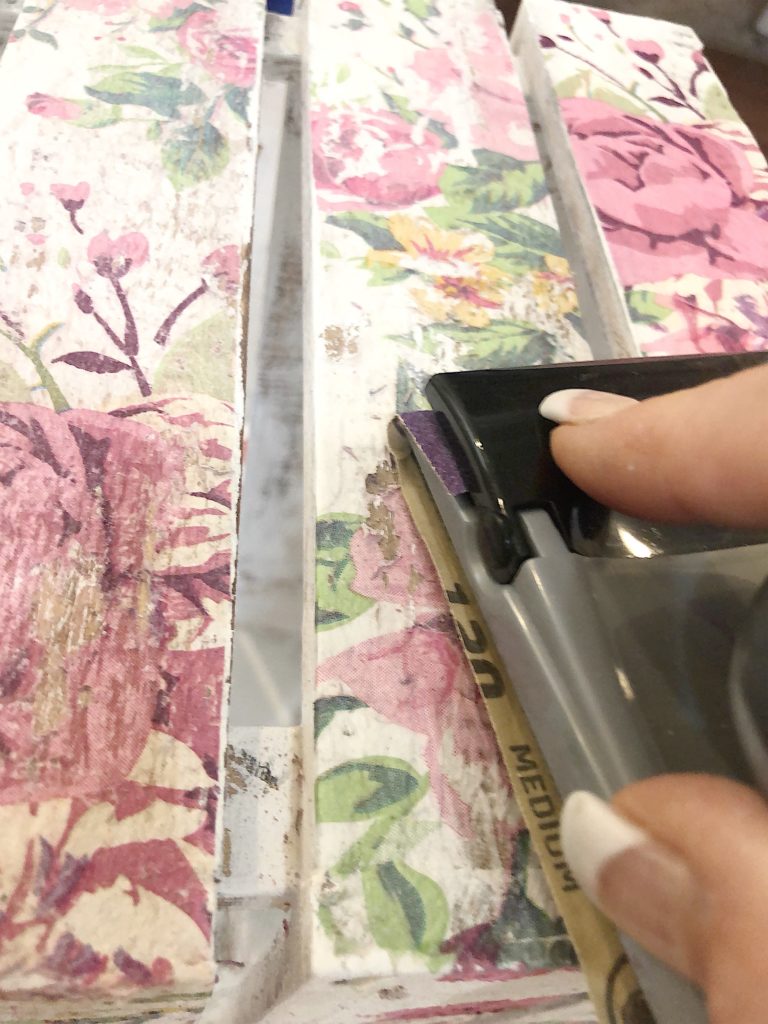
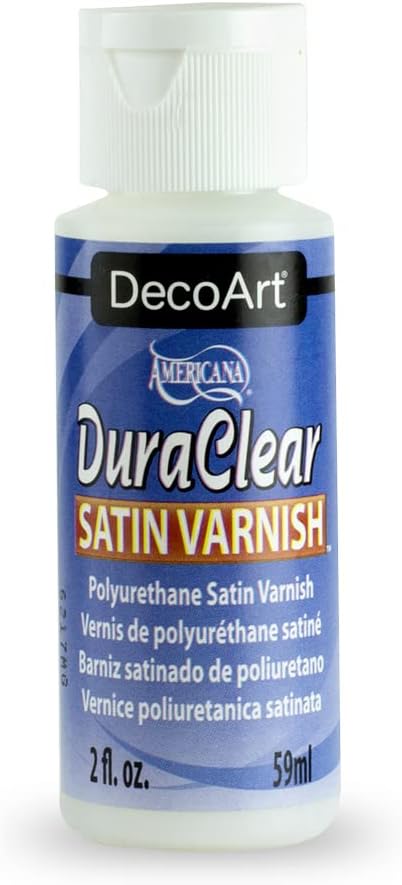
I sanded and sanded and sanded until I thought it looked authentically vintage. Then I added the satin varnish to seal the napkins.

Step #5 – Add the Flowers
I placed four galvanized vases in the crate and filled them with flowers. I added some raffia (the ribbon!) and love the final look!


My Favorite Crate & Storage Decor!
Watch My Amazon Live

Click here to watch any of my Amazon Live shows. All shows are recorded.
Today I am hosting my first LIVE from the beach house. This live show is titled The BEST Deals LIVE from the Beach House.
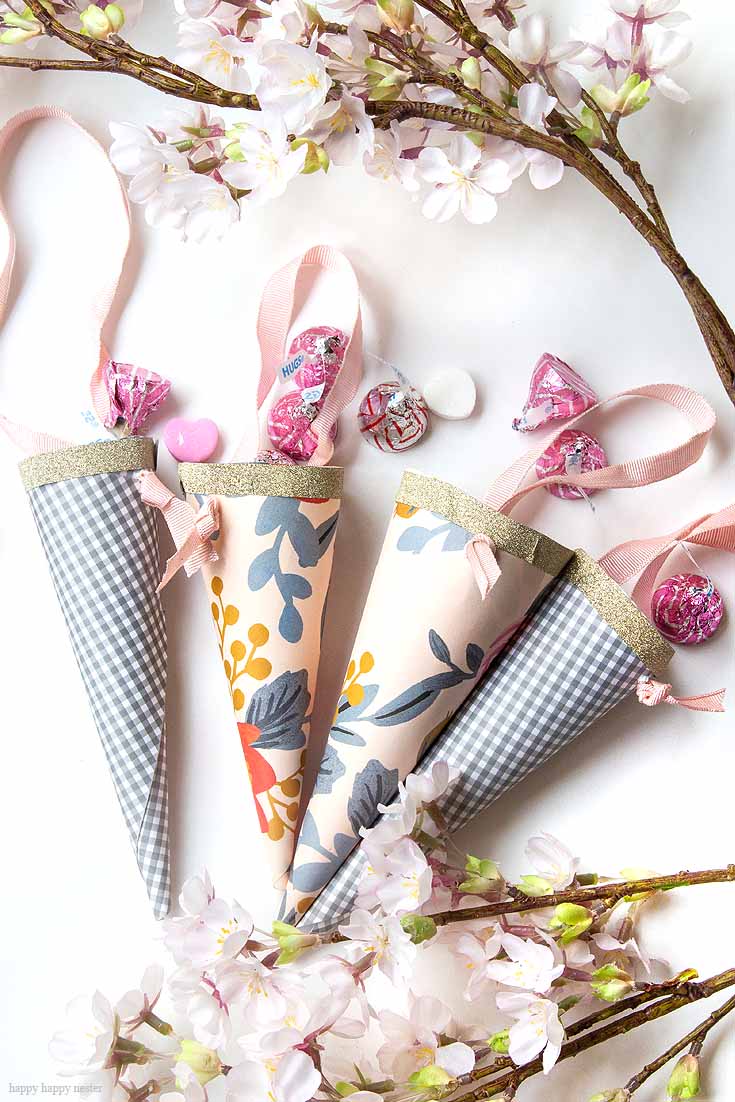
Happy Happy Nester
Janine shared how to make easy paper cones for treats for Valentine’s Day this year.
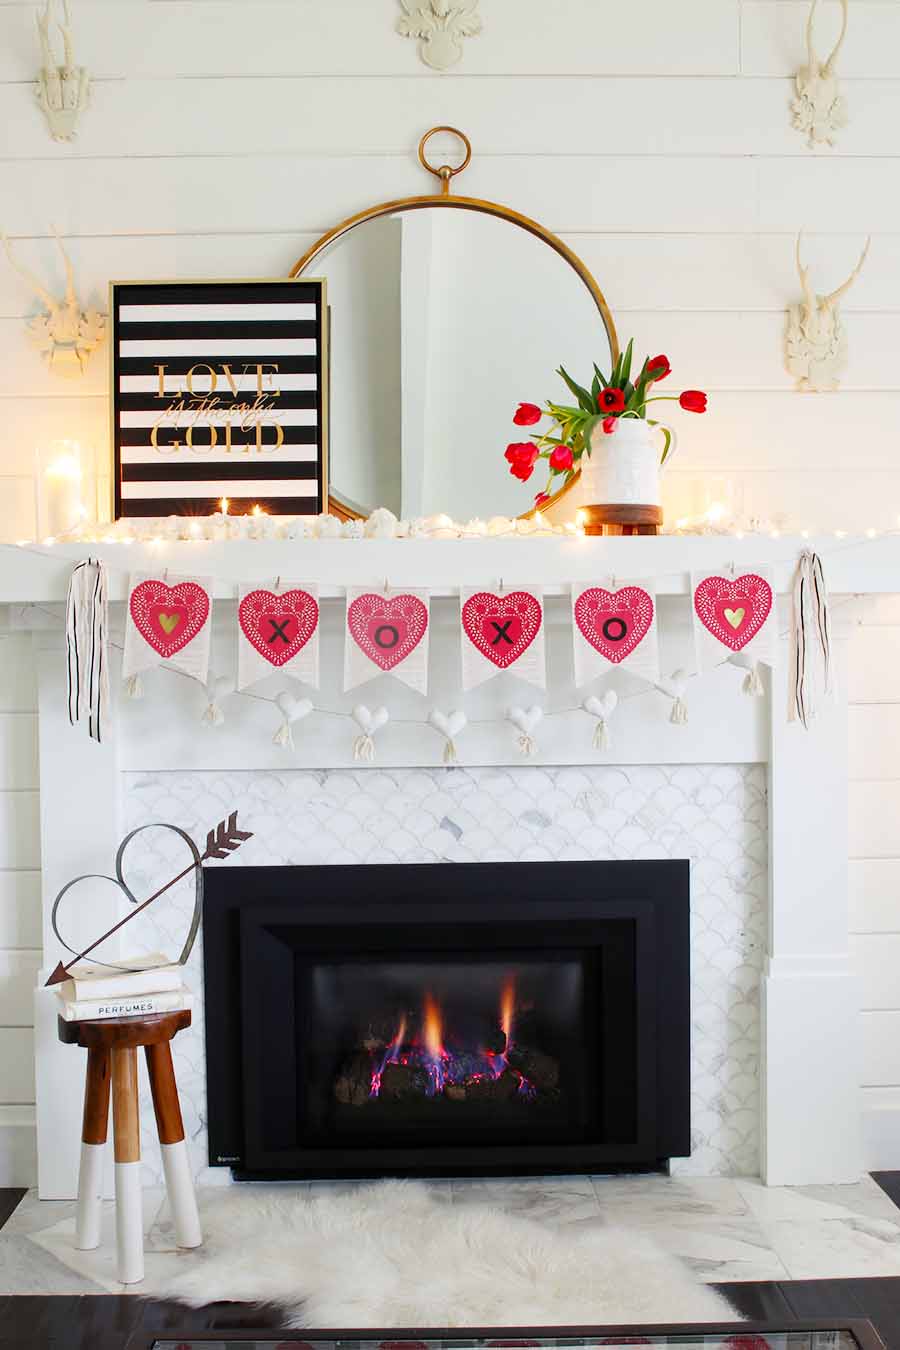
Modern Glam
Ashley created this fun DIY book page banner to decorate for Valentine’s Day. Head to her blog to make this DIY Valentine’s Day book page banner.
Tater Tots and Jello
Jennifer made these Valentine’s Day Typewriter Printable Sayings. I love these simple Valentine’s Day gift ideas.

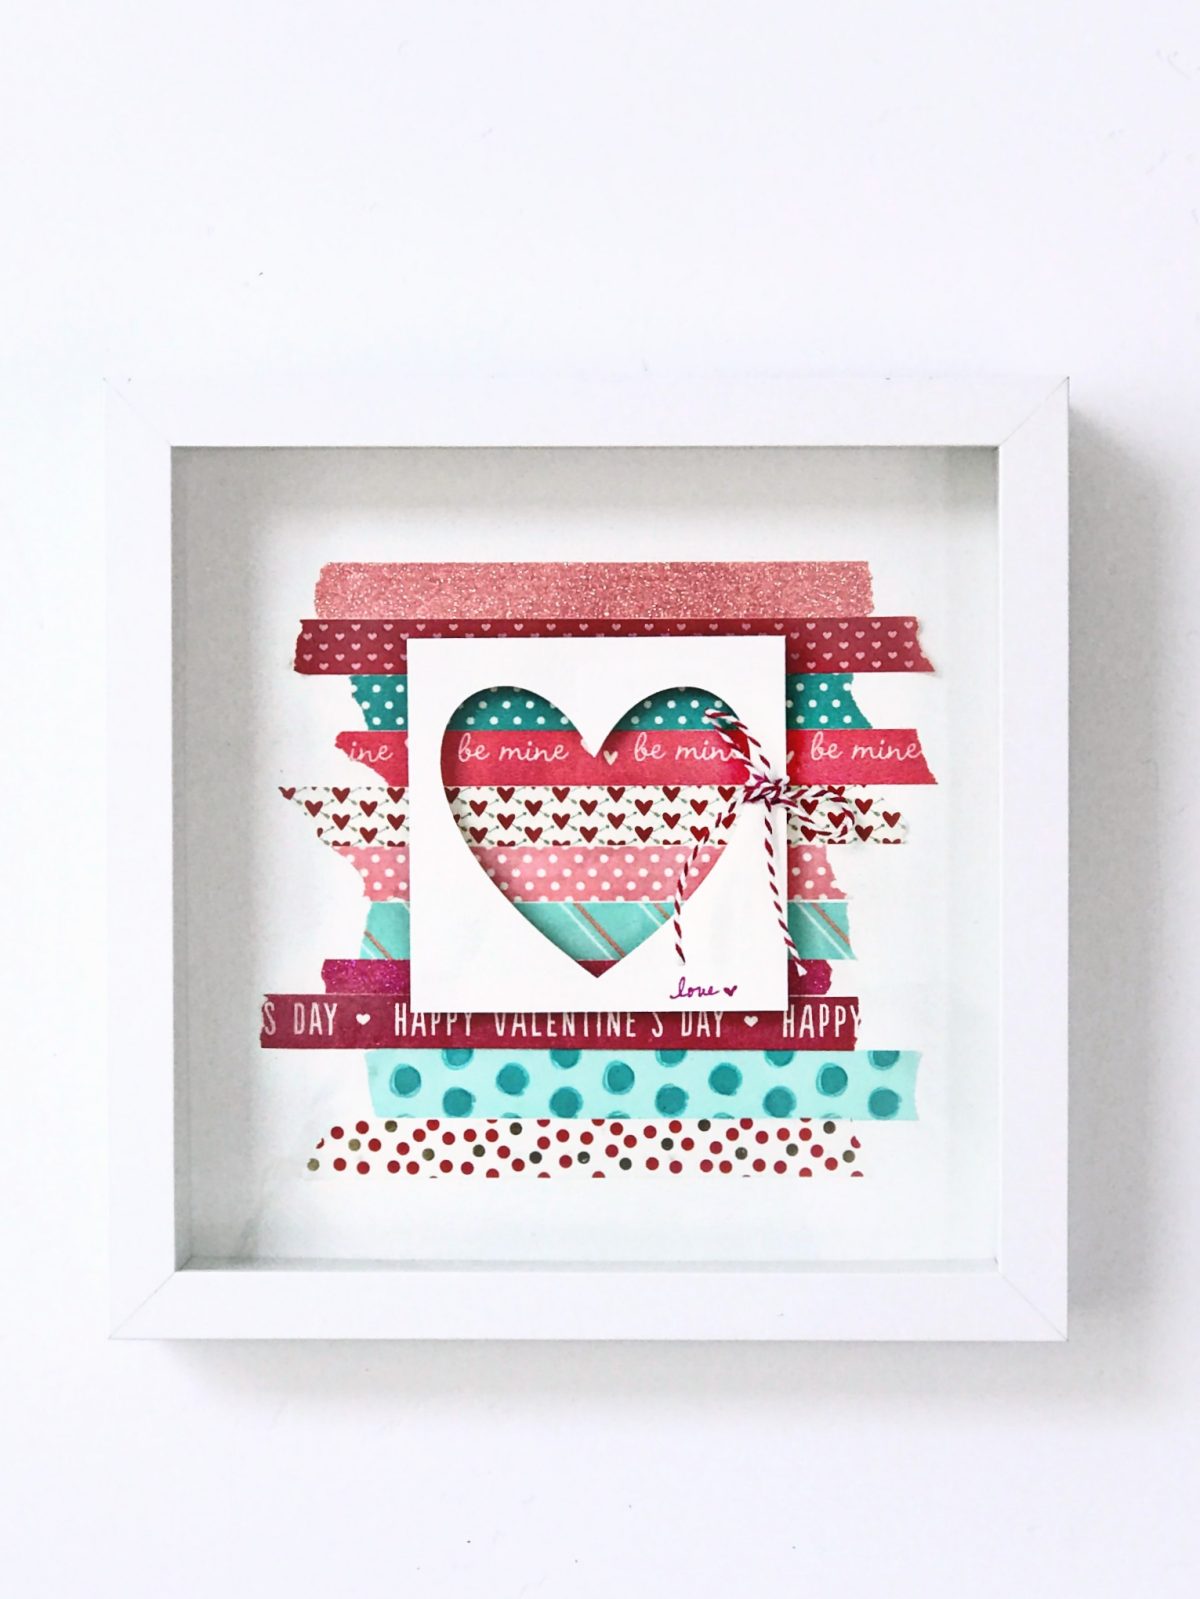
Tauni Everett
Tauni is celebrating the coming holiday with this easy DIY washi tape Valentine’s Day Decor.
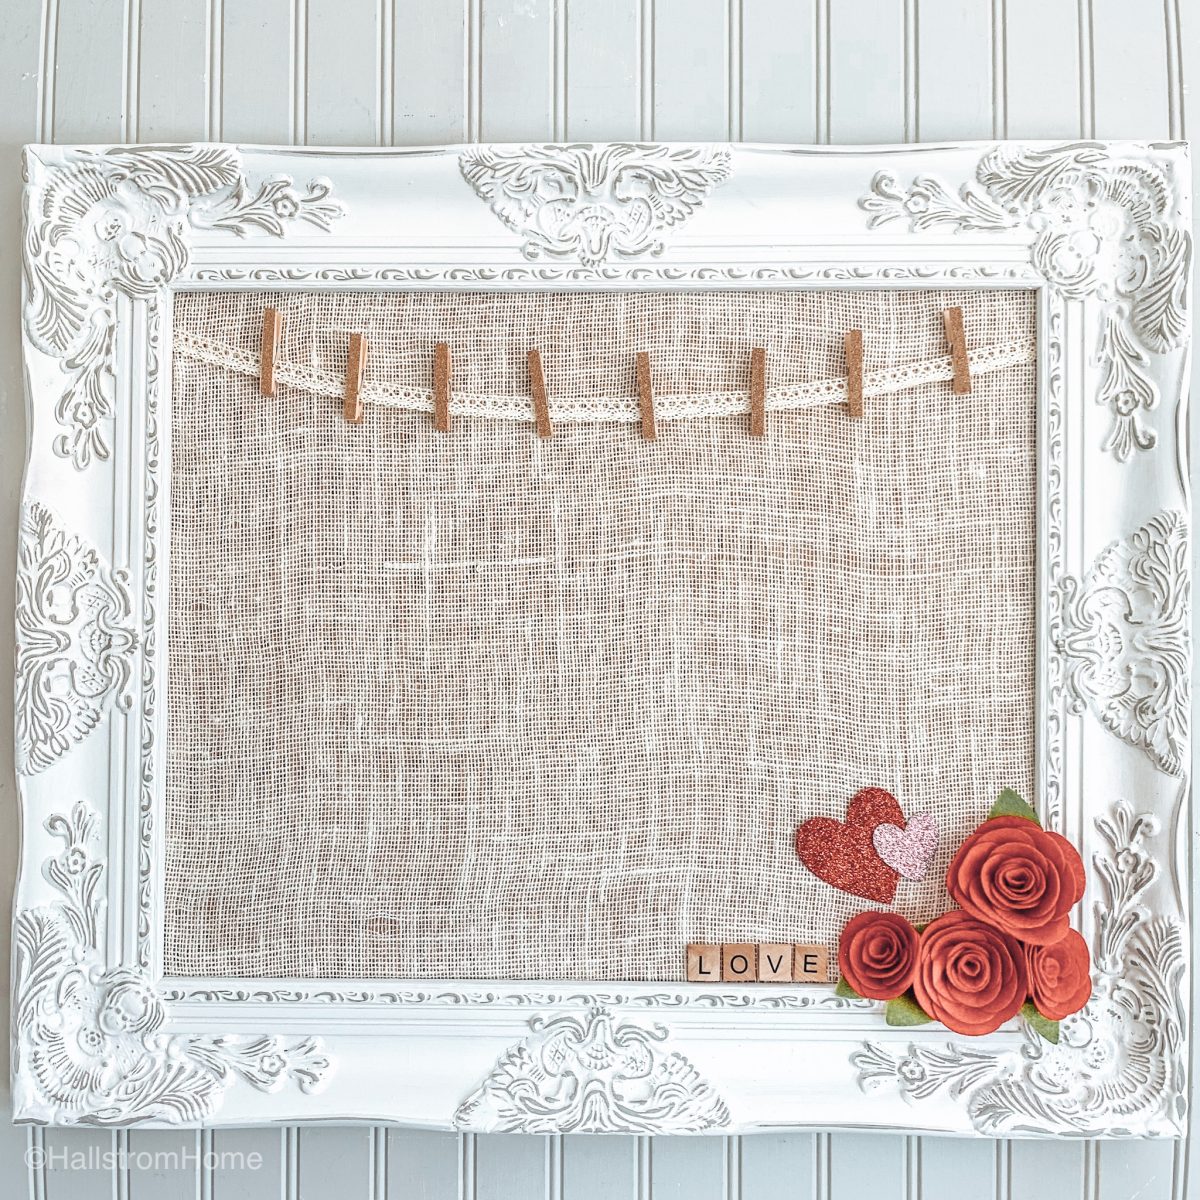
Hallstrom Home
On Rhonda’s blog, learn how to make a fabric covered bulletin board for valentines decor.
Pin the images below to your Valentine decor and DIY boards on Pinterest (just click the Pin button in the top left corner). You can also follow along with me on Pinterest!

For more real-time updates, follow me on Instagram @My100YearOldHome


57 Comments