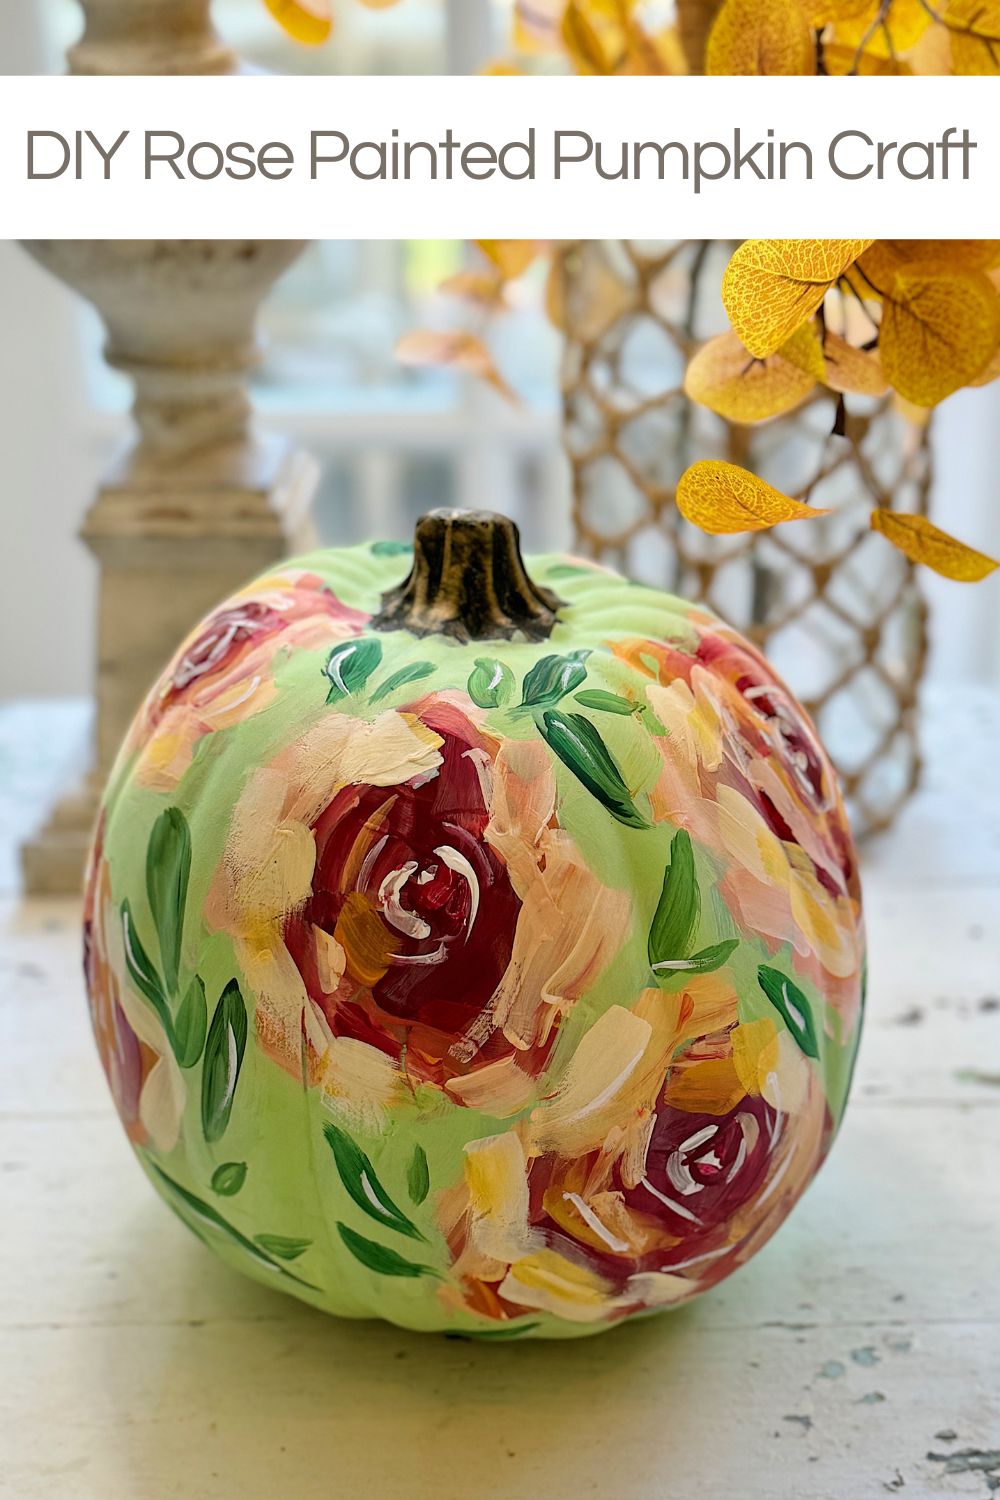
DIY Rose Painted Pumpkin Craft
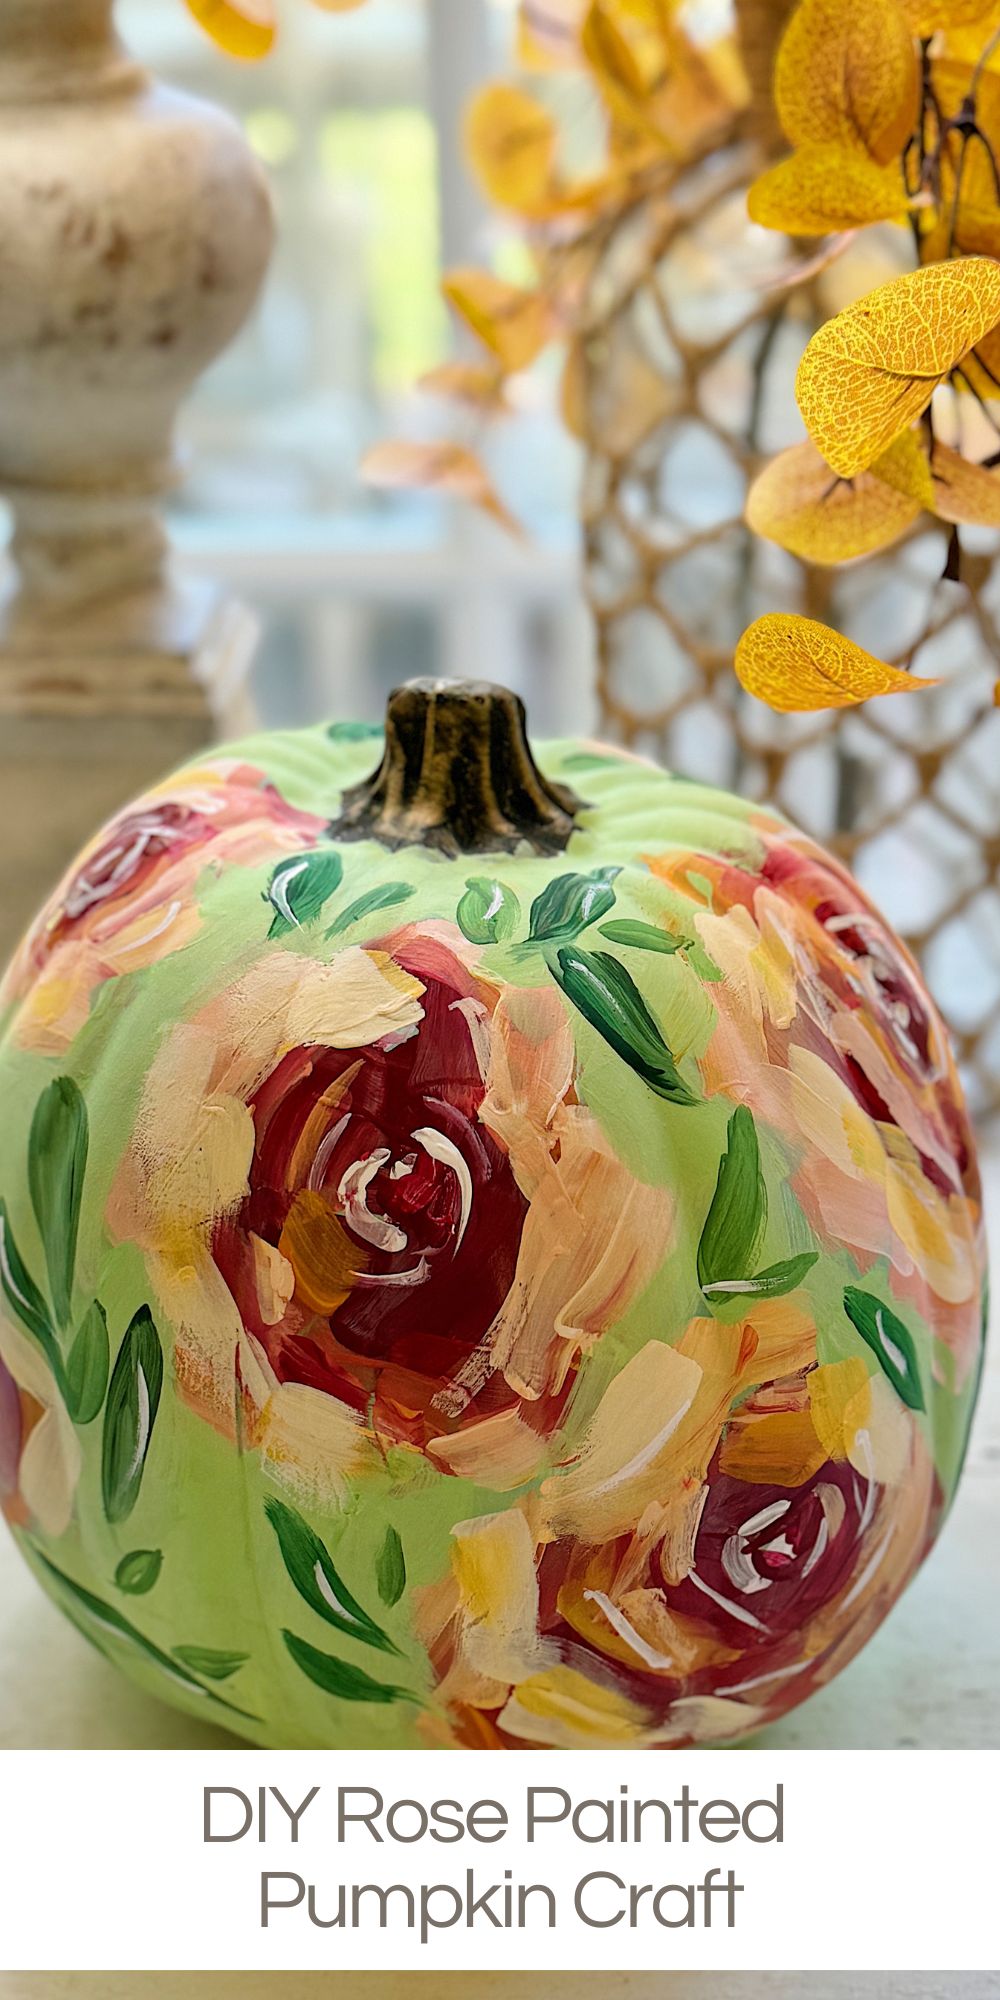
It’s fun to make handmade decorations for your home. My latest pumpkin craft transformed a faux white pumpkin into a stunning piece of art.
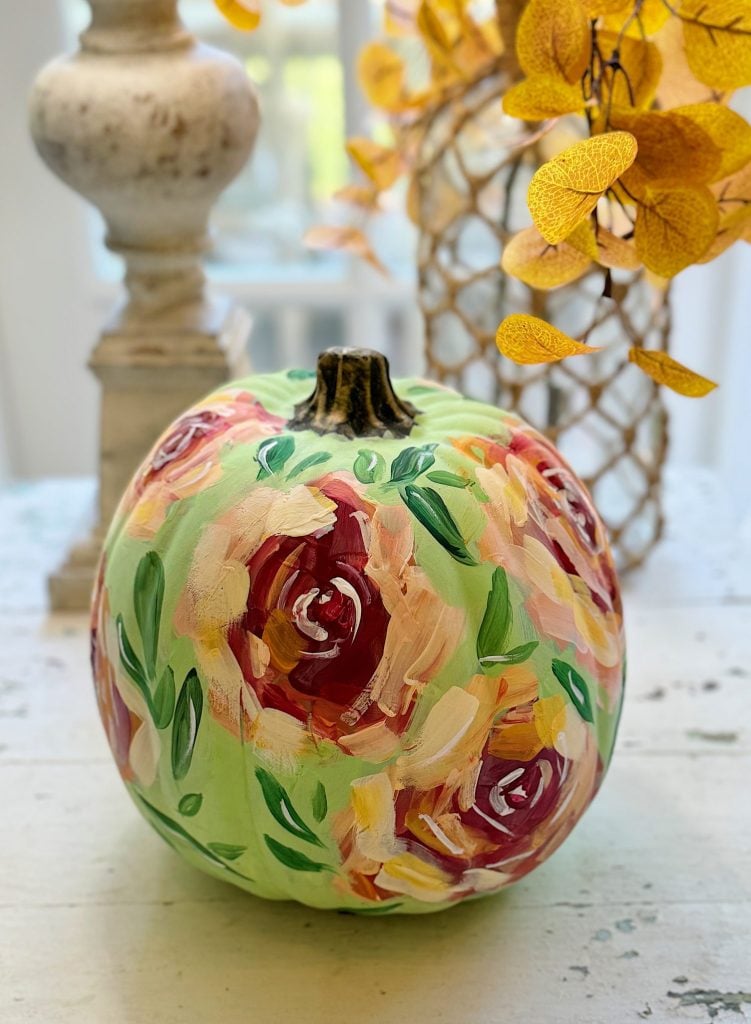
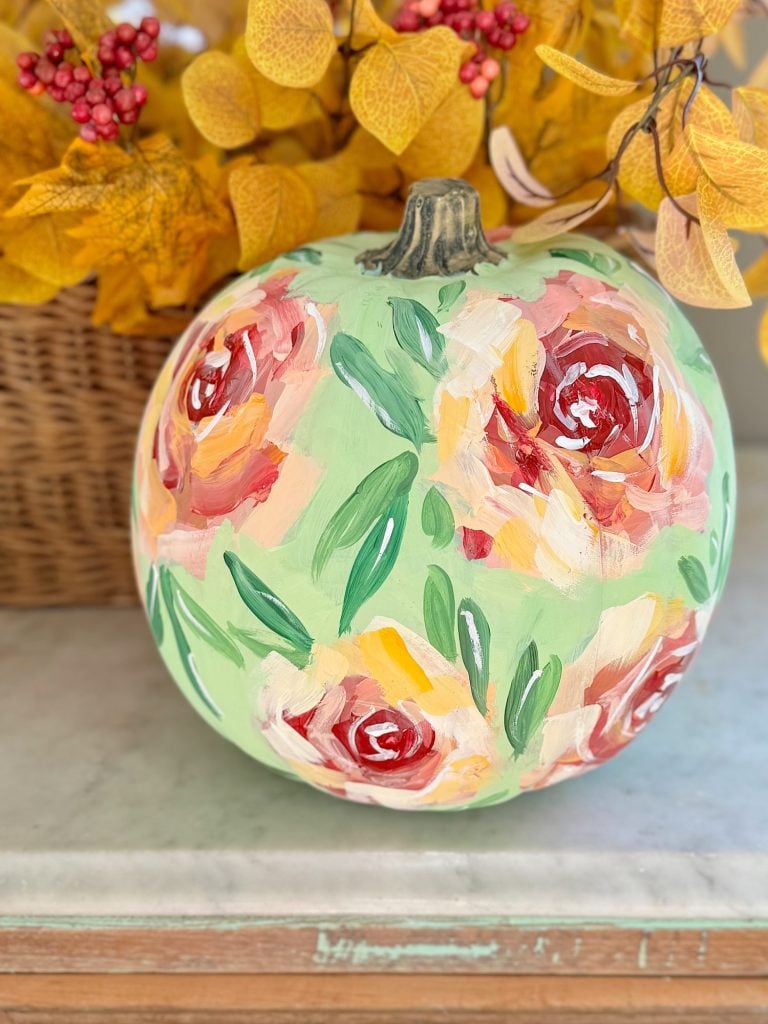
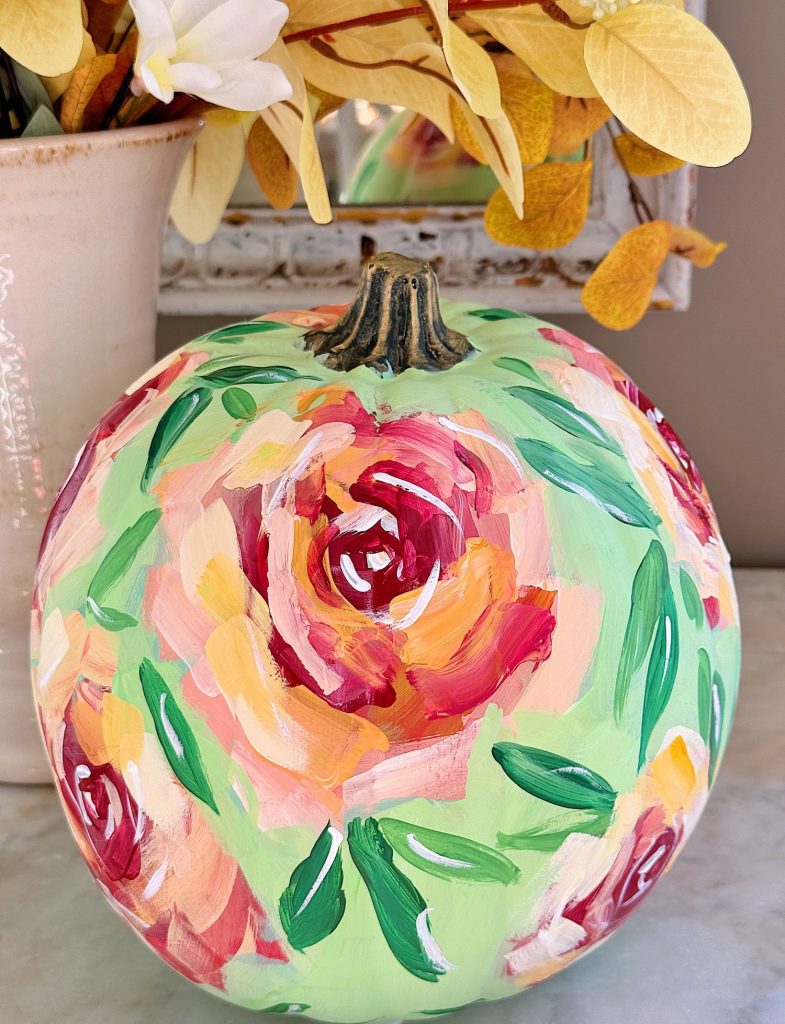
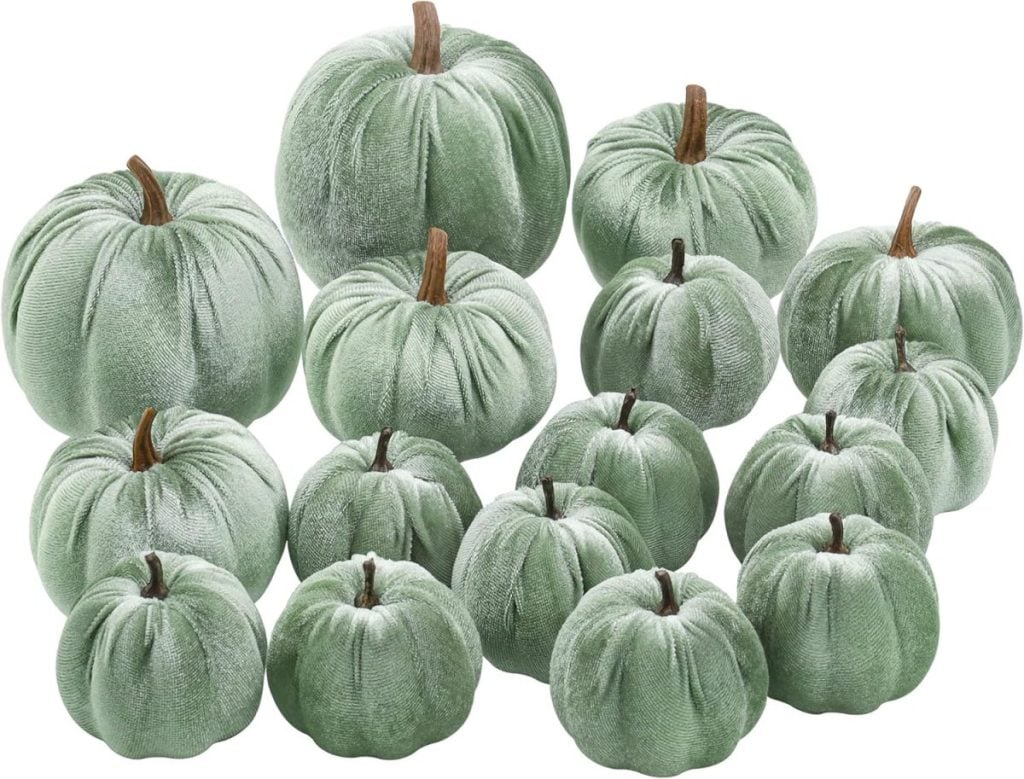
I used acrylic paints to paint the pumpkin a soft sage green and added abstract roses and leaves, giving it a fresh, modern twist on fall decorating. The best part? It’s a fun and easy pumpkin craft anyone can do, even if they don’t consider themselves artists.

Creating a Beautiful Painted Pumpkin Craft: Abstract Roses on a Faux Pumpkin
This DIY-painted pumpkin craft perfectly adds a unique, personal touch to your fall décor. Whether you’re hosting guests, preparing for a seasonal celebration, or want to create something special for your home, this craft is a fantastic way to express creativity. Plus, it’s incredibly simple!
You don’t need any advanced artistic skills to create a beautiful centerpiece for your fall table or mantle. With just a few supplies and some inspiration, you can create one.
Why Painted Pumpkins?
When we think of pumpkins for fall, the first thought that comes to mind might be the classic orange pumpkin or carved jack-o’-lantern. But painted pumpkins are a perfect alternative for those looking for something different—something that suits a modern or more neutral home aesthetic. The possibilities are endless when it comes to painted pumpkins. You can choose colors that complement your home, and the best part is that they can be reused year after year, especially if you’re using faux pumpkins.
By opting for faux pumpkins, you can get creative without the mess of carving and dealing with real pumpkins. And you’ll have your creation to enjoy for seasons to come!
Supplies You’ll Need
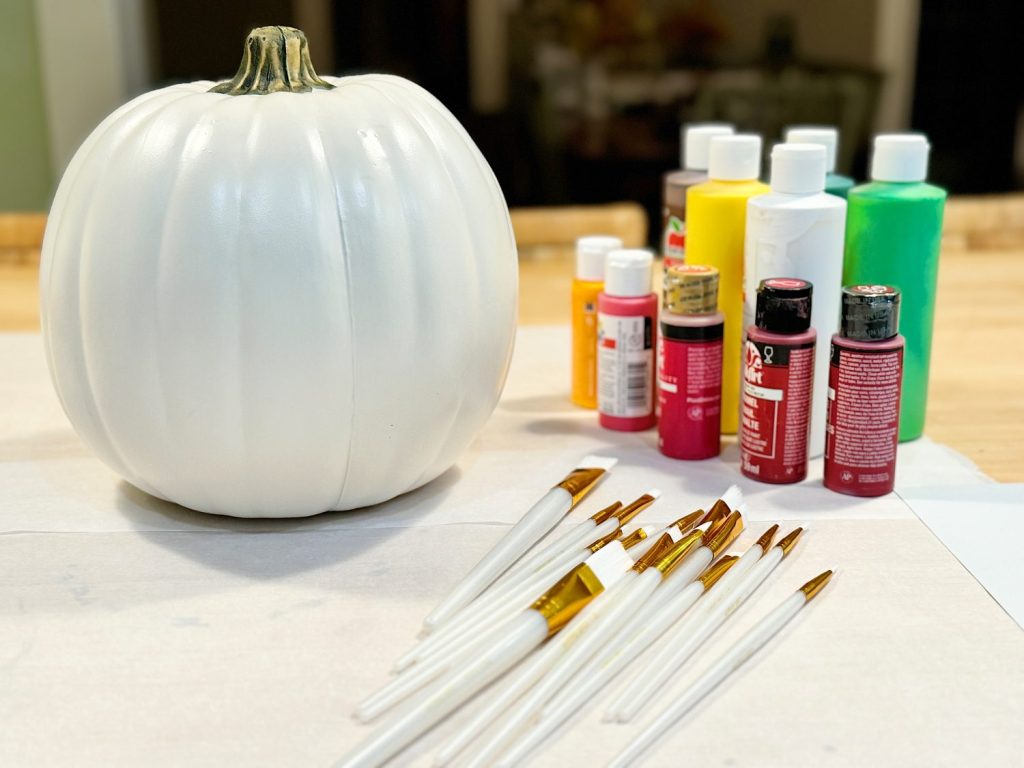
Here’s everything you’ll need for this painted pumpkin craft:
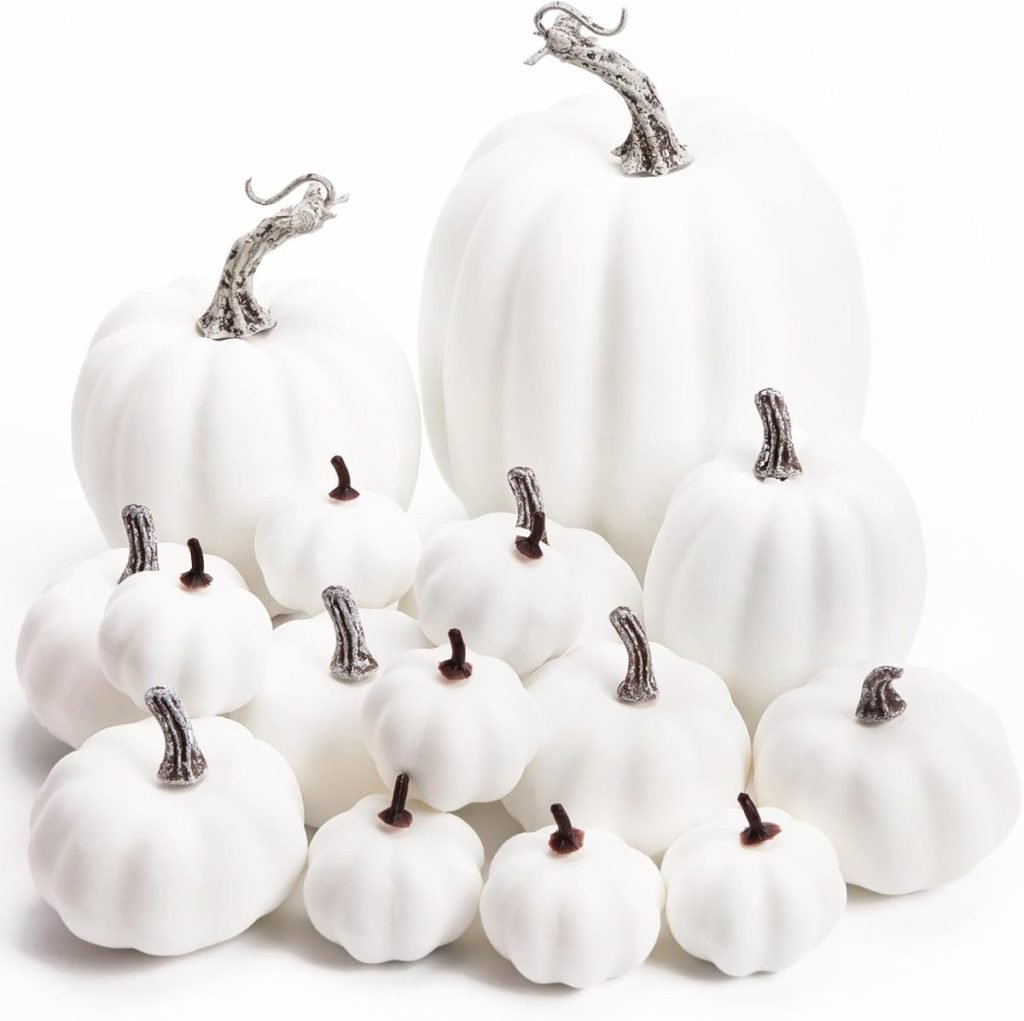
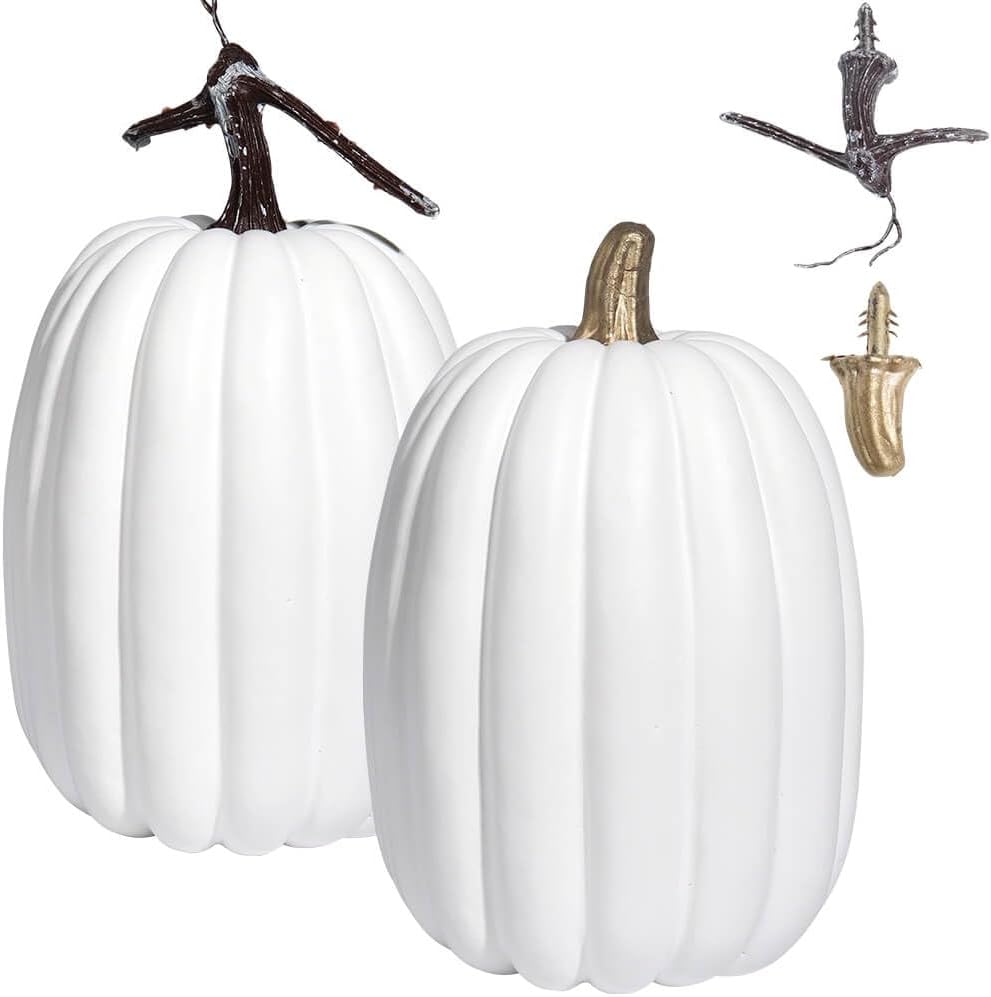
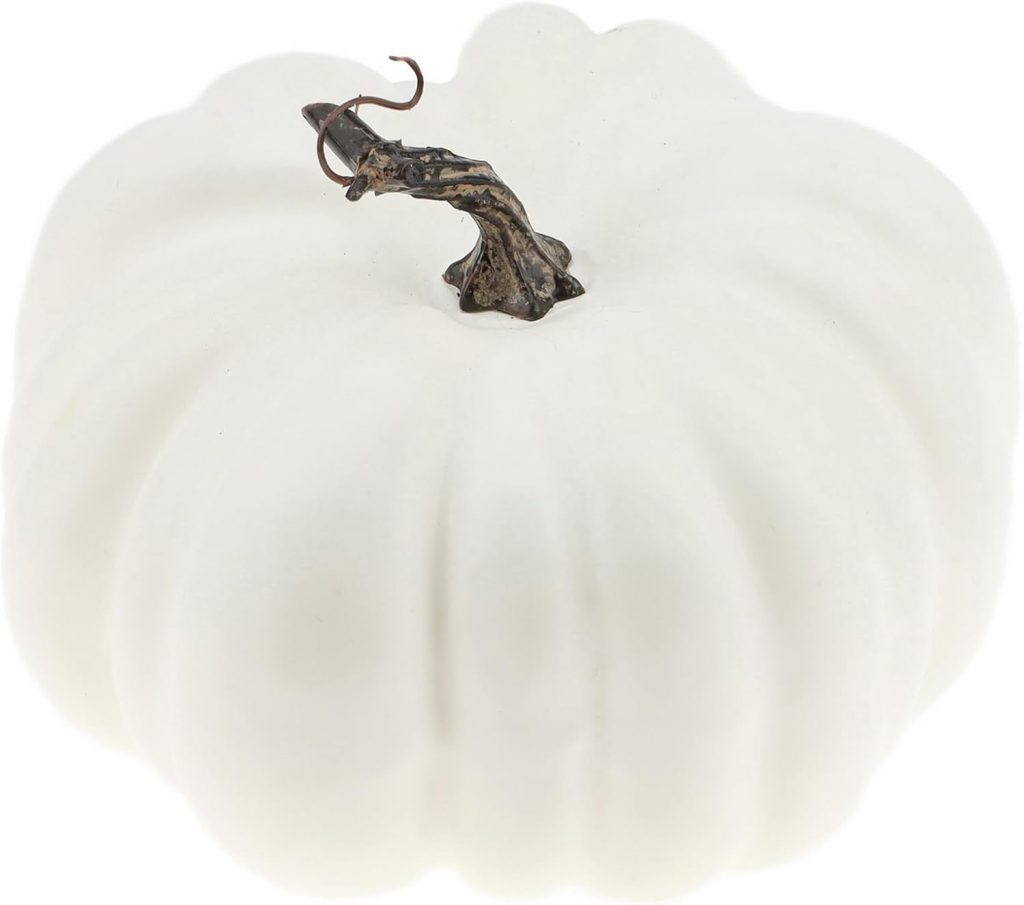
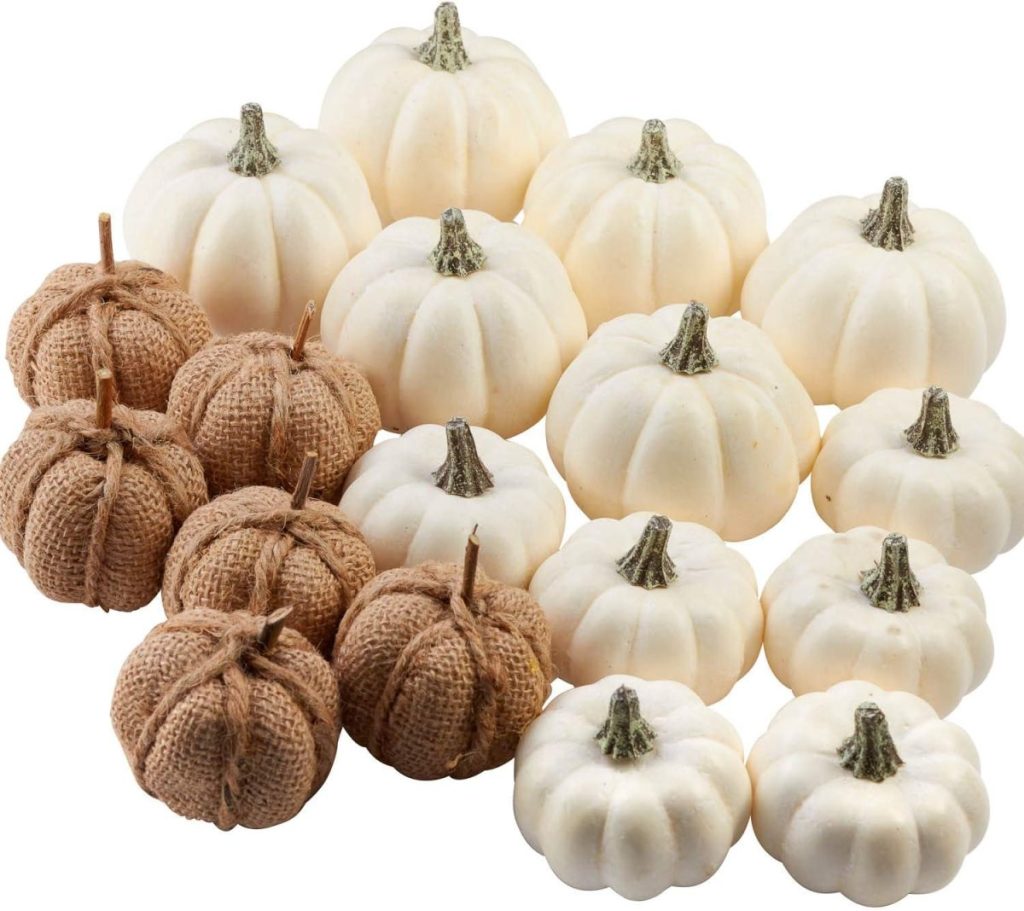
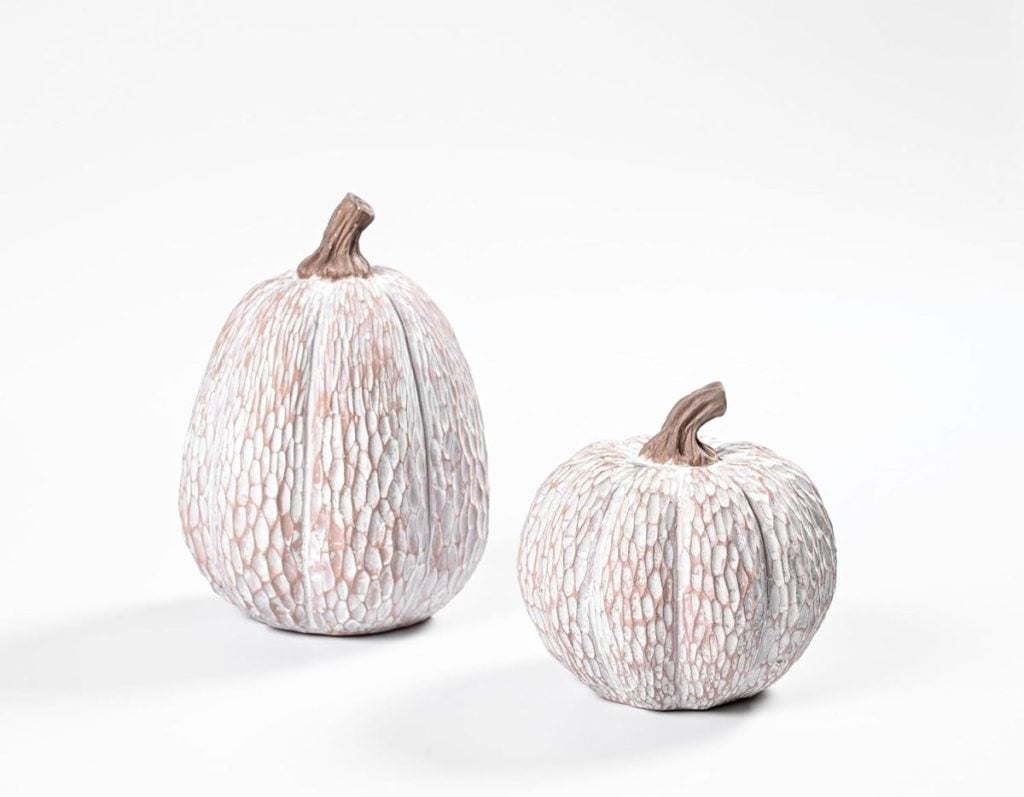
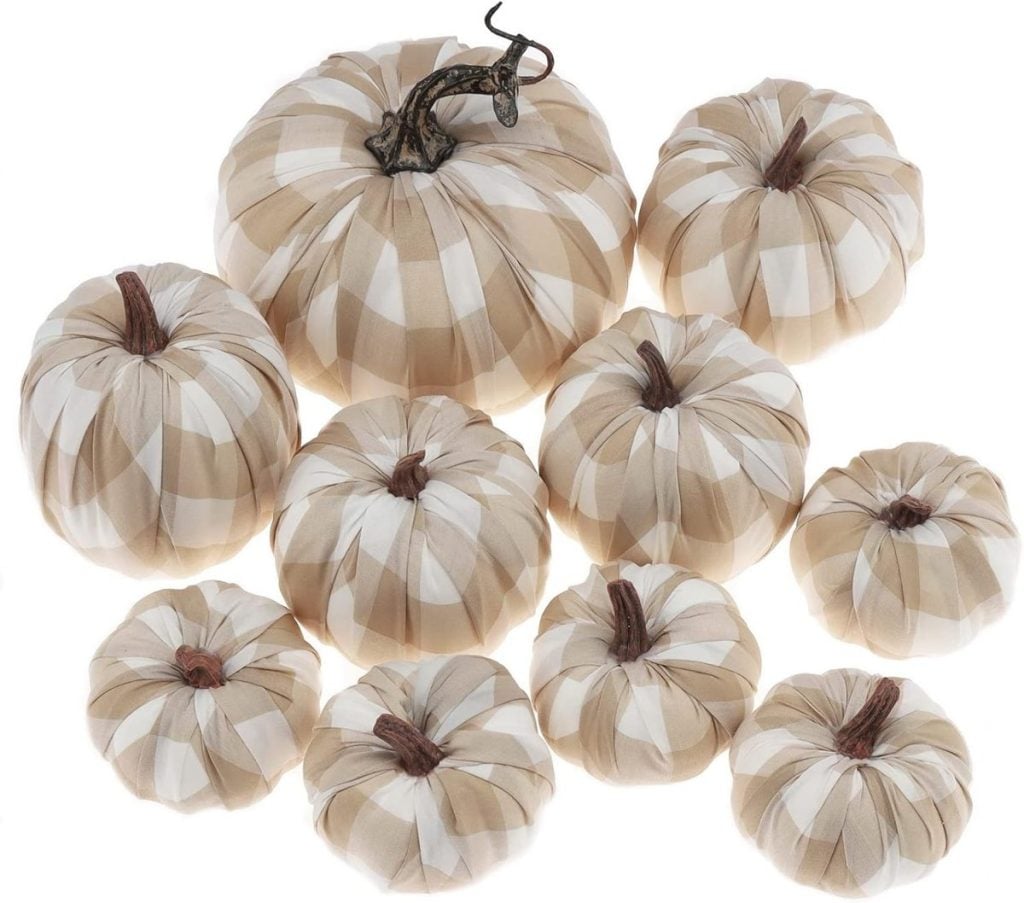
- Faux pumpkin (I used a white one to keep the base neutral)
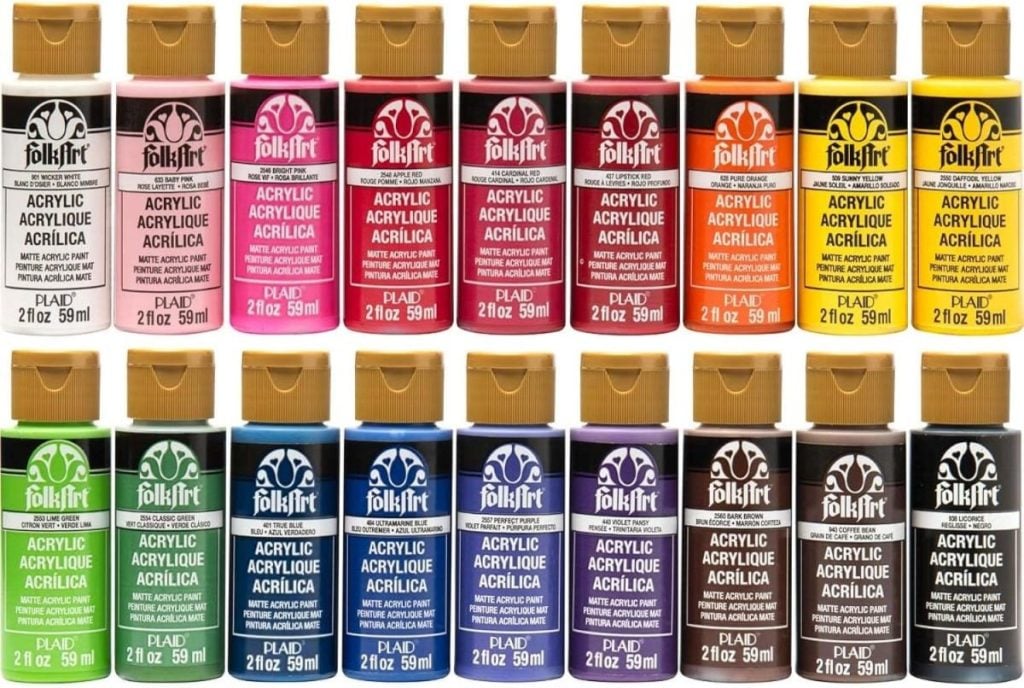
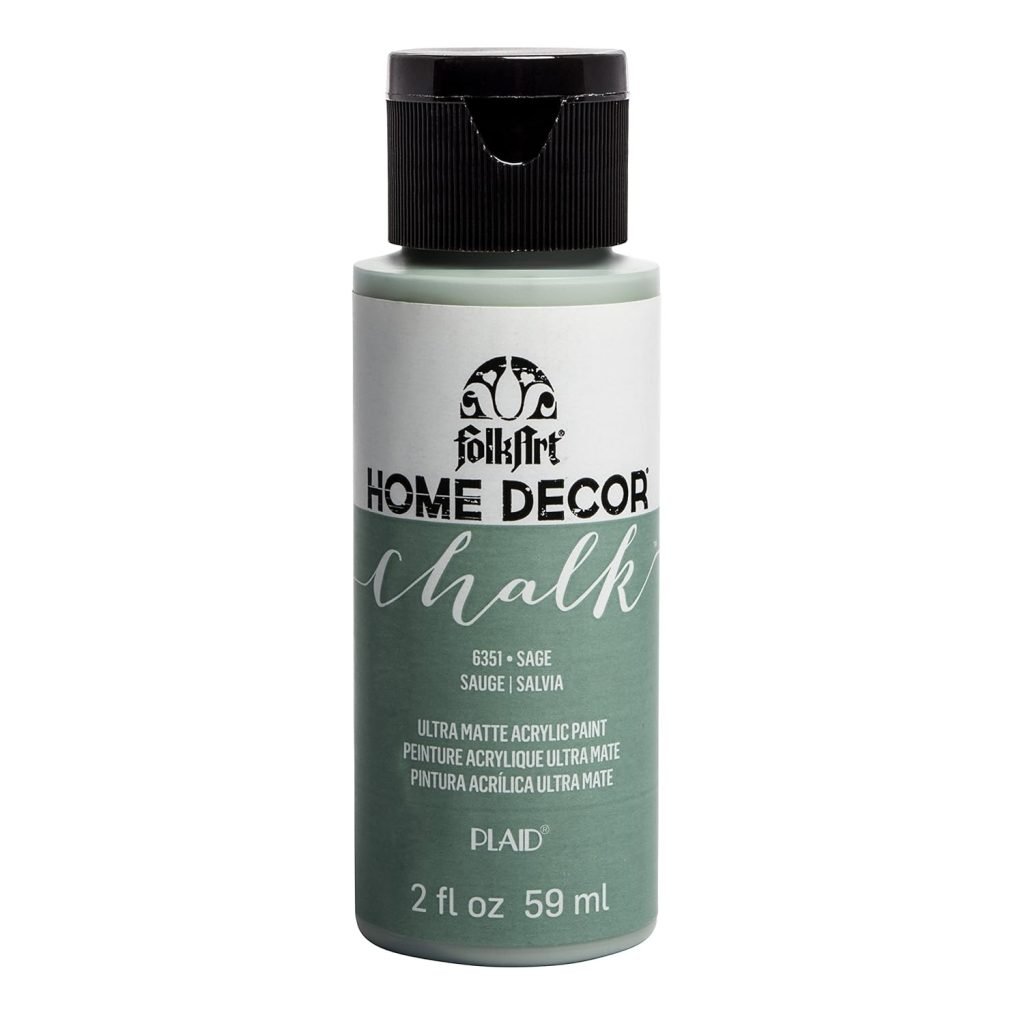
- Acrylic paints in sage green (or your preferred base color), dark red, light pink, orange, yellow, and a variety of greens for the roses and leaves
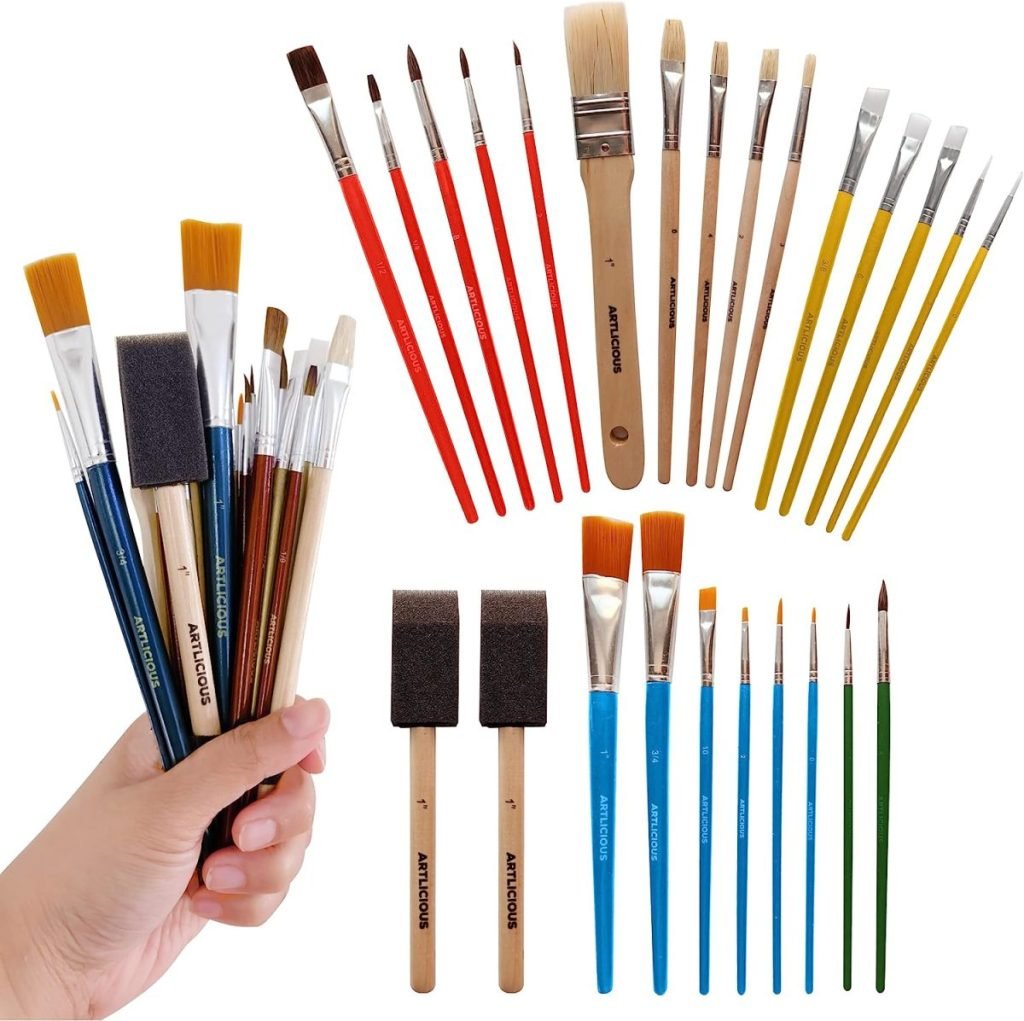
- Paintbrushes (a variety of small and medium sizes work well for painting details)
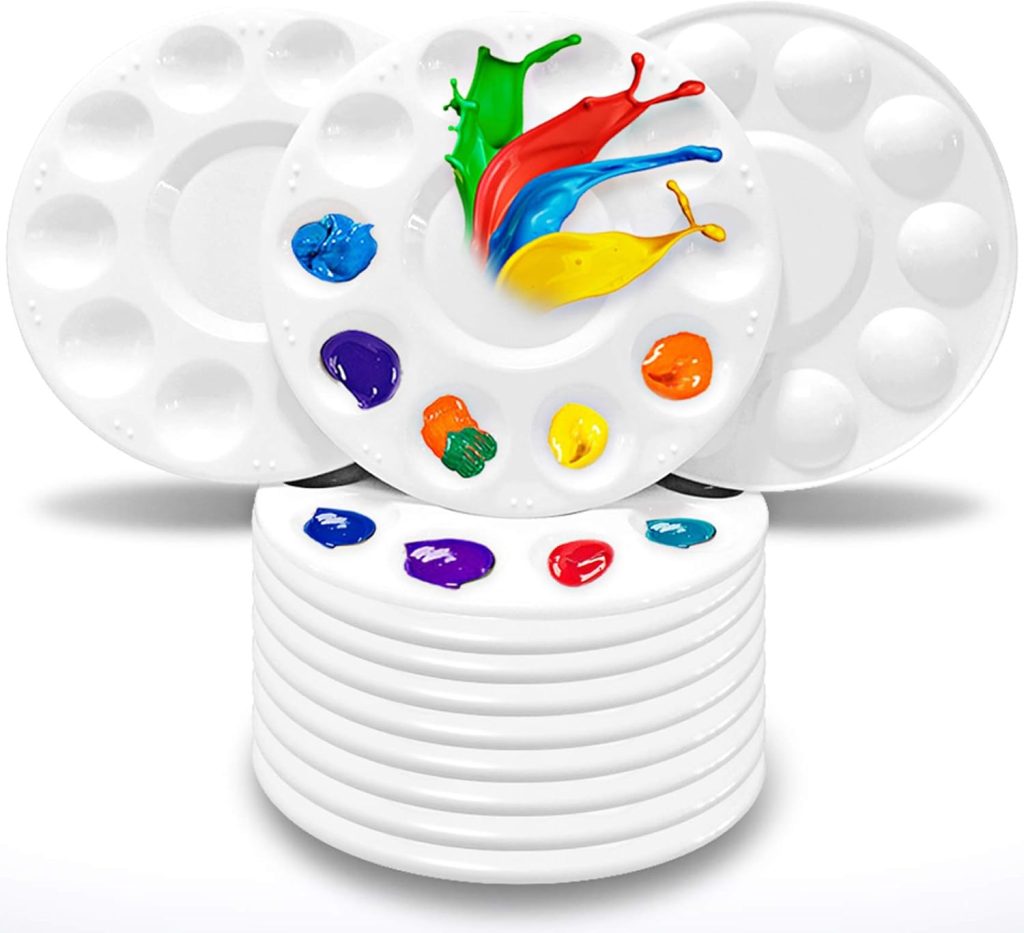
- Palette or paper plate for mixing paints
- A photo of a rose or floral inspiration (you can take your own or find some online)
- Paper towels or wipes for easy cleanup
I may sometimes use affiliate links on this blog, which means a small commission is earned if you purchase via the link. The price will be the same whether you use the affiliate link or go directly to the vendor’s website using a non-affiliate link.


Step-by-Step Guide to Painting Your Pumpkin
Now, let’s make this beautiful fall craft. The steps are simple, and you can be creative and add your own unique touches to your painted pumpkin.
Step 1: Preparing Your Pumpkin
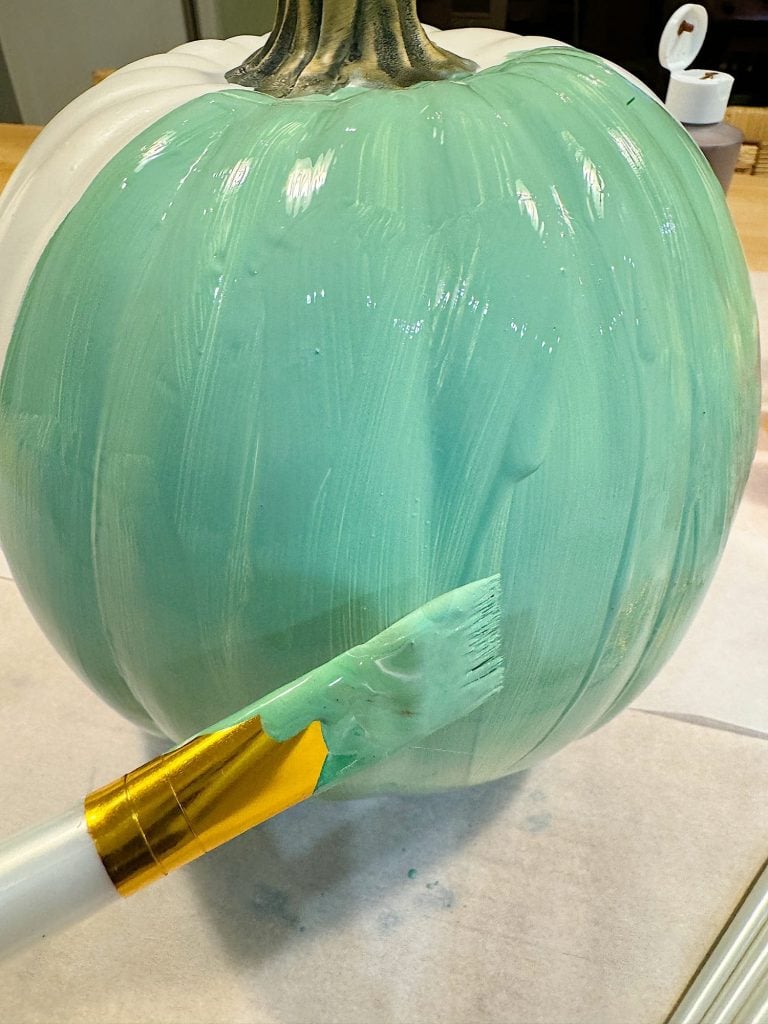
First, start with a faux white pumpkin. This is a great blank canvas, allowing your paint colors to pop. If your pumpkin has a glossy finish, you may want to sand it to help the paint adhere better lightly, but most acrylic paints should stick well to the surface.
Using a medium-sized brush, I painted the entire pumpkin a lovely shade of sage green. This color works beautifully as a fall base because it’s both soothing and earthy, giving the pumpkin a modern, fresh feel. The great thing about using faux pumpkins is that you can skip the mess of hollowing out a real one, and once it’s dry, the faux pumpkin is ready to be decorated!
Step 2: Painting the Abstract Roses
The key to making this pumpkin stand out is the abstract roses I painted all over. And don’t worry—you don’t need to be an expert in floral painting to achieve this look! The beauty of abstract art is that it doesn’t have to be perfect. You’re simply creating the essence of a rose with loose, fluid brushstrokes.
Start by finding or taking a few photos of roses for inspiration. These don’t need to be detailed close-ups—just a general shape to guide you as you paint. Once your inspiration is ready, it’s time to start painting your abstract flowers.

The key to painting these roses is to look at your inspiration photo as different shapes that make a rose. Don’t look at the photo as a rose. If you squint at the photo you can see the shapes and the dark and light colors. You want to paint the shapes, not the rose.
And I promise your shapes will eventually look like an abstract rose.
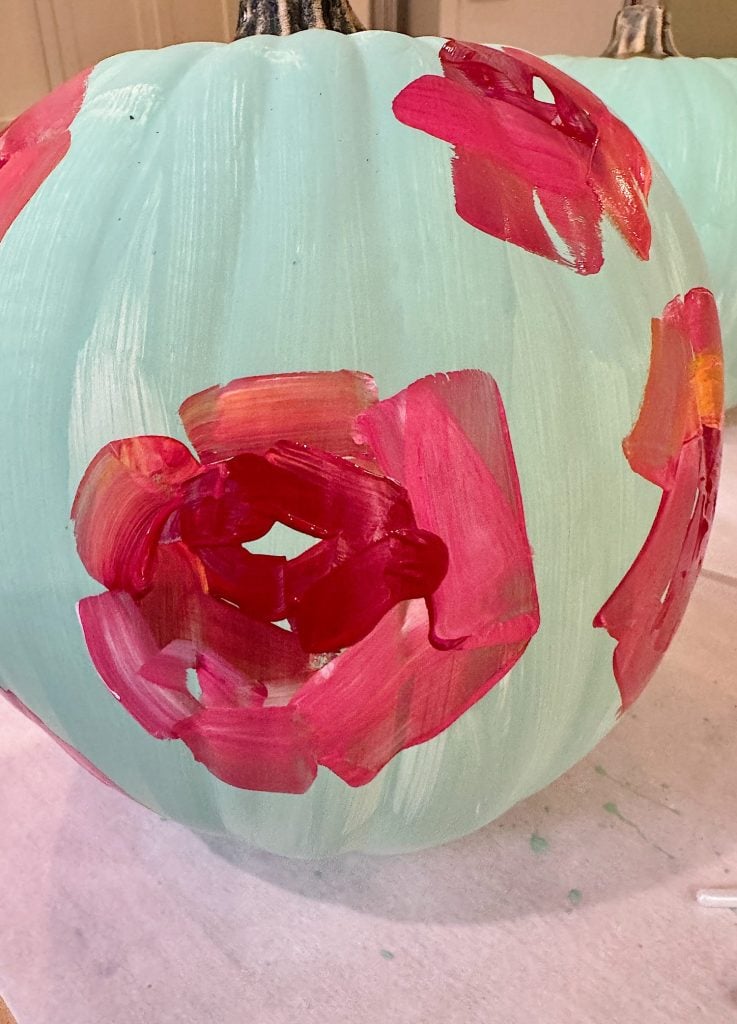

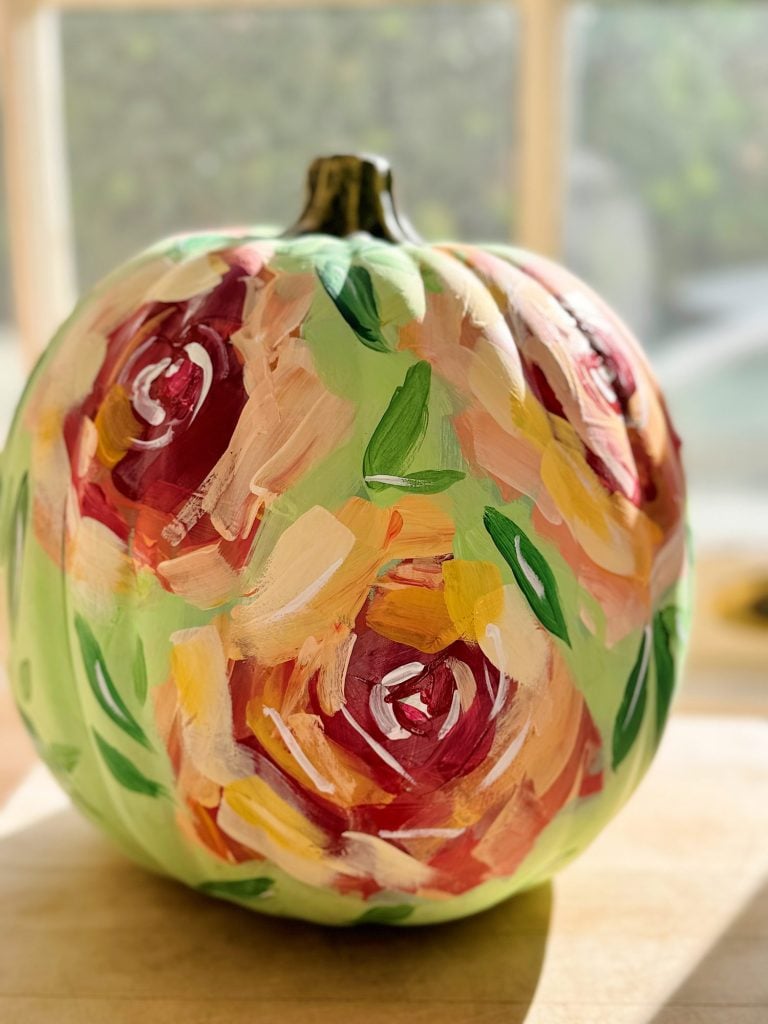
I began by choosing a dark red for the inner parts of the roses to give them depth. Using a small brush, I painted circular shapes to represent the centers of the flowers. There’s no need to make them perfect—just think of them as rough outlines. From there, I layered on light pinks, oranges, and yellows, creating a variety of soft, loose petals that overlap each other. The goal here is to let the colors blend slightly while still standing out from one another.
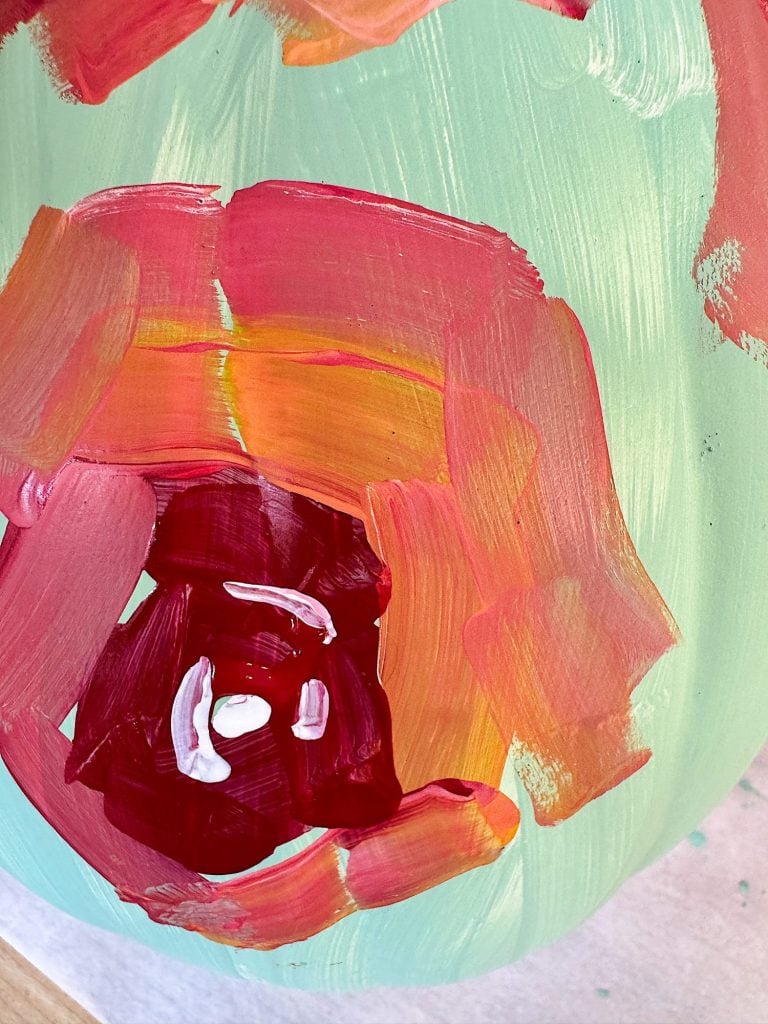
Step 3: Adding Depth and Dimension

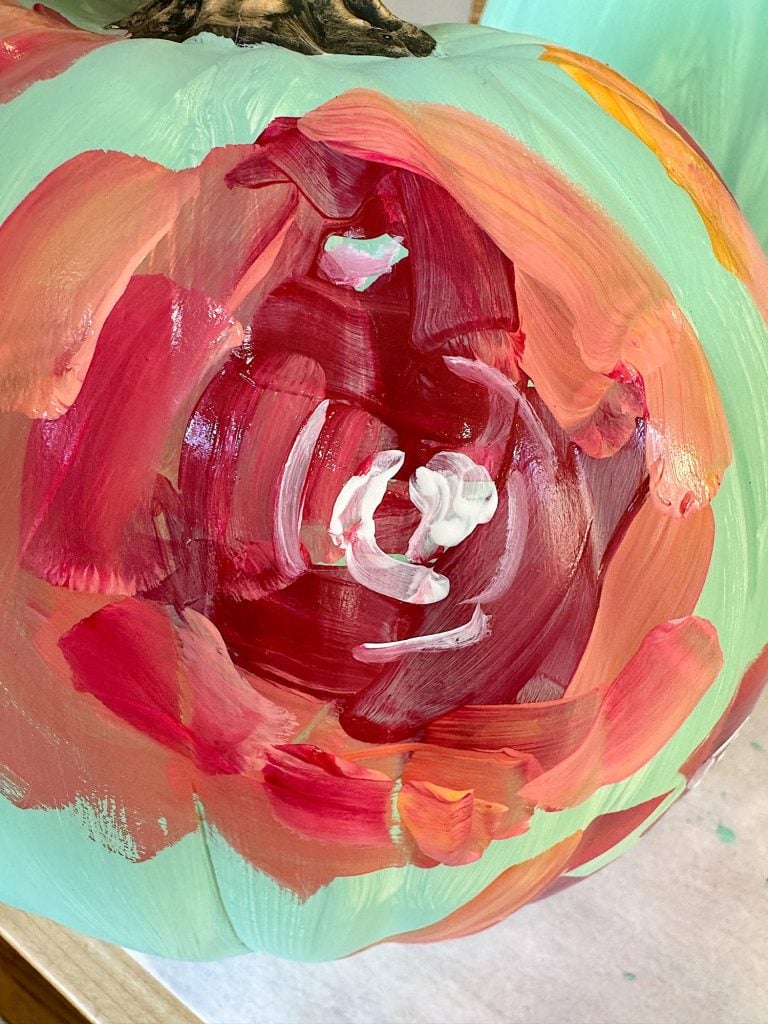
To give the roses more depth and a natural, layered look, I used darker shades at the center and lighter shades toward the outer petals. You can blend the colors slightly with your brush, but don’t overwork them. Let some of the brushstrokes be visible—that’s what makes the flowers look abstract and painterly.
This is where you can let your creativity flow. Don’t worry if some petals look rough or the shapes aren’t perfect. The abstract nature of the roses allows for imperfections that ultimately make the design more exciting and dynamic.
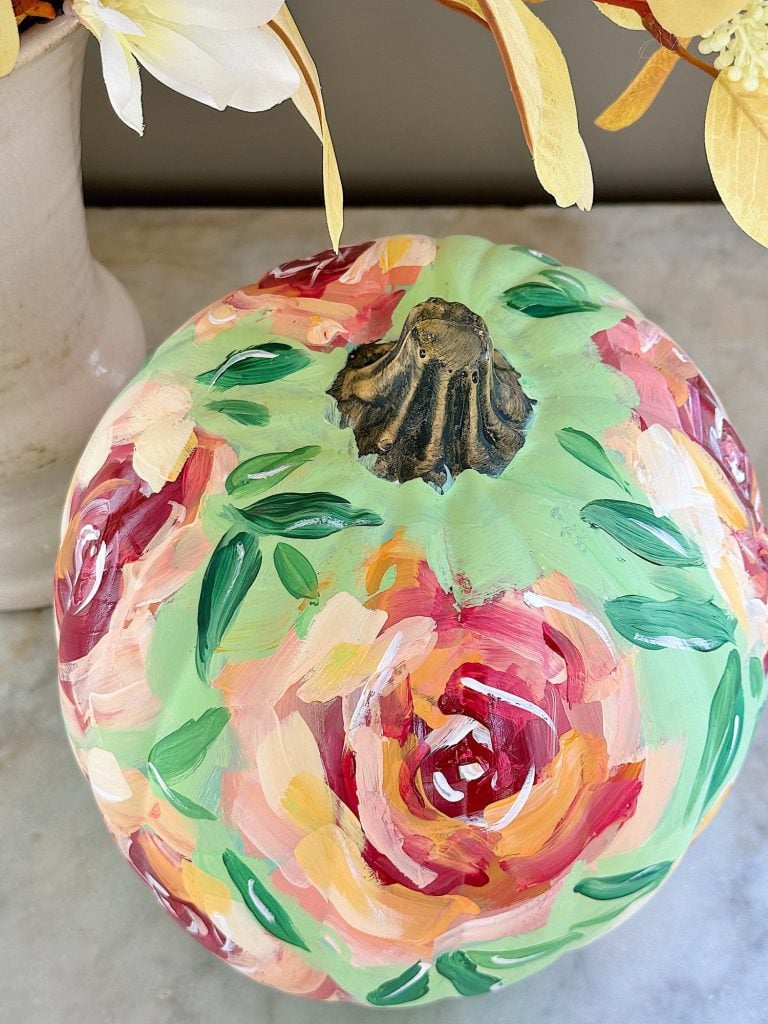
Before adding the leaves, I decided to warm the green. So I mixed some yellow into the green and lightly painted over the green. I like the warmer green a lot better.
Step 4: Painting the Leaves
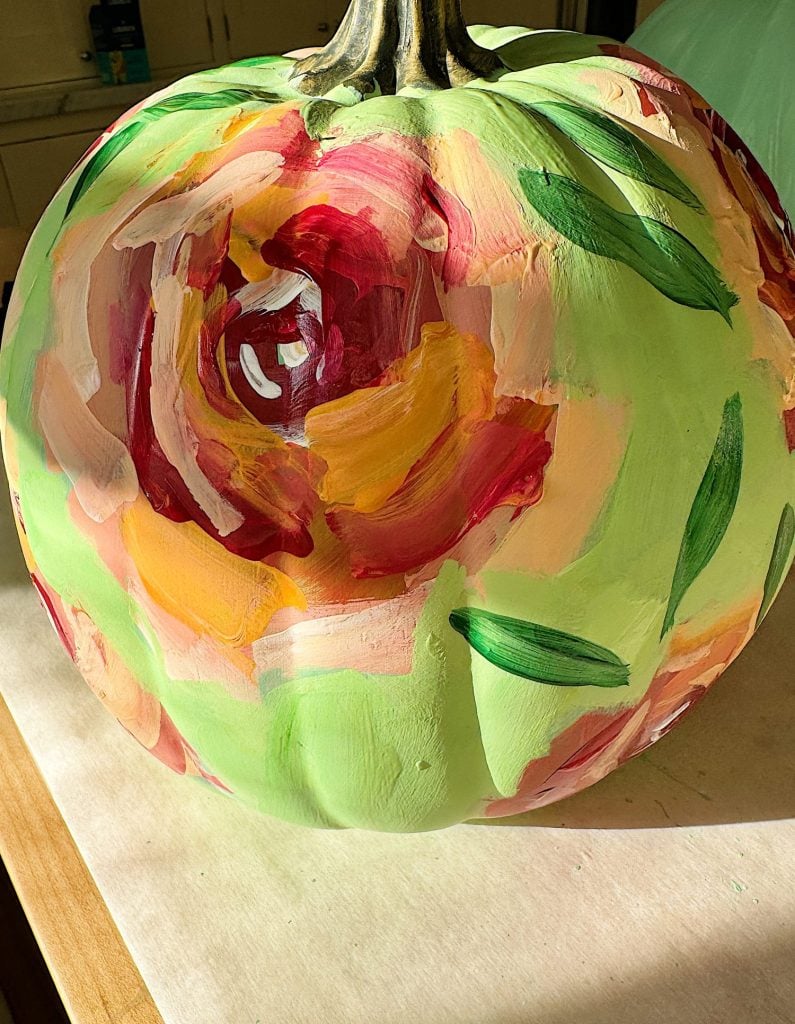
Once you’ve finished the roses, it’s time to add some greenery. I painted leaves in different shades of green to complement the flowers. Using a slightly smaller brush, I created loose, elongated leaf shapes around the flowers, making sure to vary the size and direction of each leaf.
For added interest, I layered lighter green leaves over darker green ones, making them appear more three-dimensional. I also added some white highlights. The idea here is to keep things loose and natural, just like the flowers. You want the leaves to feel like they’re part of the flow of the design, so don’t be afraid to overlap them with the roses or extend them across the pumpkin.
Step 5: Final Touches
Once you’ve finished painting your roses and leaves, step back and look at your pumpkin. Does it feel balanced? Are there areas that could use a bit more color or detail? Adding a few extra leaves here and there helped fill in the gaps and bring the whole design together.
Feel free to add a few finishing touches, whether blending colors in certain areas, adding highlights to the flowers, or painting tiny accent details like dots or smaller buds to enhance the design.
Why This Craft is So Easy and Fun
One of the reasons I love this craft is that it doesn’t require a ton of skill or experience with painting. You don’t have to worry about creating realistic florals or making everything look perfect. The goal is to capture the essence of fall’s beauty with loose, abstract shapes and colors that complement the season. Plus, acrylic paint dries quickly, so you don’t have to wait long between layers.
Another reason this project is so accessible is that you can adjust it to your style. If you prefer a different color palette, go for it! You can easily change the colors to match your home décor or play with other flower shapes and styles. This craft has no right or wrong approach, making it perfect for beginners and experienced crafters.
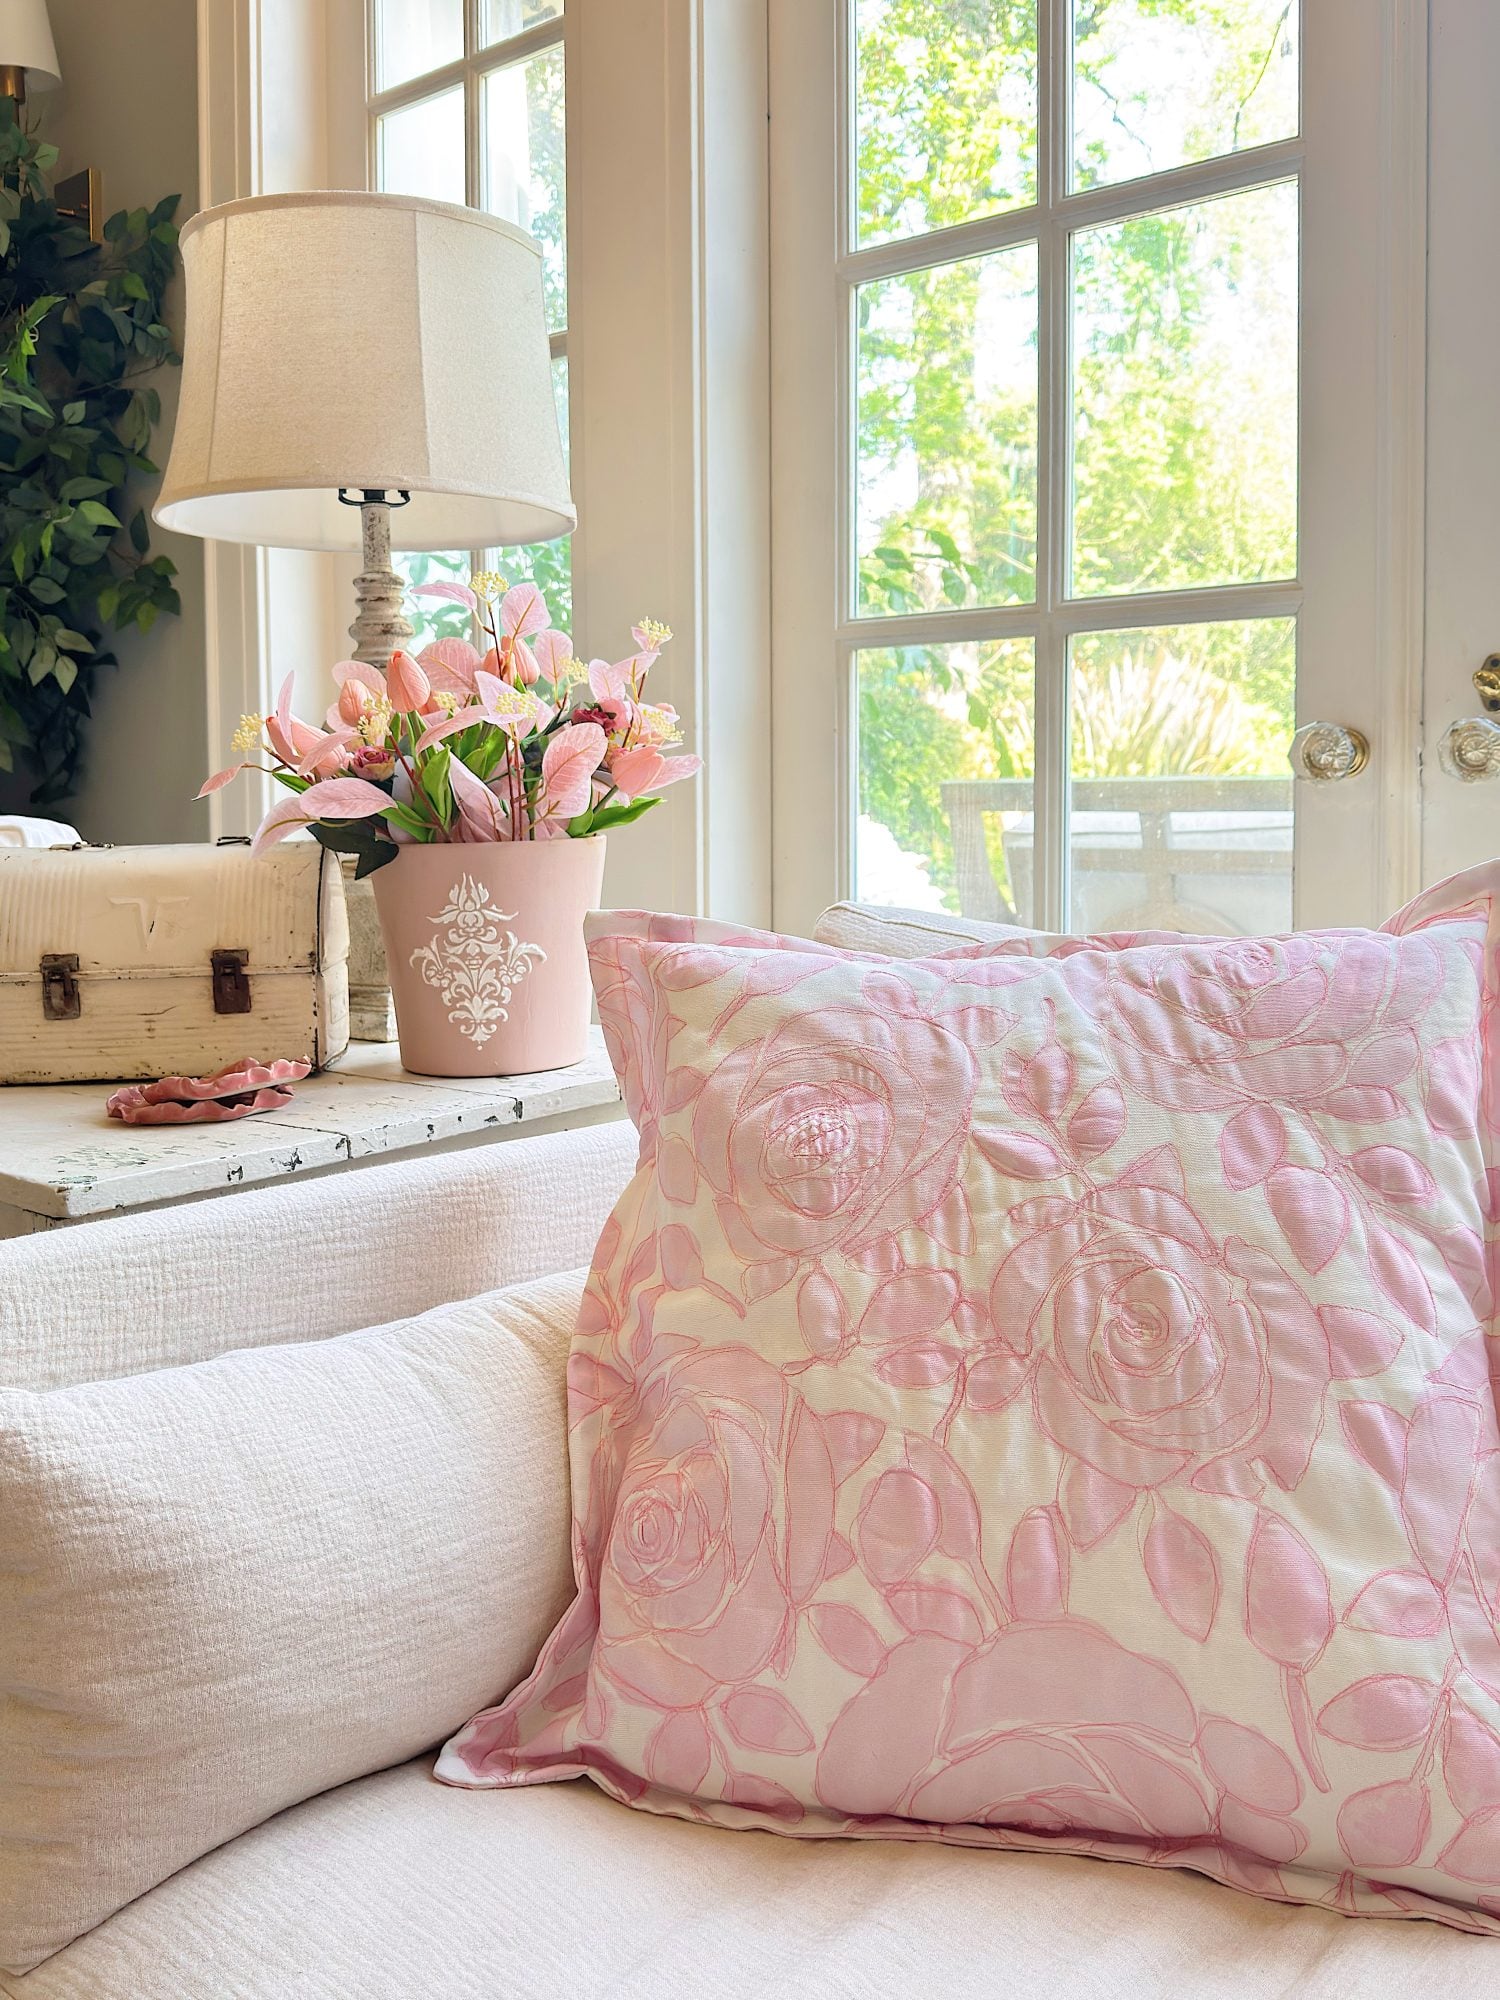
Displaying Your Painted Pumpkin
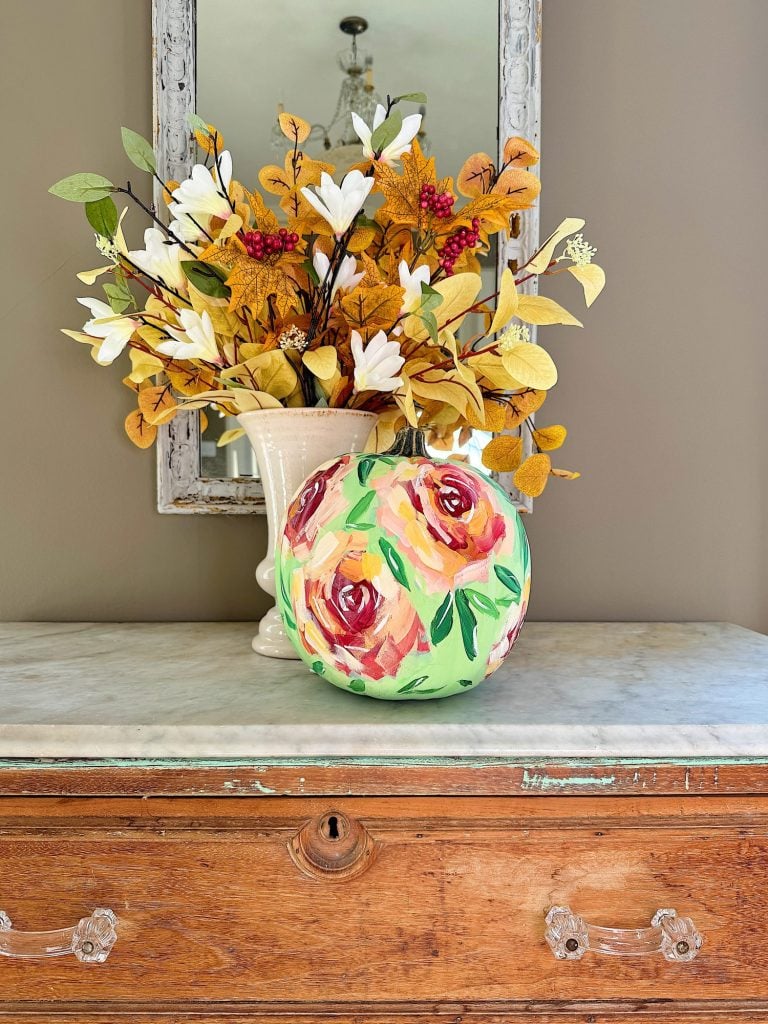
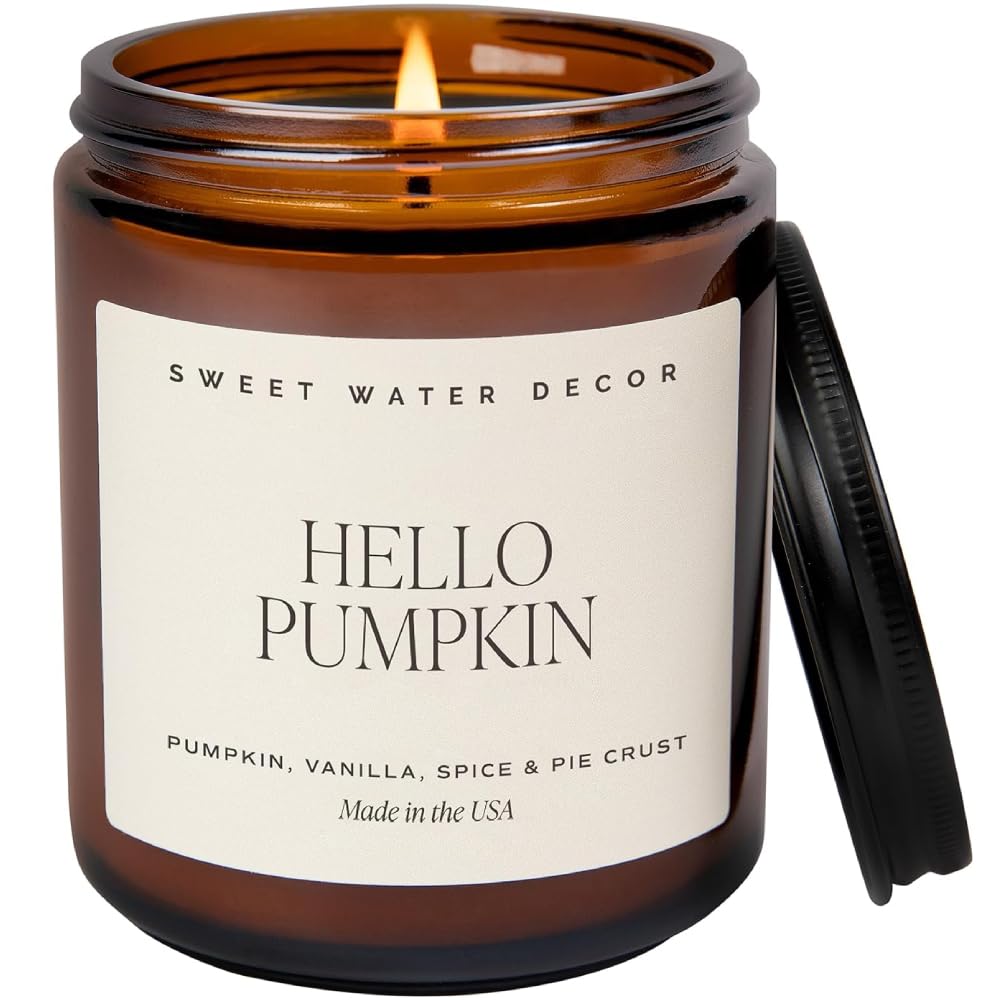
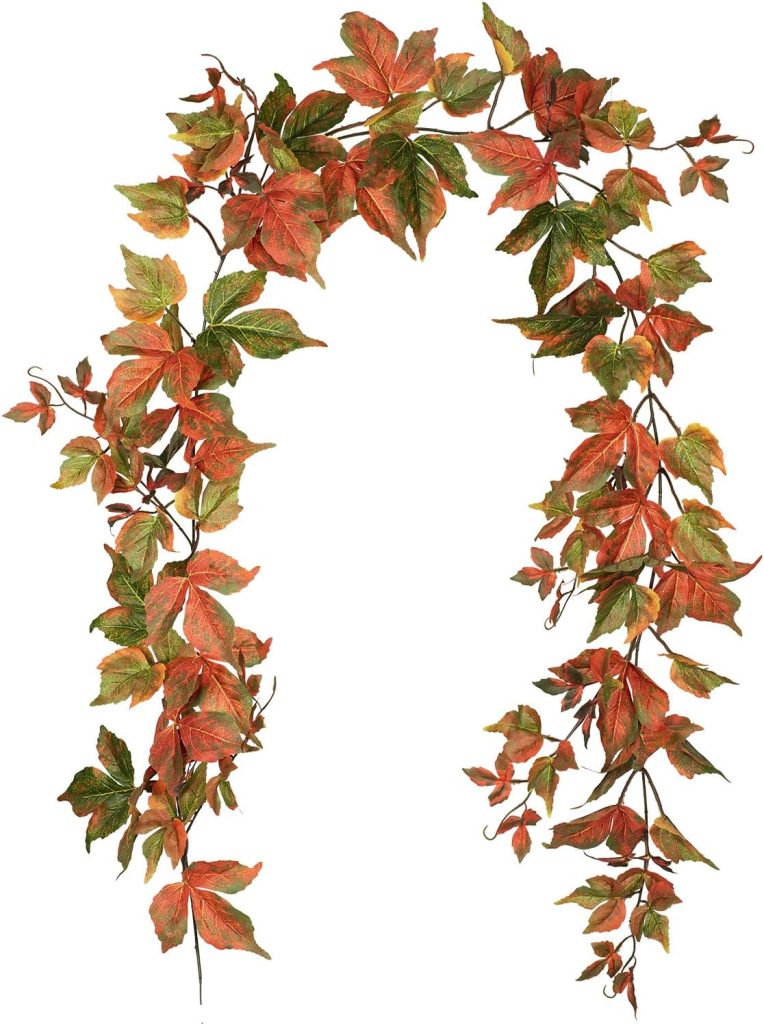
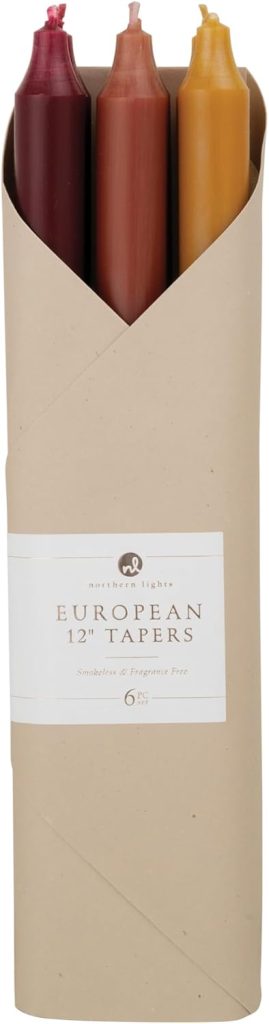
Once your pumpkin is dry, it’s ready to be displayed! I placed mine as the centerpiece on my side table in the dining room, instantly bringing a sense of warmth and creativity. You can also display your painted pumpkin on a mantel, entryway table, or even as part of a larger fall display with other faux pumpkins, candles, and seasonal foliage.
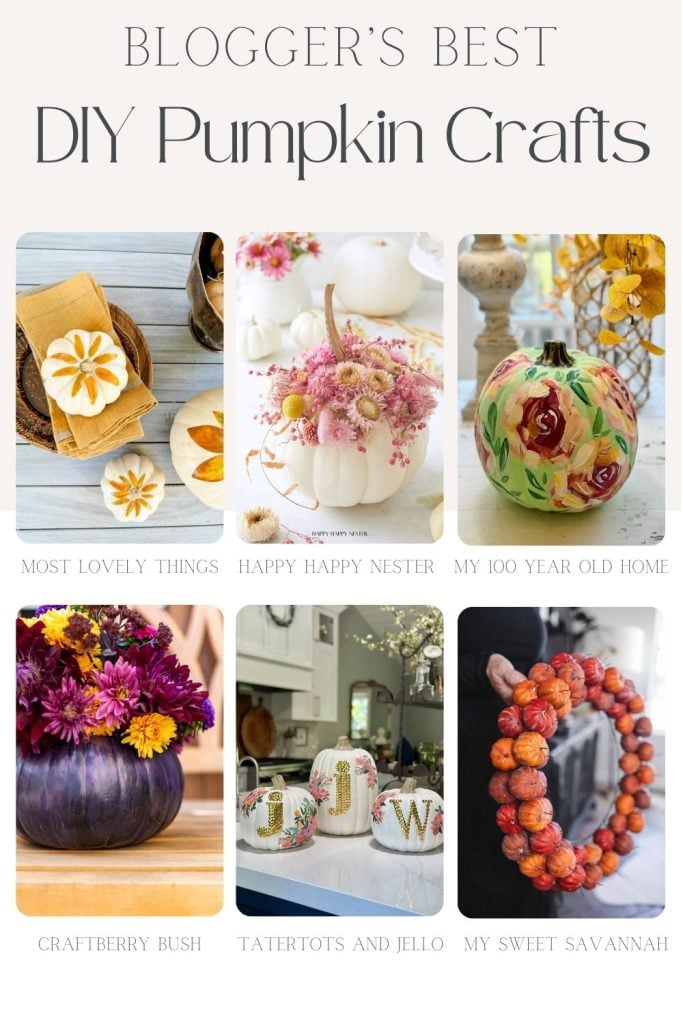
Blogger’s Best DIY Pumpkin Crafts
Here are more pumpkin crafts created by some of my favorite bloggers.
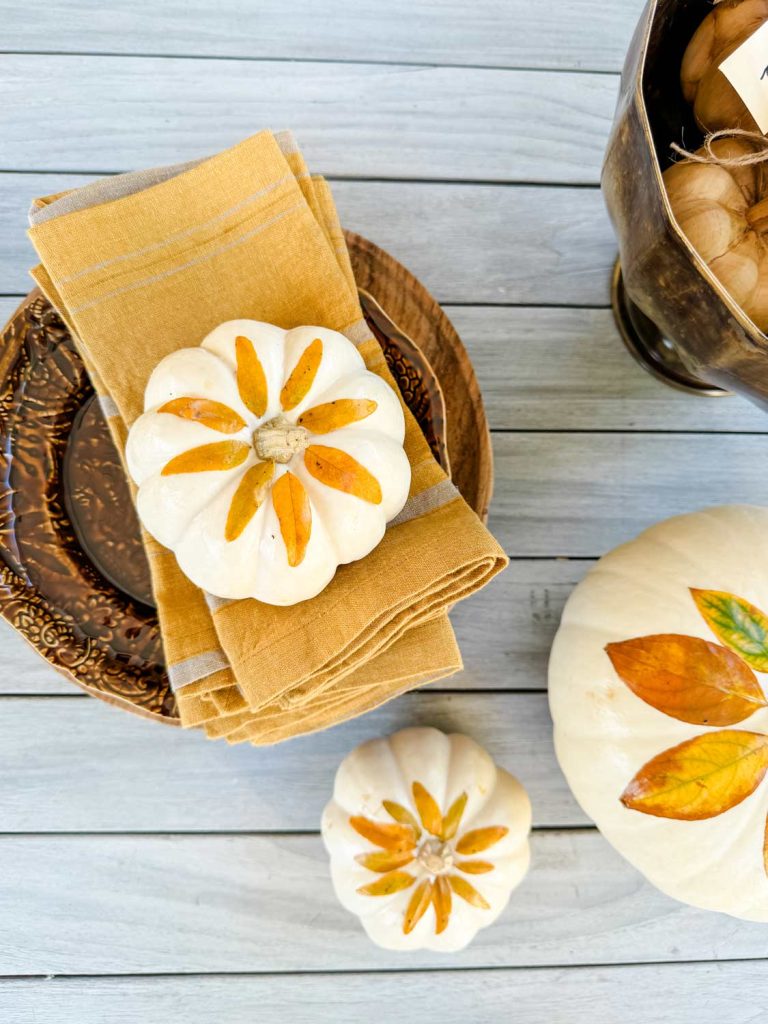
Decoupage Pumpkins with Fall Leaves | Most Lovely Things
Make decoupage pumpkins with fall leaves for an earthy tablescape.
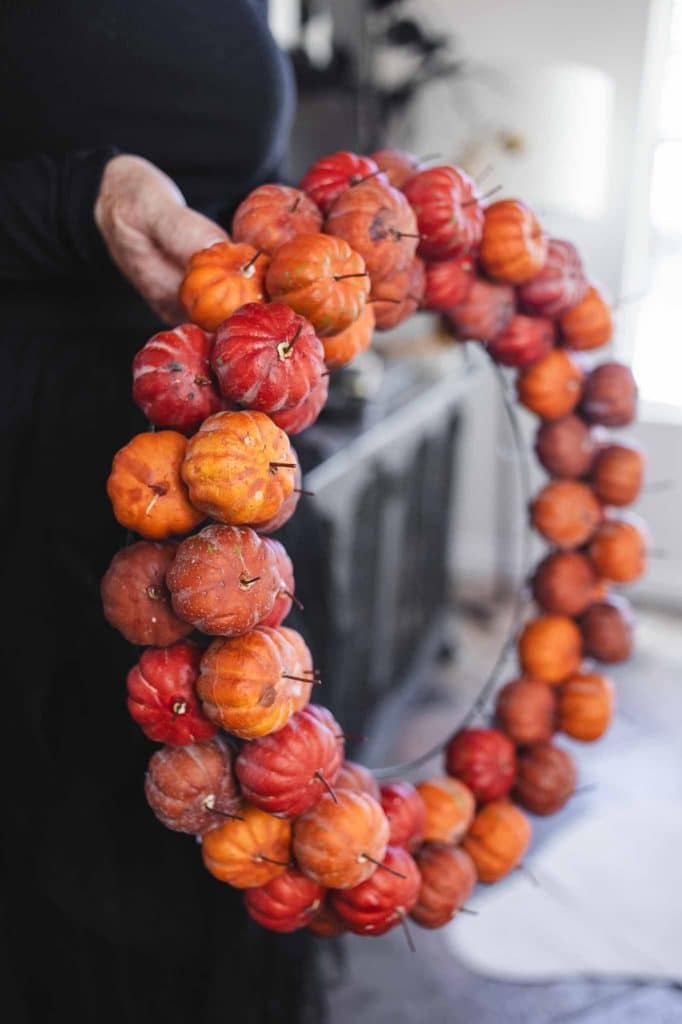
Pottery Barn-Style Pumpkin Wreath | My Sweet Savannah
Fall is the perfect time to embrace cozy, seasonal decor, and what better way to welcome the season than with a beautiful pumpkin wreath? Inspired by Pottery Barn’s stylish designs, I decided to craft a DIY knockoff that’s not only eye-catching but also budget-friendly. Here’s how you can recreate this charming wreath using items from Dollar Tree for a designer look at a fraction of the cost!
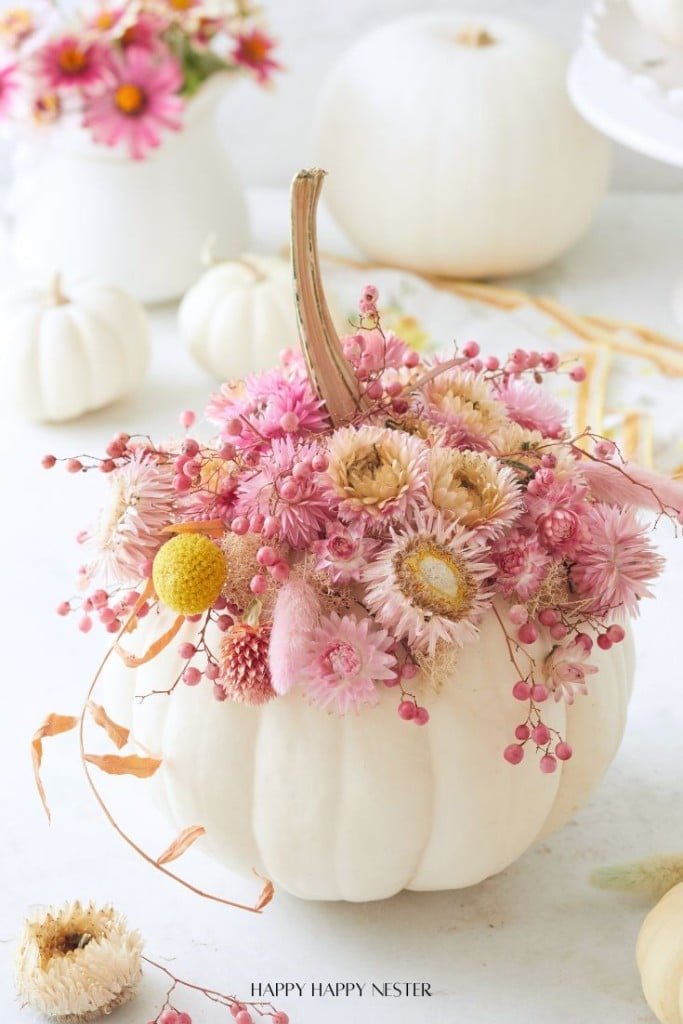
Pumpkin with Flowers DIY | Happy Happy Nester
Transform your autumn decor with a beautiful Pumpkin with Flowers DIY project that blends seasonal pumpkins and colorful blooms. This simple yet stunning craft makes a perfect centerpiece for your fall gatherings or a pretty touch to your home. With just a few materials and a little creativity, you’ll have a gorgeous floral pumpkin arrangement in 15 minutes or less.
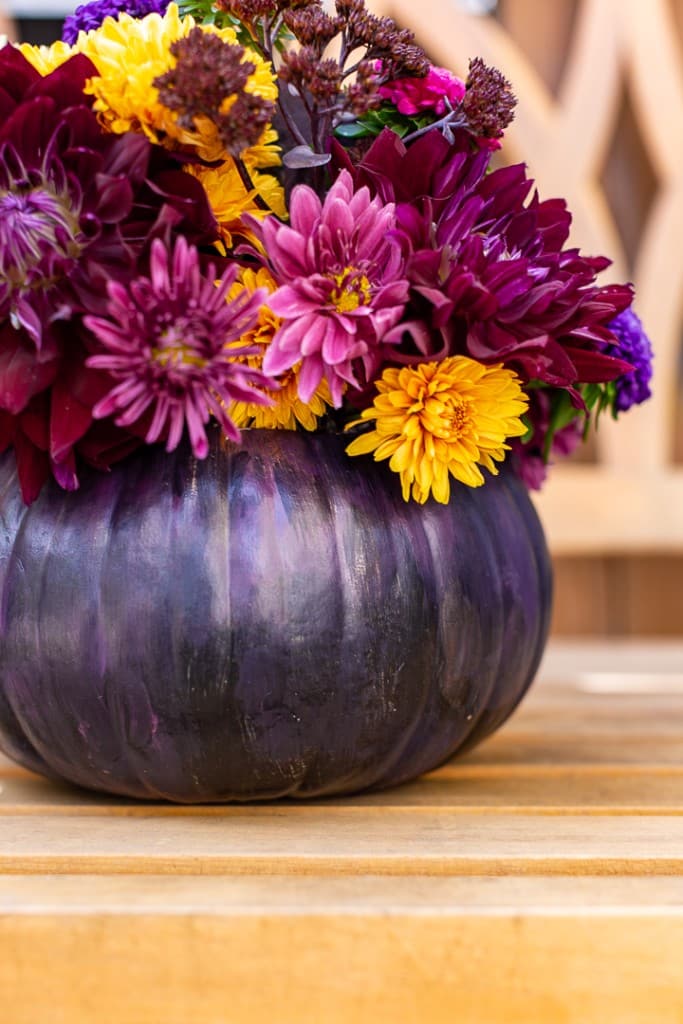
Painted Pumpkin Floral Arrangement | Craftberry Bush
A gorgeous Fall Floral Arrangement using a painted pumpkin as a vase.
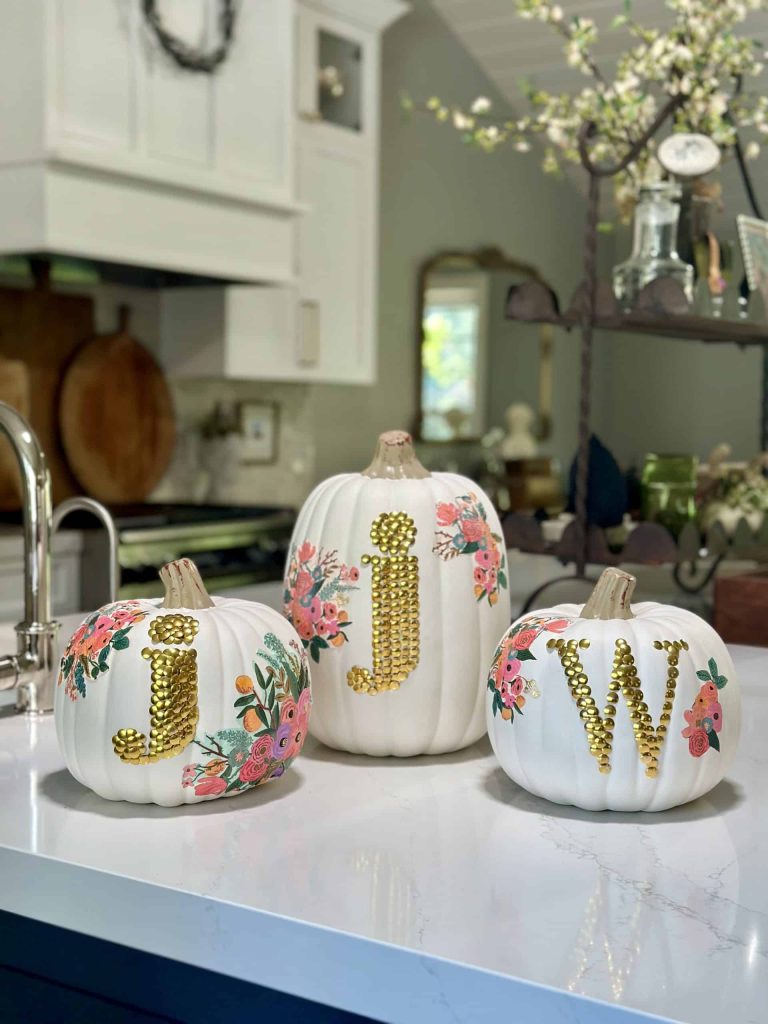
DIY No Carve Monogram Pumpkin | Tatertots and Jello
Create a stylish, no-carve monogram pumpkin for fall using gold thumbtacks and decoupaged florals cut from napkins—perfect for adding a personal touch to your seasonal decor!
Final Thoughts
Painting a faux pumpkin with abstract roses and leaves is a beautiful way to embrace fall without sticking to traditional orange and brown tones. The mix of soft greens, reds, pinks, and yellows creates a fresh, modern look that feels warm and seasonal. Whether you use it as a centerpiece, accent décor, or part of a larger fall display, this craft will surely bring creativity and personality into your home this autumn.
Happy crafting!
If you enjoy my blog, you can sign up to receive my updates here.
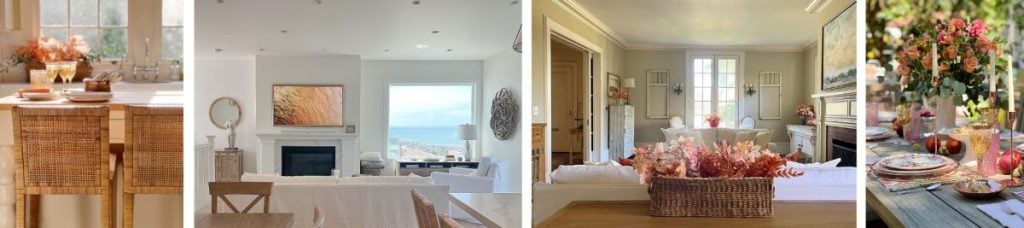
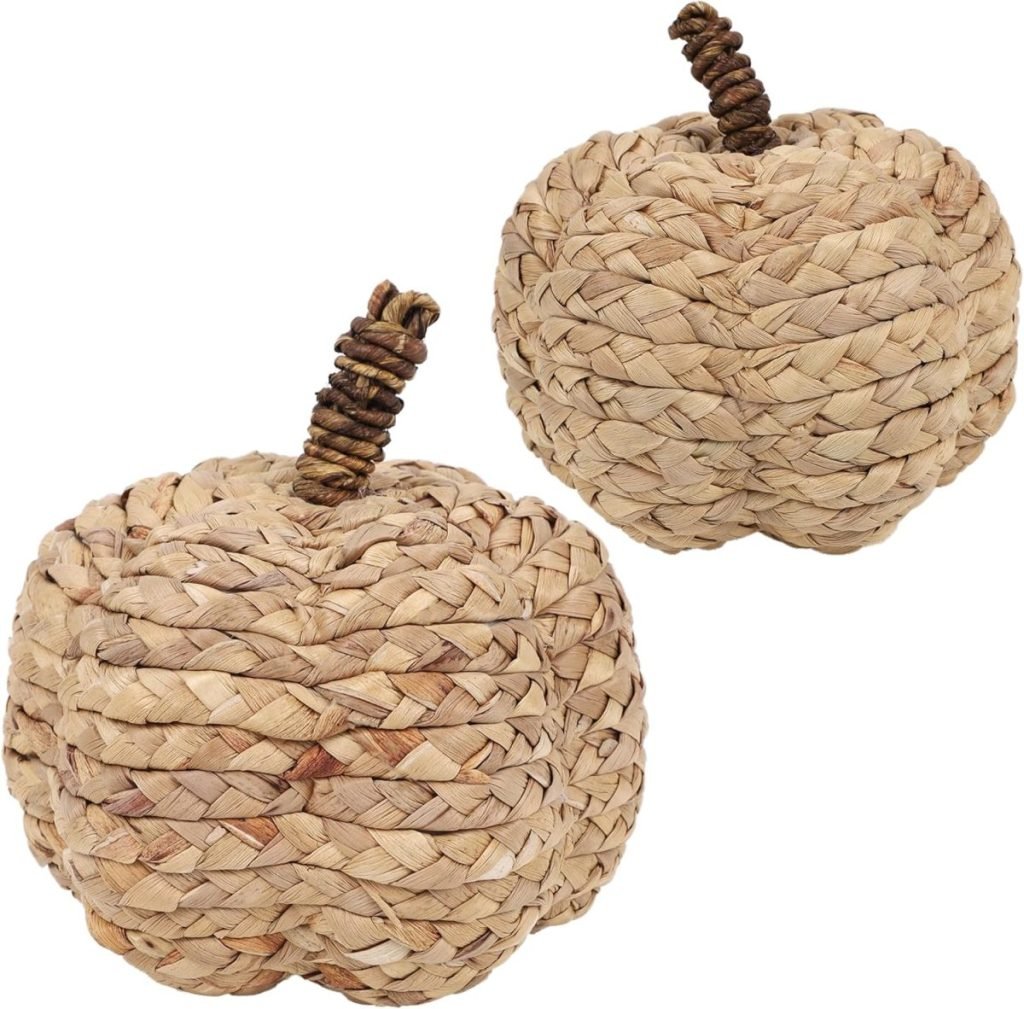
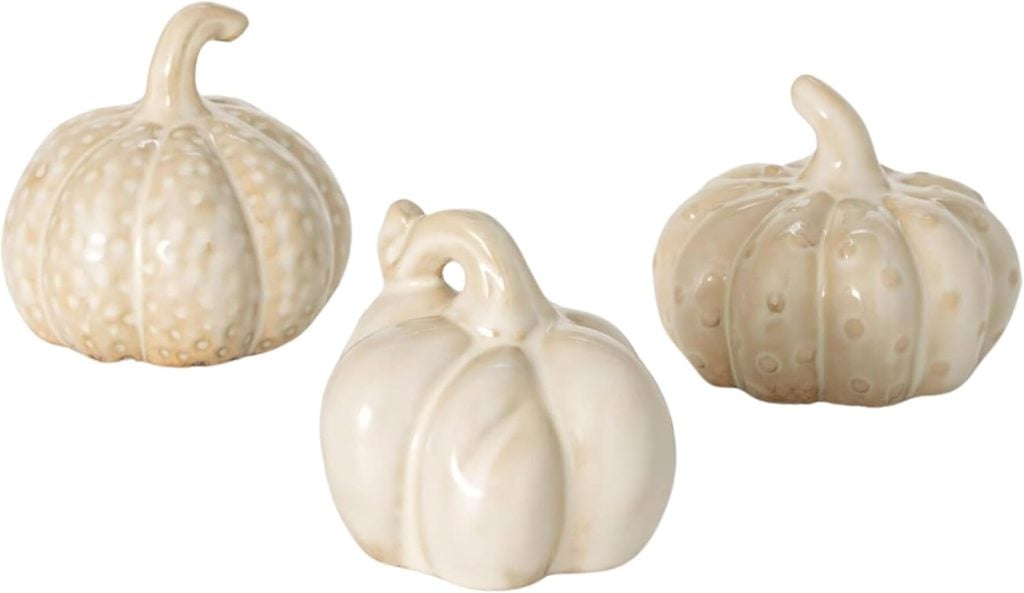
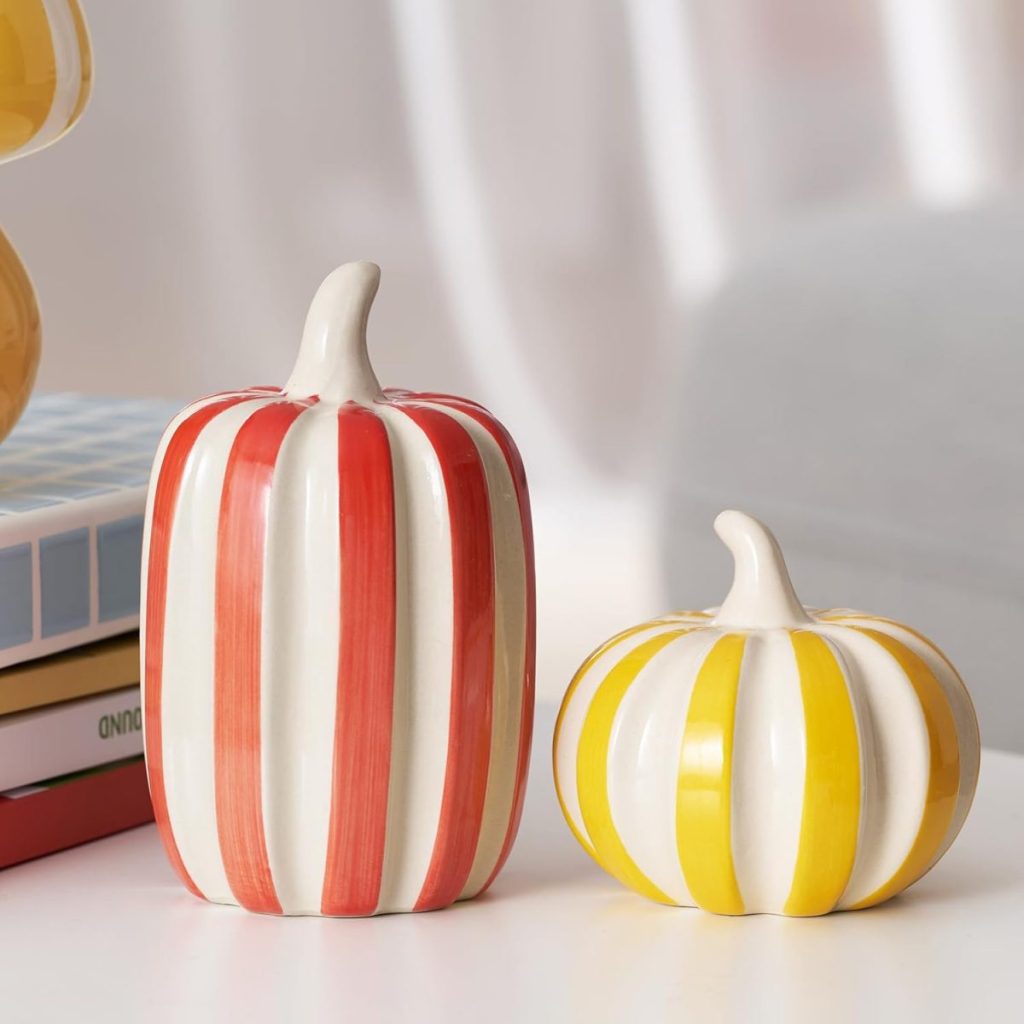
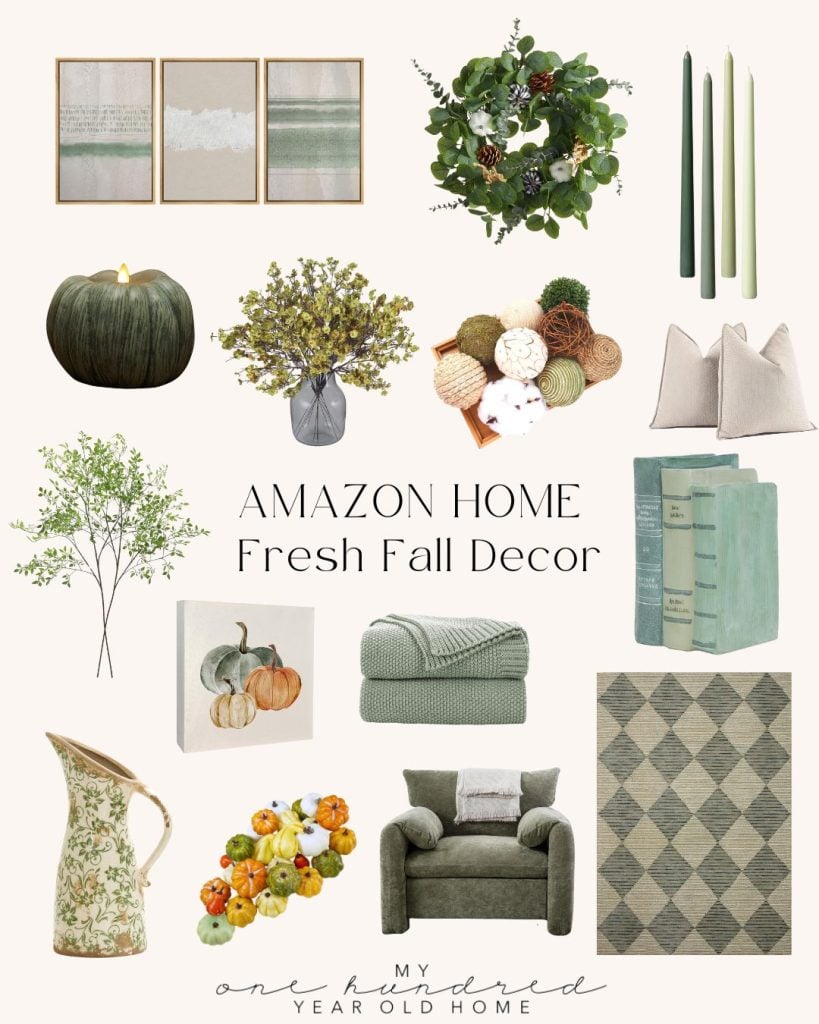
.Fresh Fall Decor Favorites

Latest Posts
- Spring Cleaning and Sunday Morning Coffee

- Best Easter Brunch Egg Dish: Loaded French Onion Frittata

- The Best Spring Pillow DIY – A Handmade Spring

You can pin the images below to your boards on Pinterest (click the Pin button in the top left corner) or follow me on Pinterest!

For more real-time updates, follow me on Instagram @My100YearOldHome

Leslie- I love your beautiful pumpkin! It truly is a work of art, but instead of a traditional canvas, your pumpkin was your canvas! Love the step-by-step tutorial on how you did it too!
Haha it was! So fun to do. So glad you enjoyed seeing the process!
This is so fun! I want to paint one!
You should! So much fun!
Your pumpkin came out so pretty, Leslie !! I love that idea.
I’ve got the perfect vibe