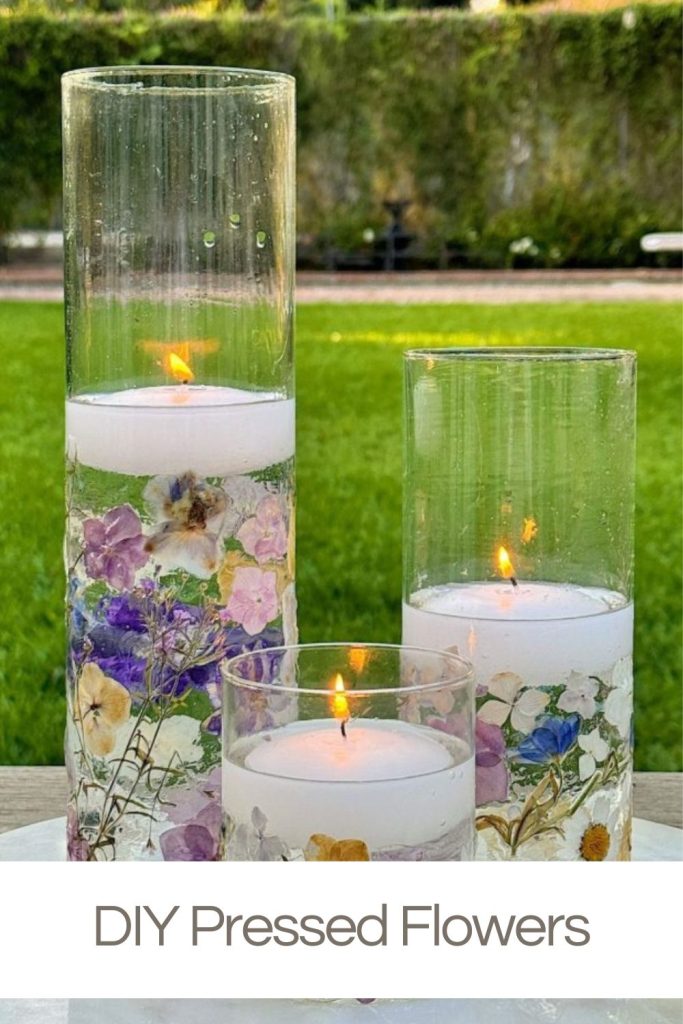
DIY Pressed Flowers
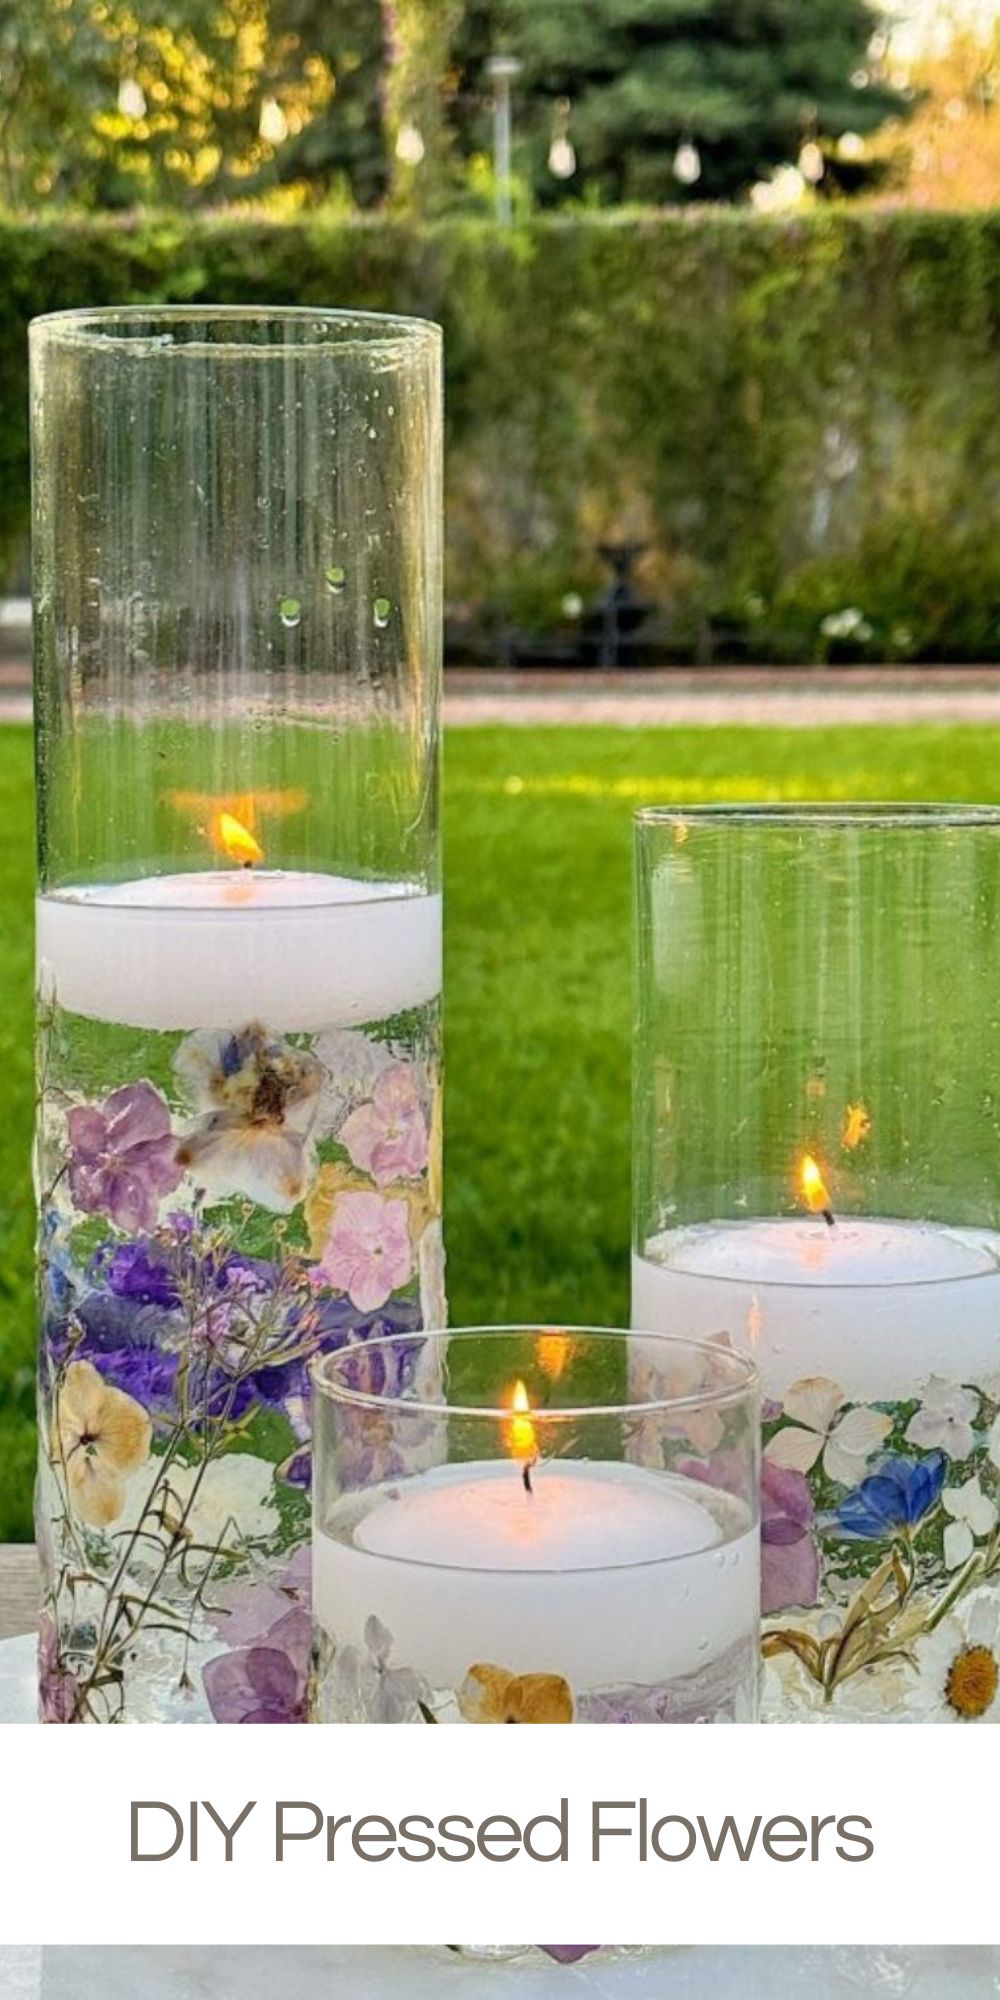

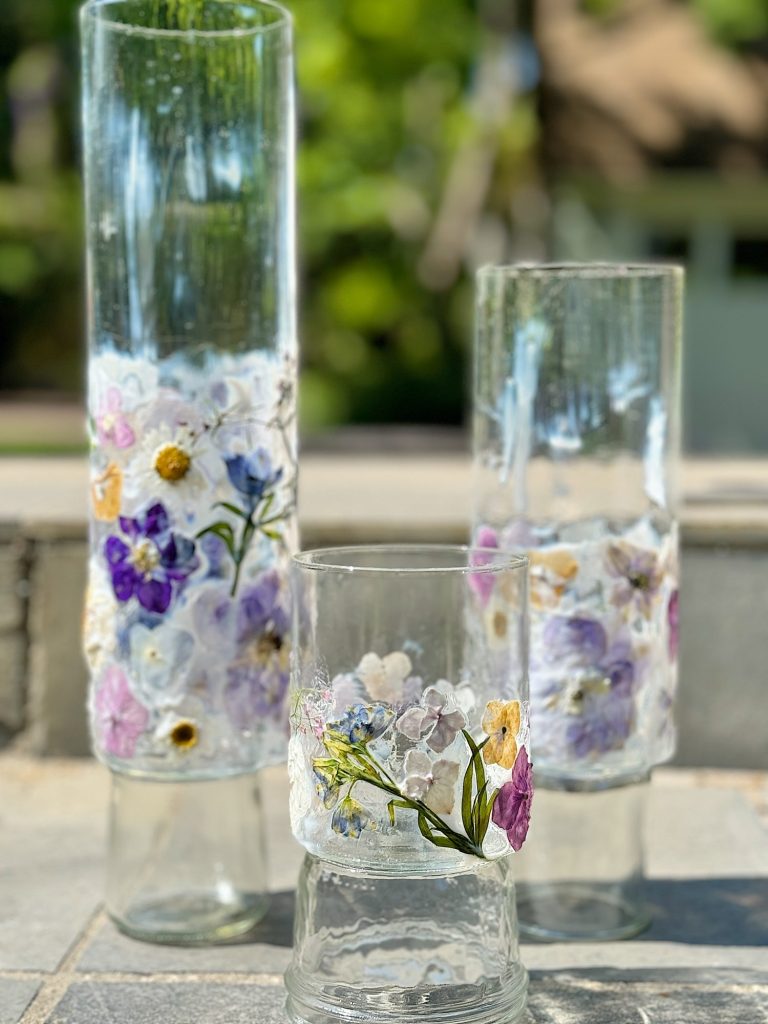
DIY pressed flowers are a beautiful and charming addition to any home decor. When made into candle holders, they are stunning.
These delicate creations bring a touch of nature indoors and can be customized to fit any style or occasion. Whether you want to create a romantic centerpiece, a whimsical decoration, or a unique gift, DIY pressed flowers are a fun craft.
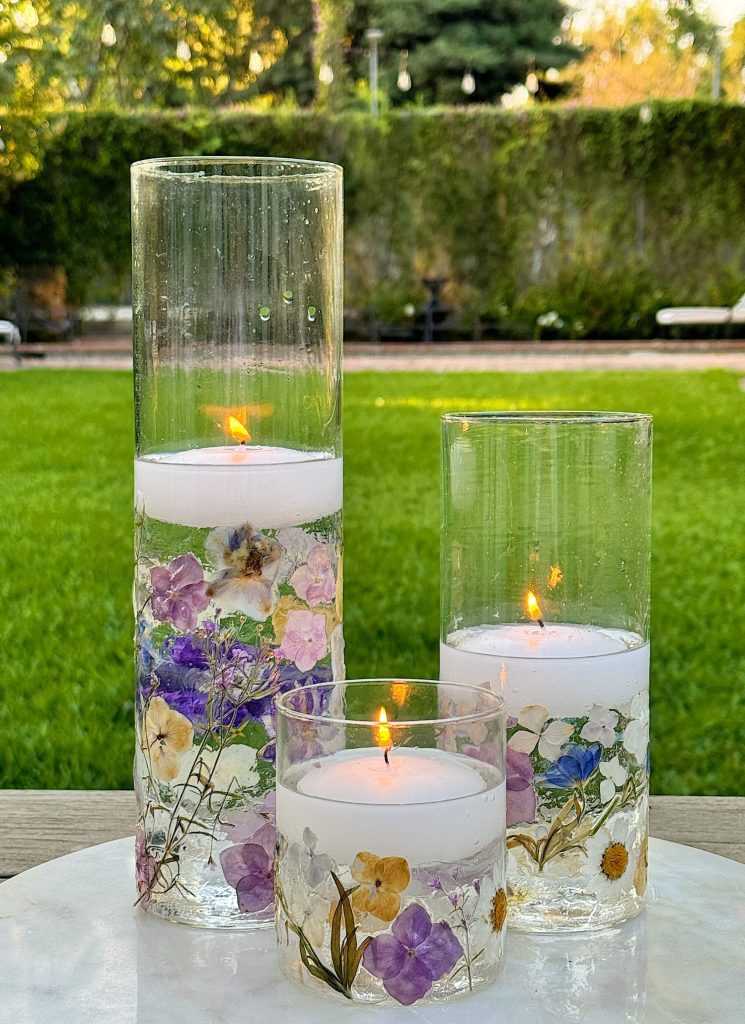


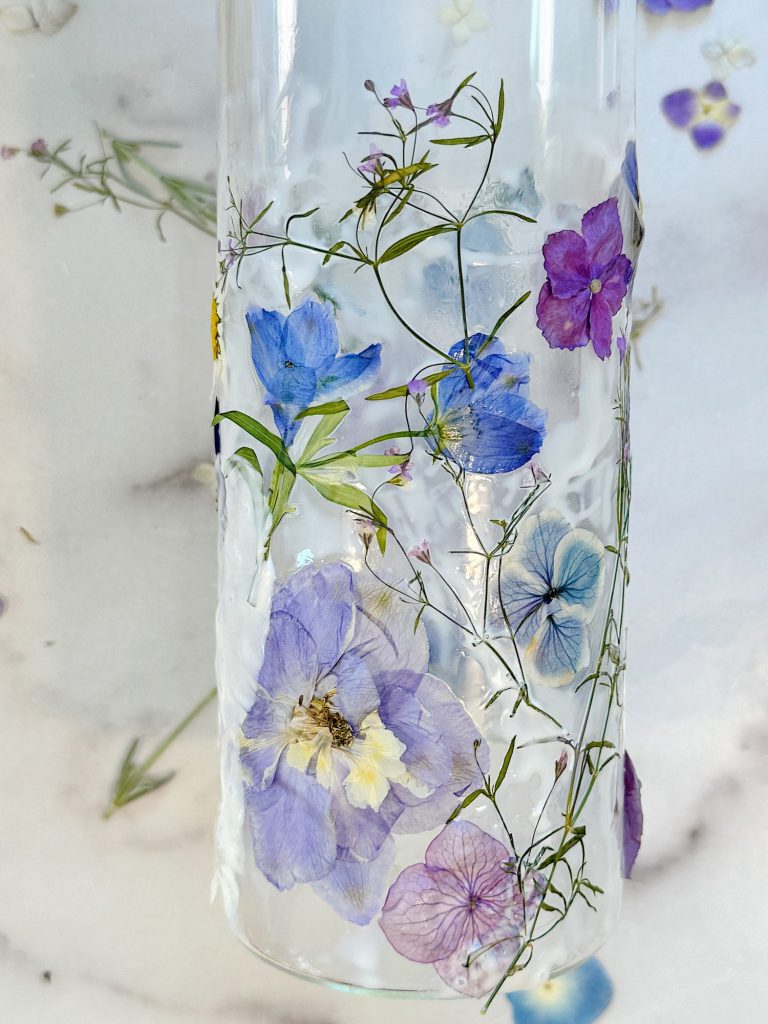
Pressed Flower Jars
Today, I am sharing the process of making pressed flower jars. I’ll also explain how to press flowers using the Aboofx Microwave Flower Press and other methods.
Wouldn’t these look great on a table at a wedding? Hmmm.
Materials Needed to Press Flowers
For Pressing Flowers:
- Fresh flowers and leaves
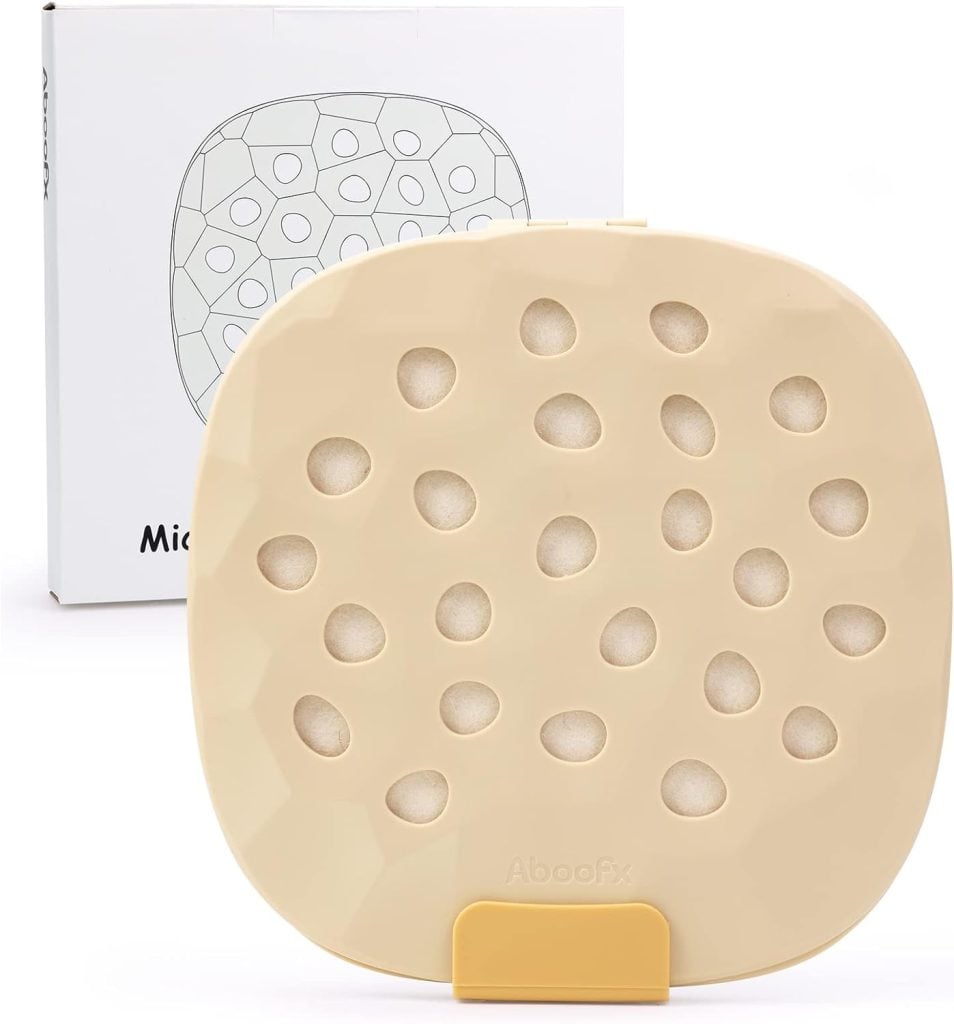
- Aboofx Microwave Flower Press (or a traditional flower press or heavy books)
- Parchment paper (if using books)
I may occasionally use affiliate links on this blog, which means I earn a small commission if you purchase through the link. The price will be the same whether you use the affiliate link or go directly to the vendor’s website using a non-affiliate link.

For the Pressed Flower Jars:
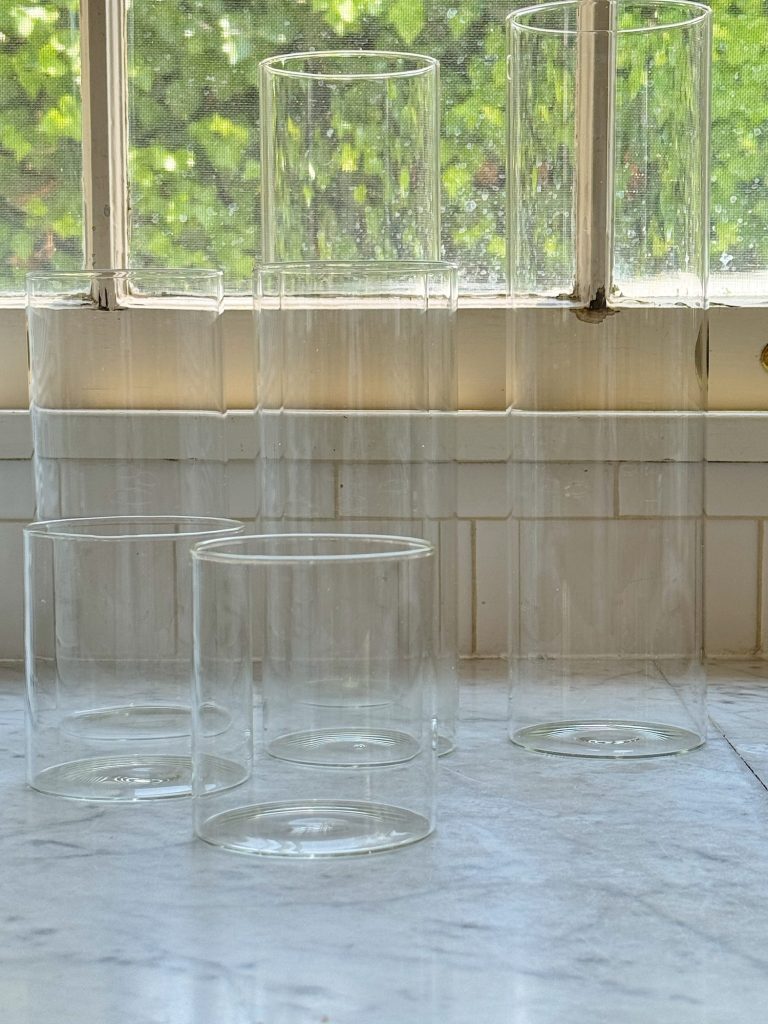
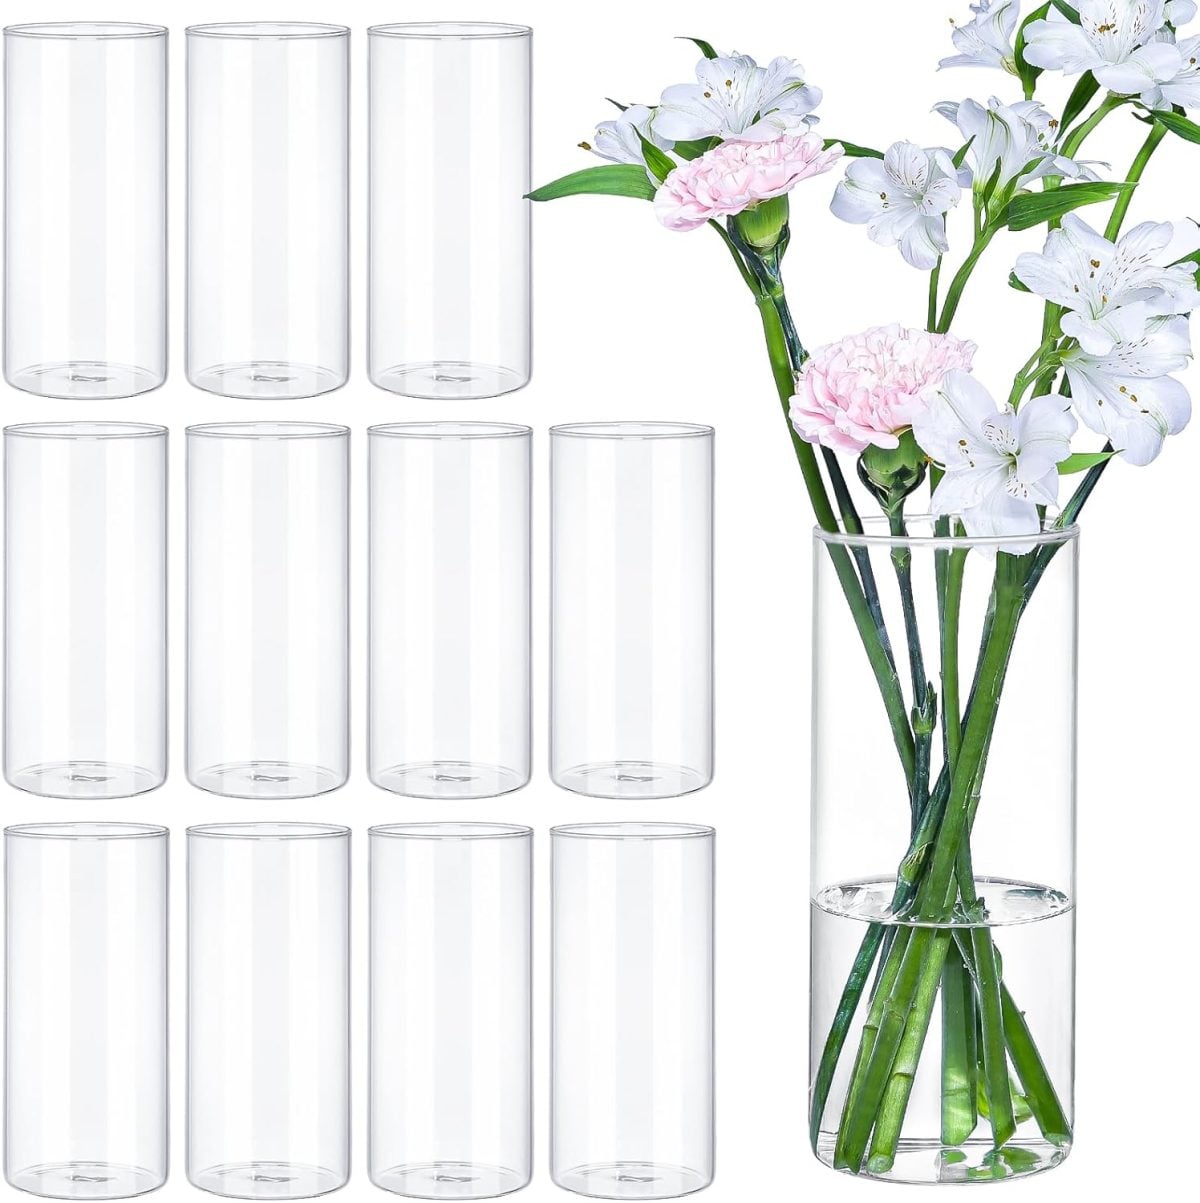
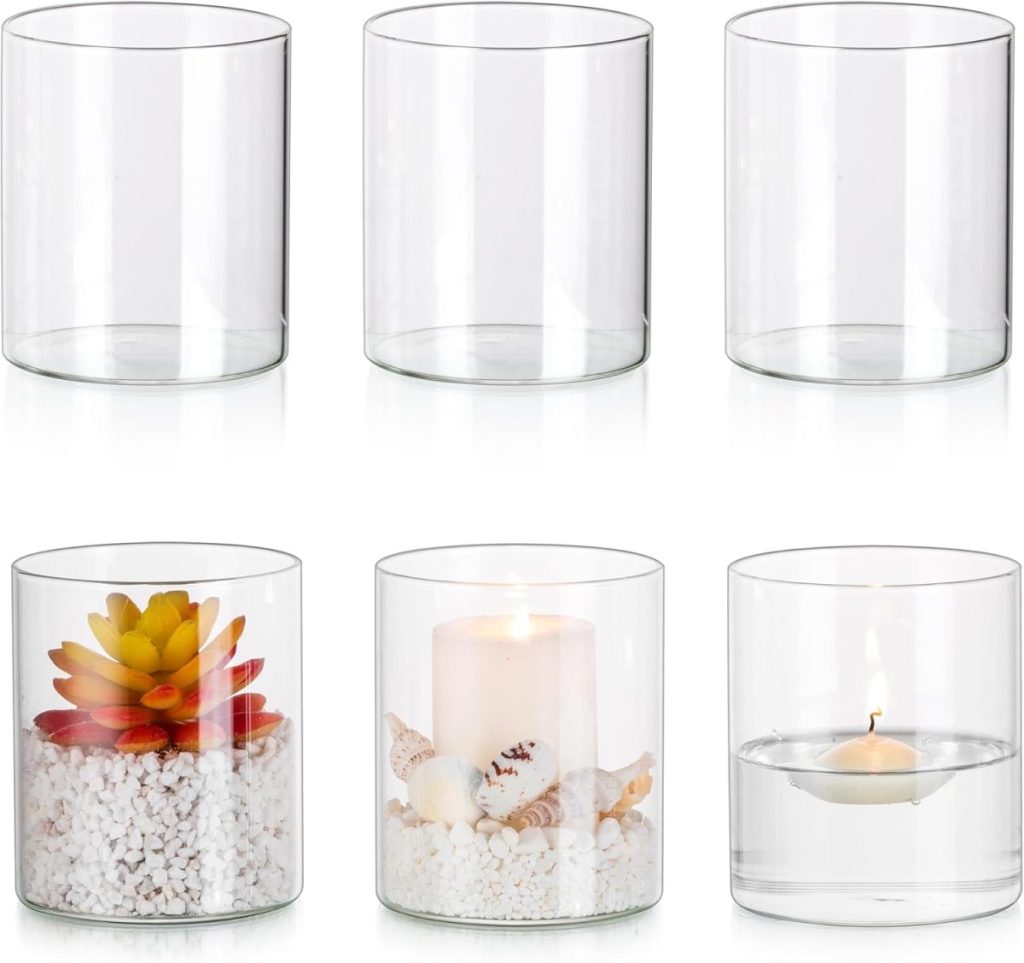
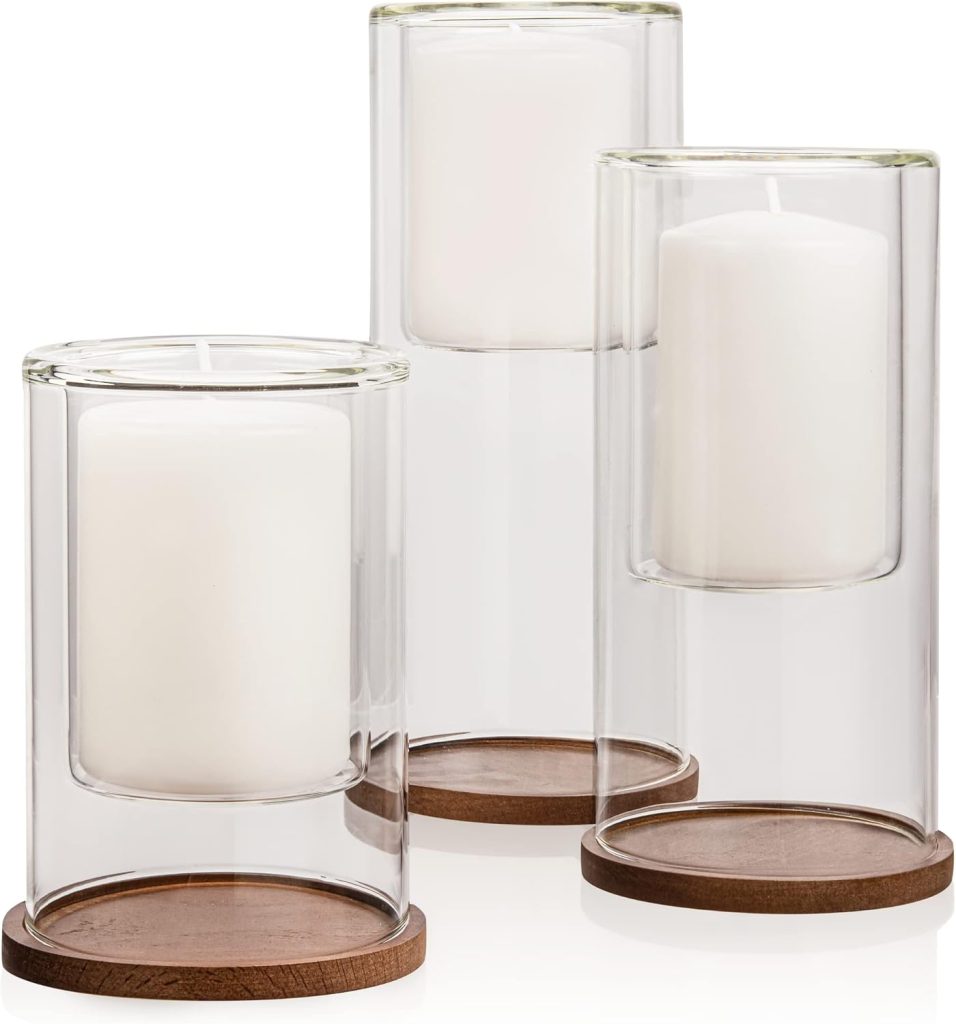
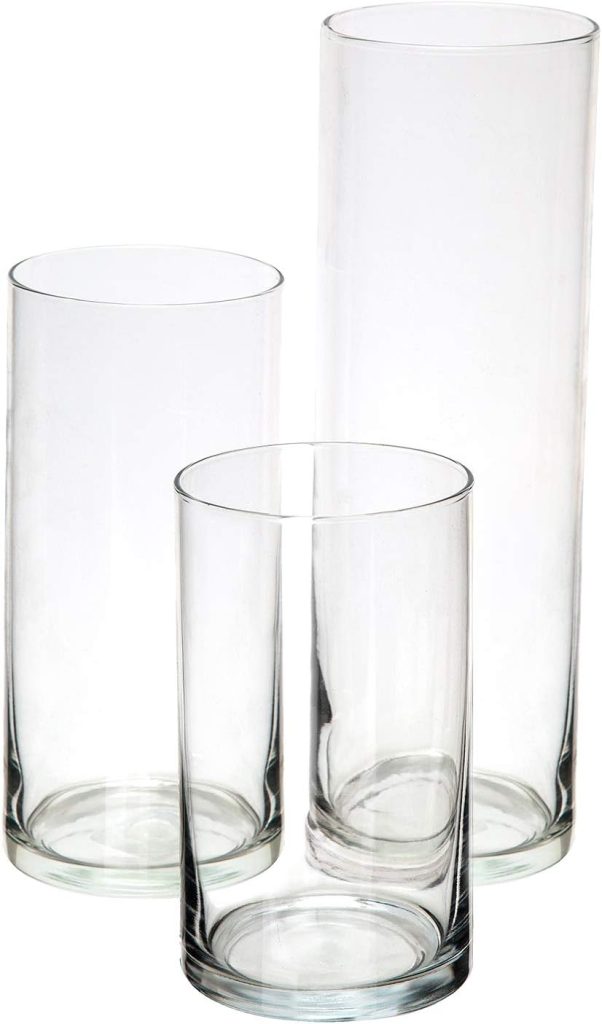
- Flat-sided glass jars or cylinder vases (various sizes)
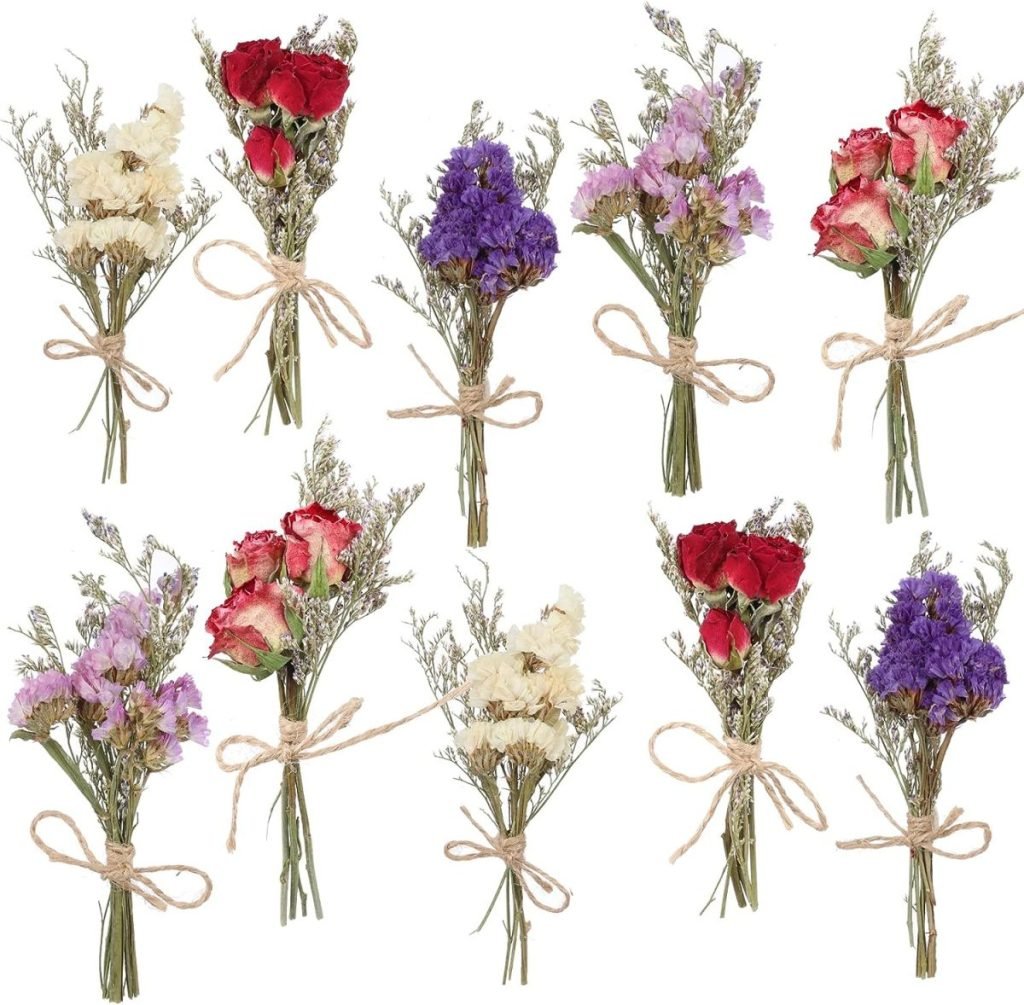
- Pressed flowers (either homemade or purchased)
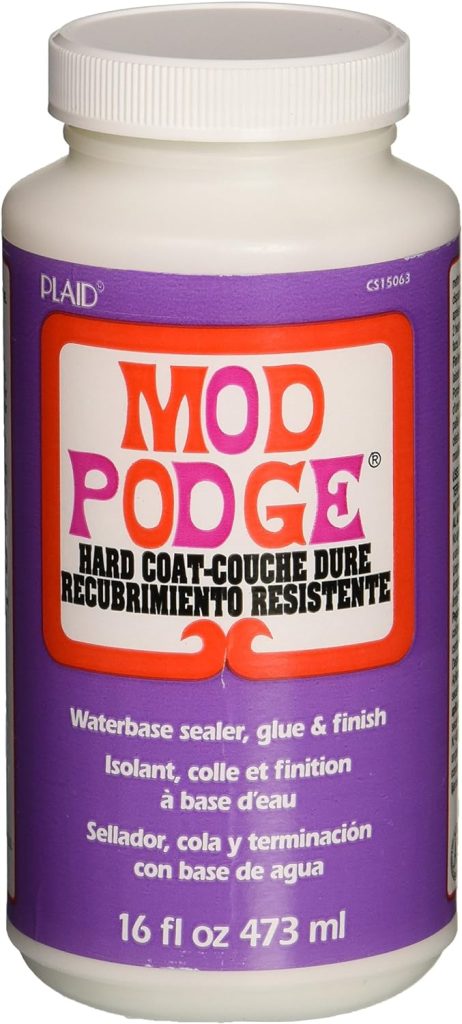
- Mod Podge (or any clear-drying craft glue)
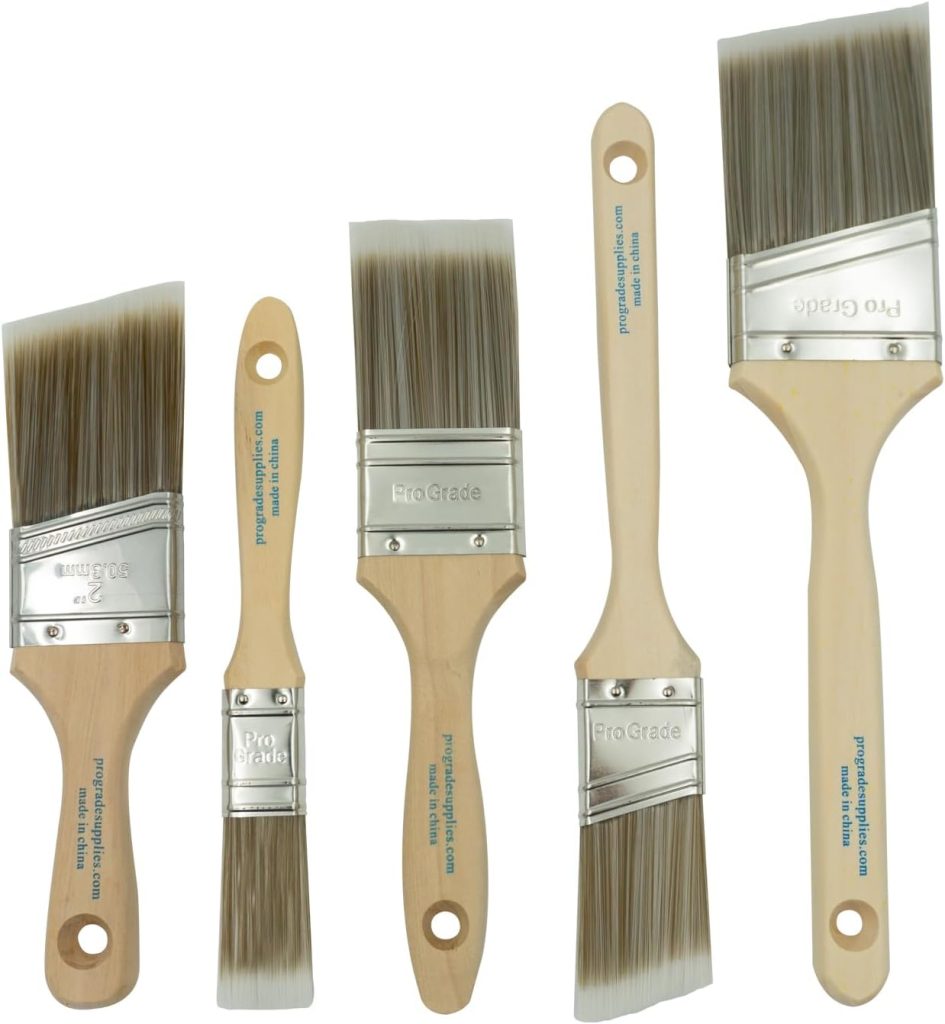
- Foam brush or paintbrush
- Water
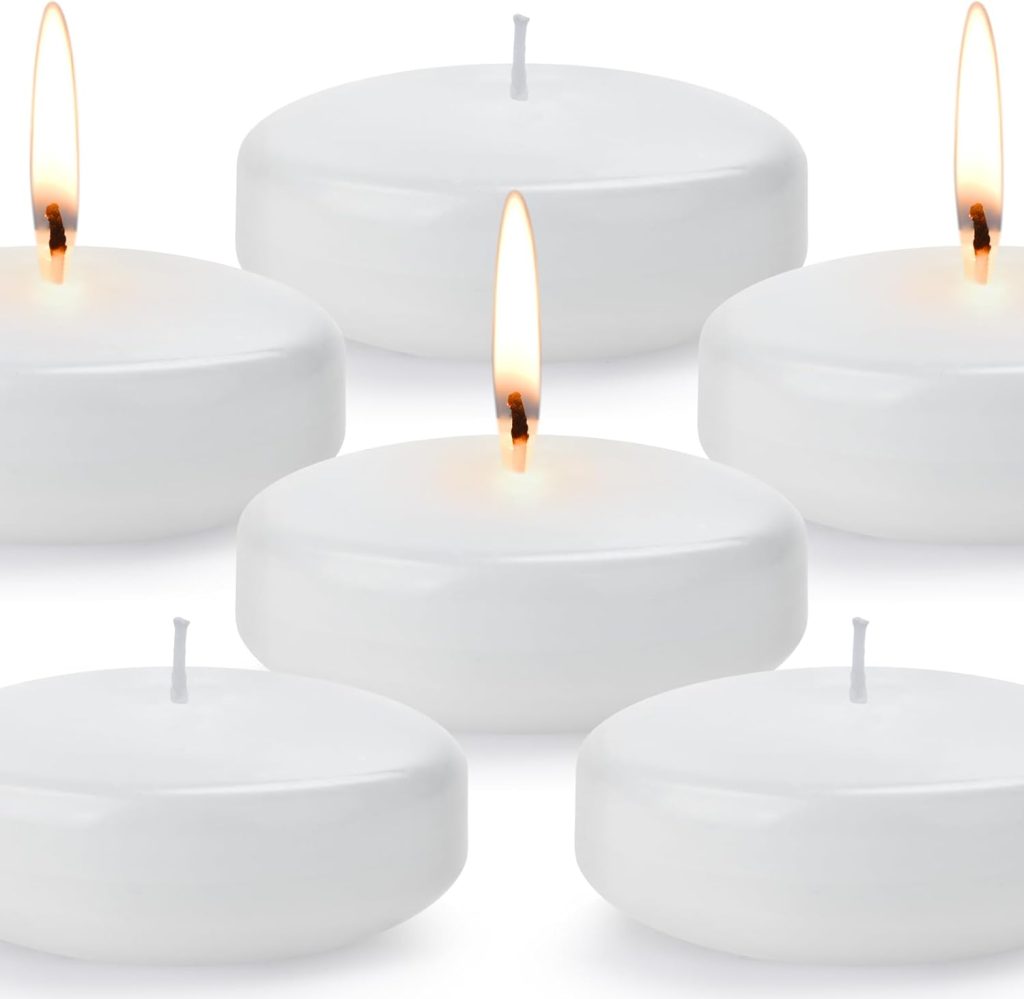
- Floating candles
Step 1: Pressing Flowers

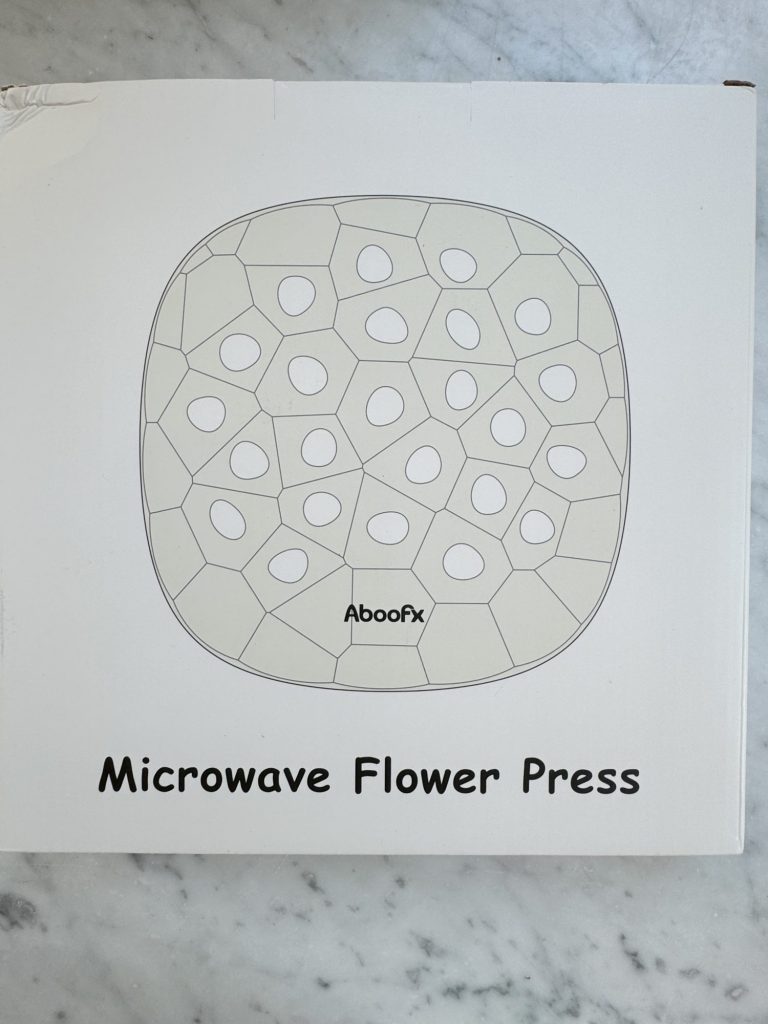
Using the Aboofx Microwave Flower Press:
The Aboofx Microwave Flower Press is an excellent tool for quickly pressing flowers.
Here’s how to use it:
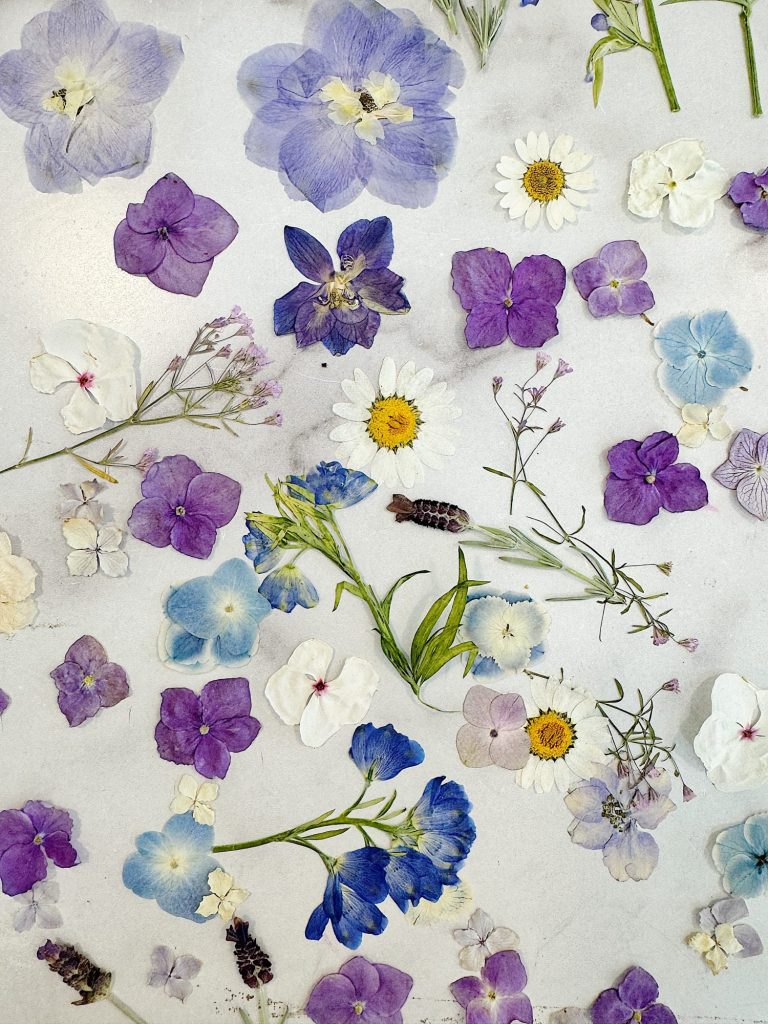
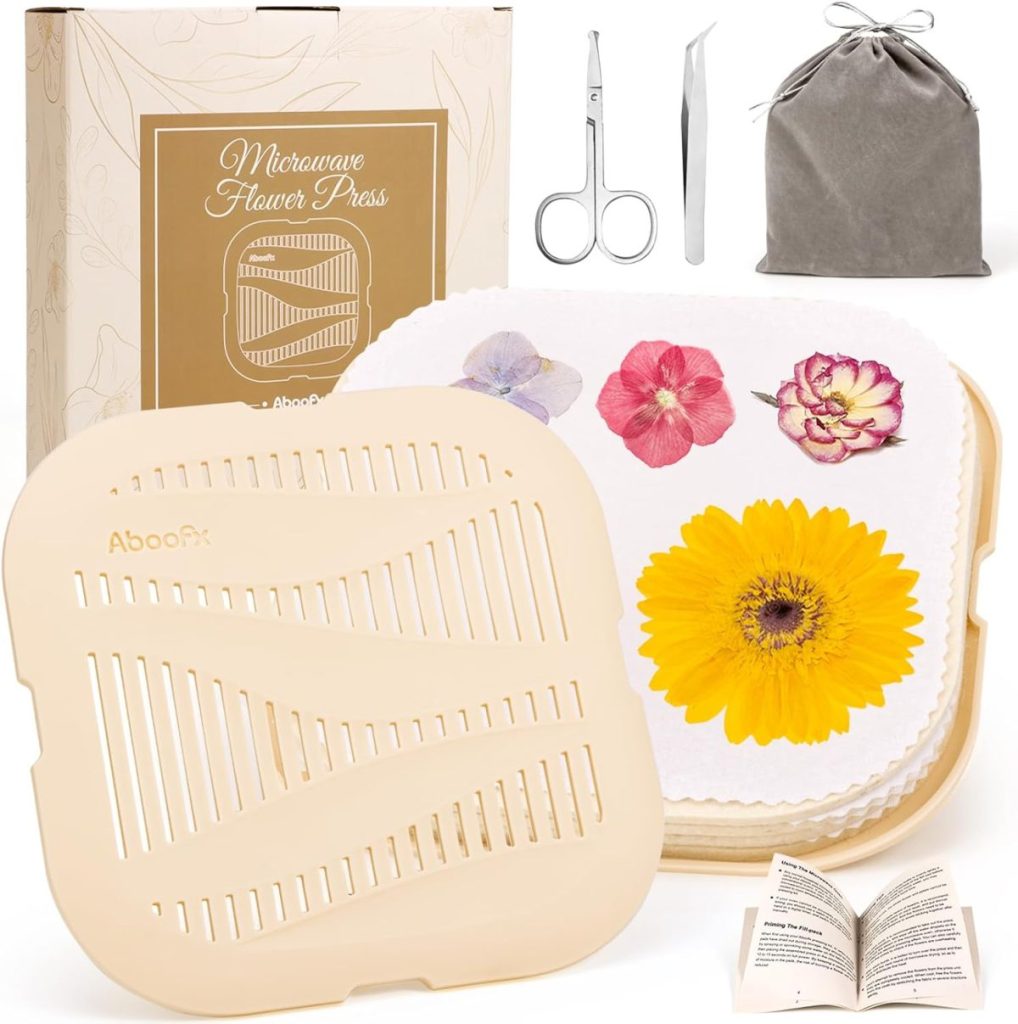
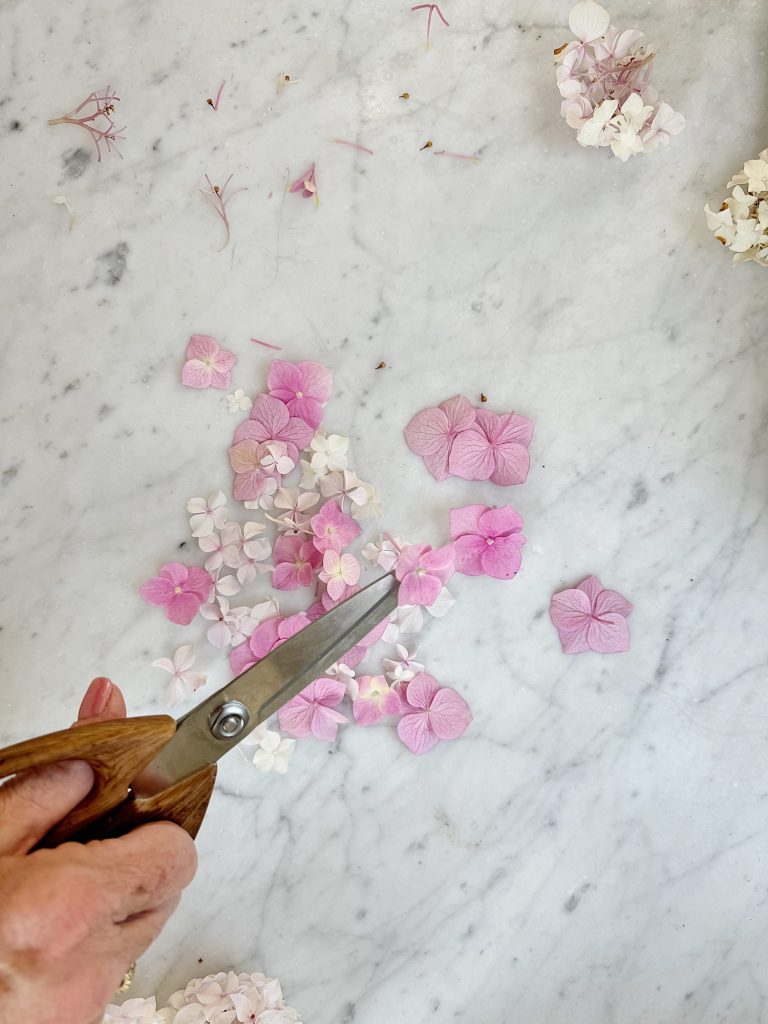
- Prepare the Flowers: Pick fresh flowers and leaves. Smaller, flatter flowers work best for pressing. Please ensure they are dry and free from dirt or insects.
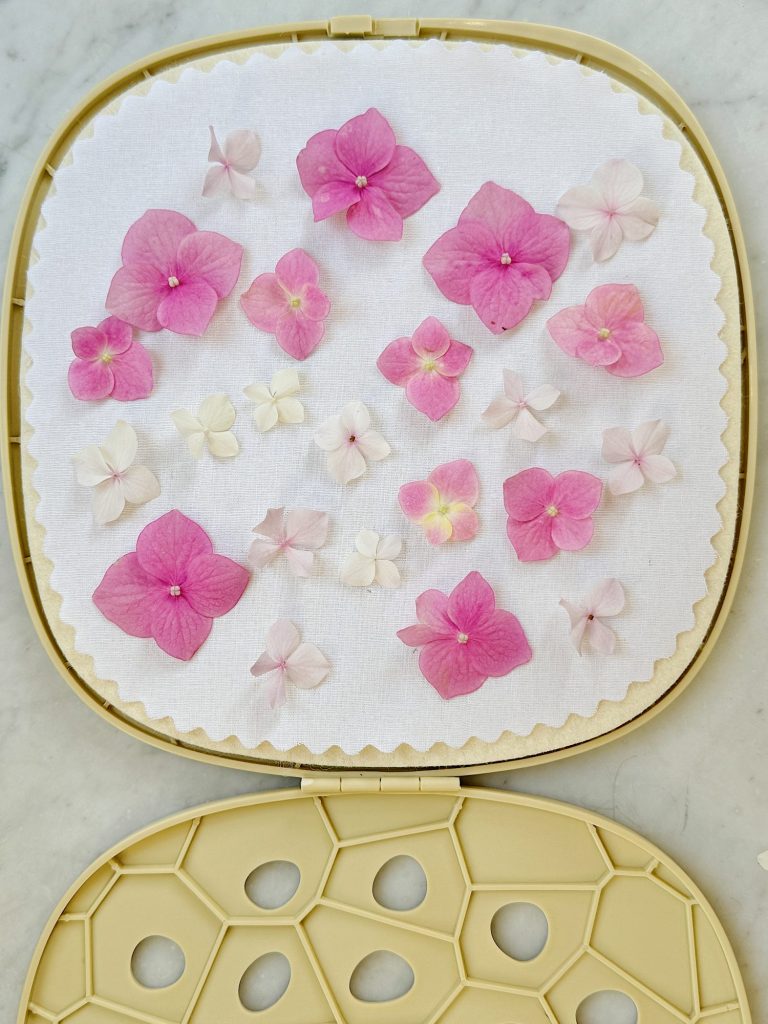
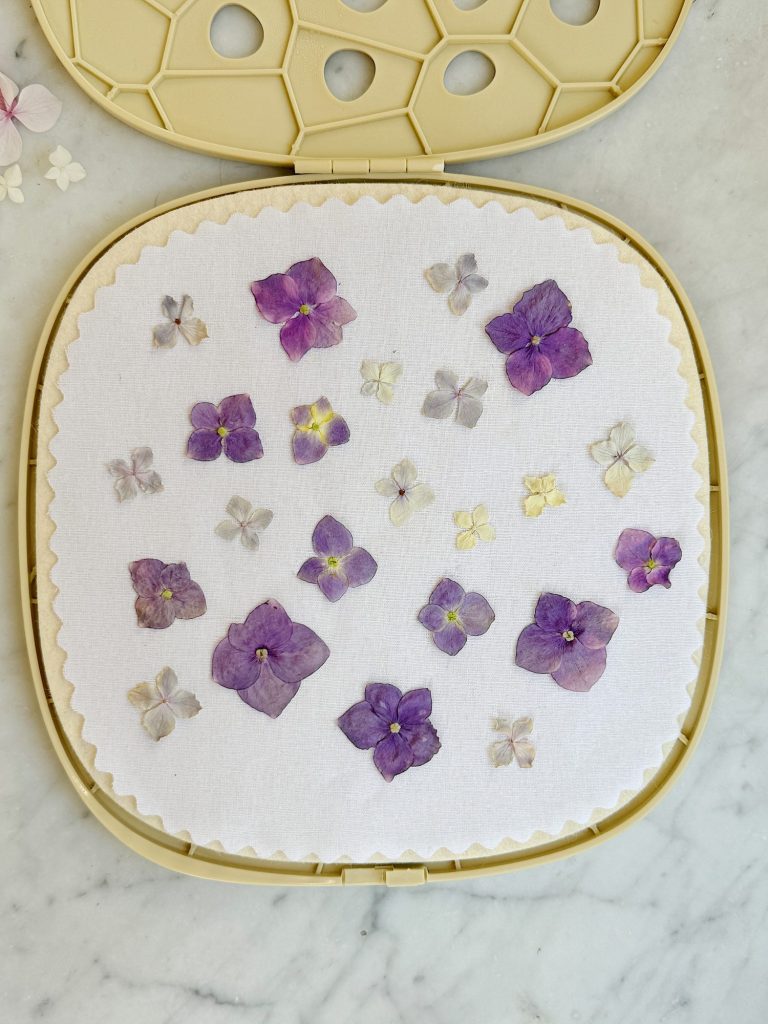
- Arrange in the Press: Open the Aboofx Microwave Flower Press and place the flowers and leaves between the absorbent papers included with the press. Arrange them in a single layer, making sure they don’t overlap.
- Microwave: Close the press and secure it with the provided straps. Place the press in the microwave and heat on high for 30 seconds. Check the flowers; if they are not completely dry, continue microwaving in 15-second increments until they are dry and flat. I microwaved my flowers for 60 seconds.
- Cool Down: Let the press cool down before opening it. Carefully remove the pressed flowers and set them aside.
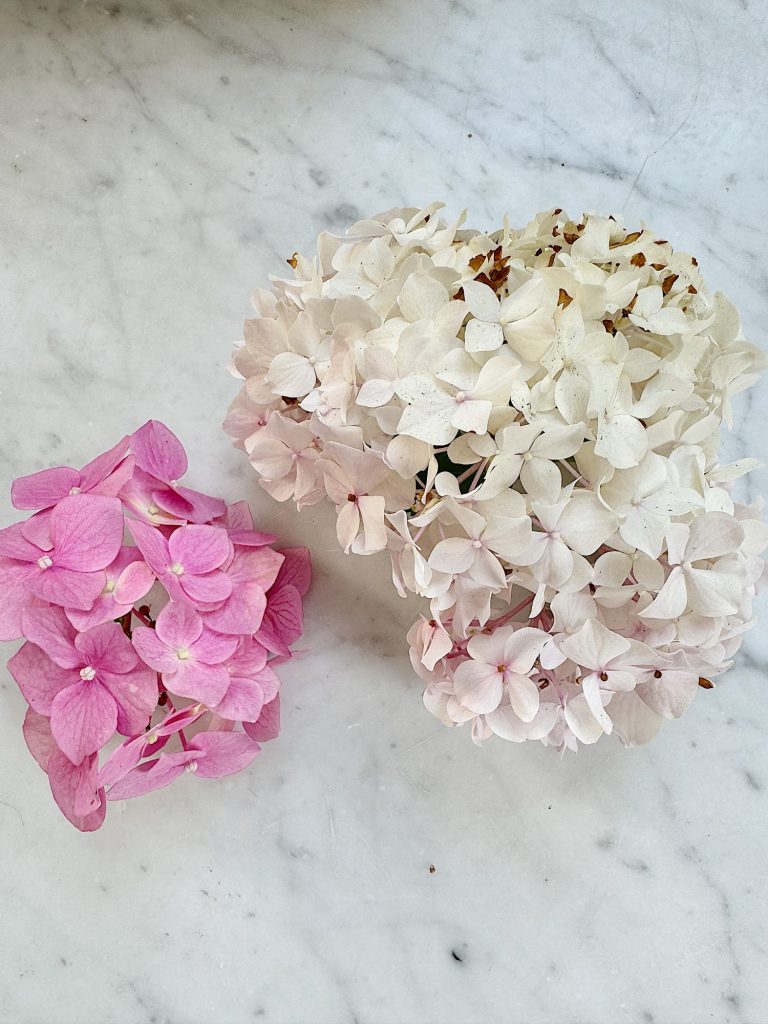
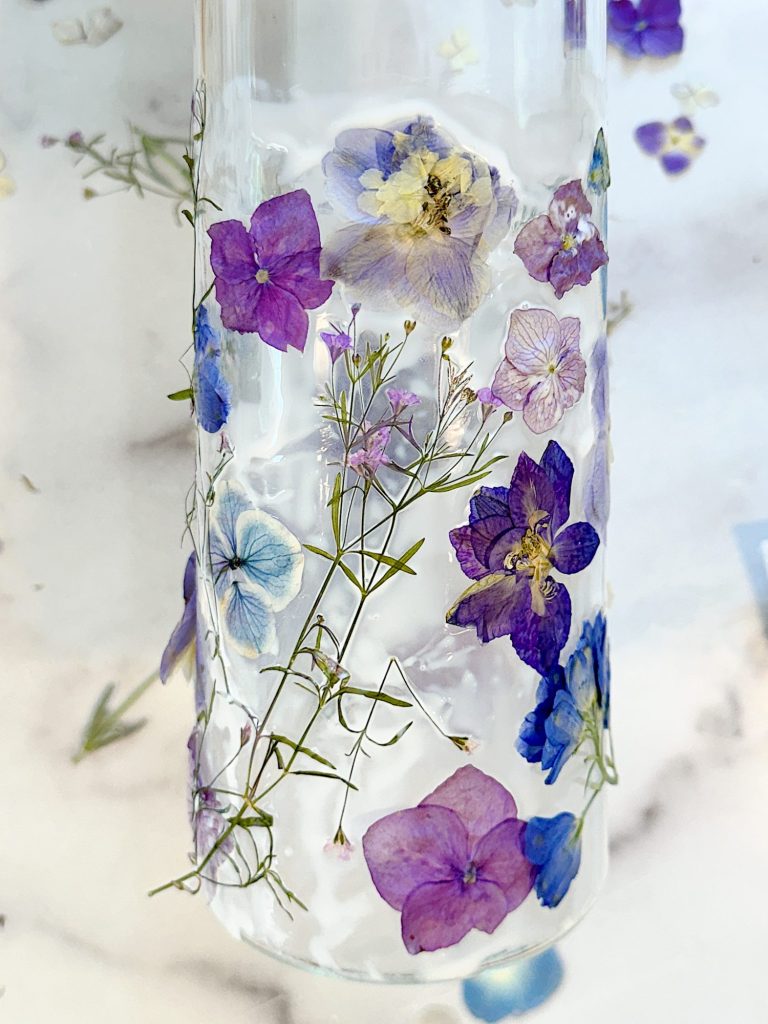
Of course, my pink hydrangea flowers turned purple. That’s the funny thing about hydrangeas!
Traditional Pressing Method:
If you don’t have a microwave flower press, you can use a traditional flower press or heavy books:
- Prepare the Flowers: Pick and clean your flowers as described above.
- Pressing: Place the flowers between two sheets of parchment paper. Then, place them inside a heavy book or between the layers of a flower press.
- Weight: Stack heavy books or weights on top if you use books.
- Wait: Leave the flowers to press for about 1-2 weeks, checking periodically to ensure they are drying properly.
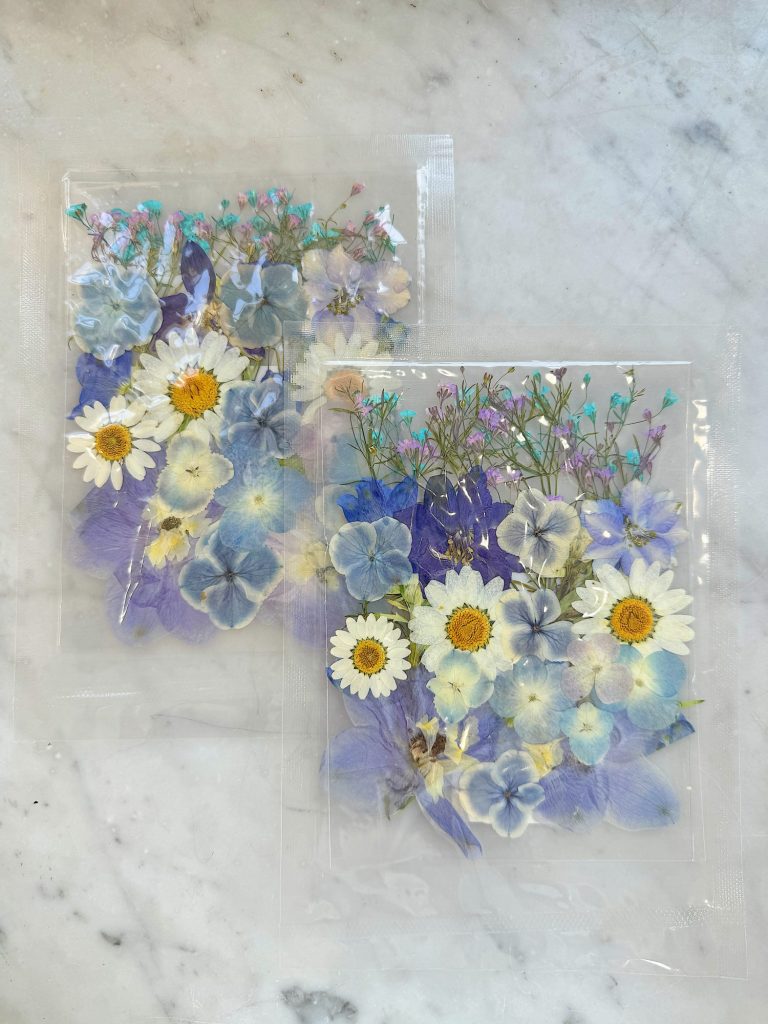
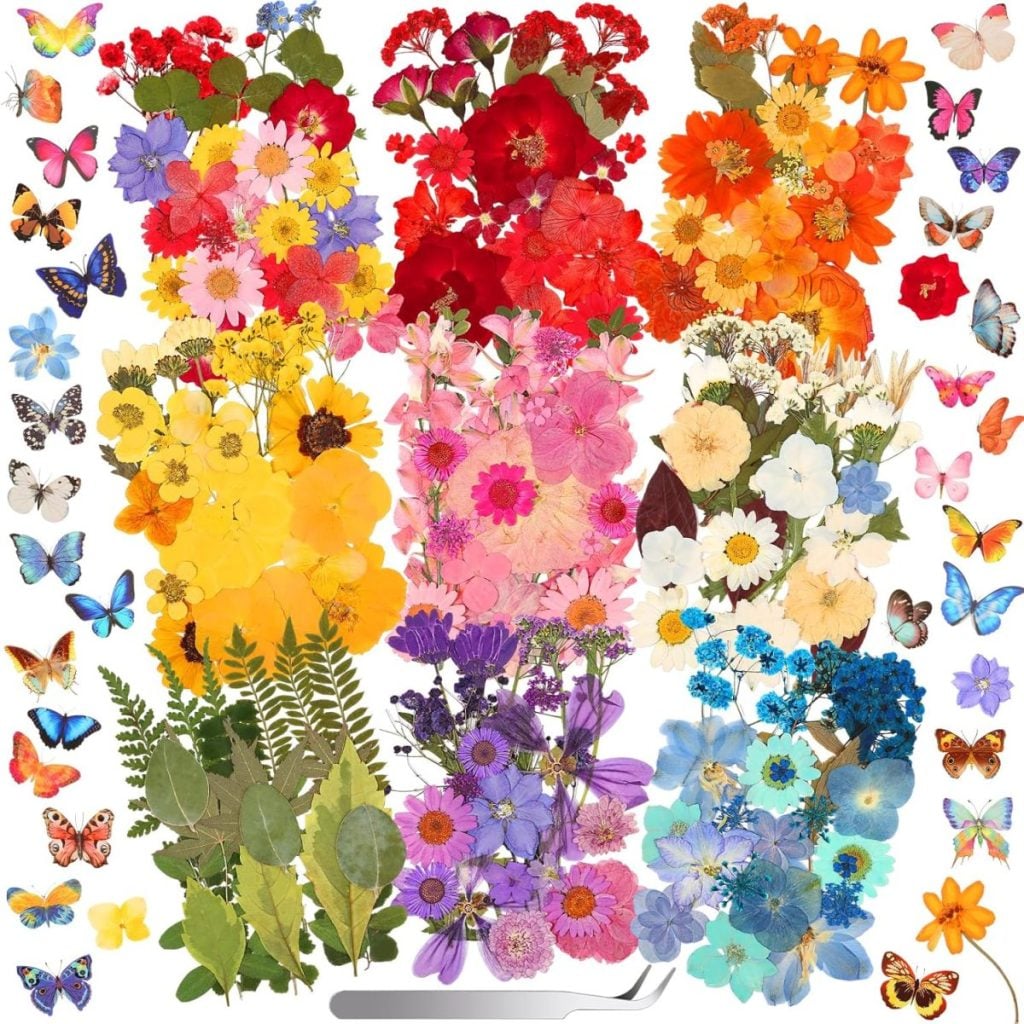
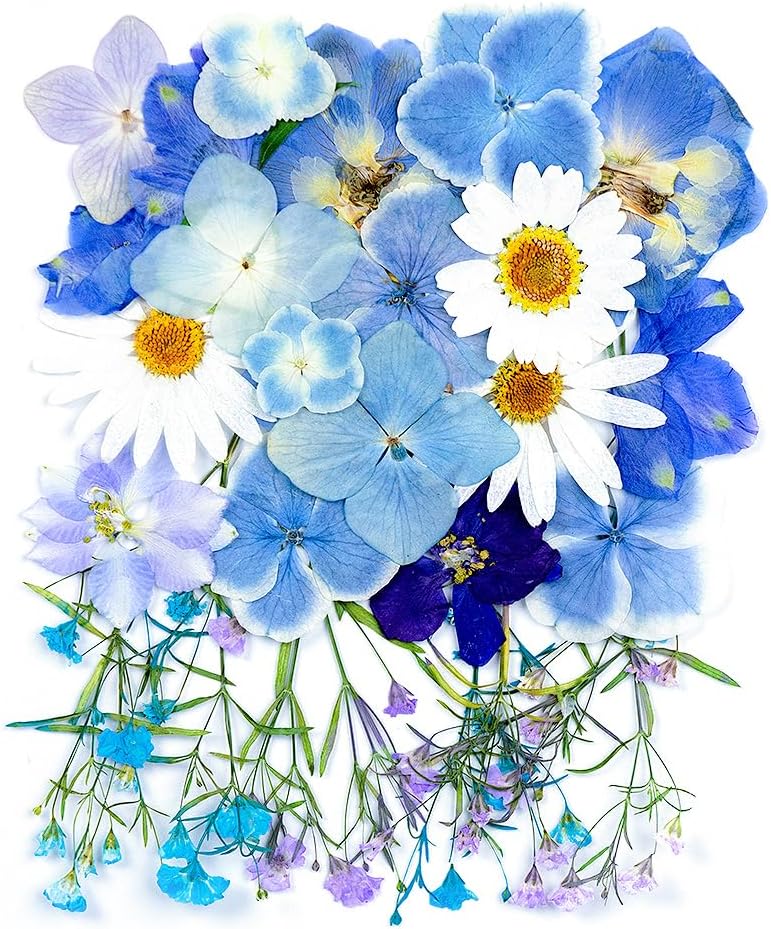
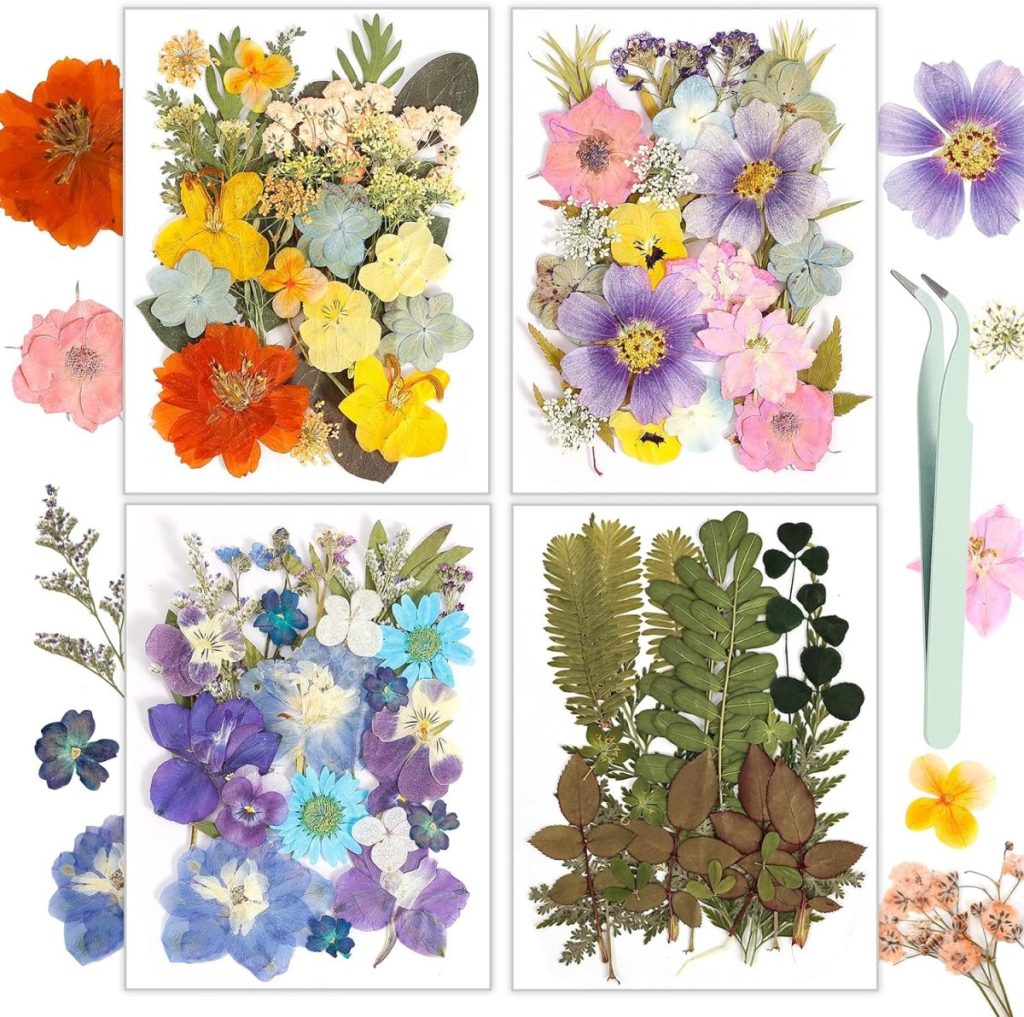
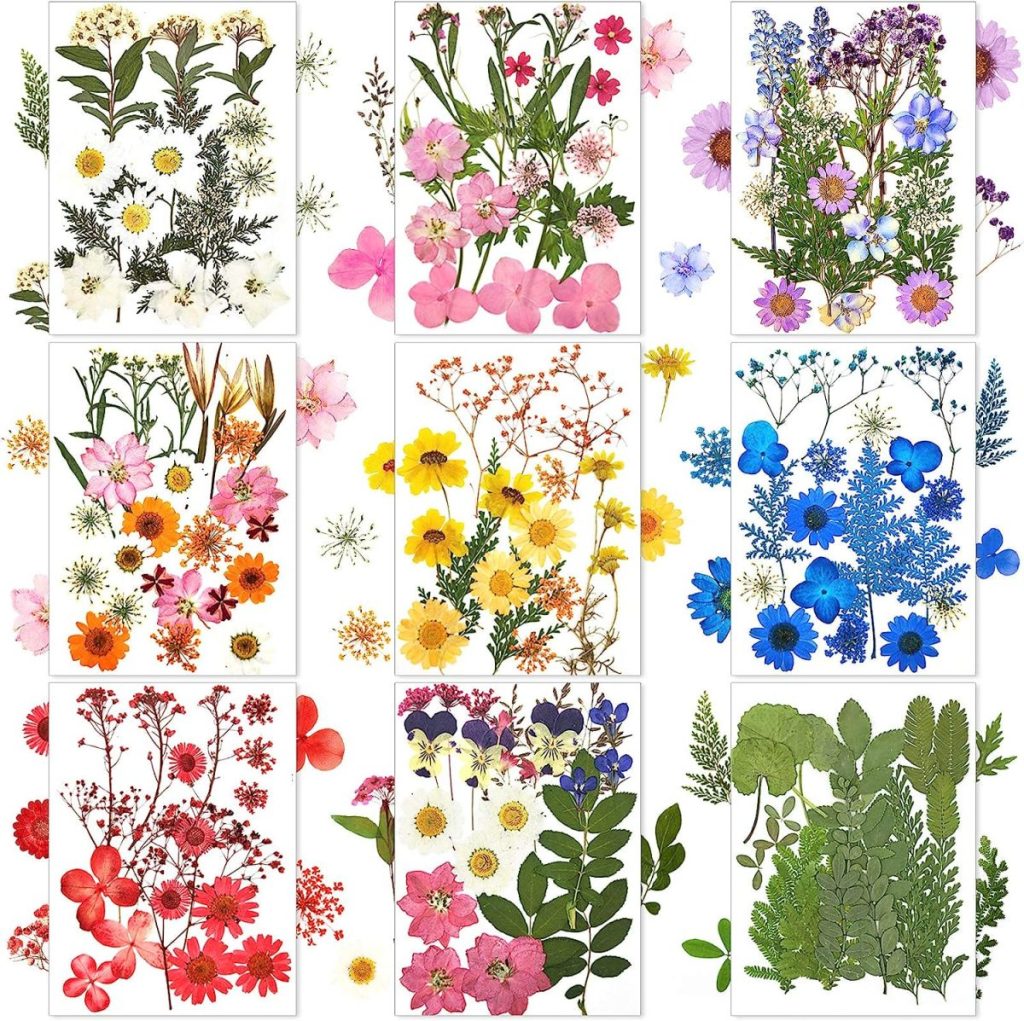
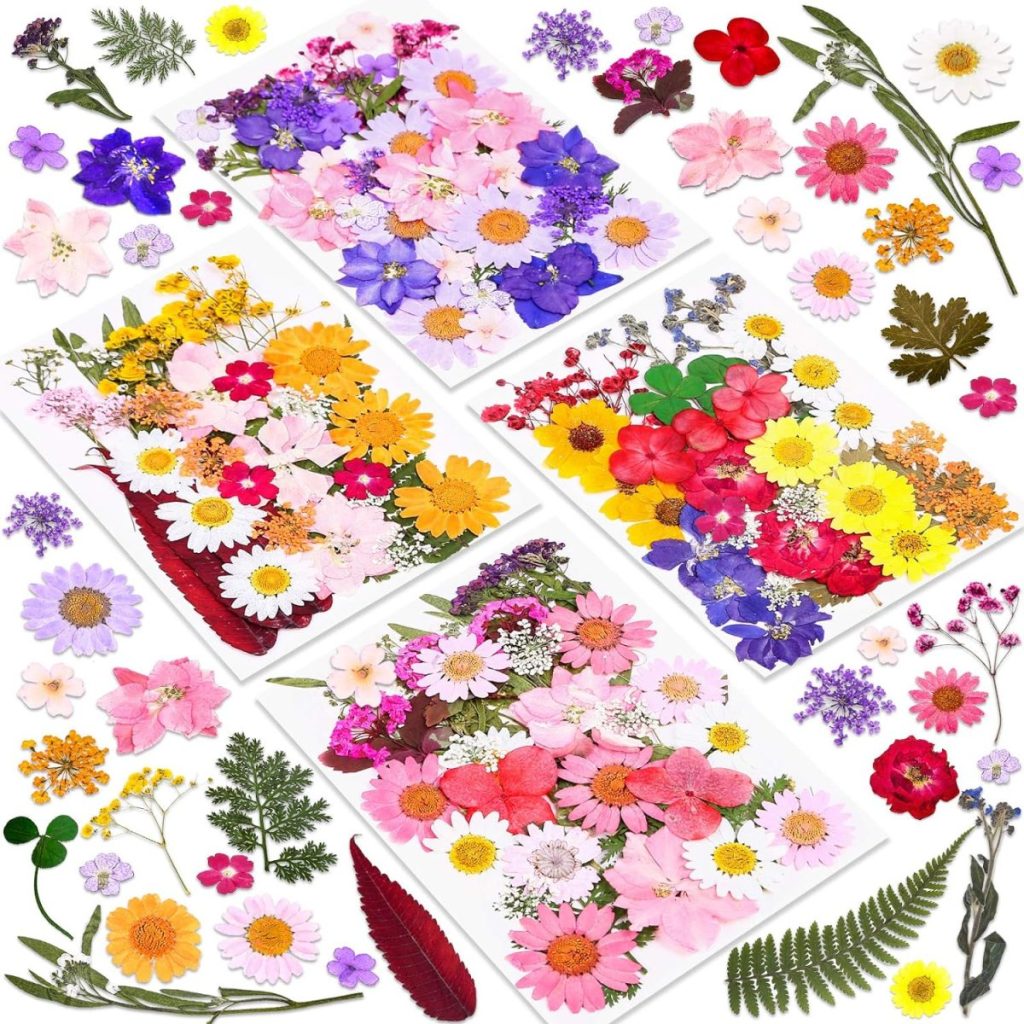
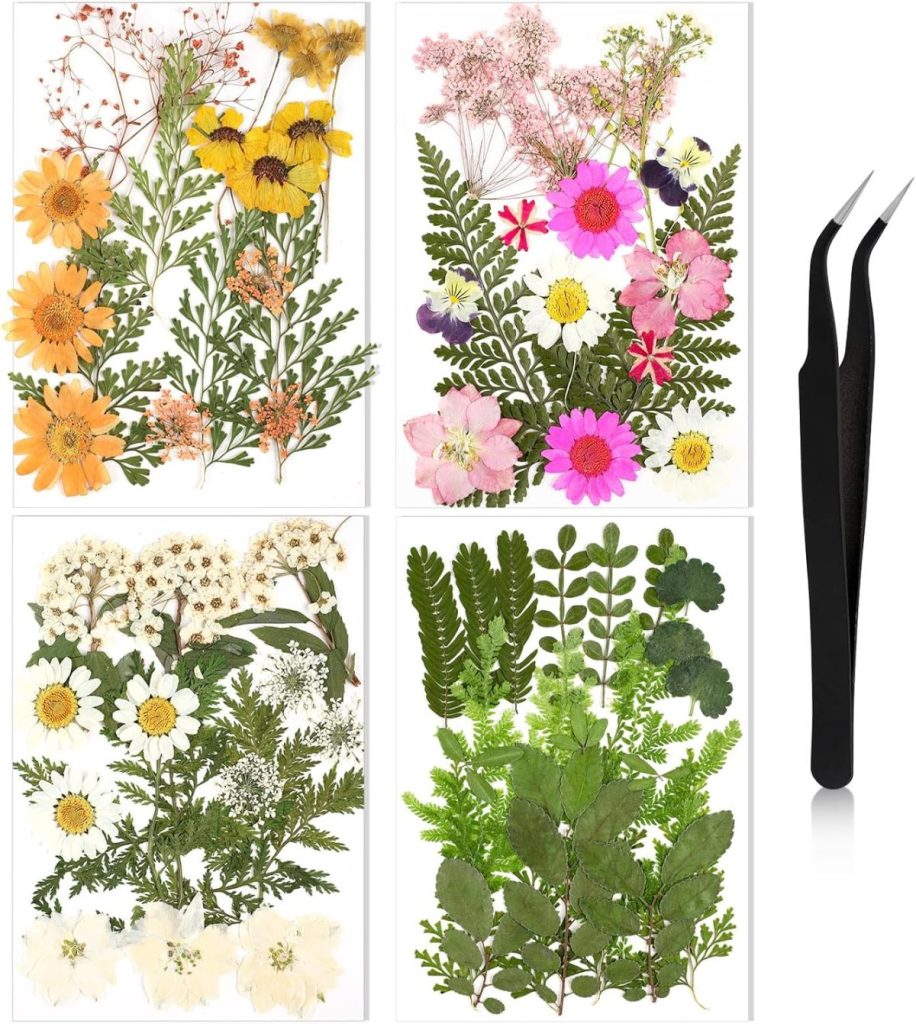
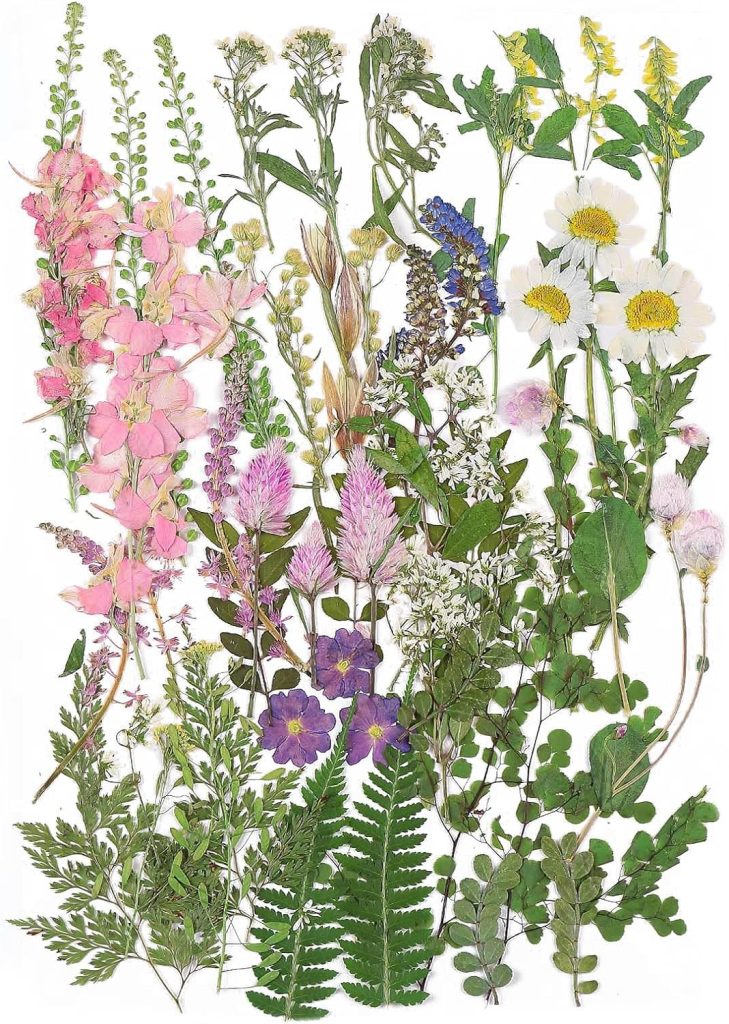
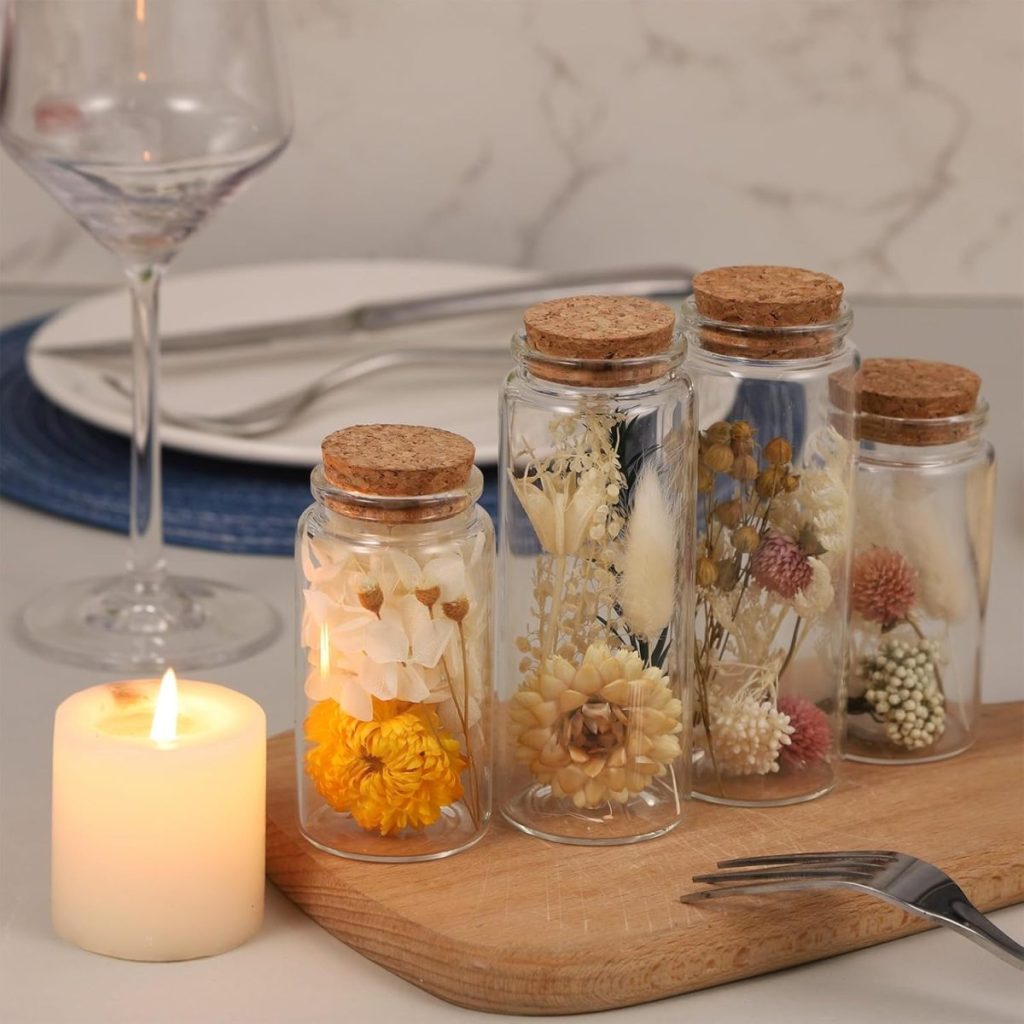
Buying Pressed Flowers
If you’re short on time or prefer to skip the pressing process, you can purchase pressed flowers on Amazon. Look for high-quality, naturally preserved flowers in a variety of shapes and colors.
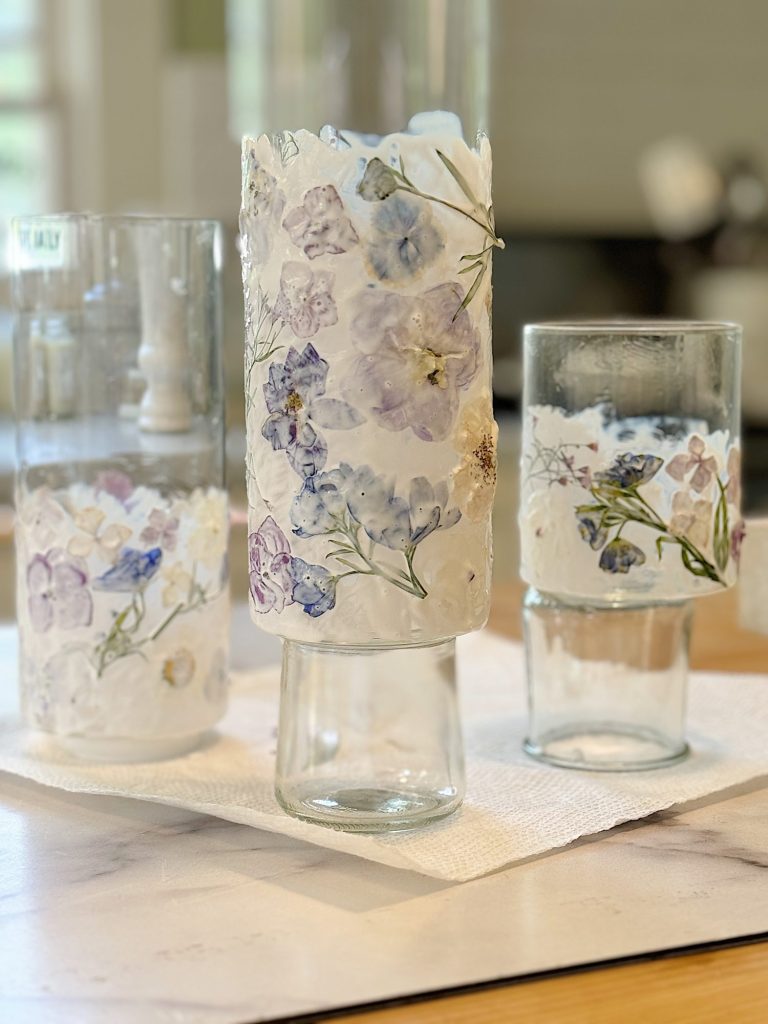
Step 2: Preparing the Jars
- Clean the Jars: Make sure your glass jars or vases are clean and dry. Any dirt or residue can affect the adhesion of the flowers.
- Arrange the Flowers: Plan your design by arranging the pressed flowers on the outside of the jar. This will give you an idea of how you want the final product to look.
Step 3: Applying the Pressed Flowers
- Adhere the Flowers: Using a foam brush or paintbrush, apply a thin layer of Mod Podge to the area where you want to place the pressed flower.
- Place the Flowers: Carefully place the pressed flower onto the adhesive area. Gently press down to ensure it sticks well.
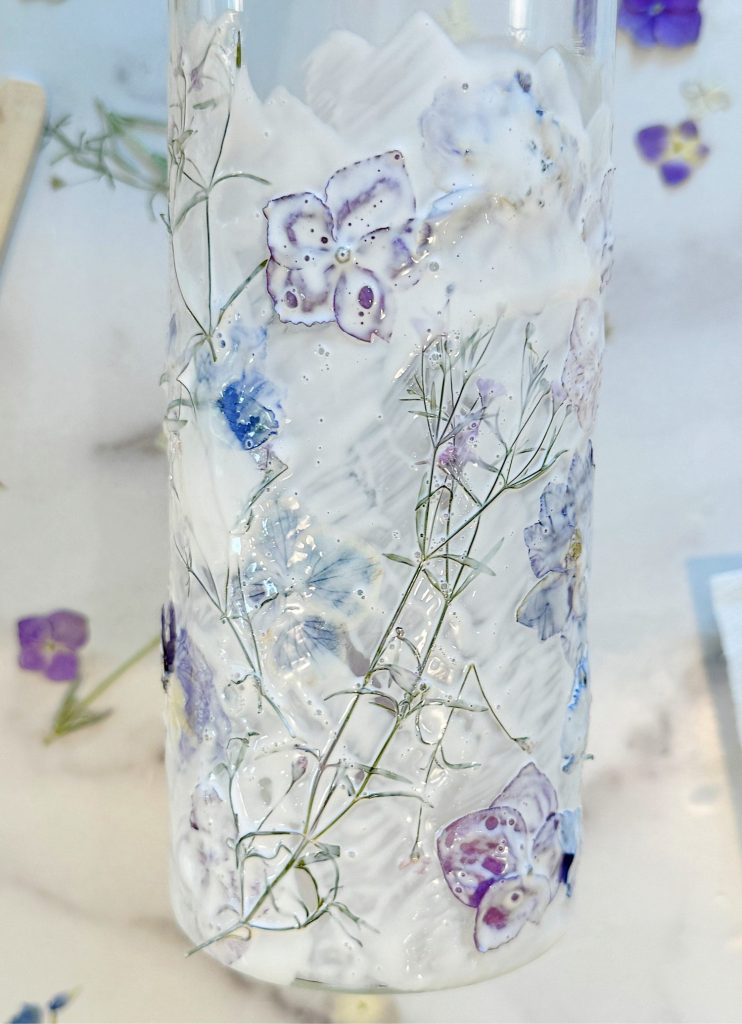
- Seal the Flowers: Once all the flowers are in place, apply another thin layer of Mod Podge over the entire surface of the jar, including the flowers. This will seal the flowers and give the jar a uniform, glossy finish.
- Drying: Allow the jars to dry completely. Depending on the thickness of the Mod Podge layer, this may take a few hours.
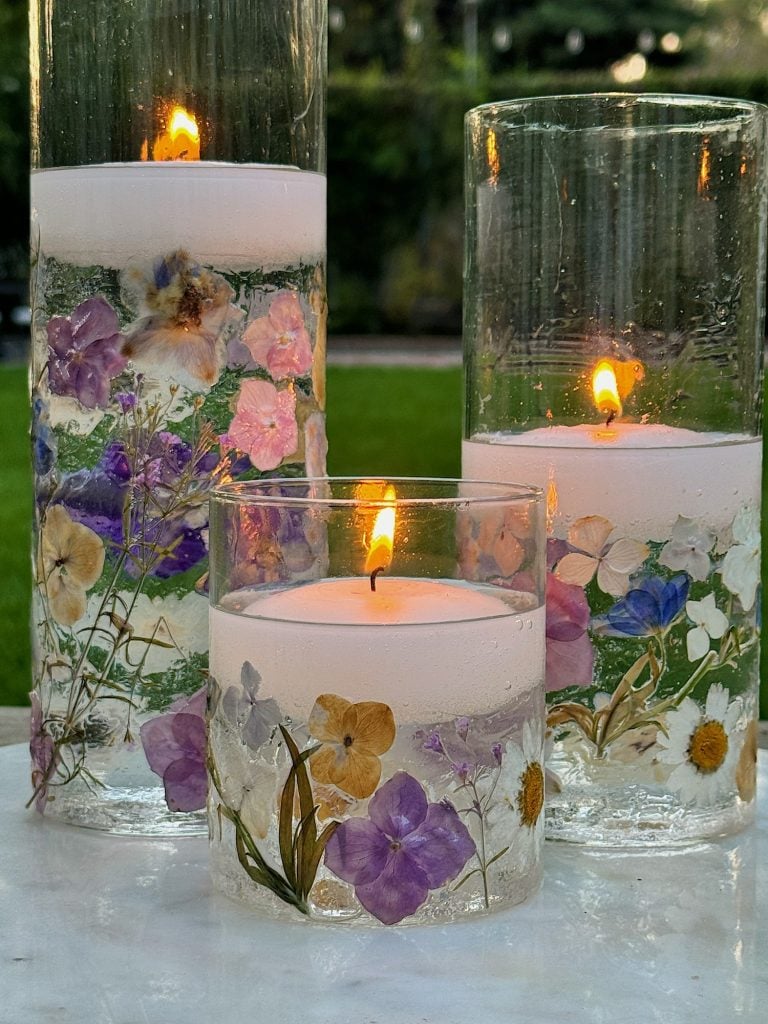
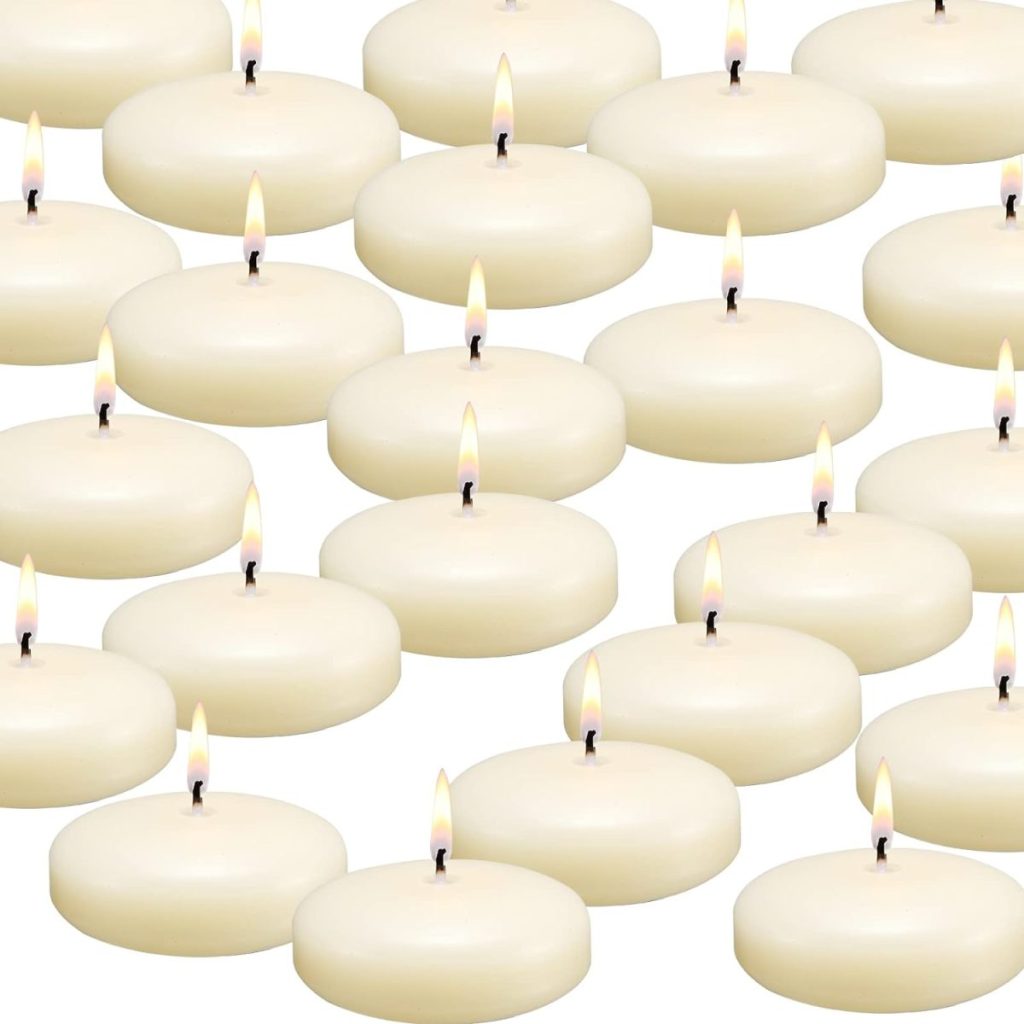
Step 4: Assembling the Floating Candles
- Fill the Jars with Water: Once the jars are dry, fill them with water, leaving about an inch of space at the top.
- Add Floating Candles: Gently place a floating candle on the water’s surface in each jar.
Tips and Variations
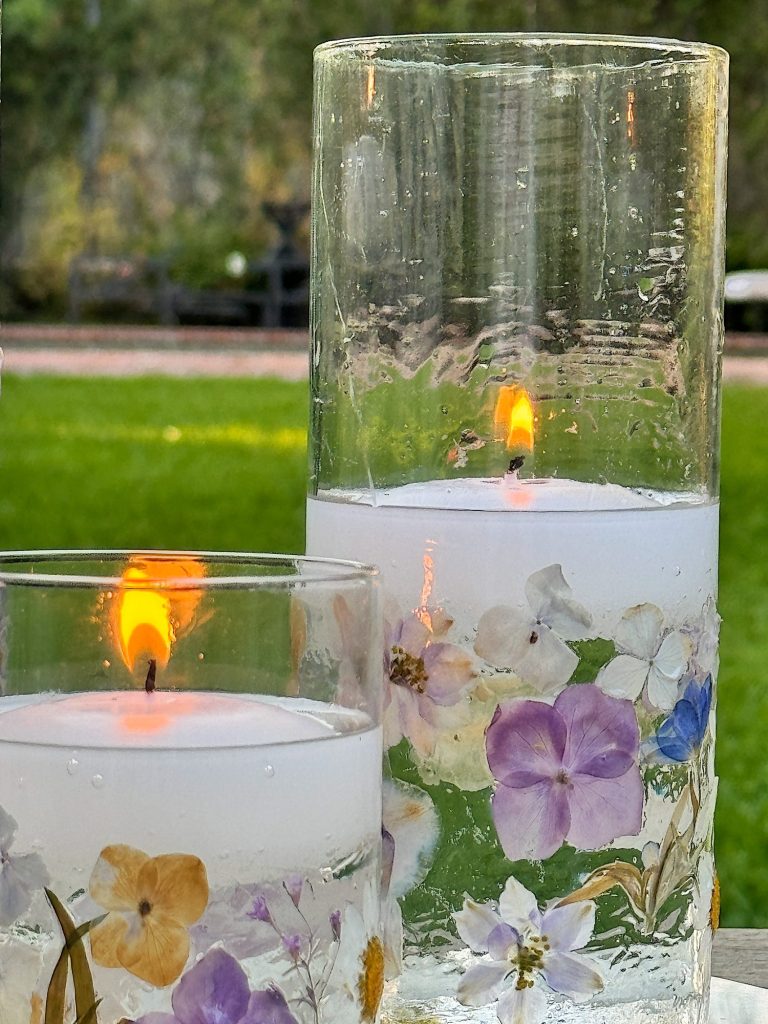
- Flower Selection: For best results, choose flowers with thin petals. Pansies, violas, daisies, and ferns are excellent choices.
- Color Coordination: When selecting flowers, consider the color scheme of your room or event to ensure a cohesive look. Matching or contrasting colors can create a stunning visual effect.
- Layering: For a more intricate design, layer different flowers and leaves to create a more complex look. Allow each layer of Mod Podge to dry before adding another layer of flowers.
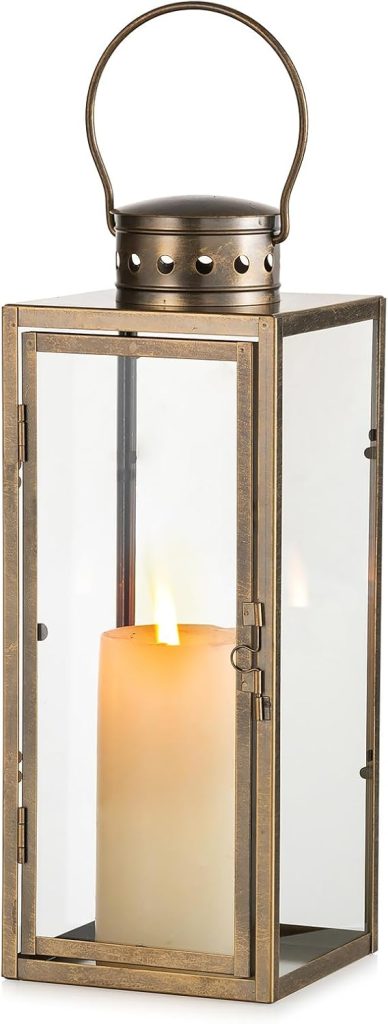
- Lighting: Use LED floating candles if you’re concerned about open flames. These are safer and can often be found with a flickering effect to mimic real candles.
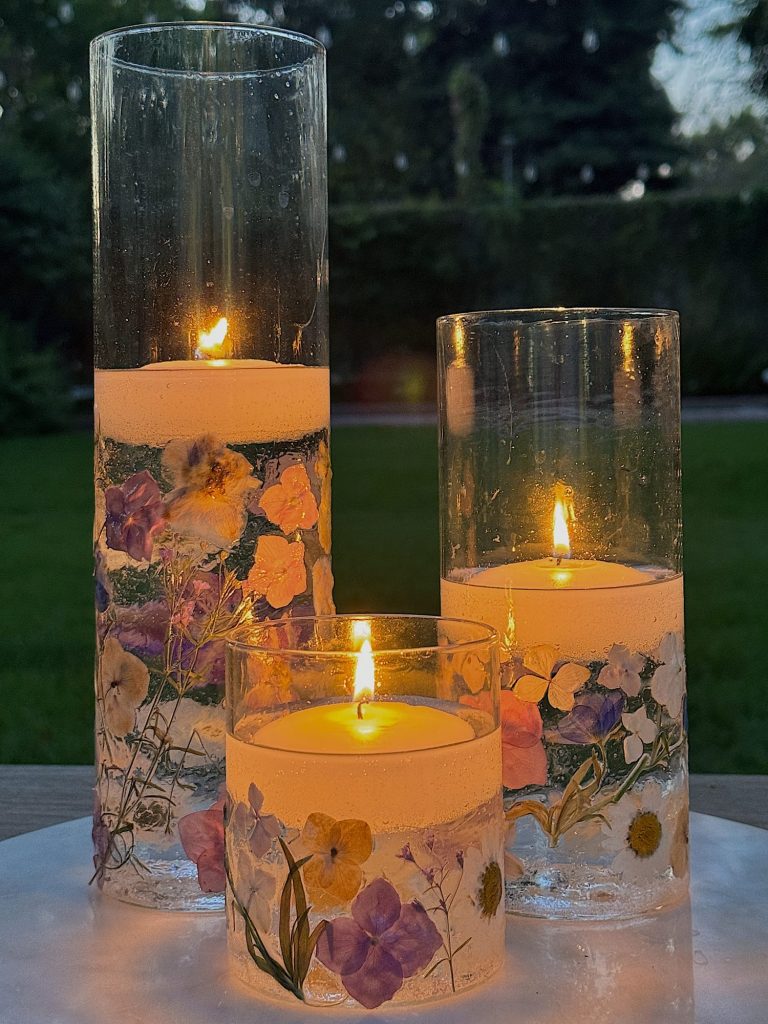
Pressed flower jars with floating candles are an excellent way to bring the beauty of nature into your home. This project is fun, creative, and provides a unique and elegant decoration for any occasion. Whether you press your flowers using the Aboofx Microwave Flower Press or purchase them ready-made, the result will be a stunning display of craftsmanship and natural beauty.
Thank you for joining me on this DIY journey. I hope you enjoy making your pressed flower jars with floating candles as much as I did. Happy crafting!
If you enjoy my blog, you can sign up to receive my updates here.
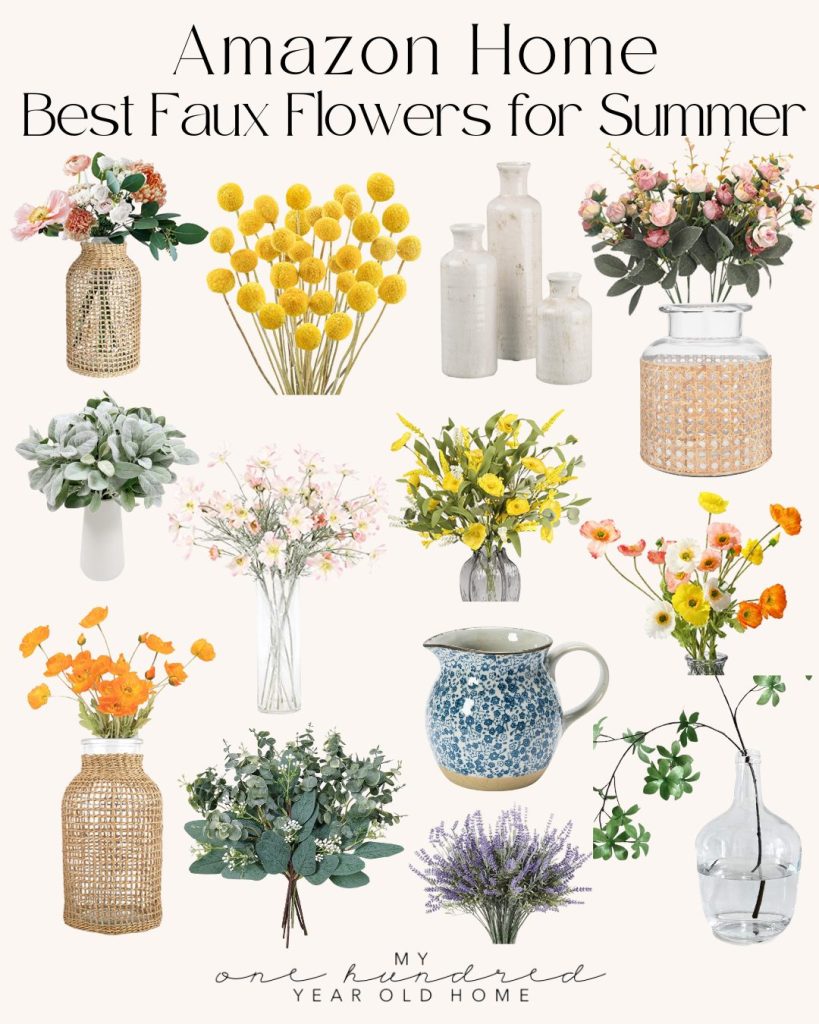
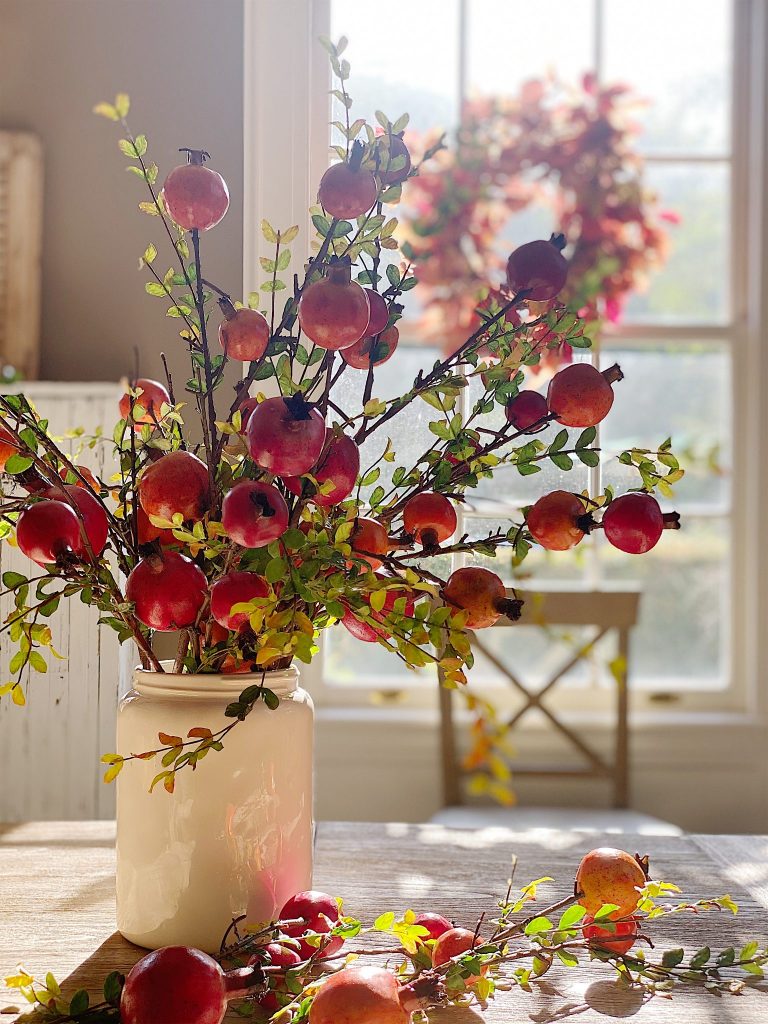
.Gorgeous Faux Flowers for Summer

A Home to Share, by Leslie Saeta
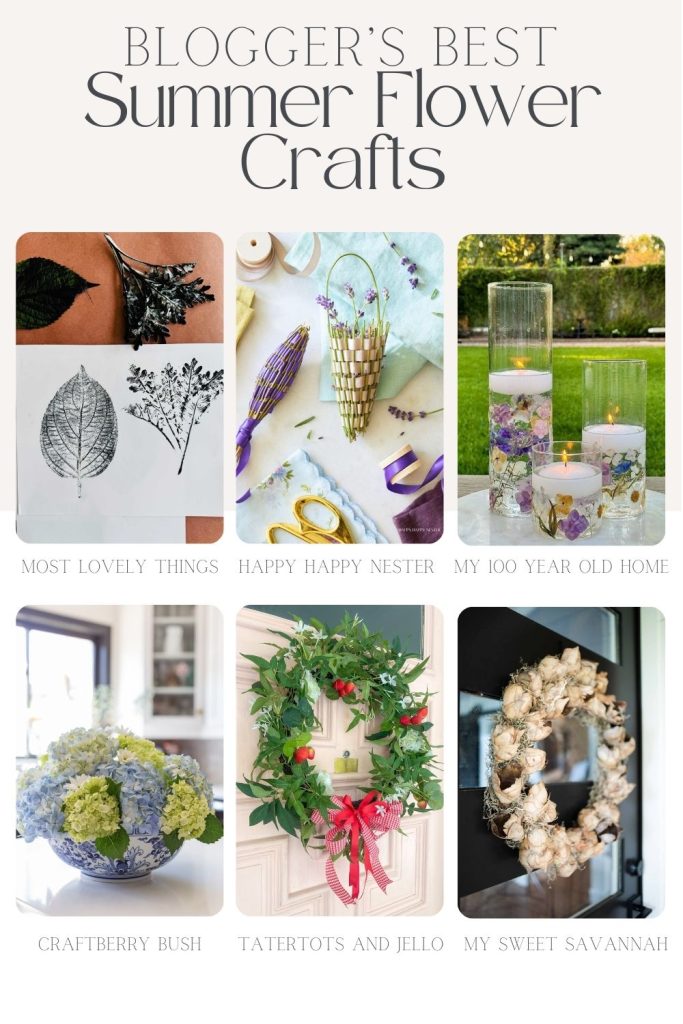
Blogger’s Best Summer Flower Crafts
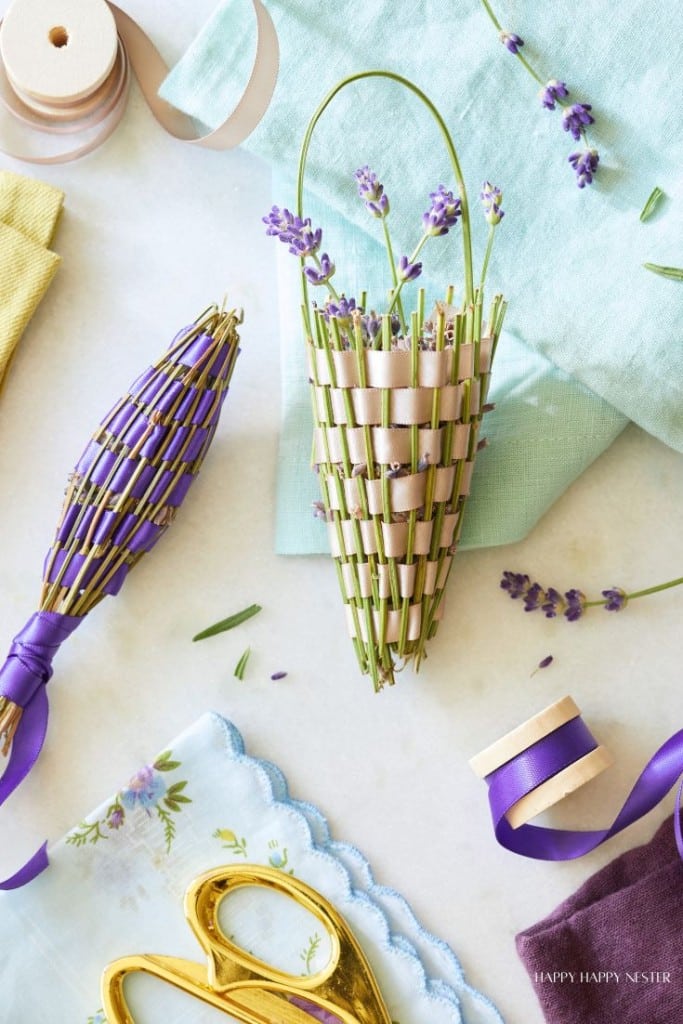
Lavender Wands Tutorial (and Baskets) | Happy Happy Nester
Let’s get crafty with this Lavender Wands Tutorial. In this easy DIY, I’ll guide you through the steps to create these charming, fragrant bundles, ideal for adding a natural scent to your home. Grab your lavender, and let’s get started!

DIY Cacho Pod Wreath | My Sweet Savannah
Have you ever heard of natural cacho pods? The neutral pods offer a distinctive and intriguing decor element that will bring a touch of natural elegance to your home. Let me show you how to make a simple and inexpensive wreath out of them!
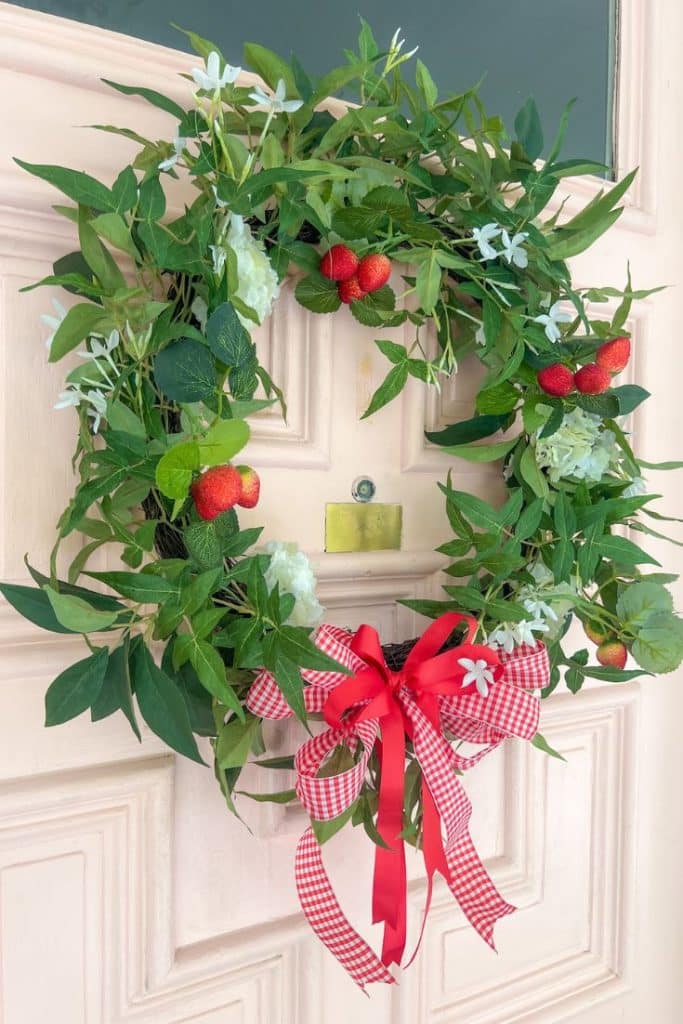
DIY Summer Strawberry Wreath | Tatertots and Jello
Create a charming summer strawberry-themed wreath by combining faux strawberries and flowers, lush greenery, and a red bow for a delightful way to decorate your front door.
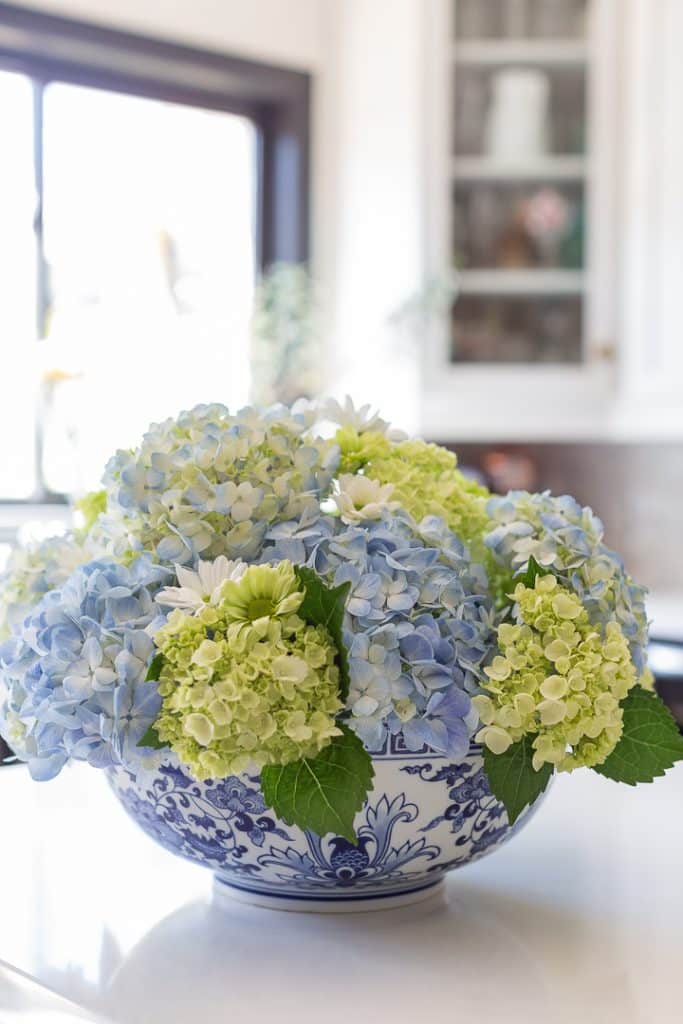
Blue Hydrangea Arrangement | Craftberry Bush
Make a beautiful seasonal arrangement in a shallow bowl using the grid method and other environmentally friendly oasis.
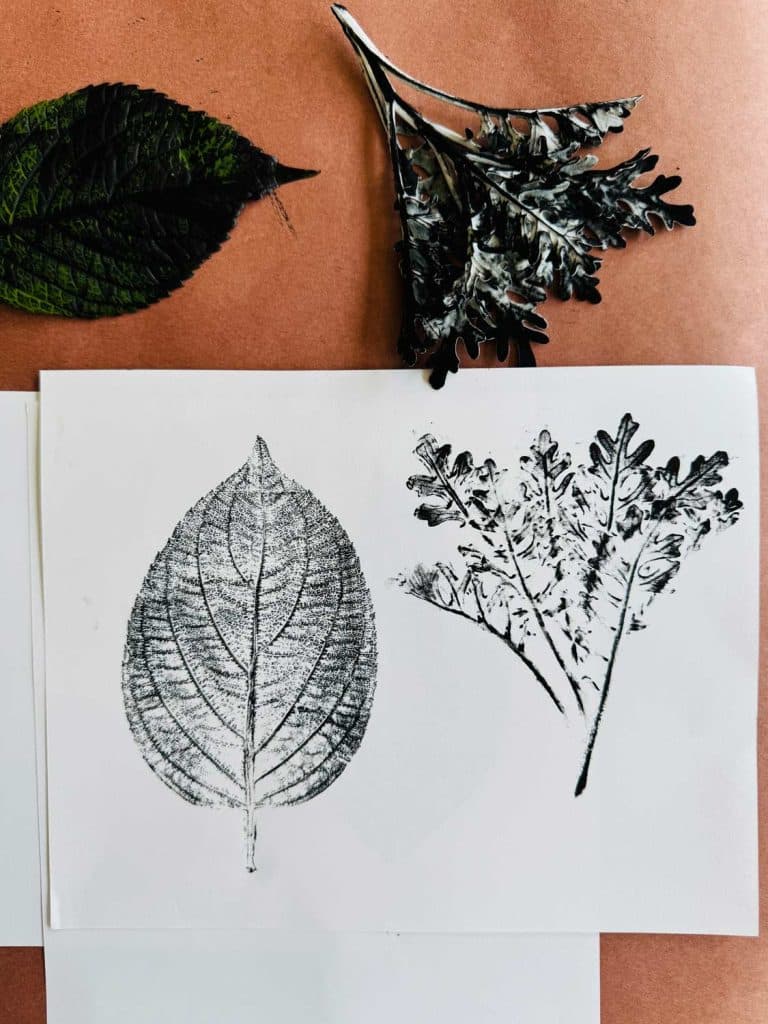
Monoprinting with Nature | Most Lovely Things
I tried something new: monoprinting with botanicals. It was fun to create something so beautiful from nature with just a few supplies.
Latest Posts
- Spring Cleaning and Sunday Morning Coffee

- Best Easter Brunch Egg Dish: Loaded French Onion Frittata

- The Best Spring Pillow DIY – A Handmade Spring


You can pin the images below to your boards on Pinterest (click the Pin button in the top left corner) or follow me on Pinterest!
For more real-time updates, follow me on Instagram @My100YearOldHome


What a beautiful project Leslie! I’ve been tempted to try one of those flower presses to be used in the microwave… ordering one today! Your candles look so elegant!
I think you did your microwave flowers for 60 seconds not 60 minutes?
Yes. Sixty seconds!
These are beautiful Leslie! One thing though is a think you meant to say you microwaved them for 60 seconds not 60 minutes 😄
Yes. Sixty seconds. Fixed!
Yes. You are correct. Sixty seconds. Fixed!
Beautiful! Thank you for laying out the steps so clearly and linking all materials. Any idea whether the colors of the flowers will fade in time?
Leslie
I ordered mod podge you used and my finished product are cloudy jars-they don’t look clear like yours
What do you think happened??