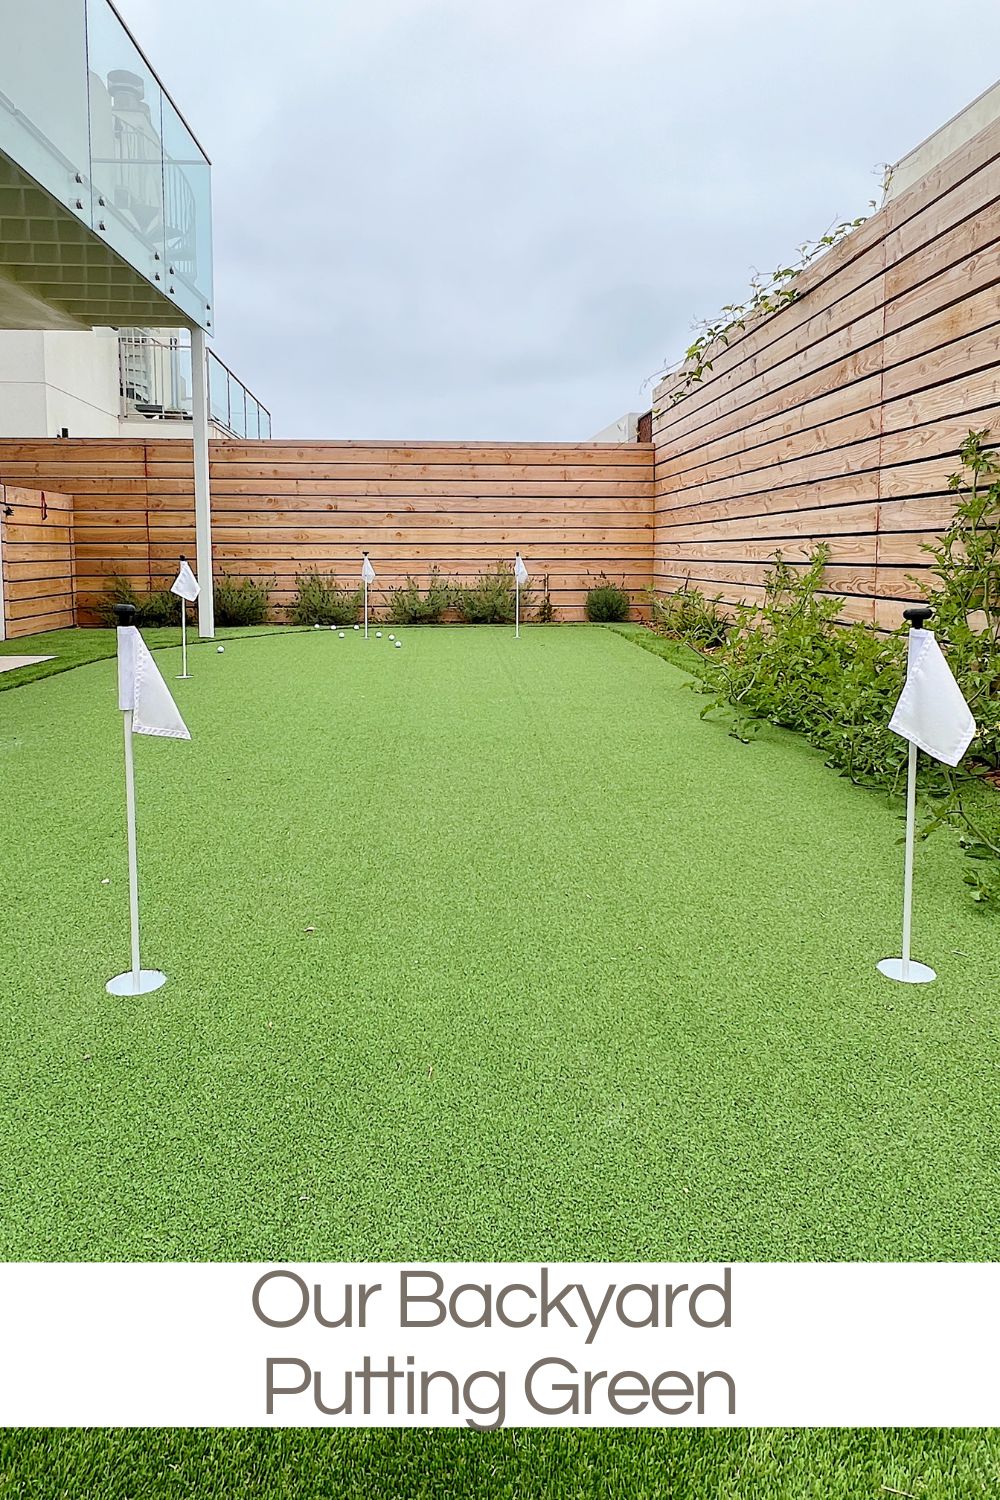
Our Backyard Putting Green
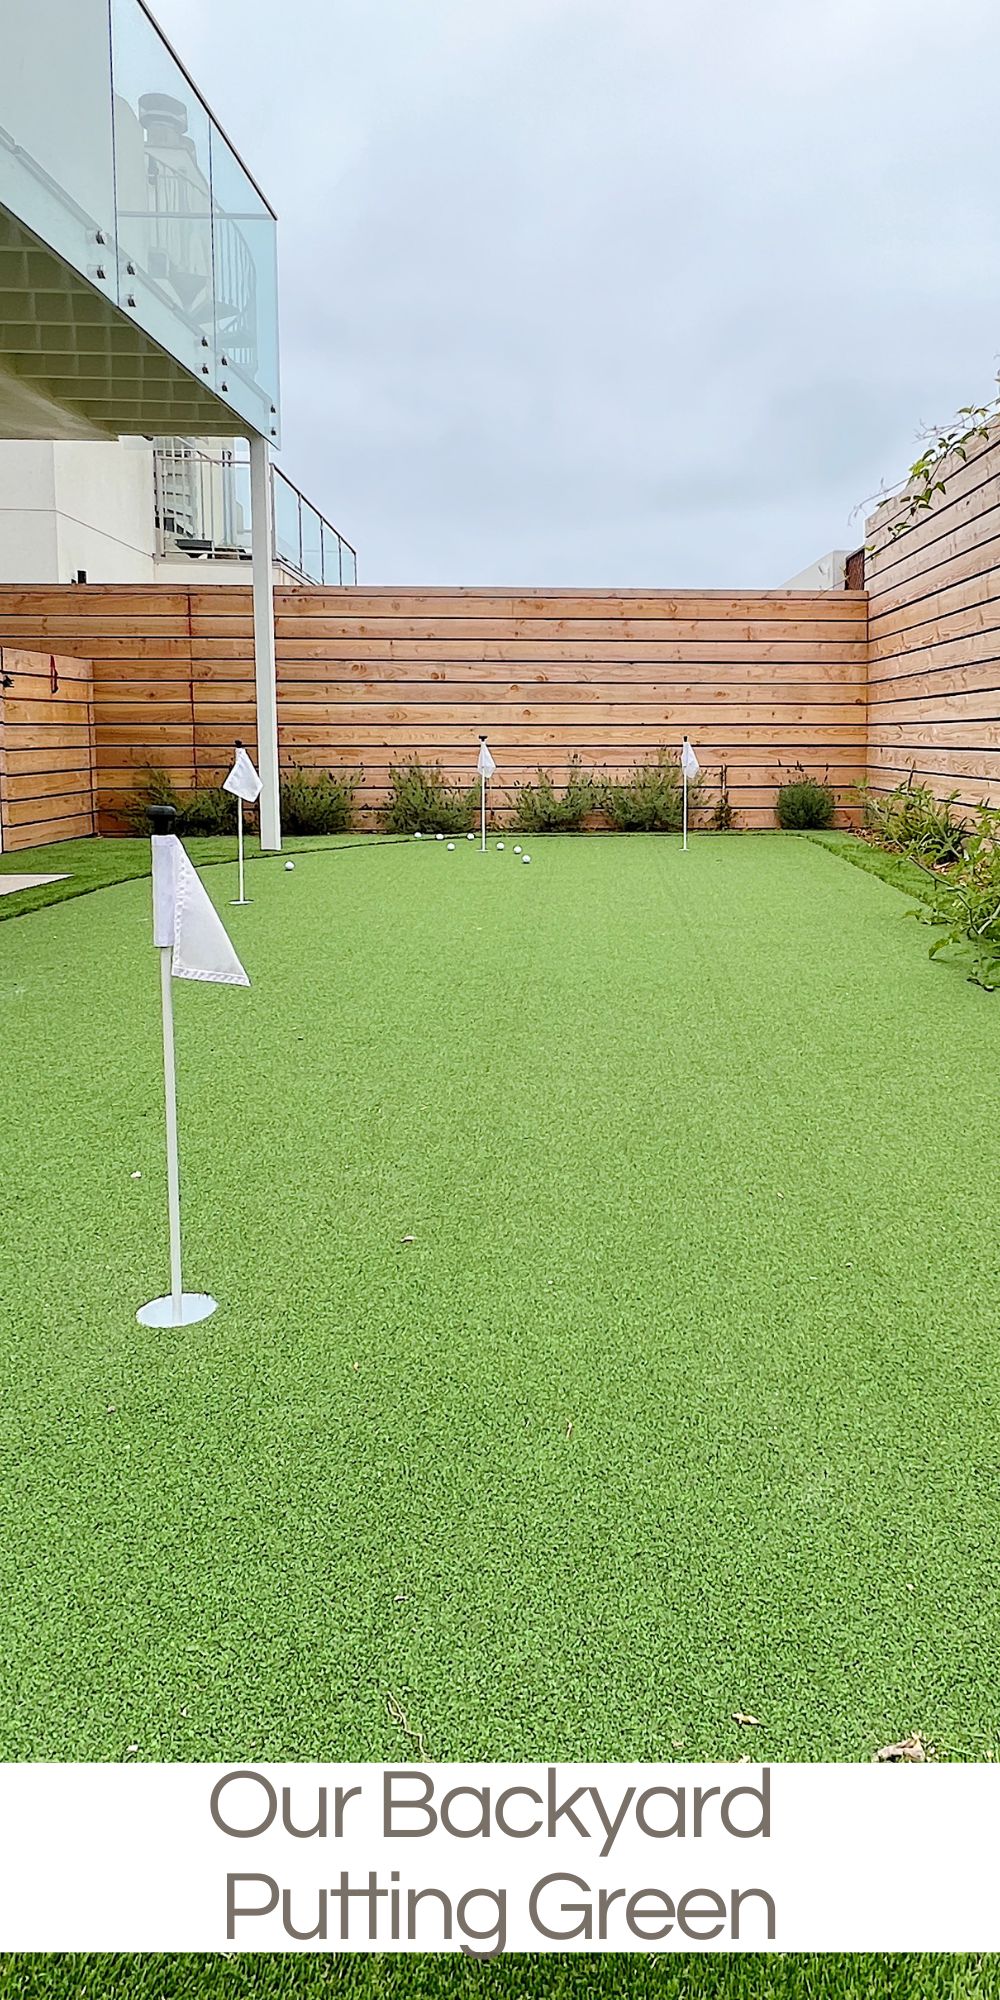
One of the last steps in the beach house remodel was installing a backyard putting green for our family, which includes several serious golfers.
And maybe the not-so-serious golfers like me! Our backyard is tiny, and we rarely used it in the nine years we owned this house before the remodel. So we decided to take advantage of the soothing sound of ocean waves in the background and add a small backyard putting green with options for chipping.


Creating a backyard putting green is a golfer’s dream. It allows you to practice your putting skills and enjoy the game you love without leaving the comfort of your beachside retreat.
I thought it might be fun to share the steps of installing a backyard putting green that will transform a small space at your home into a golfer’s paradise.
I may occasionally use affiliate links on this blog, which means I earn a small commission if you make a purchase through the link. The price will be the same whether you use the affiliate link or go directly to the vendor’s website using a non-affiliate link.


Step 1: Planning and Designing Your Putting Green
Before you break ground, take the time to carefully plan and design your putting green. Assess the available space in your backyard and choose the ideal location for your putting green. Consider factors such as sunlight exposure, drainage, and the overall layout.
Do you want a compact putting green or a larger, more elaborate design? Find inspiration online and gather ideas for shapes and designs that appeal to you.
When making decisions about the size and complexity of your green space, consider your skill level, available resources, and the size of your backyard.
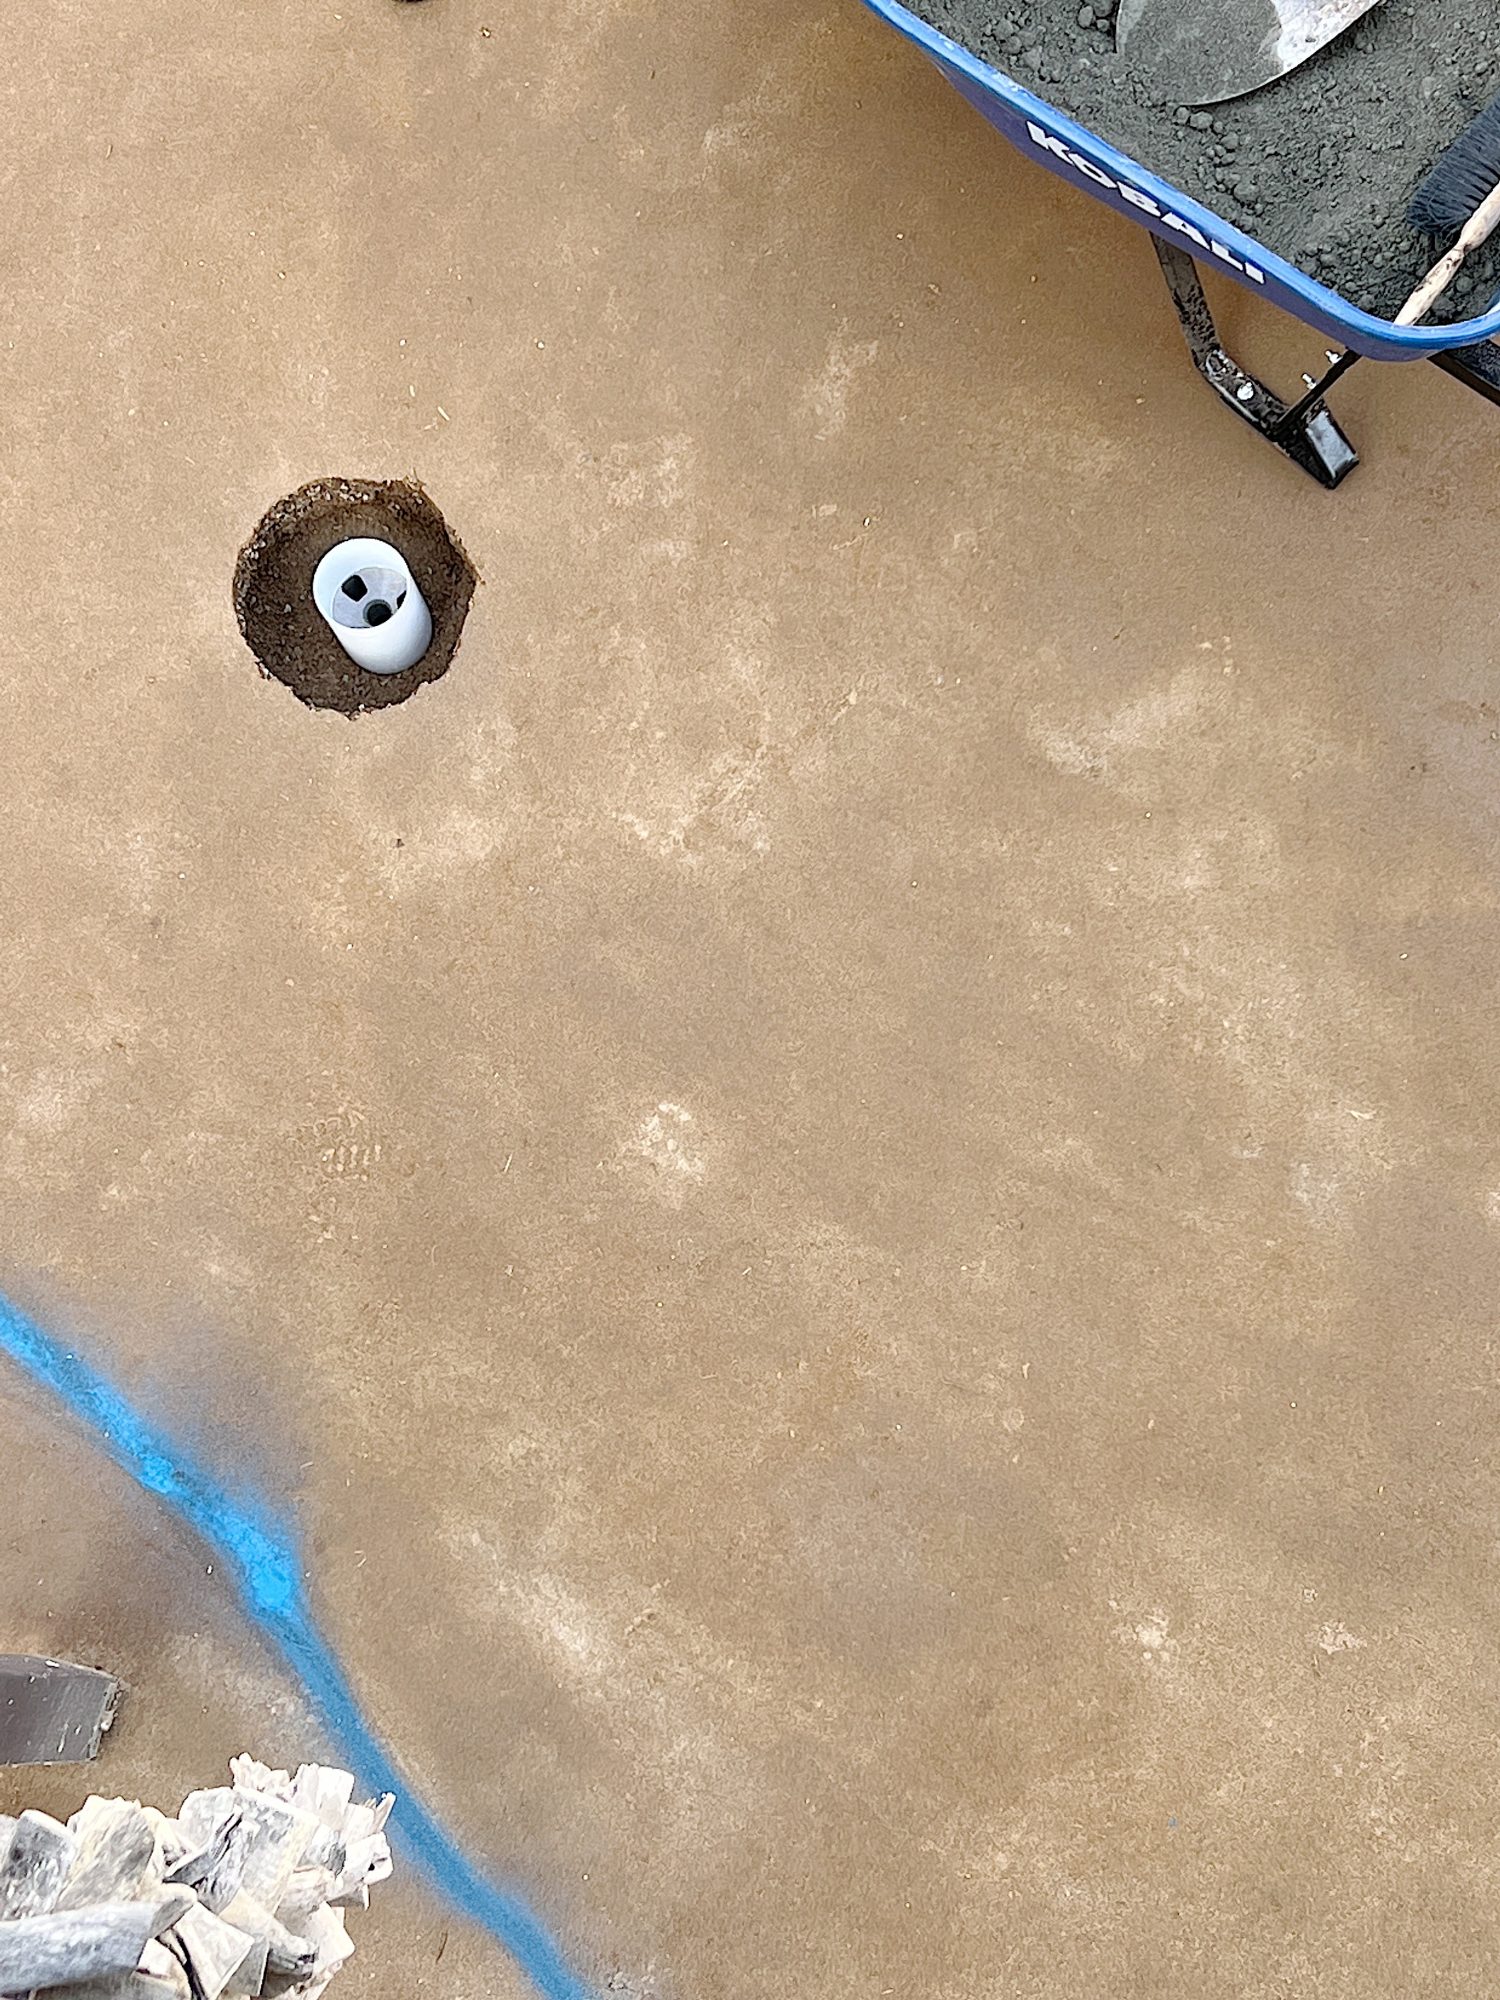
Step 2: Preparing the Ground
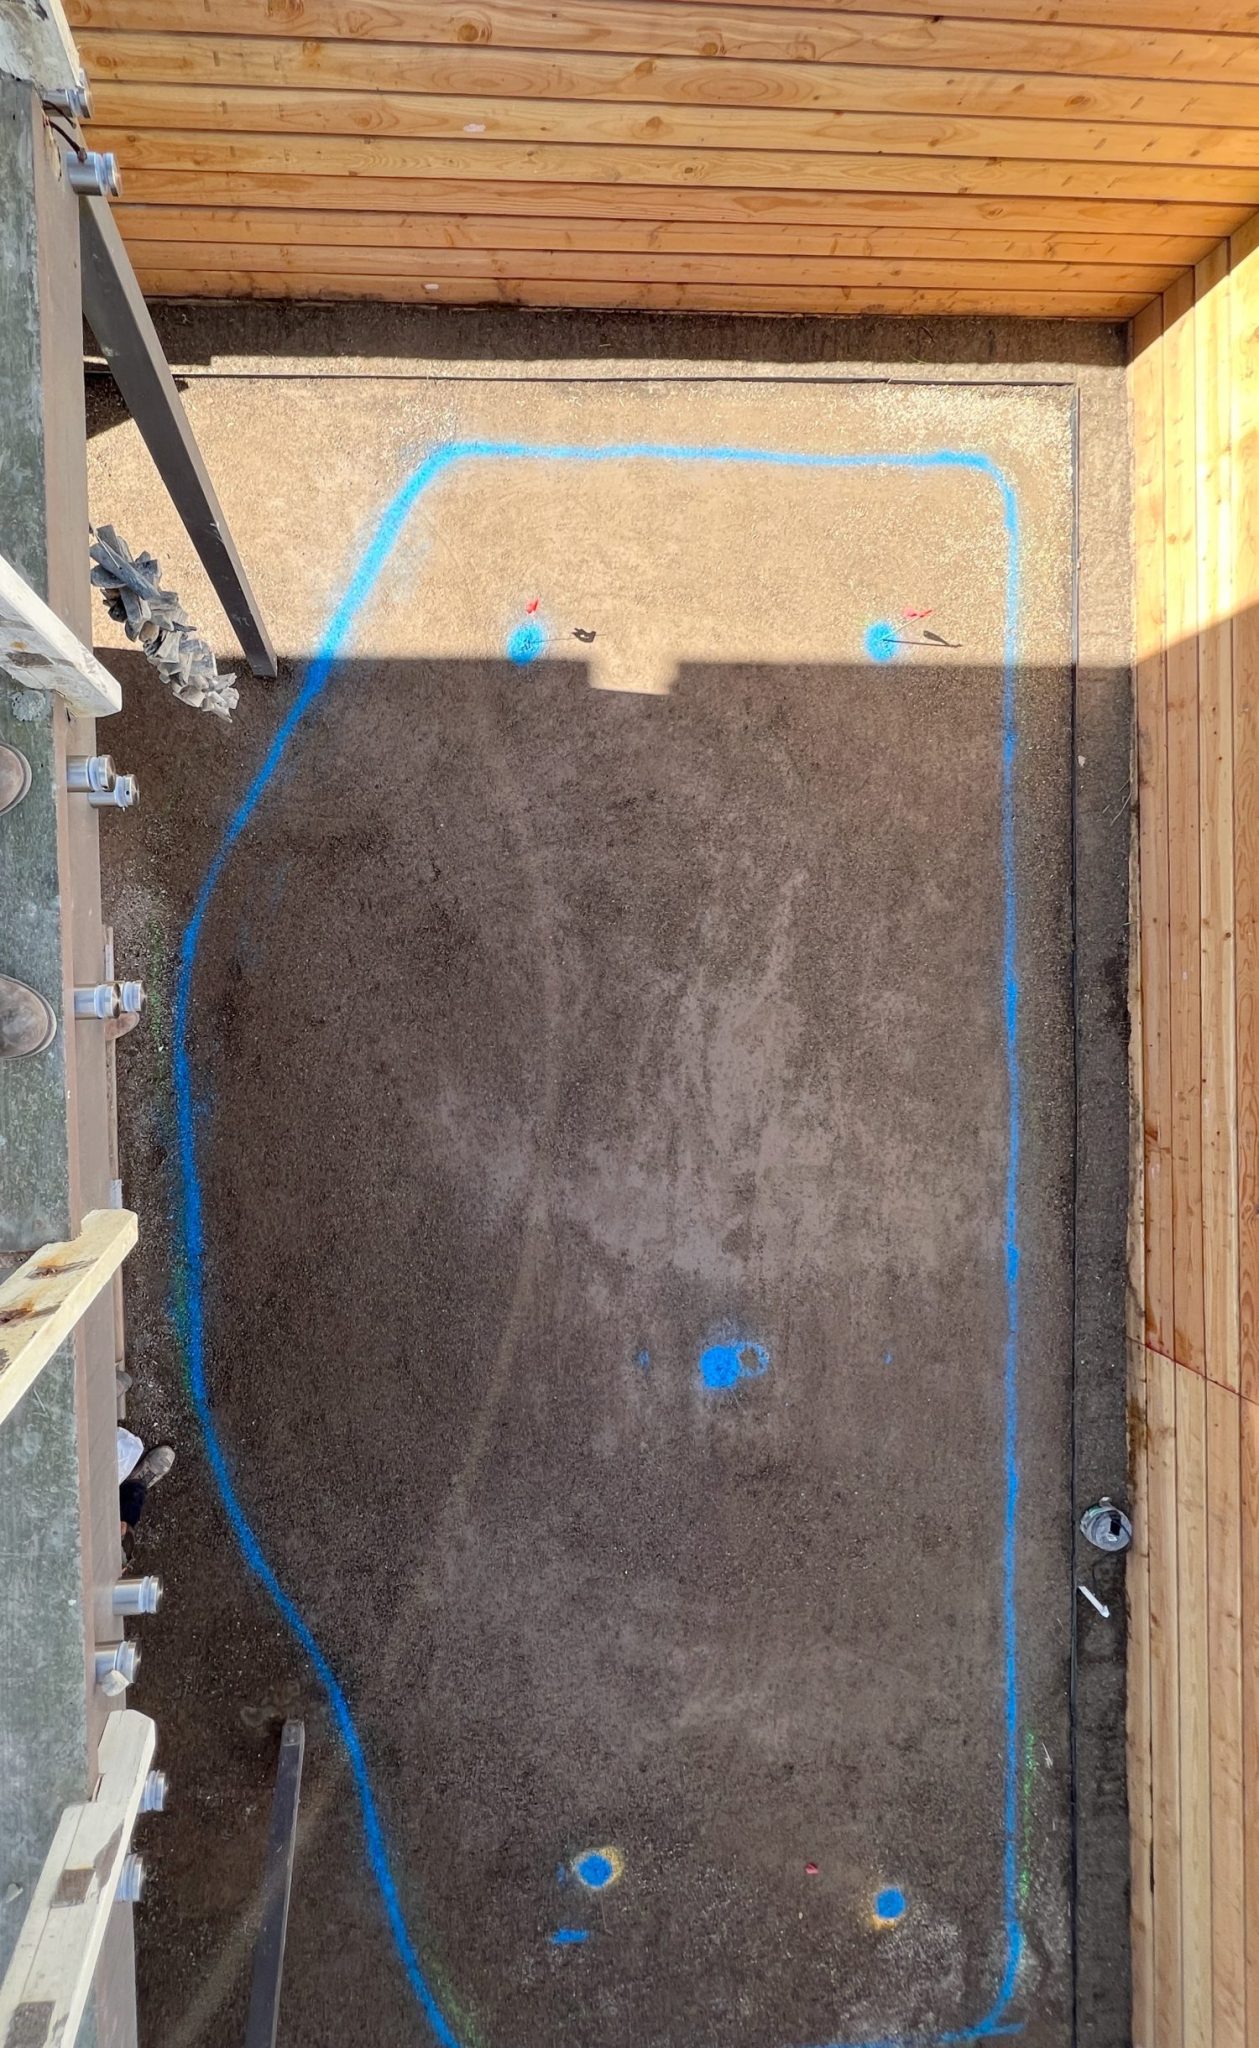
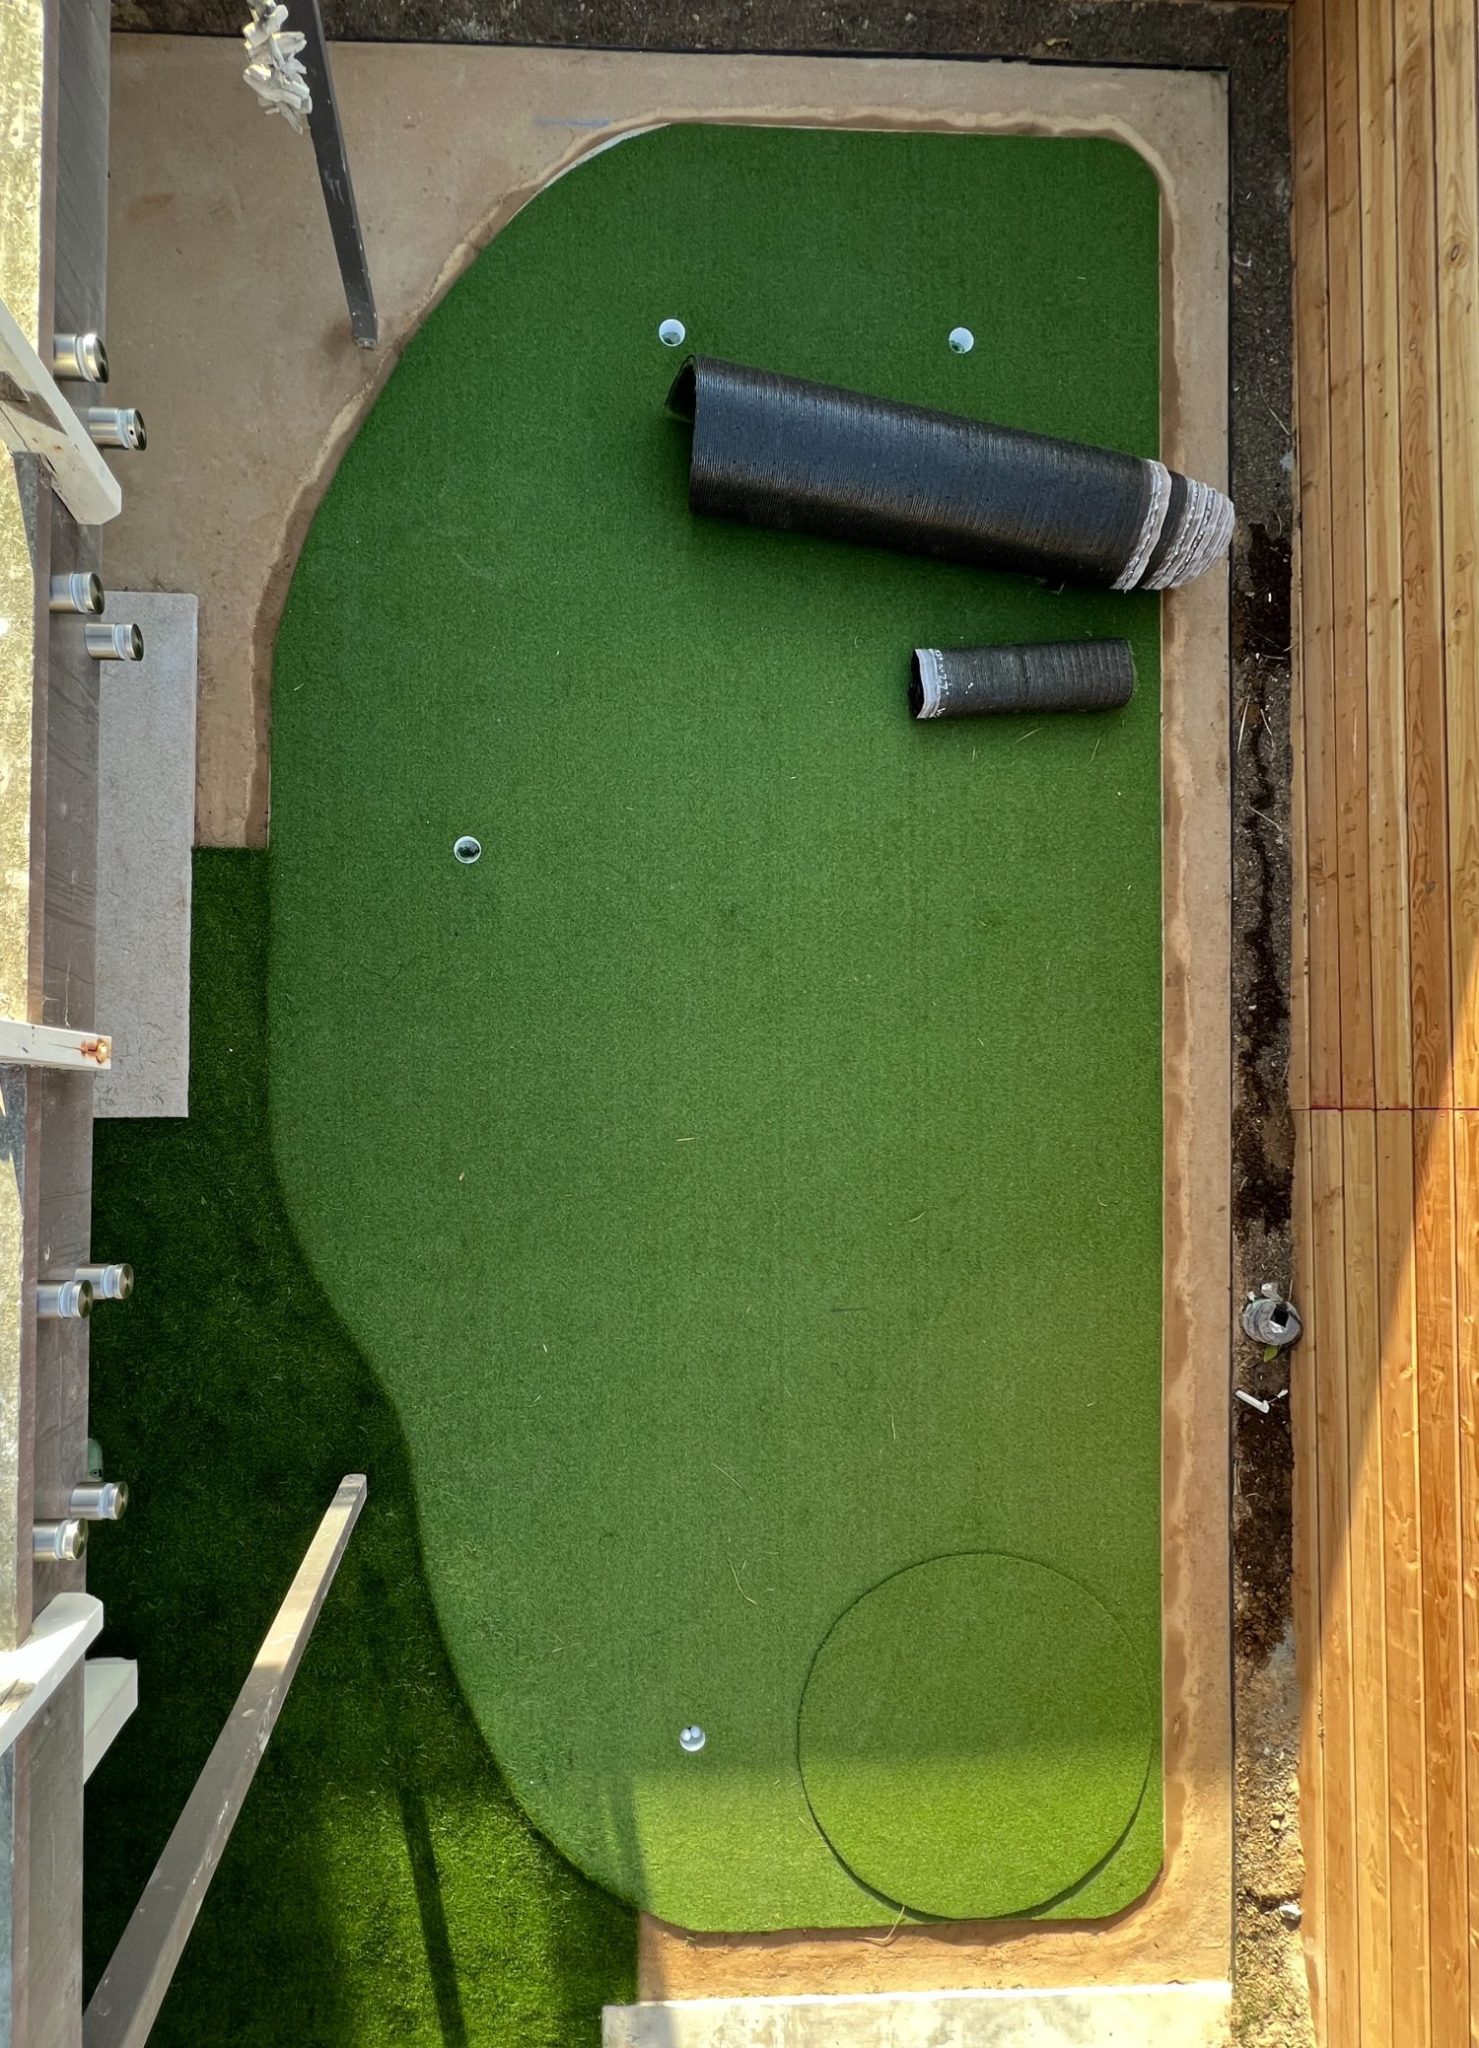
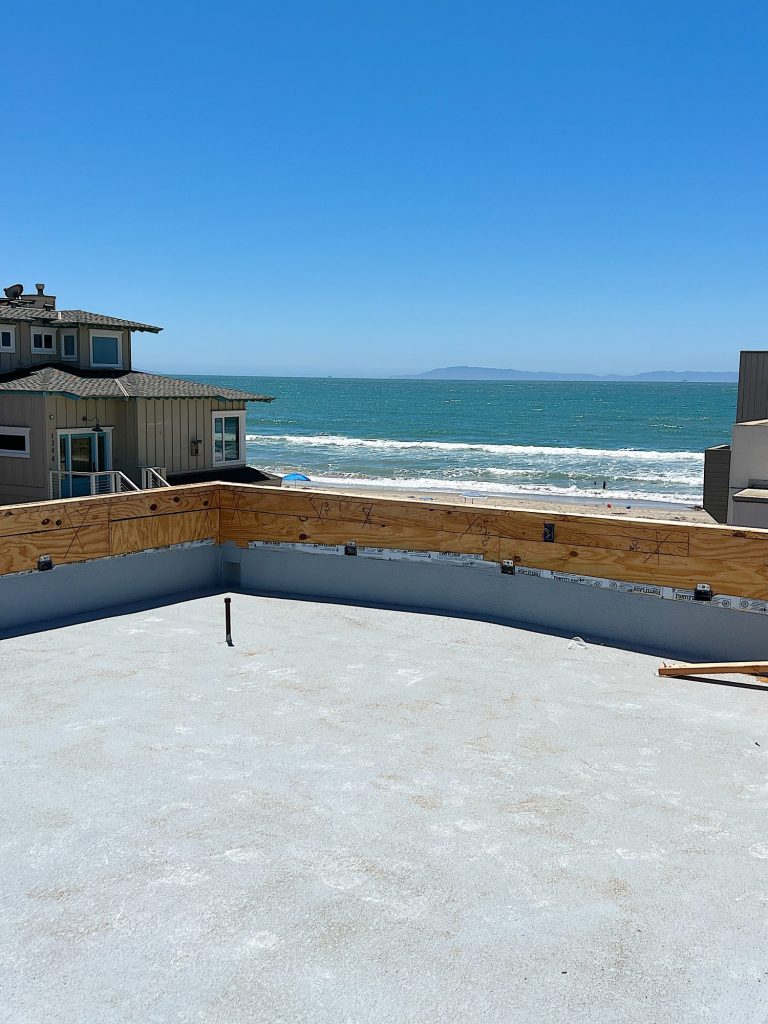
Once you’ve settled on the design of your putting green, it’s time to prepare the ground. Begin by clearing the designated area of any debris, rocks, or vegetation. You want a clean canvas to work with. Next, ensure the ground is level and free of bumps or uneven surfaces.
A smooth, even surface is crucial for a proper putting experience. Consider using a compactor or roller to compact the soil and create a solid foundation. If necessary, address any drainage issues by incorporating slopes or installing a drainage system to prevent water buildup on your green.
My husband spent hours and hours in our backyard determining the location of the holes, the slope, and a lot more. One day, I saw him rolling balls along the dirt surface. I am not sure exactly what he was doing, but I think it had to do with making the holes a little harder to play.
Step 3: Installing the Putting Green Surface
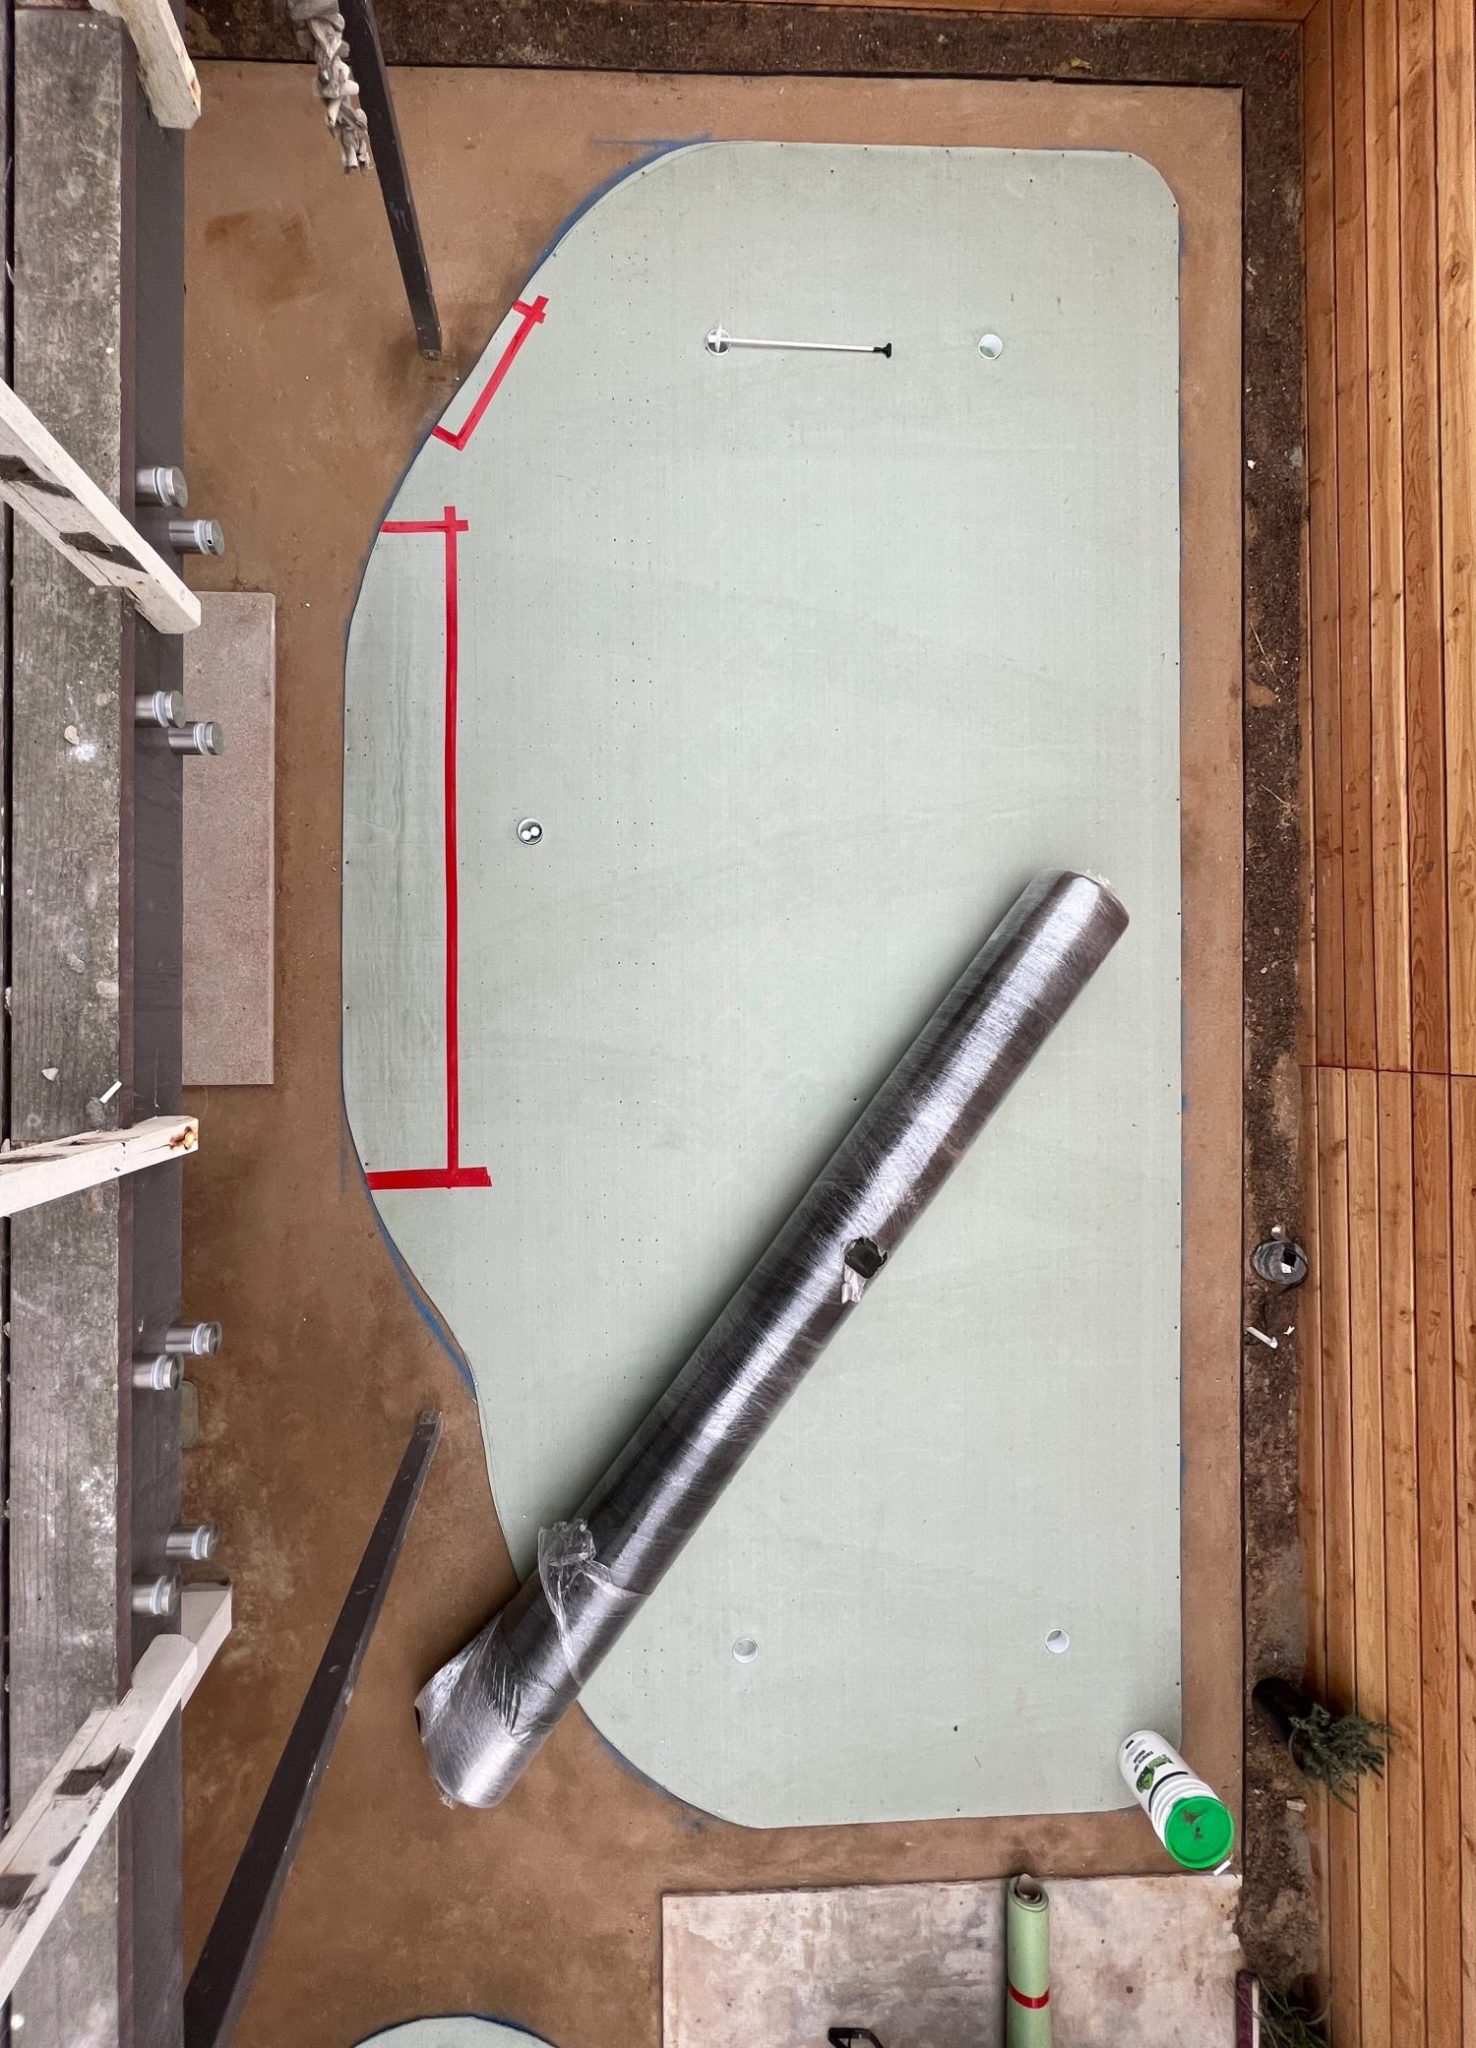
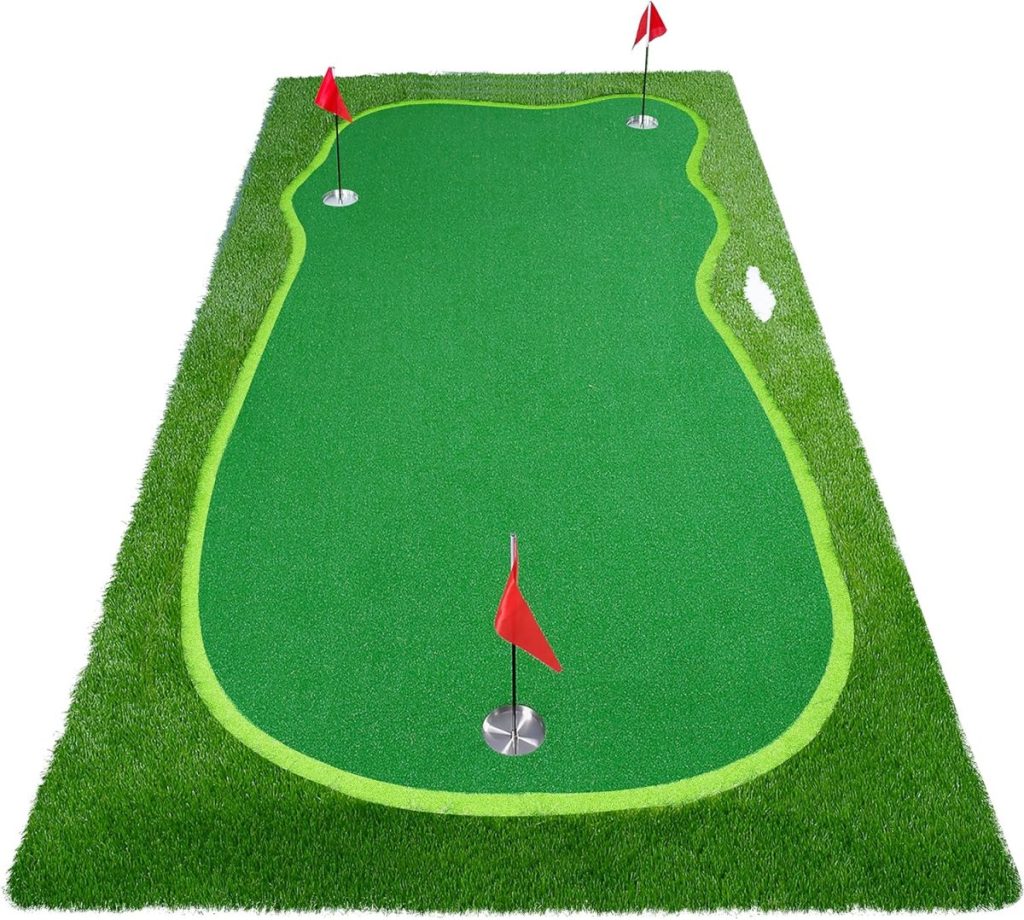
Now comes the exciting part: installing the putting green surface. Depending on your preferences and maintenance needs, there are several options to consider.
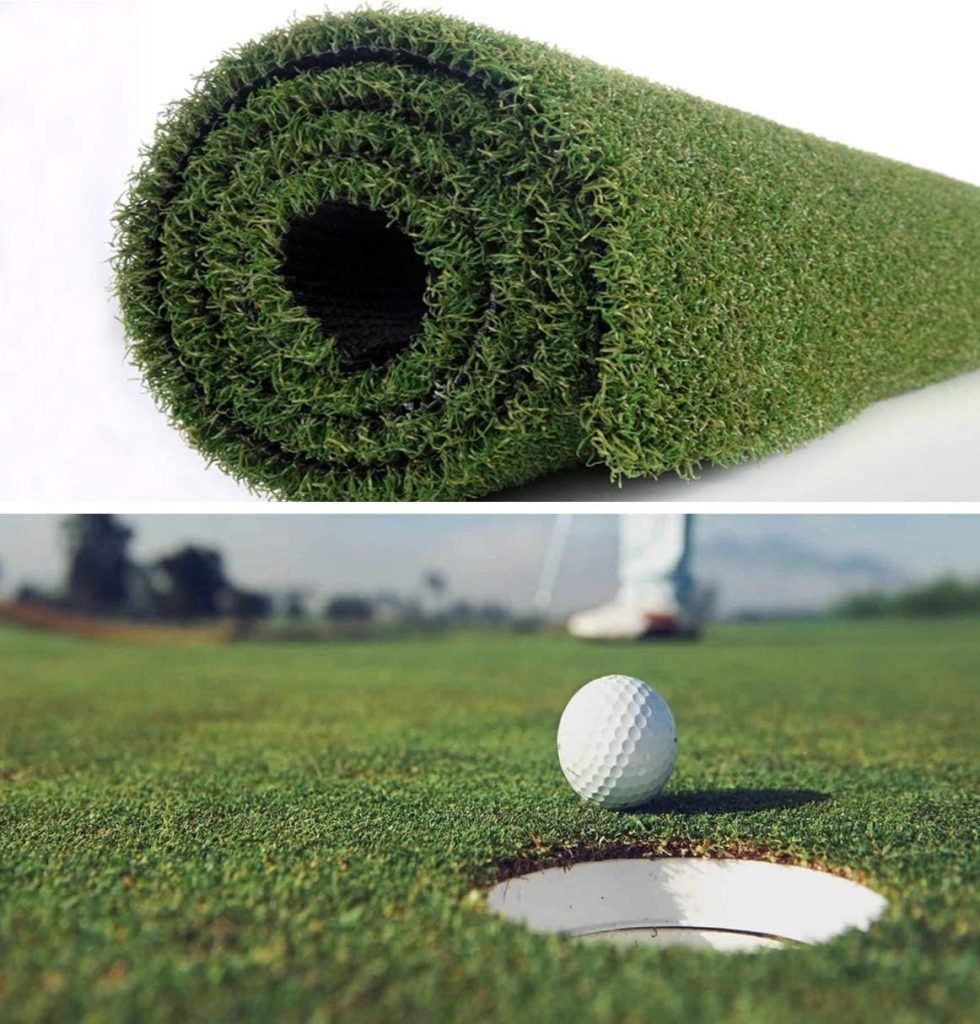
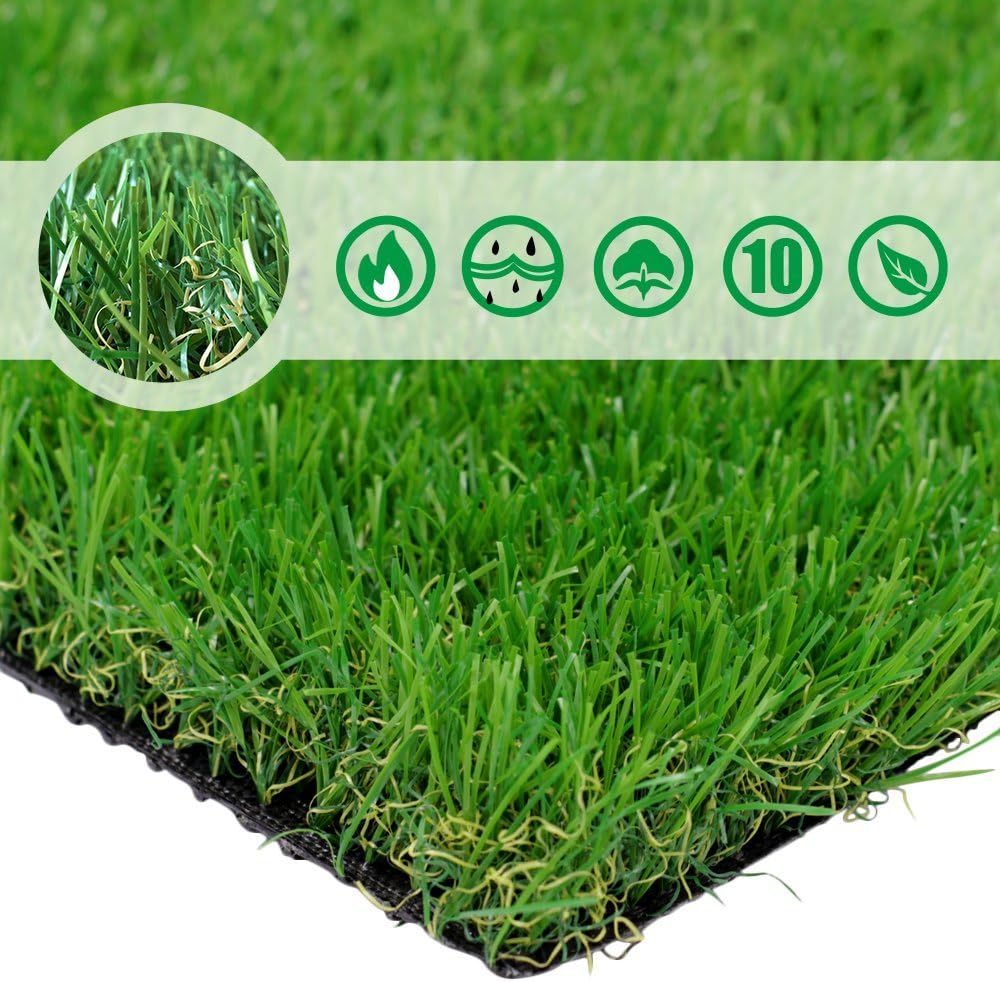
Natural grass, synthetic turf, and modular putting green systems are all viable choices. If you opt for natural grass, prepare the soil by removing any remaining debris and leveling it properly. Choose the appropriate grass type for your climate and install it either by seeding or laying sod. If you choose synthetic turf, ensure precise measurements and cut the turf to fit your desired shape.
Secure it to the ground using landscape staples or adhesive, as recommended by the manufacturer. Modular putting green systems offer a convenient alternative, allowing you to assemble pre-made pieces to create your desired layout easily.
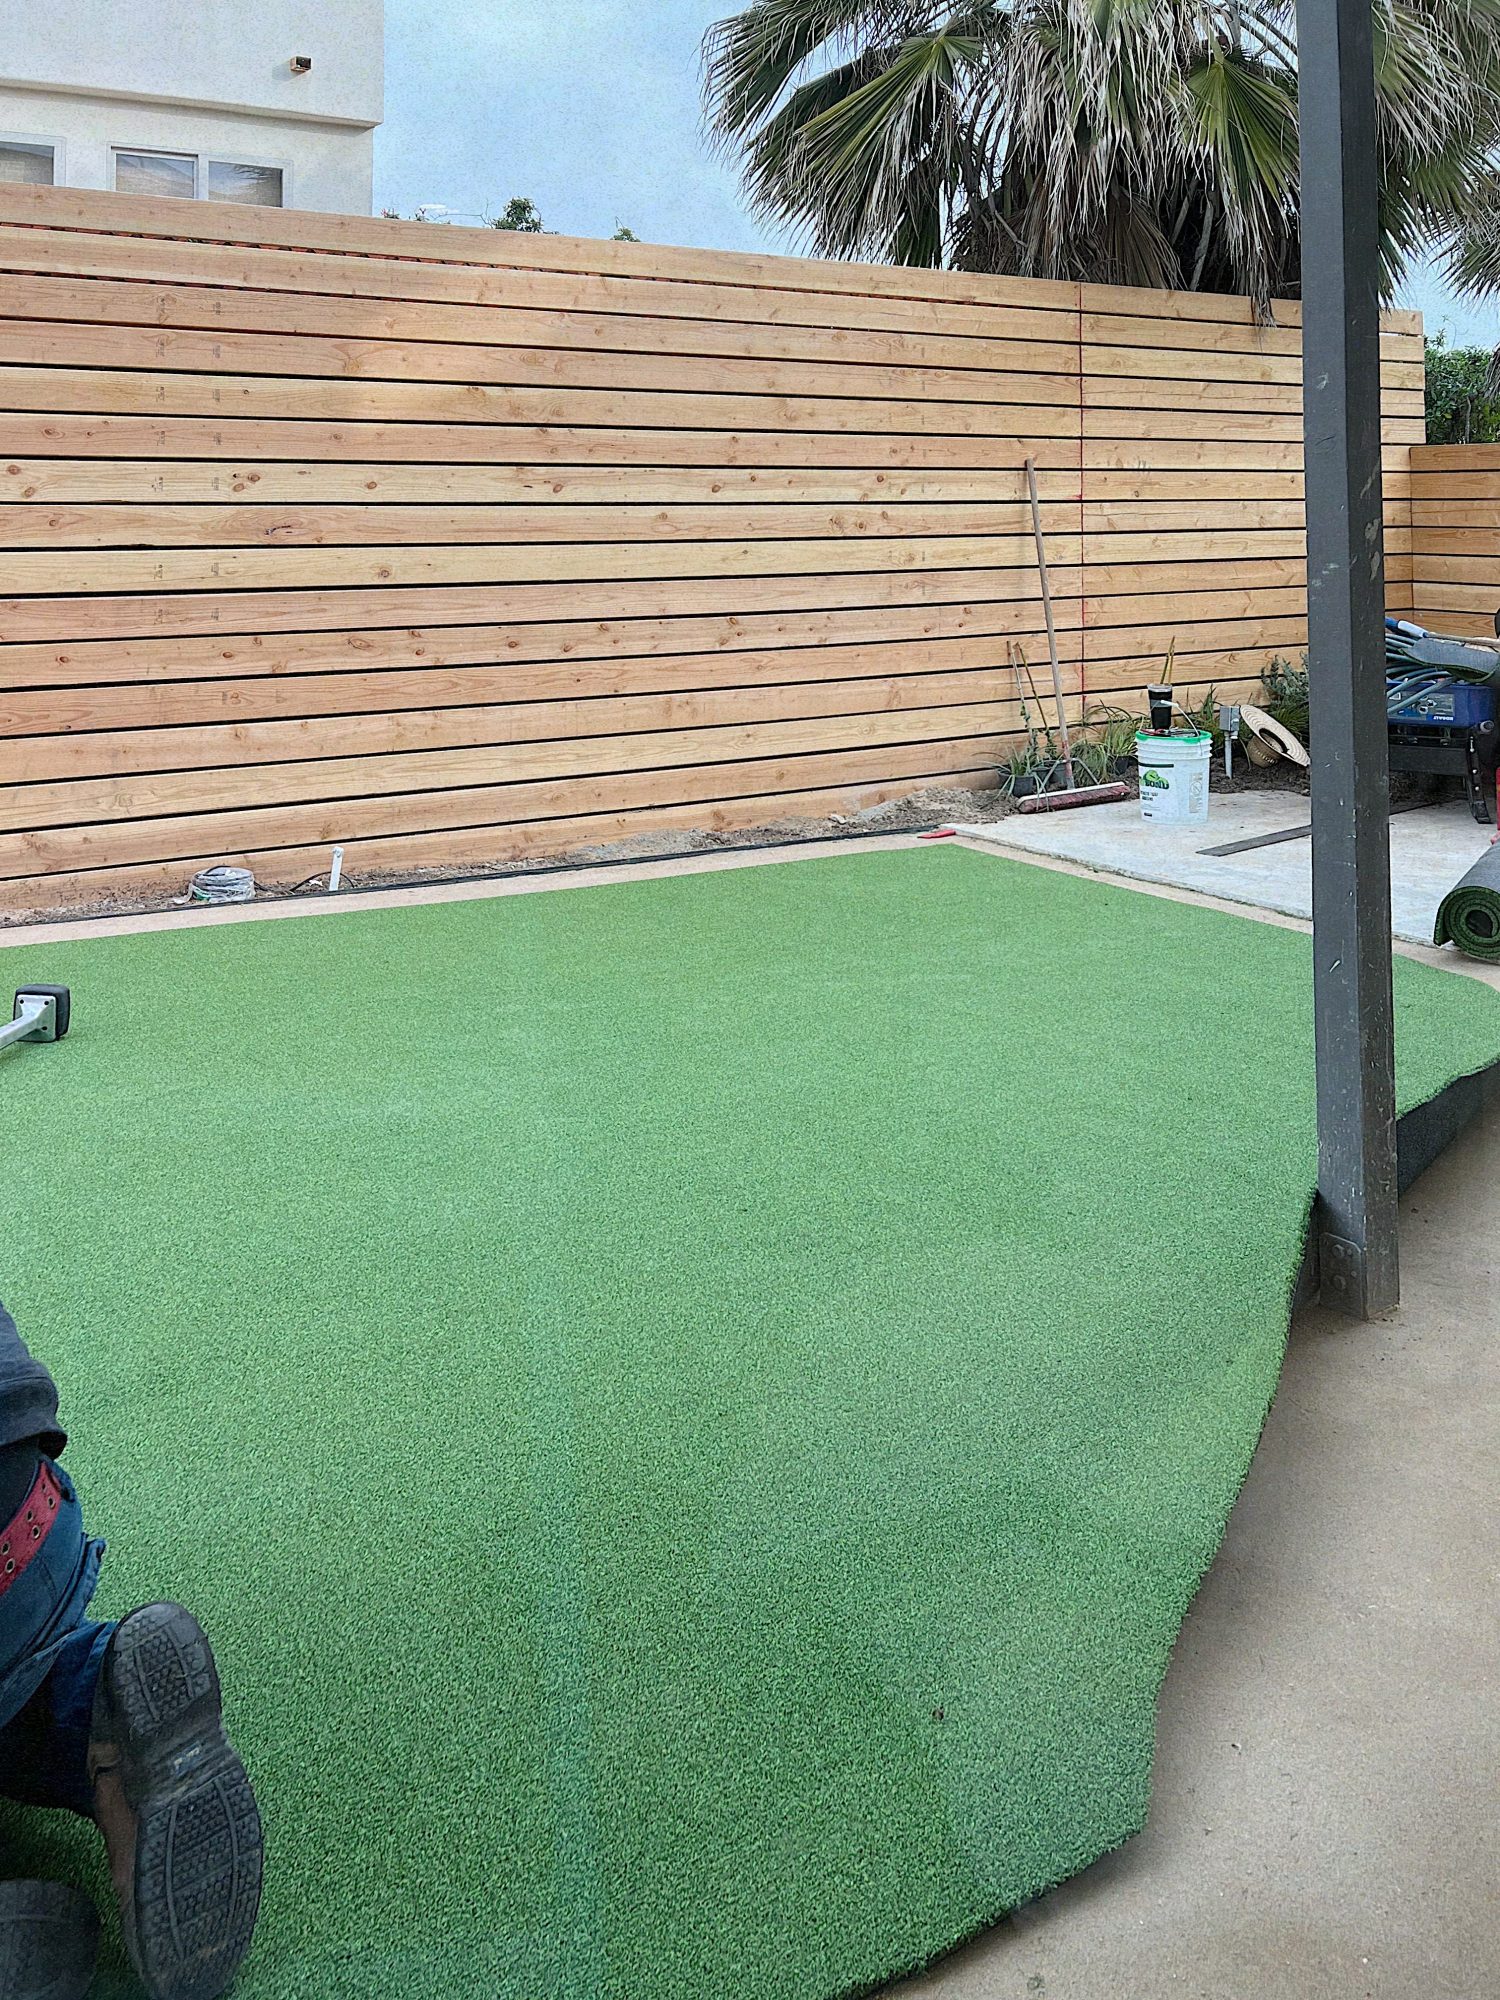
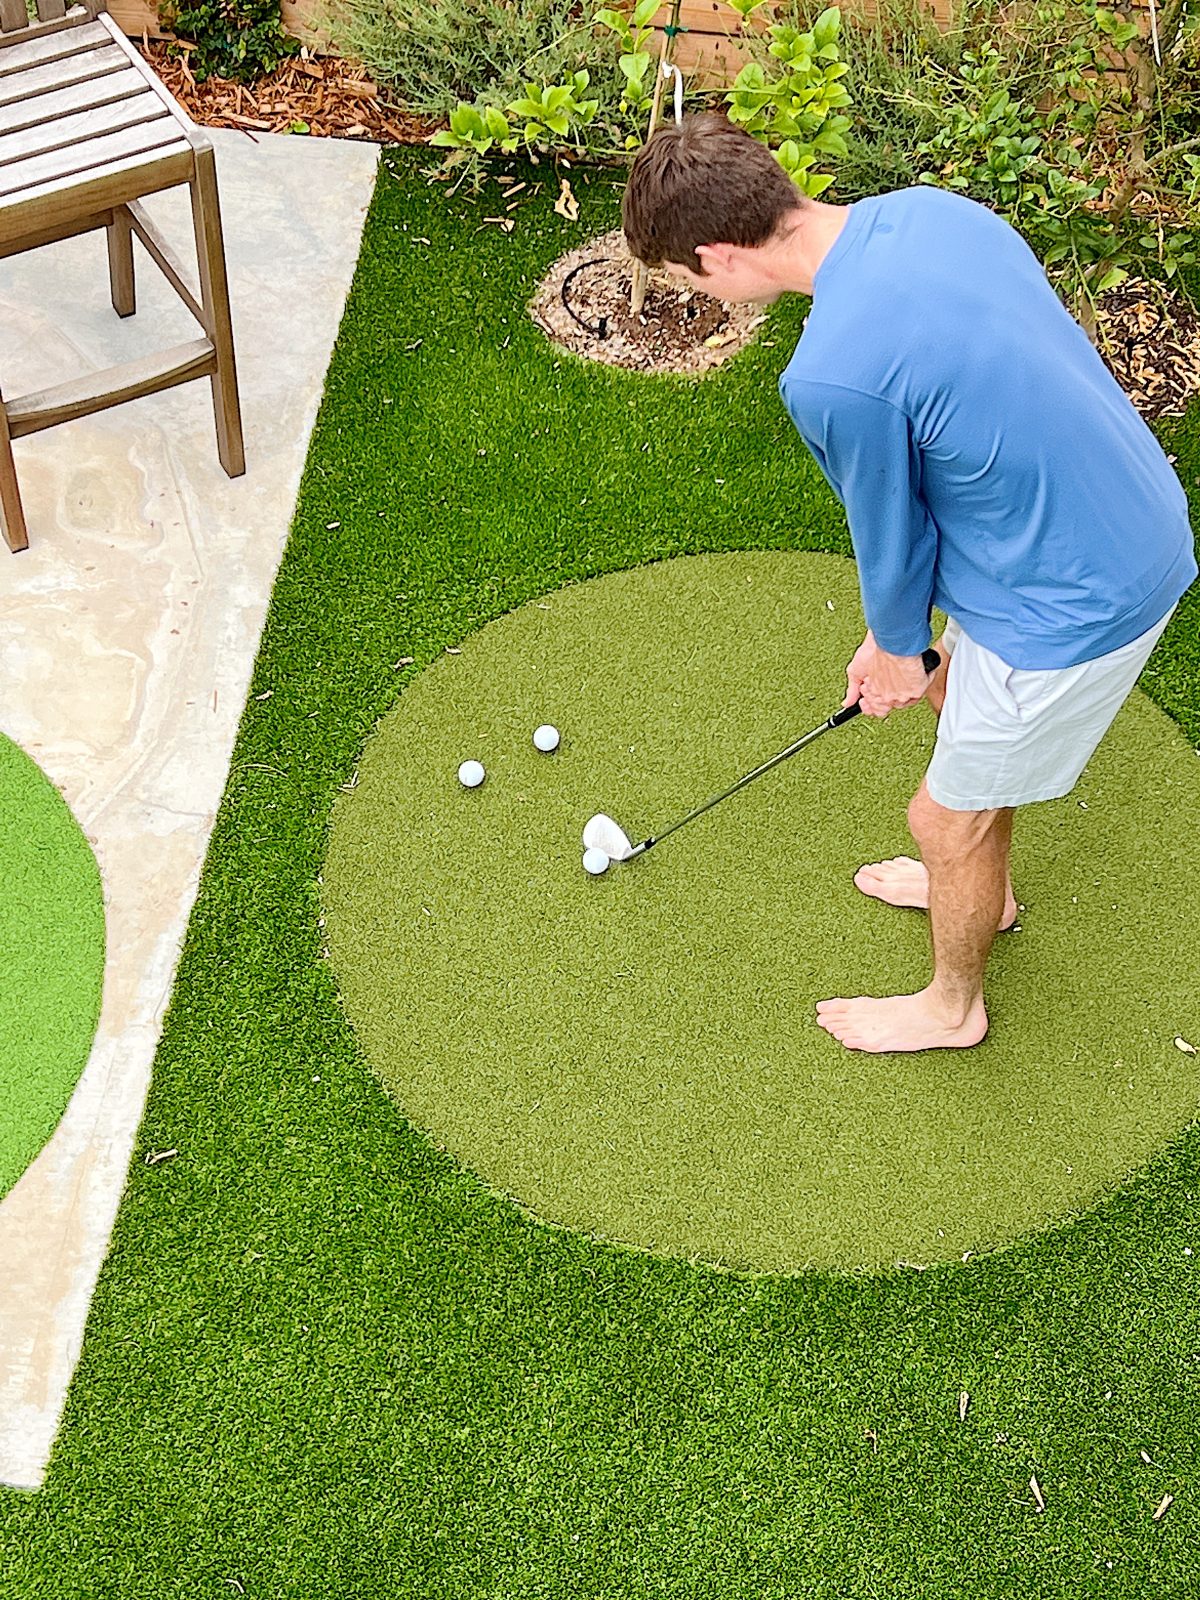
We used turf because it was very low-maintenance and required no watering.


Step 4: Adding Putting Green Features
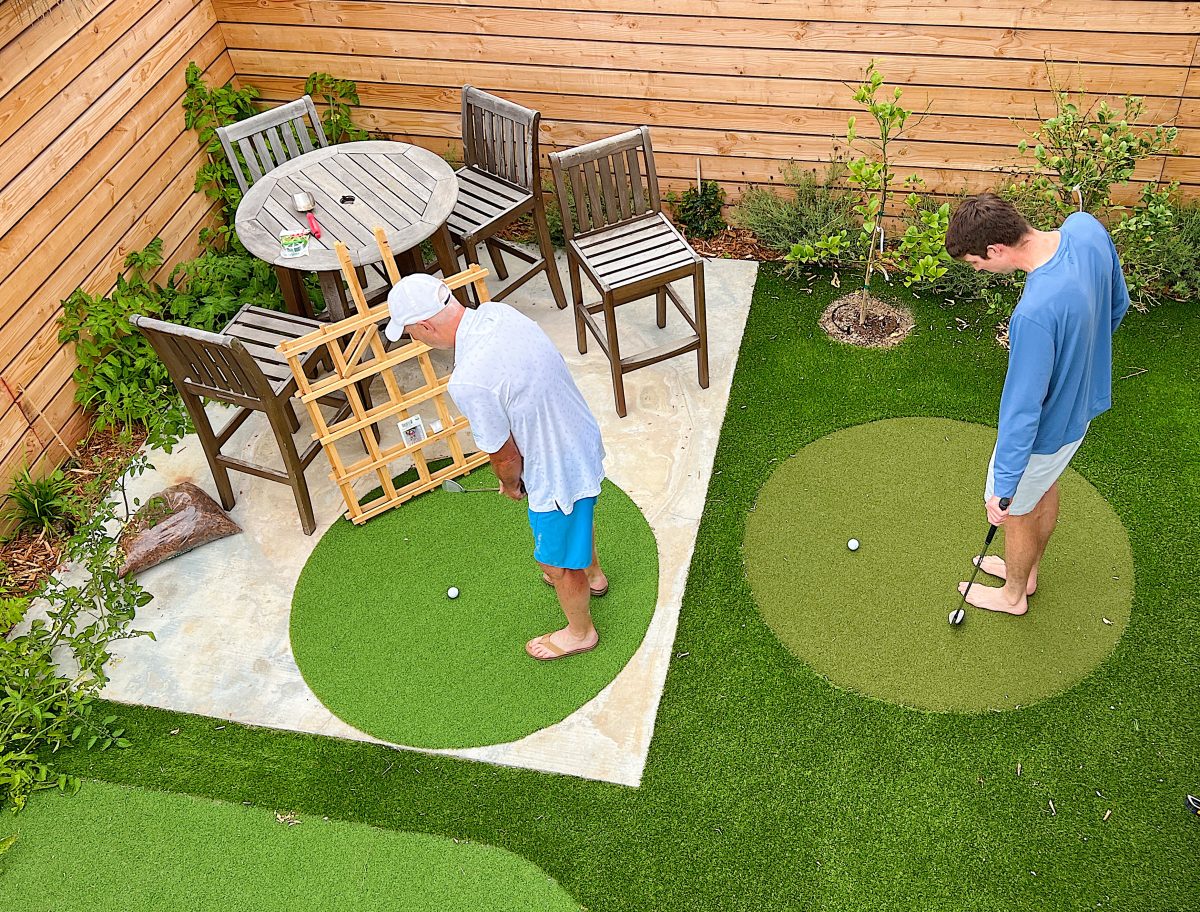
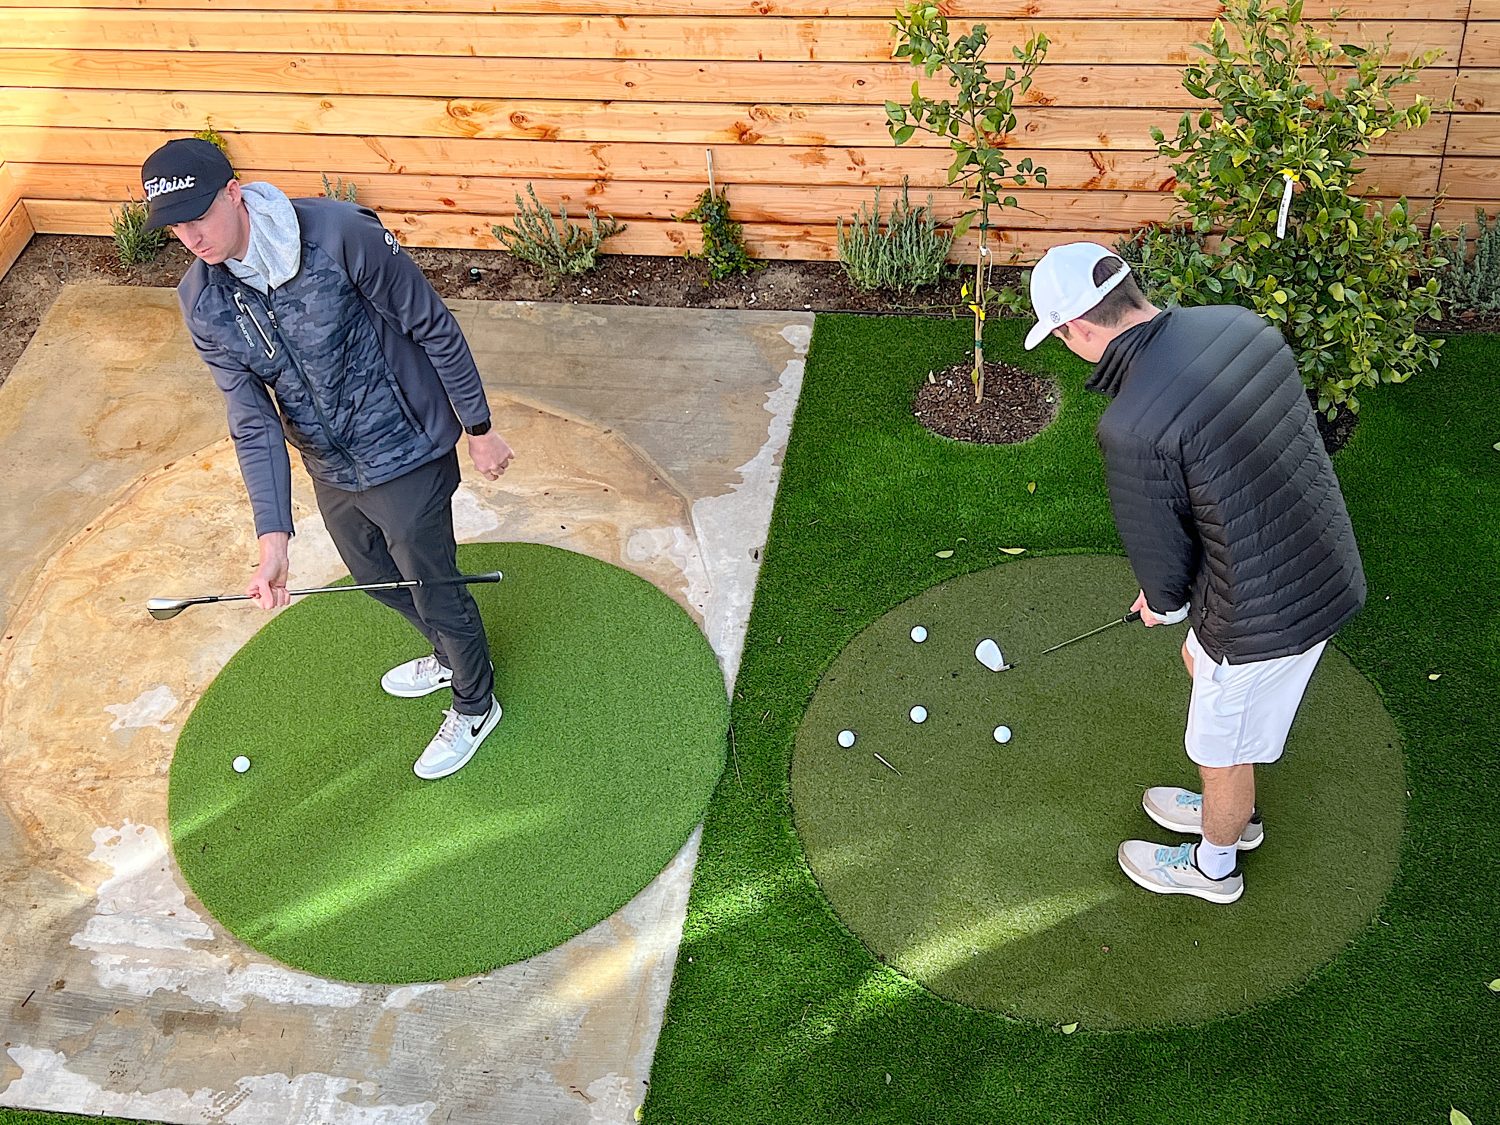
Consider adding additional features that mimic an actual golf course to make your putting green truly unique. Sand traps, bunkers, and undulations can all be incorporated into your design, providing a more challenging and realistic experience. You may also want to consider creating synthetic turf fringe or rough areas that transition smoothly from the green.
My husband wanted the turf fringe (and yes, when he first mentioned it, I had no idea what he was talking about). These areas can be used in conjunction with landscaping, rocks, or seating areas, enhancing the aesthetics of your backyard oasis.
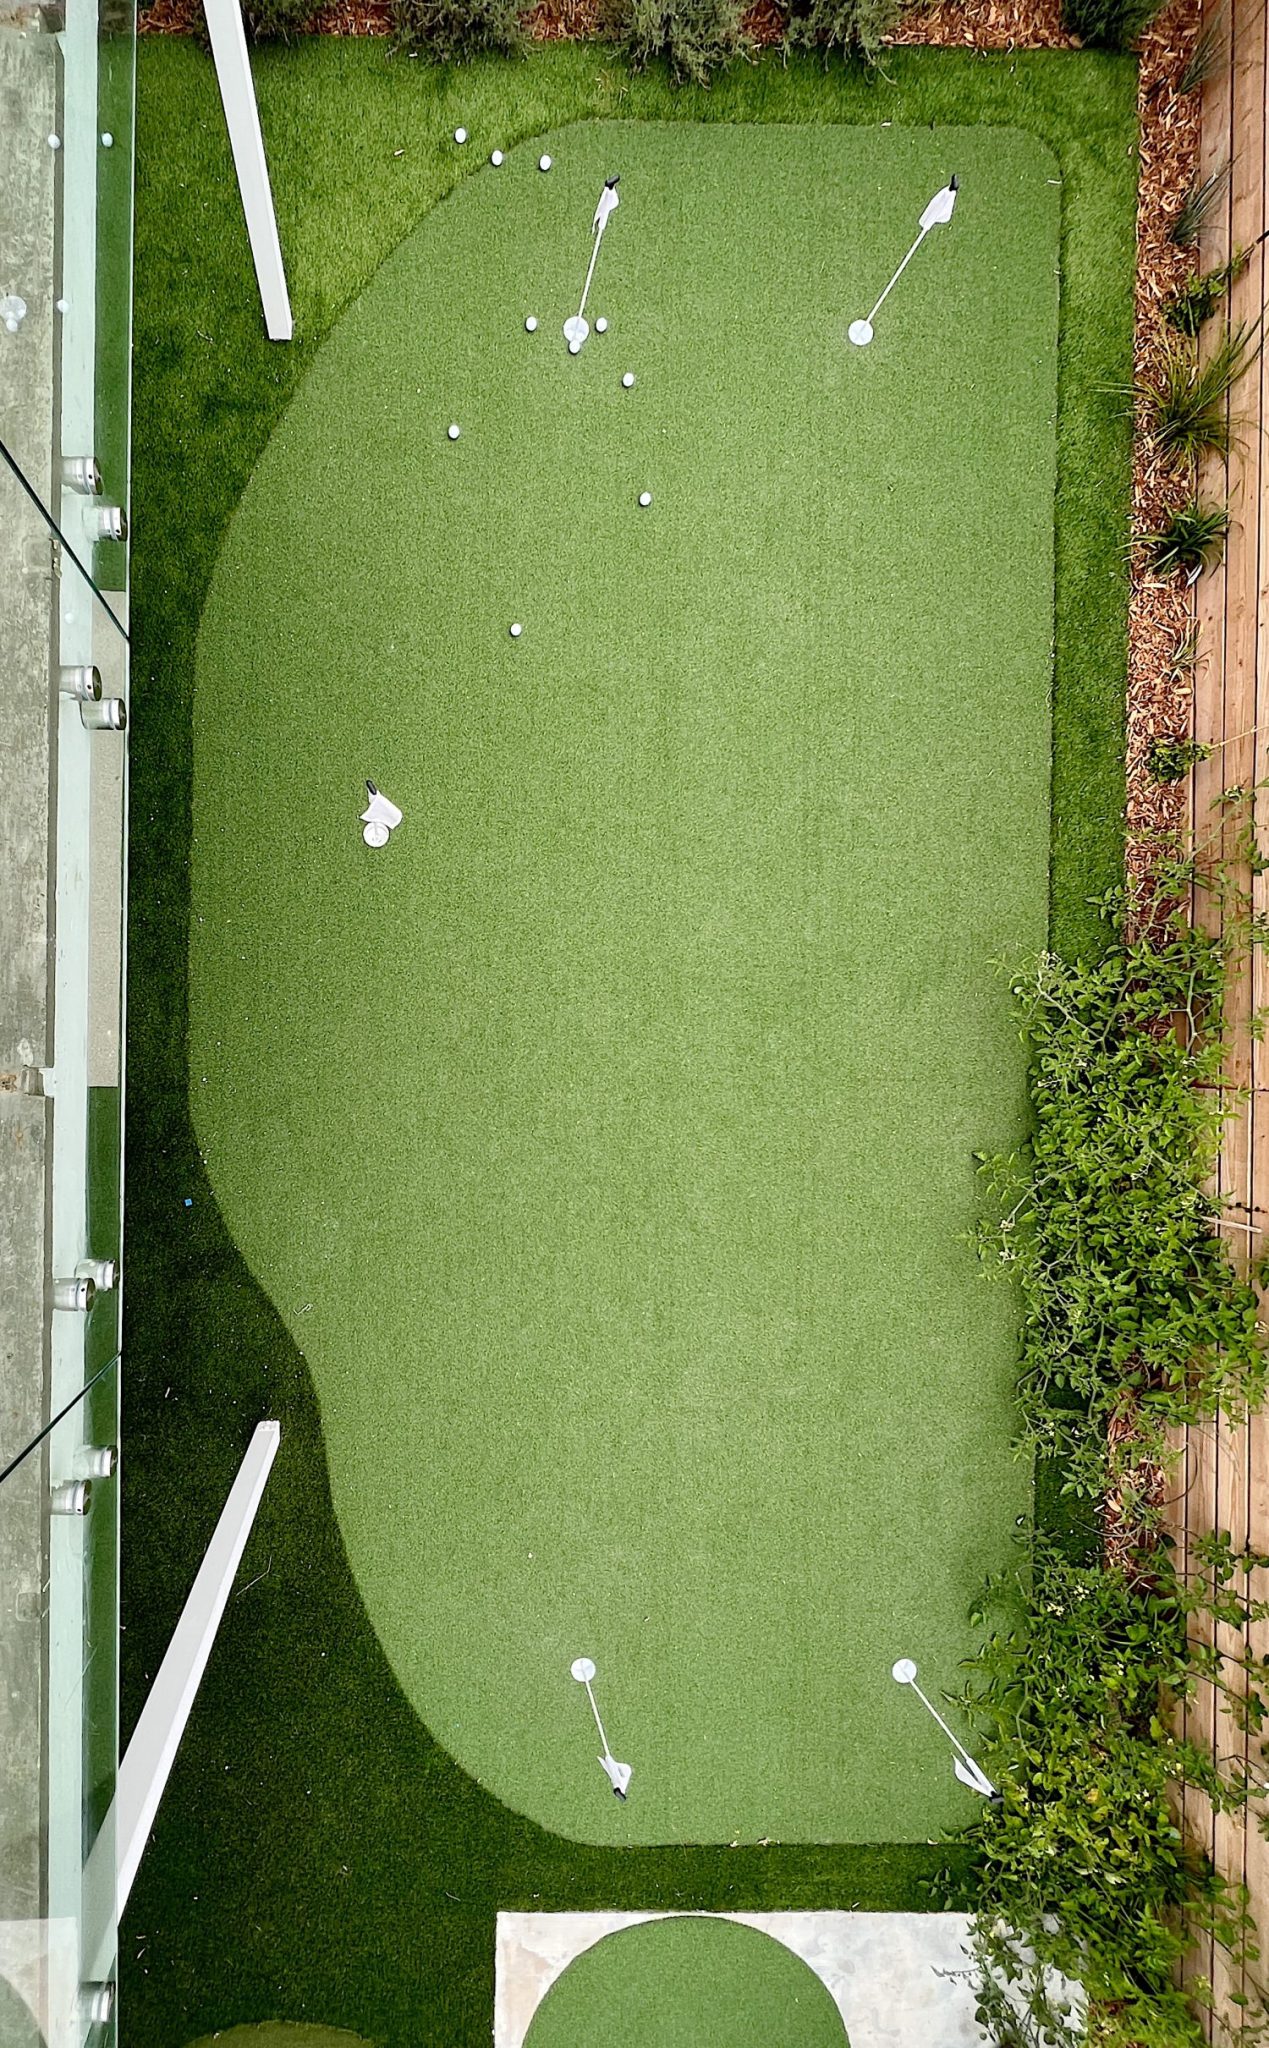
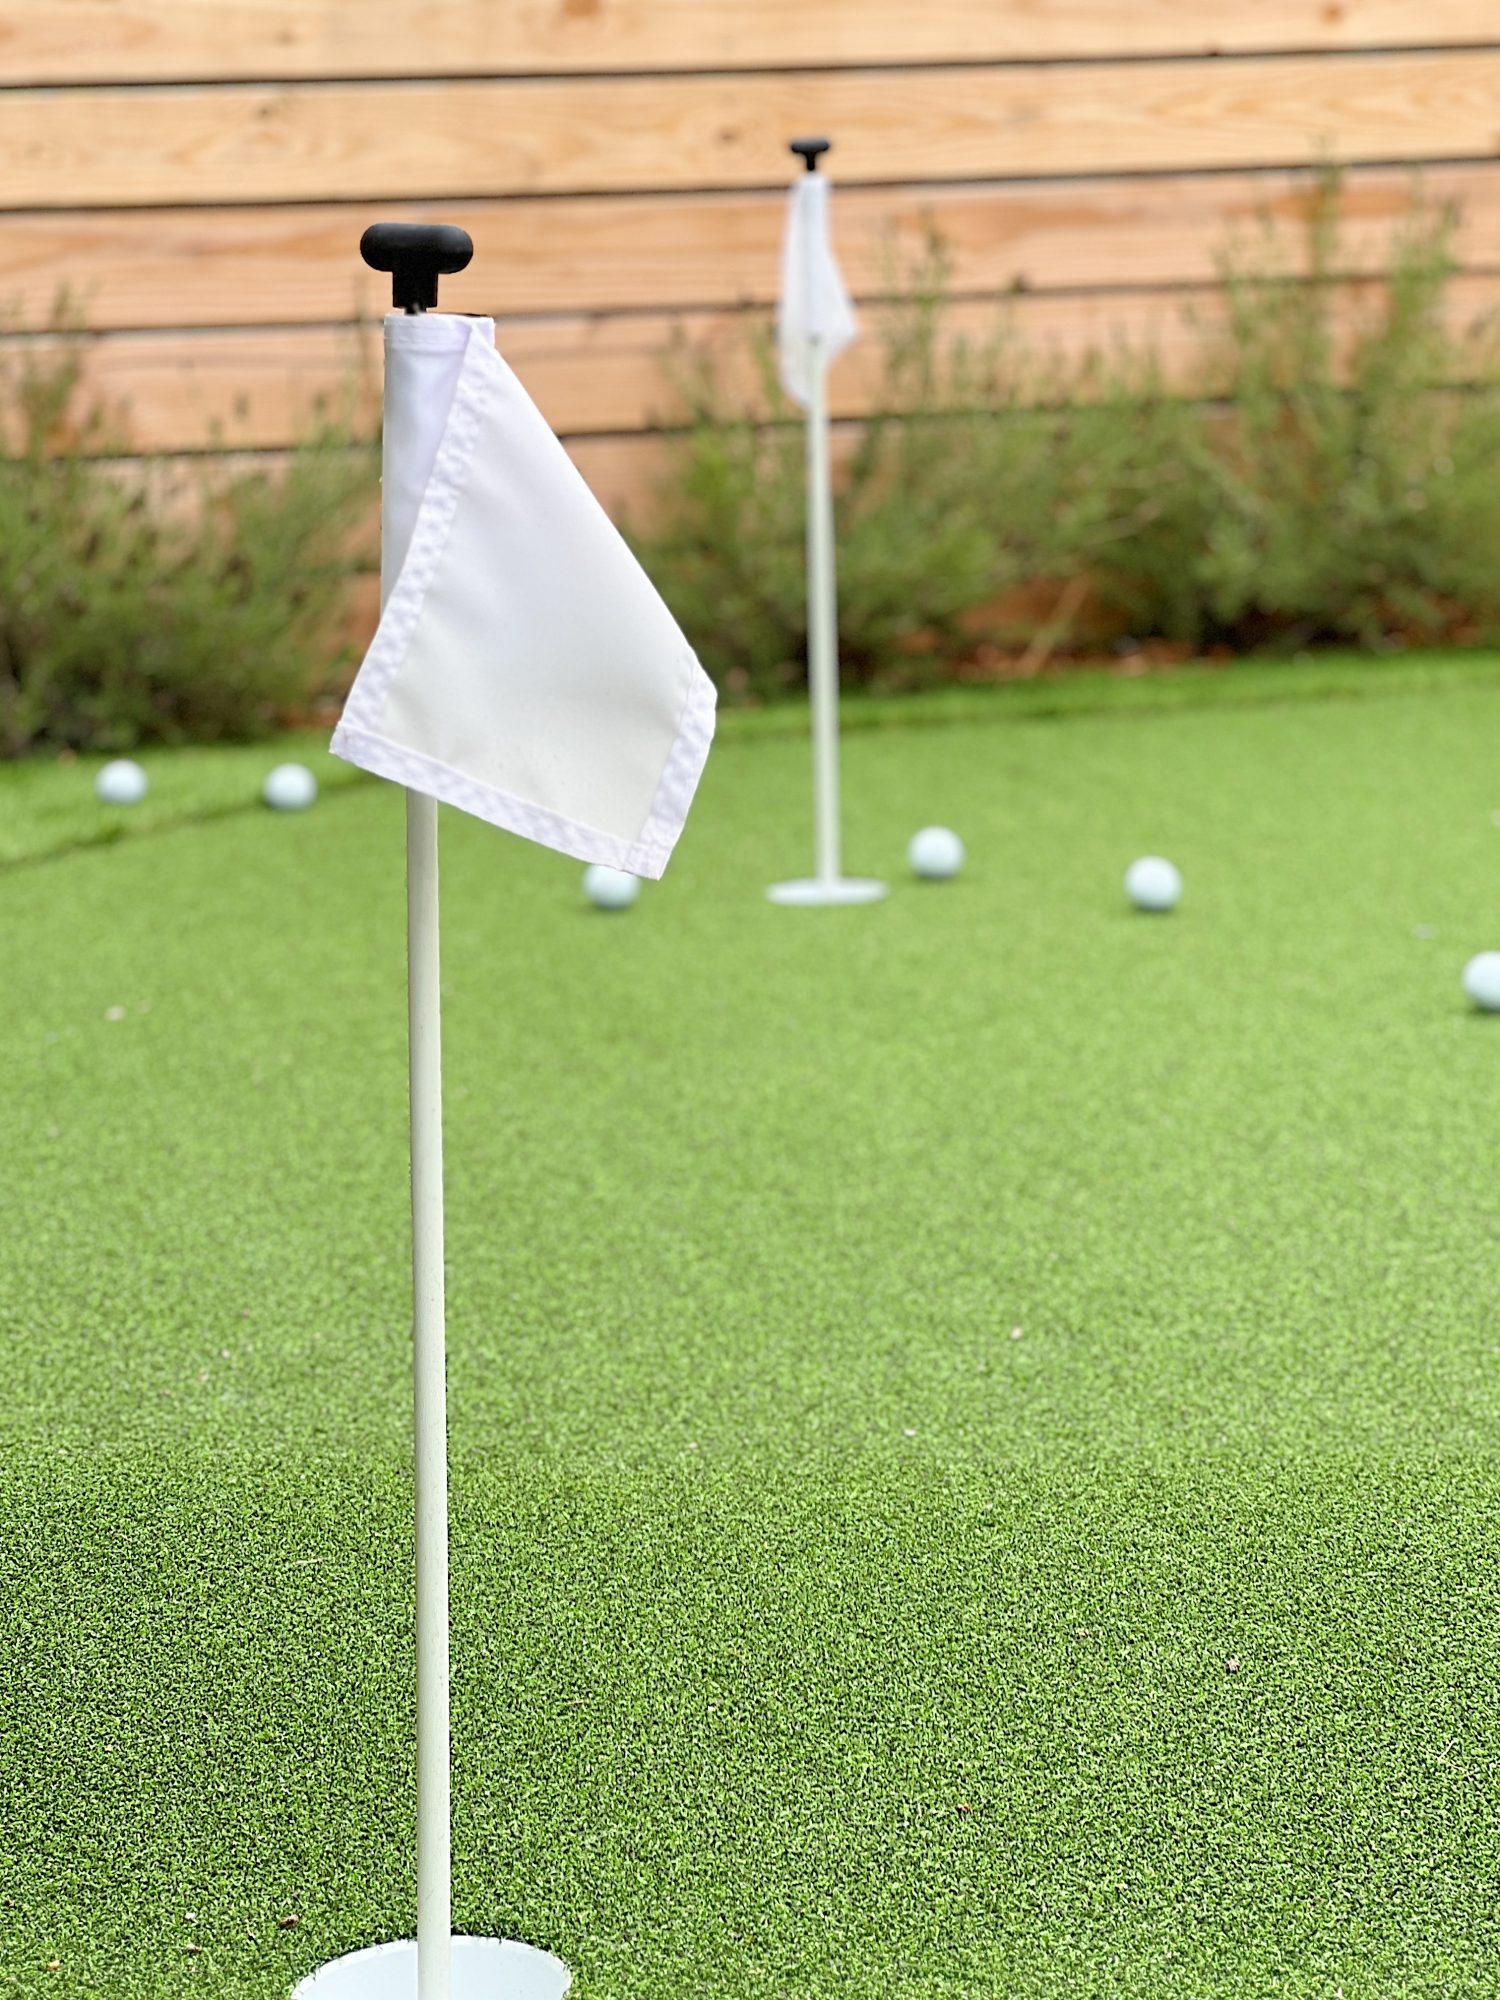
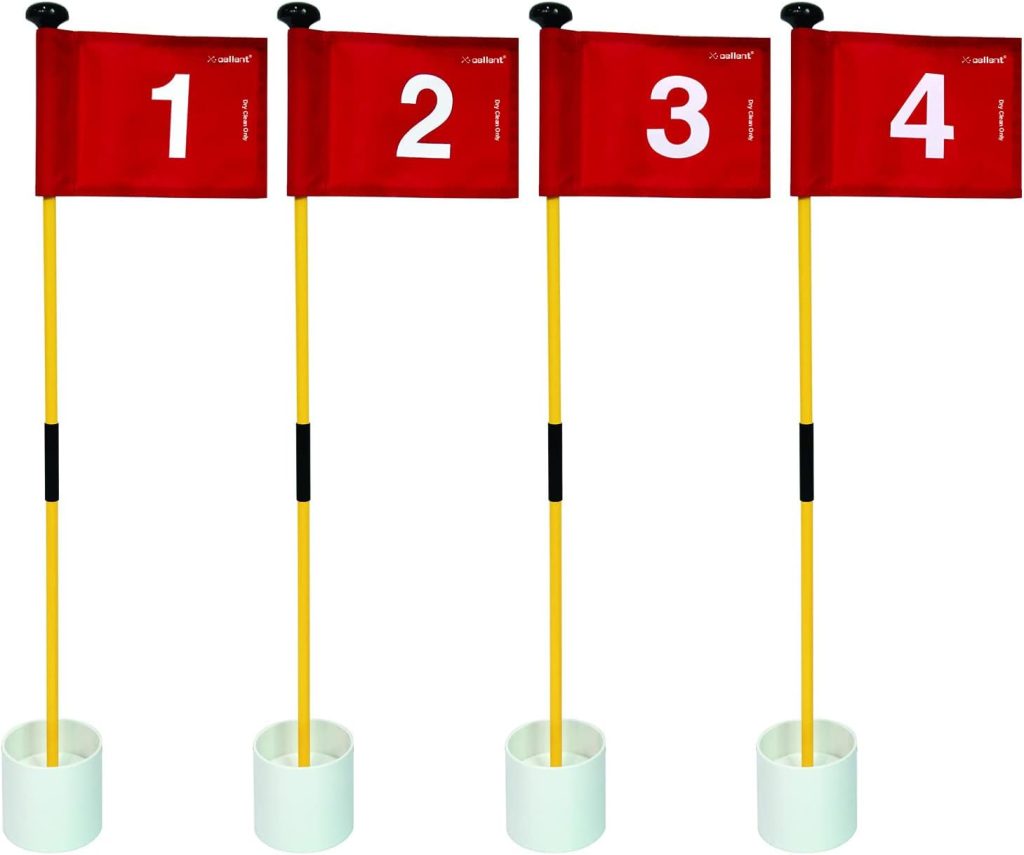
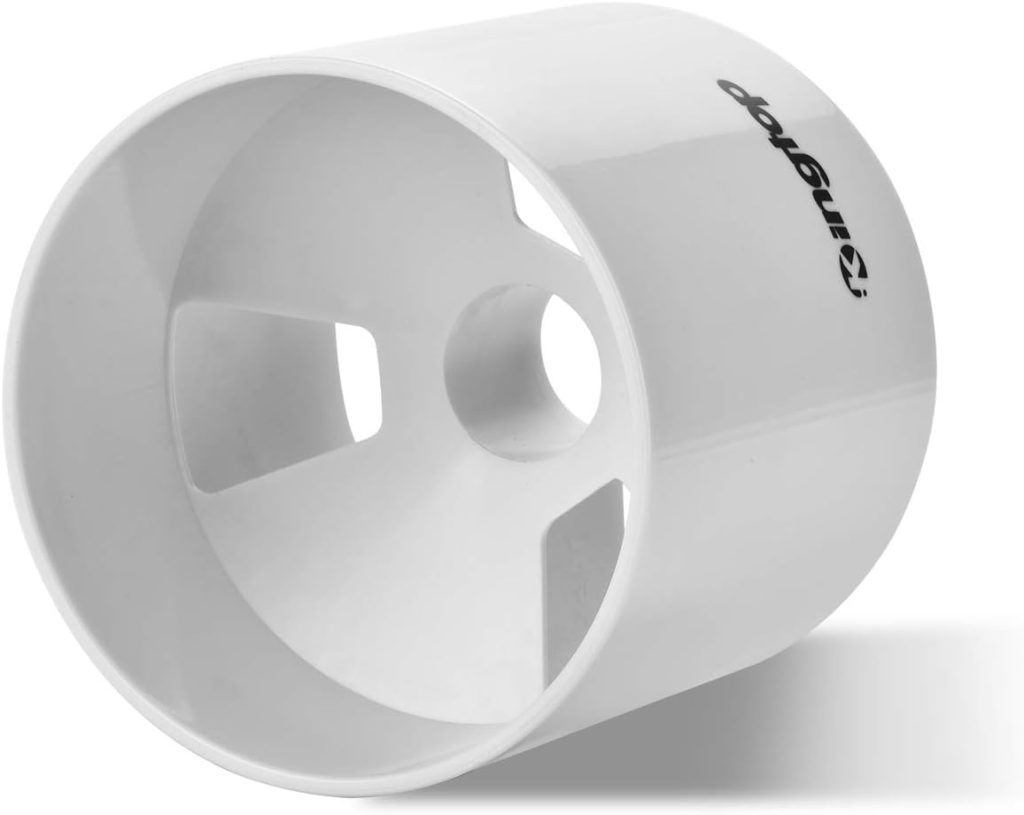
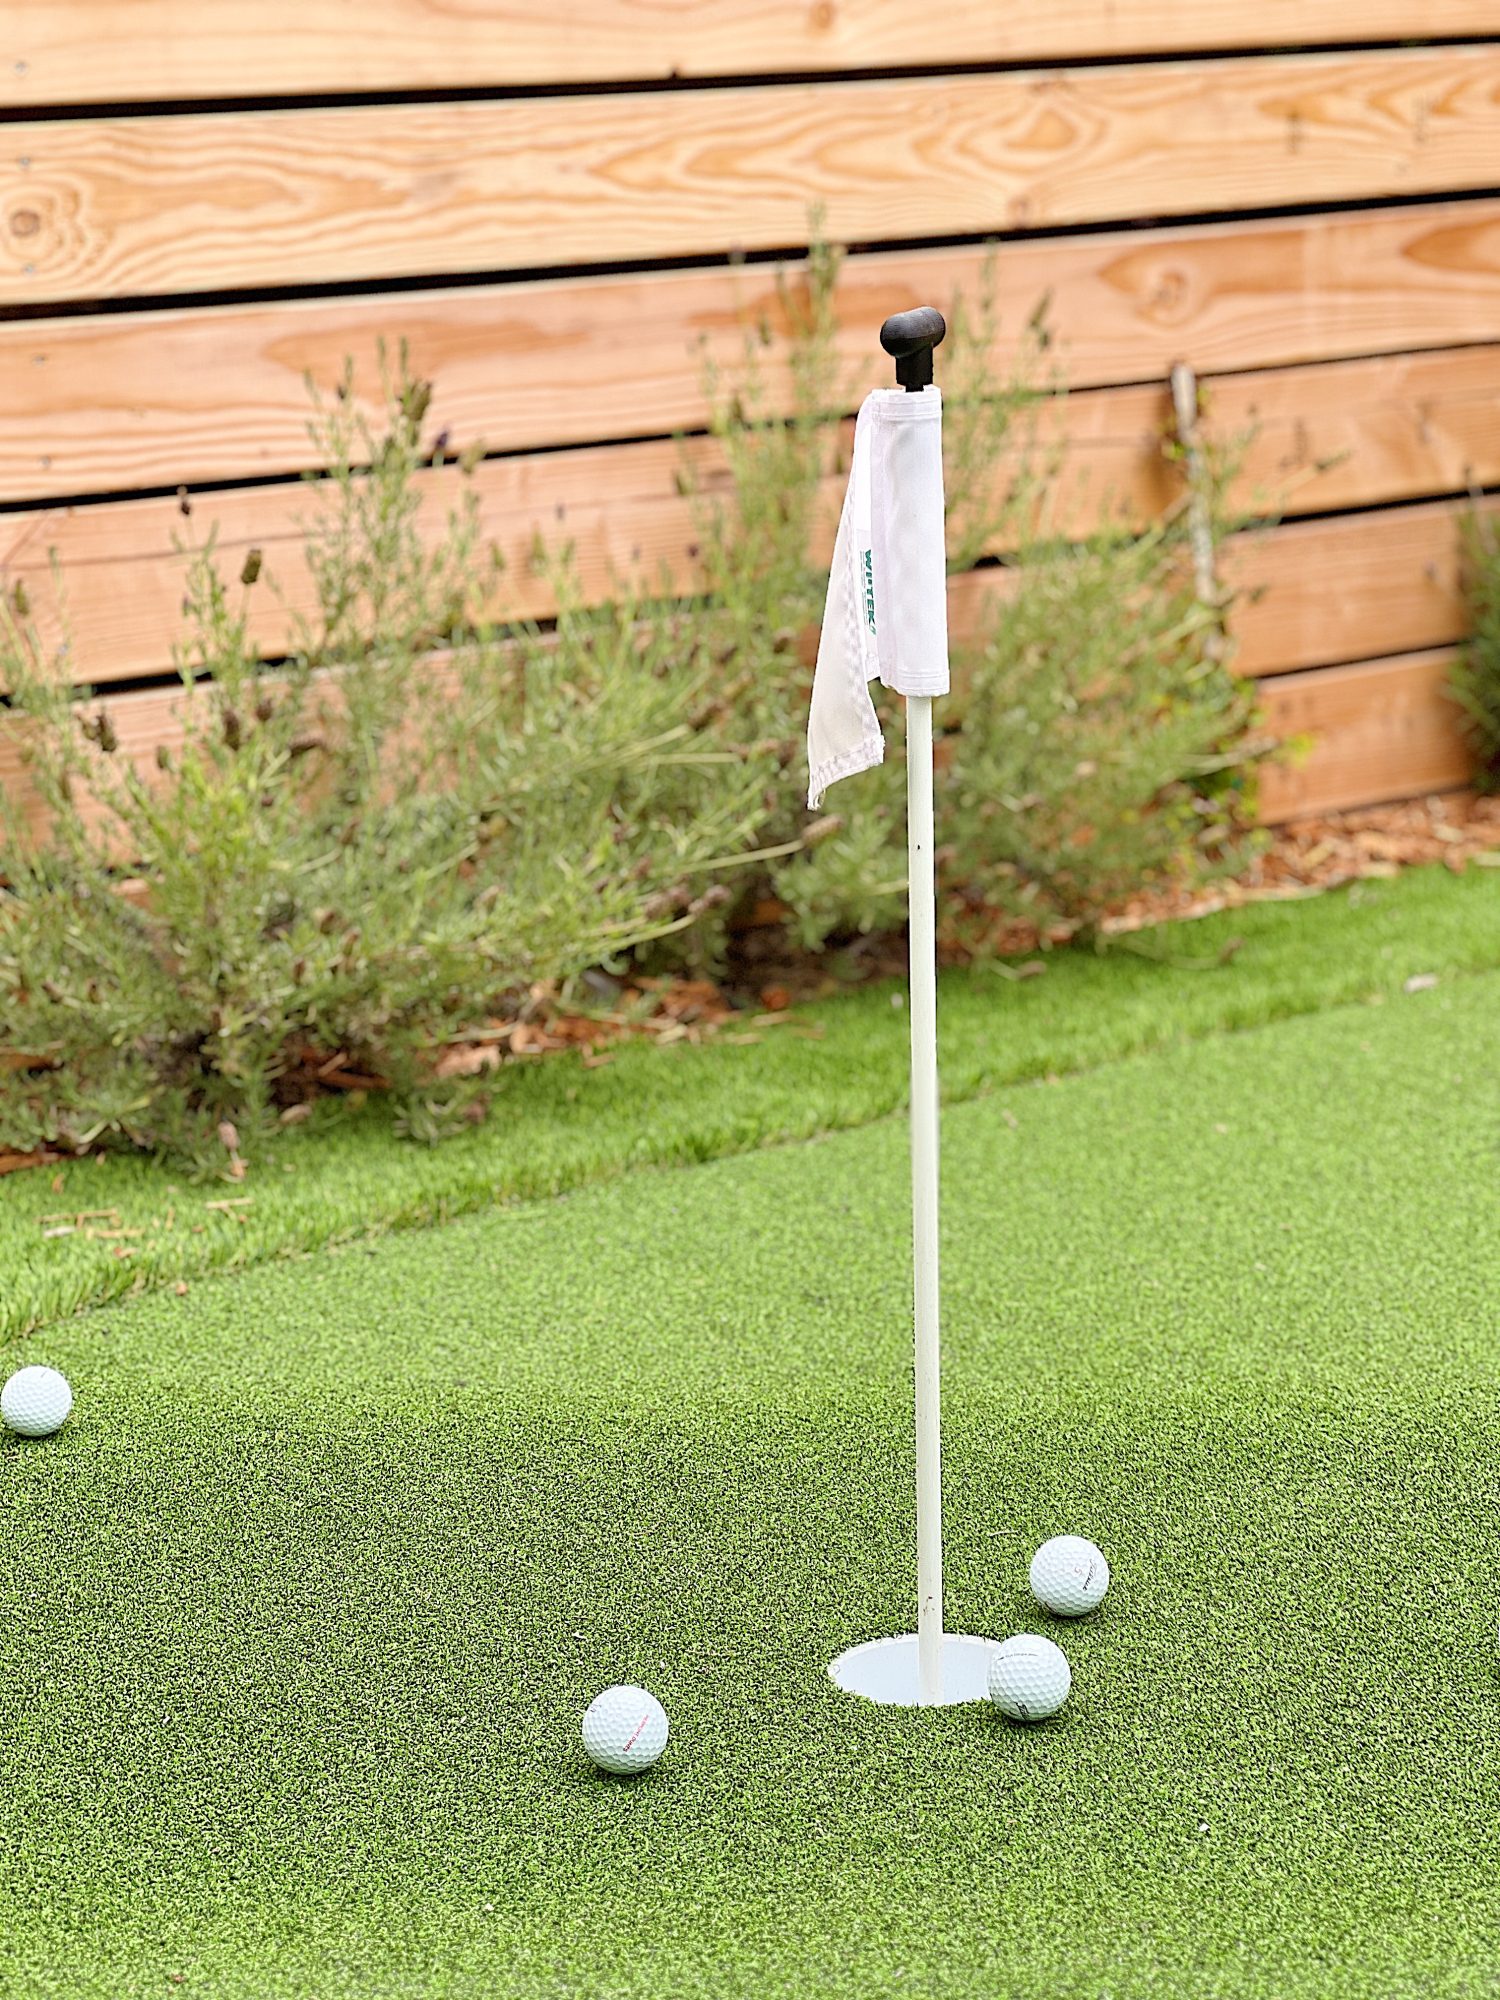
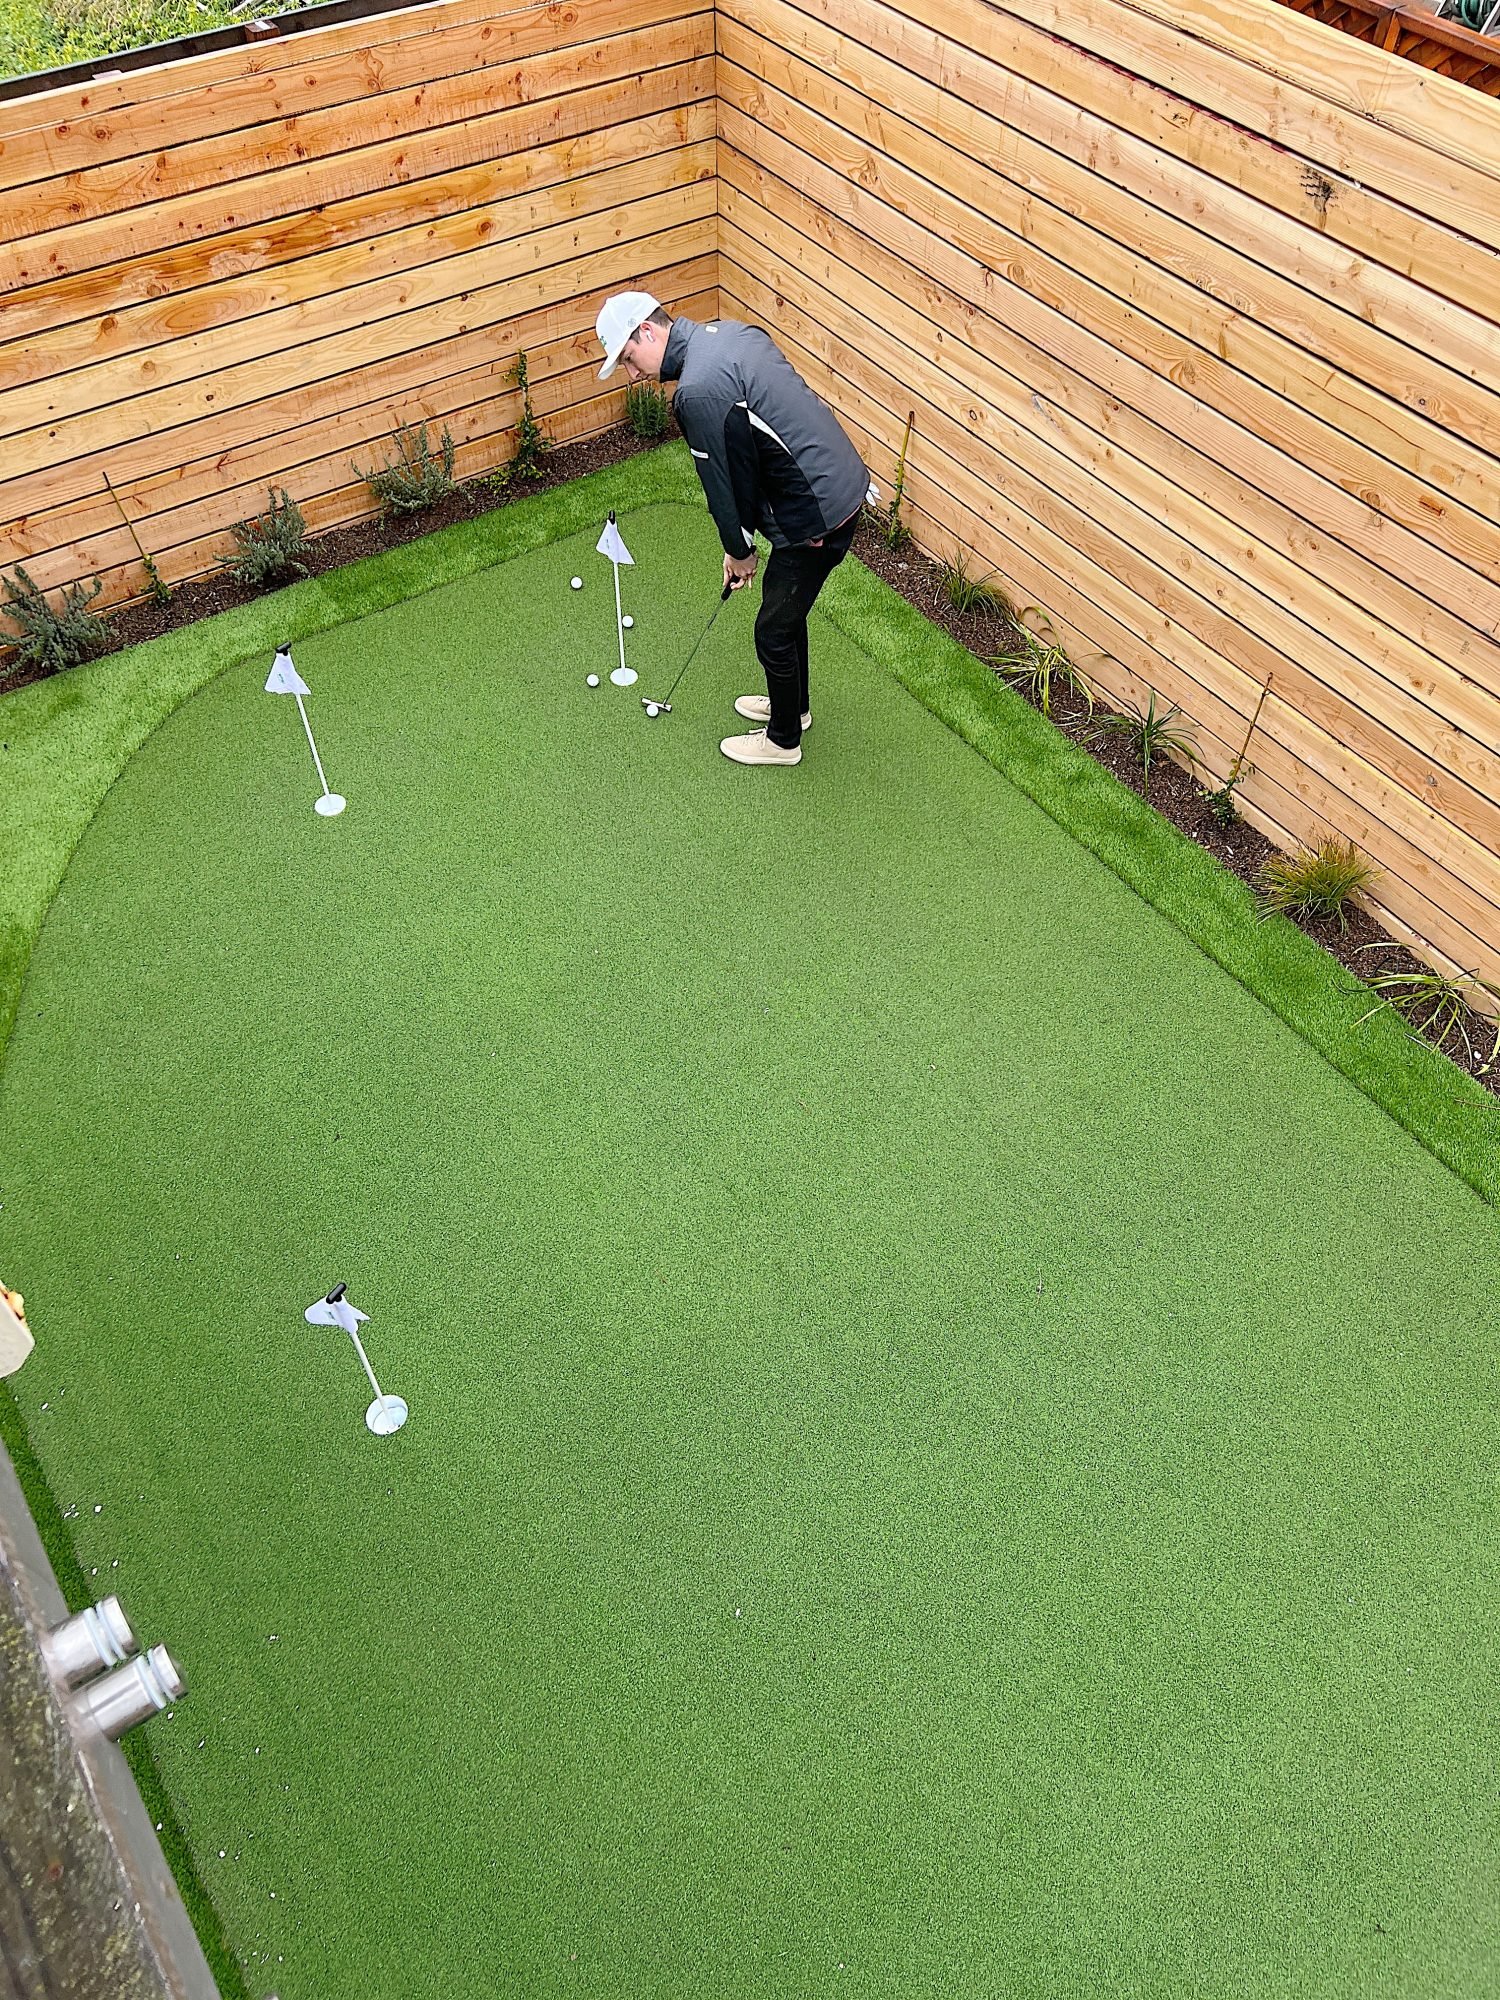
We finished off the course with cups and flags (which will soon say Pierpont Dunes) to mark the putting holes, completing the authentic golfing experience.


Step 5: Landscaping
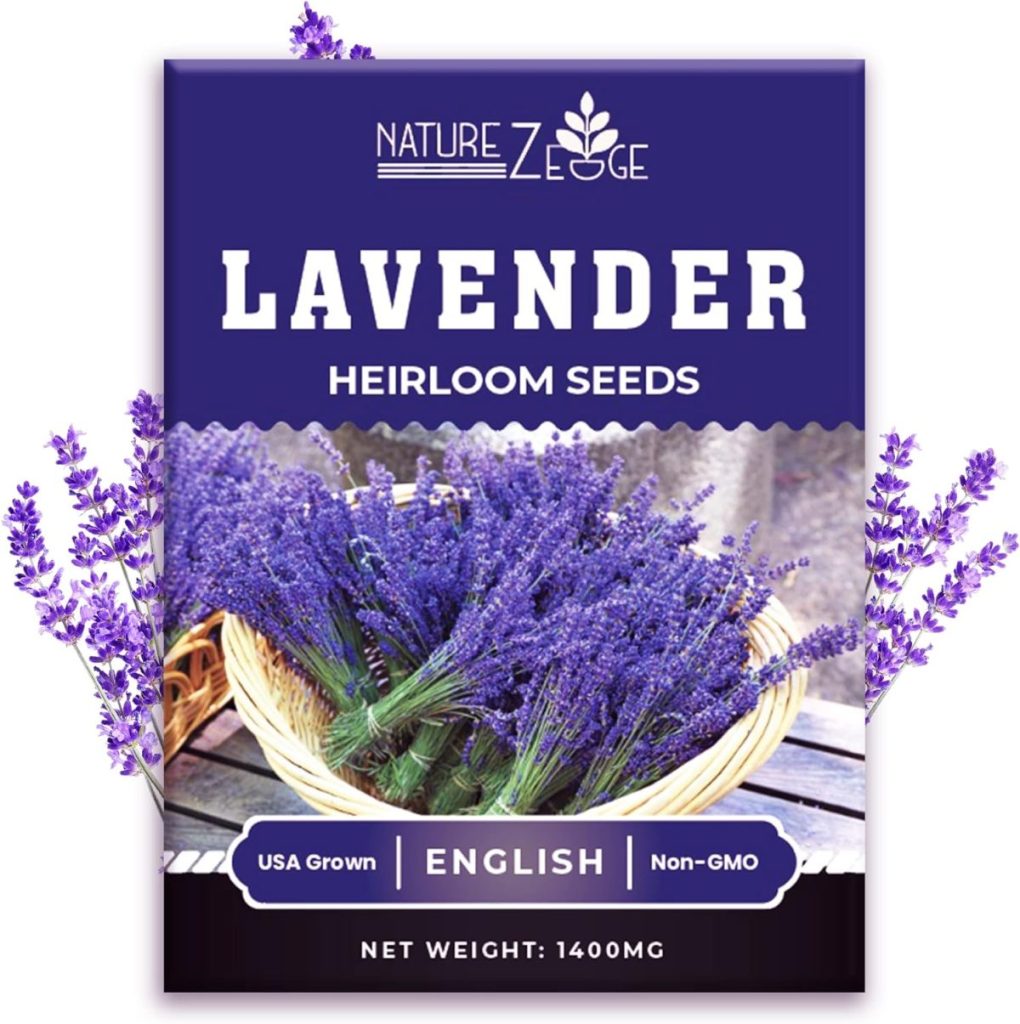
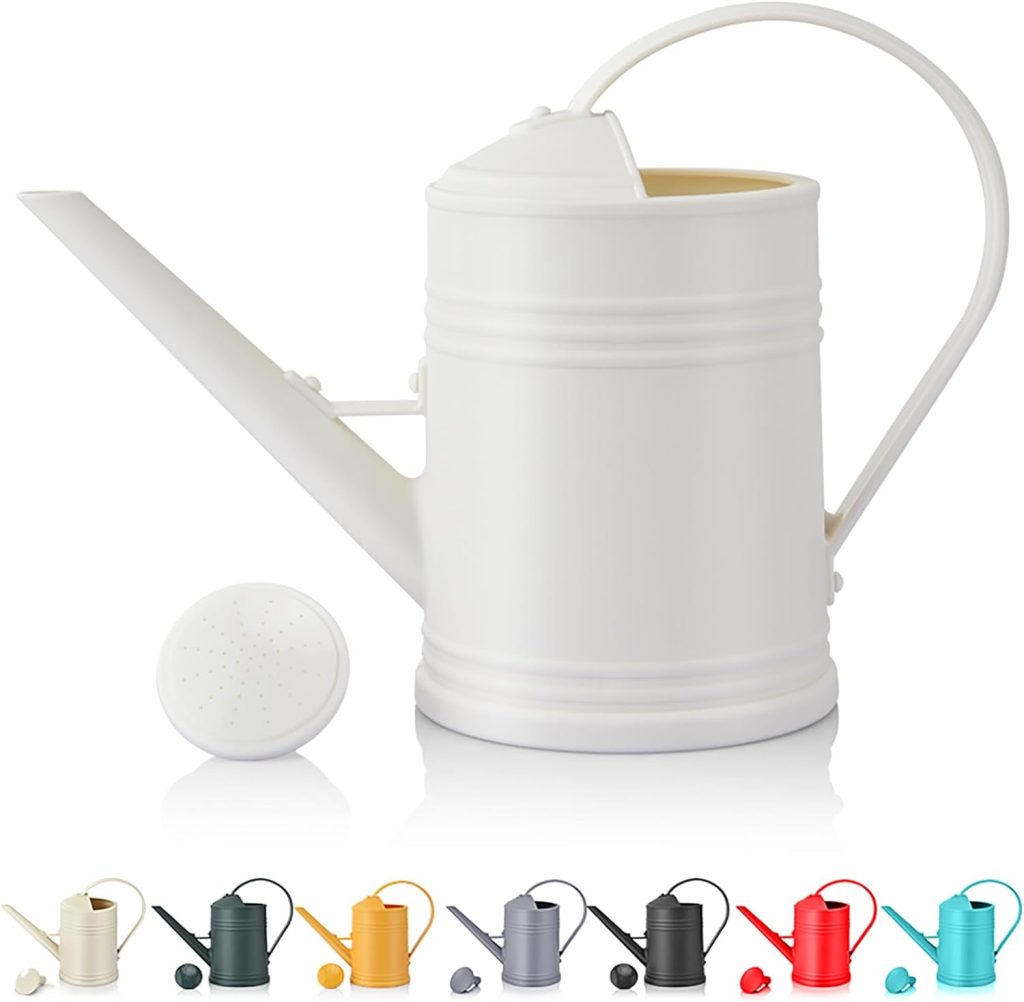
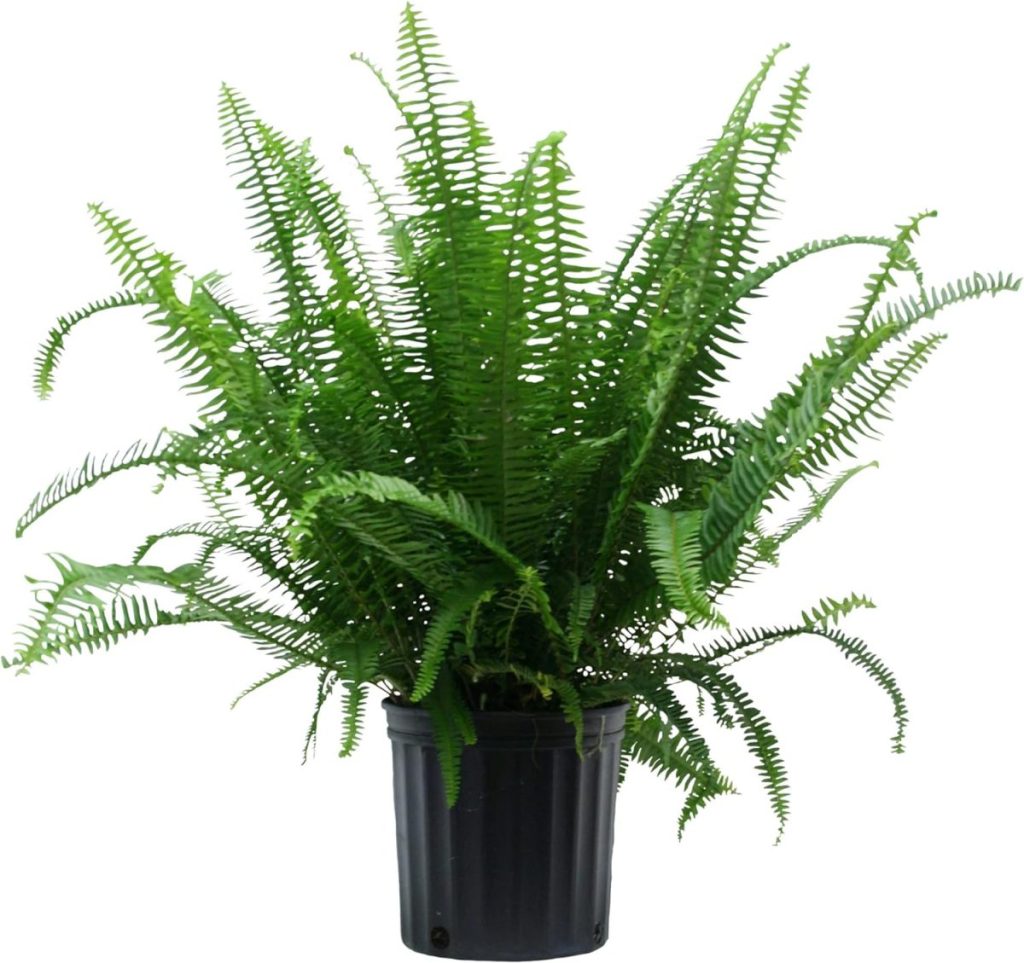
Once we finished the putting green, it was time to finish the landscaping. We installed a drip irrigation system around the perimeter of the green and planted numerous lavender and low-maintenance plants.
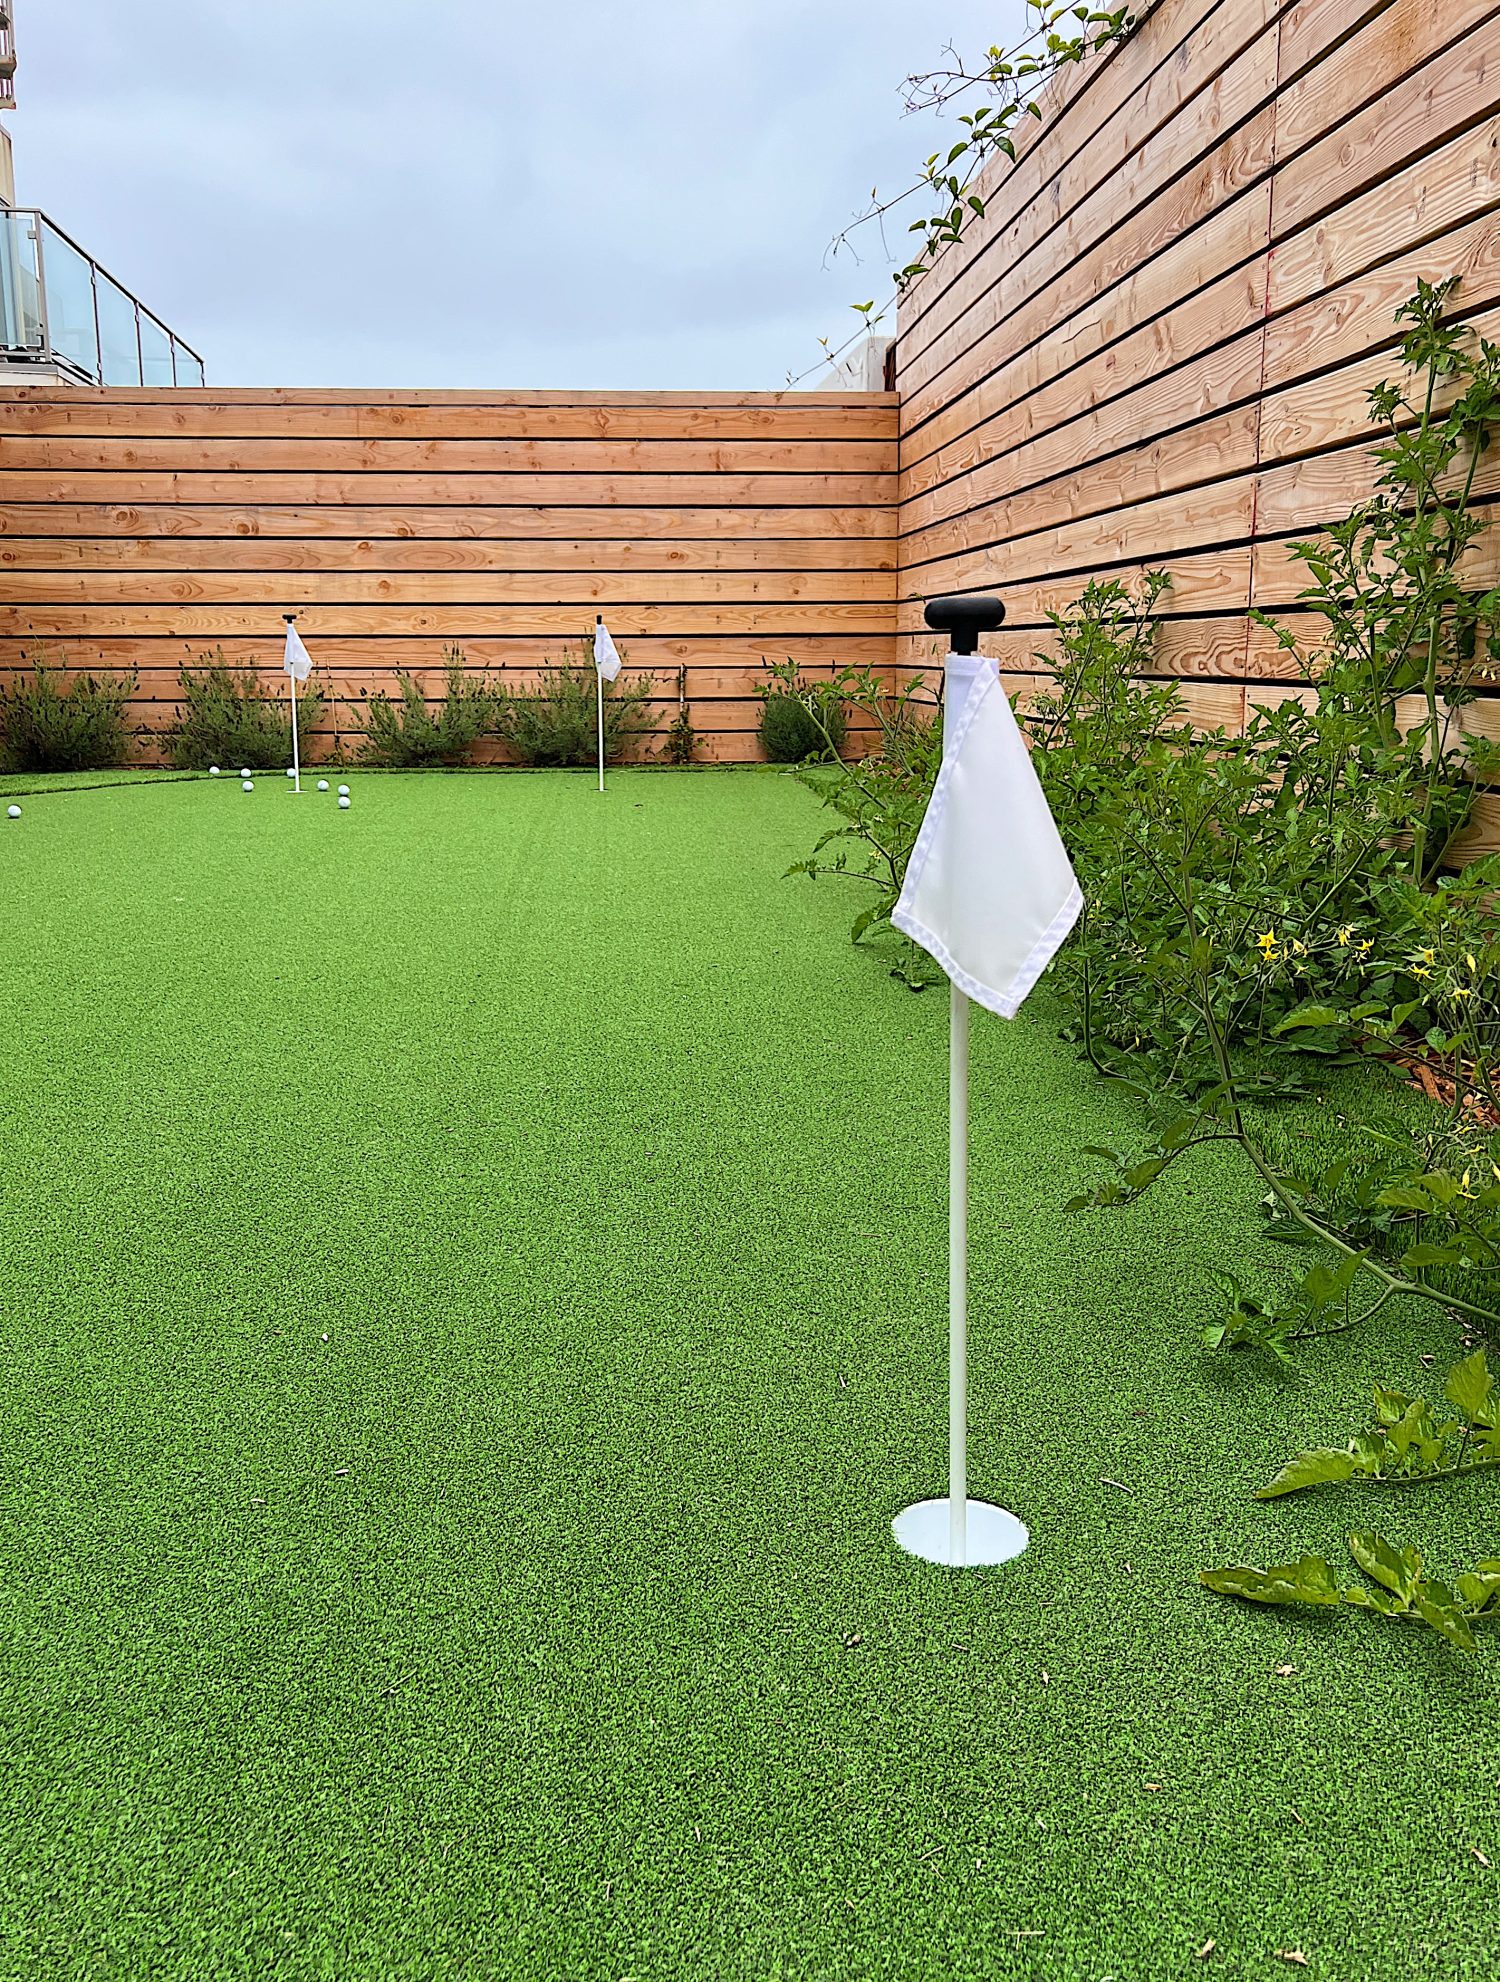
One very odd thing happened. Looking to the right of this photo, you can see one of the four volunteer tomato plants that appeared in our backyard! We have no idea what happened, and I am thrilled.
The golfers? Not so much.
I even wrote a blog post about it because we had an abundance of tomatoes.
Step 6: Maintenance and Care
Once your backyard putting green is installed, it’s essential to maintain and care for it properly. If you’ve opted for natural grass, regular maintenance tasks such as mowing, watering, and fertilizing will be necessary to ensure healthy growth.
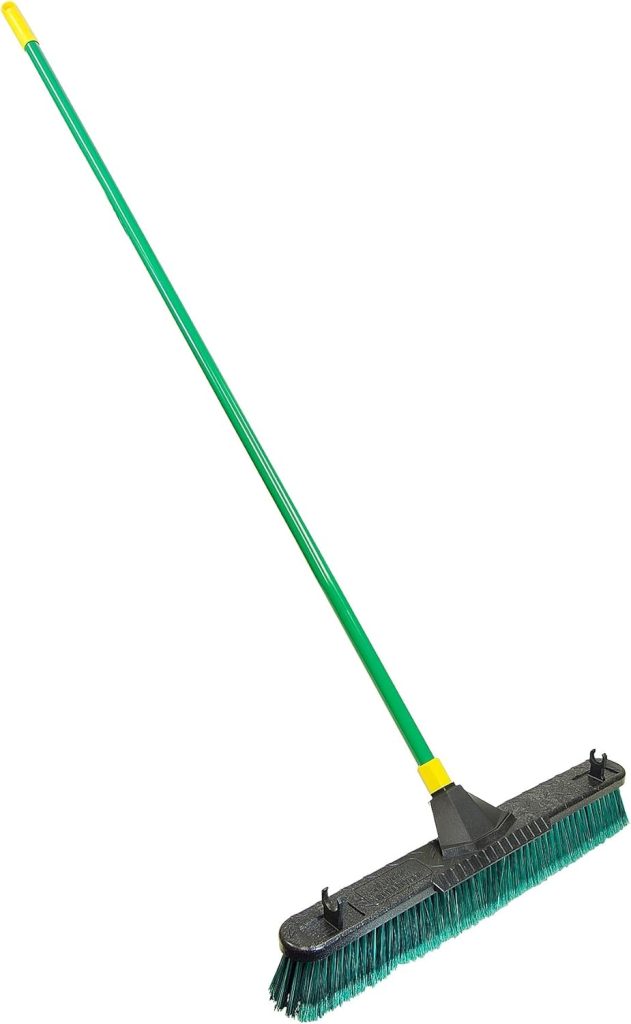
Synthetic turf requires less maintenance but still needs occasional attention. Brush the turf to keep the fibers standing upright, and remove any debris that may accumulate. We like using our electric blower to blow off the sand and clean the surface by clearing fallen leaves, branches, or other debris. Periodically add infill material if recommended by the manufacturer.
Regardless of the surface, monitor the drainage system and address any issues promptly to prevent water buildup. If necessary, consider professional maintenance services for long-term care and upkeep.


By following these steps, you can transform your backyard into a golfer’s paradise with a backyard putting green.
Plan and design your green, prepare the ground meticulously, choose and install the appropriate putting green surface, and add features that enhance the authenticity of your design.
With regular maintenance and care, you can enjoy endless hours of golfing fun right outside your door.
So grab your putter and get ready to improve your game while enjoying your yard.
Your very own backyard putting green awaits!
If you enjoy my blog, you can sign up to receive my updates here.
.Early Prime Day Deals!
Find my whole list of early deals here.


Perfect Decor for the Patio!

Pin the image below to your boards on Pinterest (just click the Pin button in the top left corner). You can also follow along with me on Pinterest!
For more real-time updates, follow me on Instagram @My100YearOldHome

My grandfather had one when I was little. It was fun for the entire family.
Our pups have synthetic grass. It’s the grade golfers use. Best money we ever spent.
Happy 4th!
I love that! We have all so enjoyed it, even us non golfers 😂
My hunch is that those tomatoes will turn out to be cherry tomatoes – they will reseed prolifically and could have “distributed” from birds or perhaps an escapee from a salad! I would be thrilled too – just tell the golfers it adds to the challenge😜
That sounds like it could be right! Haha dodge the tomatoes 🤣
This is so fun and something I know my husband would absolutely love in our backyard! I bet he would want to do real grass and lay some sod down so he has the joy of cutting it the way he wants. I can’t wait to see how your tomatoes will turn out! Thanks so much for sharing!