DIY Paper Flower Wreath
Paper flowers are so much fun to make, and the best part is that you can customize them to match any decor.
Today I am going to share how to make peony paper flowers and then how to add them to a spring wreath. Let’s get started!
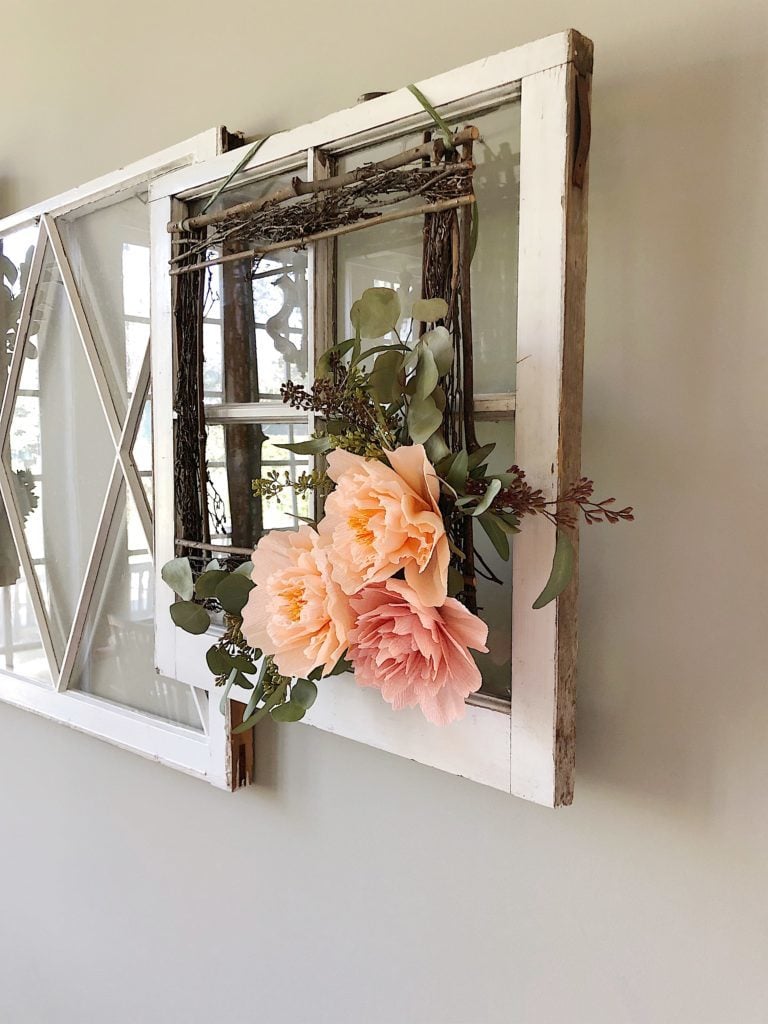
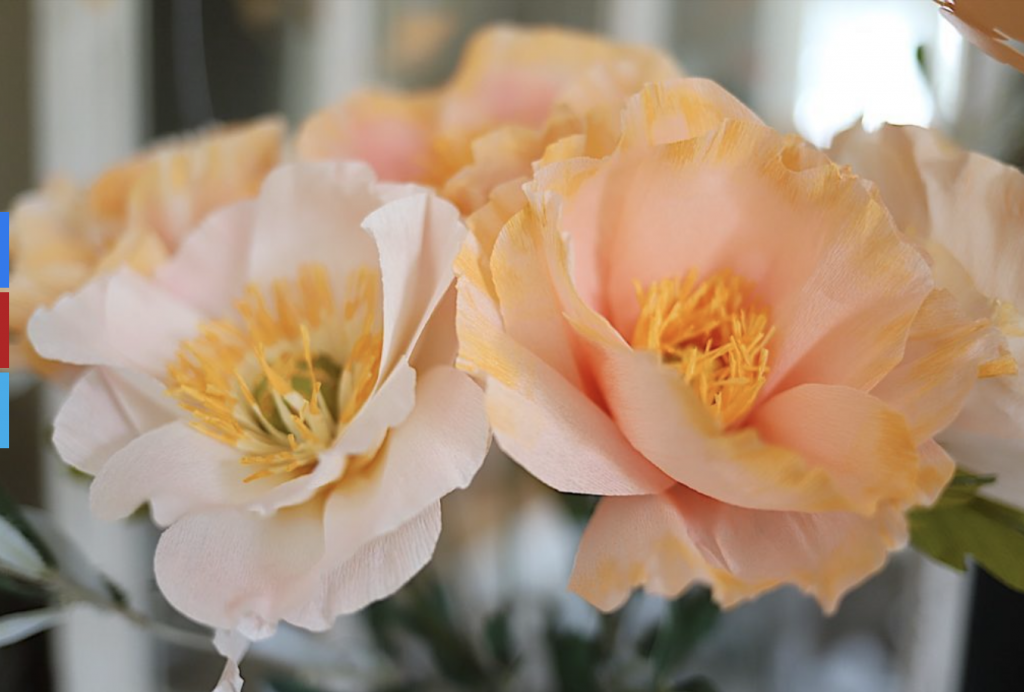
I have truly fallen in love with my latest DIY paper flowers project. Paper Peonies! They are a quick project and I love how they look so similar to the real thing! Today I am going to share how to make peony paper flowers and then how to add them to a spring wreath.
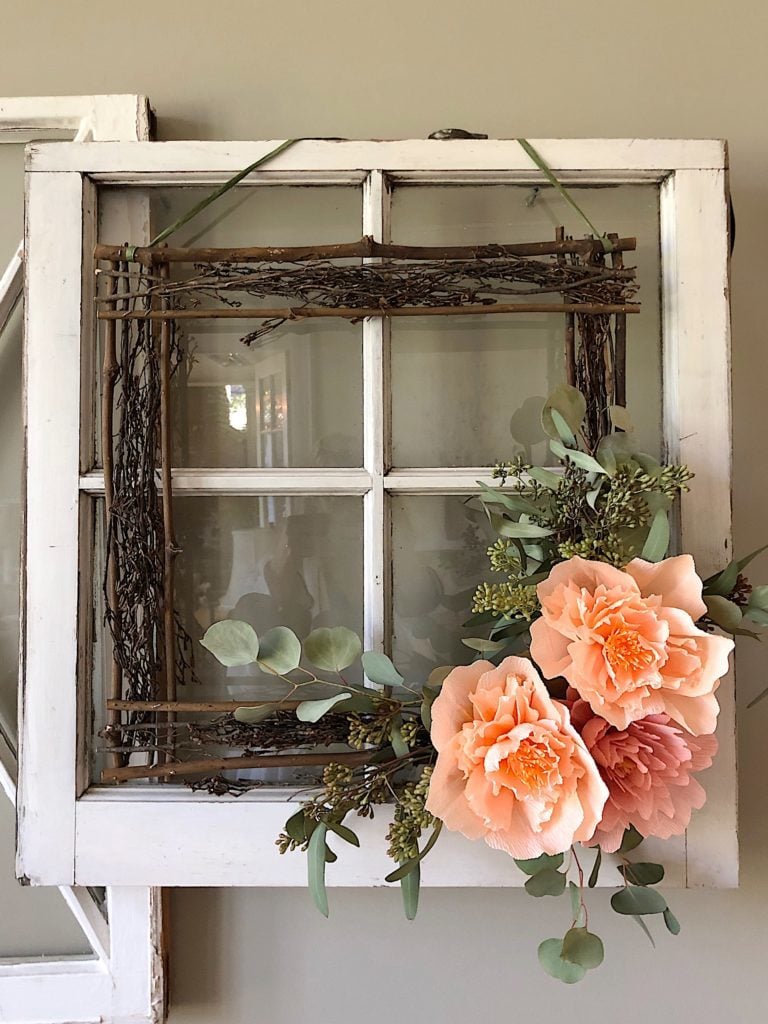
I have joined 27 other bloggers today to share spring wreath ideas as part of the Seasonal Simplicity Spring Series. Krista from The Happy Housie put this blog series together and you need to check out her blog. It is amazing! I still can’t believe this many bloggers got together to share their wreath ideas. How cool is that! All of them are listed at the end of this post so be sure to click on your favorite photos for the DIY.
One of my favorite flowers are peonies and I thought it might be fun to try making a few for my wreath. I am happier than ever with how they turned out.
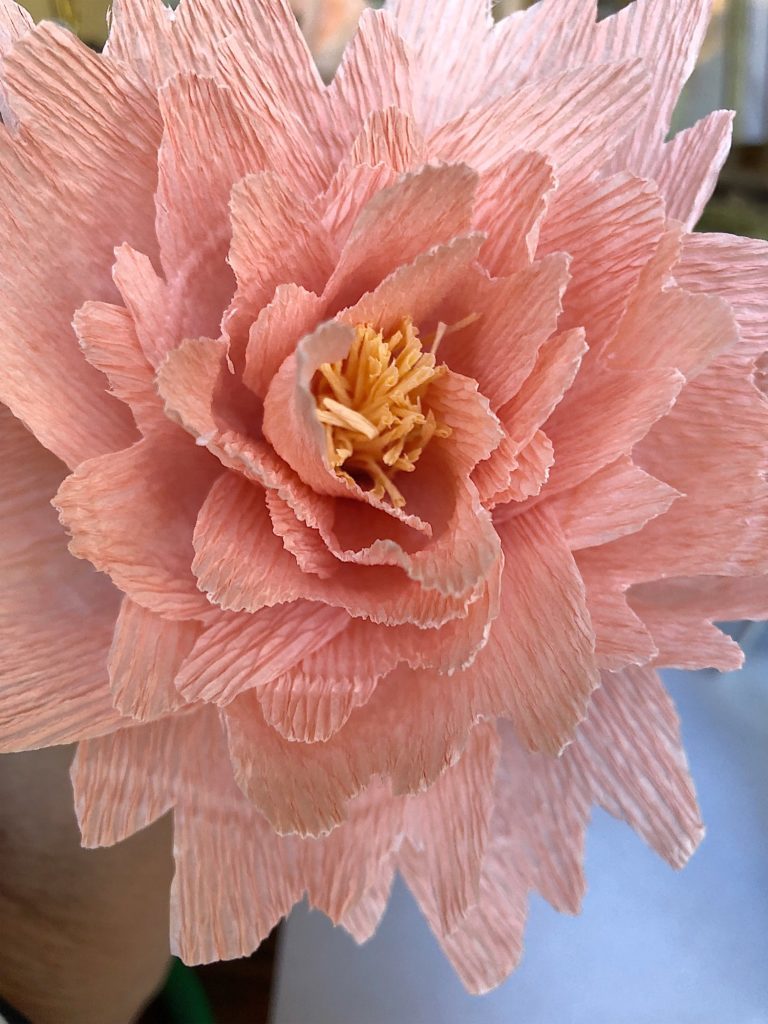
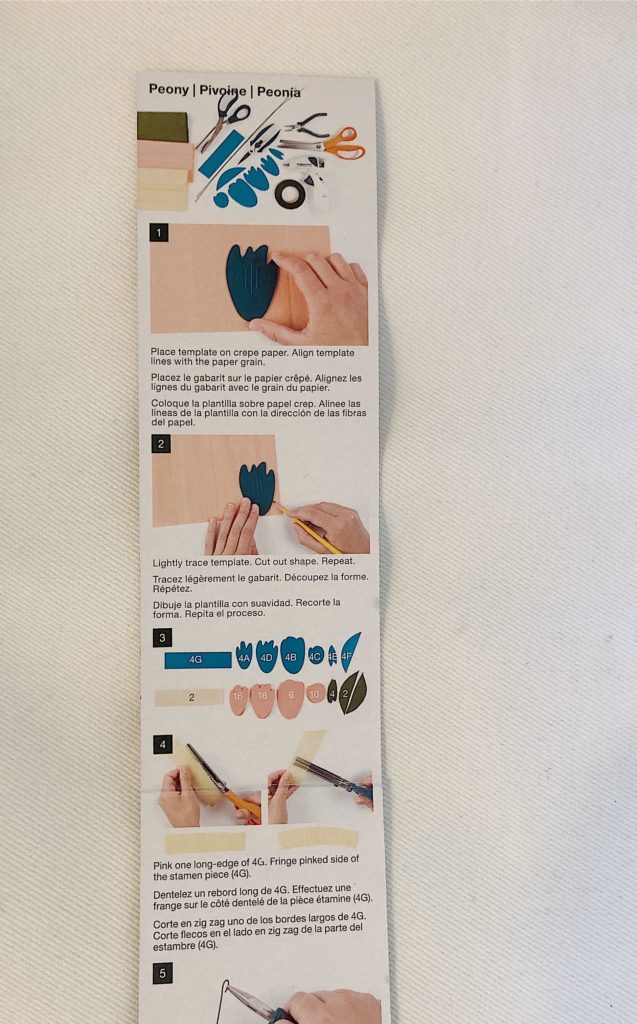
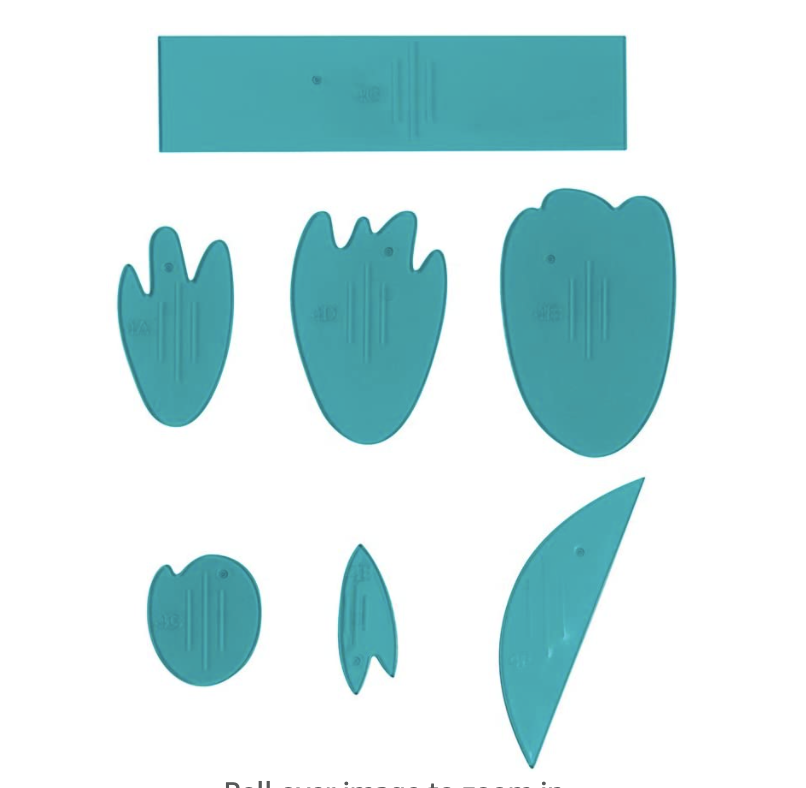
My “flower mentor” is a gal named Lia Griffith and I have learned so much by watching her wonderful flower making videos. She also sells her flower making templates at JOANN, and I used this Peony template to make my flowers for this wreath. I cut the following numbers of petals – #4A – 10, #4D – 10, #4B – 6. I did not use the #4C petal at all as I didn’t think it was necessary.
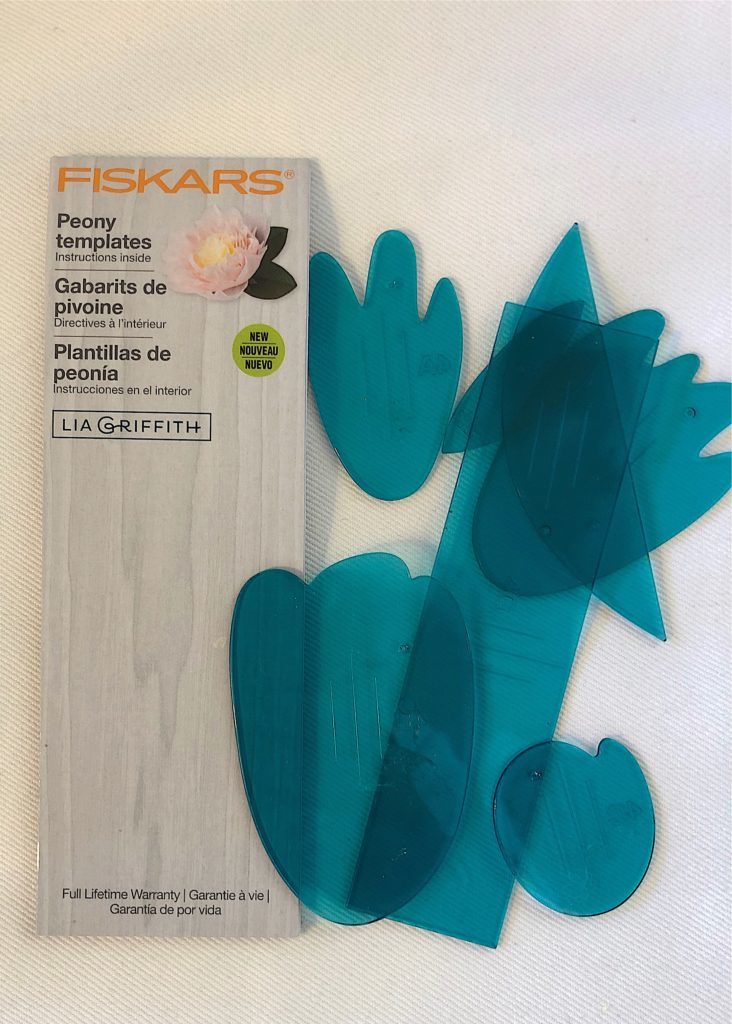
What You Will Need (items are linked below)
Lia Griffith Peony Flower Template
Heavyweight crepe paper (three colors are needed for the petals, leaves, and stamen)
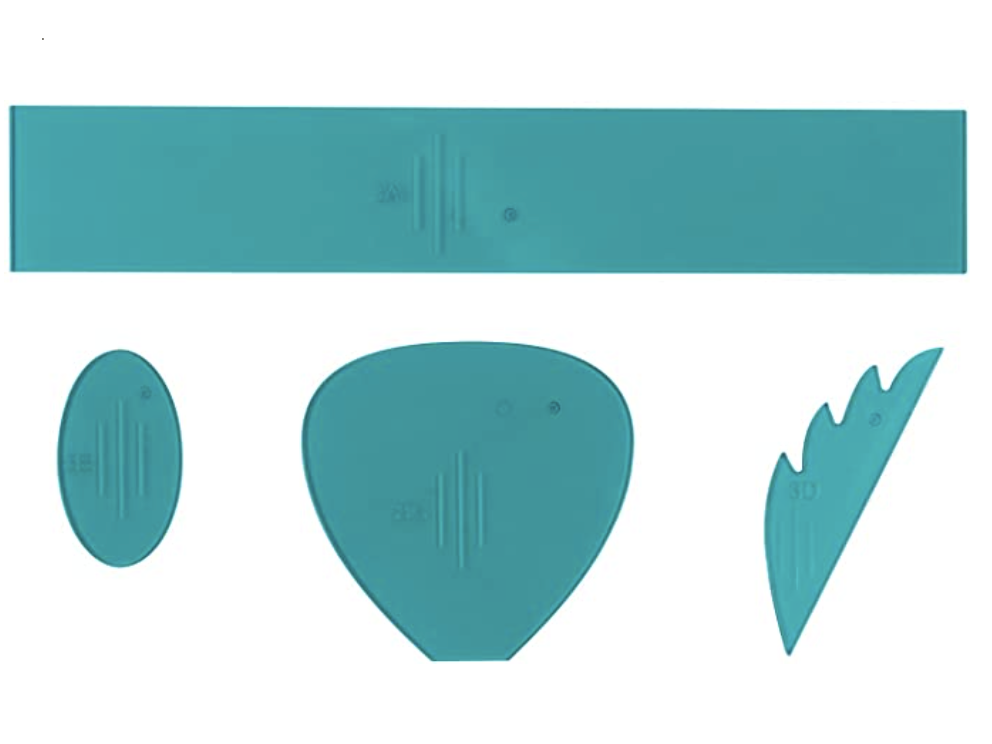
Lia Griffith Poppy Template
Lia Griffith Extra Fine Crepe Paper, blush, canary and green
Hot Glue Gun (low temp suggested)
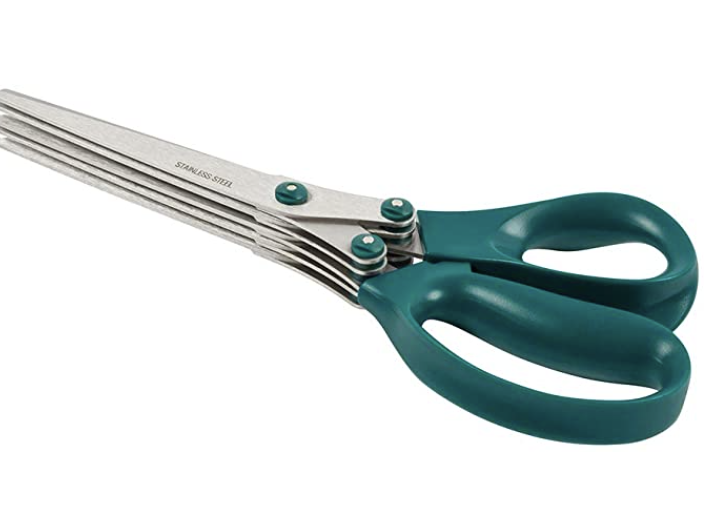
Lia Griffith Fiskars Fringe Scissors (optional but so worth it!)
Pinking shears (optional)
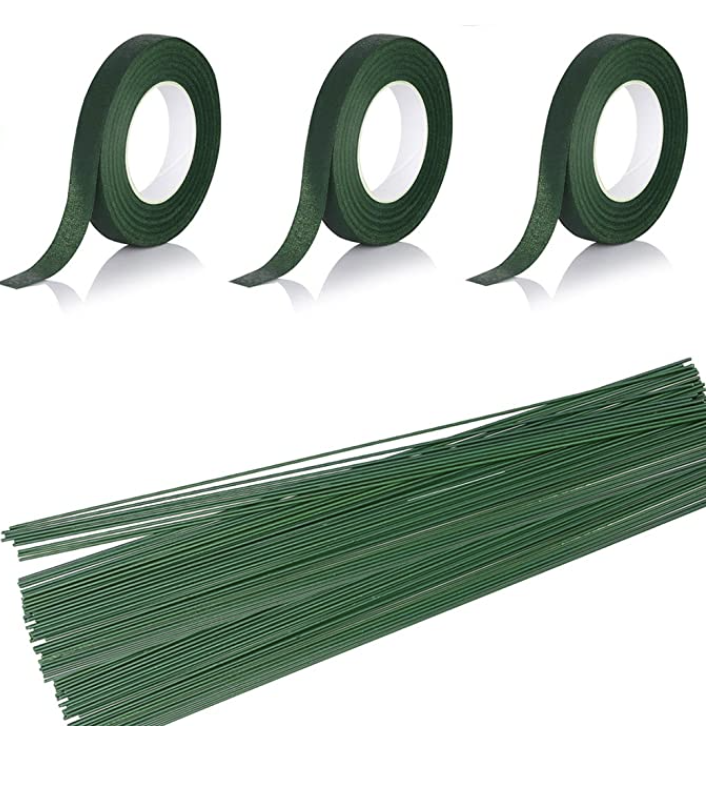
Floral Tape
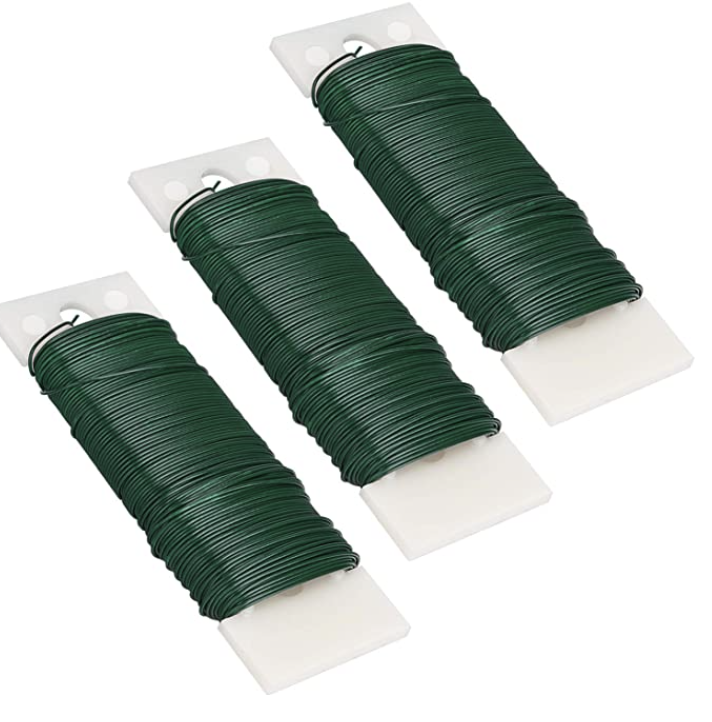
Green 22 Gage Stem Wire
Green 16 Gage Stem Wire
Directions
Read the flower making directions located on the backside of the insert in the Lia Griffith paper flower peony template. Cut out the flower pieces based on the quantities listed. Be sure to follow the grain lines on the pattern with the grain lines on the crepe paper. *Please note that I made a few changes. Sorry but I can’t help myself! I cut these petal quantities: 4A – 10, 4D – 10, 4B – 6. I did not use 4C.
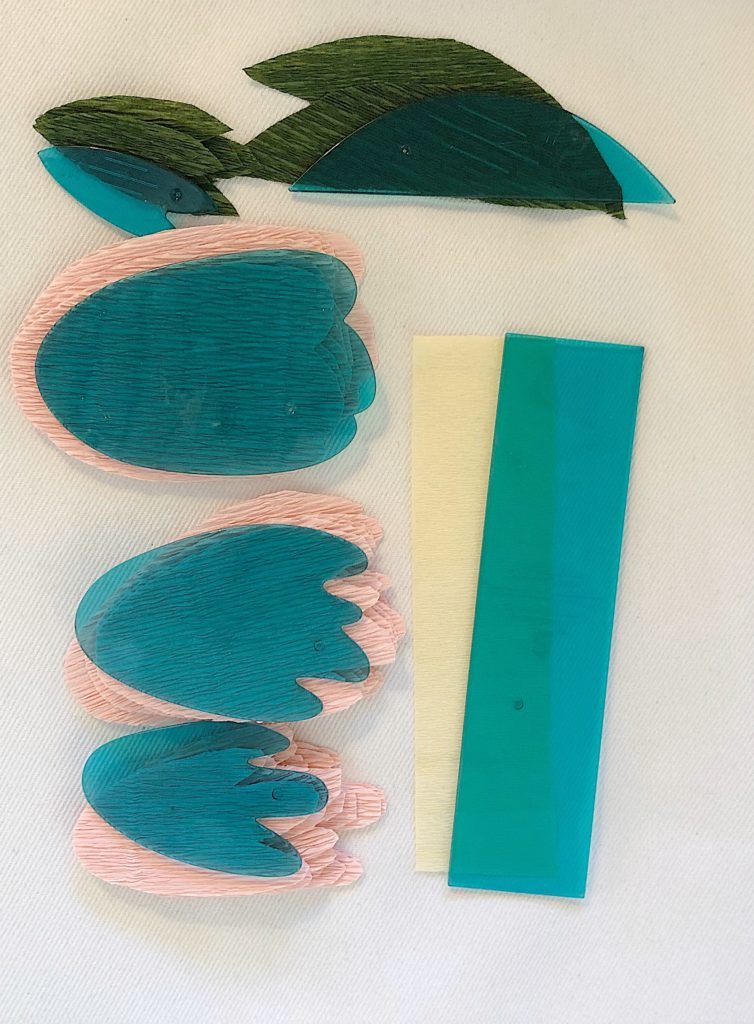
This is what the cut flower pieces look like.
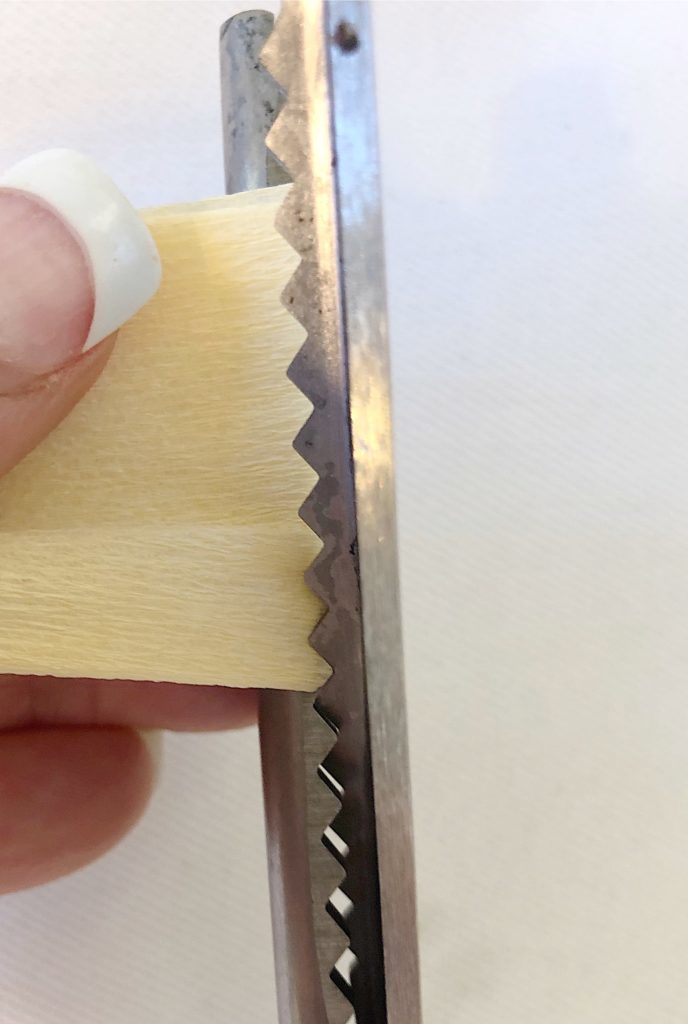
3. Using pinking shears, cut along the top of one side of the pattern. If you don’t have pinking shears use scissors to create the same effect.
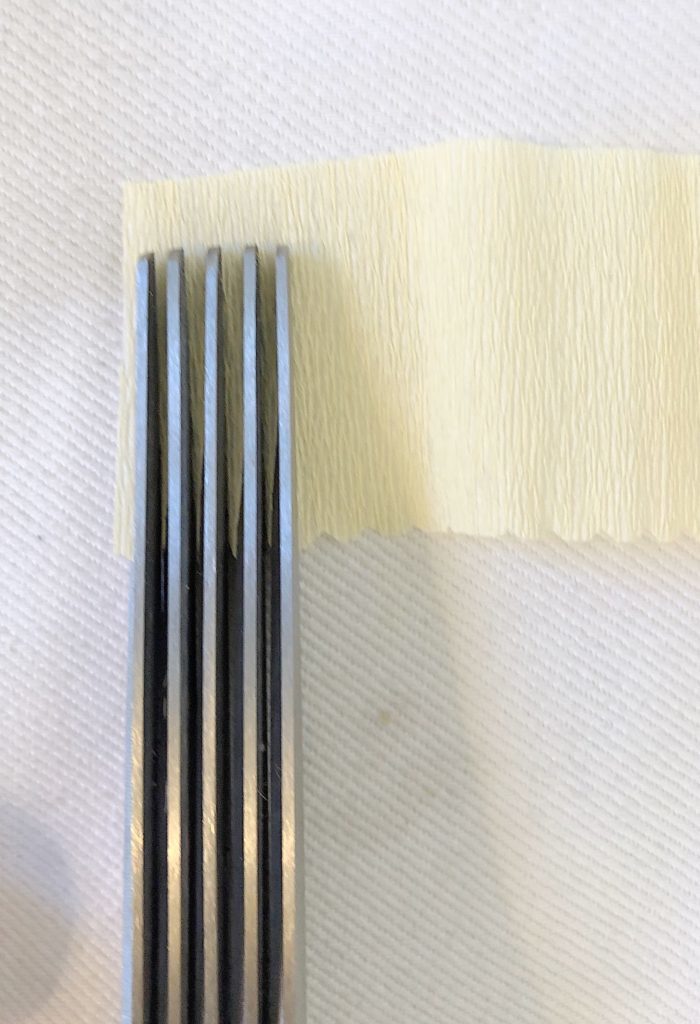
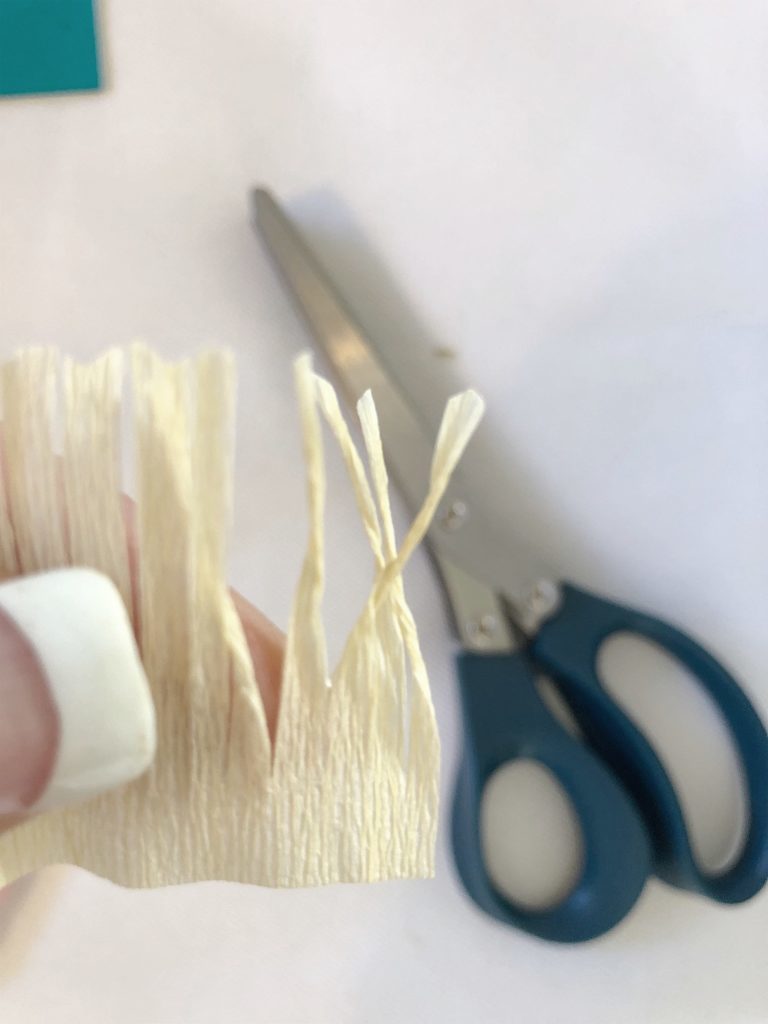
Use the Lia Griffith Fiskars fringe scissors to cut along the entire strip, leaving 1/2″ uncut at the bottom.
Twist each shred with your fingers.
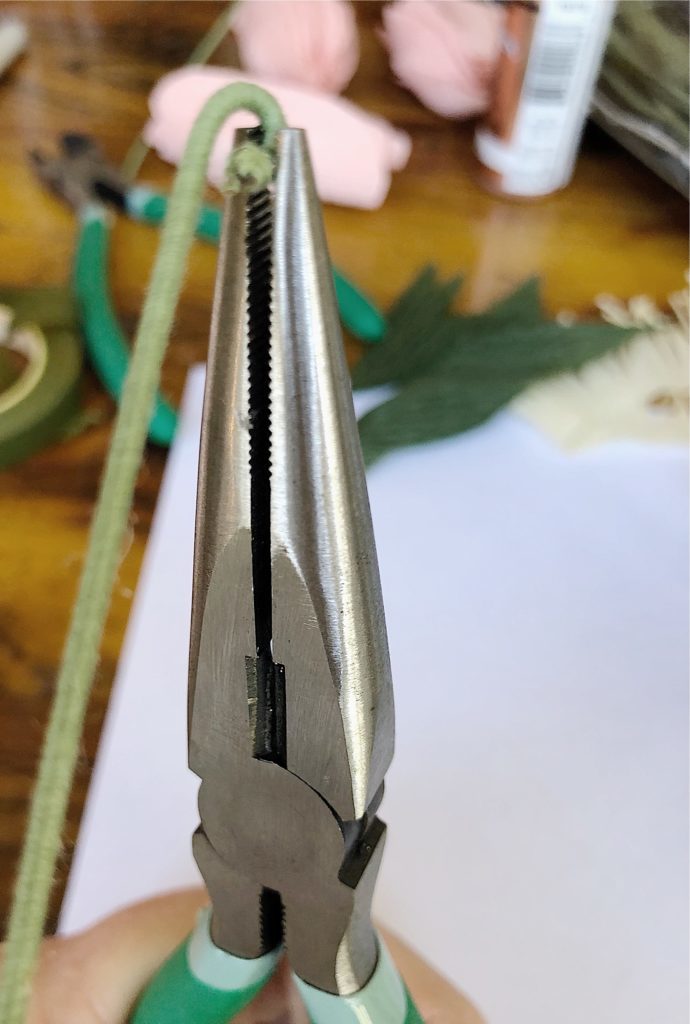
Bend over 1/4″ of the thicker 16 gauge stem wire.
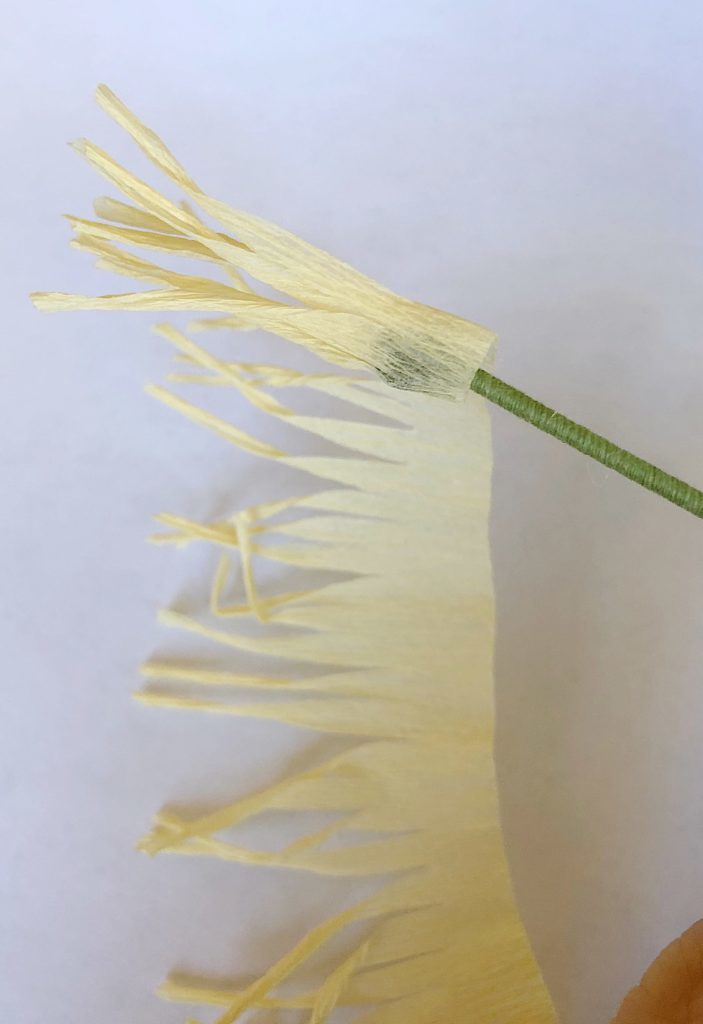
Add hot glue to the fringed paper along the entire bottom side and wrap the paper all the way around the wire.
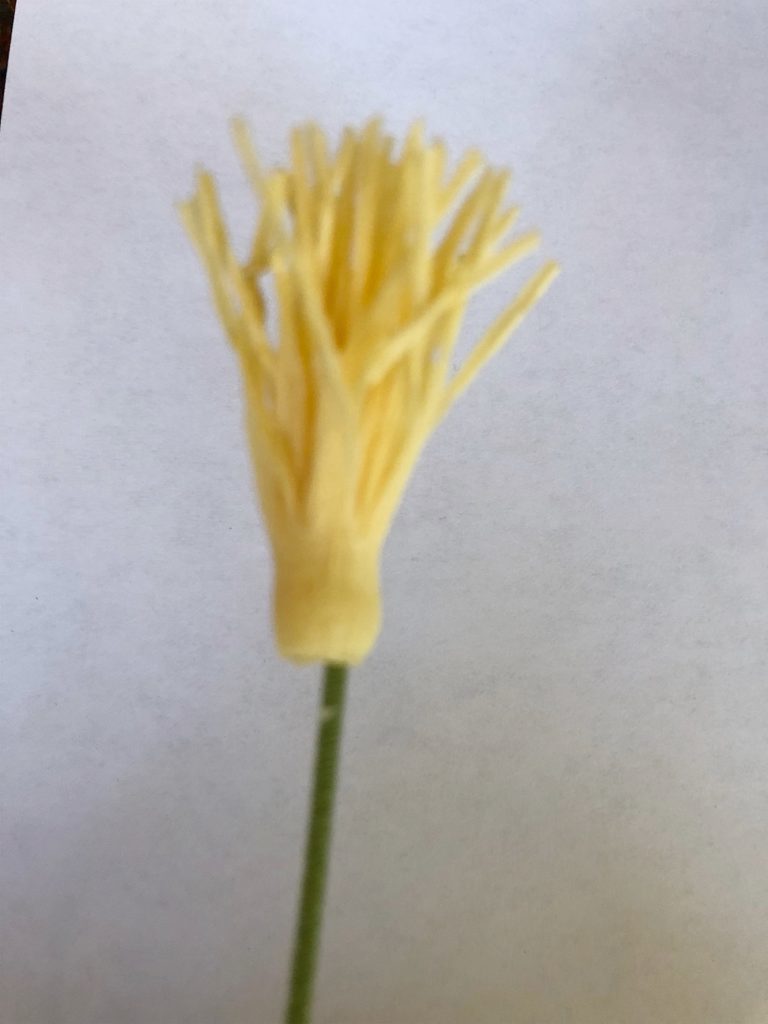
It should look like this.
Next. you need to “cup” the petals by slightly stretching the middle portion of each petal. Hold the petal between your thumb and forefingers of both hands and carefully stretch the petal evenly in a curved shape.
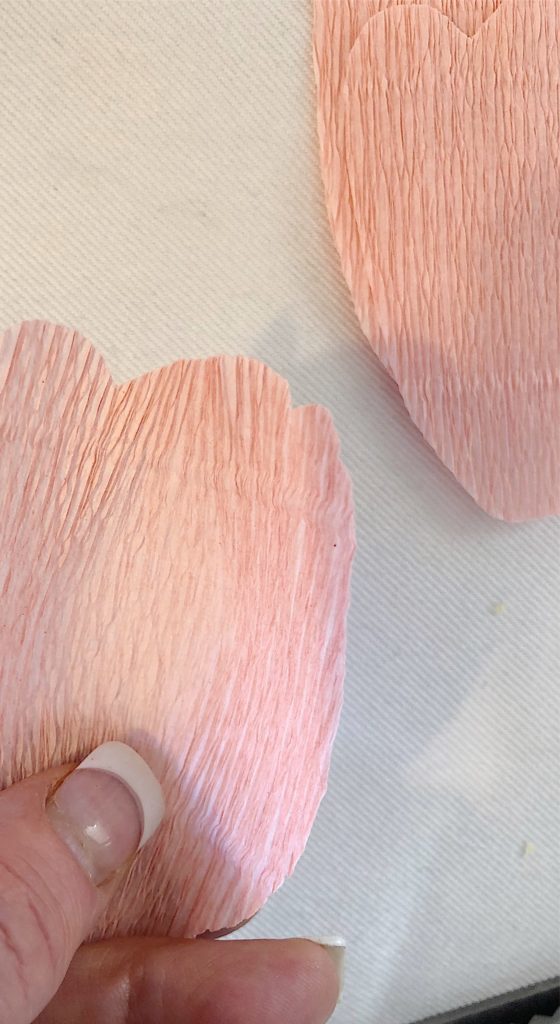
The petals should look like this. Stretch the leaves gently too.
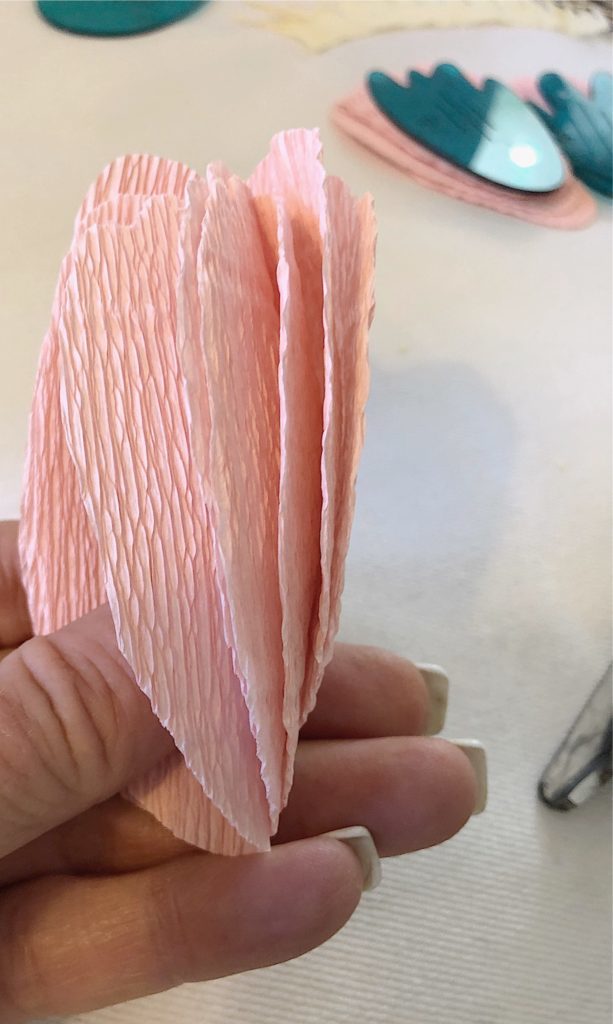
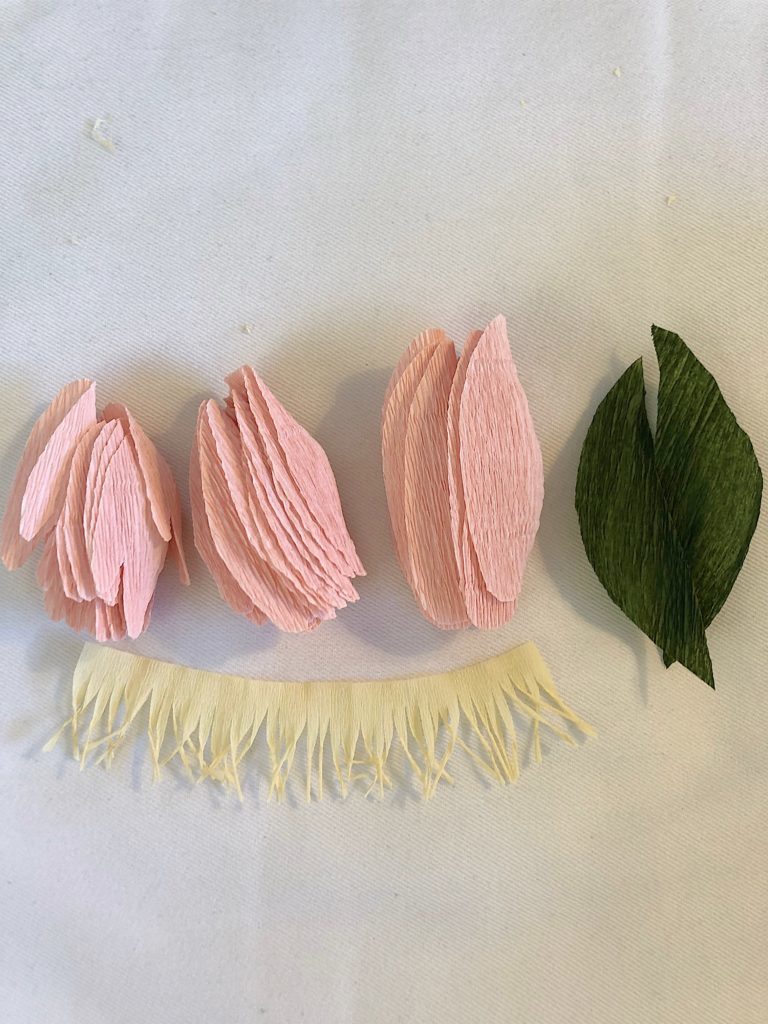
Place a small amount of glue along the bottom of each petal 4A and attach to the bottom of the wire with fringe, one at a time, alternating about half way between each petal. Use three for the first layer of petals, and three more for the second layer.
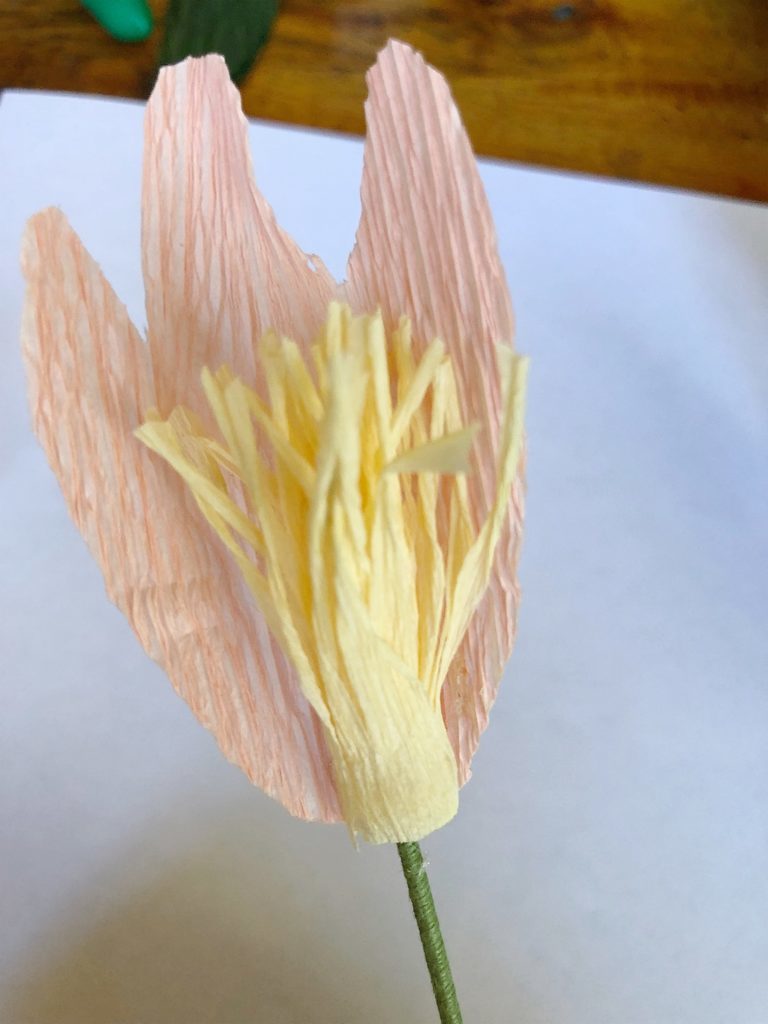
Once all six petals are attached, the flower should look like this.
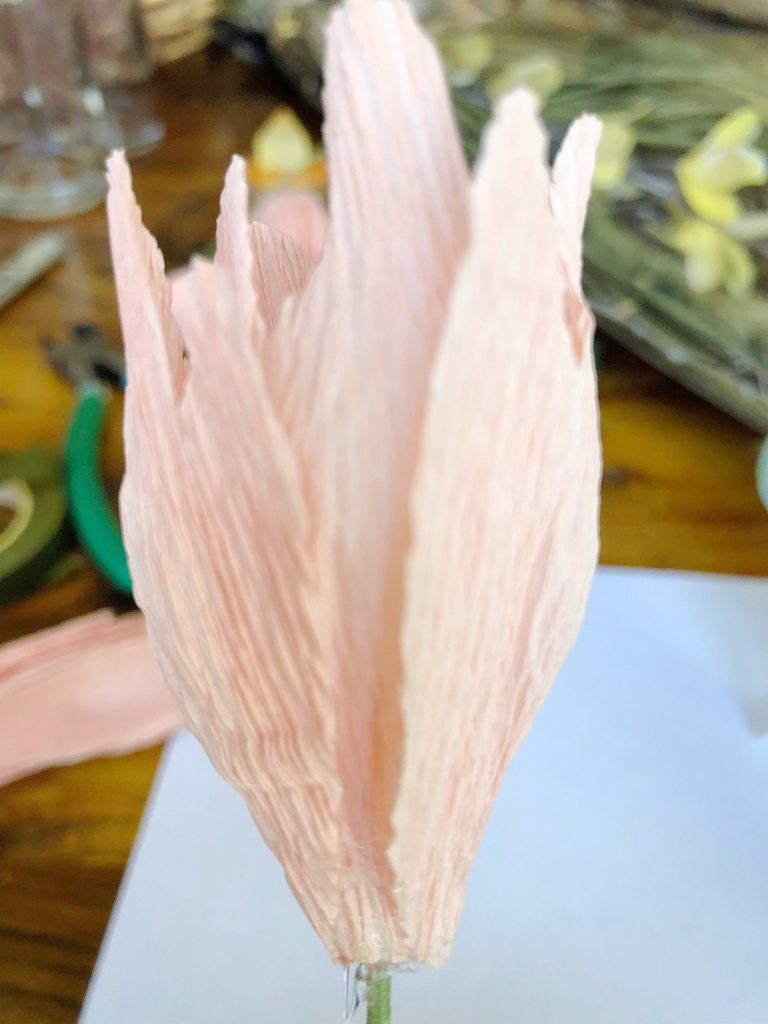
Next, use the ten petals 4D and glue around the flower. Continue until all ten petals are attached.
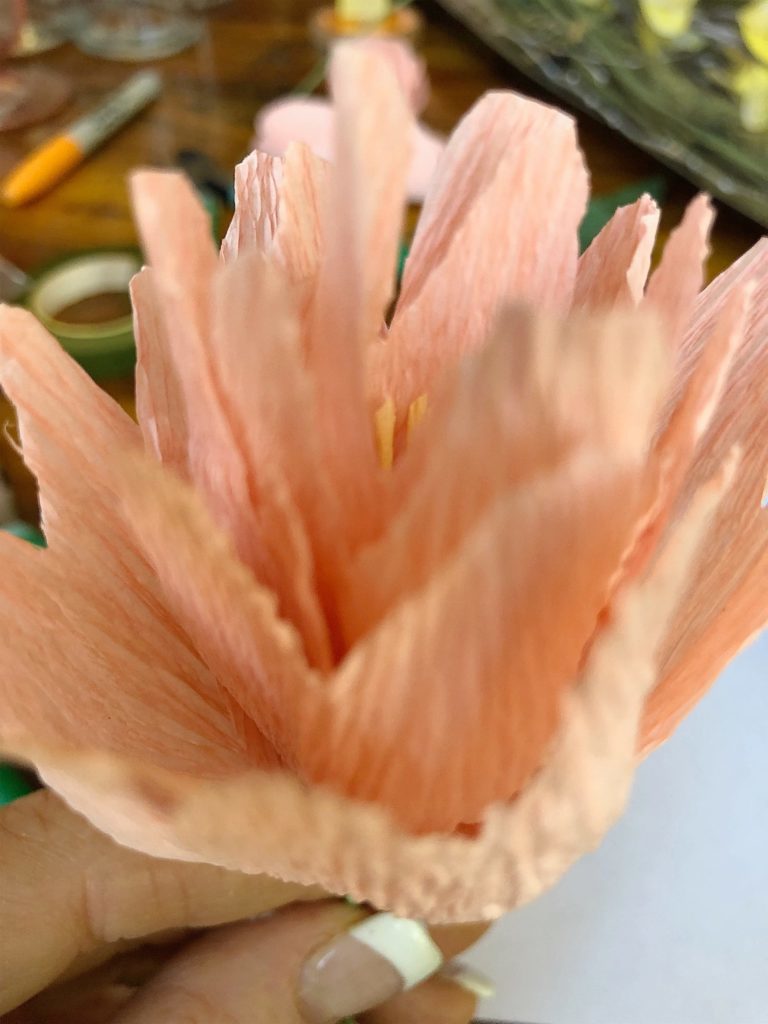
Using the ten largest petals, 4E, continue adding the petals to the flower, adding them in between the petals from the last layer.
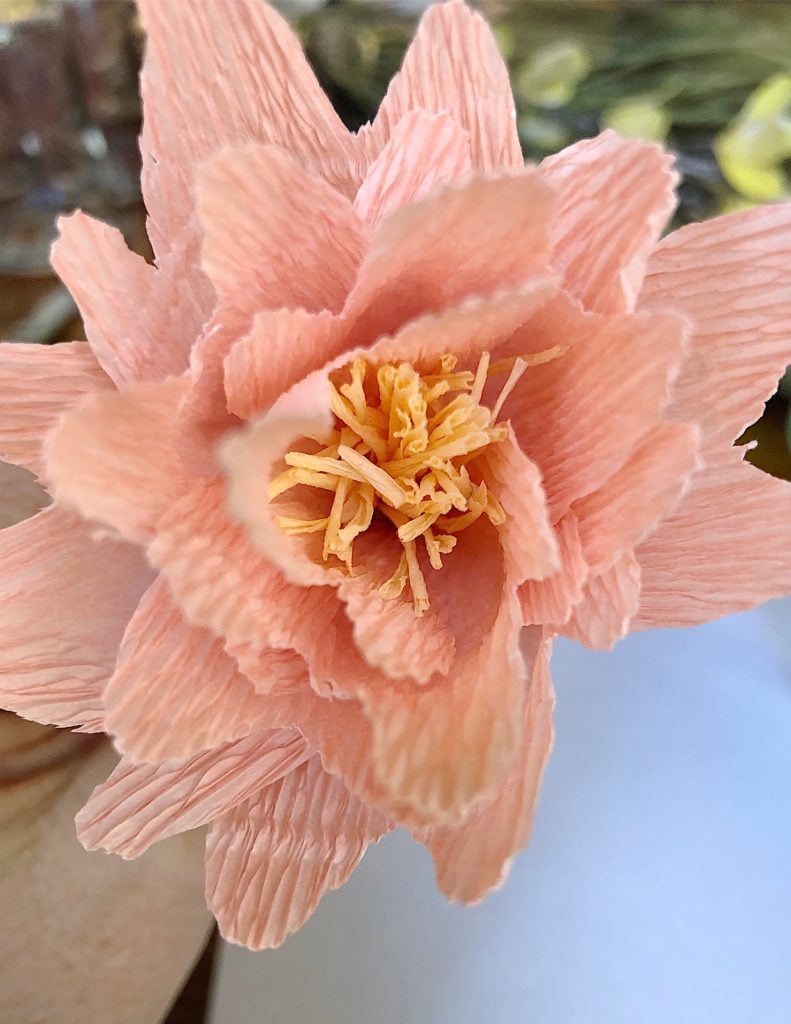
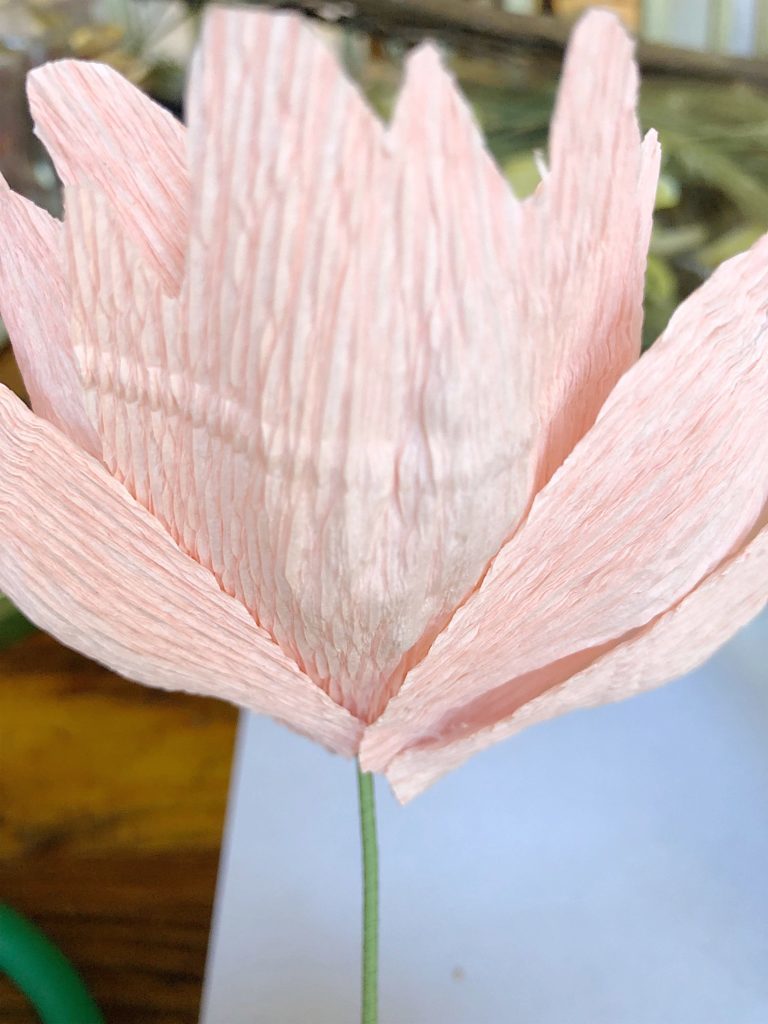
Follow the directions on the directions with the template to add the leaves and finish off the stem.
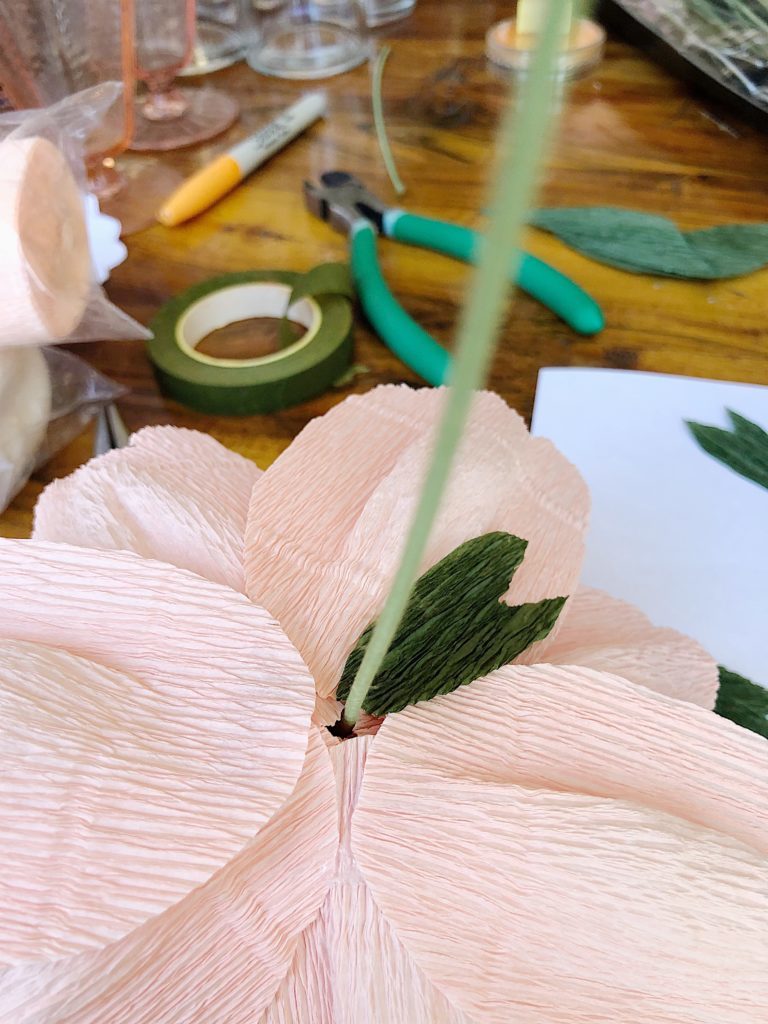
This is what your flower should look like.
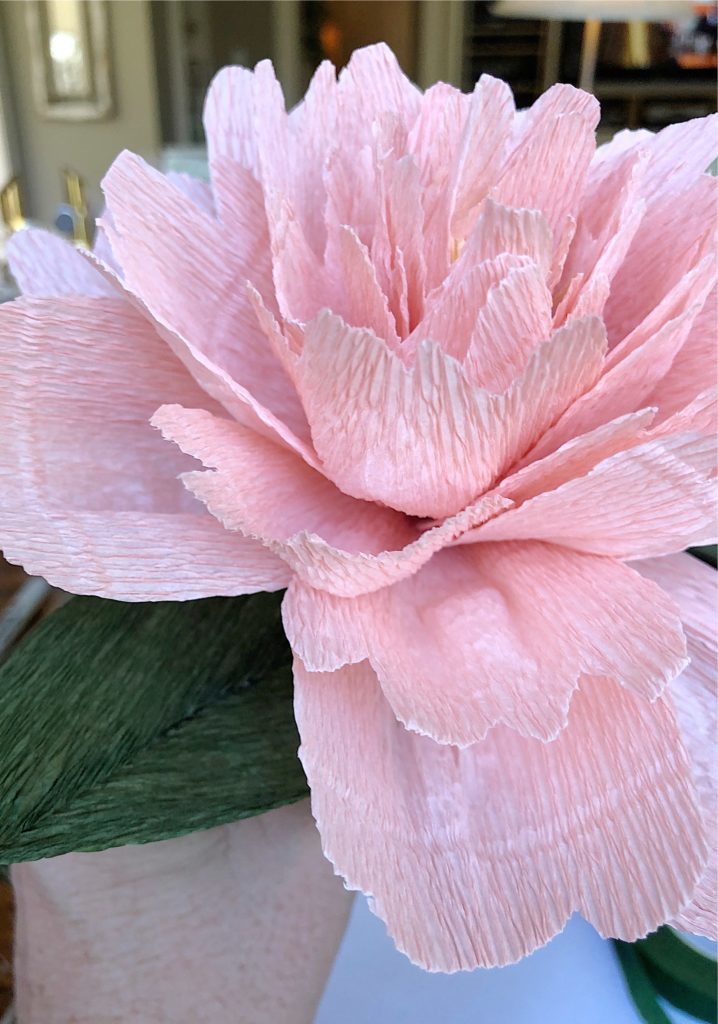
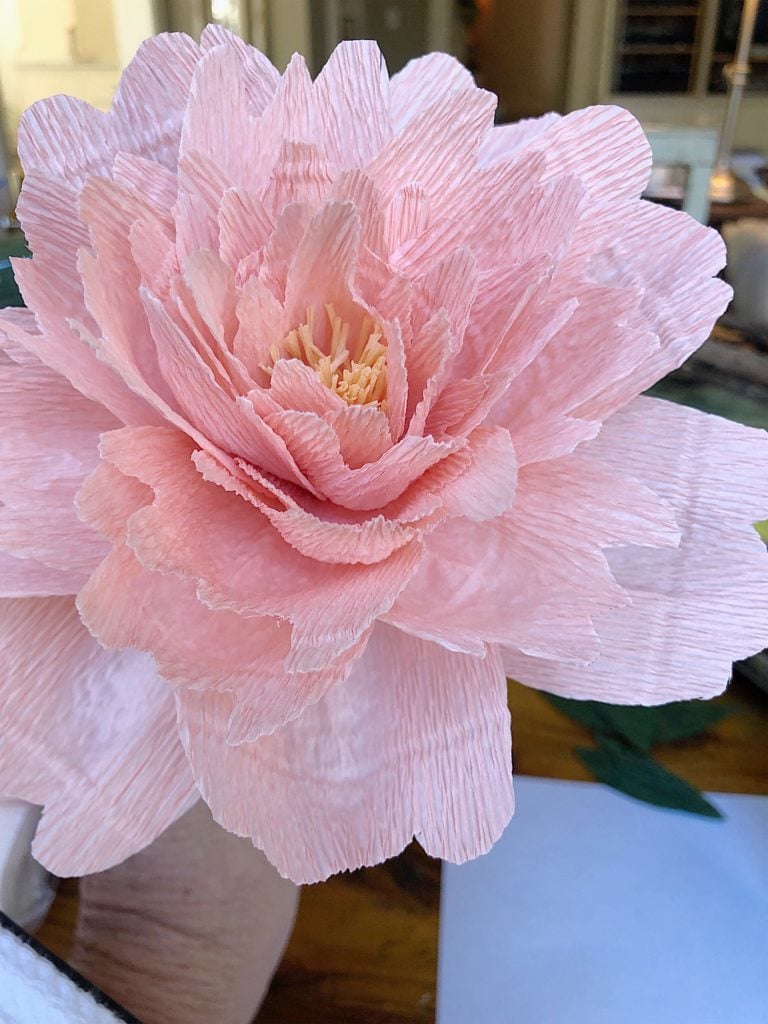
Links to Similar Items
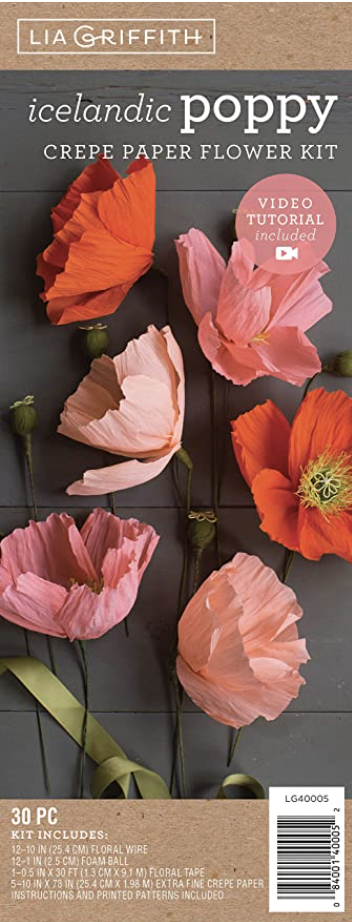
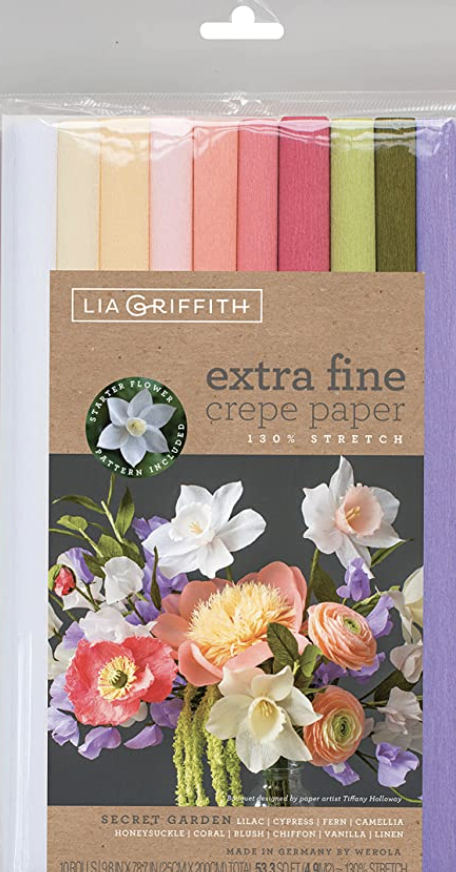
Secret Garden Collection
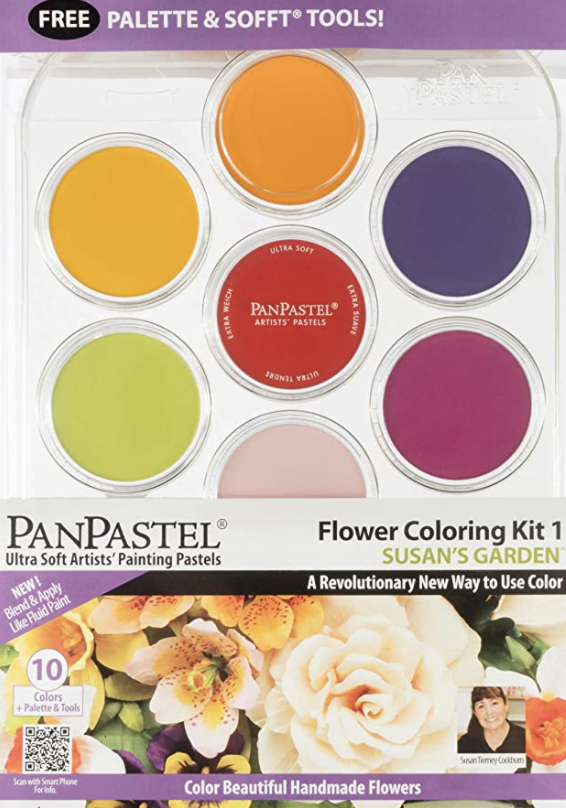


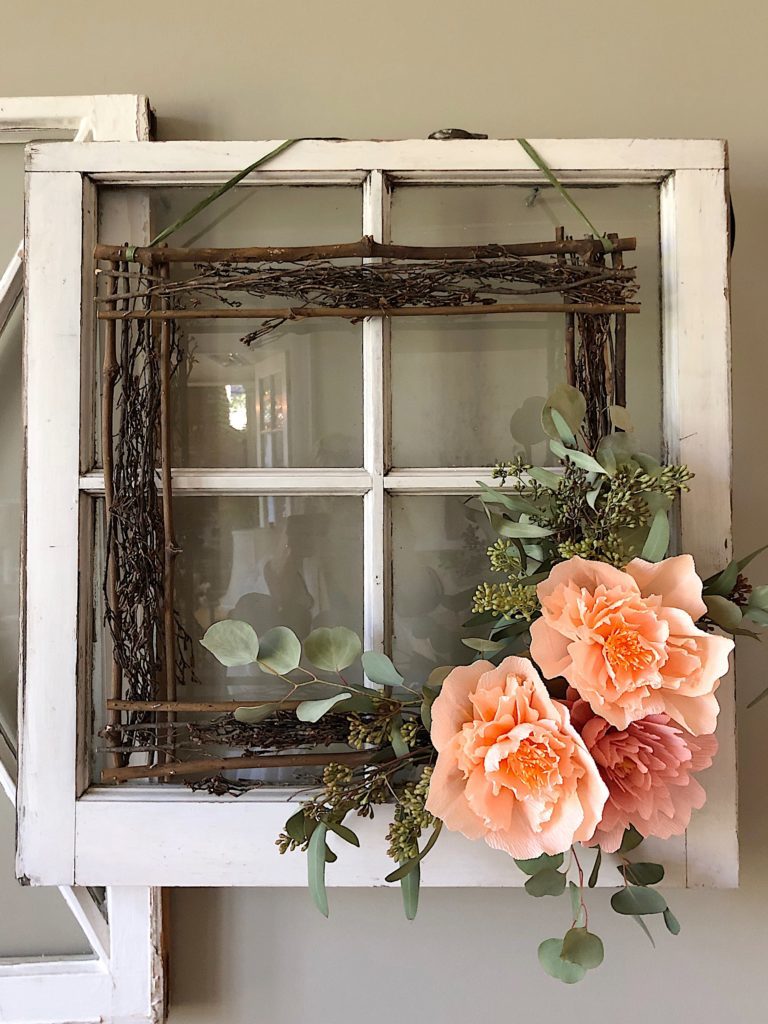
How to Make a Peony Flower Wreath
What You Need
A Twig or Grape vine wreath form
Fresh Eucalyptus, assorted varieties
Three paper flowers
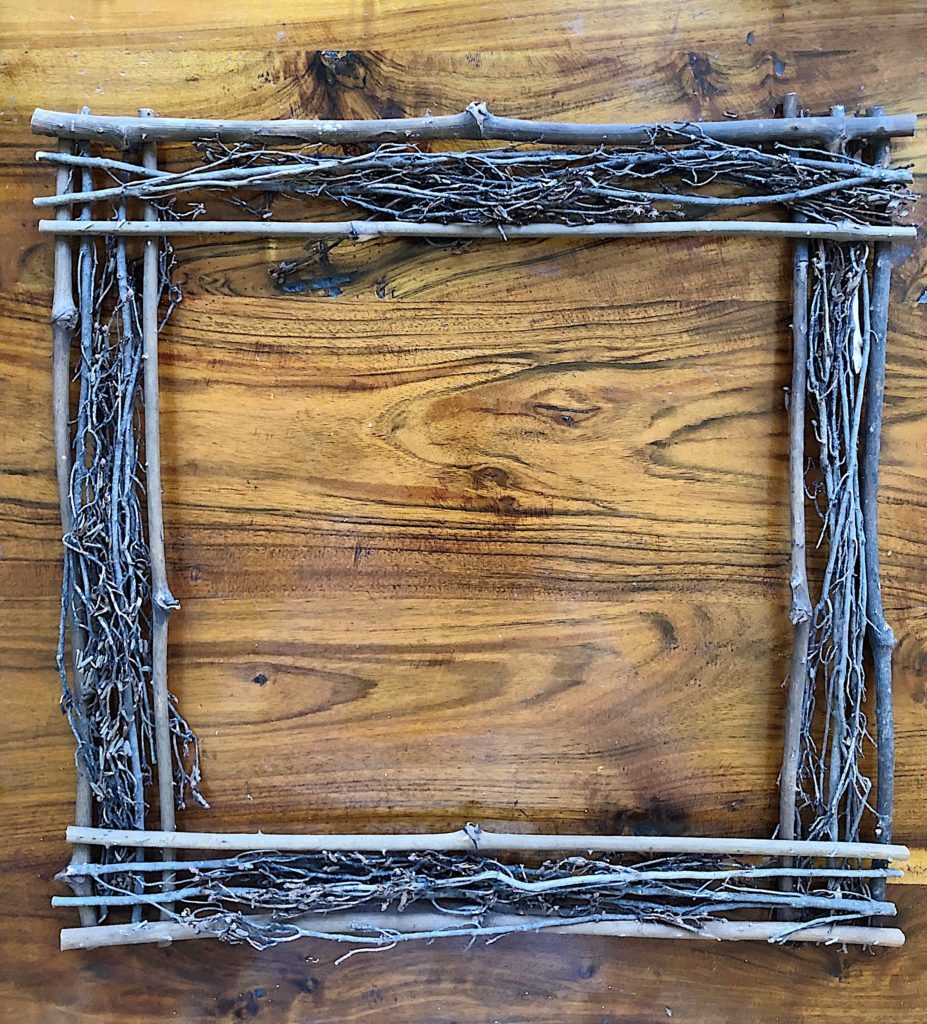
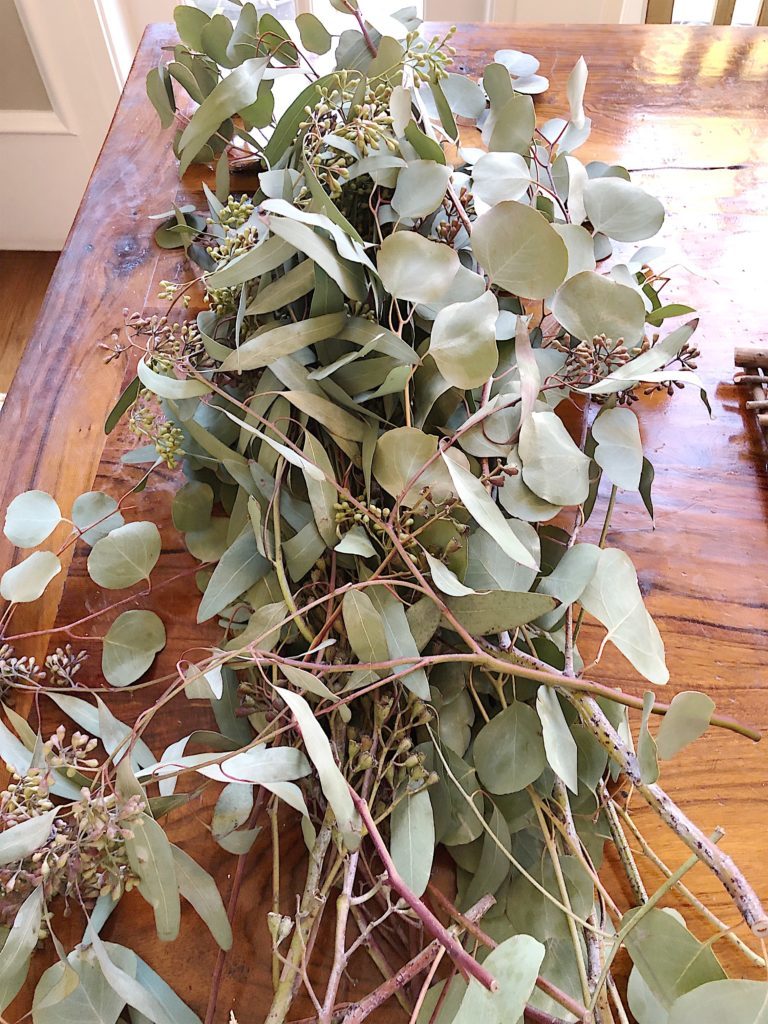
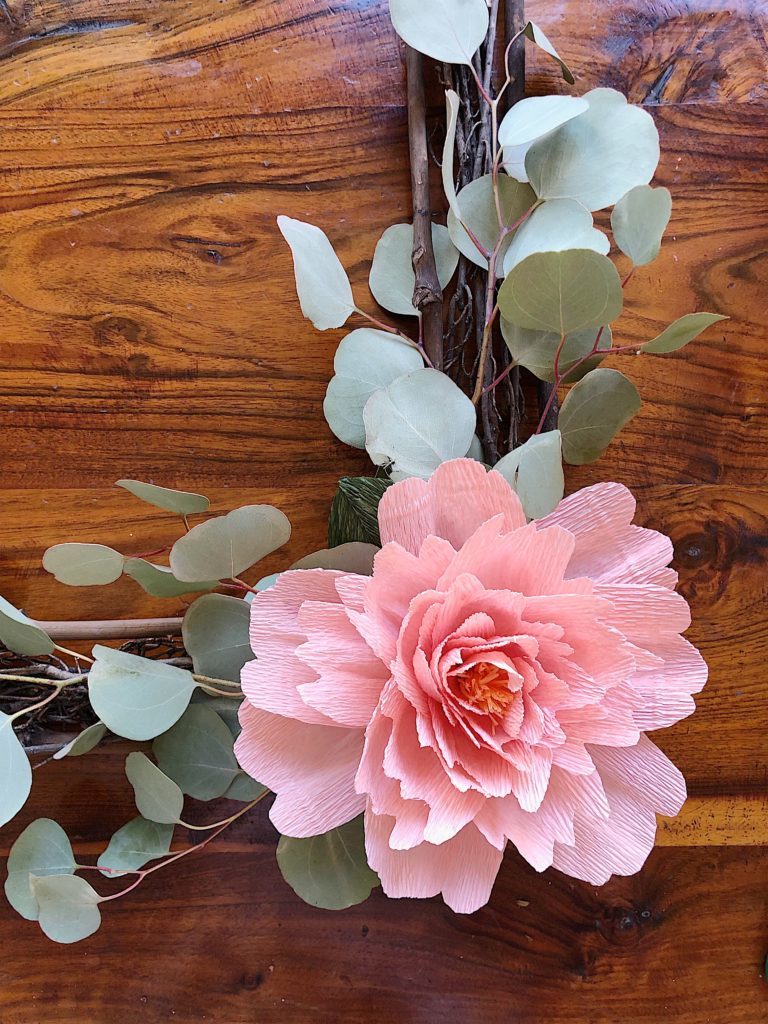
I chose to put the paper flowers in the bottom right-hand corner. Start with the Eucalyptus leaves, and arrange on to the wreath. You can secure the leaves in the existing branches or use a hot glue gun.
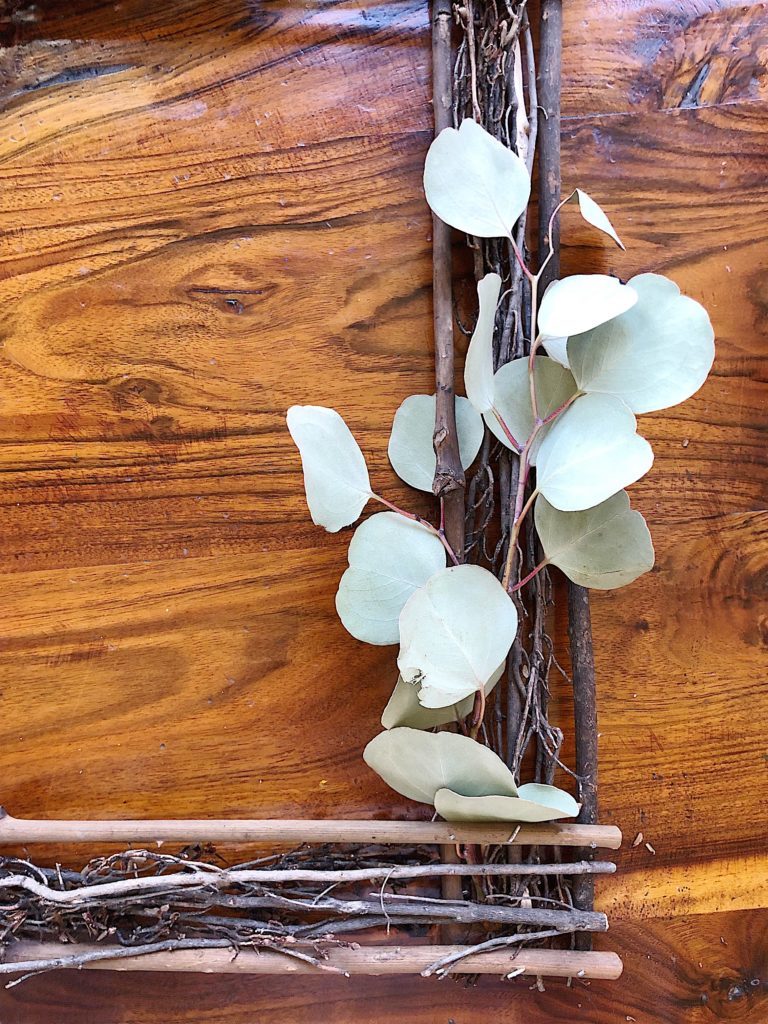
Continue along the right vertical and horizontal sides.
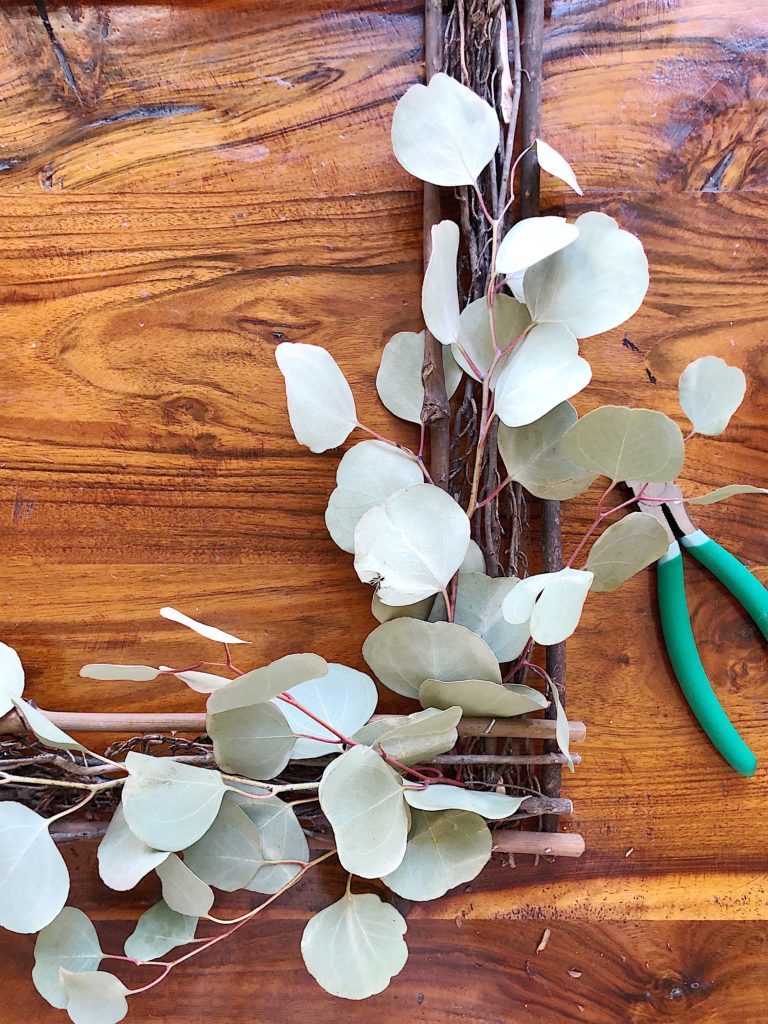
Add the flowers to the bottom right side.
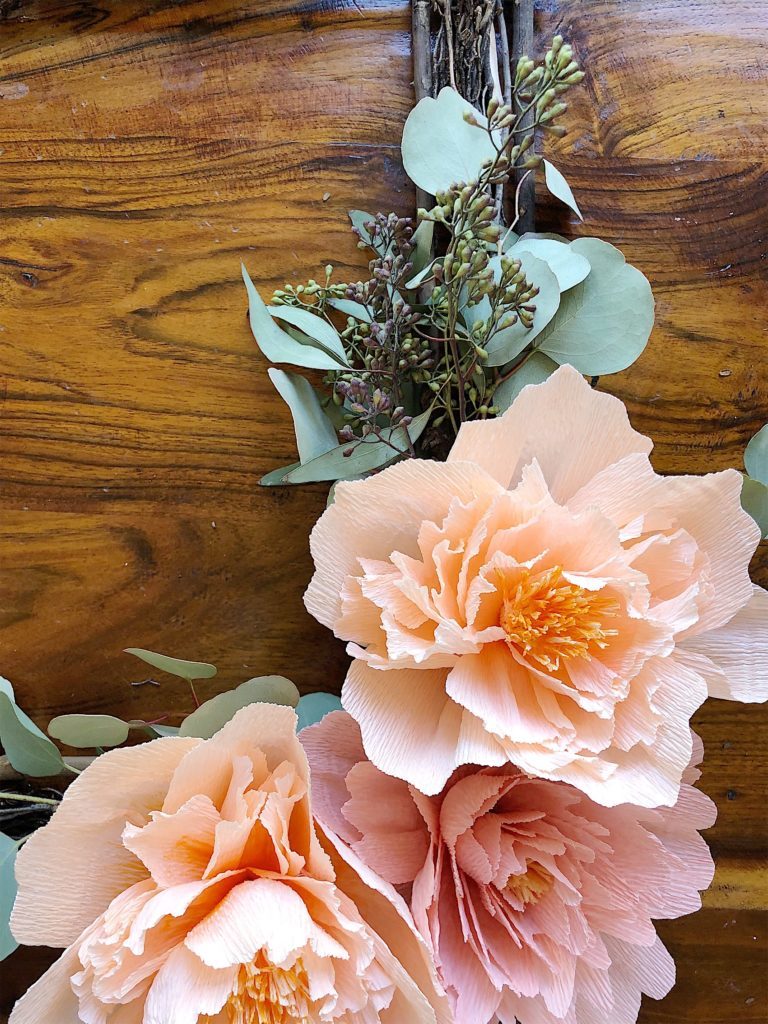
Add ribbon or twine to prove an option to hang the wreath.


Today I’m joined by a fabulous group of blogging friends who are also sharing their Spring Wreath DIY as part of the Seasonal Simplicity Spring Series! You’re going to love all this springy inspiration…

Succulent & Peony Simple DIY Spring Wreath at The Happy Housie
Dollar Store Spring Wreath at Craftberry Bush
DIY Sage & Blush Spring Wreath at Bless’er House
Elegant Peony & Eucalyptus Spring Wreath at Inspiration for Moms

Spring Fern & Eucalyptus Wreath at Zevy Joy
Boxwood and Bicycle Spring Wreath at The Turquoise Home
DIY Modern Floral Wreath at Lolly Jane
Oversized Spring Succulent Wreath at My Sweet Savannah

Five Minute Eucalyptus Wreath at Amber Tysl
Earthy & Elegant Spring Wreath at Willow Street Interiors
Mini Rosemary Wreaths for a Spring Table at Satori Design for Living
Spring Hydrangea Wreath at Confessions of a Serial DIYer

Branch and Vine Spring Wreath at Town and Country Living
Spring Hoop Wreath with Lemons at Modern Glam Home
Spring Wreath Ideas at Hallstrom Home
Spring Woodland Wreath at Deeply Southern Home

Dollar Store Easter Egg Wreath at The DIY Mommy
Spring Moss Covered Wreath at Tauni Everett
Easy 15 Minute Marshmallow Peeps Wreath at Heathered Nest
Pastel Colours M&M Wreath at Paint Me Pink

How to Make a Paper Flower Wreath at Happy Happy Nester
Spring Floral Hoop Wreath at My Uncommon Slice of Suburbia
Hanging State Sign at Taryn Whiteaker Designs
Book Page Butterfly Wreath at Life is a Party

Spring Basket Wreath at Clean & Scentsible
Simple Succulent Wreath at A Pretty Life
DIY Paper Flower Wreath at My 100 Year Old Home
Spring Plaid Carrot Layered Wreath at Tatertots and Jello



33 Comments