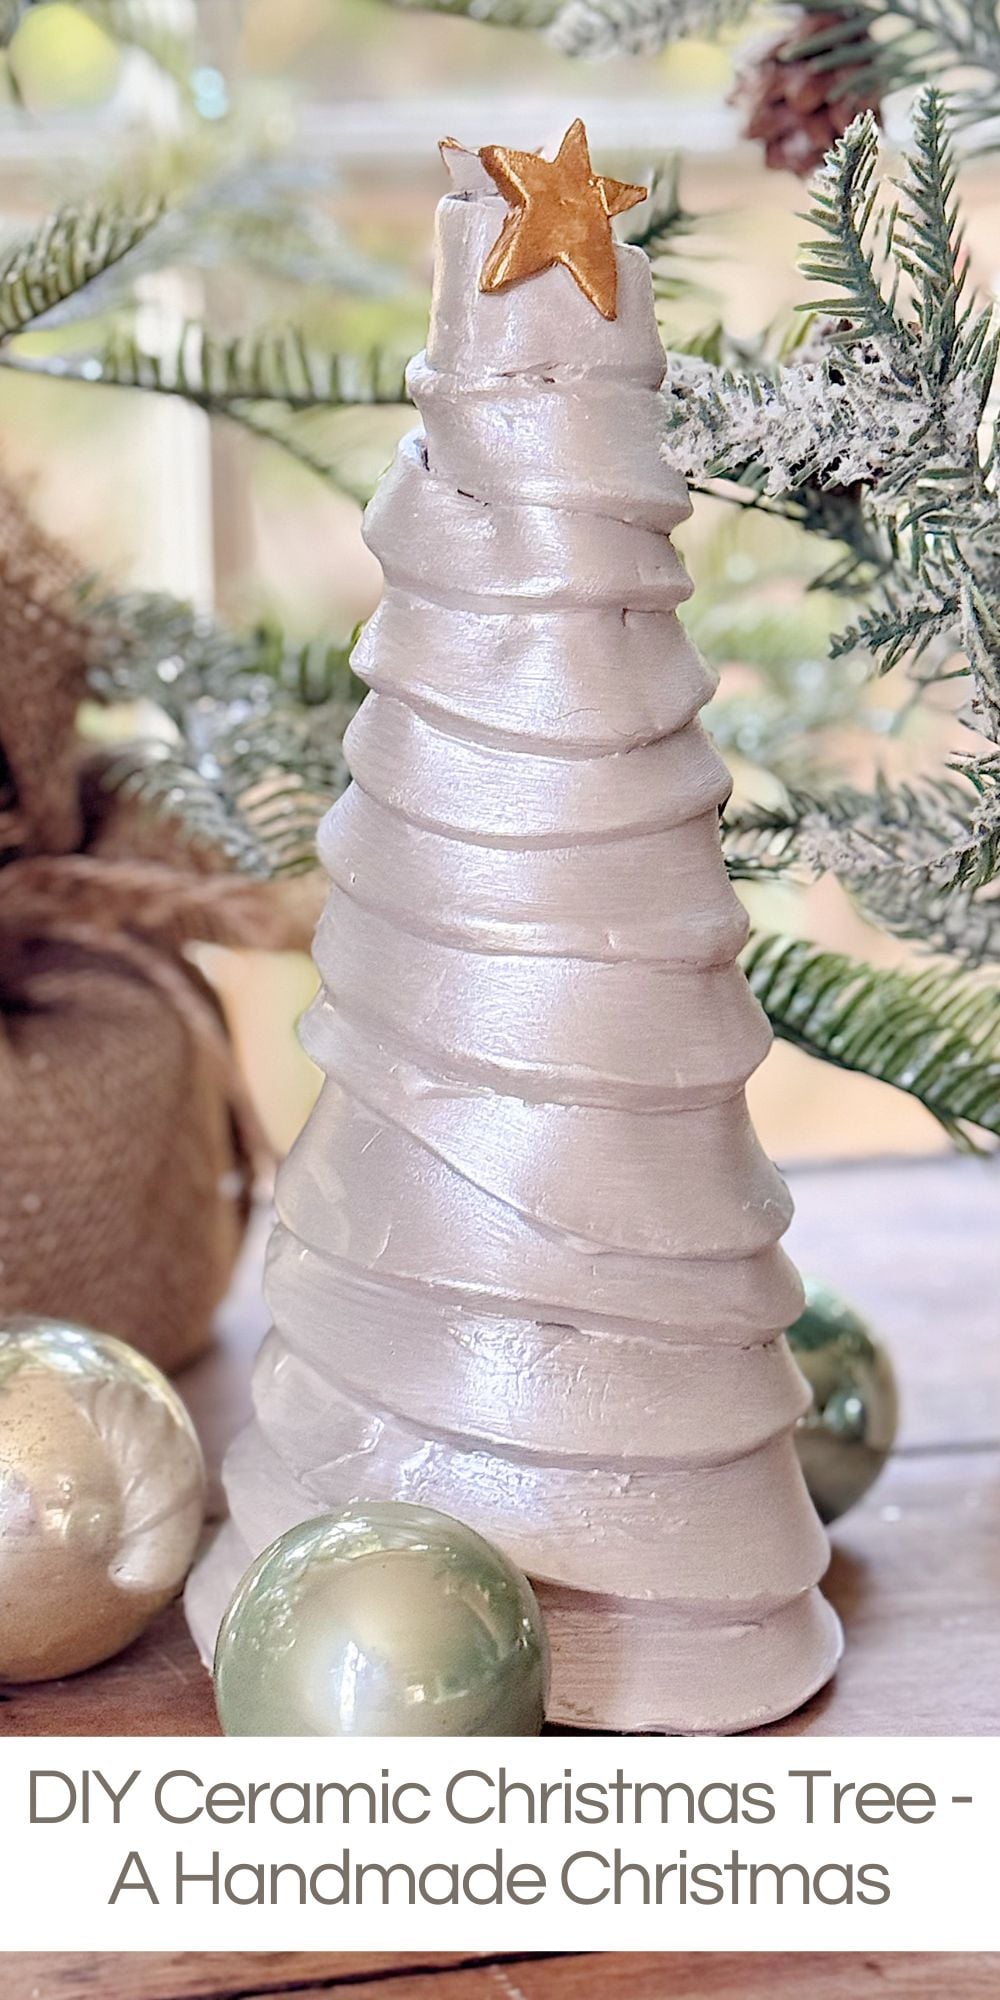
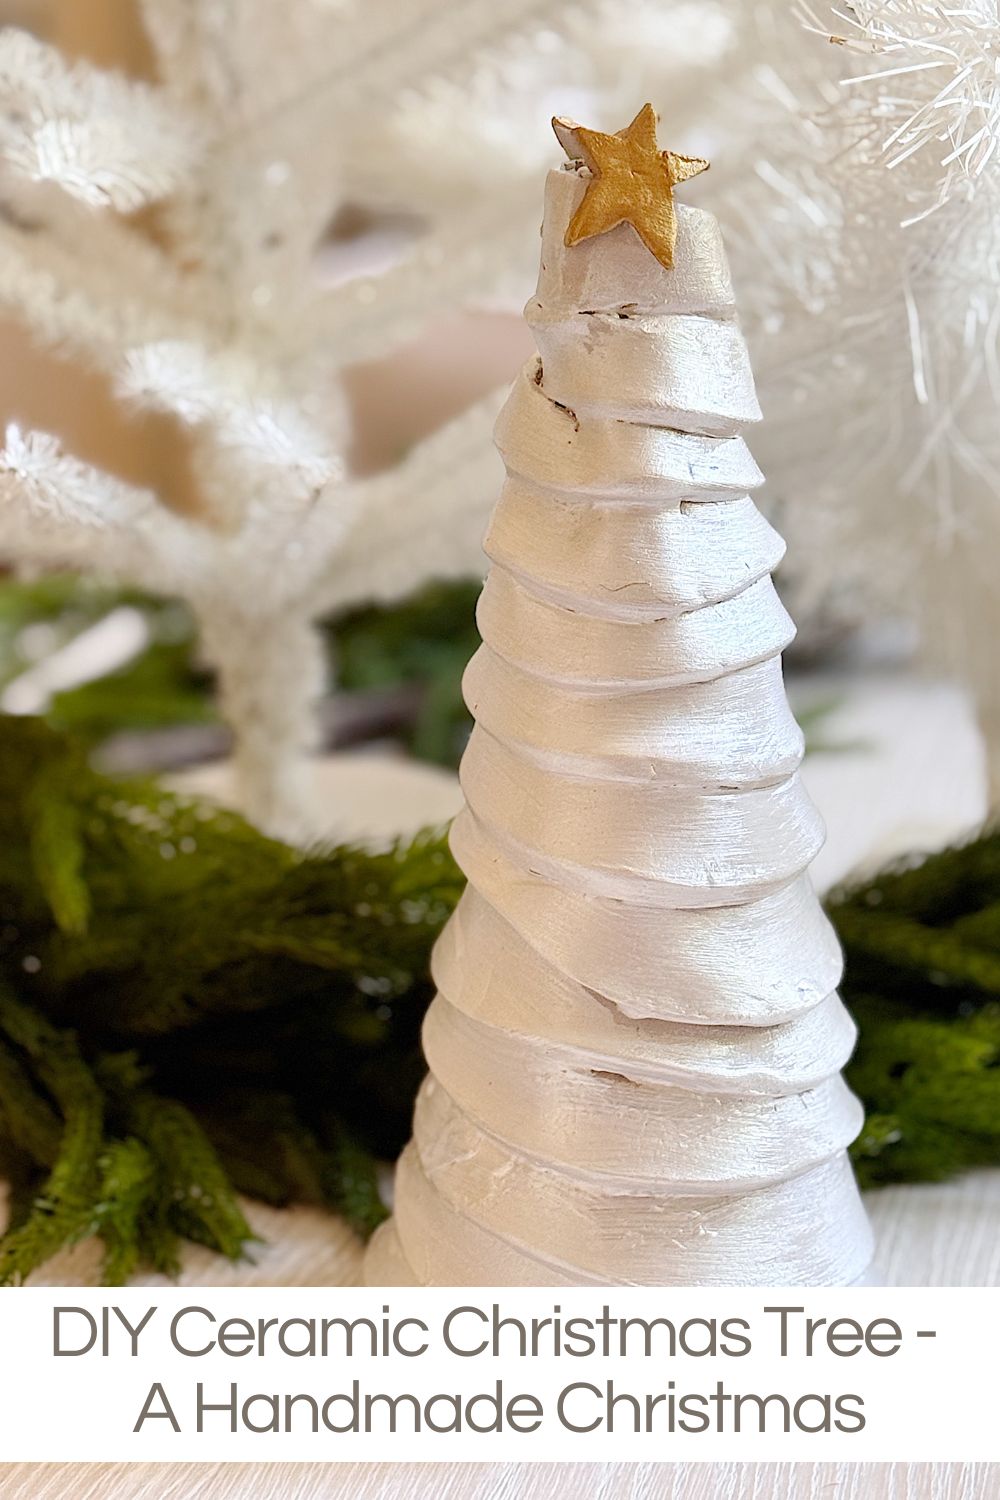
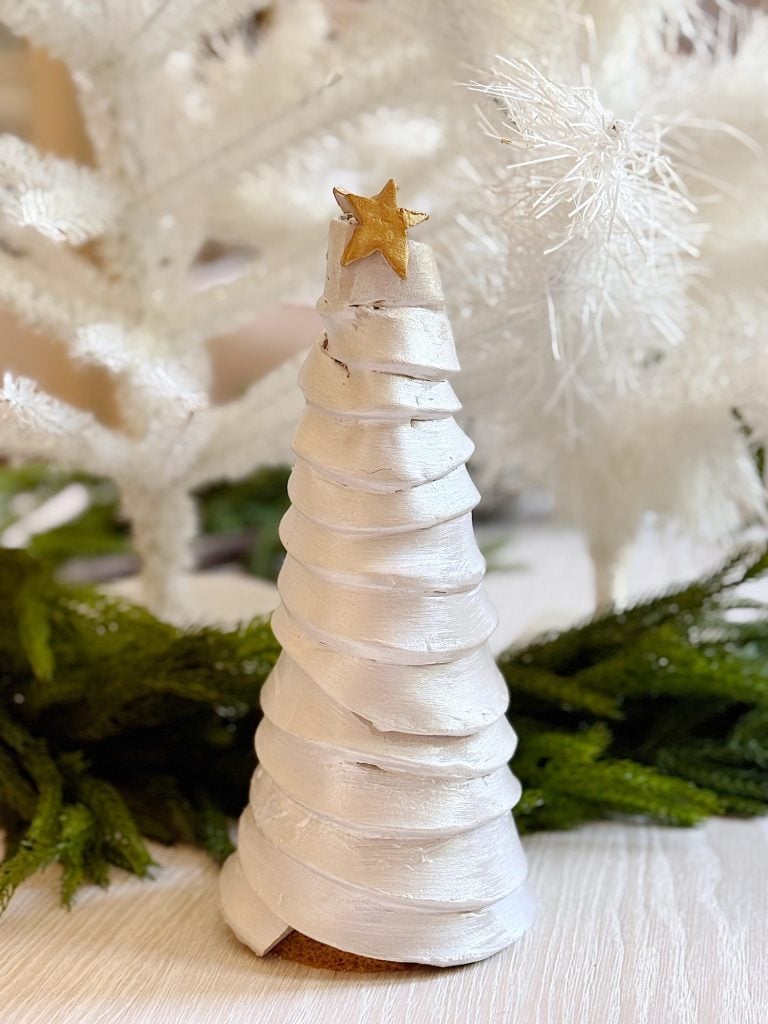
DIY Ceramic Christmas Tree – A Handmade Christmas
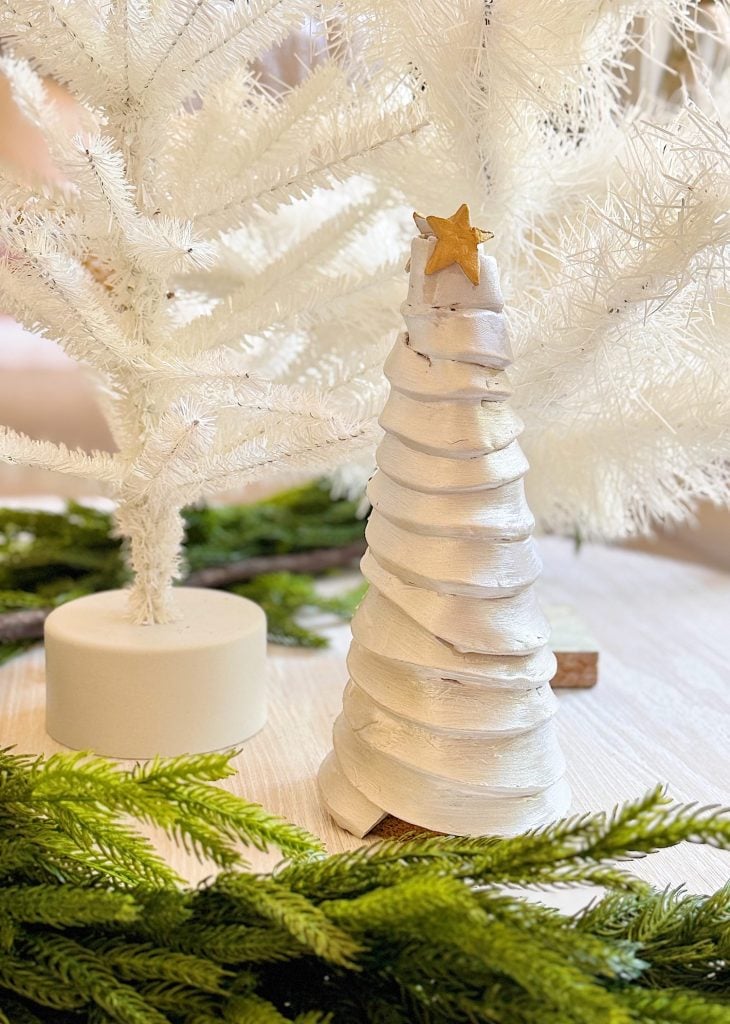
It’s week ten of my 16-week series titled A Handmade Christmas, and today I am sharing this beautiful handmade Ceramic Christmas Tree.
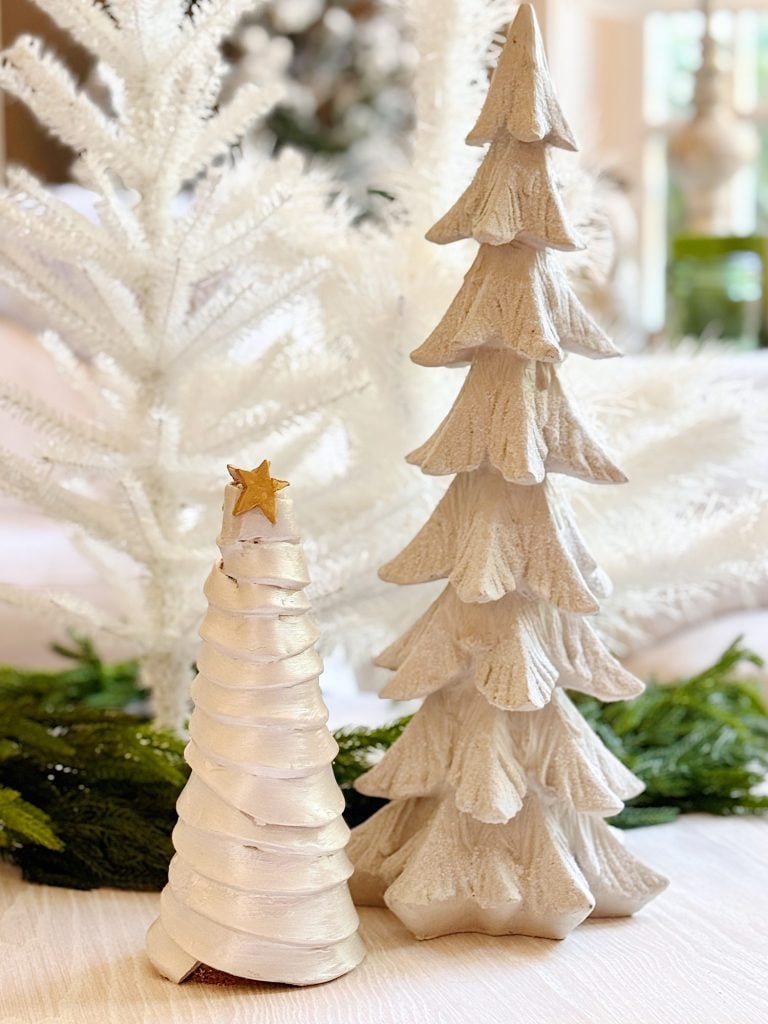
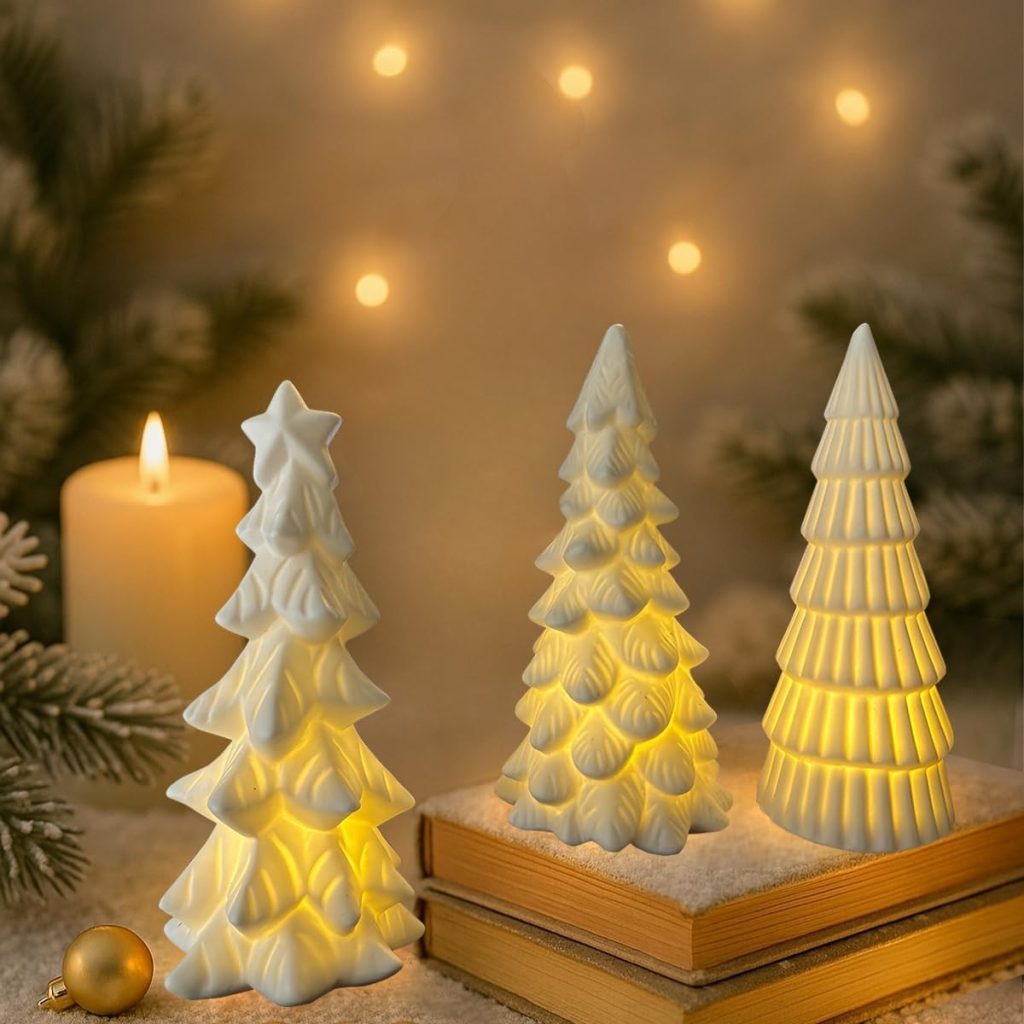
One of my favorite parts of my A Handmade Christmas series is finding new ways to make holiday décor that feels both creative and meaningful. This week, I’m sharing a project that combines two of my favorite things — clay and Christmas! I created this ceramic Christmas tree using air-dry clay, and I love how sculptural, simple, and organic it turned out.
A Handmade Christmas: DIY Ceramic Christmas Tree
What I love most about this project is how surprisingly easy it is. You don’t need a pottery wheel, a kiln, or any fancy tools — just some clay, cardstock, and a bit of time. Whether you’re new to clay or have made a few hand-built pieces before, this tree is fun and satisfying to create, and it makes the most charming addition to your holiday décor.
Why I Love This Project
Every year, I try to add something handmade to my Christmas décor — something new that reflects the season’s textures, colors, and personality. When I started working with clay earlier this year, I quickly fell in love with it. The process is meditative, tactile, and incredibly rewarding.
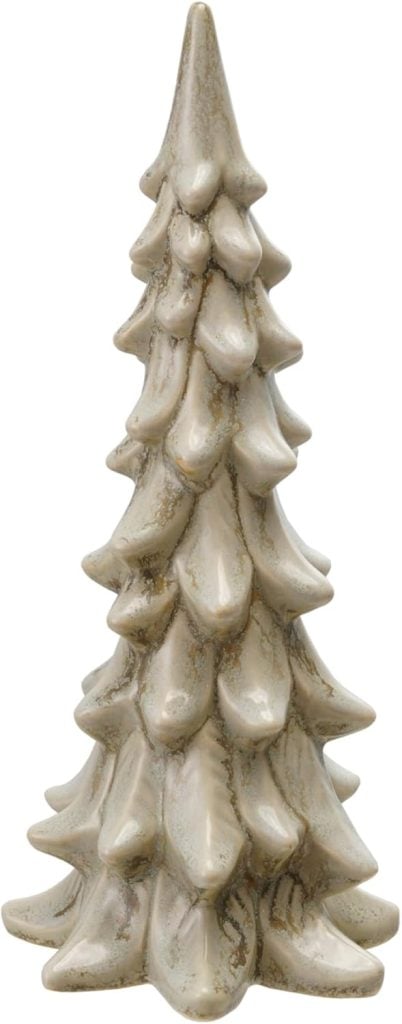
For this tree, I wanted something whimsical and organic, not too perfect or symmetrical — something that felt like it could have come straight from a cozy artist’s studio. I used air-dry clay, which means there’s no need for firing. Once it dries, it hardens beautifully, and you can paint or glaze it any way you like.
Materials You’ll Need
Here’s everything I used to make my ceramic Christmas tree:
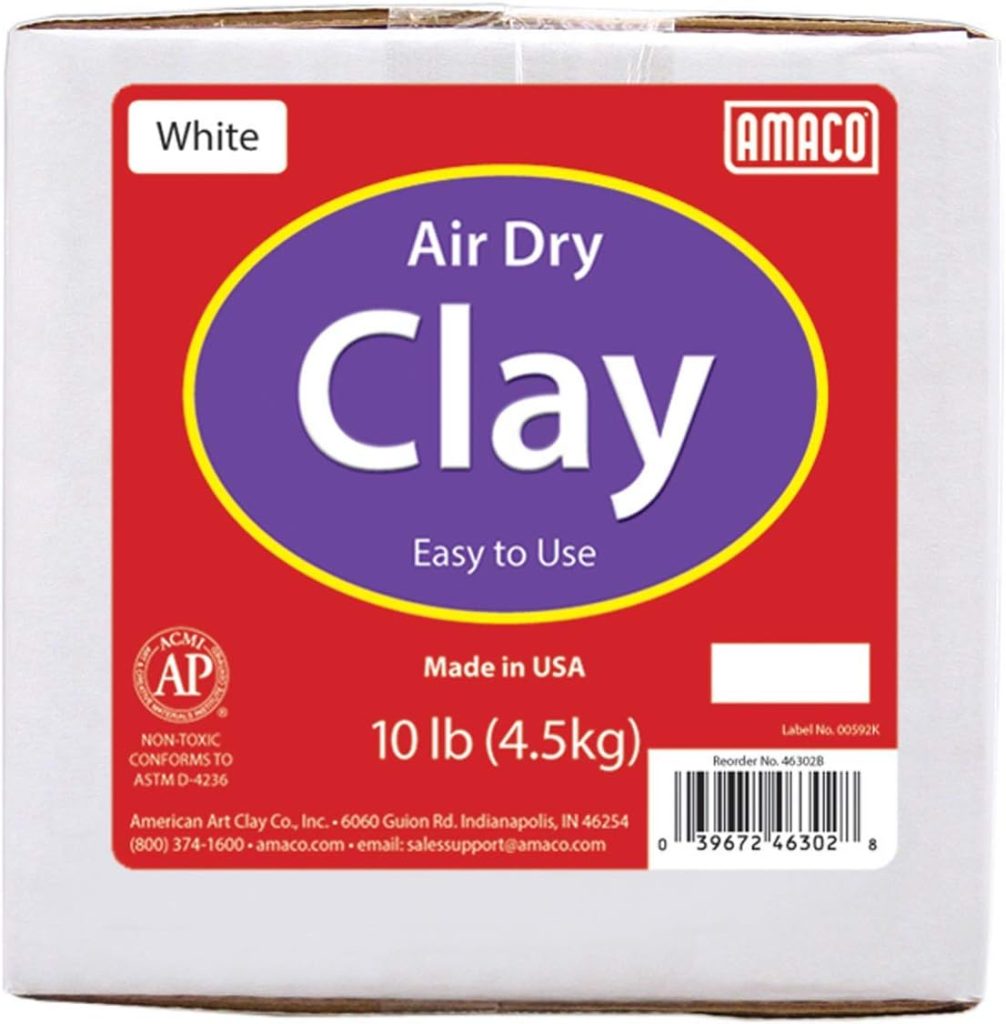
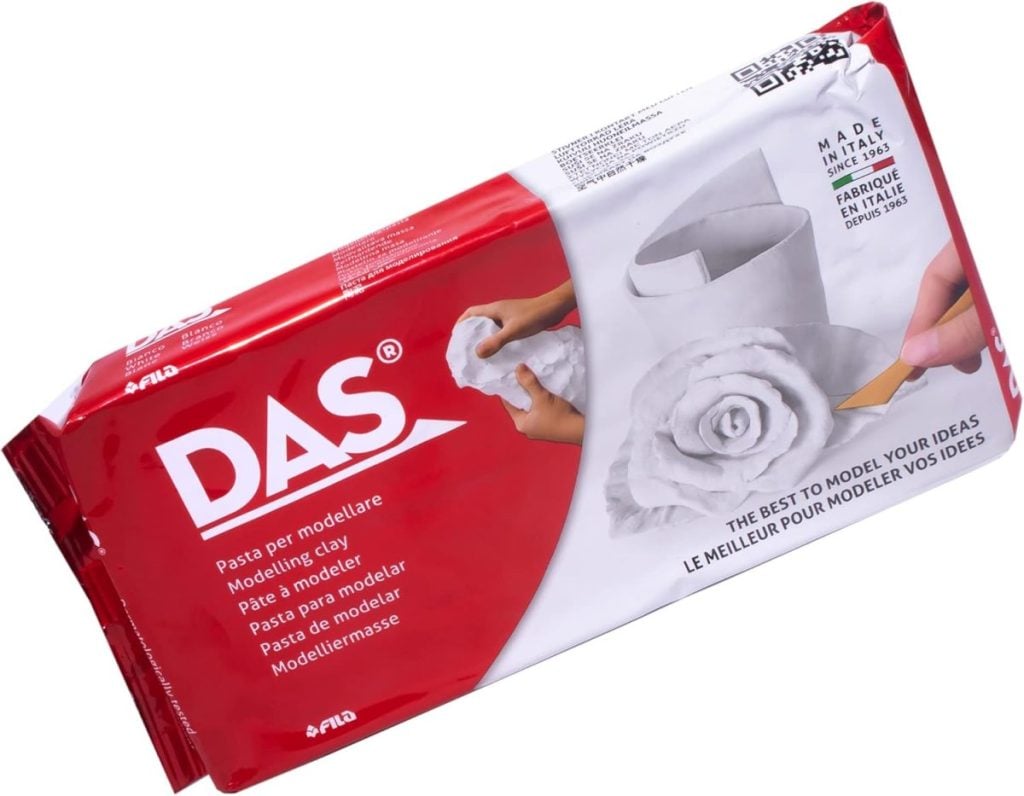
- Air-dry clay (I used a 3″ x 4″ x 1″ block per tree)
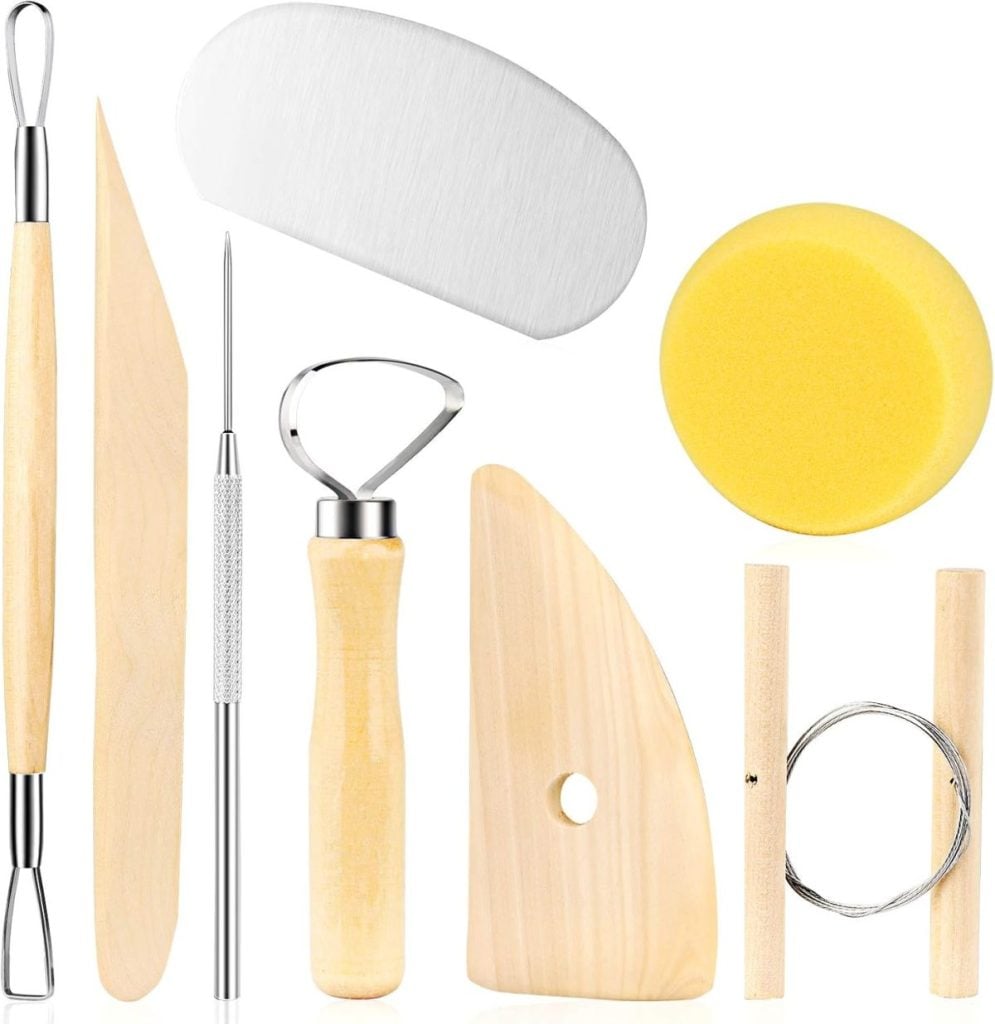
- Rolling pin
- Craft knife or clay tool for cutting
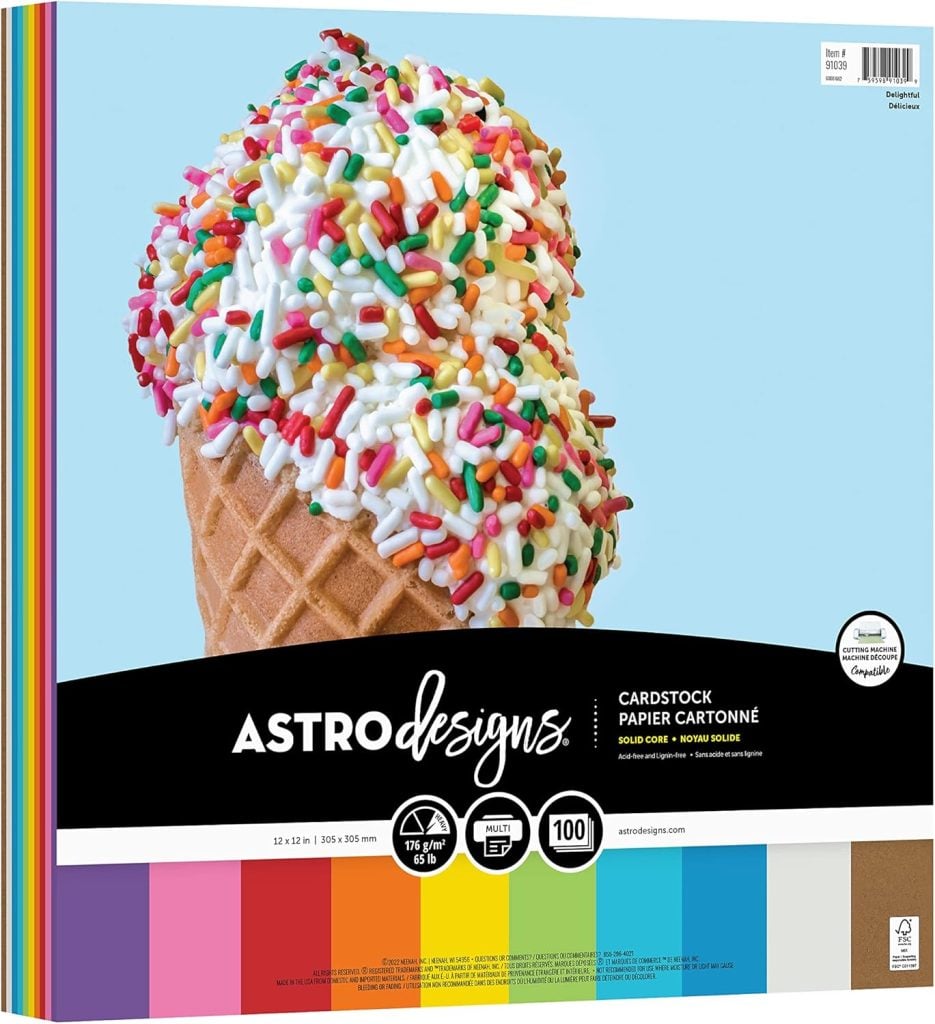
- Cardstock (or any sturdy paper to make the cone)
- Clear tape
- Star-shaped cookie cutter (or you can freehand it like I did).
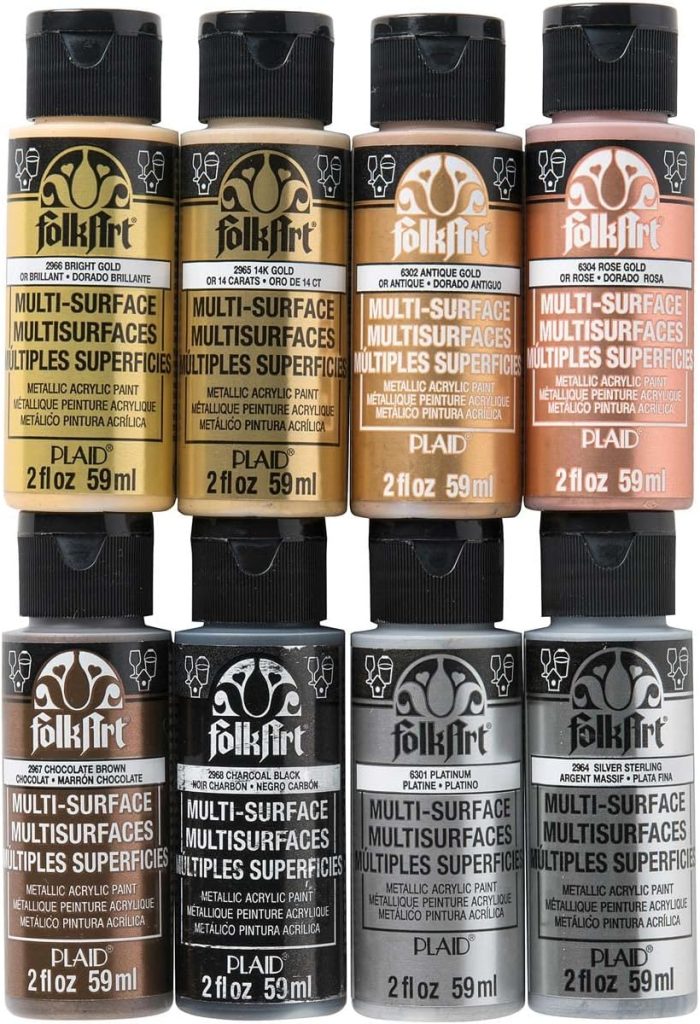
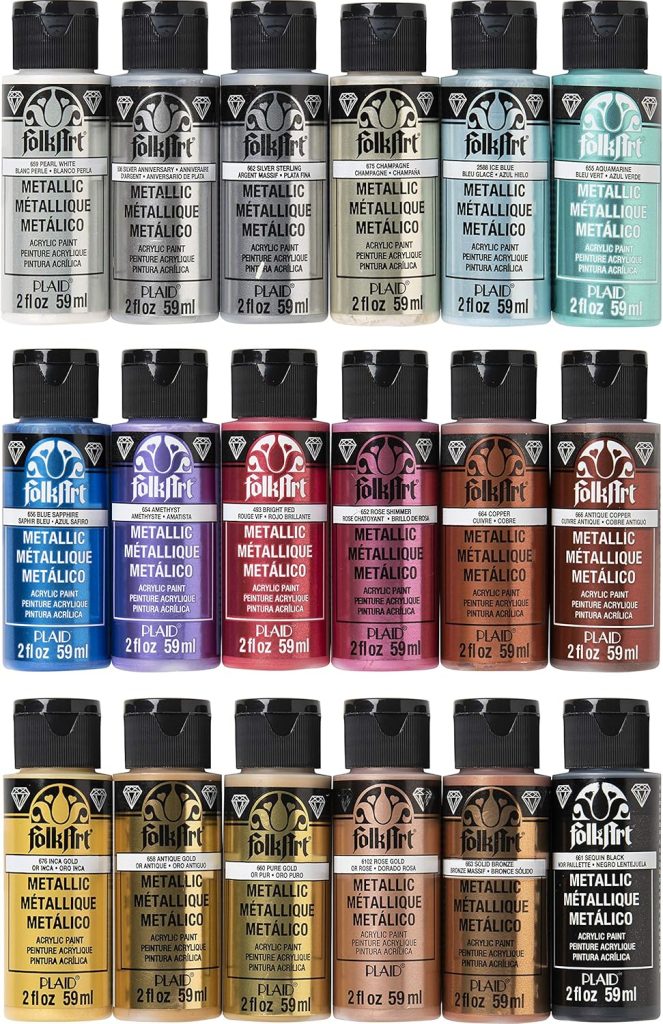
- Deco Art Bright Metallic Pearl Paint
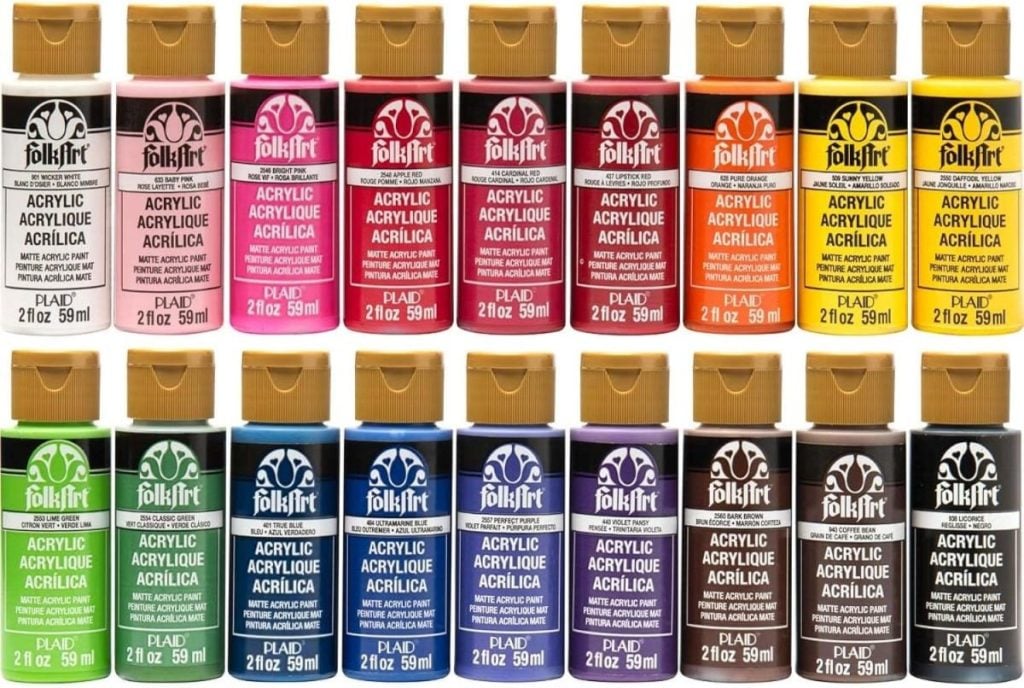
- Gold acrylic paint and paint for the tree (I used metallic white, but green would also be great!)
- Paintbrush
- Small sponge (for smoothing seams and blending)
On this blog, I may occasionally use affiliate links, which means I earn a small commission if you make a purchase through the link. The price will be the same whether you use the affiliate link or go directly to the vendor’s website using a non-affiliate link.


That’s it! Most of these materials are things you probably already have in your craft drawer.
Step 1: Create the Cone Base
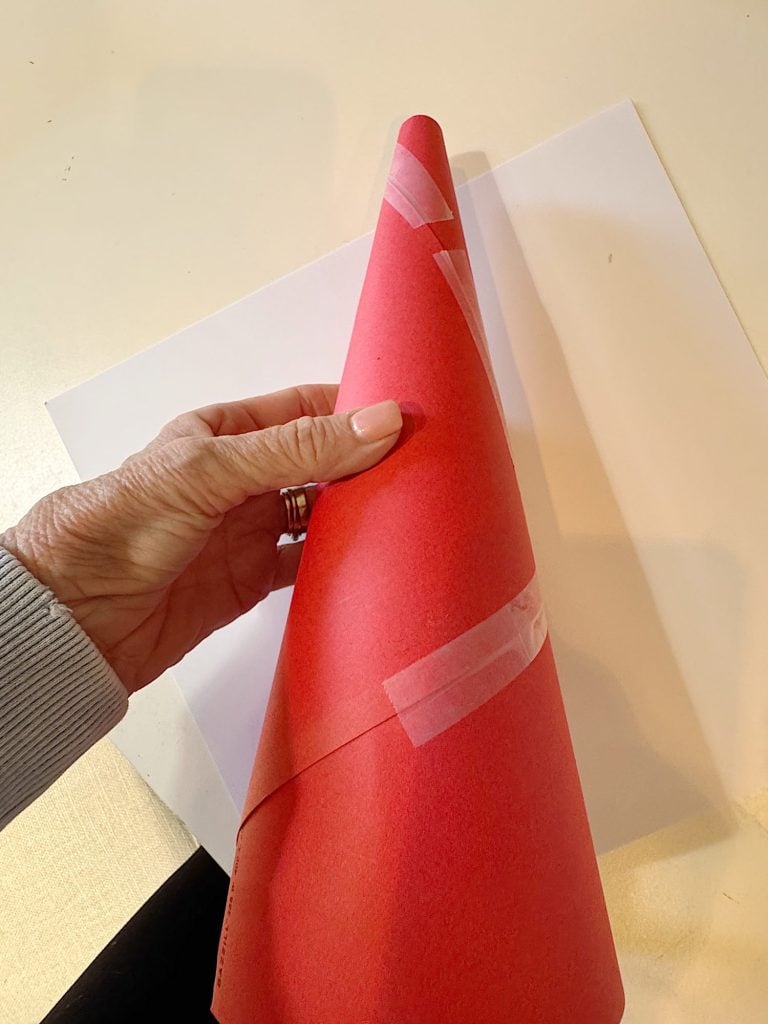
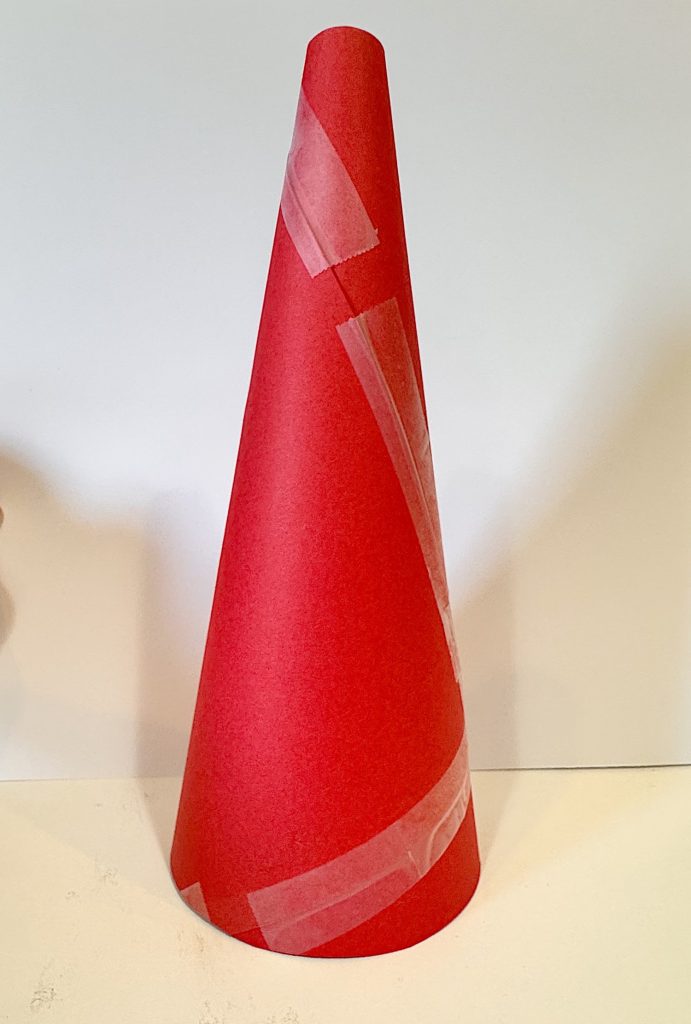
Start by making the cone shape that will act as your form. I cut a large triangle from red cardstock and rolled it into a cone, taping the seam securely so it would hold its shape. This cone will serve as the base for building the clay tree, as it provides a structure to wrap your clay around, allowing you to easily shape it without it collapsing.
If you want a tall, slender tree, use a larger piece of cardstock. For smaller, tabletop-sized trees, you can make shorter cones. I made mine about ten inches tall, which turned out to be the perfect height for a dining table centerpiece or mantel display.
Be sure to cover the cone with either packing tape or parchment paper. IT will make it easier to remove when you are done. I learned this the hard way. Oops!
Step 2: Roll Out the Clay
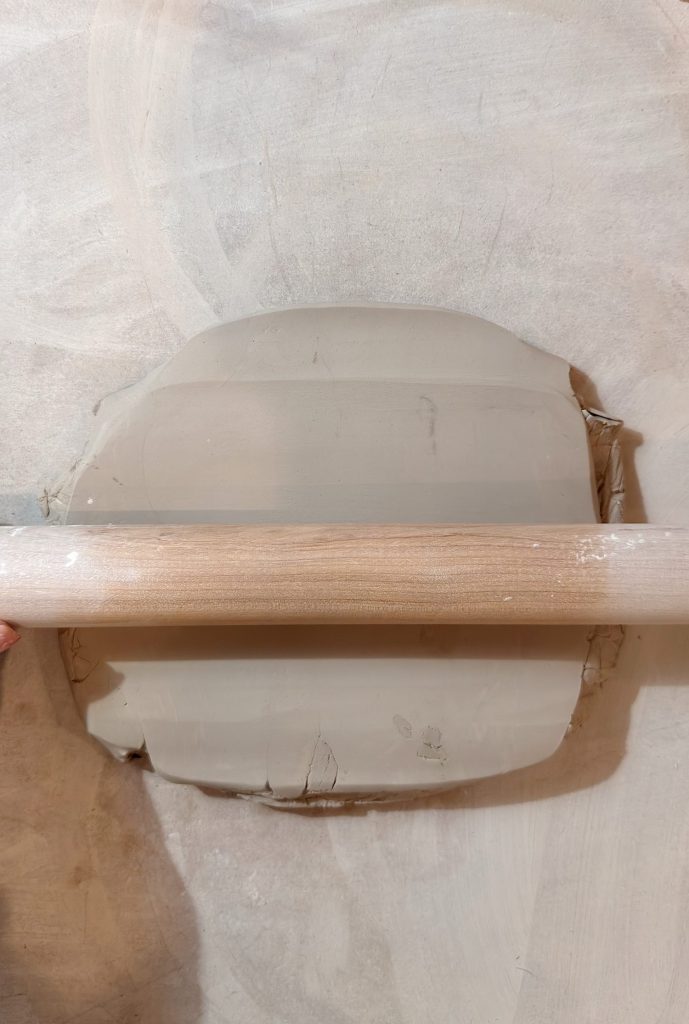
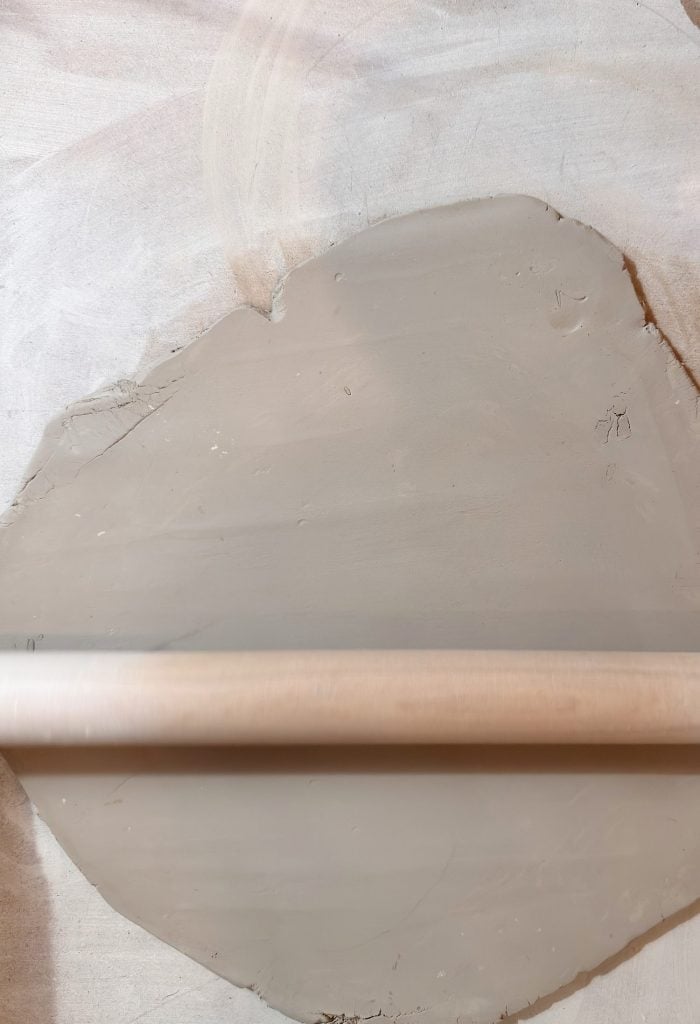
Next, roll out your air-dry clay to about ⅜ inch thick. This thickness is sturdy enough to hold its shape but still flexible enough to wrap easily. Use a rolling pin and a clean, smooth surface. I like to lightly dust my surface with cornstarch or just a bit of water so the clay doesn’t stick.
Continue rolling until you have a roughly circular shape, approximately 12–14 inches in diameter. It doesn’t need to be perfect, as a bit of variation adds charm and texture to your finished tree.
Step 3: Cut a Spiral Shape
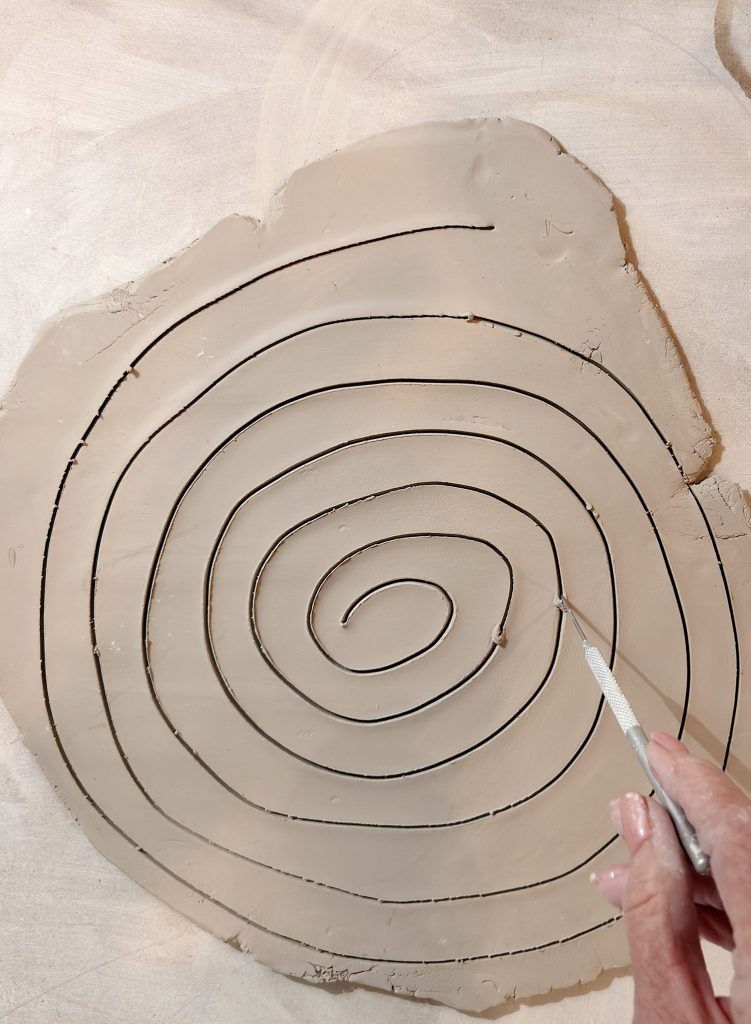
Using a sharp craft knife or a clay tool, start at the center of your clay circle and cut outward in a continuous spiral. Think of it like drawing a coiled ribbon. The width of each strip should be around an inch, but you can vary it slightly for a more organic look.
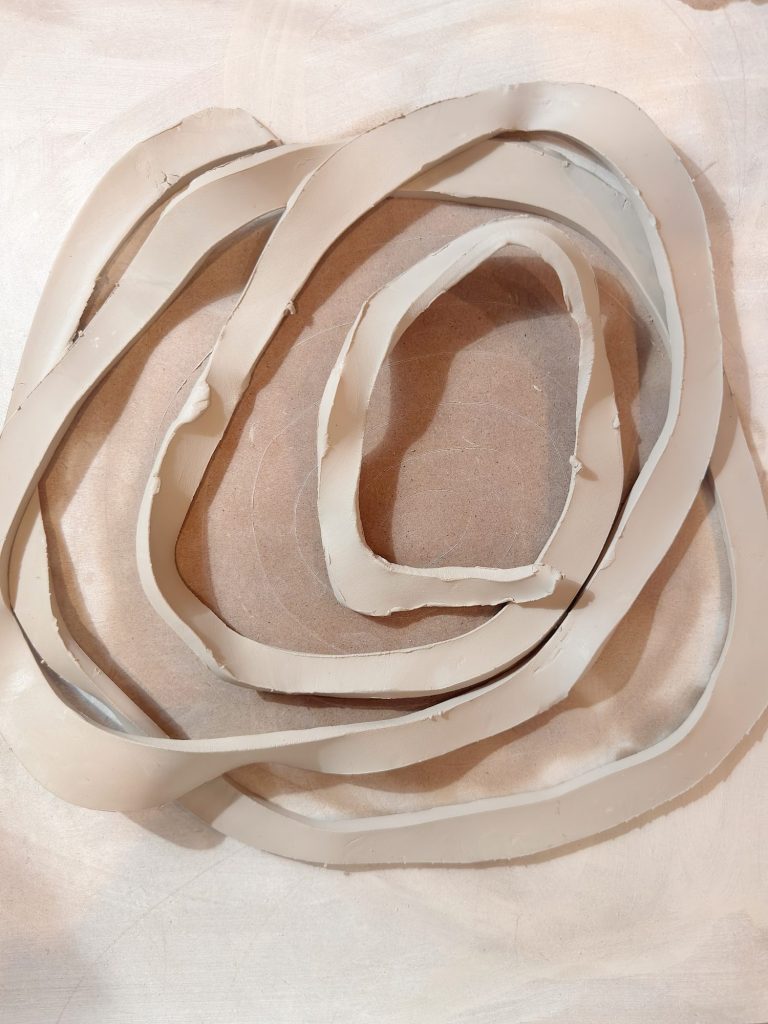
When you’re done, you’ll have one long, continuous strip of clay — this will become your tree.
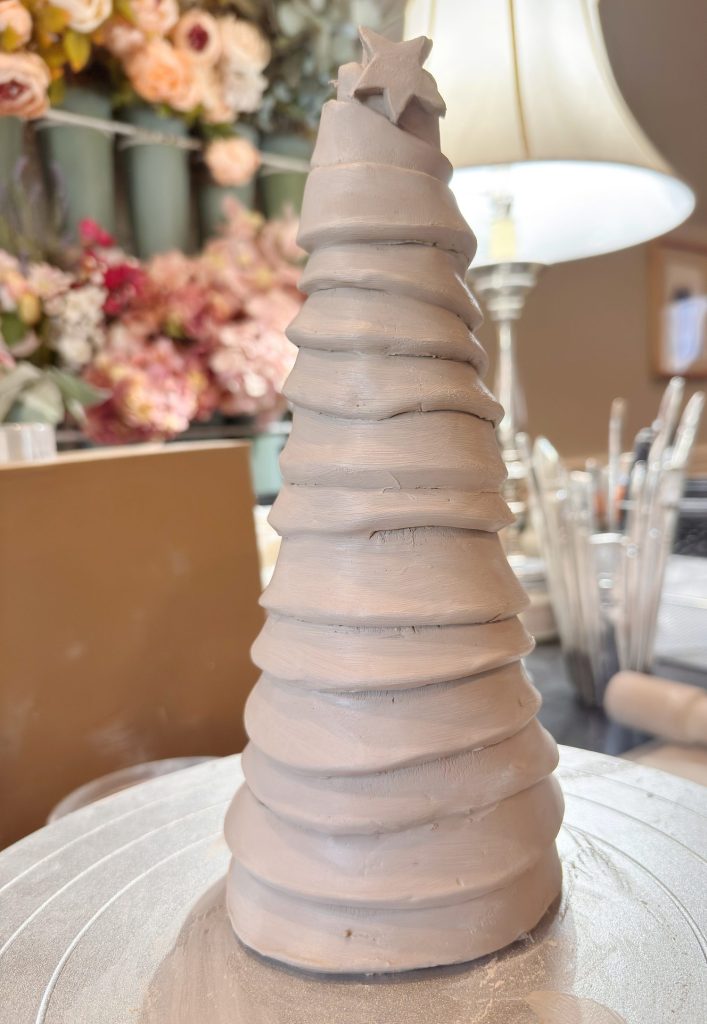
Step 4: Wrap the Clay Around the Cone
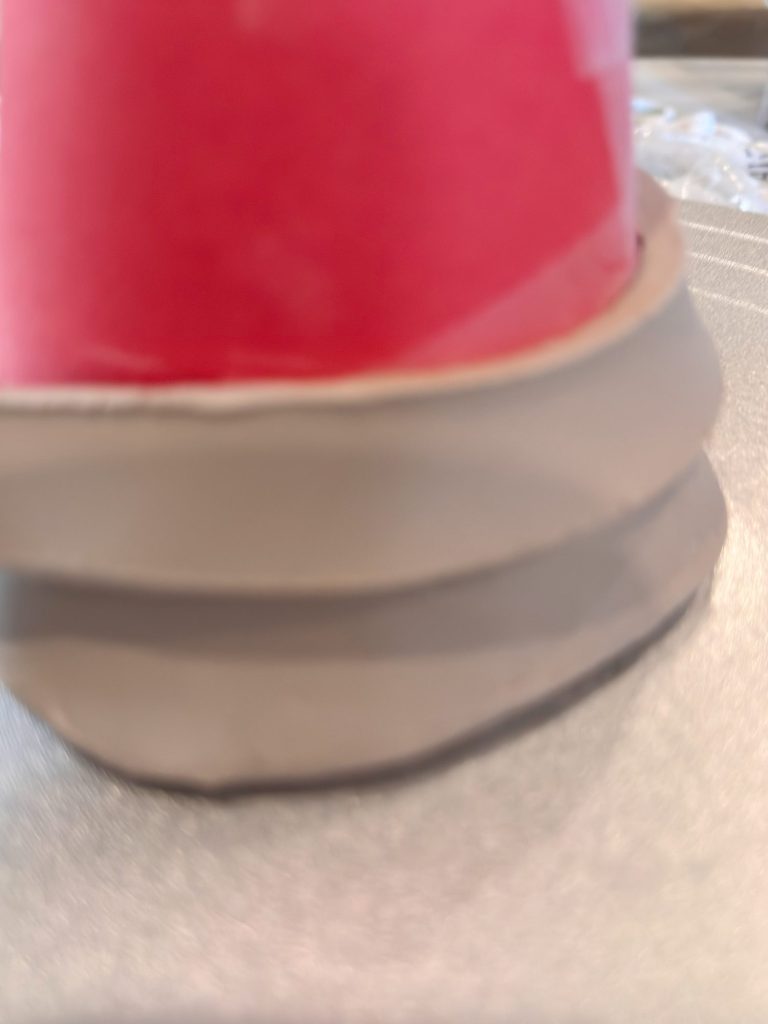
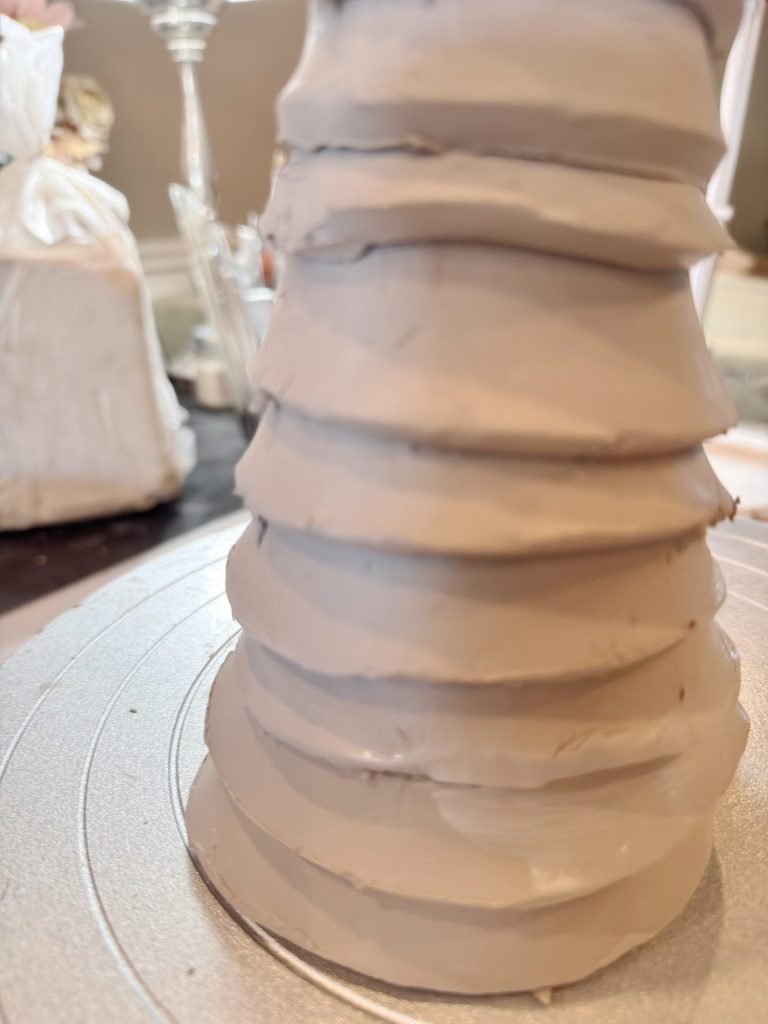
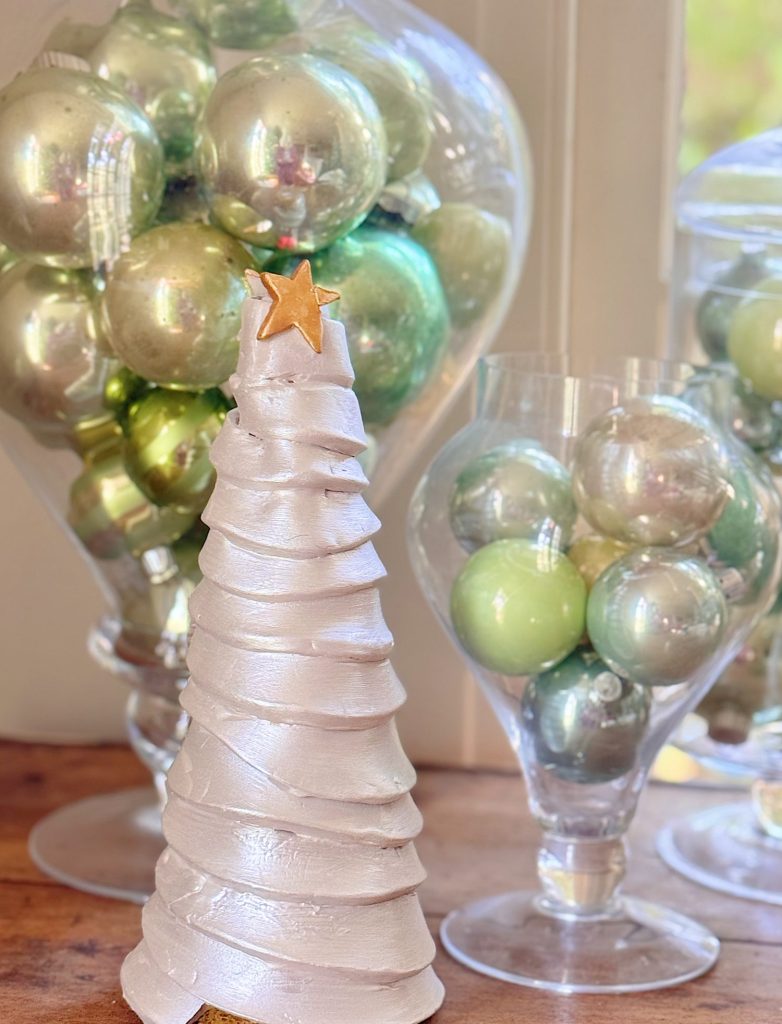
Now comes the fun part! Starting at the base of your cardstock cone, gently wrap your clay strip around it in a spiral. Press it lightly as you go to ensure it sticks to the layer below, but don’t smooth it too much — those little ridges and layers give the tree its handcrafted, sculptural look.
As you build upward, you can overlap or tilt the clay slightly to make the tree appear more whimsical. If the clay starts to dry, dampen your fingers slightly to help it stick. I found that working slowly and allowing the layers to stack created a lovely, imperfect texture naturally.
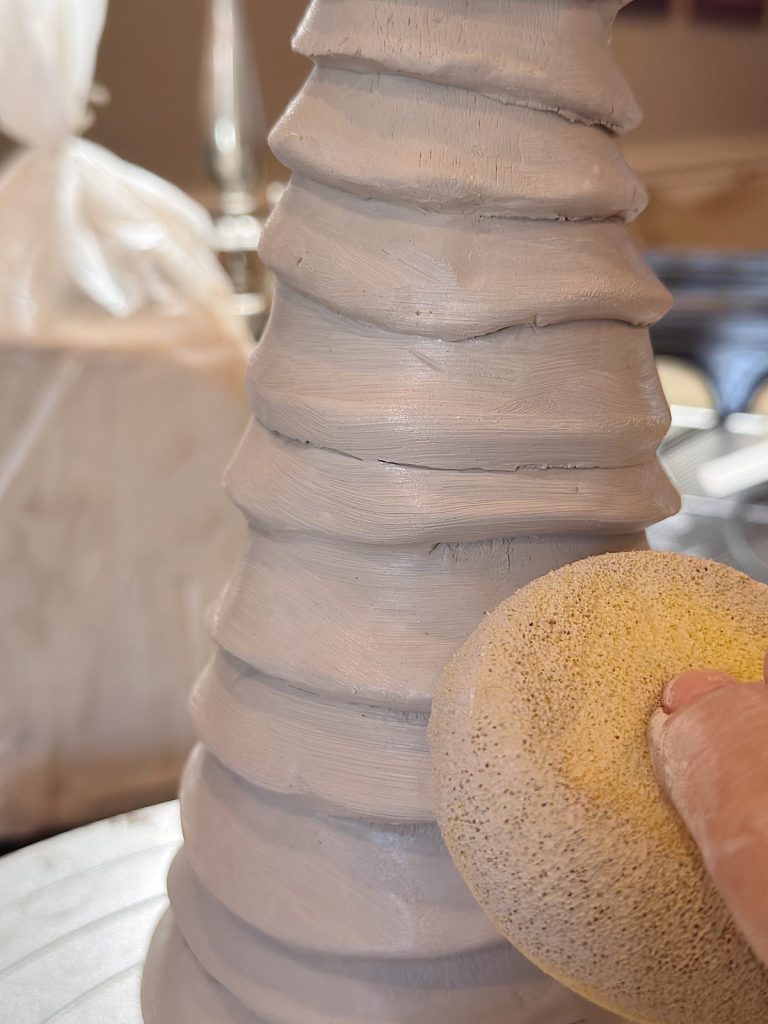
Step 5: Blend and Shape
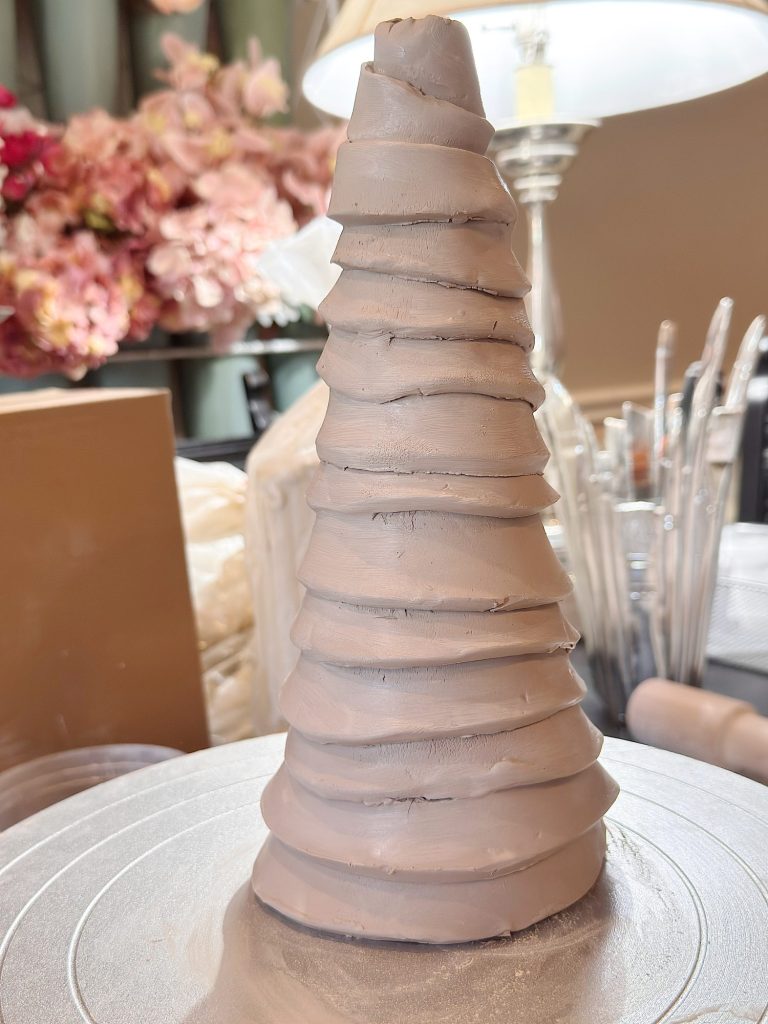
Once your clay spiral is wrapped around the cone, go back and press lightly at the seams where the layers meet to secure them. You can use a small amount of water and a sponge to smooth rough edges if you prefer a softer look, or leave them more pronounced for a rustic feel.
I wanted my tree to look like it had been hand-coiled, so I left a few of the edges slightly uneven. That’s part of what makes it so special!
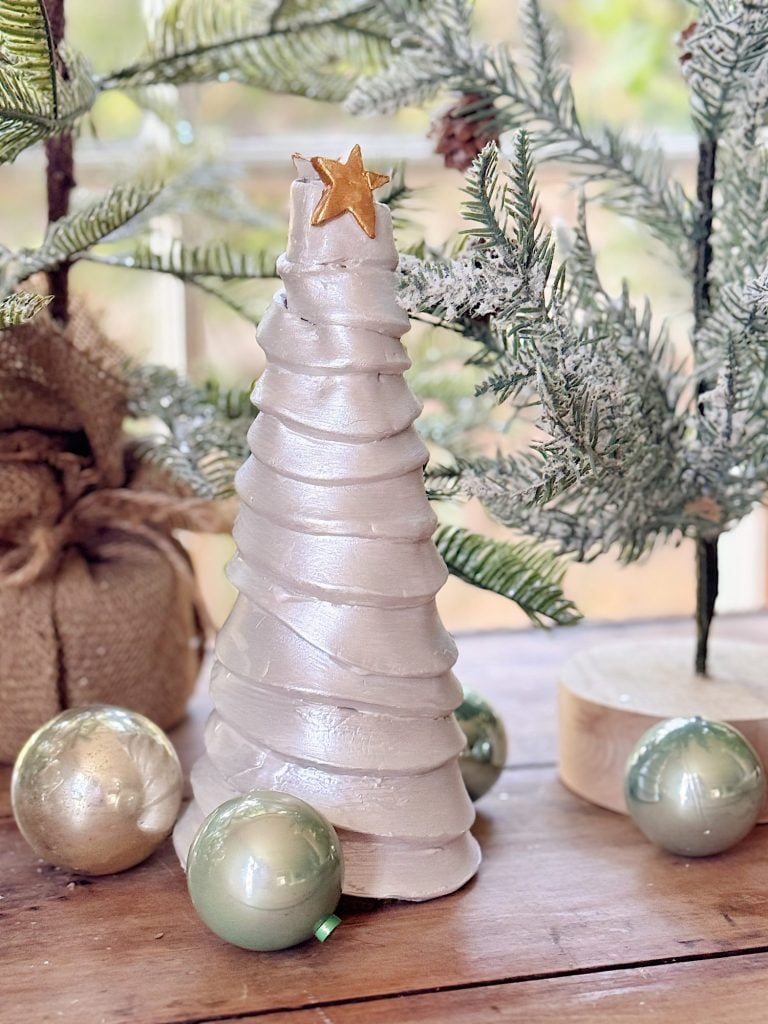
Step 6: Add the Star
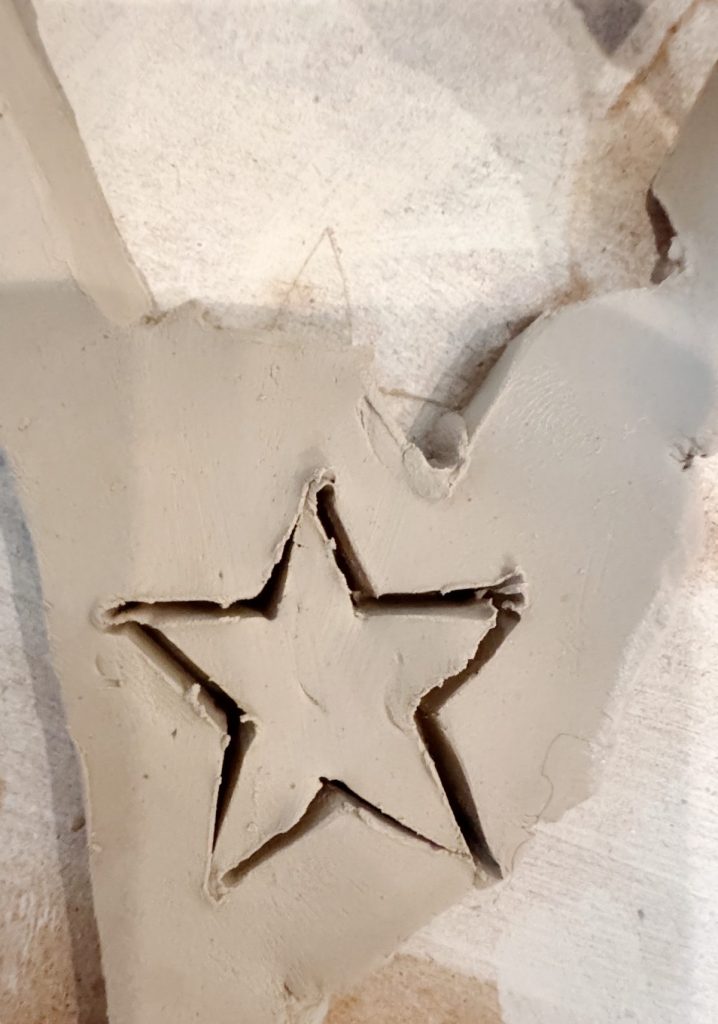
No Christmas tree is complete without a star on top. I rolled out a little more clay and used my knife to cut two stars. I sandwiched them together at the tip of the cone, pressing gently so they adhered. You can also use a small amount of water or a clay slip (a mixture of clay and water) to help secure them in place.
Step 7: Let It Dry
Now it’s time to let your masterpiece dry. Air-dry clay typically takes 24–48 hours to dry, depending on its thickness and the surrounding humidity. Ensure that you leave your tree in a location where it can dry evenly. I kept mine on a baking rack so air could circulate all around it.
Once the tree feels completely firm and cool to the touch, it’s ready for the finishing touches.
Step 8: Add a Touch of Shimmer and Gold
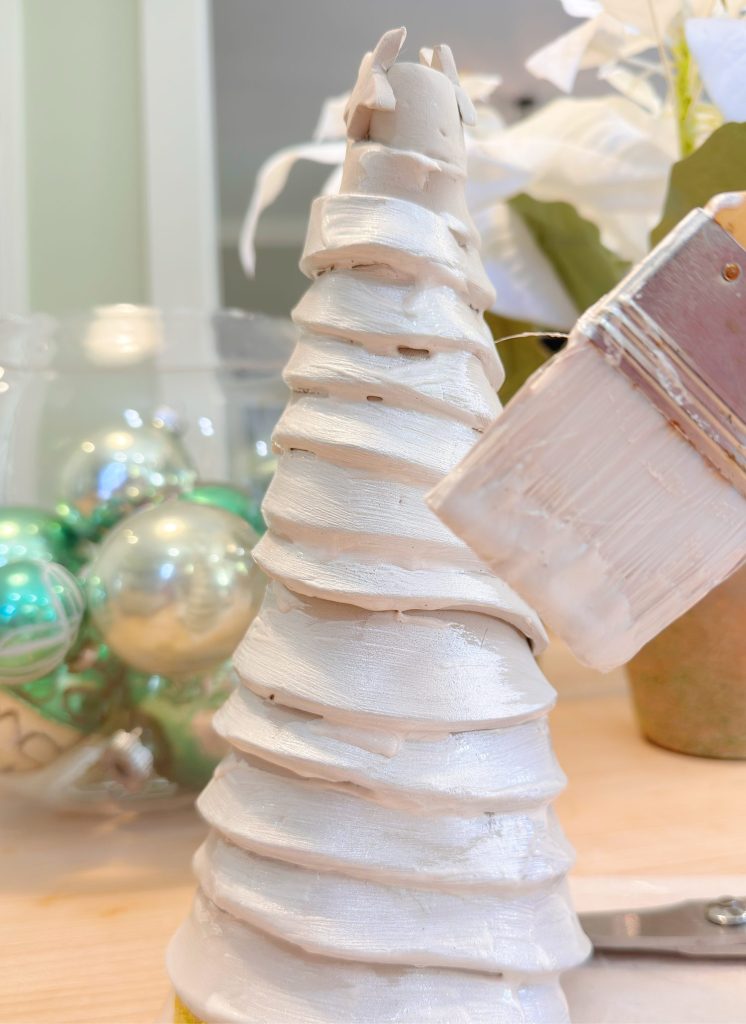
When my tree was dry, I decided to add a slight shimmer to the base and the stars on top. I used metallic pearl white on the base and gold acrylic paint on the star.
If you want to take it further, you can lightly brush gold or silver over the raised edges of the clay layers to highlight the texture. You could even sprinkle a little fine glitter on the wet paint for a festive sparkle.
Displaying Your Ceramic Christmas Tree
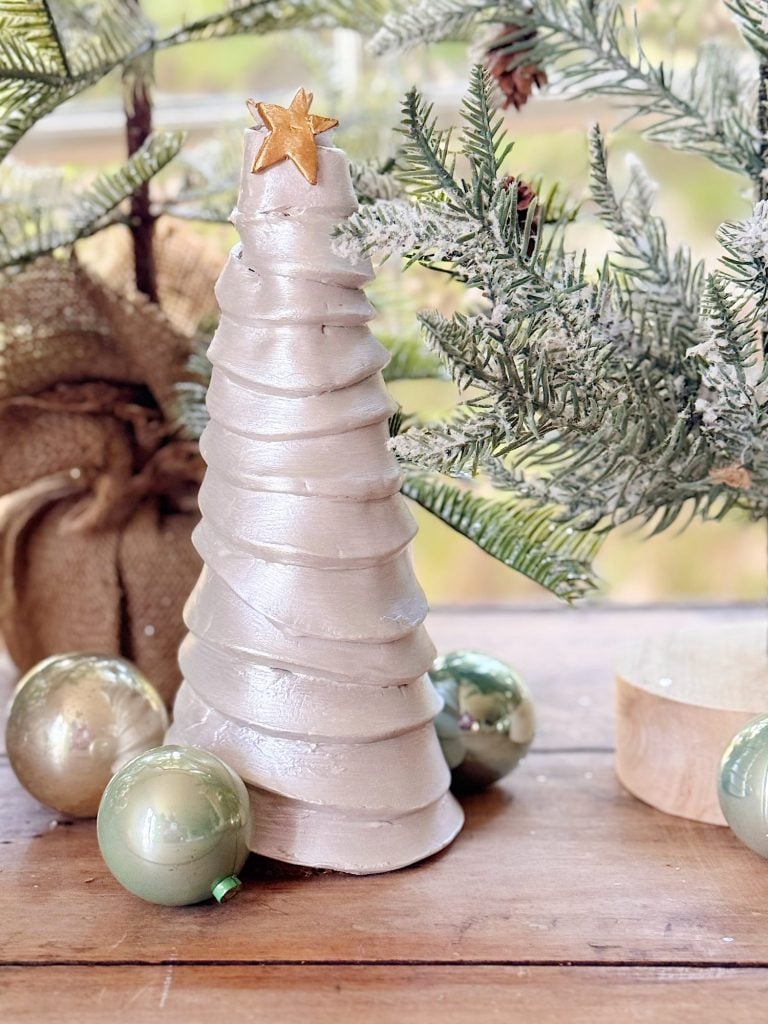
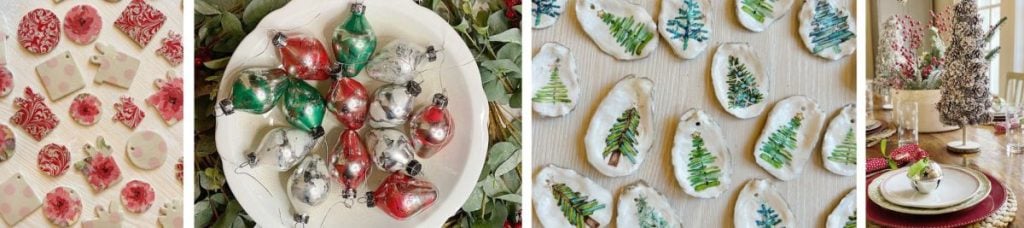
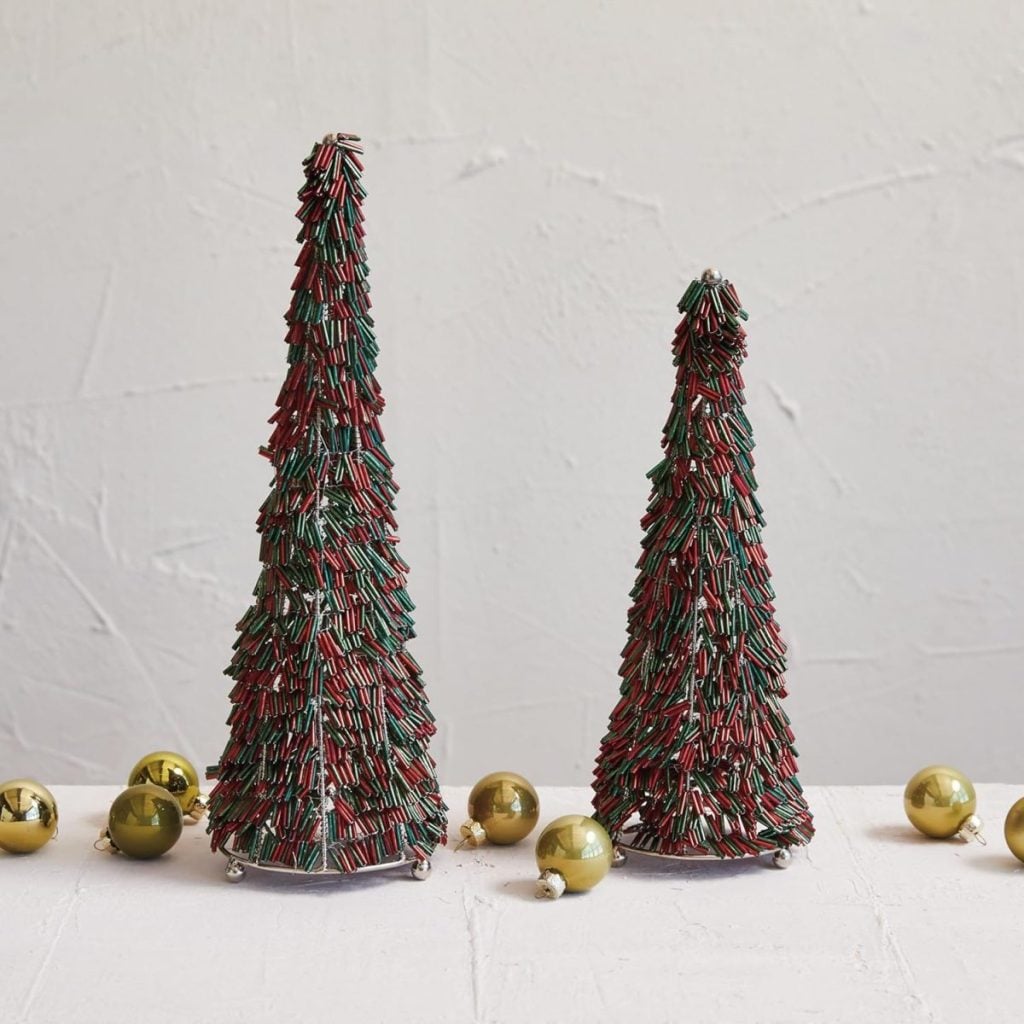
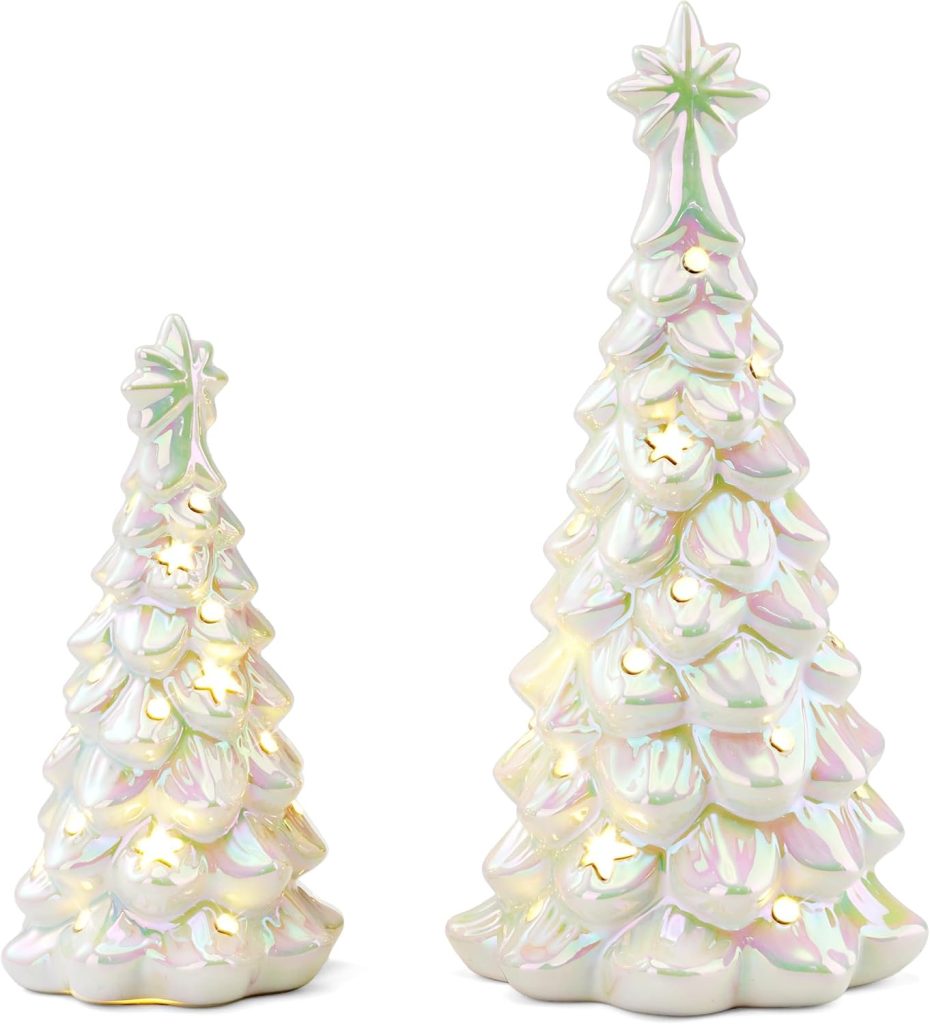
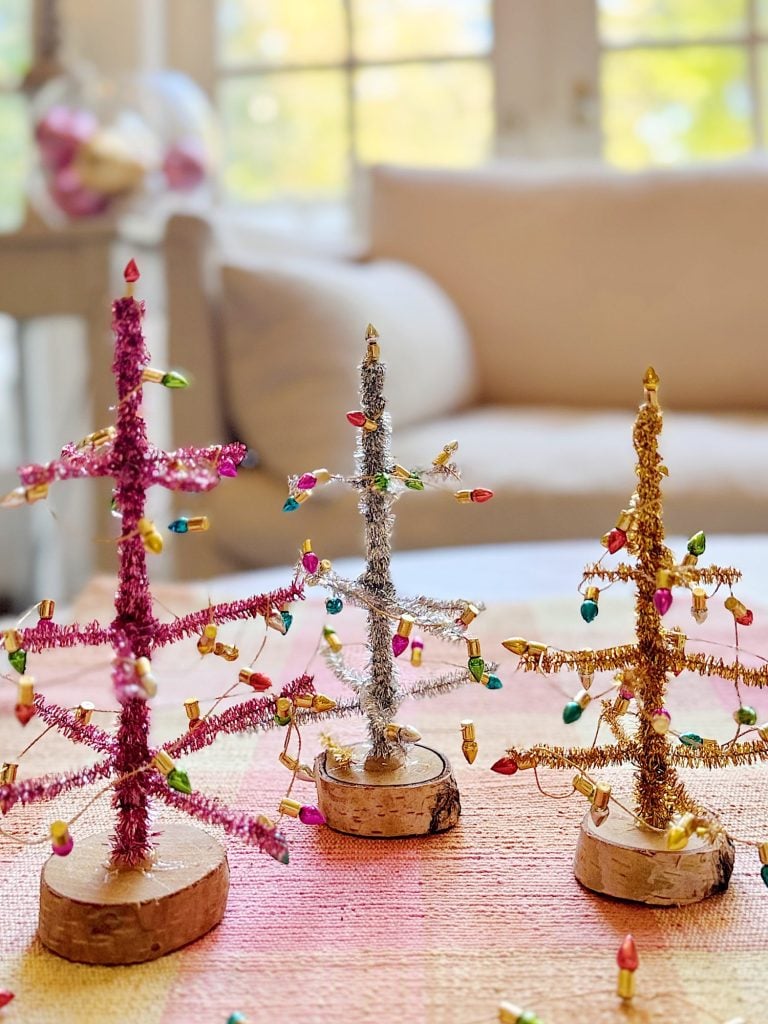
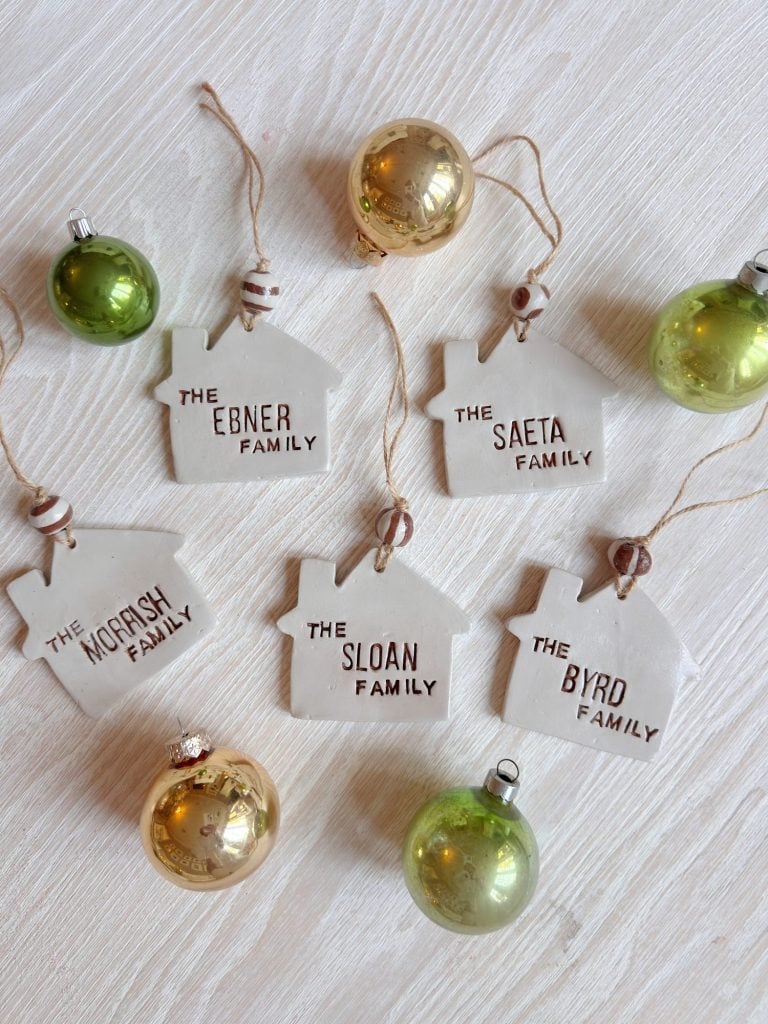
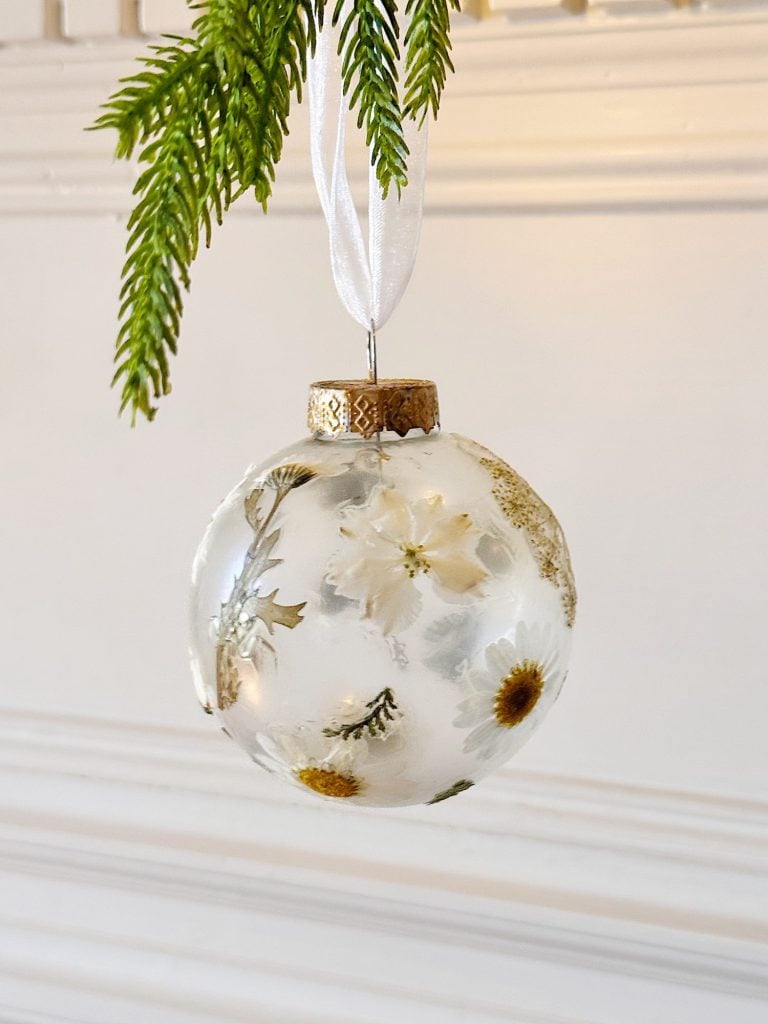
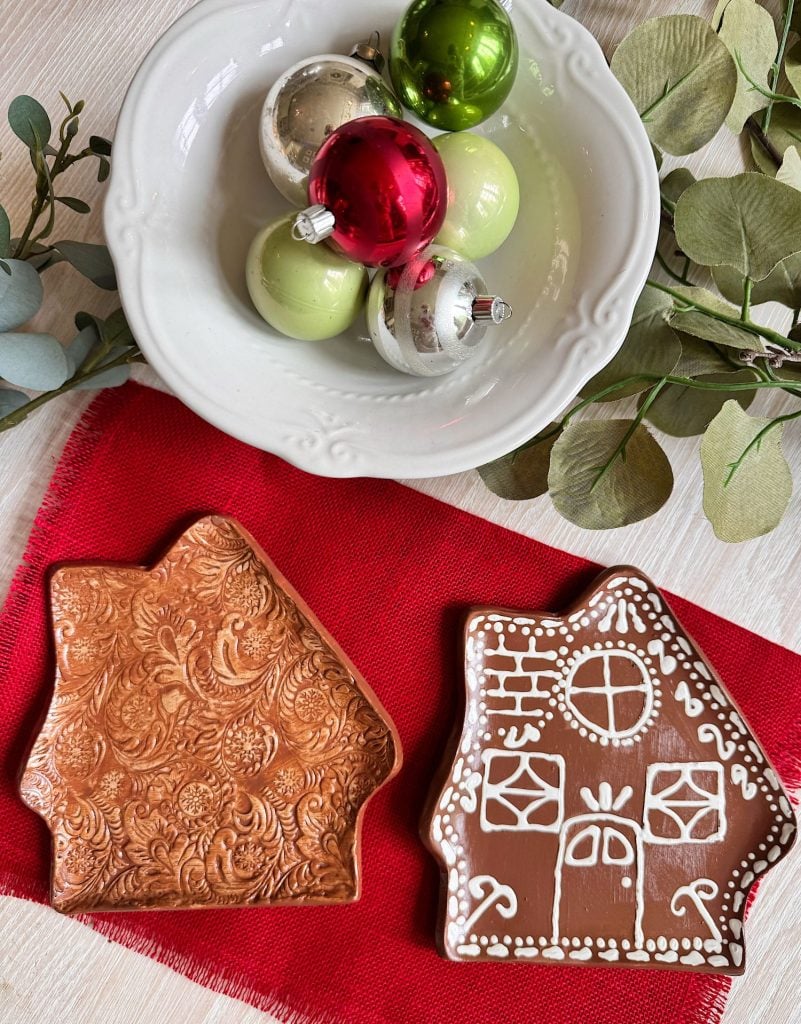
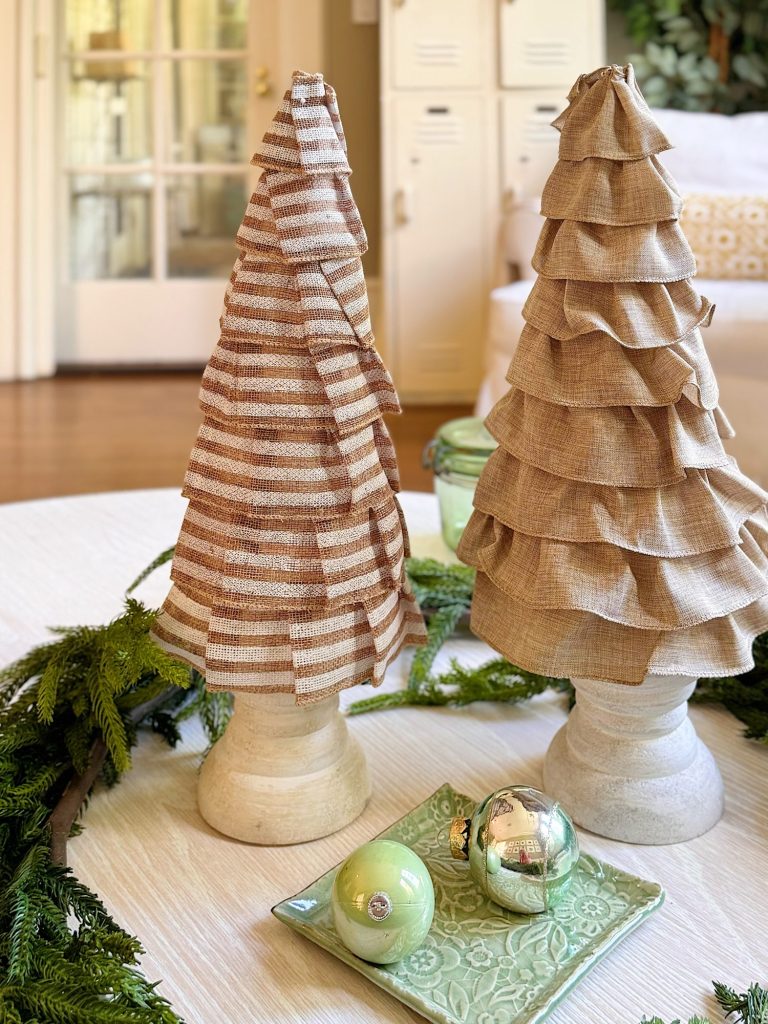
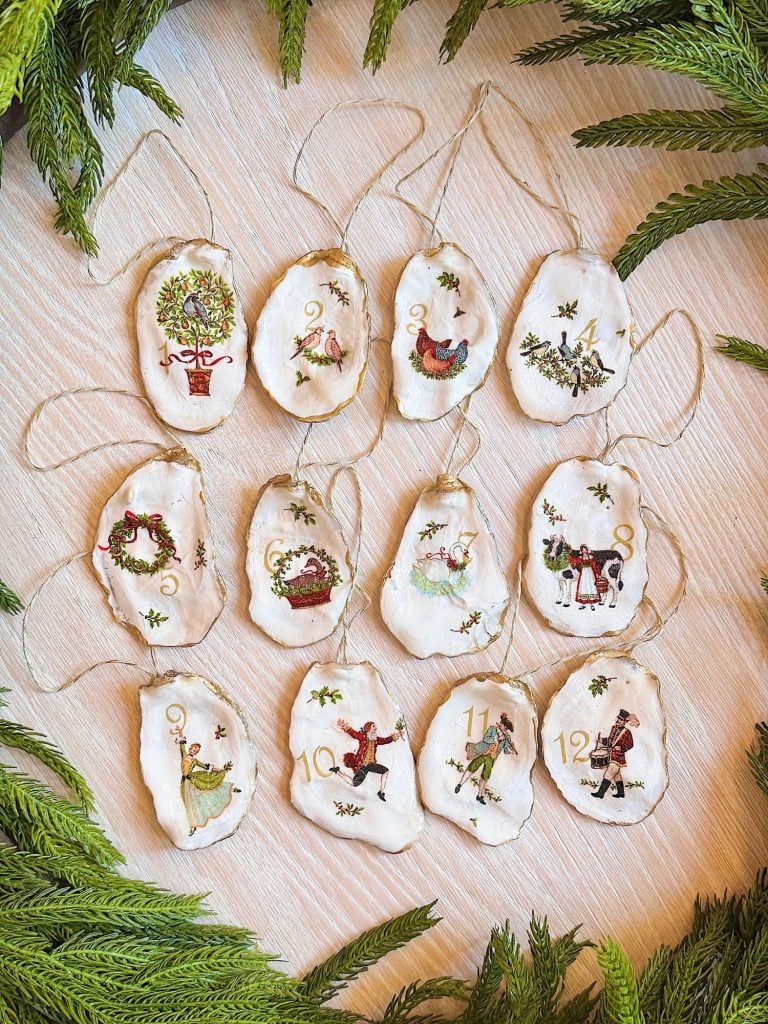
Once your clay tree is finished, it’s ready to display! I love grouping mine with other handmade decorations — like my glitter Christmas trees and my clay ornaments — for a cohesive handmade holiday look.
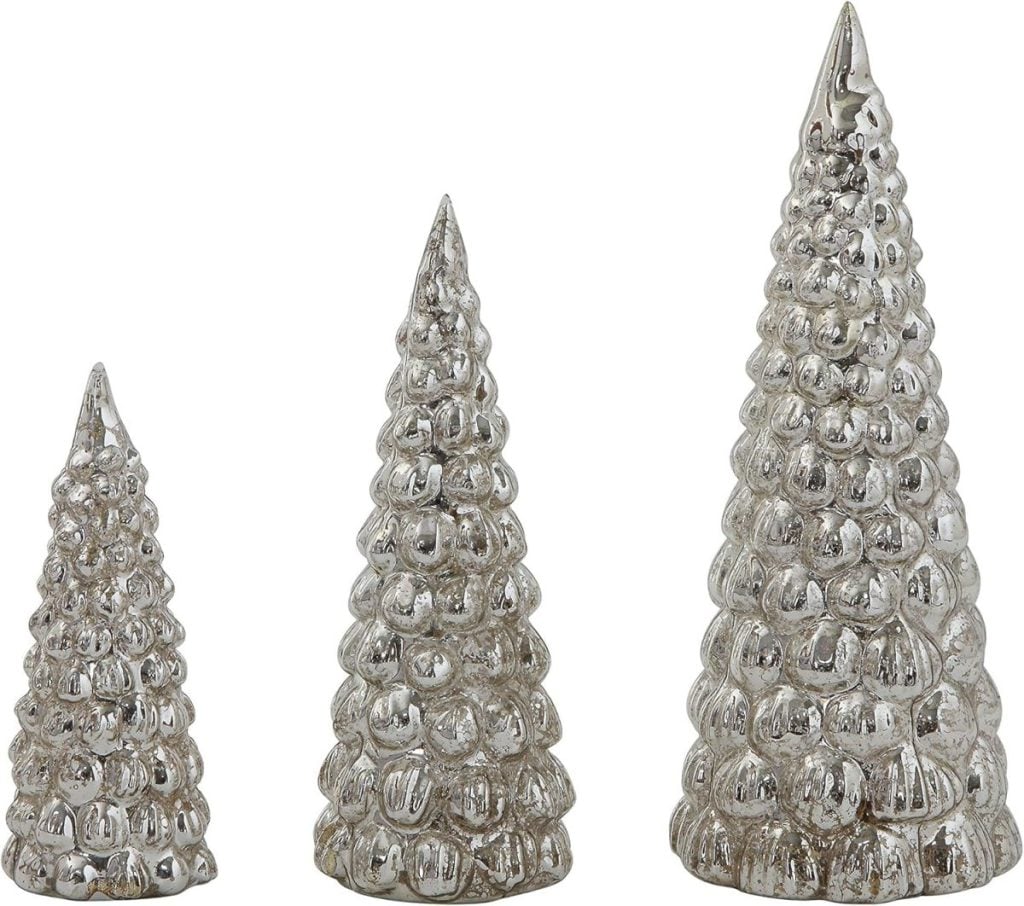
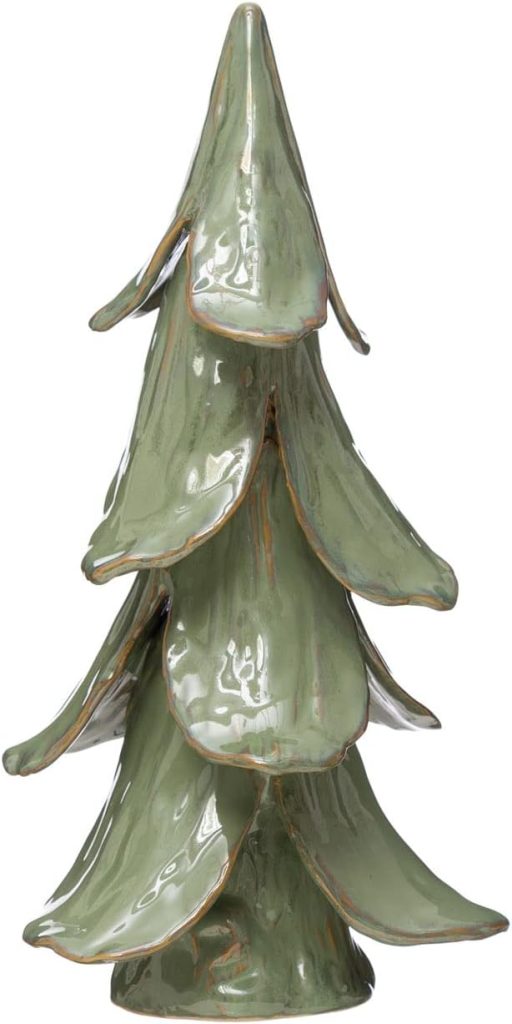
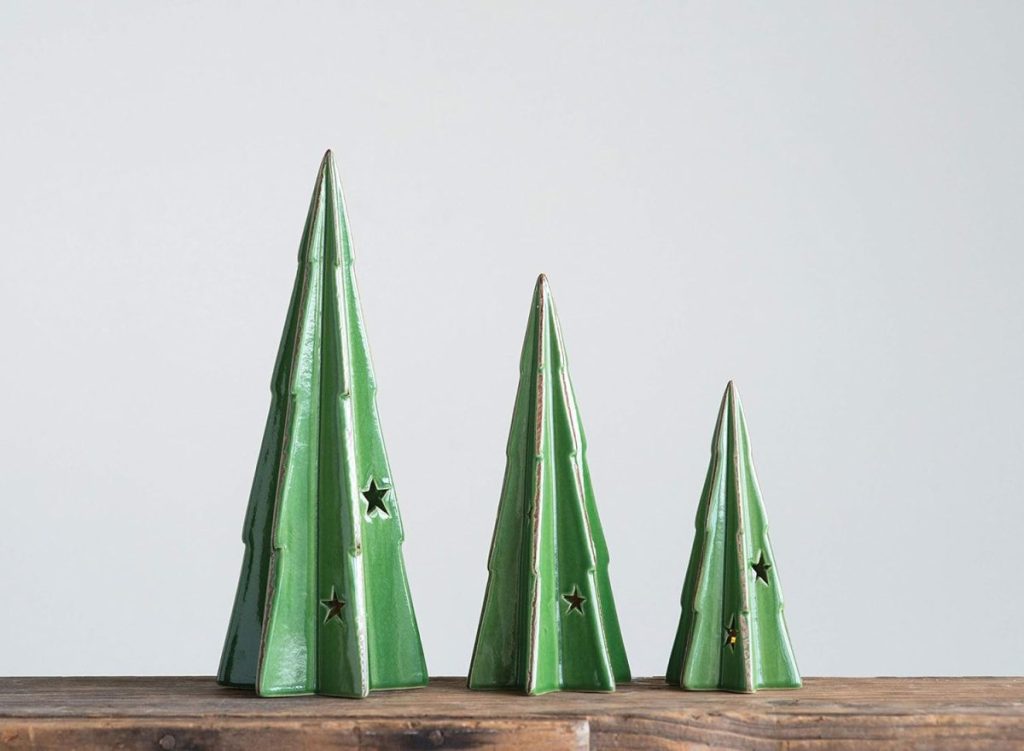
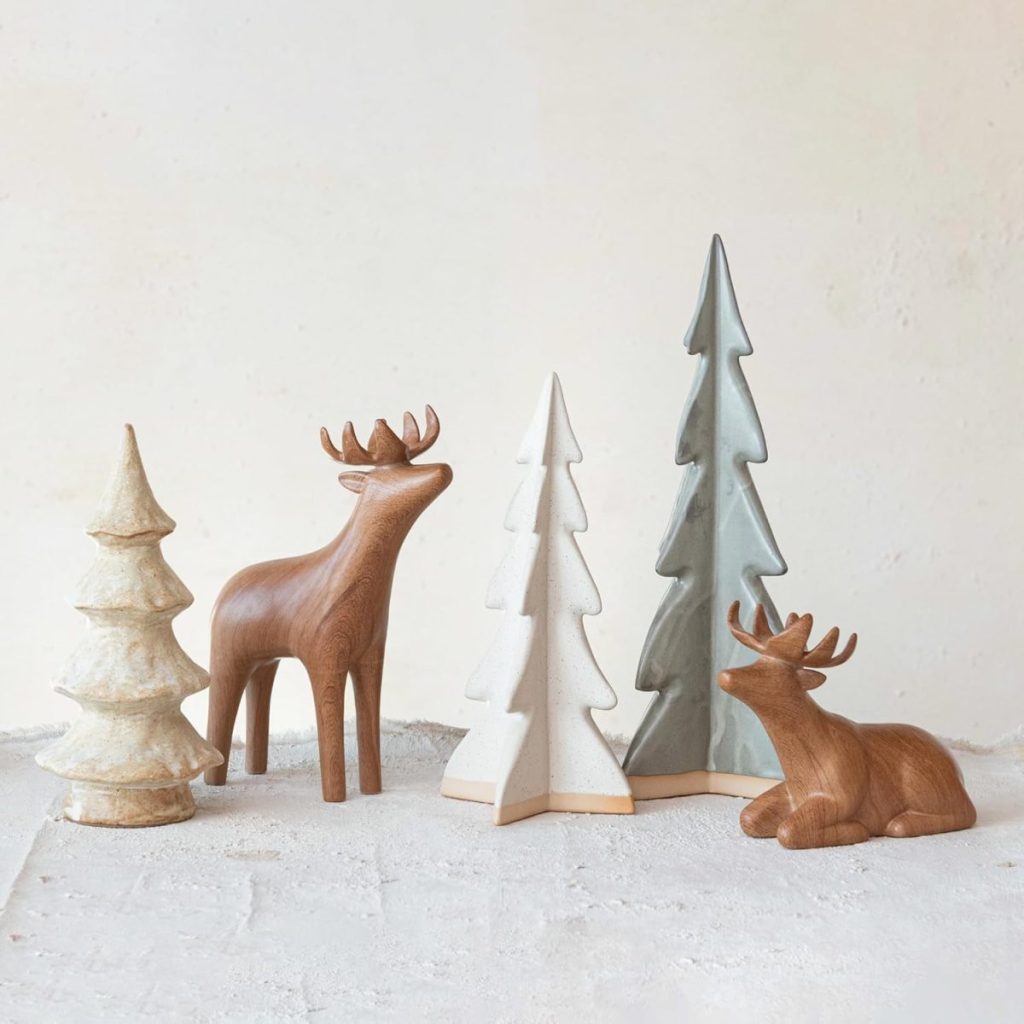
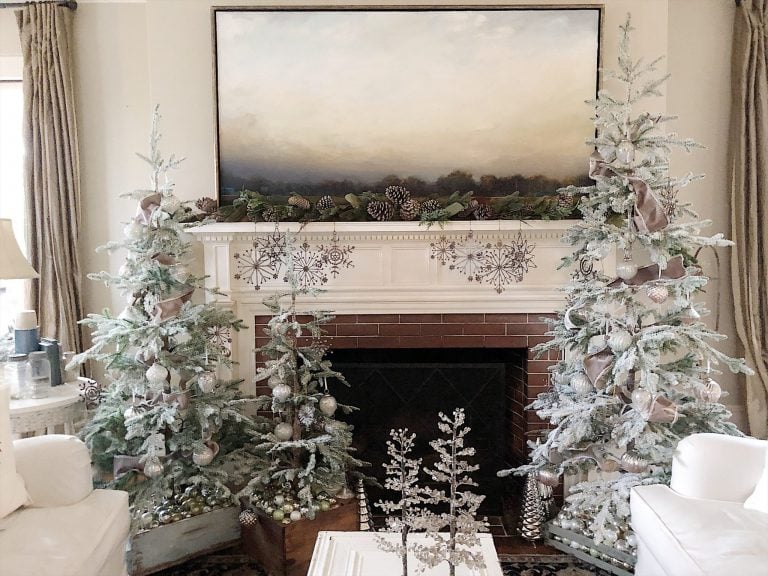
You can style these trees on a mantel, dining table, or entryway table. Try mixing different sizes for a beautiful forest effect. If you’re creating a neutral palette, leave the clay natural. For a more festive or colorful theme, consider painting your trees in shades of white, green, or metallic colors.
The beauty of this project lies in its versatility.


Tips for Success
Here are a few things I learned while making my ceramic Christmas tree:
- Work slowly: Air-dry clay starts to firm up as it’s exposed to air, so keep a damp cloth nearby to cover sections you’re not working on.
- Use gentle pressure: Too much pressure when wrapping can cause cracks. Let the clay rest against the cone naturally.
- Don’t rush the drying process: The longer the clay dries, the sturdier your finished piece will be. Please don’t remove the paper cone from the tree until it’s completely dry, a few days later.
- Experiment with texture: Use a textured rolling pin, lace, or even pine branches to press patterns into your clay before cutting.
- Add variety: Make a few trees at different heights and finishes for a gorgeous handmade collection.


Final Thoughts
If you’re looking for an easy, affordable, and elegant holiday craft, this air-dry clay Christmas tree is a must-try. It’s beginner-friendly, uses simple materials, and the result looks like something you’d find in a boutique shop.
You can make one or several, add metallic details, or keep it rustic and natural. However you personalize it, it’s a project that will become part of your Christmas traditions for years to come.
✨ Pin this project for later or share it with a friend who loves handmade holiday décor. And if you make your own clay Christmas tree, I’d love to see it! Tag me @my100yearoldhome so I can feature your creation.


If you enjoy my blog, you can sign up to receive my updates here.
.Sixteen Weeks of A Handmade Christmas
If you’ve been following along, you know that A Handmade Christmas is all about finding joy in creating. From ornaments and wreaths to clay dishes and ribbon décor, every project in the series is designed to inspire you to slow down, get creative, and make something special this holiday season.
This clay tree is a delightful project to make, as it’s simple, organic, and full of charm. Whether you’re crafting with friends, your kids, or on a cozy afternoon by yourself, I hope it brings you as much joy as it brought me.
Here are the first ten weeks of A Homemade Christmas. Can you believe I have only seven more still to share!
Latest Posts
-
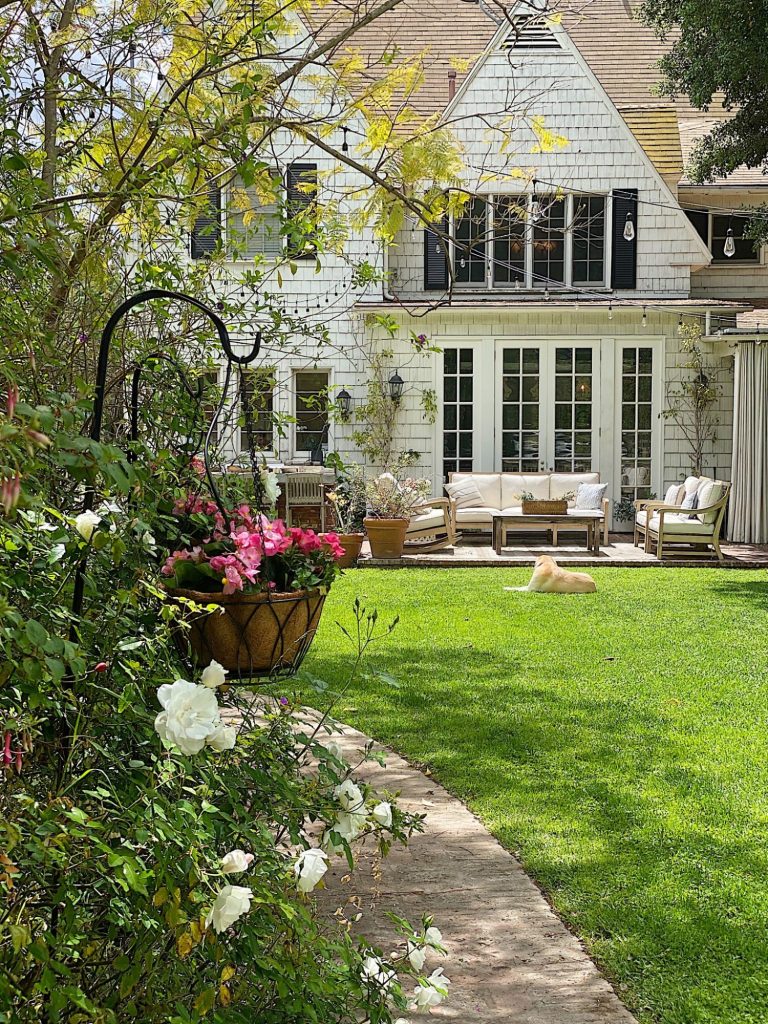
Five Easy Steps to Adding Hanging Planters in Your Yard
Today, I am sharing how I created the hanging planters in our backyard. I love mine so much! Hanging planters look lovely in any yard. My hanging planters have been looking awful all winter long. Here are five easy steps to add (or redo) hanging flower baskets in your yard. Adding hanging planters is a…
-
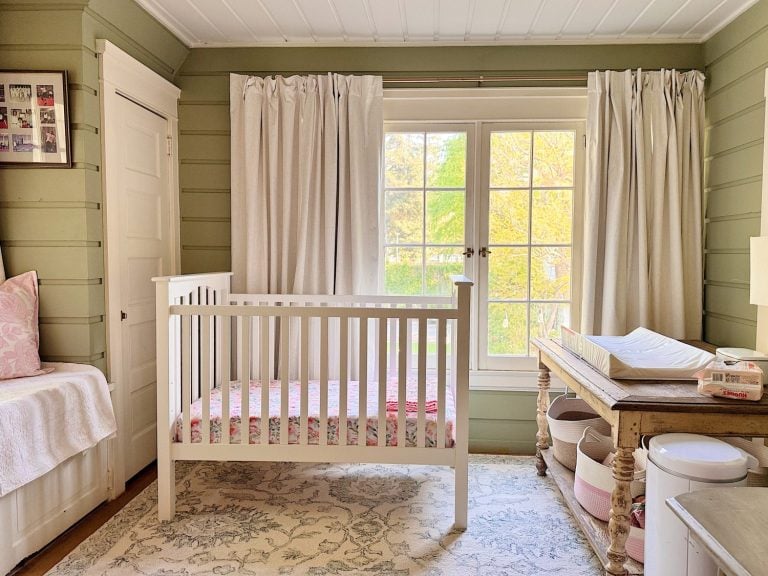
Spring Cleaning and Sunday Morning Coffee
I don’t know about you, but every spring I feel this strong pull to refresh something in our home, and this year I started in a place that might surprise you. It’s Spring Cleaning time! The very first room on my spring-cleaning list was our nursery. And yes, I know that sounds a little unexpected,…
-
Best Easter Brunch Egg Dish: Loaded French Onion Frittata
Easter brunch is one of those special meals where the table is complete, the laughter is loud, and the food is nothing short of spectacular. If you want to wow your guests with something savory, cheesy, and unforgettable, let me introduce you to your new Easter brunch hero: a Loaded French Onion Frittata.
-
The Best Spring Pillow DIY – A Handmade Spring
There are certain projects that start as an idea and quietly turn into something you love far more than you expected, and this Spring pillow is exactly that. As part of my A Handmade Spring series, I wanted to create something soft, beautiful, and full of texture, and this pillow checked every box. This pillow…


My Recent Instagram Posts

You can pin the image below to your boards on Pinterest (click the Pin button in the top left corner) or follow me on Pinterest!

For more real-time updates, follow me on Instagram @My100YearOldHome
