Cherry Blossoms DIY
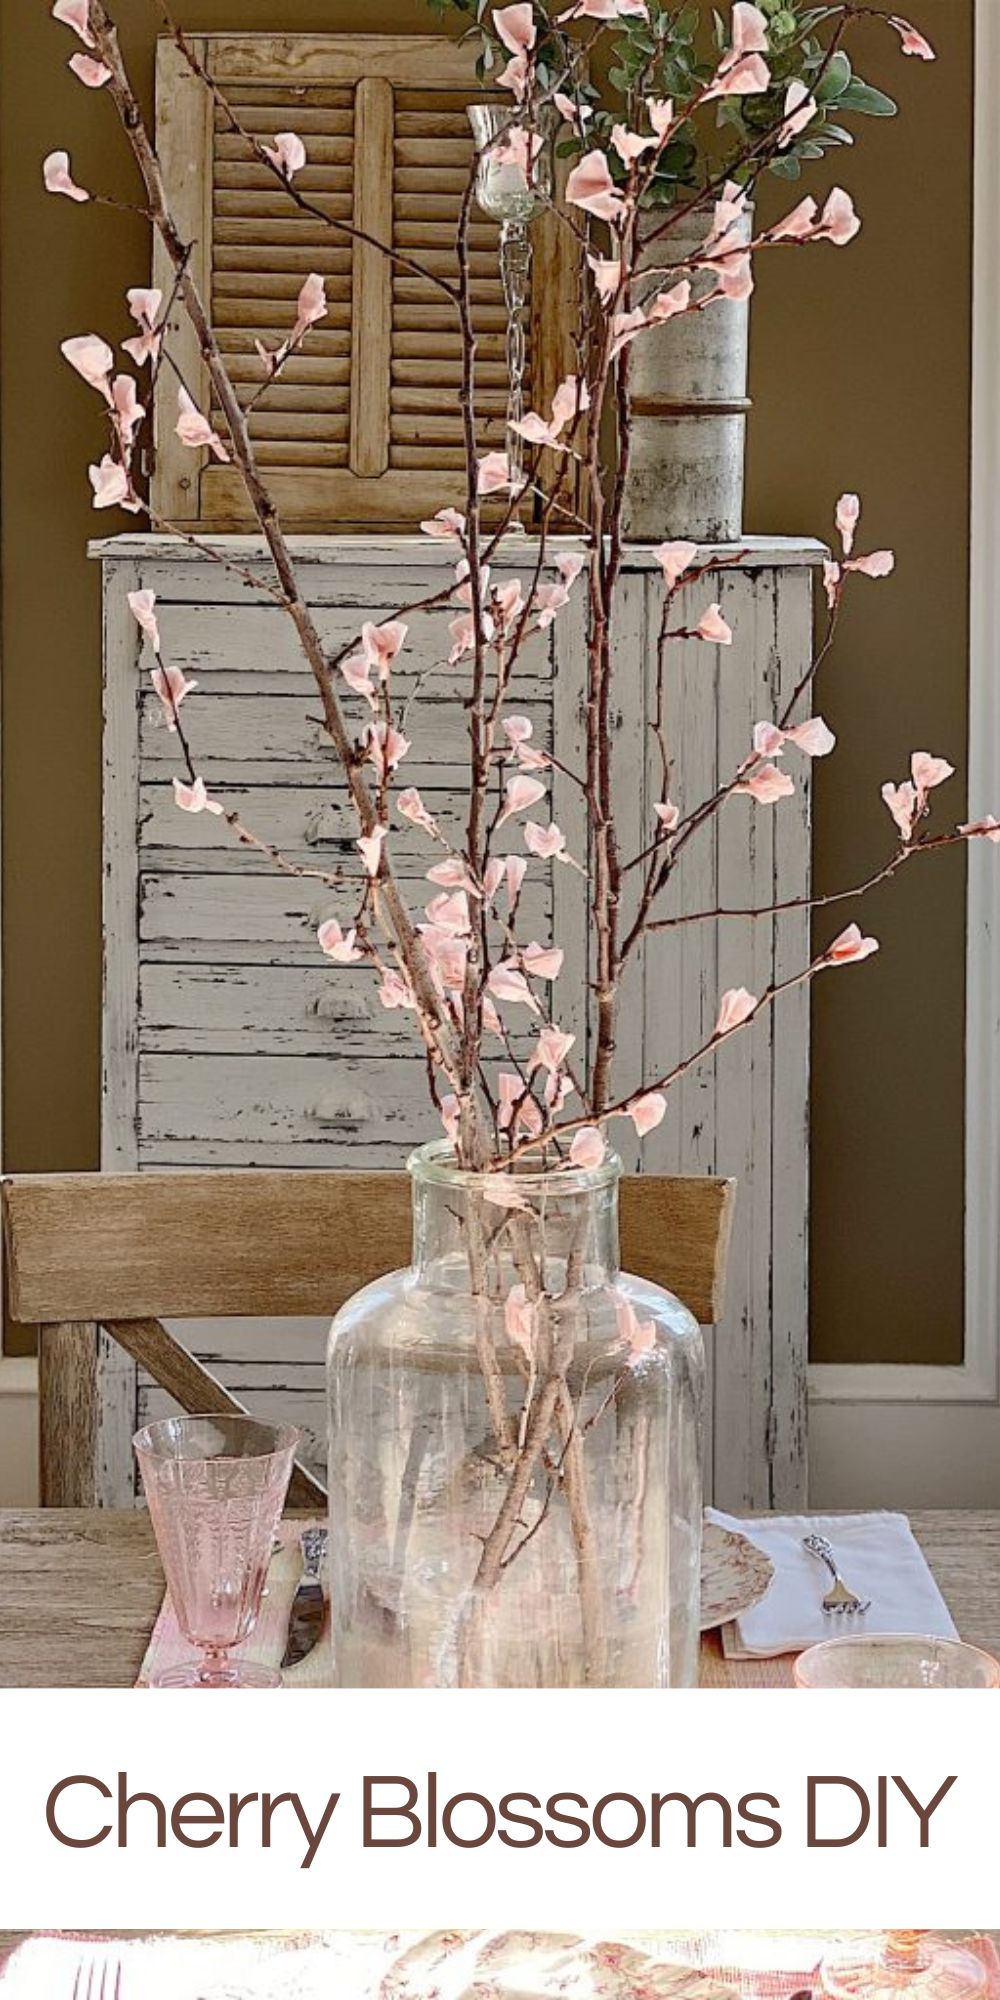
Cherry blossoms are my favorite but hard to find in Southern California. So, today I am sharing my cherry blossoms DIY!
This cherry blossom DIY is so easy to make! If you love blossoming branches as much as I do, you are going to want to keep reading!

DIY Cherry Blossoms
I love cherry blossoms. But in Southern California, I have had a hard time finding them. So I decided to make my own. I think my cherry blossoms DIY look quite real.
And the best part is that these cherry blossoms will last forever.
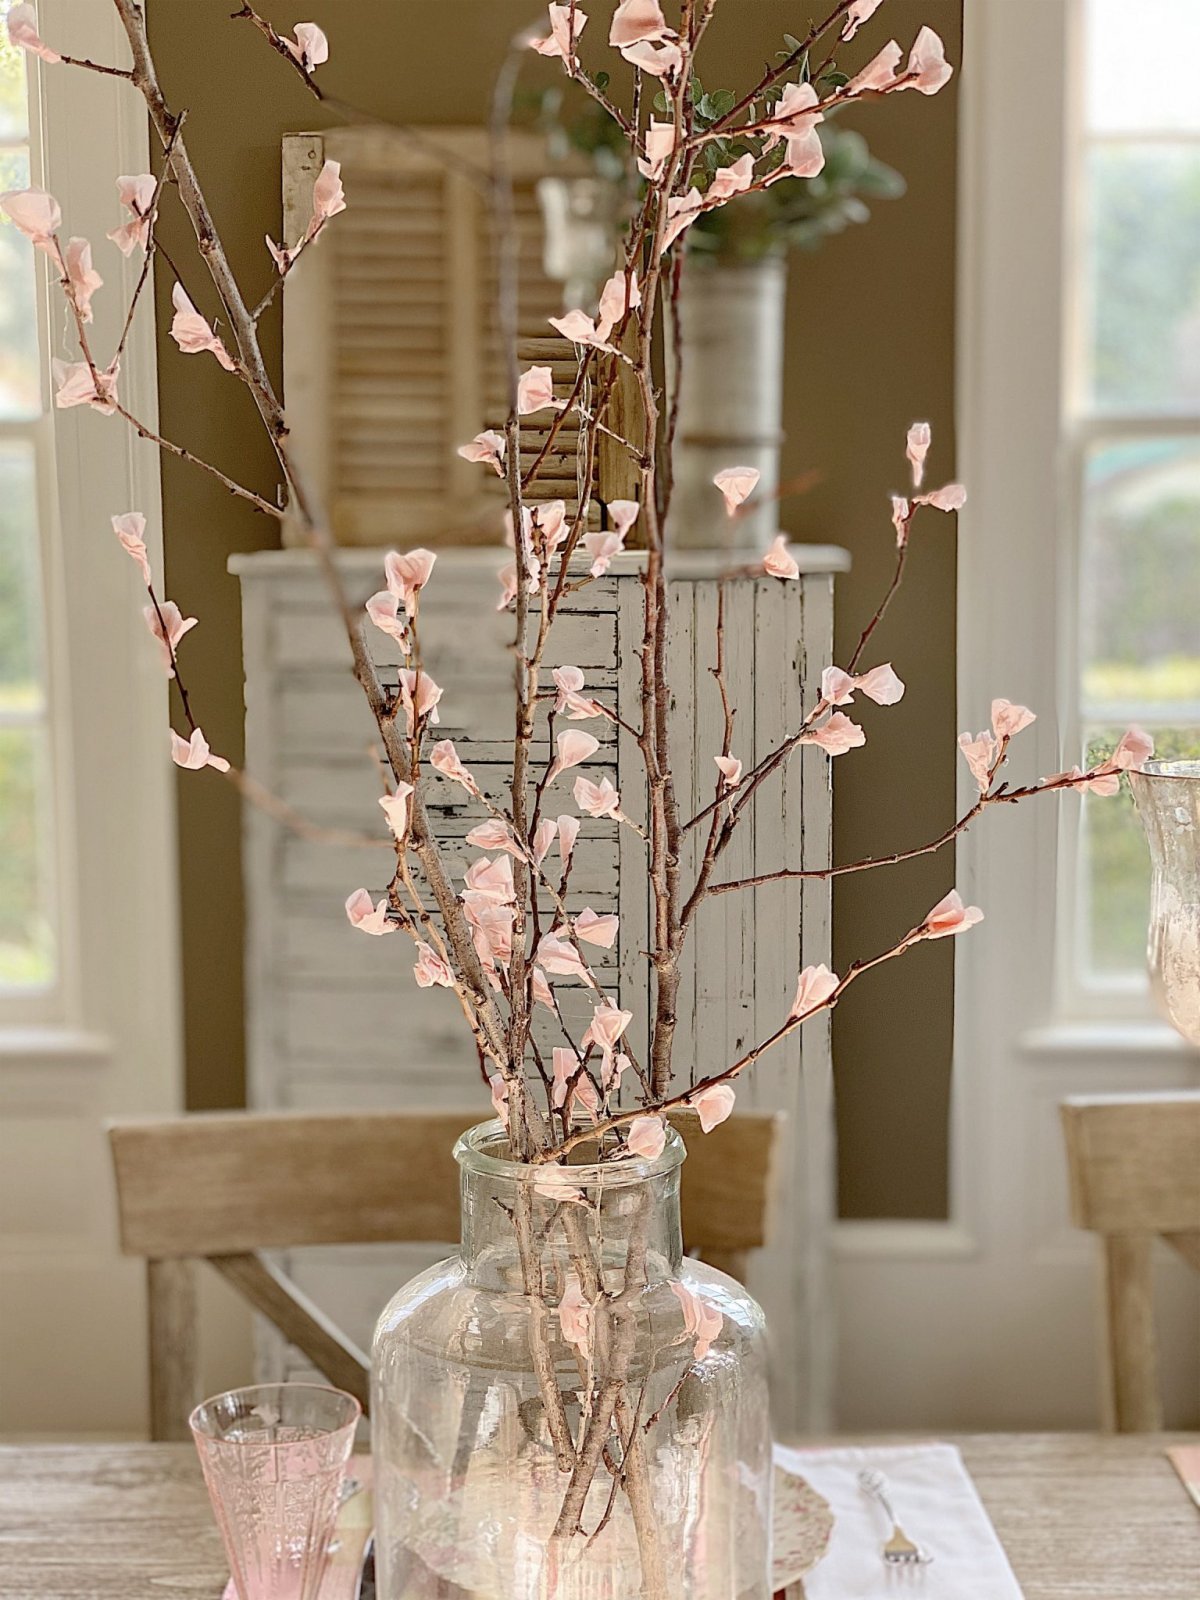
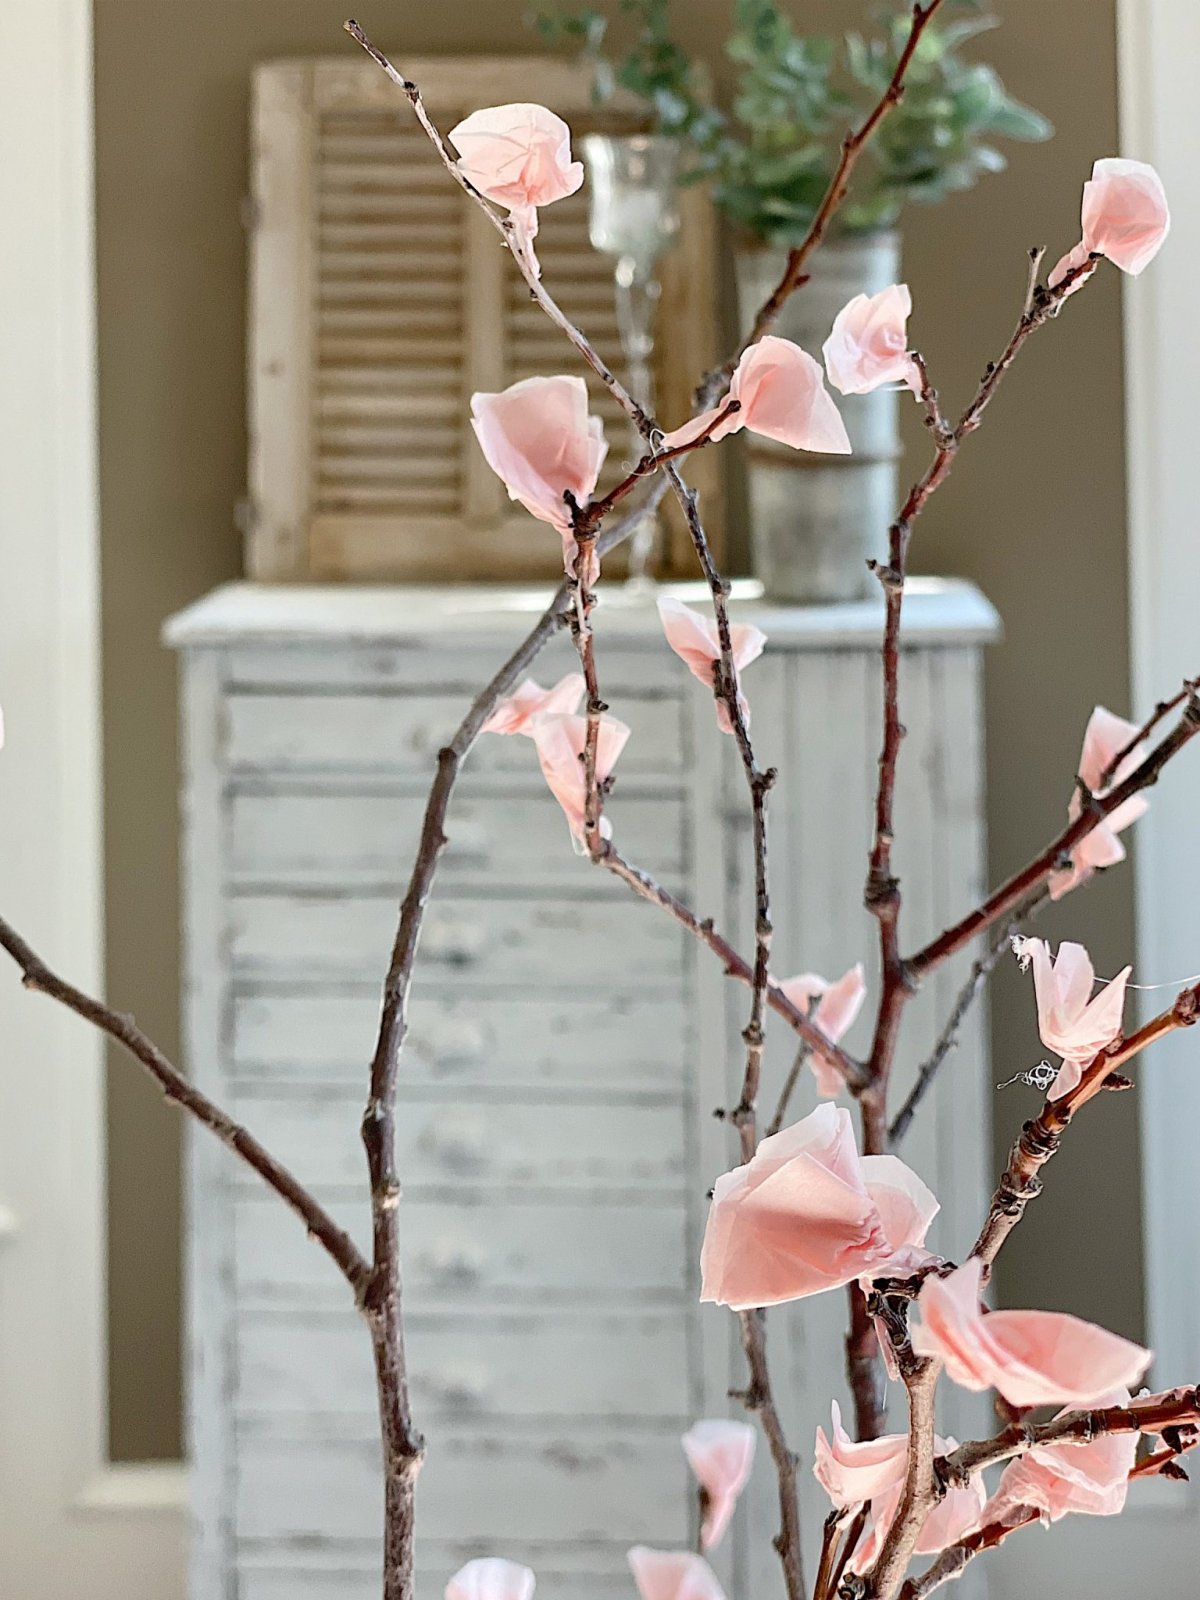
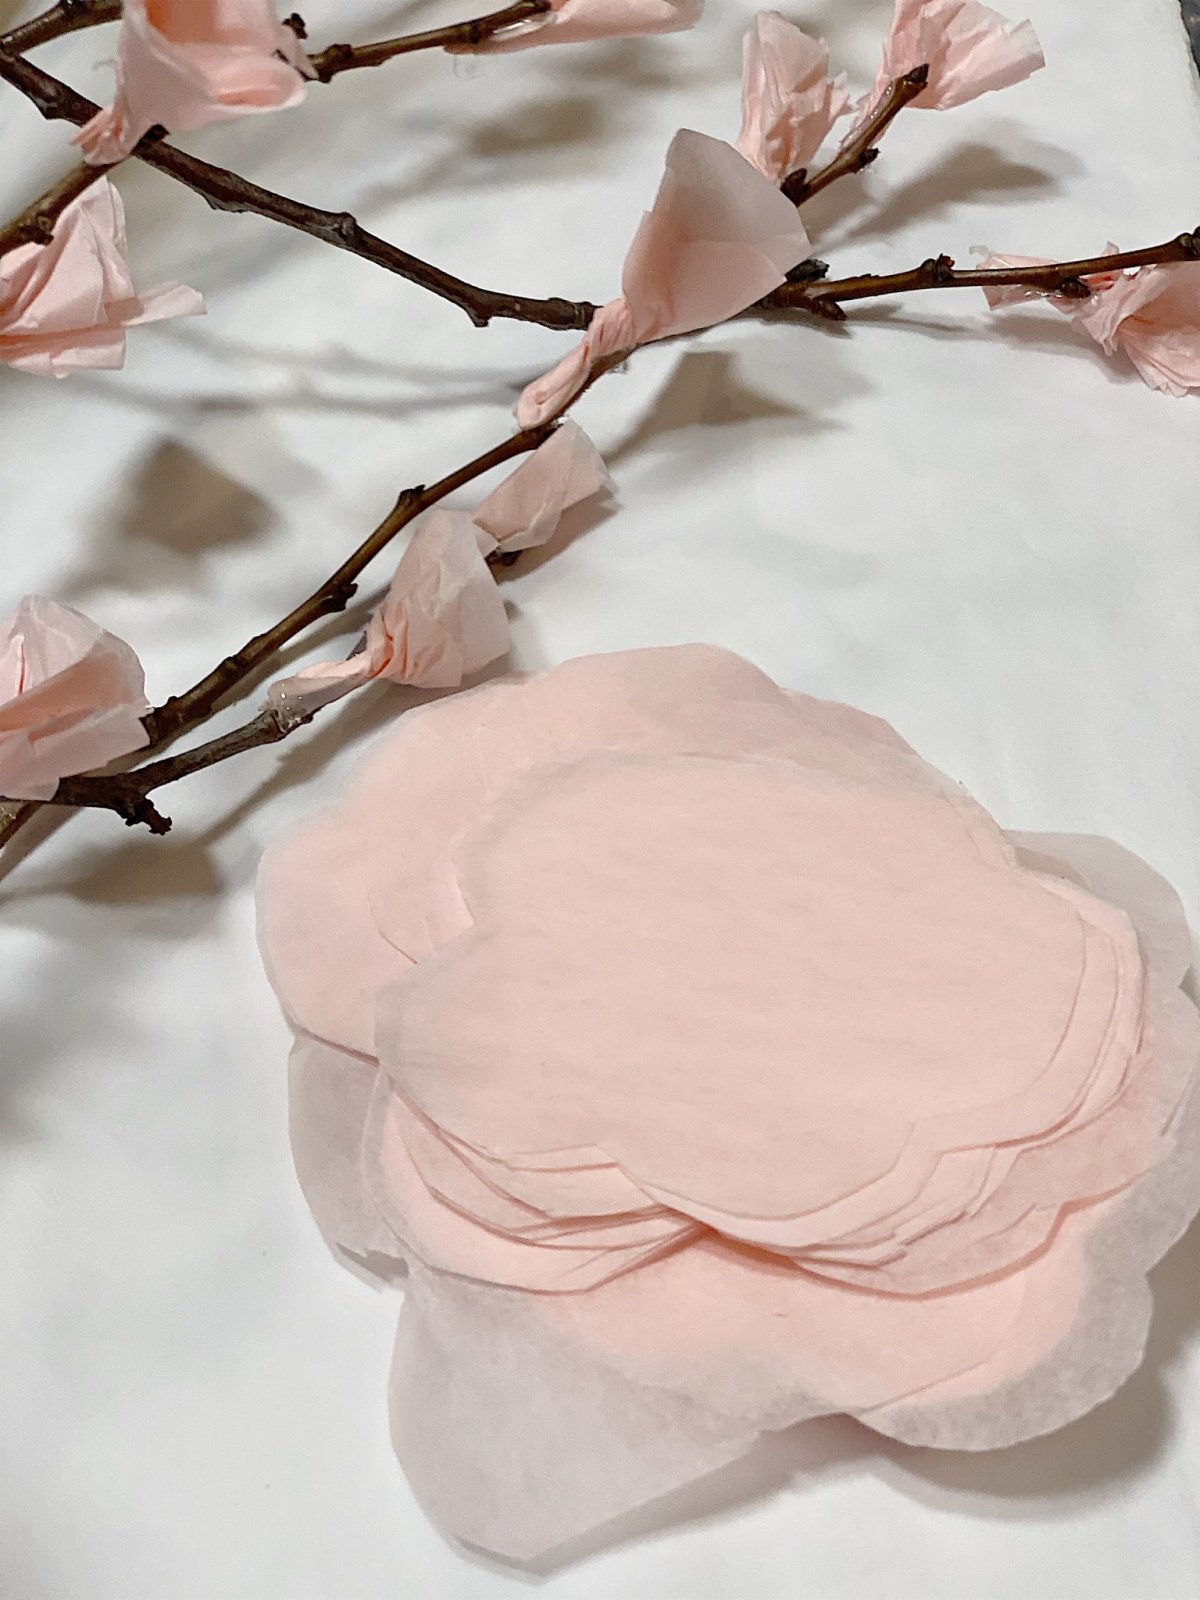
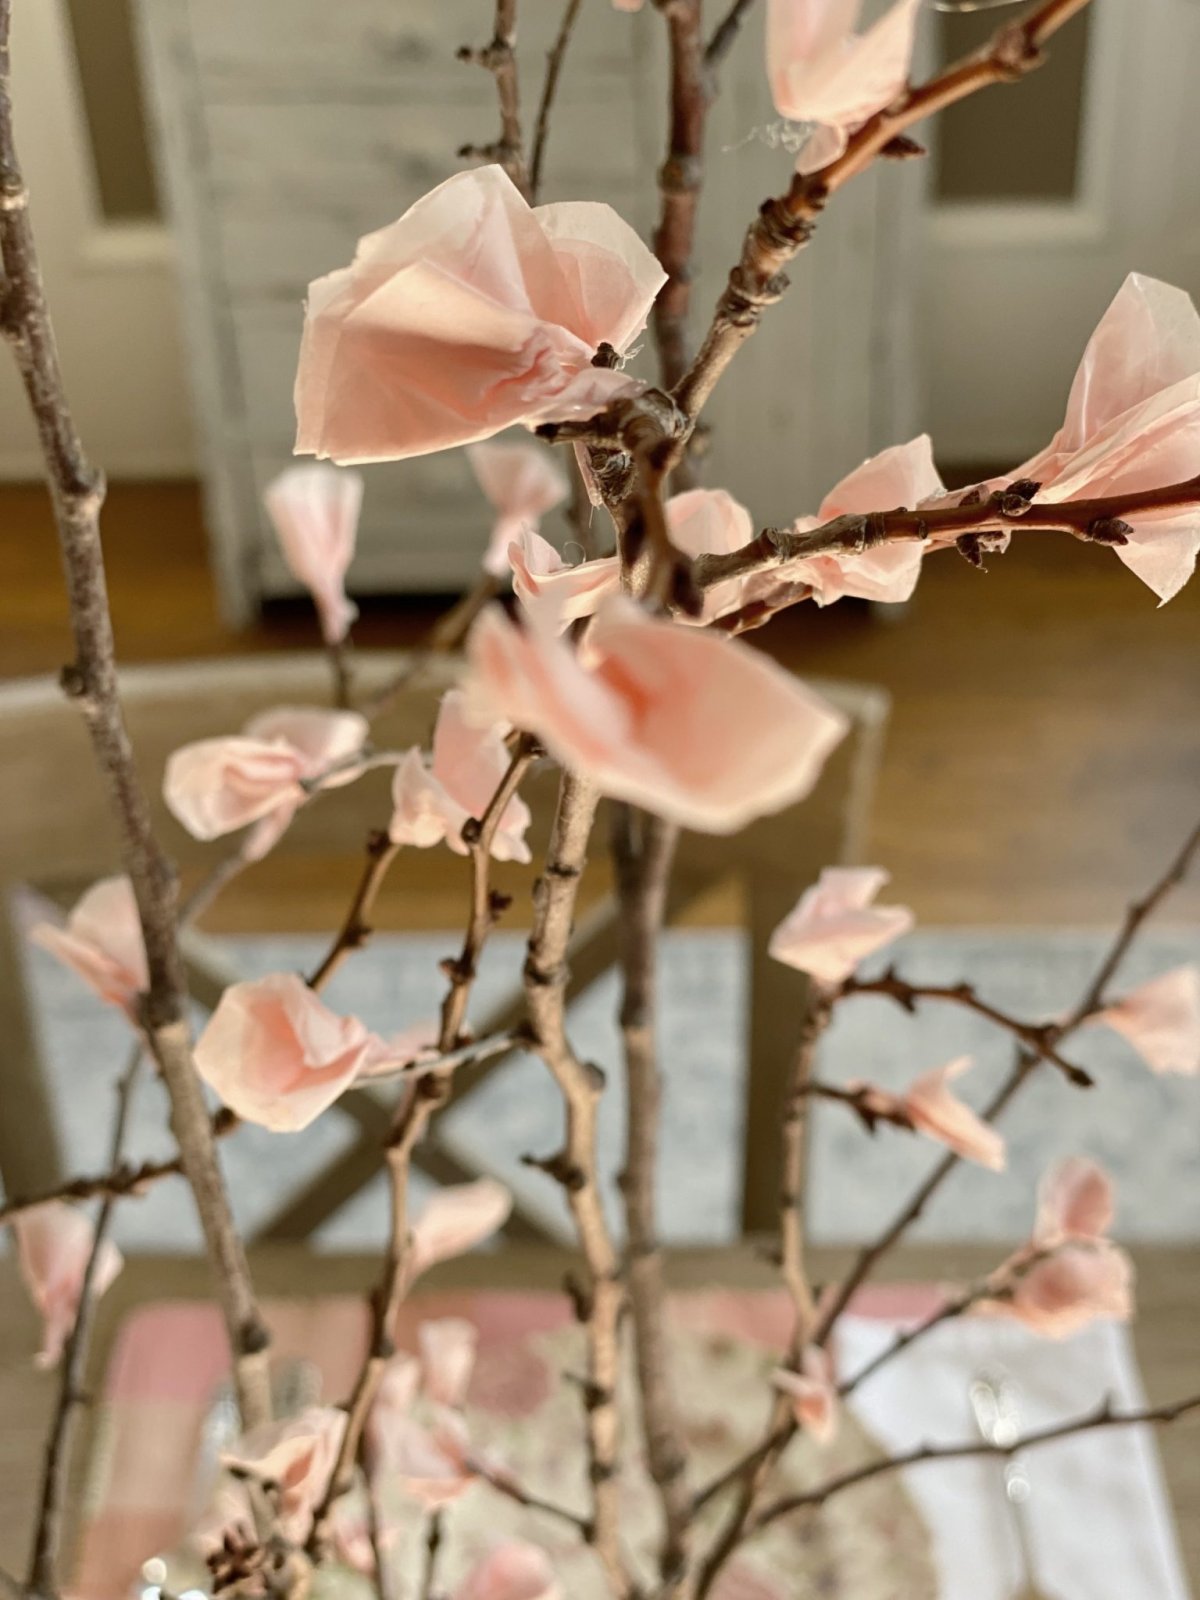
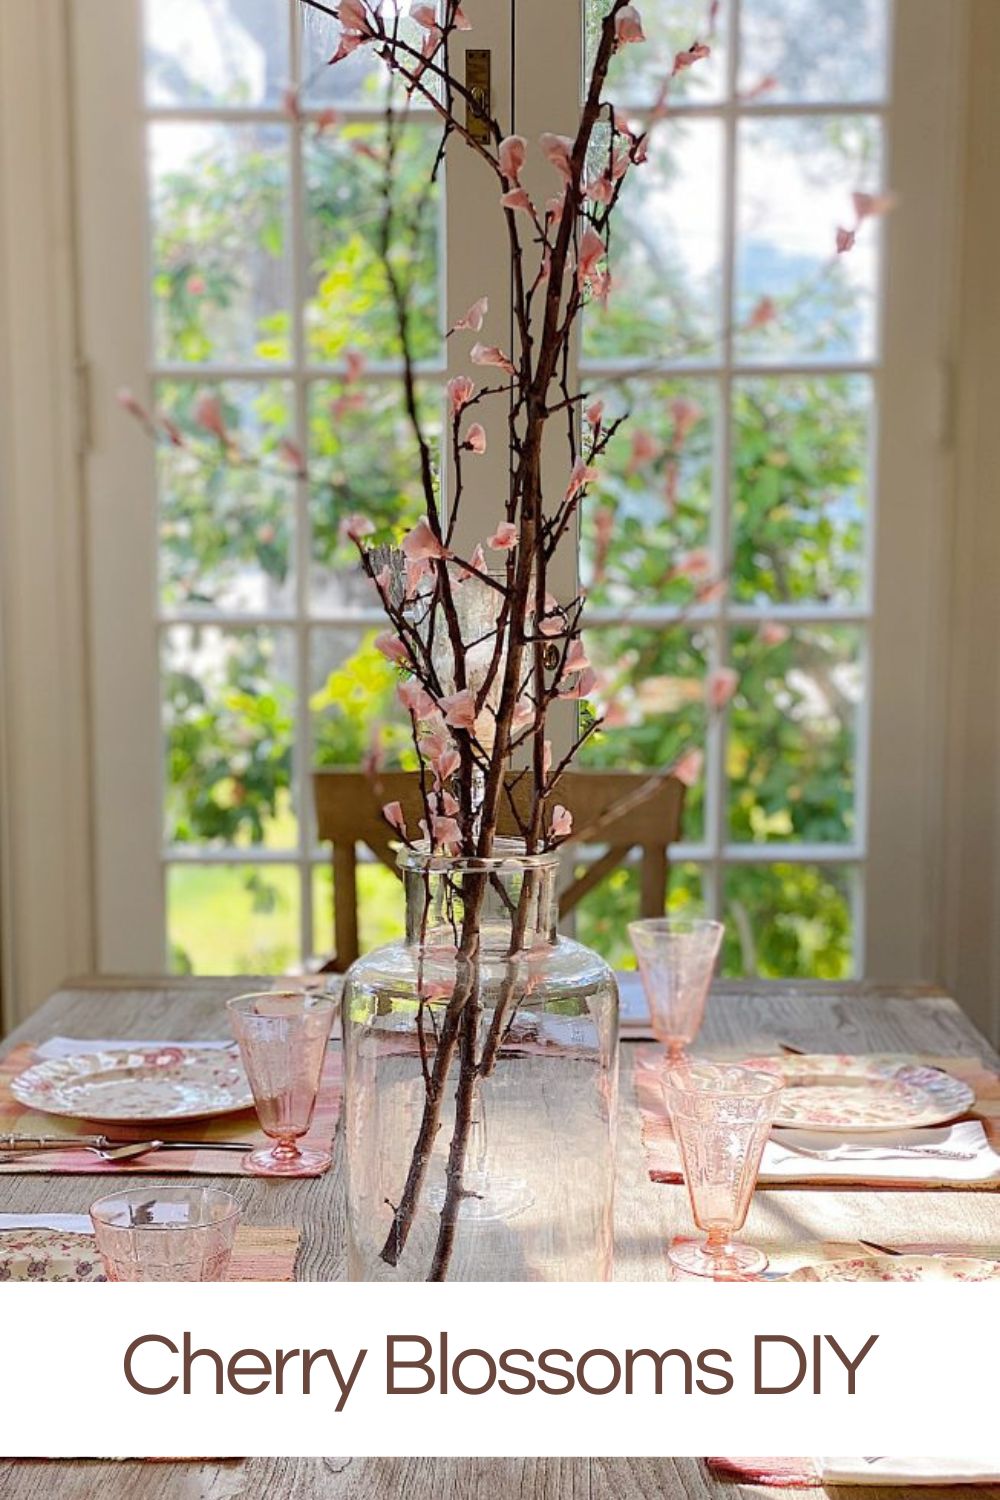
If you look closely you can see the cherry blossoms are made from tissue paper and are glued to real apple branches. (In fact, you can also see a few glue string threads, but you can ignore those.)
How to Make Cherry Blossom Branches DIY
Difficulty Level: Easy
Approximate cost: $12.00 (assuming you find the branches from a tree)
The most important thing you need to know about making these cherry blossoms is that these are perhaps the easiest DIY I will post this entire year. There is no pattern and all you need is tissue paper and branches. There are two steps to this DIY. Cut the blossoms out of tissue paper and glue them to the branches. That’s pretty much it.
What You Will Need
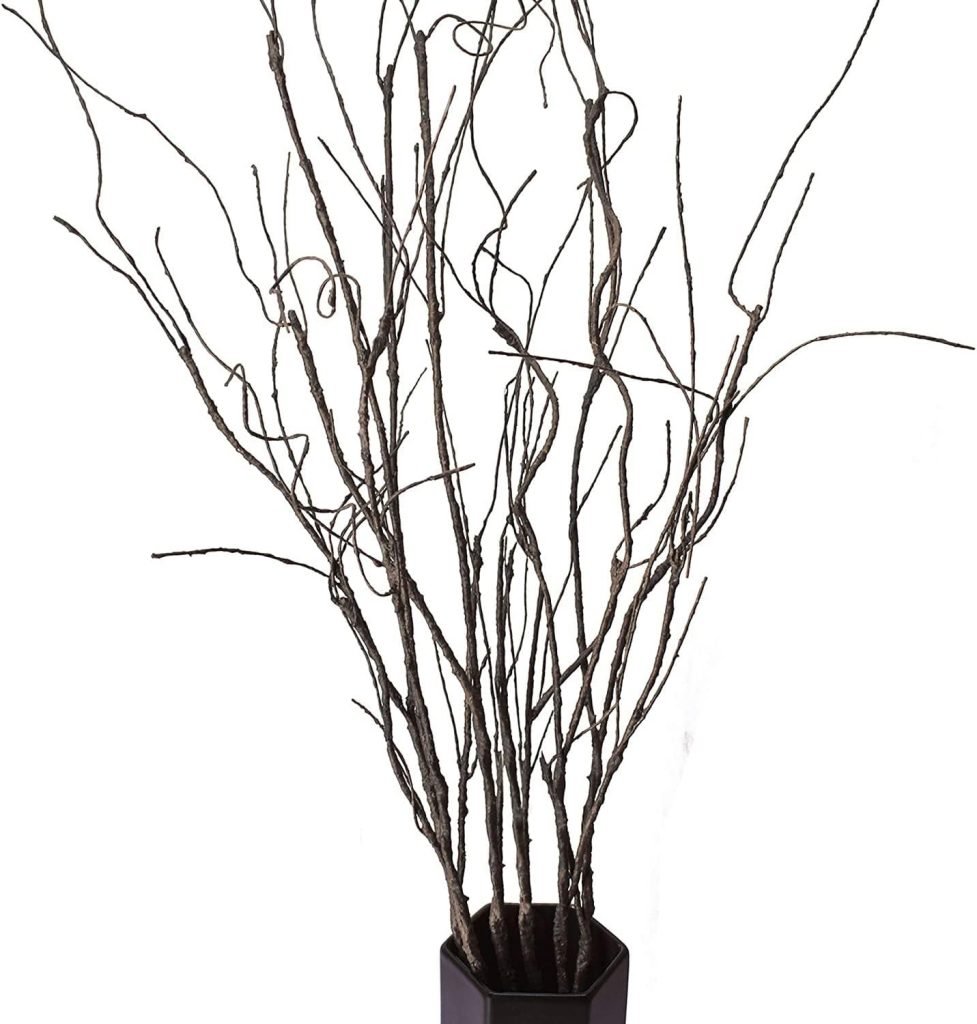
- Branches (We used apple branches cut from a tree but all tall branches with small buds work great.)
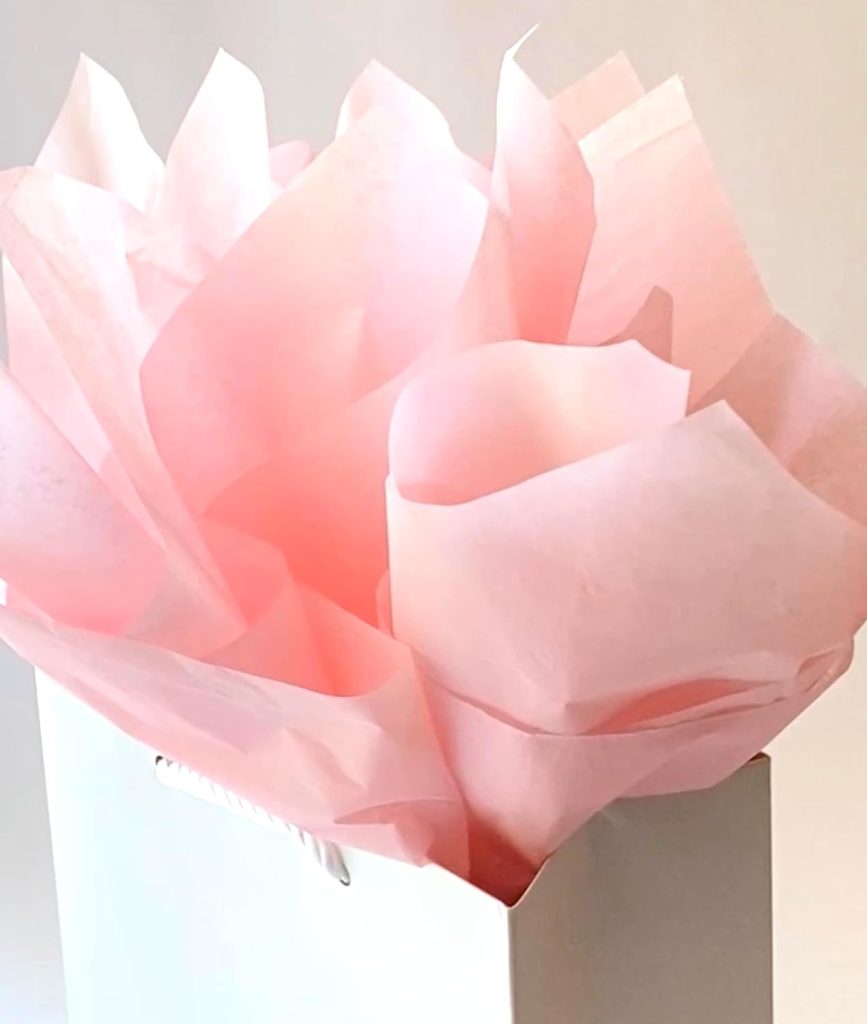
- Tissue paper – Below is a link to the paper I ordered from Amazon. I like this color as it is more blush pink. One package will make enough cherry blossoms to make about ten branches like this.
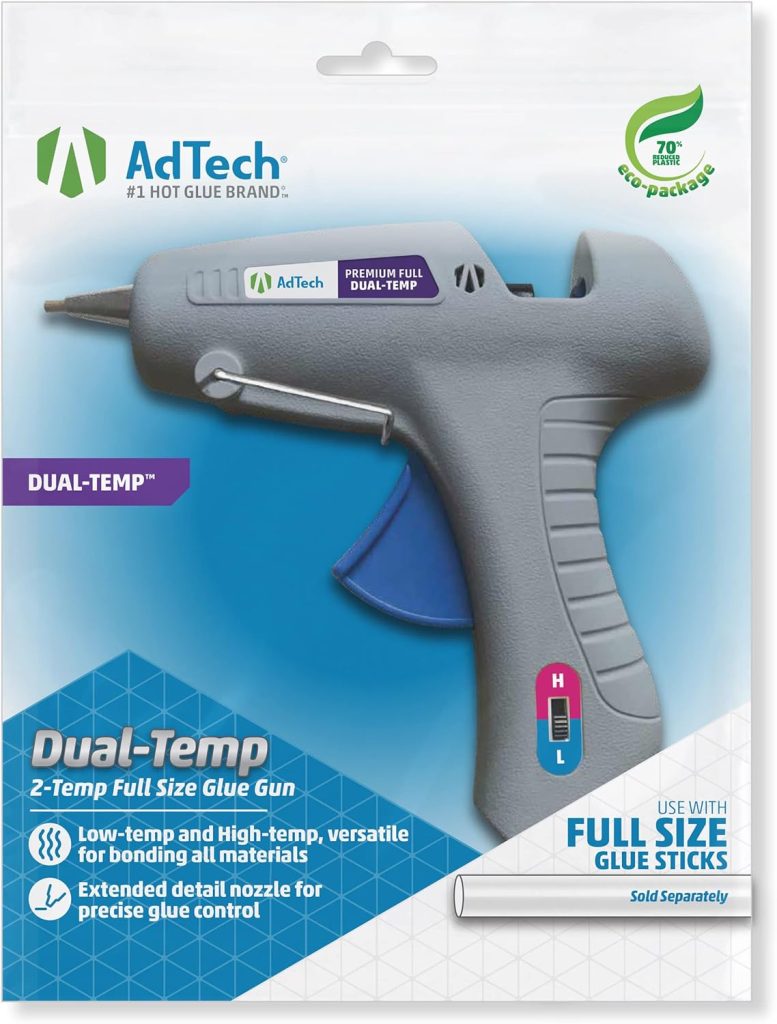
- Hot glue gun
On this blog, I may sometimes use affiliate links, which means a small commission is earned if you purchase via the link. The price will be the same whether you use the affiliate link or go directly to the vendor’s website using a non-affiliate link.
How to Make the Cherry Blossom Branches.
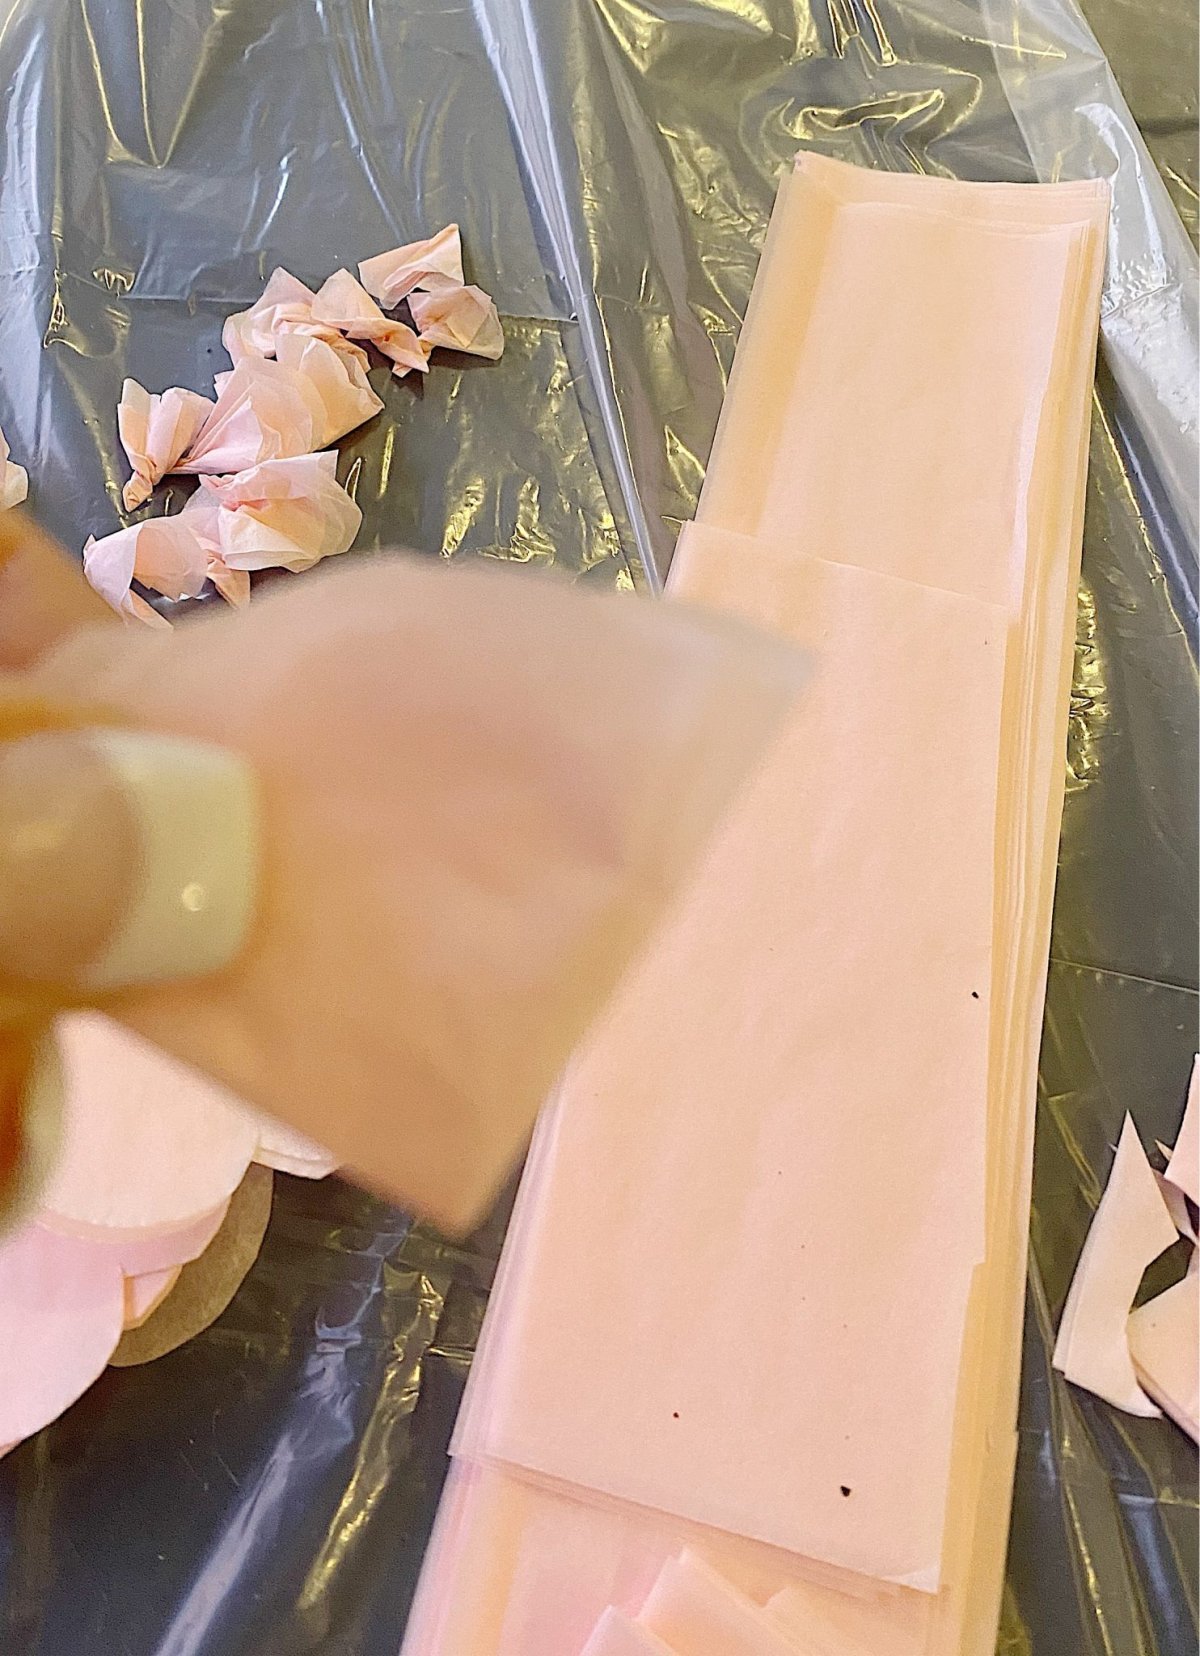
- Lay six sheets on top of one another and cut them into two-inch strips.

- Cut strips into roughly 2″ x 2.5″ pieces. You do not have to be exact. The more random the better.
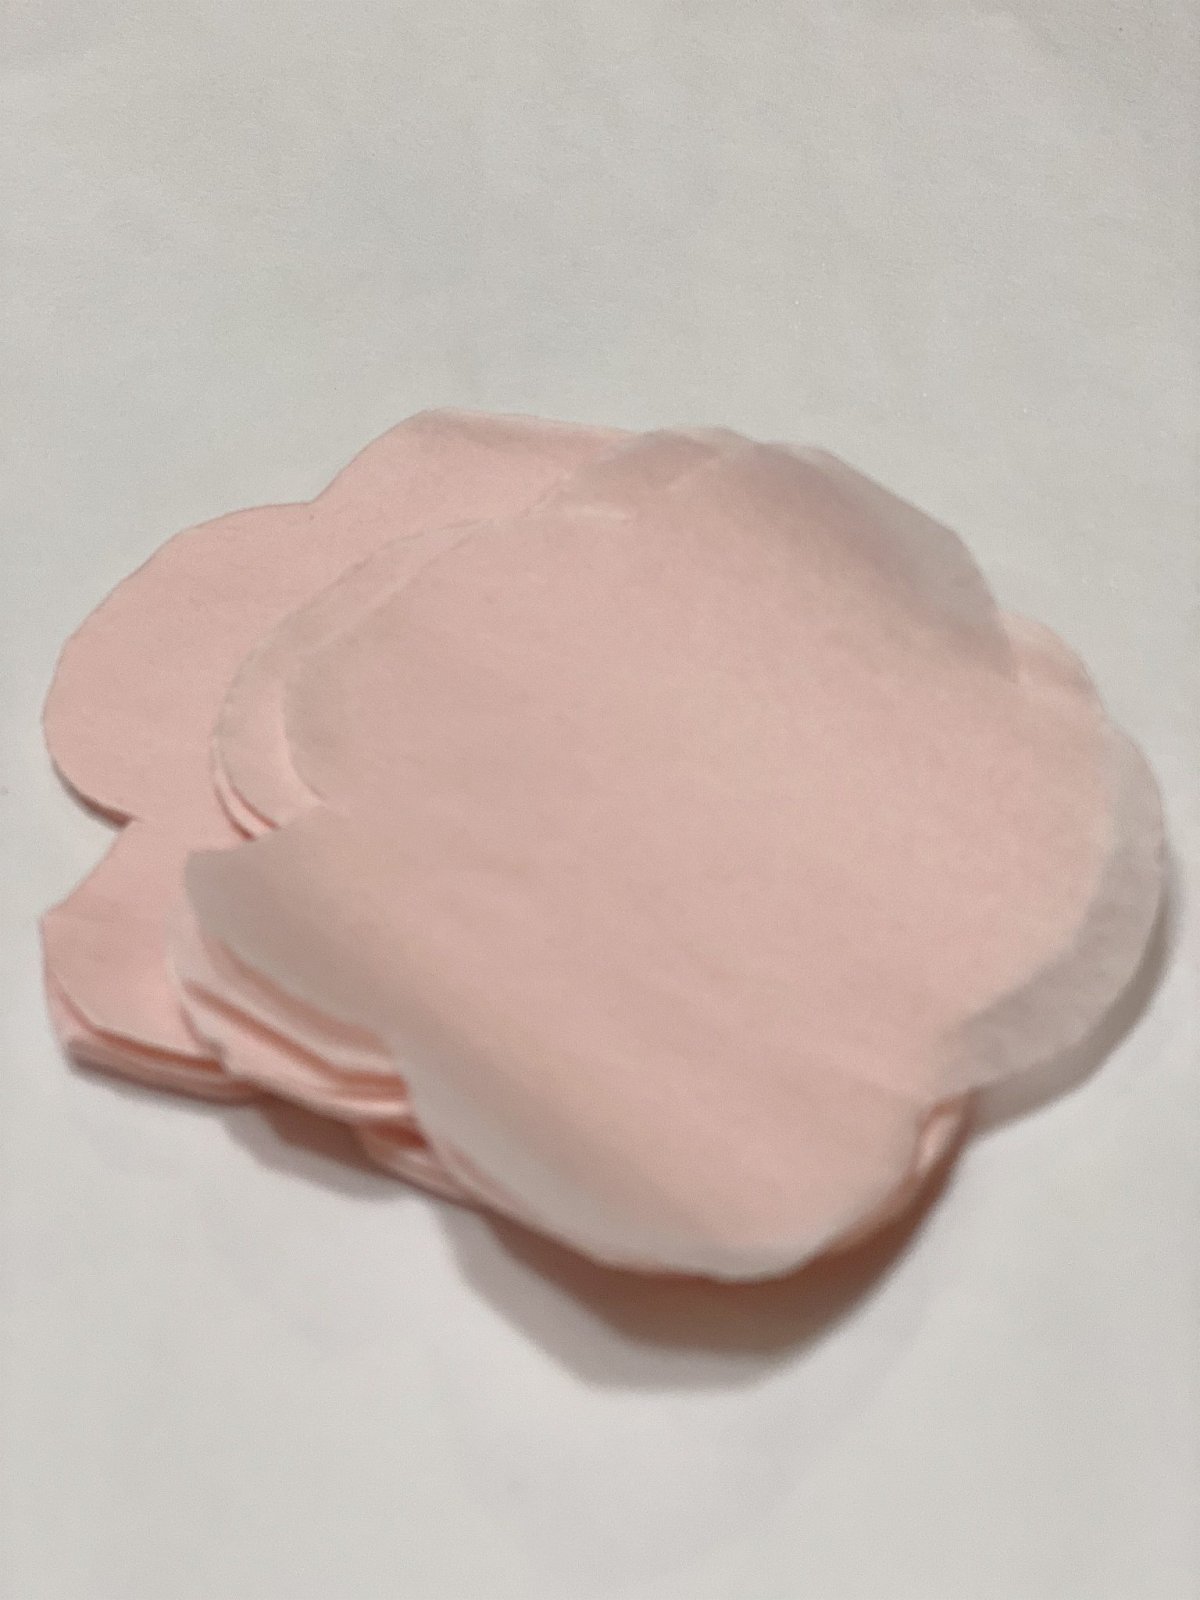
- Cut the tissue paper into “flowers” with five petals. The petals should not all match. Just cut them out very loosely.
4. You will make two different-sized blossoms. One blossom (the bud) will be made from one piece of the cut tissue. The other blossom will be made from two pieces. When you use two pieces, lay them on top of each other so that they are offset. (See photo below.)
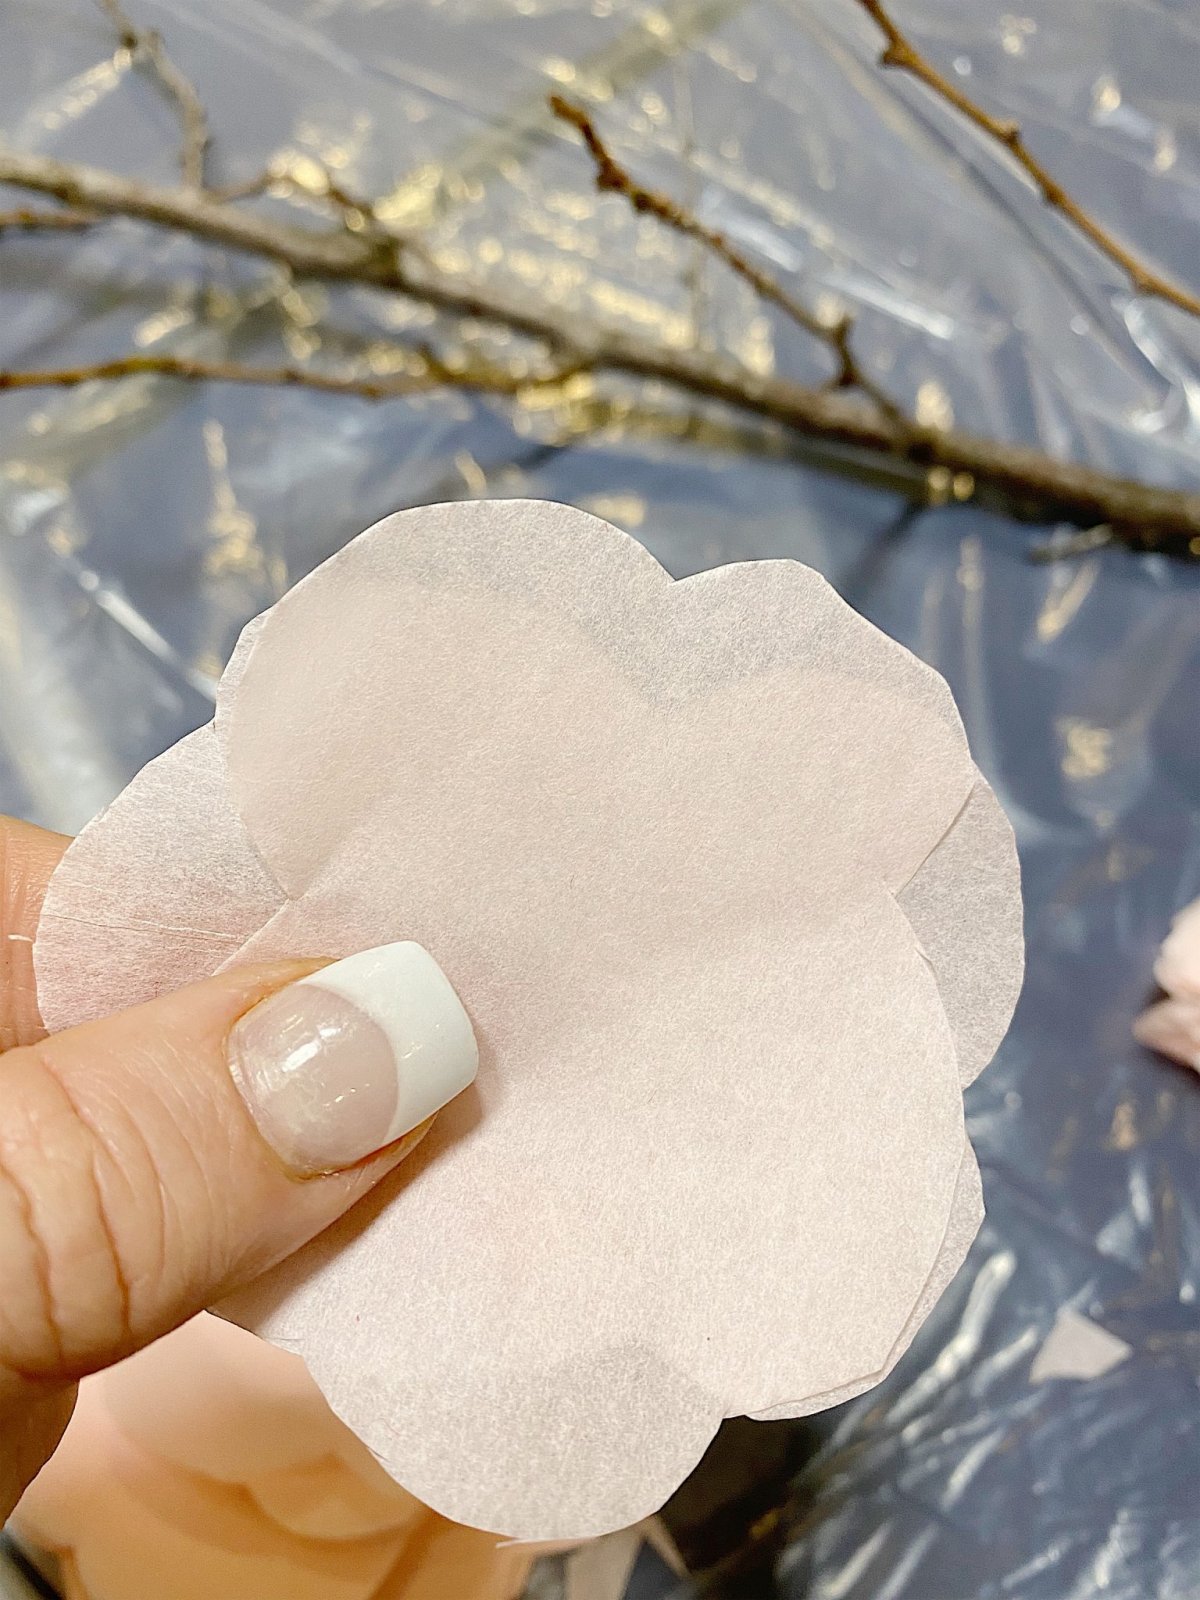
5. Fold the petal in half. Fold in half again. Twist the folded corner as seen in the photo below.
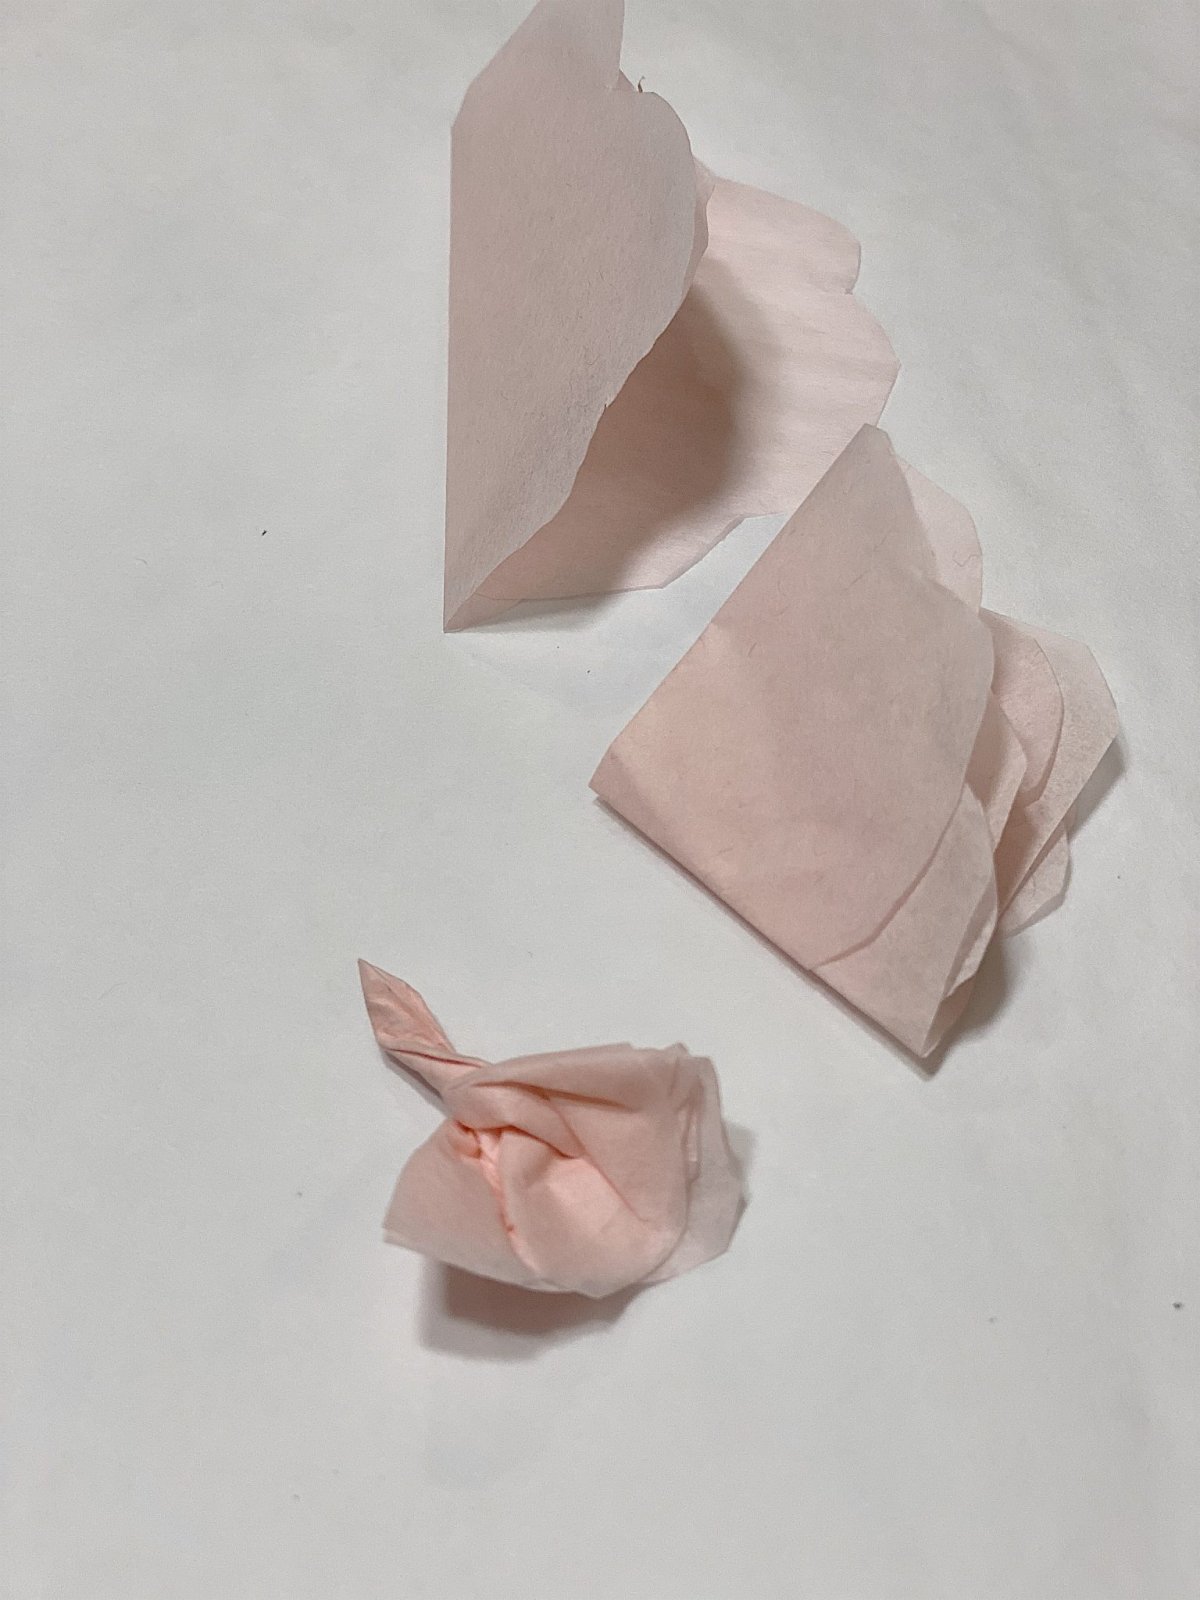
6. Your flowers should look like this. Once again, they don’t need to look the same. They look more real if they are different.

7. With a hot glue gun, attach the bottom of each flower along the side of the branch.
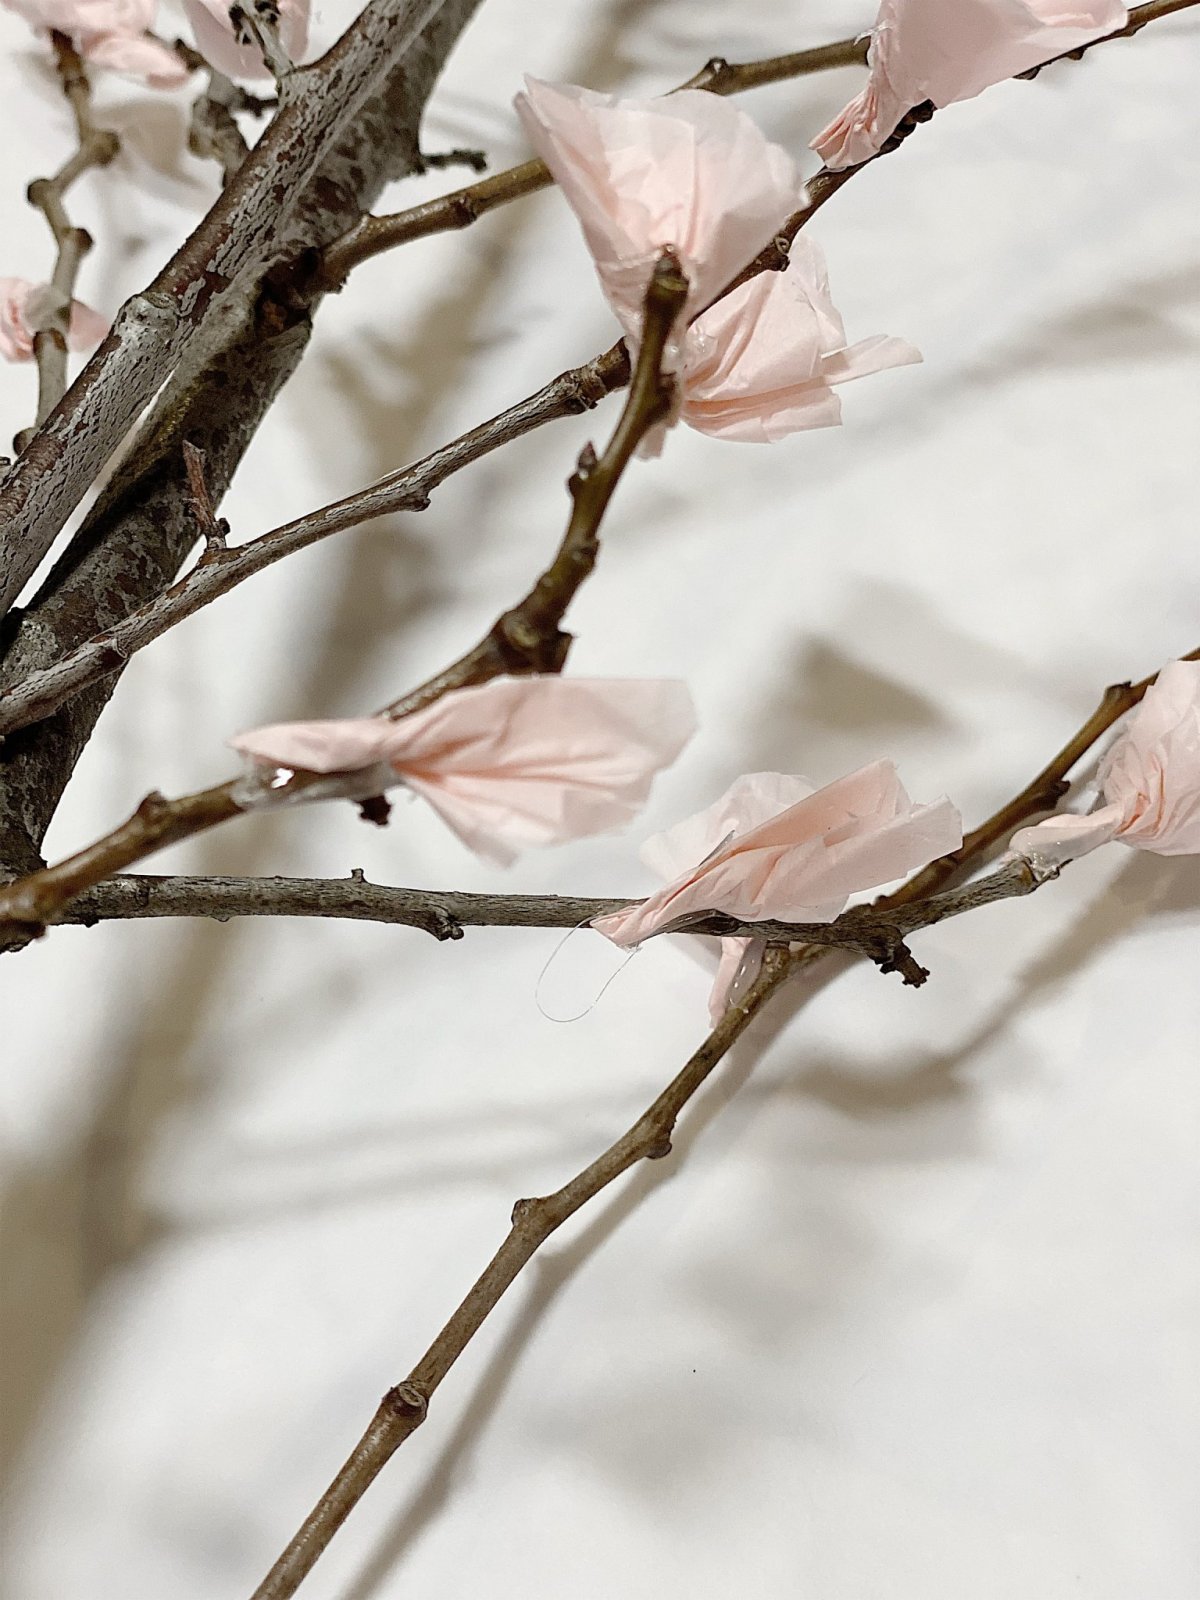
8. Scatter them along the outer ends of the branches as seen below.
Check out this video I made to better show how to make the cherry blossoms.
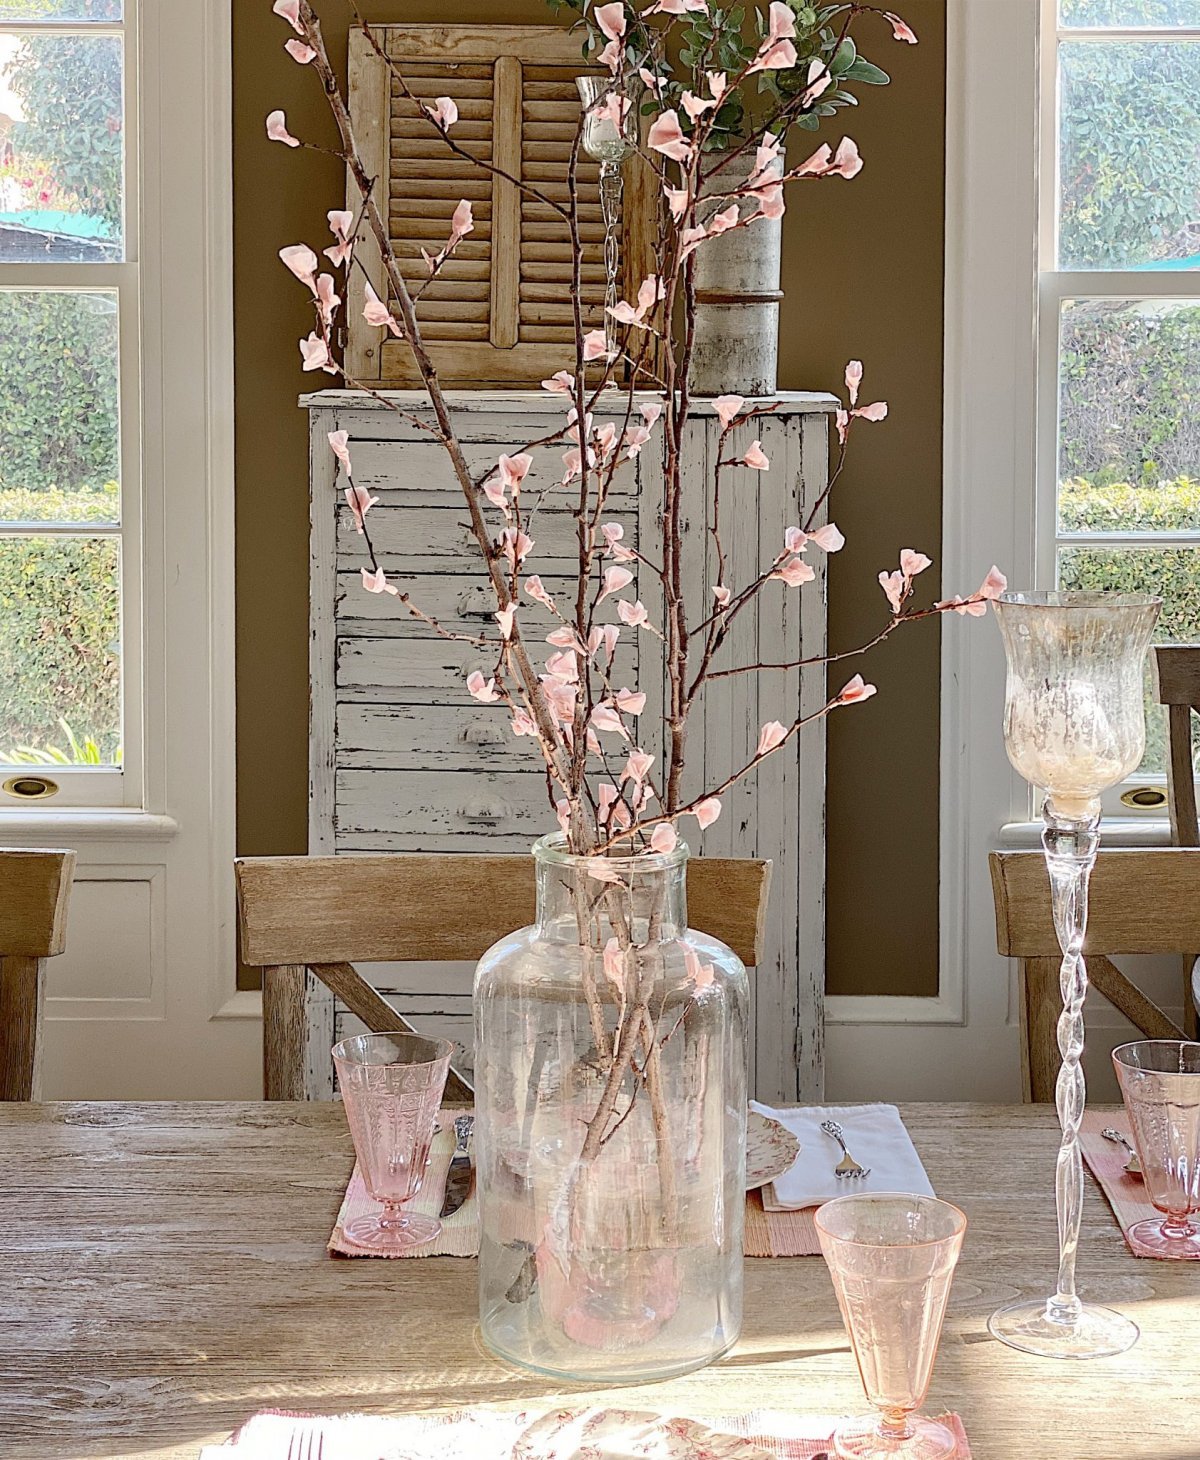
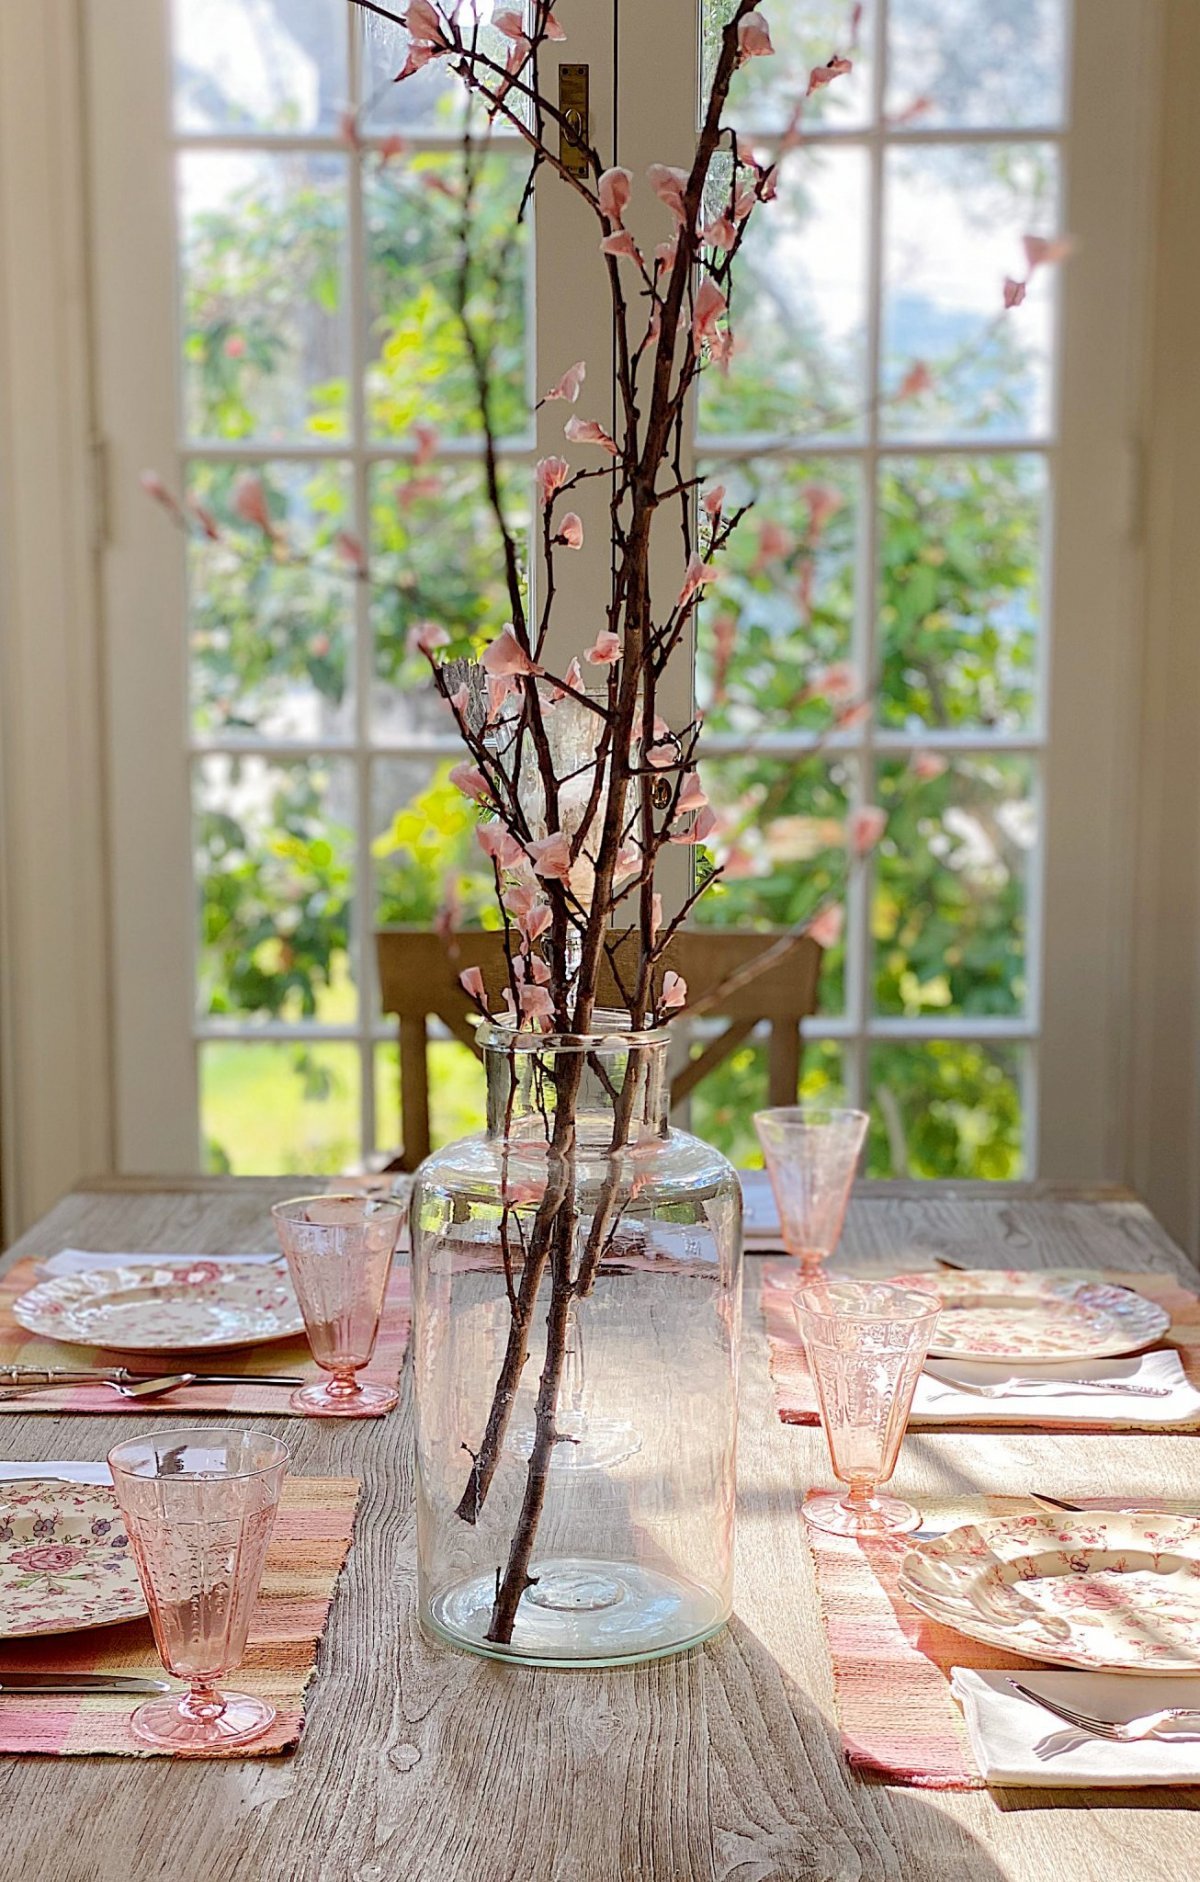
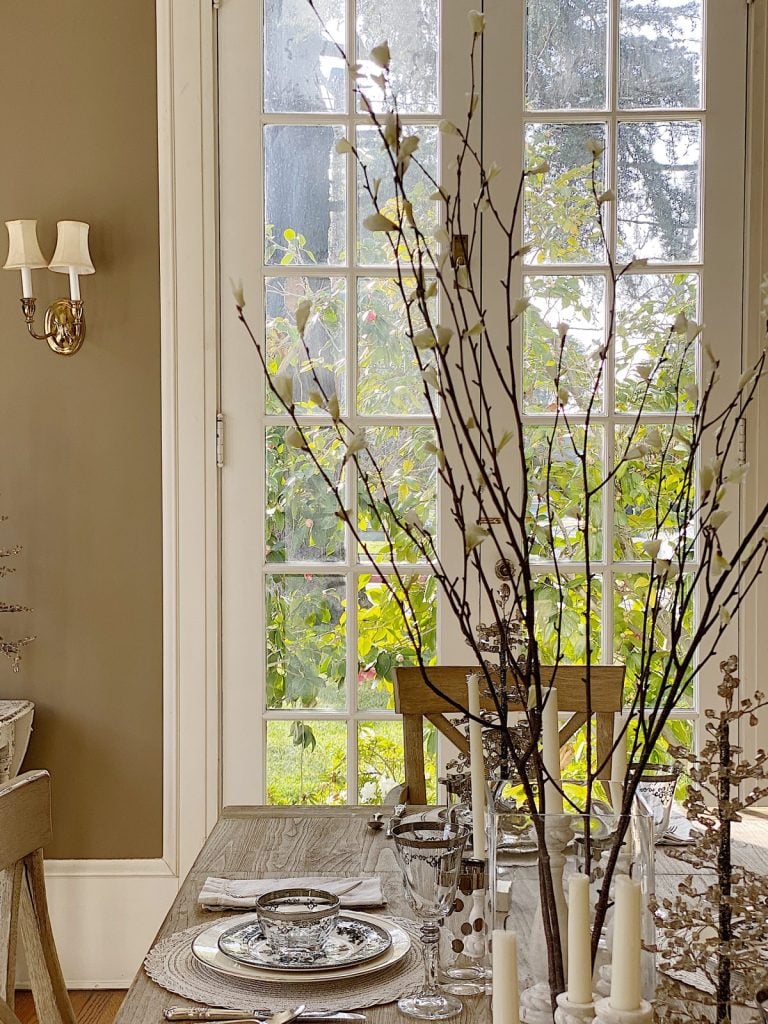
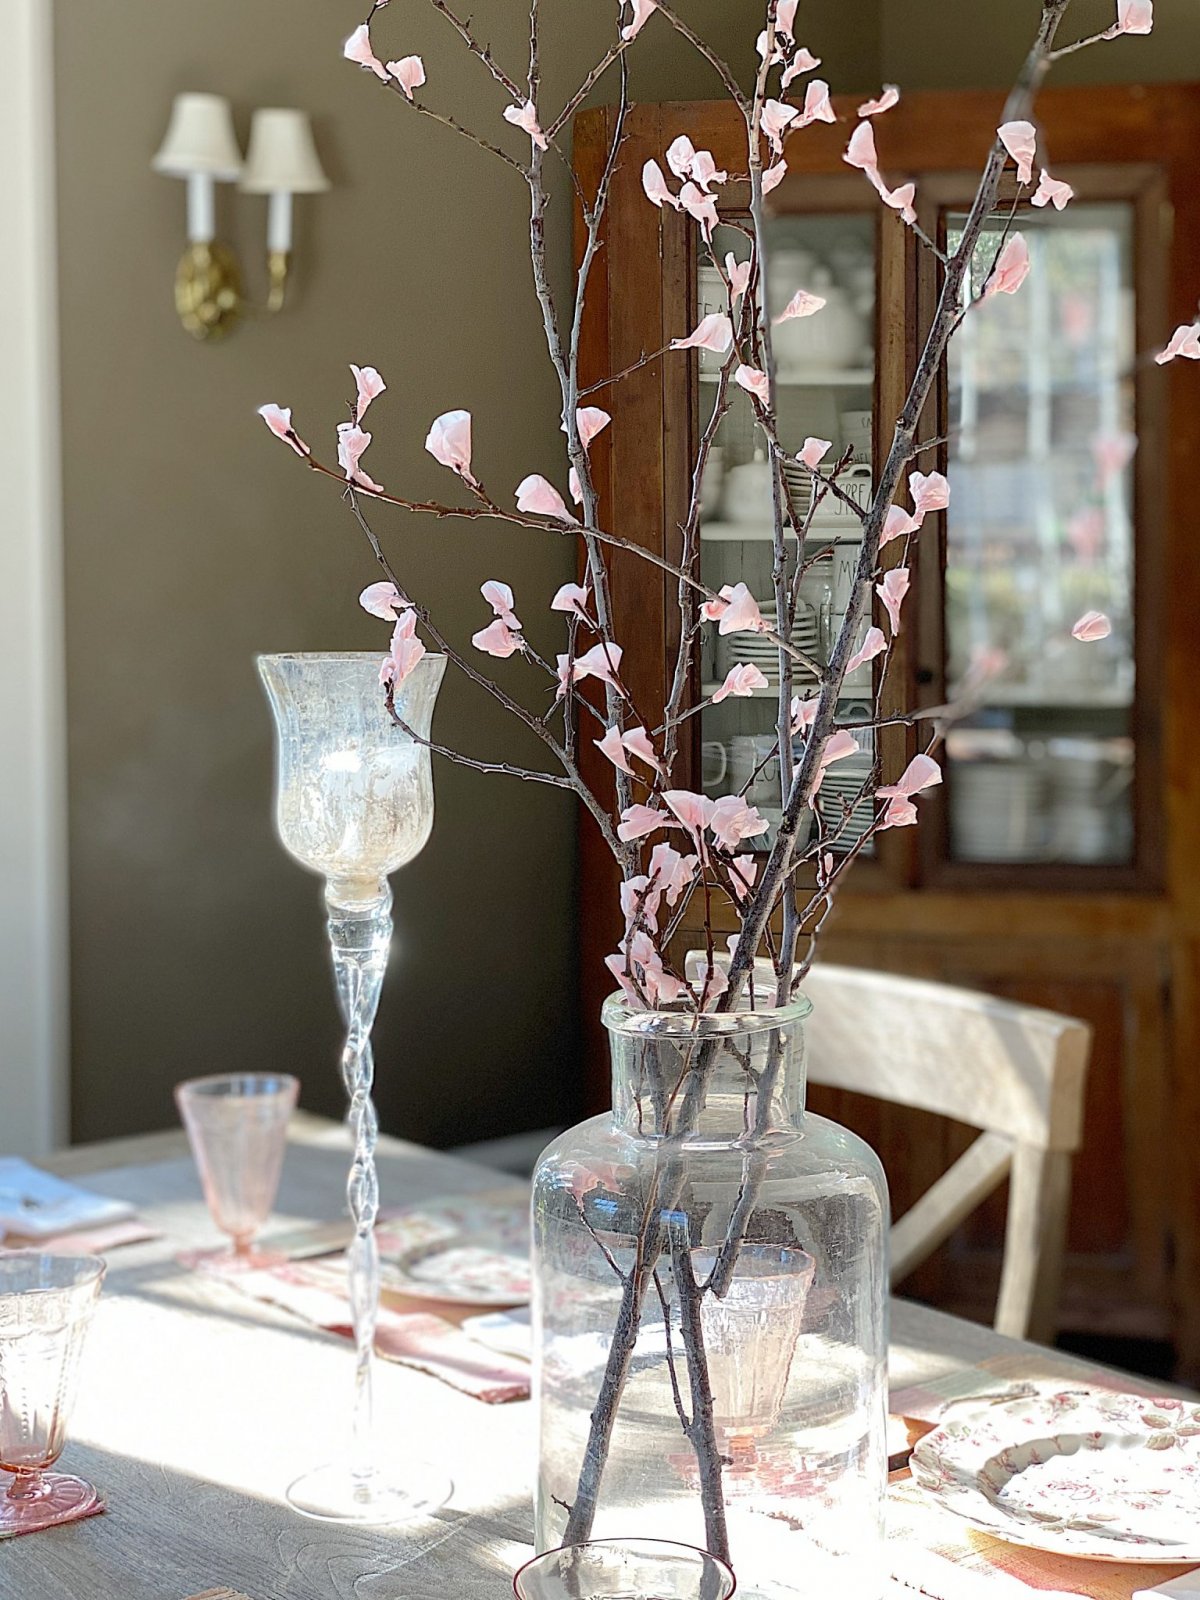
These cherry blossom branches look so great, I am going to make some for our Waco home too!
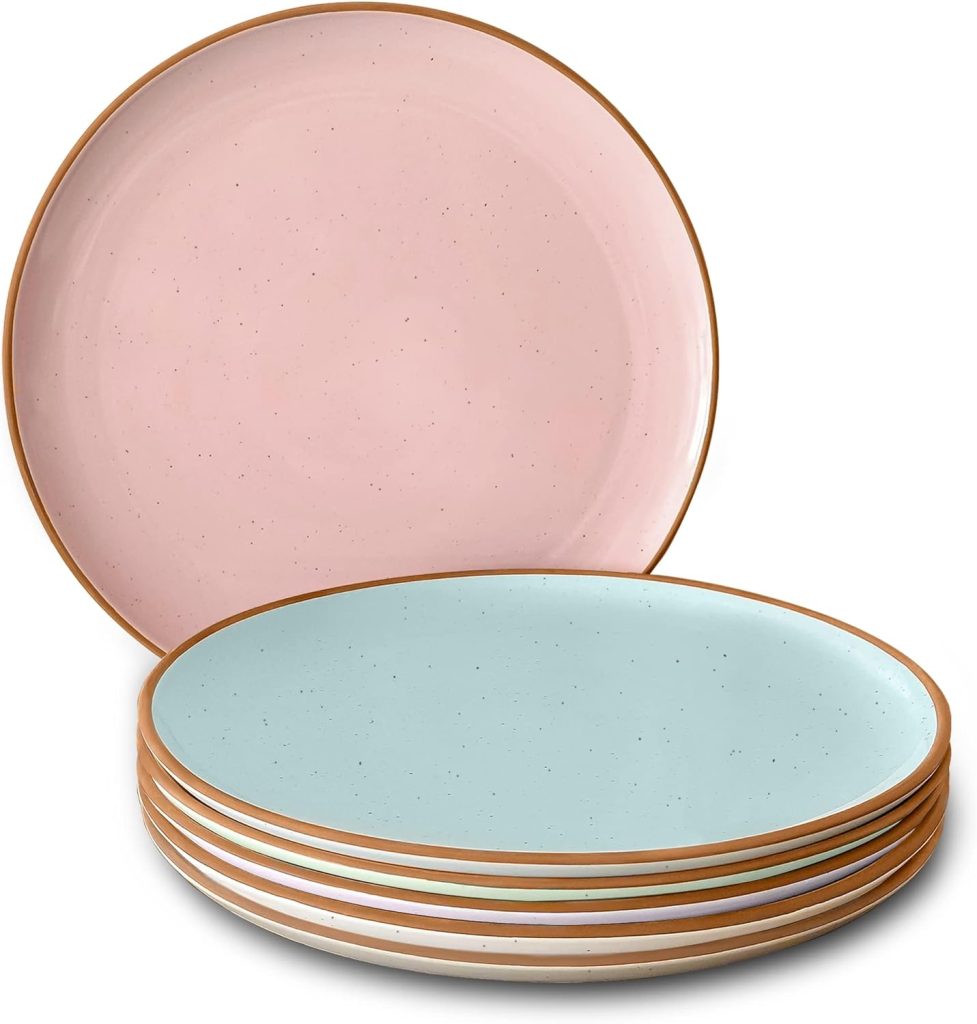
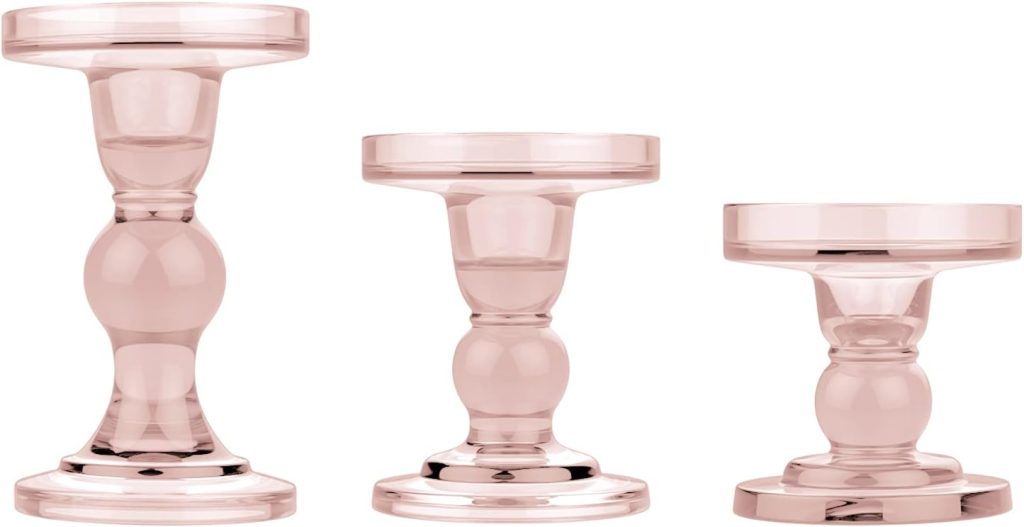
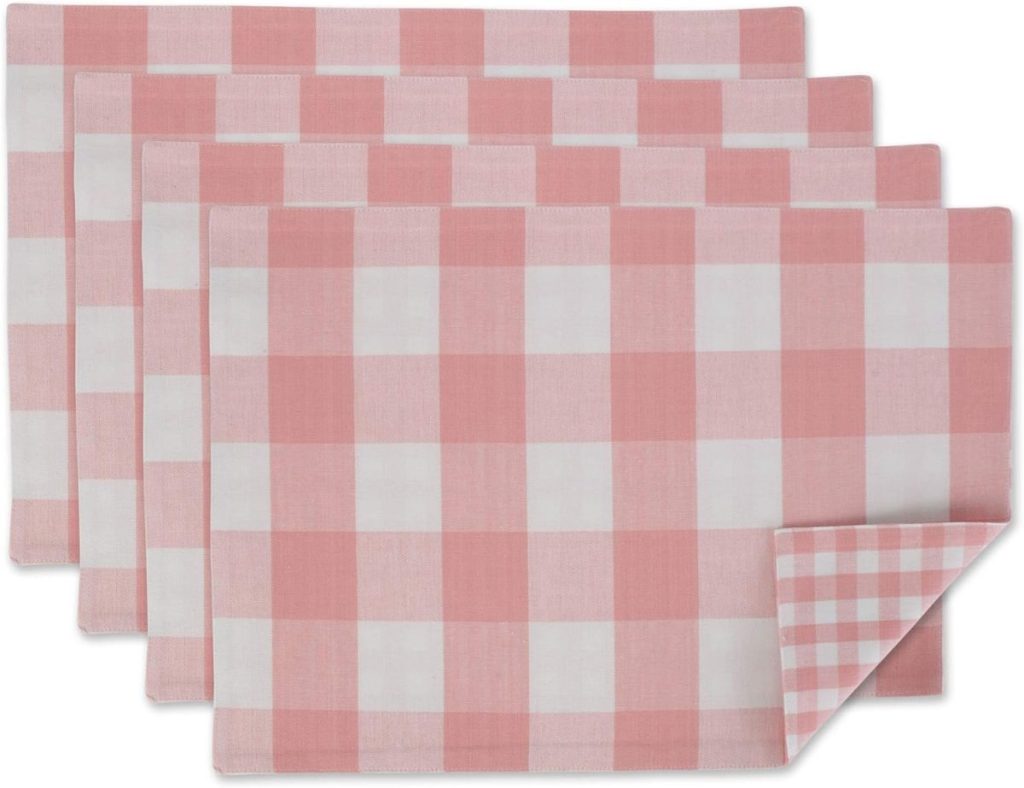
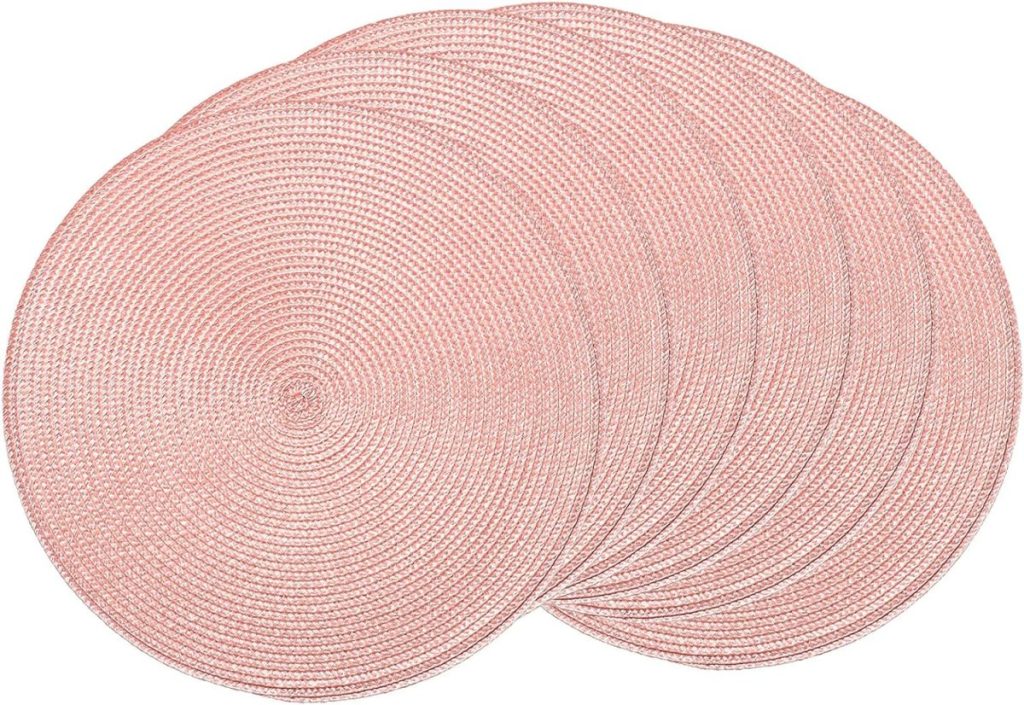
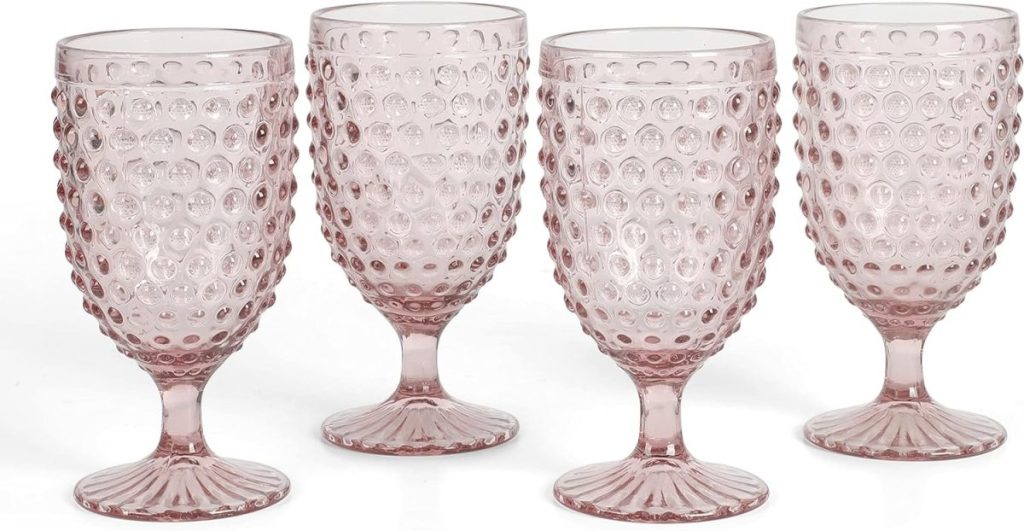
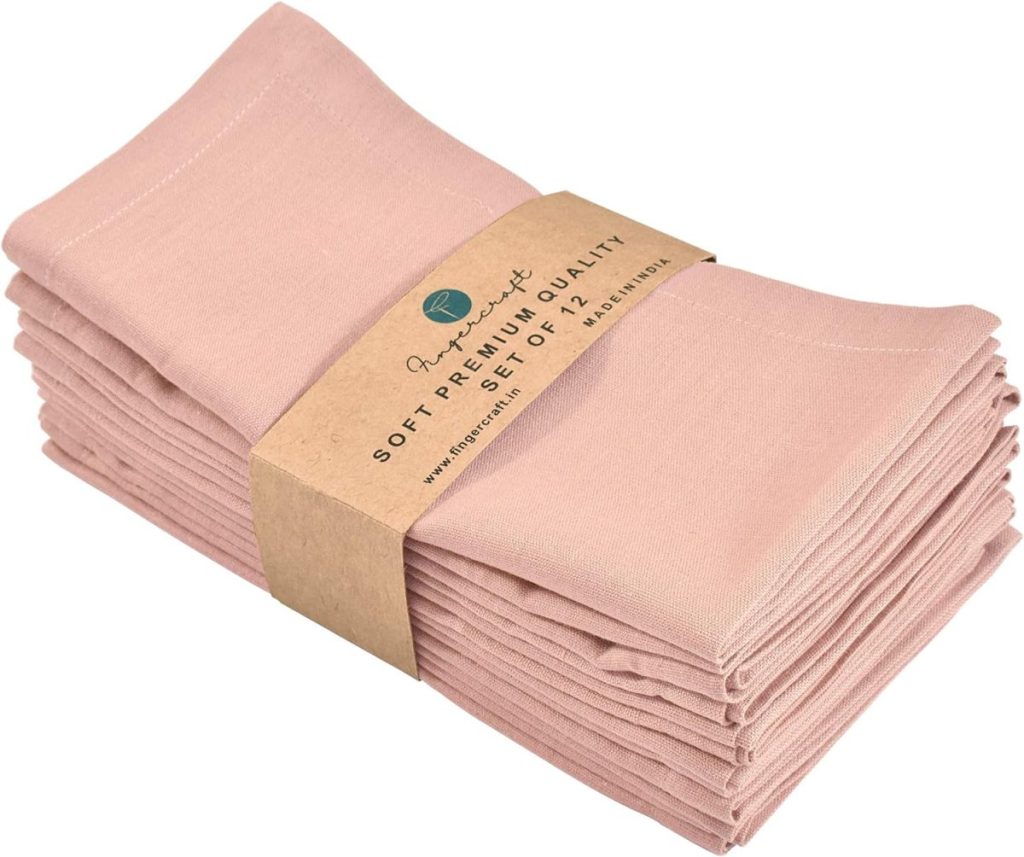
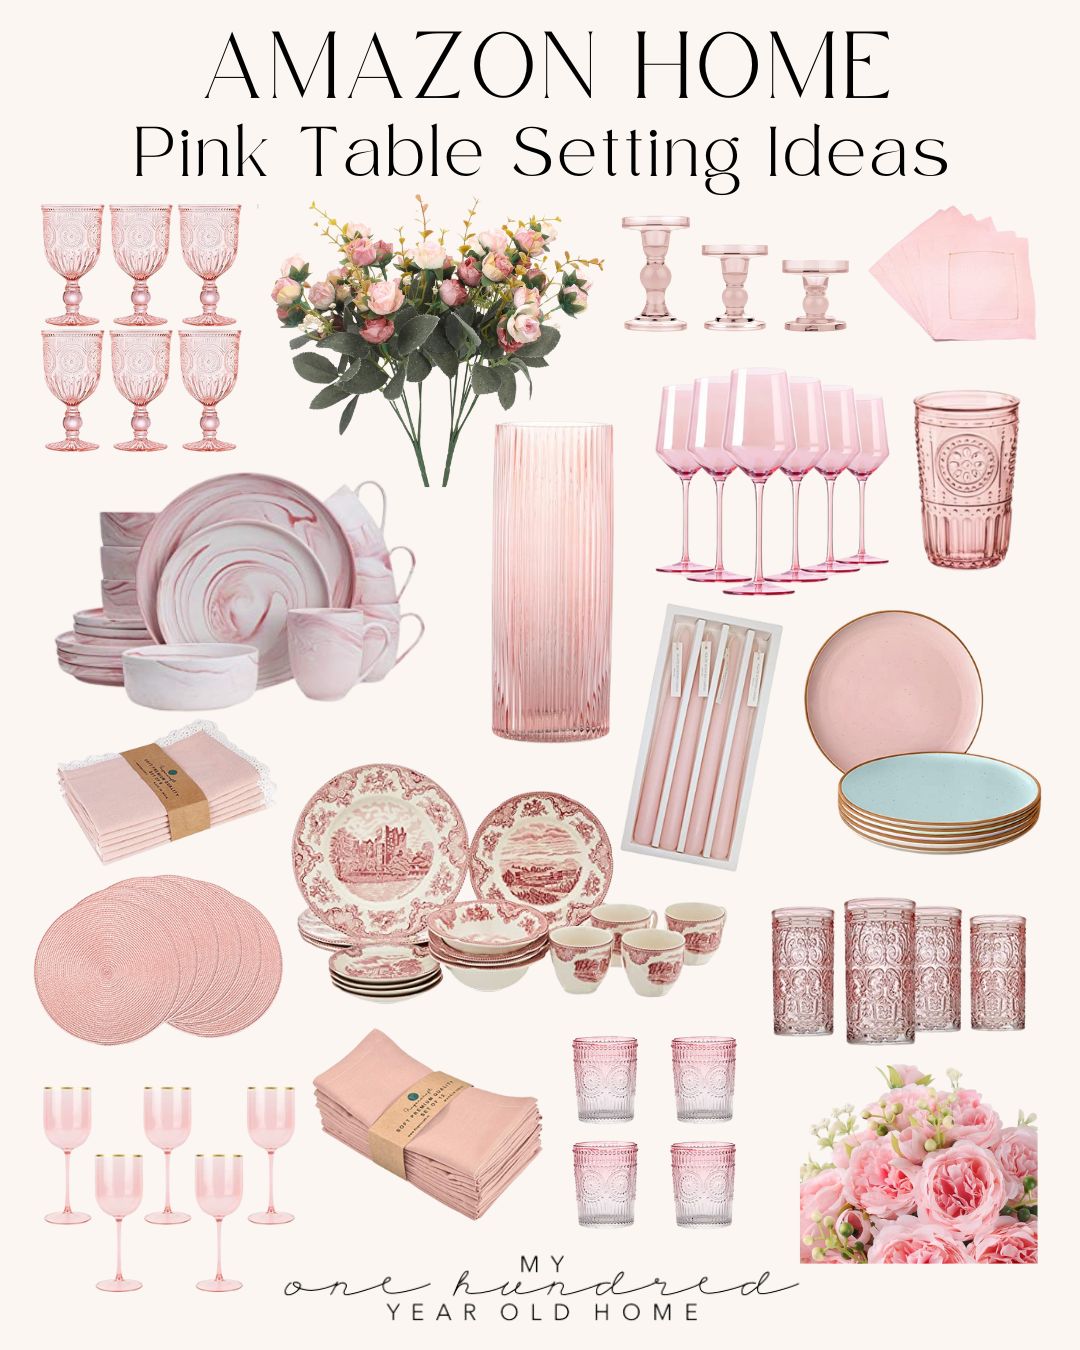
Pretty pinks in the table setting highlight the gorgeous cherry blossom branches. Below are links to some of my favorite pink items to set a table with!

If you are enjoying my blog, you can sign up to receive my blog updates here.
.Todays Amazing Finds

Pin the image below to your Craft or Valentine’s Day boards on Pinterest (just click the Pin button in the top left corner). You can also follow along with me on Pinterest!
For more real-time updates, follow me on Instagram @My100YearOldHome


When I saw your first picture I swore they were real and wondered where you got them this time of year! Such a fun project and brings that spring feel we all need right now. Especially in Washington state where we have over a foot of snow!
Thank you so much Eryn! I hope you give the DIY a try, really, super easy! They do add just a hint of spring! A foot of snow – wow!
Amazing project!
Thank you so much Penny! It was a fun one and so easy!
I love this!! I want to do this too. I can’t believe something so beautiful is this easy. Thank you!
Oh I hope you do Jacqueline! Please let me know how your turns out!
Beautiful and easy peasy!! Thanks for sharing your DIY’s
This really is so easy Kim. I am so happy you enjoy my DIY projects! I have so many fun projects planned for 2021!
Oh I definitely am
Going to give these a try!!! So beautiful for Spring!!!
Thank you Leslie
So glad you will make this craft Tina, really, very easy. Let me know how it turns out!
Lovely depression ware! Love the candles also. The cherry blossoms are lovely and look easy to make. I lived in Colorado for awhile and had a cherry tree in my yard; OMG the very best fresh cherry pies! If I were to buy property anywhere, it would be someplace where I could have a pie cherry tree or two or three! Nice post!
Oh my gosh Mary, I love that so much! To have cherry blossoms and cherries, what a treat!
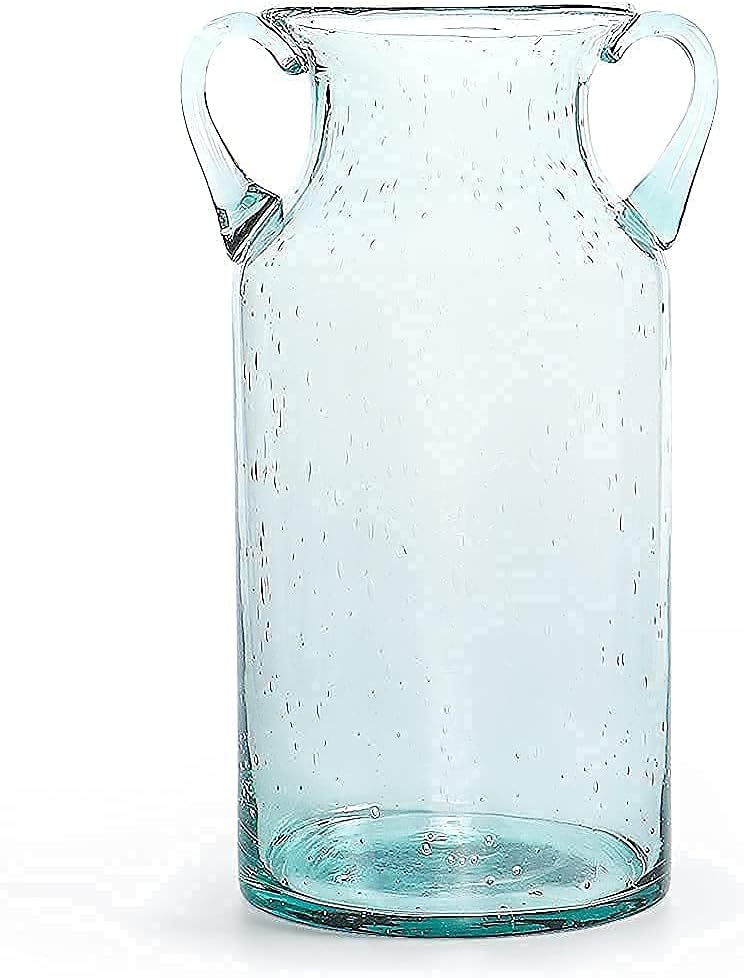
Blossoms are gorgeous! Also, I really like the “large ink well type” vase. May I ask were you purchased?
Sally N.
Thank you so much Sally, I’m so happy you like the cherry blossoms. I bought the vase at a flea market, one of the many treasures I have found over the years!
Very cute! I love how you have it set on your table. <3
Thank you Steph! I think these branches are so beautiful, I’m glad you like them too!
I LOOOOOVE this! I hope to try this soon. And the pink on your table is so sweet and pretty. Pink is my absolute favorite color of all. Can’t get enough pink! Pinned
I hope you try it Cindy, it really is such an easy craft! I’m so glad you love the pink, I do too!
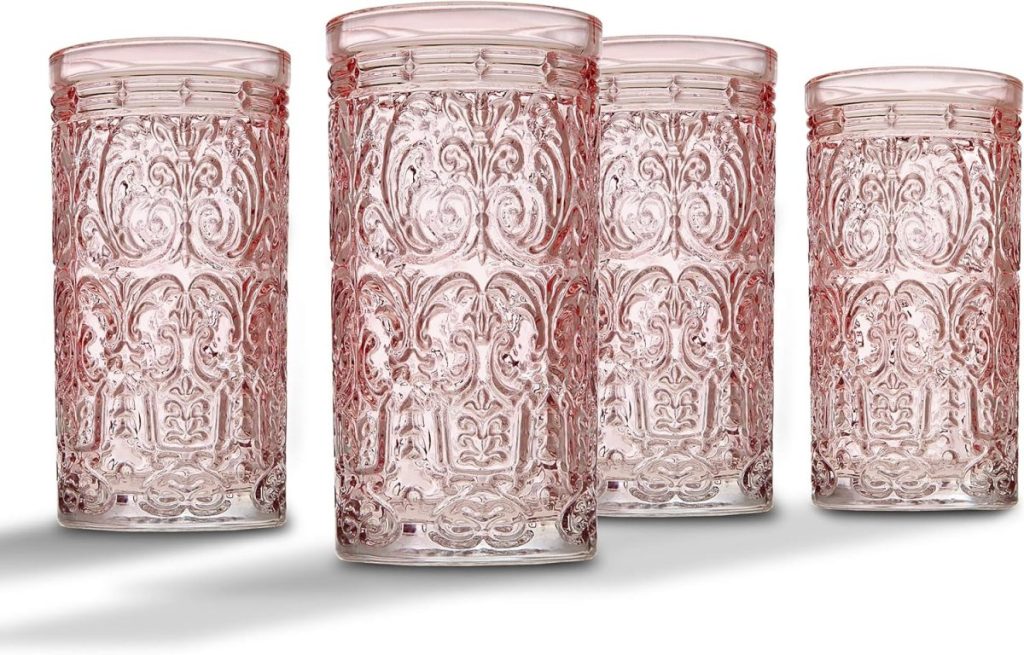
Love!! 💗💗 where did you get the darling pink glasses?
I got the pink glasses at a flea market, so do not have a source for you. Maybe poke around on eBay!
In grade school We used this method with white paste glue and yellow tissue to make Forsythia blooms
You brought back a nice memory
Hot glue not needed
Thank you
What a lovely memory Kathleen! Yes, best not to use hot glue with children!
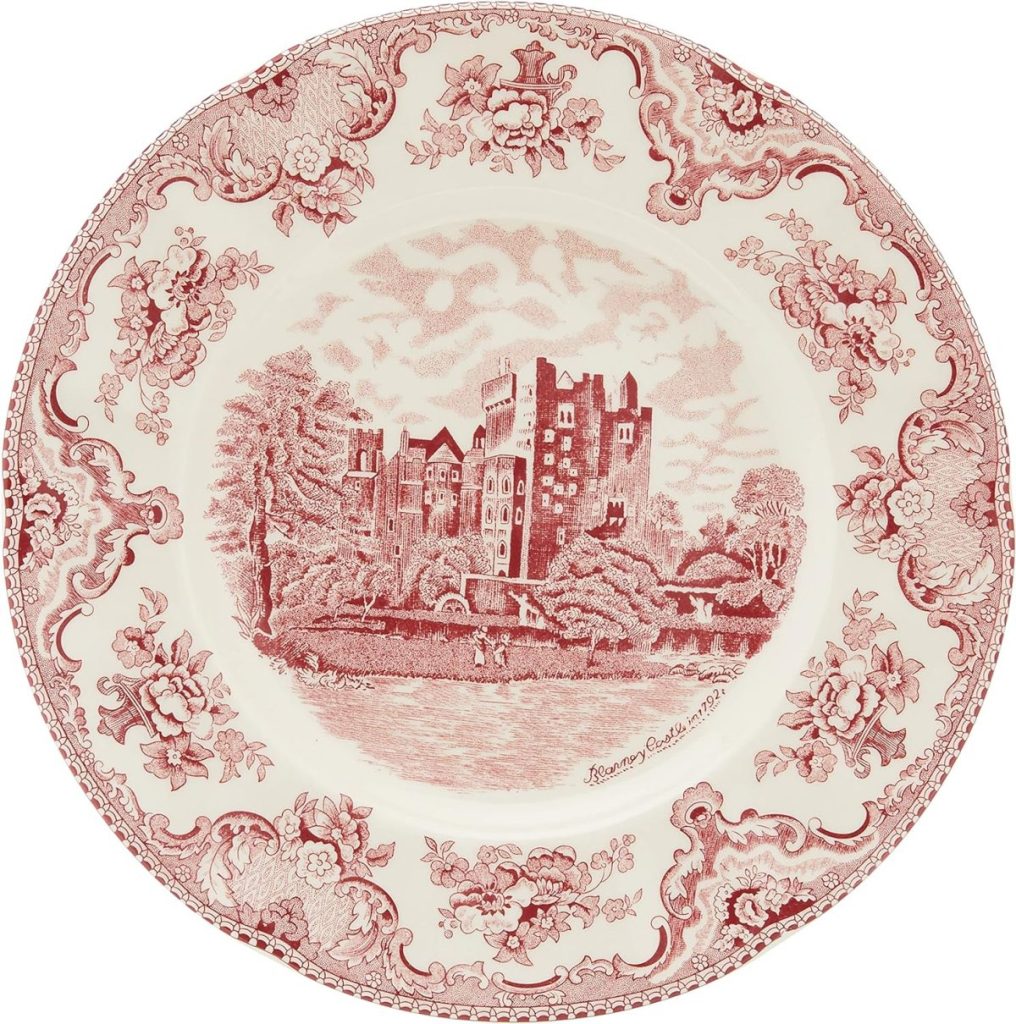
May I ask you please about the lovely china, which brand and name, and the fitting glasses.
Thanks a lot
Greetings from Germany
Jela
Jela,
The plates are Johnson Brothers Rose Chintz. The glasses are vintage depression glass and I am not sure of the pattern. I bought them at a vintage flea market.
Leslie
These are so pretty! Thanks for the easy tutorial – that’s the perfect paper color! Happy Tuesday down there!
Thank you so much Barbara. These really are so simple and yes, I love the color too! Happy Tuesday to you!
They are beautiful!
What I learned from a friend: when you put some water in your glas vase, the blossoms look real . It could be an idea for you.
Love from Belgium
Great idea! So happy that you are joining me from Belgium!
Very nice…they are so realistic looking. I love making paper/crepe paper flowers. It is my new obsession, and this is such great inspiration…
Thank you so much Karen! Paper flowers, I understand the obsession! Aren’t they so much fun to make?!
I didn’t see a video, but the photos were very explanatory, so I’m sure I can make this. I ordered the tissue paper and can’t wait to try. We have 6 apple trees, so I have lots of branches I can go out and trim. I think this will look great in a Valentine vignette that I want to create.
You probably already know this, but the way I get rid of glue strings is to use a blow dryer. Melts them and makes them disappear.
I LOVE this idea. Plan to order the tissue paper as soon as I finish writing my comment. I have collected pink depression glass for years! Cannot wait to make these cherry blossoms
thank you
Oh my gosh Nadine, I am so glad you are going to make them! They will look so pretty with your pink depression glass!
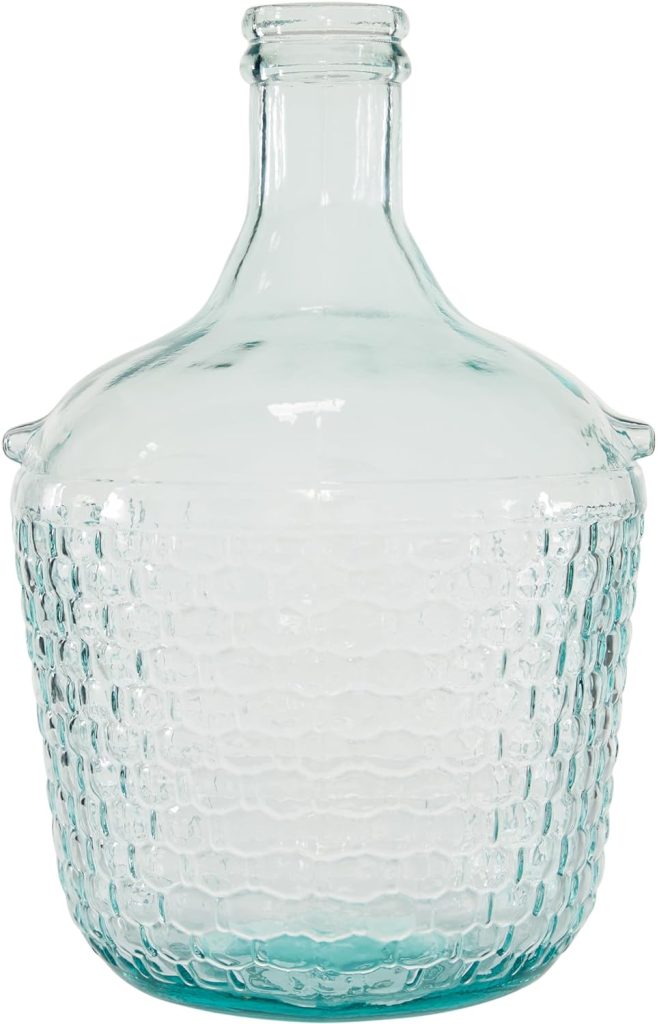
I love the vase you show with this clever DIY cherry blossom, Leslie. Where did you get it?
These were so simple to make and came out so beautiful. I love that your craft projects are always enjoyable and beautiful. I ordered the same tissue fromAmazon and the color is perfect. I placed mine in a white shabby chic square tin planter and they are lovely.
I am going to make these pretty branches also! I hope pear tree branches work.
Love your crafts! Thank you 😊
Linda, thank you for reaching out and sharing your comment. Please let me know how your branches turn out! Have a great rest of your weekend!