A Beautiful Celebration: Ellie’s Baby Shower
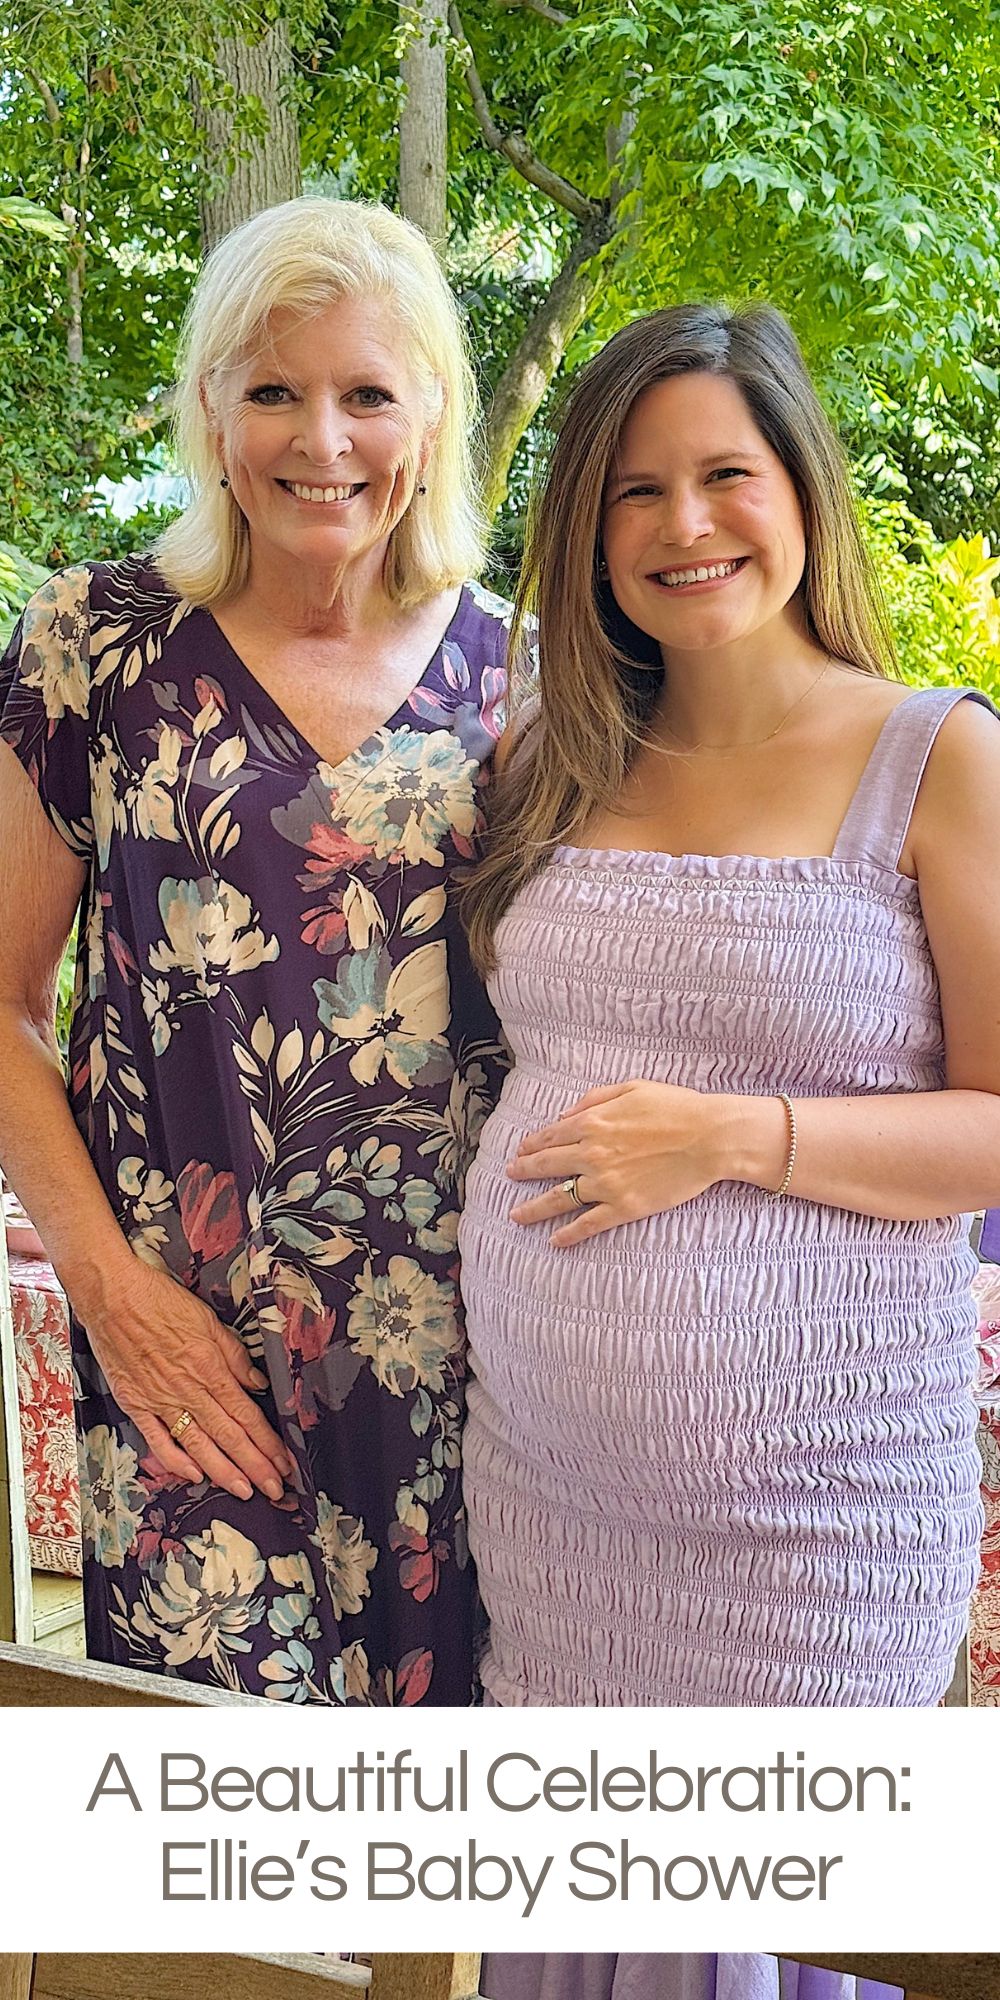
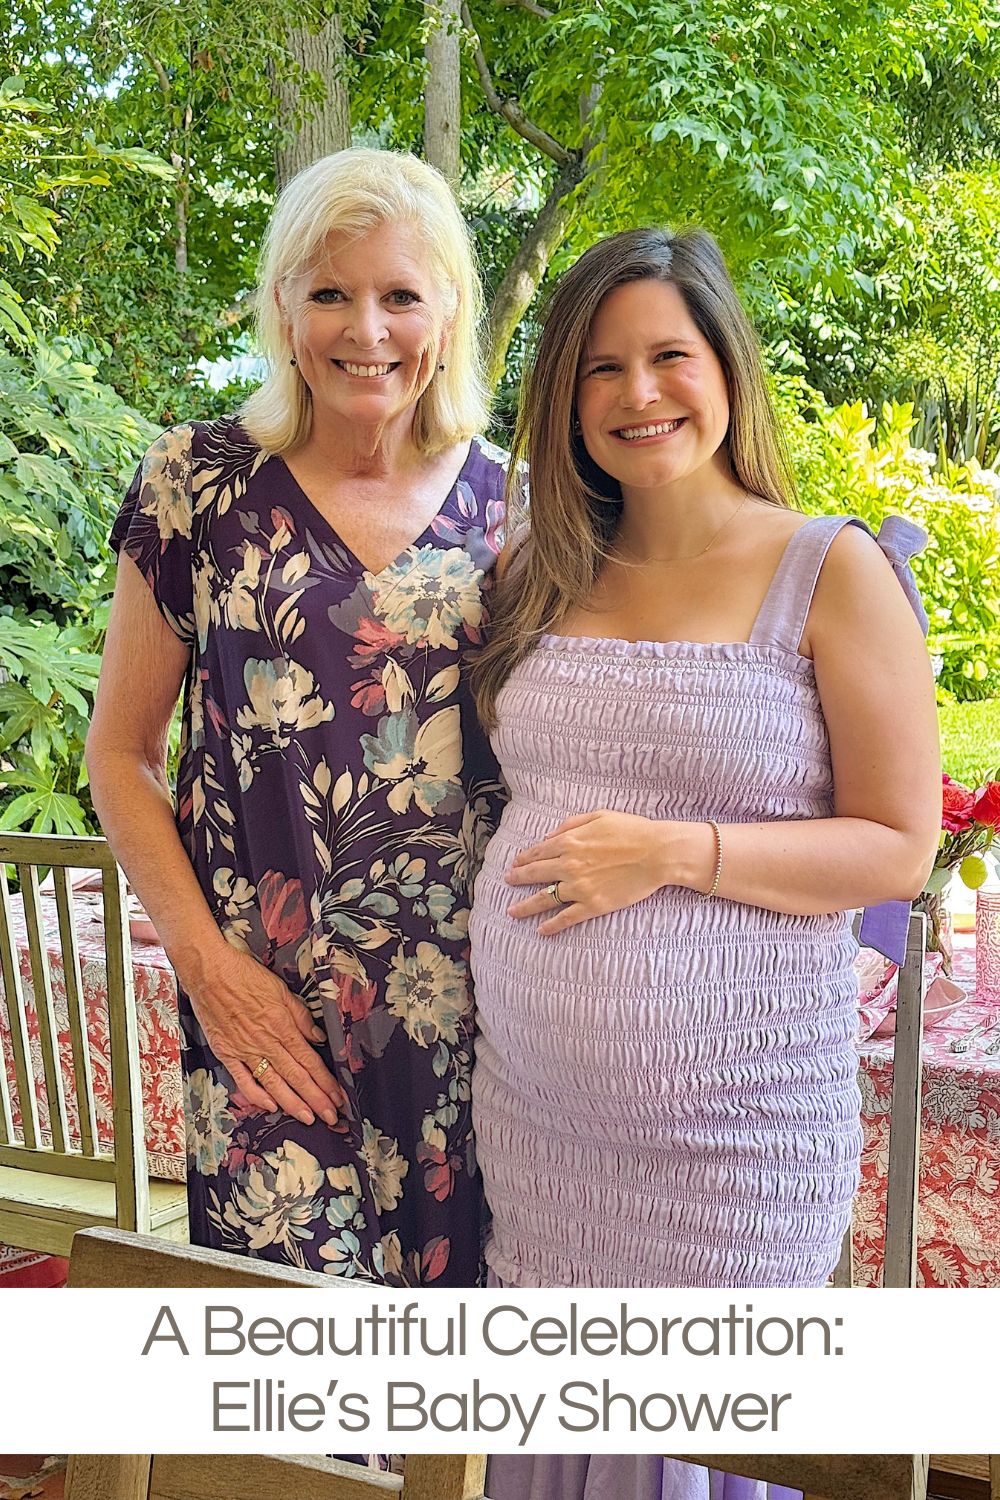
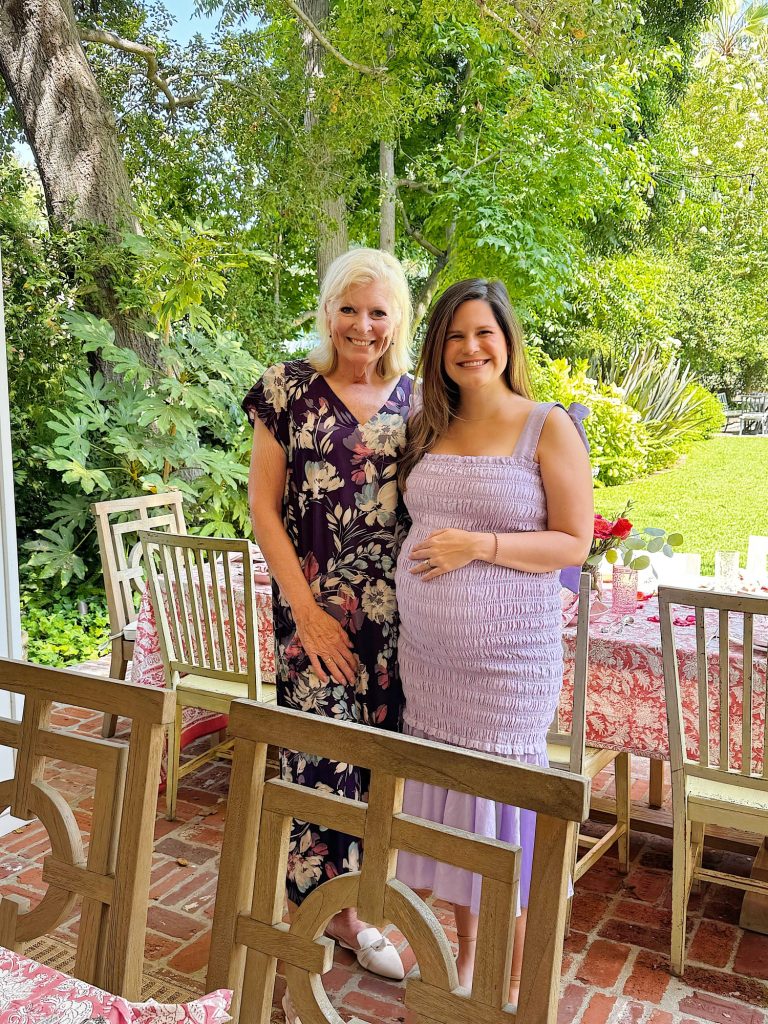
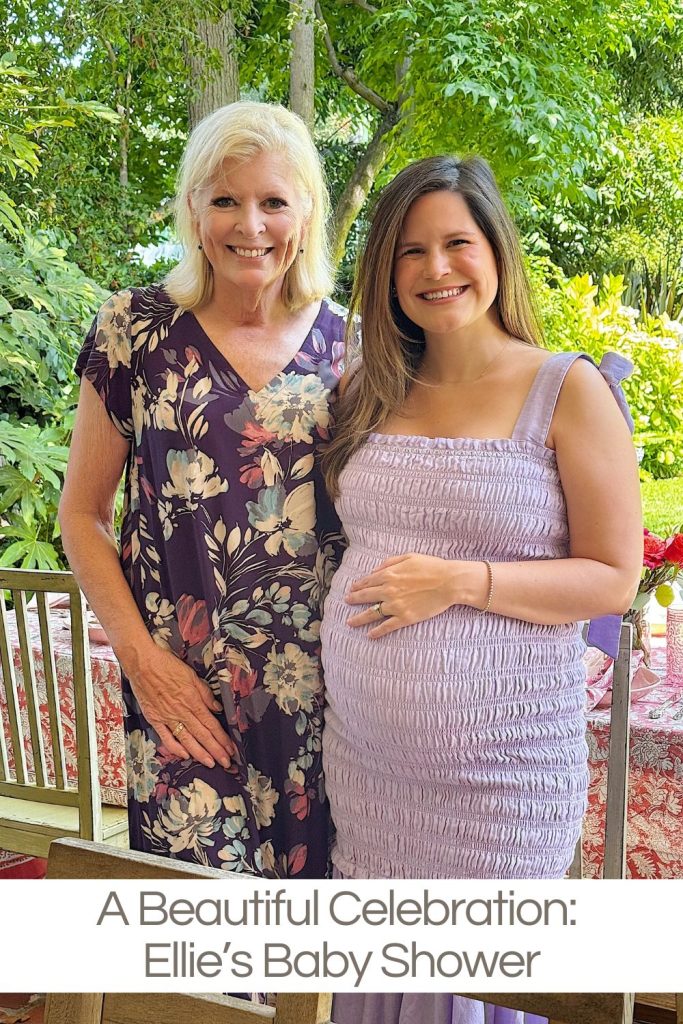
A few weeks ago, we gathered to celebrate one of the most joyful occasions in our family’s life., Ellie’s baby shower.
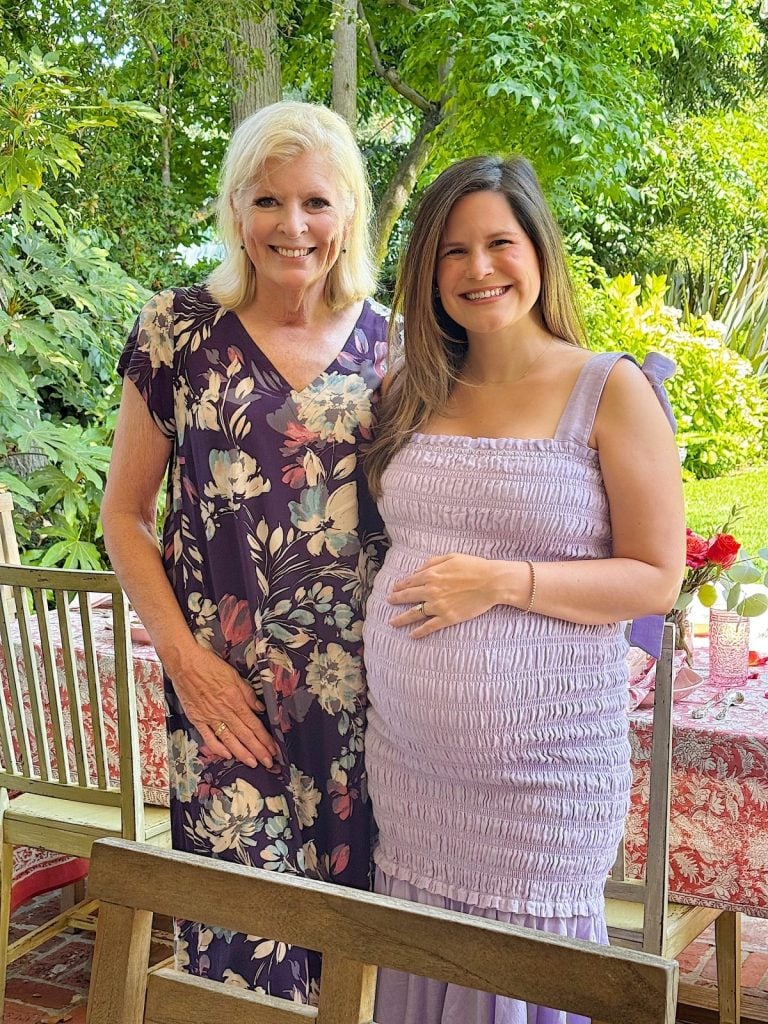
Twenty of Ellie’s friends and family came together for her baby shower, and it was such a wonderful, love-filled day. In just a few short months, we will be welcoming our granddaughter, and this celebration was the sweetest way to honor Ellie, the baby, and the joy that awaits us all.

A Beautiful Celebration
Ellie’s Baby Shower
It is always special when women gather to celebrate a new baby, and having the chance to plan something so personal for Ellie was a joy. From the food and the table settings to the decorations and the desserts, I wanted every detail to feel thoughtful and festive.

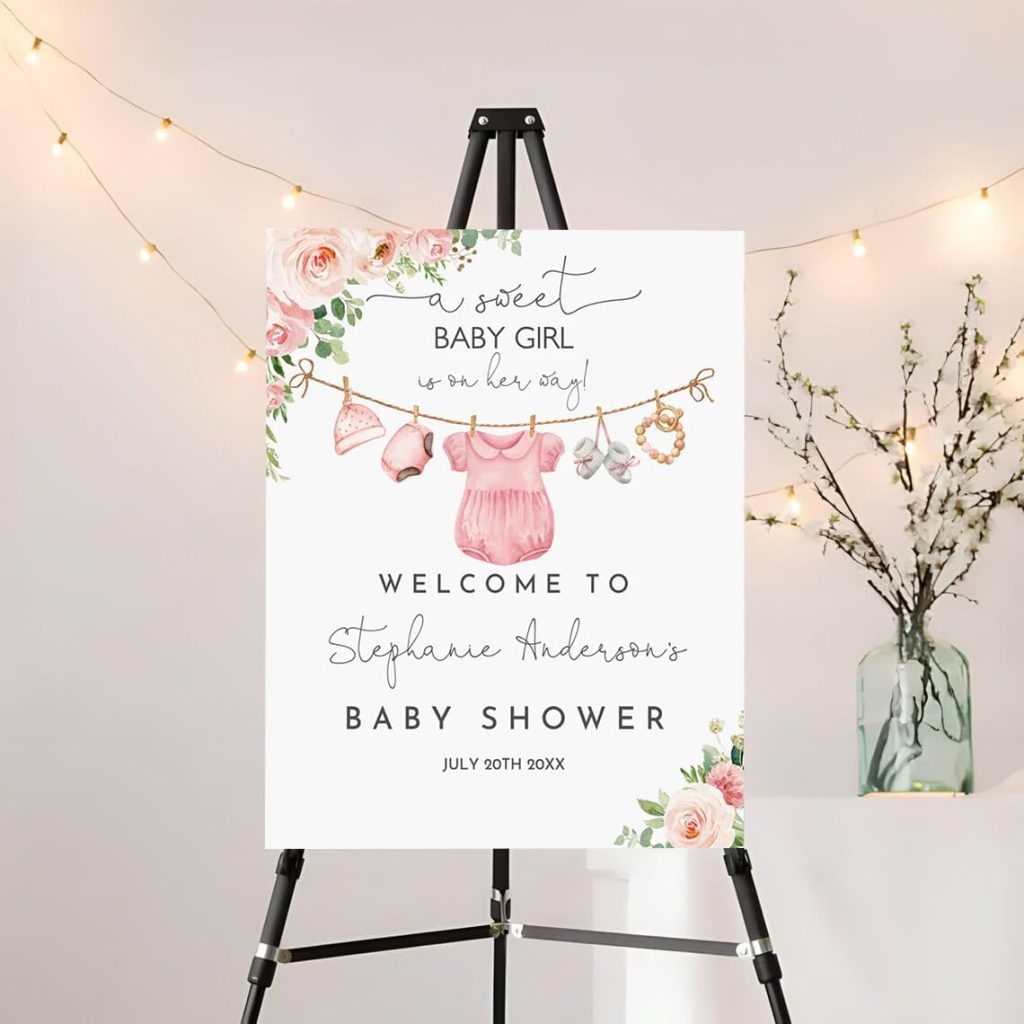
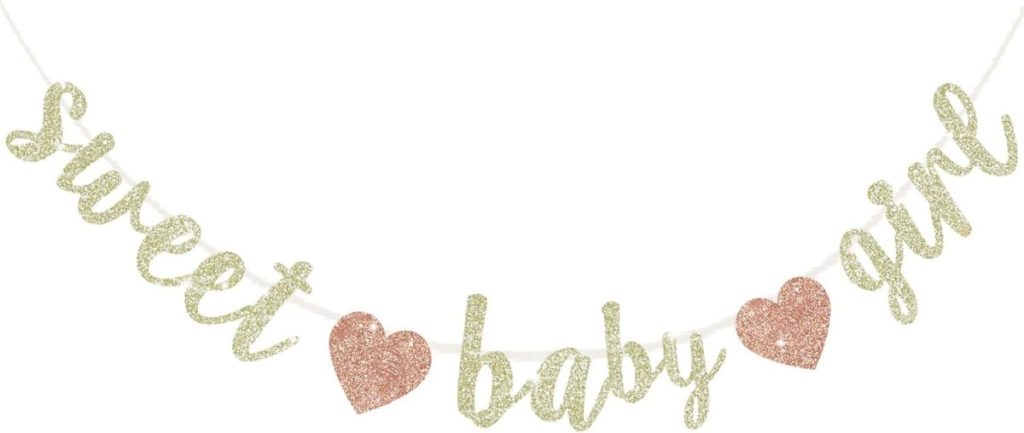
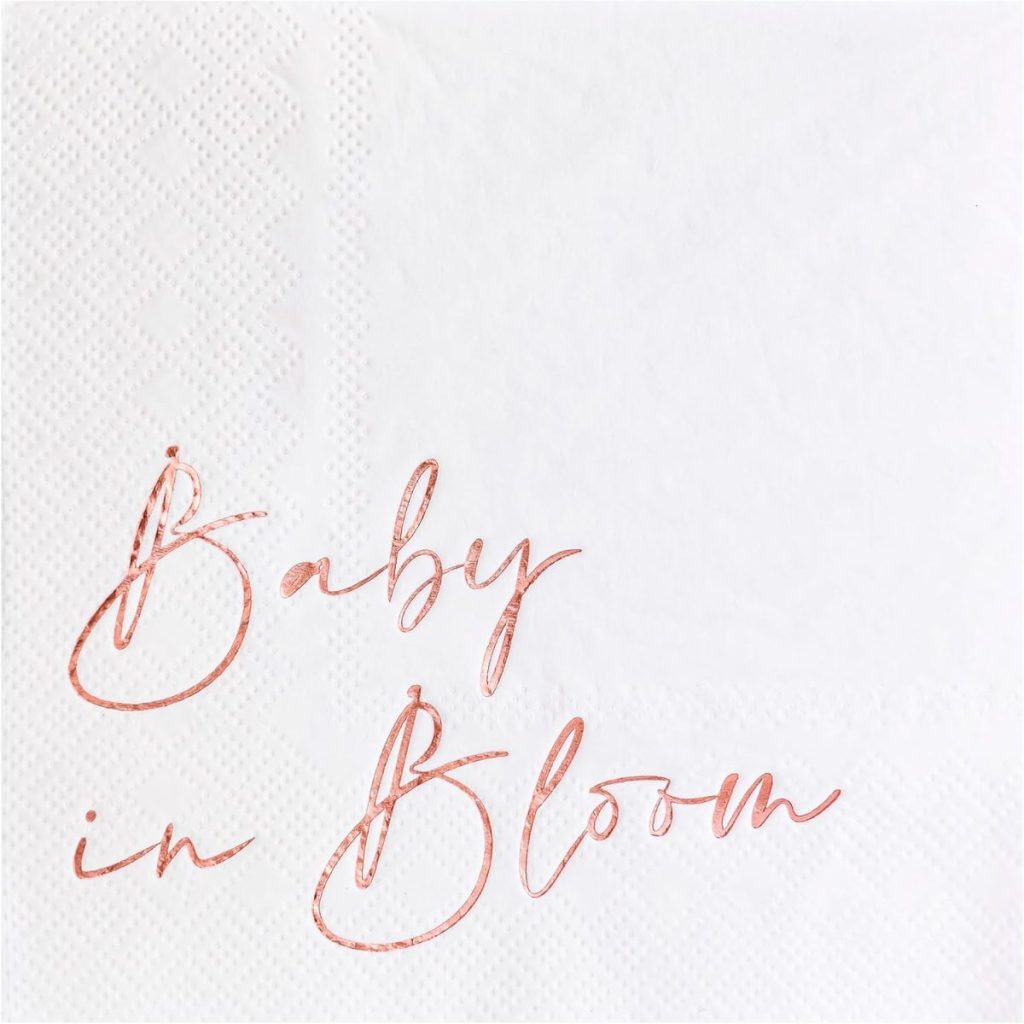
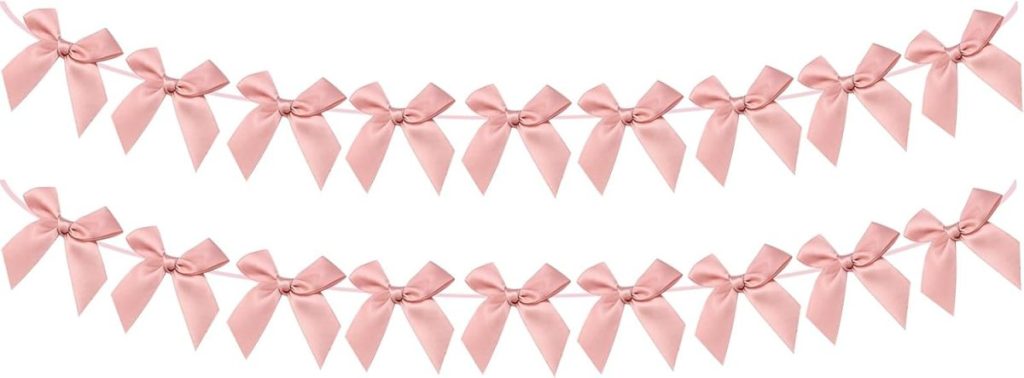
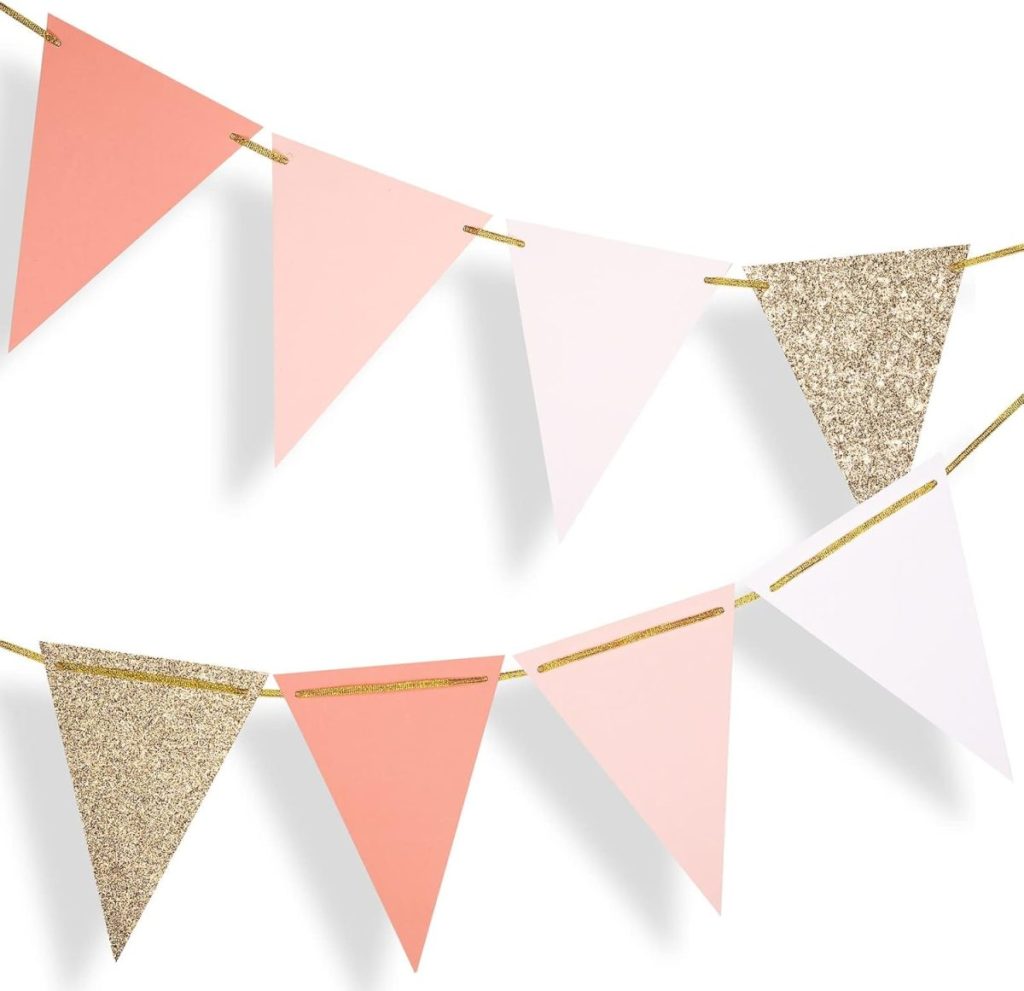
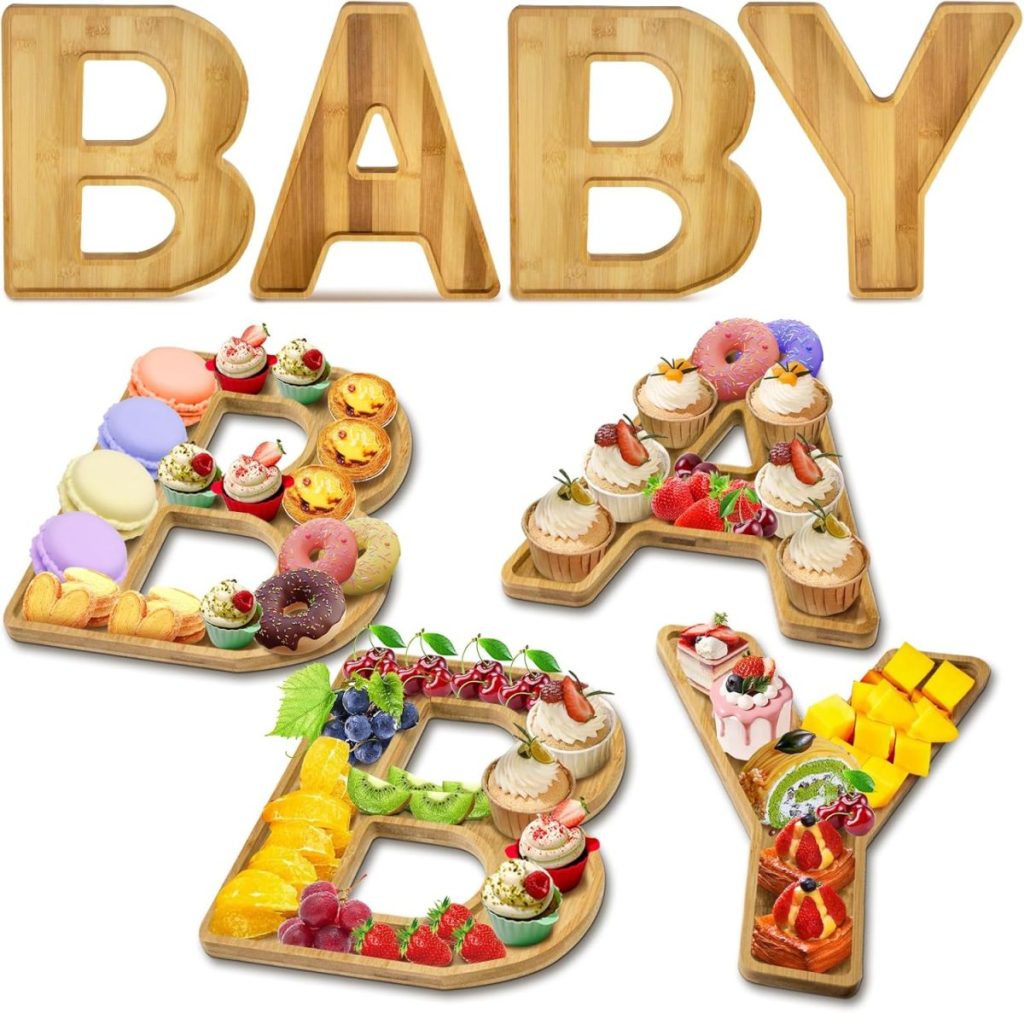
I love the welcome sign I ordered from Amazon. The color palette was perfect.
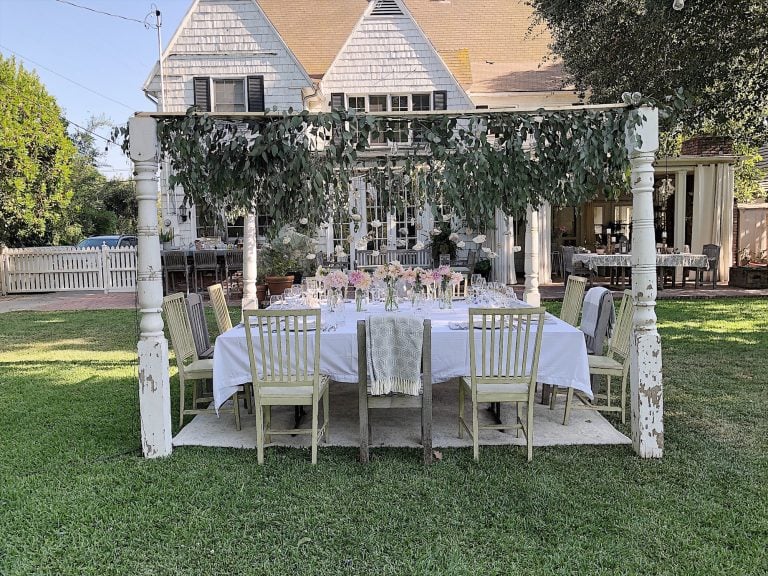
Creating a Dreamy Setting
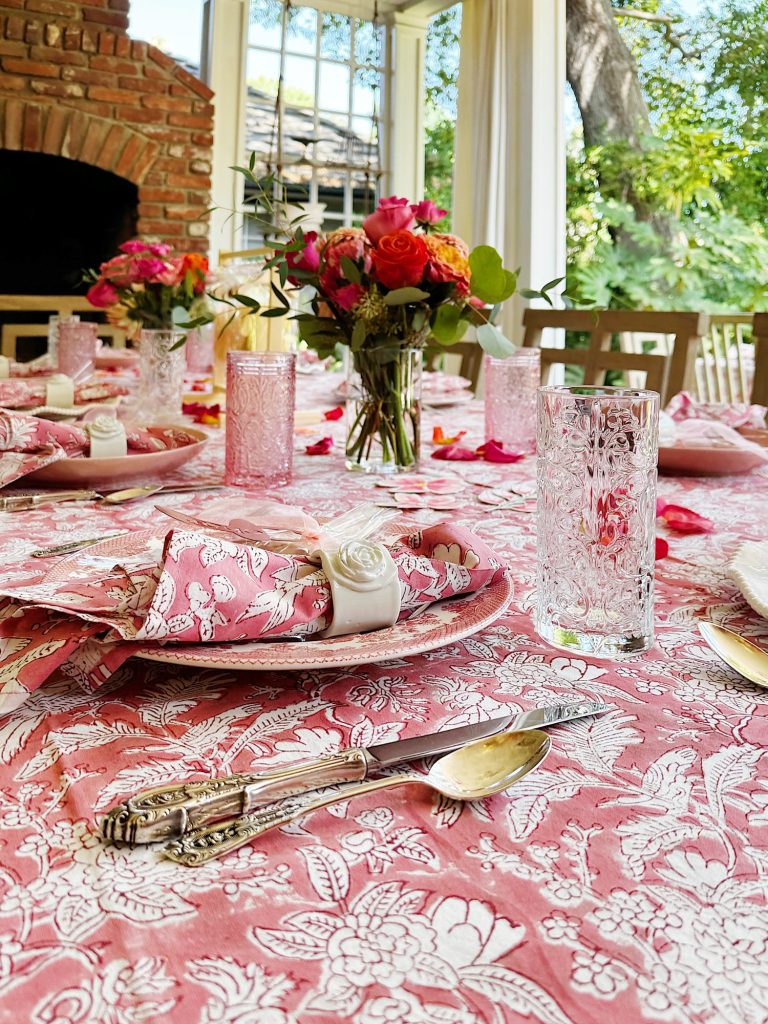
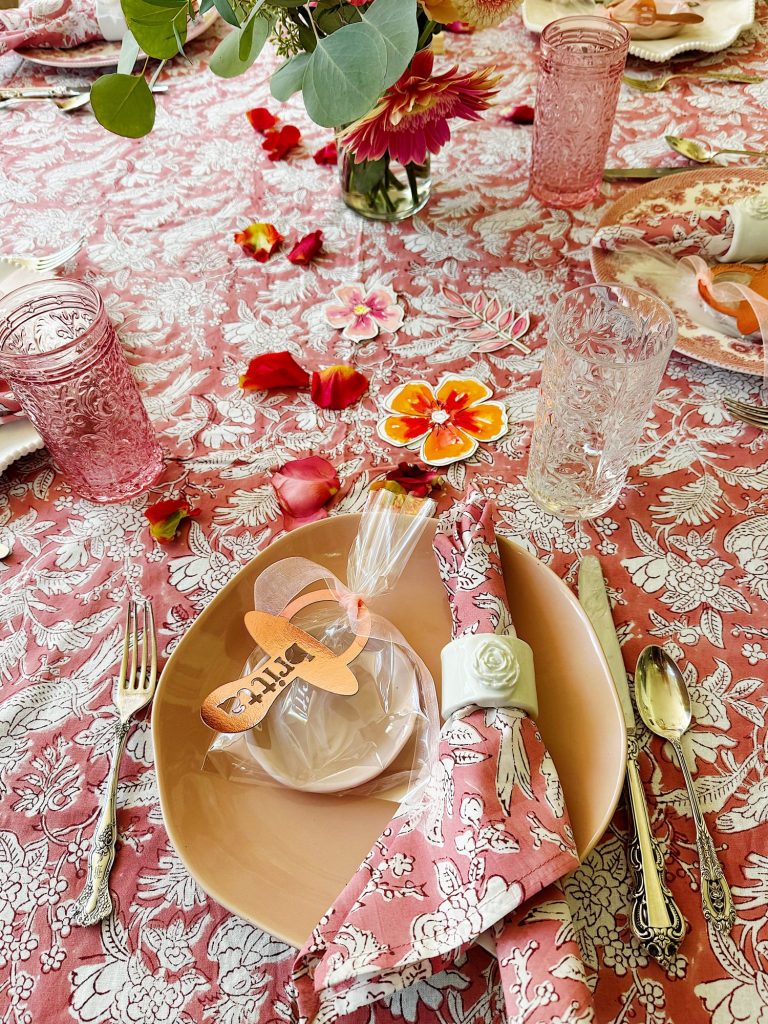
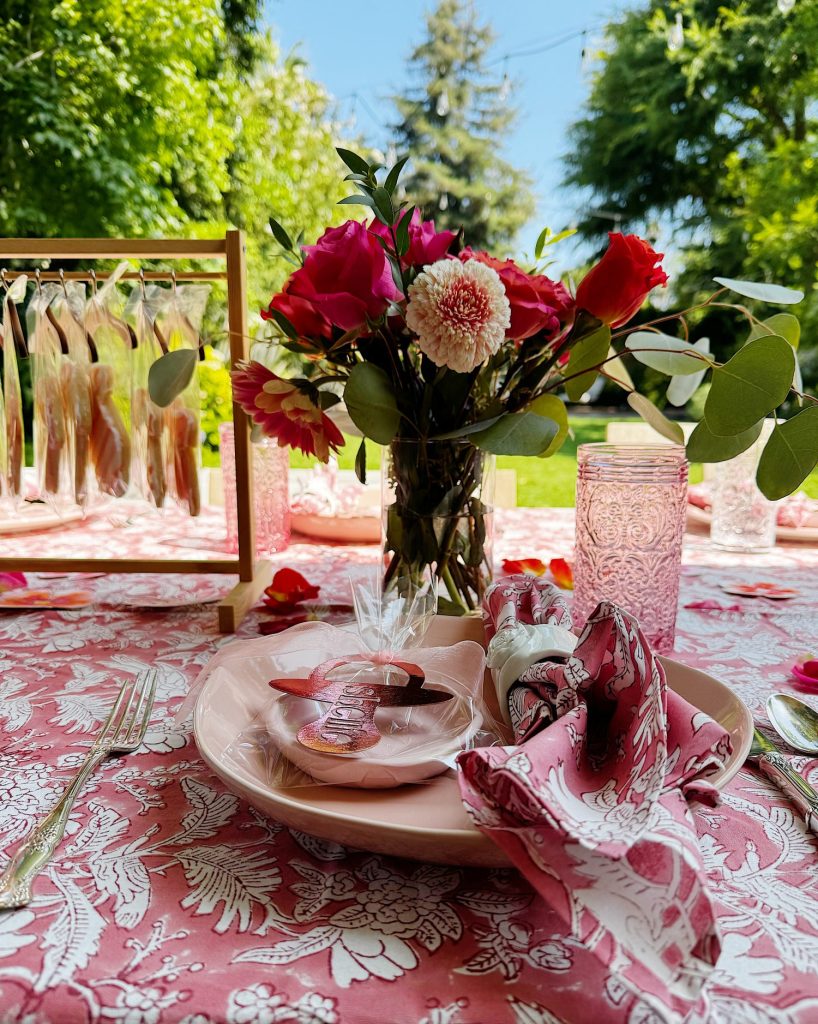
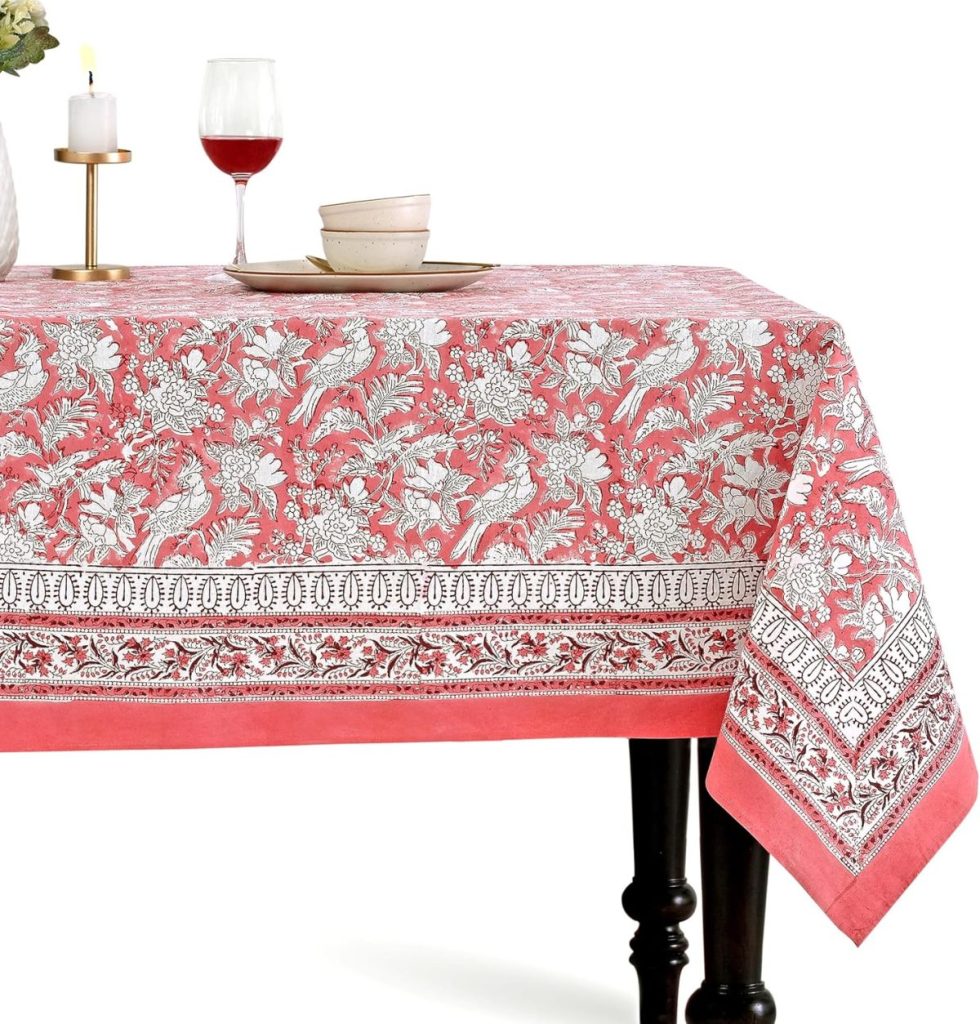
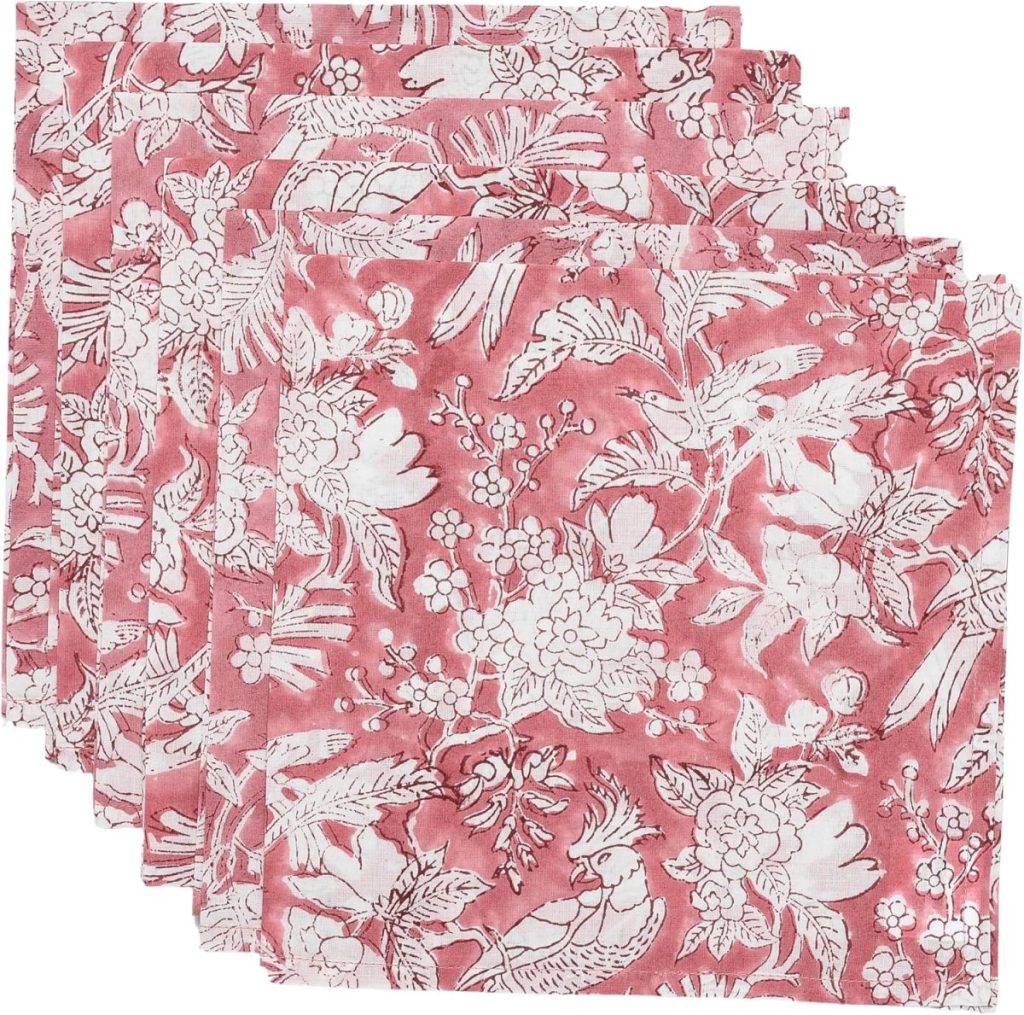
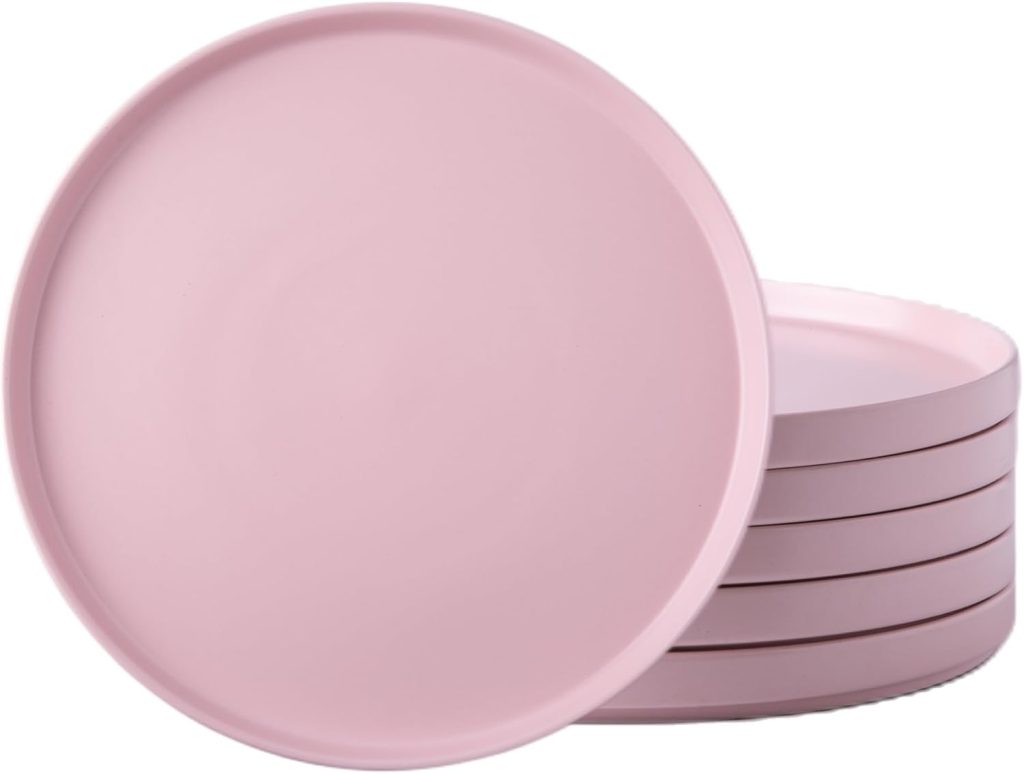
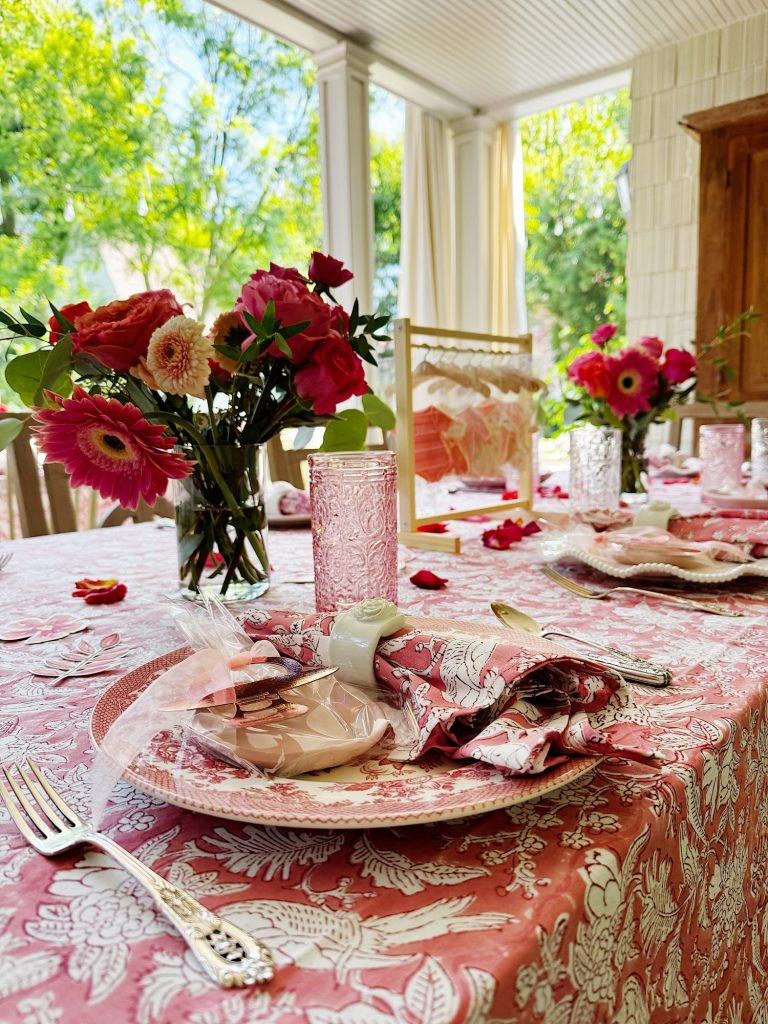
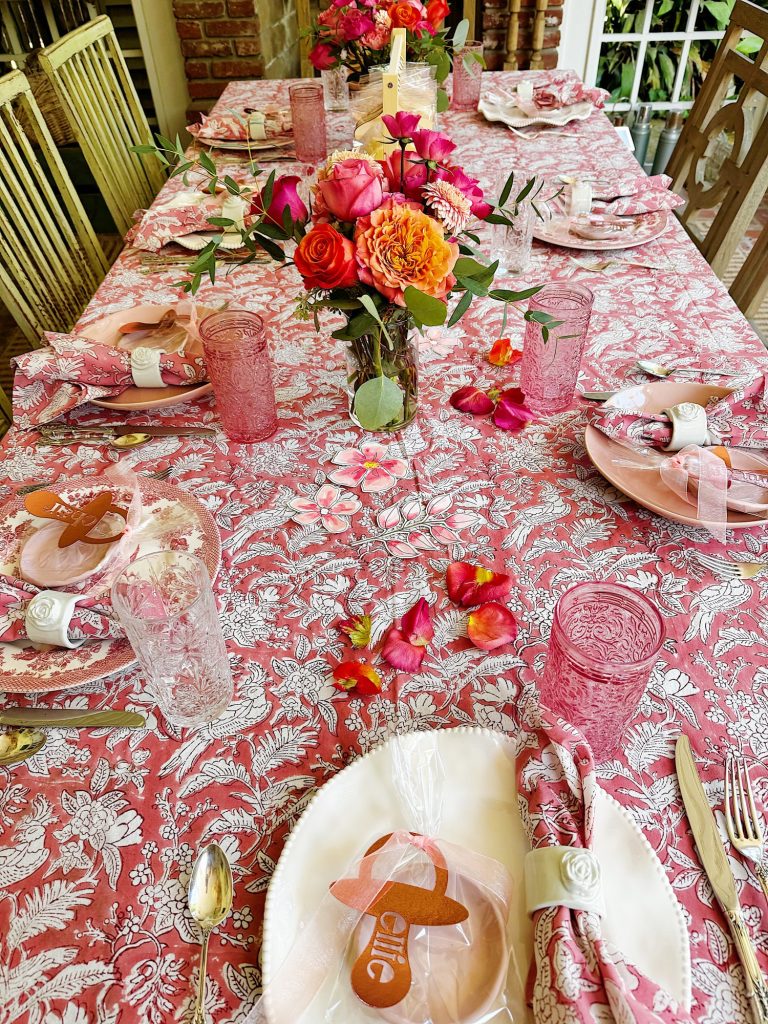
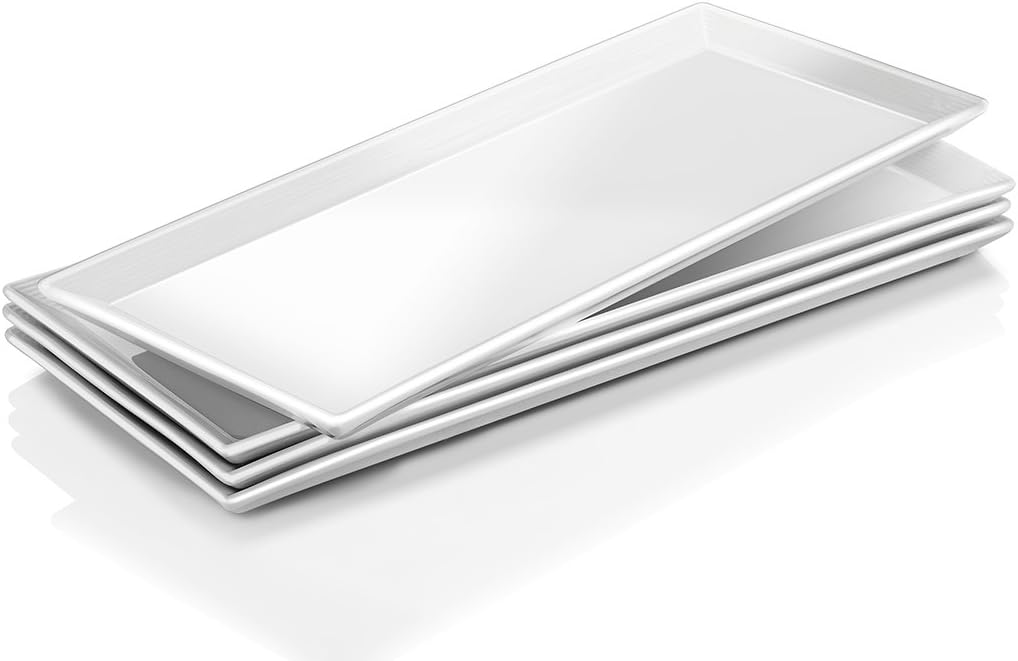
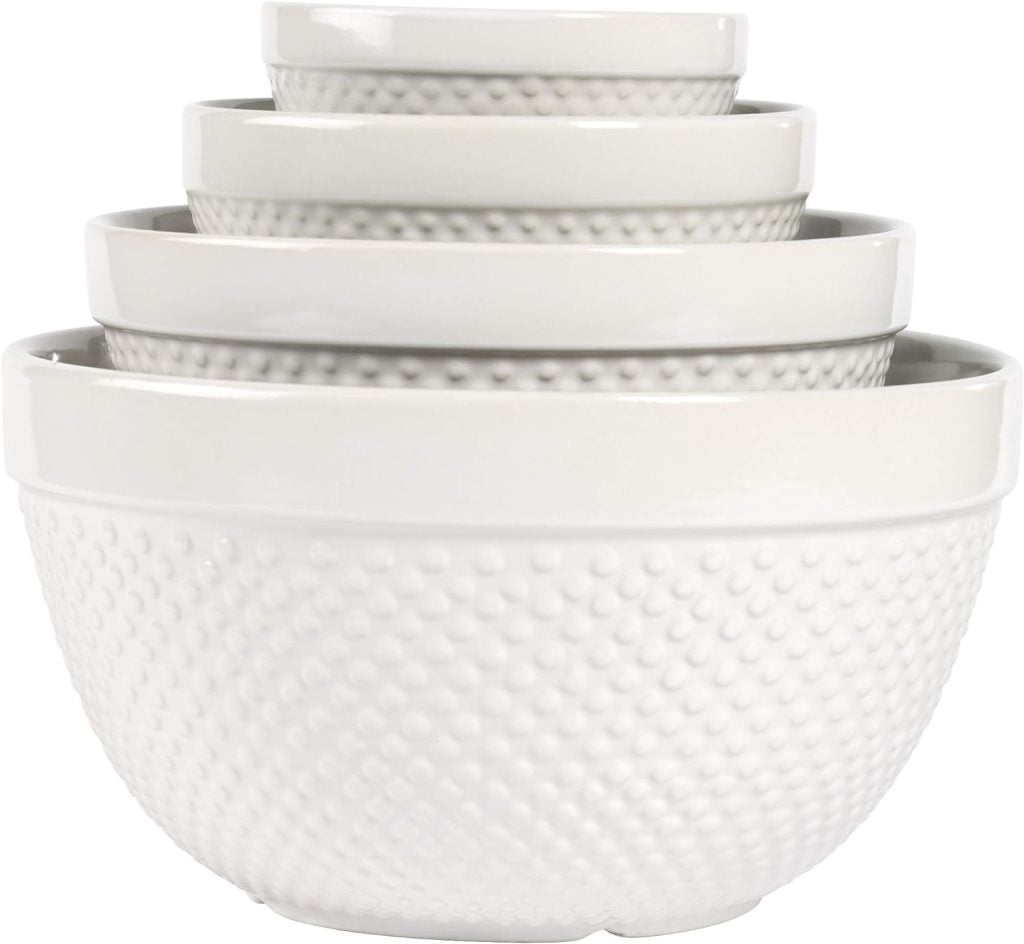
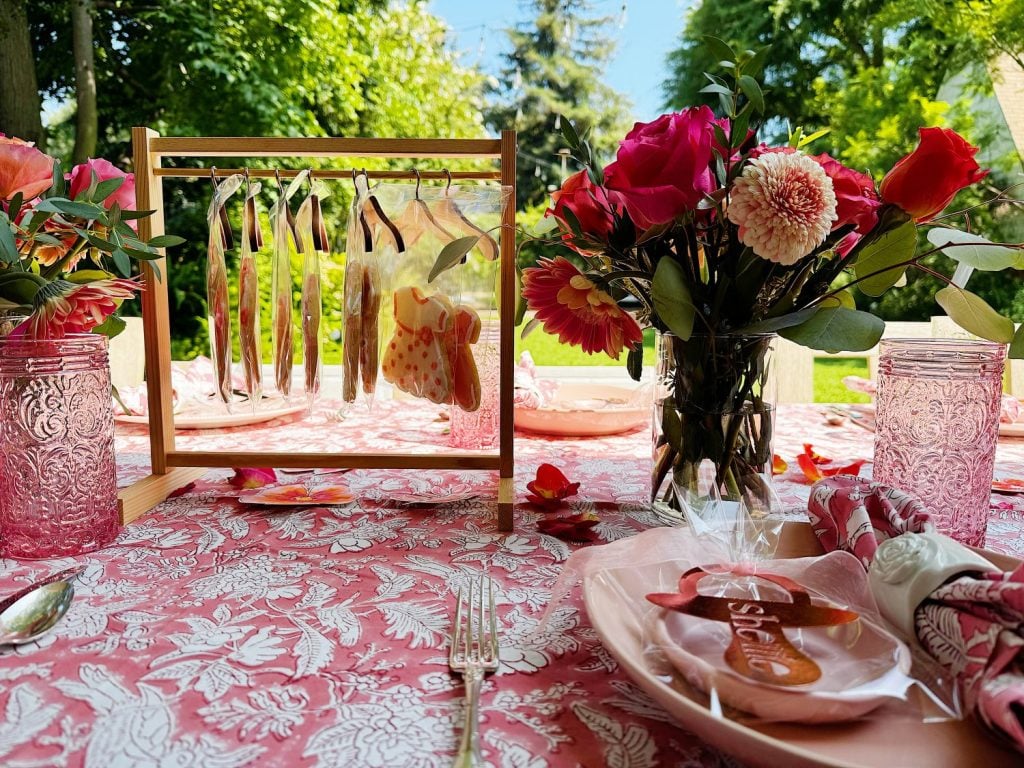
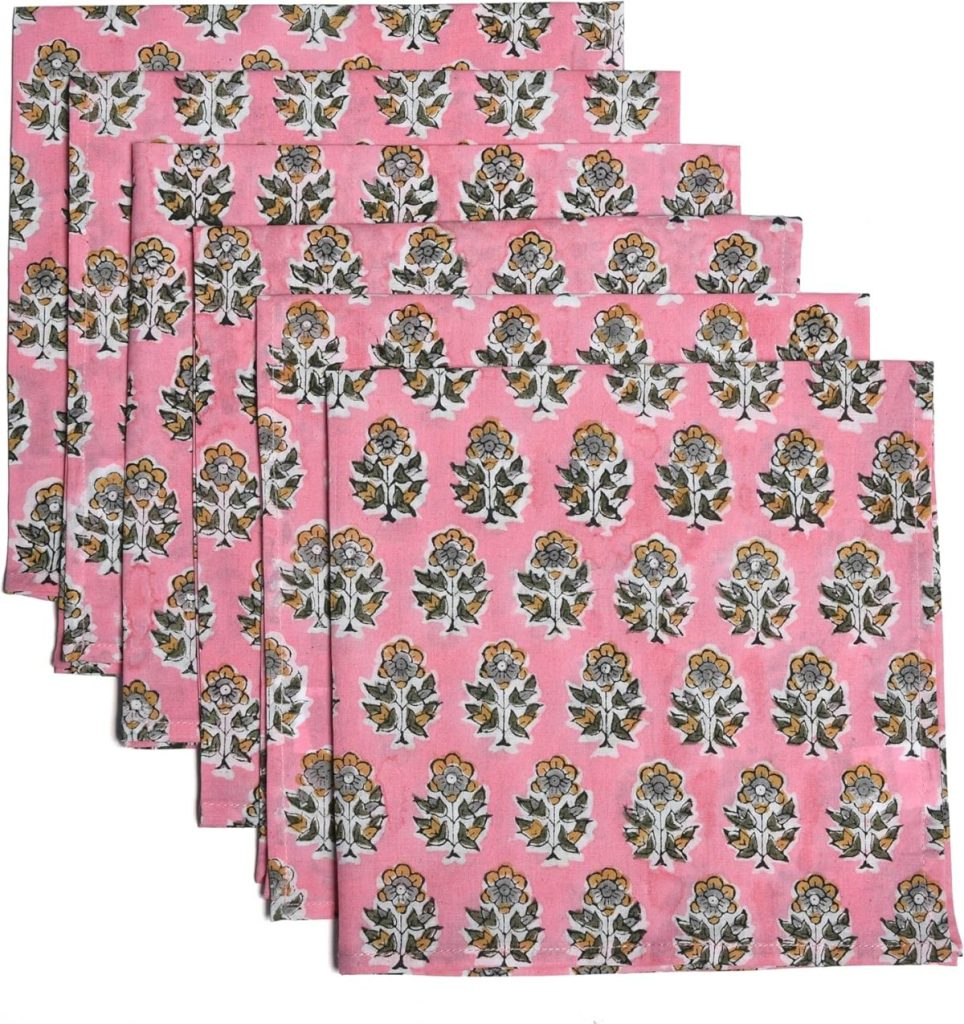
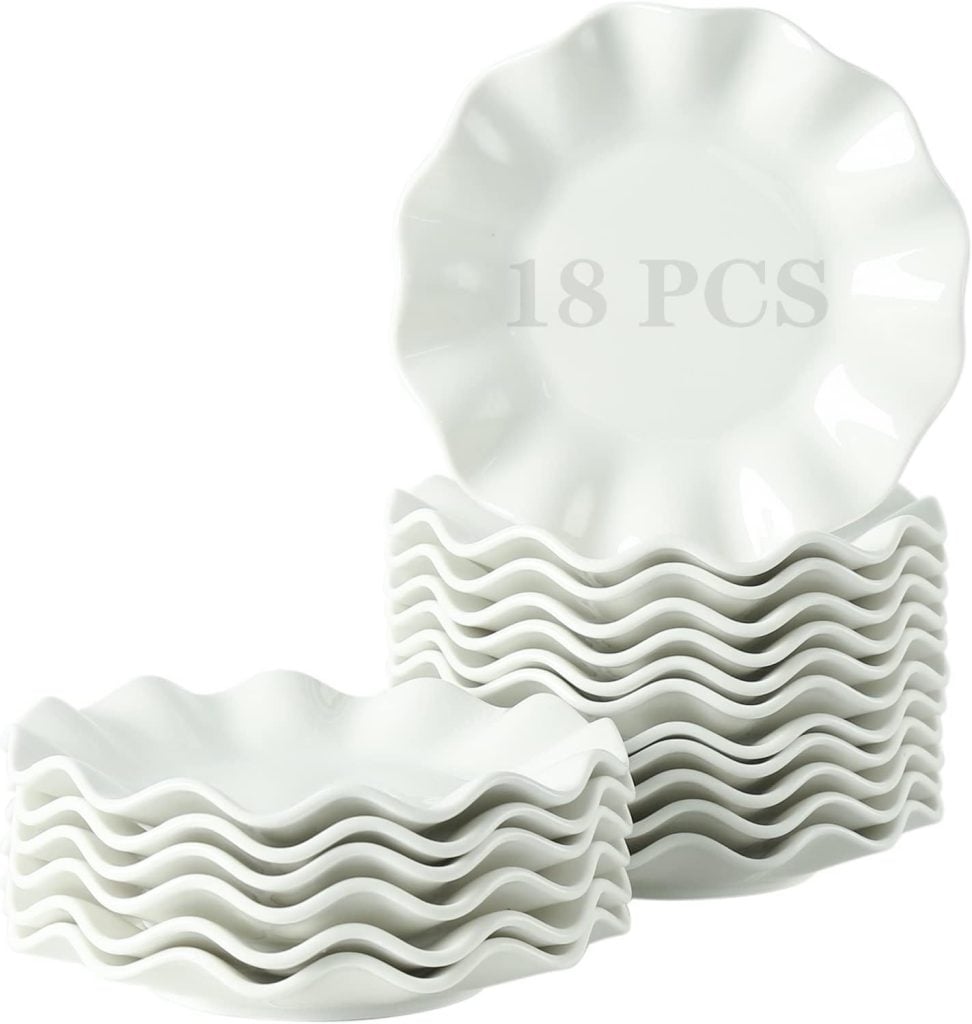
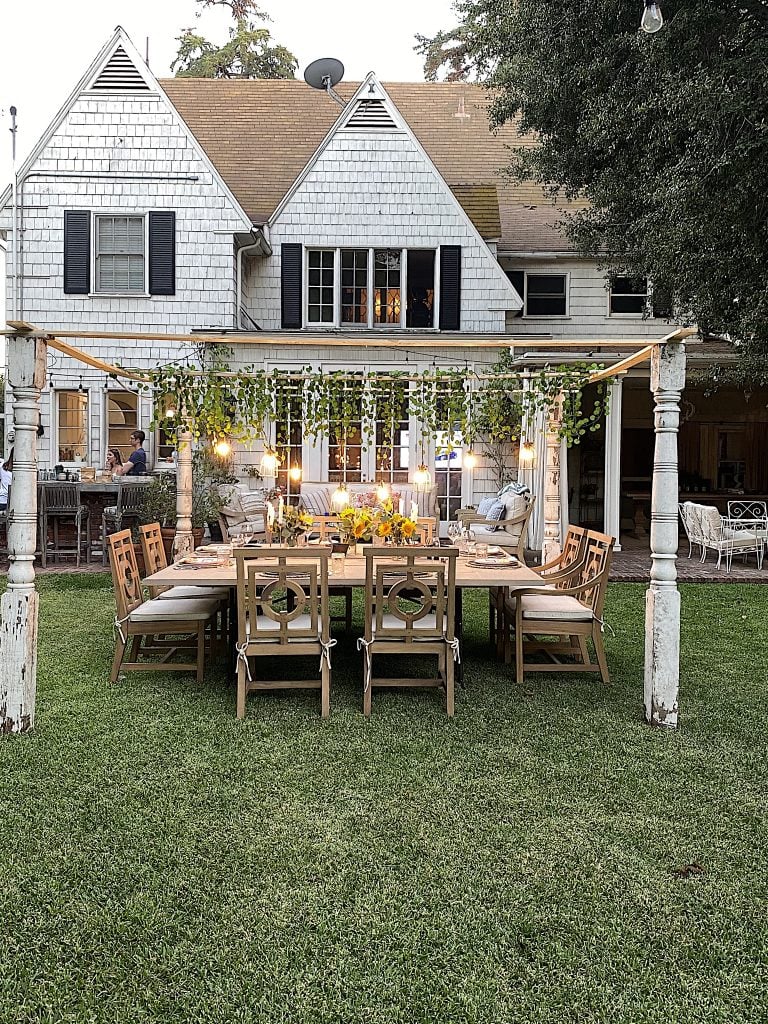
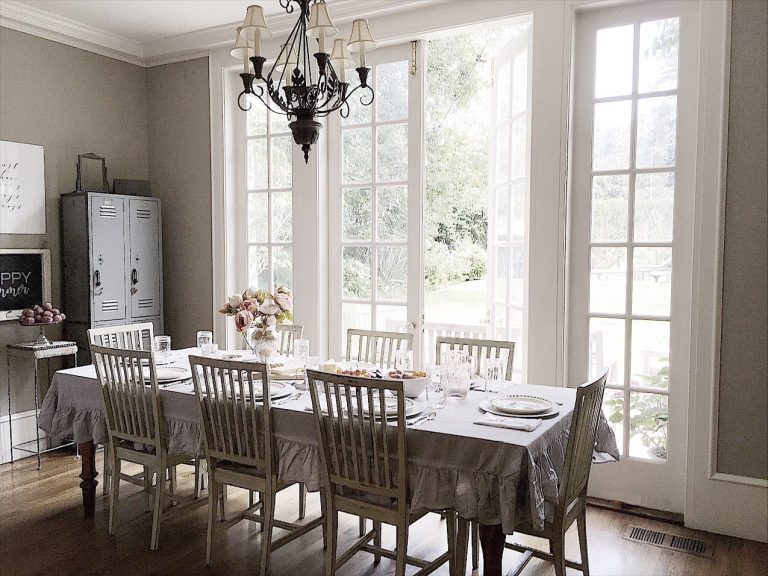
The shower was held on our back porch, where I set two long tables that comfortably seated our group of twenty. I started with beautiful tablecloths and napkins from the Cotton Print Club, which created a soft, elegant backdrop for the rest of the design. For the place settings, I alternated sets of pink and white plates I found on Amazon. The combination was cheerful and feminine, exactly the tone I wanted for a baby shower celebrating a little girl.
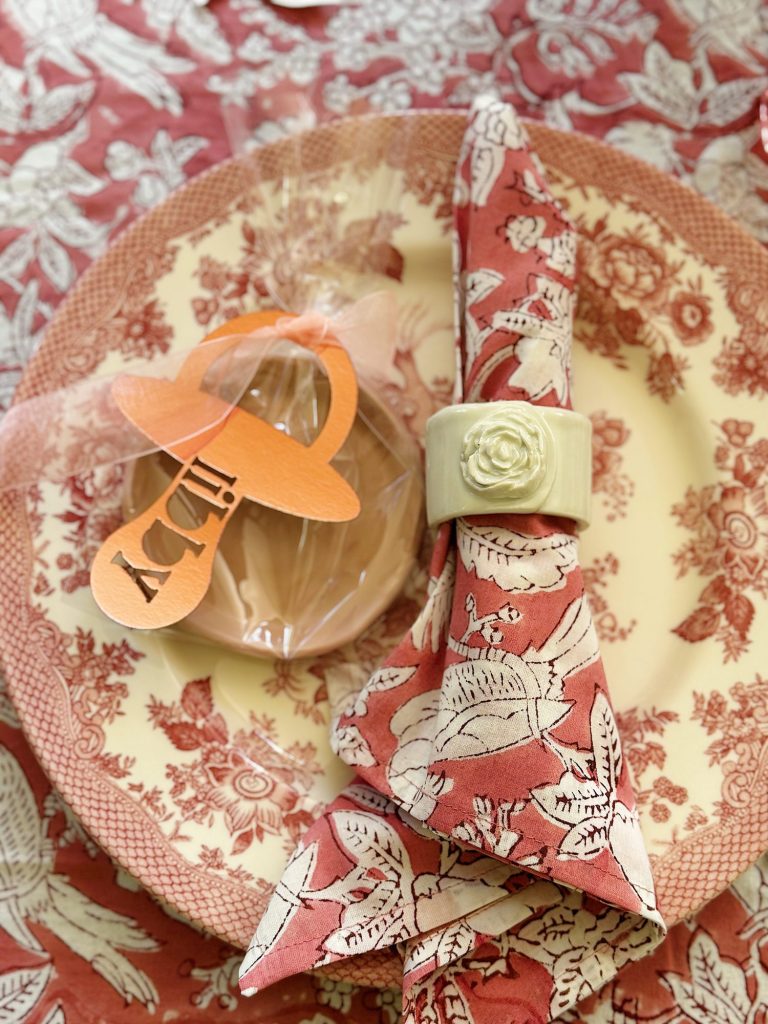

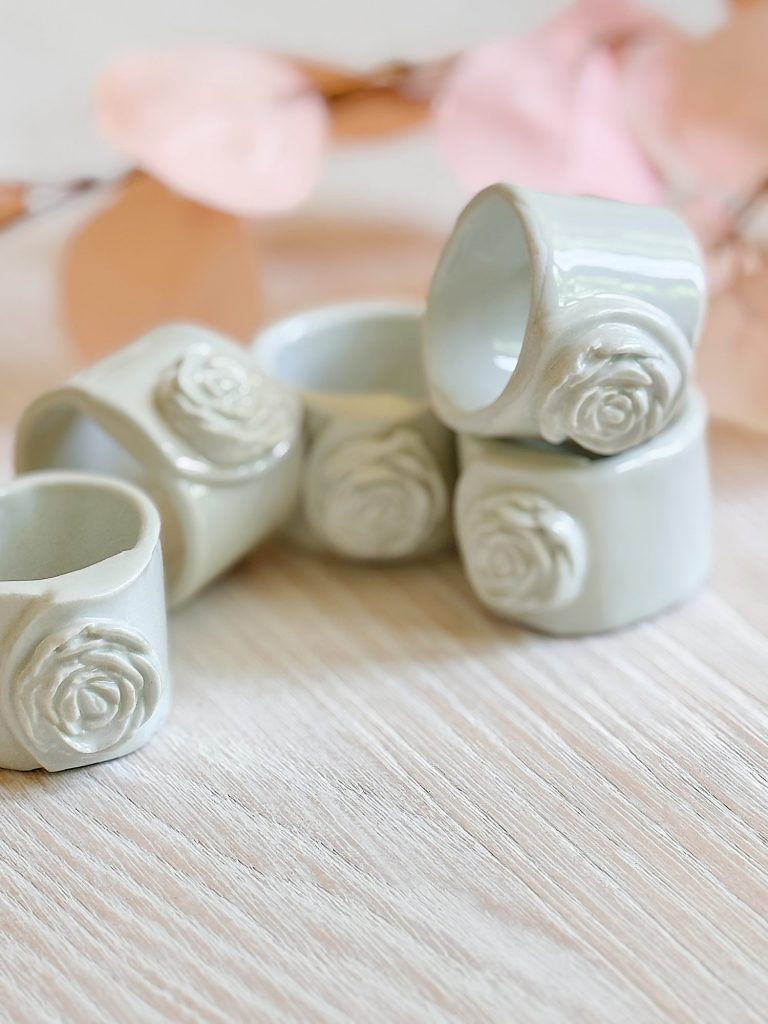
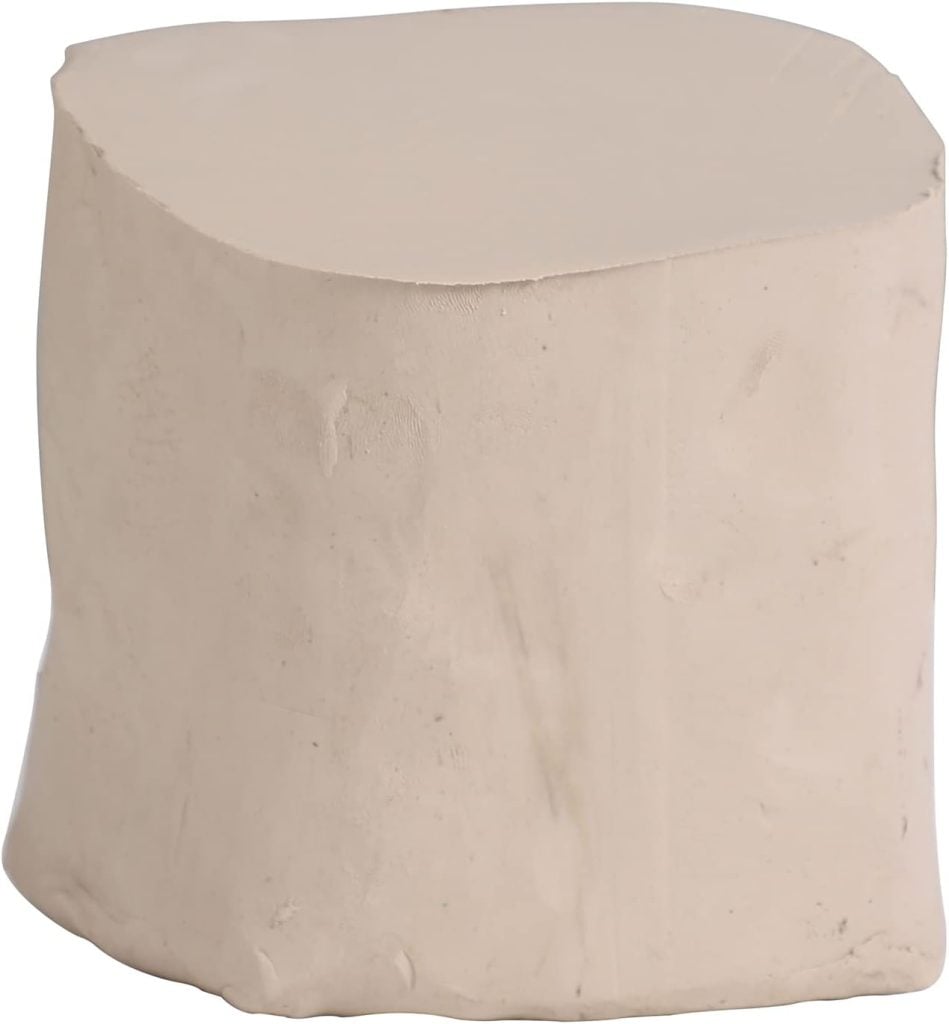
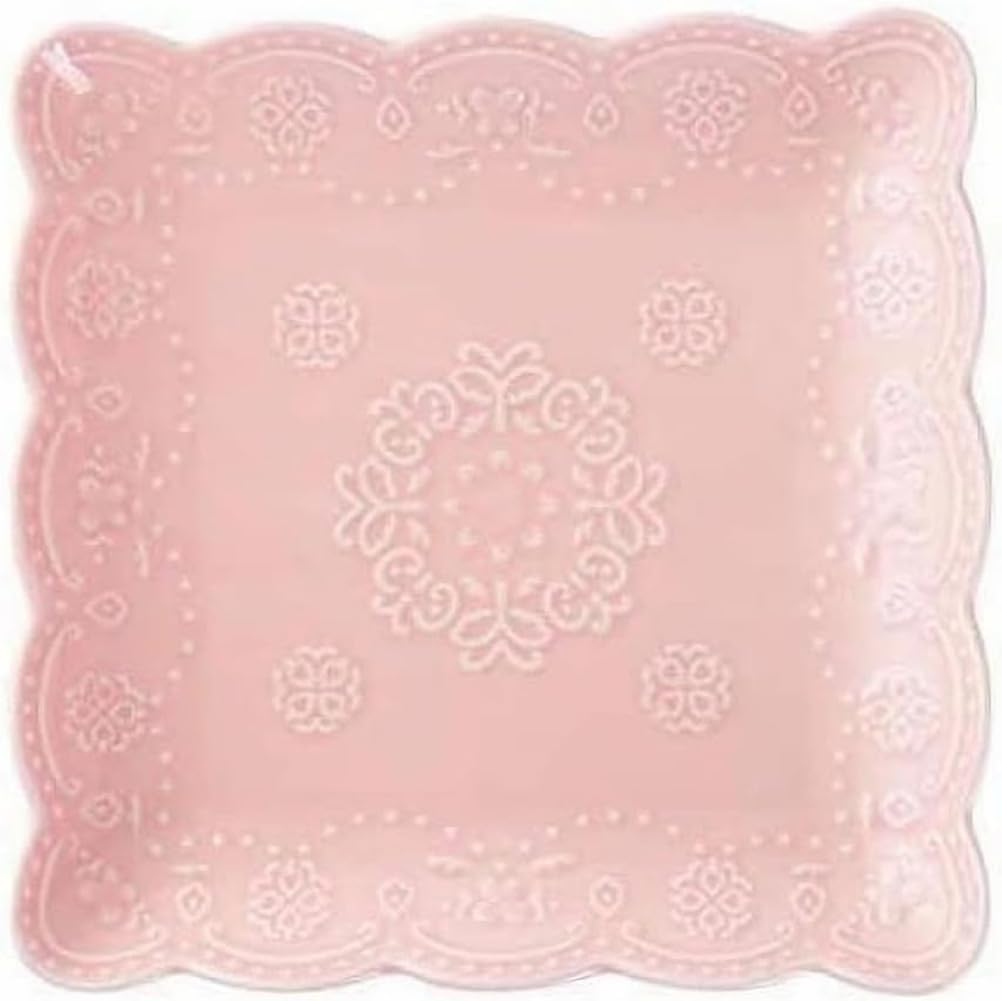
I added clay rose napkin rings that I made to tie everything together. Each place setting also included a small ceramic pink ring plate that I made as favors for everyone to take home. Creating these plates was a labor of love, and I took great pleasure in knowing that each guest would leave with a handmade keepsake from the day.
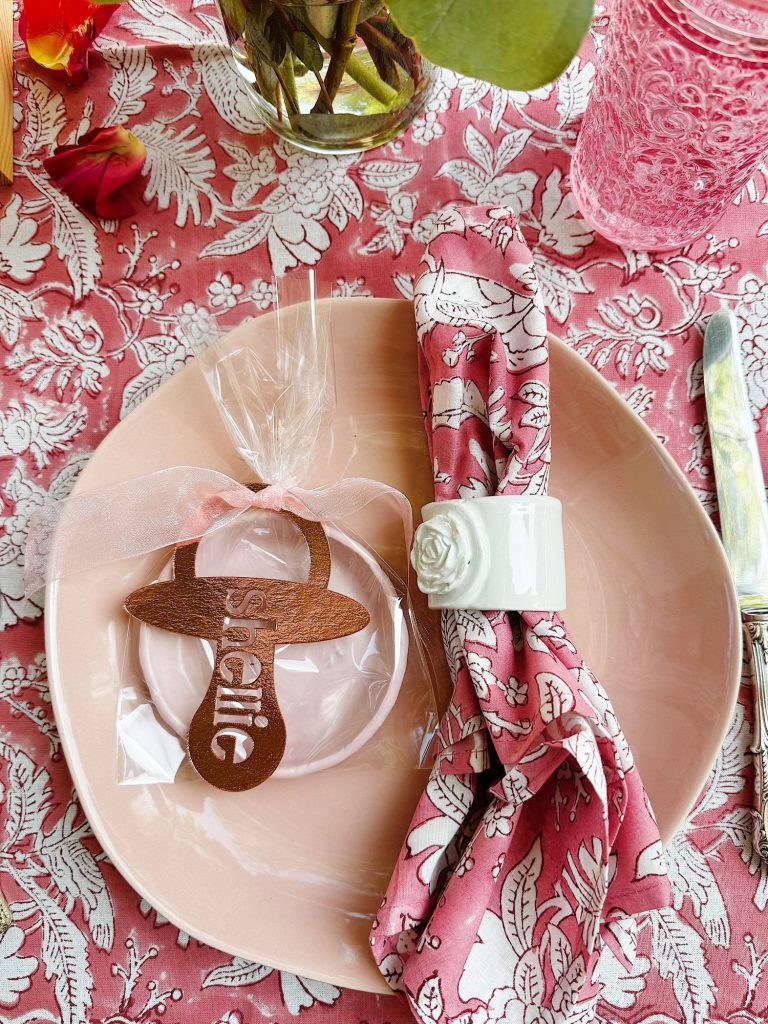
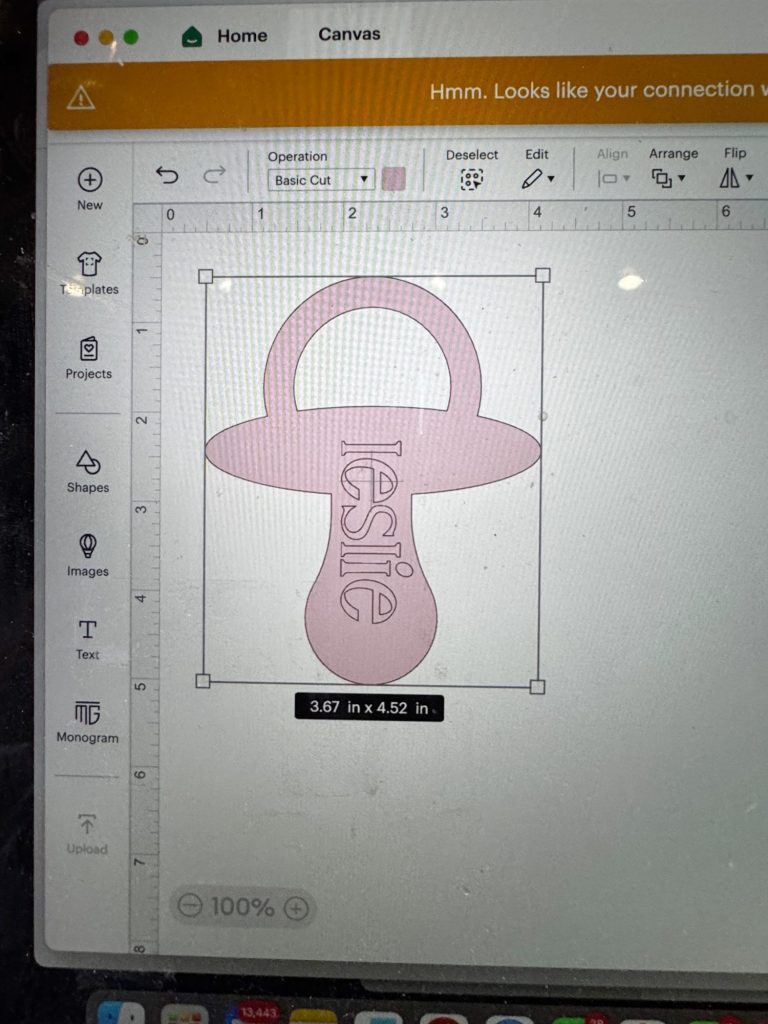
To finish the place settings, I made custom place cards using my Cricut machine. Each one was cut from cardstock in the shape of a pacifier and personalized with the guest’s name. It was such a fun detail, and I loved how whimsical and sweet they looked on the table.


On this blog, I may occasionally use affiliate links, which means I earn a small commission if you make a purchase through the link. The price will be the same whether you use the affiliate link or go directly to the vendor’s website using a non-affiliate link.

Flowers and Decor
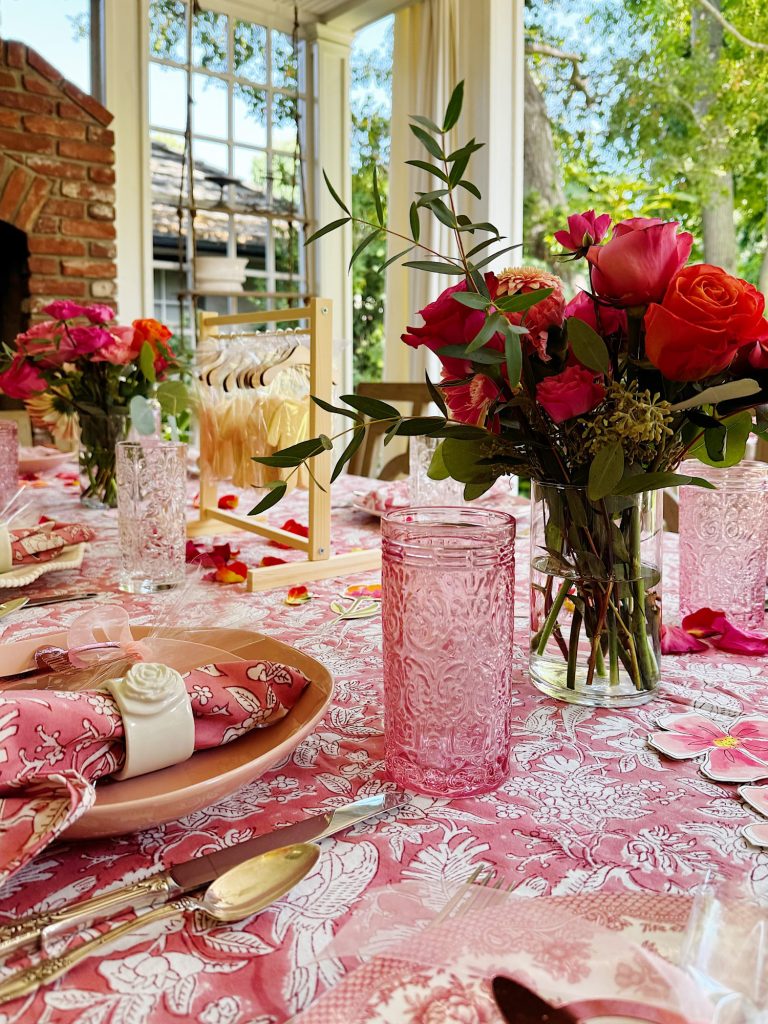
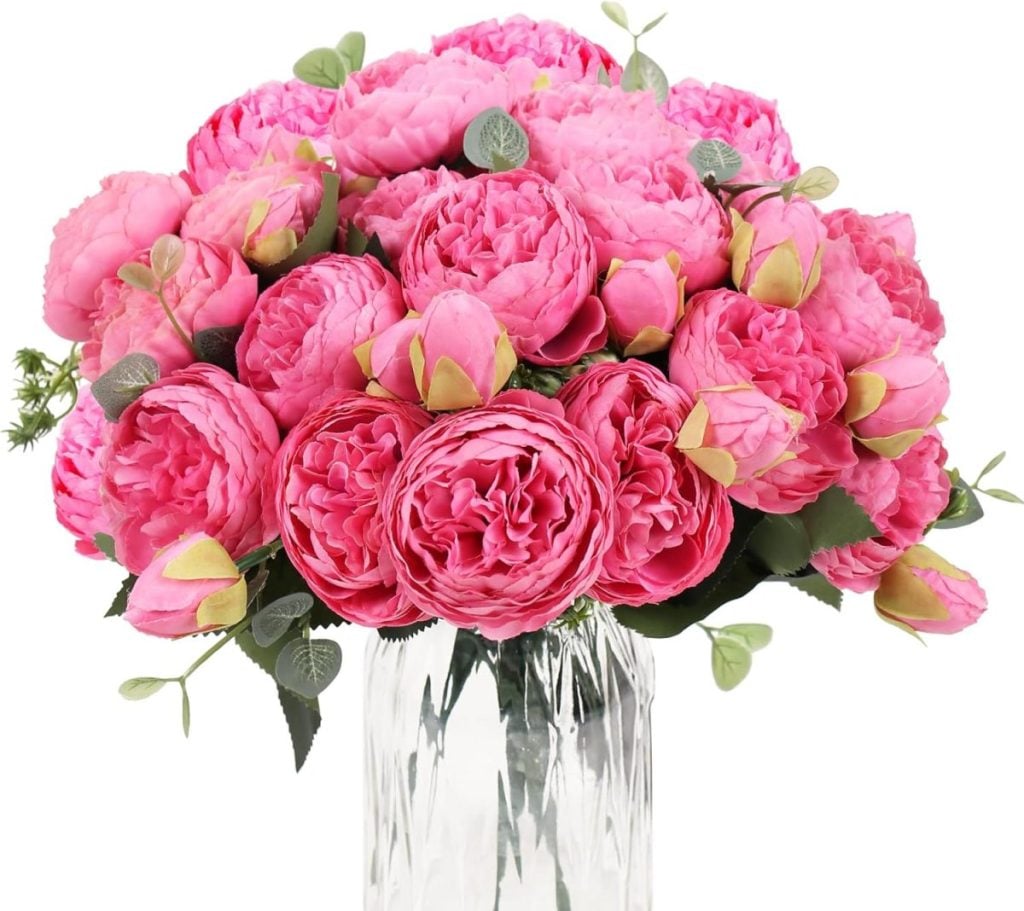
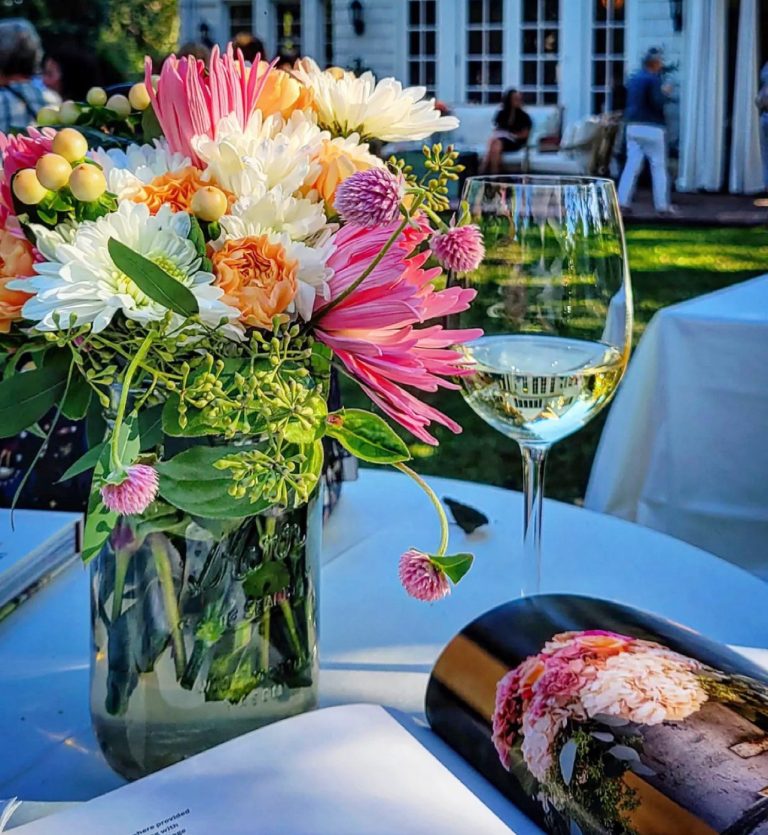
Flowers always set the mood for an event, and I wanted the baby shower to feel vibrant and joyful. I filled the tables with flowers from Trader Joe’s in shades of pink and orange. The arrangements were cheerful and perfectly captured the playful theme.
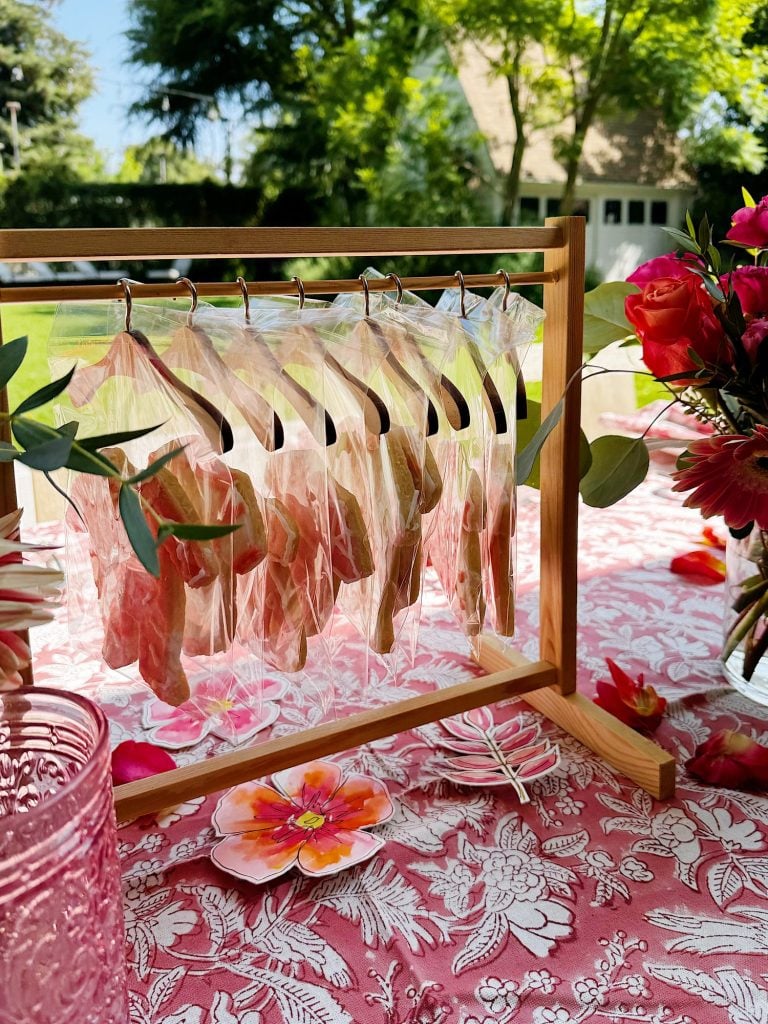
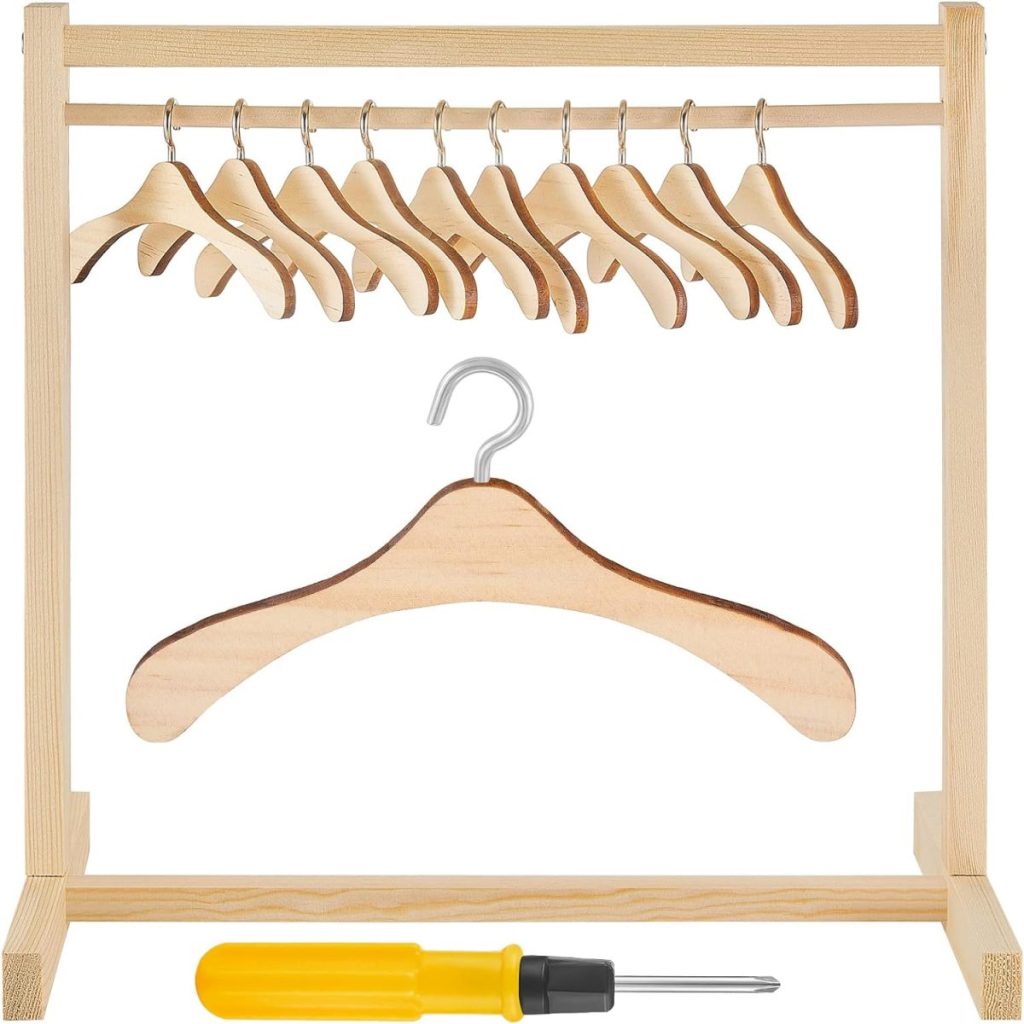
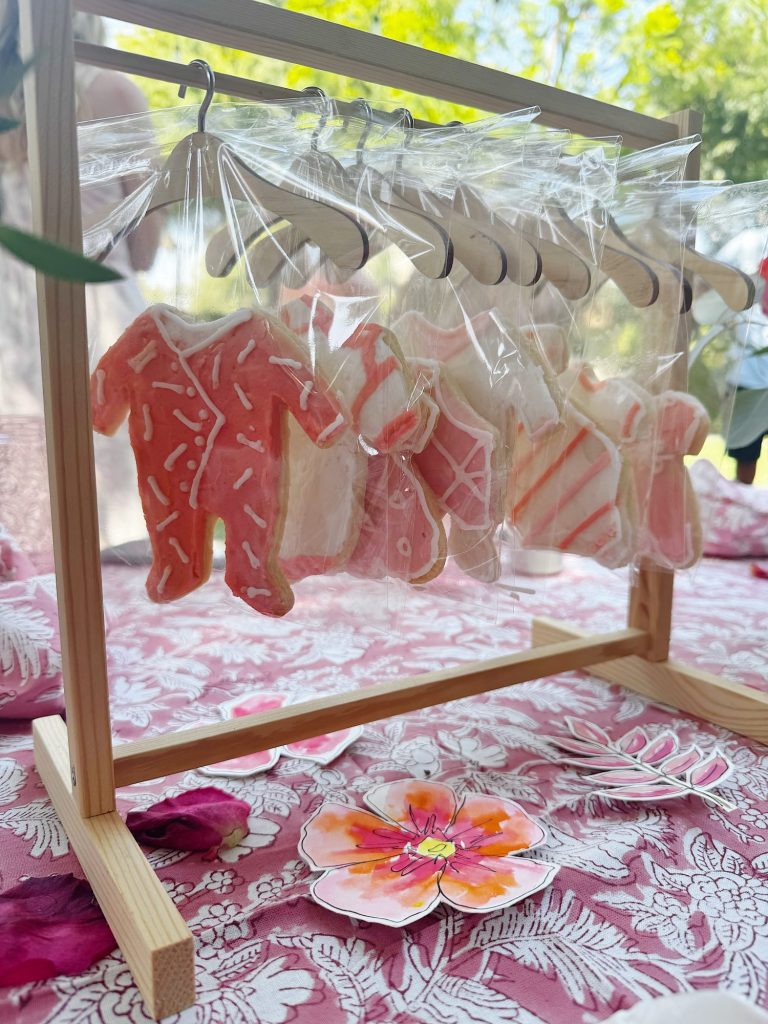
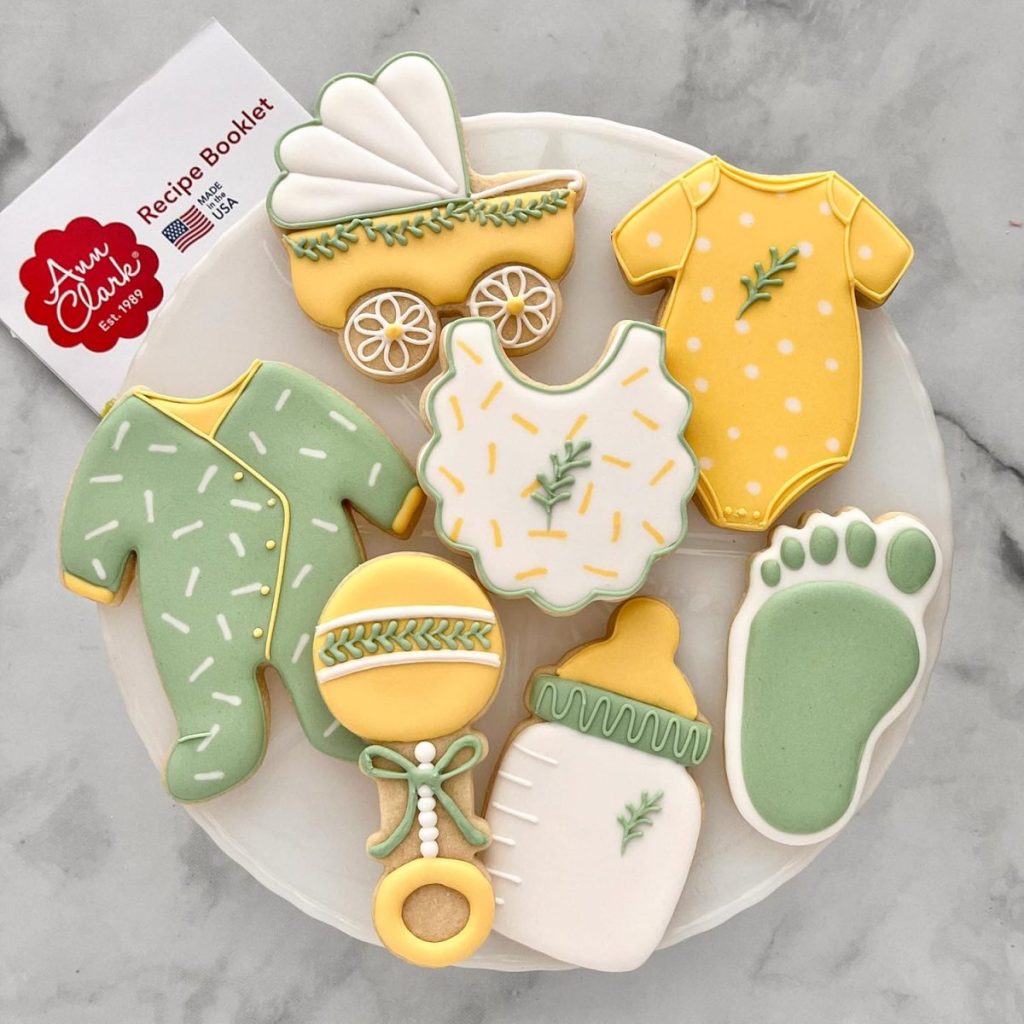
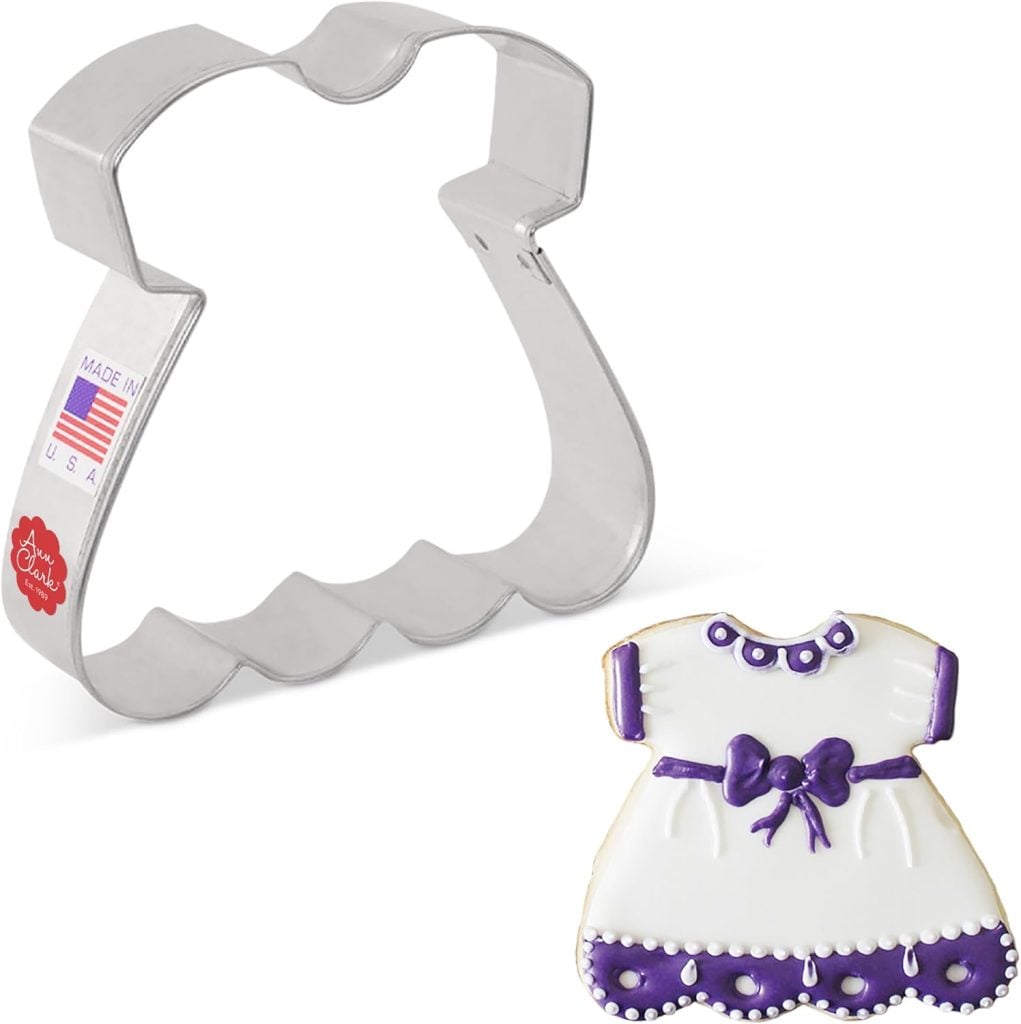
For the centerpieces, I used one of my favorite ideas: hanging doll clothes racks. I baked and decorated sugar cookies in the shape of baby girl clothing, including onesies, sleepers, and dresses. I bagged each cookie, hung them on mini wooden hangers, and displayed them on doll clothing racks. They were a big hit and became both a decoration and a sweet favor for guests to take home.
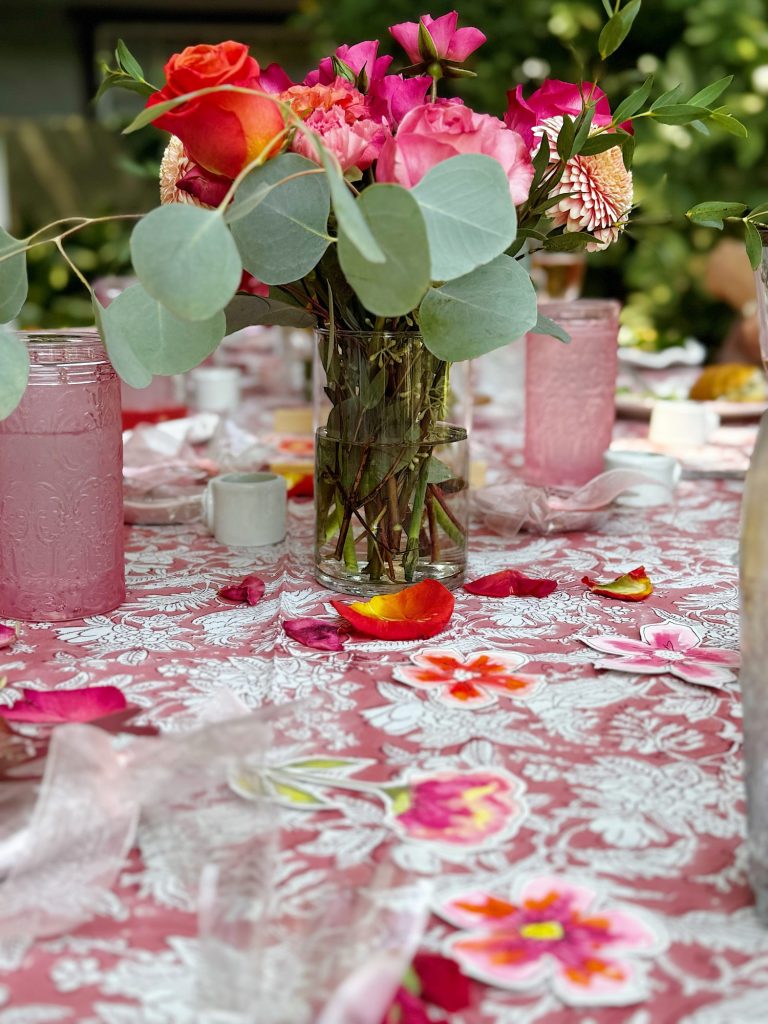
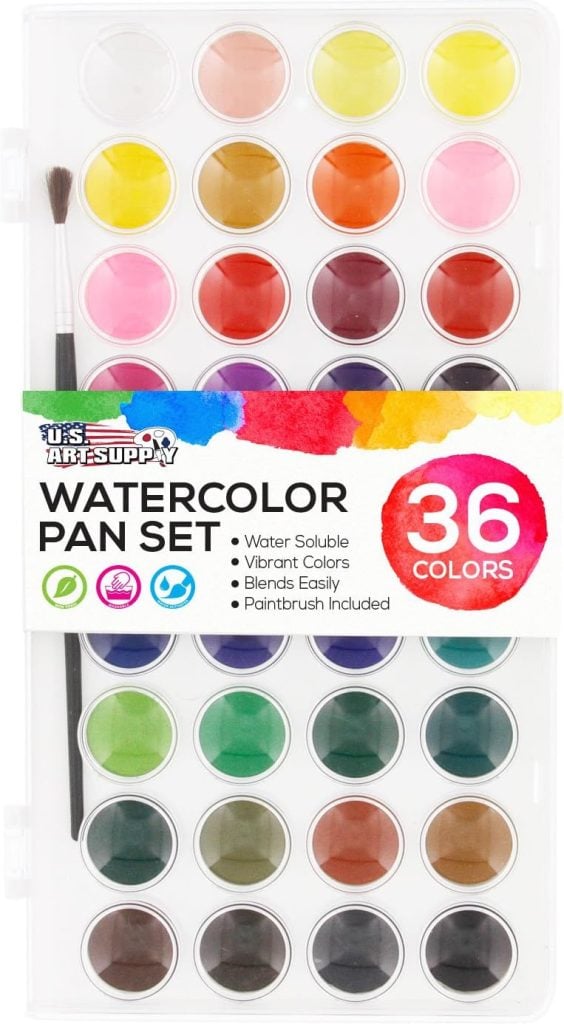
To add even more color and charm, I sprinkled the painted watercolor flowers I had made earlier this spring across the tables. These little hand-painted touches added a soft, artistic detail that tied everything together.

A Delicious Menu
When it comes to hosting, the menu is always one of my favorite parts to plan. For Ellie’s baby shower, I kept things light, colorful, and full of flavor.
Unfortunately, I was so busy getting the food ready that I forgot to take a single photo. Sorry!
We served Mini Chicken Salad Croissants, Chinese Chicken Salad, and what I call my “throw together salad” with arugula, strawberries, gorgonzola cheese, and candied almonds. This mix of savory and sweet was perfect for a warm afternoon and easy for guests to enjoy while chatting and celebrating.
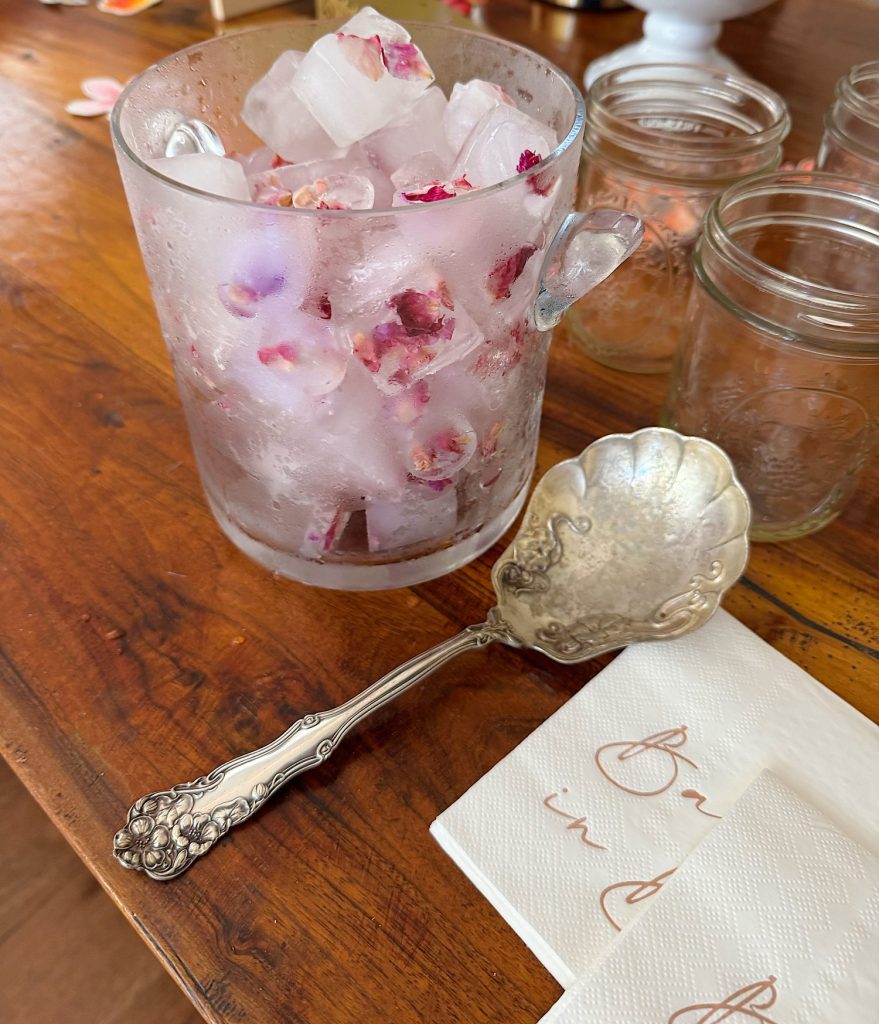
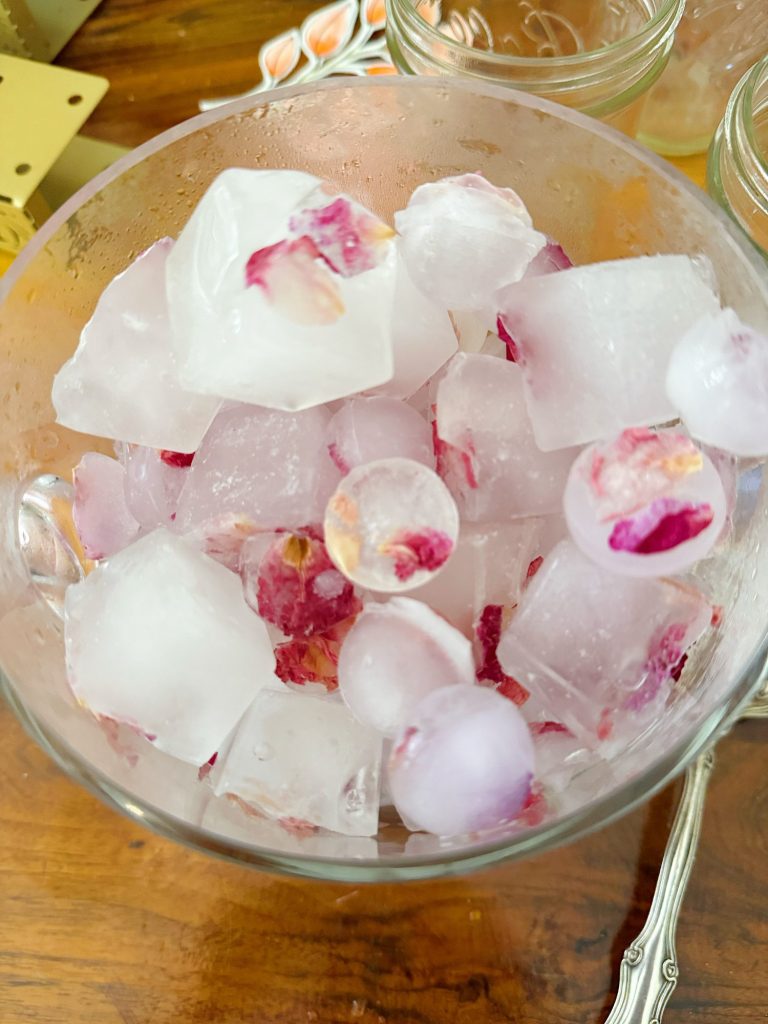
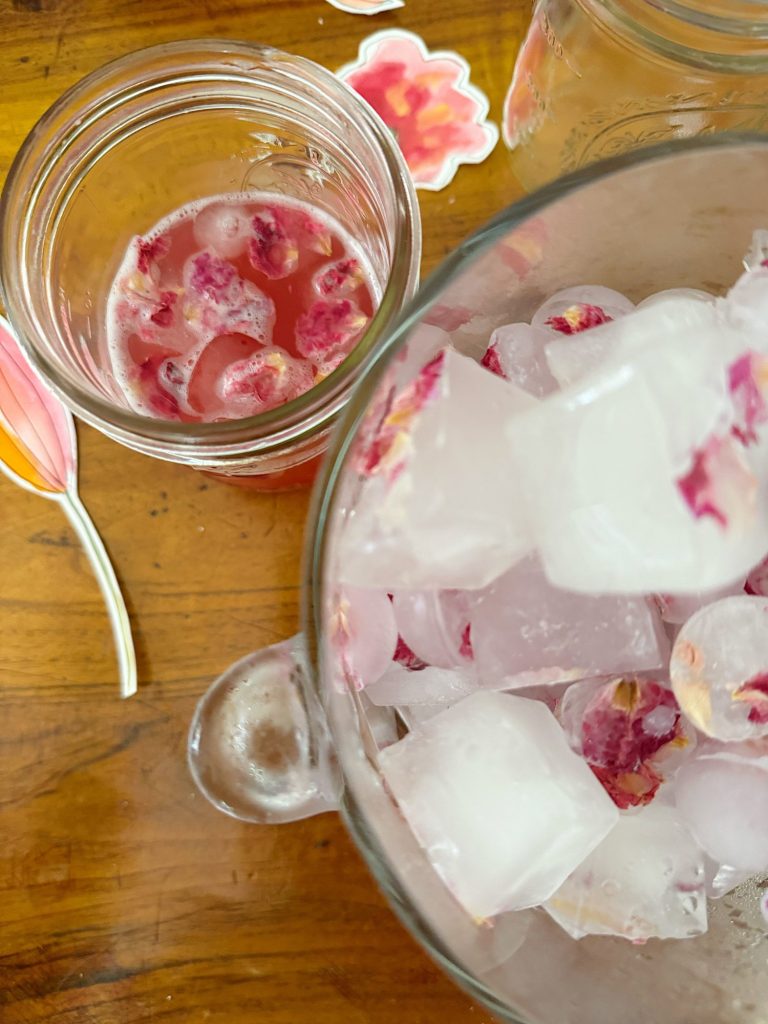
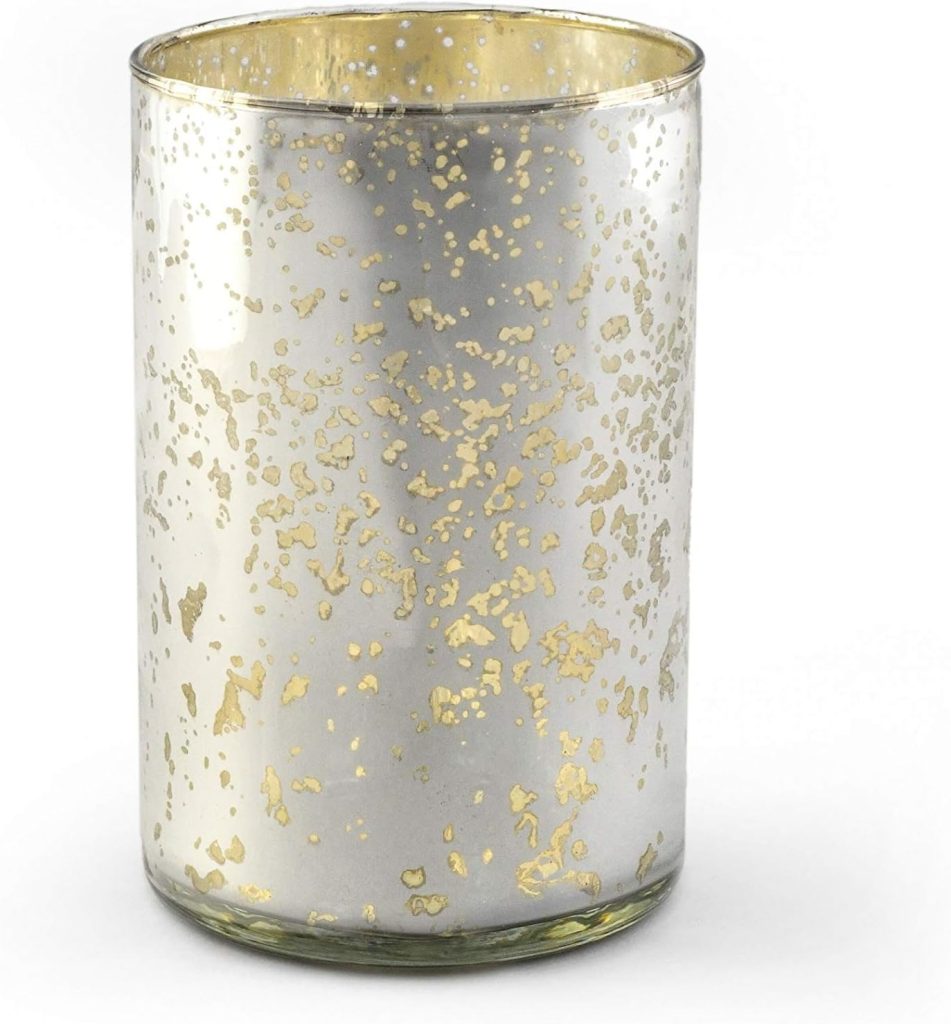
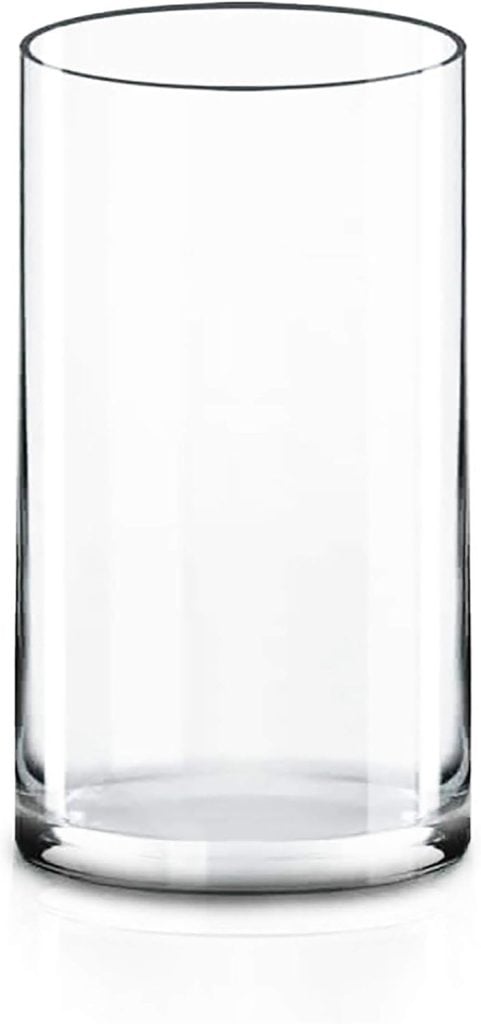
I also set up a separate table for beverages and desserts. For drinks, I served pink lemonades and prosecco, which were both festive and refreshing. To make things extra special, I froze ice cubes with dried rose petals inside. They looked beautiful in the glasses and made the drinks feel unique and celebratory.
Sweet Treats for Dessert
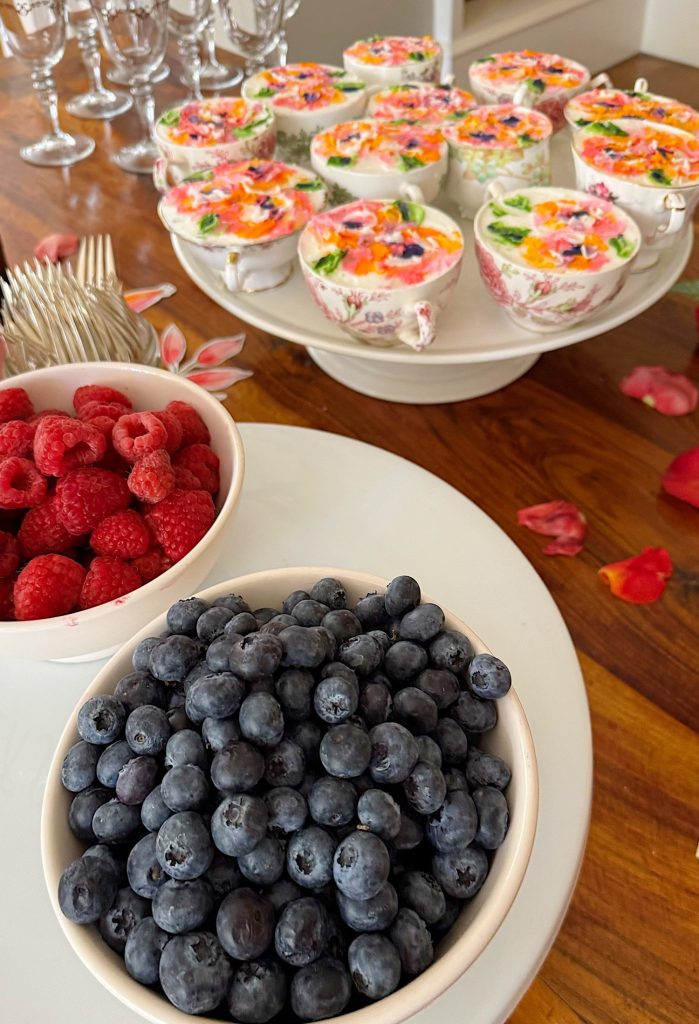
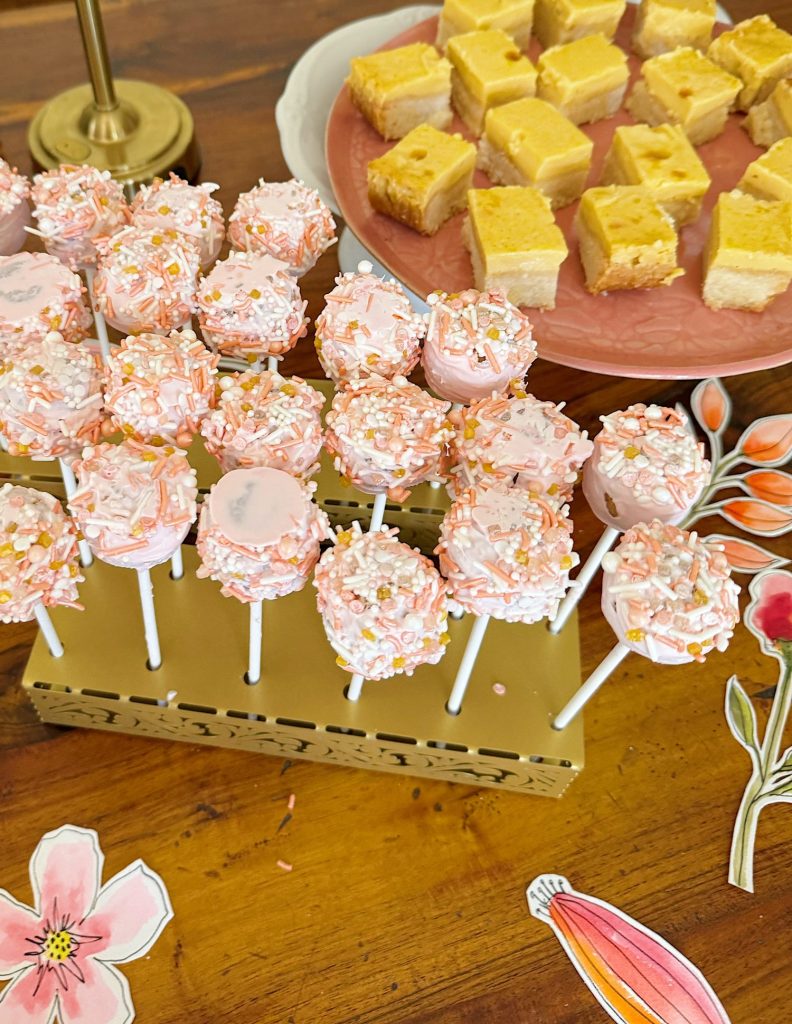
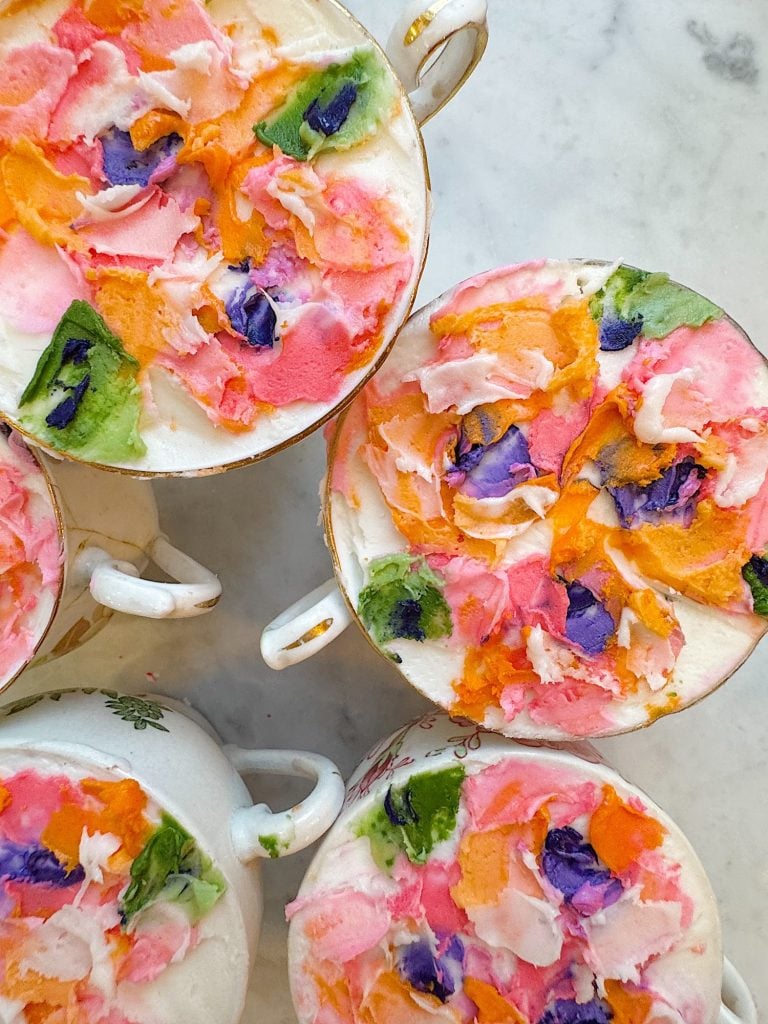
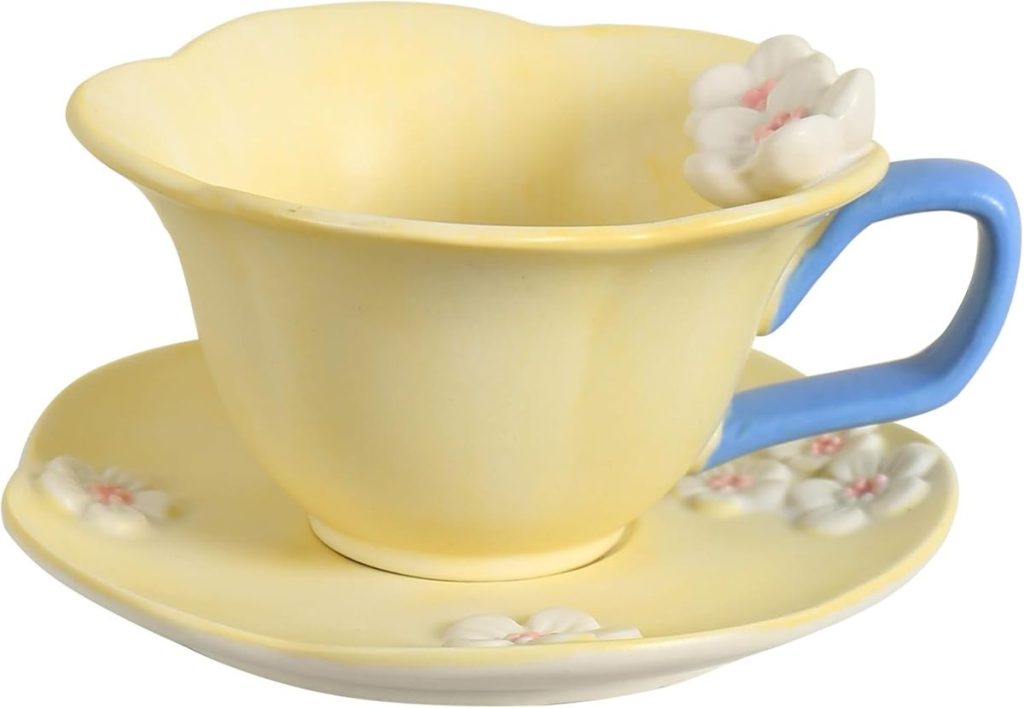
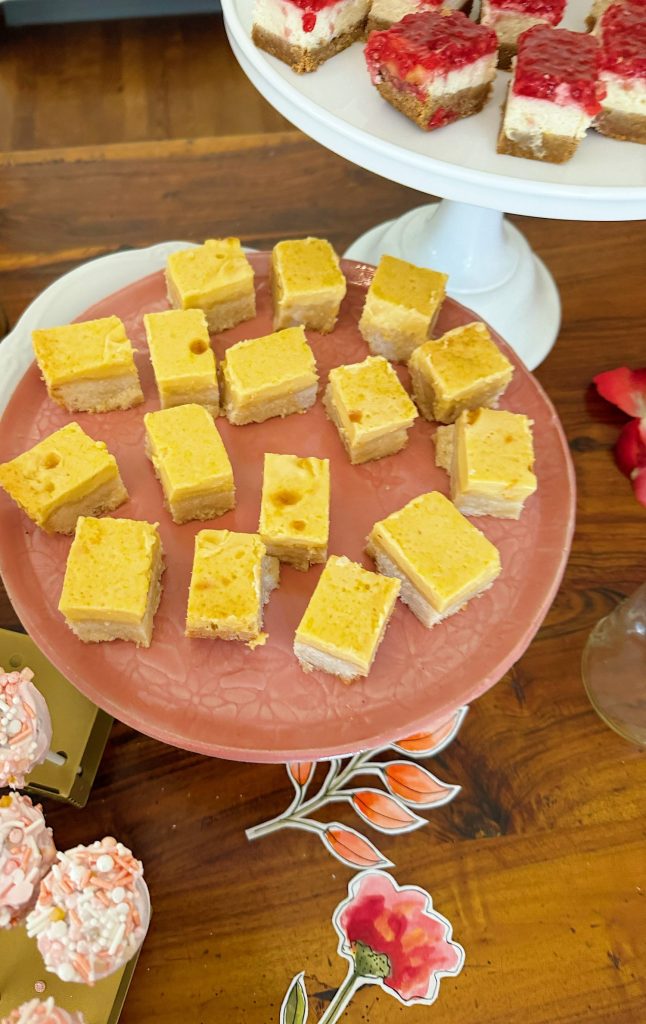
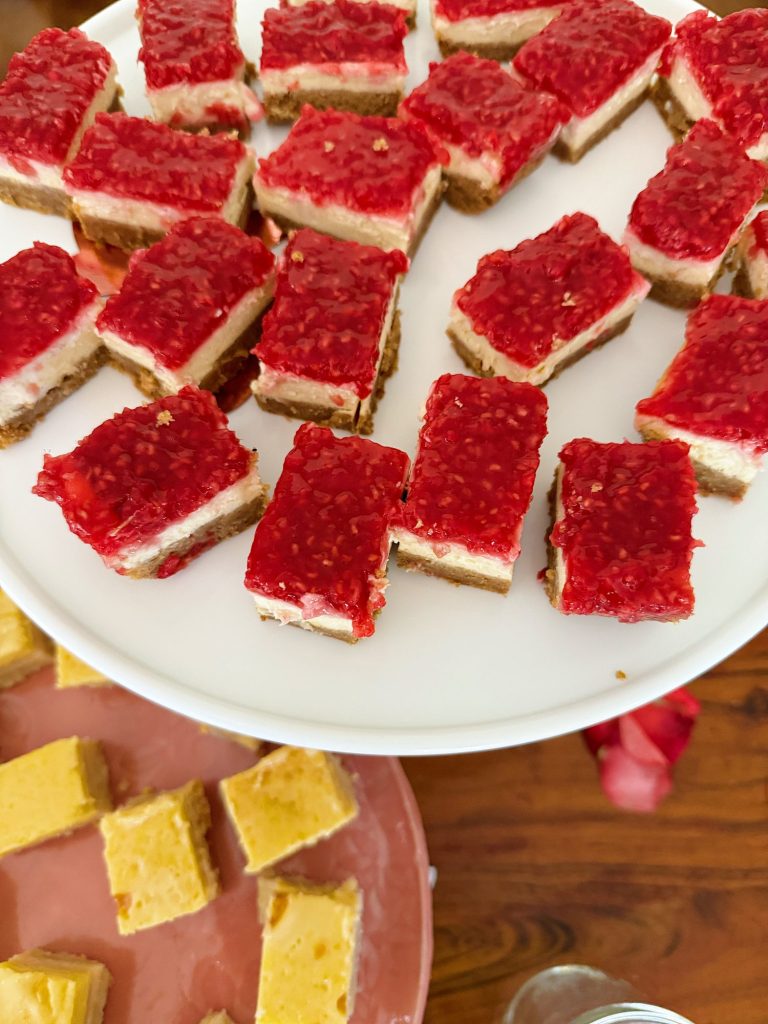
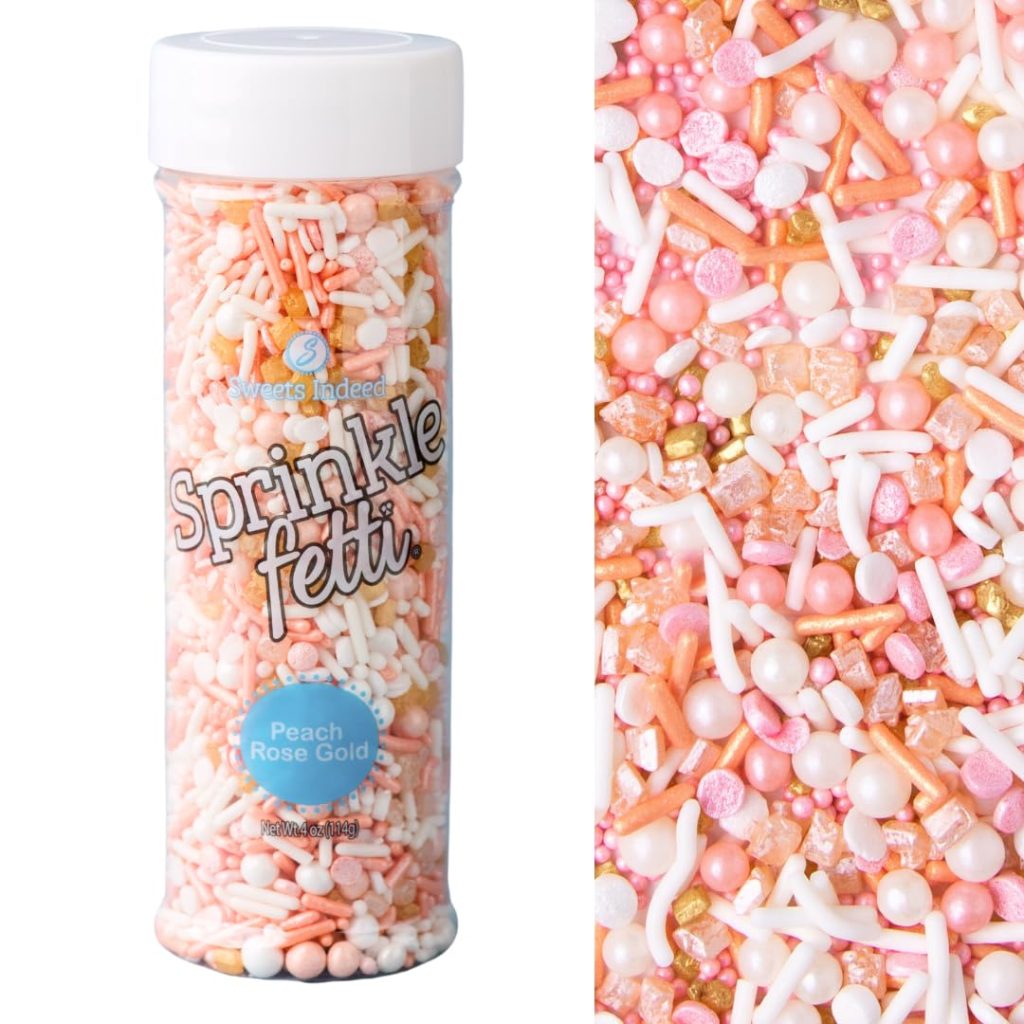
Desserts are always a highlight of any party, and this shower was no exception. The dessert table included my Floral Dessert Tea Cups, sugar cookies, fresh berries, homemade cake pops, raspberry cheesecake bars, and chai creamsicle bars. The variety meant there was something for everyone, and I loved seeing guests linger at the table, trying different treats and commenting on their favorites.
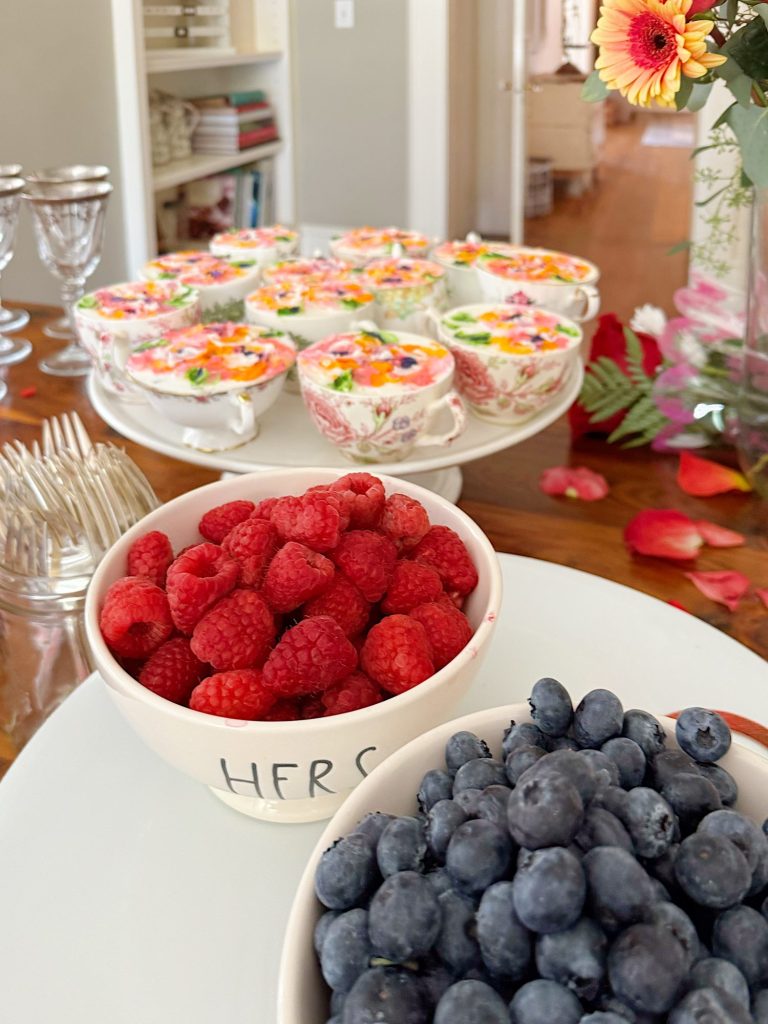
The Floral Dessert Tea Cups were a showstopper. These desserts are as pretty as they are delicious, and they add such a fun, whimsical touch to any gathering. To learn how to make them, go to The Cutest Floral Dessert Tea Cups.
The sugar cookies were a nod to my cookie centerpiece, and you likely remember the bridal version I made with wedding dress cookies. You can find my blog post about how to make this baby shower cookie centerpiece here and the bridal shower centerpiece here.
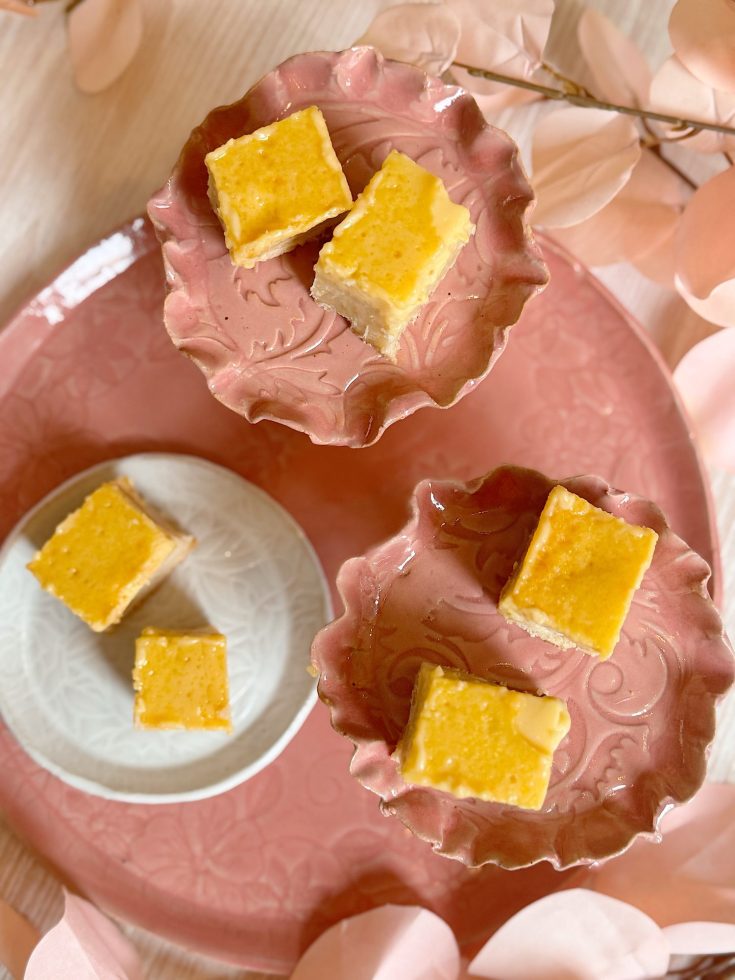
The chai creamsicle bars brought in a cozy, fall-inspired flavor, which was perfect for the season.
Chai Creamsicle Bars With Buttery Shortbread Crust
Ingredients
- Shortbread Crust
- 1 cup (2 sticks) unsalted butter, softened
- ½ cup granulated sugar
- 1 tsp vanilla extract
- 2 cups all-purpose flour
- ¼ tsp salt
- Chai Creamsicle Filling
- ½ cup heavy cream
- 2 chai tea bags
- Zest of 1 orange
- ½ cup fresh orange juice
- 1 can (14 oz) sweetened condensed milk
- 3 large egg yolks
Instructions
Shortbread Crust
- Prep Pan – Preheat oven to 350°F. Butter or line an 8×8-inch baking dish with parchment paper.
- Cream Butter & Sugar – Beat softened butter and sugar together until light and fluffy, about 2–3 minutes.
- Add Vanilla & Dry Ingredients – Mix in vanilla, then gradually add flour and salt until a soft dough forms.
- Press & Chill – Press dough evenly into the prepared pan. Chill in the refrigerator for 15–20 minutes.
- Bake – Bake for 28–35 minutes, or until edges are lightly golden. Cool before adding filling.
Chai Creamsicle Filling
- Infuse Cream – Warm the heavy cream in a small saucepan until just steaming. Remove from heat, add chai tea bags, and steep for 10 minutes. Remove tea bags and let cream cool slightly.
- Mix Filling – In a medium bowl, whisk together orange zest, orange juice, condensed milk, and egg yolks until smooth. Slowly whisk in the chai-infused cream.
- Bake – Pour filling over cooled shortbread crust. Bake at 350°F for 25–30 minutes, or until the center is just set (a slight jiggle is fine).
- Cool & Chill – Let bars cool completely, then refrigerate for at least 2 hours before cutting into squares.

The Raspberry Cheesecake Bars were not only visually appealing but also tasted fantastic.
Raspberry Cheesecake Bars

Ingredients
- Raspberry Preserves:
- 1 Cup Raspberries
- 1/3 Cup Granulated Sugar
- 1 Tablespoon Cornstarch
- 1 Tablespoon Fresh Squeezed Lemon Juice
- Graham Cracker Crust:
- 11/2 Cups Graham Crocker Crumbs
- 2 Tablespoons Granulated Sugar
- 3/4 Cup Salted Butter
- Cream Cheese Filling:
- 8 Ounces Cream Cheese, softened
- 1/3 Cup Granulated Sugar
- 1/3 Cup Heavy Cream
- 1 Egg
- 2 Teaspoons Pure Vanilla Extract
Instructions
To make the preserves: In a medium-sized saucepan, add all of the ingredients for the raspberry preserves over medium heat. Using a potato masher, mash the fruit until small chunks remain. Stir frequently to prevent burning. Preserves will thicken in about 3 to 5 minutes. Remove from the heat and place them in a bowl to chill in the refrigerator.
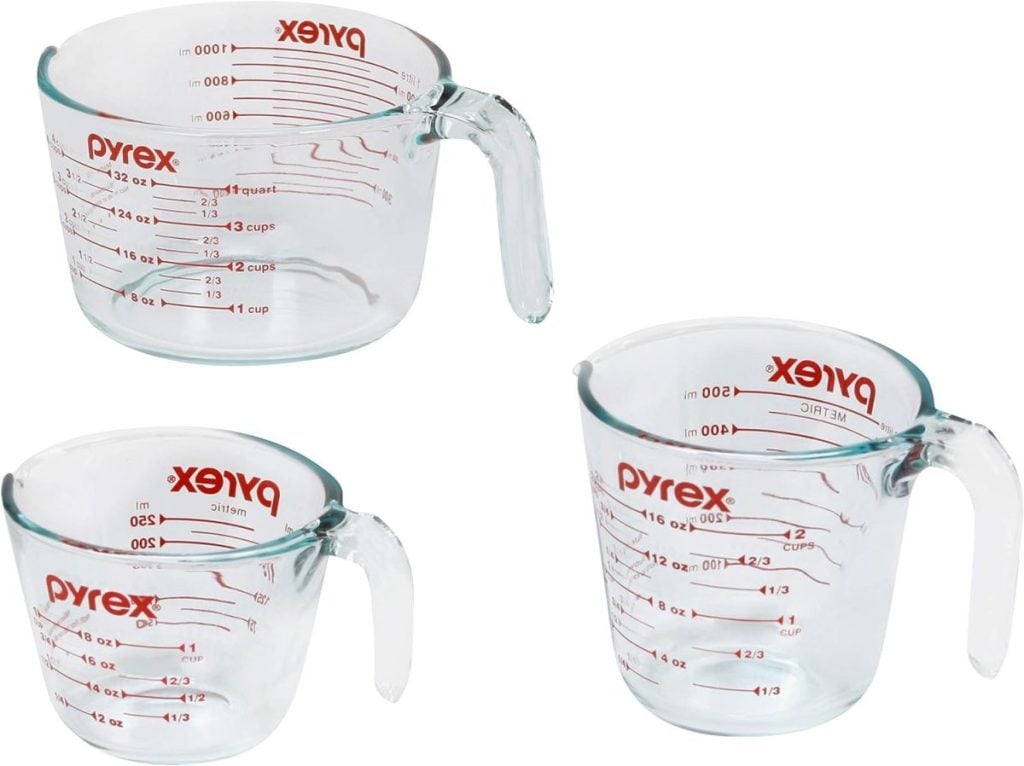
To make the crust: Melt the butter in a small microwave-safe bowl for about 30 seconds. Combine crumbs, butter, and sugar in a bowl until combined. Press firmly into a parchment-lined baking pan. Use the back side of a measuring cup to ensure the sides and bottom of the crust are firmly packed. Set aside.
To make the filling: Place the cream cheese in a bowl and blend by hand or with a mixer until smooth, about 30 seconds. Add the remaining ingredients and mix until smooth, about 1 minute. Pour mixture into prepared crust.
Bake at 350°F for 20-25 minutes, or until the crust is golden and the filling appears mostly set. It will be slightly jiggly in the center, but it will firm up as it cools.
Allow to cool for 20 minutes on the counter or in the refrigerator. Spread the raspberry preserves evenly over the cheesecake, then gently spoon the mixture over the top. Place in the fridge to cool completely. Store covered in the refrigerator for up to three days.
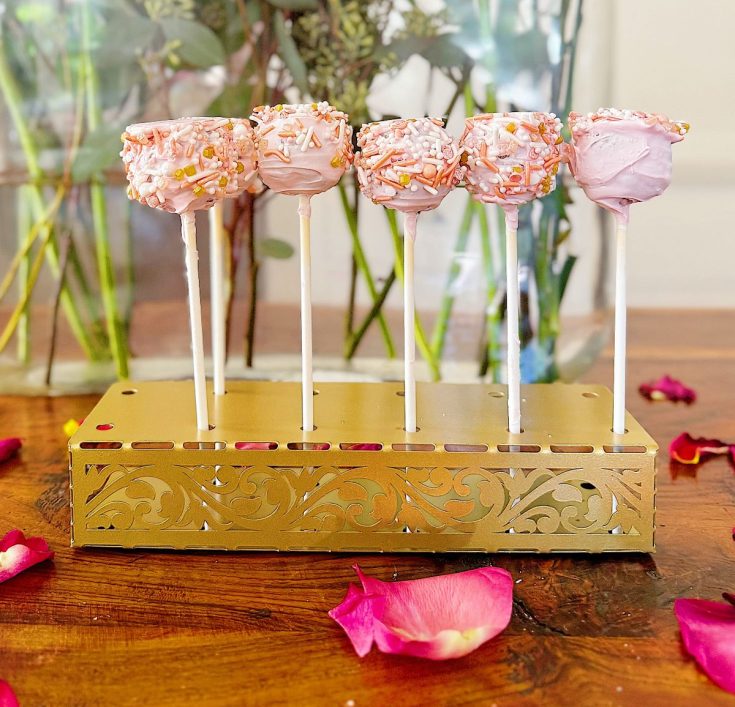
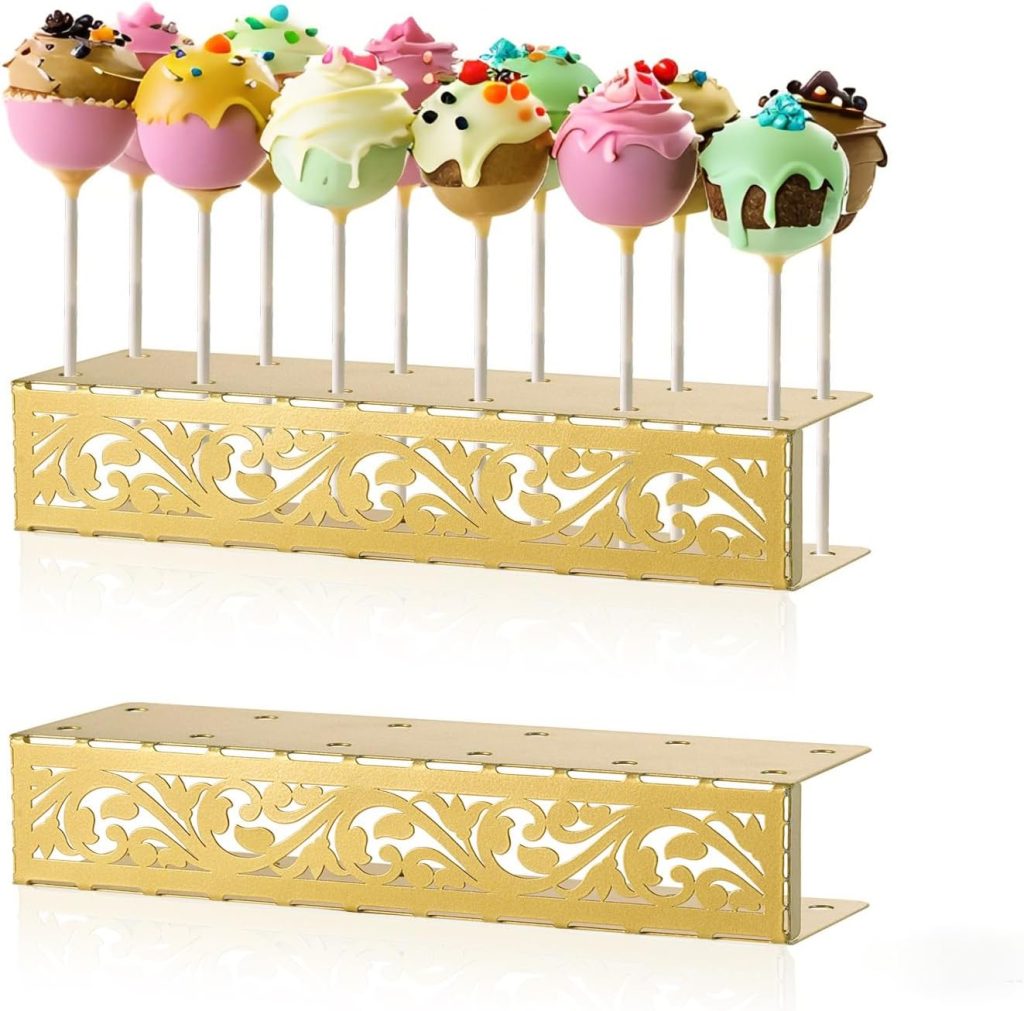
And, the Cake Pops were fun to make and eat. I cannot believe this was my first attempt at making them. They are so easy!
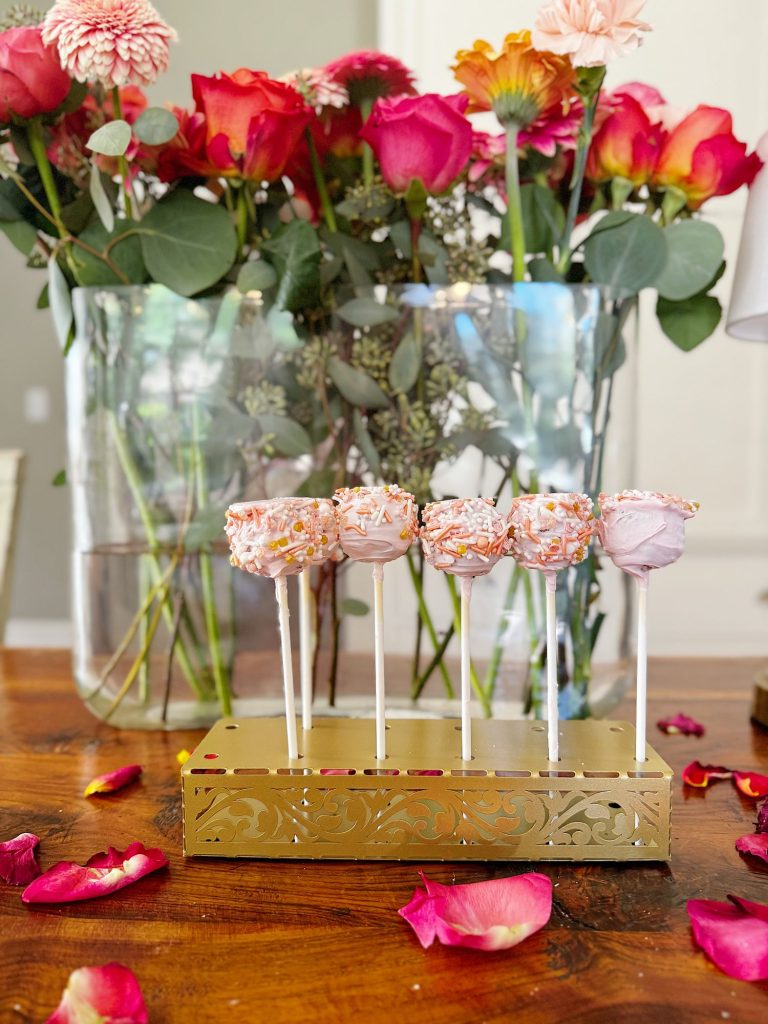
Homemade Sprinkled Cake Pops
Ingredients
- For the Cake
- 1 ½ cups all-purpose flour
- 1 ½ tsp baking powder
- ½ tsp baking soda
- ¼ tsp salt
- ½ cup unsalted butter, softened
- 1 cup granulated sugar
- 2 large eggs, room temperature
- 2 tsp vanilla extract
- ½ cup buttermilk (or milk with 1 tsp vinegar, let sit 5 minutes)
- For the Frosting (to bind the cake crumbs)
- ½ cup unsalted butter, softened
- 1 ½ cups powdered sugar
- 1–2 tbsp heavy cream or milk
- 1 tsp vanilla extract
- For Coating & Decorating
- 12–16 oz candy melts (any color you like)
- 1–2 tbsp vegetable shortening or coconut oil (helps thin the melts)
- Sprinkles of your choice
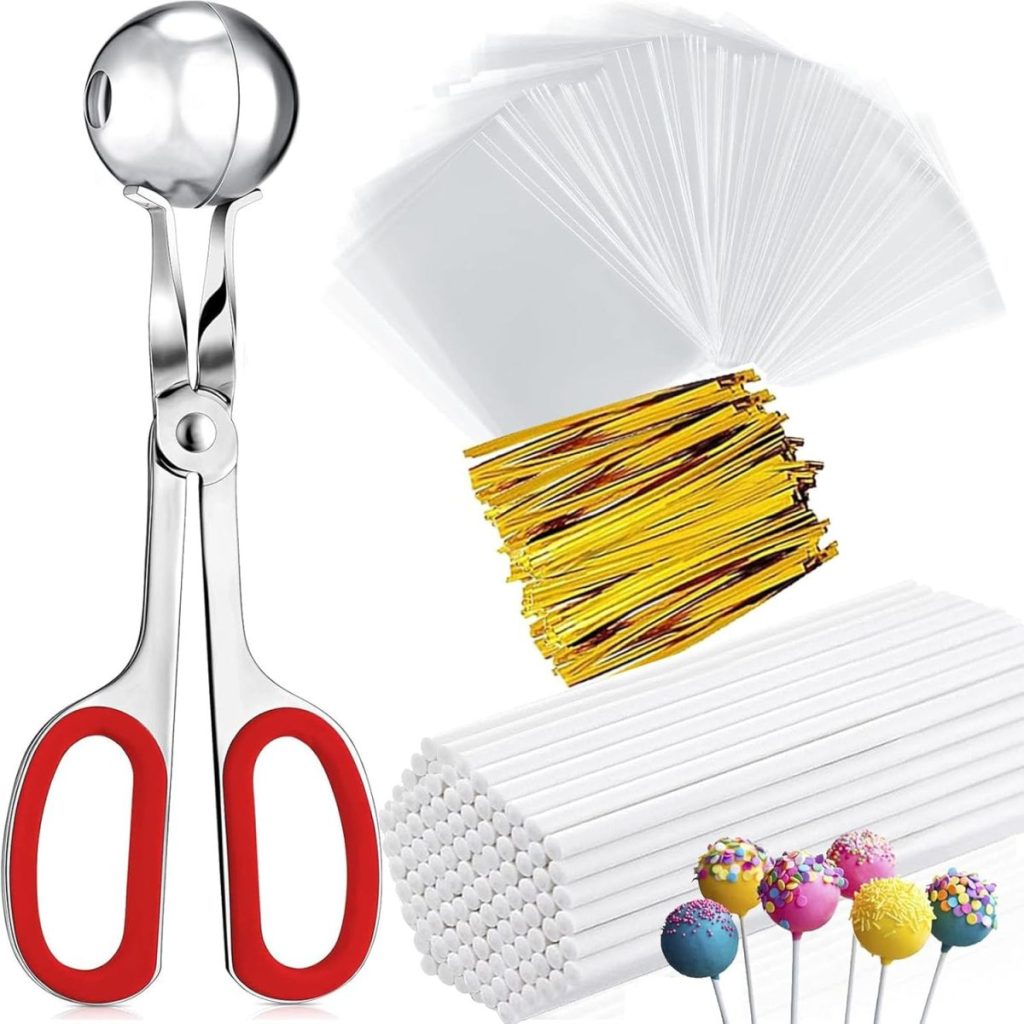
- Lollipop sticks
Instructions
Bake the Cake
1. Preheat oven to 350°F (175°C). Grease and flour an 8-inch round or square pan.
2. In a medium bowl, whisk together flour, baking powder, baking soda, and salt.
3. In a large bowl, beat butter and sugar until light and fluffy.
4. Add eggs one at a time, mixing well. Stir in vanilla.
5. Alternate adding dry ingredients and buttermilk, beginning and ending with dry. Mix until just combined.
6. Pour batter into the prepared pan and bake for 28–32 minutes, or until a toothpick comes out clean.
7. Cool completely.
Make the Frosting
1. In a bowl, beat butter until smooth.
2. Gradually add powdered sugar, milk/cream, and vanilla until creamy and spreadable.
Crumble and Bind
1. Once the cake has cooled, crumble it finely into a large bowl.
2. Add ¼ to ½ cup frosting and mix with a spatula (or hands) until the mixture holds together like cookie dough. Add more frosting only if needed.
Shape the Cake Pops
1. Roll cake mixture into 1 ½-inch balls and place on a parchment-lined baking sheet.
2. Chill in the fridge for at least 1 hour (or 20 minutes in the freezer).
Coat with Candy Melts
1. Melt candy melts in a microwave-safe bowl in 30-second intervals, stirring between, until smooth. Add shortening if too thick.
2. Dip the tip of each lollipop stick into the melted candy, then insert it halfway into a cake ball (this helps it stay on the stick).
3. Dip the entire cake ball into the melted candy, turning to coat evenly. Gently tap off excess coating.
Decorate
1. Immediately sprinkle with your choice of sprinkles while the coating is still wet.
2. Place upright in a cake pop stand or a block of styrofoam to set.
The Joy of Celebrating
Beyond the flowers, the food, and the decor, what made this day so special was the people. Twenty women gathered together to celebrate Ellie, and the energy in the room was full of laughter, excitement, and love. There is something genuinely moving about being surrounded by family and friends who are all eager to welcome a new life.
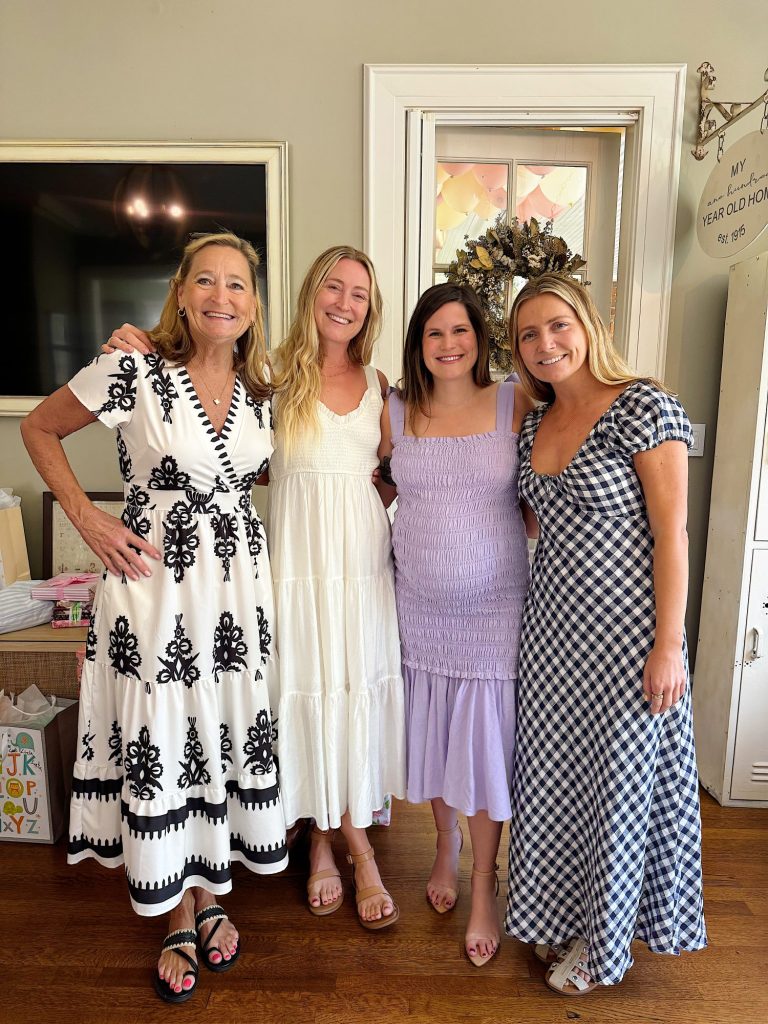
As we celebrated Ellie and the baby, I couldn’t help but think about how lucky we are. Having the chance to gather together, share in the joy of a new grandchild, and create memories that we will cherish forever is such a gift.
A Full-Circle Moment
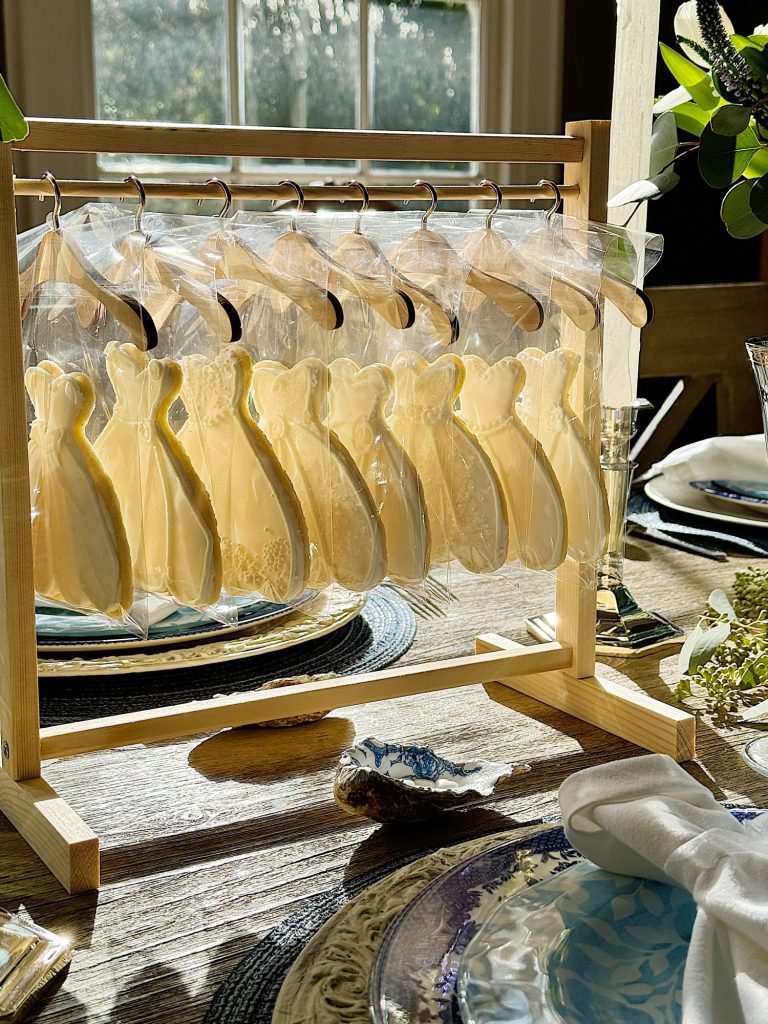
Planning Ellie’s baby shower was also special because it reminded me of her bridal shower just a year ago. For that celebration, I used the same cookie rack display, but with cookies shaped like bridal gowns. It felt full-circle to use the same idea again, this time with baby clothing cookies. It was a sweet way to honor the different seasons of life and celebrate how much has changed in just one year.
Final Thoughts
As I looked around during the shower, I felt a deep sense of gratitude. Grateful for Ellie, for Michael, for the baby we’ll soon meet, and for the chance to celebrate these milestones as a family. Hosting this shower was more than just setting tables and baking desserts. It was about creating a space where love and joy could be felt in every detail.
I am so excited for the months ahead as we prepare to welcome our granddaughter. If this baby shower was any indication, she is already so loved and celebrated. This day was one I will never forget, and I’m happy I could play a role in making it as beautiful and special as possible.
If you enjoy my blog, you can sign up to receive my updates here.
.
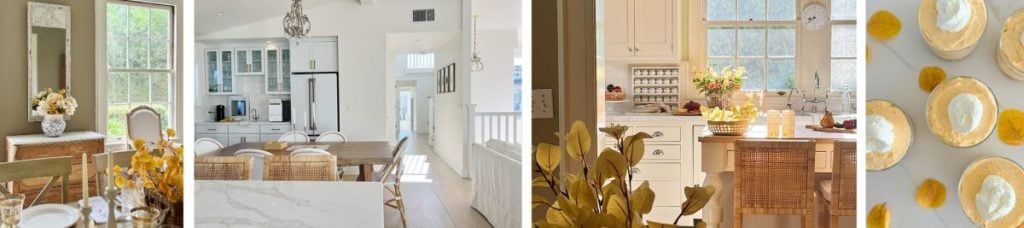
Latest Posts
-
Best Easter Brunch Egg Dish: Loaded French Onion Frittata
Easter brunch is one of those special meals where the table is complete, the laughter is loud, and the food is nothing short of spectacular. If you want to wow your guests with something savory, cheesy, and unforgettable, let me introduce you to your new Easter brunch hero: a Loaded French Onion Frittata.
-
The Best Spring Pillow DIY – A Handmade Spring
There are certain projects that start as an idea and quietly turn into something you love far more than you expected, and this Spring pillow is exactly that. As part of my A Handmade Spring series, I wanted to create something soft, beautiful, and full of texture, and this pillow checked every box. This pillow…
-
DIY Clay and Metallic Foil Easter Eggs
With Easter just around the corner this week, I decided to create something special and truly unique for my spring décor … handmade clay and metallic foil Easter eggs. These little works of art are soft, pastel, and subtly shimmery, and they’re a beautiful way to add a handmade touch to your Easter celebrations. While…
-
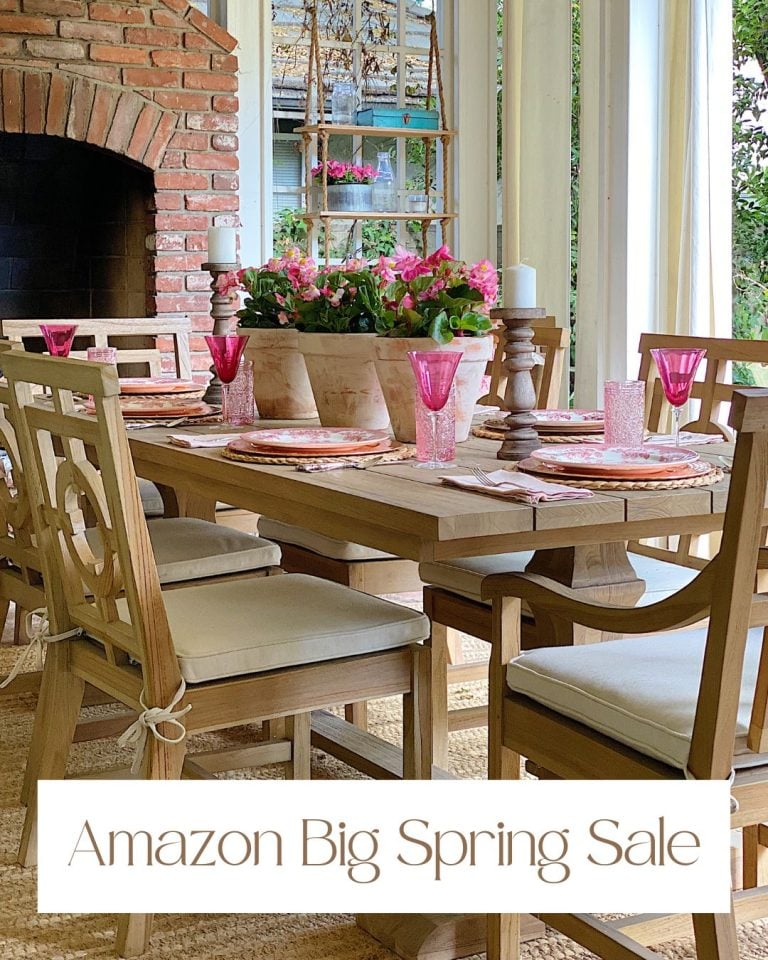
The Amazon Big Spring Sale is Here!
The Amazon Big Spring Sale is here! It runs from March 25th (today) through March 31st, and here are some of the best Amazon Deals ever! There are millions of deals available, and today I will help you find the best ones for everything you need. Now is the perfect time to shop for Spring.


My Recent Instagram Posts

You can pin the image below to your boards on Pinterest (click the Pin button in the top left corner) or follow me on Pinterest!
For more real-time updates, follow me on Instagram @My100YearOldHome
