Burlap Christmas Tree Garland
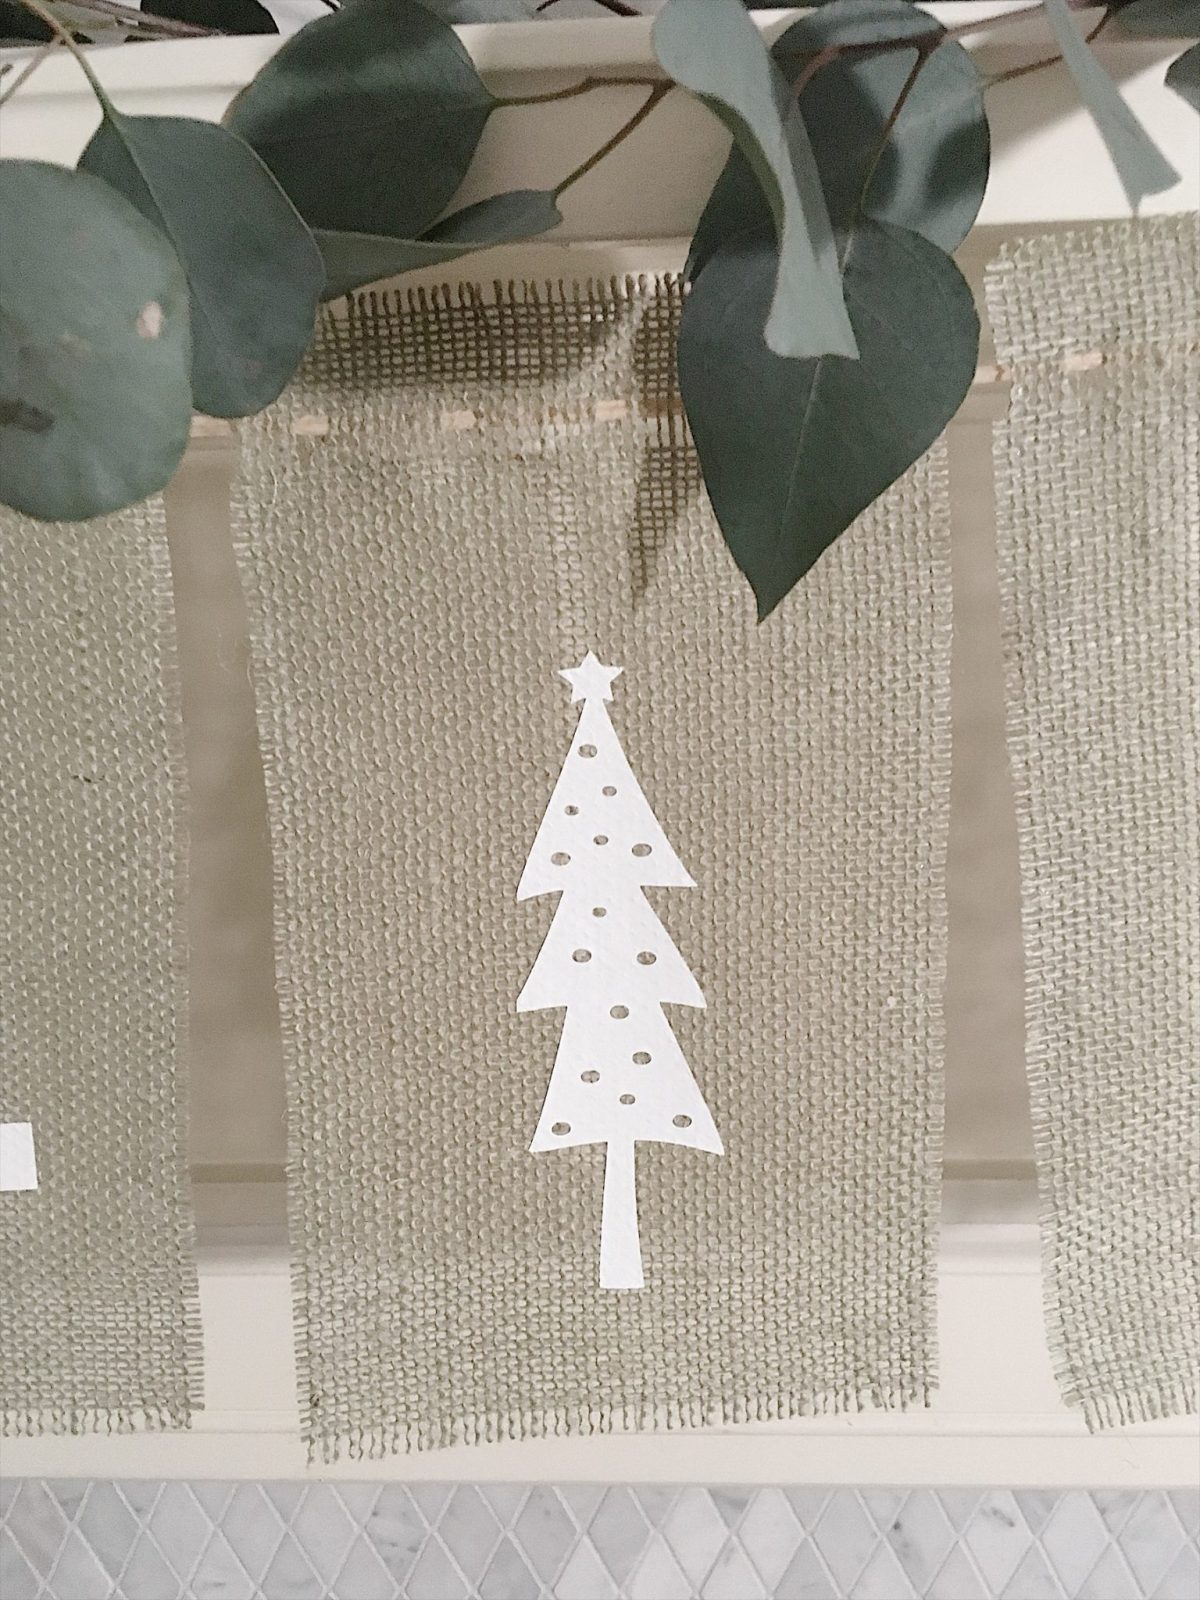
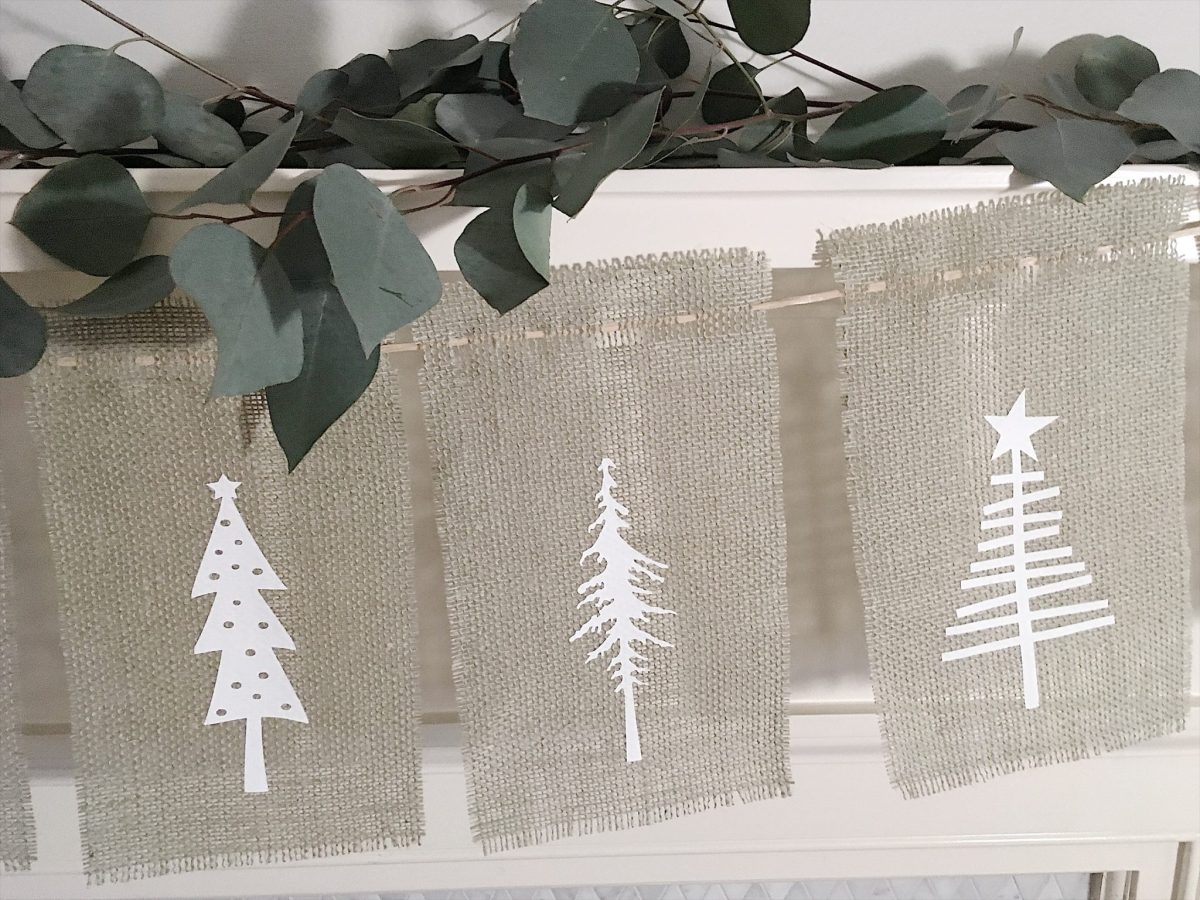
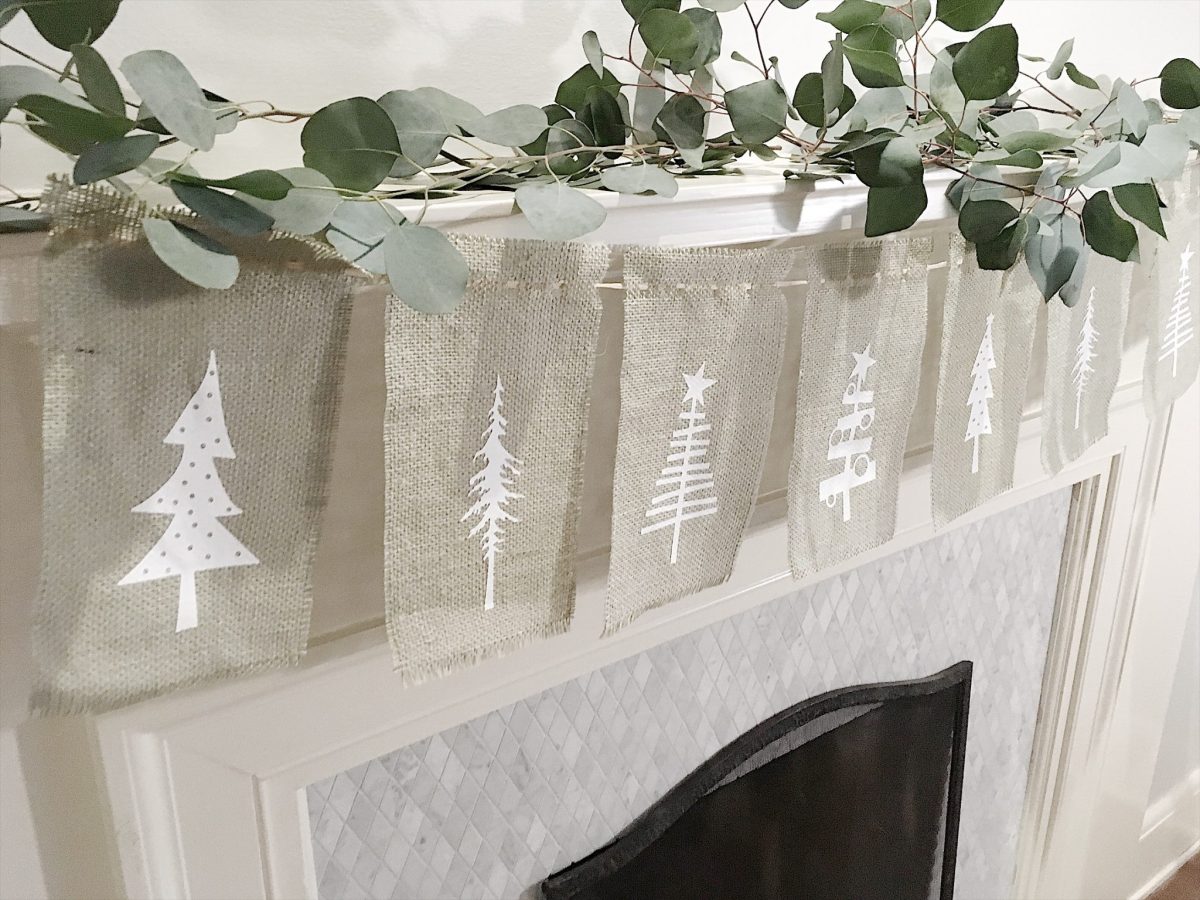
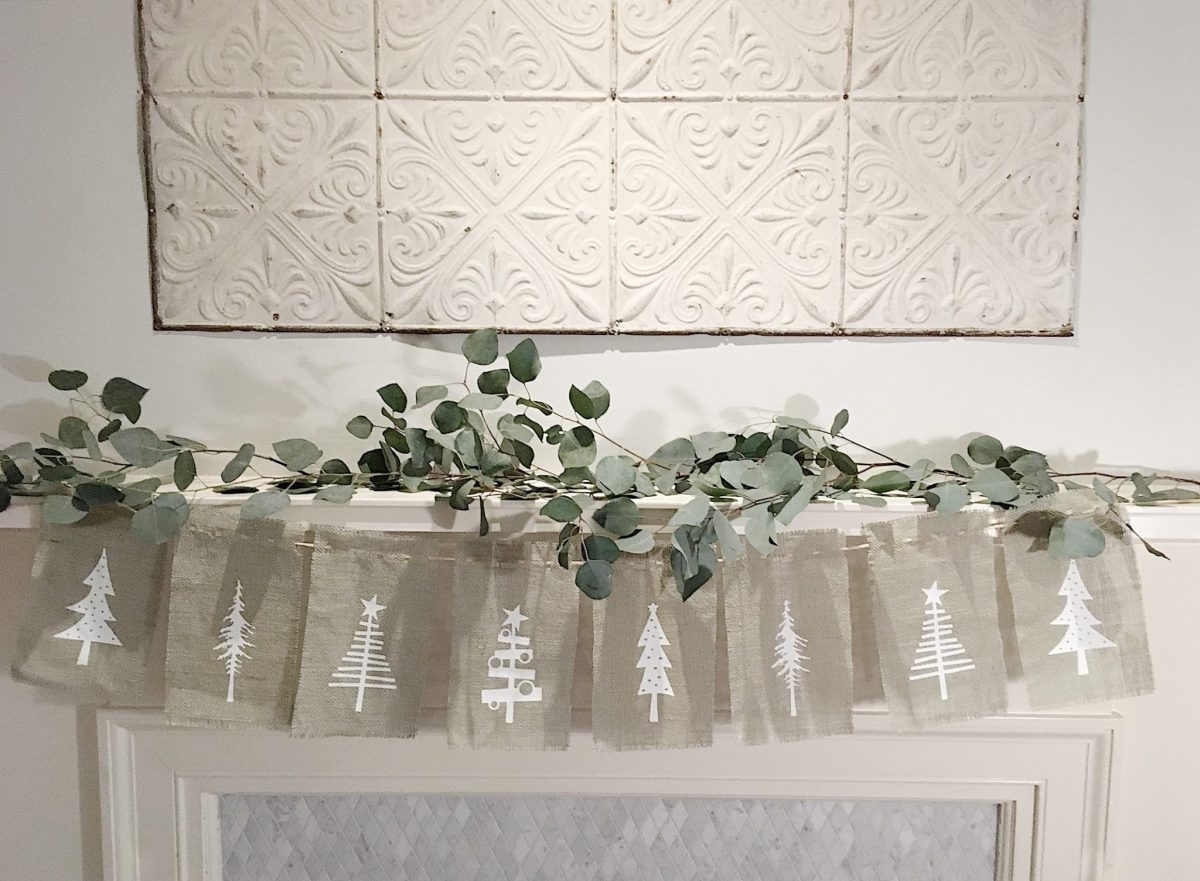 I have definitely gotten into the Christmas DIY mode in a really big way. In the last week I made wrapping paper, Pom Pom Christmas trees, a dress form tree skirt, and an Advent Calendar. I am excited to share with you how I made this Burlap Christmas Tree Garland. I love it hanging on the mantle. Of course it would also look great above a door or window.
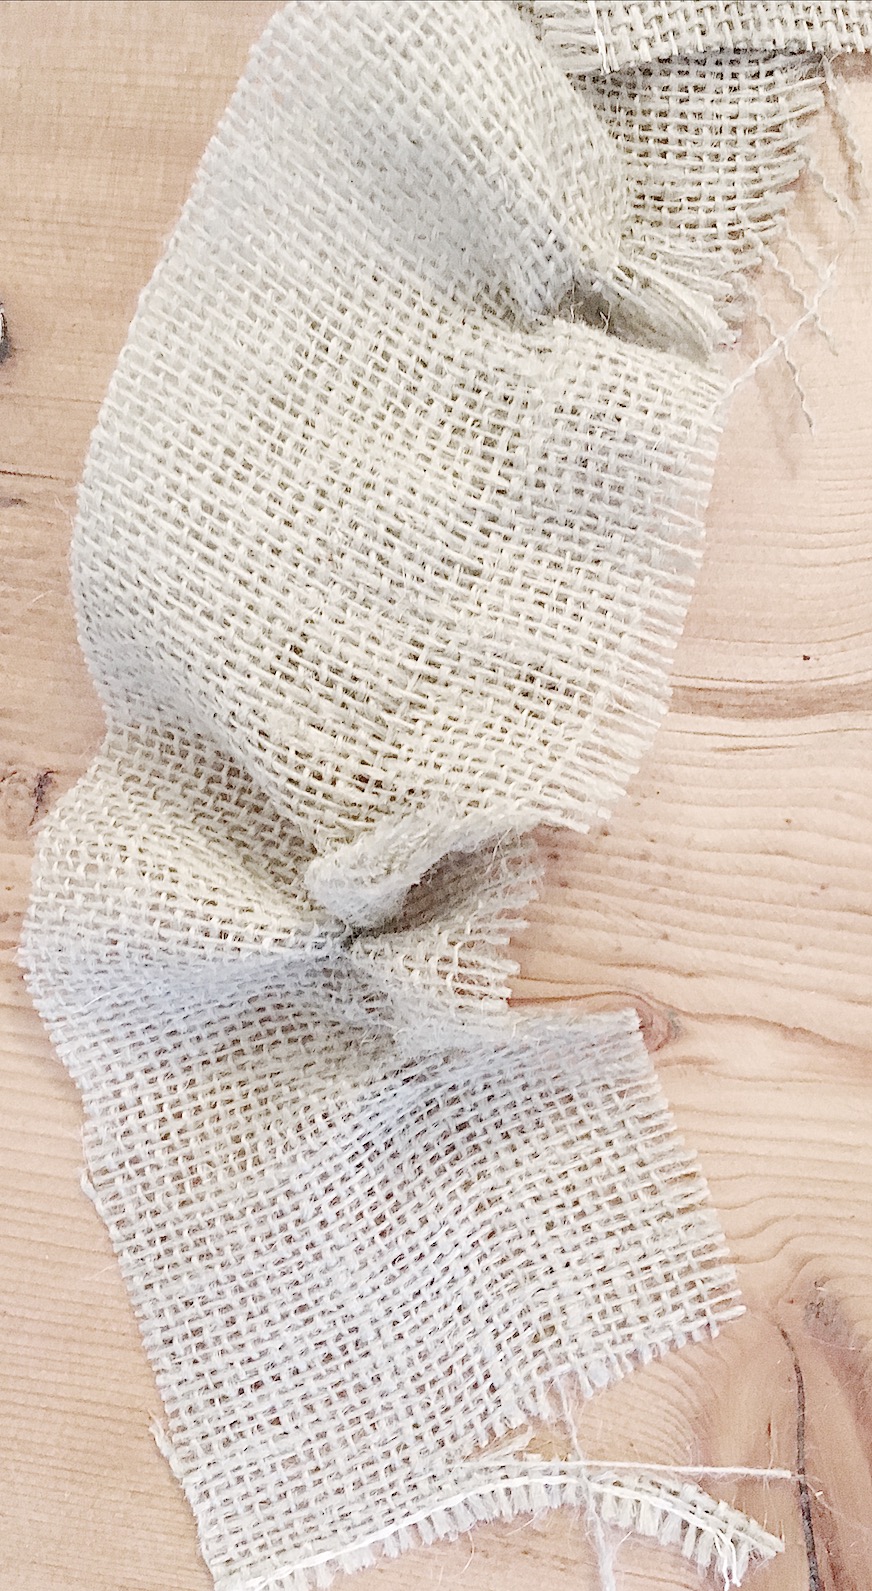
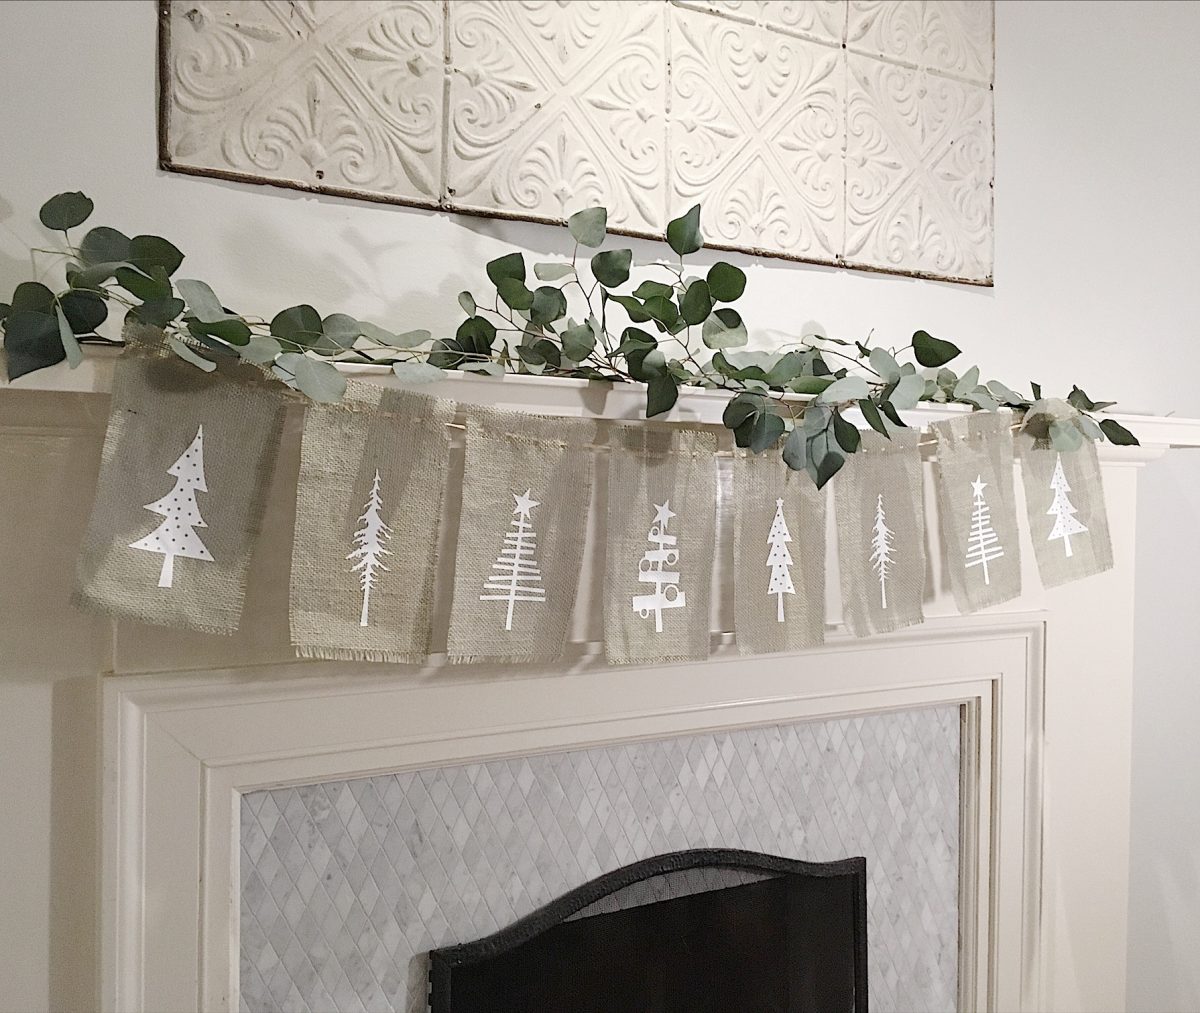 I bought some burlap fabric a while ago. What I loved the most about it is the color. I love the color sage green so I bought three yards even though I had no idea what I would do with it. I love the idea of using it for a garland.
The garland is easy to make. Ideally, you need a cutting machine, to made this wonderful burlap garland. But if you don’t have a cutting machine, you can still make this garland. Just pick up some Christmas stencils at your local craft store (or online) and paint them on your burlap.
What you will need:
One yard burlap fabric
Cutting machine (or stencil)
Christmas tree designs
Smooth heat transfer vinyl
Craft glue (that dries clear)
Ribbon or raffia
STEP 1
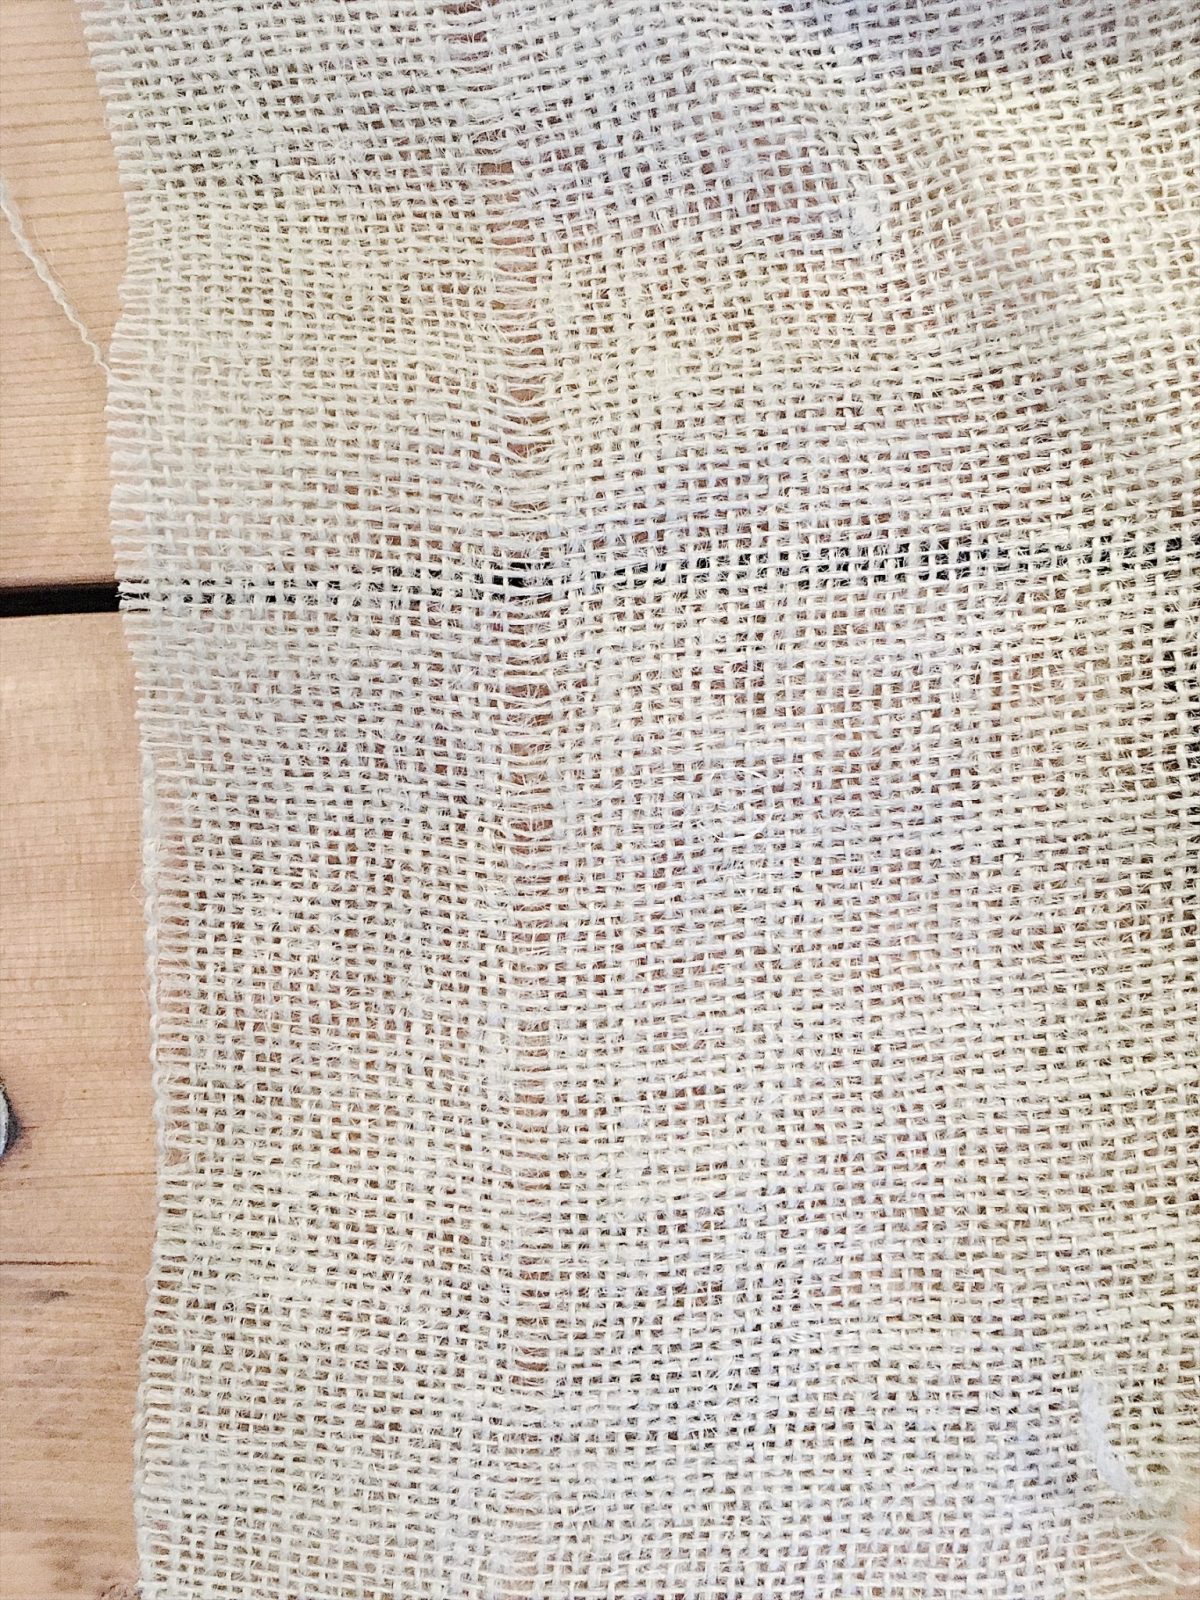
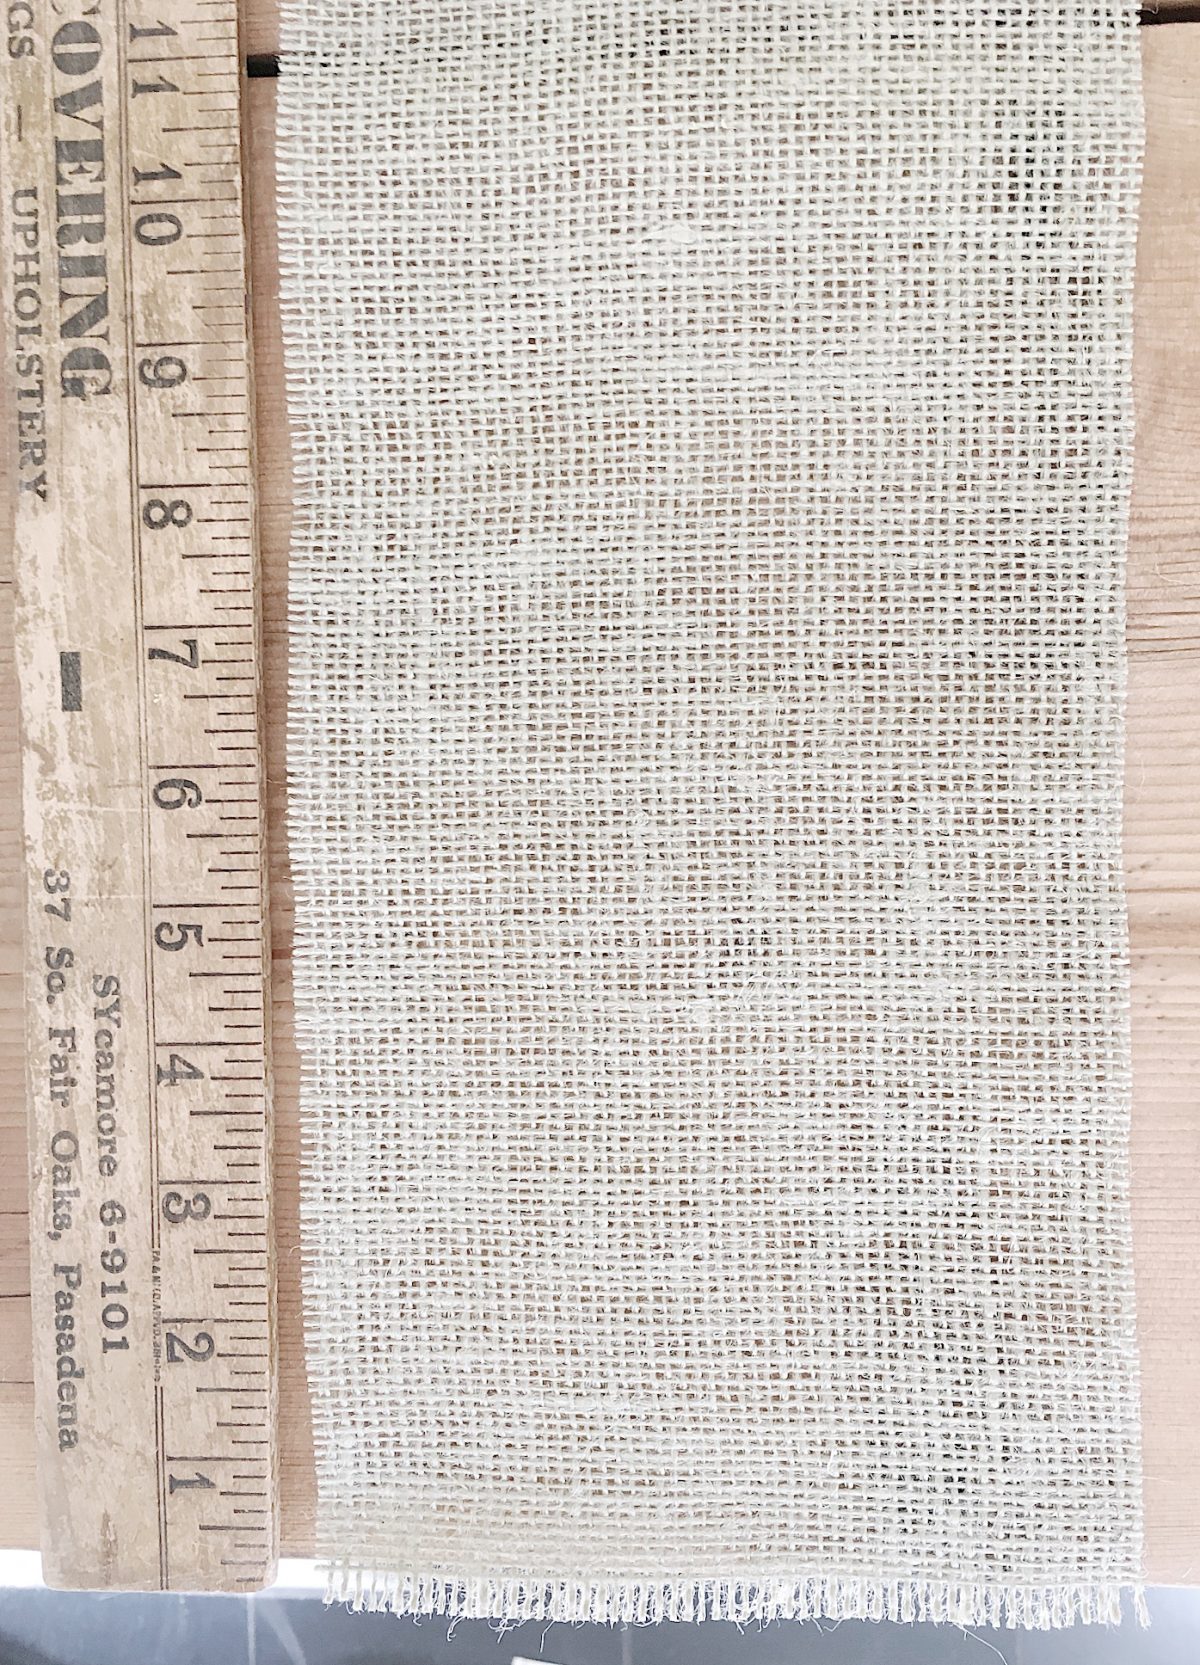
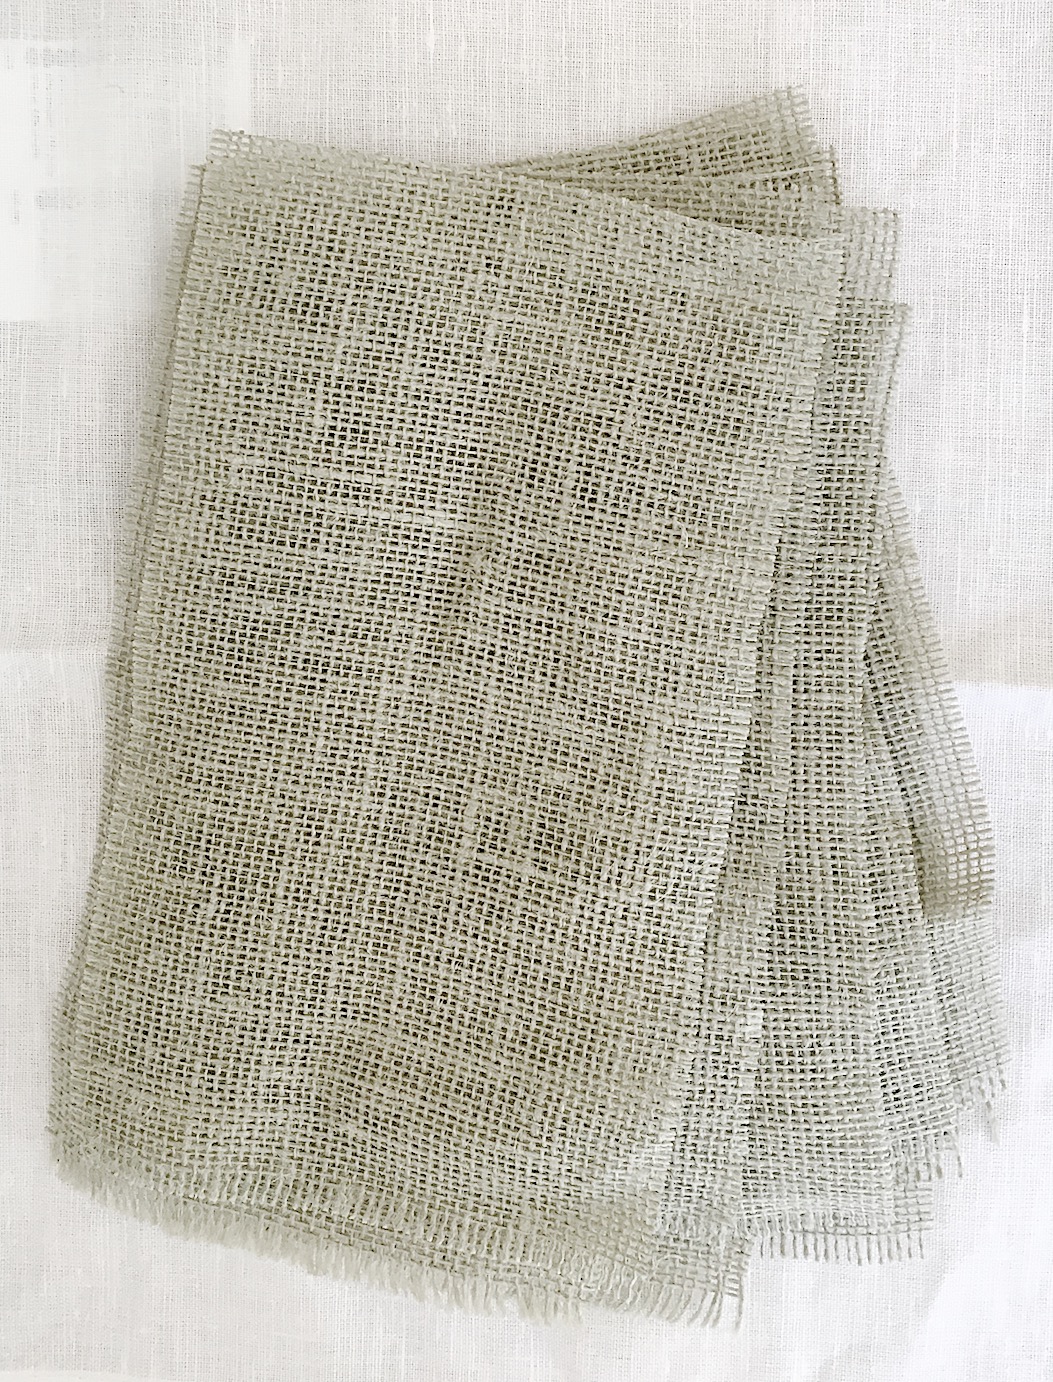
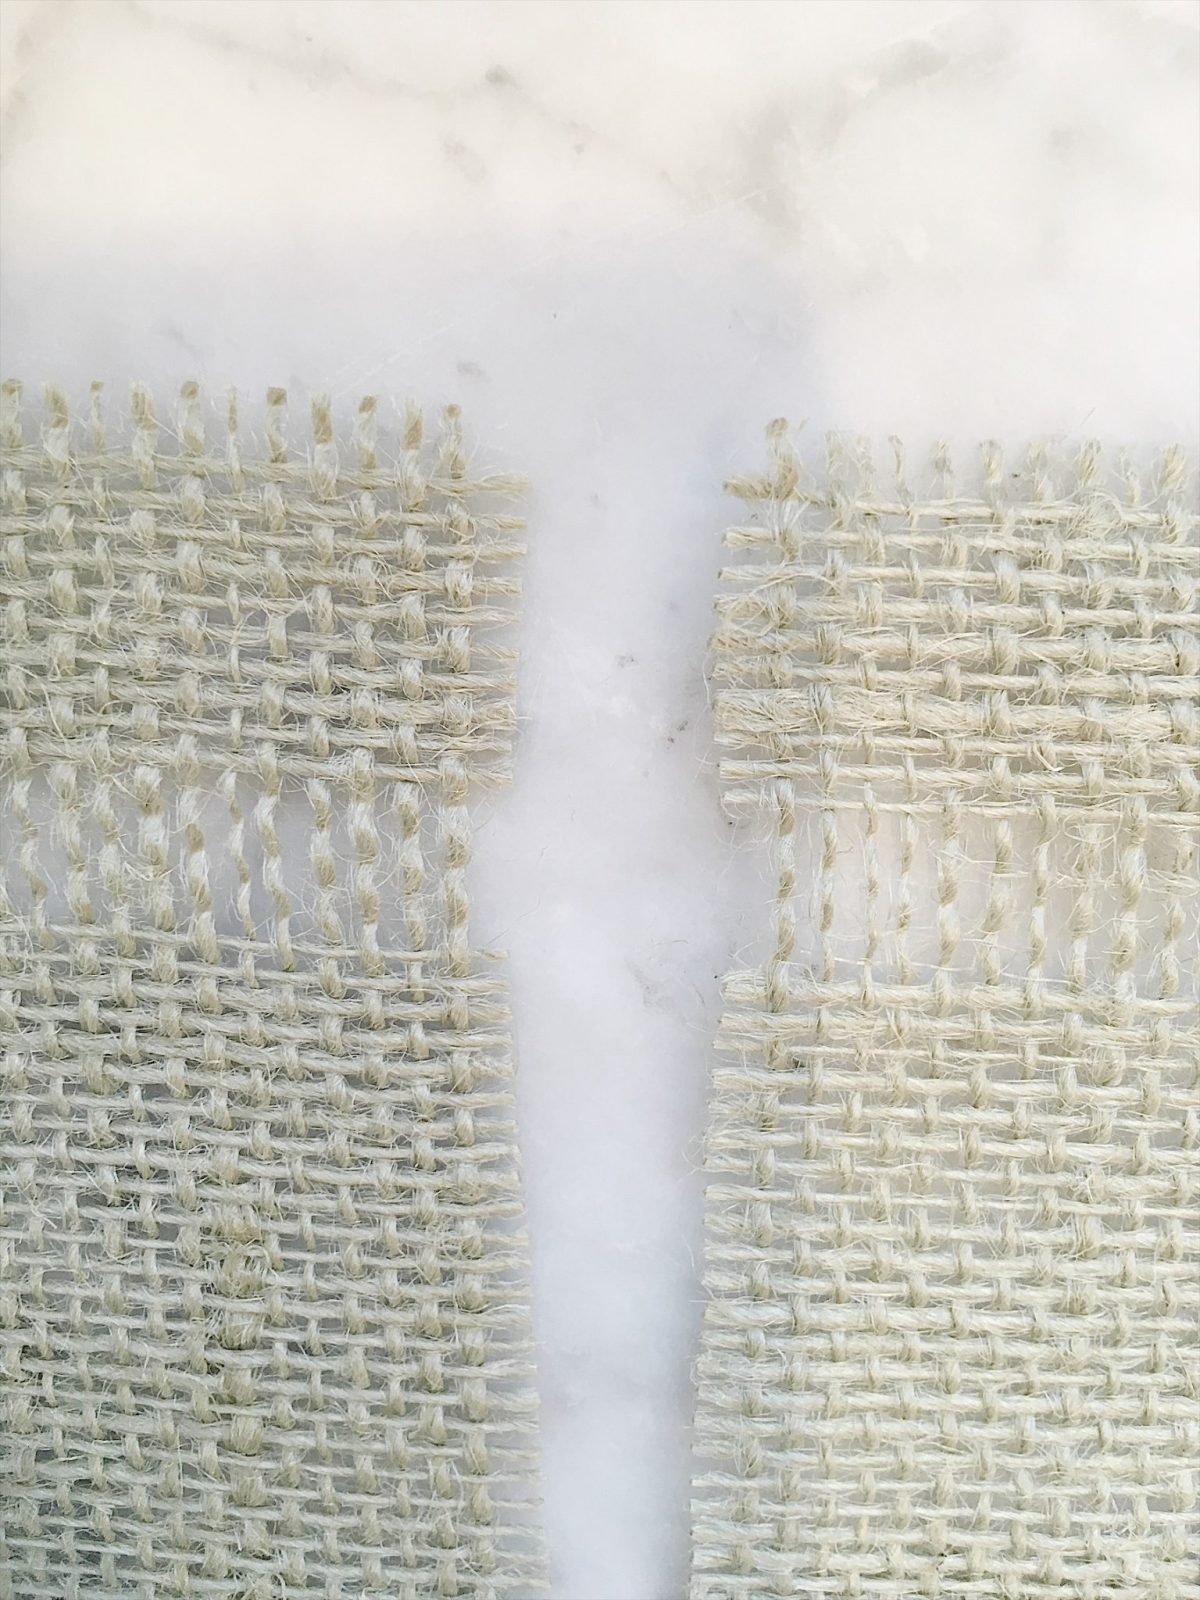
Measure out 6” on the burlap and carefully pull out one string along the cut line.
Once the string is removed, you have a perfect line to use as a cutting guide.
STEP 2
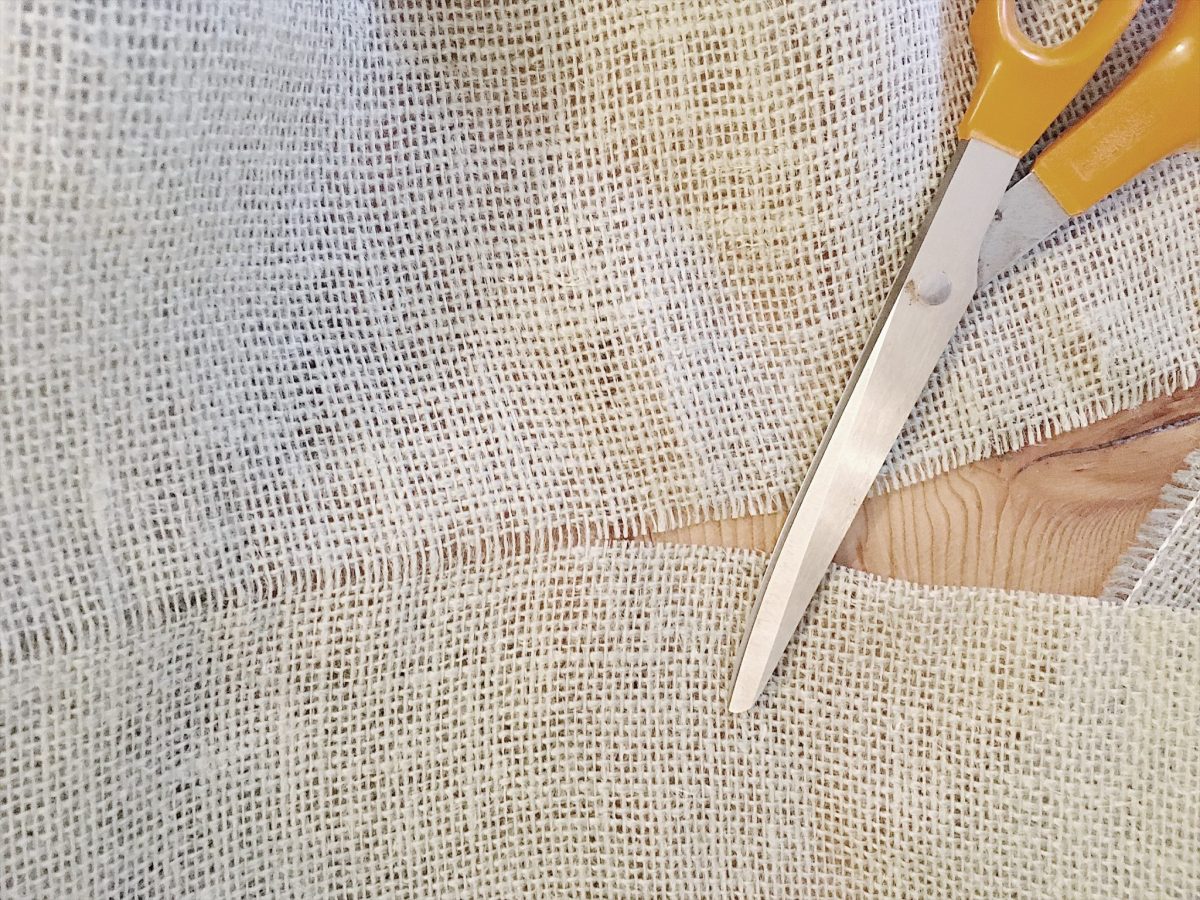
Cut along the line, as straight as possible. I cut four long strips of fabric.
STEP 3
Fringe the bottom edge by removing two strands of the burlap along the bottom edge.
STEP 4
Cut the piece 10” long. Fringe the next piece and cut another 10” piece. Cut as many pieces as you want for your garland.
STEP 5
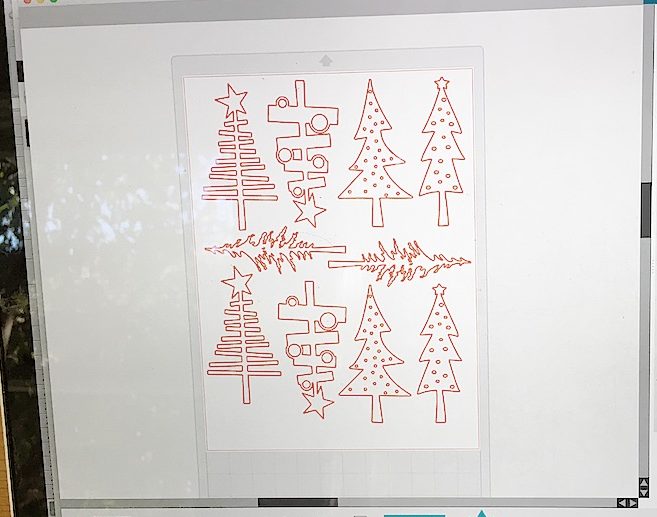
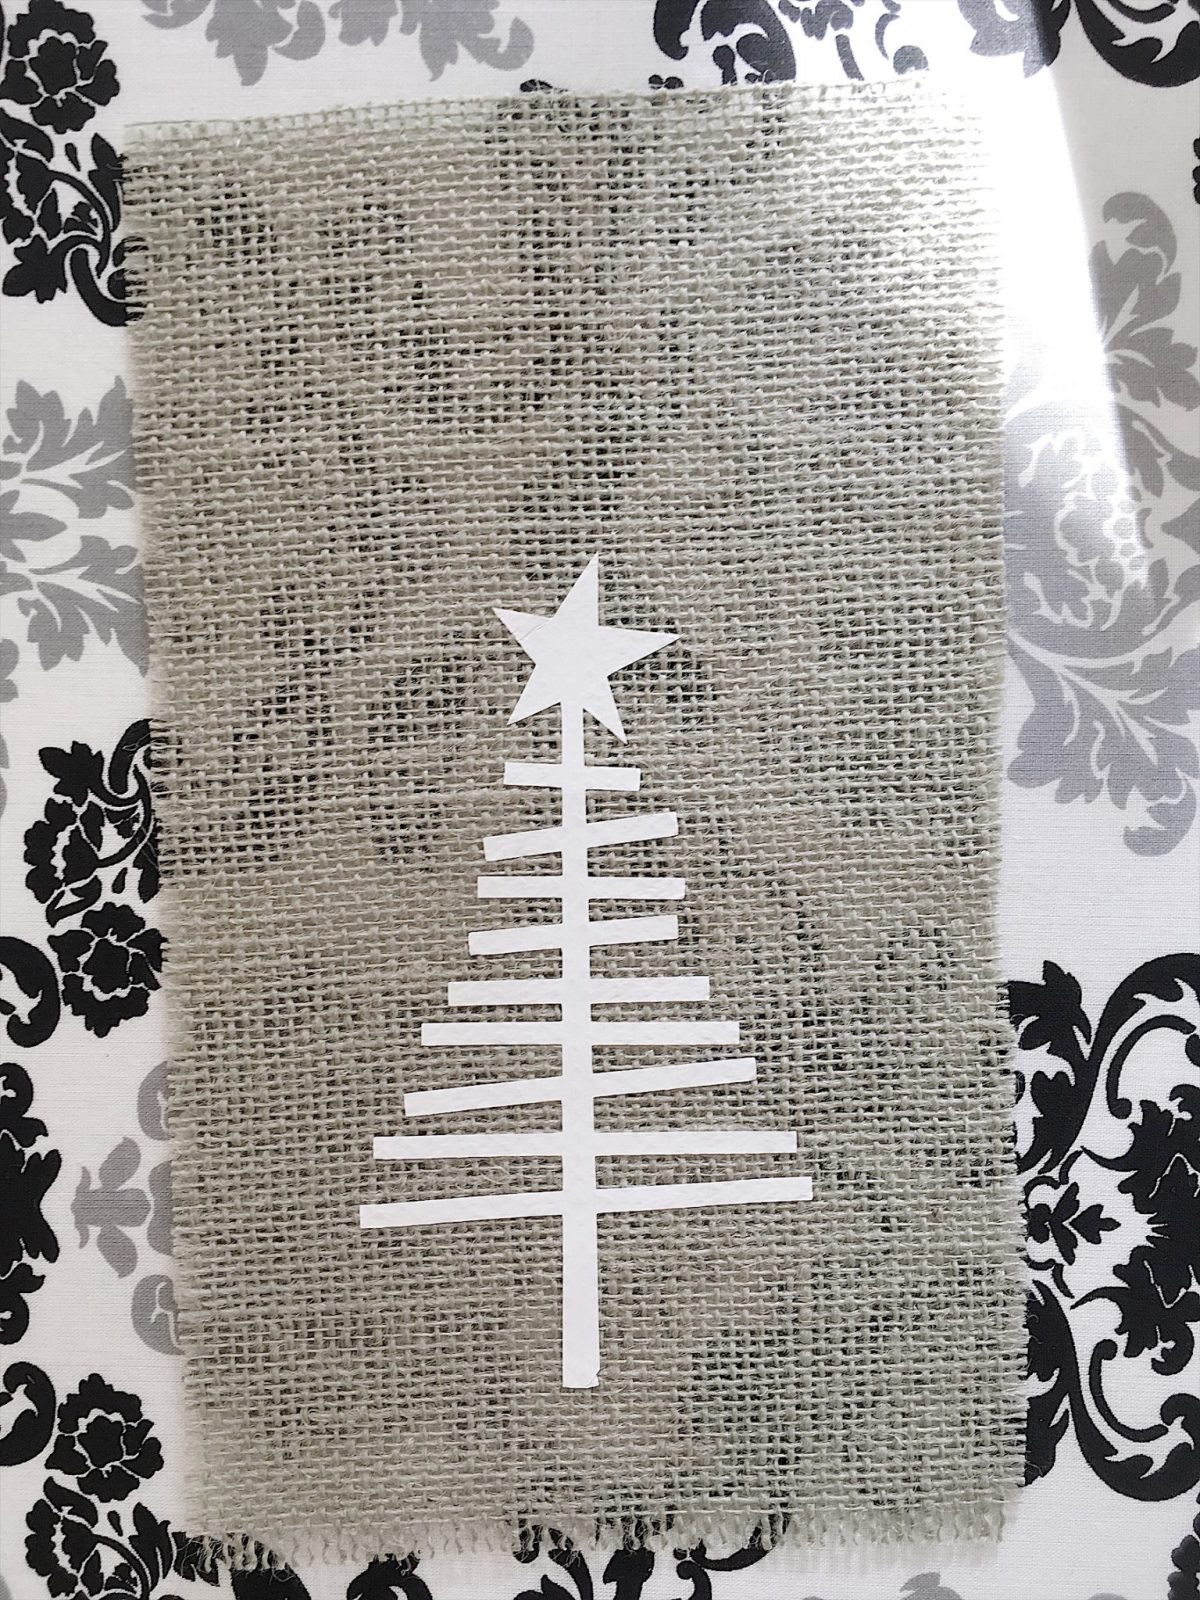
On the cutting machine, download any Christmas designs you like.
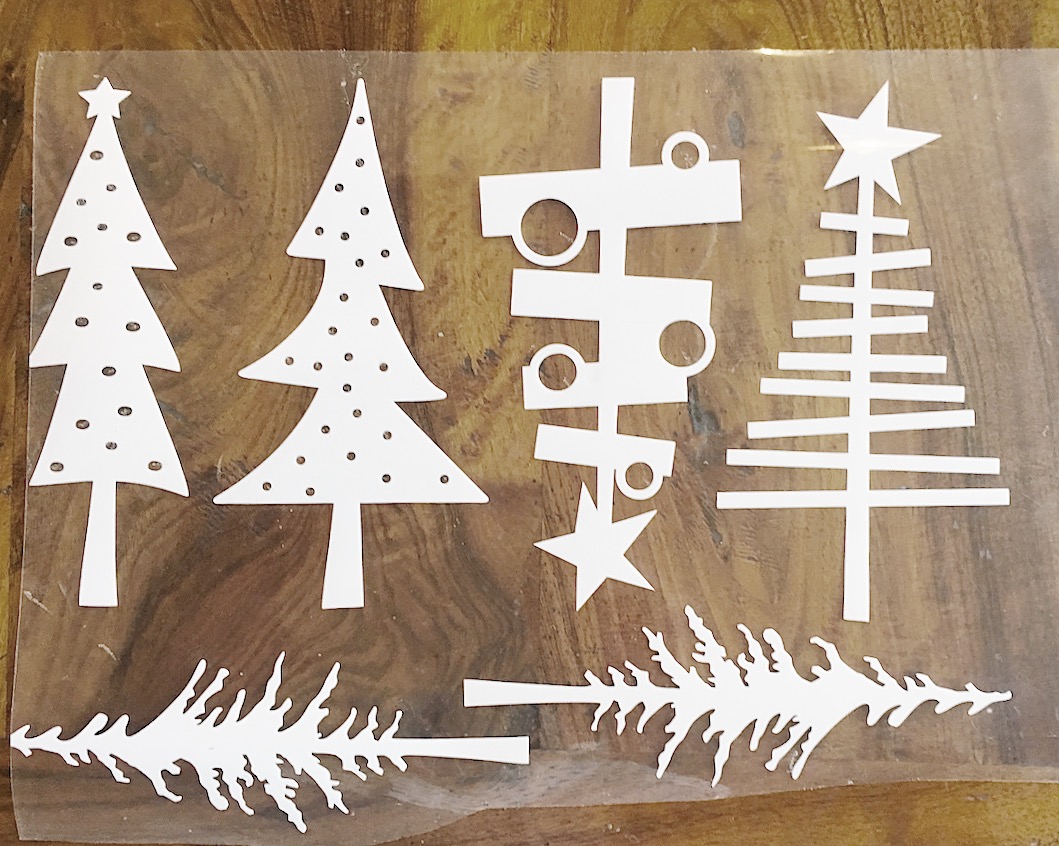
I selected these trees and each design was less than a dollar to download. Next, I resized the photo to 6” tall and cut the iron on transfer on the cutting machine.
STEP 6
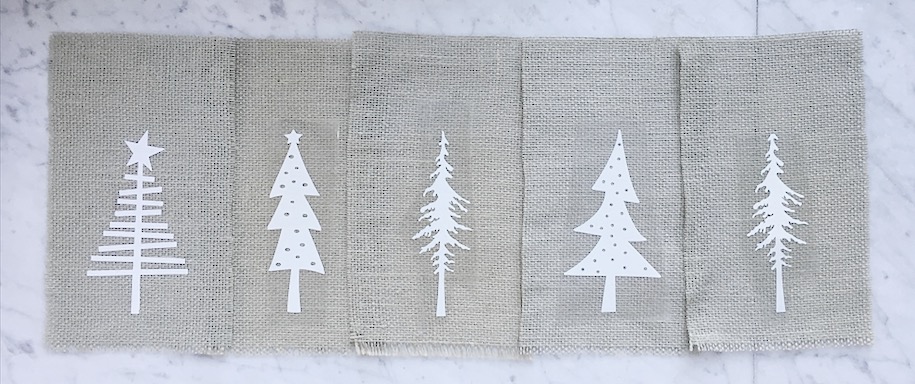
Transfer to the burlap piece and adhere with a hot iron.
STEP 7
Fringe the edges of each piece by removing one or two strings on the sides and top.
Then remove five strands of burlap about one inch from the top edge to make room to string your garland. Just be careful to not remove any additional edges of the burlap.
STEP 8
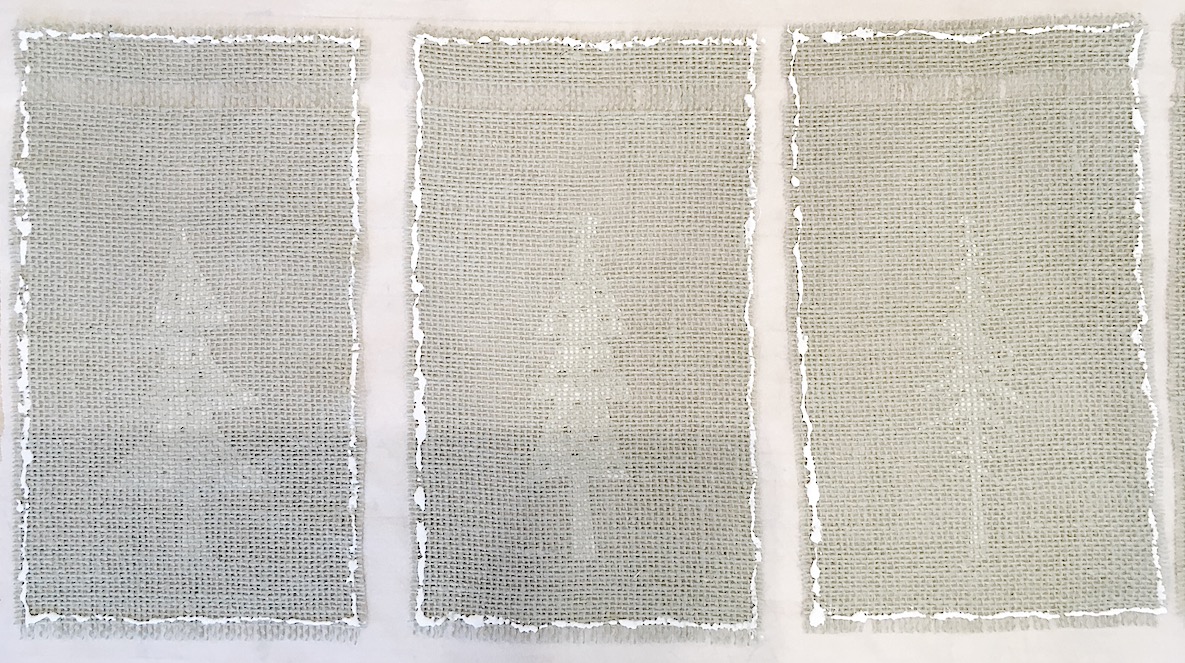
Flip the burlap pieces over and lightly place glue around the edge to prevent the edges from fraying. Let the glue dry until clear.
Lace a strand of raffia through the opening to make your garland. I skipped over about nine strands of burlap when lacing in the raffia.
Be sure and leave a long strand of raffia on each end to assist with hanging.
Hang the garland in a festive place and add some Christmas greenery. Enjoy for the entire holiday season.
For more real-time updates, follow me on Instagram @My100YearOldHome

