Vintage Lampshade Chandeliers
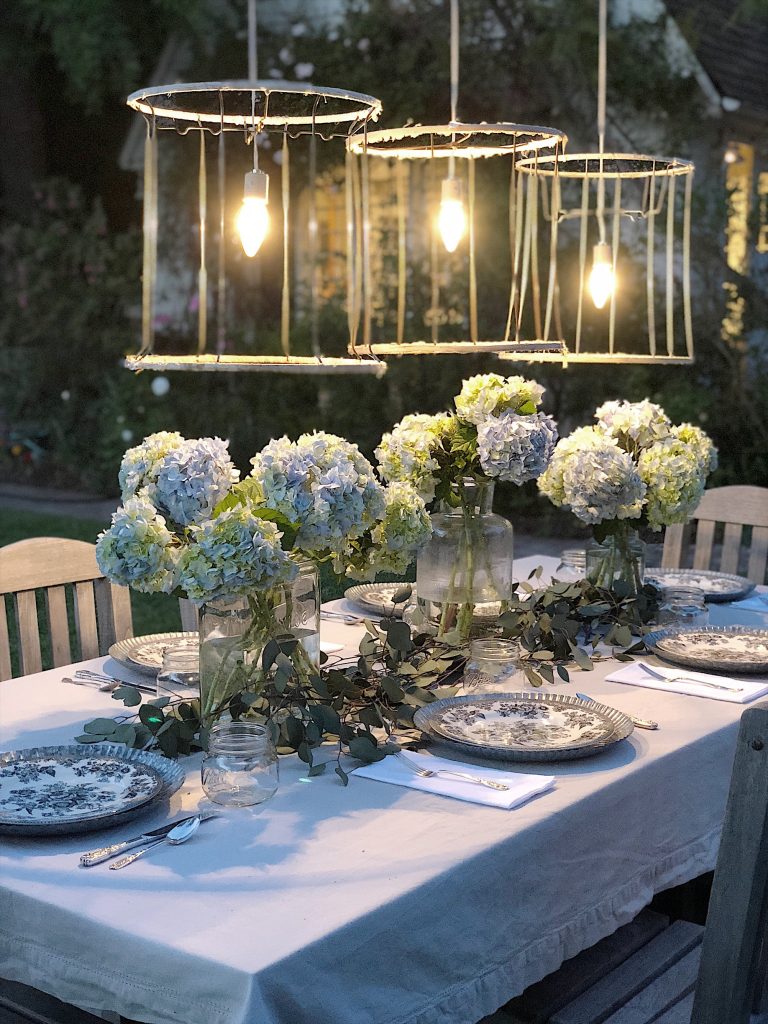
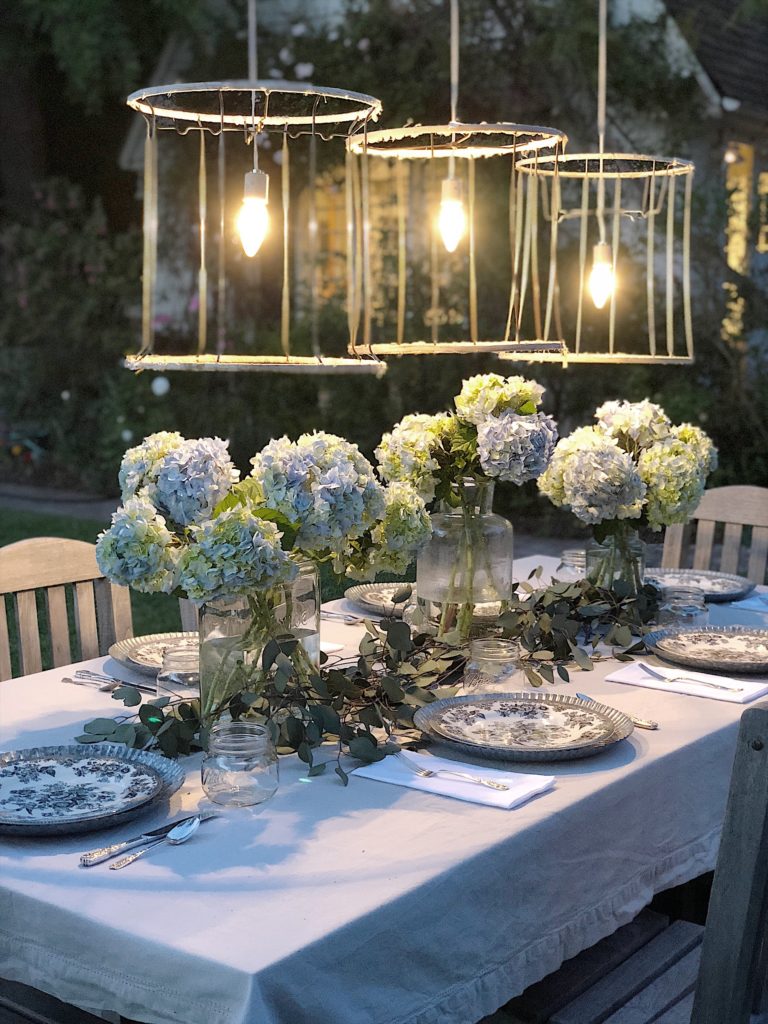
We are all looking for ways to entertain around the house. Why not make these vintage lampshade chandeliers and host a dinner in your backyard?
I spend a lot of time shopping at vintage flea markets. And sometimes I buy things that I know I can repurpose.
But now that I can’t really shop anywhere, I decided it’s time to share how to make something from things I already had.
I bought these three vintage lampshades from my friend Judy @vintagejunktionla. I knew immediately I wanted to make them into a chandelier.
I just wasn’t exactly sure how to do it.
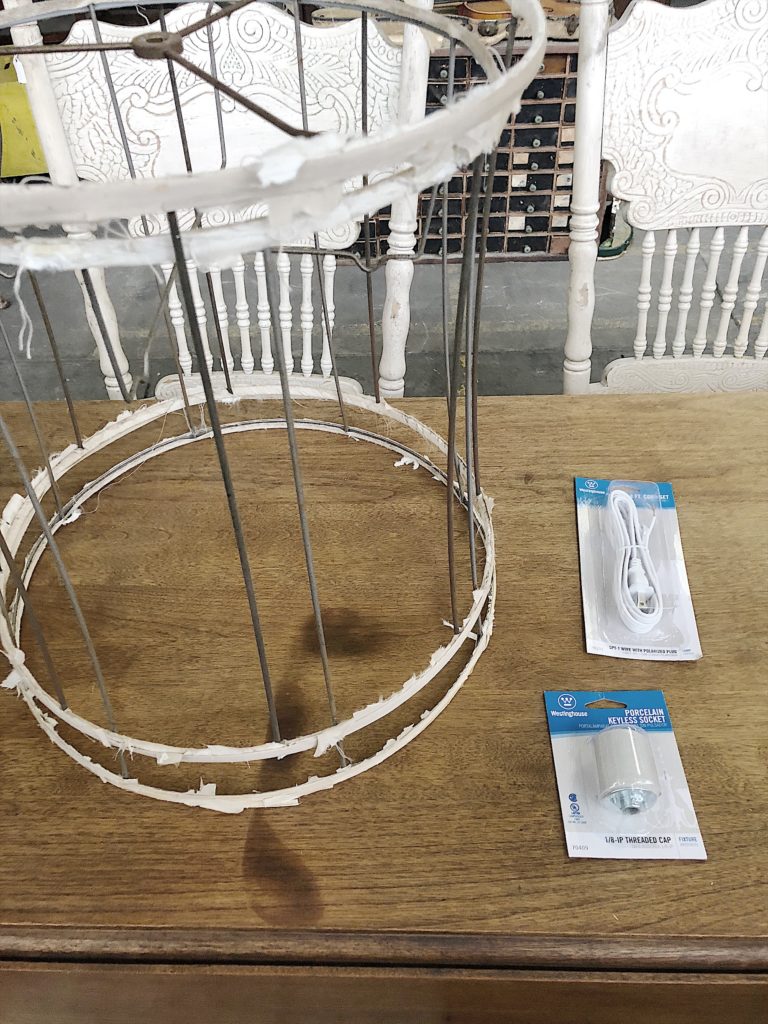
I knew right away that the lampshades would be perfect. They were already missing the fabric and I just cleaned them up a tiny bit.
This involved using a pair of scissors to cut some small pieces of fabric and threads. That was it!
I didn’t need a lot of supplies. Here is a list of what you will need. I ordered the lights online.
- Vintage lamp shades with a metal frame
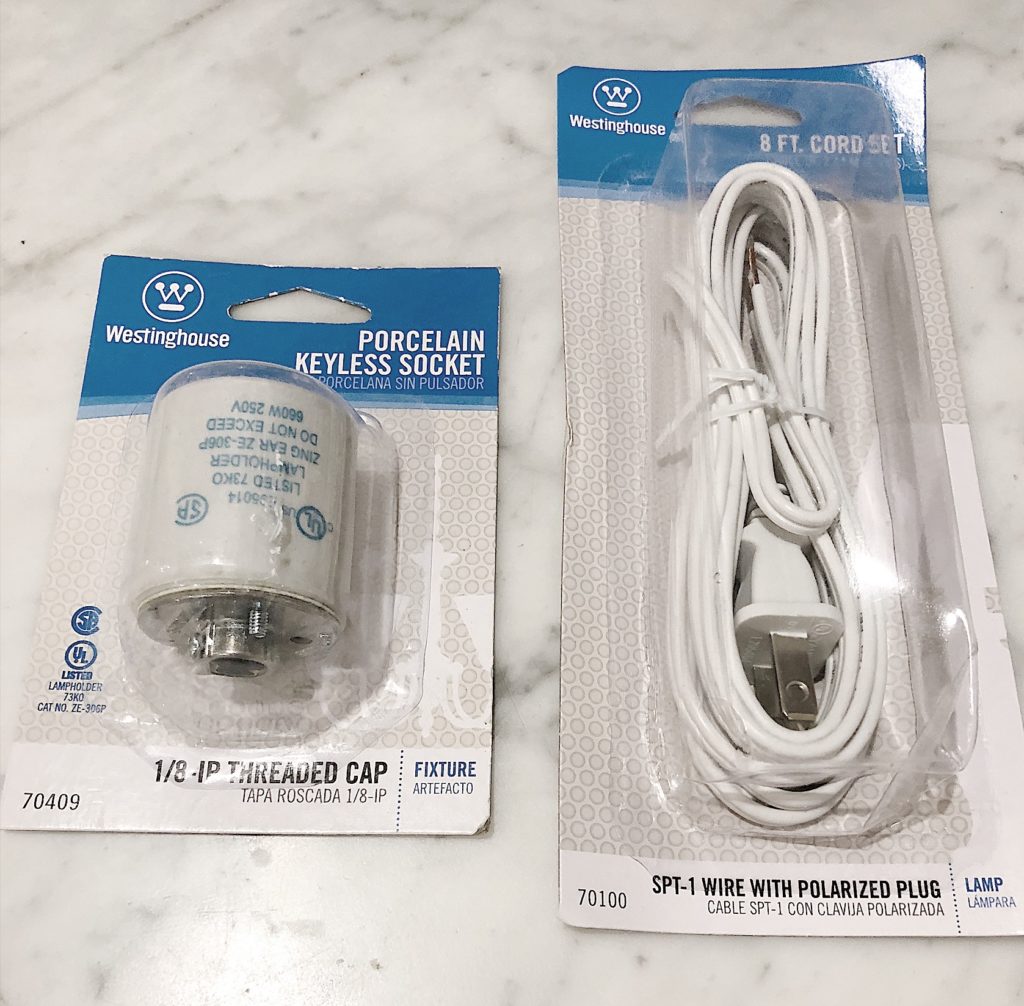
- Porcelain Keyless Socket
- 8 ft. Cord Set (you may want longer, depending on how you are going to plug in your lights).
I used 8 ft. cords and in hindsight, I will probably redo them with much longer chords. That way I wouldn’t need to use an extension cord so close to the point where
the lights are hanging.
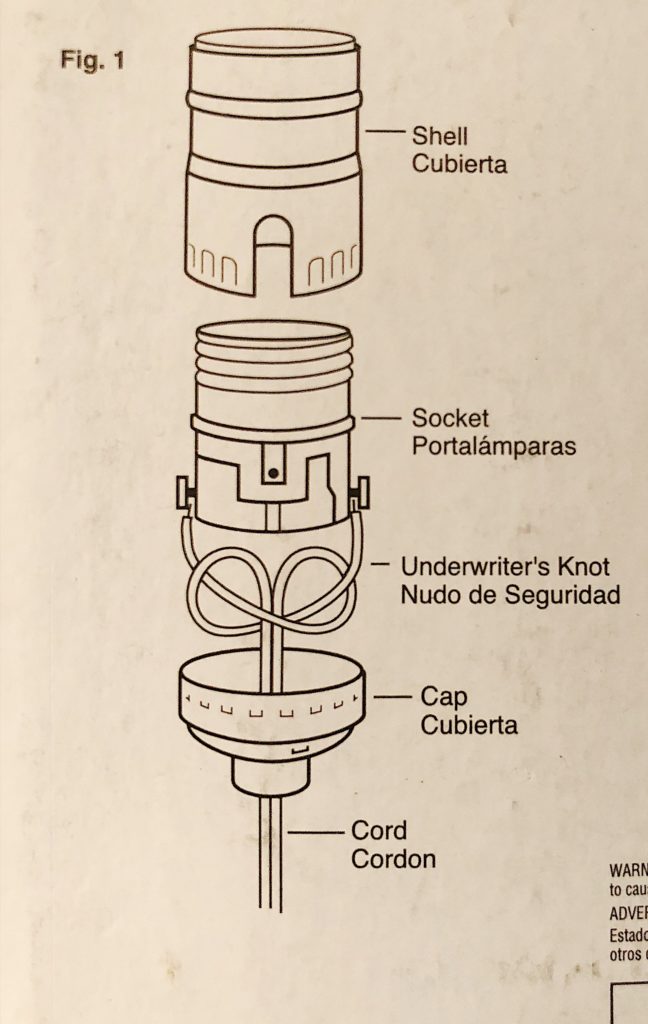
To attach the cord to the socket, follow the directions included with the cord. This is not difficult. The first one took a few minutes to figure out
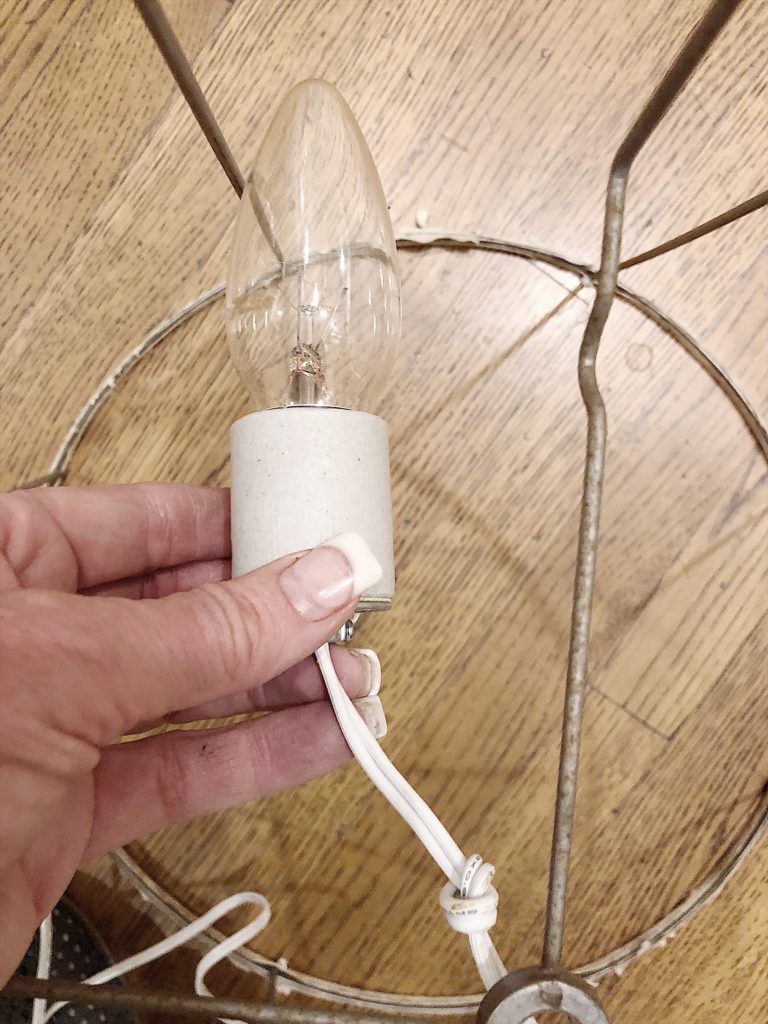
but the second and third ones were really easy. The most important step is not to forget to thread the wire through the top of the lampshade before you assemble it.
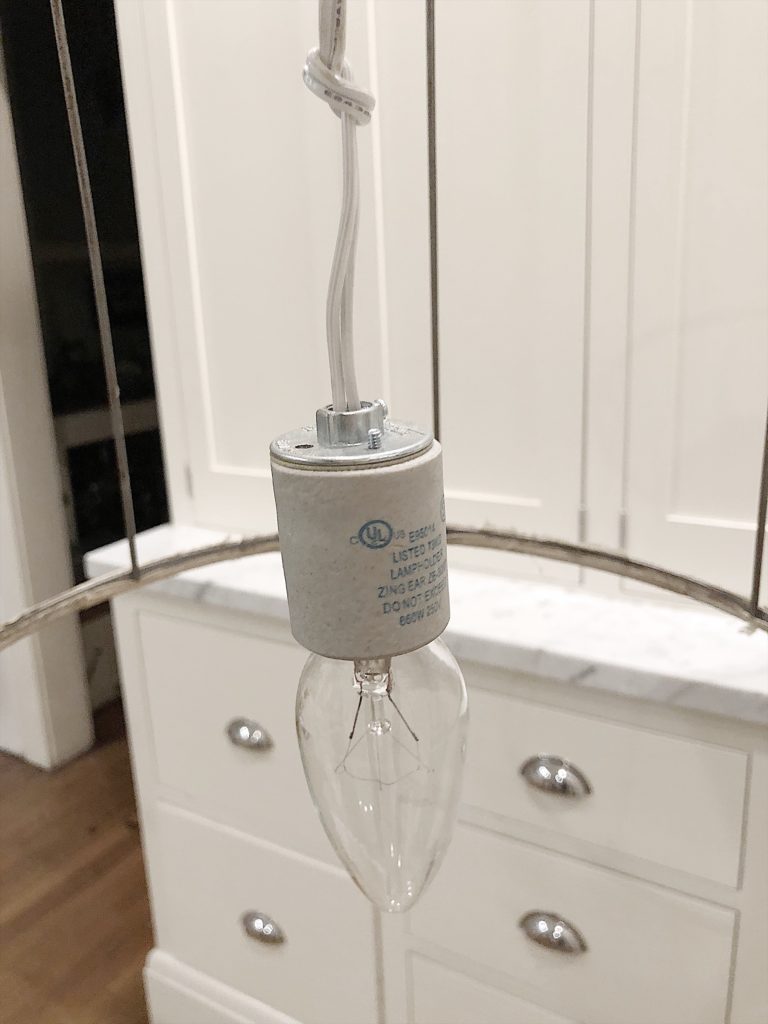
As you can see in the photo below, the cord should be threaded through the top hole of the shade.
I tied a knot so that when the shade was hung, the socket and bulb would hang straight and not at an angle. Of course, I didn’t figure this out with the first one
and had to re-do it.
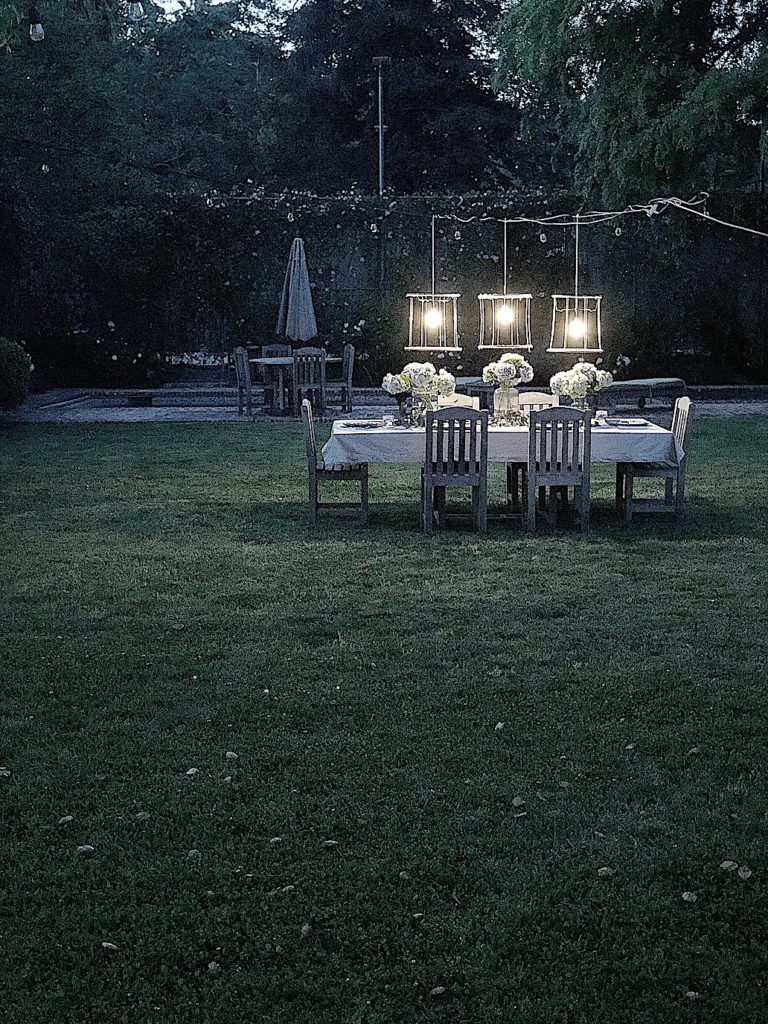
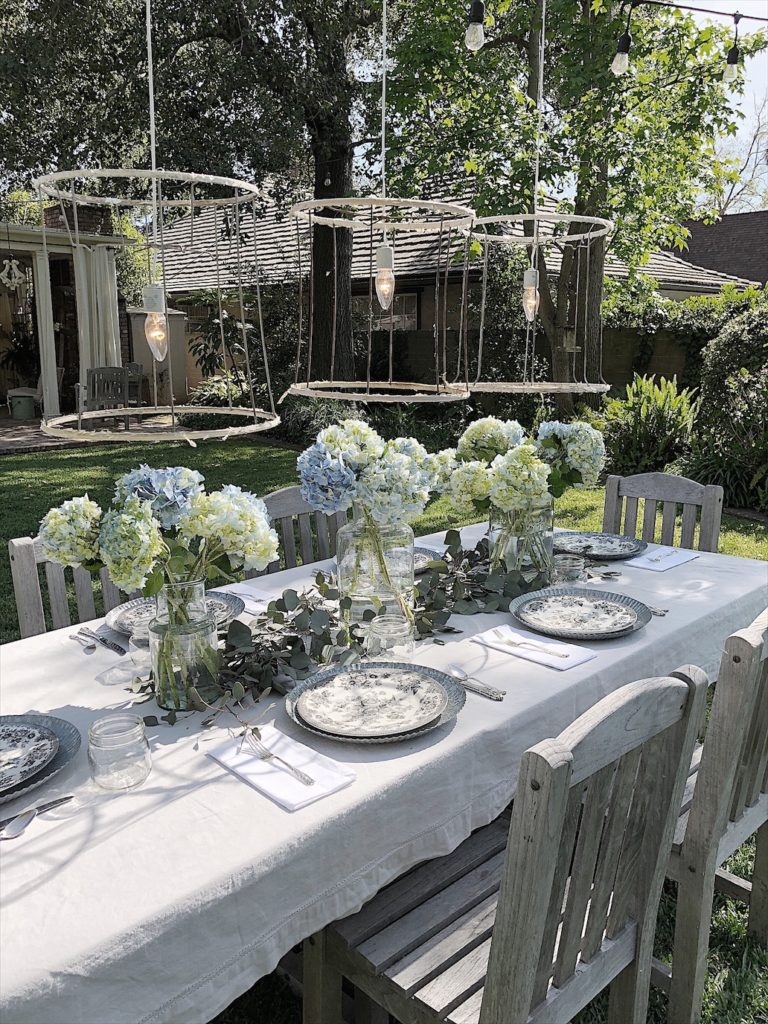
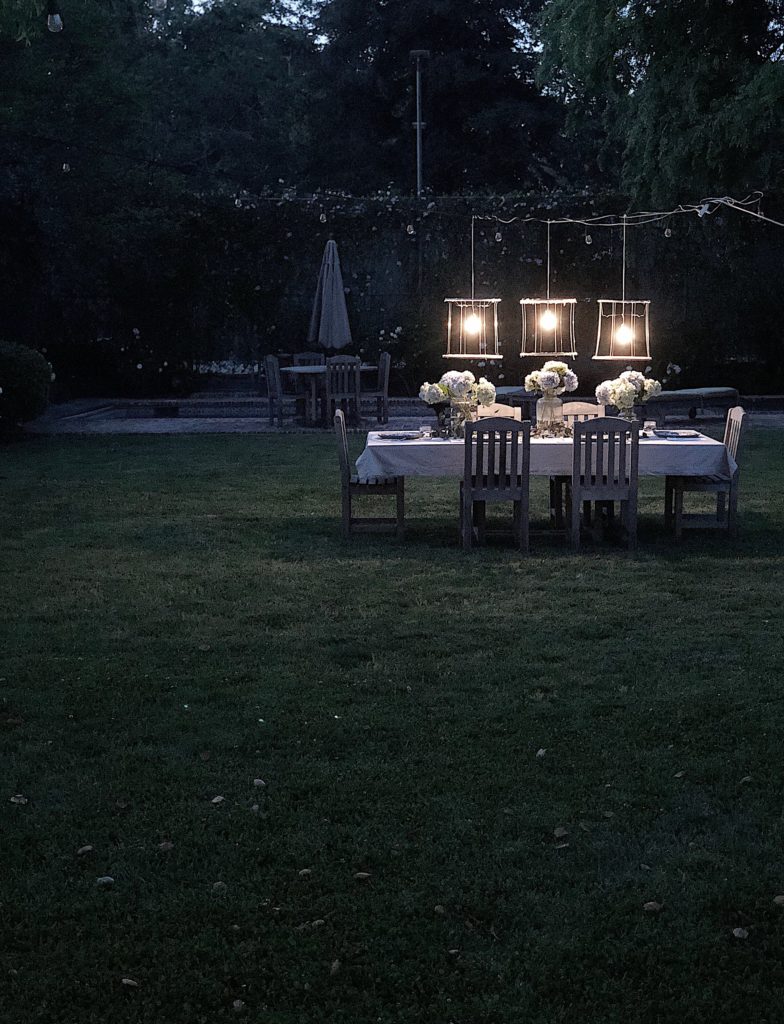
I hung the lights on the lights we have strung across our back yard. You could easily hand them across the top of a patio or from a tree.
I hung three lights to make a chandelier. I hadn’t quite figured out how to hang them, so please ignore the somewhat messy extension cord at the top. I didn’t have time to set up my porch posts as that is normally how I would hang these chandeliers. So I just hung them from the lights we already have hanging in our back yard.
With a longer cord, such as 20 ft. this would look so much better. It’s funny though. My husband and I had dinner out here and we never even noticed.
It was magical.
Just so you know, I have four more of these vintage chandeliers. Stay tuned for how I make them. And I have really long cords to solve the hanging issue!
Pin the image below to your DIY or Entertaining boards on Pinterest (just click the Pin button in the top left corner). You can also follow along with me on Pinterest!
For more real-time updates, follow me on Instagram @My100YearOldHome




This is definitely magical! Love it!! ????????????
Awesome!!! I have a covered patio begging for a light like this. I get to go to Ventura Flea Market in June so a shade is on my list.
You’re a genius woman!! Totally love this! Best tutorial Eva!!
I so love this idea!!I think I’m going to quickly “order”myself one for Mother’s Day!!✅
This is just gorgeous and you made it look so easy!
This looks beautiful!! My husband is beyond handy, so I know we can replicate this!! Thank you!!
Would this be waterproof? Or would you have to take it down after using…
Such a fun idea but I would be curious if it could be left outside??? There must be a way to consolidate the cords too, so it is more streamlined?
So beautiful. Do you have a post on how you put up your porch posts ?
Love these! Thank you for sharing your creativity 😀
Thank you for following along!
Leslie, this is the most romantic and beautiful table setting! I can just imagine how magical it is to sit out underneath the trees at dusk and have a romantic meal with my hubby or girlfriends! Please, one of these days, invite me to join your table. It would be the most wonderful trip to make and a phenomenal experience! Thanks for your creativity! By the way, I have those same windmill aluminum chargers. Just had to have them. They are so beautiful on the table.
Thank you so much! So glad you have the chargers as well, practical and beautiful!
Love them ! Thank you foe sharing !
Of course, Thank you!
Just beautiful! At our farmhouse, I’ve hung old chandeliers in the trees around the house. I love how they look but they don’t have light. I am definitely doing this over the table! BTW, IKEA sells the light bulbs with or without switches on super long cords. They may be 12 foot and are super cheap. Thanks for posting this. Love it!!! Pinned!
I love that, and so great to know about IKEA!
What a great idea! The lamps create such a lovely ambiance and relatively easy to do! Just wonder if they can be left outdoors?
❤️ ❤️ ❤️ !!
This is just the cutest idea Leslie. Your entire table is so whimsical. Thank you for the inspiration.
Oh my gosh Kim, thank you so much! These were so easy to make and I love how they turned out!
This is so inspiring !! I will definatly be giving this a go this summer !! Thank you x
Maryanne, these are really easy to make! If you make them, please post a photo and tag me!