The Cutest Custom Wrapping Paper DIY
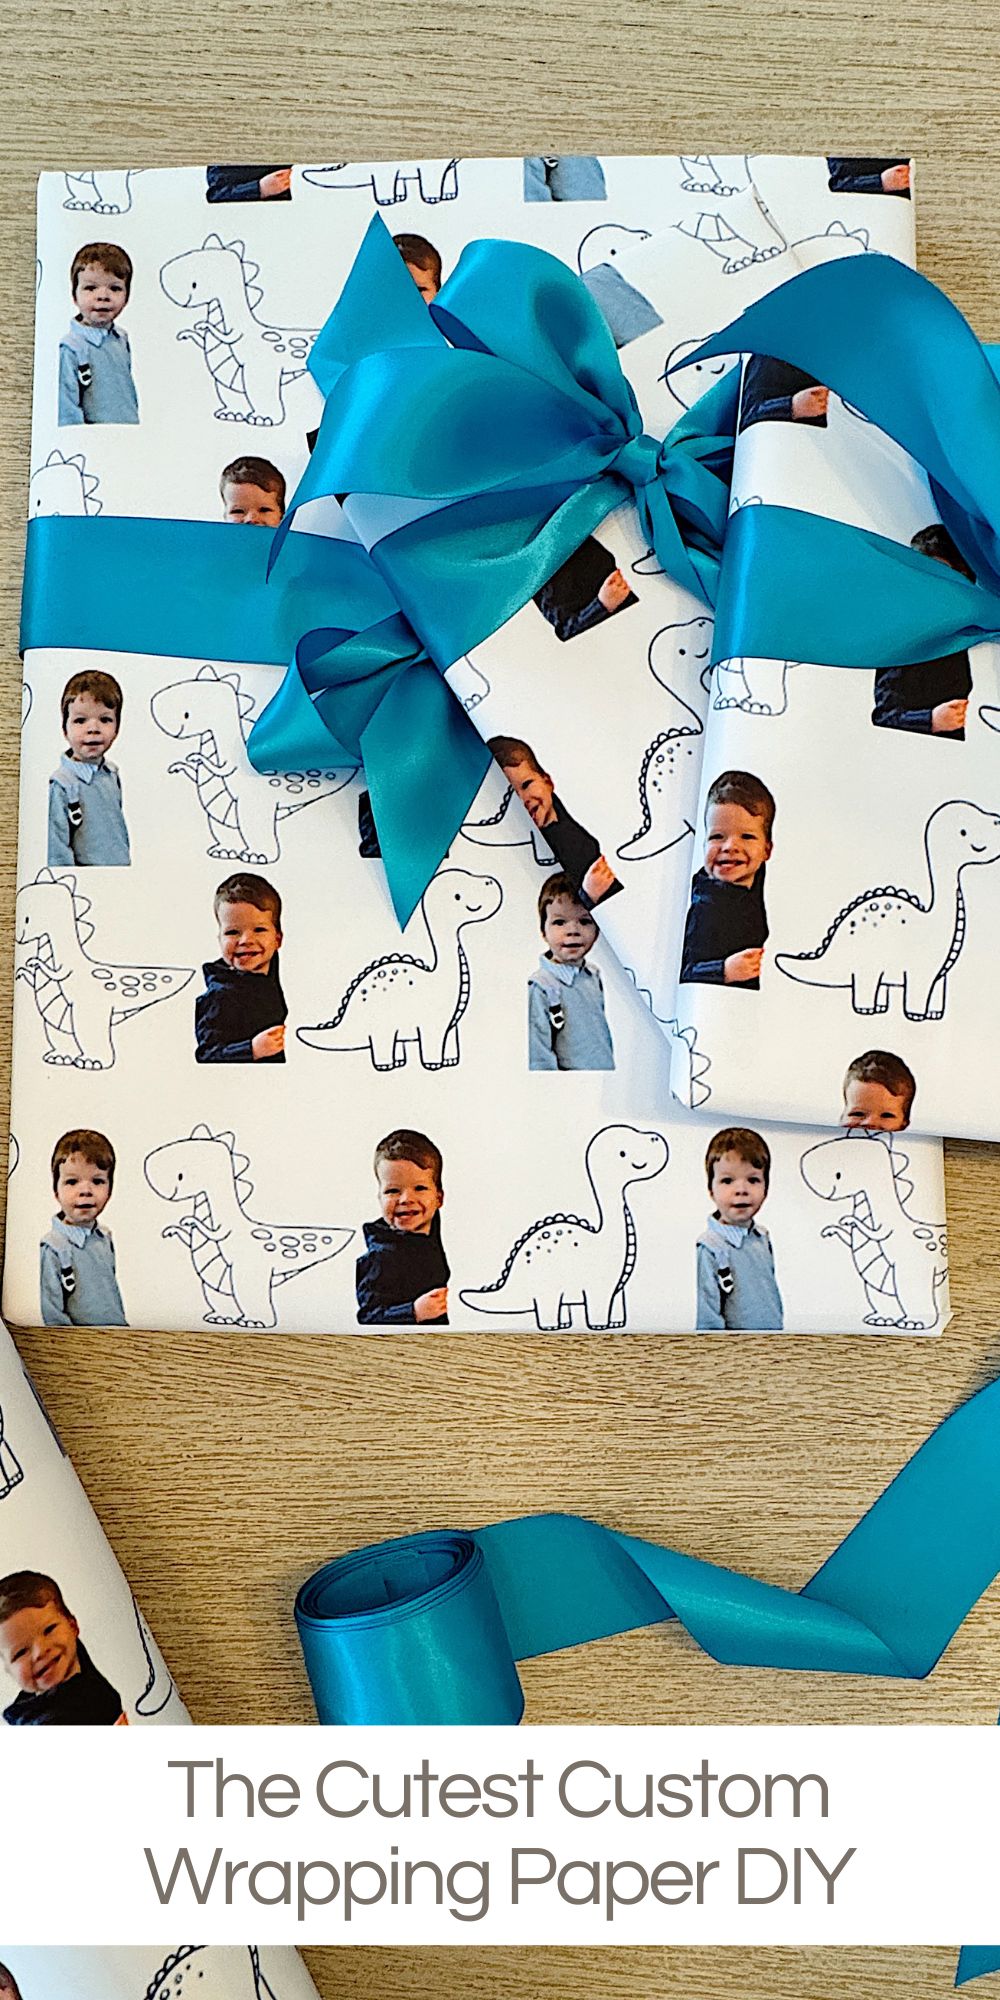
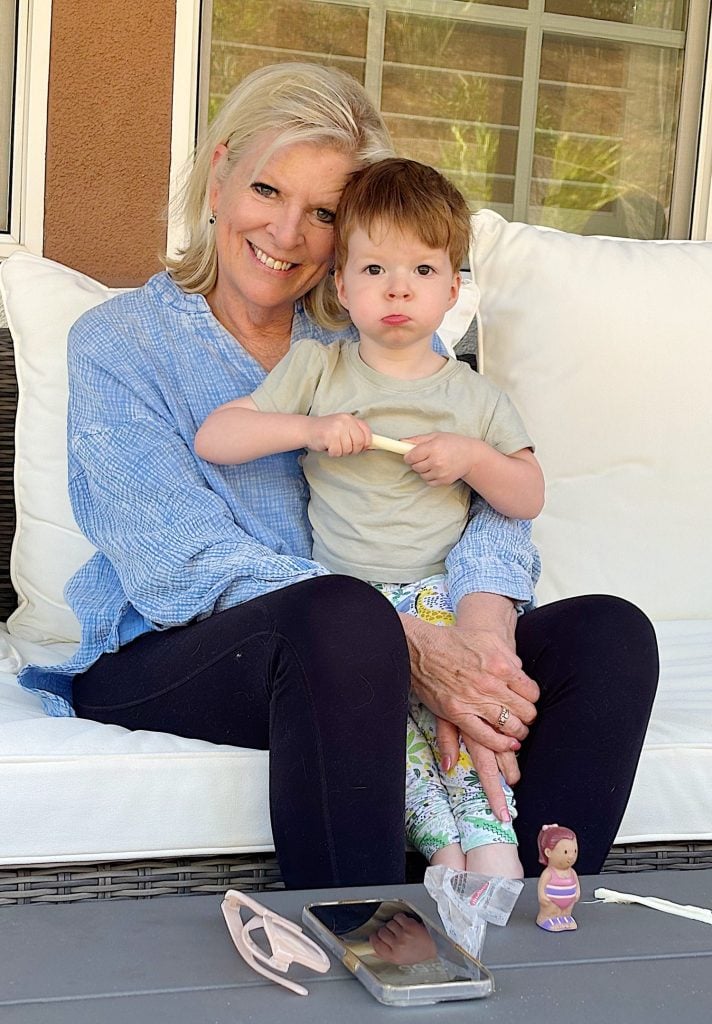
If you’ve been around here for a while, you know I love a creative project—the custom wrapping paper featuring my grandson is so cute!
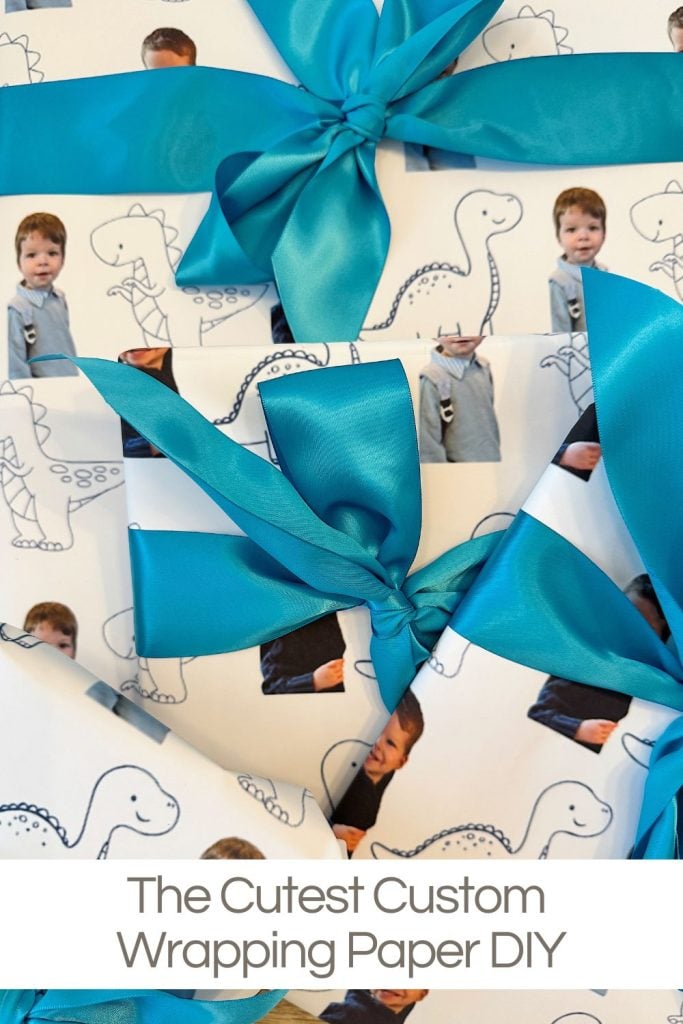
The custom wrapping paper is personal, festive, and just enough extra. So when our family planned a trip to Northern California to celebrate Graham’s 2nd birthday, I knew the custom wrapping paper featuring Graham himself would be perfect!

The Cutest Custom Wrapping Paper for My Grandson’s Birthday—Made in Canva!
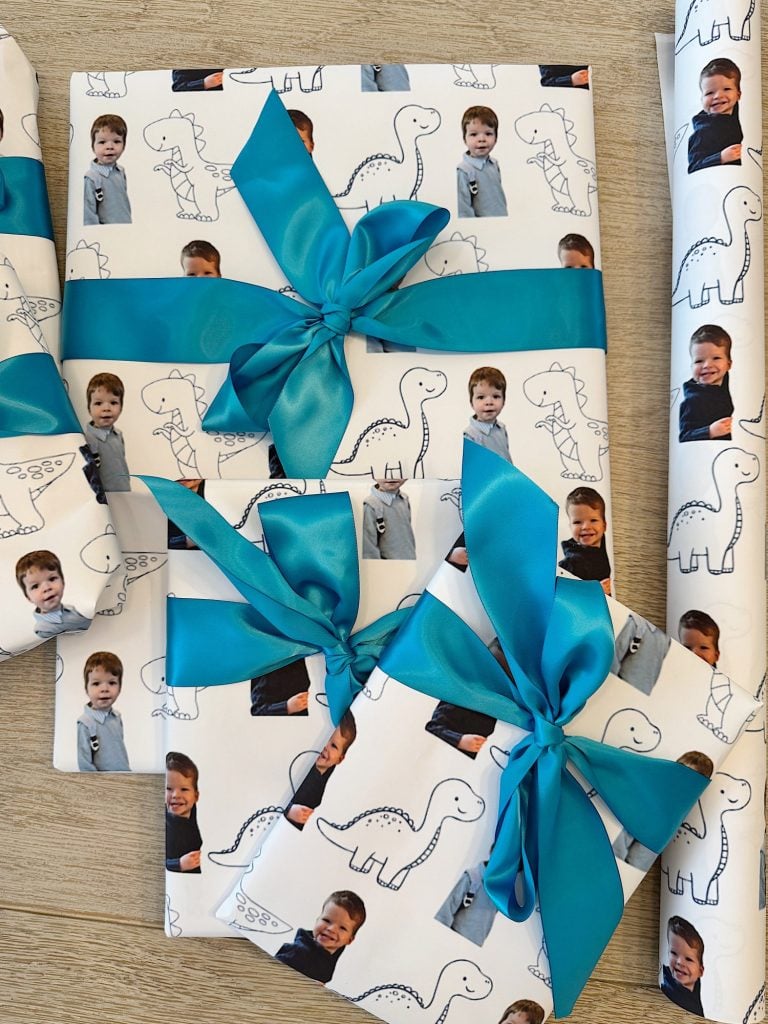
Can I say that this project turned out even cuter than I imagined. I created the wrapping paper entirely in Canva, printed it the same day at Walgreens, and wrapped eight gifts in this sweet, personalized design.
It was fun, affordable, and the perfect way to make Graham’s birthday gifts feel extra special.
Today, I’m walking you through exactly how I made it, step by step. If you want to add a personal touch to your next celebration—birthday, baby shower, holiday, or just because—I highly recommend trying this out. It’s surprisingly easy, and you don’t need special software or skills to make it happen.
Before we start, I need to mention that you can design your wrapping paper directly on the Walgreen’s website. Just select the option to make a custom banner at Walgreens Photo and choose one of the many layouts they offer. You can upload your photos directly on their site. It’s a lot easier than using Canva, but the images are larger than I wanted on my wrapping paper.
Just know that you have two great options!
I may sometimes use affiliate links on this blog, which means a small commission is earned if you purchase via the link. The price will be the same whether you use the affiliate link or go directly to the vendor’s website using a non-affiliate link.

Step 1: Create a Custom-Sized Banner in Canva

First, I opened Canva and created a custom-sized design. I used Canva’s Banner template and set the dimensions to 72 x 24 inches. This large size would give me plenty of space to create a repeating pattern that could be printed as a poster-sized banner—perfect for wrapping multiple gifts of all sizes.
Once the blank banner was open, I left it as my working canvas and opened a second Canva window to build my design elements. This helped me stay organized and gave me room to create the repeating graphic before applying it across the banner.
Step 2: Design the Repeat Pattern
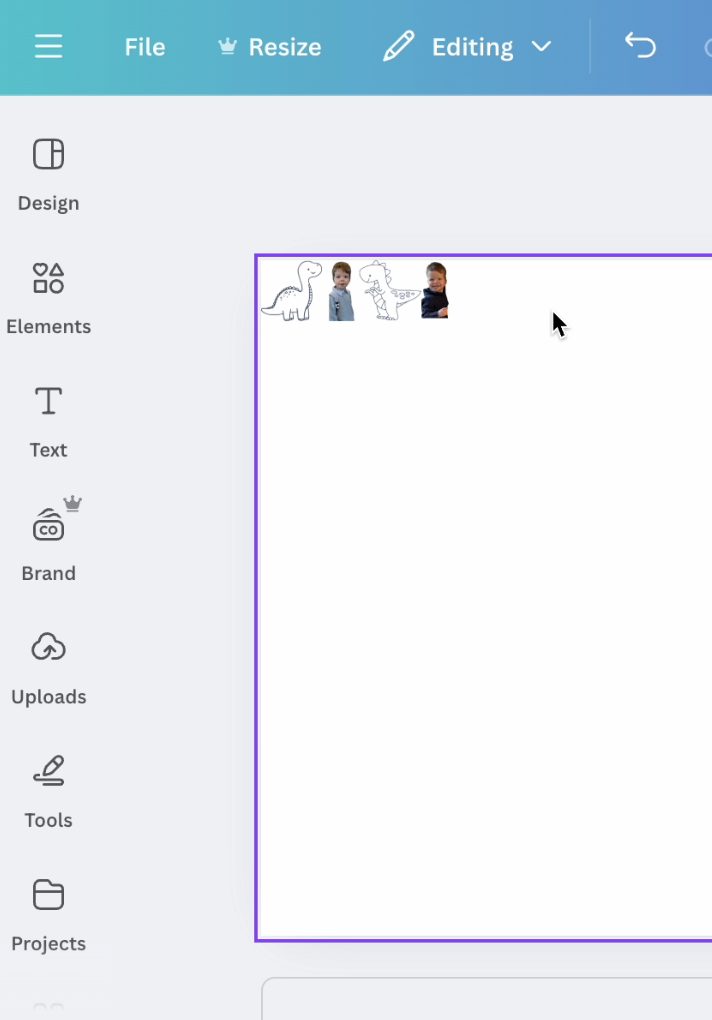
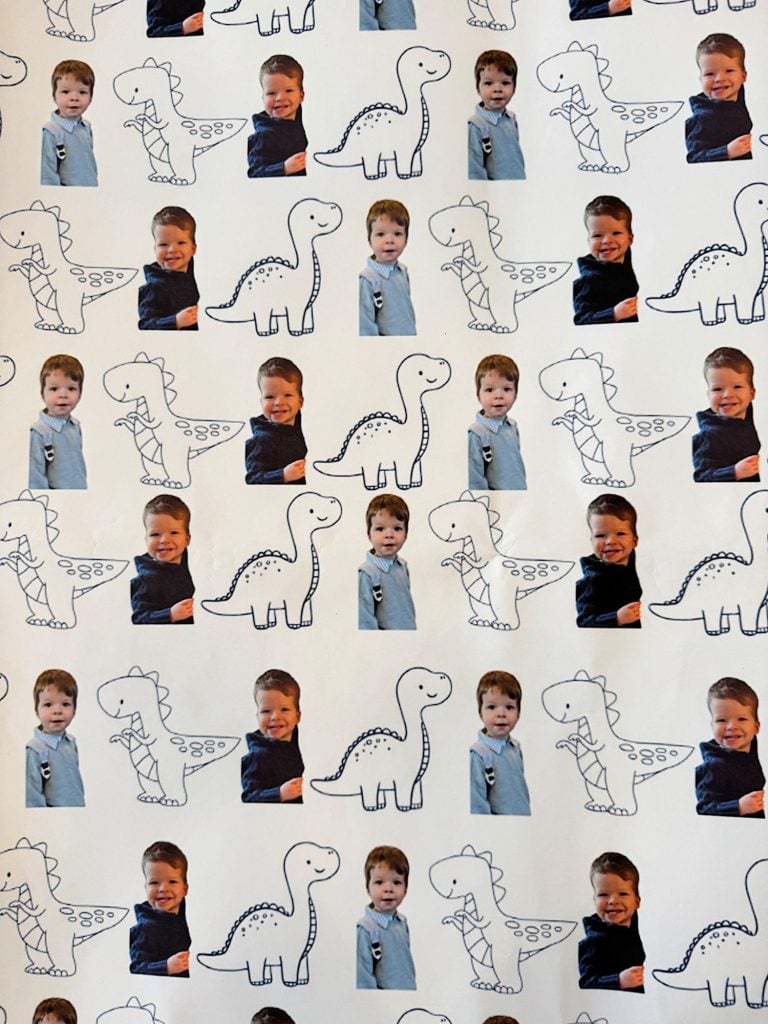
In the second Canva window, I created a small design block that I’d repeat across the banner. I kept it simple and sweet with two favorite photos of Graham and two sketched dinosaurs that I found in Canva’s free image library (search “dinosaur sketch” or “cartoon dinosaur” to find tons of cute options!).
I played around with the layout until the four images felt balanced and fun—nothing too cluttered, just enough to catch the eye and celebrate my dino-loving birthday boy. You could personalize this however you like: mix in text, more graphics, or even themed colors to match your party!
Once I was happy with my mini layout, I grouped the four images so I could move them as one.
Step 3: Copy and Paste Across the Banner
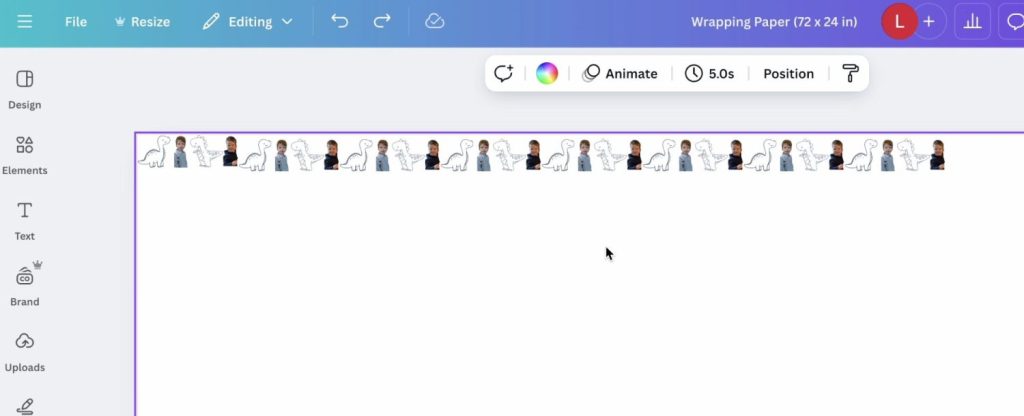
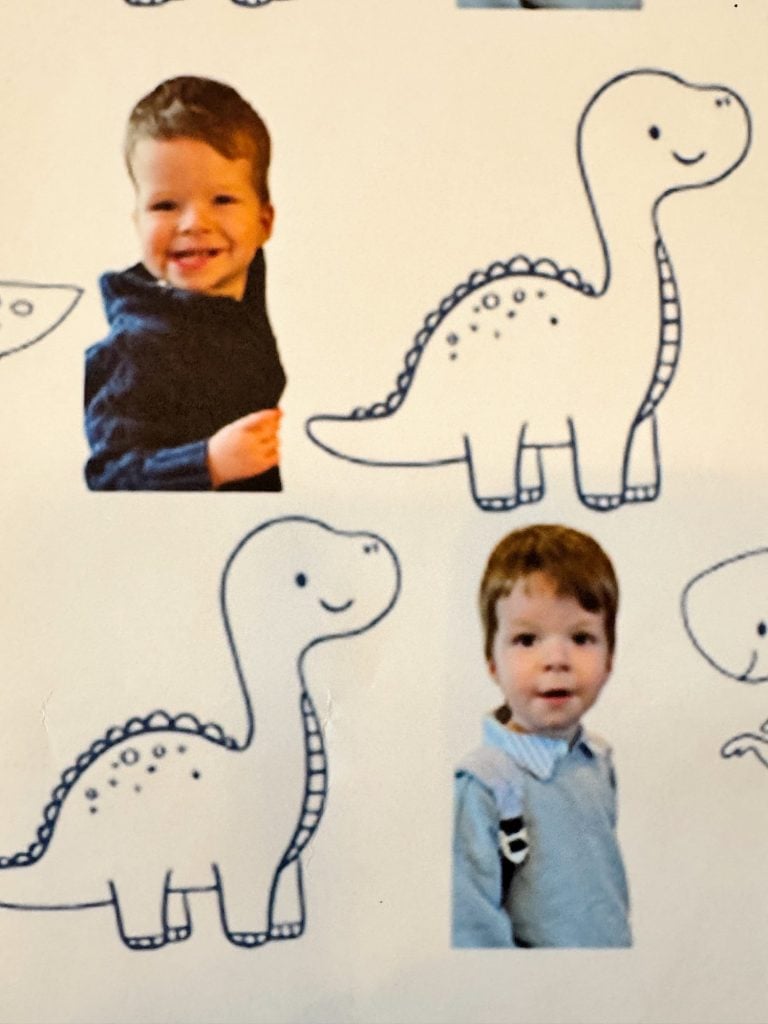
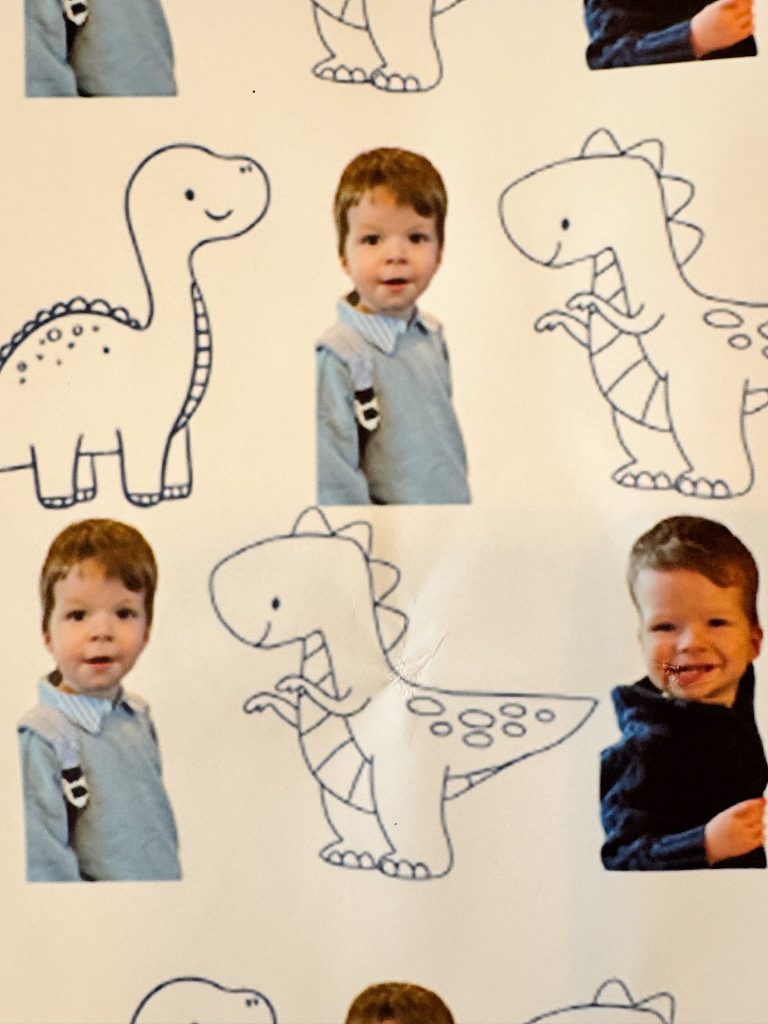
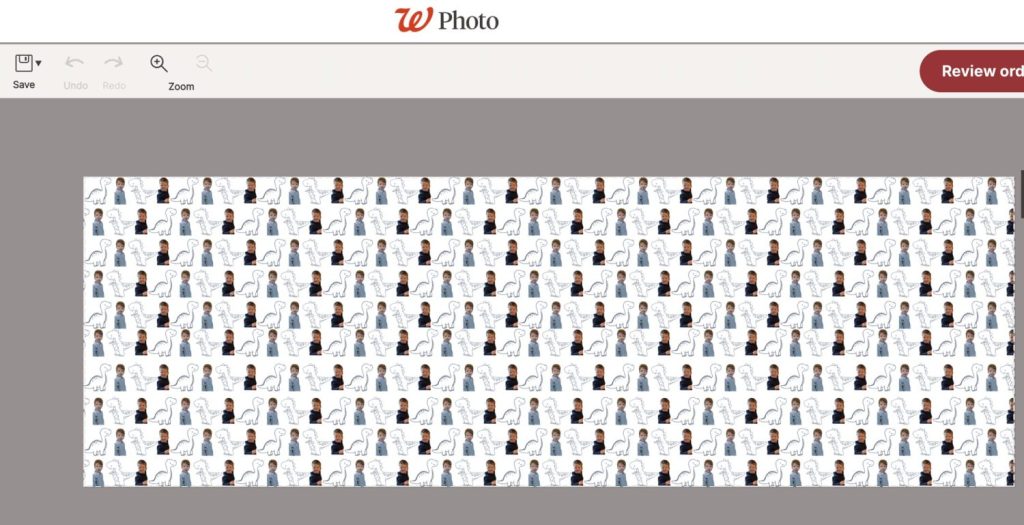
Next, I copied and pasted my design block into the banner (the original Canva window). I started by placing it in the top left corner. Then I copied it again, putting the second version next to the first, and continued creating a row.
After one complete row stretched across the width of the banner, I copied the entire row and pasted it below to make row two. I repeated this process—copying and pasting the rows—until I had filled the entire banner from top to bottom with my repeating design.
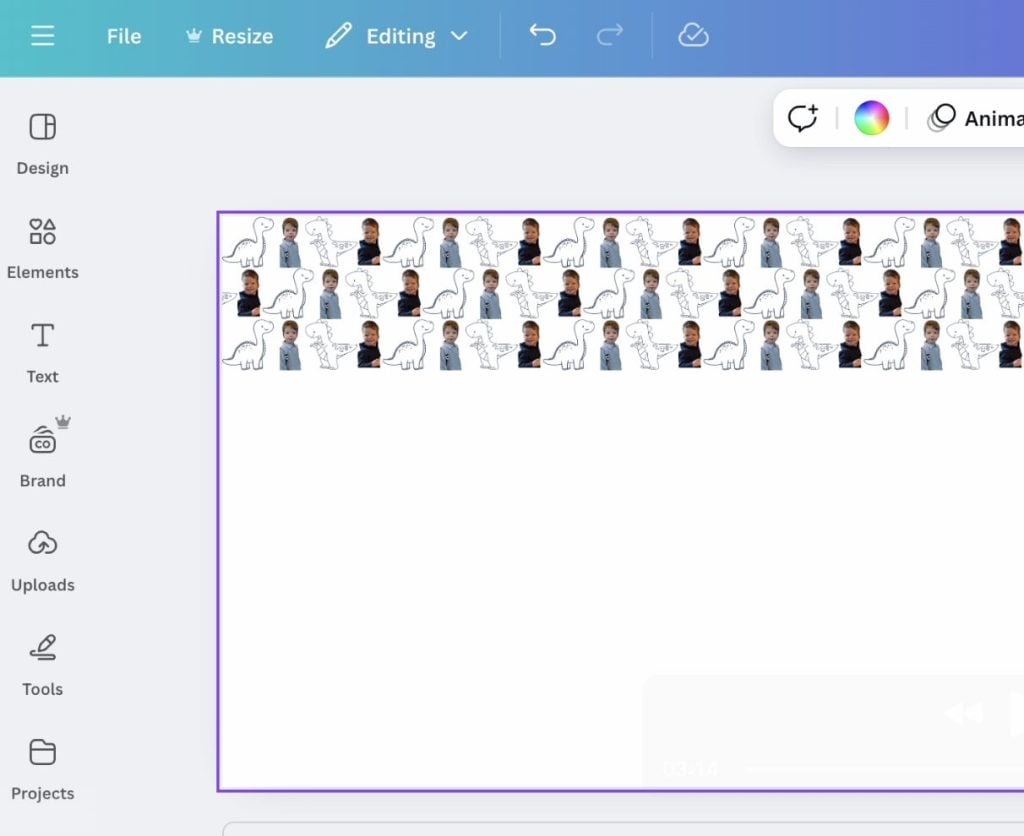
This gave the wrapping paper a seamless, tiled look—almost like something you’d buy in a store, but way cuter because it featured Graham!
Step 4: Save and Prepare the File for Printing
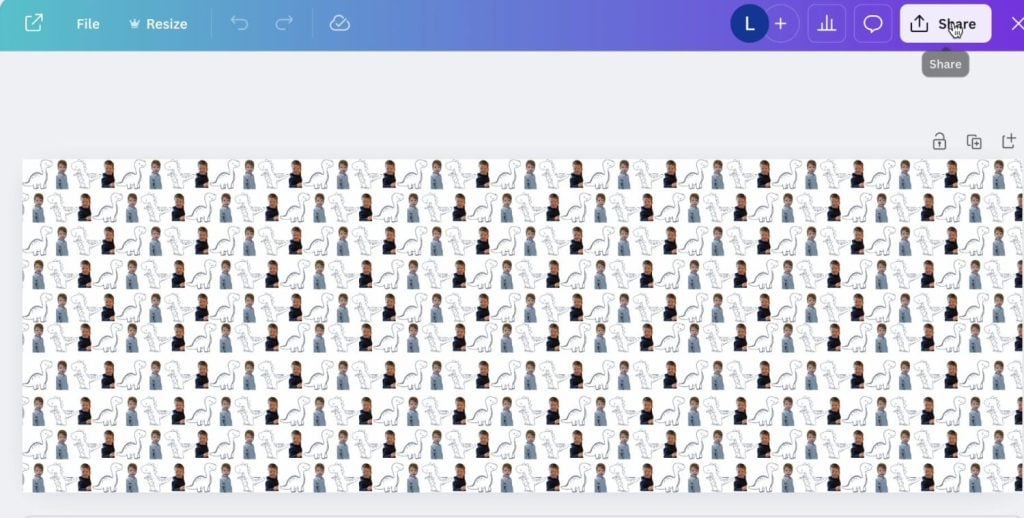
Once the design was complete, I clicked “Share” → “Download” and saved the banner as a PNG file.
Pro tip: To ensure the design would be high-resolution when printed, I saved it as a PNG file and doubled the size of the export. Canva allows you to scale your download resolution, so I bumped it up to 6912 x 2304 px. This helps prevent pixelation when printing large sizes, especially for photos.
Step 5: Upload to Walgreens Photo for Same-Day Printing
With my high-res PNG ready, I headed to the Walgreens Photo site at photo.walgreens.com.
Here’s how to place your order:
- Go to the Posters & Banners section of the site.
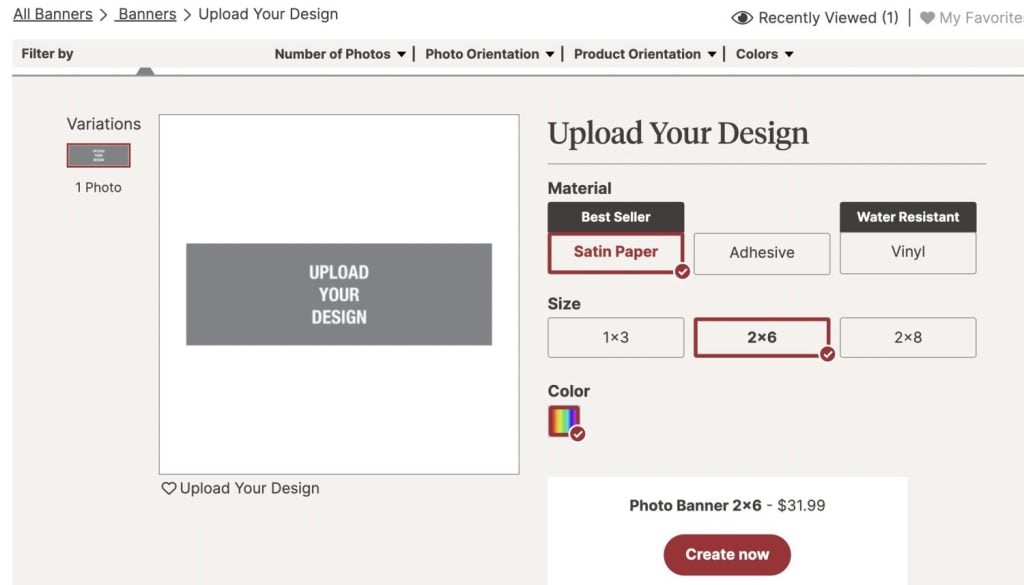
- Select “Custom Banner.”
- Upload your PNG design.
- Choose your print size (I selected 72 x 24 inches to match the Canva file).
- Place your order and choose Same-Day Pickup if it’s available in your area.
Before checking out, be sure to search for a coupon! Walgreens almost always has one for their photo products. When I ordered, they had a 50% off promotion, which made this project incredibly affordable—especially considering how custom it was.
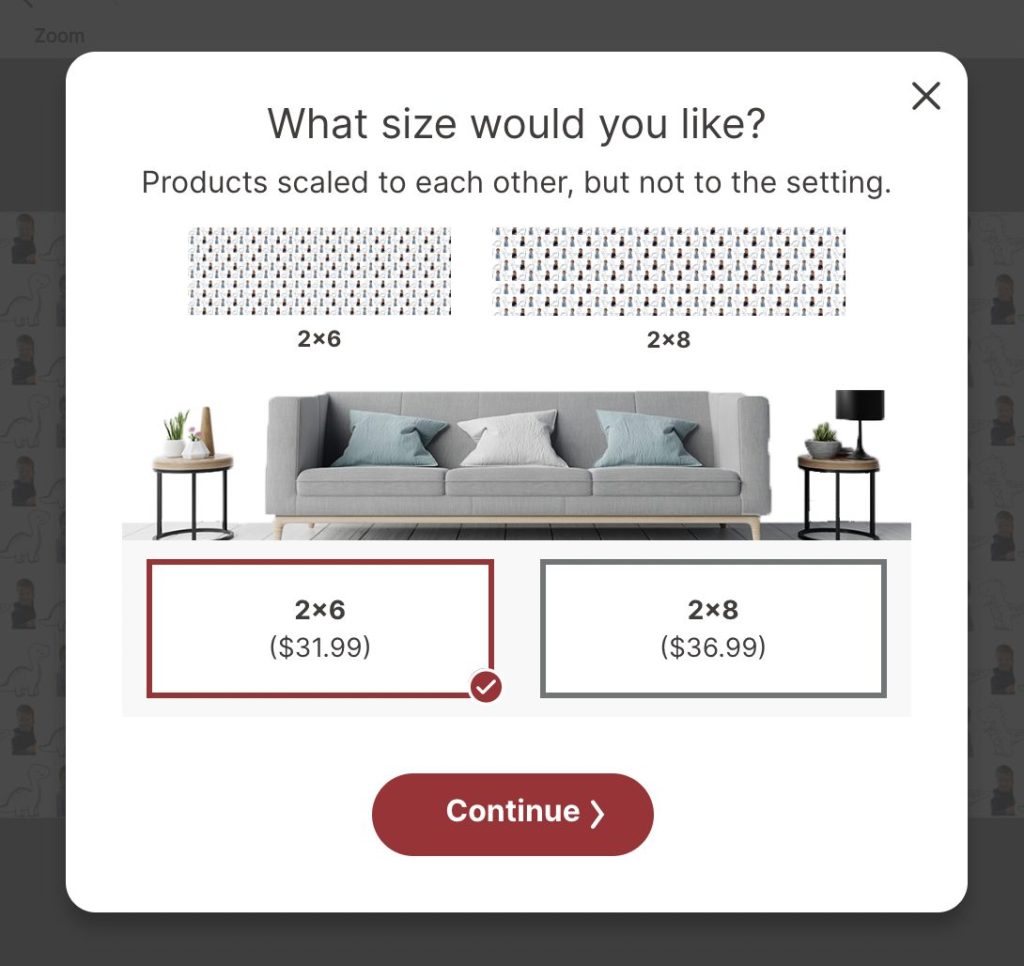
I used the 50% off coupon, so the roll of wrapping paper cost $16.00. That was a bargain!
Step 6: Pick Up and Wrap with Style
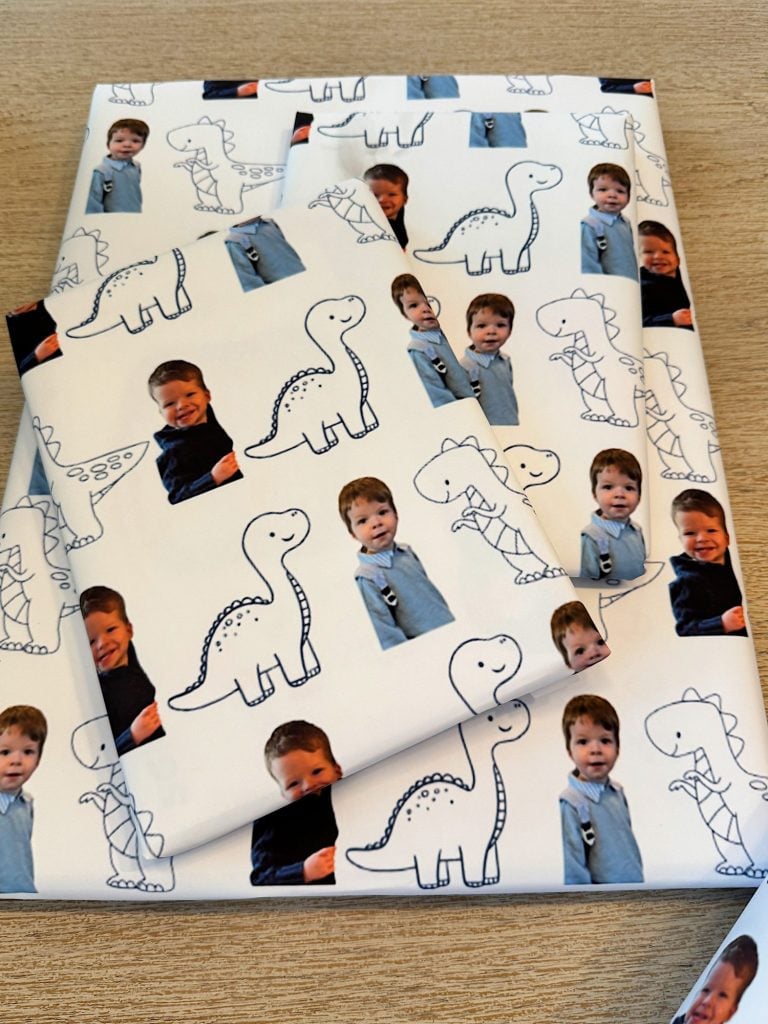
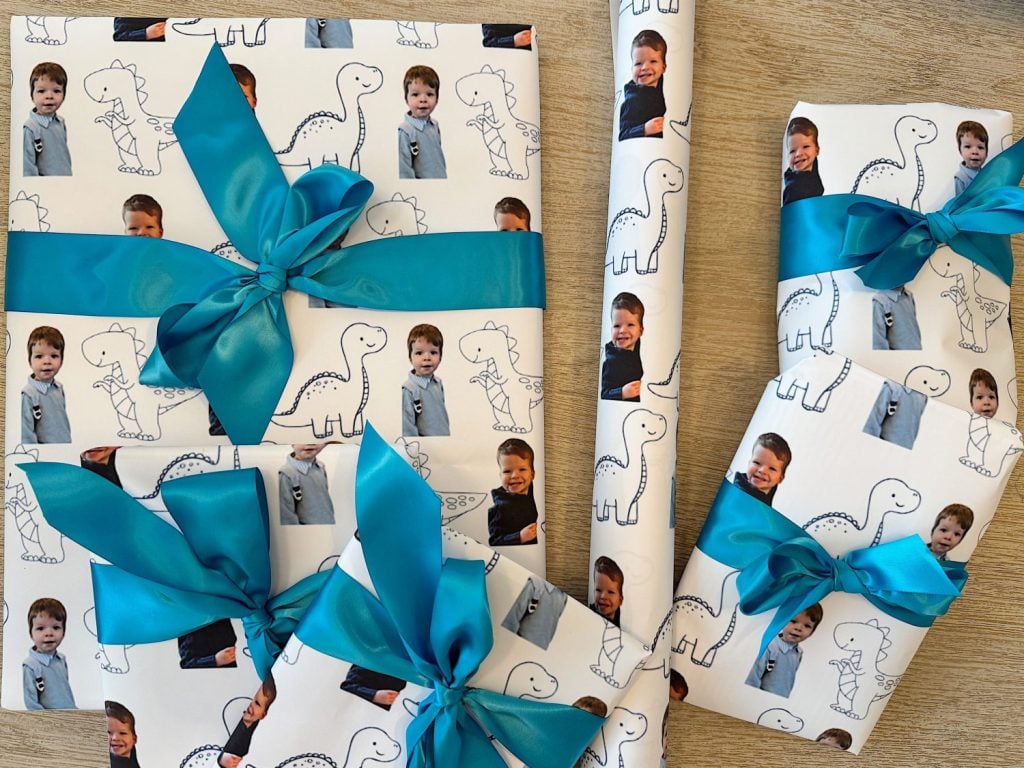
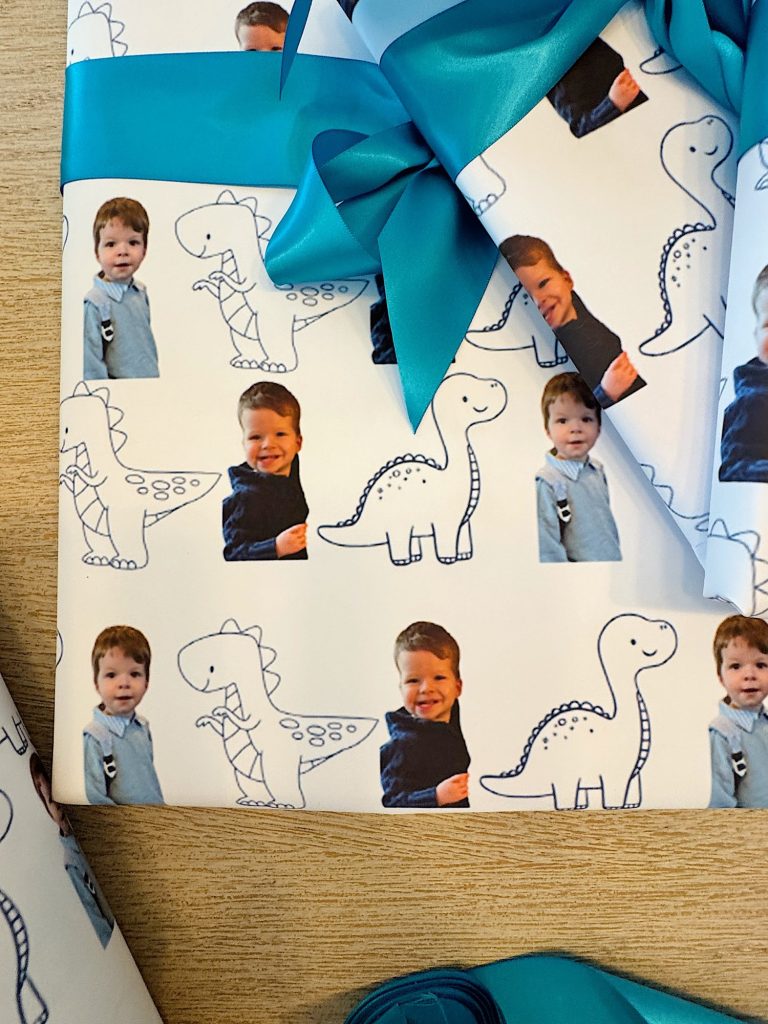
Later that same day, I picked up my banner at Walgreens and was absolutely thrilled with how it turned out. The colors were vibrant, the images looked sharp, and the size was perfect for wrapping gifts of all shapes and sizes.
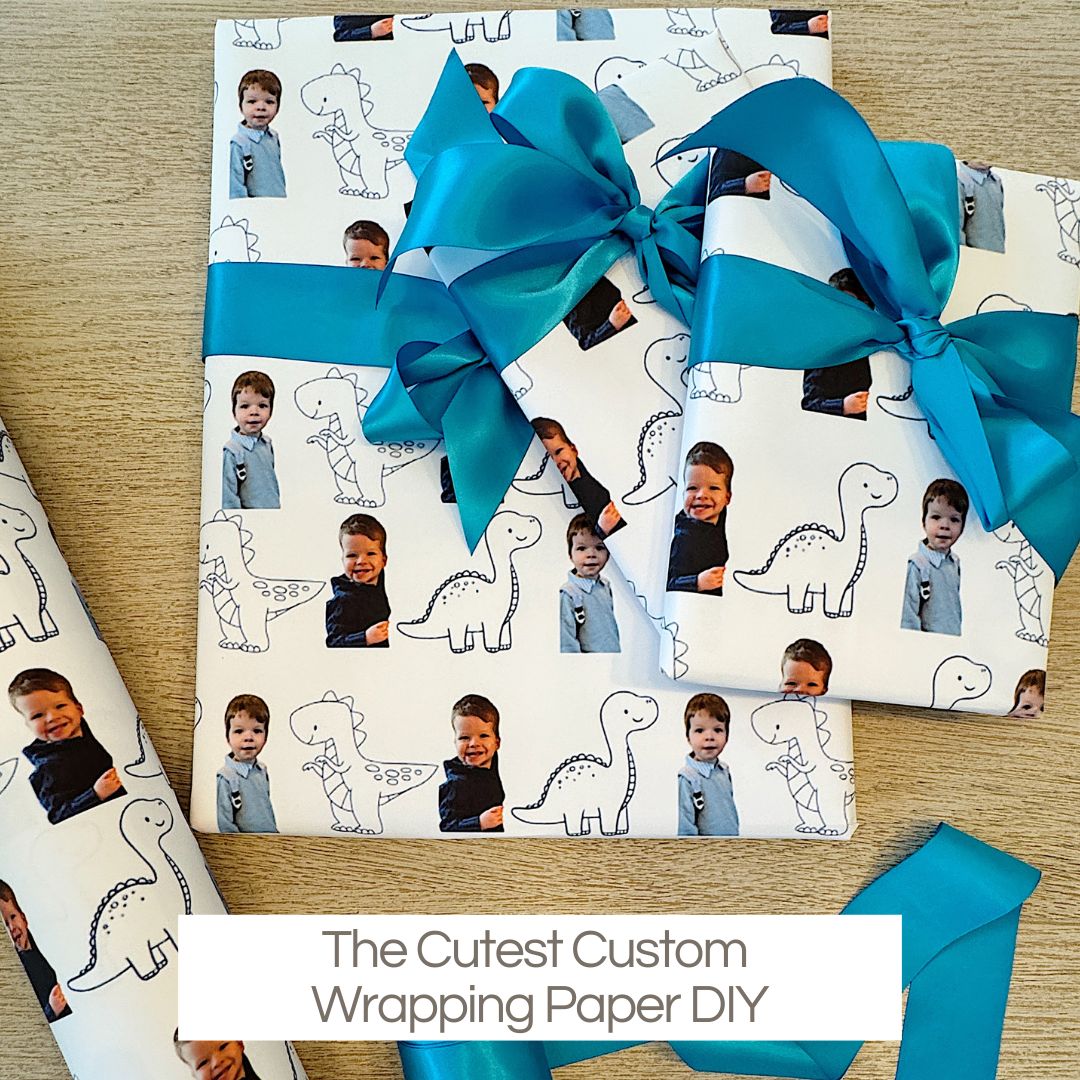
I ended up wrapping eight gifts using just one banner roll! I cut the large banner into sections to fit each gift, folding and trimming as needed. Since the design was a repeated pattern, no matter where I cut the paper, it looked cohesive and intentional.
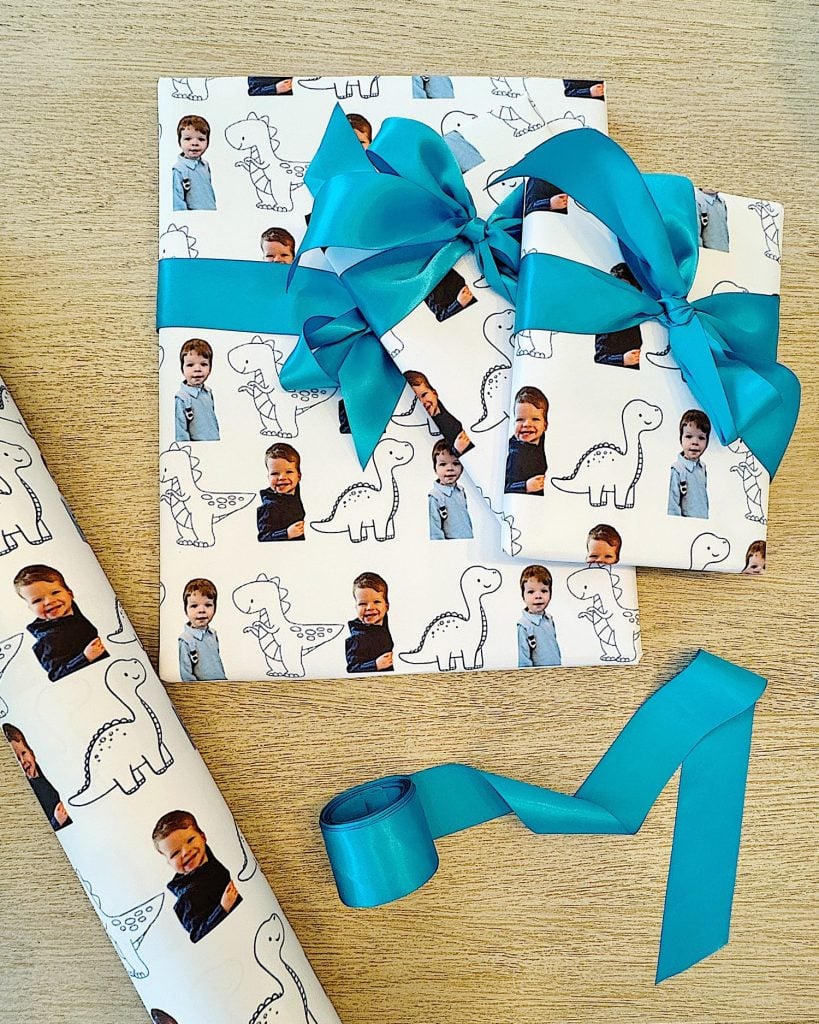
Each gift looked like a little celebration of Graham—cheerful, colorful, and perfectly personalized for his big day.
Why I Loved This Project
I’m always looking for creative ways to make family celebrations feel extra meaningful, and this custom wrapping paper checked all the boxes. It was:
- Personalized with Graham’s sweet face and his favorite dinosaurs
- Affordable, especially with the Walgreens coupon
- Quick, with same-day printing
- Easy to make using Canva (no fancy software needed!)
- So much fun to create and use
Best of all, it brought joy to Graham and the whole family. Everyone loved how unique and adorable the gifts looked. It sparked conversation, smiles, and a lot of “Where did you get that wrapping paper?!”—which made it even more special.
Want to Try It? Here’s What You Need:
- A Canva account (free version works perfectly!)
- A few photos and graphics you love
- Canva’s Banner template (set size to 72 x 24 inches)
- A Walgreens Photo account and access to their banner printing page
- A coupon code (check their site on the home page or search “Walgreens Photo Coupon”)
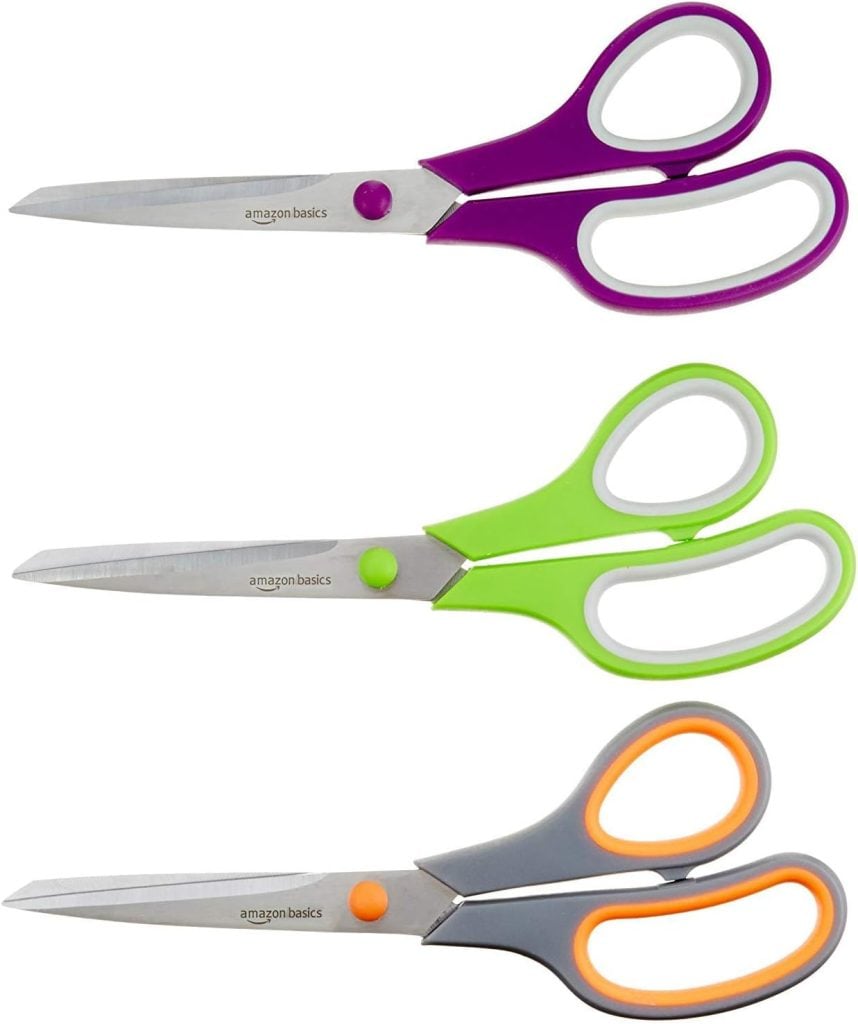
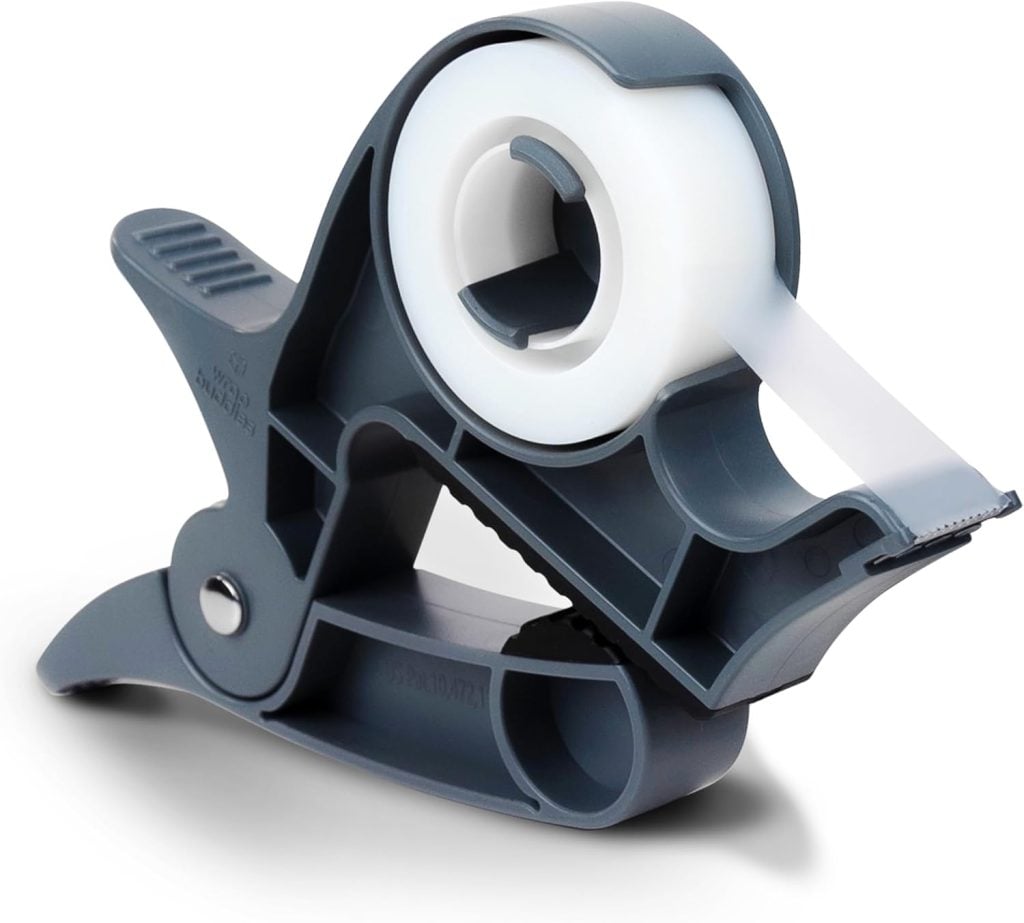
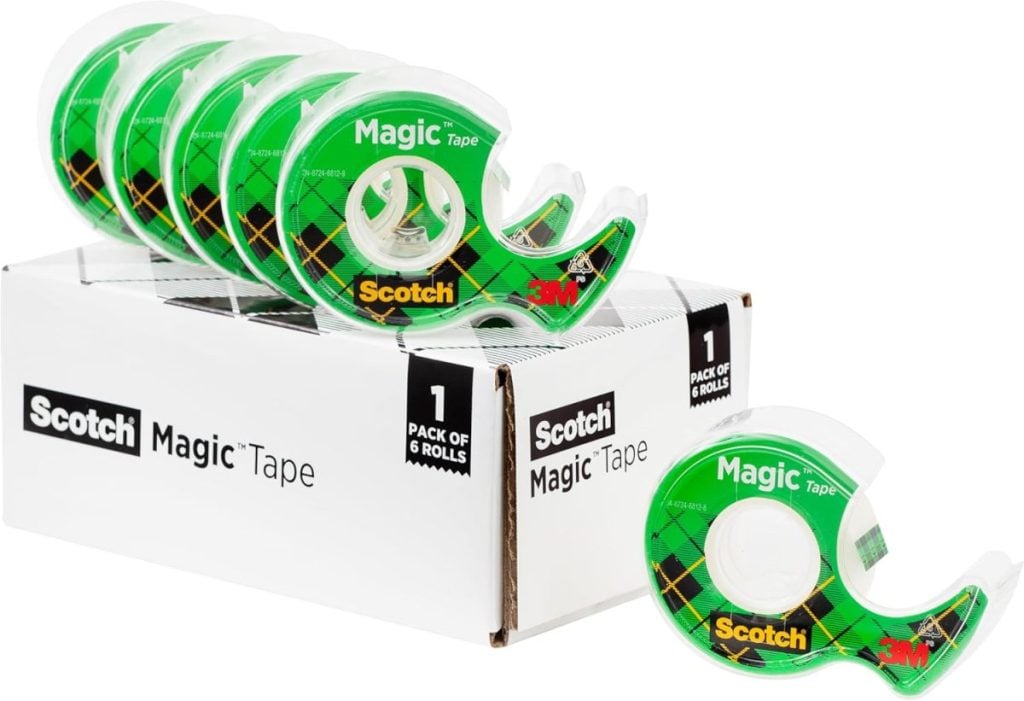
- Scissors and tape for wrapping

Final Thoughts
This wrapping paper was one of my favorite DIYs to date. It was simple, heartfelt, and completely Graham. Whether you’re celebrating a birthday, baby shower, holiday, or want to surprise someone with something extra thoughtful, I highly recommend trying this method.
These little touches make celebrations unforgettable—and I think that’s what we all want, especially for our kids and grandkids. 💛
Let me know if you try this! I’d love to see your custom designs and hear how they turn out.
Happy wrapping!


If you enjoy my blog, you can sign up to receive my updates here.
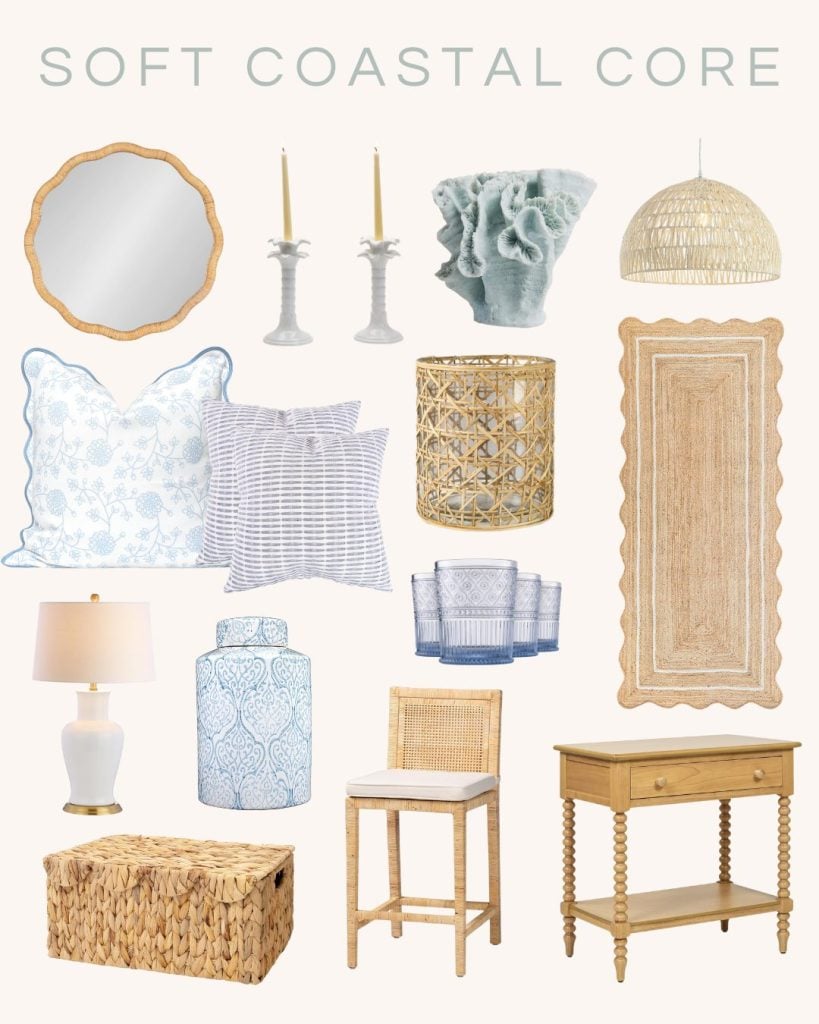
.Soft Coastal Core

Latest Posts
-
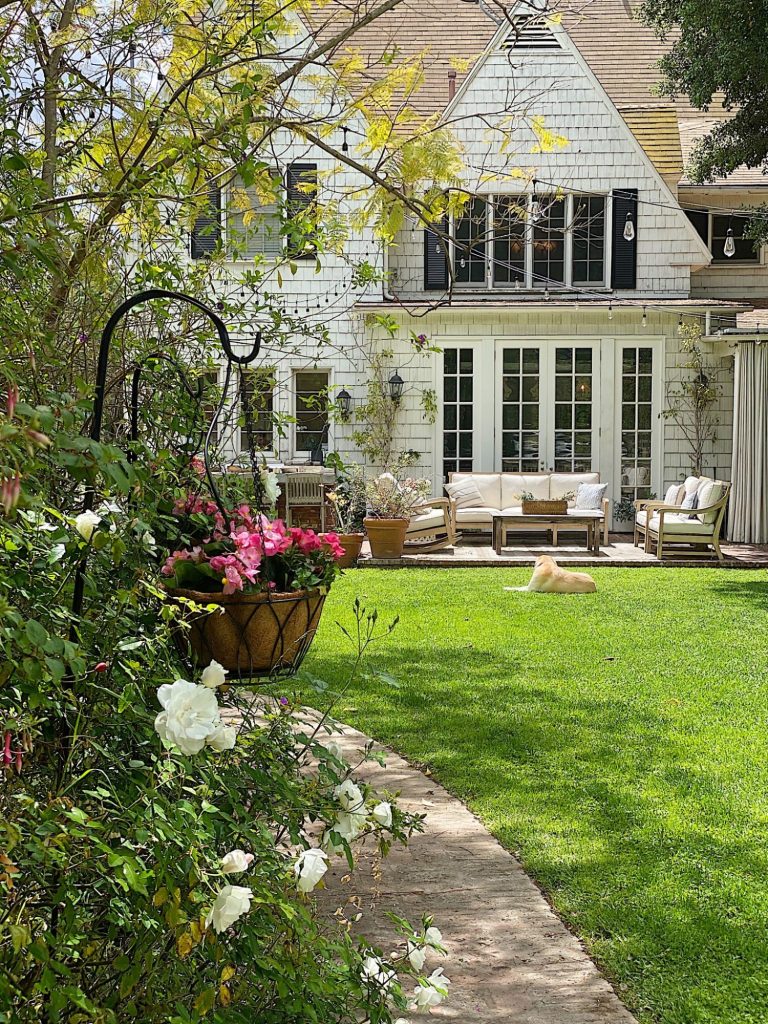
Five Easy Steps to Adding Hanging Planters in Your Yard
Today, I am sharing how I created the hanging planters in our backyard. I love mine so much! Hanging planters look lovely in any yard. My hanging planters have been looking awful all winter long. Here are five easy steps to add (or redo) hanging flower baskets in your yard. Adding hanging planters is a…
-
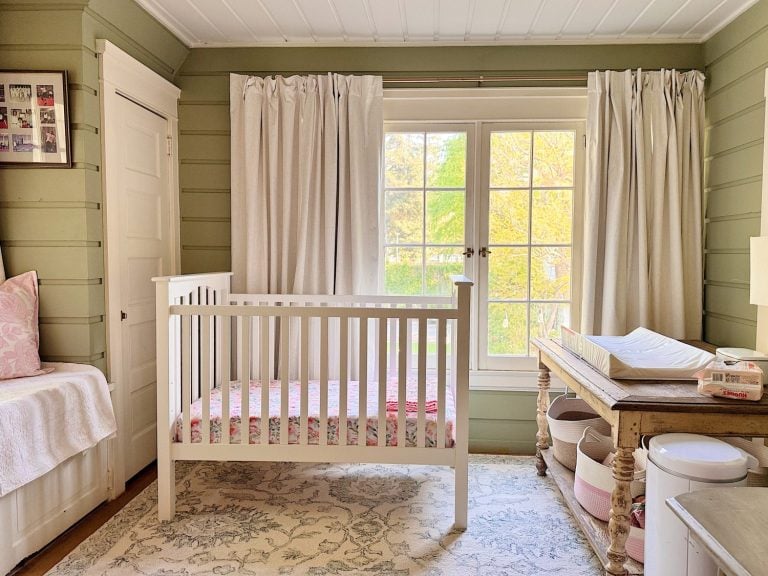
Spring Cleaning and Sunday Morning Coffee
I don’t know about you, but every spring I feel this strong pull to refresh something in our home, and this year I started in a place that might surprise you. It’s Spring Cleaning time! The very first room on my spring-cleaning list was our nursery. And yes, I know that sounds a little unexpected,…
-
Best Easter Brunch Egg Dish: Loaded French Onion Frittata
Easter brunch is one of those special meals where the table is complete, the laughter is loud, and the food is nothing short of spectacular. If you want to wow your guests with something savory, cheesy, and unforgettable, let me introduce you to your new Easter brunch hero: a Loaded French Onion Frittata.
-
The Best Spring Pillow DIY – A Handmade Spring
There are certain projects that start as an idea and quietly turn into something you love far more than you expected, and this Spring pillow is exactly that. As part of my A Handmade Spring series, I wanted to create something soft, beautiful, and full of texture, and this pillow checked every box. This pillow…


My Recent Instagram Posts

You can pin the image below to your boards on Pinterest (click the Pin button in the top left corner) or follow me on Pinterest!
For more real-time updates, follow me on Instagram @My100YearOldHome

Adorable wrapping paper and such a brilliant idea — thanks for sharing and for your detailed instructions!!! I can’t wait to make my own design.