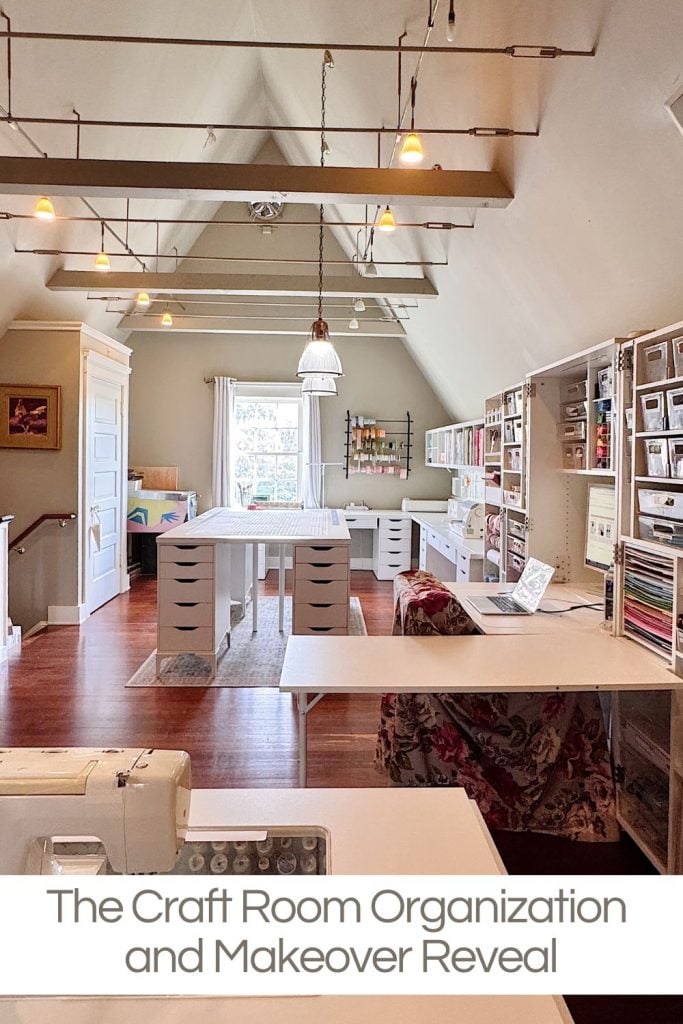
The Craft Room Organization and Makeover Reveal
I can finally say it. The craft room organization and makeover are complete, and I genuinely love it.
This space has been evolving for a long time, and this reorganization was about much more than making it look neat. It was about creating a craft room that actually supports how I work, what I create, and how often I use my supplies.


The Craft Room Organization and Makeover
This room is now intentional, functional, and joyful to be in. Every decision was made with real-life crafting in mind, and the result feels like a dream come true.
If you missed my plan to reorganize my craft room, be sure to read my blog post, My Next Big Project: The Craft Room Organization and Remodel.
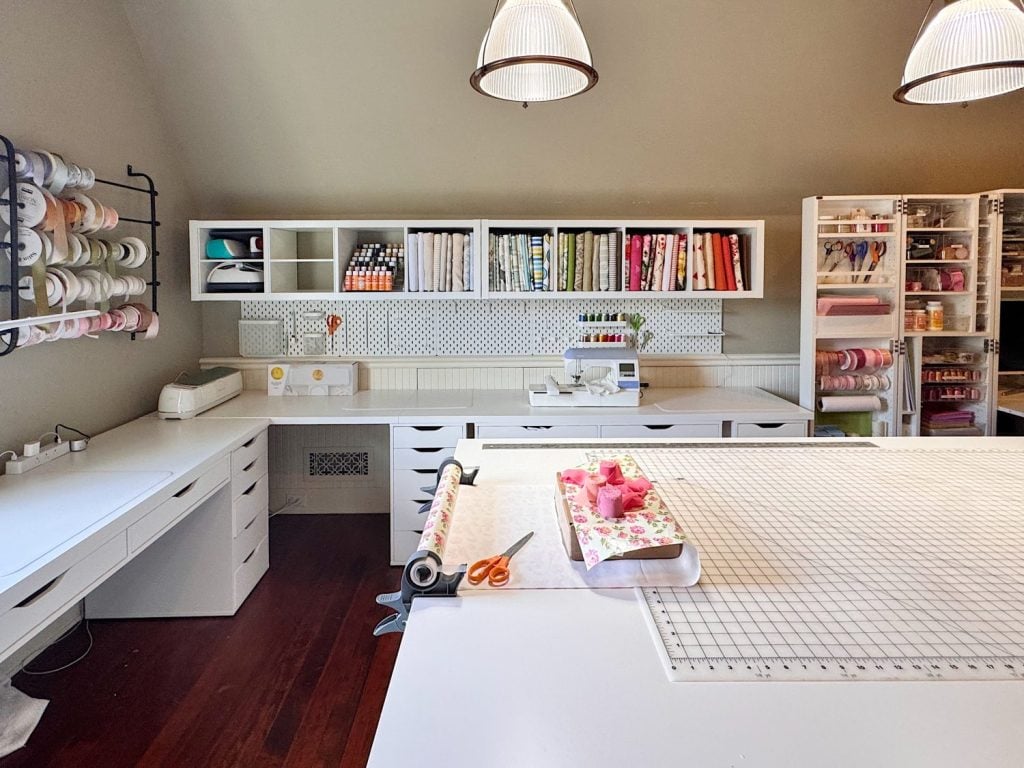
Designing the Room Around Stations
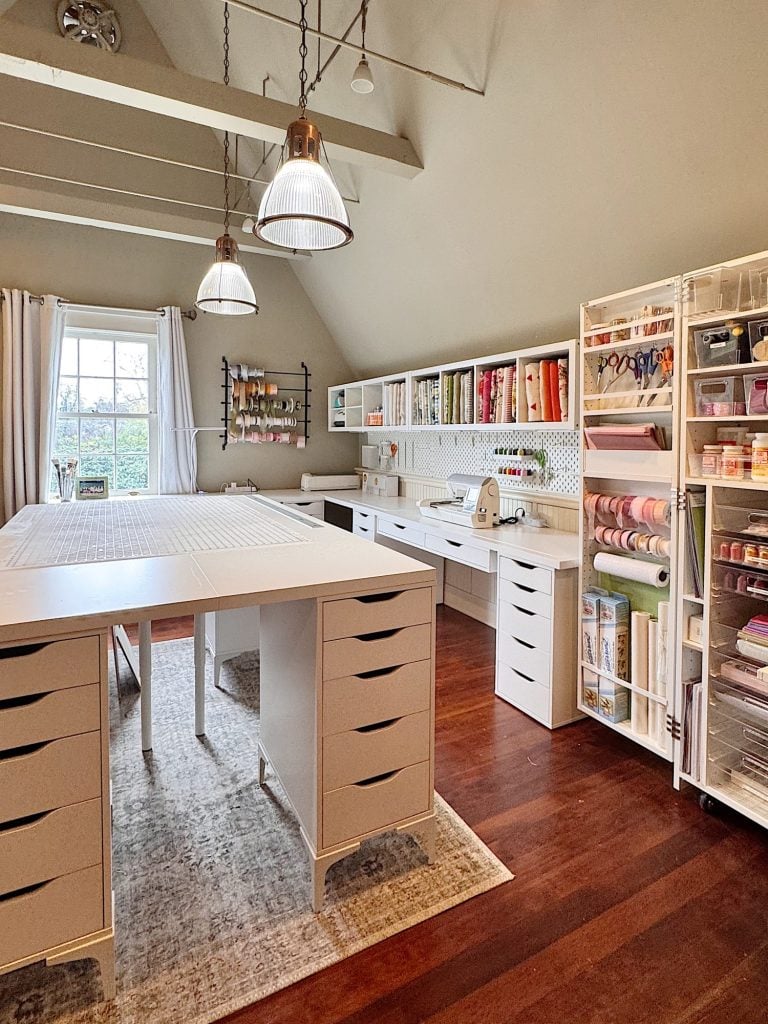
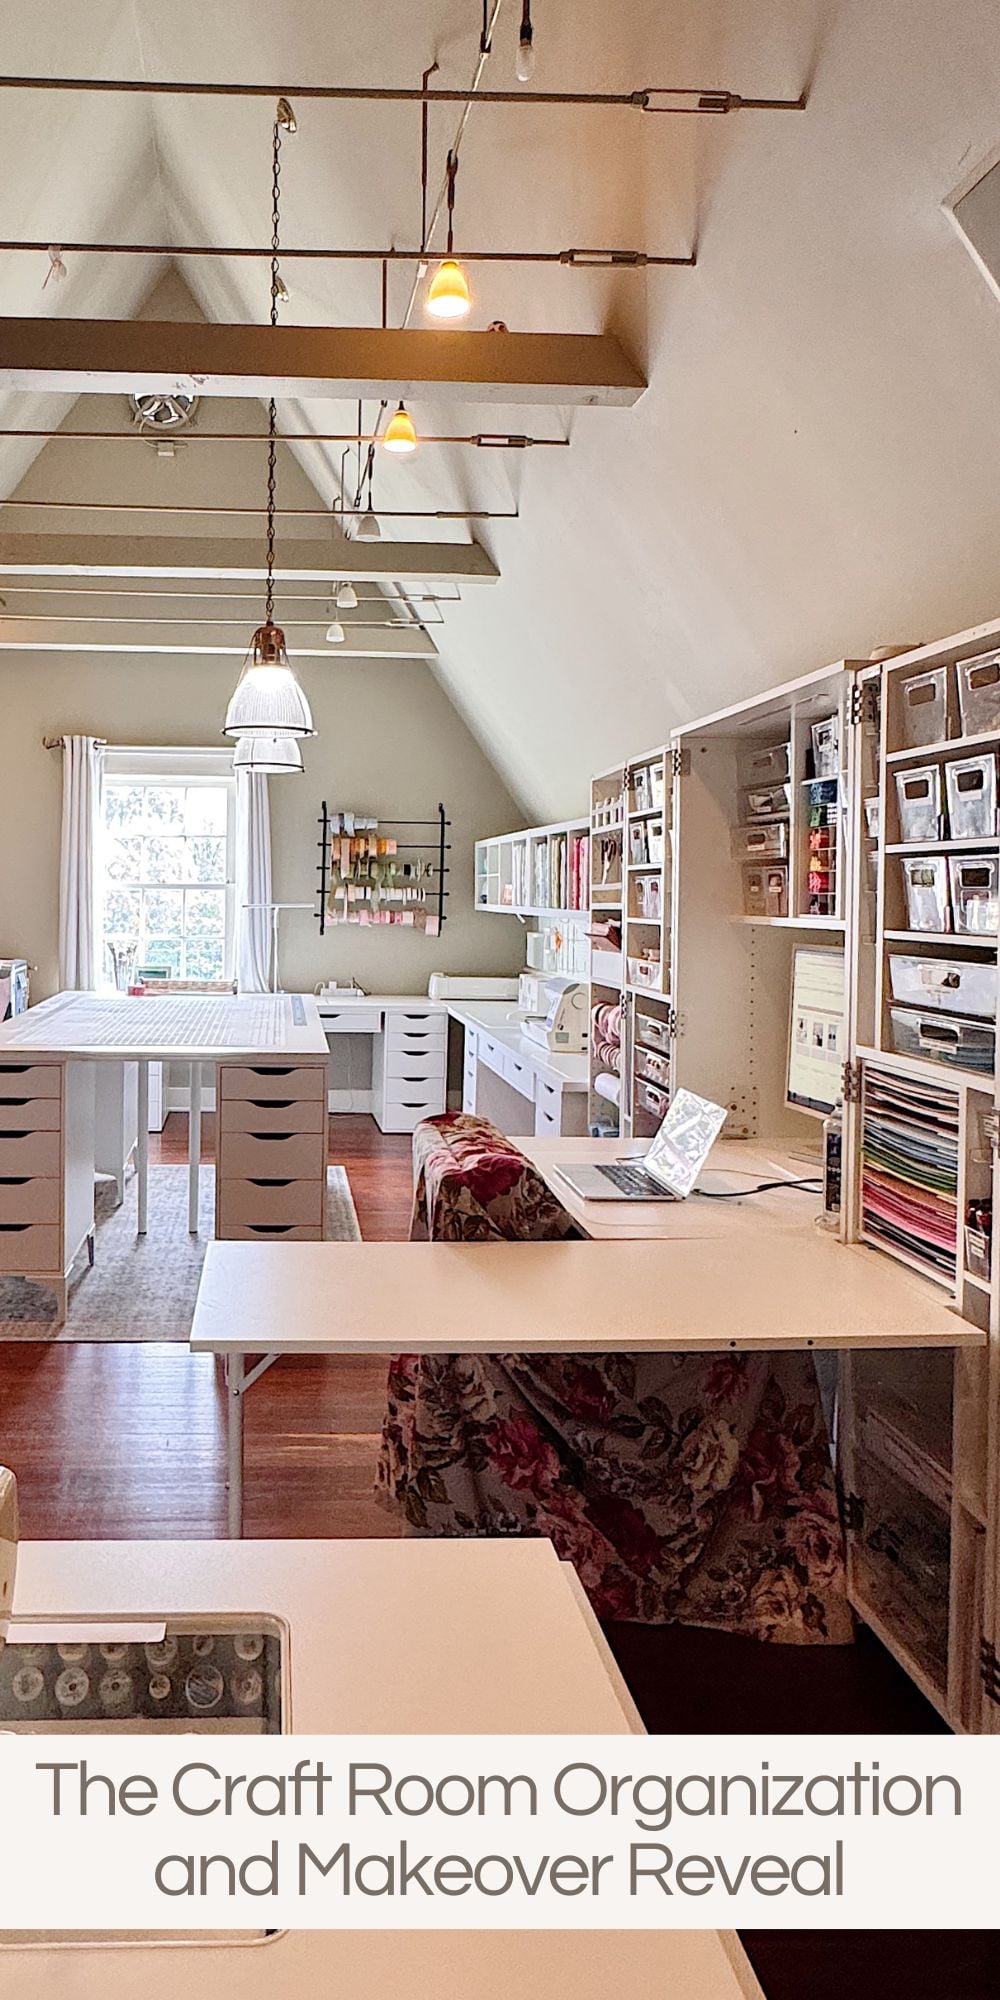
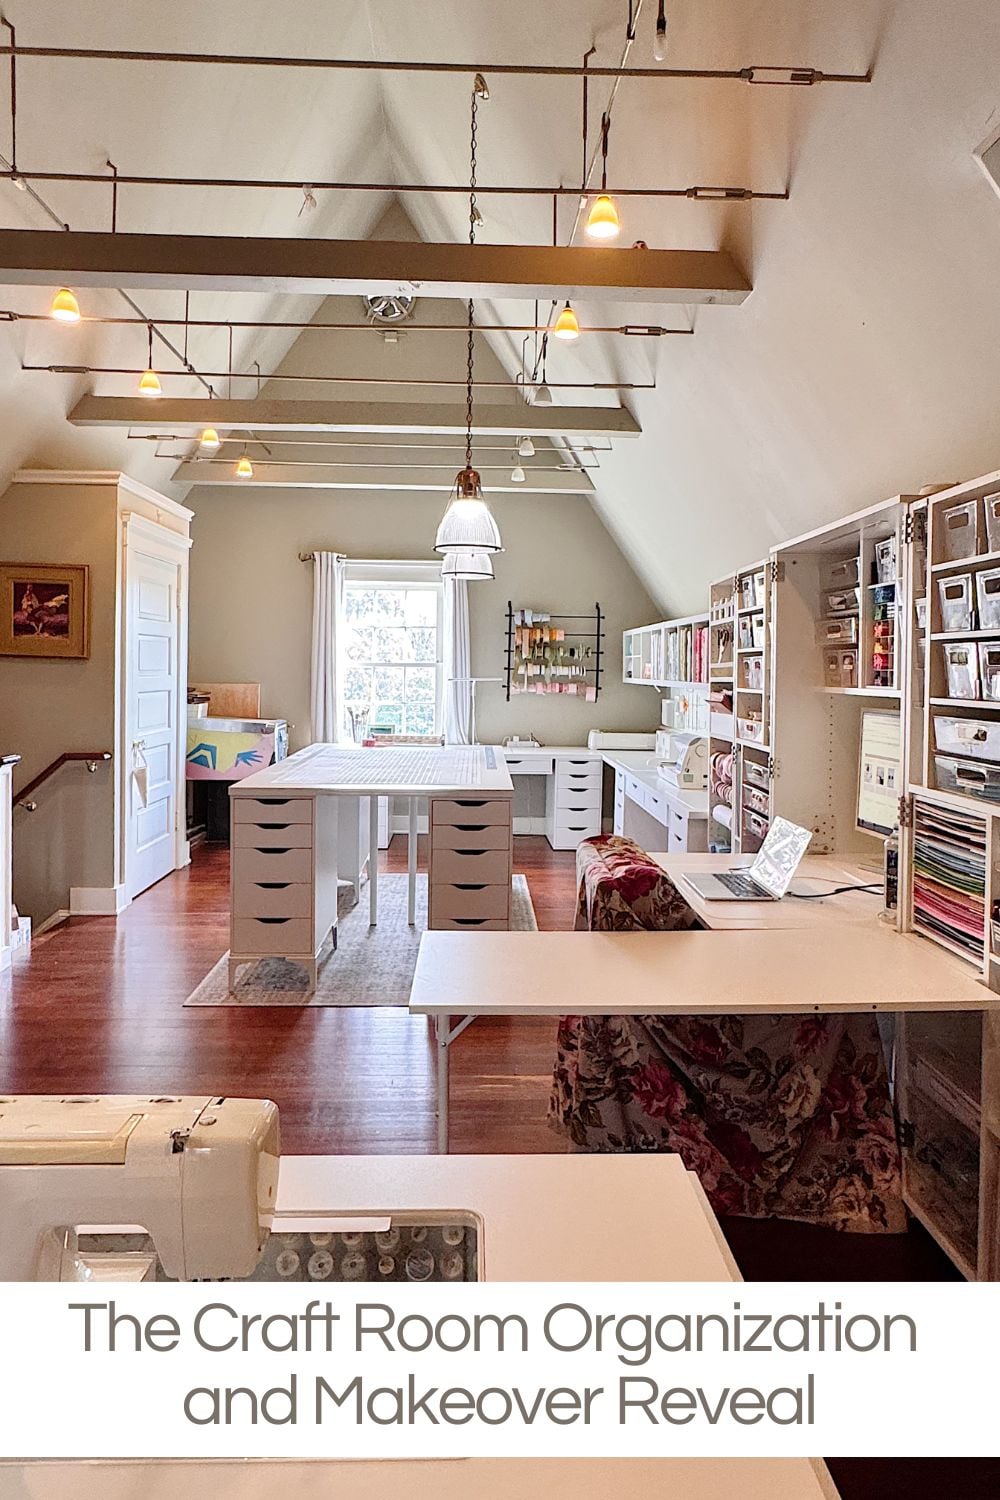
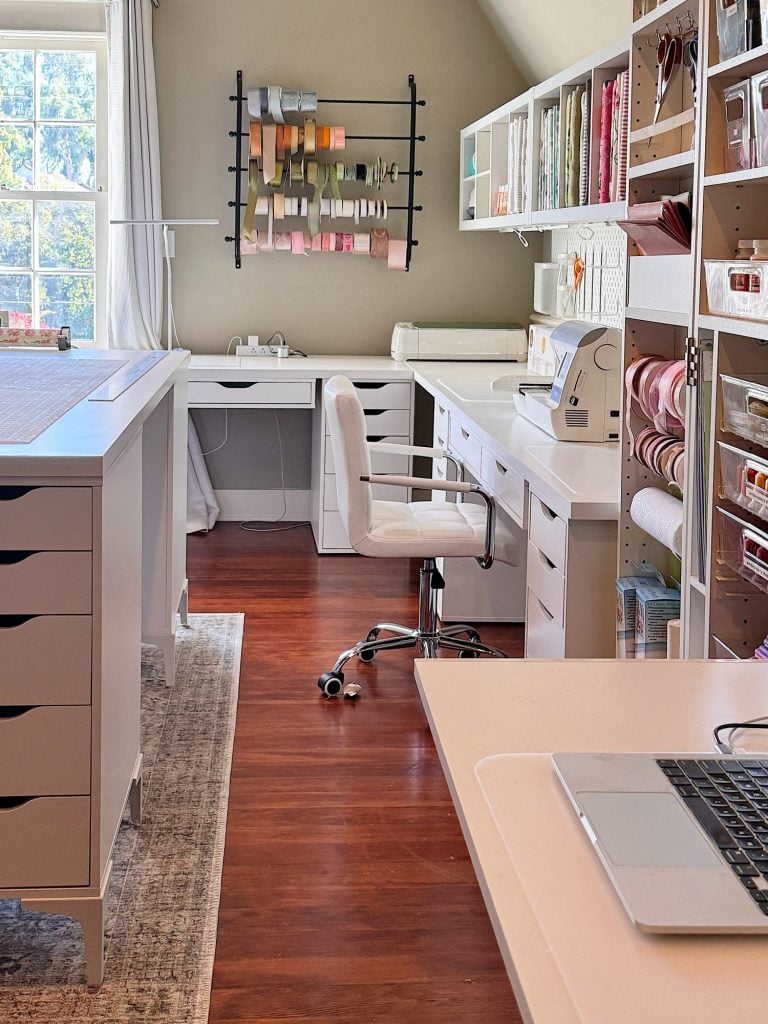
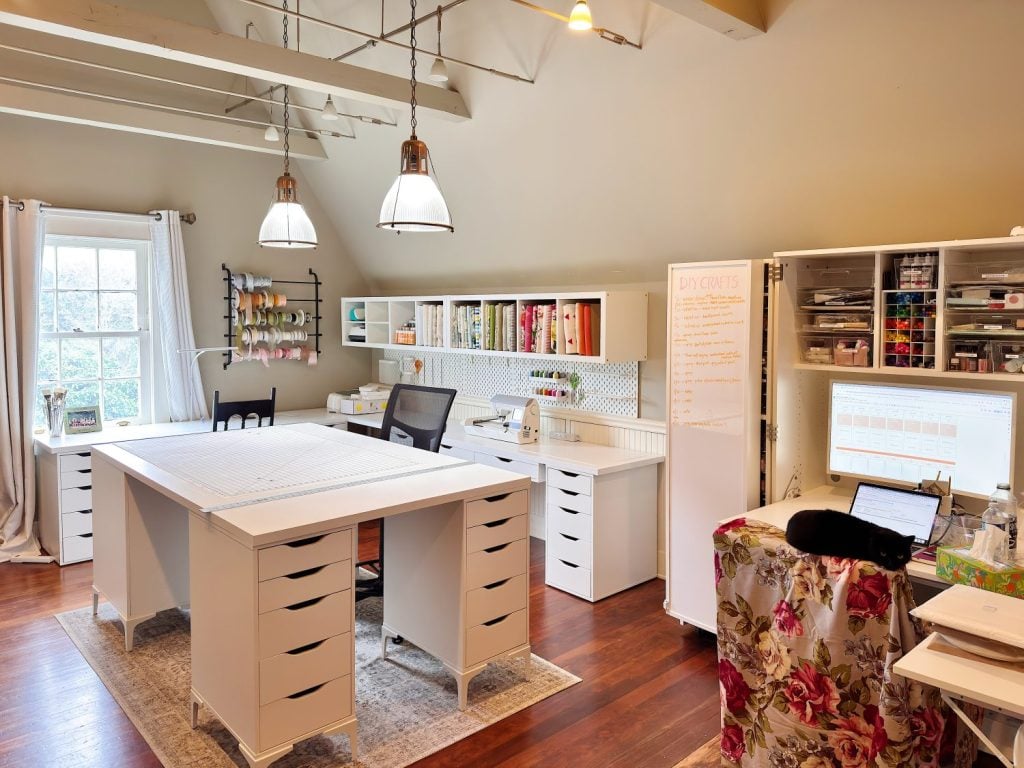
The most important shift I made was to design the room around stations rather than furniture. Instead of placing desks and shelves and hoping they worked, I started by defining how I would craft the room, then built it around that.
The measurement of the space I am using for the craft room is 11′ x 22′.
Each station has storage directly below it, which has completely changed how the room functions. I no longer have to walk across the room for supplies or pile things on work surfaces; everything I need for each crafting project is exactly where I use it.
The stations include sewing, embroidery, Cricut, pottery, wrapping, and general crafting. This layout allows me to move easily from one project to another without disrupting the entire room.
On this blog, I may sometimes use affiliate links, which means I earn a small commission if you purchase through them. The price will be the same whether you use the affiliate link or go directly to the vendor’s website using a non-affiliate link.


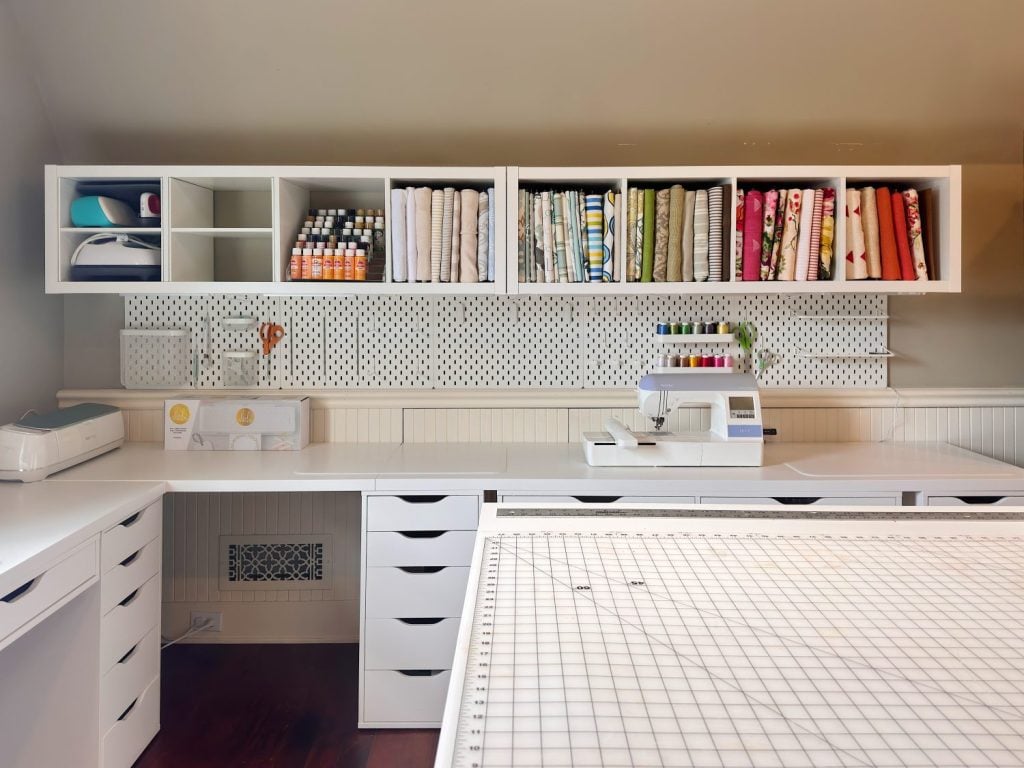
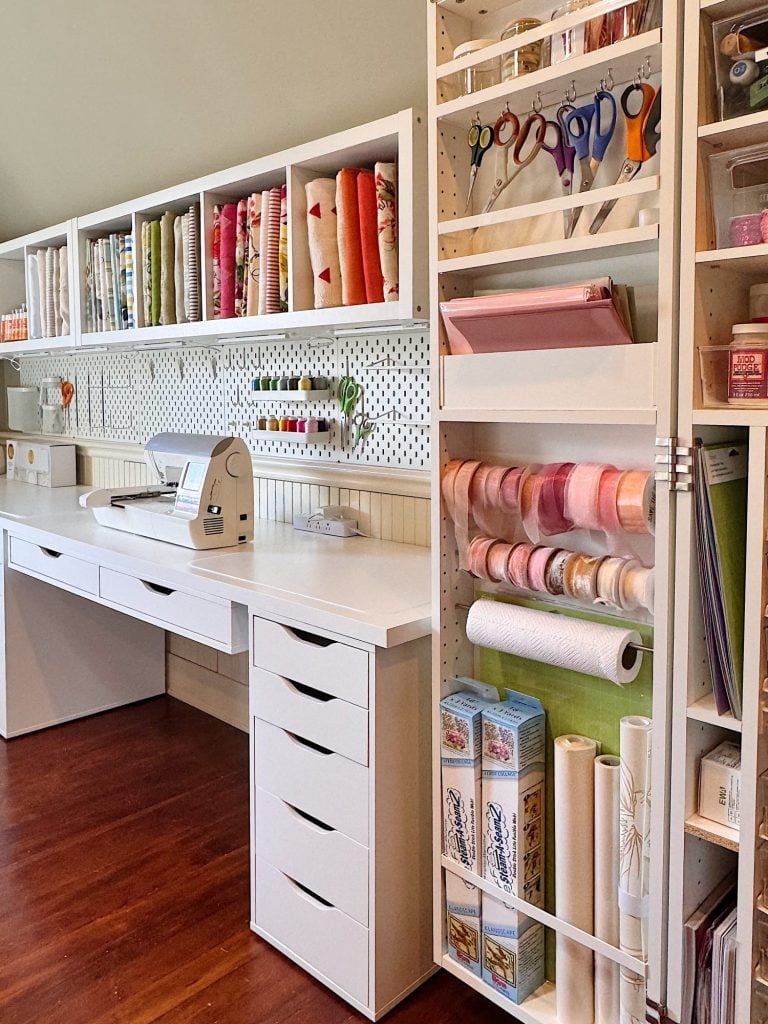
Craft Room Storage
My Dreambox is truly a dream. I love this so much, and having all my most-used crafting items visible and easy to access is ideal.
Forty Drawers That Changed Everything
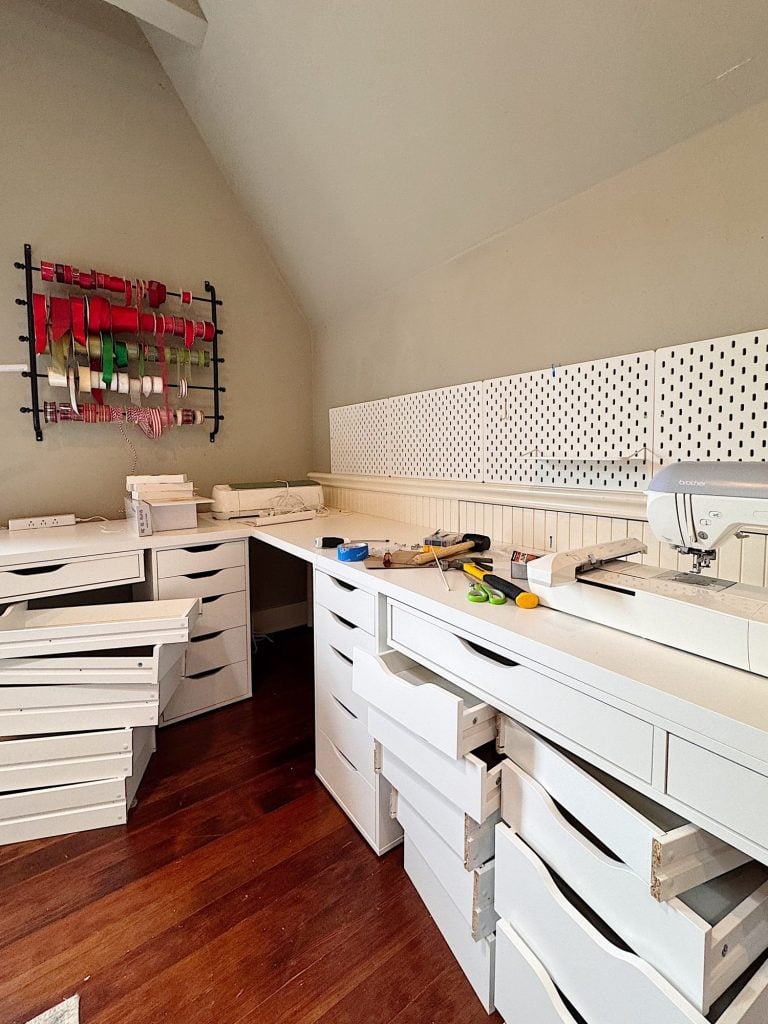
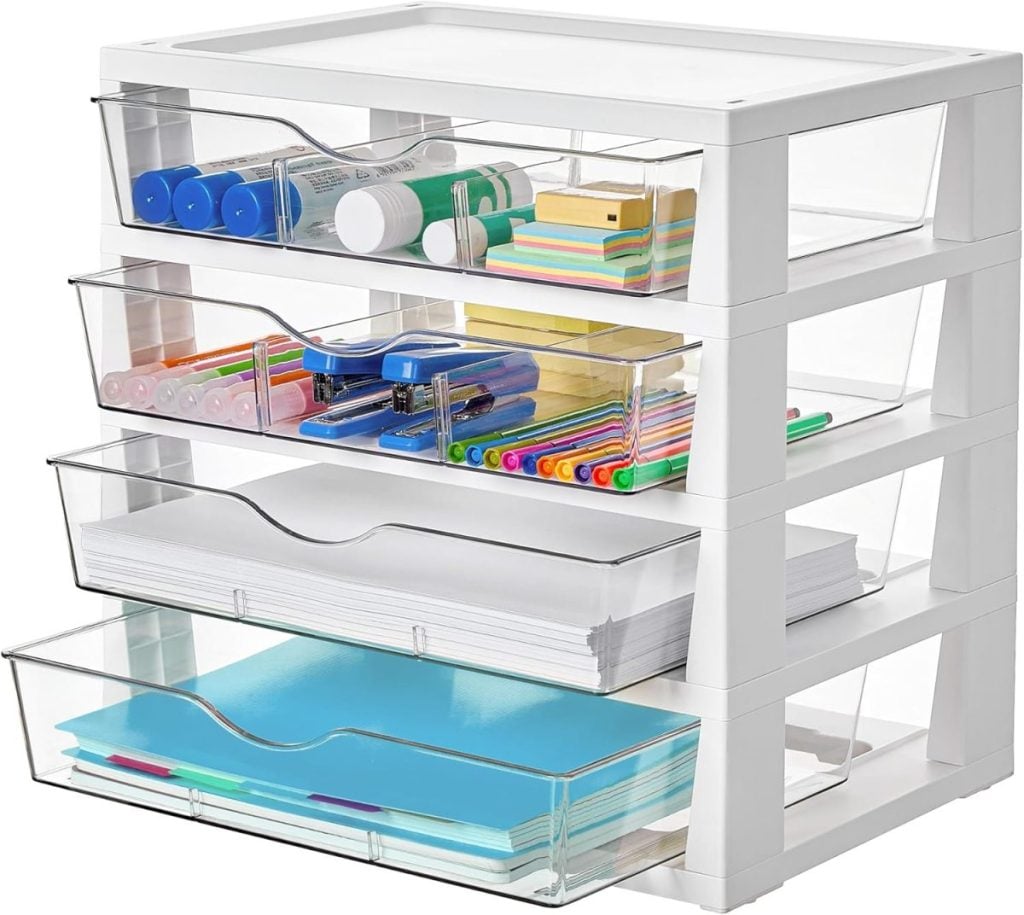
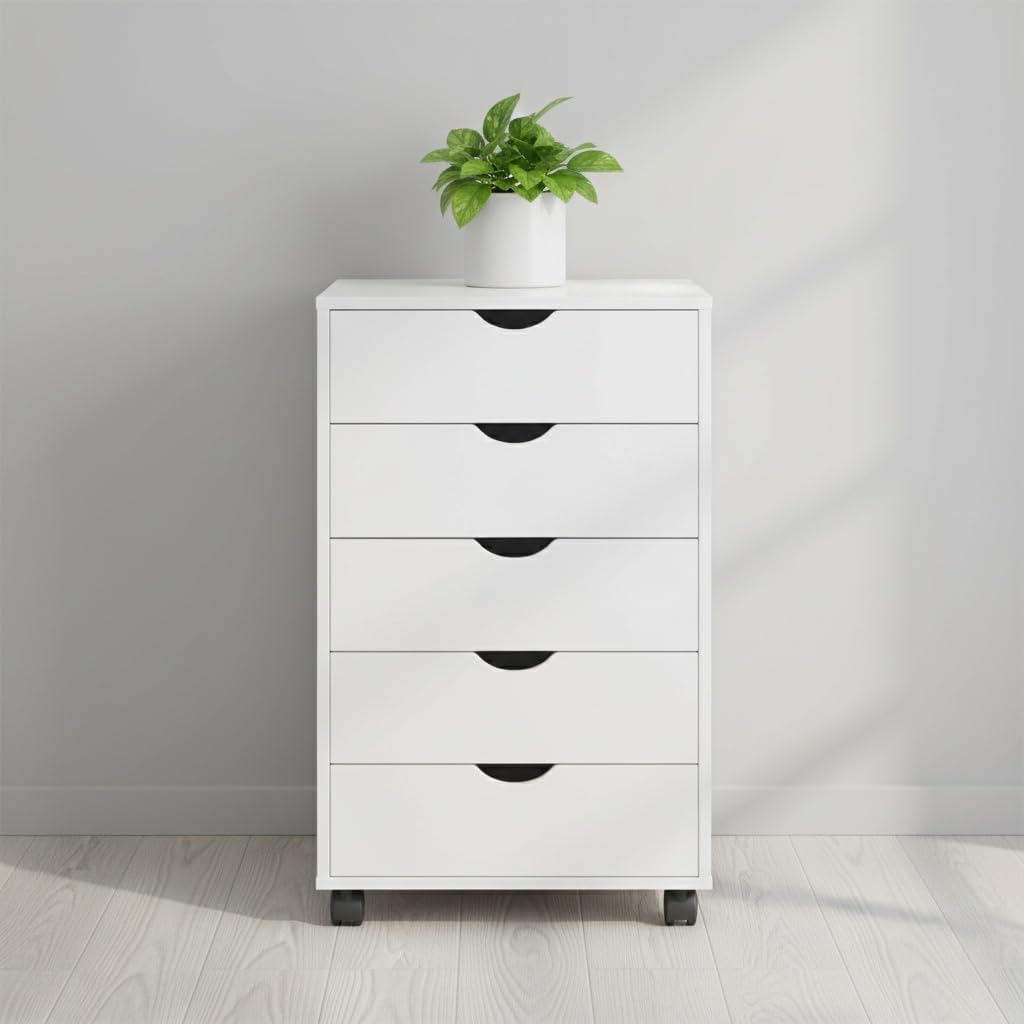
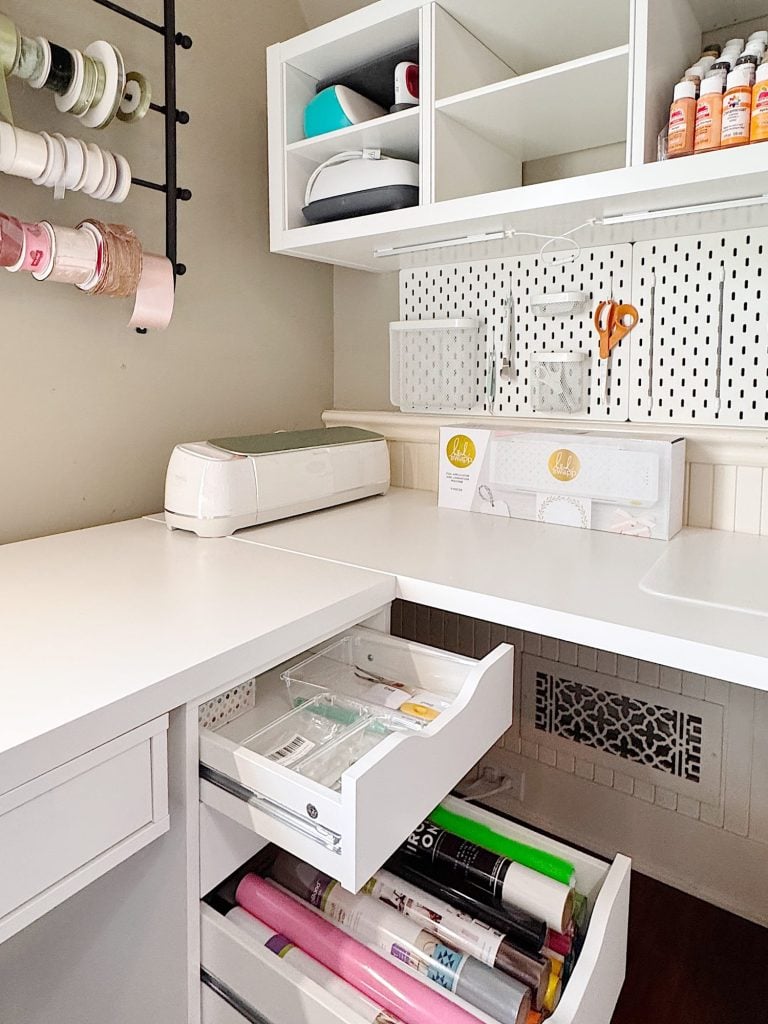
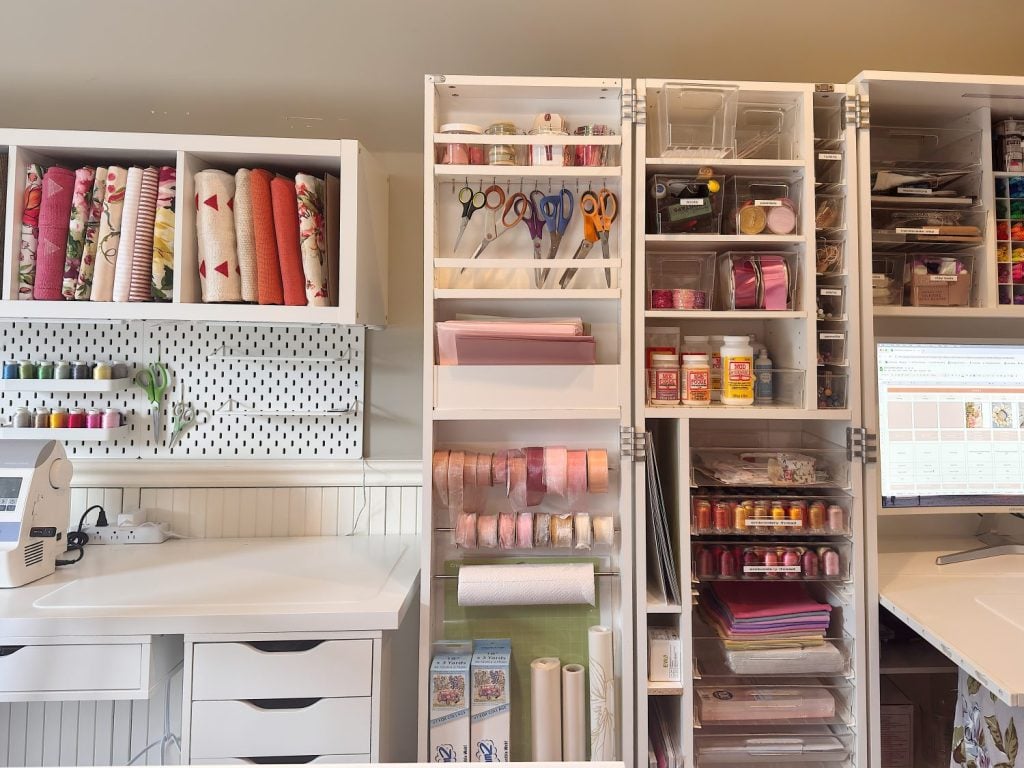
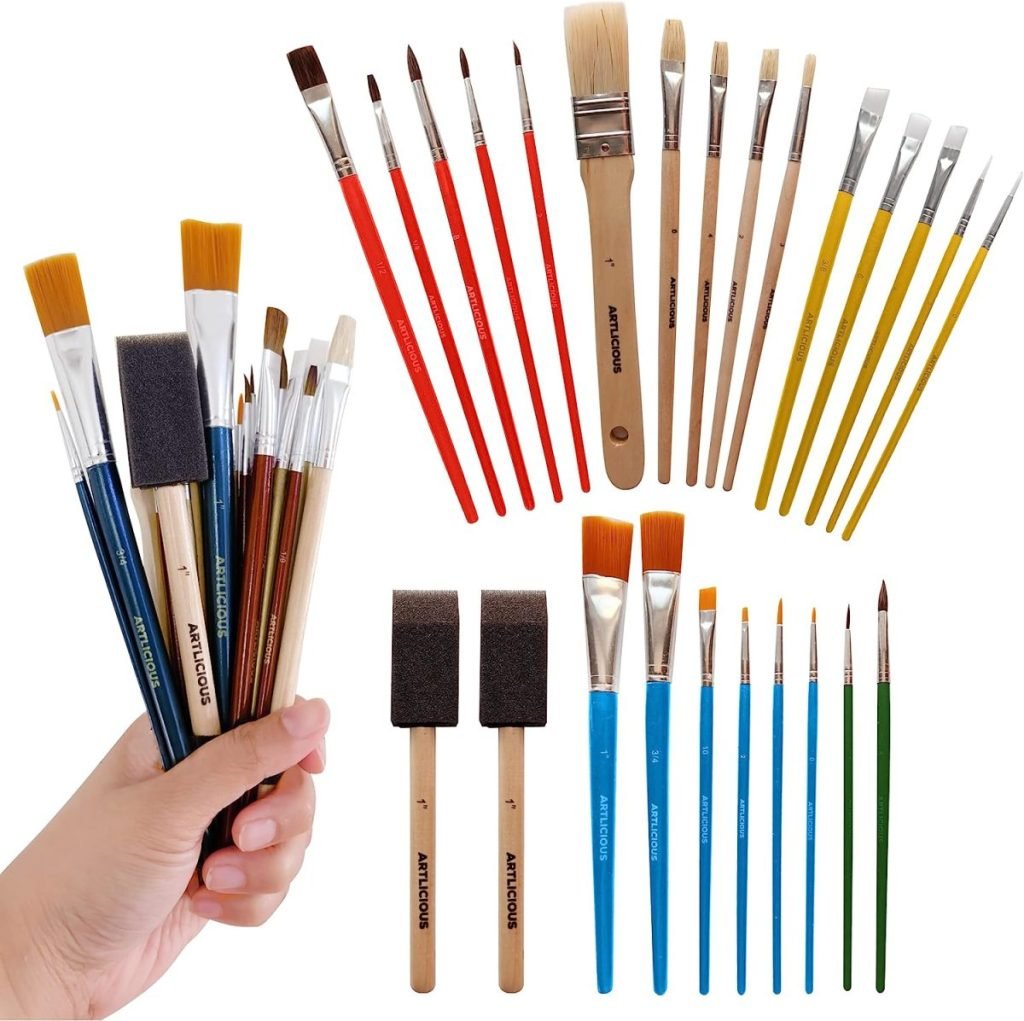
One of the most significant components of this reorganization is storage. I personally assembled eight complete sets of IKEA ALEX drawer cabinets, bringing the total to 40 drawers. It sounds like a lot, and it is, but it is also exactly what this space needed.
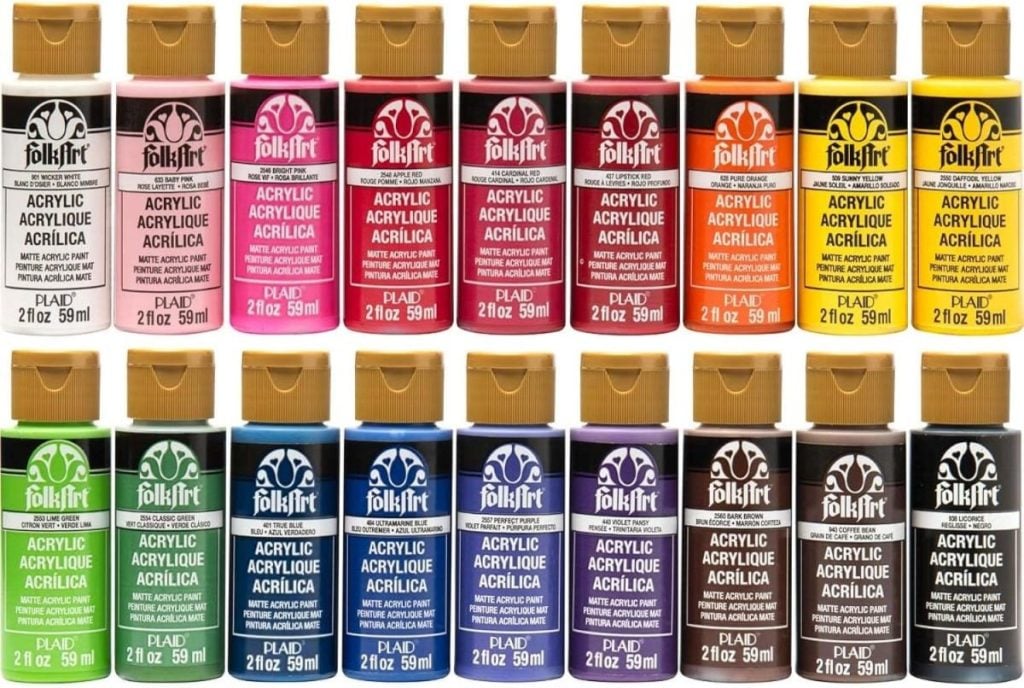
The drawers let me store supplies by category instead of stacking bins or overloading shelves. Each drawer has a clear purpose, whether it holds tools, vinyl, paper, fabric, paint, adhesives, or works in progress.
I used a combination of IKEA and Amazon storage solutions, choosing pieces based on function first. The goal was not to hide everything, but to make supplies easy to find and even easier to put away.
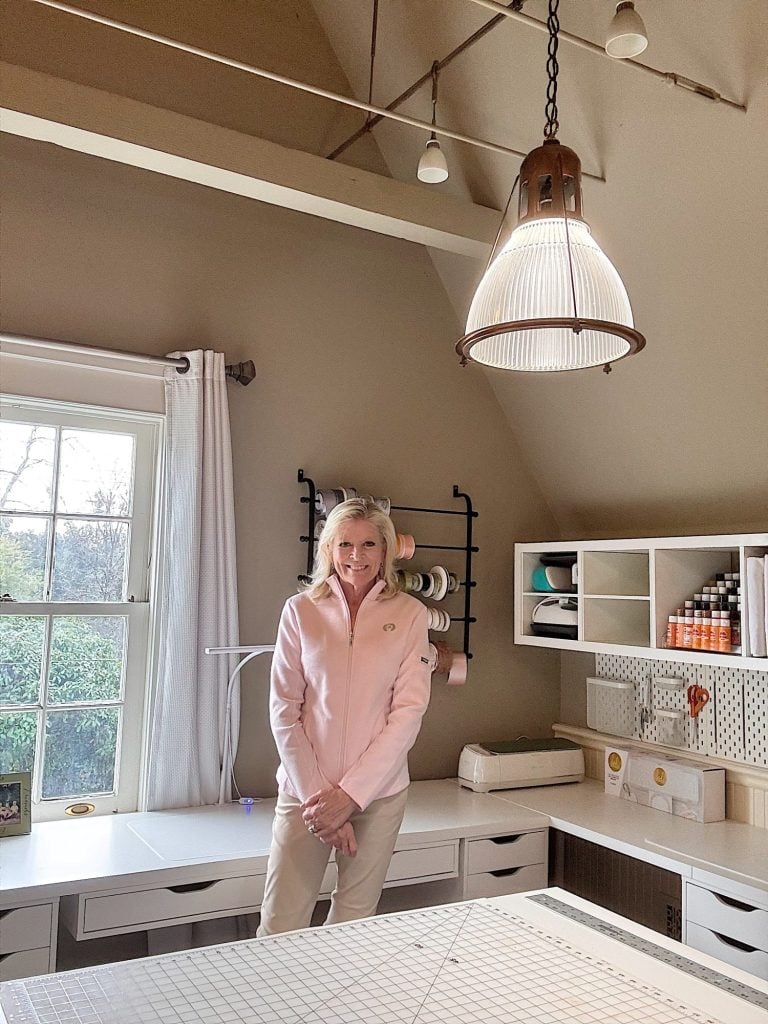
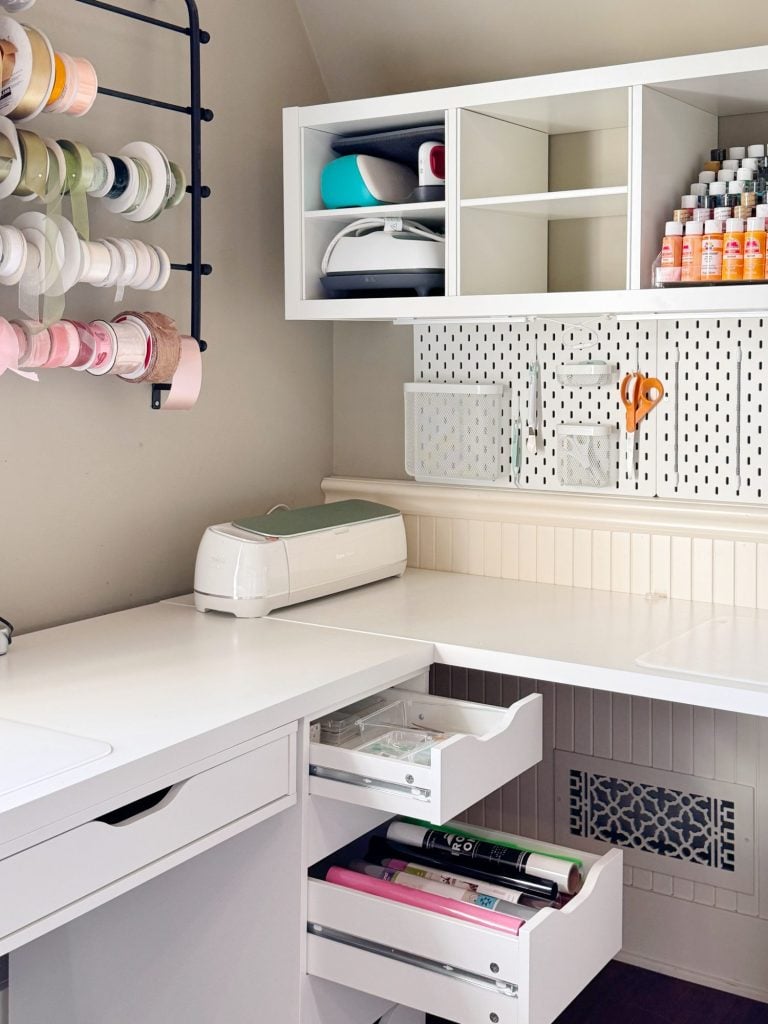
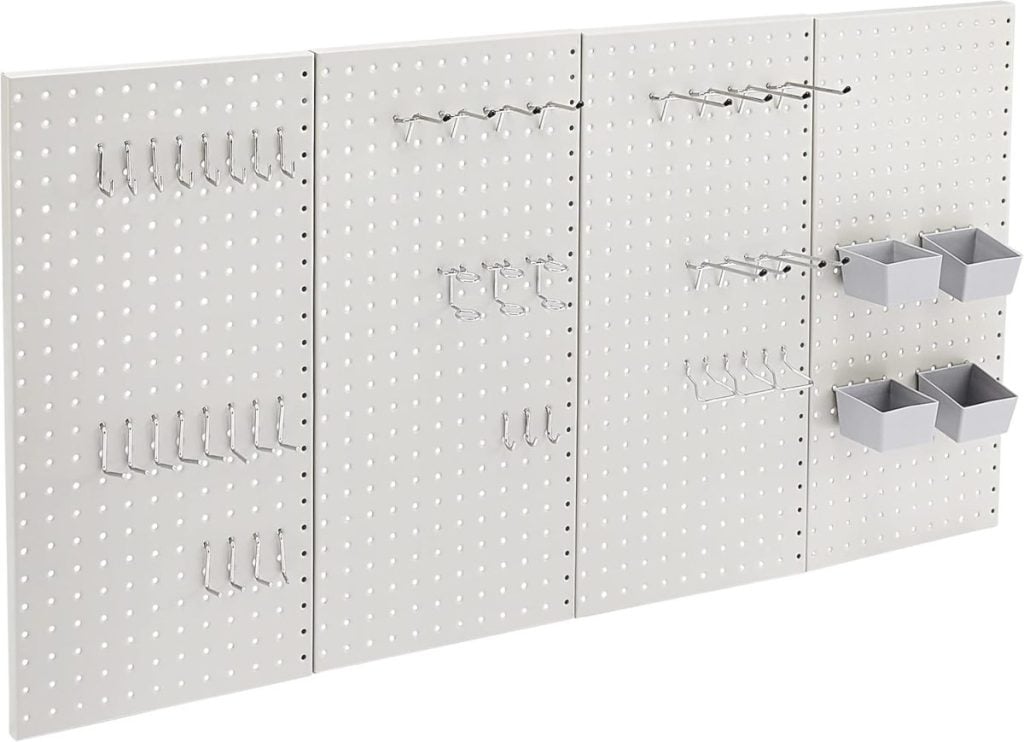
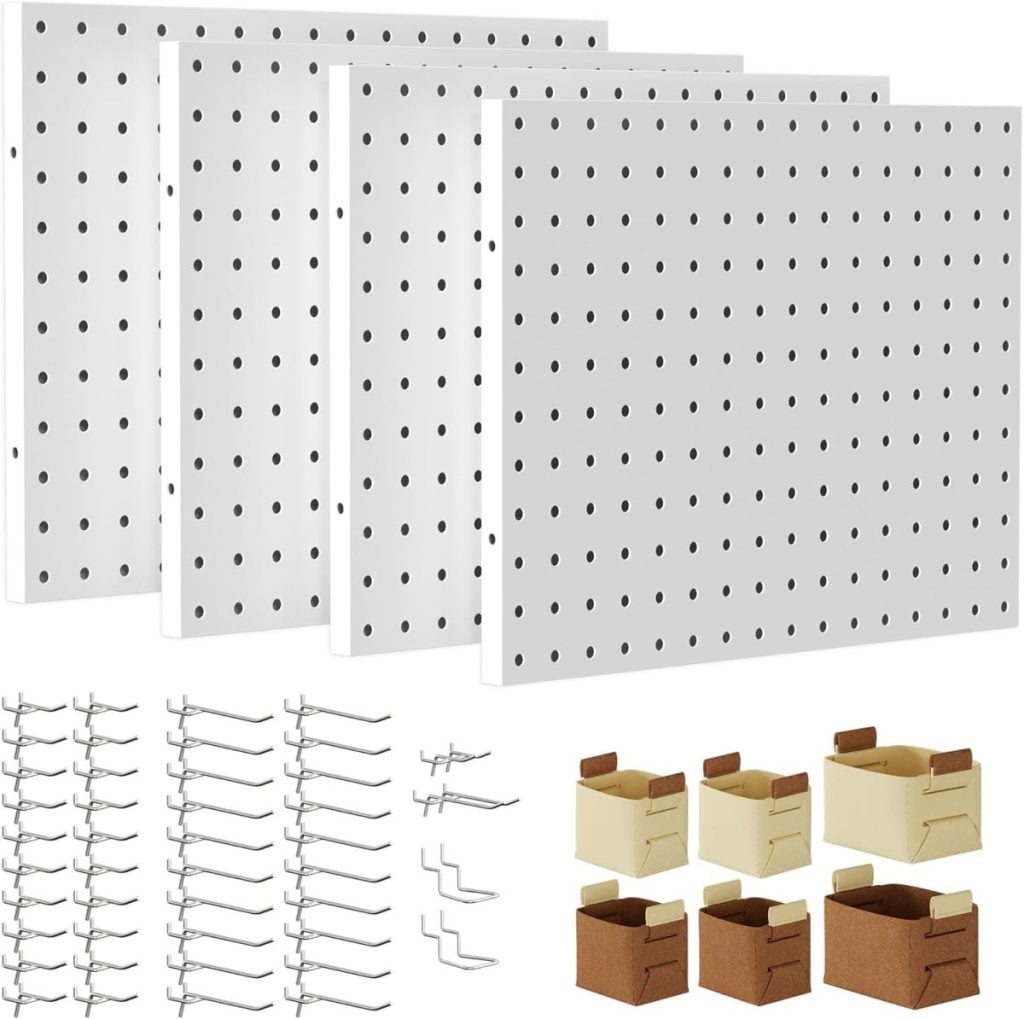
The Pegboard Wall
One detail I went back and forth on was the pegboard wall.
I wasn’t sure at first whether I really needed it, but I knew it would add flexible storage, and I am so glad I included it.
Having tools right in front of me has been incredibly convenient, especially for items I reach for constantly. I love that the pegboard keeps everything visible and easy to grab, and you might notice that I have scissors hanging everywhere. That was completely intentional. I use different scissors for different projects, and having them right there saves time and keeps my work surfaces clear.
The pegboard wall has turned out to be one of those small decisions that made a big difference in how functional the room feels.
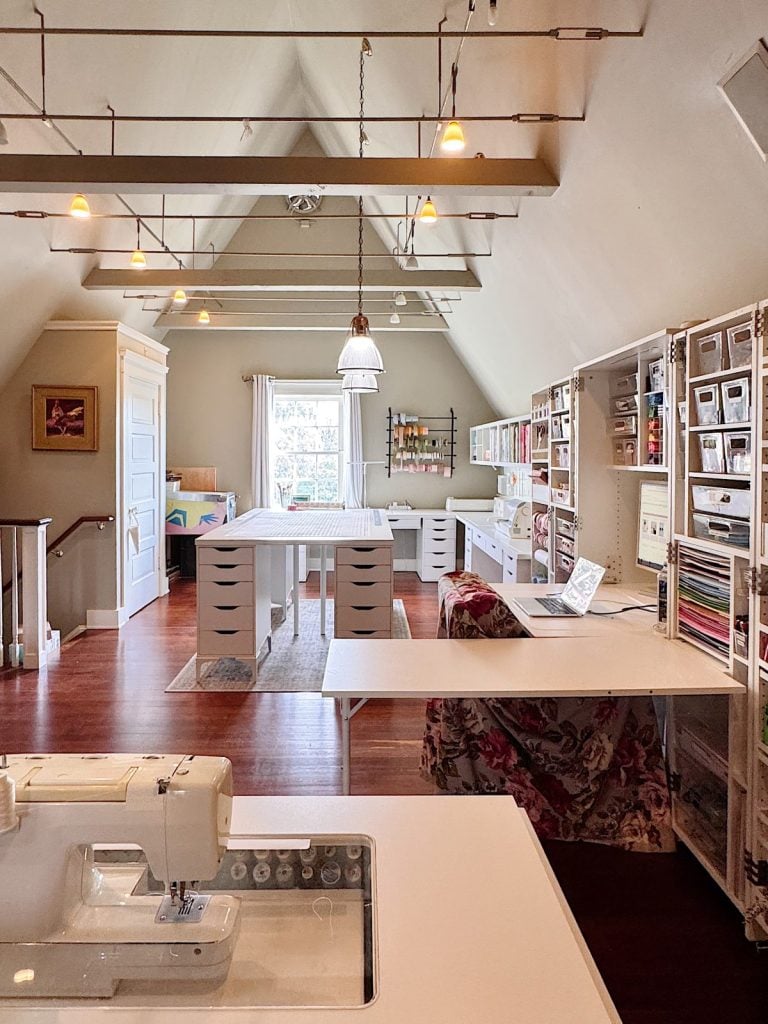
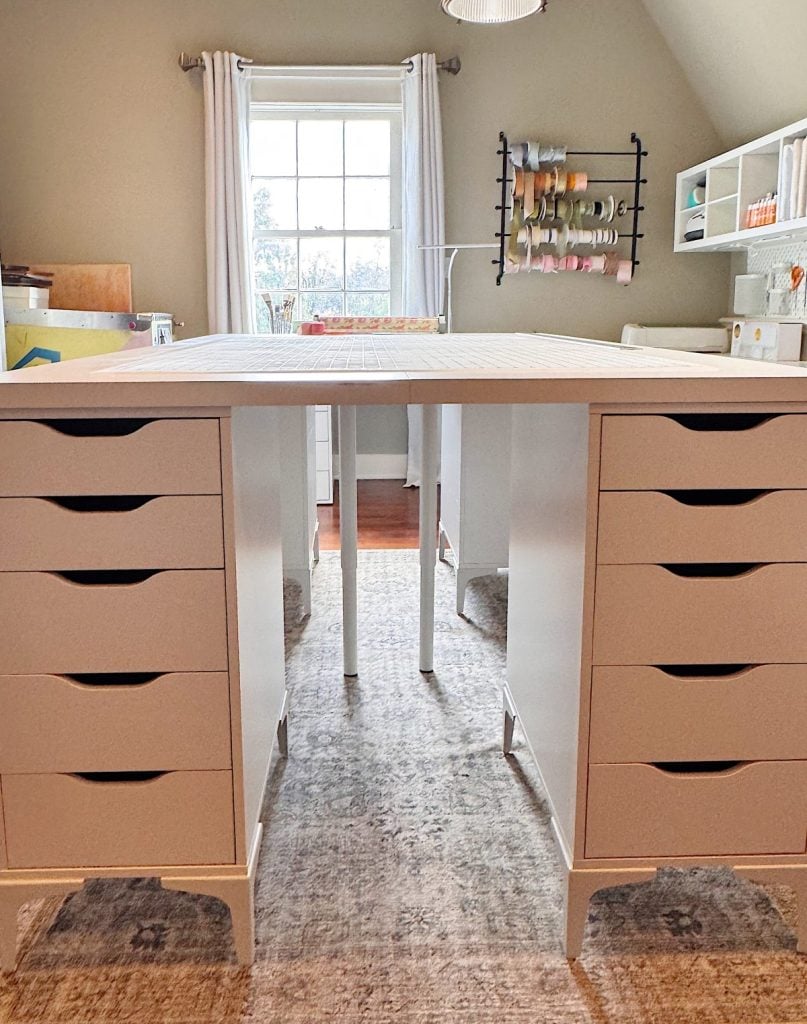
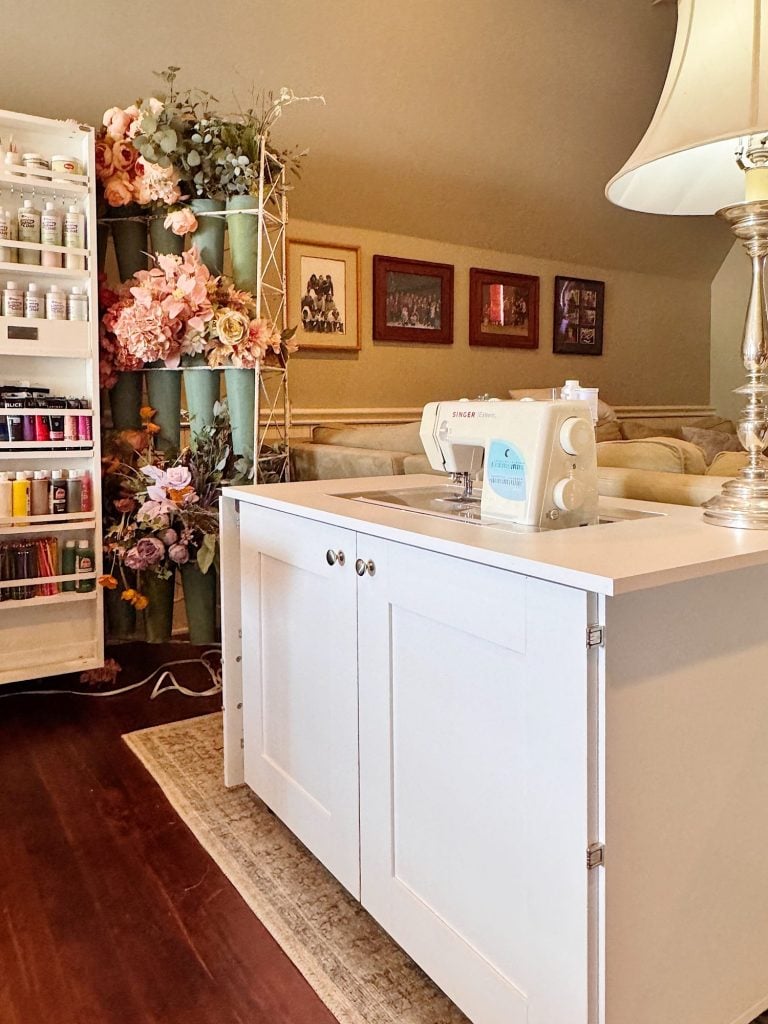
The Center Work Table
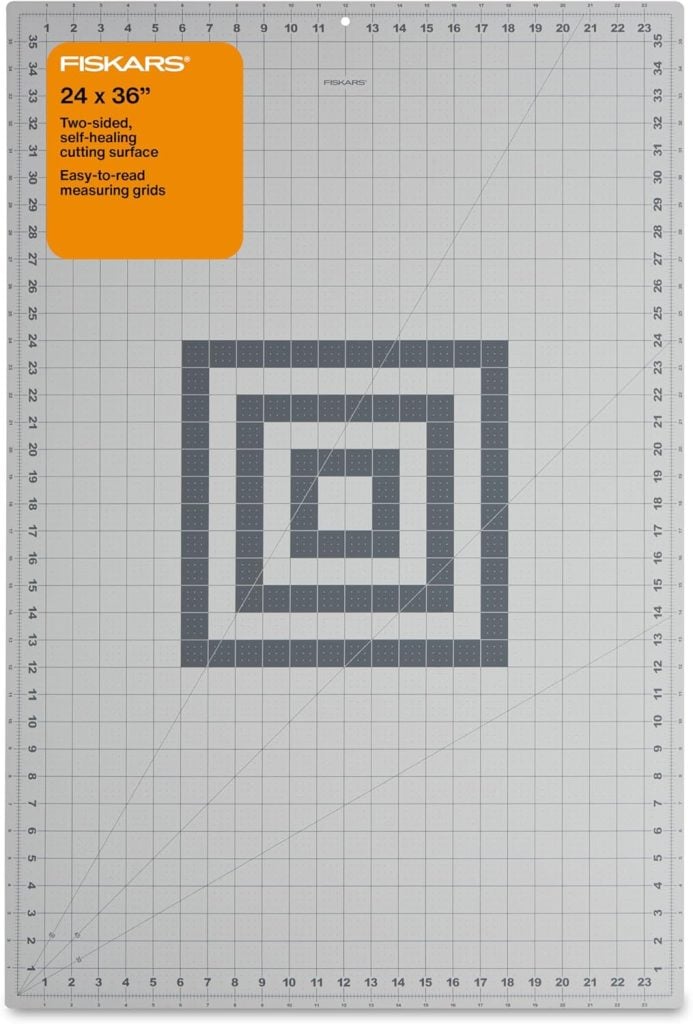
At the heart of the room is the large center work table. This table is used for pottery, group crafts, large-scale projects, and any work that requires space to spread out.
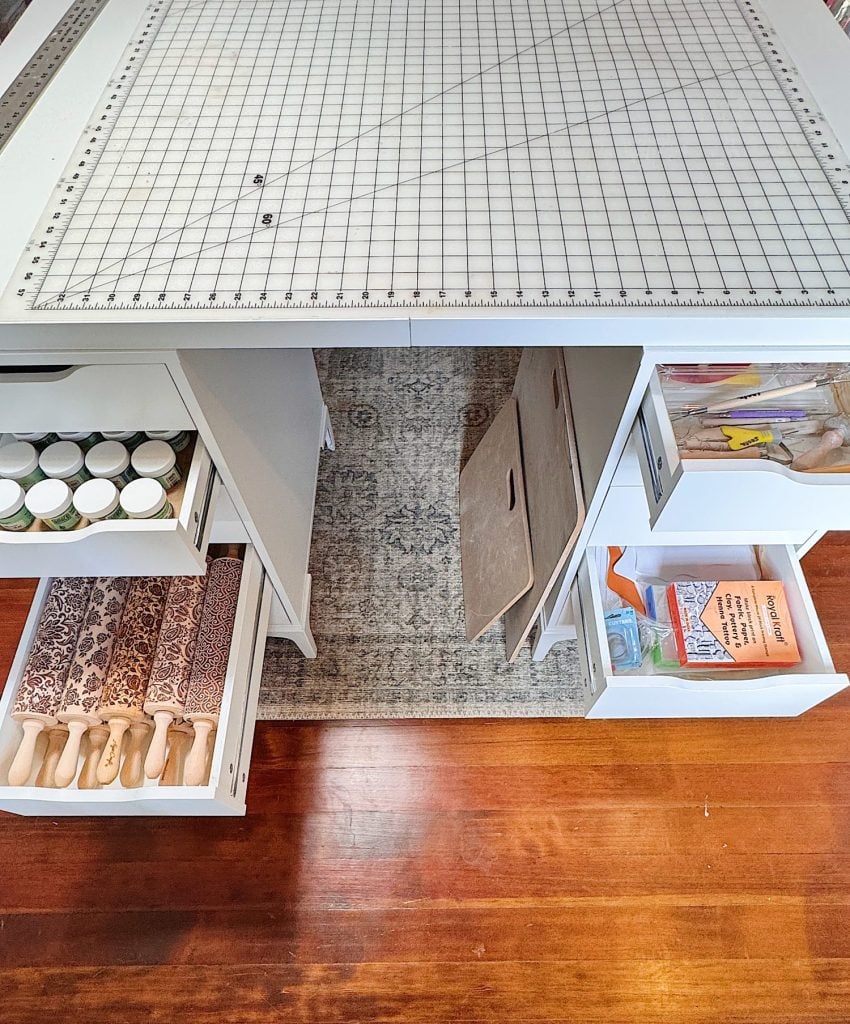


I prefer to stand when making hand-built clay pieces, so this work table is ideal. I can store everything I need in the cabinets below.
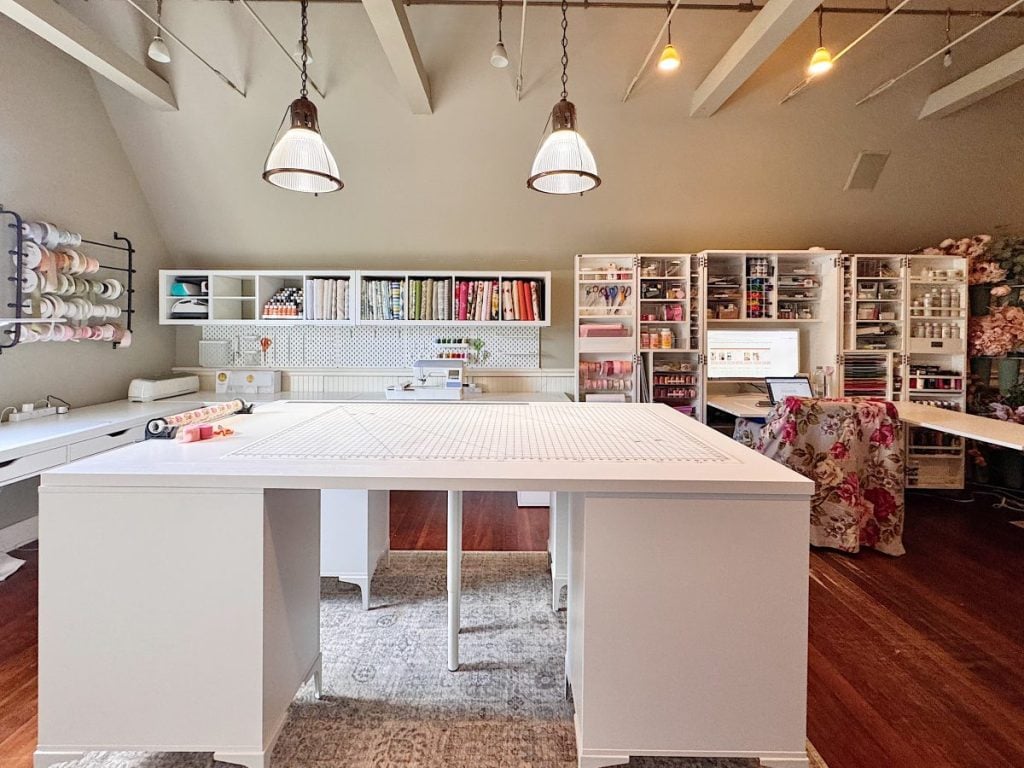
Because I am 5’10” tall, standard table heights are not comfortable for me. I raised the entire table on 6-inch risers, and it made an immediate difference. I added four 6-inch risers to each drawer cabinet and installed two adjustable table legs in the center of the table.
The height is perfect for me when standing, for detailed projects, and for long creative sessions without strain.

This table has quickly become the room’s gathering place. It is where projects begin, where ideas take shape, and where multiple people can work together comfortably.
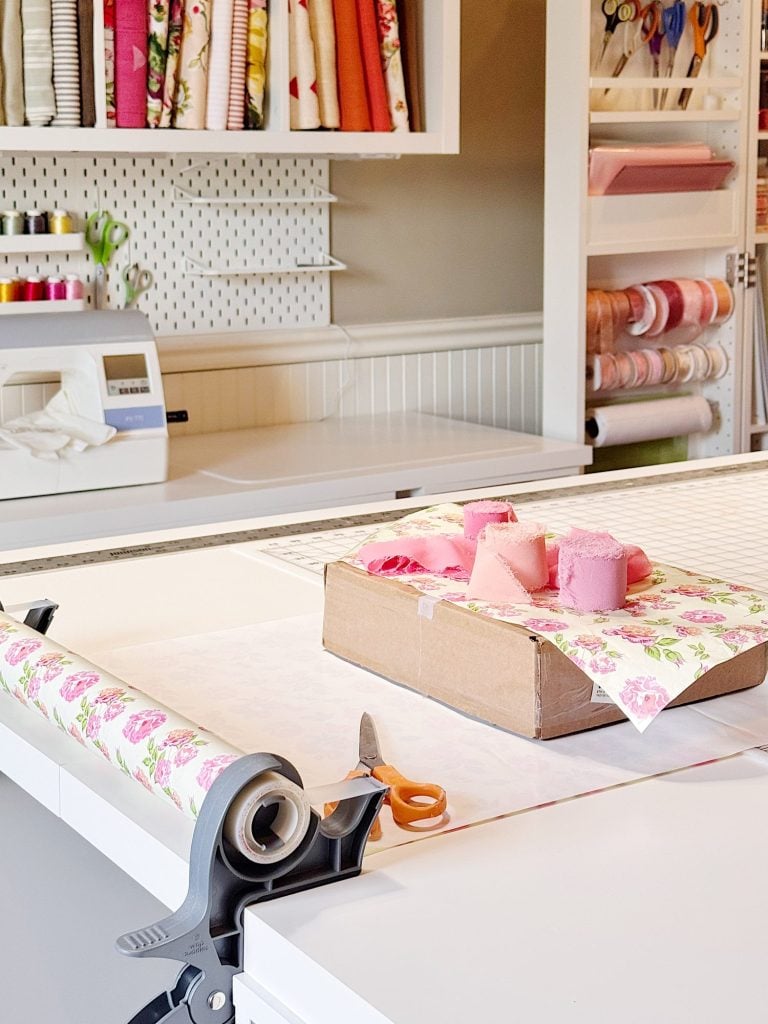
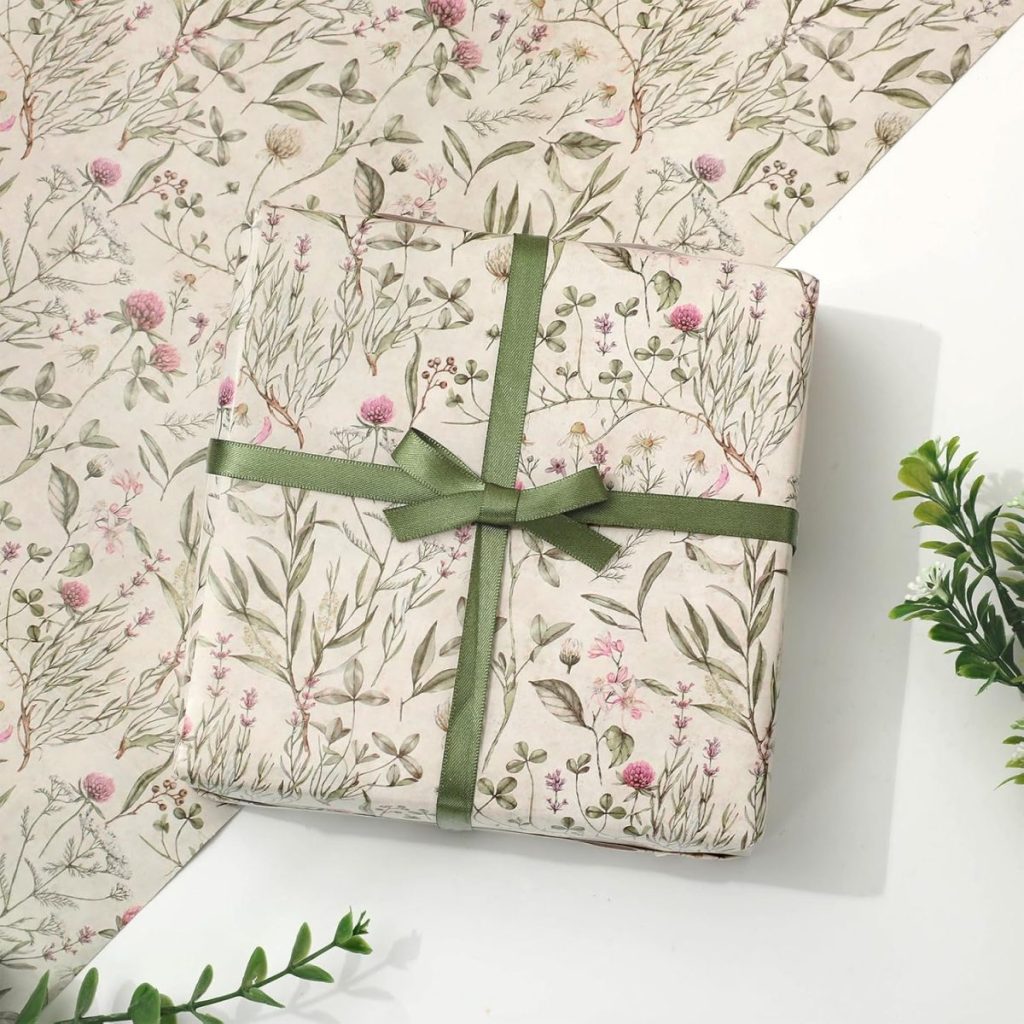
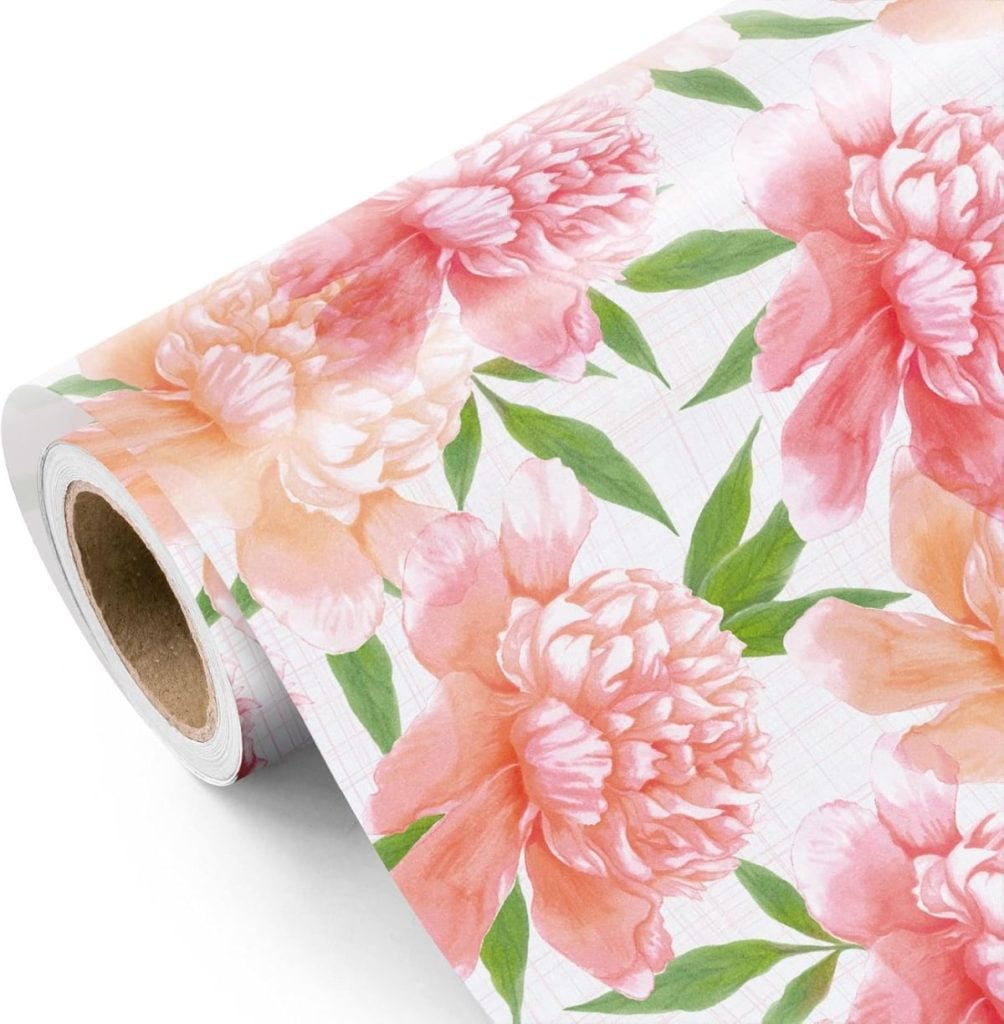
The work table is also my wrapping area.
I have a surprise that I will be hanging over the work table, and I cannot wait to share it in a few weeks. You won’t believe it!


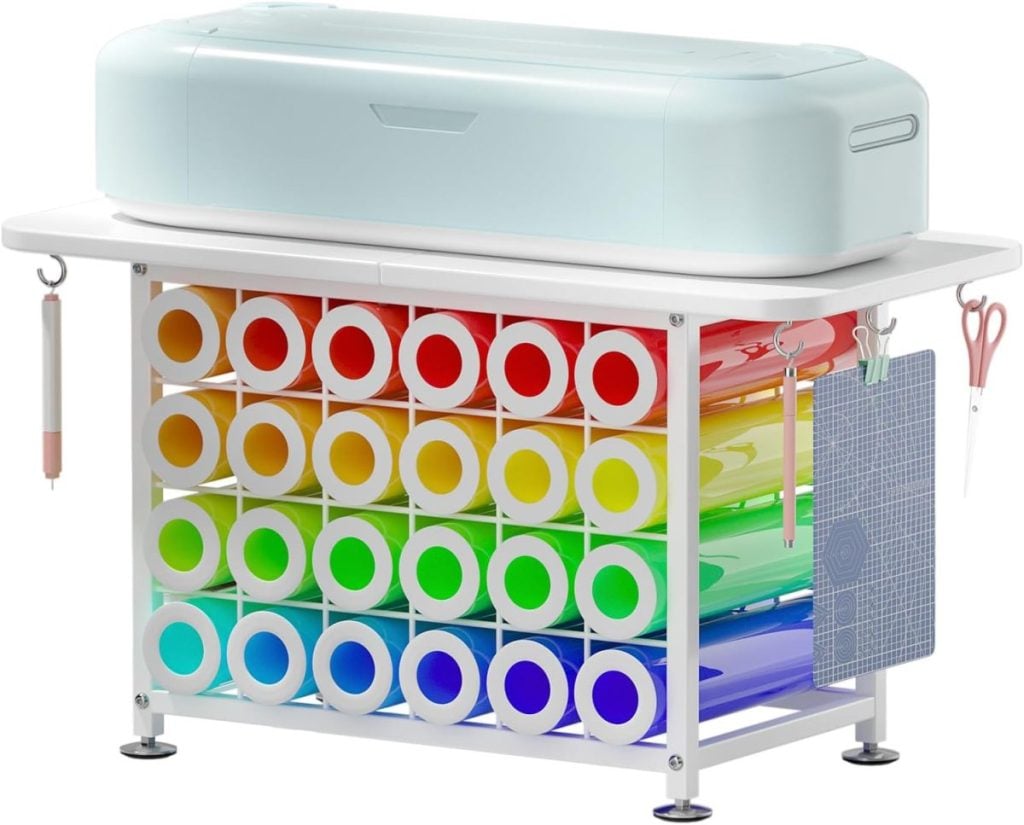
The Cricut Station
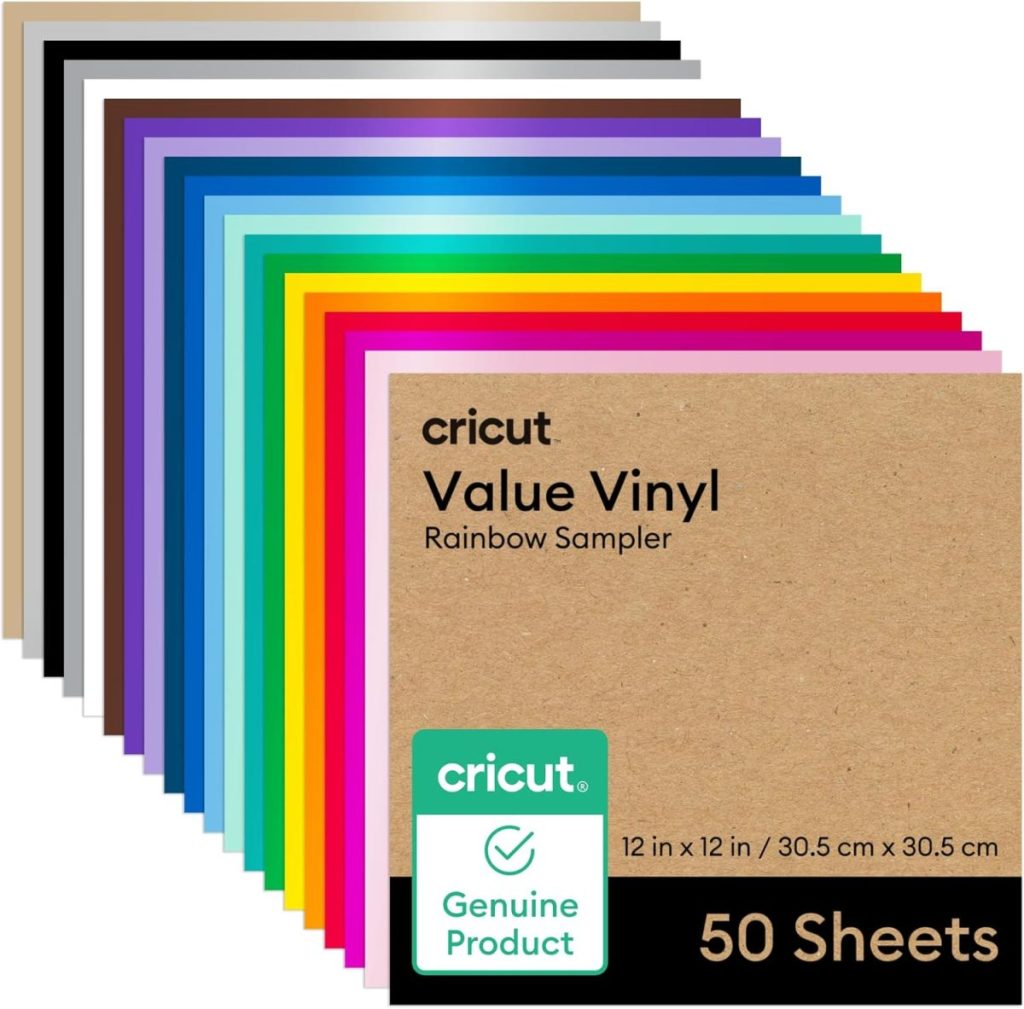
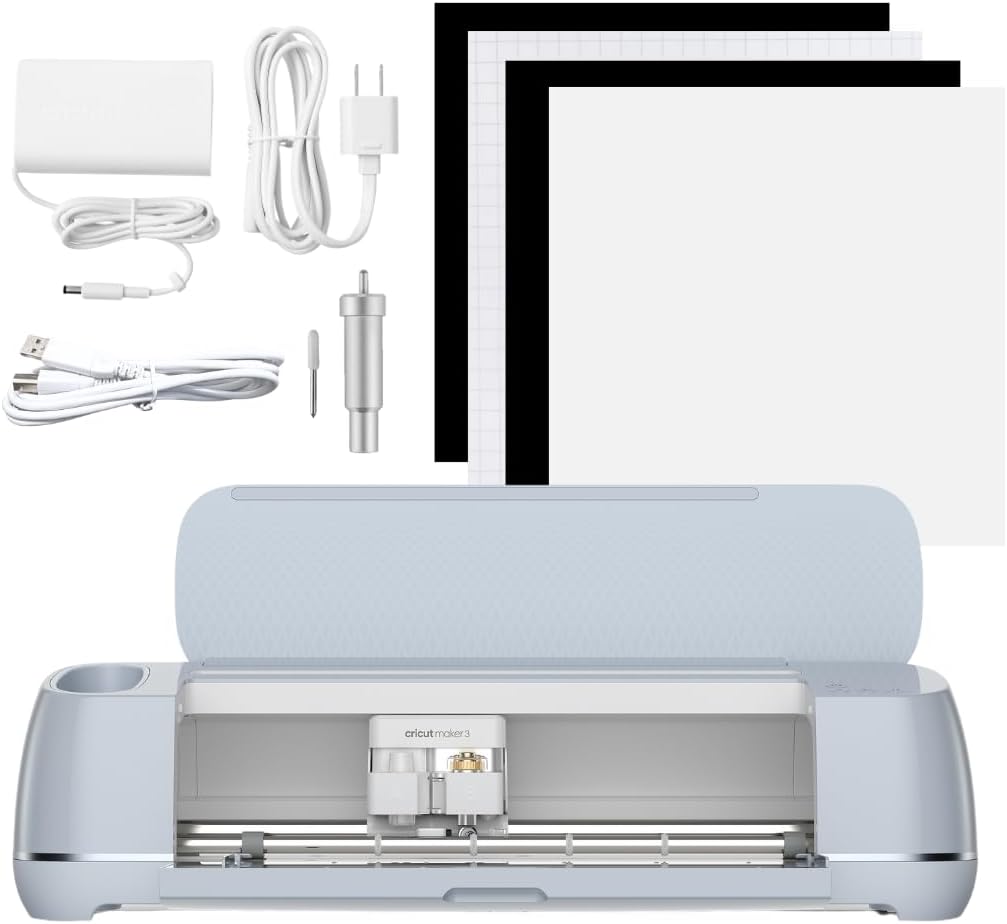
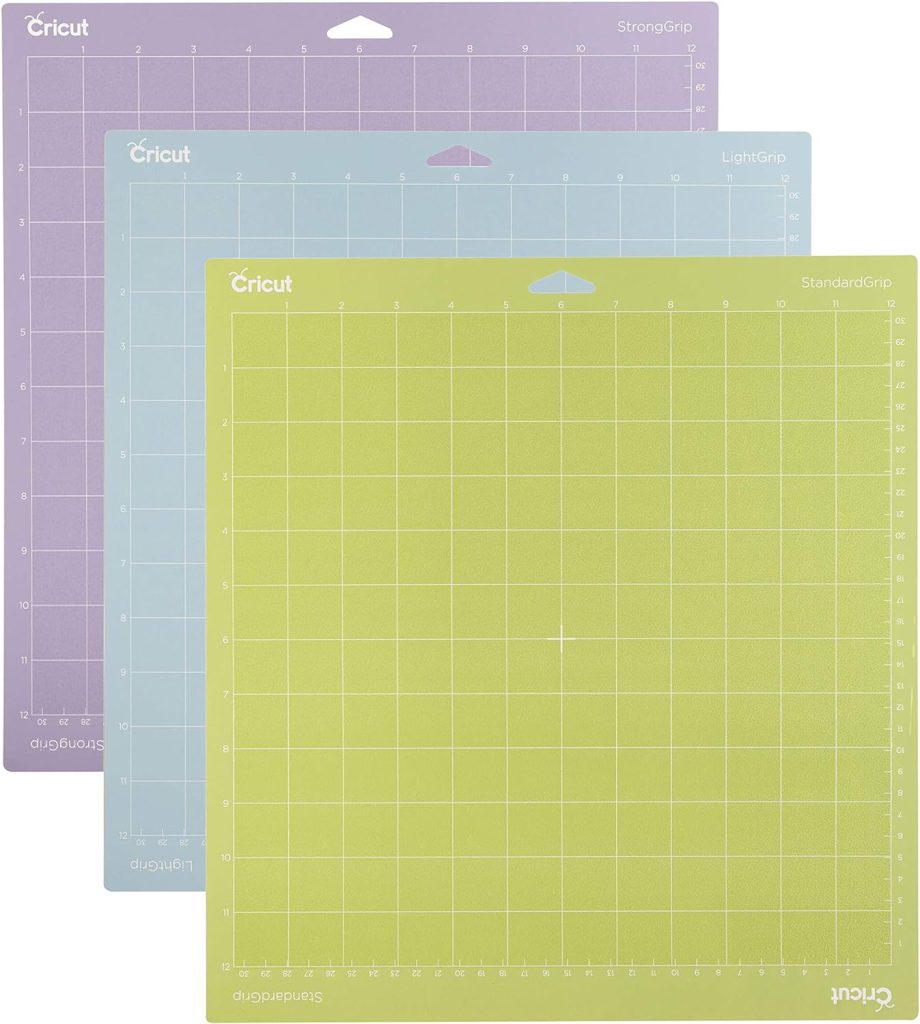
The Cricut station was designed to be efficient and uncluttered. Everything related to a cutting project lives here.
Below the work surface, I store vinyl, transfer tape, cutting mats, tools, and specialty materials. Having these supplies directly beneath the Cricut lets me start and finish a project without reaching for anything else in the room.
This station has made Cricut projects easier and more enjoyable, so I use the machine far more often.


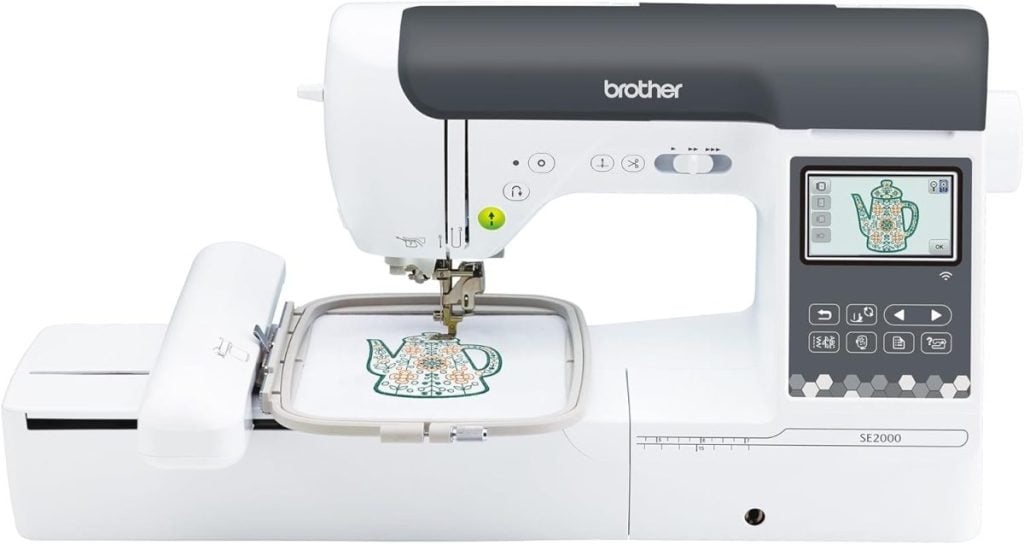
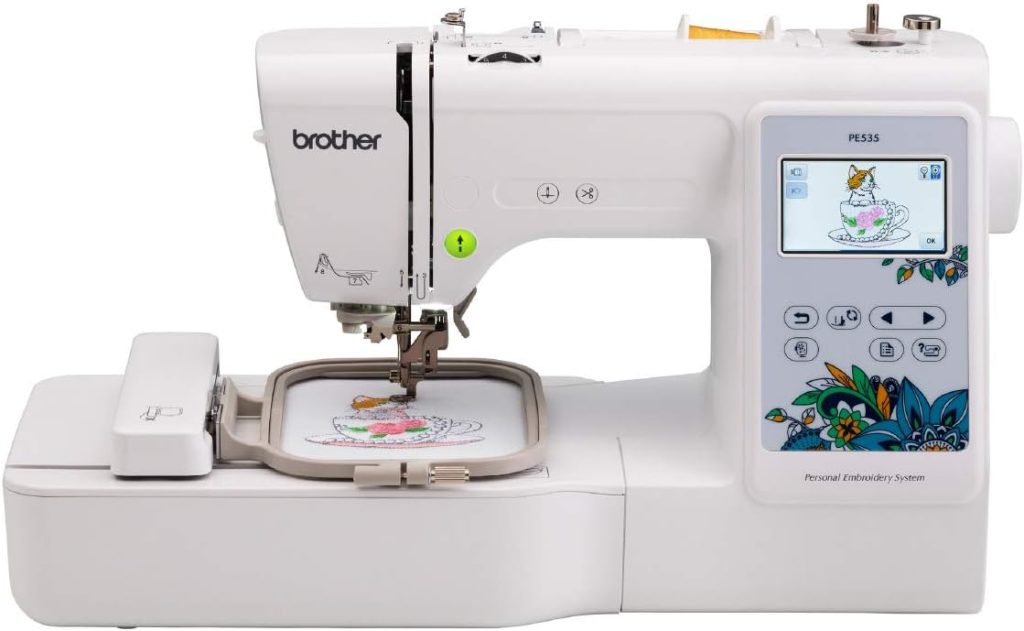
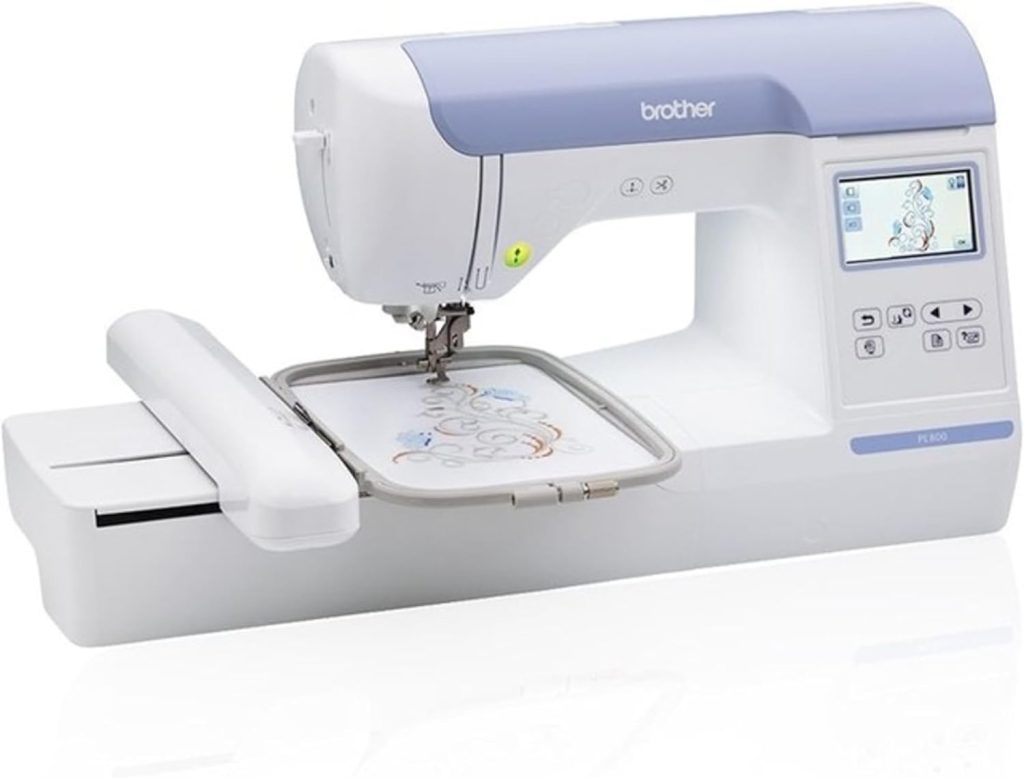
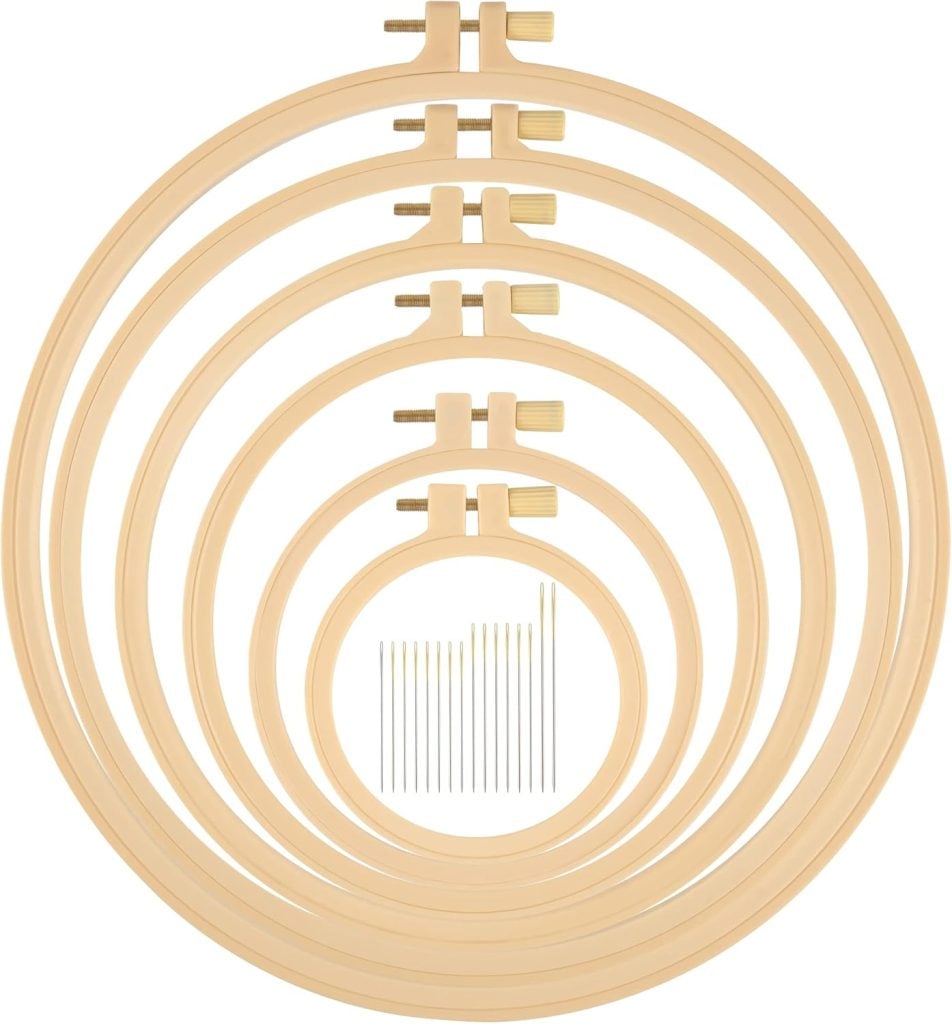
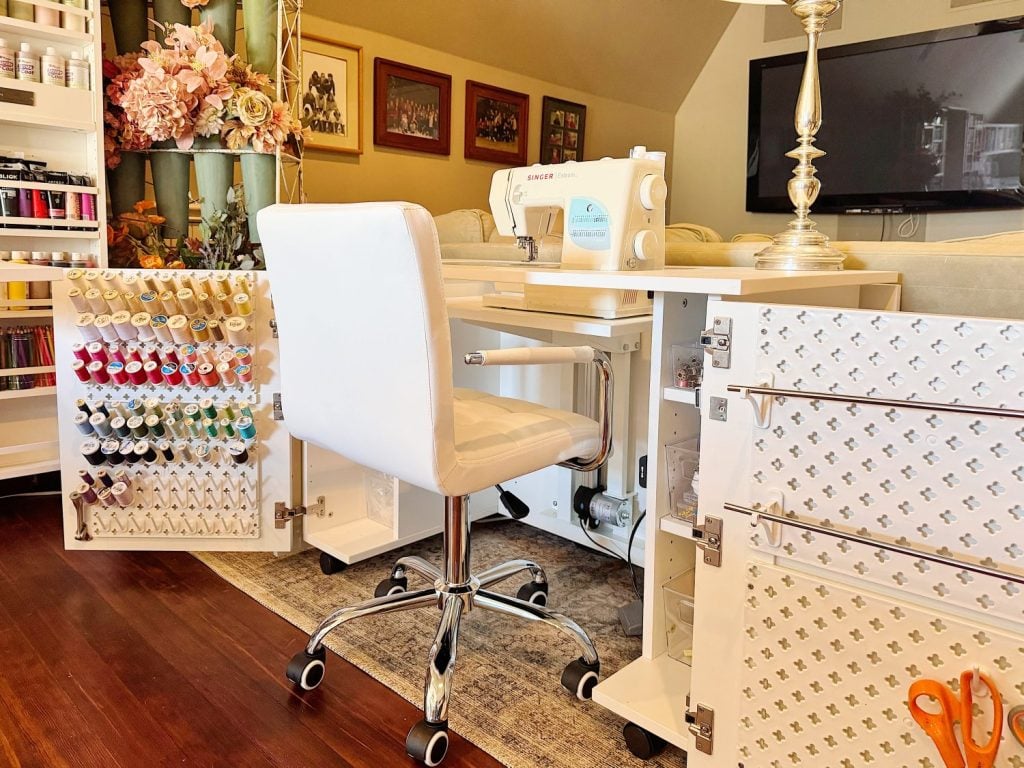
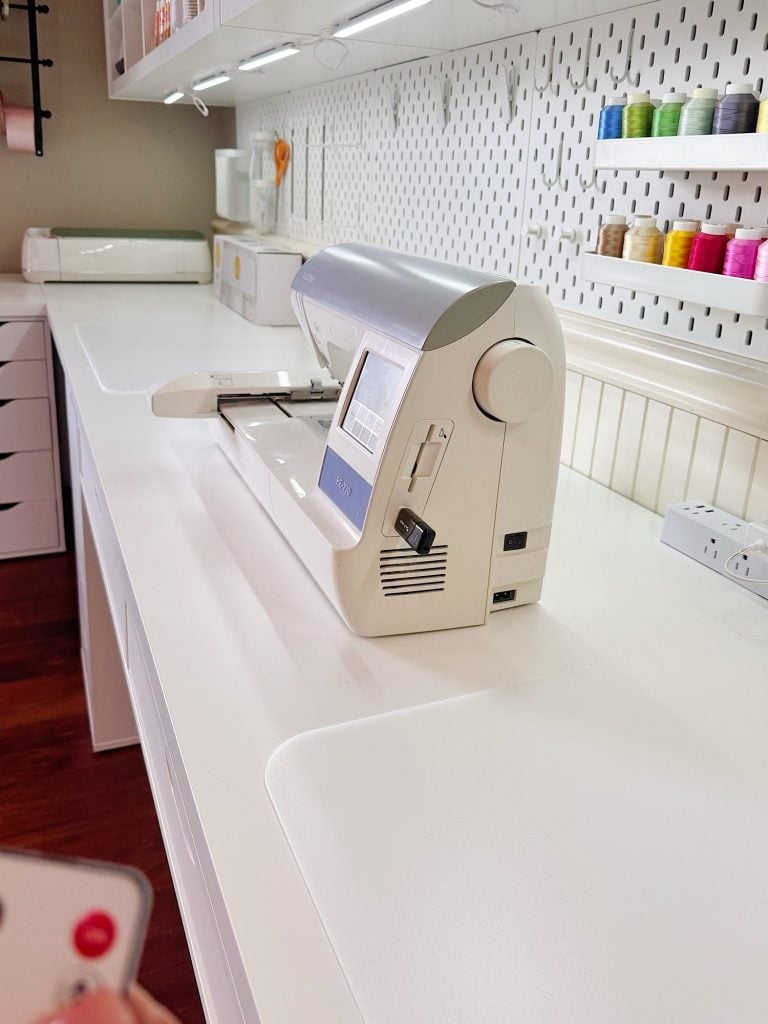
The Embroidery Station
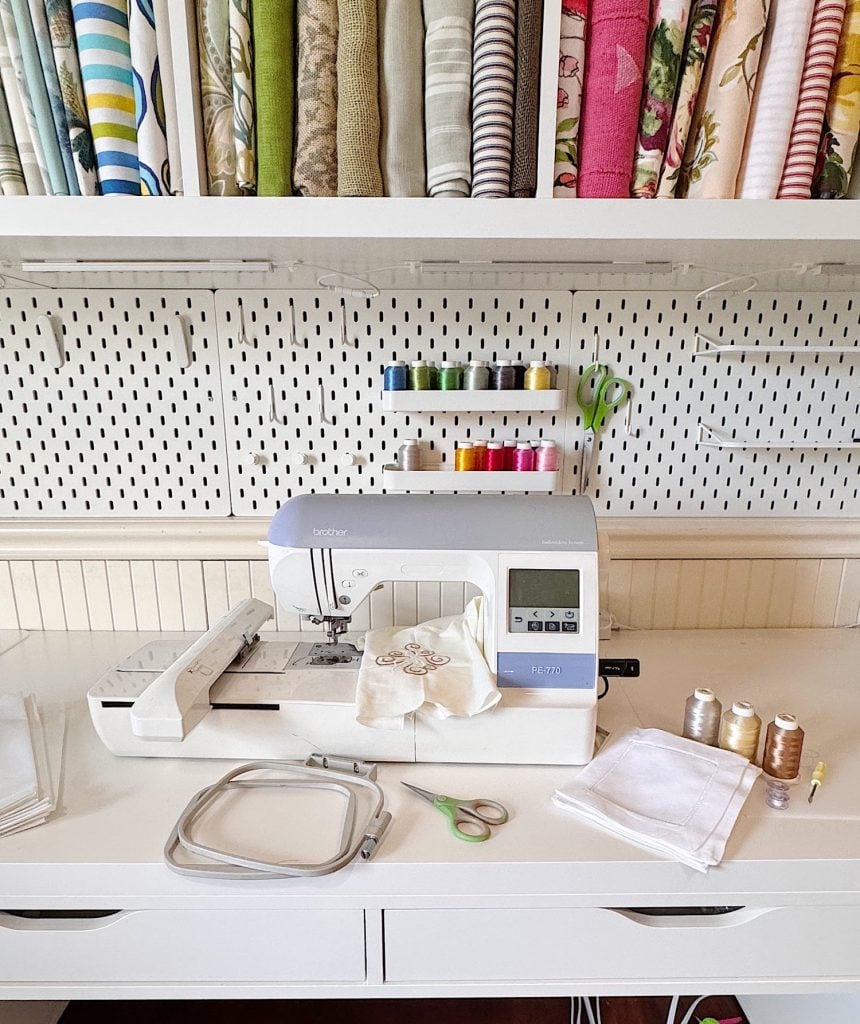
Embroidery has its own dedicated space, a deliberate choice. This station supports both hand embroidery and machine embroidery, which require organization and good lighting.
Here I store embroidery thread, stabilizers, hoops, machine accessories, and small tools. Everything is visible and easy to access, allowing me to focus on the creative process rather than searching for supplies.
This station feels calm and contained, which makes detailed work far more enjoyable.


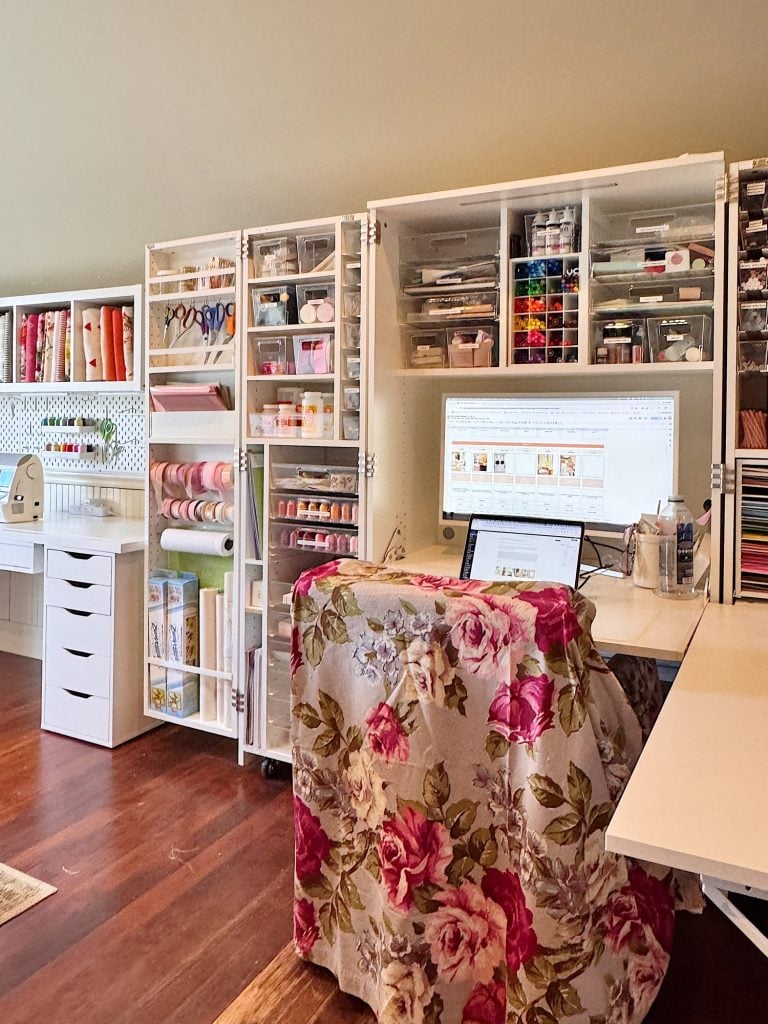
The Create Room DreamBox
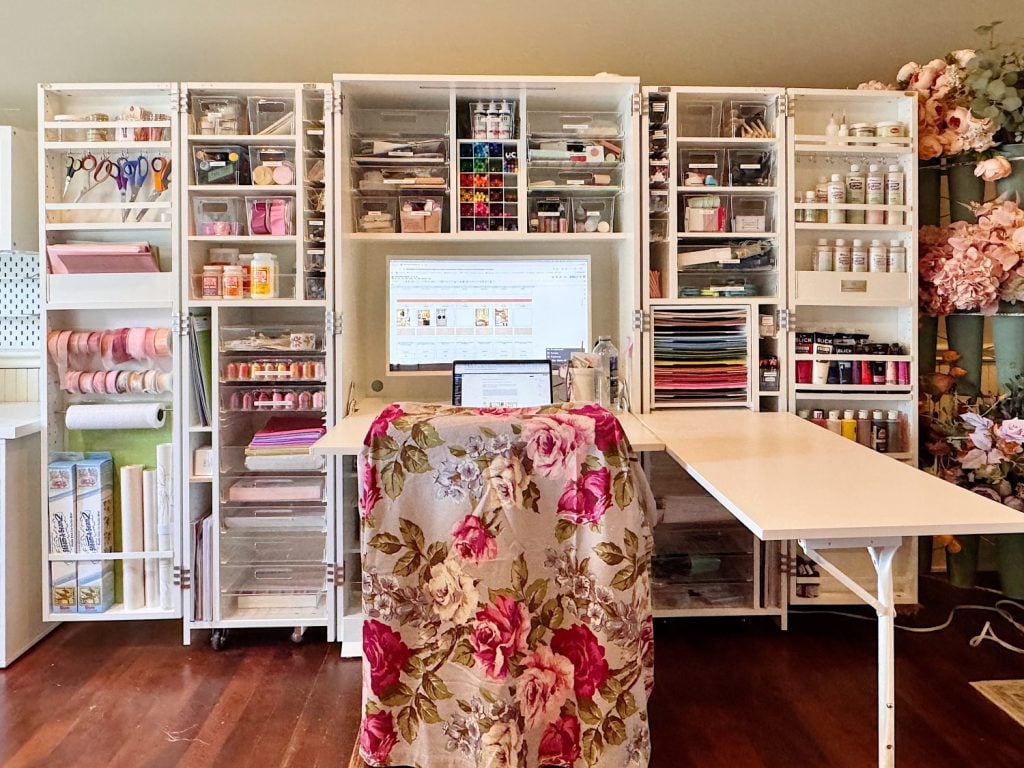
The Create Room DreamBox is the hardest-working piece in my craft room. This is where I store most of my supplies, keeping everything organized, protected, and easy to access.
The DreamBox holds fabric, tools, paper, specialty materials, and project supplies, all within beautifully designed compartments. I love that it can be closed when I want the room to feel visually calm and opened when I am in full creative mode.

This storage solution allows me to keep a large volume of supplies without the room feeling cluttered or overwhelming. Everything has a place, and everything is easy to find.
Did you know you can add a “secret” workspace to the dreambox? I wanted a place to list my crafts for each season, but I didn’t want them visible (which might stress me out or ruin a surprise for all of you), so I added an erasable marker area. I will share it next week.


The Create Room DreamStation
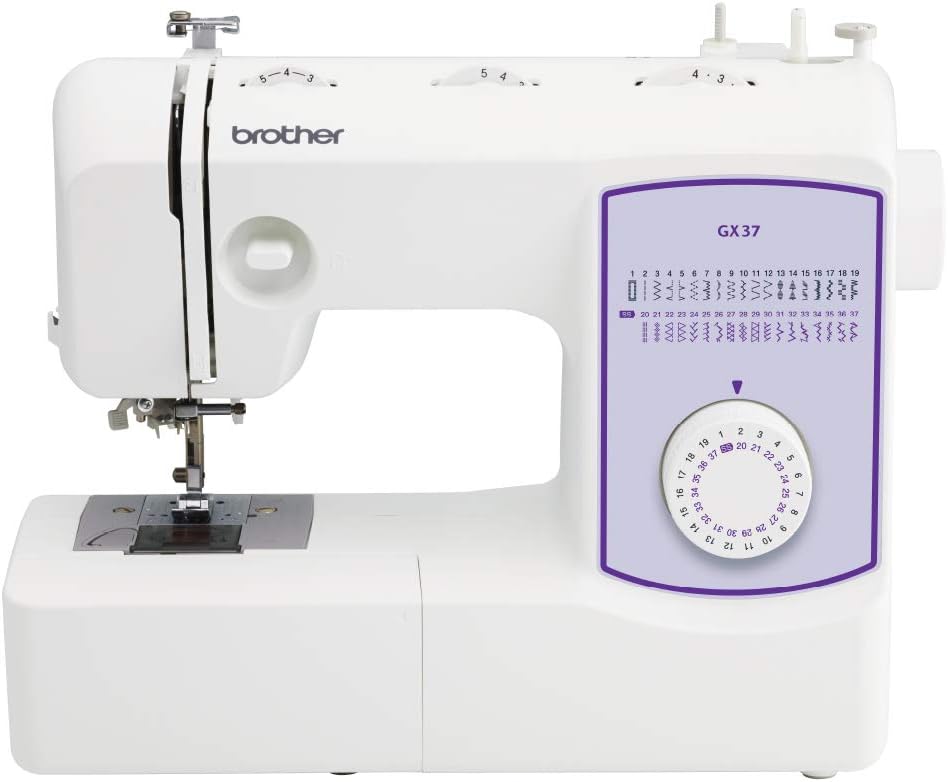
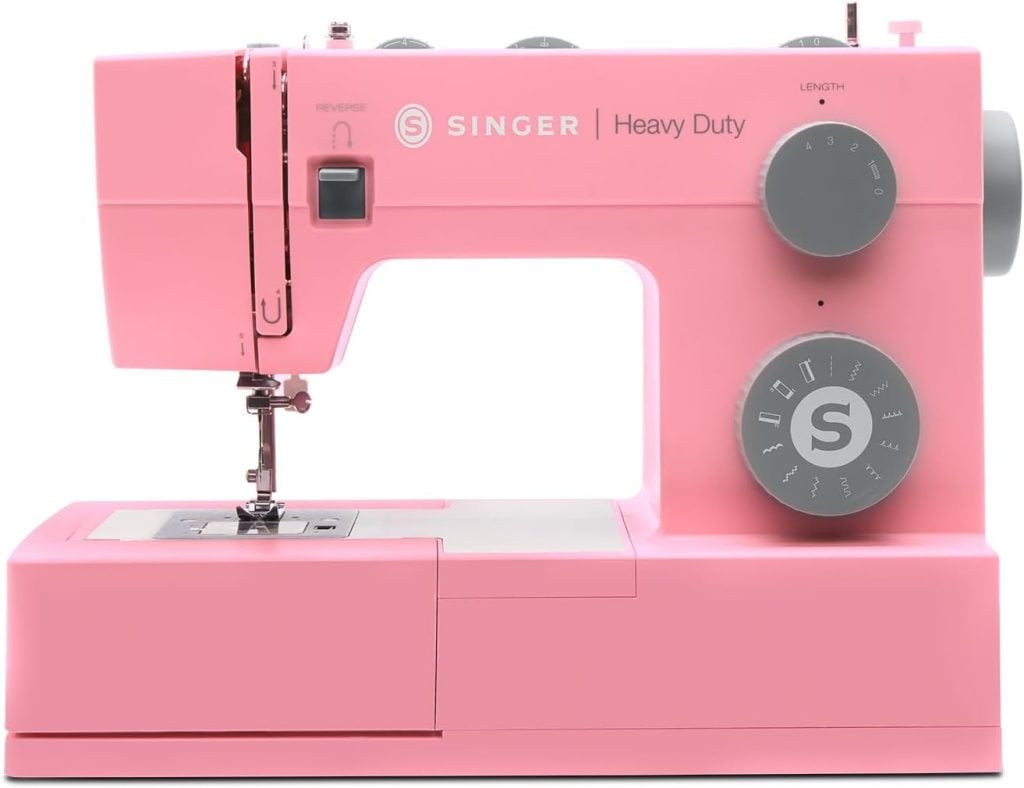
The Create Room DreamStation is where I will now do all of my sewing. It truly feels like the room’s newest highlight.
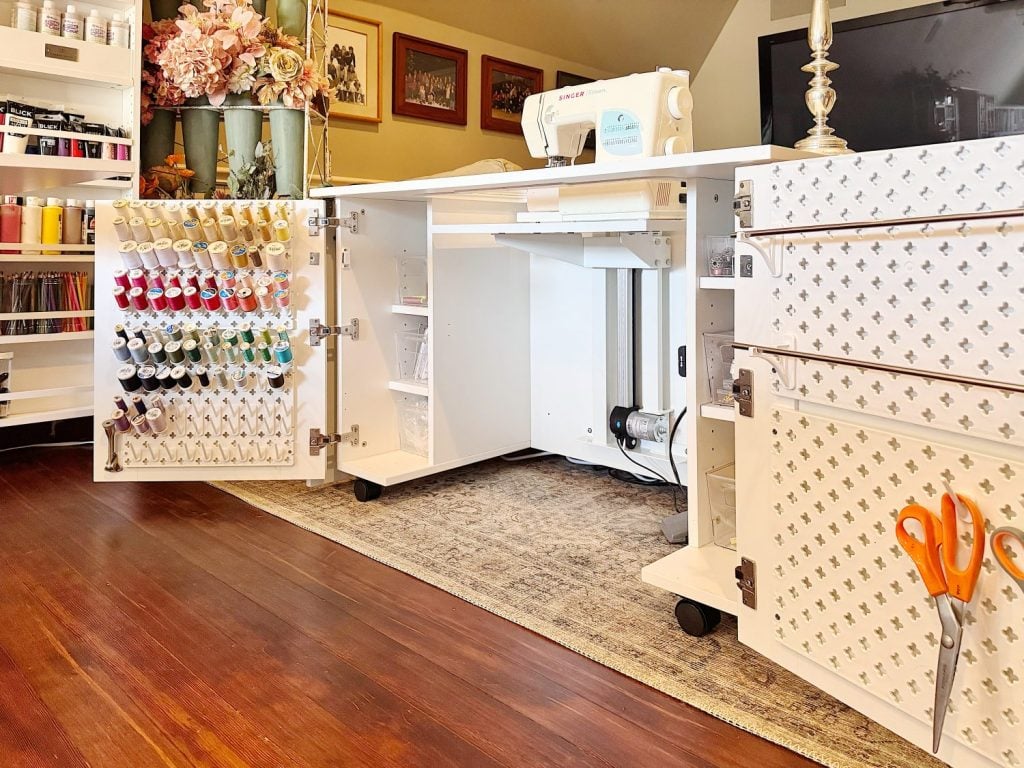
My sewing machine is tucked beneath the surface, creating an additional work area. When it’s time to sew, the machine rises electronically with the push of a button. When I am finished sewing, it lowers back down, giving me a flat workspace again.
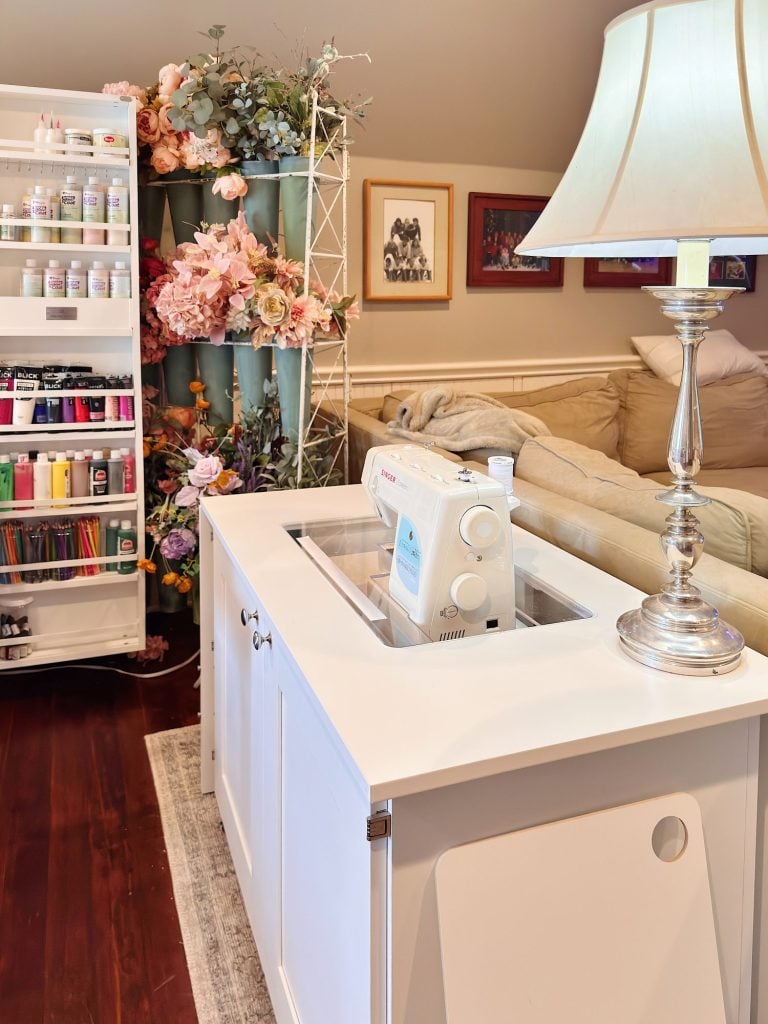
The built-in storage holds everything I need close by, from patterns and fabric to tools and accessories. This station lets me move seamlessly between digital planning and hands-on creation, which is essential to how I work.
The DreamStation is one of the most thoughtfully designed workstations I have ever used.


Thinning Out and Editing My Supplies
Before anything went back into this room, I went through every single supply I own. This step was just as important as the furniture and layout decisions.
And it took the longest.
I asked myself honest questions. Do I use this? Do I enjoy working with it? Would I repurchase it today?
If the answer was no, it did not stay.
I donated, shared, and let go of supplies that no longer fit my current craft. This made room for what I genuinely use and love, and it made organizing easier and more intentional.
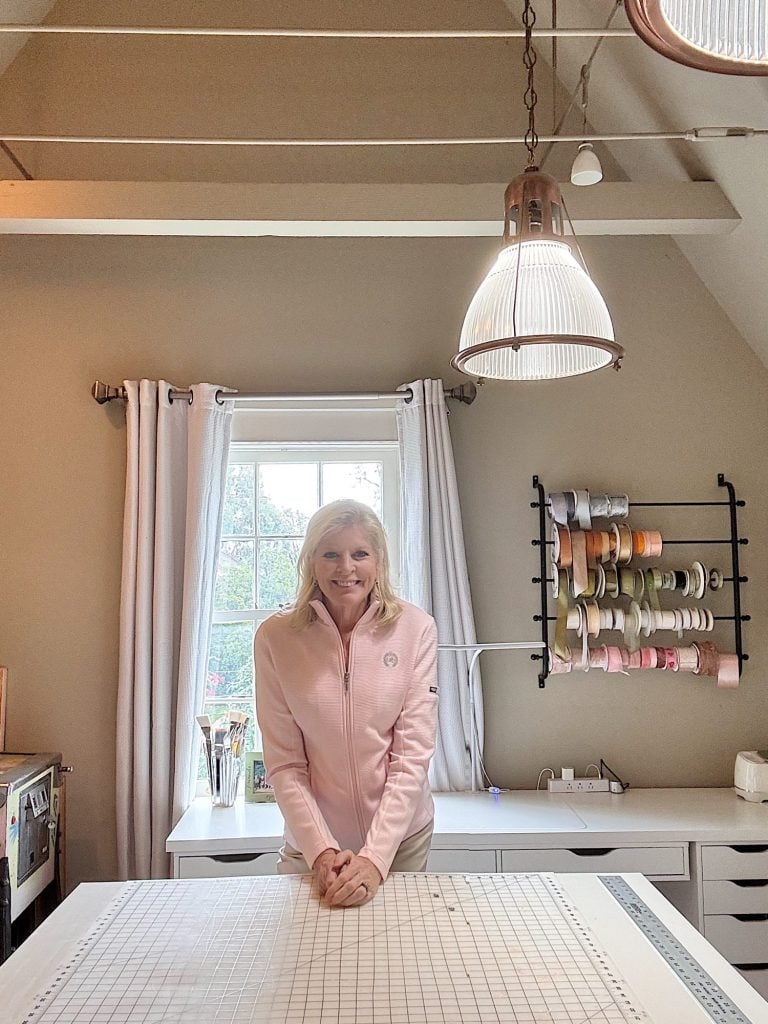
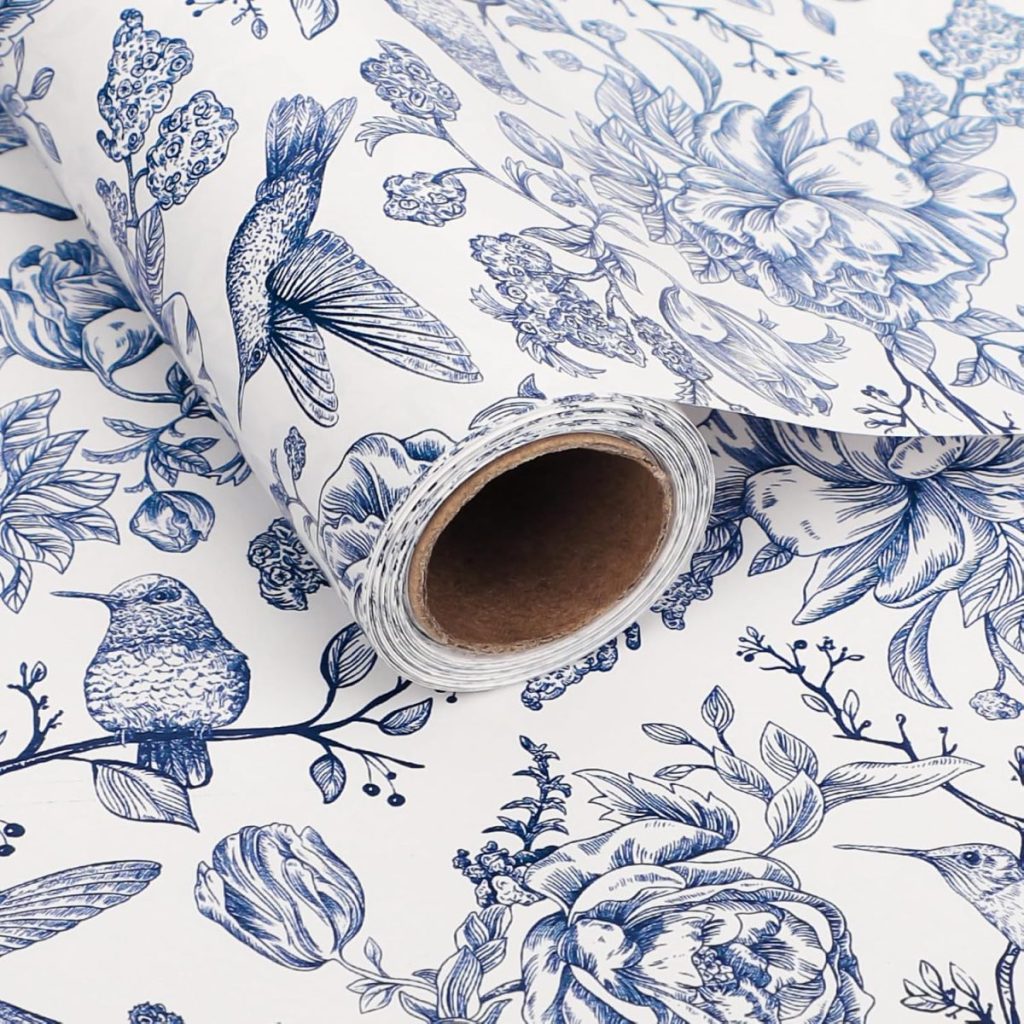
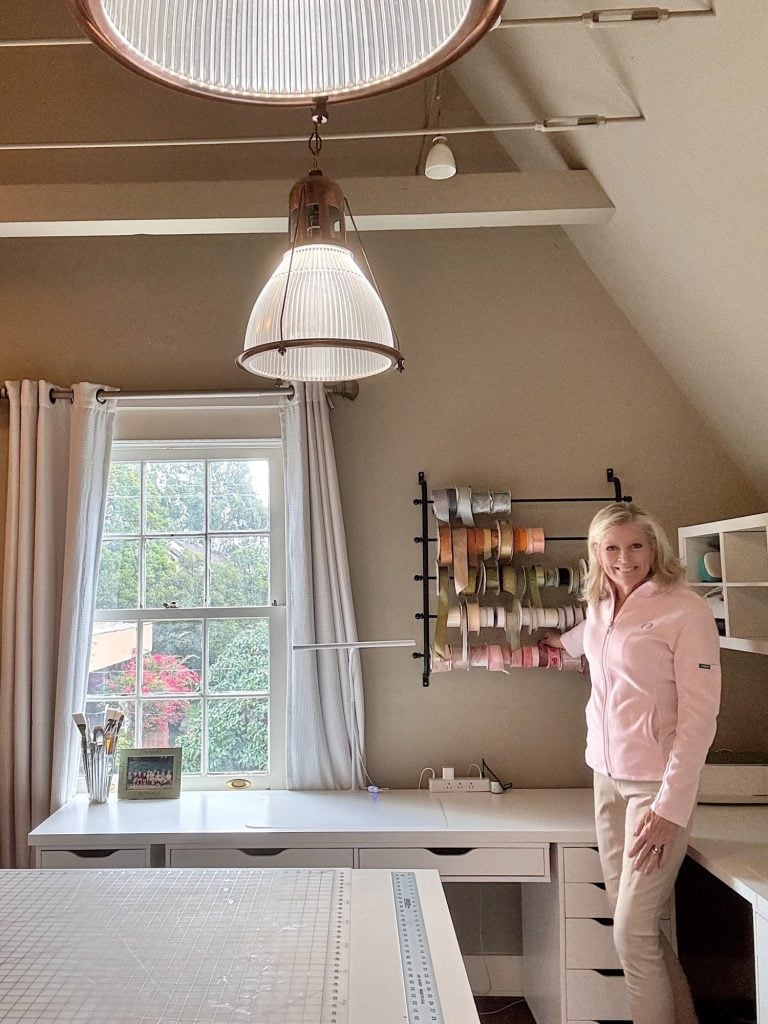
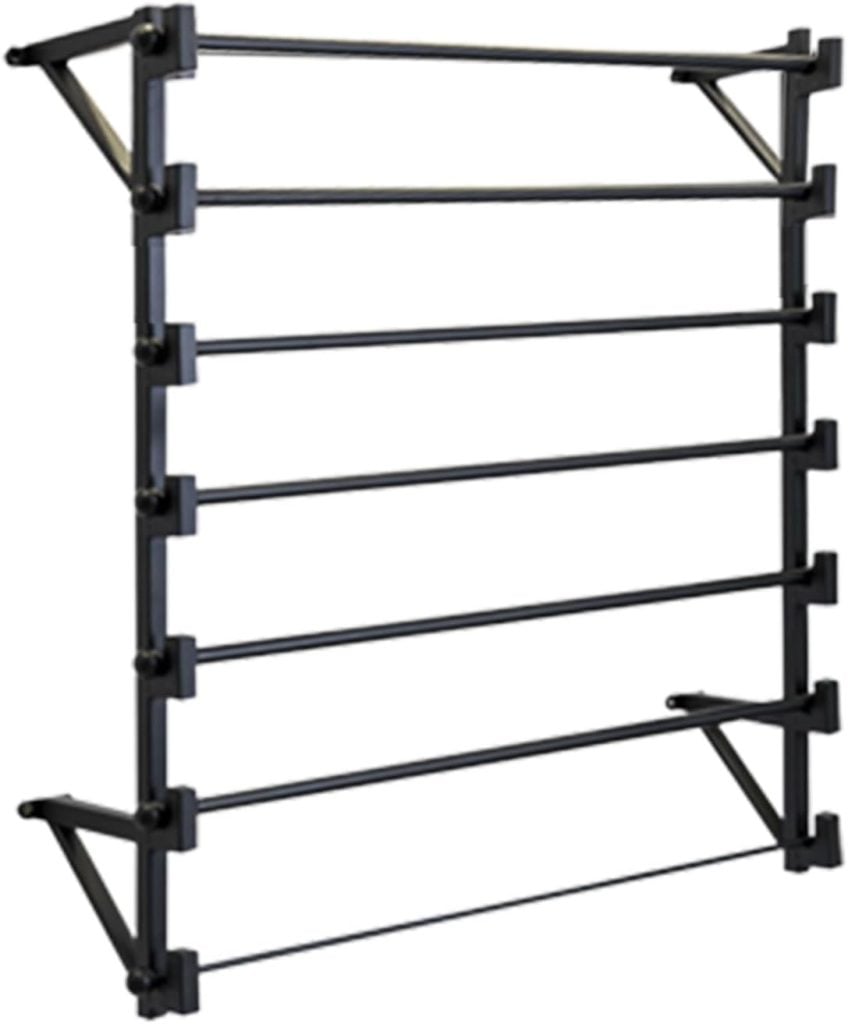
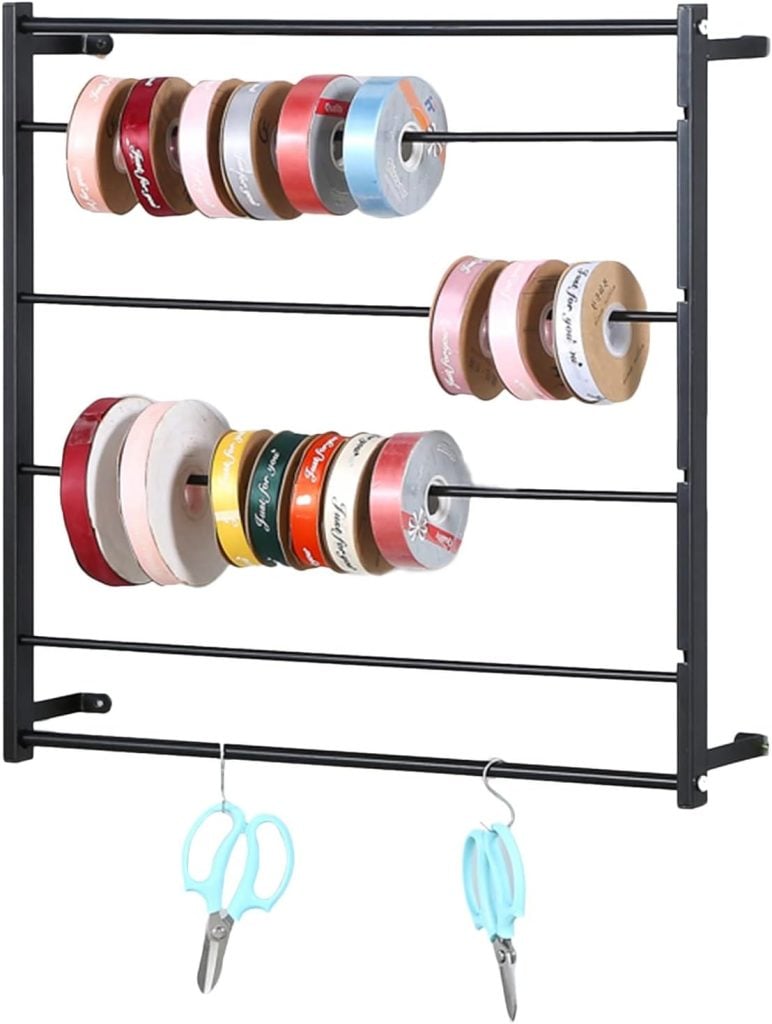
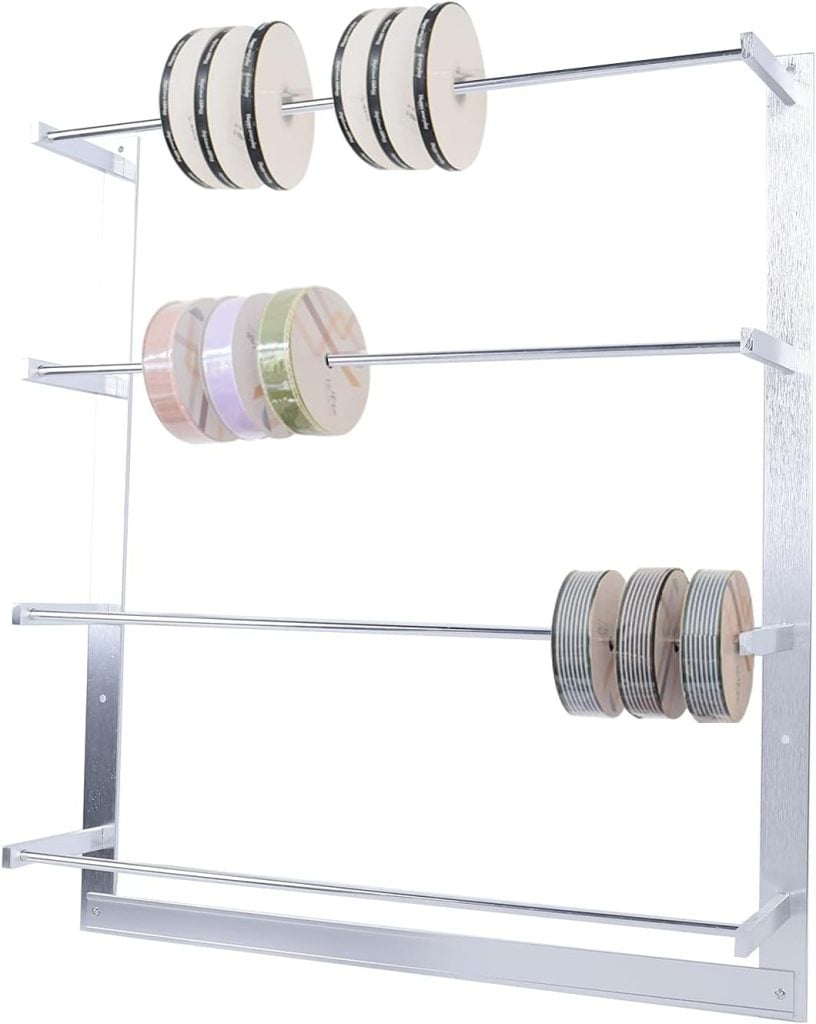
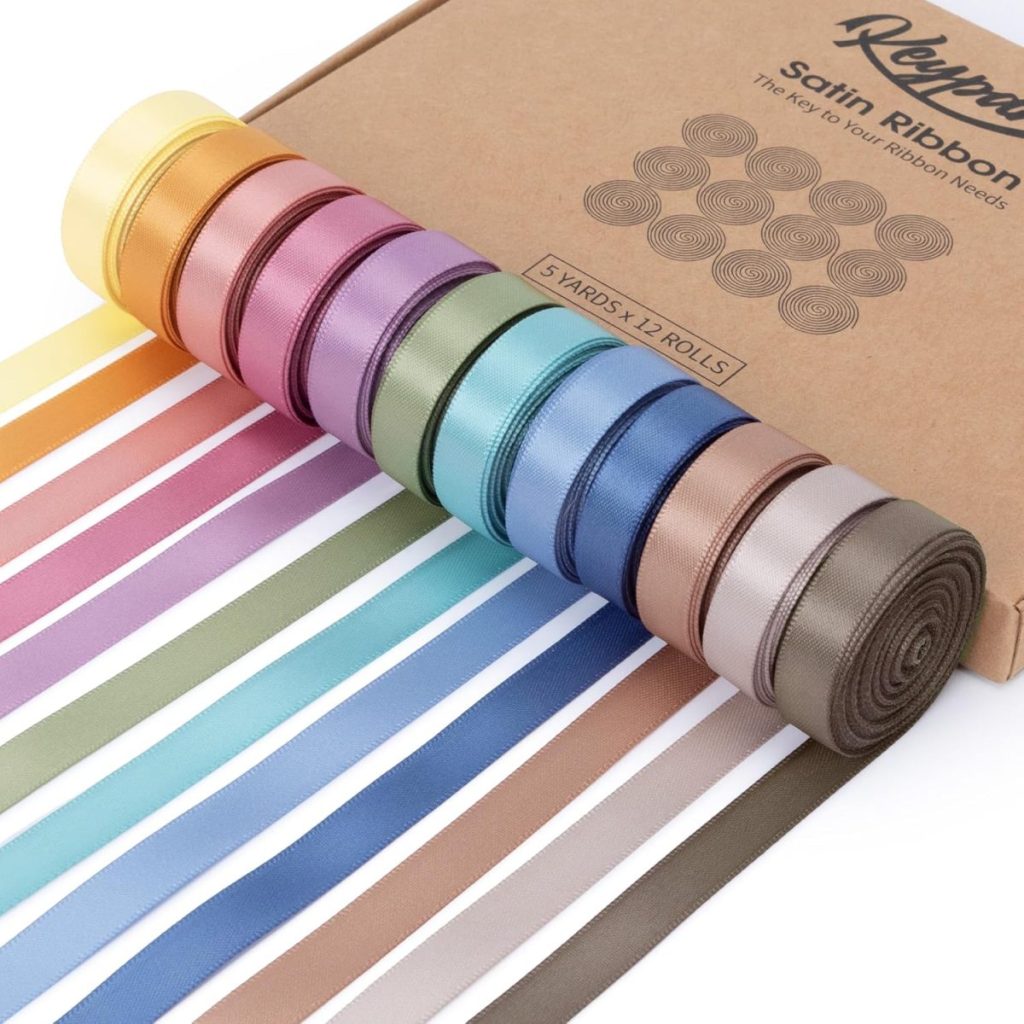
I even changed the ribbons on my rack. They have been red and green for two years, and this color palette is much closer to the colors I prefer for wrapping gifts!
Letting go of excess was incredibly freeing. The room now reflects who I am as a creator today, not who I was years ago.


Essentials That Support Creativity
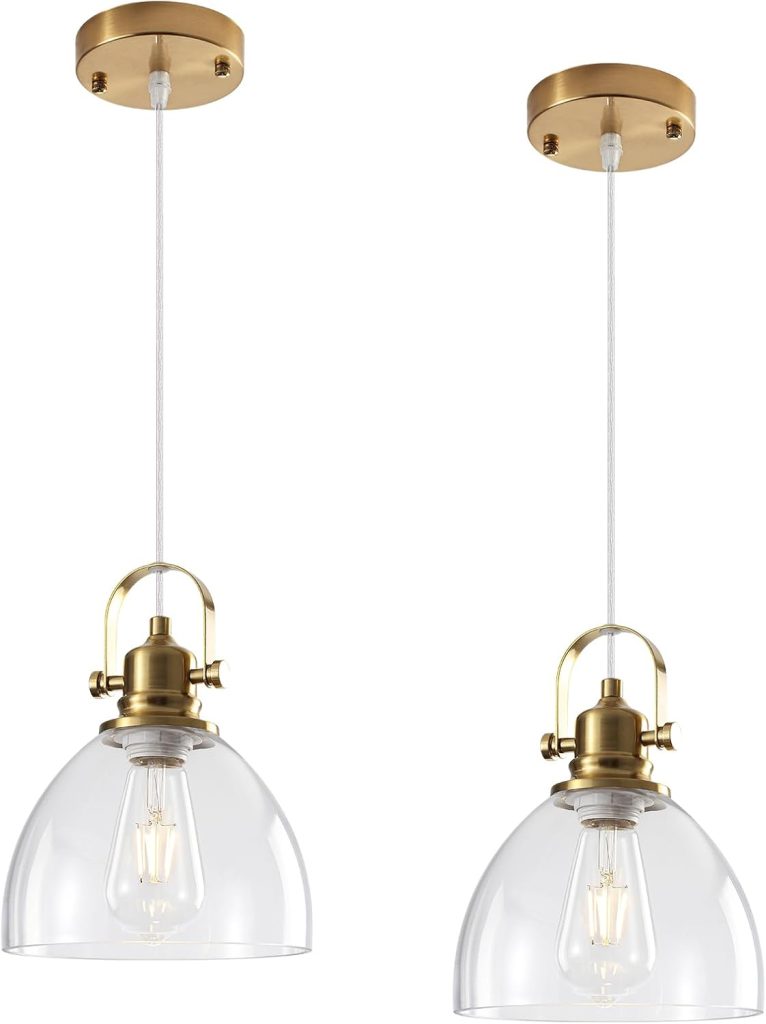
Lighting
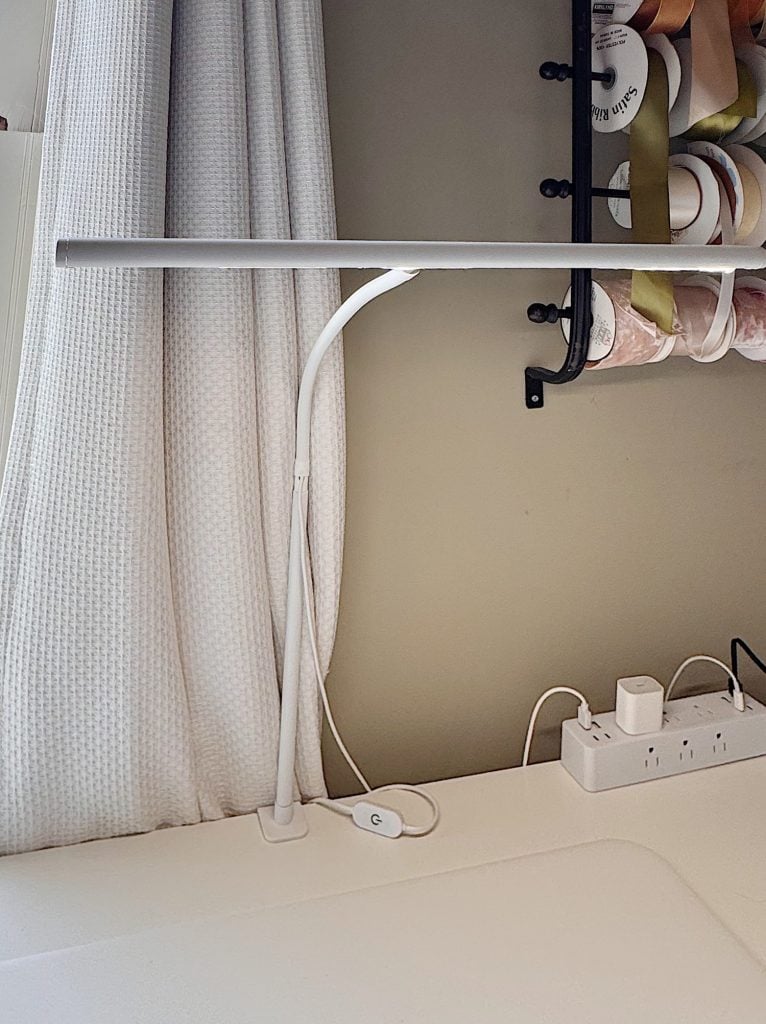
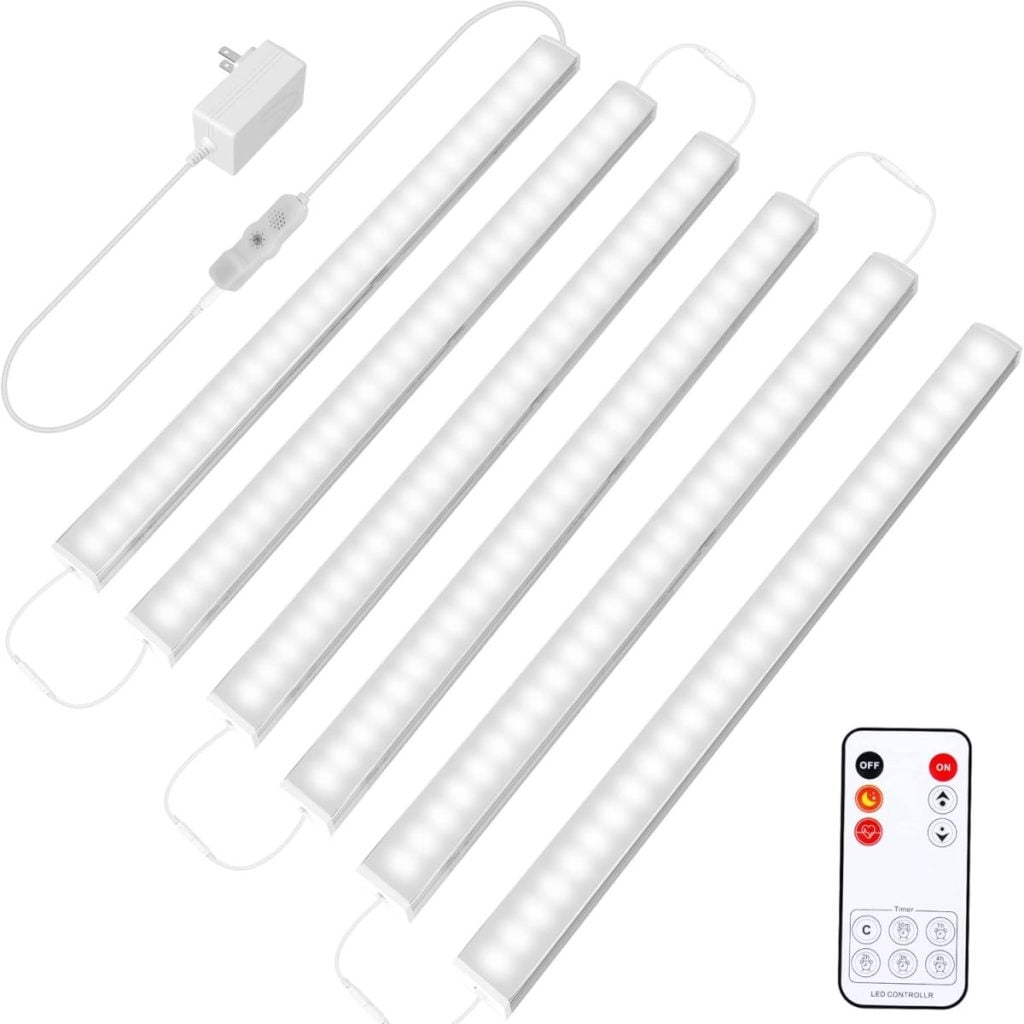
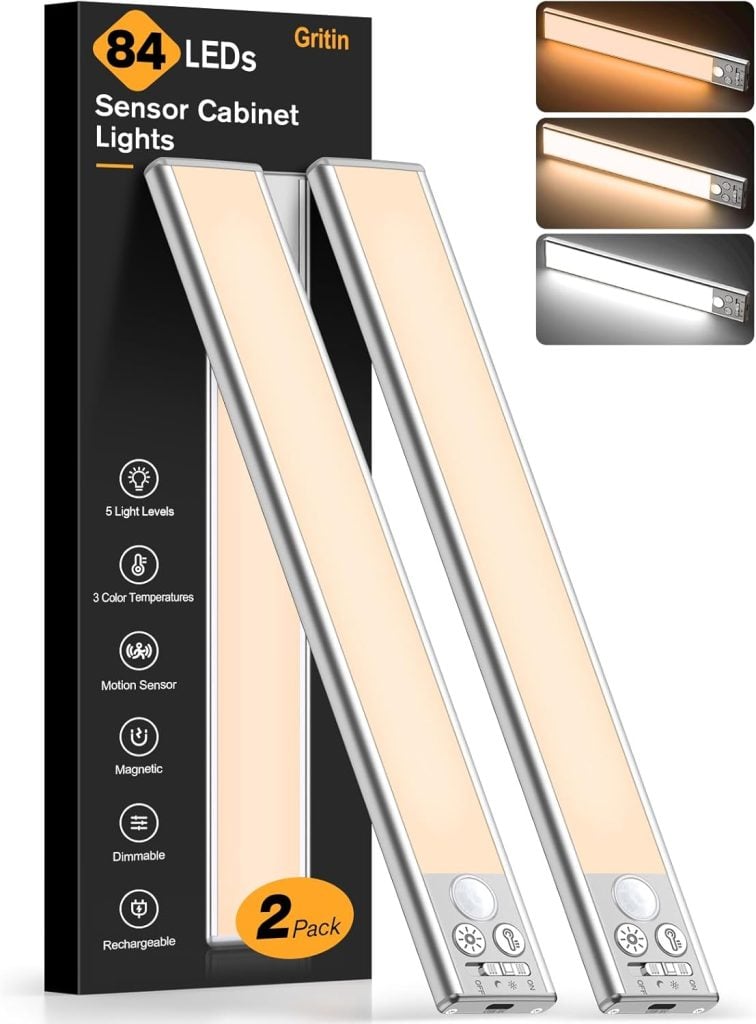
Lighting was another key focus. I added under-shelf lighting beneath the fabric shelves, and installed it myself! Plus, it has a remote control.
This lighting makes a noticeable difference. Work surfaces are well-lit, materials are easy to see, and detailed projects feel less tiring. The room feels bright, welcoming, and functional at any time of day.
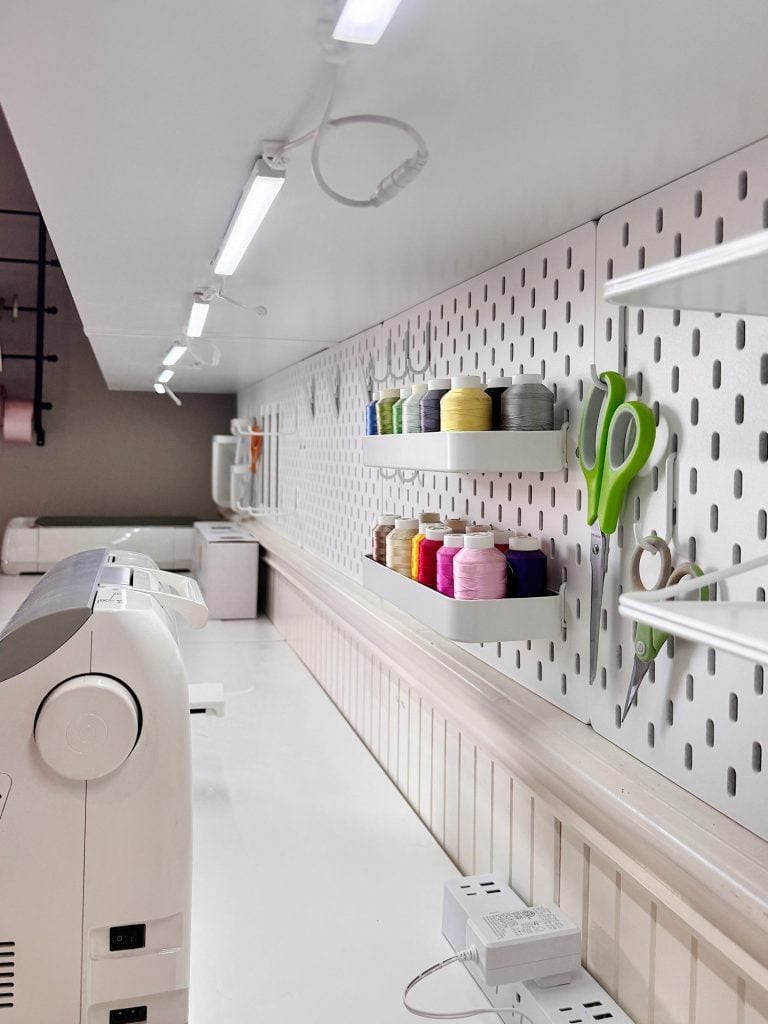
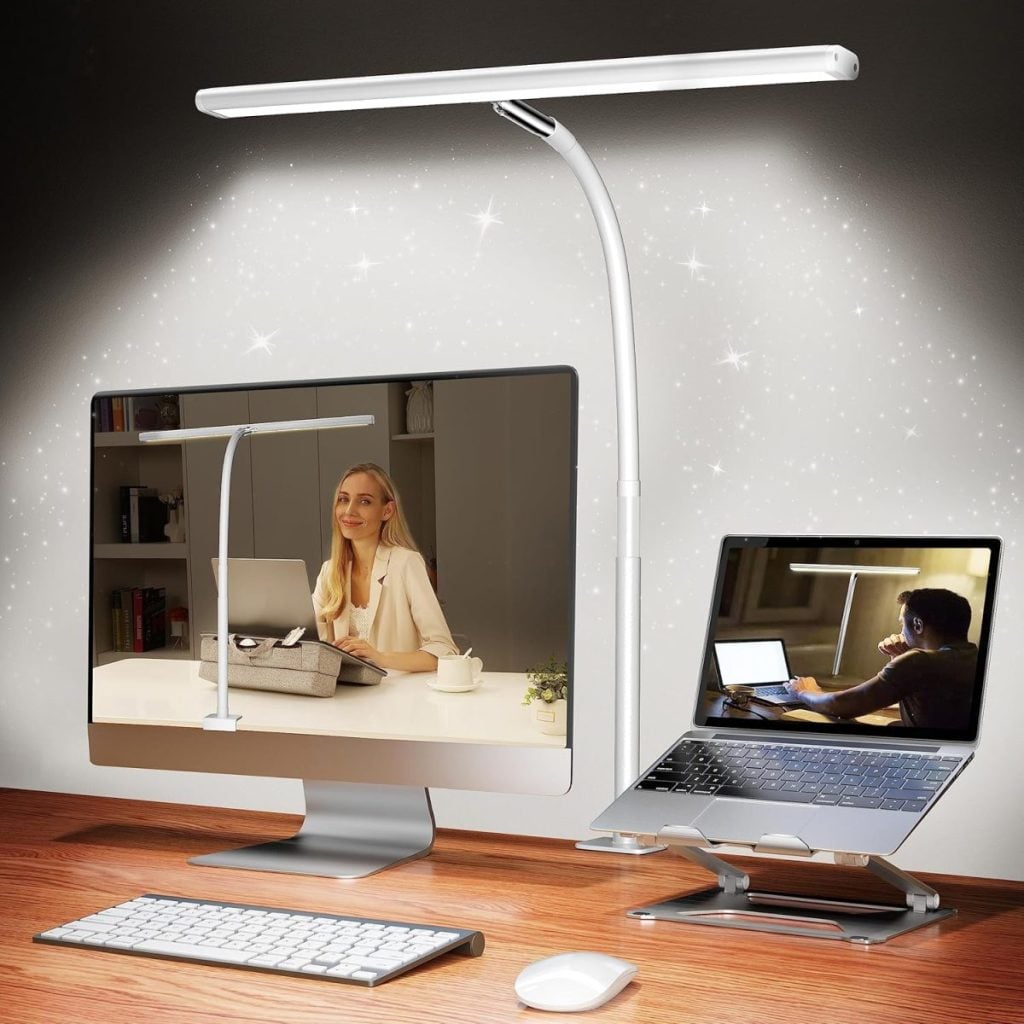
I also purchased lights that clip on the back of a surface, which brighten the room evenly. And they have cool and white settings. The light is perfect.
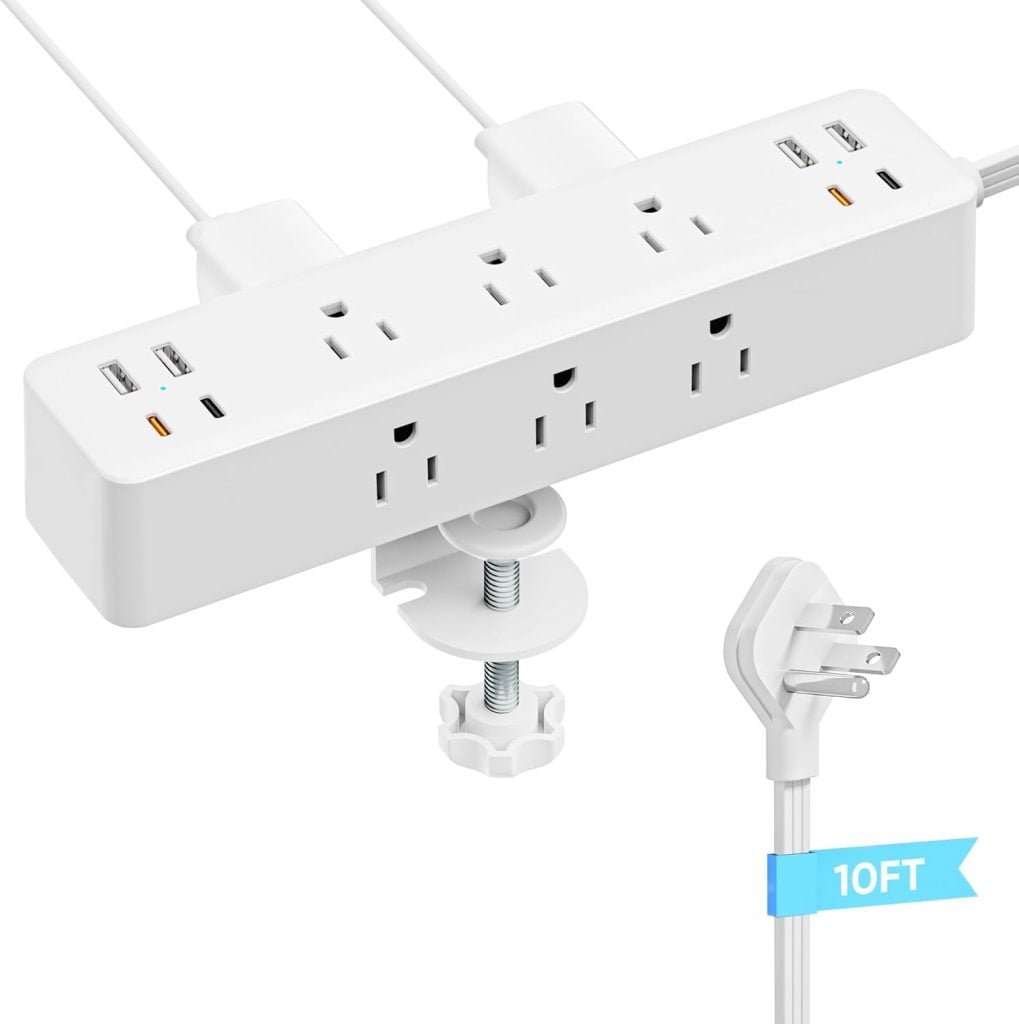
Power
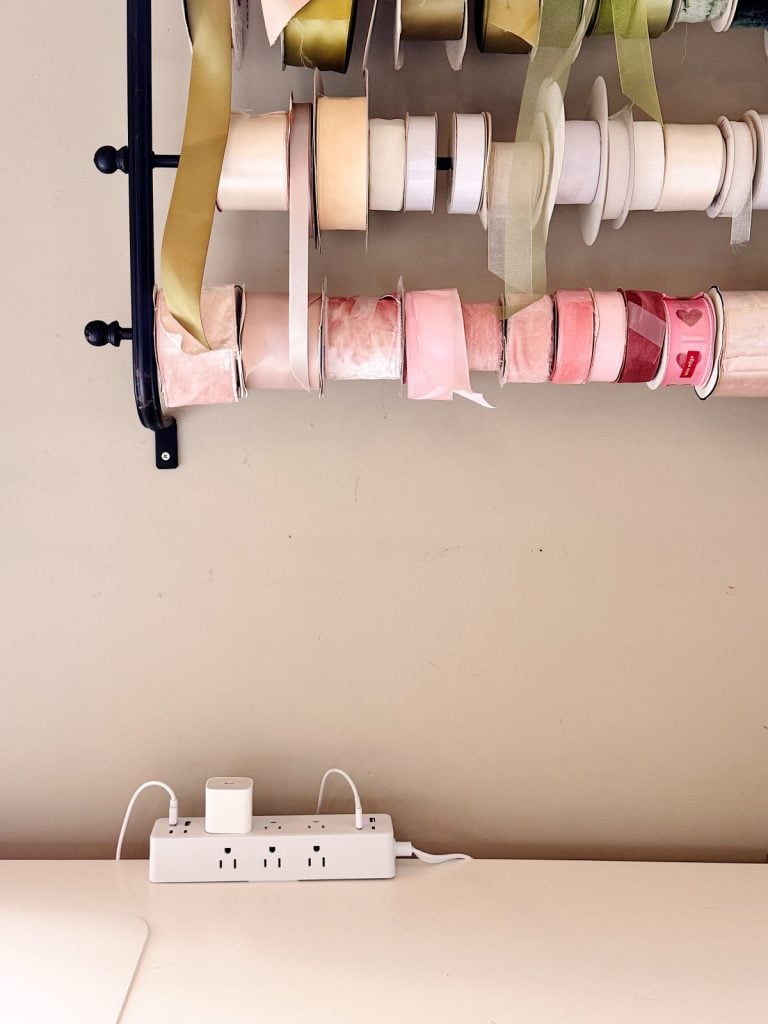
I also found these power strips that clip onto a surface. I added one to each work area so I can charge my laptop or phone wherever I work.
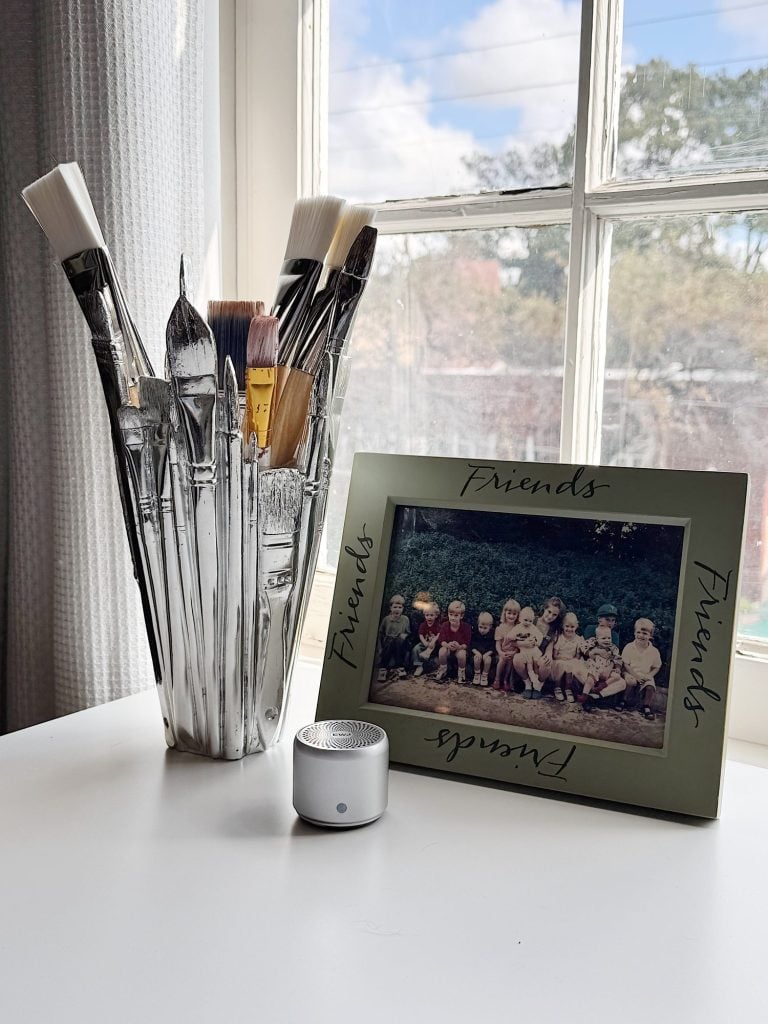
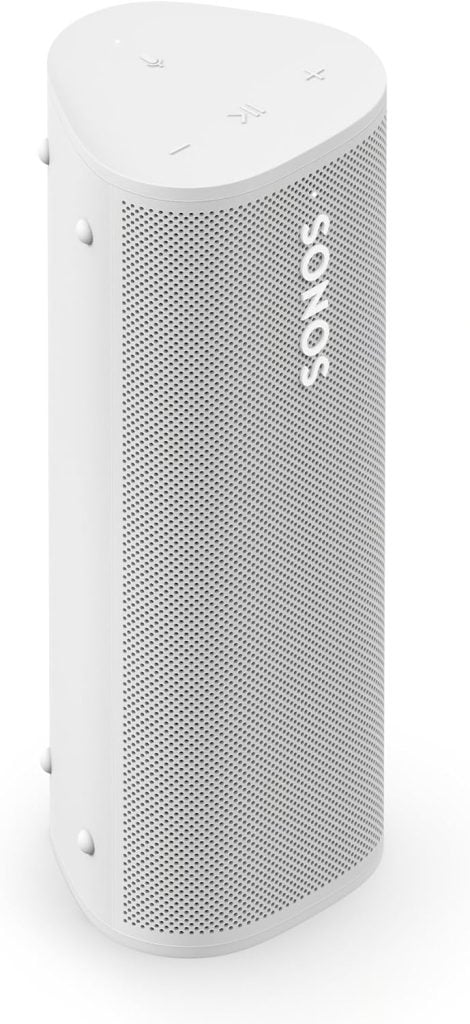
And of course, I needed some music. One small addition that has made a surprisingly big difference in this space is the wireless mini Bluetooth speaker I added to the room. It is under $25, but it fills the craft room with music while I work, and I use it every single day. It’s also portable.
Having music playing makes crafting feel more relaxed and enjoyable, whether I am sewing, organizing, or working on a long project at the table. I love that it is compact, cordless, and easy to move wherever I am working, and it proves that sometimes the simplest, most affordable additions are the ones that bring the most joy to a creative space.
By the way, I bought the “paint brush vase” about 12 years ago. I don’t remember where I bought it, but I searched and found it for sale here.
We also have a large TV on the 3rd floor, and it usually plays reruns of Project Runway. Since I have already seen every episode (more than twice), it’s the perfect background entertainment!


IKEA Links
- Drawer cabinets
- Desk and work table tops
- Under tabletop desk drawers
- Hanging shelves and inserts
- Peg board and accessories
- Adjustable table legs
A Space That Truly Works
This reorganization created a craft room that nurtures creativity rather than fights it.
Projects can stay out without creating chaos. Cleanup takes minutes, not hours. Every supply has a clear home. Creativity feels easy and inviting.
And our kitty Kelly loves it too!
Final Thoughts
This craft room reorganization has been one of the most satisfying projects I have ever completed. It is functional and beautiful, designed for real-life crafting.
Every drawer, every station, and every decision was intentional. While it took time and effort, the result is a space that genuinely feels like a dream come true.
If you have been thinking about reorganizing your craft room, I hope this encourages you to create a space that works for you, supports your creativity, and brings you joy every time you walk in.
I cannot wait to share all the projects that will be created here next.
This room is no longer something I have to manage. It works for me.

Latest Posts
-
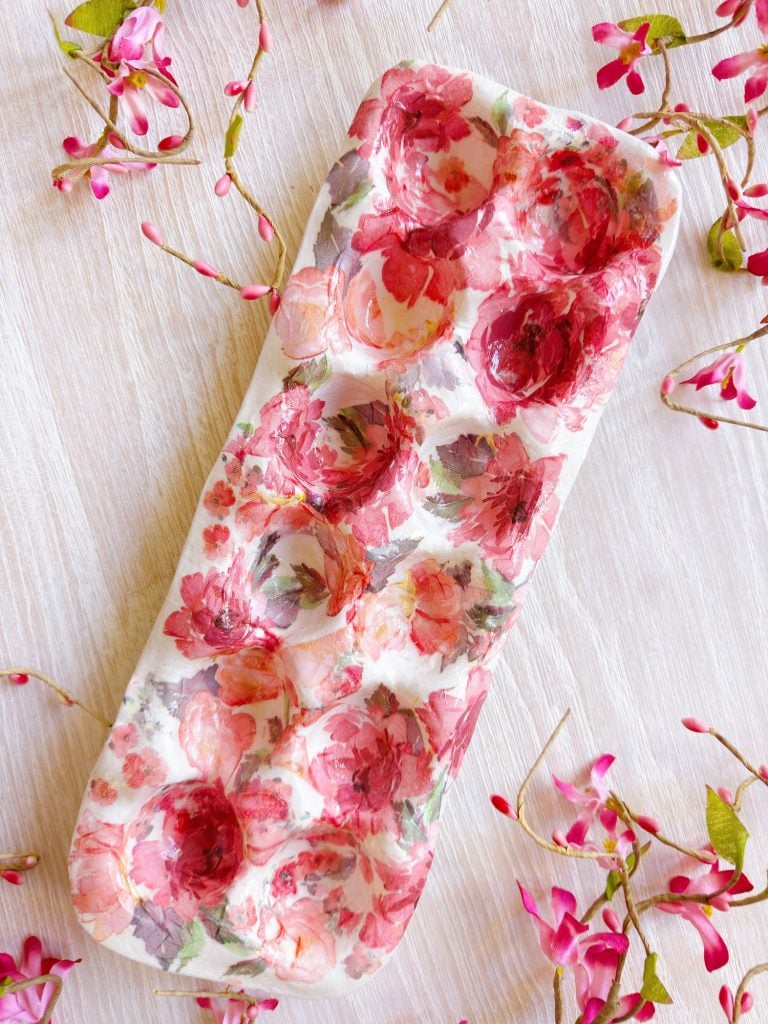
Air Dry Clay Egg Tray – A Handmade Spring
This Air Dry Clay Egg Tray is a simple DIY project that transforms everyday materials into a charming handmade piece for your kitchen, table, or Easter decor. Easter is less than a month away, which always feels like the perfect time to start creating handmade pieces that celebrate spring. For the next project in my…
-
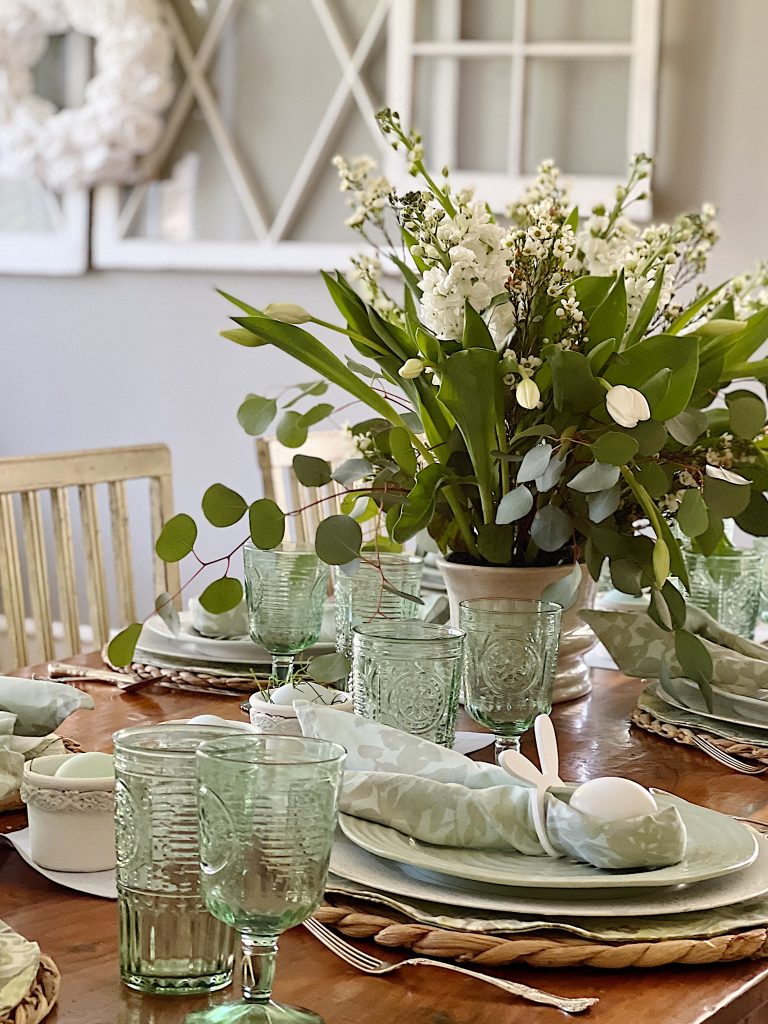
A Pretty Table with Easter Decor
I created a table with Easter decor using decorative napkins, small egg pots, and a beautiful floral arrangement. I am in love with these Easter colors, as blues and greens are my favorite spring colors. Sharing how to make these adorable bunny napkins was fun too. They are so easy!
-
Main Dishes | Recipes | Salads
Healthy Air Fryer Baked Parmesan Crusted Chicken with Arugula Salad
Everybody needs a quick dinner recipe that’s easy to throw together at the last minute. My Baked Parmesan Crusted Chicken is just that! This recipe is also healthy, and if you cook it in the air fryer, it’s not only tender but also a delicious, guilt-free dinner. I paired it with my favorite healthy arugula…
-
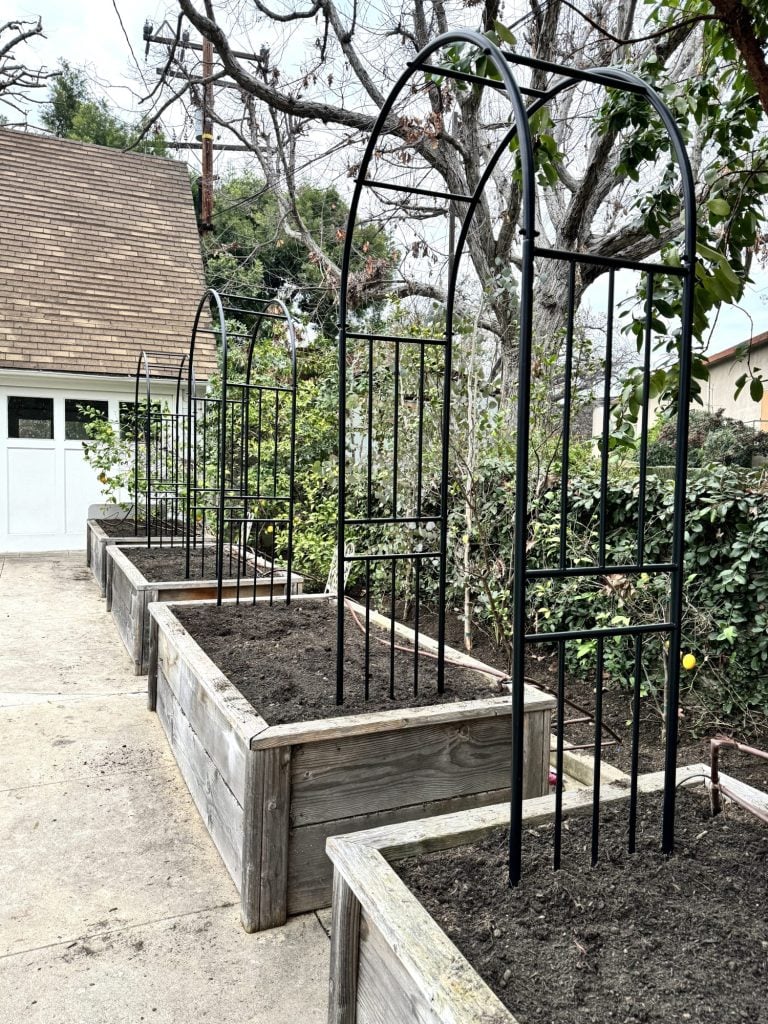
My Dream Vegetable and Herb Kitchen Garden
Two years ago, I tackled a big project – a vegetable kitchen garden. It was successful for the first year, and then it wasn’t. But I am going to do it again. But with a few modifications. In today’s fast-paced world, there’s something deeply satisfying about growing a kitchen garden. Not only does it reconnect…

My Recent Instagram Posts

You can pin the image below to your boards on Pinterest (click the Pin button in the top left corner) or follow me on Pinterest!
For more real-time updates, follow me on Instagram @My100YearOldHome
It truly is a well thought out space and I can see why you love it….Much success this year as I look forward to your shared projects…
Thank you! It turned out even better than I had hoped.
L
Just curious but where did all of these things reside before? Where they all in a closet and you pulled them out as needed?
And second question – how hard was it to find what you needed in terms of all the work space? Did you start knowing you were going to work with IKEA or did you have to spend time locating the best materials. Seems like that would be the hardest part.
Great questions. The machines and supplies were already here stored away in many different places on the third floor. It usually took me 30 minutes to find what I needed and another 15 to get everything set up. Of course I never did find the power cord to my embroidery machine so I ordered a new one! I was pretty sure I wanted to use IKEA items and I did a lot of searching on Pinterest and IKEA was the most popular solution. So it was an easy choice. After I identified the stations I wanted to create, I just started drawing out and measuring to make it all work. I have a blog post next week that will help you do exactly all of this for your crafting needs!
L
Awesome crafting space
It’s going to be such an awesome place to create some very fun projects.
L
One word: Stunning!
Thank you!
L
Amazing! Will you ever close your DreamBox or leave it open?
Great question. If I want to make it look pretty, then I definitely will. That said, I probably won’t close it often as I love it as a “workstation” more. And no one is up on our third floor except me, my husband Dave, and our kitty Kelly.
This is dreamy, Leslie!!
Thank you so much!
L
The workspace is awesome! I would love to have that much space! I’m curious where you iron/press your sewing projects.
I will share that next week!
L
I live in a circa 1900 house, and have a craft room on the third floor. The third floor is not heated or cooled, although I have a portable AC/heater unit there. Over the years, my crafting obsessions have changed (I no longer make candles or jewelry, but would like to get back into hand embroidery!) and I have been sewing much more over the last year or so. Sadly, my craft room has not been working for me – it’s much smaller than yours, and while there is plenty of storage (commercial wire shelves, IKEA desk and bookshelf units, 2 metal wardrobes for costume storage – primarily Renaissance costumes that are bulky) as well as dedicated storage where the tools/supplies for each activity were grouped together, the one work table was used for laying out patterns, wrapping gifts, scrapbooking, and general crafting. My Cricut, inexplicably, lives on the second floor while my laptop is on the first floor because I’m a consultant and adjunct and the dining room serves as my “home office”. No wonder nothing worked for me! I have an 8-foot glass-front bookcase that was originally used for hymnal and choir music in a church, and several months ago began toying with the idea of clearing it out and filling it with fabric and sewing supplies, since my dining room table is 48” x 120” – ideal for laying out patterns, and I had been using it for sewing anyway, sclepping bins of fabric and supplies from the third floor to the first floor. I saw your DreamBox and a lightbulb went off – I could store all my sewing supplies in a DreamBox in the dining room, close it up when we needed the dining room table for entertaining, and not have to move bins of fabric and sewing paraphernalia to another room. My only hesitation was having white laminate box in an area furnished primarily with antique oak furniture. But then I saw that CreateRoom has an oak option, and sold!
Bottom line – thank you for helping me to clarify the problem – not a lack of storage, but a lack of dedicated spaces for the work that I was doing! Now, sewing will happen in the dining room, with all of my supplies in one place, and other crafting will happen in the craft room. I can’t wait for my DreamBox to arrive – I’m looking forward to much more sewing; with a spring visit to London coming up – Liberty! Shaukat Fabrics! Dalston Mill! Goldhawk Road! – I will be itching to get back!
ps: where did you get your dress form? I’ve been looking for one and while it needs to be functional for me, I’d love if it had a little more “I discovered this vintage form in a little antique store in Paris” vibe!
Oh, this makes me so happy! The DreamBox will be perfect for you! You are going to love it. As far as the dress form, I found it at an antique shop. I actually don’t think it is old, but it was my size and I got it for a steal! I found it here at https://amzn.to/4sEE6nG.Let me know when you get your delivery!
Leslie
Hello, wondering what the dimensions of the craft room might be? It looks like a generous sized room. The makeover will certainly allow for multiple projects to be i”in progress” at the same time. Very nice.
Just measured it. The space is 11’x22′.
Thanks so much. Just in the process of reorganizing my crafting space. Many great ideas here for organization and storage while working on projects. I have a smaller space but these ideas will help in the process. Thank you. Enjoy your creative space.
Thank you so much for sharing. I was so looking forward to this post and it does not disappoint! Heaven on earth!