Summer Entertaining at the Beach: A Magical Progressive Dinner with Friends
There are few things more meaningful than summer entertaining with good friends, great food, and the sound of the ocean nearby.
Last weekend, I had the joy of hosting a dinner party in Hermosa Beach for our long-standing dinner club, a group of twelve dear friends with whom we’ve shared meals and memories for over 32 years. This summer night was extra special: we organized a progressive dinner and we hosted the entrée course at my sister and her husband’s beautiful beachside home.

A Magical Progressive Dinner with Friends
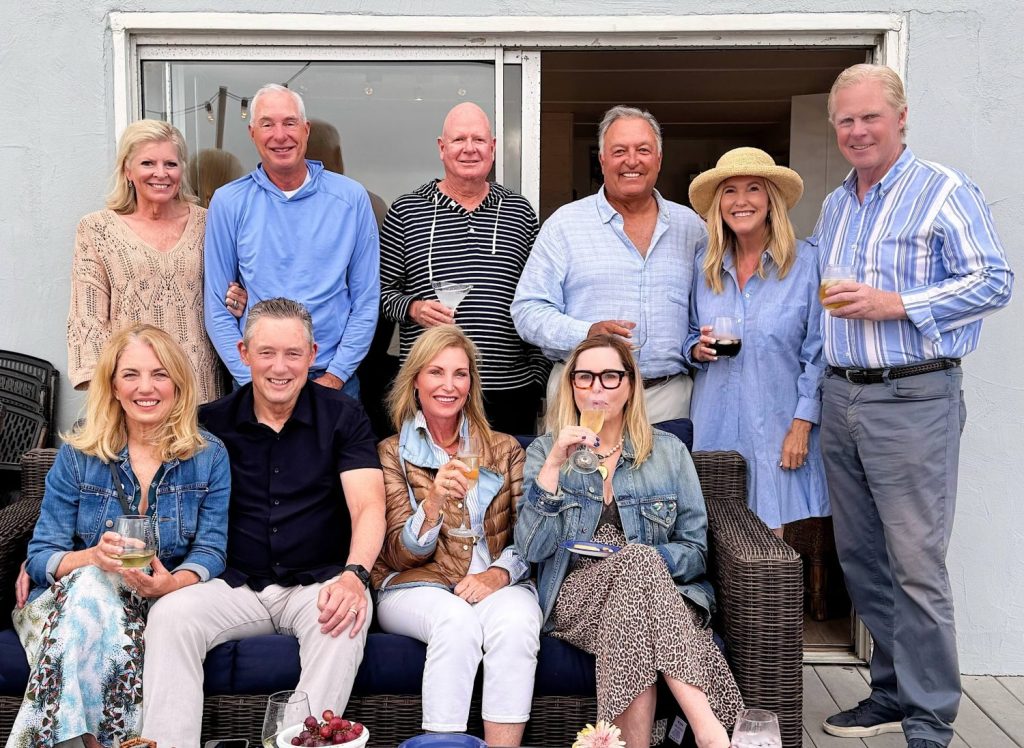
We spent the weekend in Hermosa Beach with all of our friends, and our final night was so special. With the warm breeze, salty air, and golden hour lighting, it was one of those summer evenings that made you pause in gratitude.
And of course, as someone who loves to add a personal and creative touch to every gathering, I couldn’t resist crafting something unique for our dinner guests.
The Magic of a Progressive Dinner
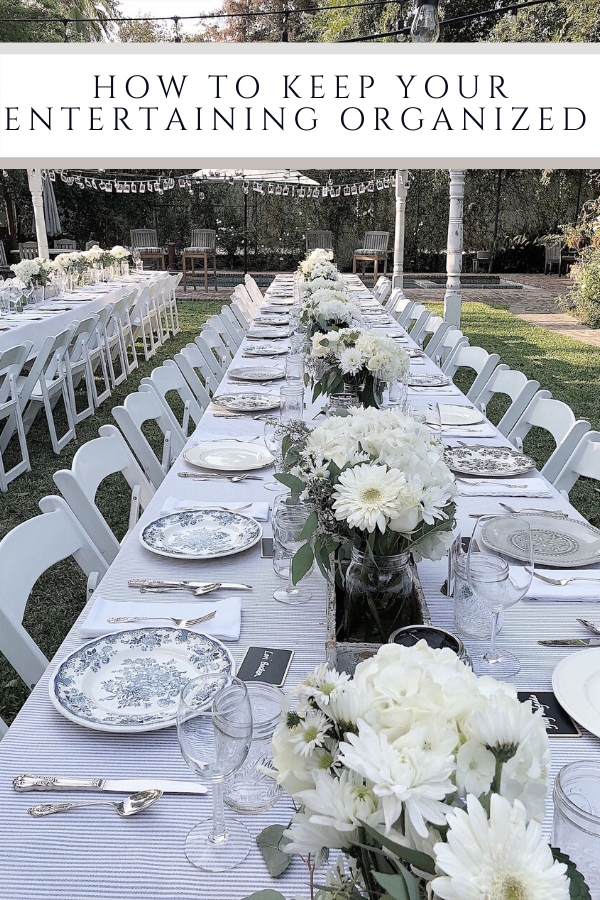
If you’ve never experienced a progressive dinner, let me introduce you to one of the most delightful ways to entertain with friends. Each course of the meal is hosted at a different home, and guests walk from one location to the next. It turns a meal into an authentic experience, complete with fresh air, movement, and new scenery for each dish.
For this event, appetizers and cocktails were served at one home, followed by the main course (hosted by us), and finally, dessert and after-dinner drinks to close out the evening. The transition from house to house kept things light and lively. The chatter, laughter, and glowing candlelight carried effortlessly through the night.
I may occasionally use affiliate links on this blog, which means I earn a small commission if you purchase through the link. The price will be the same whether you use the affiliate link or go directly to the vendor’s website using a non-affiliate link.


Hosting the Main Course at the Beach
Our dinner club has rotated homes over the years, but there’s something truly special about summer entertaining by the beach. My sister’s home provided the perfect backdrop with open doors that let the ocean breeze roll in and a spacious dining setup that encouraged long conversations and relaxed dining.
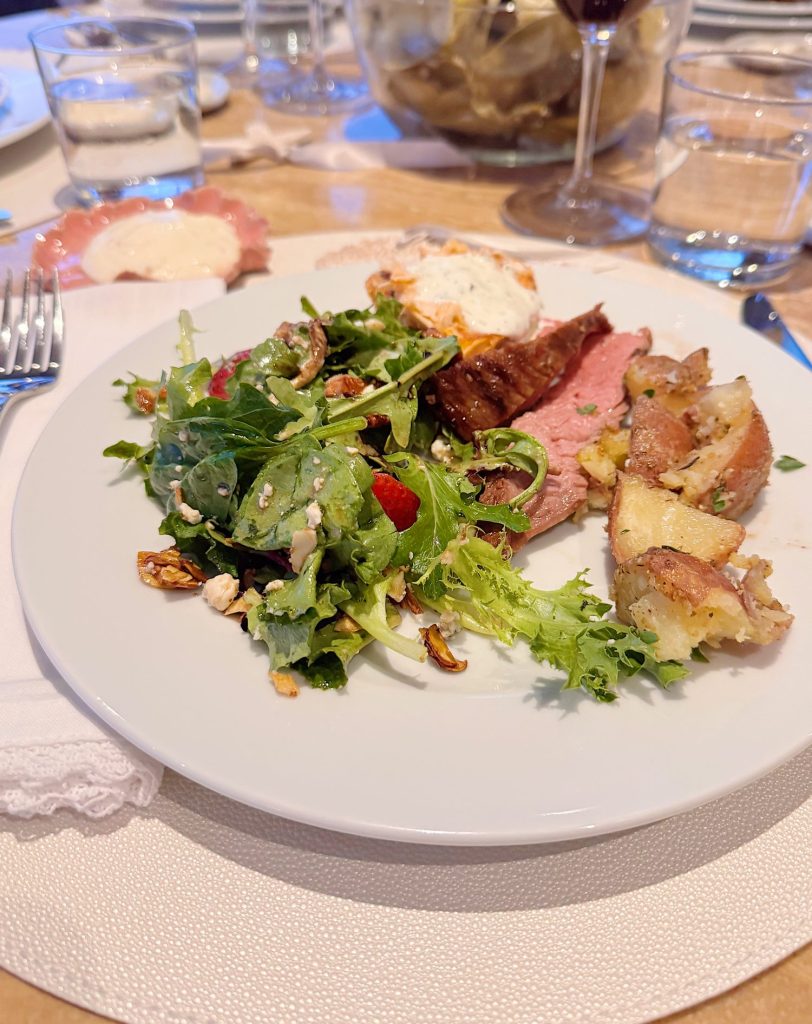
We kept the dinner menu seasonal and fresh:
- Steamed artichokes with aioli
- Grilled flank steak, perfectly marinated and seared
- Baked smoked paprika salmon with a light lemon dill sauce
- Roasted red potatoes with garlic and herbs
- Arugula, peach, and burrata salad
- Salad with fresh strawberries, gorgonzola, and candied almonds
Everything was prepped in advance to allow plenty of time for mingling, pouring wine, and enjoying the company of our friends.
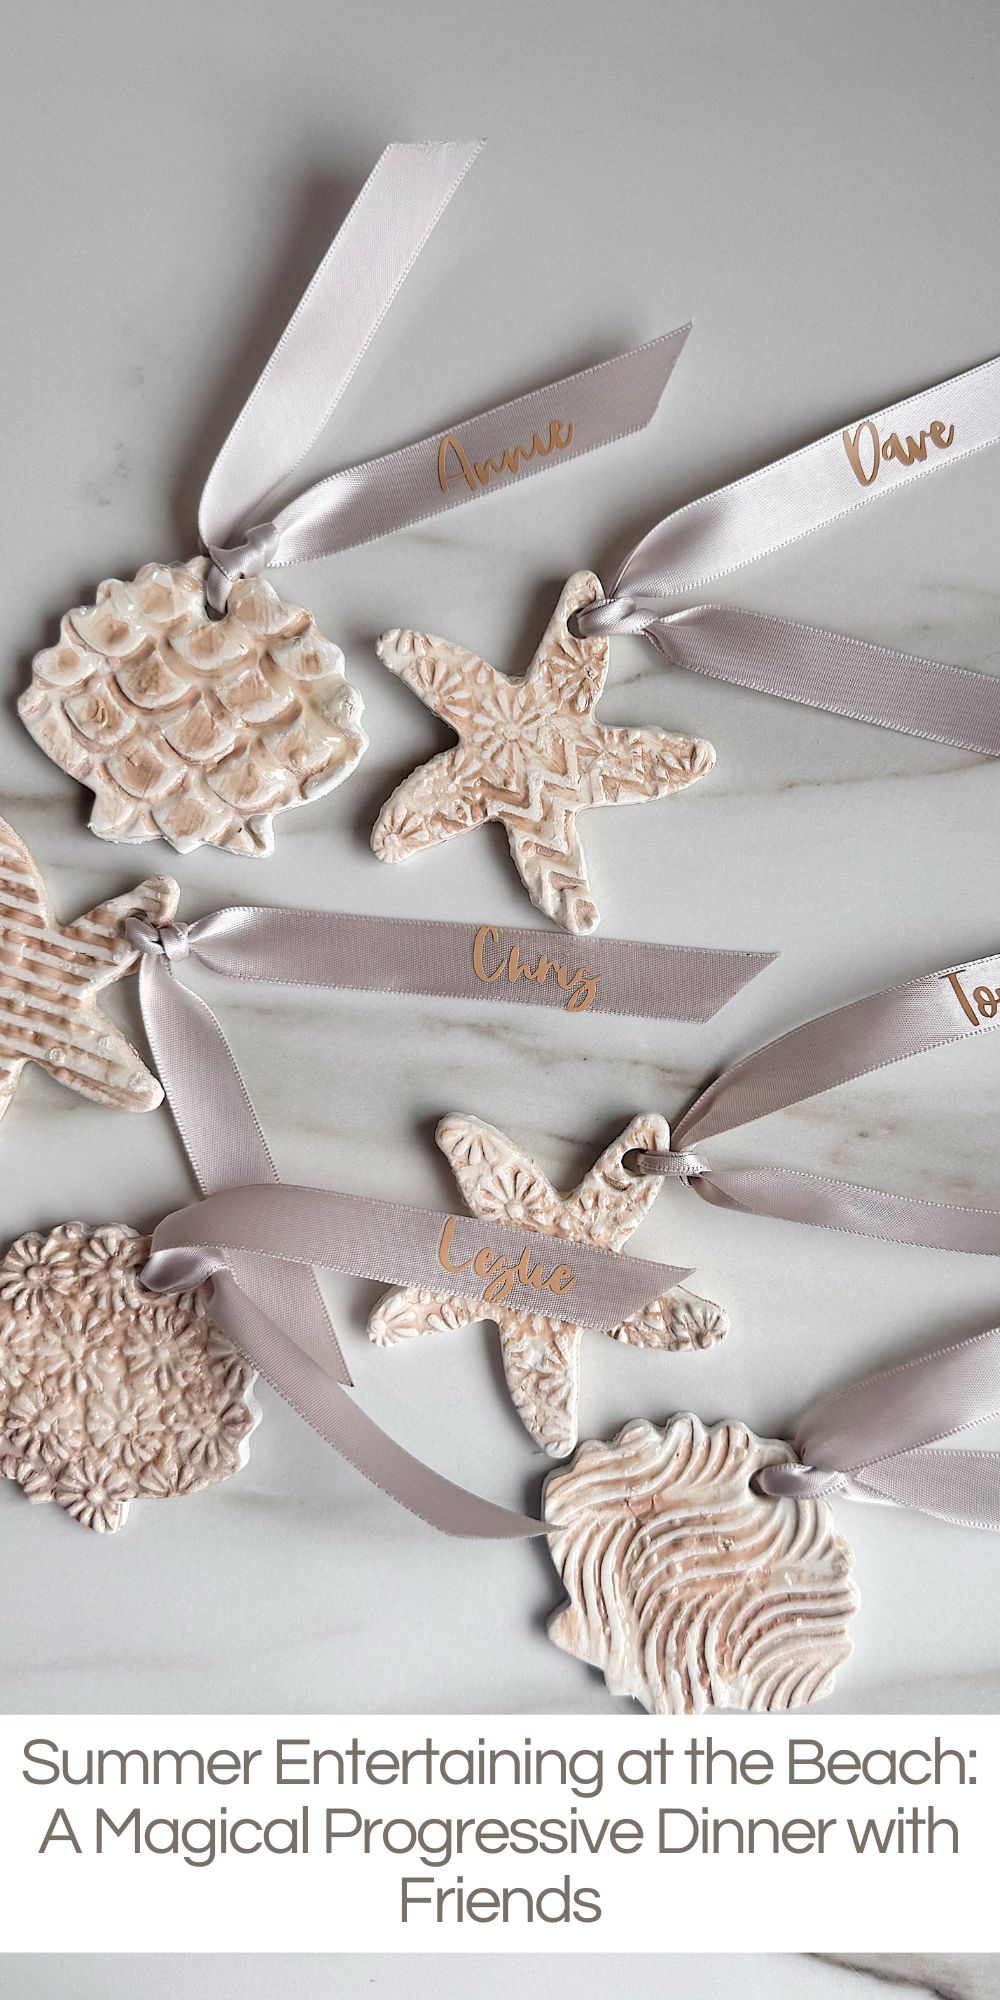
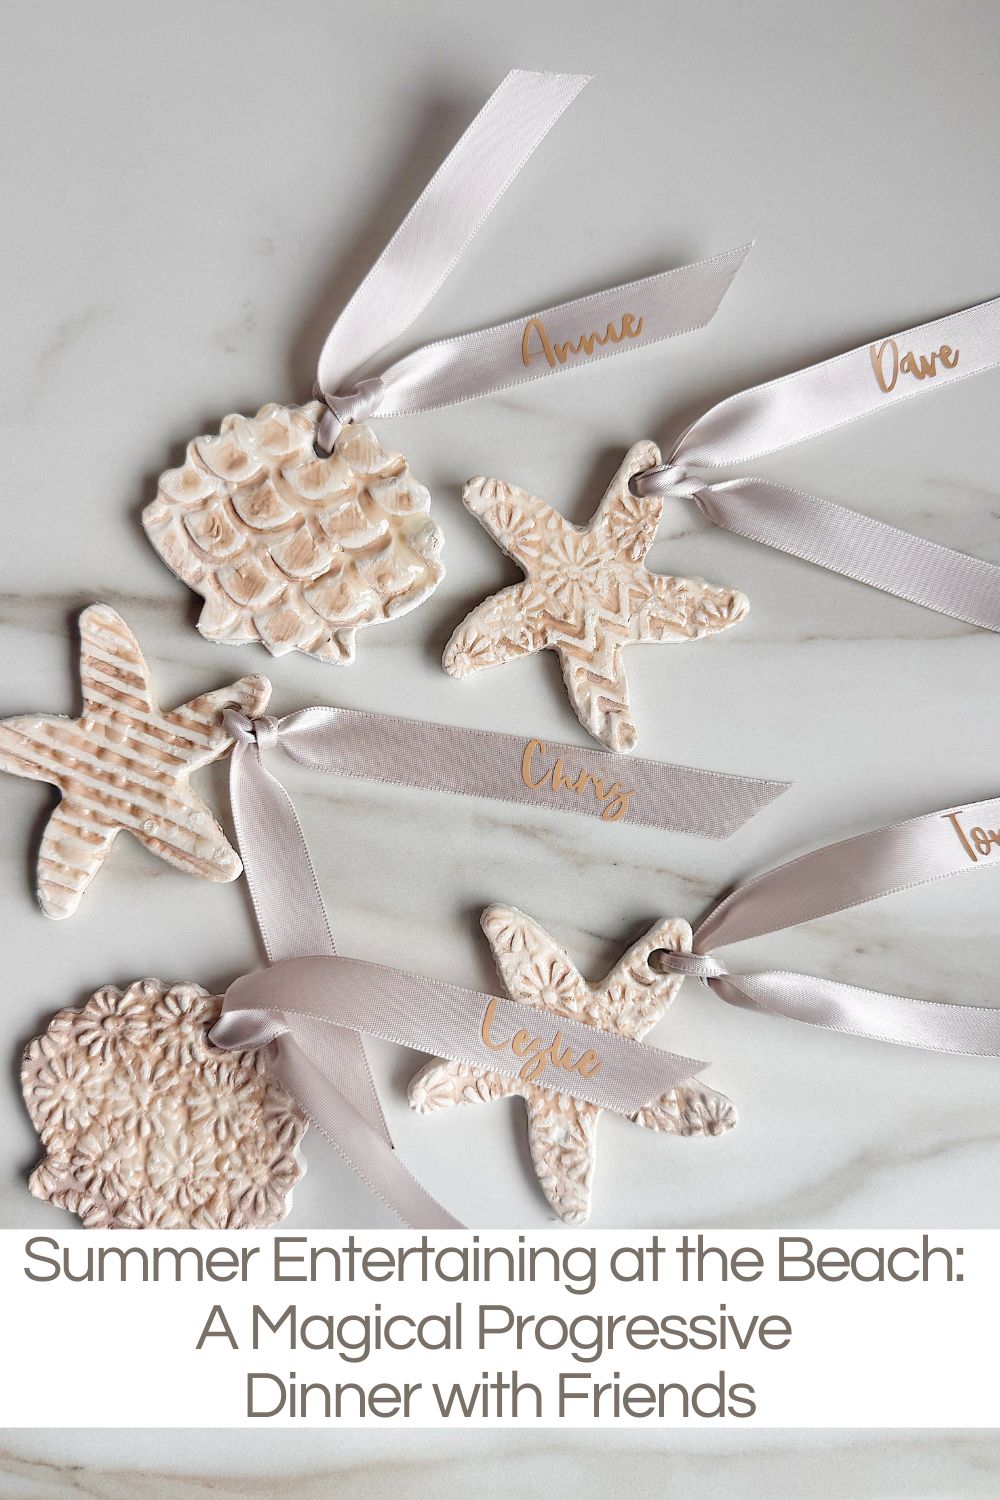
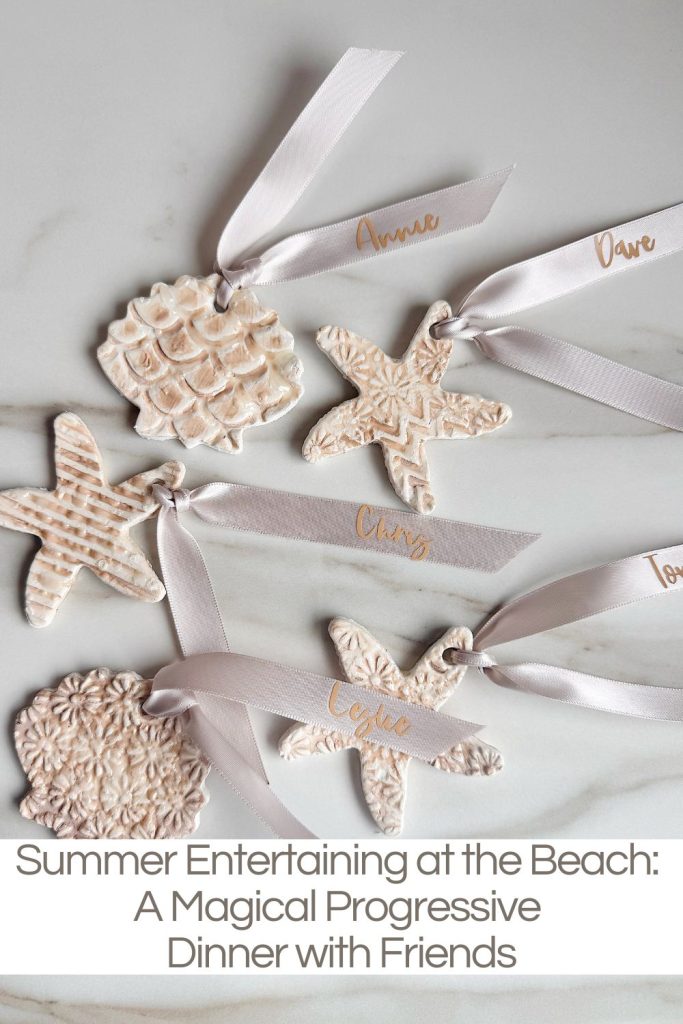
DIY Beach-Themed Place Cards
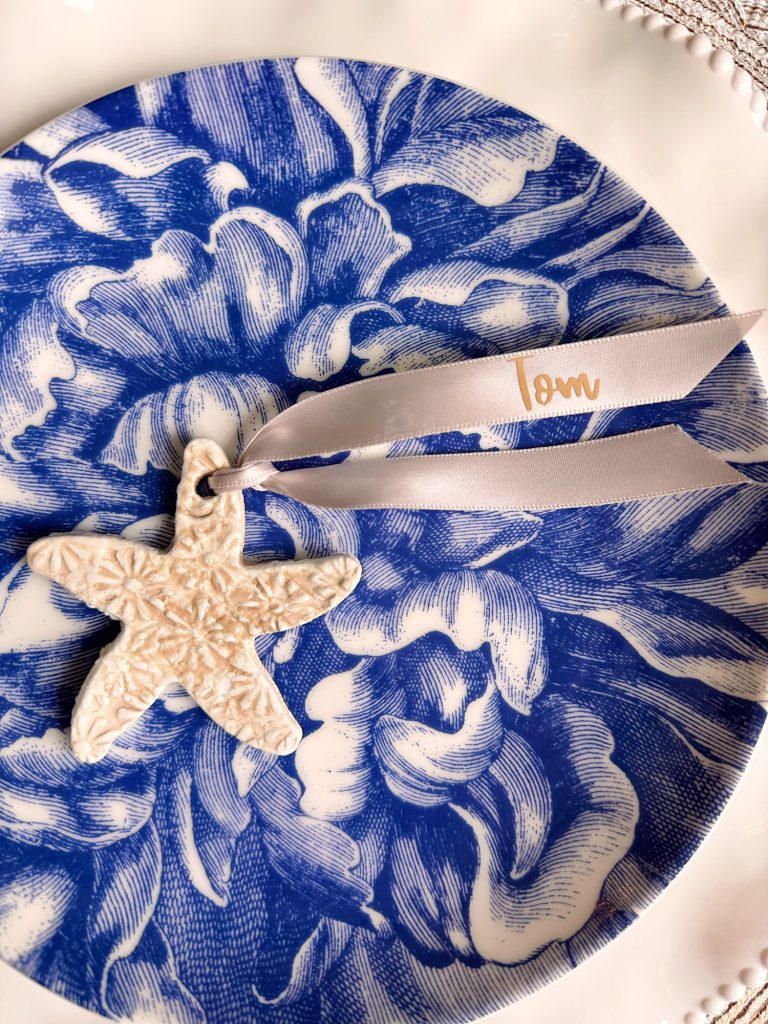
I wanted to add something meaningful to the table, which was a personal touch that would bring a little coastal charm to each place setting. So I created handmade beach-themed place cards using air-dry clay, and I’m happy I did. They were the perfect mix of creative, beachy, and thoughtful, and incredibly easy to make.
Here’s precisely how I did it:
Materials:
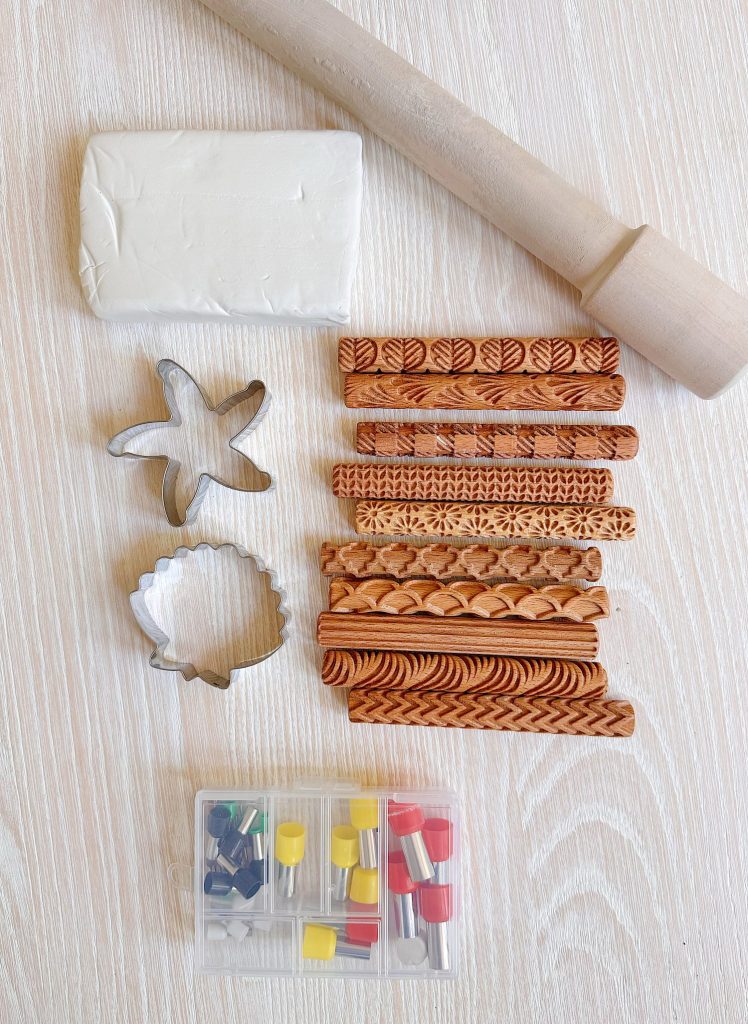
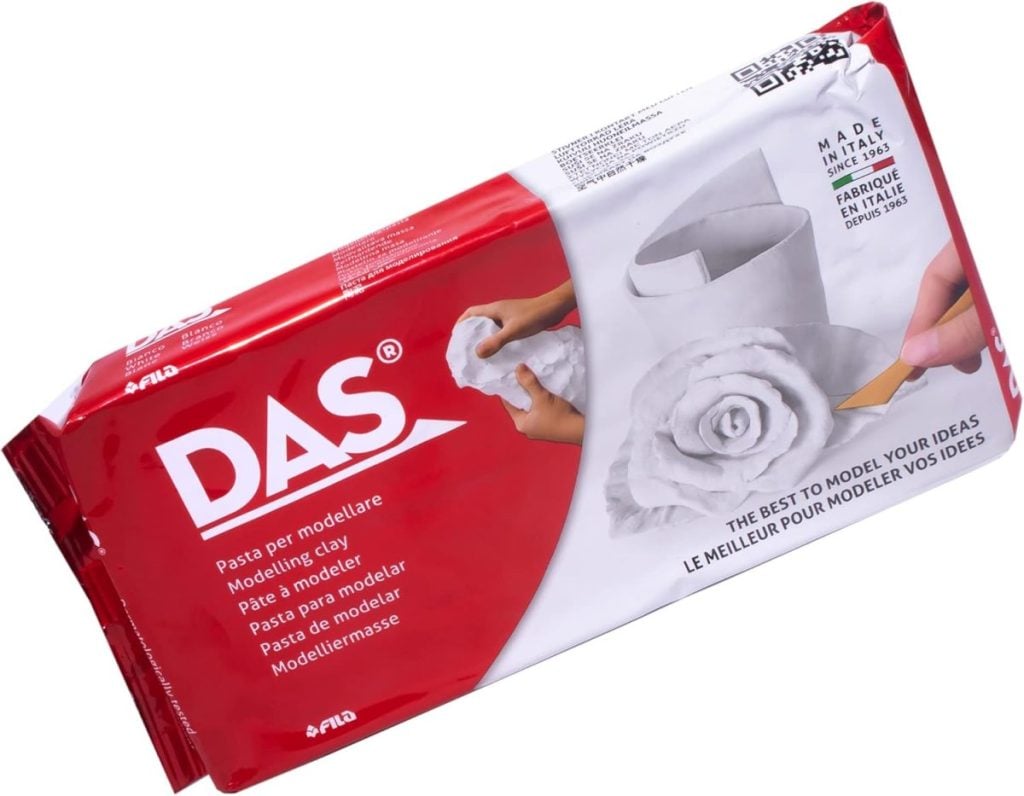
- Air dry clay (I used white clay, which dries with a natural matte finish)
- Textured Clay Rollers
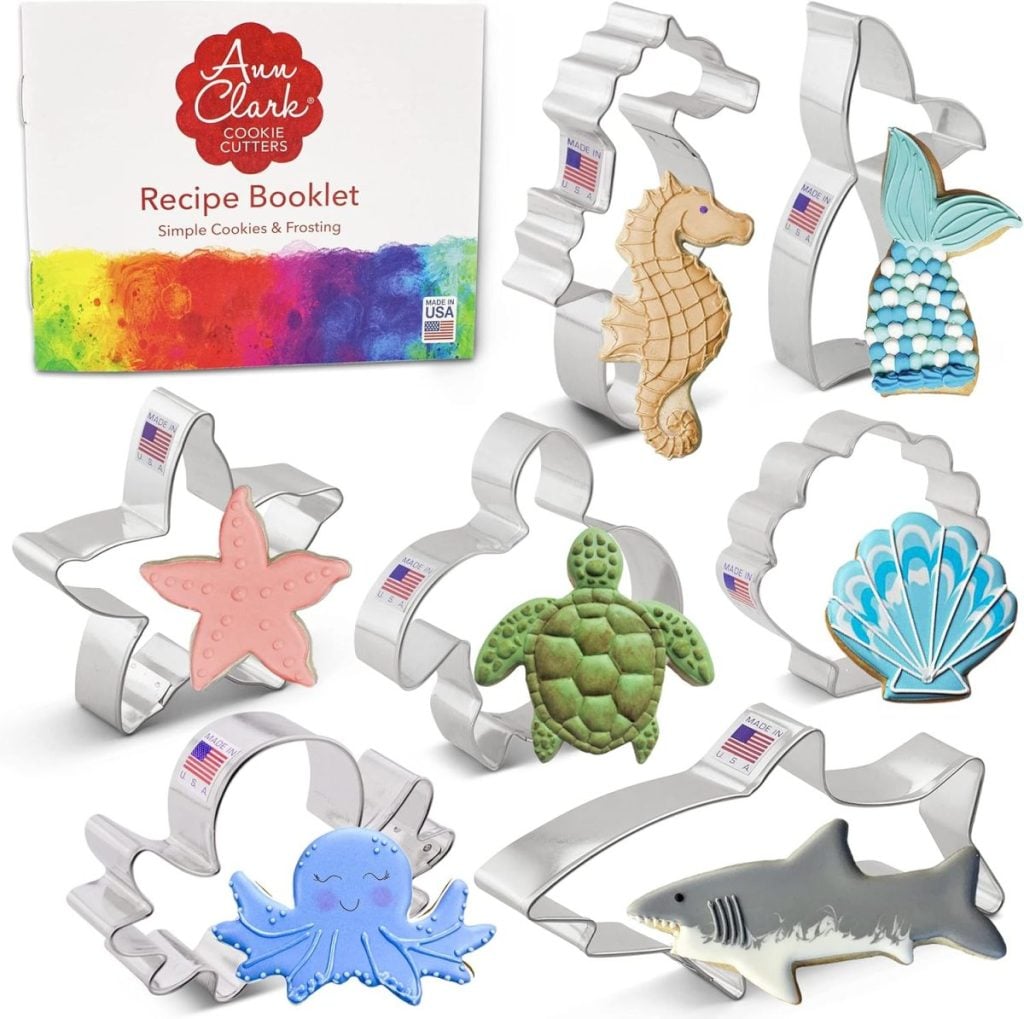
- Shell and starfish cookie cutters
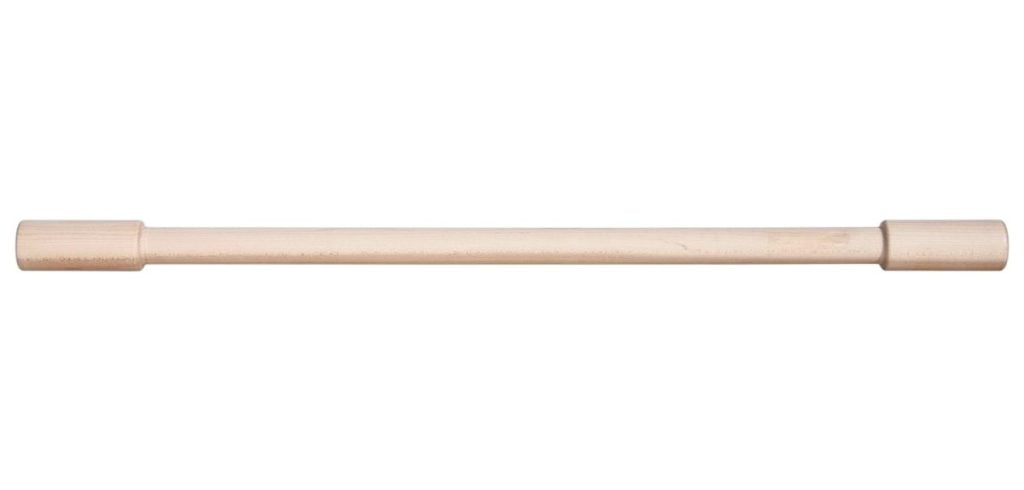
- Rolling pin
- Fine sandpaper (optional for smoothing edges)
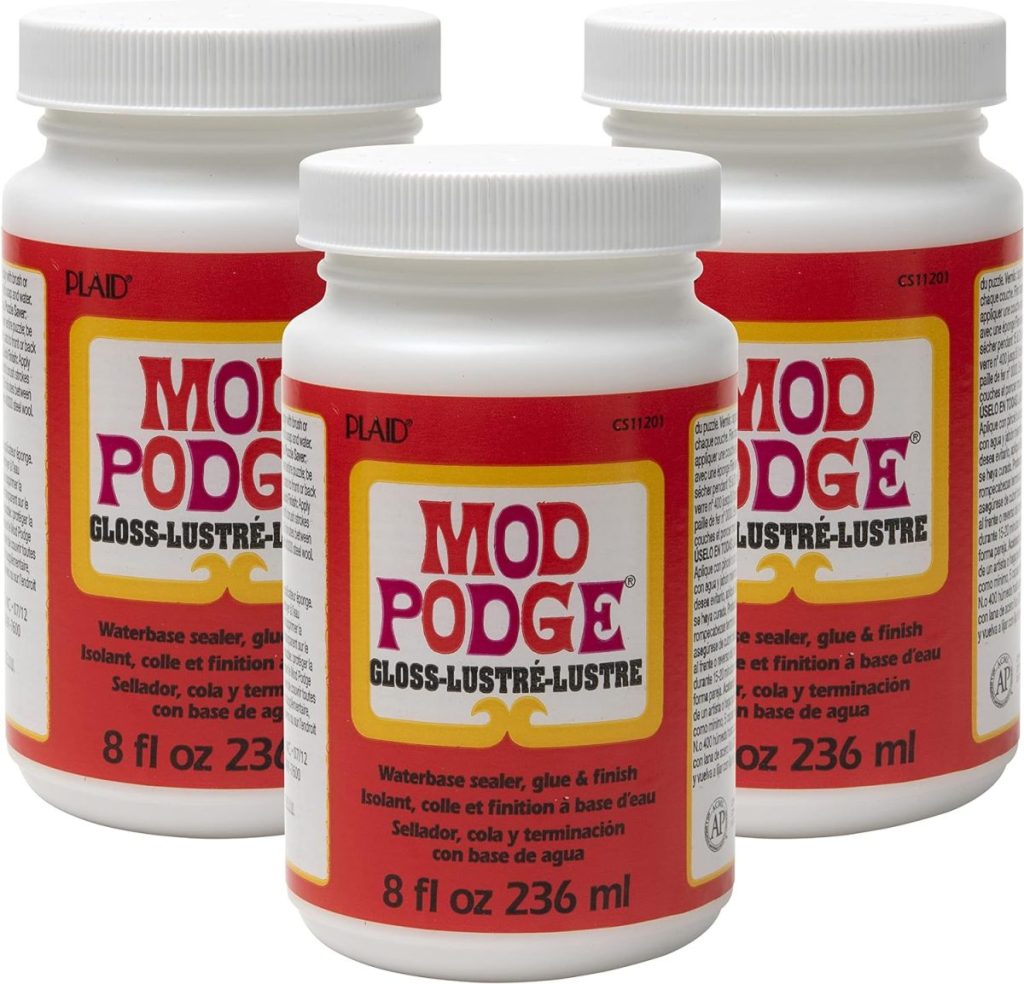
- Modge Podge (glossy)
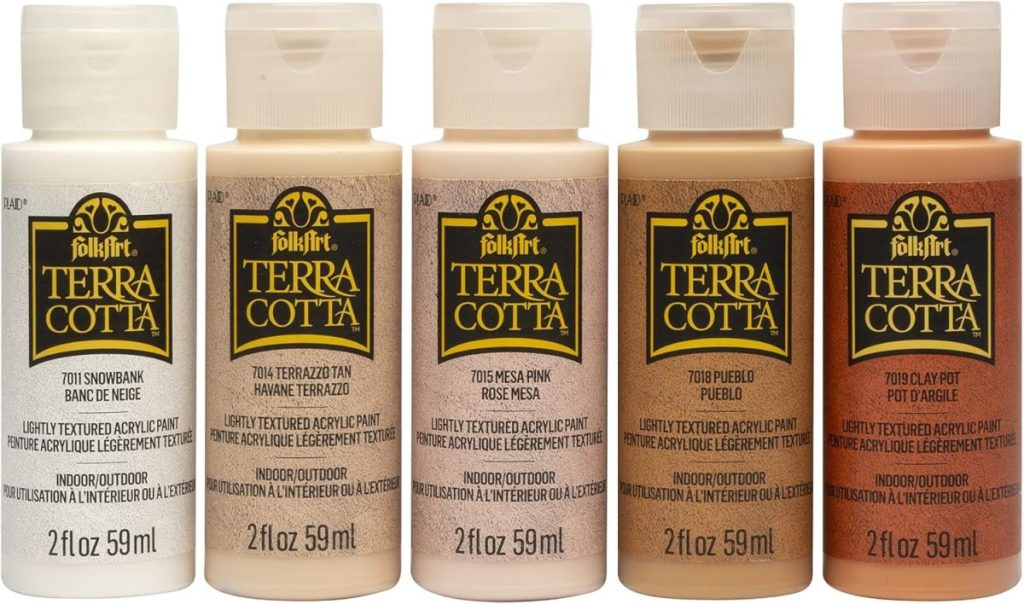
- Acrylic paint in a warm tan color
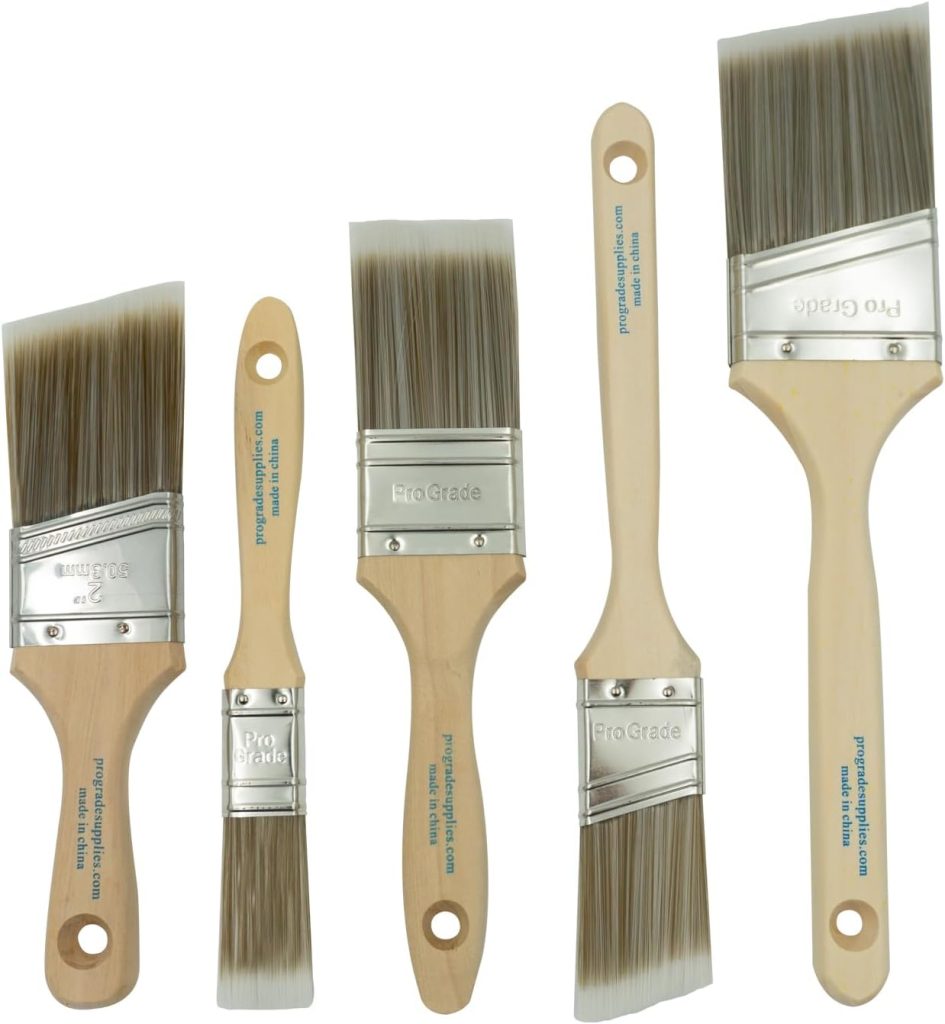
- Soft brush for painting
- Skewer or straw for making a hole
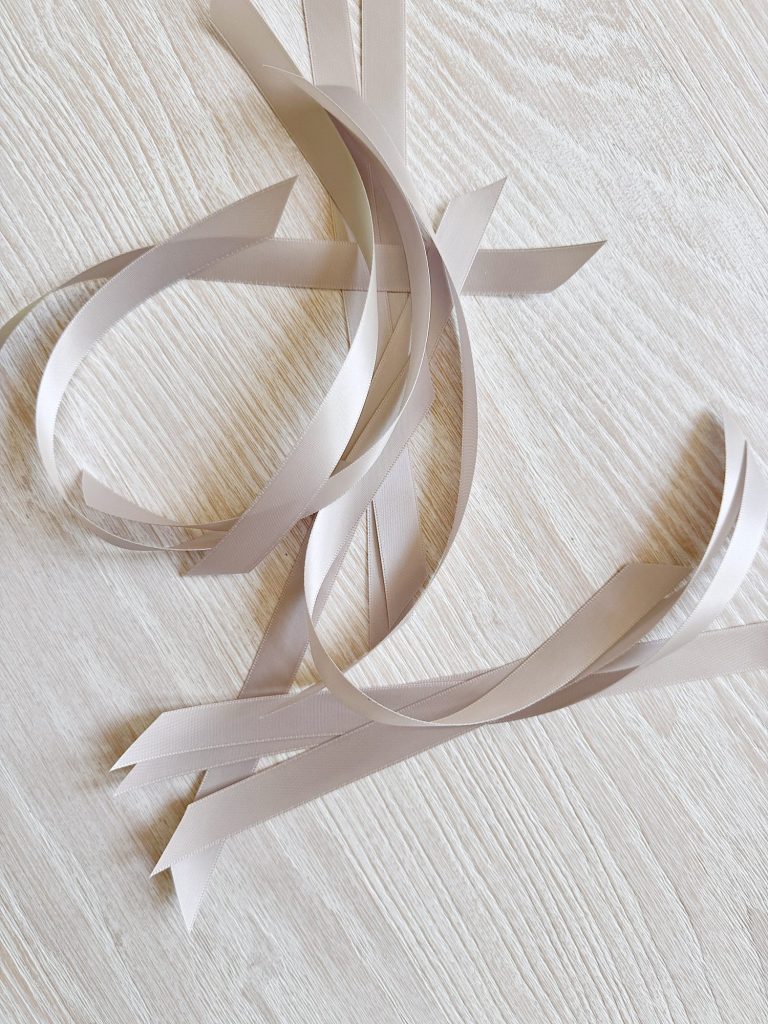
- Satin ribbon (6–8″ per place card)
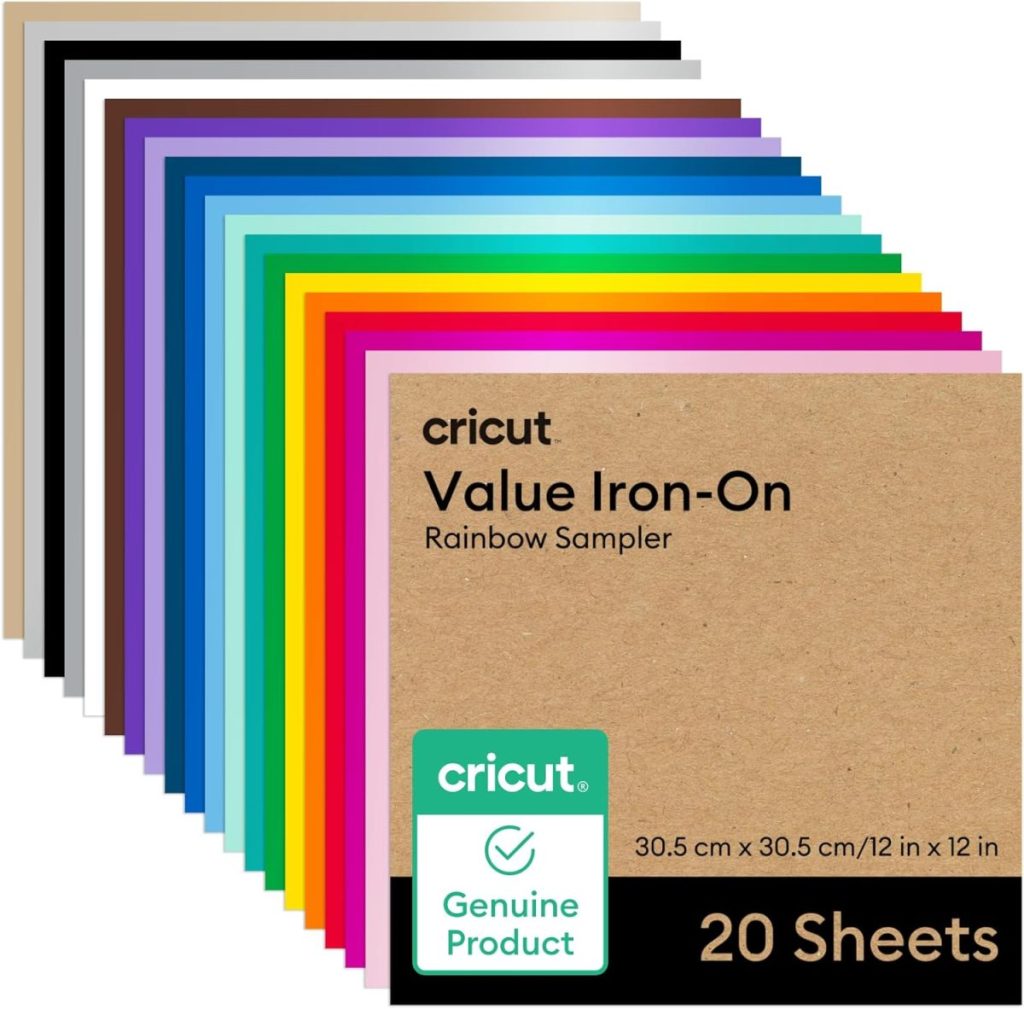
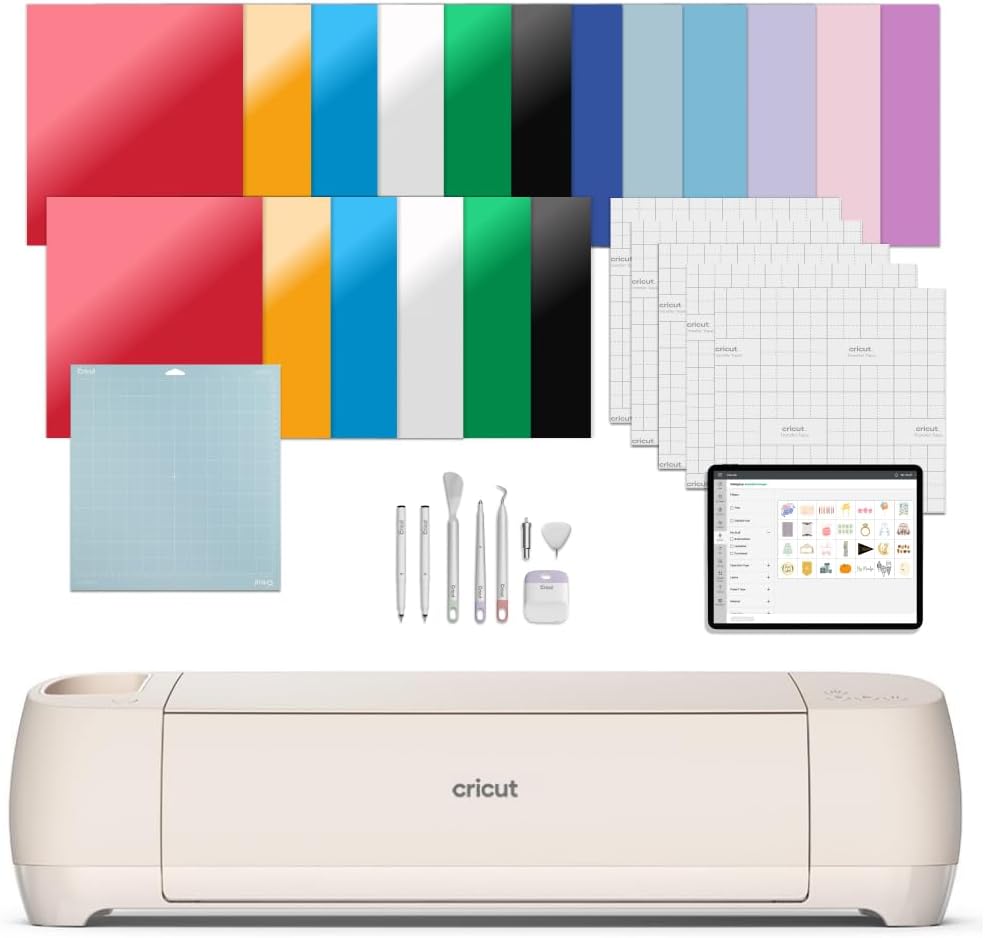
- Heat transfer vinyl (HTV) in white or a color that contrasts with your ribbon
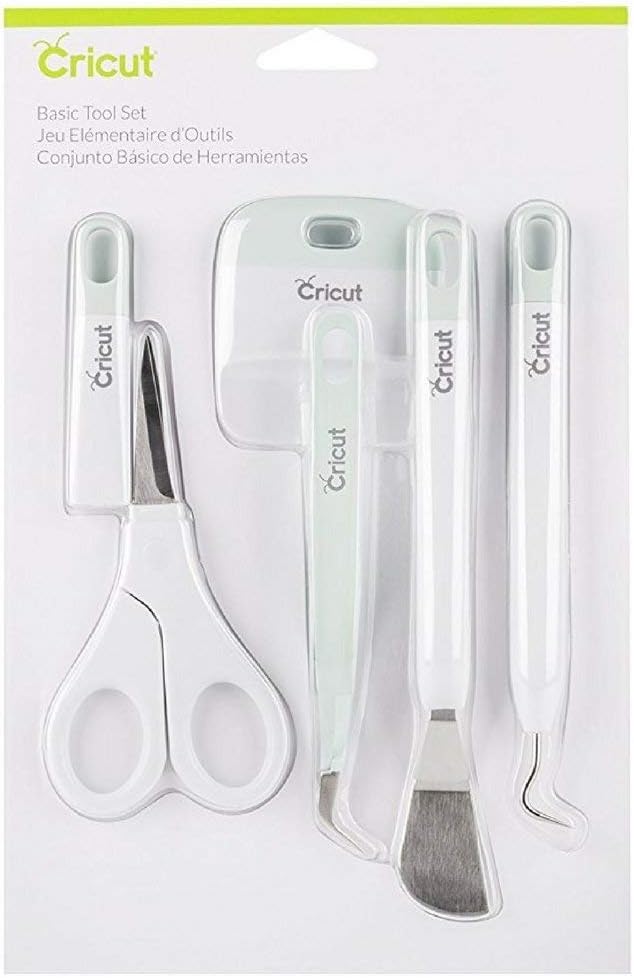
- Cricut or other cutting machine
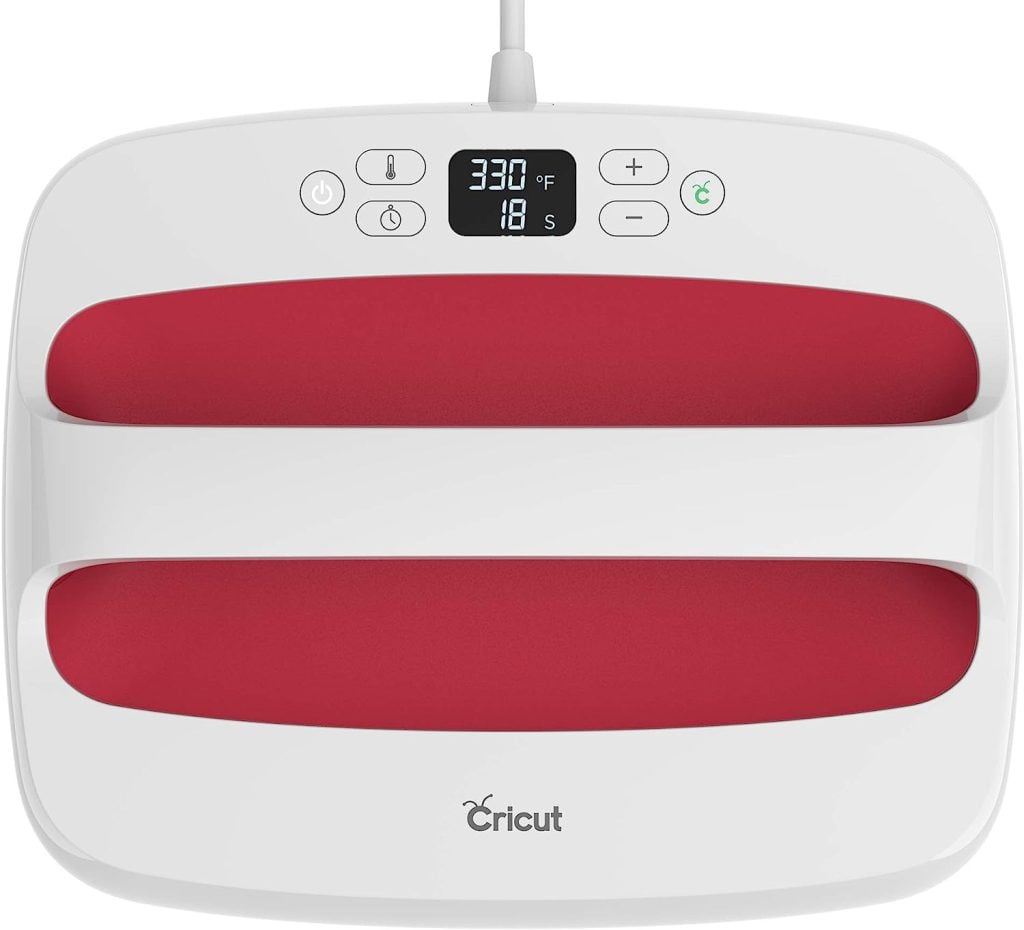
- Iron or heat press


Instructions:
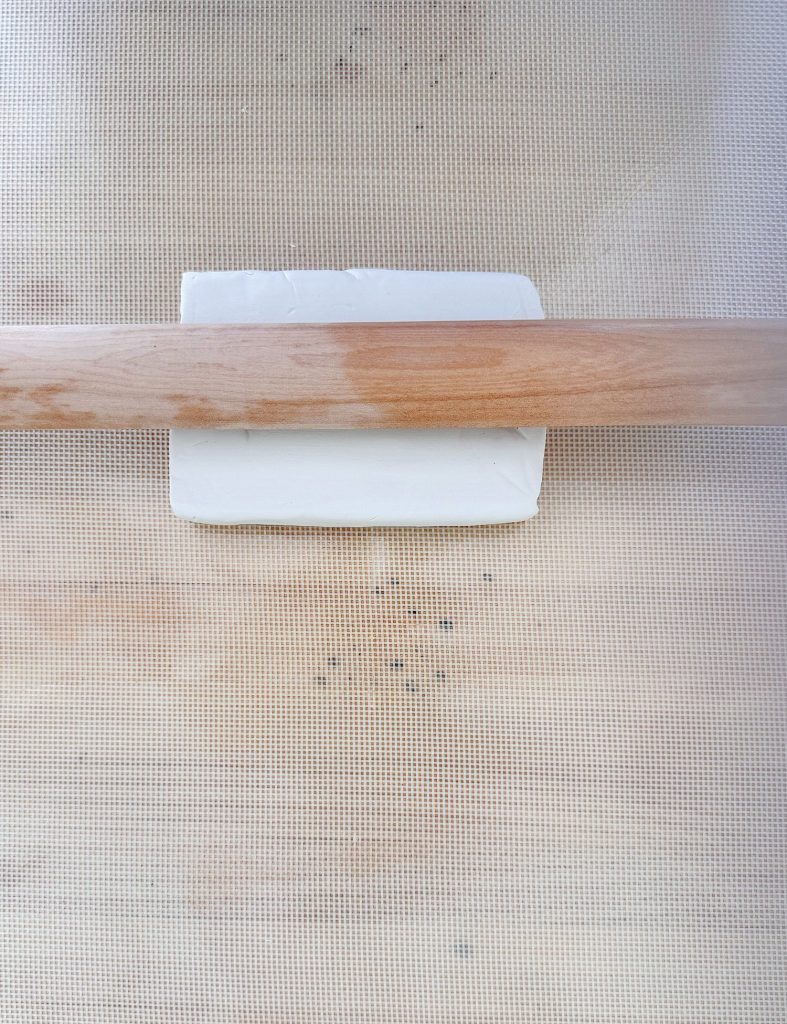
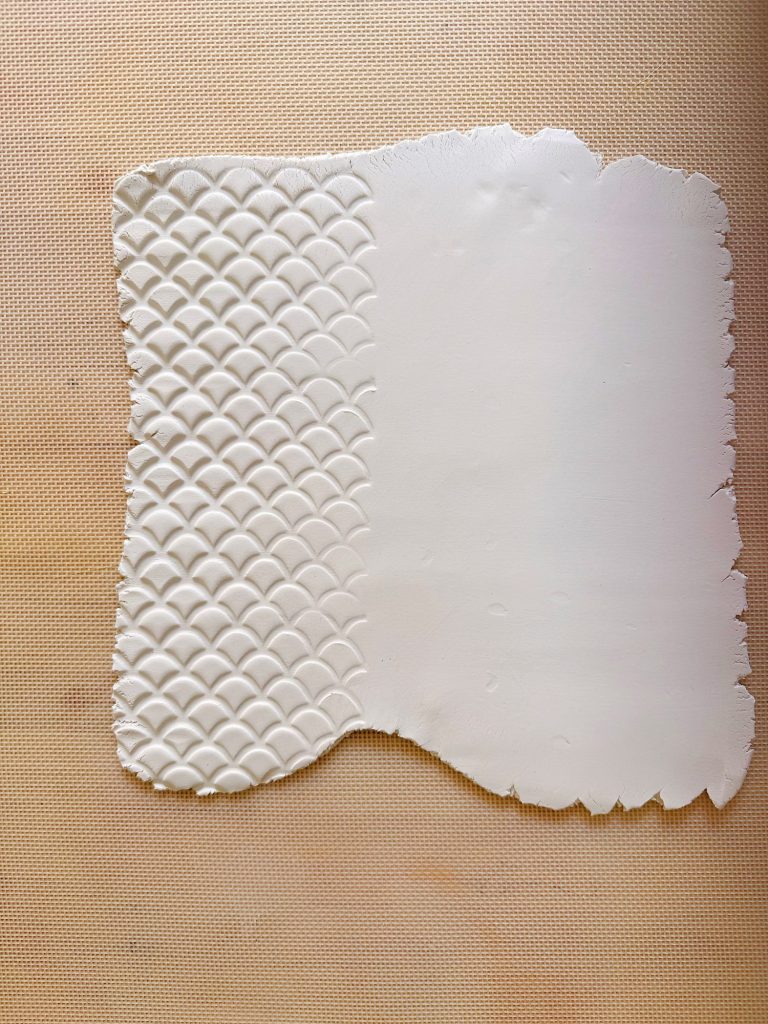
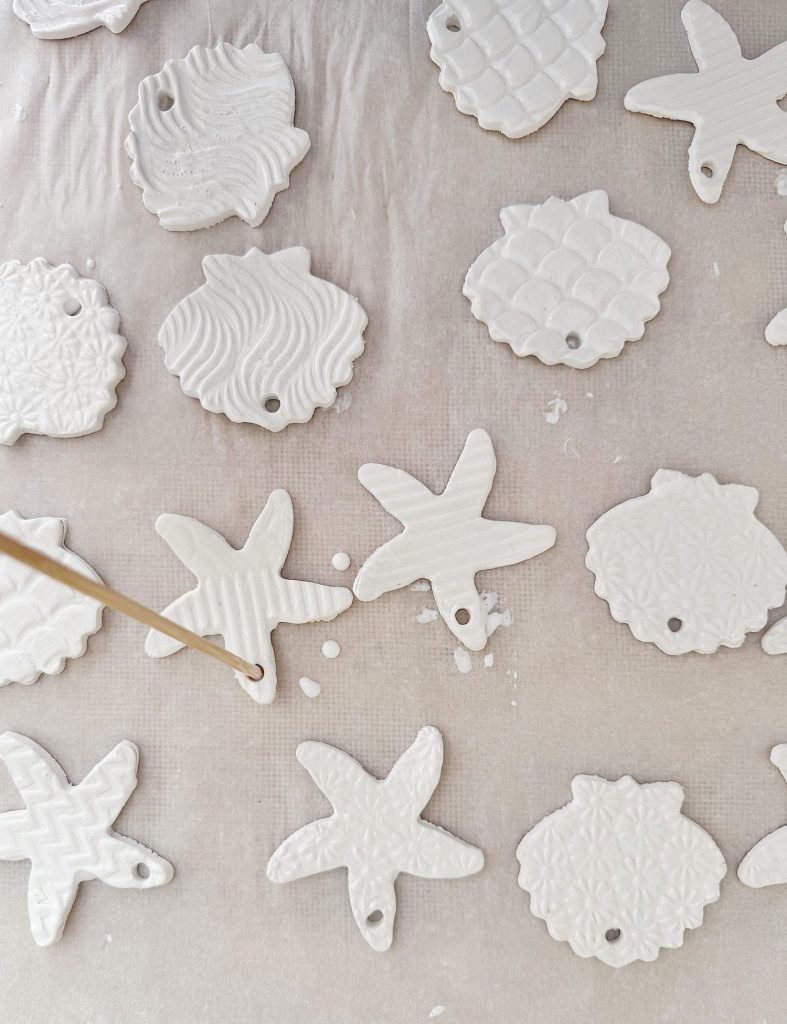
Start by rolling out your air dry clay to about 1/4-inch thickness on a smooth, non-stick surface. Add texture with clay rollers.
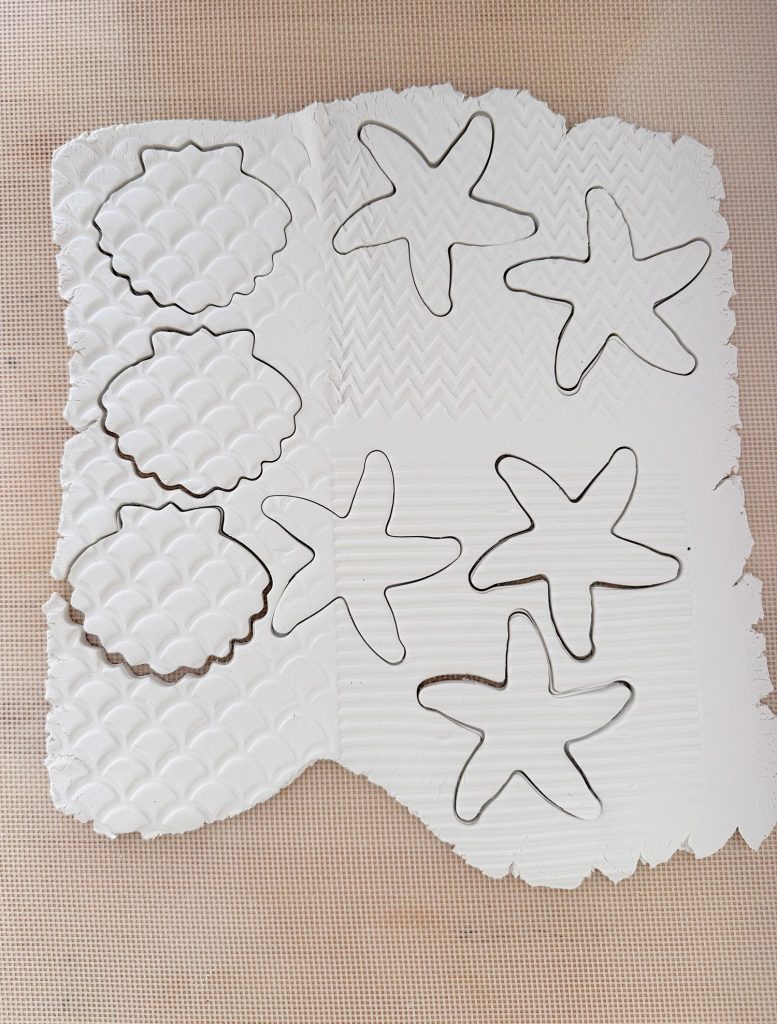
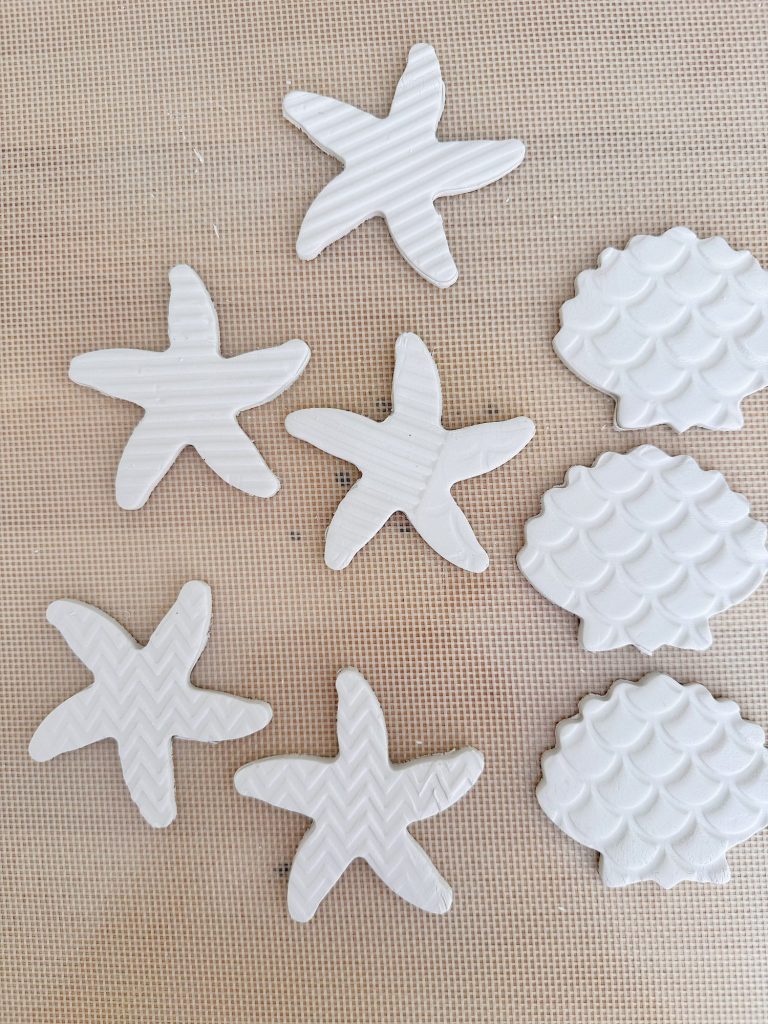
Use shell and starfish-shaped cookie cutters to cut out your desired shapes. Carefully lift each shape and place it on parchment paper.
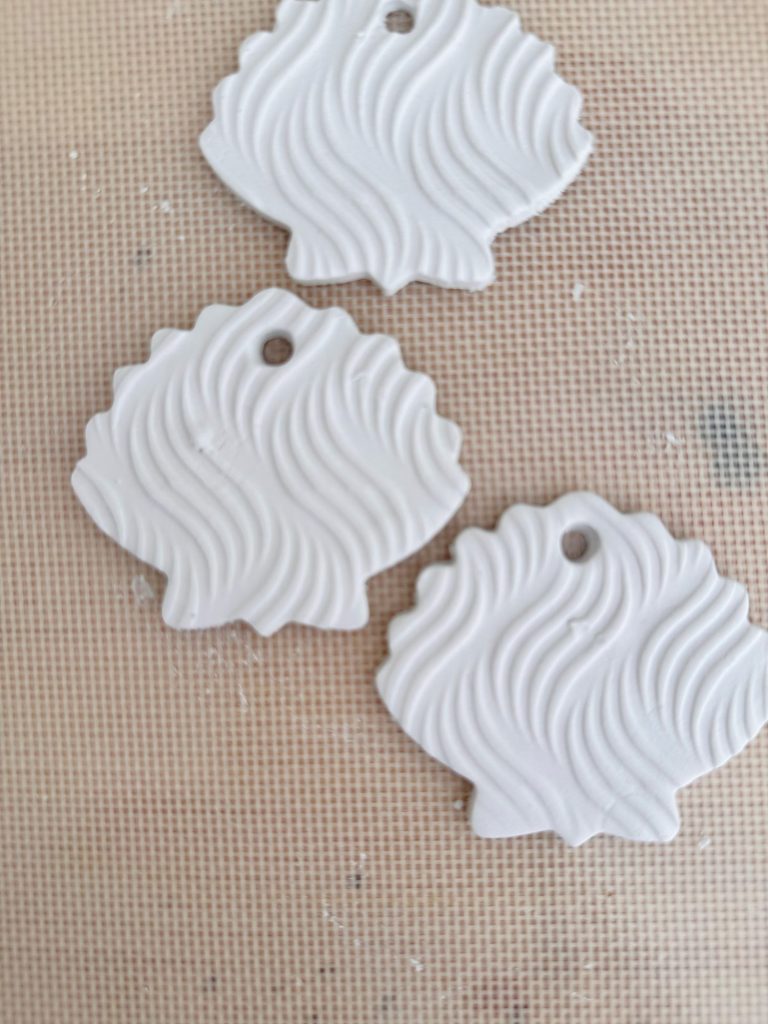

While the clay is still soft, use a skewer or straw to poke a small hole near the top of each piece. This is where the ribbon will go once they’re finished.
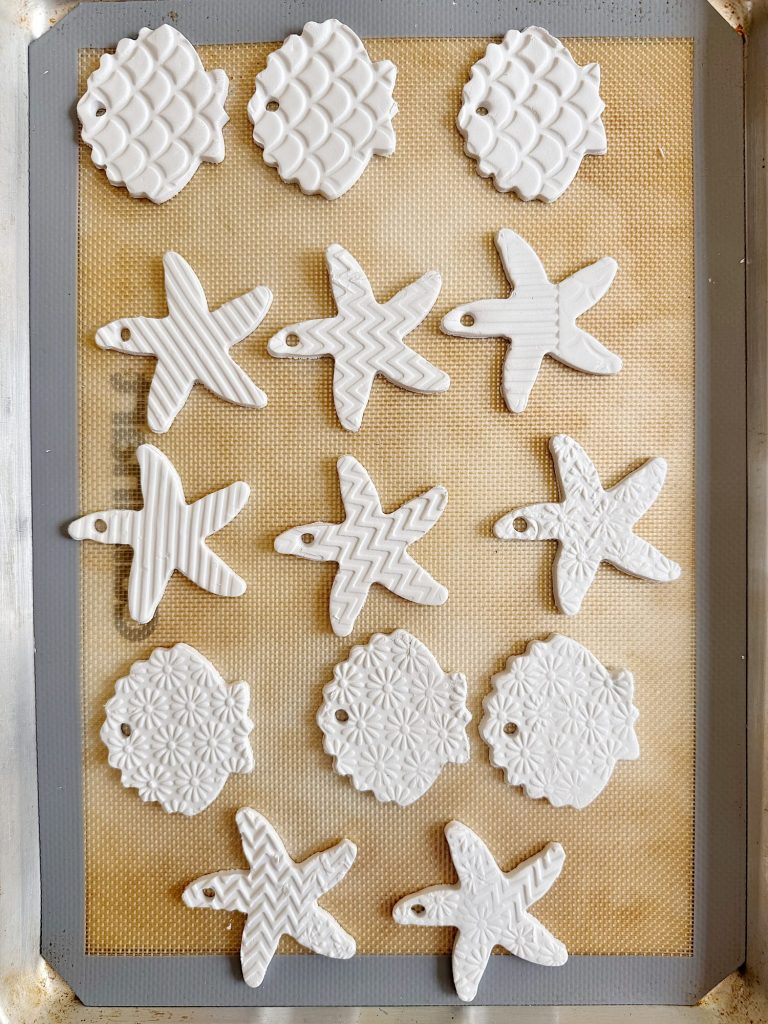
Place the pieces on a cookie sheet and bake in the oven at 250°F for 30 minutes. Flip the pieces halfway through drying to keep them from curling. Once dry, lightly sand any rough edges with fine sandpaper if needed. Let cool.
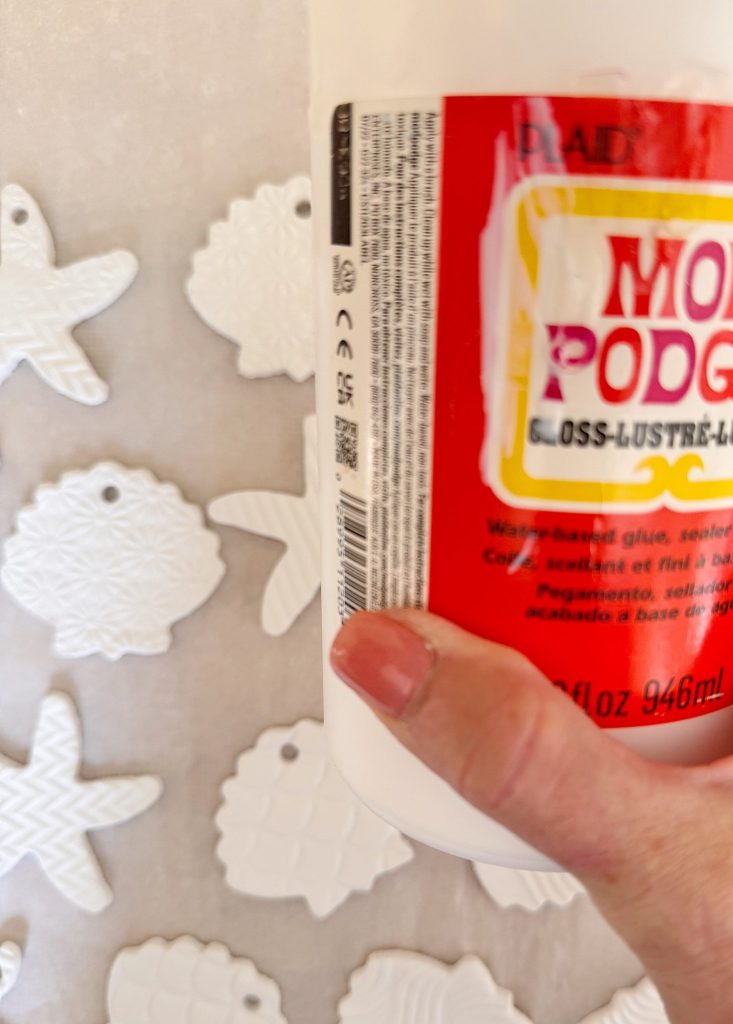
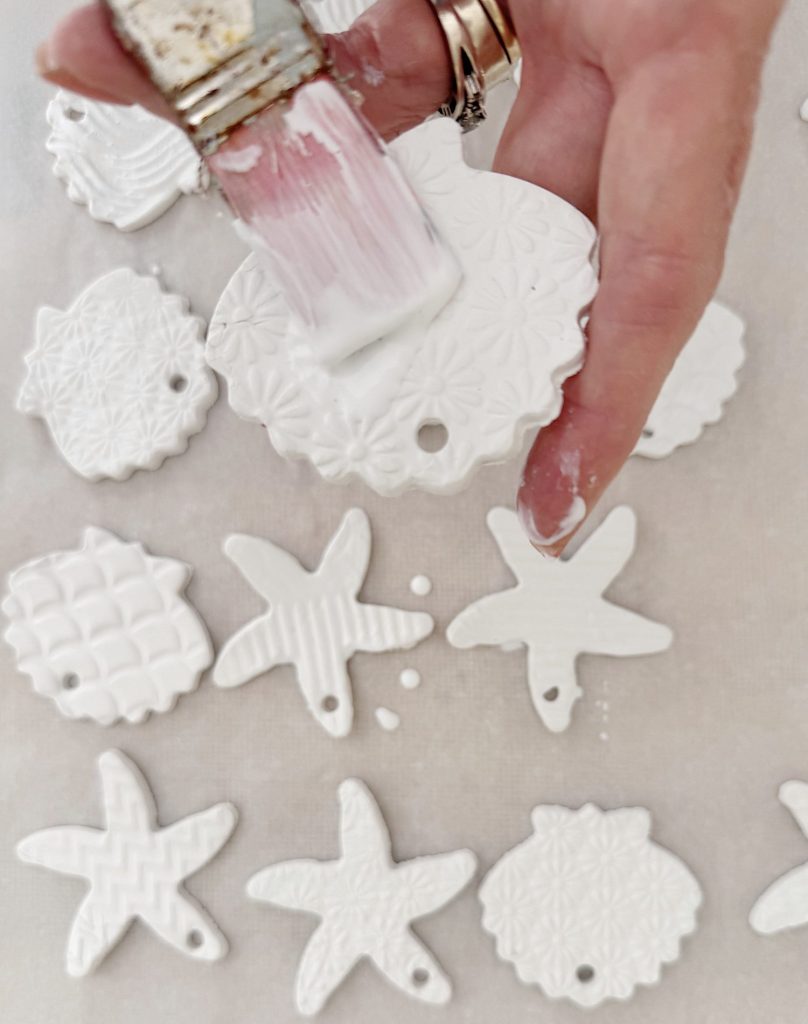
Paint the top of each piece with Mod Podge, ensuring that the holes in the shells are not filled with the Mod Podge. This will allow for a lighter paint covering, making the finished shells resemble pottery more closely.
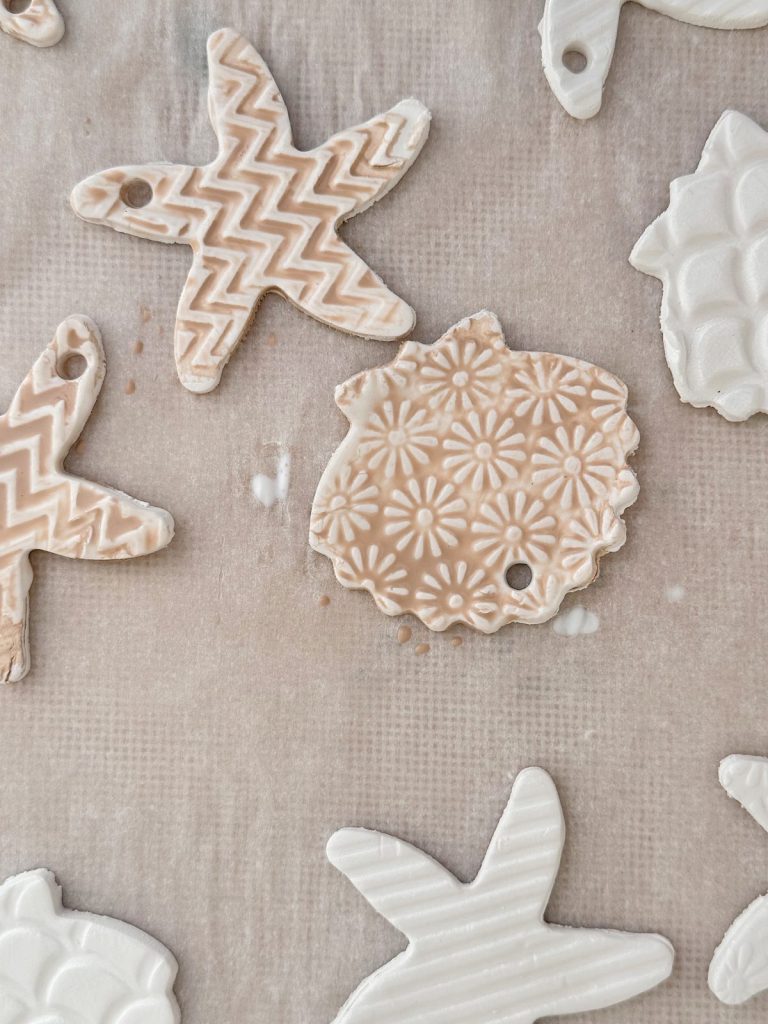
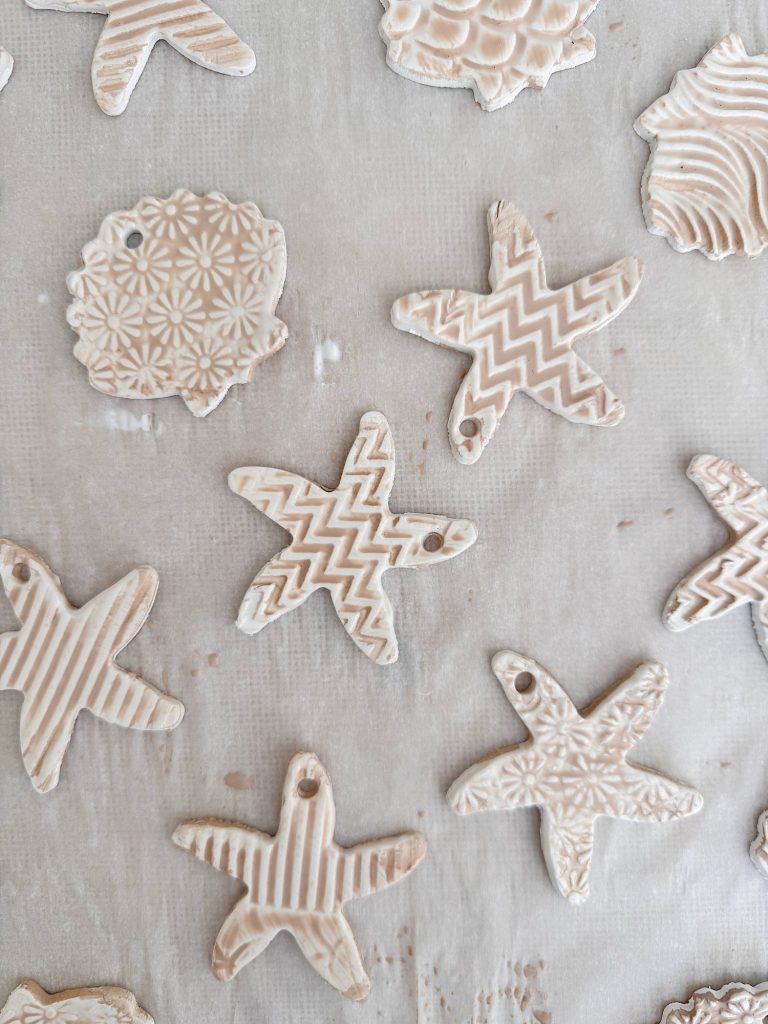
Then, paint each piece with a warm tan acrylic paint to give them a sun-kissed, beachy finish. Let them dry completely.
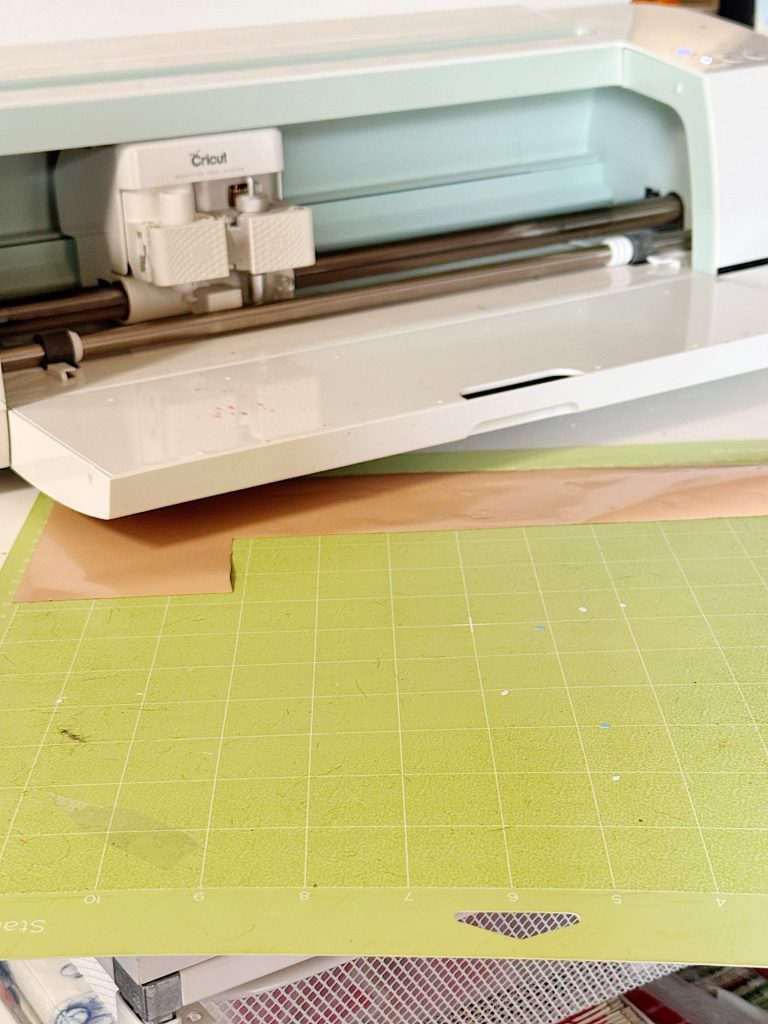
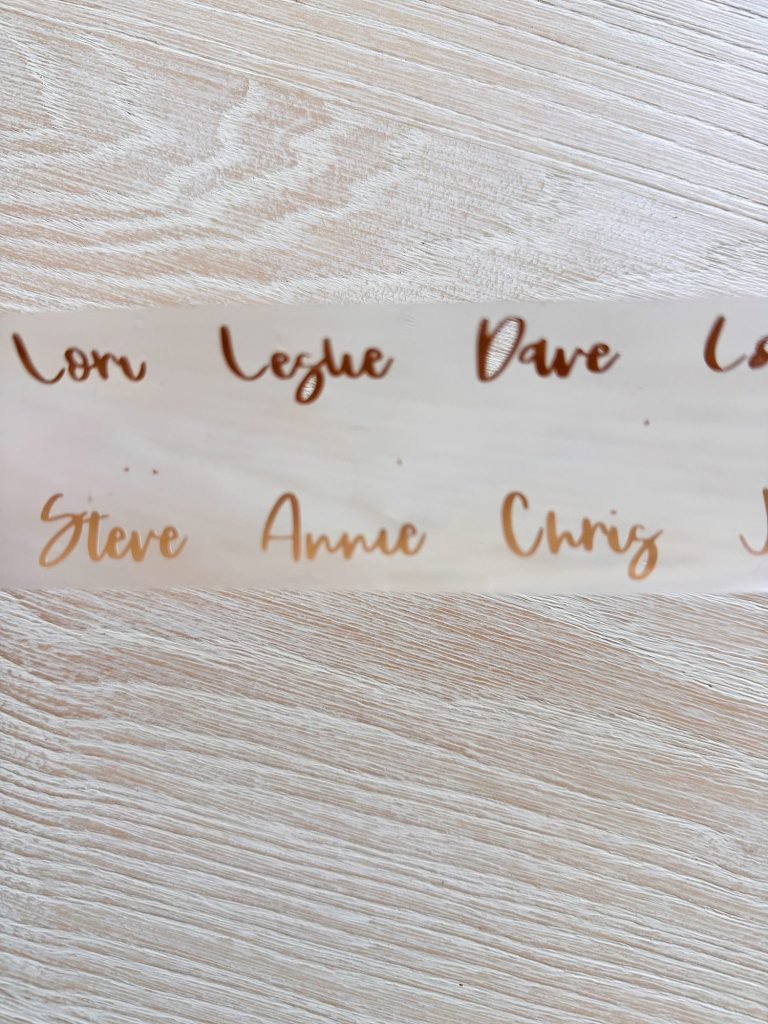

While your clay shapes are drying, cut out your guests’ names on heat transfer vinyl using a Cricut or similar machine. Cut your satin ribbon into 6–8 inch strips and iron or press the names onto the end of each ribbon.
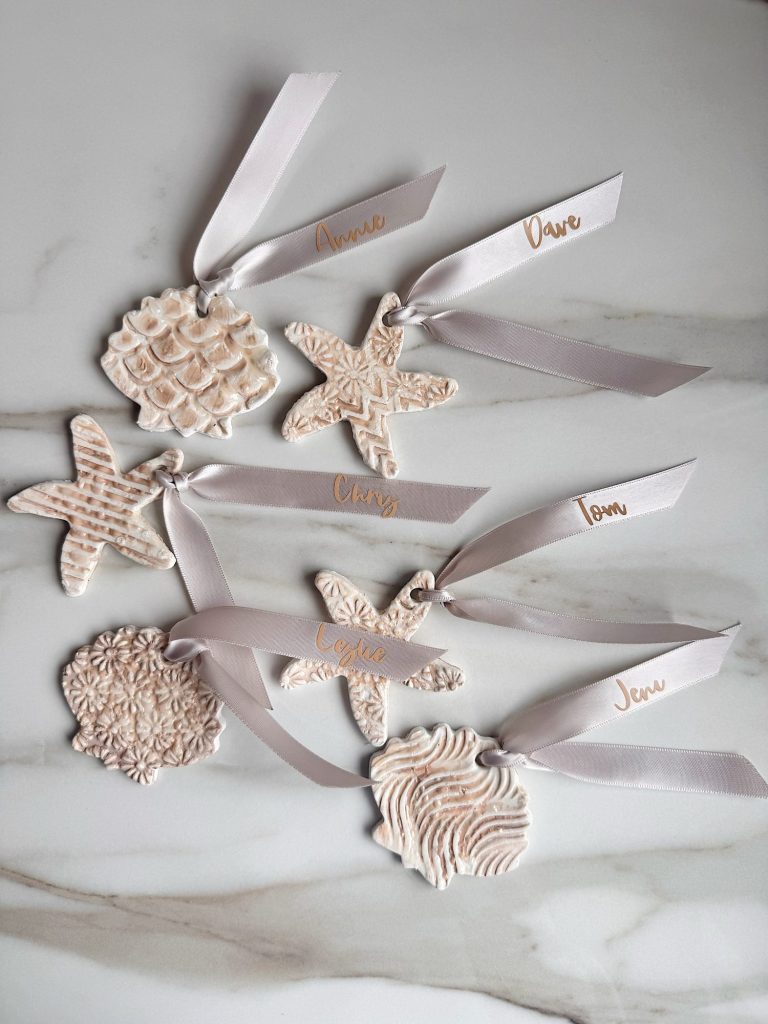
Once the clay pieces are completely dry, thread the ribbon through the holes and tie into a small knot or bow.
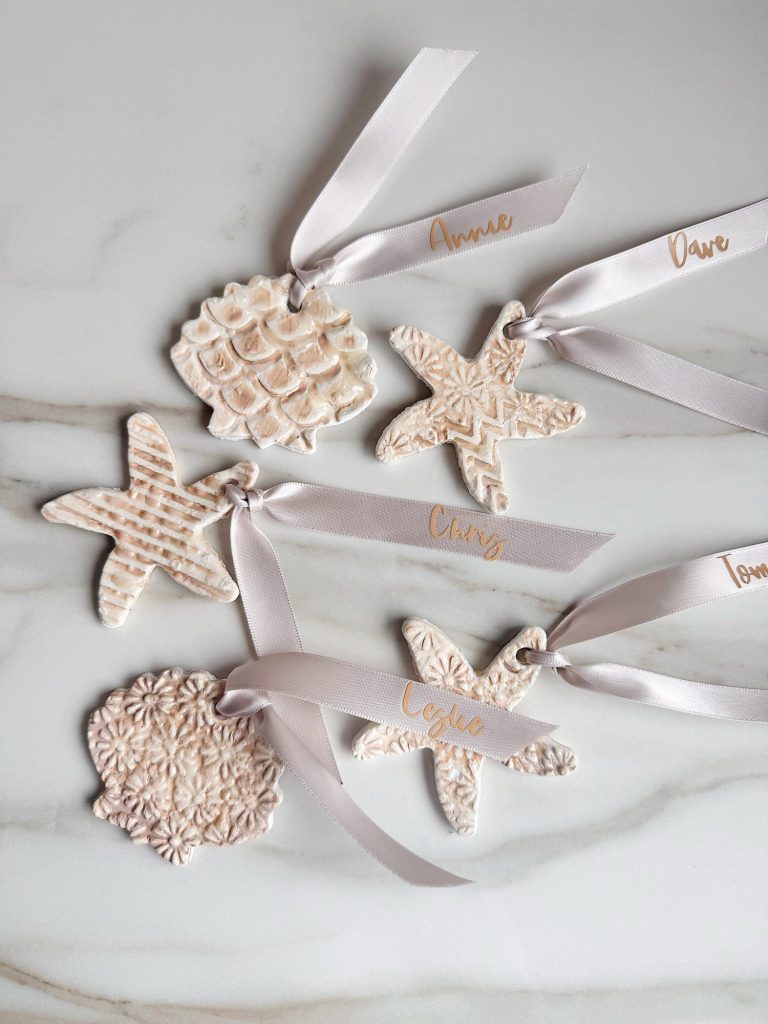
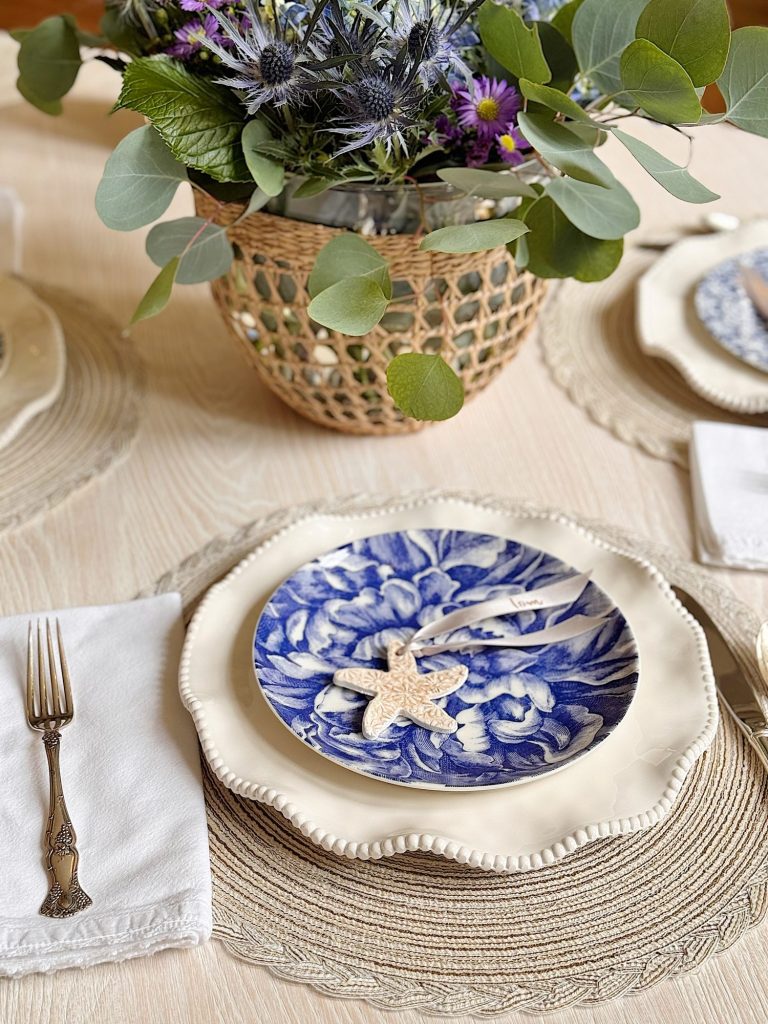
The finished place cards looked so charming laid across each napkin. Guests loved the personal touch and several took theirs home as a keepsake from the evening. The soft sandy hue of the clay, the gentle shimmer of satin ribbon, and the ocean-inspired shapes created the perfect finishing touch for our coastal table. The soft tan and white color palette blended beautifully with the natural beachy tones of the table.
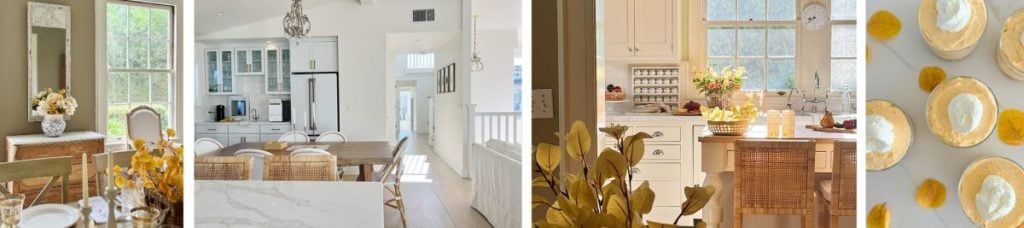
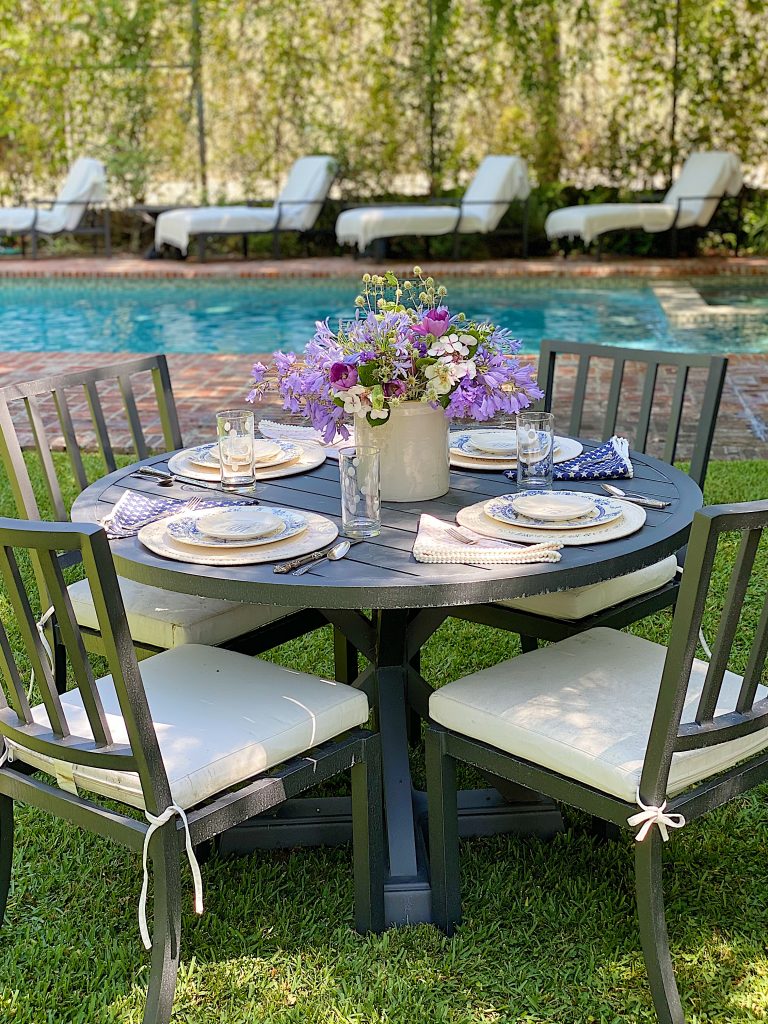
Creating a Coastal-Inspired Table
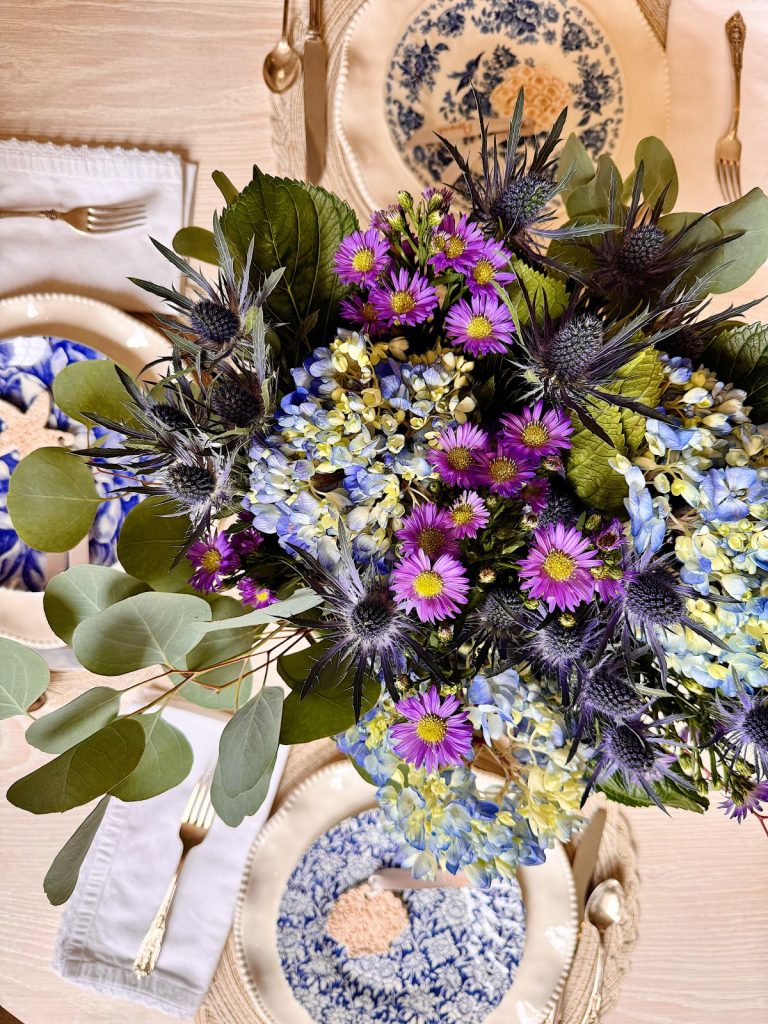
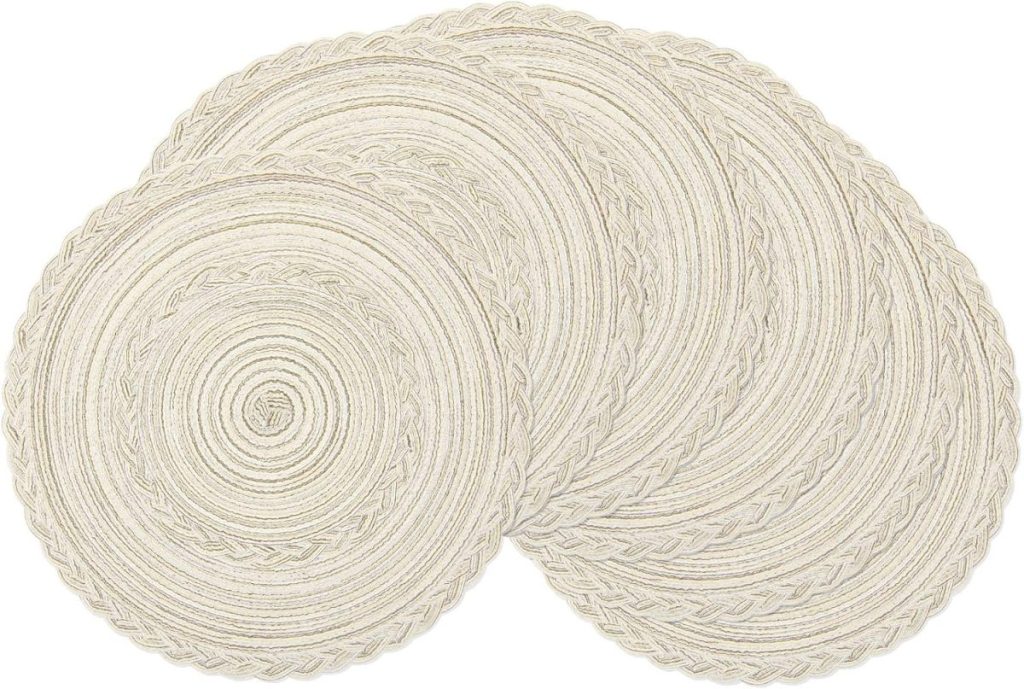
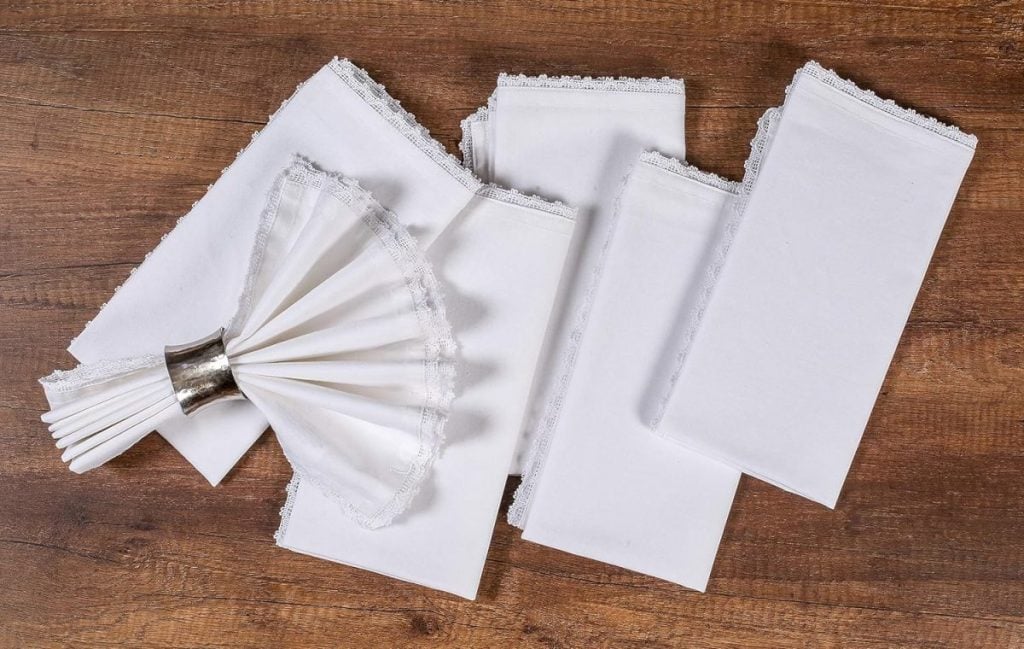
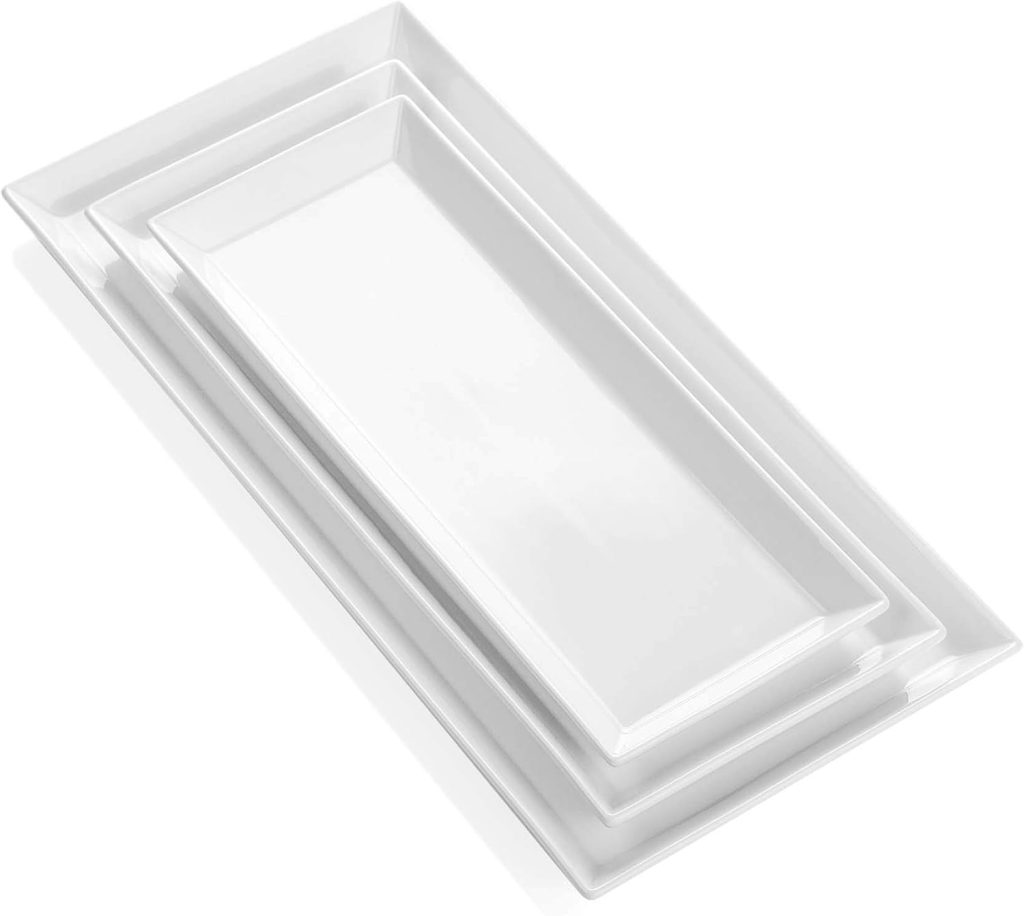
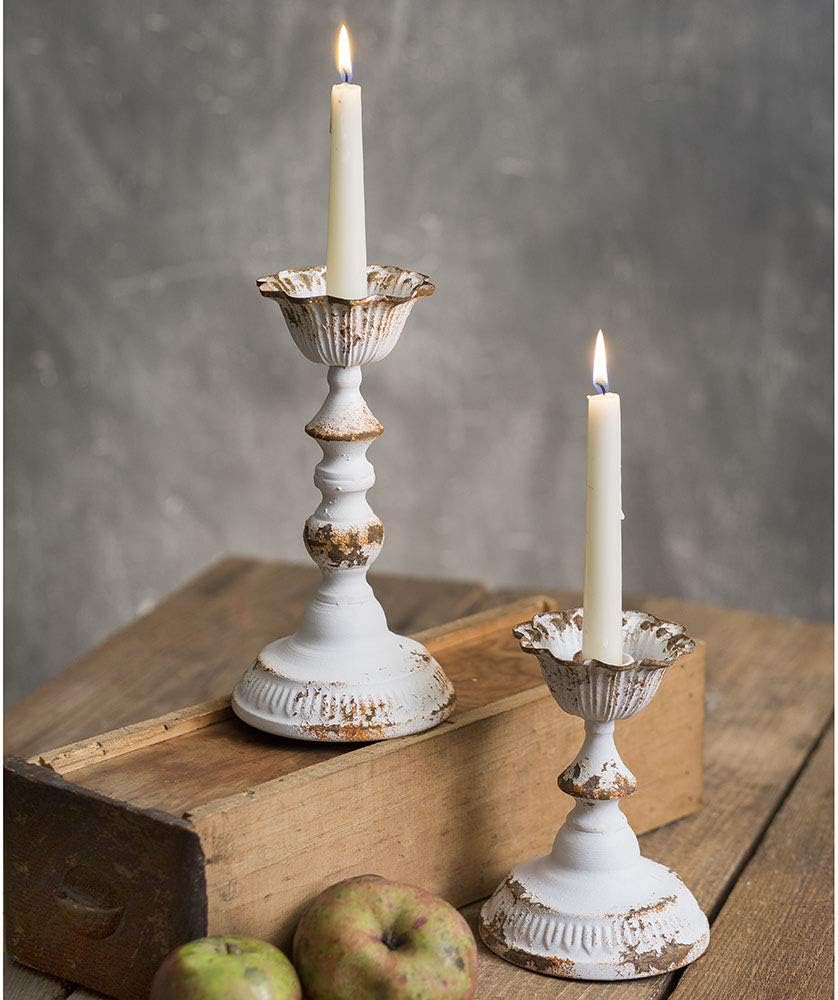
The table was set with layers of texture and warm summer tones. I used natural fiber placemats, white and sand-colored linens, and a mix of wood and ceramic serving pieces. Fresh greenery, soft candlelight, and a few scattered seashells brought the coastal vibe to life.
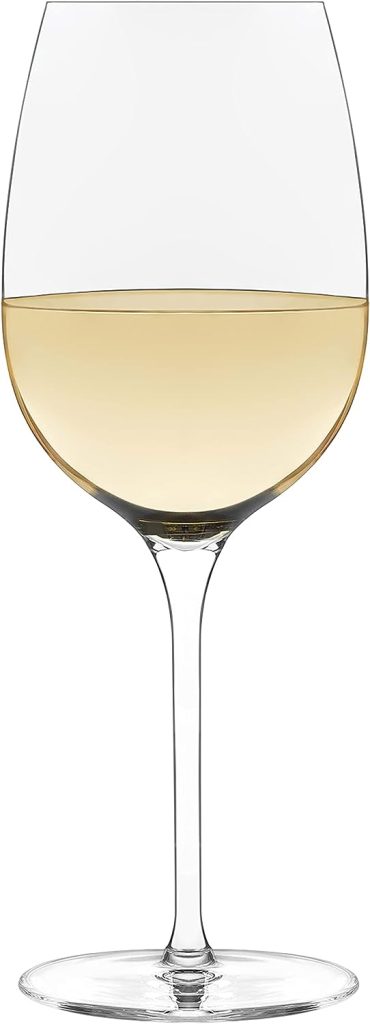
Guests sipped wine, shared stories, and raved about the flavors of the meal and the beauty of the setup.
A Night to Remember
What made this evening so magical wasn’t just the beautiful table or the delicious food—it was the sense of connection. After more than three decades together, our dinner club group still feels like family. We’ve celebrated birthdays, anniversaries, graduations, and everything in between. These summer evenings give us a moment to pause, reflect, and enjoy each other’s company.
And of course, walking from one home to the next along the palm-lined streets of Hermosa Beach made everything feel like a movie.
Summer Entertaining Tips
If you’re thinking of planning your own summer dinner party or progressive dinner, here are a few of my go-to tips:
- Prep ahead: Choose dishes that can be partially or fully prepared in advance so you can be present with your guests.
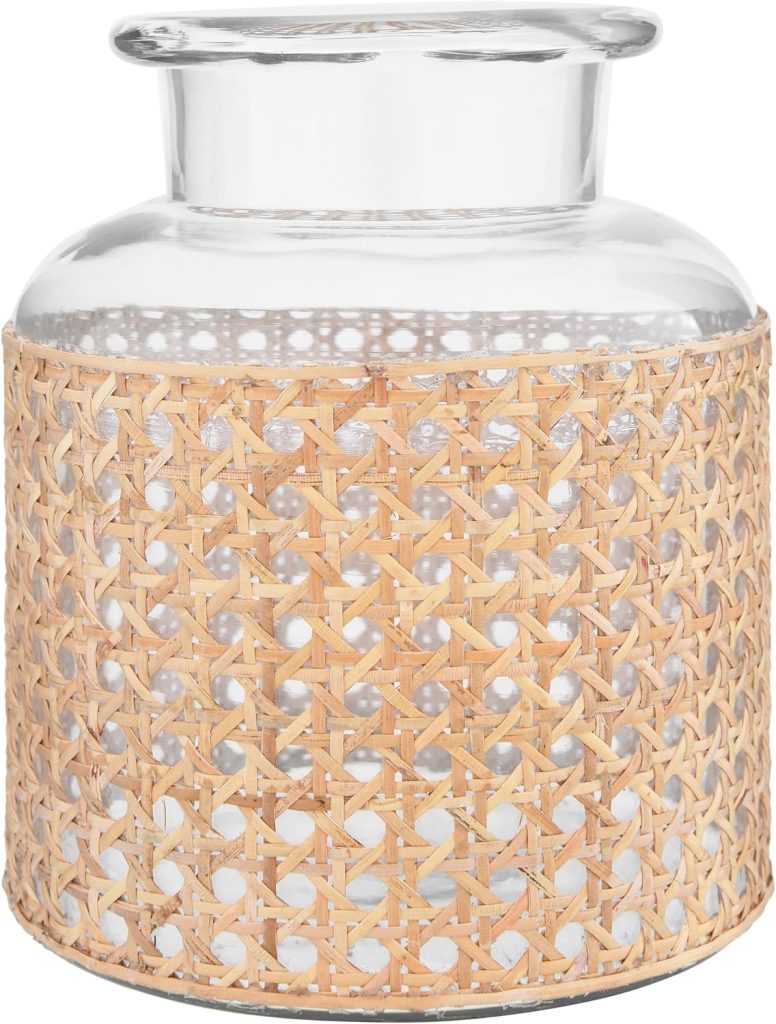
- Layer your table: Use different textures like rattan, linen, ceramic, and glass to create visual interest.
- Add a personal touch: Handmade place cards or small favors make guests feel special.
- Keep drinks flowing: Set up a self-serve drink station so everyone can refill without waiting.
- Lean into the season: Use seasonal produce and colors to bring your table to life.
- Collaborate: If you’re doing a progressive dinner, assign courses to different homes—it spreads out the effort and adds to the fun.
Looking Ahead
This summer dinner was one for the books, and I can’t wait to host again soon. Whether it’s another beachside gathering or a backyard feast, summer entertaining is all about creating memories, embracing the season, and sharing it with the people you love.
If you’re inspired to try your hand at beach-themed DIY place cards or host your own summer dinner, I hope this post gives you all the ideas and encouragement you need.
Until next time, cheers to warm nights, creative touches, and friendships that last a lifetime.
If you enjoy my blog, you can sign up to receive my updates here.
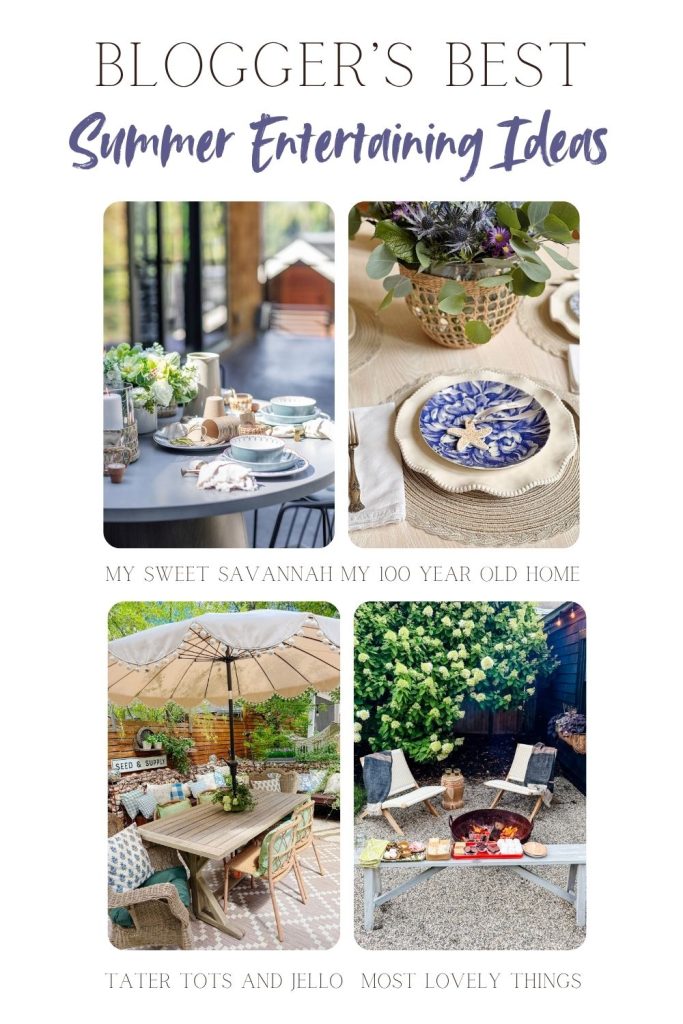
.Blogger’s Best Summer Entertaining
More summer entertaining ideas from my blogging friends.
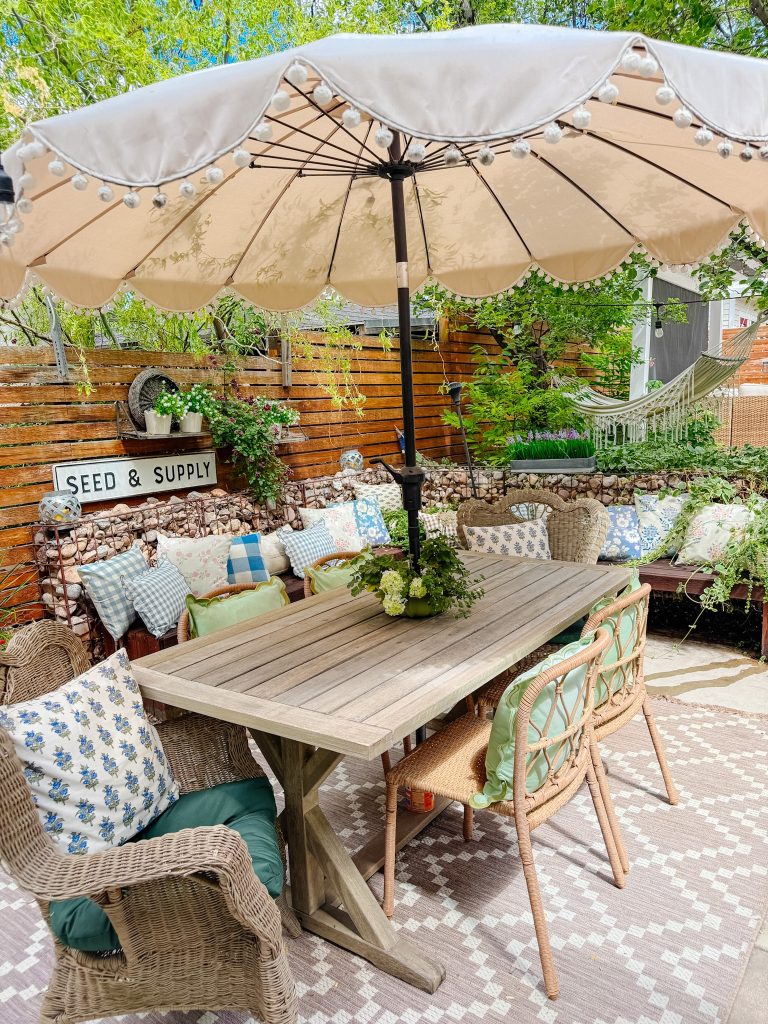
Small Patio Entertaining: How to Create a Cozy Conversation Area on a Budget | Tatertots And Jello
Transforming a small patio into an inviting space for entertaining doesn’t have to cost a fortune! You can build a simple corner banquette using inexpensive lumber from the hardware store, creating a stylish and functional seating area perfect for gatherings. To make it feel extra cozy, layer block-print pillows and soft cushions, turning your small space into a warm, welcoming conversation nook.
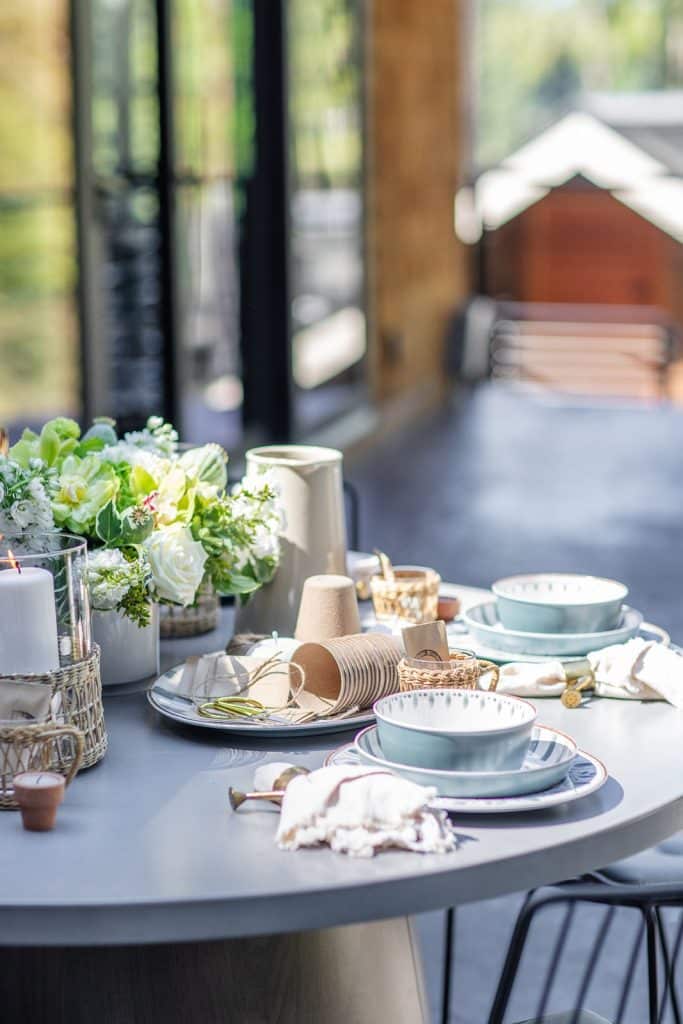
Garden Inspired Outdoor Table Setting | My Sweet Savannah
A relaxed summer table layered with charm—this garden inspired outdoor table setting combines thrifted treasures, floral centerpiece magic, and a simple DIY seed-packet activity guests will love. With a mix of budget-friendly finds and natural textures, it’s the perfect setup for your next backyard gathering.
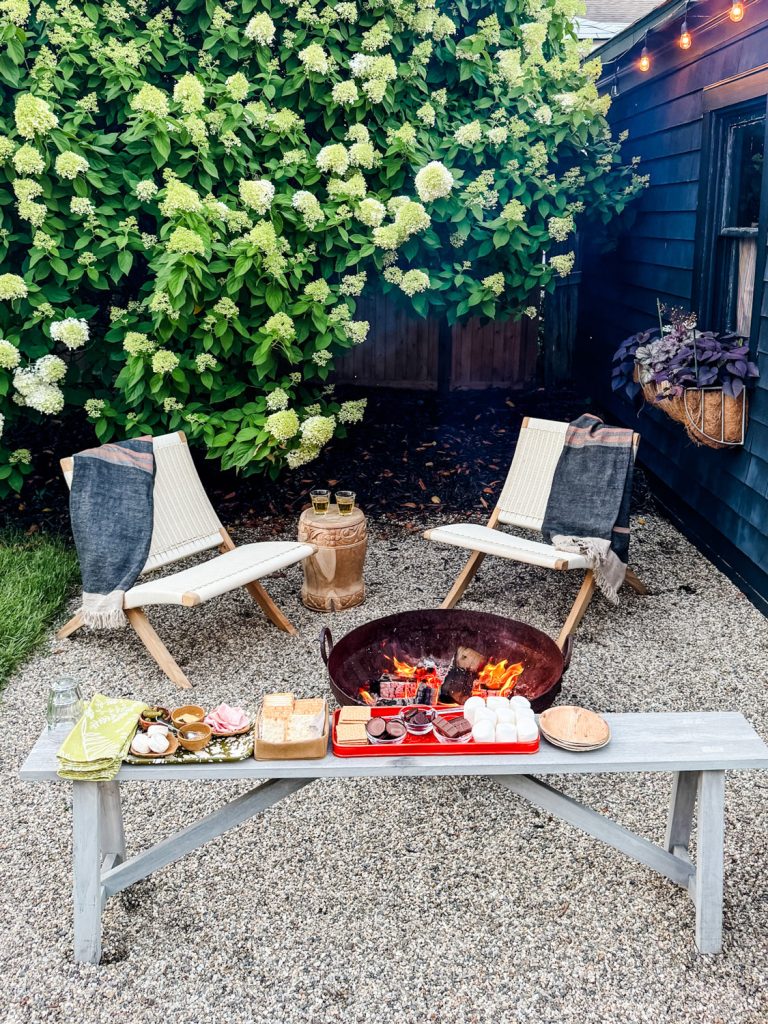
Sweet & Savory S’mores Around a Fire Pit | Most Lovely Things
Summer entertaining with sweet & savory s’mores in the backyard.
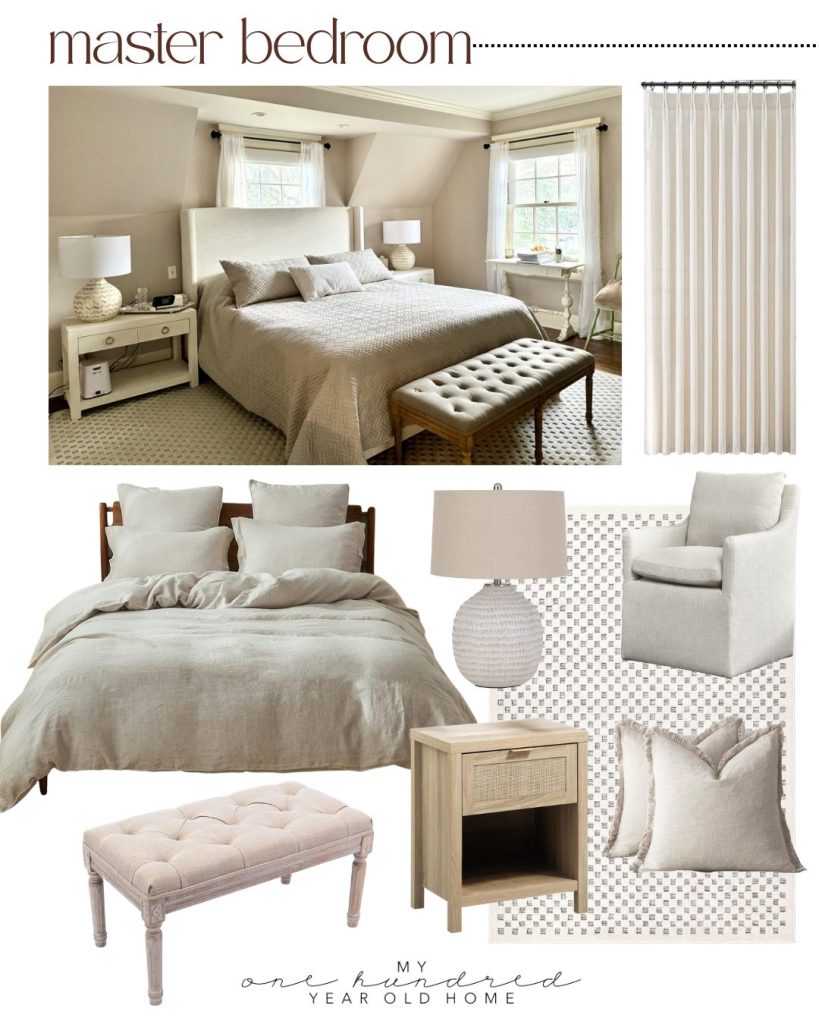
Shop My Master Bedroom Decor
Latest Posts
-
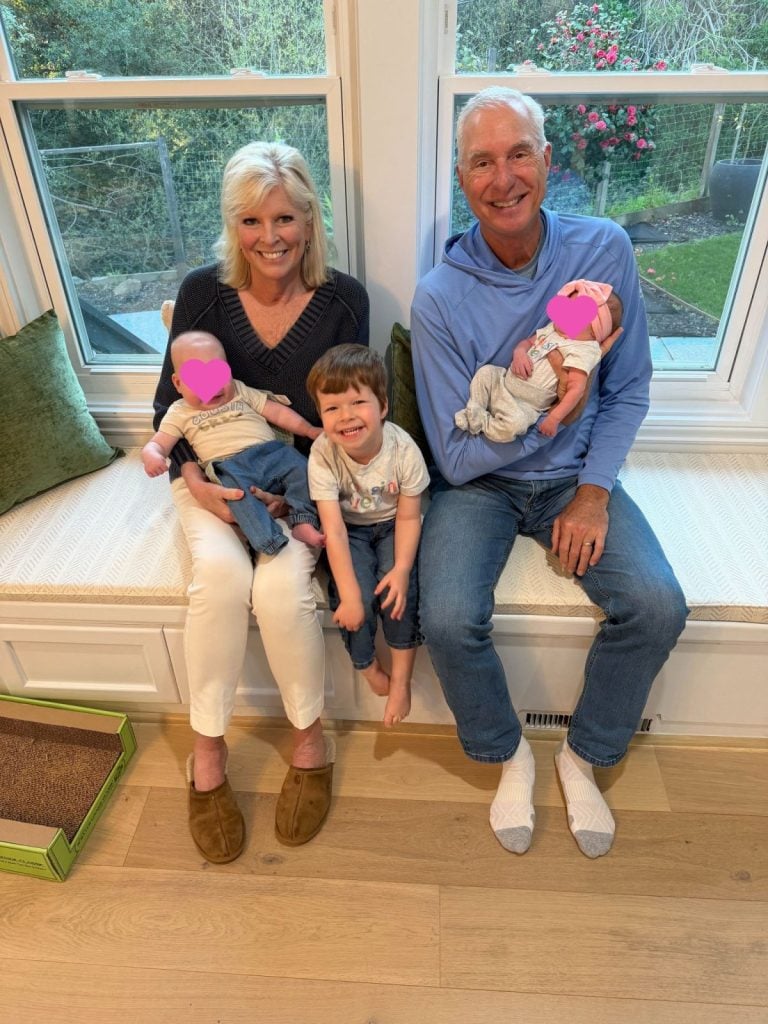
A Joyous Spring and Sunday Morning Coffee
This week has been a whirlwind of travel, family time, and some very fun surprises. What a joyous Spring it has been! We spent a few wonderful days in Marin County with our kids and THREE grandkids, then Dave and I headed to Indian Wells to meet Matt and Polina for an incredible weekend at…
-
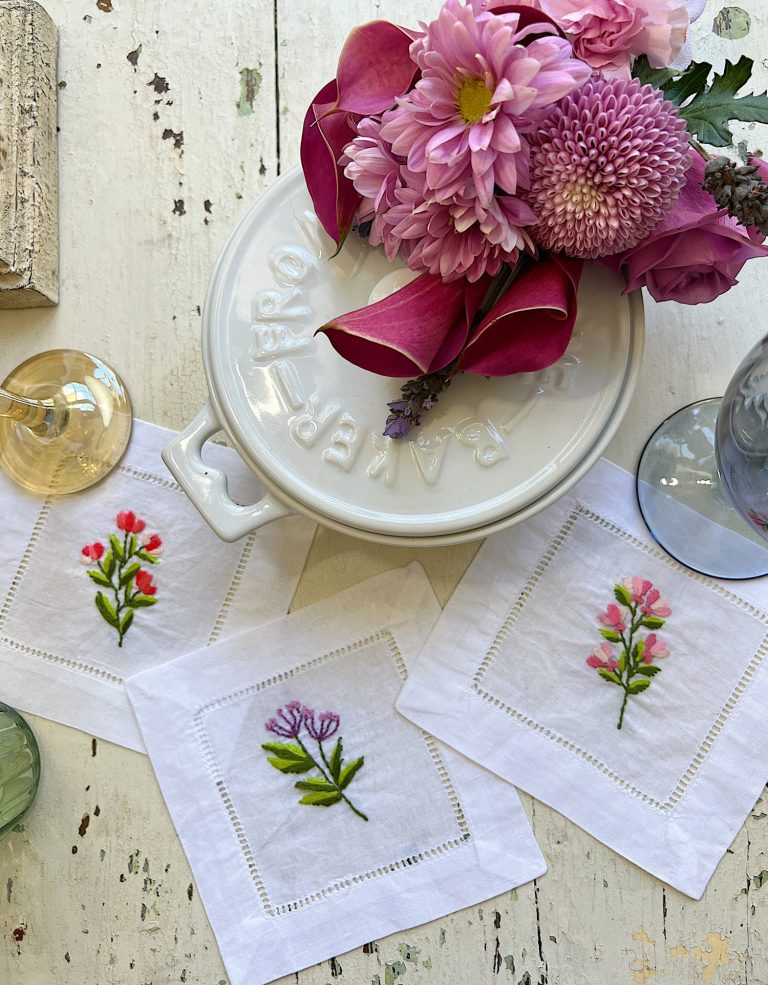
Spring Cocktail Napkins with Flower Embroidery DIY
I am very excited about these DIY spring cocktail napkins with flower embroidery. They are the perfect budget-friendly spring craft. Cocktail napkins are an essential part of any gathering or party. They add a touch of elegance to the setting and make guests feel special. If you’re hosting a party or want to add a…
-
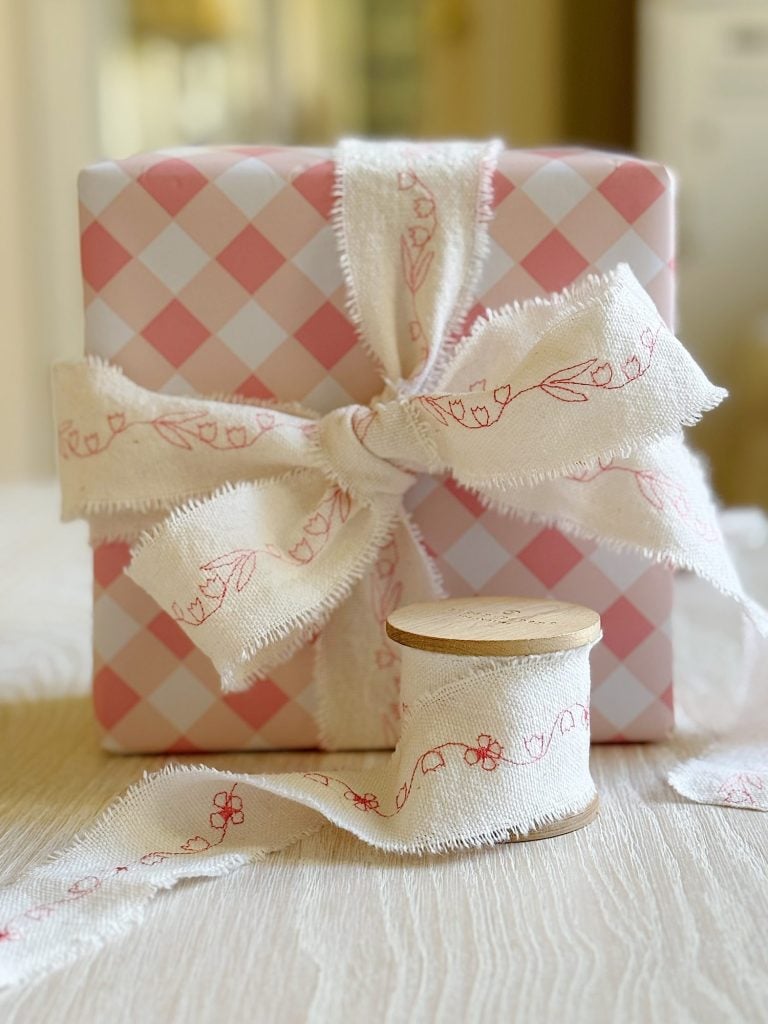
Stitched Floral Ribbon DIY – A Handmade Spring
This Stitched Floral Ribbon DIY transforms simple muslin fabric into a beautifully embroidered pink bow using decorative stitches found on almost every sewing machine. My newest project for A Handmade Spring began as an experiment with my “new-to-me” Brother Dream Machine XV8500D, which is a sewing/embroidery/quilting machine. This quickly turned into one of the most charming and…
-
Pottery Barn Pillow Covers Knock Off
I love everything that Pottery Barn sells, except for their prices. Today, I am sharing this amazing Pottery Barn Pillow Covers knock-off! Call me crazy, but whenever I see something I love but can’t justify the price, my mind starts asking an all-too-familiar question: “Can I make this for less?” I finally made this Pottery…
My Recent Instagram Posts

You can pin the images below to your boards on Pinterest (click the Pin button in the top left corner) or follow me on Pinterest!
For more real-time updates, follow me on Instagram @My100YearOldHome


Beautiful! Do you have the link for the textured rollers?
Oh never mind, I see it now! I love your blog!
I love this idea so much! Super cute!