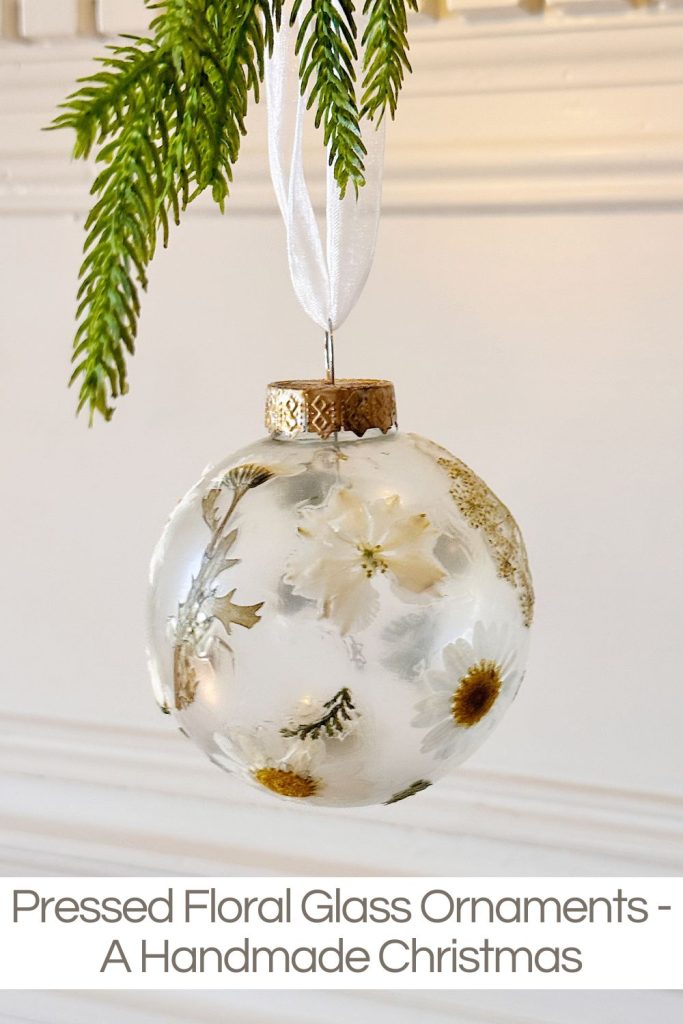
Pressed Floral Glass Ornaments – A Handmade Christmas
It’s week seven of my 16-week series titled A Handmade Christmas, and today I am sharing my Pressed Floral Glass Ornaments.
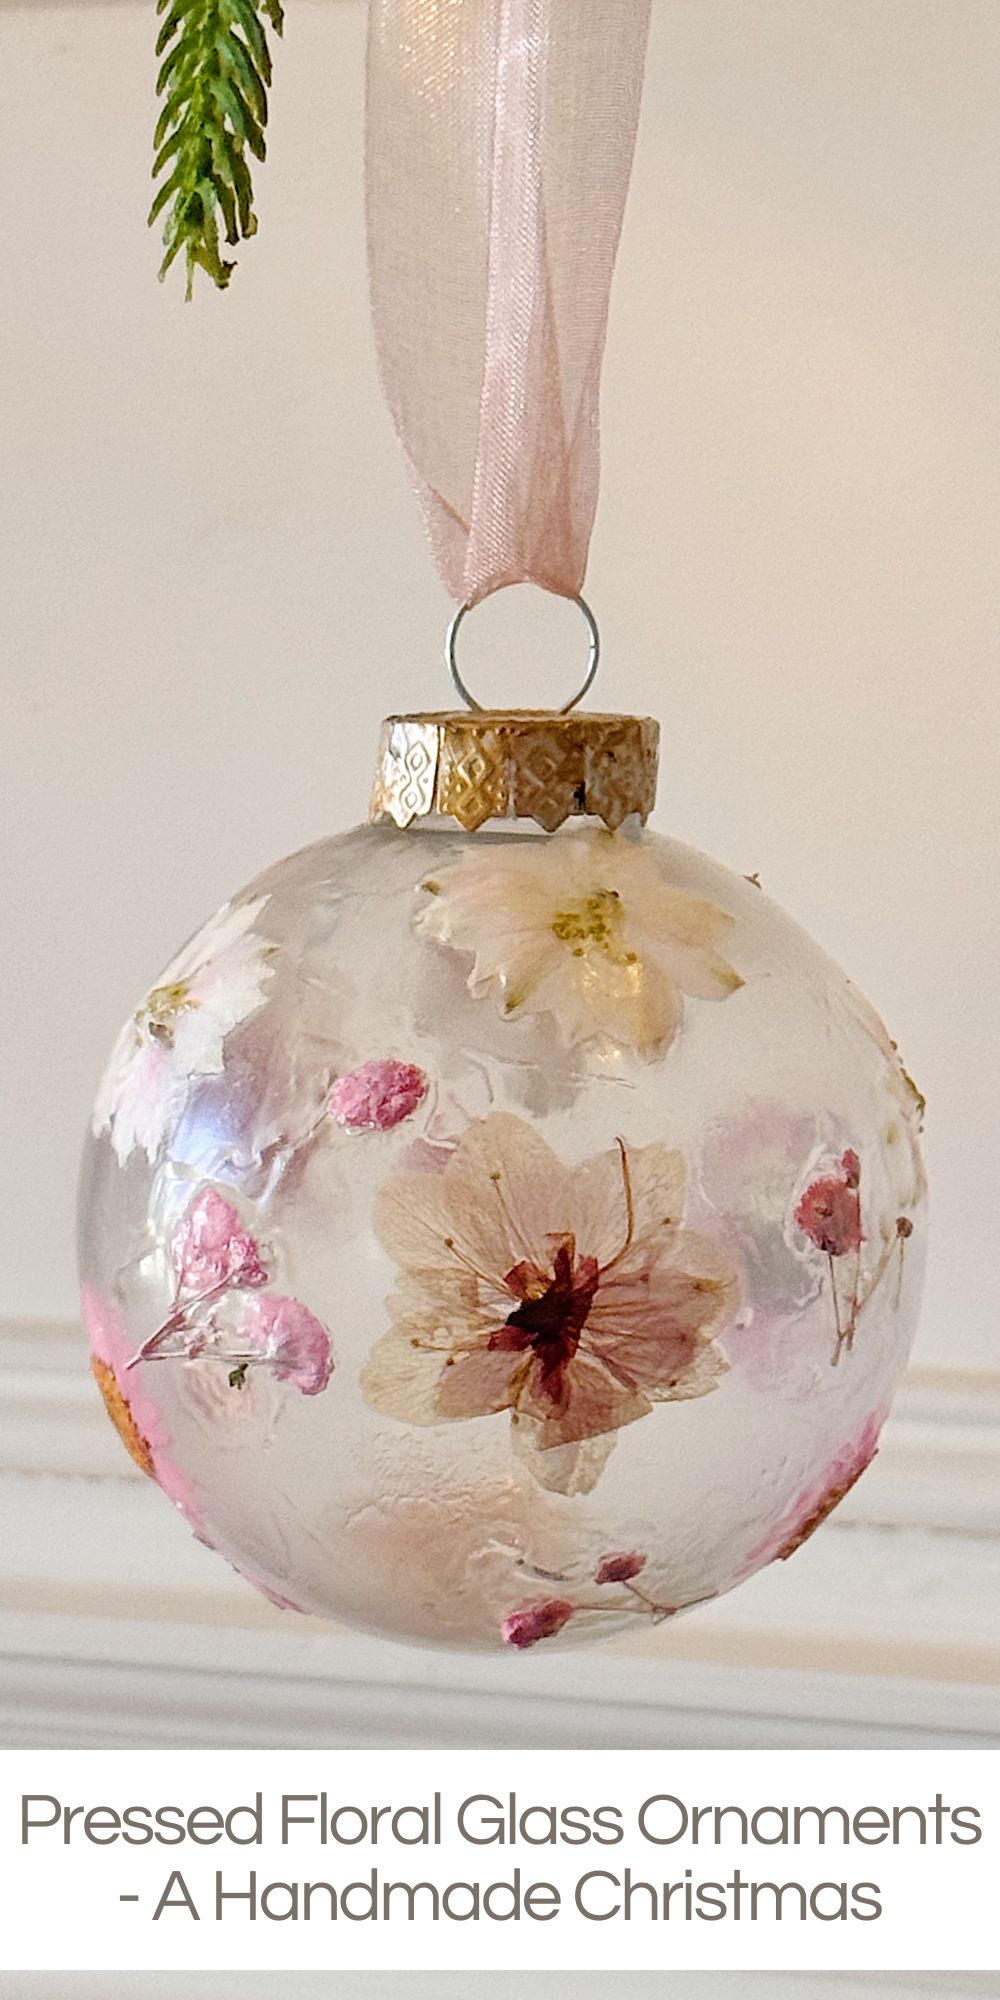
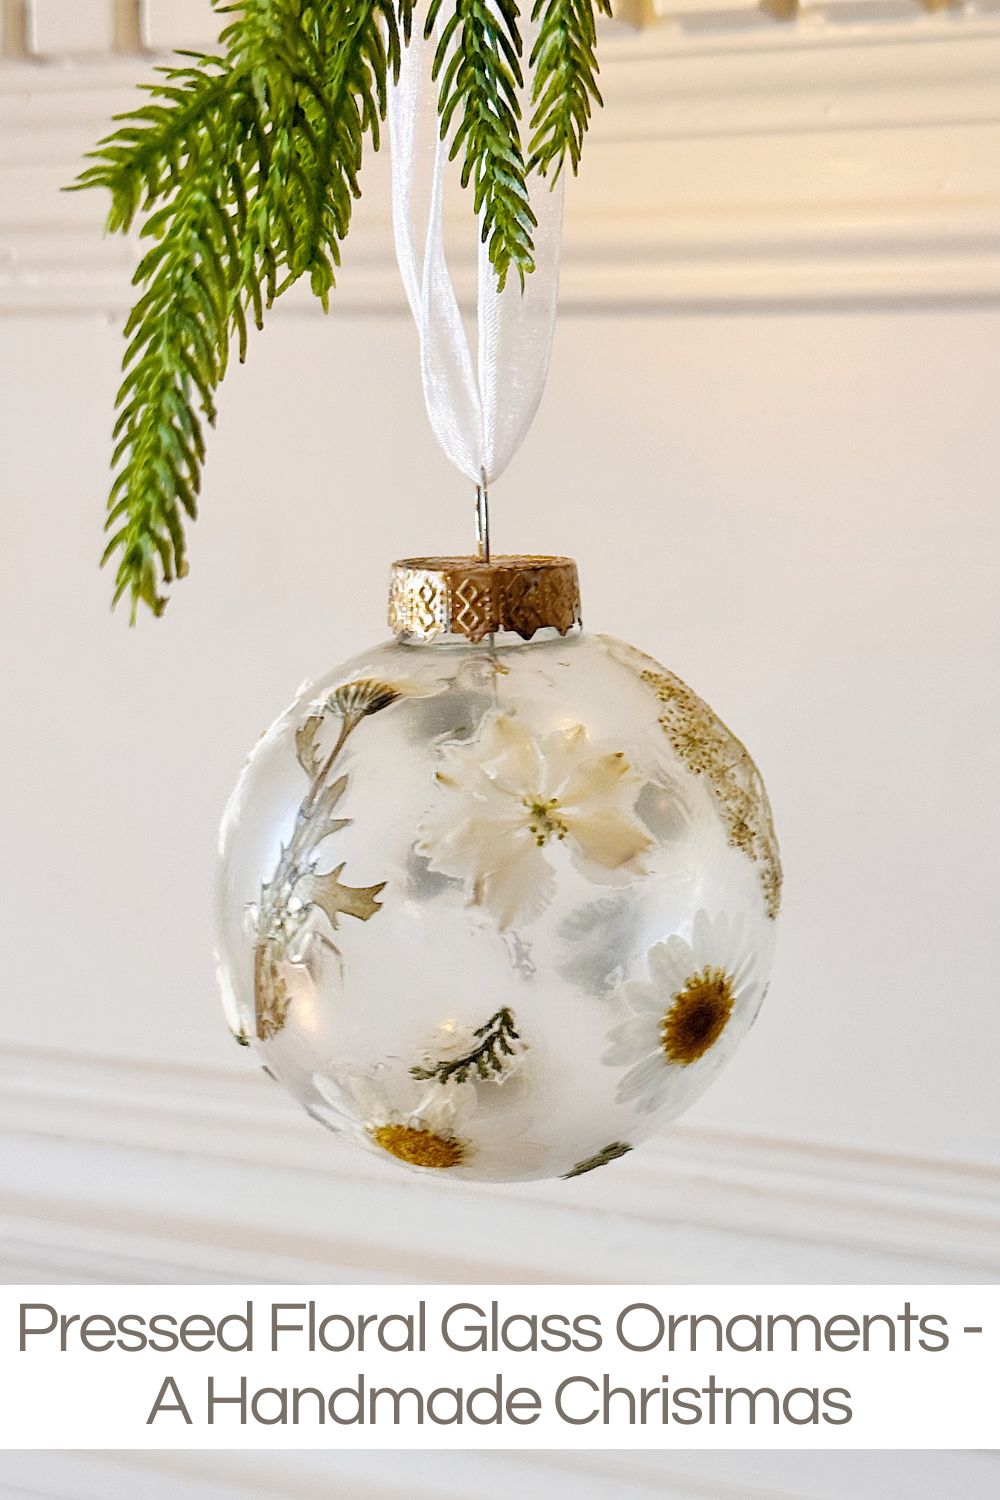
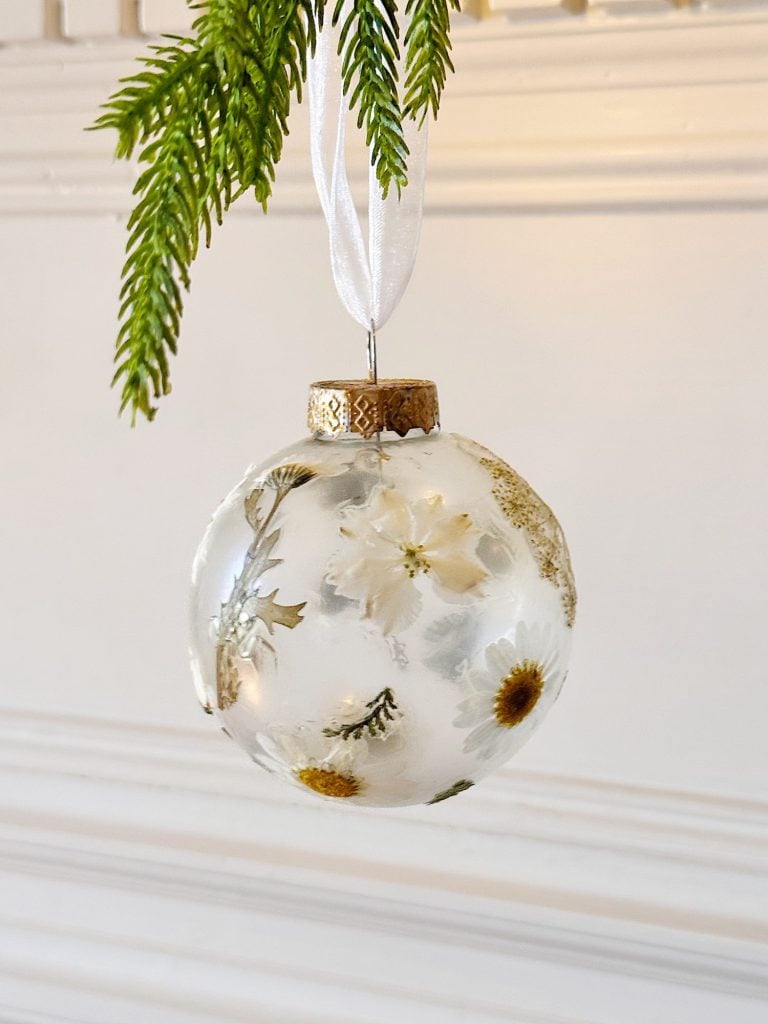
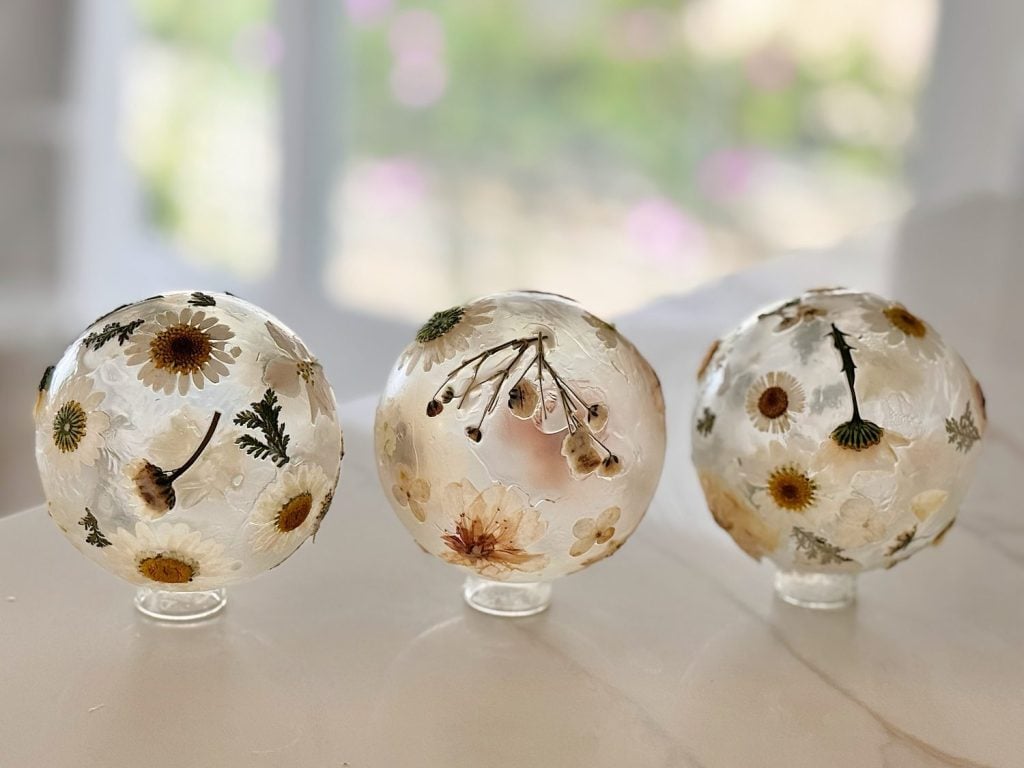
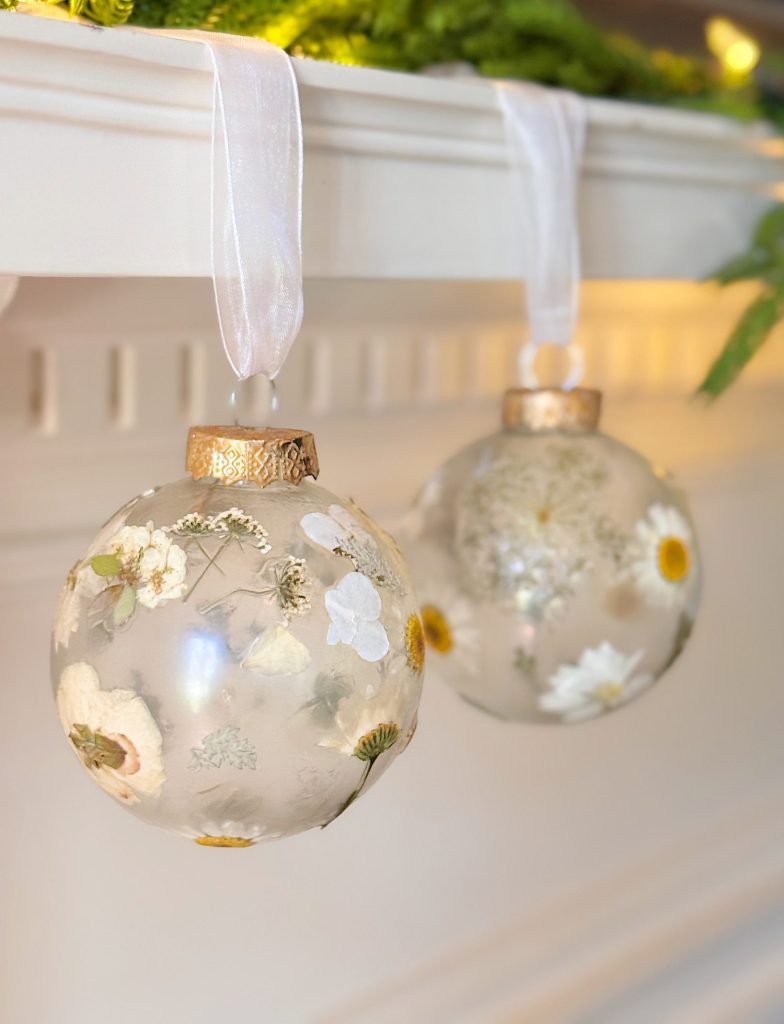
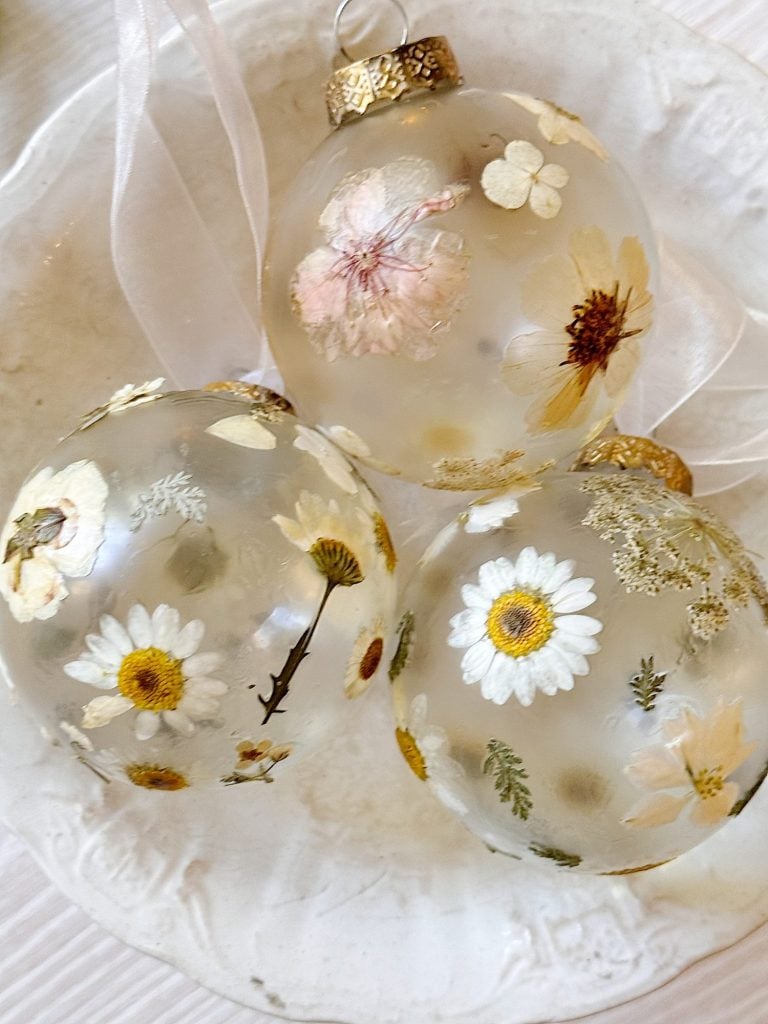
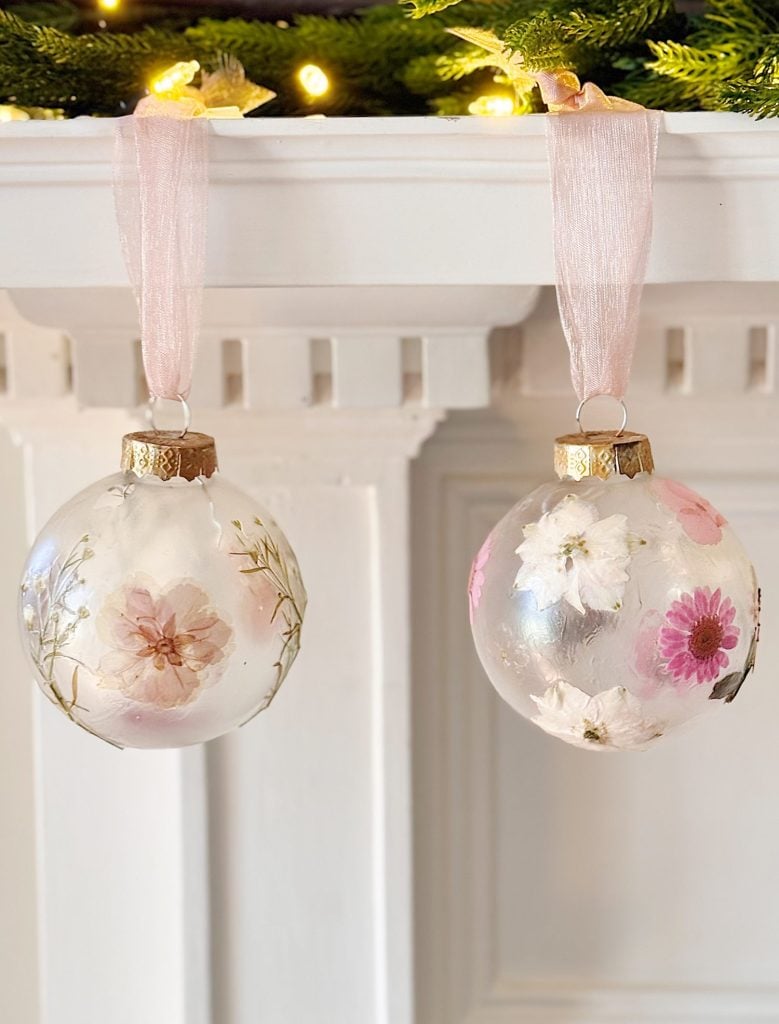
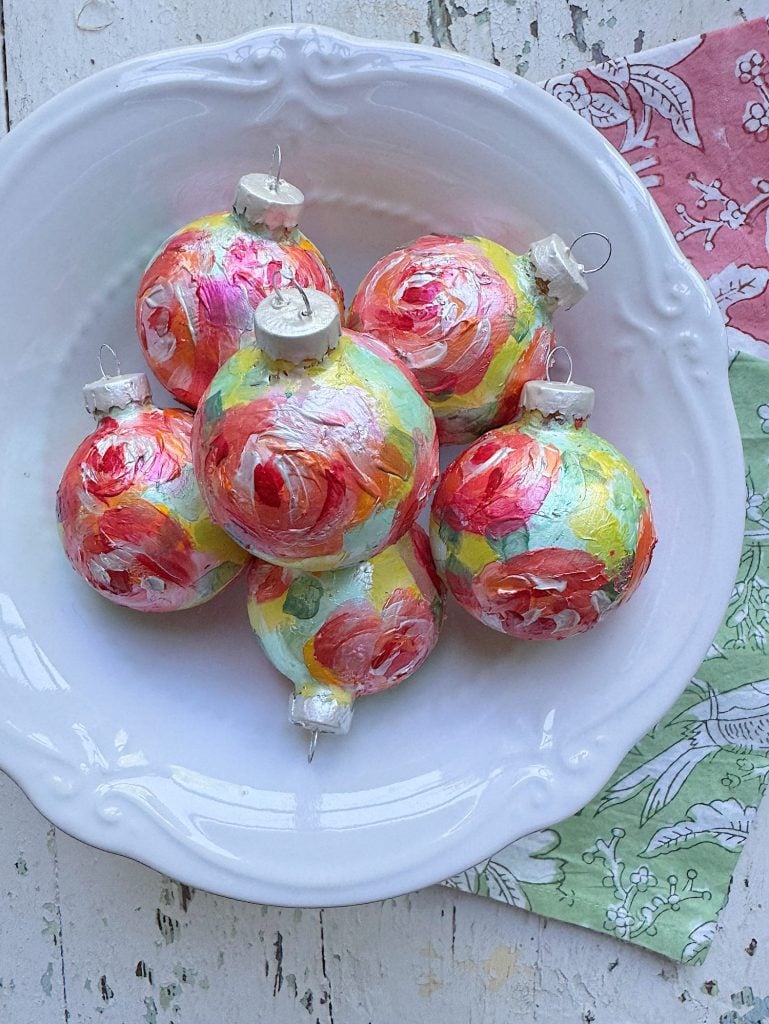
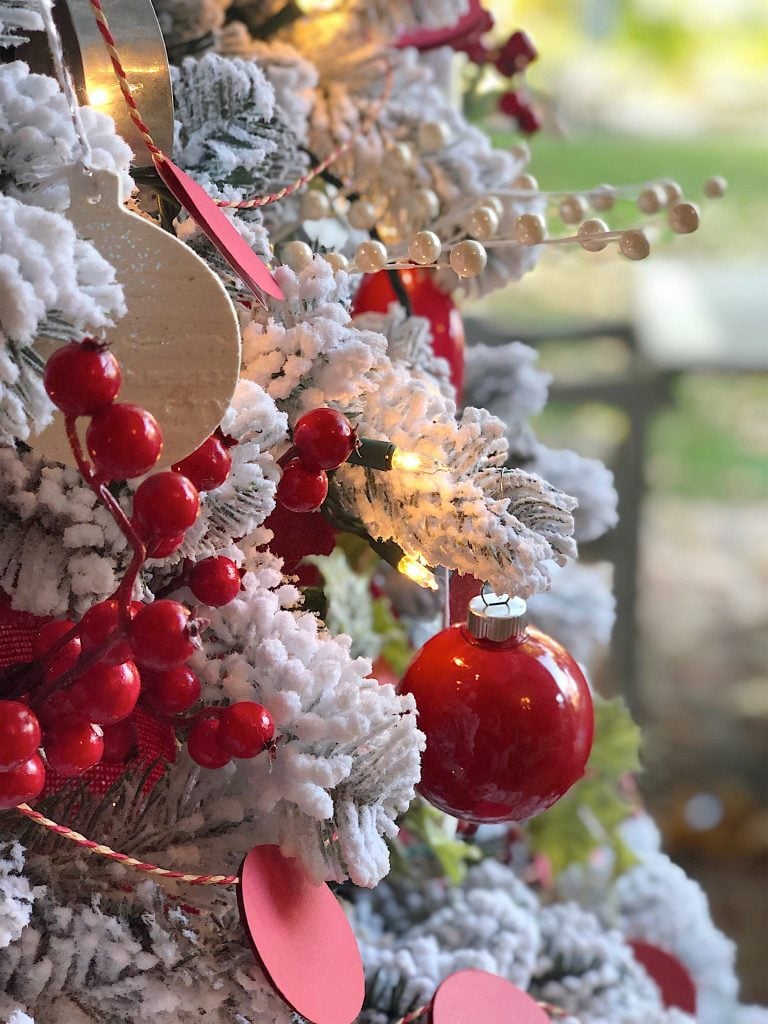
This project in my A Handmade Christmas series might be one of the prettiest ornaments to make. These pressed floral glass globes capture the delicate beauty of real flowers and glow softly when hung on a Christmas tree.
Pressed Floral Glass Ornaments
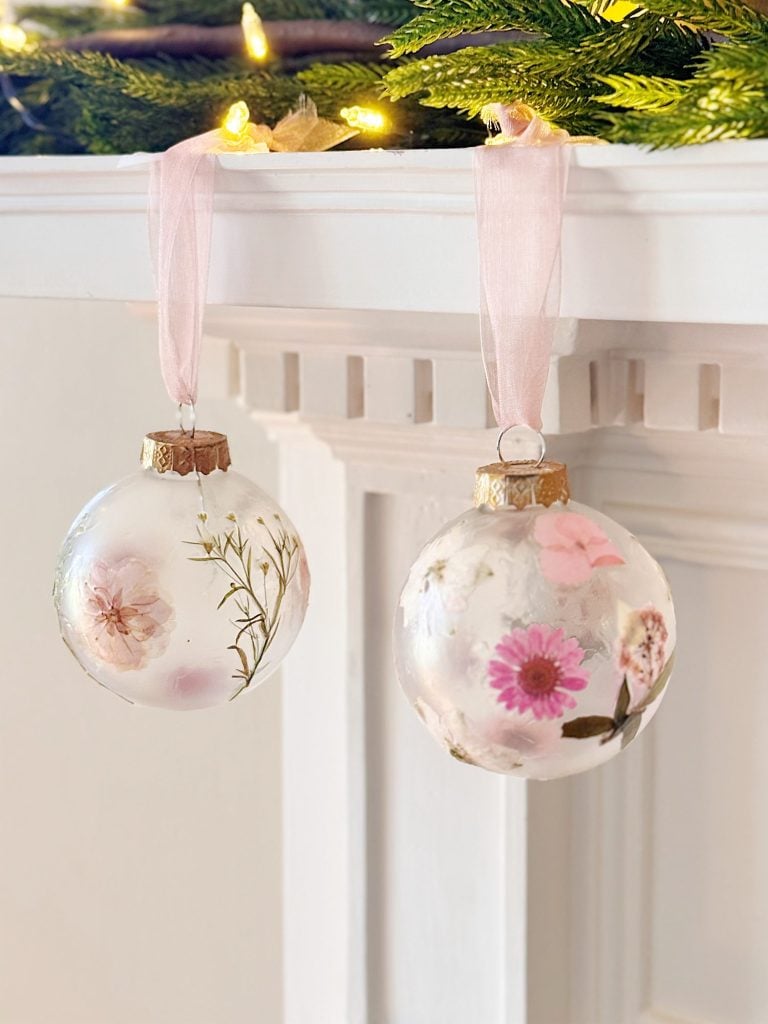
These Christmas ornaments were inspired by a version I saw on Anthropologie and Terrain, and I knew immediately I wanted to try making my own. There’s something so special about combining natural beauty with the shimmer of holiday lights. The moment the twinkle lights hit these ornaments, the translucent glass glows, and the pressed flowers come to life.
Each one is like a tiny garden, frozen in time and suspended on your tree.
Why I Love This Project
Every year, I try to add a new handmade ornament to our tree, something that tells a story, that feels personal, and that could be recreated by anyone with just a few simple materials.
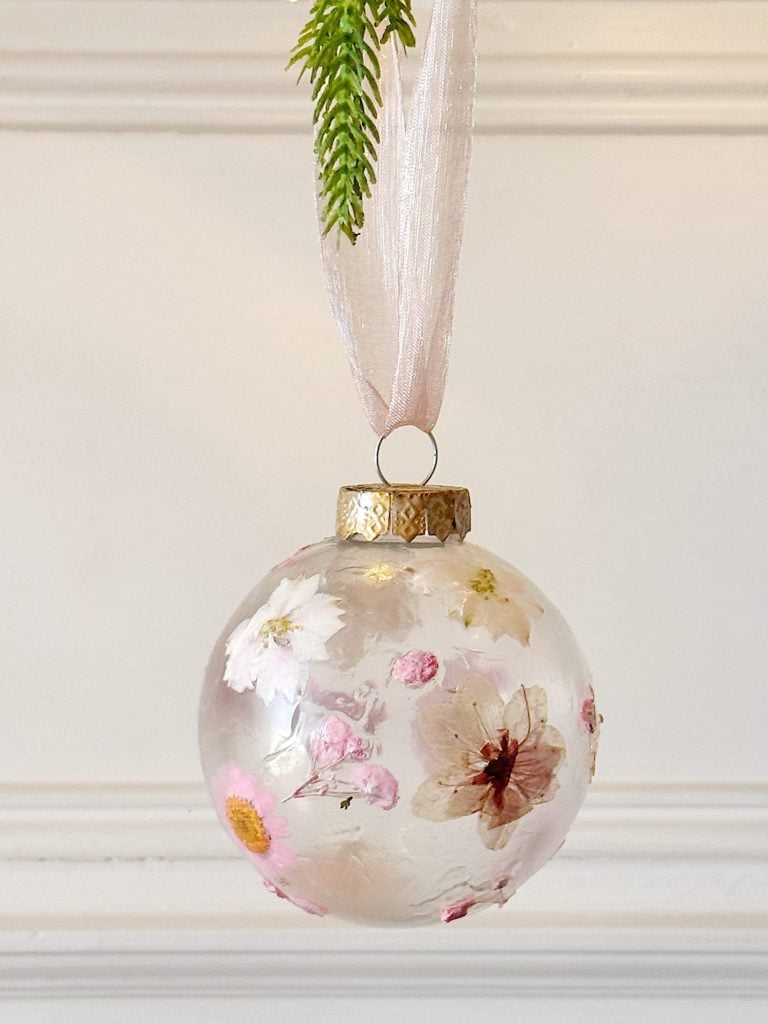
This craft fits that perfectly. It’s incredibly easy, but the results look so elegant and artisan-made, you’d never guess it took only minutes to create. The pressed flowers are preserved in a soft, matte finish that looks vintage and timeless, and each globe is unique.
The best part? The glass catches the light in such a magical way. When you hang them near fairy lights or candlelight, the soft petals and stems seem to glow from within. They don’t just decorate your tree … they illuminate it.
Materials You’ll Need
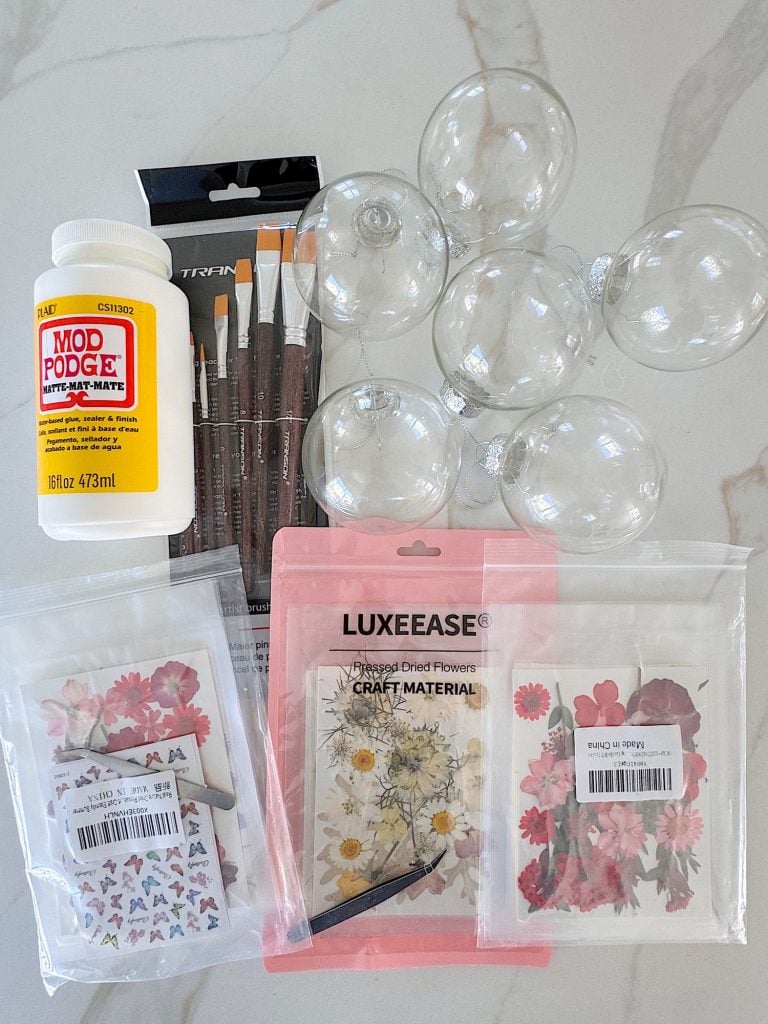
Here’s what you’ll need to create your own Pressed Floral Glass Ornaments:
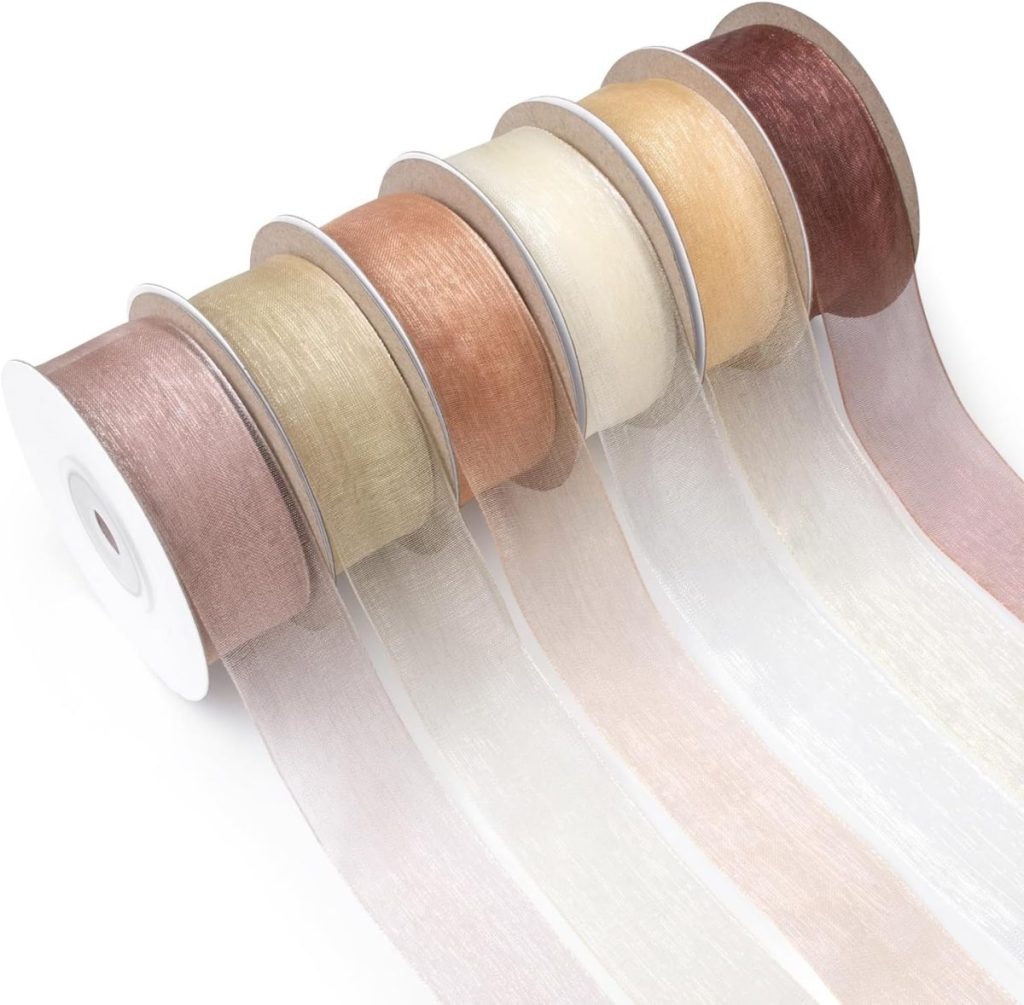
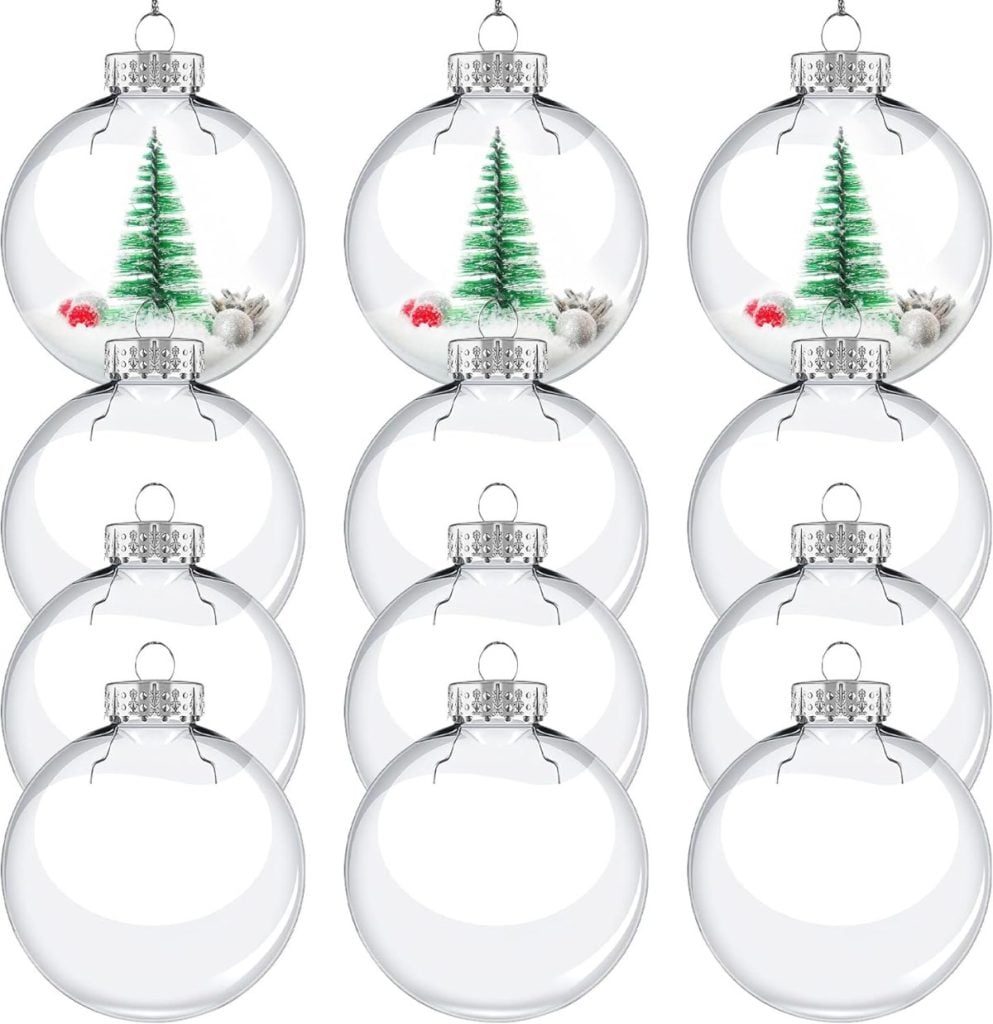
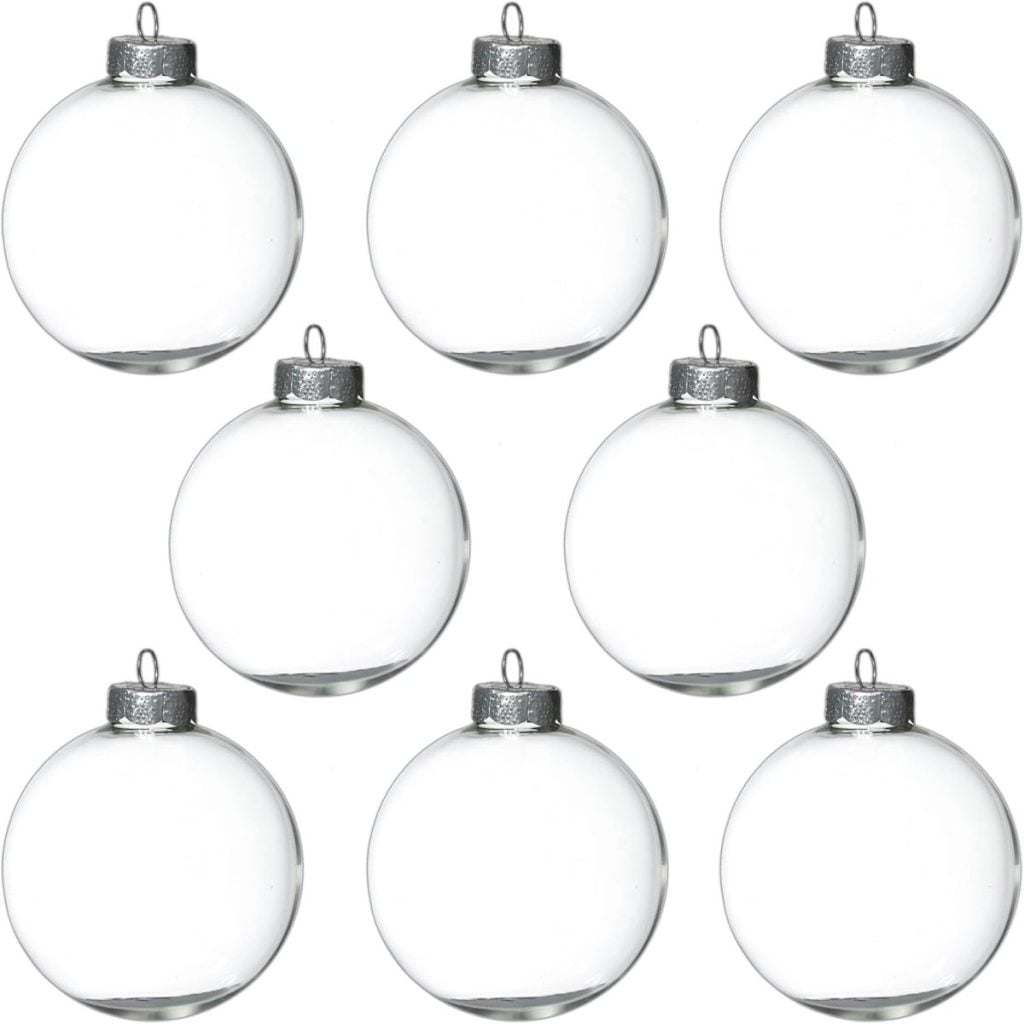
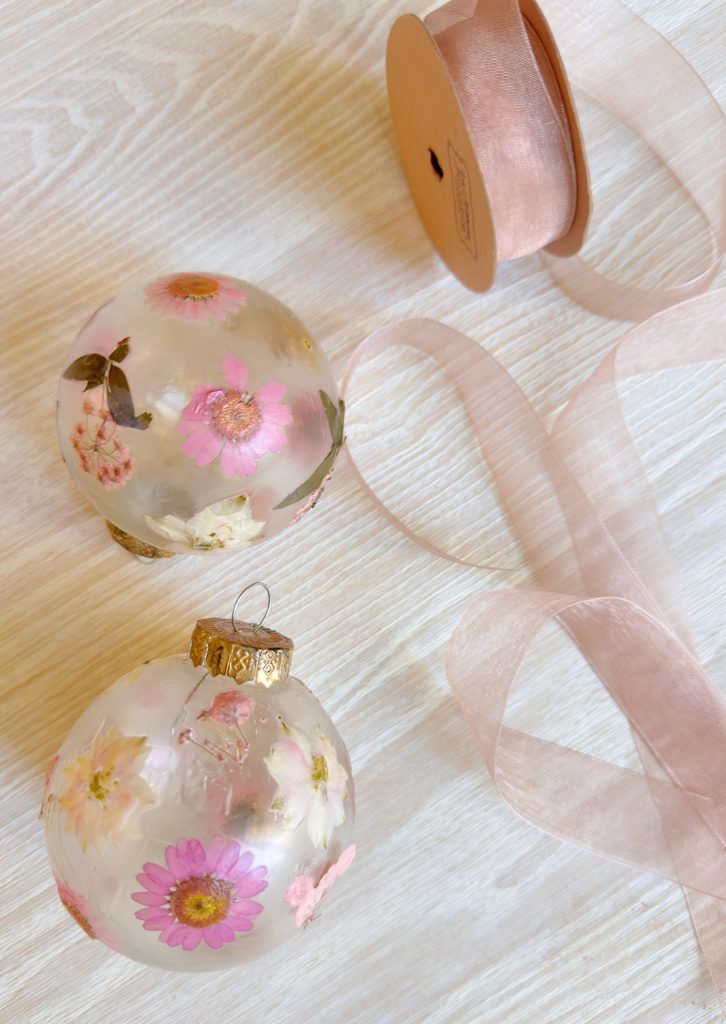
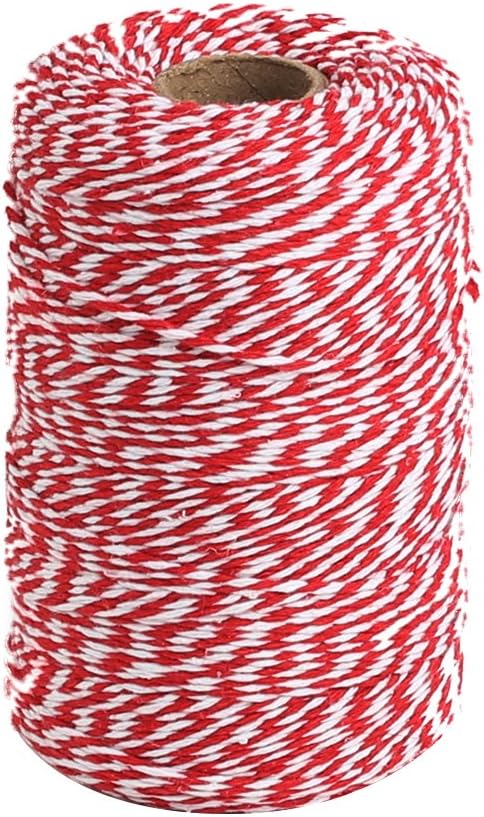
- Clear glass ornaments (3″–4″ in diameter) – You can find these at most craft stores or online. I love the round globes, but teardrop shapes would be beautiful too.
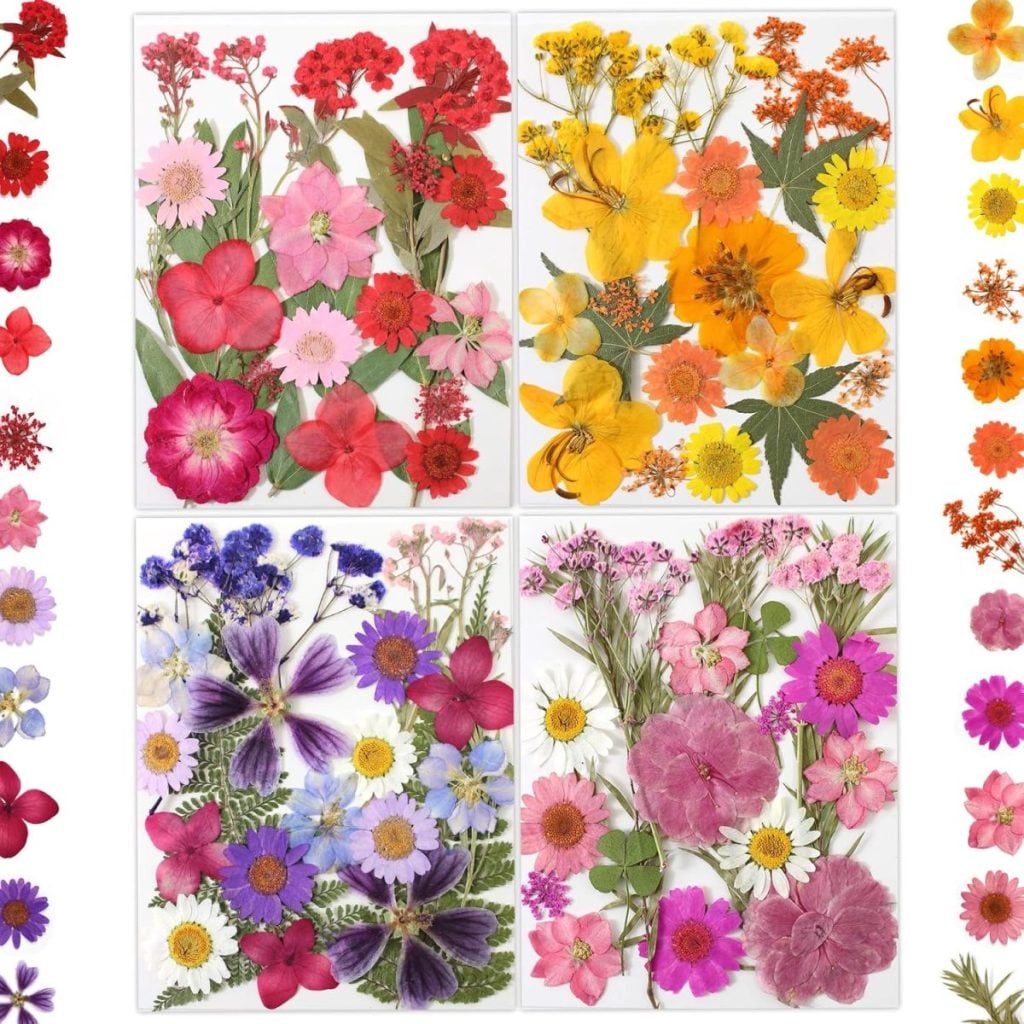
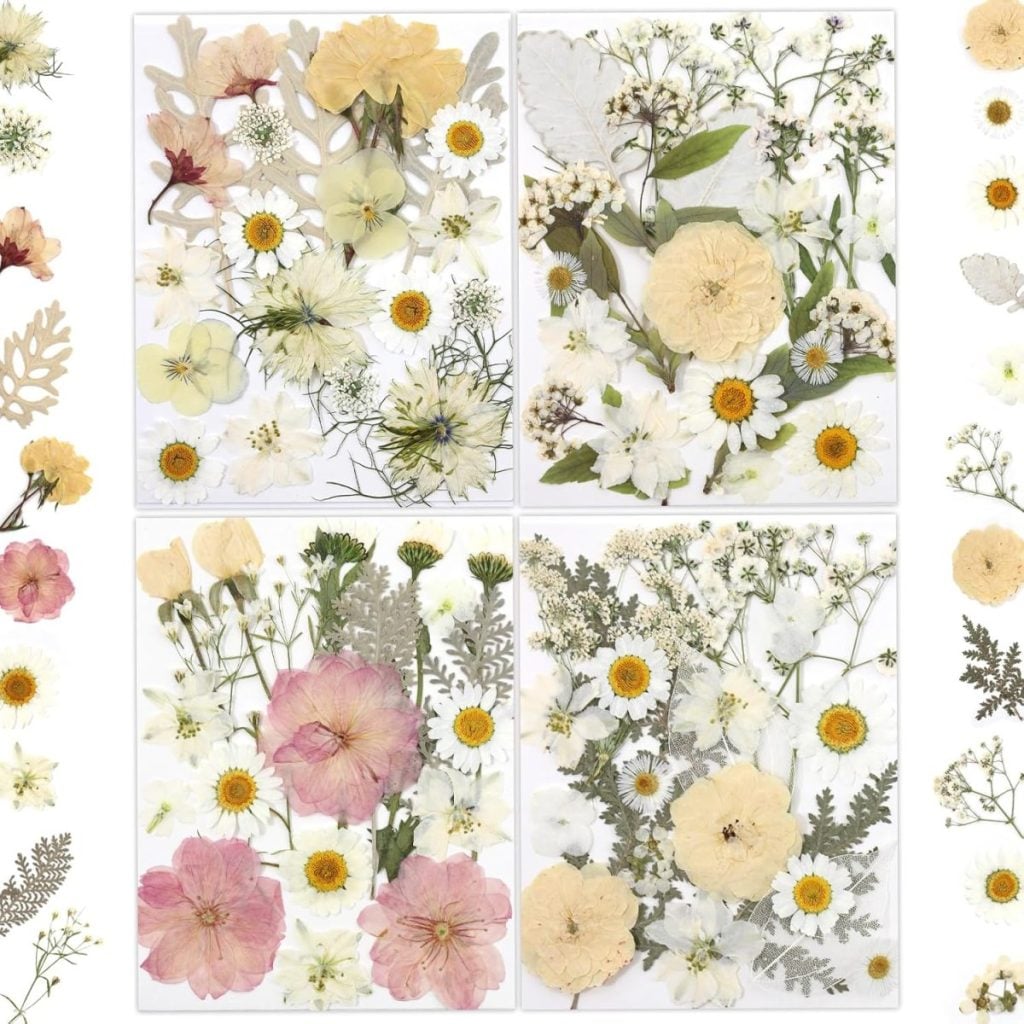
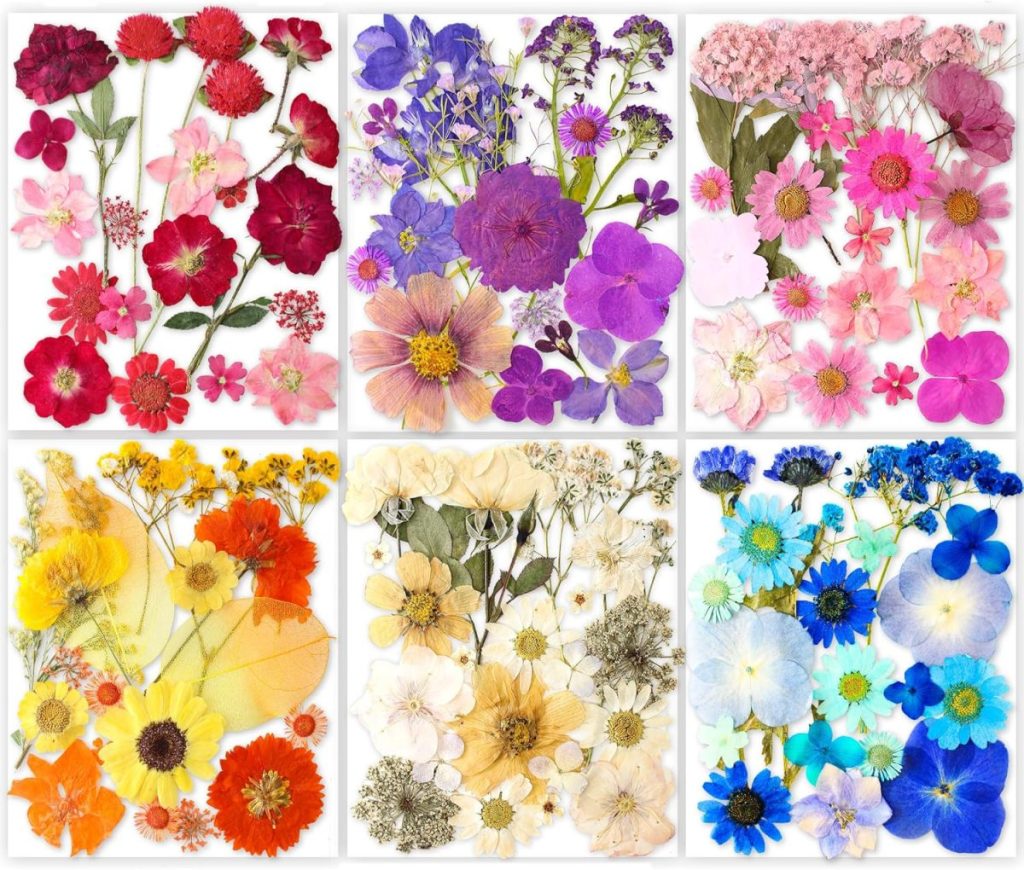
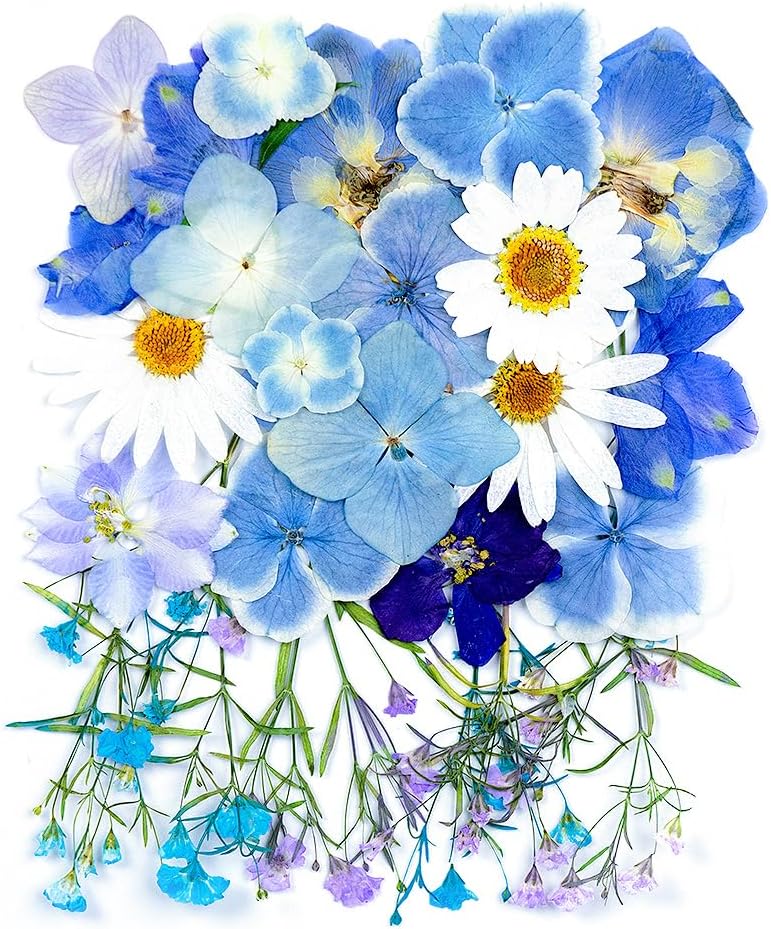
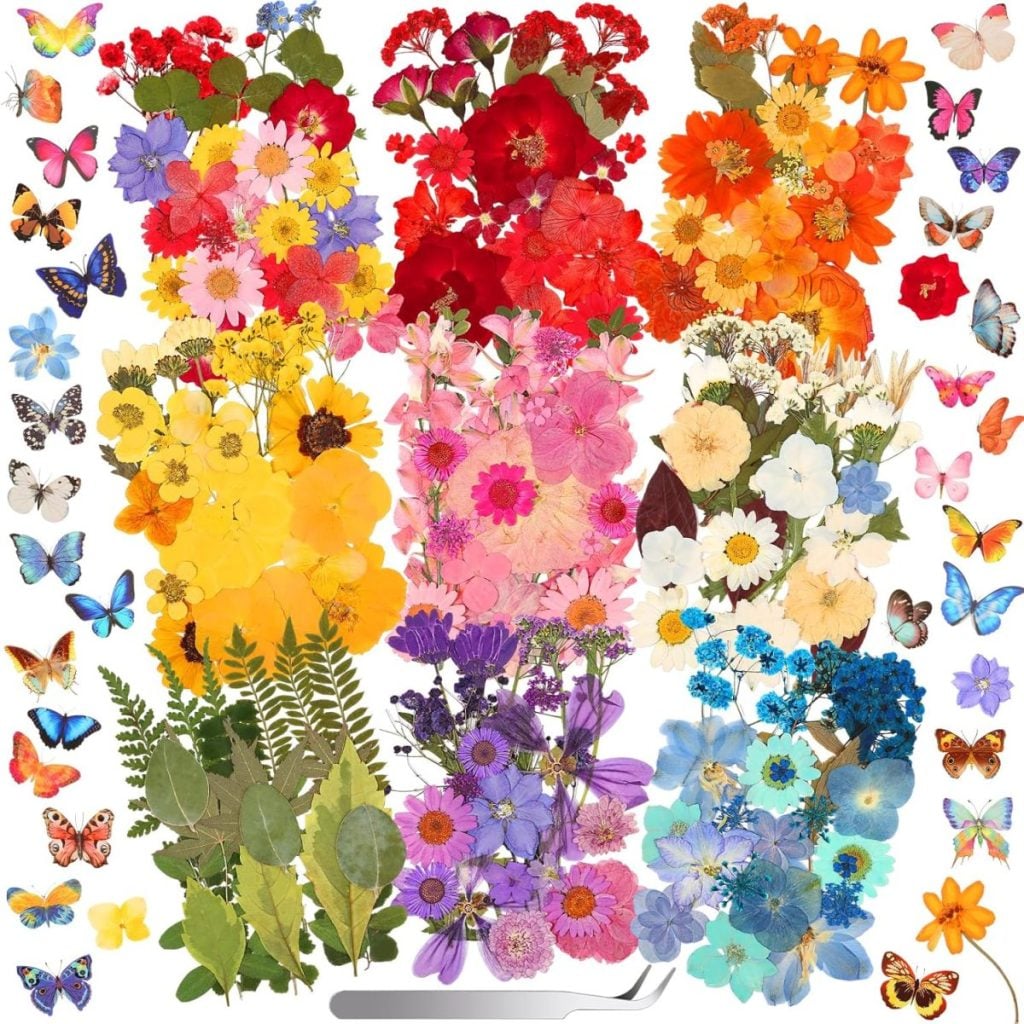
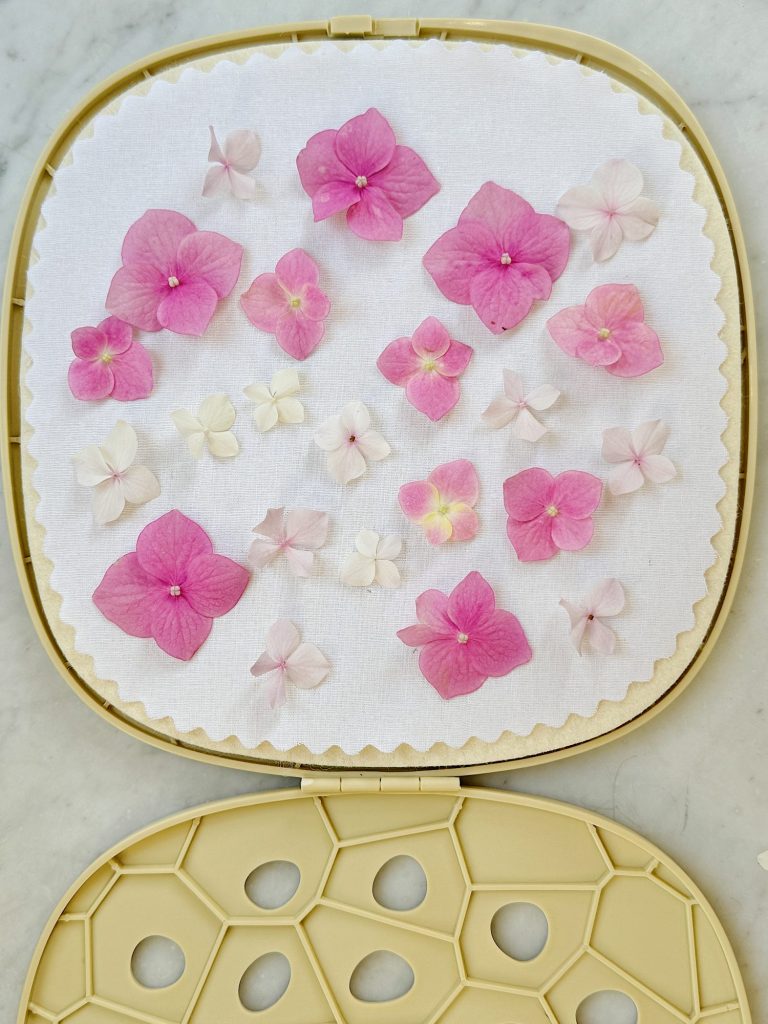
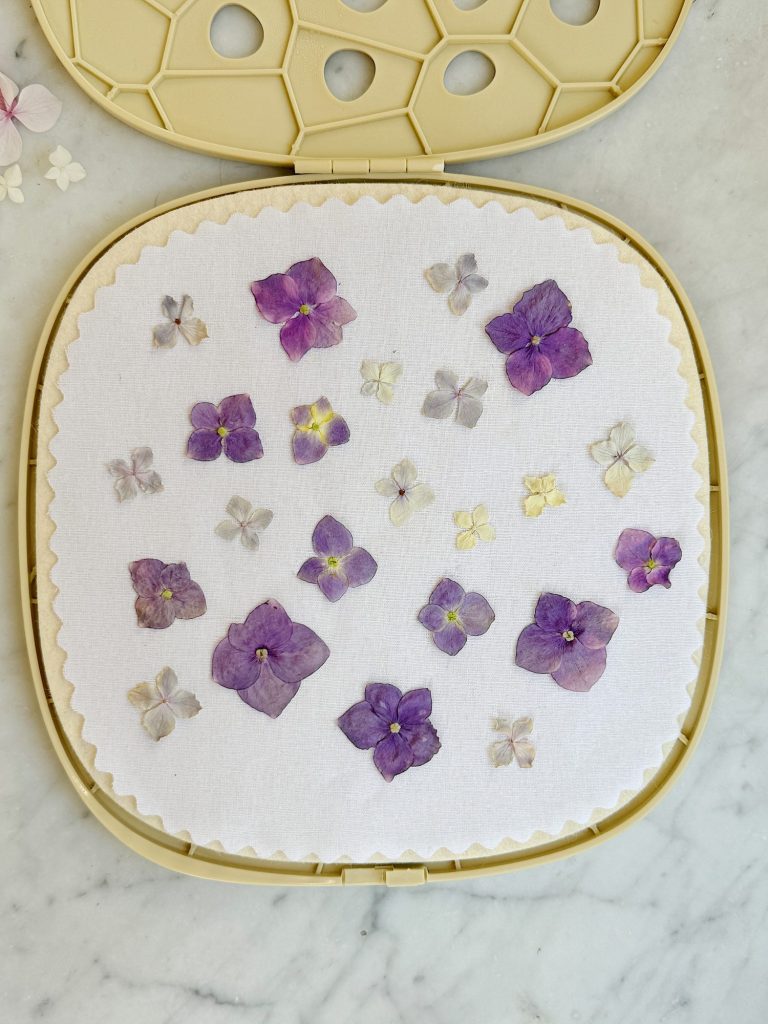
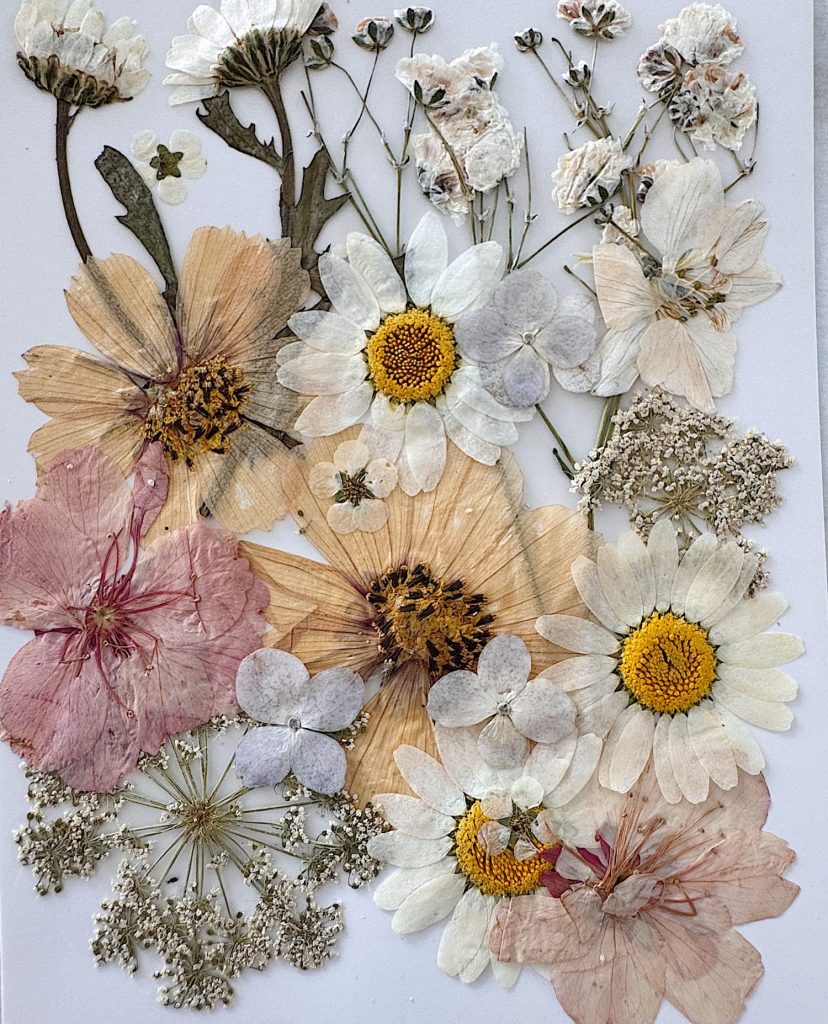
- Pressed flowers – You can use pre-pressed and dried flowers or make your own. Look for small, flat blooms like pansies, daisies, hydrangea petals, or ferns.
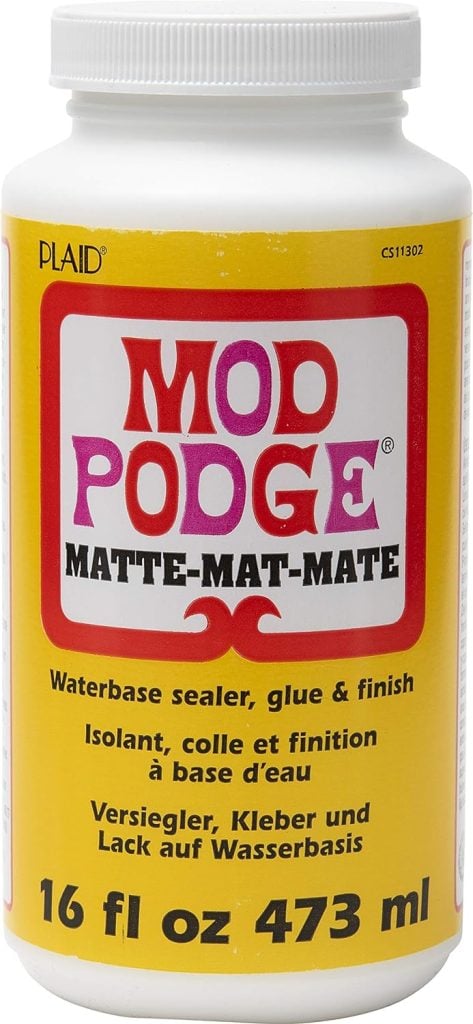
- Matte Mod Podge – The matte finish gives the ornaments a soft, frosted look and prevents glare under the lights.
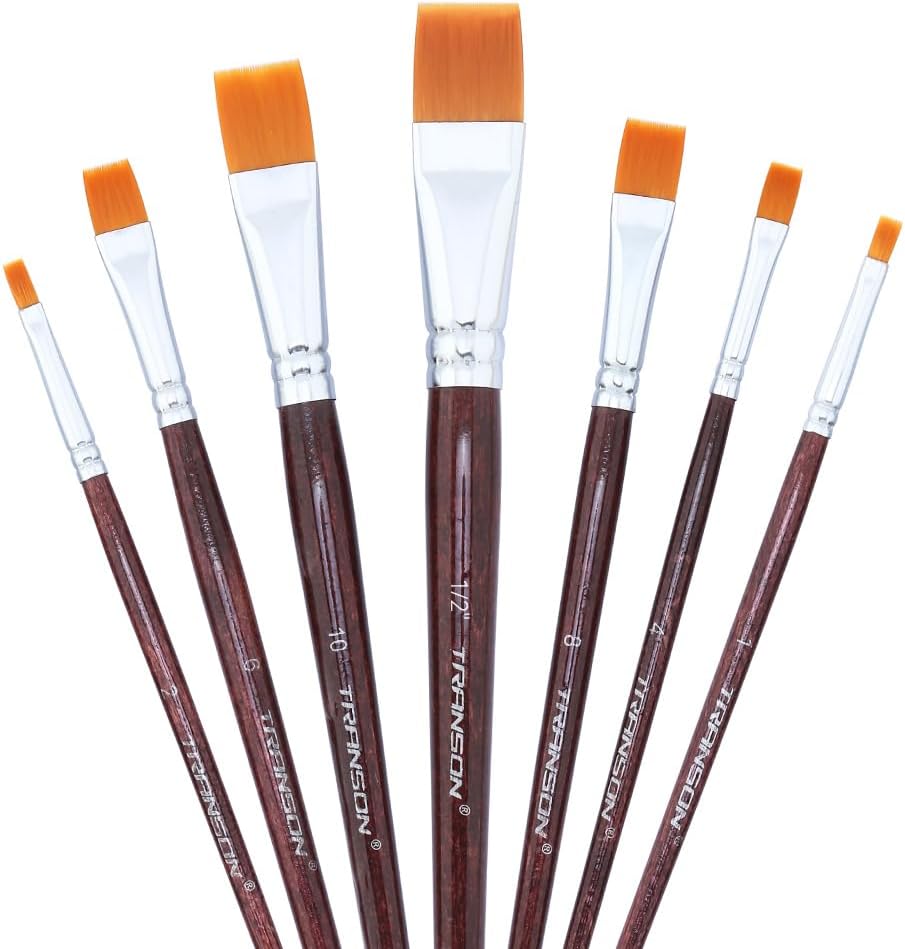
- A small paintbrush – For applying and smoothing the Mod Podge.
- Tweezers (optional) – Helpful for placing delicate petals. Most pressed flowers come with tweezers in the package.
On this blog, I may sometimes use affiliate links, which means a small commission is earned if you purchase via the link. The price will be the same whether you use the affiliate link or go directly to the vendor’s website using a non-affiliate link.
That’s it! You probably already have most of these supplies on hand if you’ve done any crafting before.
How to Press Your Own Flowers

If you’d like to use flowers from your garden or from a bouquet, you can press them yourself. This is an excellent way to personalize your ornaments. Imagine using petals from your wedding flowers, your favorite garden blooms, or even fall leaves collected from a family walk.
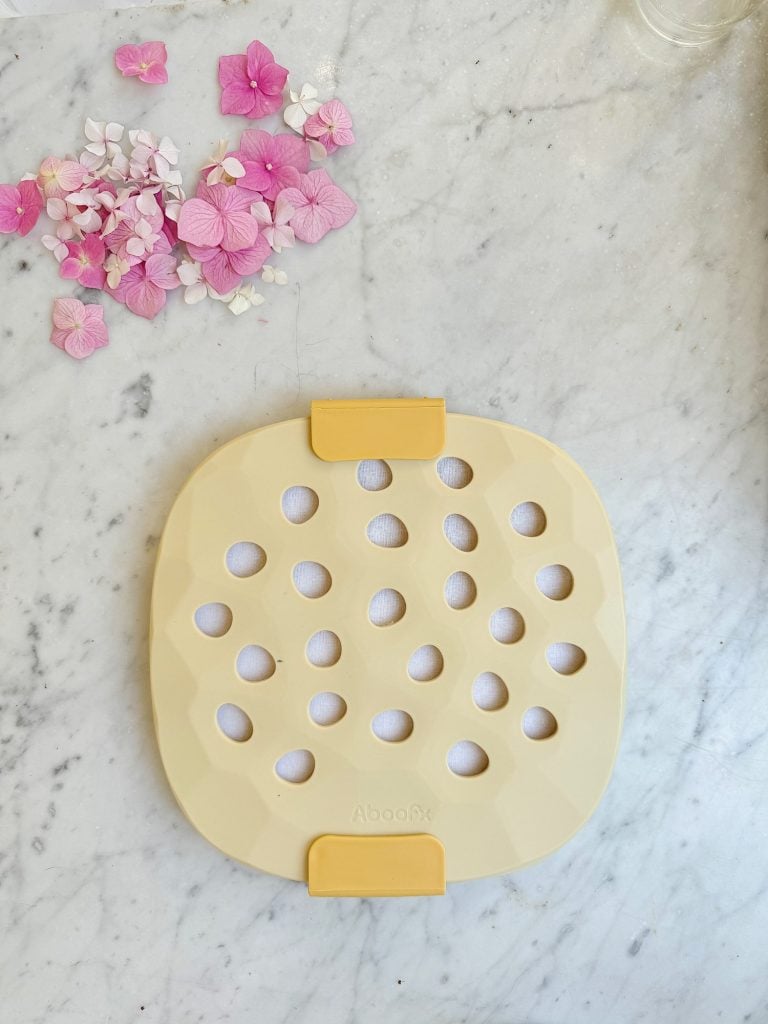
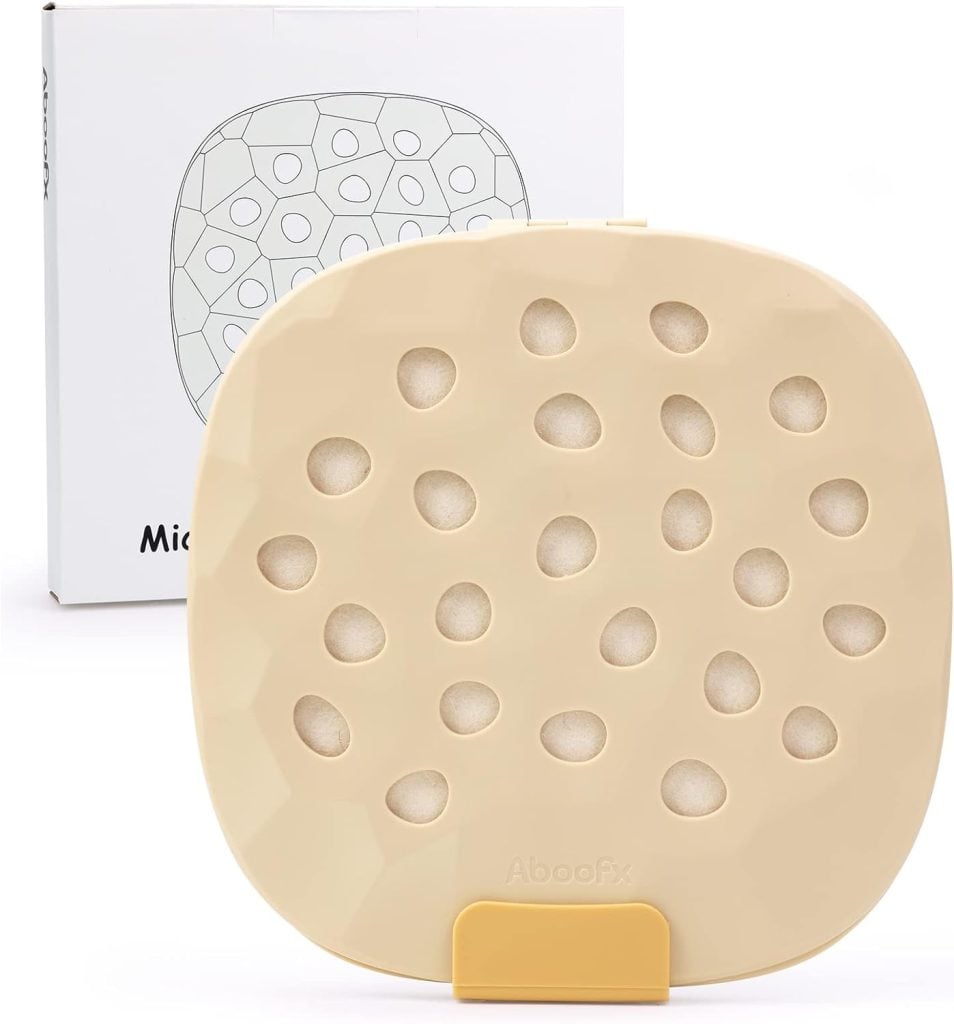
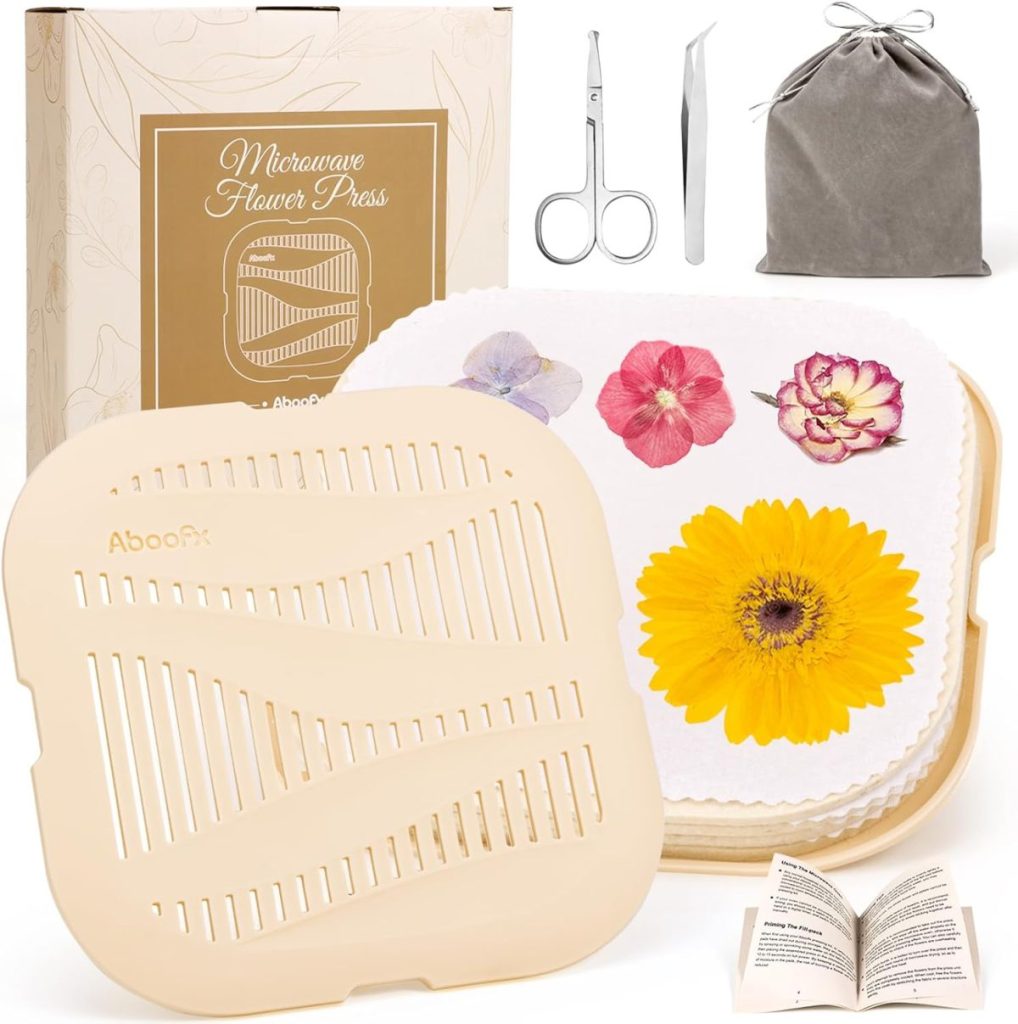
If you’re short on time, you can also use a microwave flower press, which I have done. It dries flowers in minutes and works surprisingly well.
I use the Aboofx Microwave Flower Press. You can learn how to press them in my blog post, DIY Pressed Flowers. The Aboofx Microwave Flower Press is great for quickly pressing flowers.
To press flowers by hand:
- Choose flowers that are naturally flat or can easily be flattened, like hydrangeas, cosmos, pansies, or ferns.
- Place them between two sheets of parchment paper and tuck them inside a heavy book.
- Add additional books or weight on top and leave them for 1–2 weeks until they’re completely dry and paper-thin.

Of course, the easiest option is to buy real pressed flowers in your preferred color palette on Amazon. That is what I did for this project. They are not expensive and so beautiful.
Step-by-Step: How to Make Pressed Floral Glass Ornaments
Step 1: Prepare Your Workspace
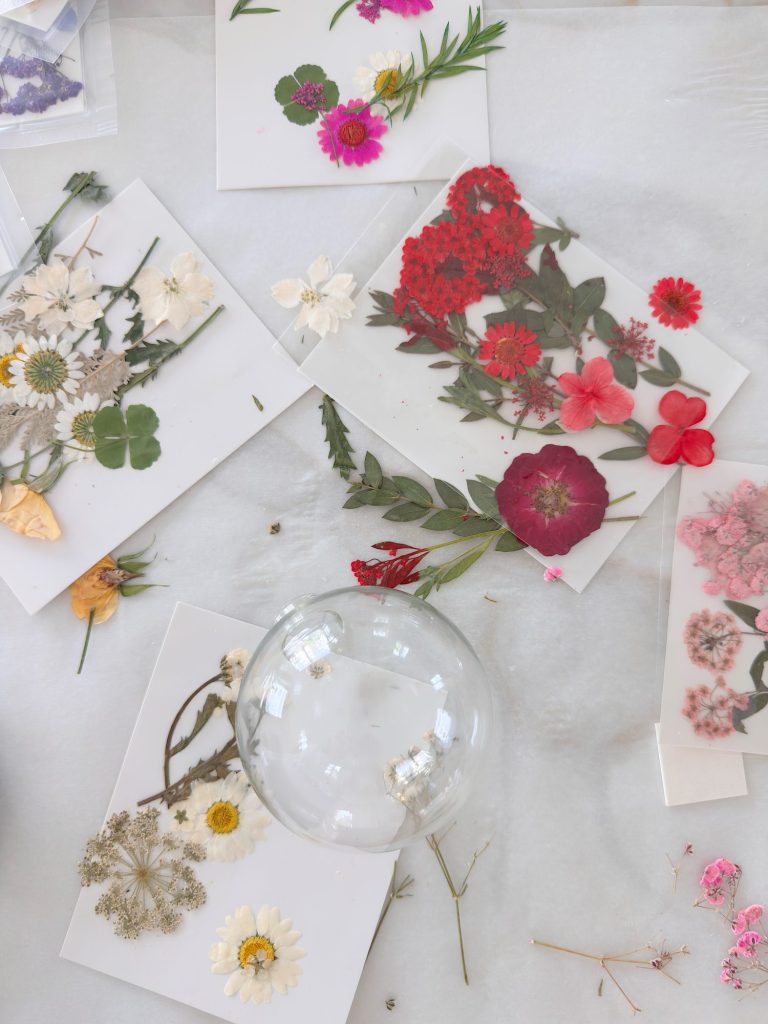
Lay out your materials on a clean surface. It helps to set your ornaments on a soft towel so they don’t roll around while you’re working. Have your pressed flowers ready and organized — larger blooms for focal points, smaller ones to fill in details. If you use flowers with long stems, you will likely have to cut the stems into pieces so they will lie flat on the ornament.
Step 2: Remove the Ornament Top
Carefully remove the metal cap and hanger from the clear glass ornament. Set it aside. This makes it easier to hold the ornament without smudging the surface where you’ll apply your flowers.
Step 3: Apply a Thin Layer of Mod Podge
Using your paintbrush, apply a thin, even layer of matte Mod Podge to a small section of the glass. Don’t cover the entire surface at once — you’ll want to work in sections so the adhesive doesn’t dry before you can place your flowers.
Step 4: Position Your Pressed Flowers
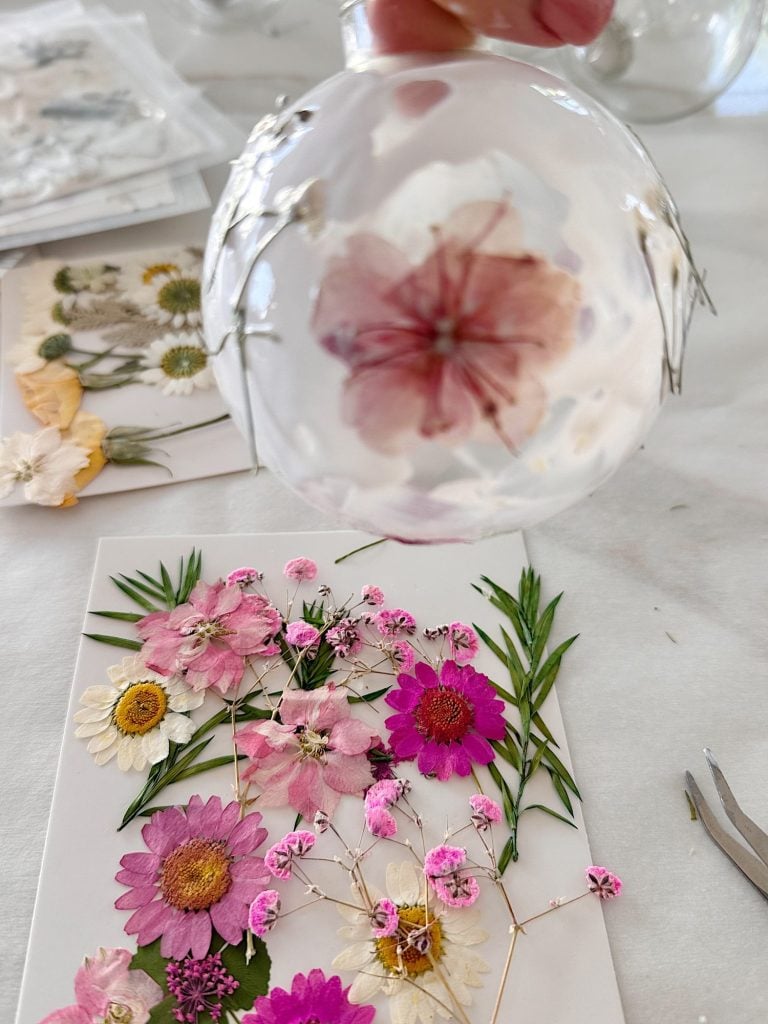
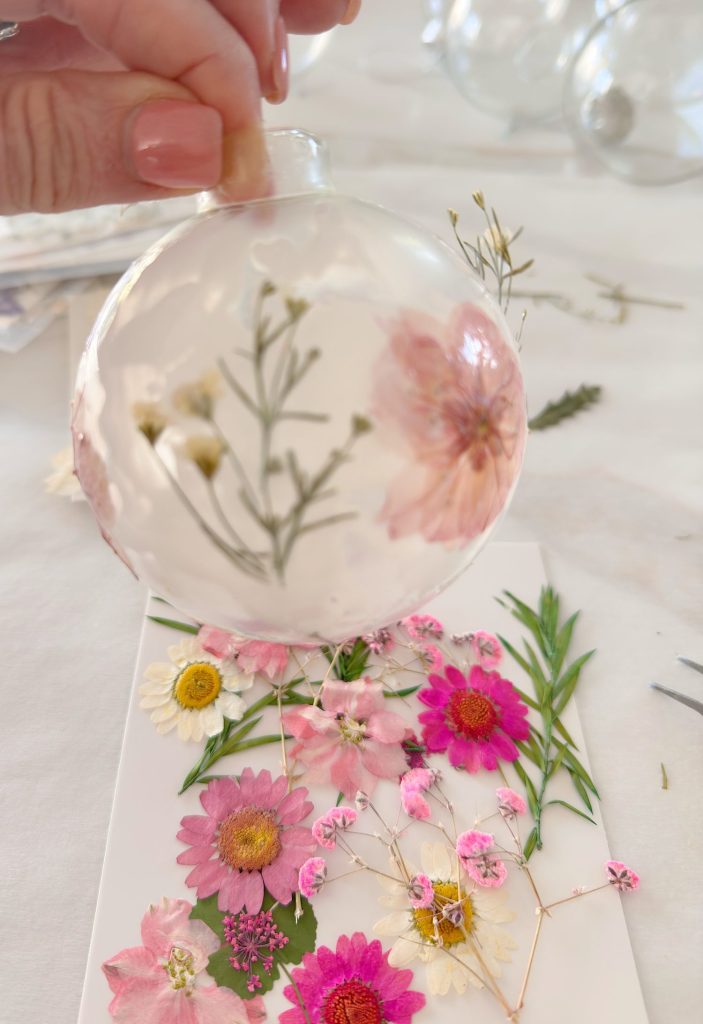
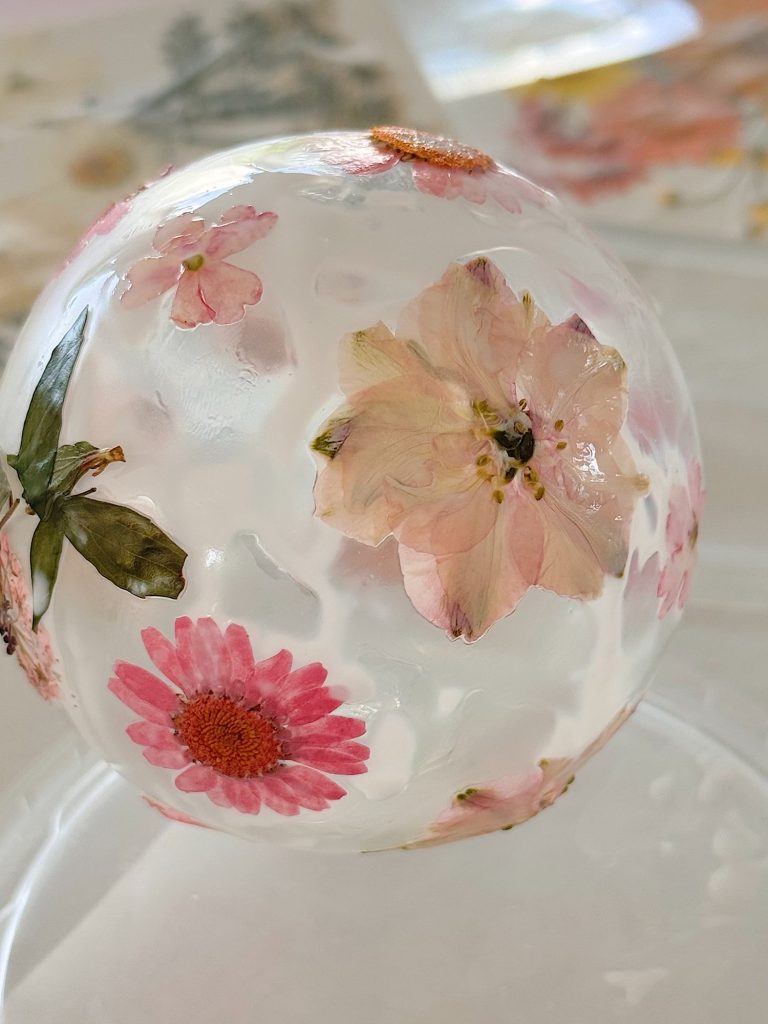
Using tweezers or your fingers, gently press your dried flowers onto the Mod Podge. Smooth them carefully with your brush or fingertips to eliminate air bubbles. You can overlap petals slightly or leave space between each one for a more airy design.
Let the flowers dry. As the glue hardens, use the tweezers to attach any flower parts that aren’t lying flat.
Tip: Press the flower so it curves naturally with the globe. If a petal sticks out, add a tiny dab of Mod Podge underneath to help it adhere.
Step 5: Seal with Another Coat
Once you’ve added all your flowers, let the ornament sit for 10–15 minutes until the Mod Podge becomes tacky but not fully dry. Then brush a thin layer of Mod Podge over the top of each flower to seal it.
Don’t worry if it looks a little cloudy at first. It will dry clear and leave a soft, matte finish that lets the glass shine through.
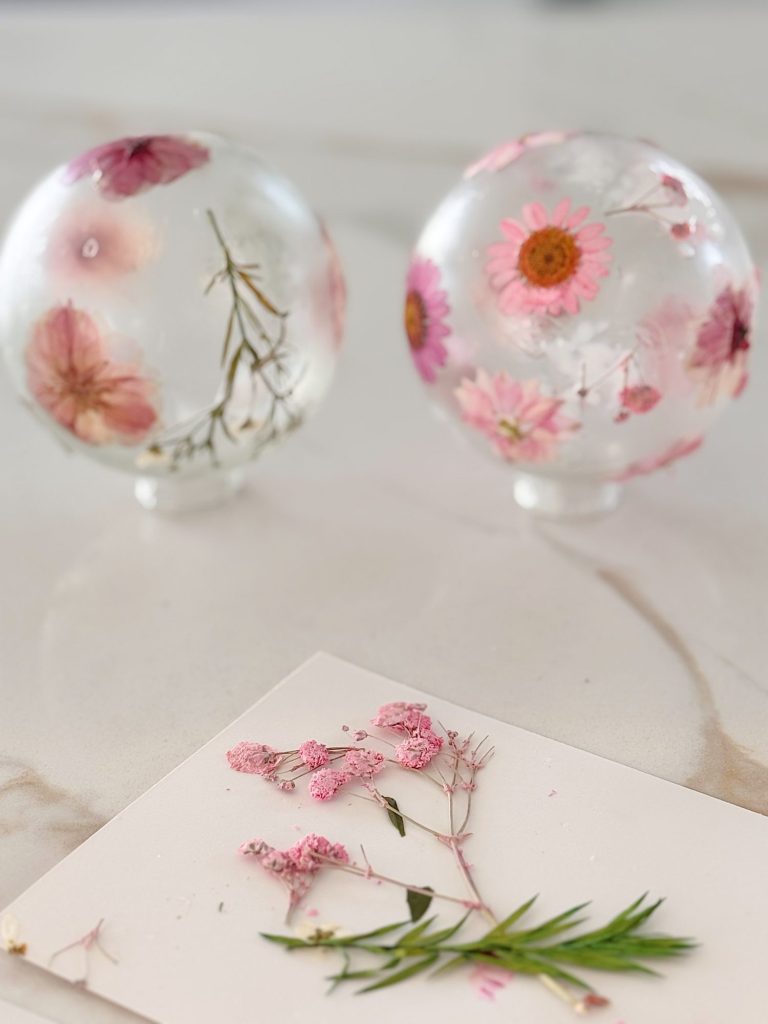
Step 6: Let It Dry Completely

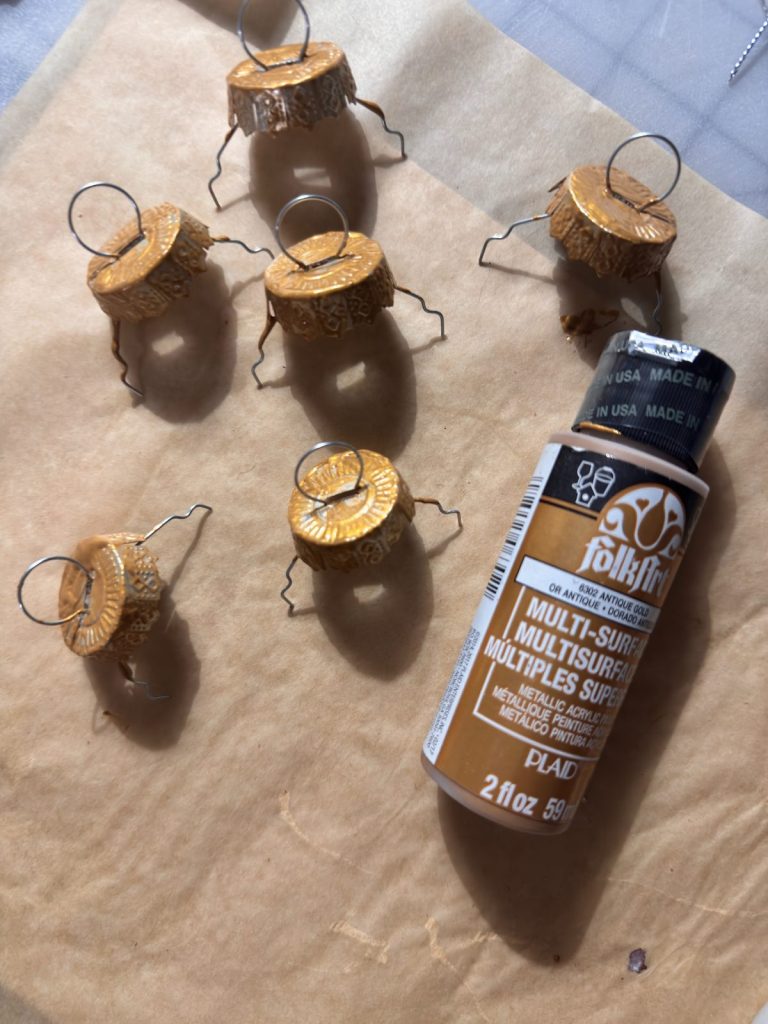
Place your ornament somewhere safe to dry for a few hours. Once it’s completely dry, you can reattach the metal top and add a ribbon, twine, or hook for hanging.
I repainted the tops as I thought gold looked better than silver. And then I added hangers using organza ribbon.
Styling and Decorating Ideas
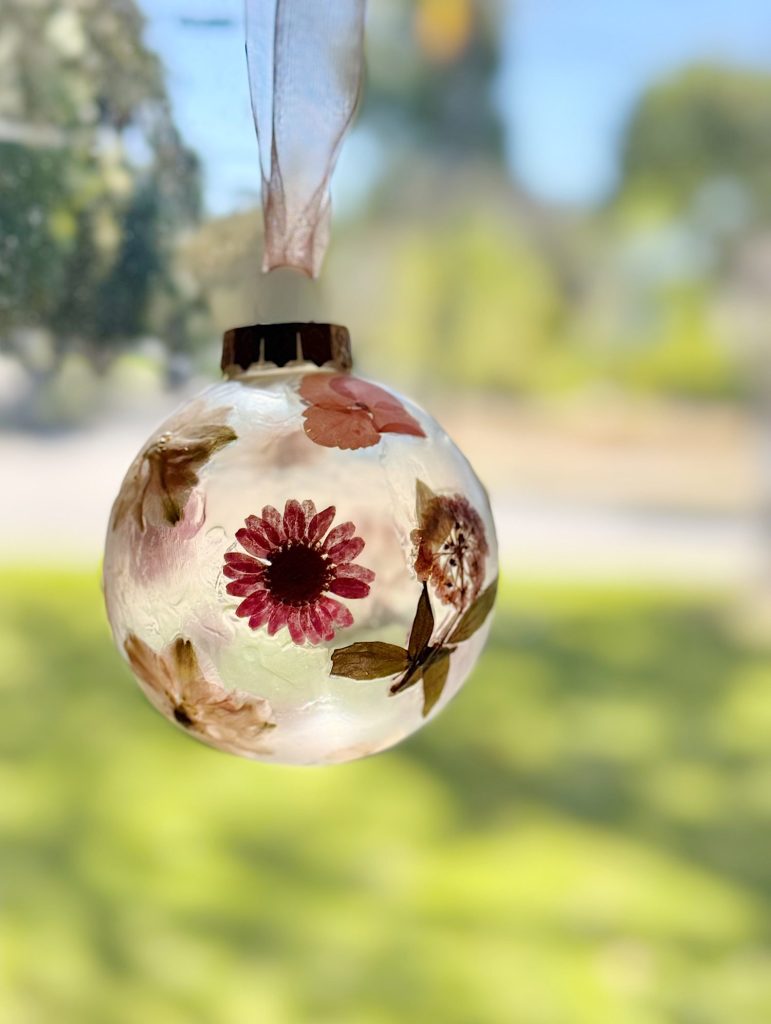
When I first finished these ornaments, I hung one near a window to dry, and that’s when I noticed how stunning they look when light filters through them. The delicate petals glow softly, almost like stained glass. That’s what makes them so perfect for a Christmas tree.
Here are a few ways you can style them:
- On the tree: Hang them near warm white lights so the glow filters through the petals. The light brings out every detail of the flowers.
- In a window: Hang them on ribbon in a sunny window — they’ll sparkle during the day and glow in the evening.
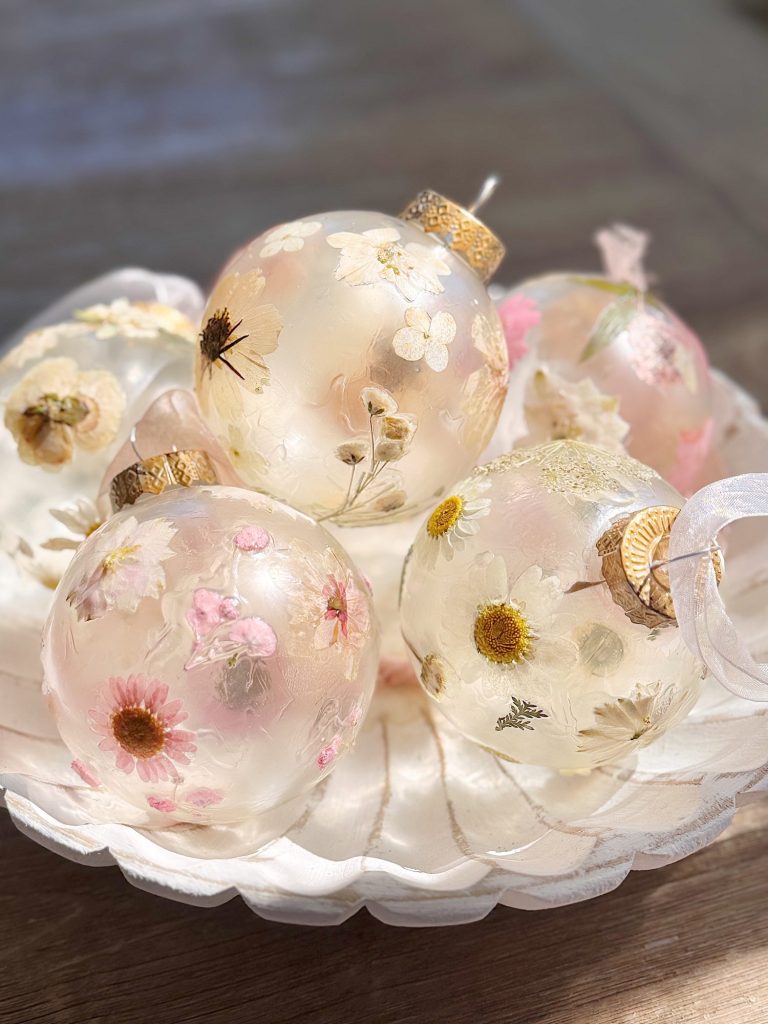
- In a bowl: Display several in a glass bowl or cloche as part of your holiday centerpiece.
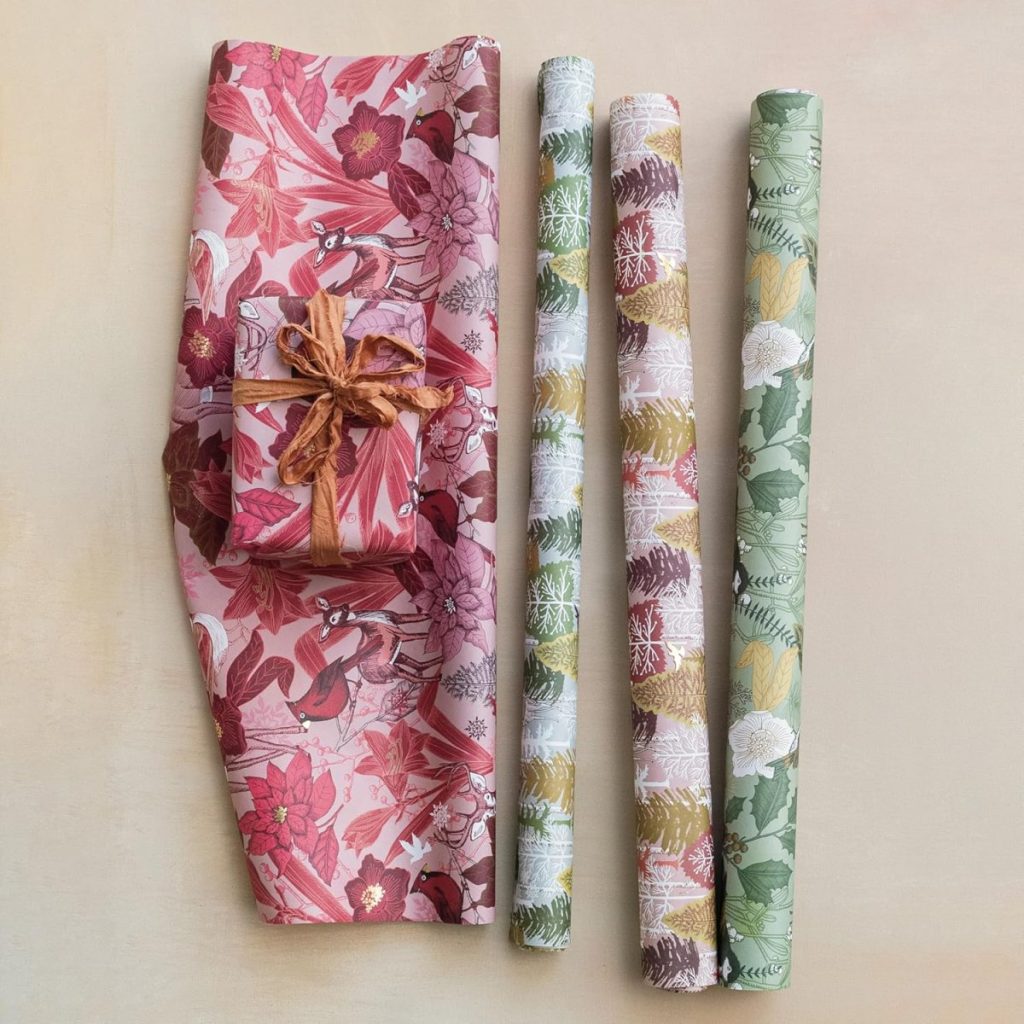
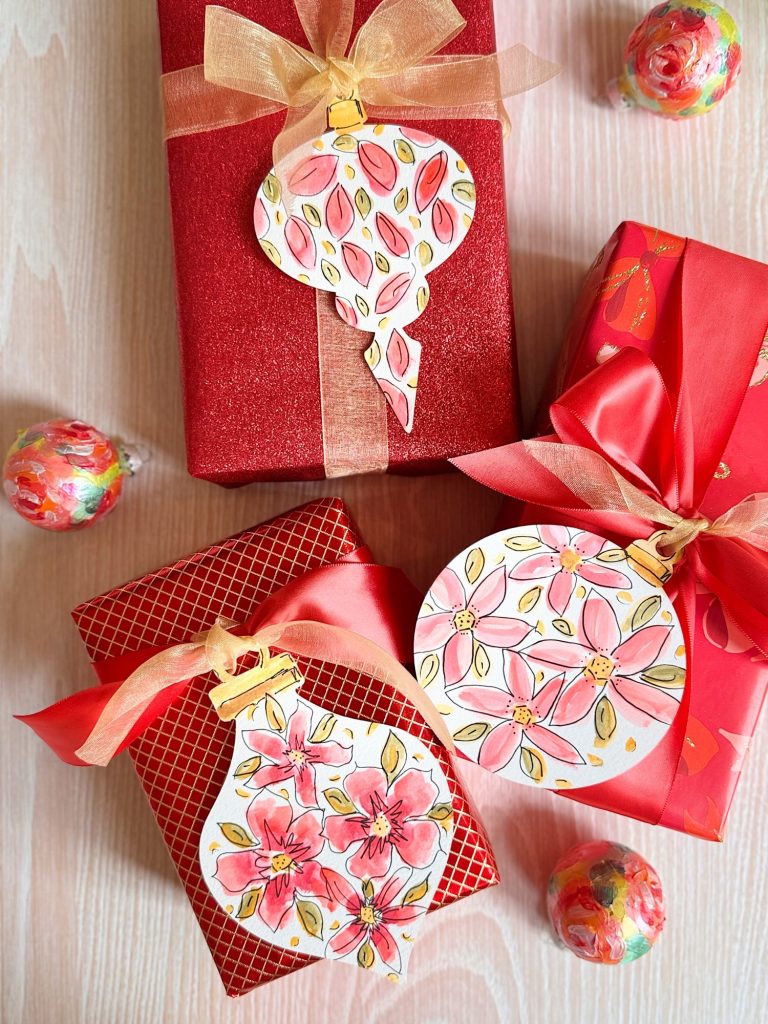
- As gifts: Add one to a wrapped present for a handmade touch that doubles as a keepsake.
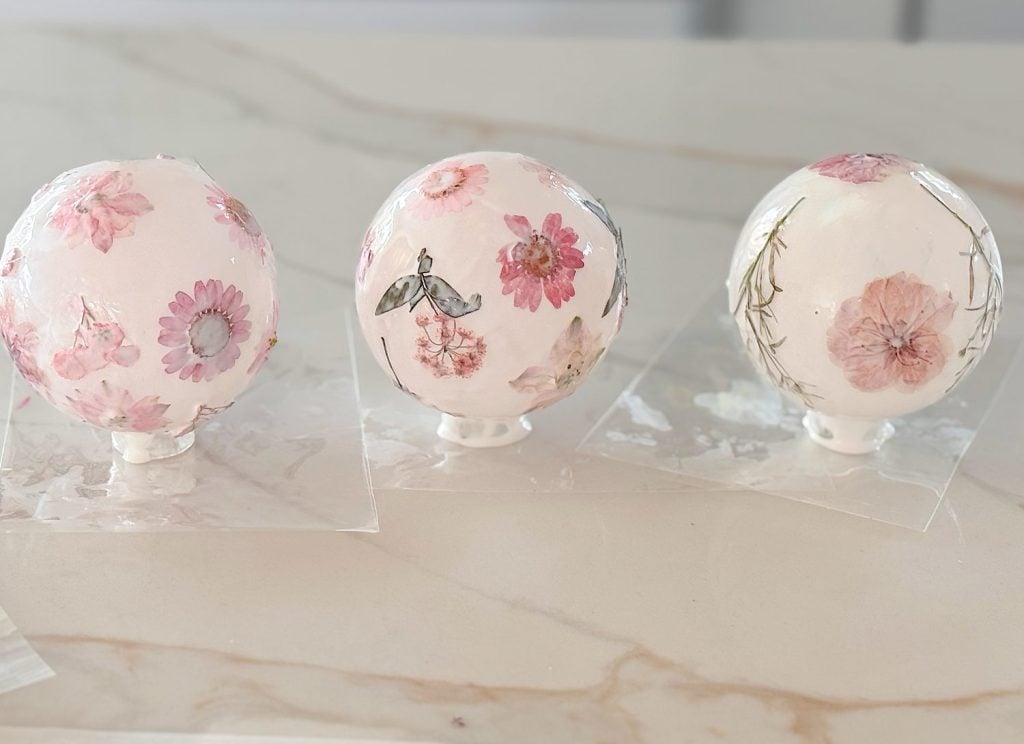
If you make a collection of them, vary your flower colors — pinks and whites for a romantic palette, or greens and neutrals for a natural woodland theme.

The Magic of Light
One of the reasons I love these ornaments so much is how they interact with light. The glass is transparent enough to let the glow of the tree lights shine through, illuminating each pressed flower from behind.
The effect is gentle and ethereal — not glittery or flashy, but soft and warm. It reminds me of candlelight reflecting through frosted glass.
If your tree has LED or twinkle lights, hang a few ornaments near the bulbs so they catch the glow directly. You’ll notice how the color of each petal deepens and comes alive. Even a simple hydrangea petal looks extraordinary when backlit.
Tips for Success
- Use thin flowers. Thick petals or large blooms don’t adhere well to curved glass. Stick to delicate flowers and small leaves.
- Work slowly. Mod Podge dries quickly, so apply it in small sections.
- Don’t overcoat. Too much Mod Podge can make the glass look too cloudy. A light hand gives the best result.
- Experiment with composition. You can cluster several flowers together for a bold design, or scatter tiny petals for a minimalist look.
- Try color themes. Make a set in blush pinks and creams, another in sage greens, or one inspired by vintage botanicals.
Personal Touches
I think it is fun to add stories to each ornament. You could:
- Use flowers from a wedding bouquet or anniversary arrangement.
- Press petals from your garden or a favorite trail.
- Add a tiny handwritten tag inside with the year or a meaningful quote.
This turns each ornament into a keepsake, not just décor. I made a few using tiny pieces of baby’s breath from a bouquet Dave gave me years ago, and every time the tree lights up, I smile, remembering that moment.
A Handmade Christmas Tradition
One of my favorite parts of the holiday season is setting aside time each week for a handmade project. It’s not just about decorating — it’s about slowing down, creating something meaningful, and finding joy in the process.
This Pressed Floral Glass Ornament feels like a quiet reflection of that idea. It’s delicate, simple, and peaceful to make. When you hang it on your tree, it tells a story of care and creativity which is a small, glowing reminder of what handmade really means.
If you’re following along with my A Handmade Christmas series, you already know each project celebrates that same spirit, something beautiful, personal, and crafted with love.
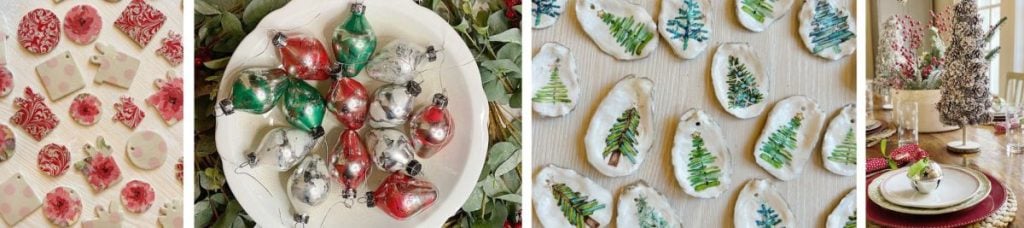
Sixteen Weeks of A Handmade Christmas
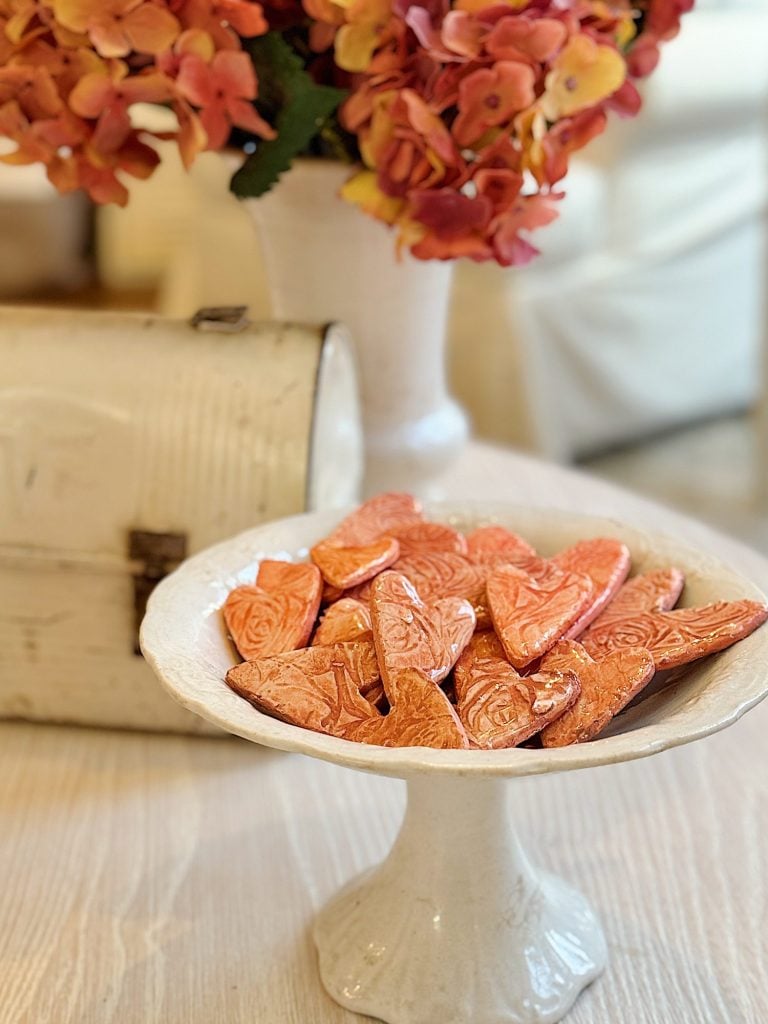
Here are the first seven weeks of A Homemade Christmas. Can you believe I have nine more still to share!

Final Thoughts
Crafting these ornaments reminded me how the simplest materials, glass, petals, and a little glue, can become something magical.
If you decide to make your own, gather a few friends or family members and turn it into a holiday craft night. Everyone can personalize their own ornament, and at the end, you’ll have a collection of tiny masterpieces to treasure year after year.
These ornaments also make wonderful gifts, especially tied to the top of a wrapped present or tucked into a small gift box lined with tissue. They’re thoughtful, sustainable, and absolutely stunning when the lights hit them just right.
So as you prepare your home for the holidays, remember this: the most beautiful decorations aren’t always bought, they’re made with your hands and your heart.
Stay tuned for next week’s A Handmade Christmas project, where I’ll share another creative holiday craft to make your season shine.

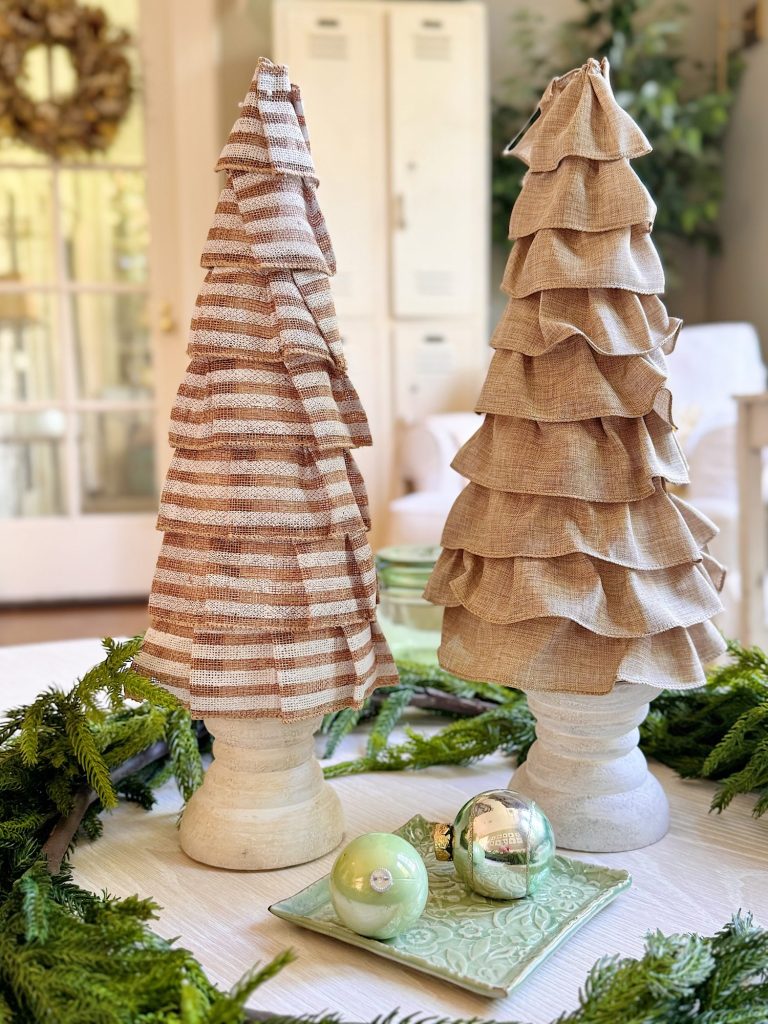
Anthro Inspired Christmas Decor

If you enjoy my blog, you can sign up to receive my updates here.
.Latest Posts
-
Spring Cleaning and Sunday Morning Coffee
I don’t know about you, but every spring I feel this strong pull to refresh something in our home, and this year I started in a place that might surprise you. It’s Spring Cleaning time! The very first room on my spring-cleaning list was our nursery. And yes, I know that sounds a little unexpected,…
-
Best Easter Brunch Egg Dish: Loaded French Onion Frittata
Easter brunch is one of those special meals where the table is complete, the laughter is loud, and the food is nothing short of spectacular. If you want to wow your guests with something savory, cheesy, and unforgettable, let me introduce you to your new Easter brunch hero: a Loaded French Onion Frittata.
-
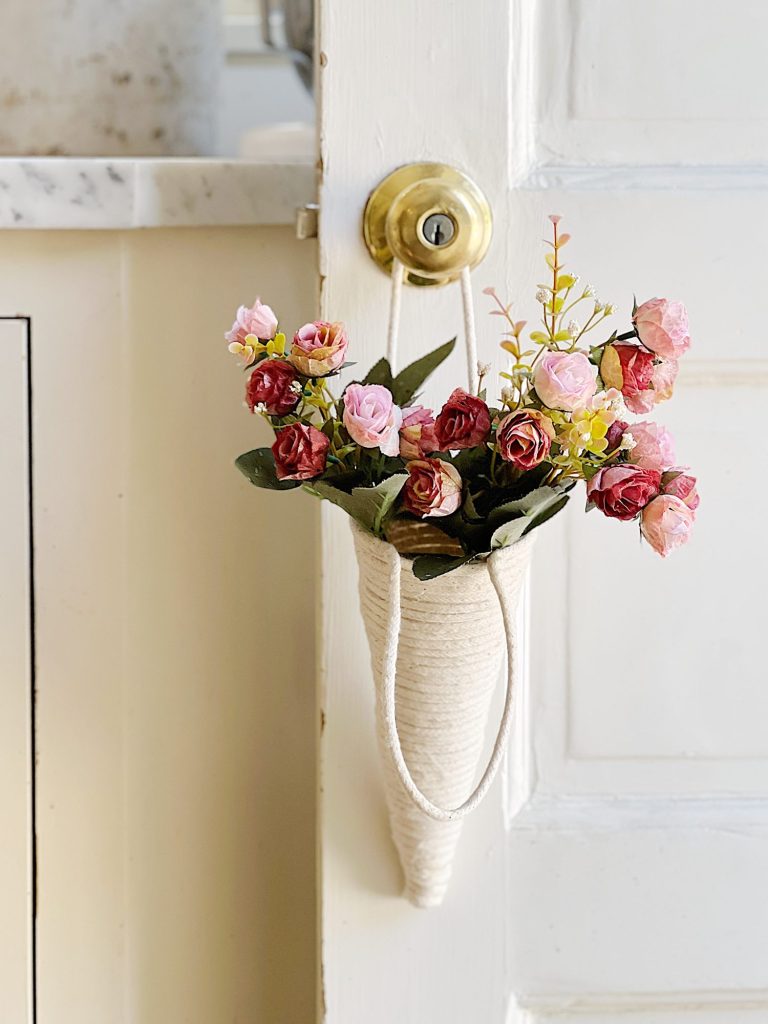
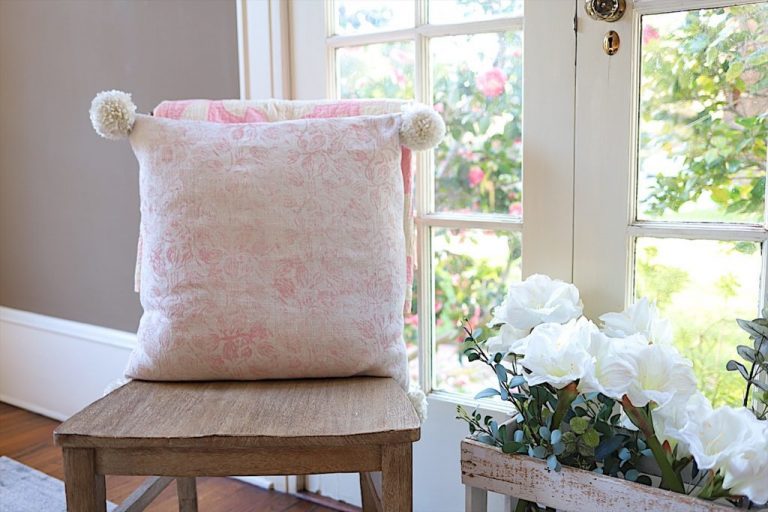
The Best Spring Pillow DIY – A Handmade Spring
There are certain projects that start as an idea and quietly turn into something you love far more than you expected, and this Spring pillow is exactly that. As part of my A Handmade Spring series, I wanted to create something soft, beautiful, and full of texture, and this pillow checked every box. This pillow…
-
DIY Clay and Metallic Foil Easter Eggs
With Easter just around the corner this week, I decided to create something special and truly unique for my spring décor … handmade clay and metallic foil Easter eggs. These little works of art are soft, pastel, and subtly shimmery, and they’re a beautiful way to add a handmade touch to your Easter celebrations. While…


My Recent Instagram Posts

You can pin the image below to your boards on Pinterest (click the Pin button in the top left corner) or follow me on Pinterest!
For more real-time updates, follow me on Instagram @My100YearOldHome
Please remove me from this Pop Up. This is my second request. I do not wish to recieve these. Thank you.
The pressed flower ornaments are beautiful. Are the flowers on the outside of the glass or the inside?
Thank you.