Peony Flower Basket
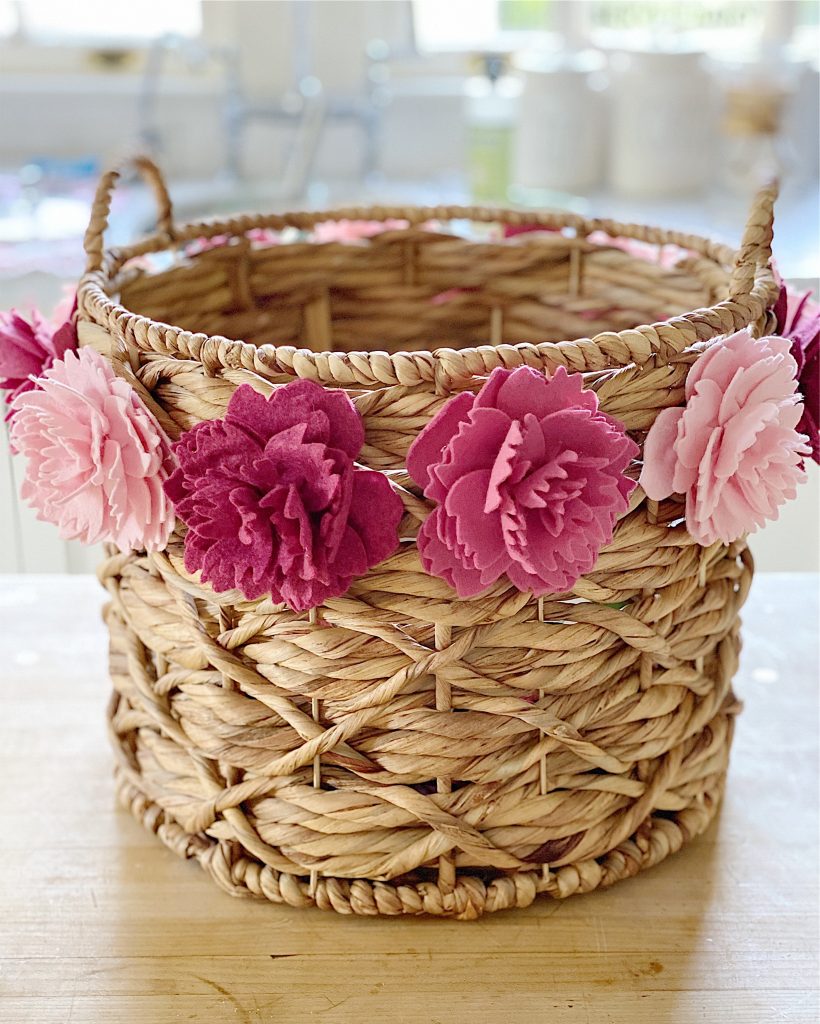
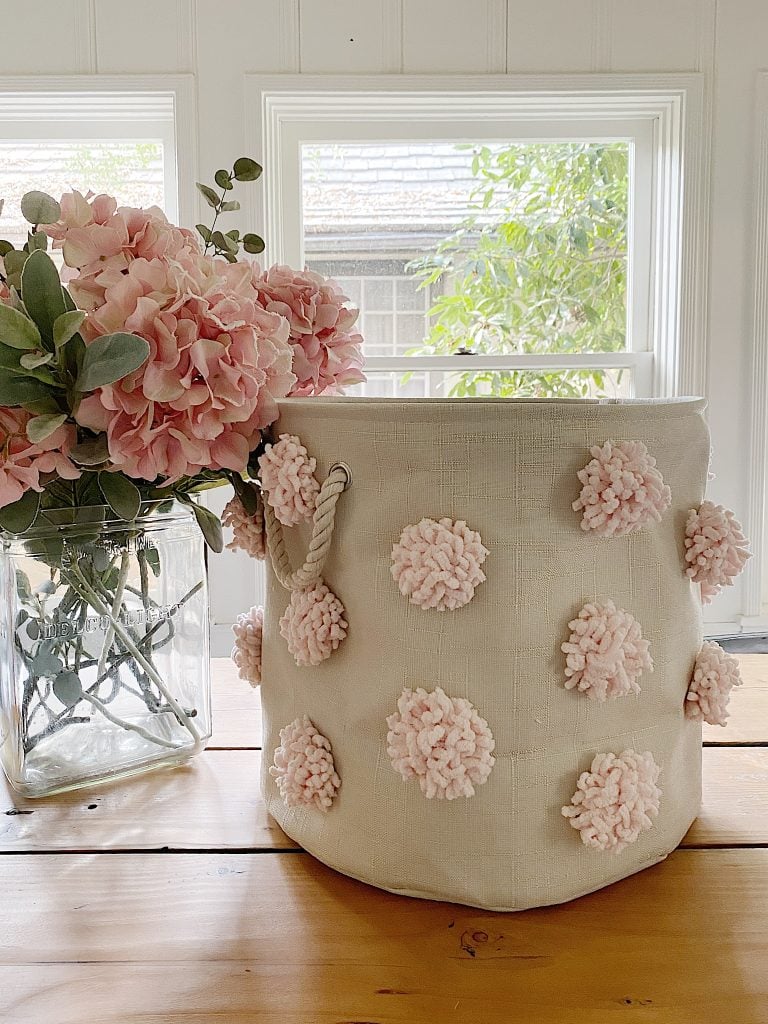
I was so excited to be a part of this peony flower blog hop. When I couldn’t find fresh peonies, I decided to make some of my own. Today I am sharing how you can make a peony felt basket.
When I joined a group of bloggers many months ago to be part of a blog hop, I was so excited. I imagined going down to the LA Flower Mart and finding some gorgeous peony flowers and decorating my home with flowers everywhere.
Well, obviously that didn’t happen.
I know you are surprised that I made felt peonies and attached them to a basket I bought a few months ago.
Some of you may think I should have just gone to a market and bought some peonies. But I can’t. My husband is high risk and I won’t take that risk.
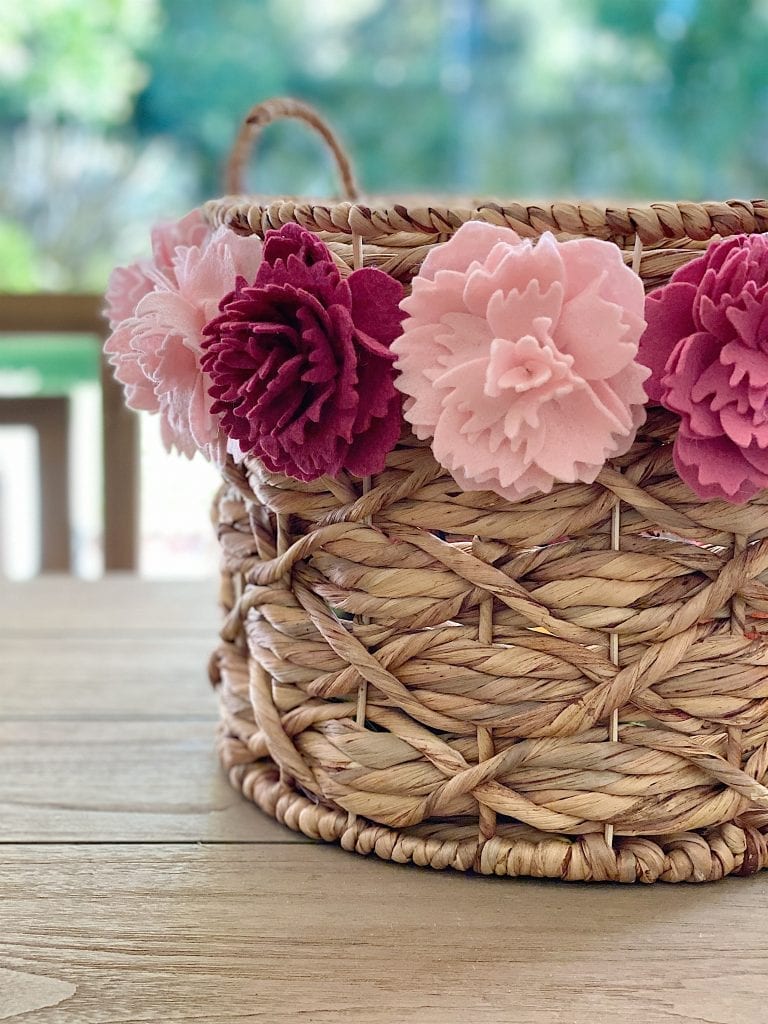
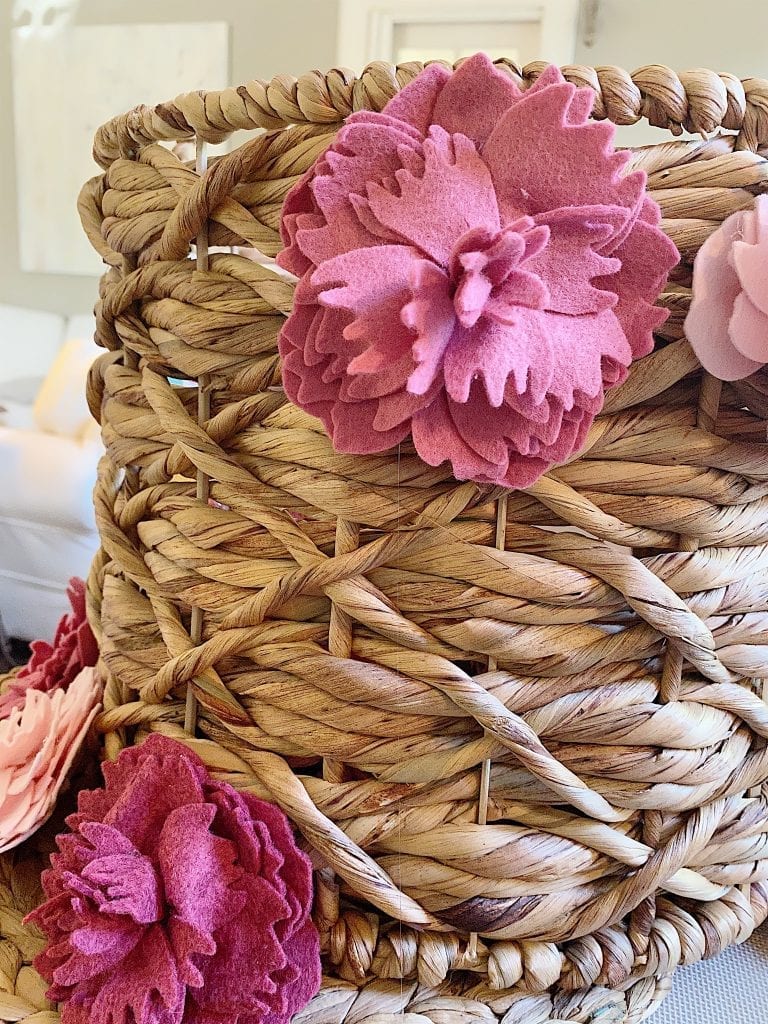
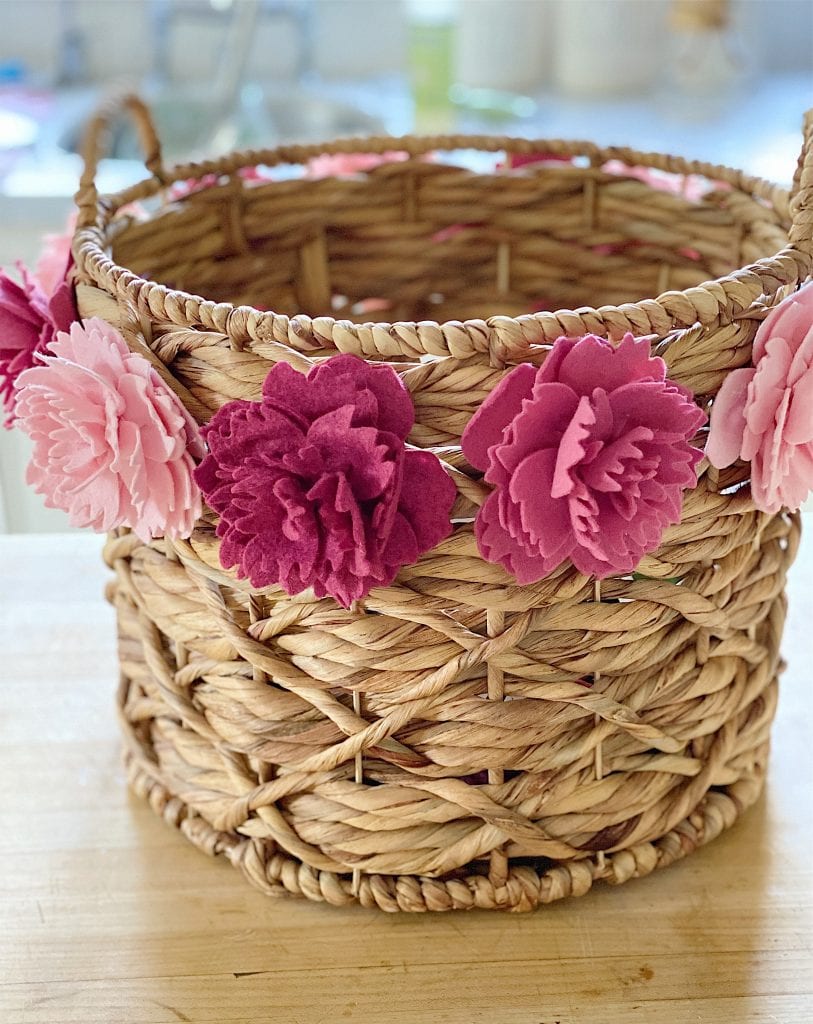
Besides, then I wouldn’t have had this adorable Basket with Felt Peony Flowers.
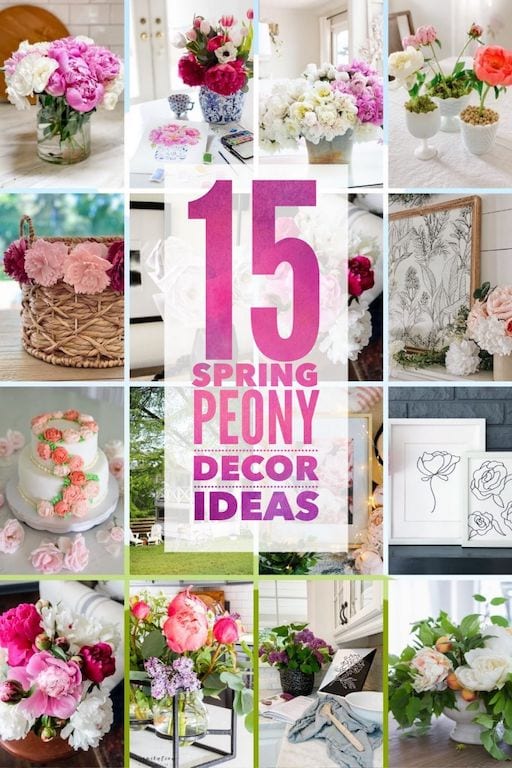
Be sure to go to the bottom of this post to see all of the peony decor ideas created by my blogger friends.
This was one of my late-night projects. I started cutting the petals yesterday afternoon but I kept getting distracted. The next thing I knew it was 9:00 pm and I still had petals to cut and roughly twelve flowers to make. I should probably mention that each peony flower has 28 petals.
Let’s just say it was a late night.
What You Need to Make a Felt Peony Flower Basket
A Cricut Machine (The Cricut Maker is the best as it cuts fabric and crepe paper very easily) Of course you can also use scissors.
Felt – I love Benzie Felt. Their colors are amazing and their Wool Blend Felt is the best. I think their prices are good too. The colors I used are Raspberry, Rose, Peony, and Pink. Each peony takes about one 12″ x 12″ square.
Glue gun and sticks
Floral wire
Felt Peony template from Lia Griffith (instructions are also included).
How to Make a Felt Peony Flower Basket
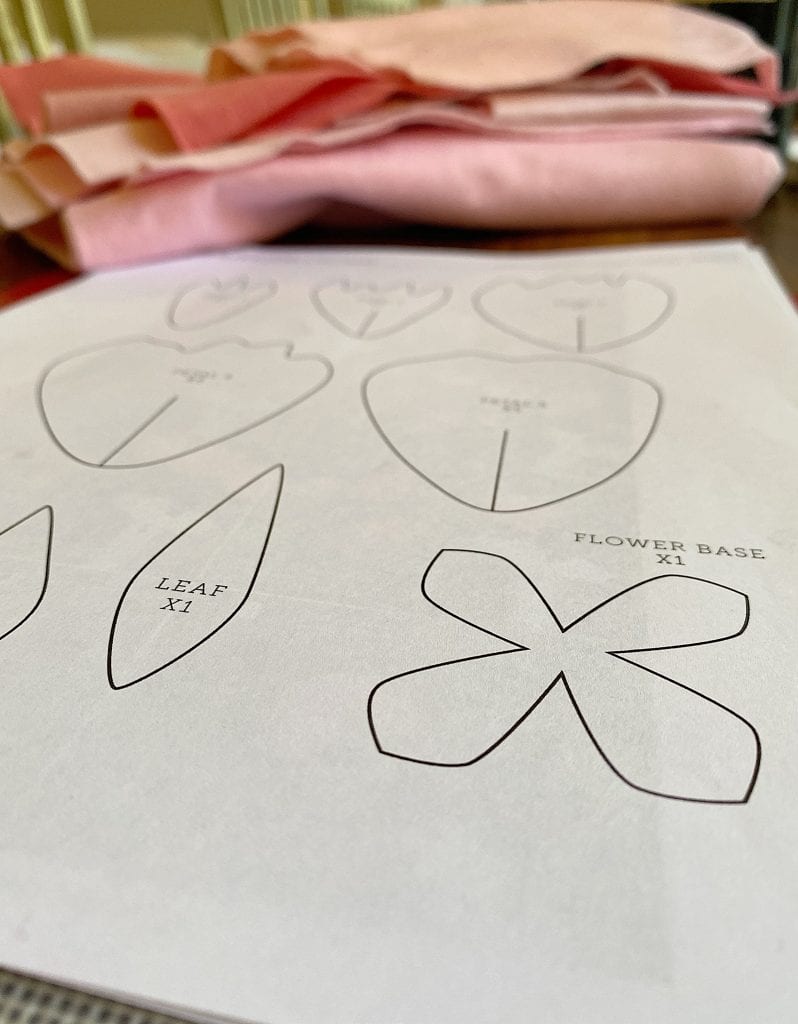
I downloaded the SVG files from Lia Griffith’s website as they are what the Cricut machine needs to cut the petals from the template. Lia also has a paper template to cut the petals by hand too.
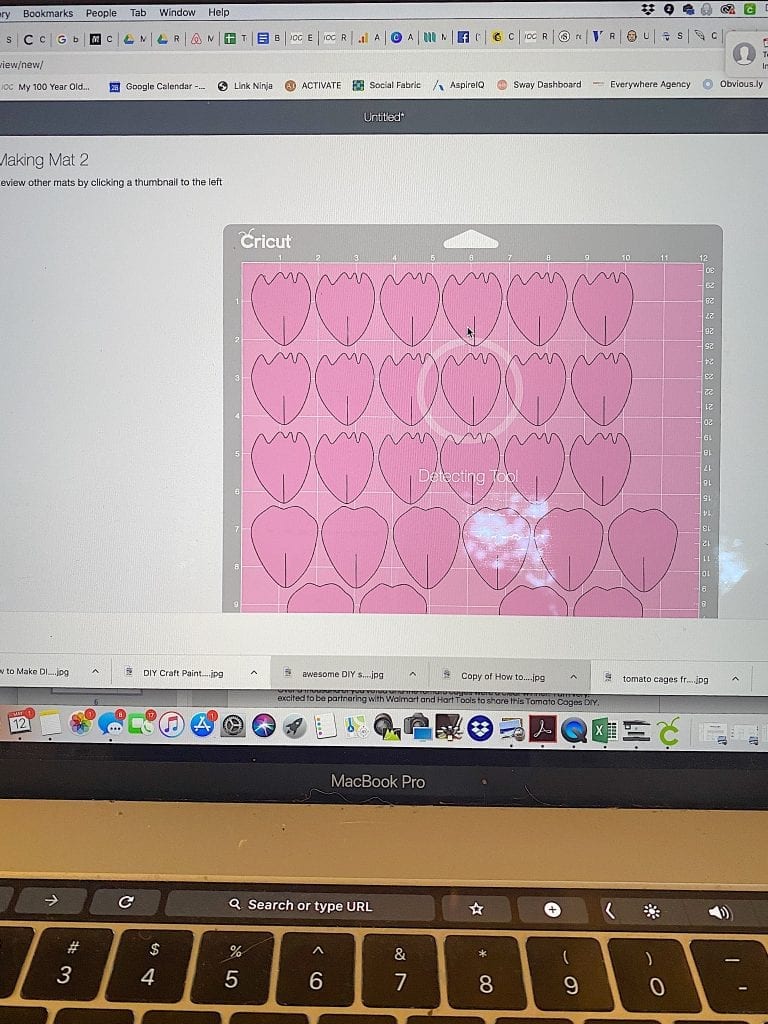
This is what the petal template looks like on my laptop. You can see most of the petals have a slit up the center of them.
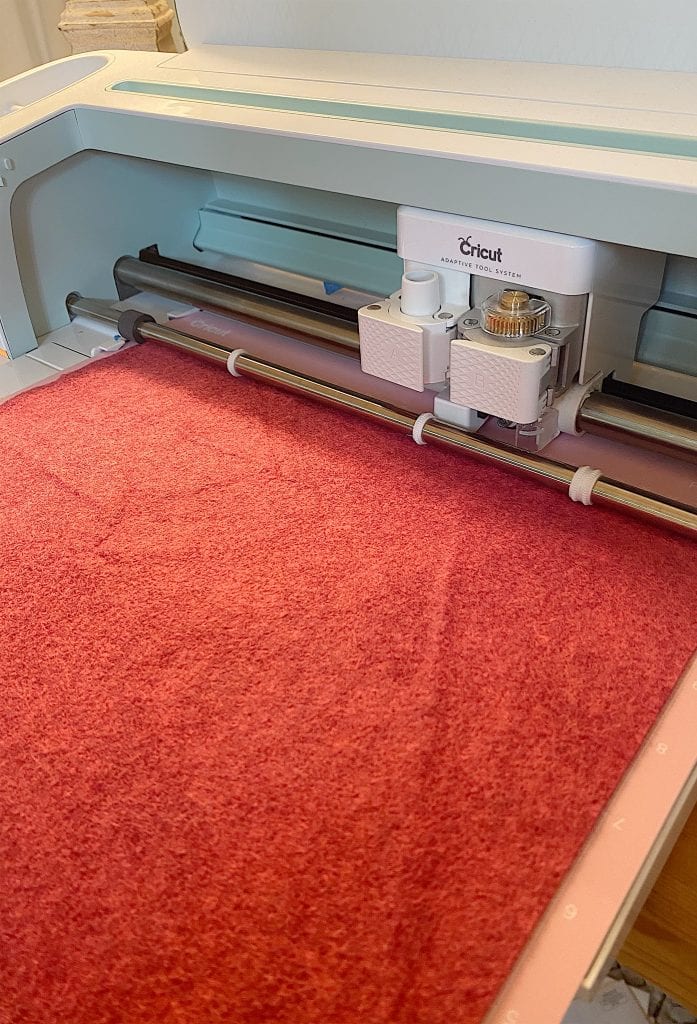
I loaded the felt into my Cricut machine. I let the machine do all of the hard work. I used the setting on the Cricut called Wool Felt.
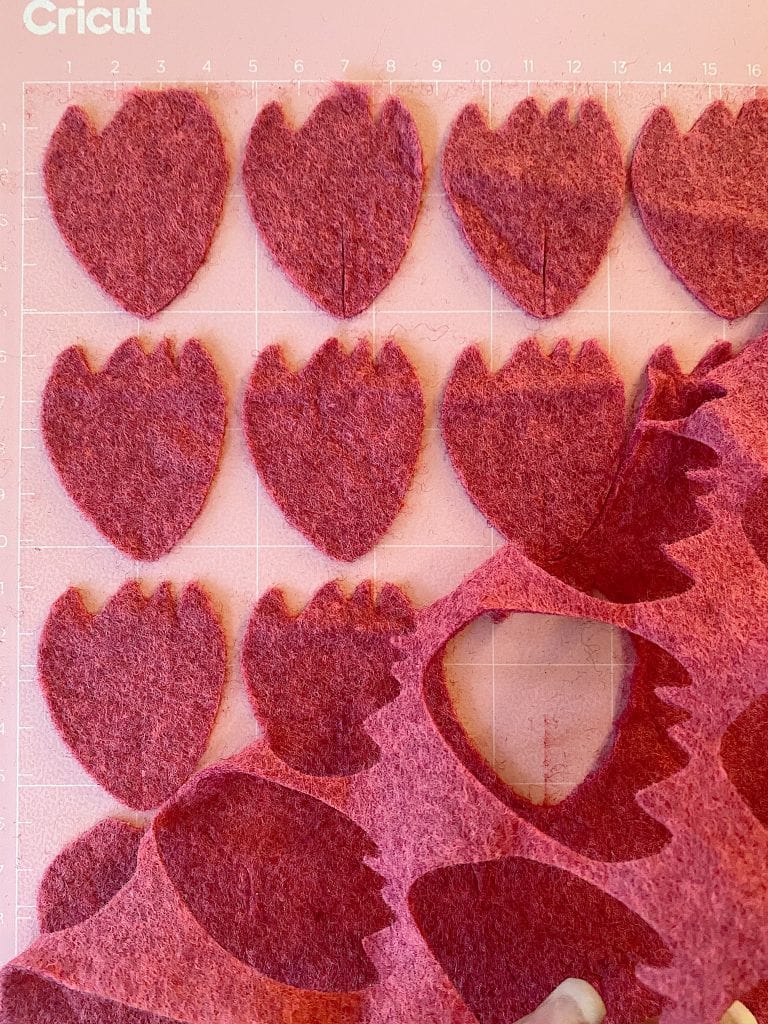
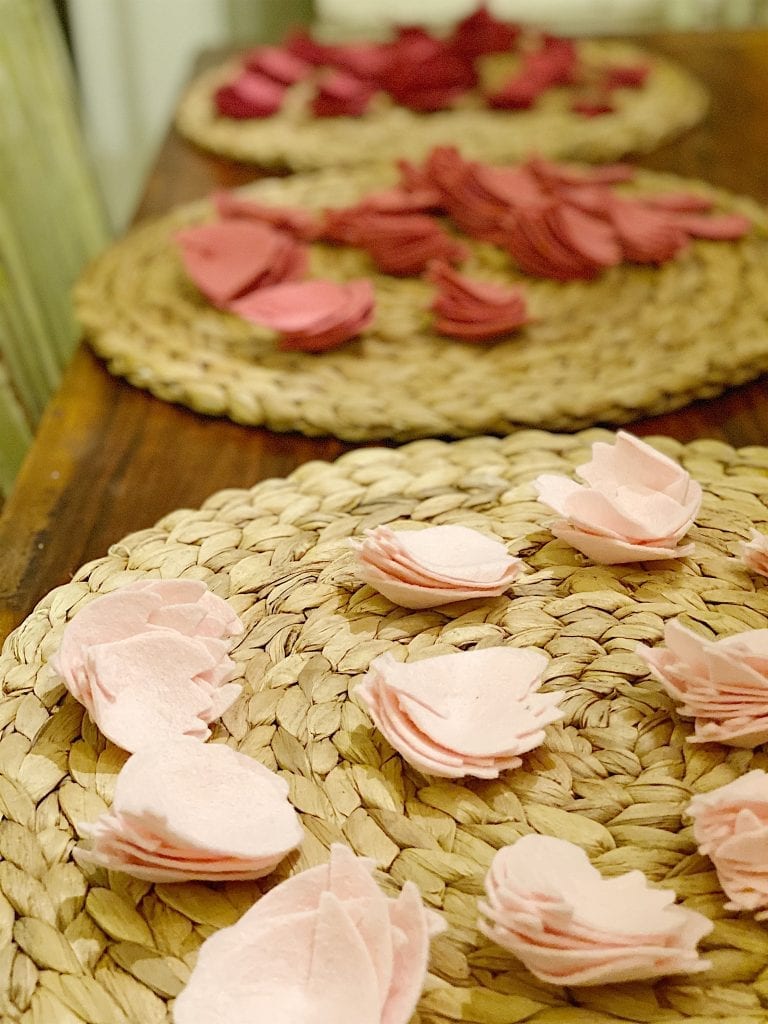
This is what the cut petals look like when the machine is done.
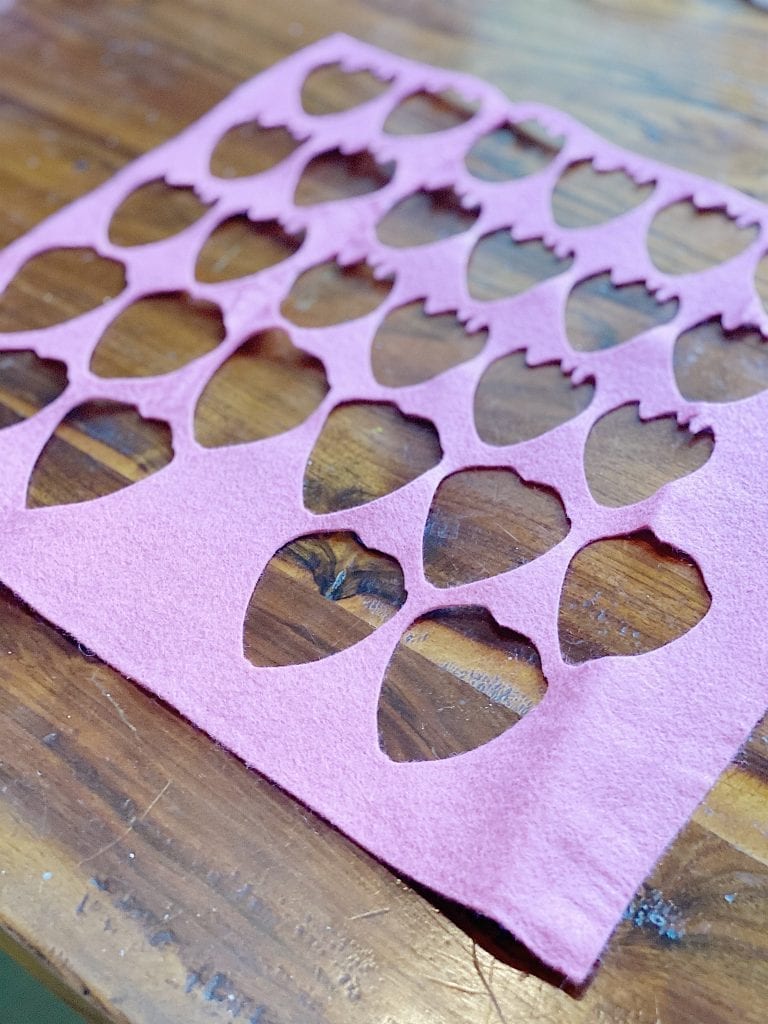
It always amazes me how perfect the. “scraps” look after the felt is cut.
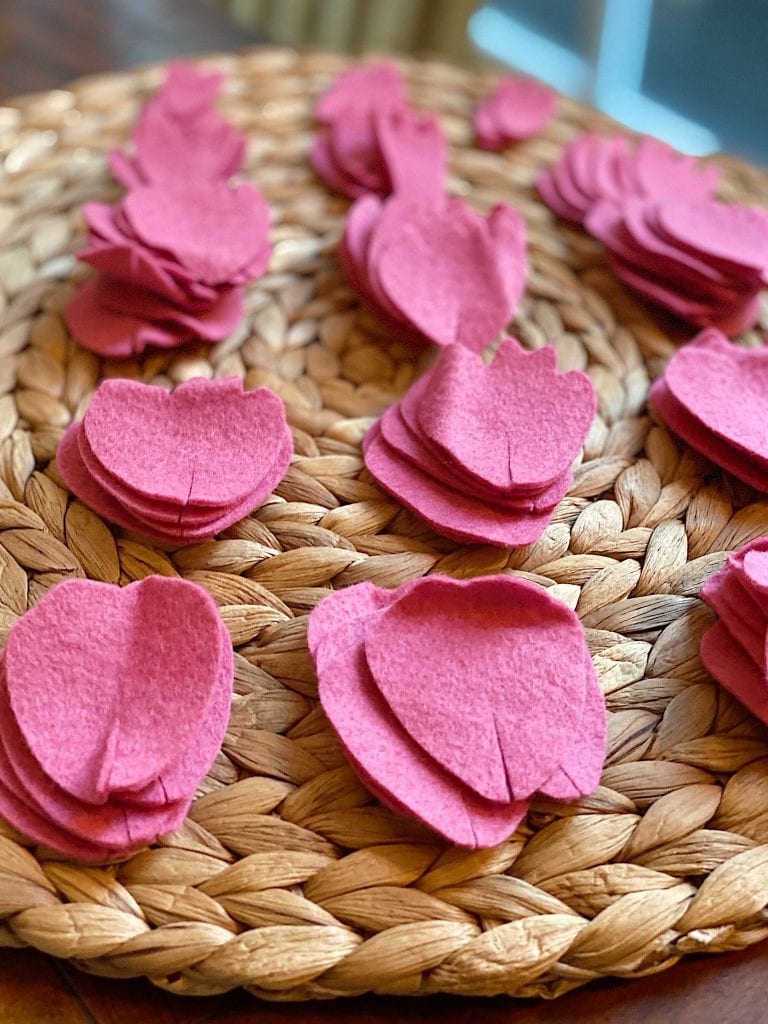
For some reason, I chose our placemats to hold all of the petals. There were a lot of them!
Can you guess how many peony flowers these dark pink petals will make?
Only three peony flowers.
Yikes, that’s a lot of petals.
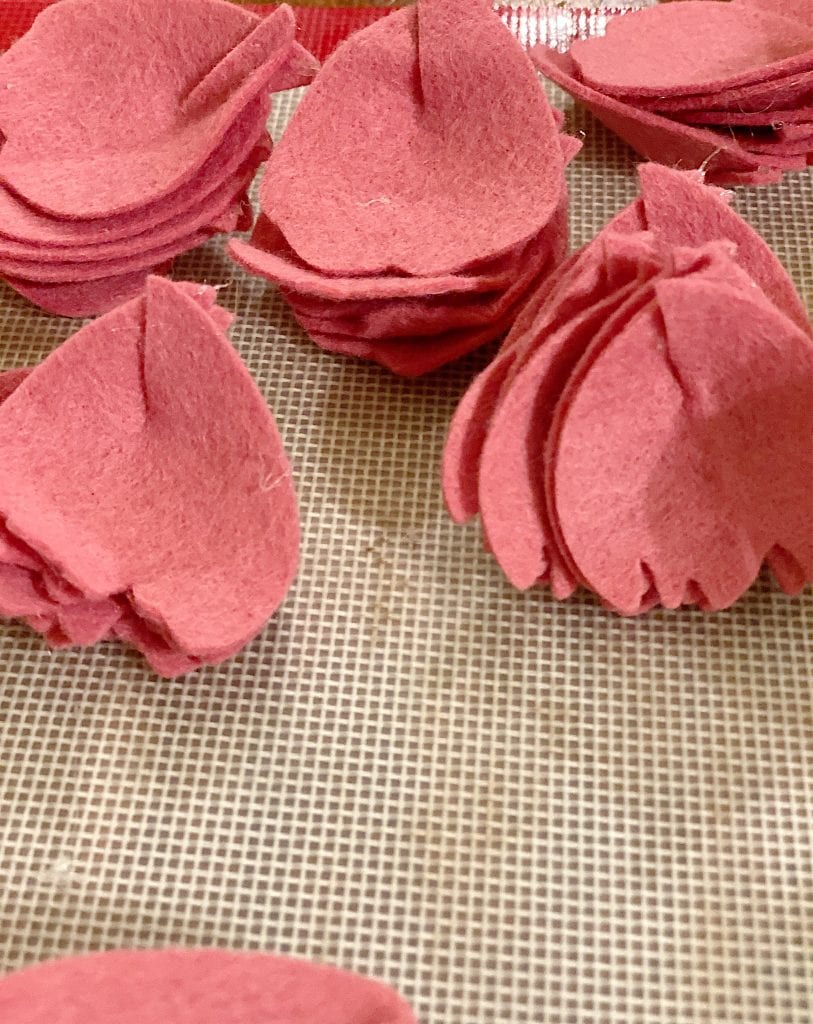
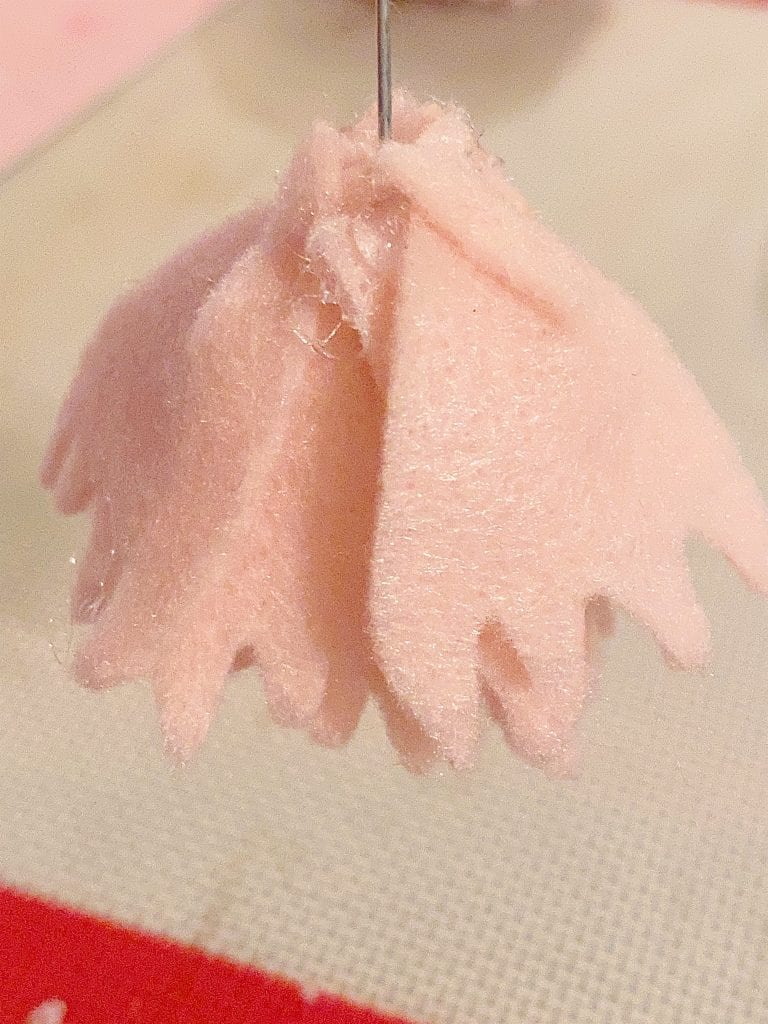
The first step is to glue the slits which make each petal into “a cup” shape.
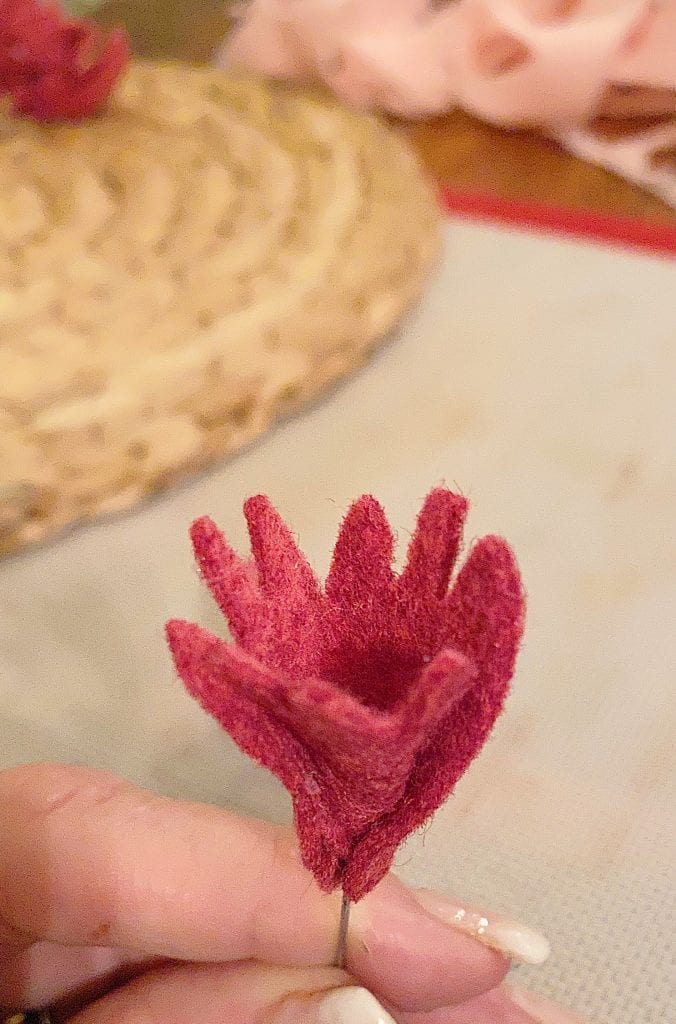
Next, wrap the three smallest petals (one at a time) around the wire and adhere with a glue gun.
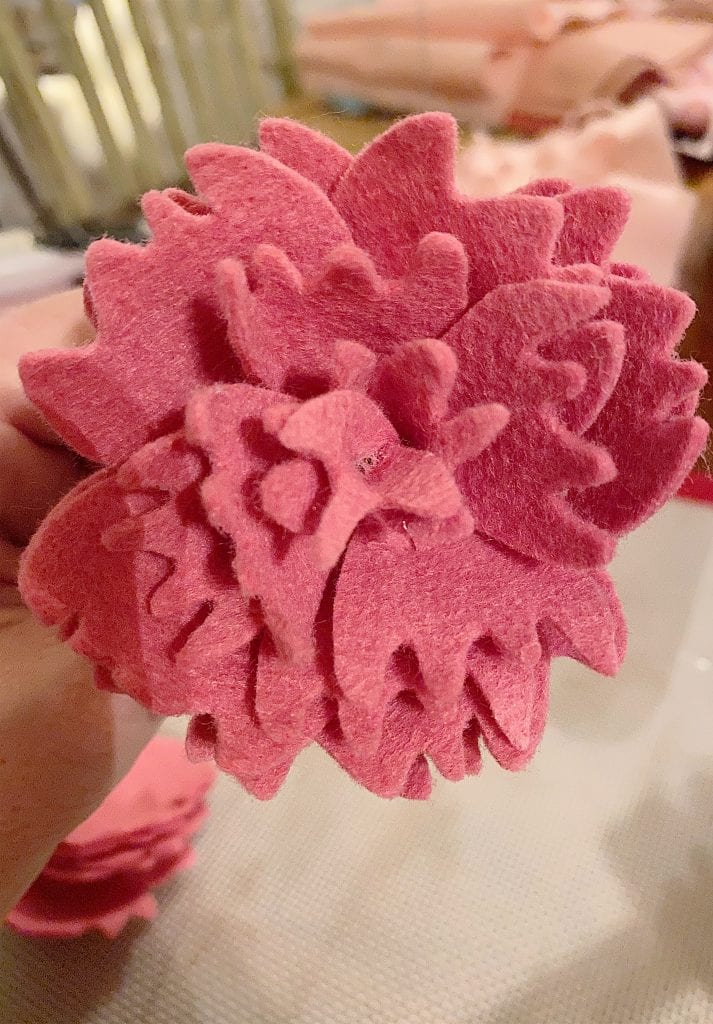
Here is another view of the same step with the darker pink petal.
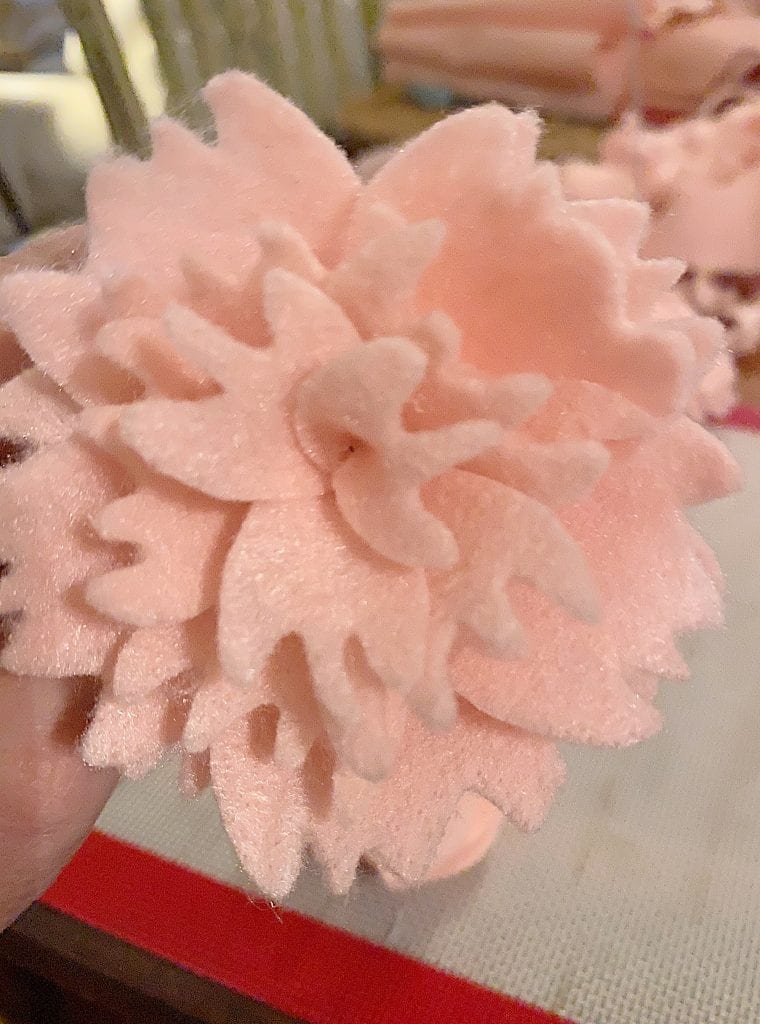
Next, glue the petals, in their numbered order, onto the flower. I find it easier to glue them with the flower pointing upside down.
Of course, when you are done and you flip the flower over, it’s a peony!
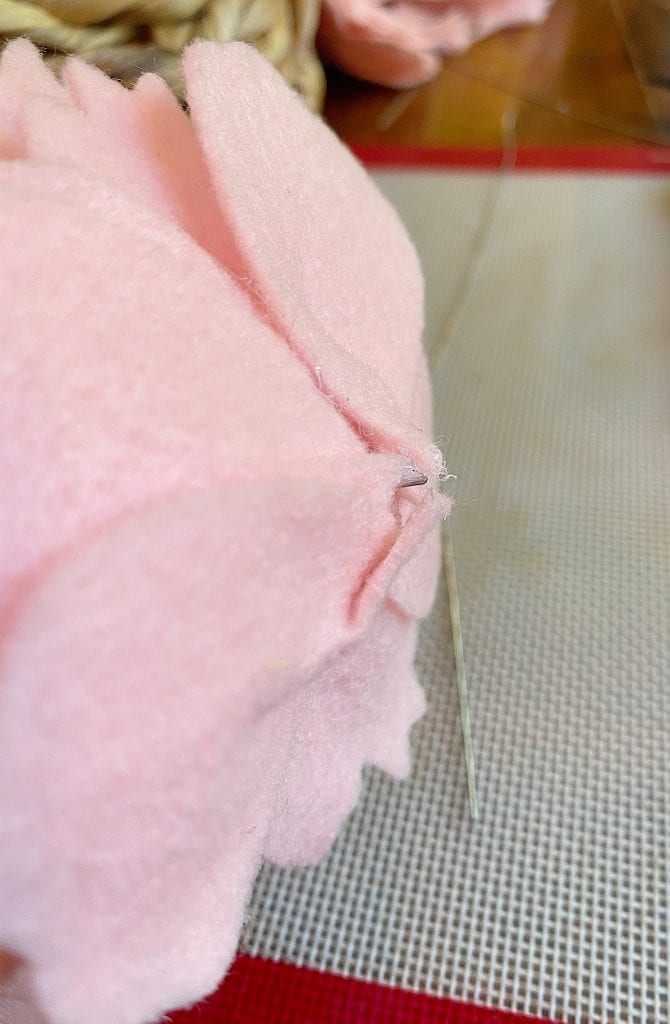
To glue the peony flower on to the basket, you need to snip off the wire stem first.
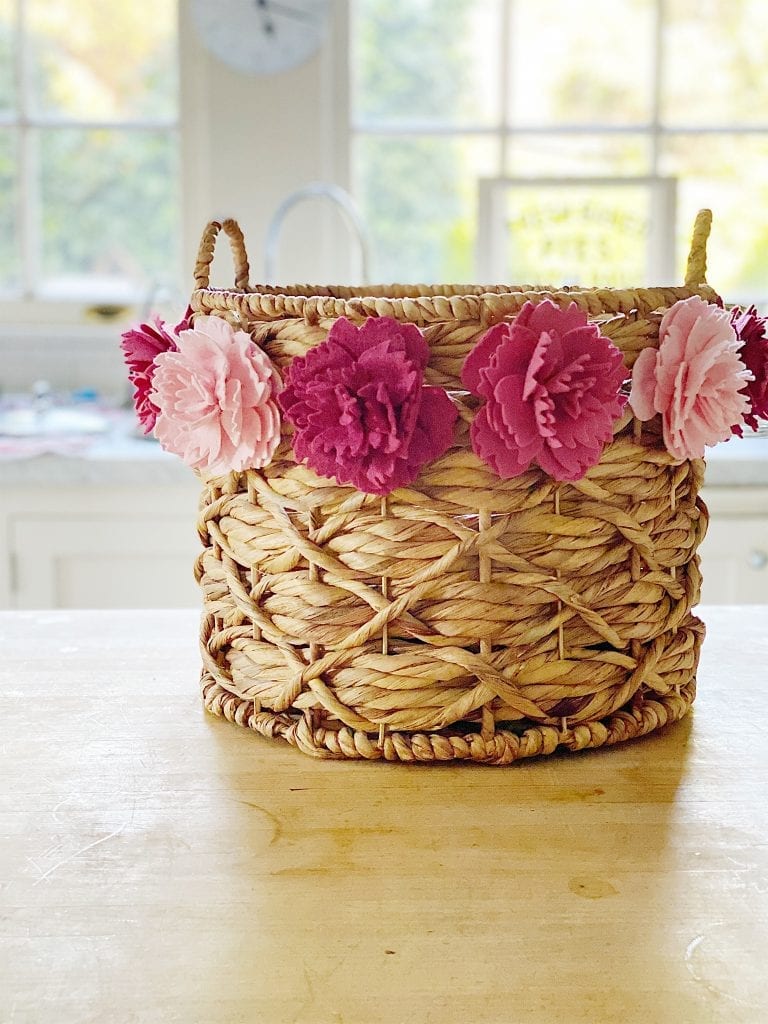
Just so you know, I didn’t measure the basket in advance. Instead, I laid out the flowers along the bottom of the basket and figured out the spacing. I am still trying to figure out how I got so lucky. I made twelve flowers that ended up fitting perfectly around the basket. Next, I figured out how far apart to place the peony flowers and I glued them on to the basket with a good amount of hot glue. I only put glue on the center bottom of the flower but they’re very secure.
I love how my basket turned out. It’s amazing.
I teamed up with some very talented bloggers to create inspired home decor featuring peony flowers. Click on any of the links to see more.
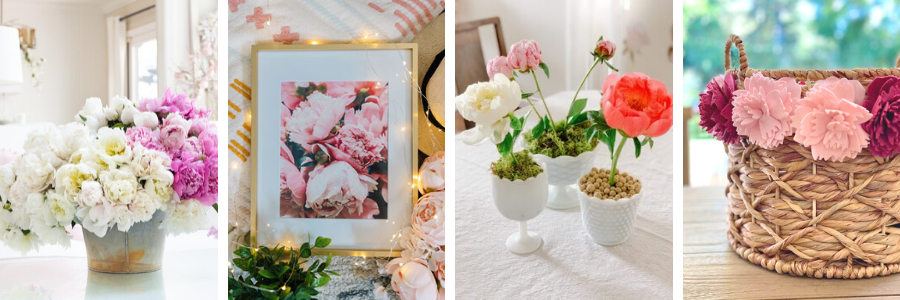
How to Make a Simple Floral Arrangement – Happy Happy Nester // Free Peony Printable Art & Lock Screen Download – The DIY Mommy // DIY Potted Peonies in Milk Glass – Life Is Better At Home // How to Make a Felt Peony Basket – My 100 Year Old Home
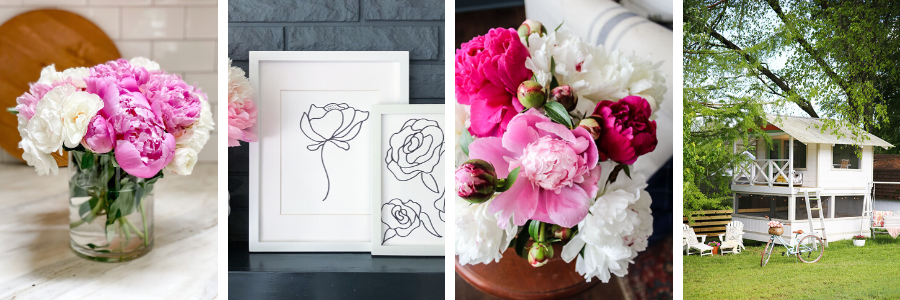
Peony Tips & Tricks – Modern Glam // DIY Peony Line Drawing with a Sharpie – The Happy Housie // Tips for Creating a Peony Arrangement – A Blue Nest // How To Make Paper Peonies – The Handmade Home
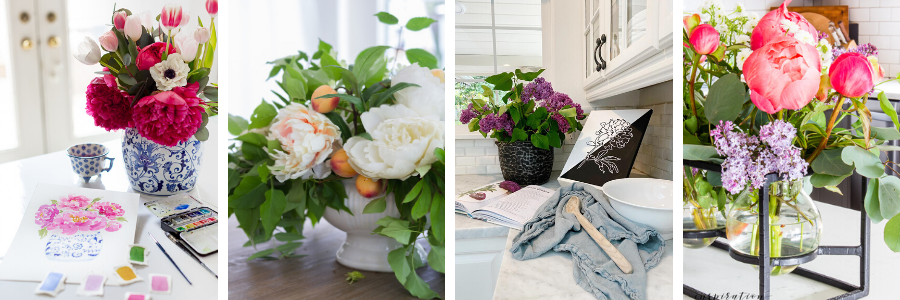
Watercolor Peonies in Ginger Jar Art – Craftberry Bush // Easy Foraged Peony Arrangement – Zevy Joy // DIY Peony Canvas Art – My Sweet Savannah // Easy Peony and Lilac Arrangement – Inspiration For Moms
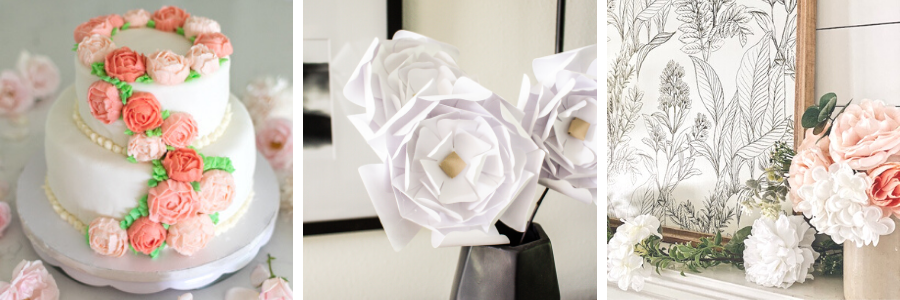
Iced Peonies: How to Make Buttercream Flowers – Jennifer Maune // DIY Paper Peonies – Taryn Whiteaker Designs // Easy Summer Mantel Styling With Florals – She Gave It A Go
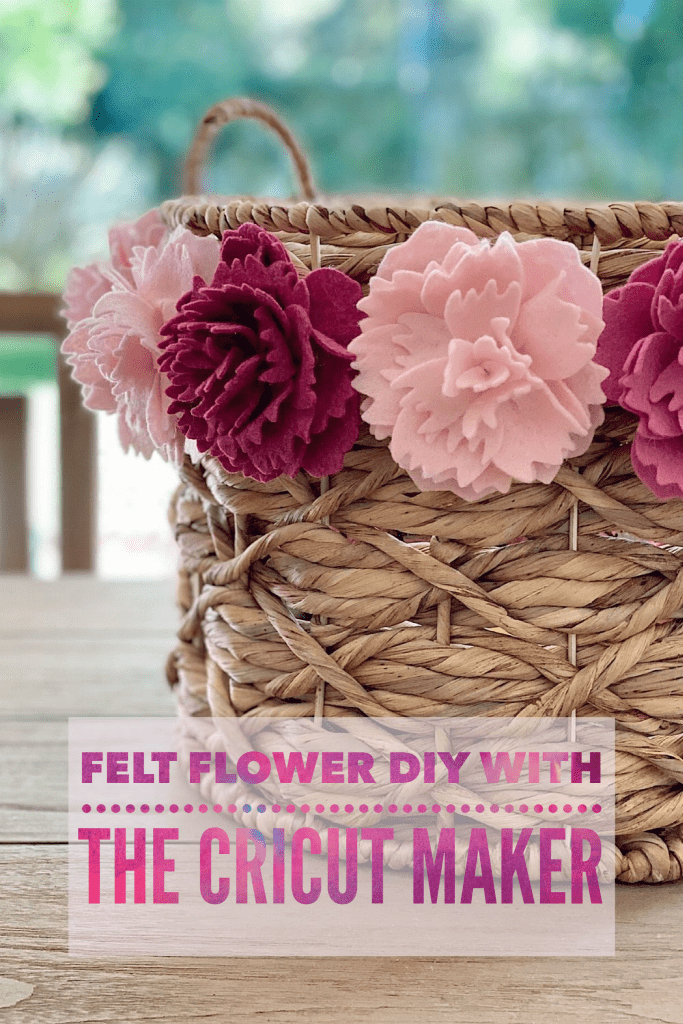
Pin the image below to your Craft or Spring decor boards on Pinterest (just click the Pin button in the top left corner). You can also follow along with me on Pinterest!
For more real-time updates, follow me on Instagram @My100YearOldHome







Love your felt peonies Leslie, and you will have them next year! Peonies came and went this year @ TJ’s…only heard this haven’t been in TJ’s in months now.
So true. Peony season can be so short, unless of course you get them this way 🙂
I really need two things: More time, and a Cricut machine! 😉 Following in your flower footsteps would be my first project. (Right after those amazing Kouign-Amann!!) 💗 Thanks!
O man, that is a toss up what should come first! Haha. Thank you, friend.