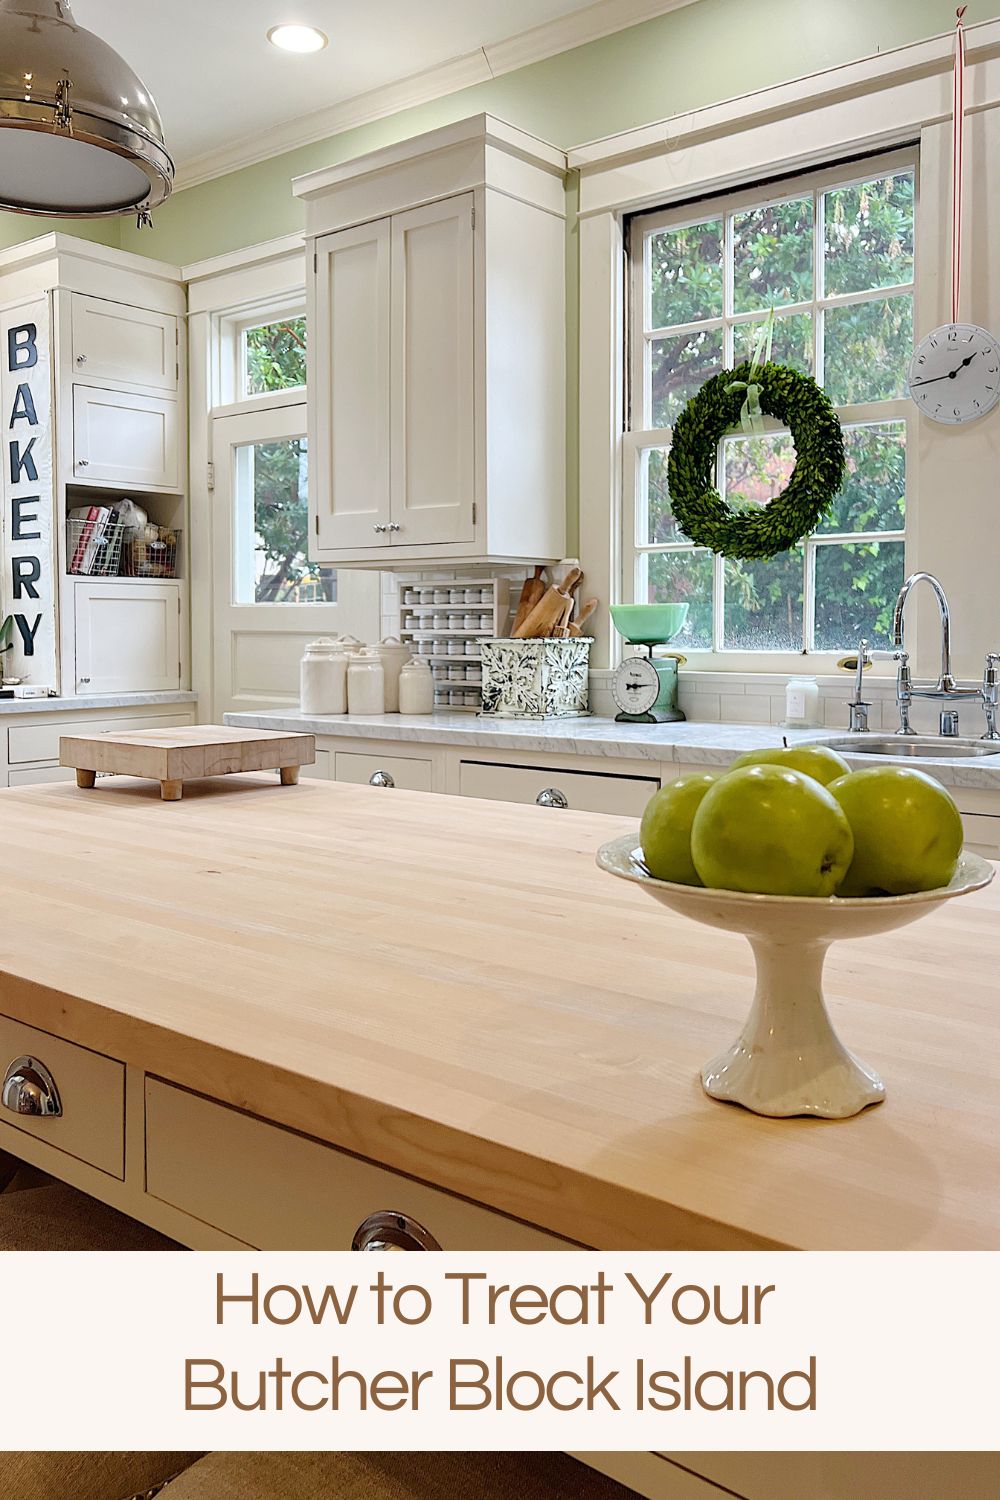
How to Treat Your Butcher Block Island
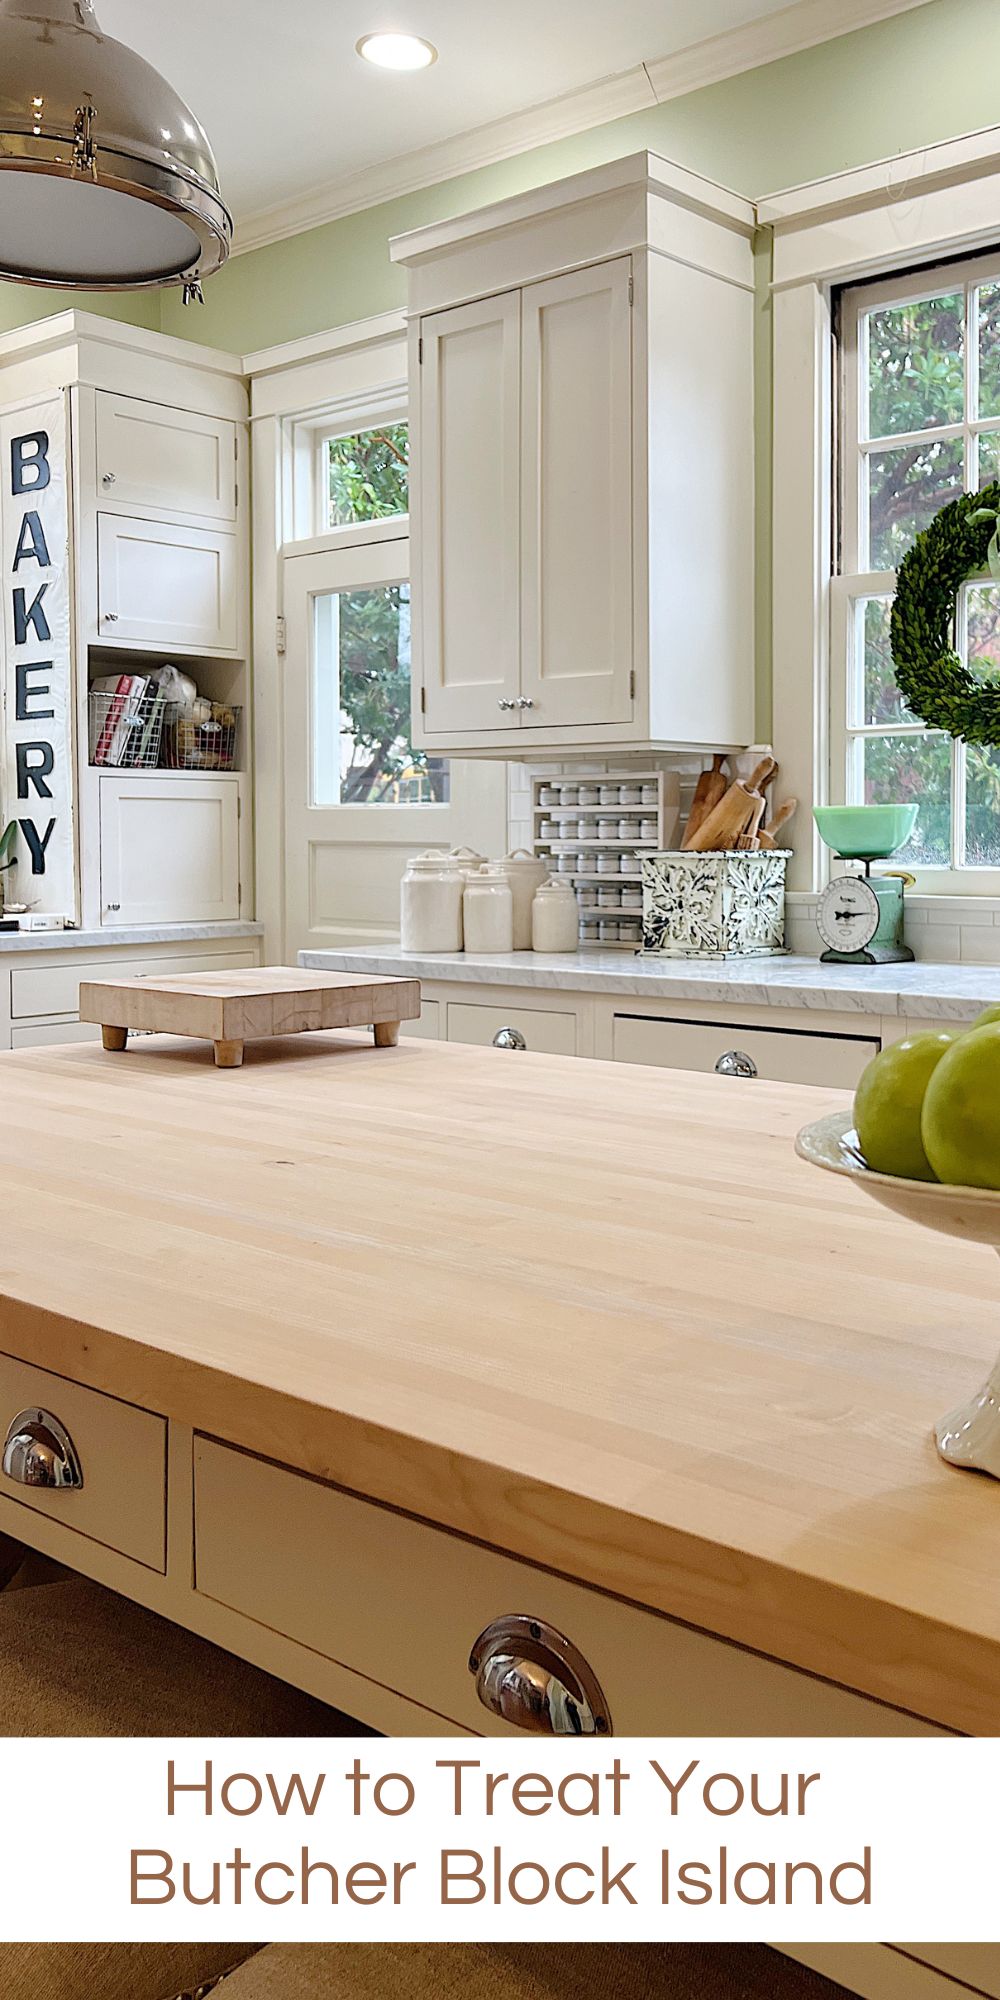
Last year I did something in our kitchen that was amazing. After twenty-three years of use, I finally redid the top of our butcher block island!
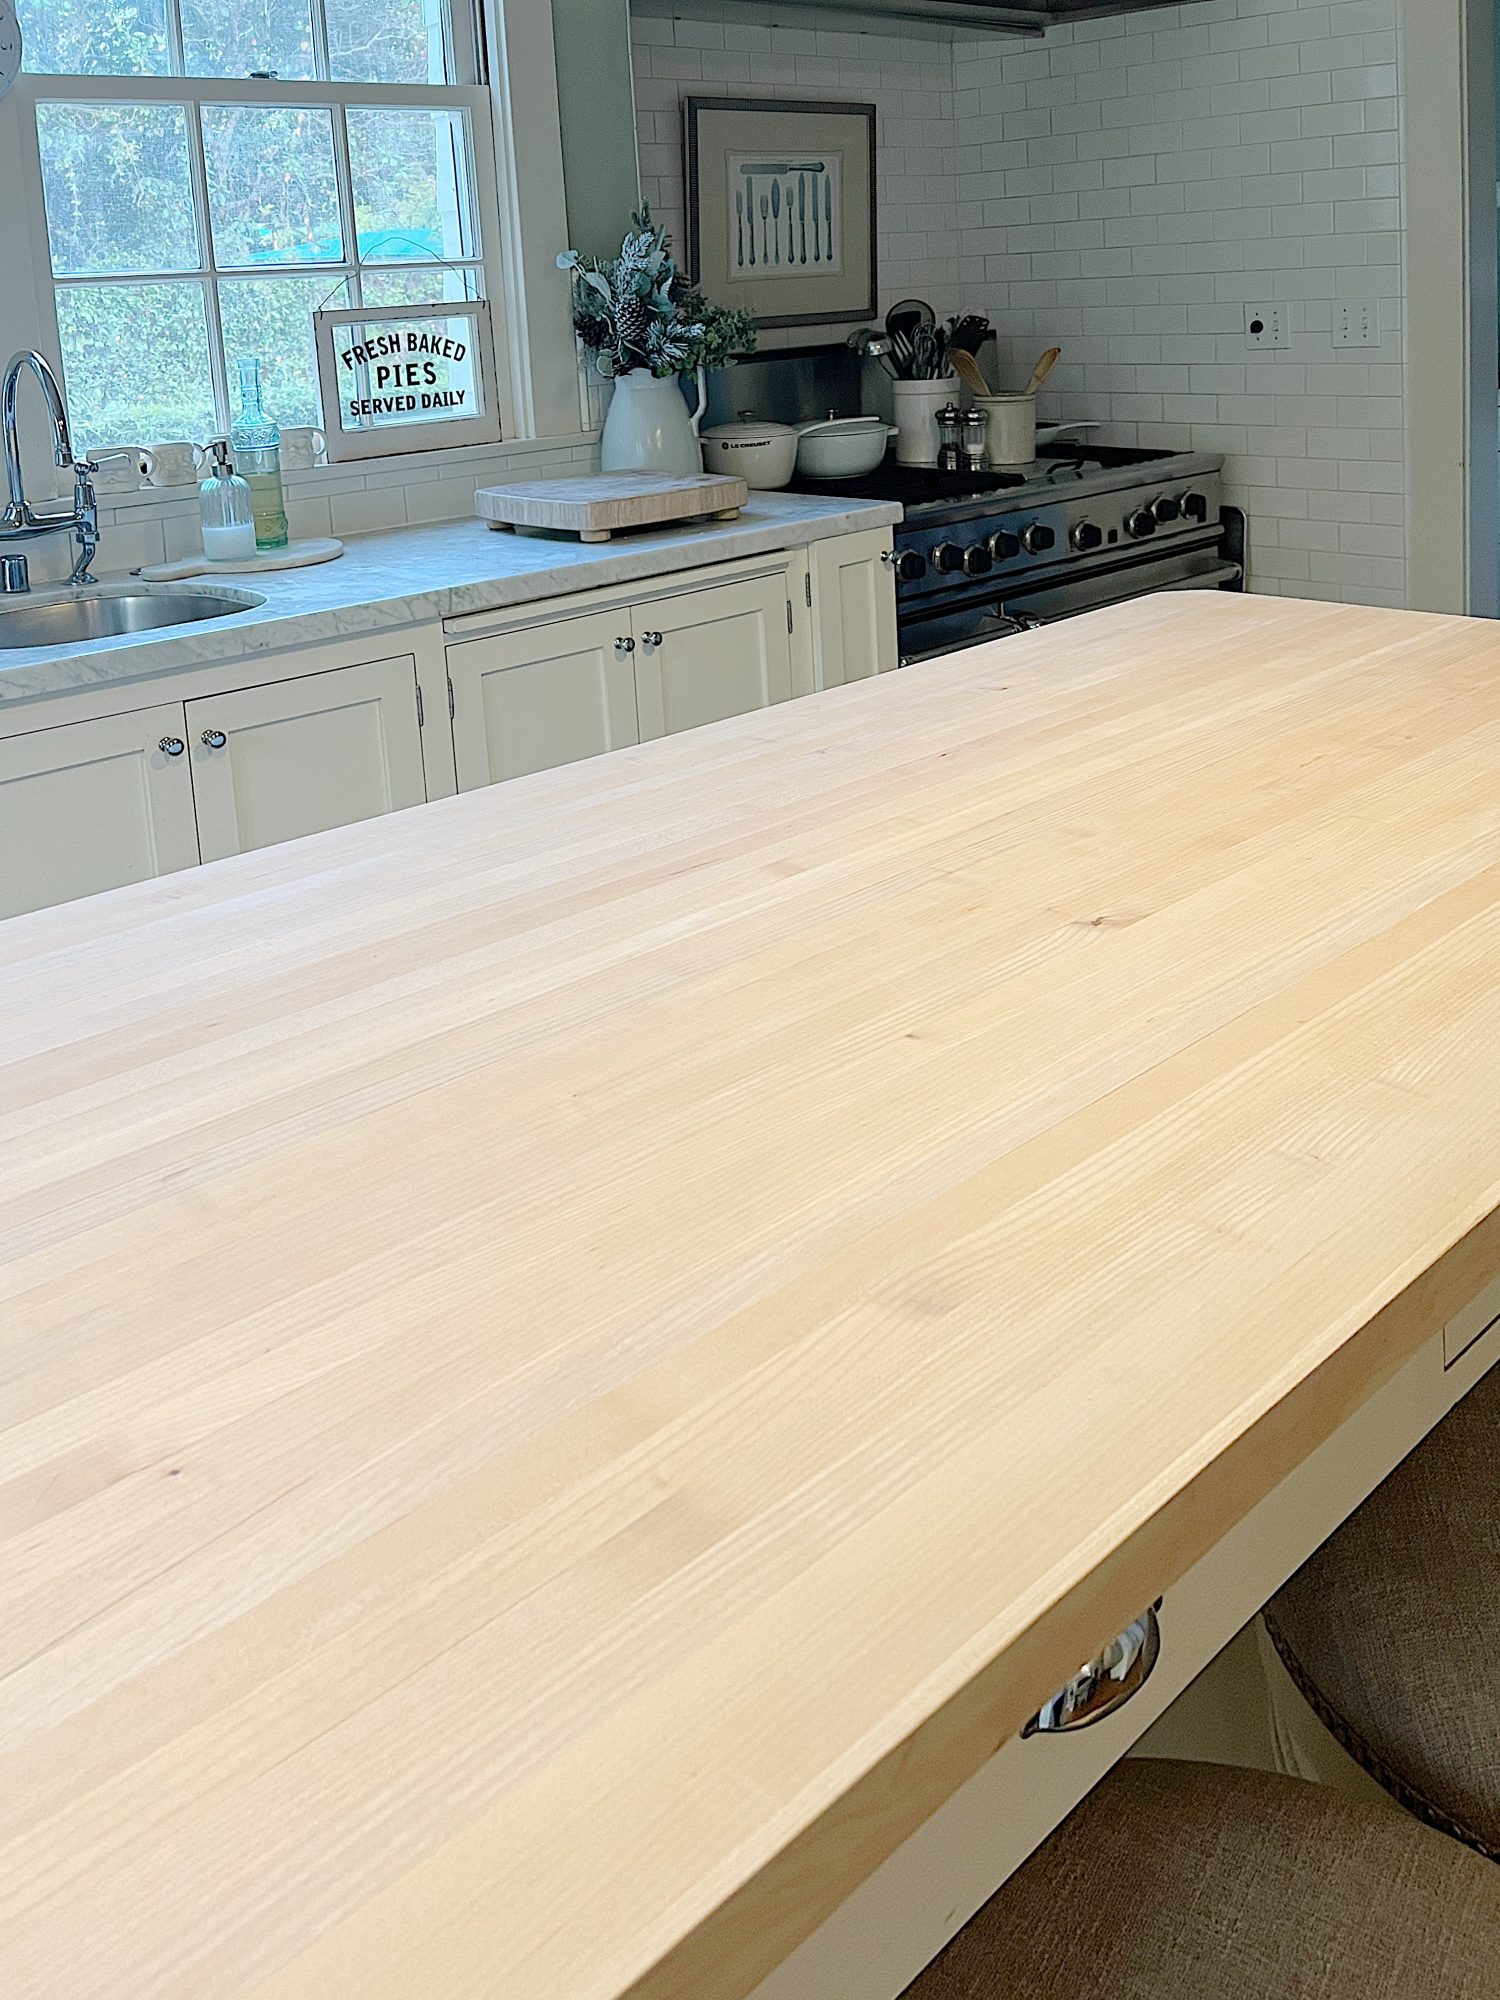
After so many years of use, the top of our island looked terrible. It was stained, burnt, cut, and dry. And yet, after two hours of sanding, it looked brand new! Then I refreshed it and it looked amazing!


Refreshing the Kitchen Island
I had no idea how much better our island would look after a good refinish.
So why did I wait so long?!
My kitchen island is twenty-three years old and I will be honest with you, I have only conditioned it a few times. For years I have wanted to have the butcher block sanded, I just never got around to it.
As you can imagine, over all these years, a lot has happened on this island. I cook almost every night and there have been spills, school projects, craft projects, flower arranging, prepping, cooking, and serving over 8,000 dinners (to name just a few).
The island was looking quite aged, in a not-so-good way. The final straw was last year when we hosted an event, the caterer placed a hot pan on the island which left a burn mark on it. Plus, they splattered hot oil, probably from the pan, leaving tiny burn marks everywhere!
I finally hired someone to come over and sand it.
Can you believe the before and after?
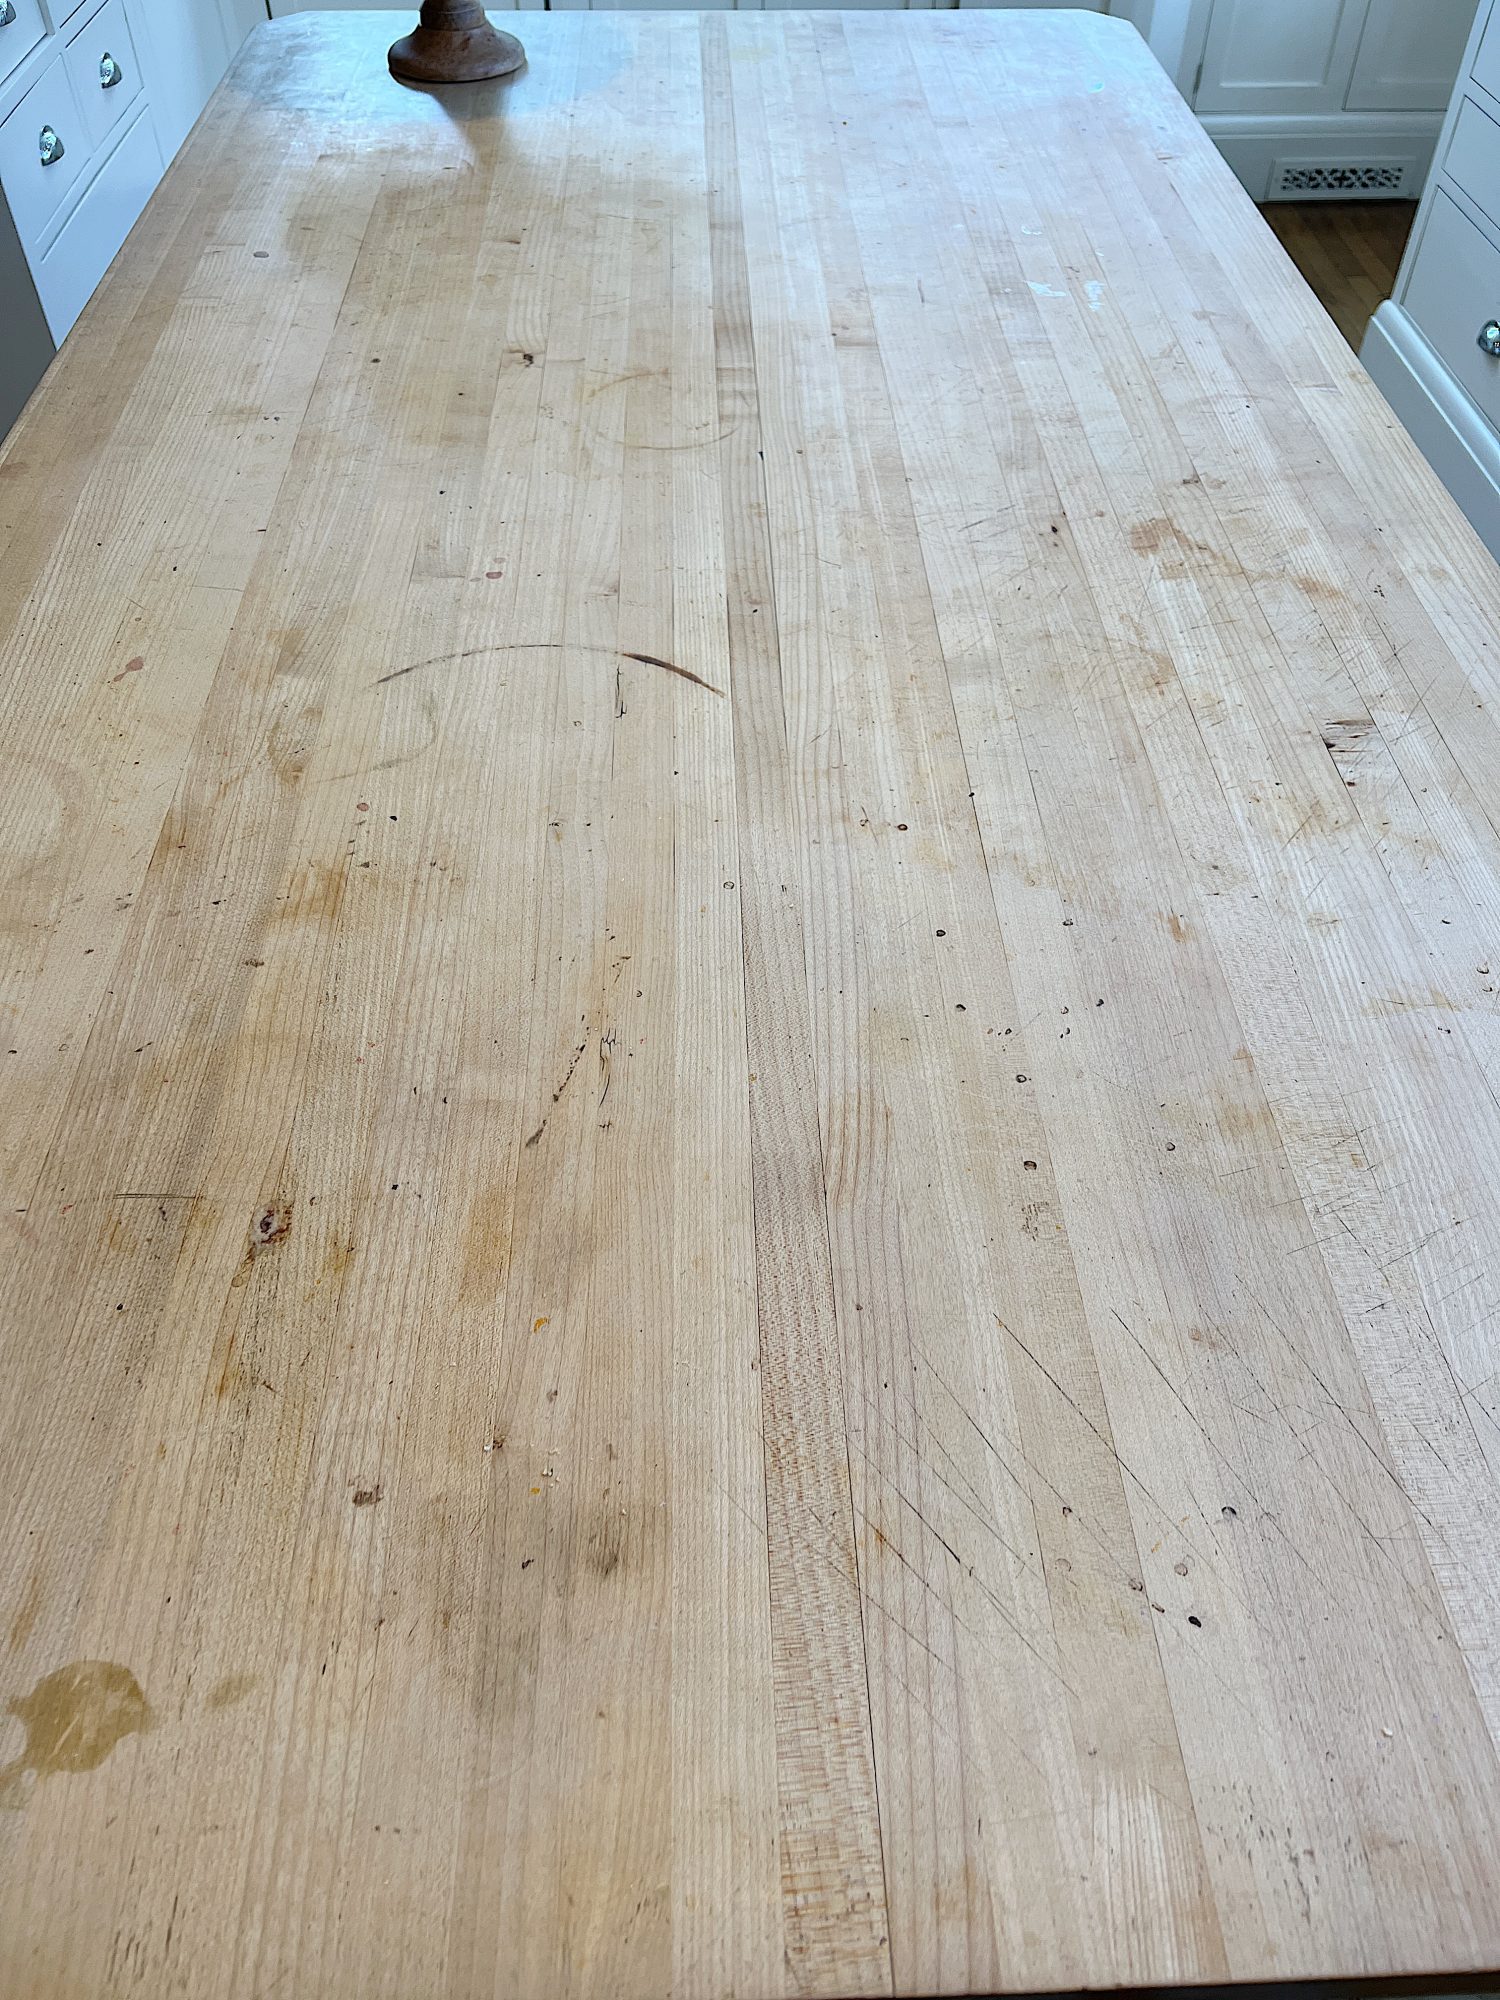
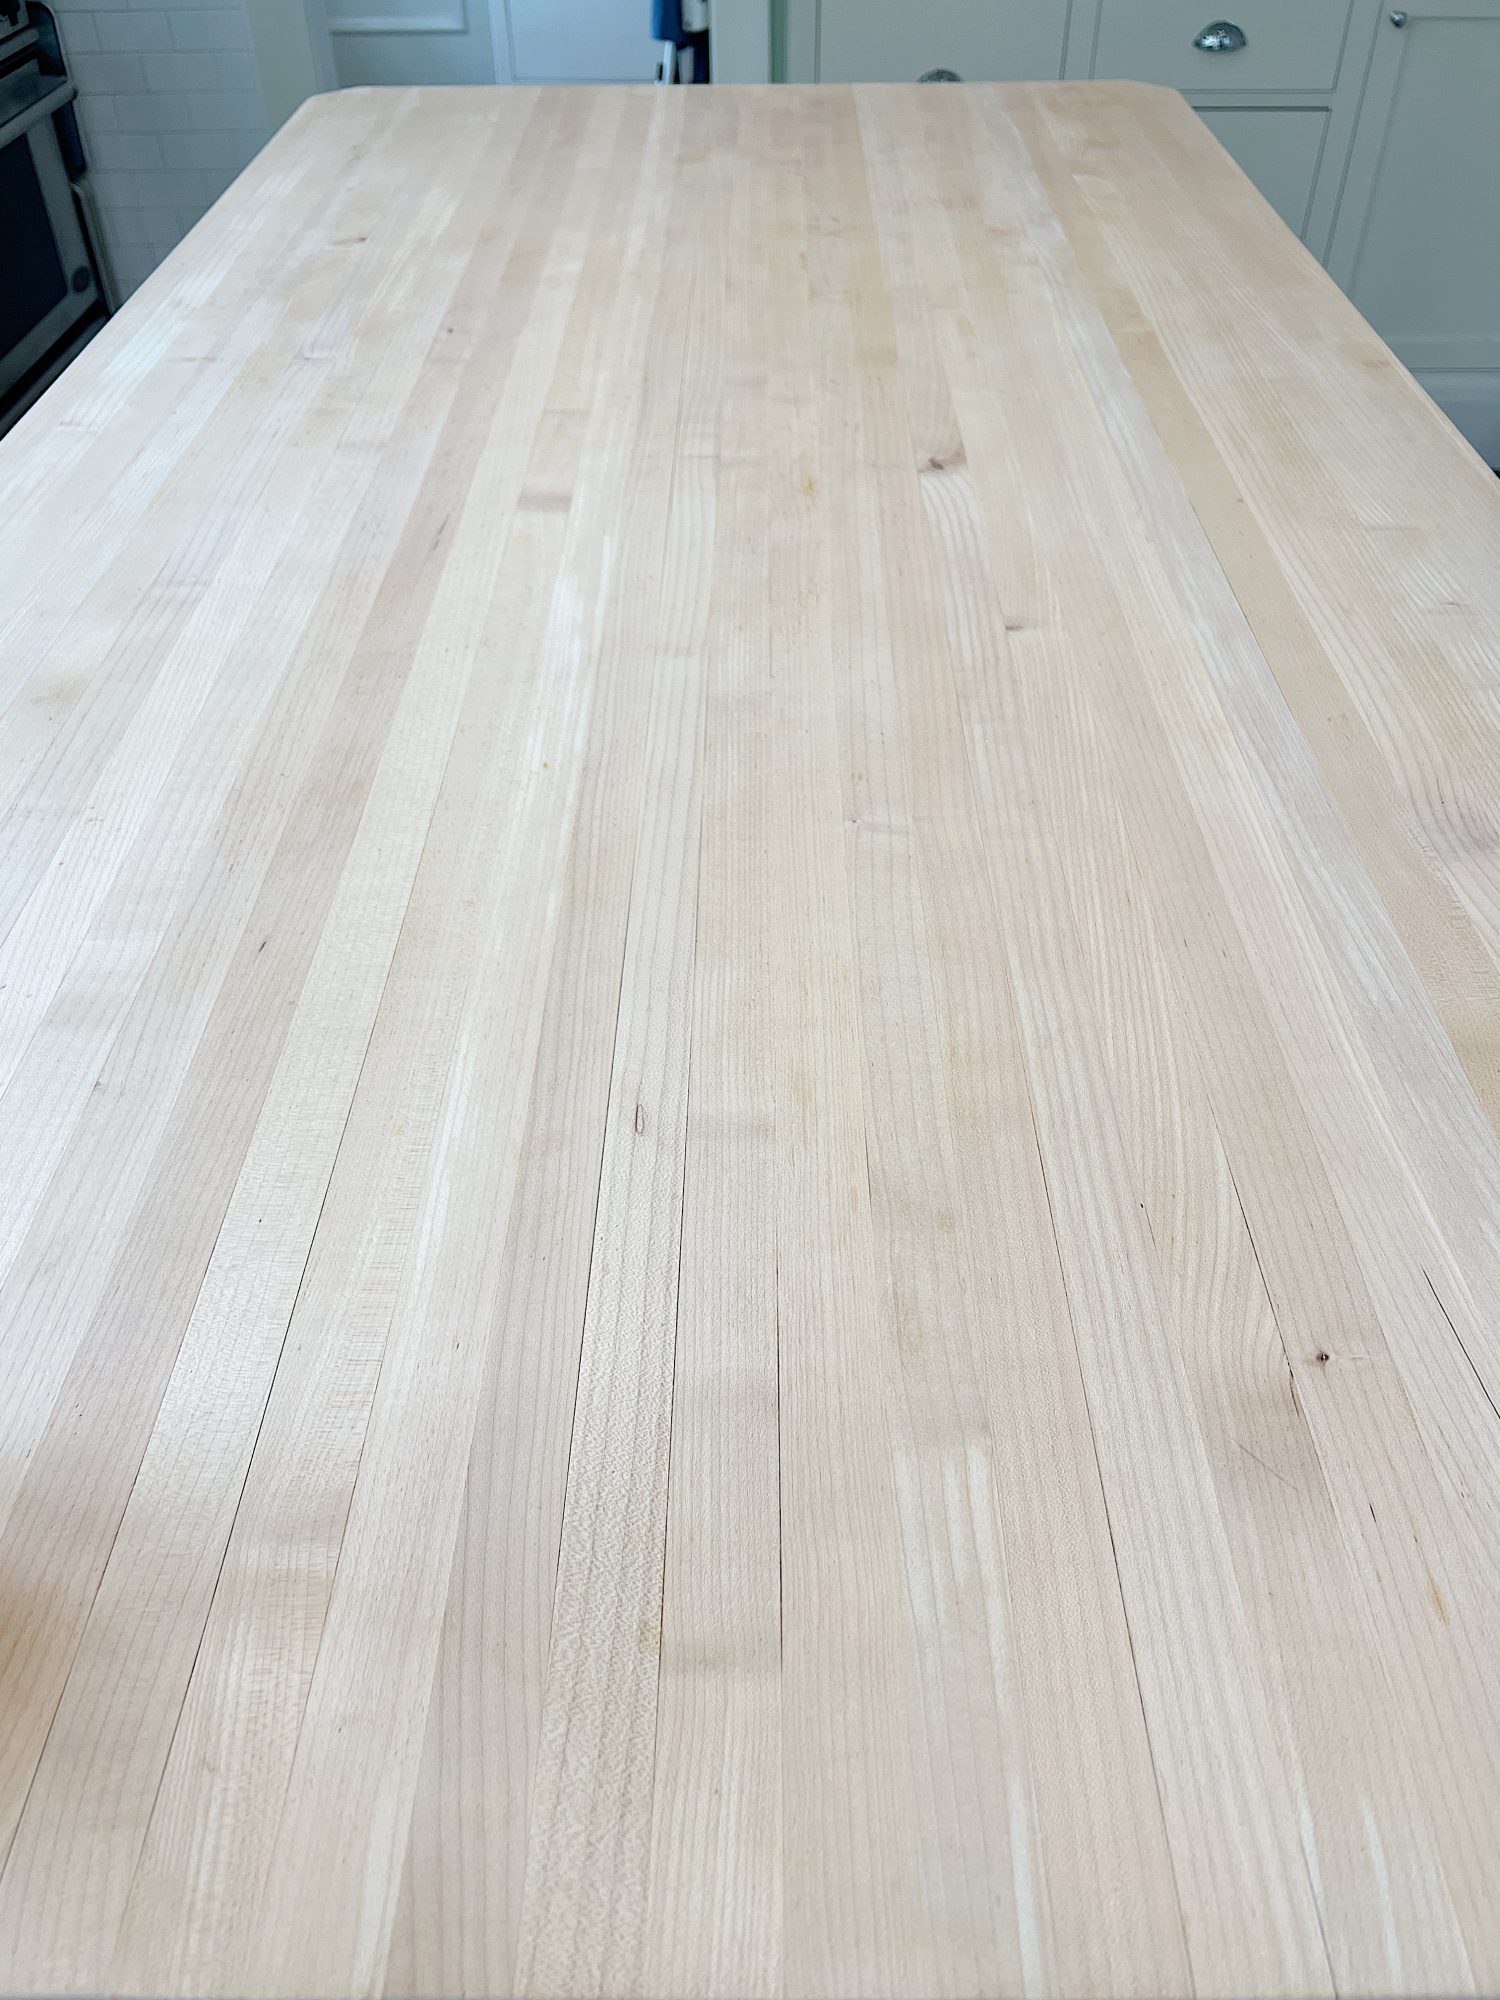
It looks brand new!
So again, I ask myself, why did I wait so long?
Watch the Video!
Conditioning the Butcher Block
I chose to have the butcher block island professionally sanded. While I love a good DIY project, I wanted the wood to look perfect. After all, the island is the centerpiece of our kitchen!
A friend of mine was having her butcher block island sanded and they were able to fit mine in too. They sealed out the entire kitchen in plastic and sanded it for over an hour. They used six different kinds of sandpaper!
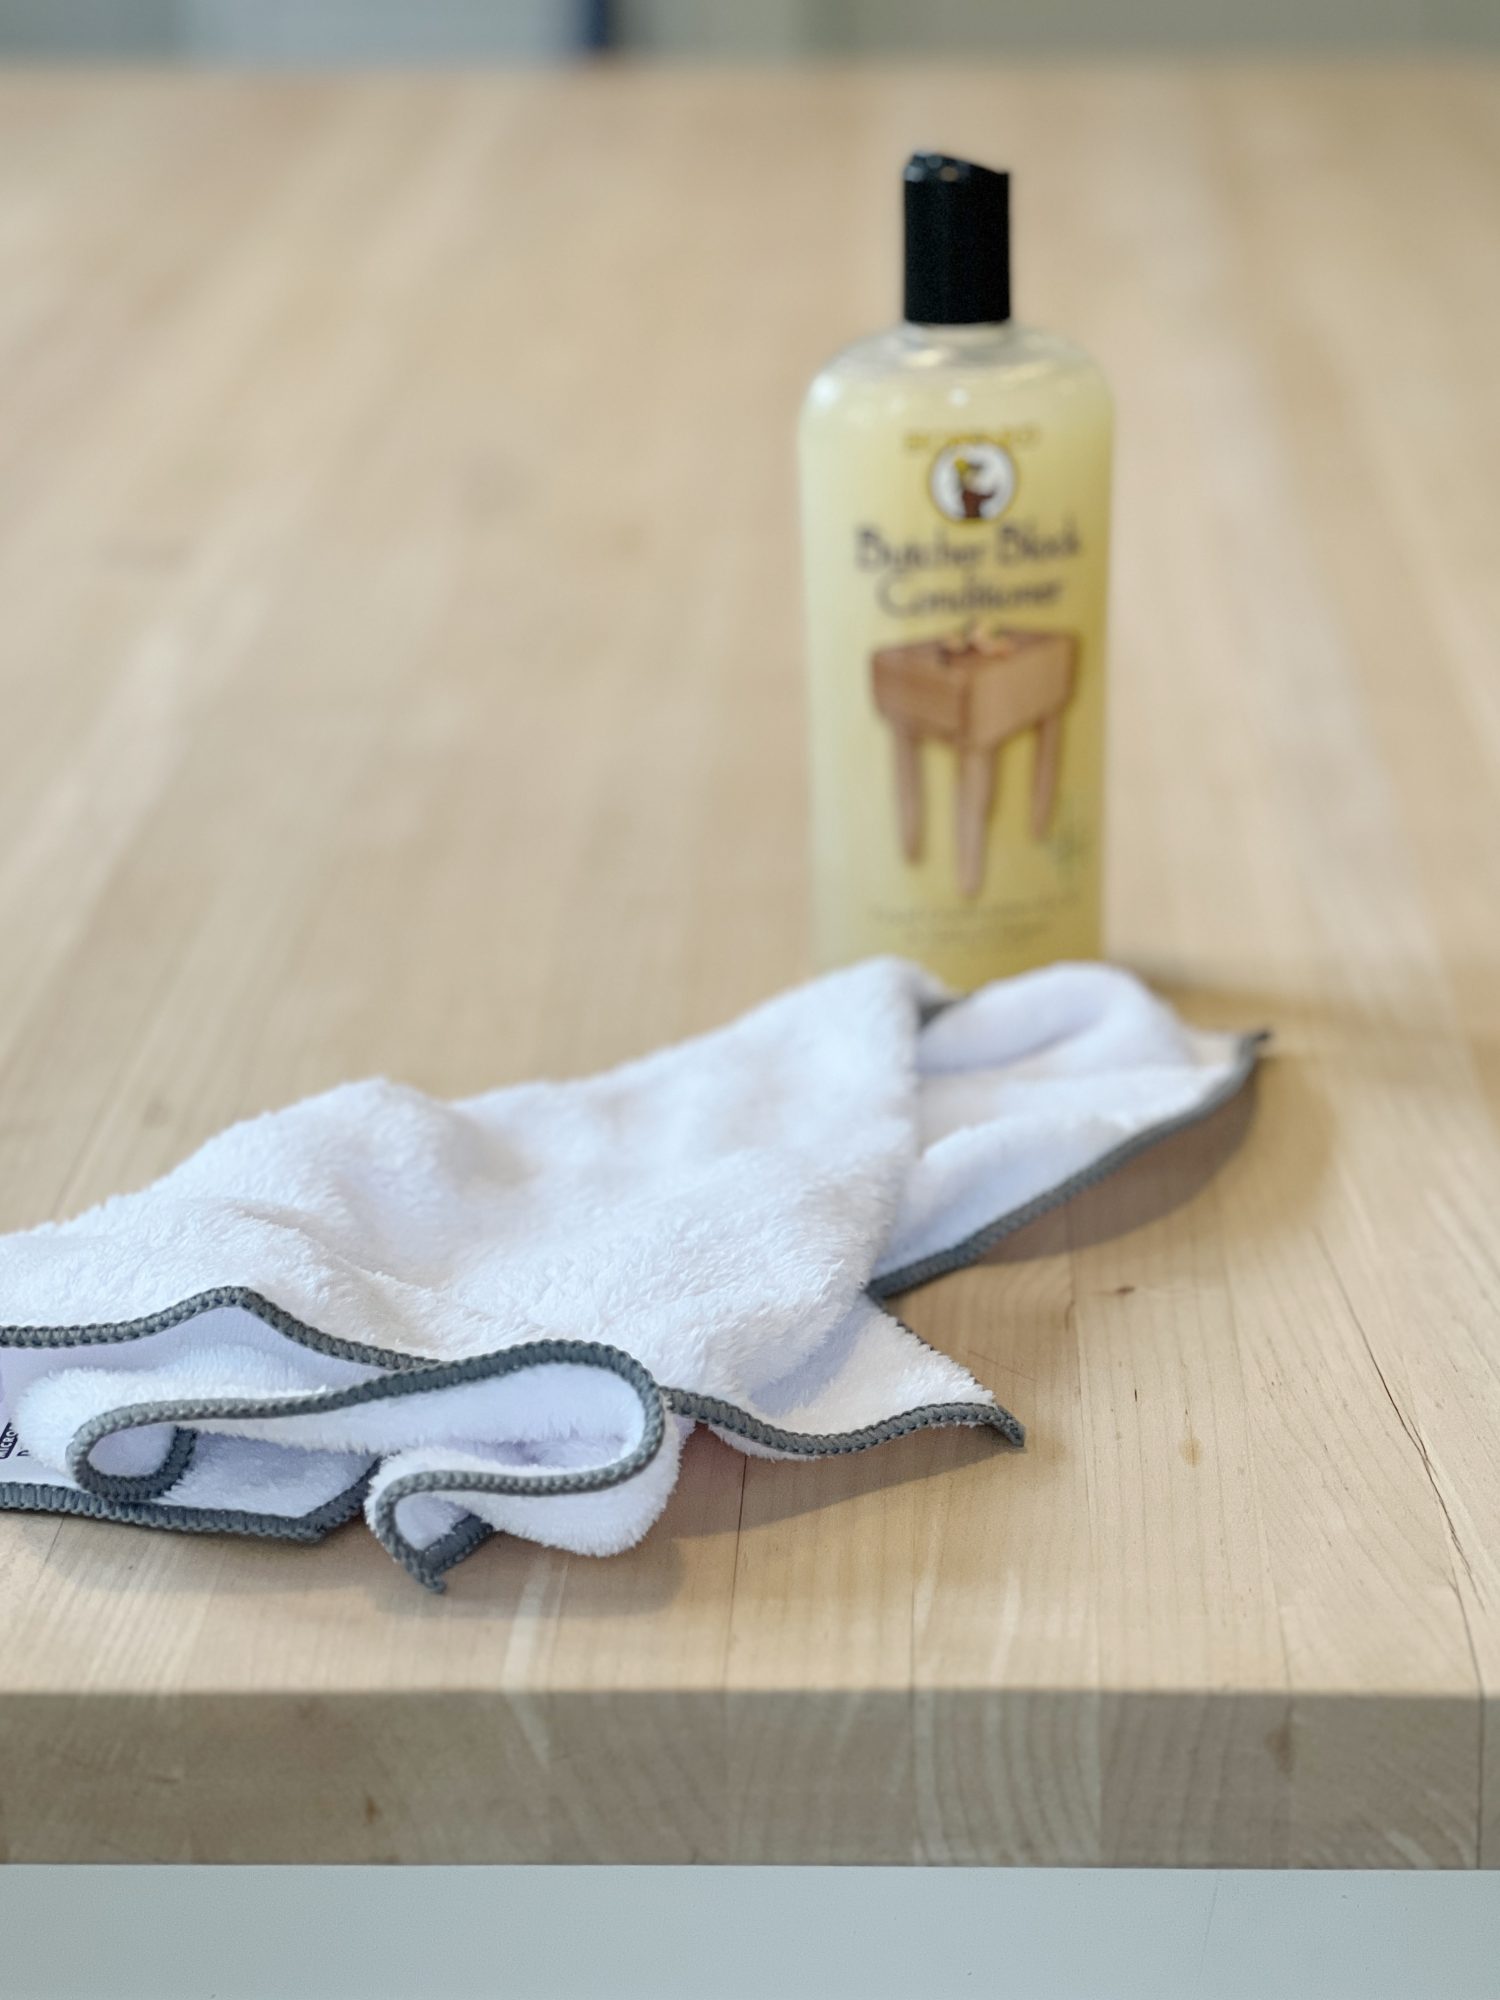
Once the sanding was completed, the next step was to condition the fresh wood. This is a very important step for several reasons.
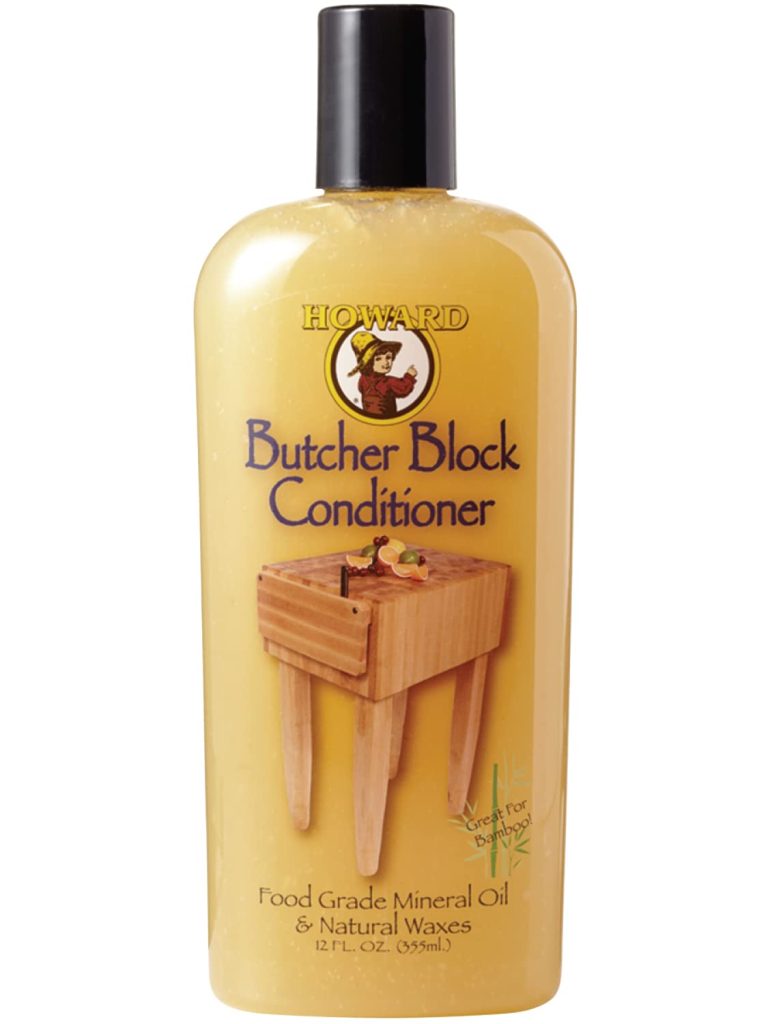
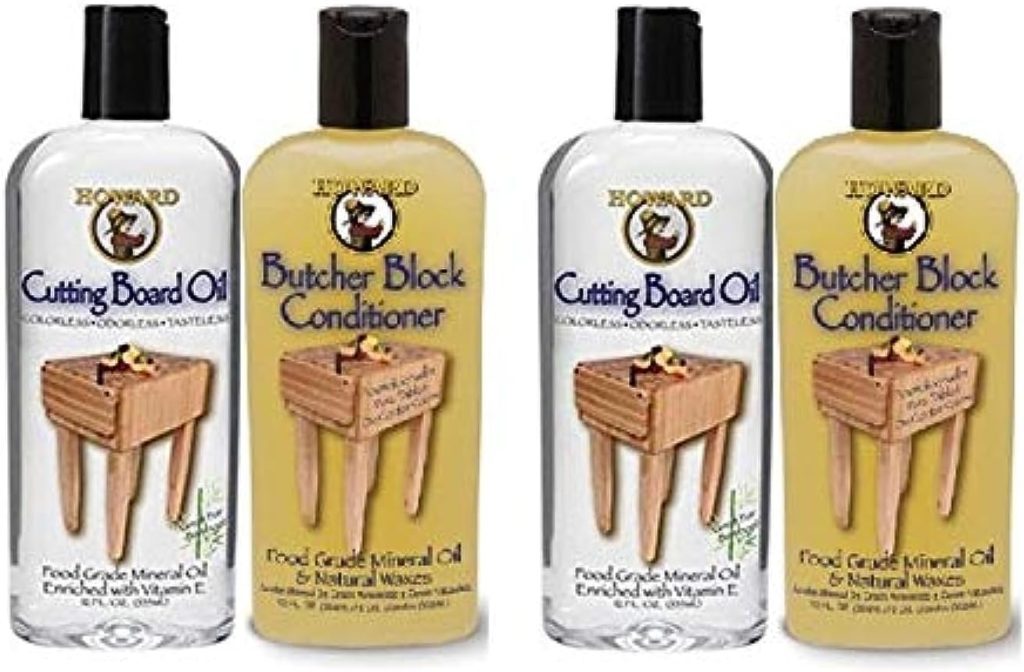
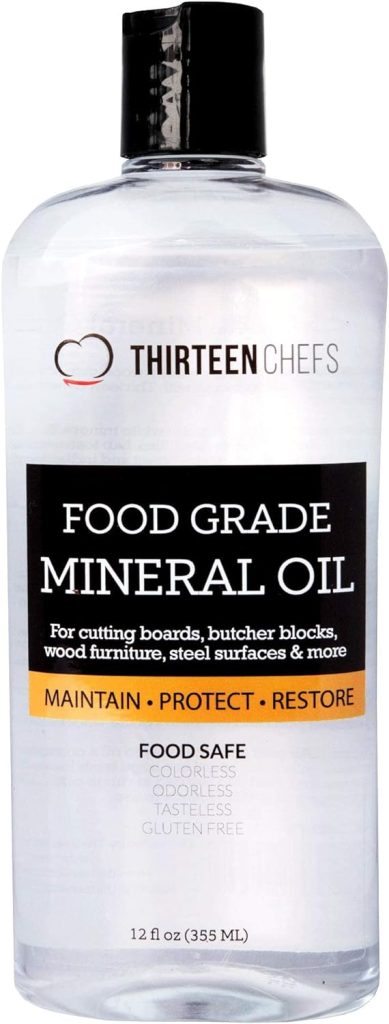
First, conditioning the wood will help prevent drying or cracking. You can use food-grade mineral oil or products specifically designed for butcher block care like Howards (this is what I used). You don’t want to use food oil, such as vegetable or olive oil, because it will oxidize, go rancid, and possibly smell. Yuck!
Second, the conditioner will help keep moisture out which could cause stains.
I do suggest you use the conditioner sparingly and should mention that it will turn it a bit orange. But don’t panic. In no time, the color will fade.
On this blog, I may sometimes use affiliate links, which means a small commission is earned if you make a purchase via the link. The price will be the same whether you use the affiliate link or go directly to the vendor’s website using a non-affiliate link.

Step by Step How To:
- Clean the surface with a clean, dry cloth
- Apply conditioner/oil to clean dry cloth and wipe onto the butcher block. Rub the conditioner/oil into the wood so that it is evenly distributed, wiping off any excess
- Let stand for at least an hour, if possible overnight, to allow the conditioner/oil to be absorbed into the wood
- Wipe away any residual oil/conditioner that has not absorbed
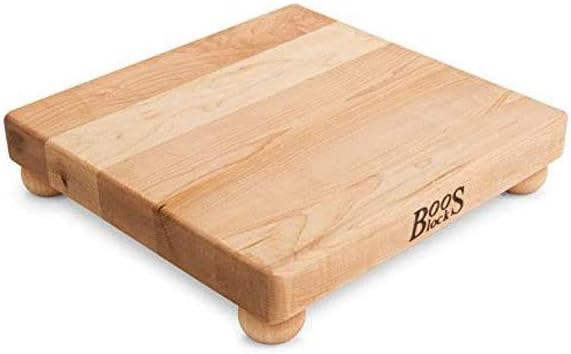
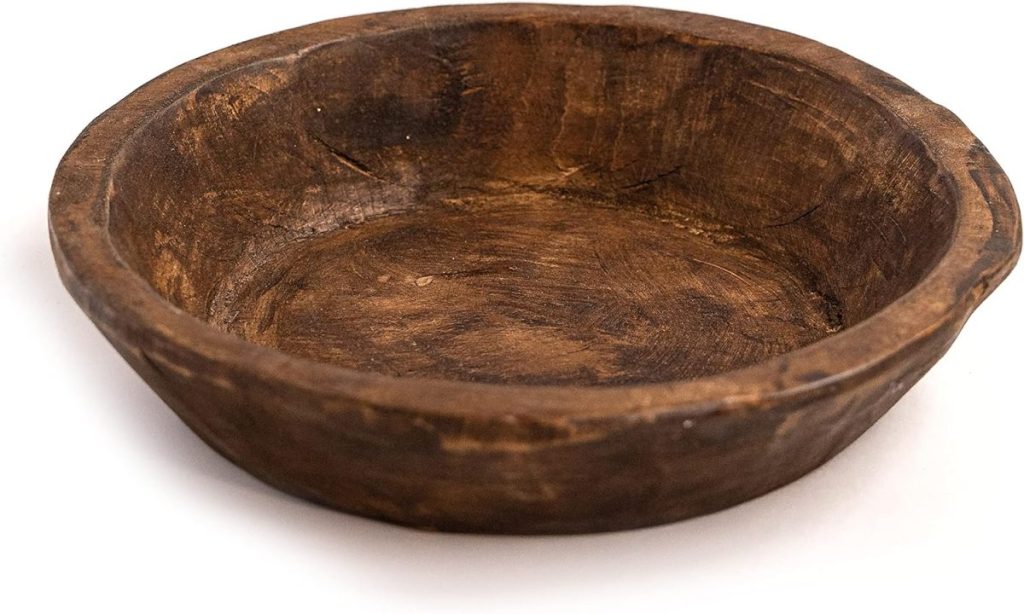
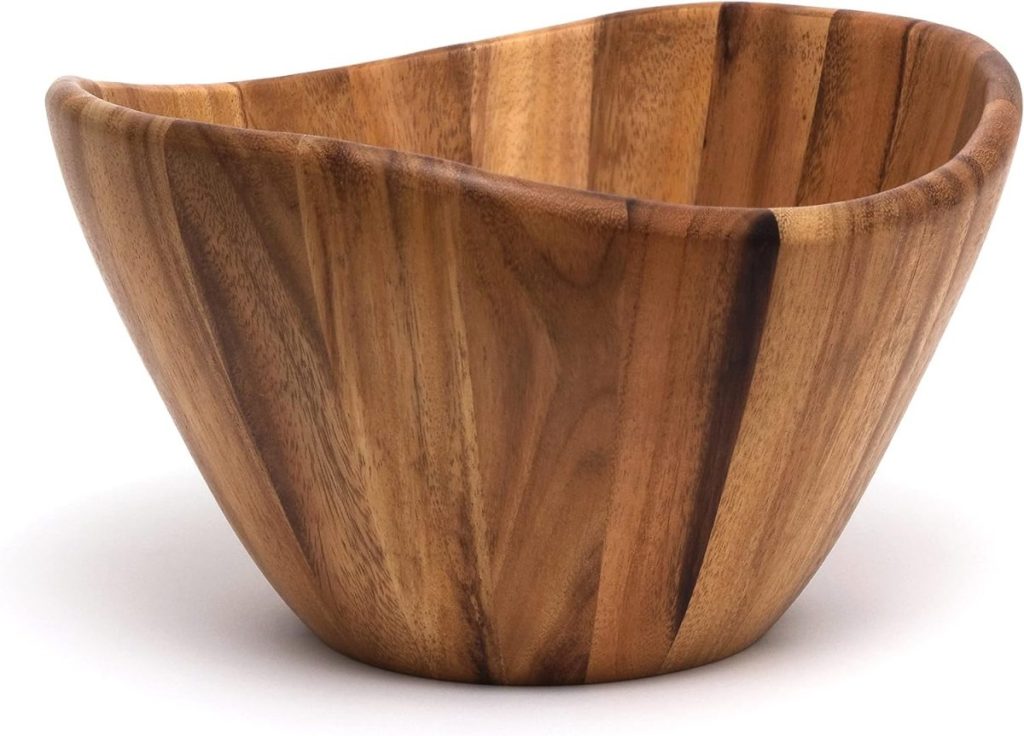
You can use this same process on cutting boards, wood bowls, and wood serving pieces also!

If you are enjoying my blog, you can sign up to receive my blog updates here.
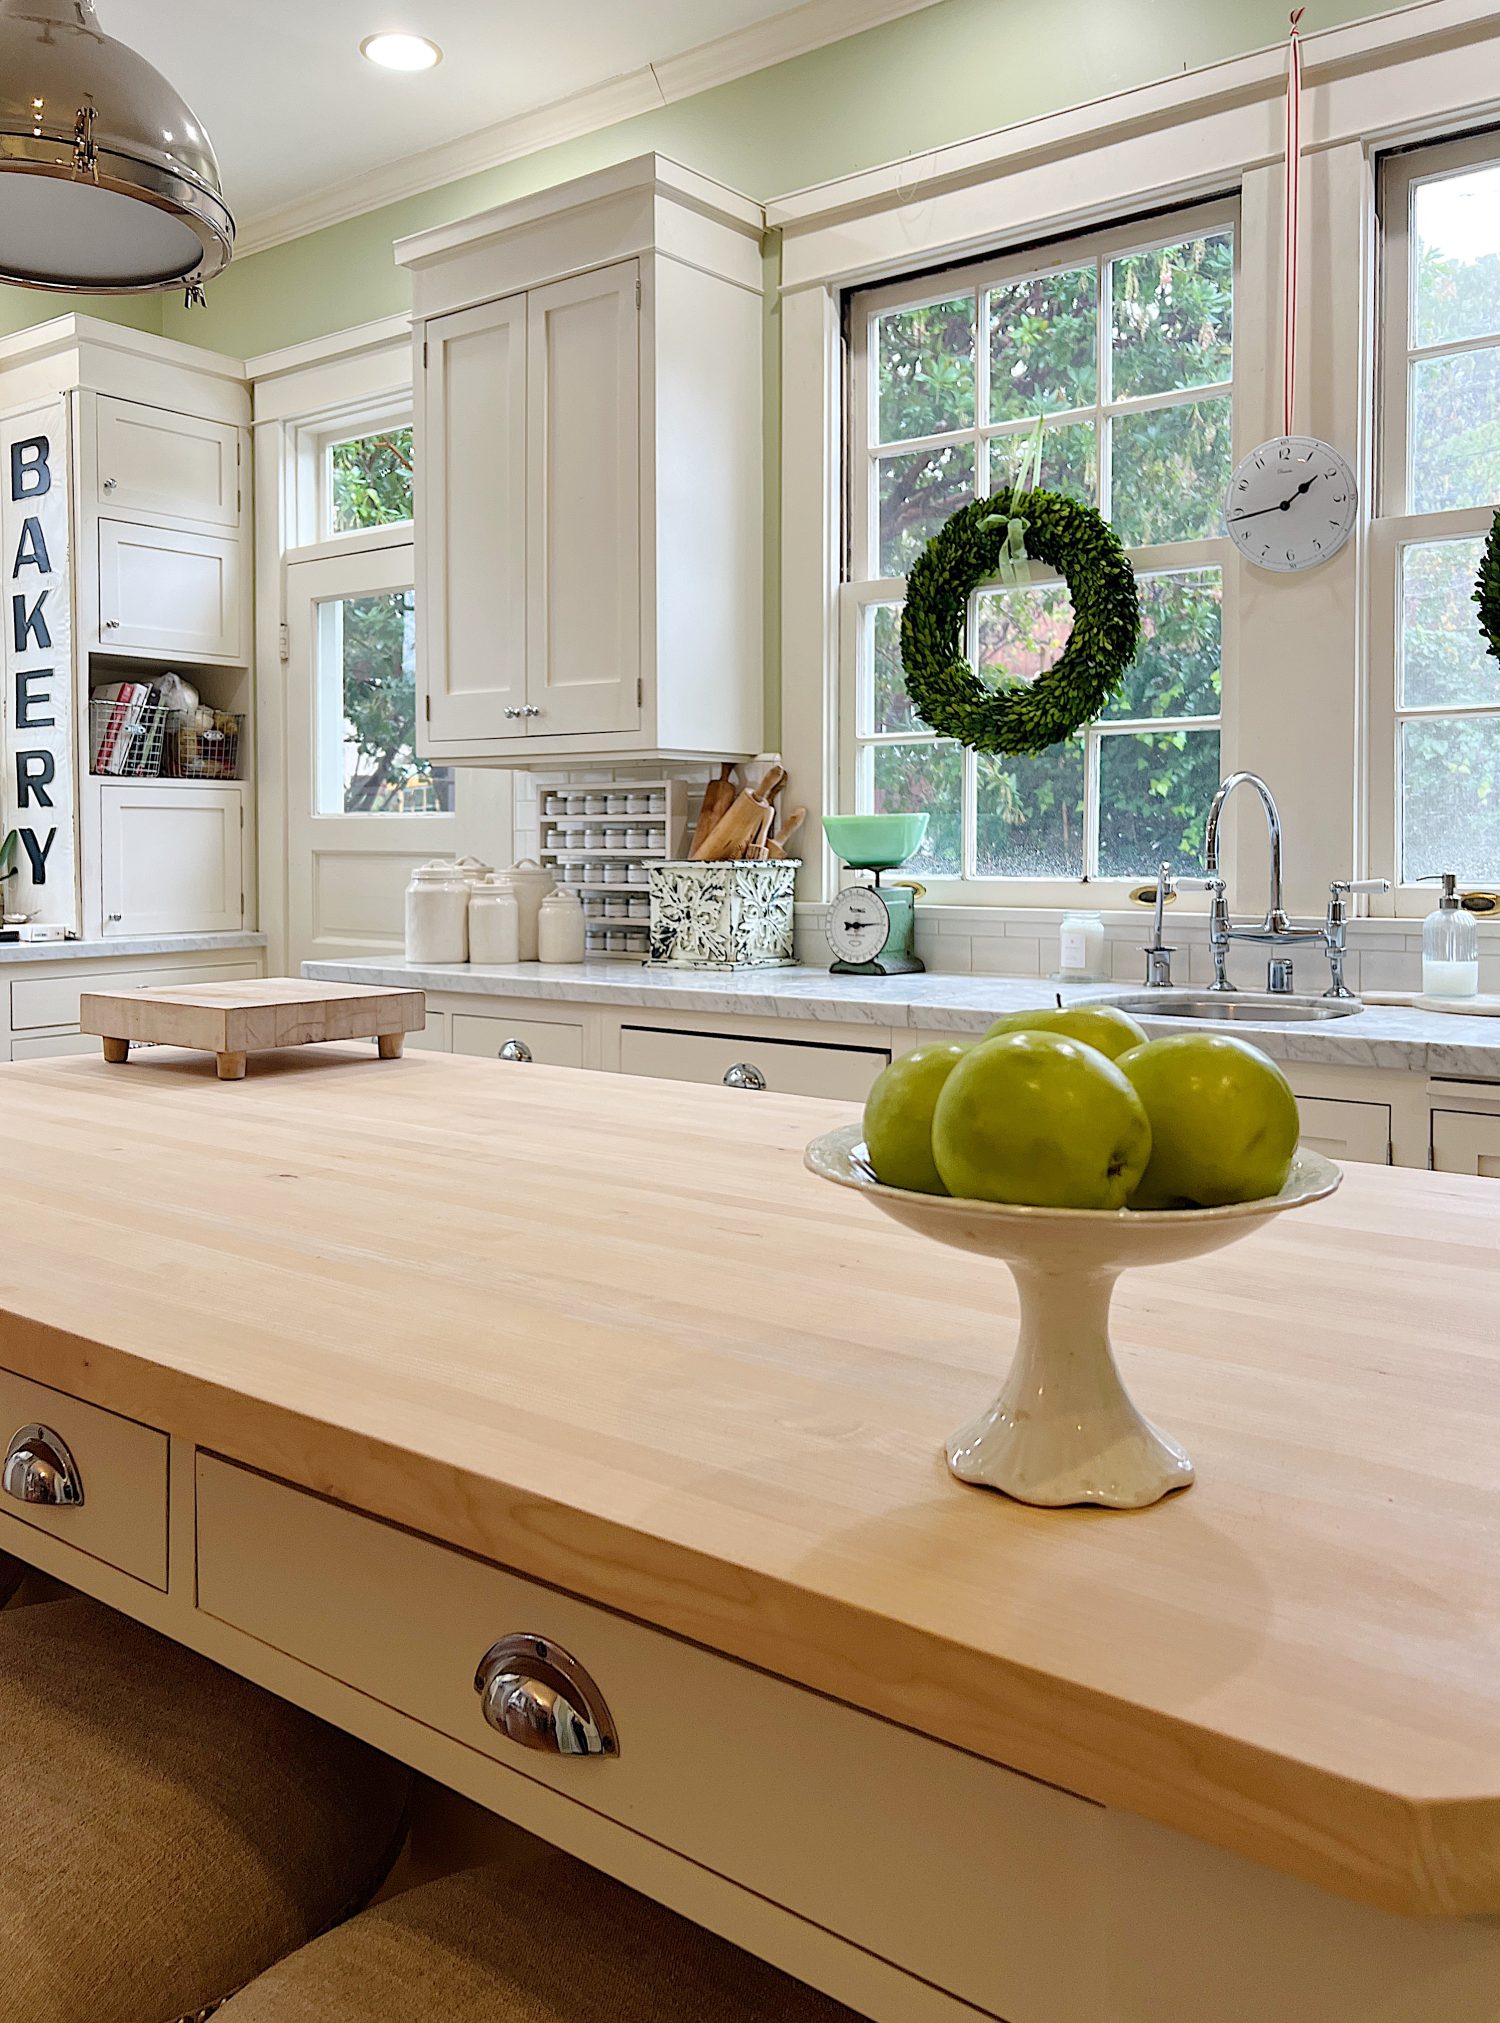
.My Newly Refinished Butcher Block Island Top
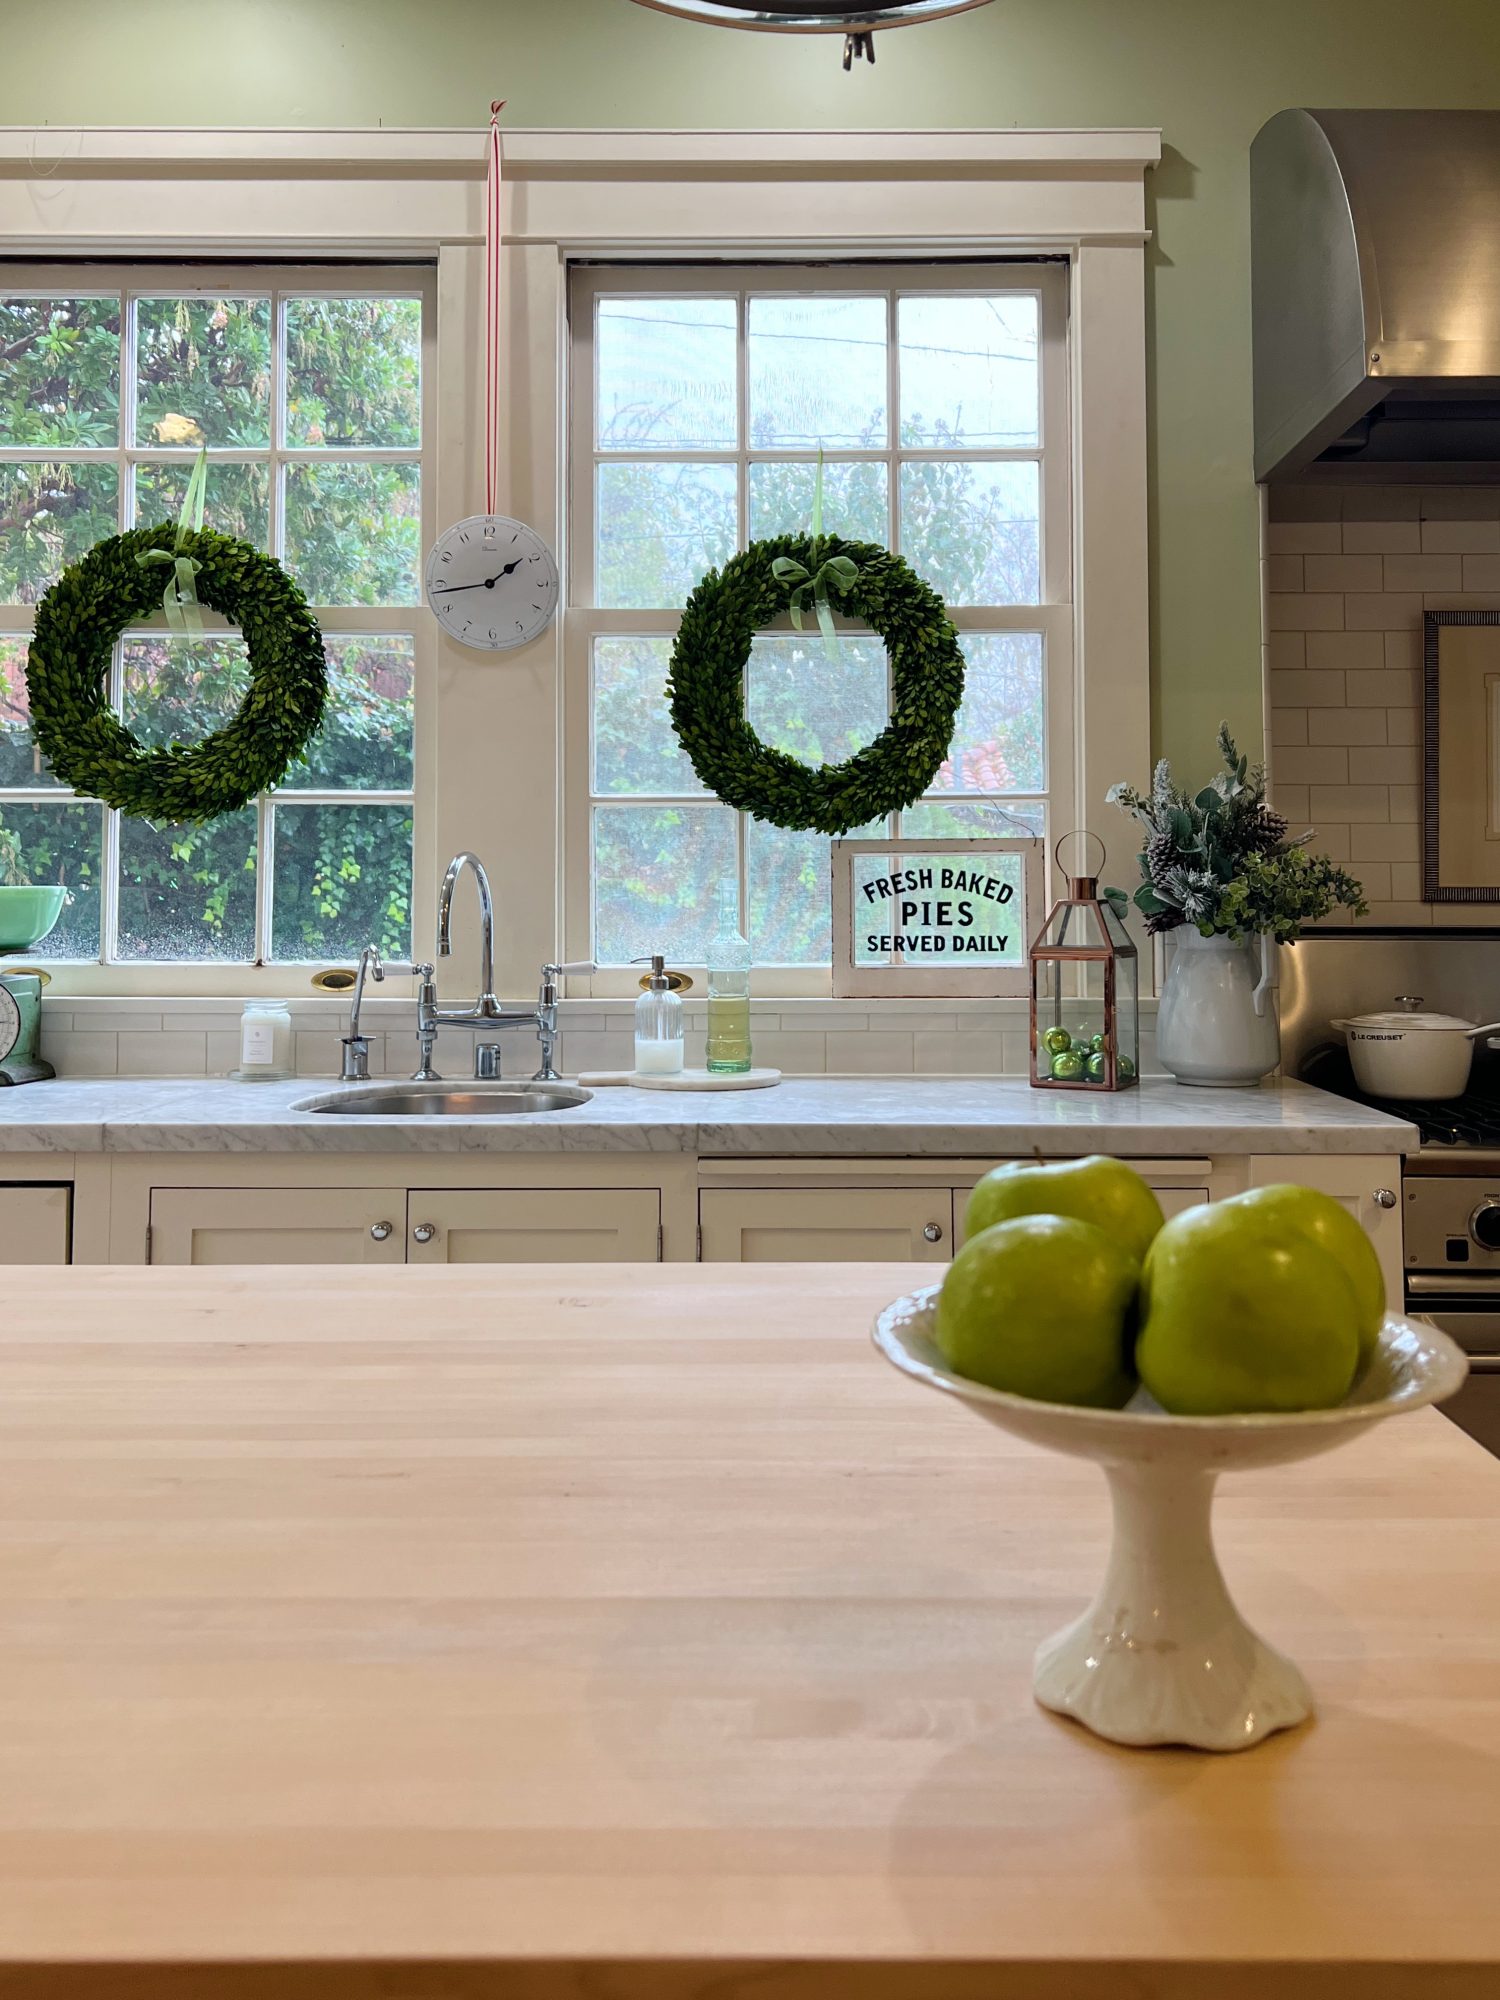
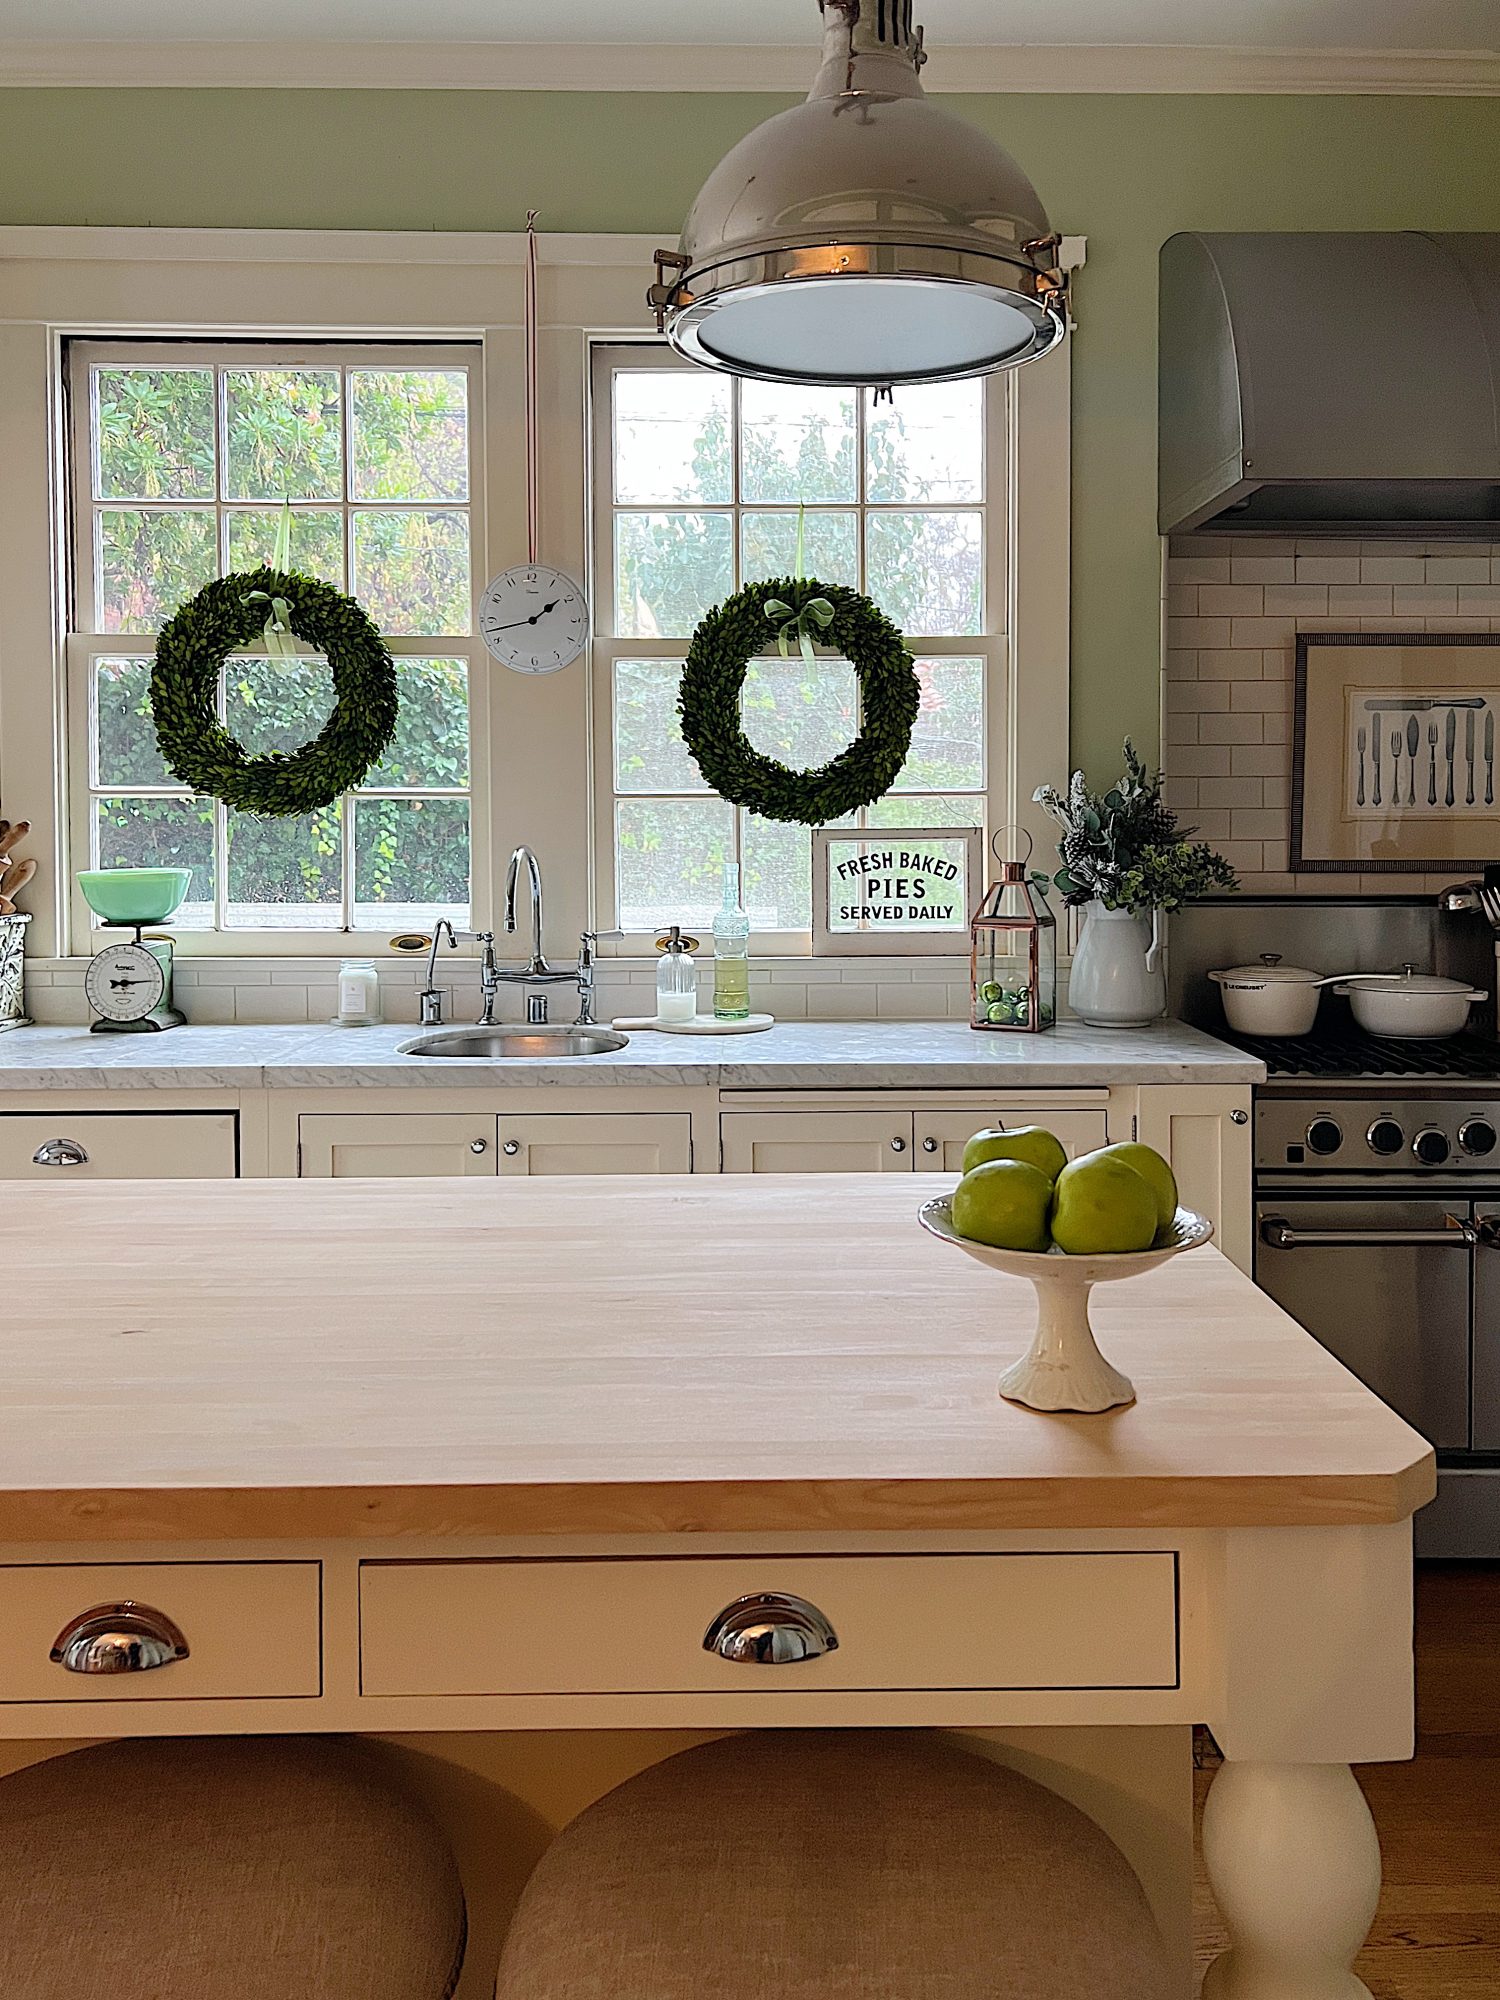
Once the mineral oil/conditioner has been absorbed into the butcher block, you can use the surface. Here are a few tips and tricks for maintaining your fresh new butcher block.
To minimize knicks and cuts, always use a cutting board on your butcher block countertop. I know it is tempting to cut directly on the butcher block, but cutting boards will extend the life of your countertop. It’s also a good idea to use cutting boards for food safety when chopping meats, fish, etc.
To minimize stains, make sure to wipe up any spills quickly. Wood is porous, so while conditioned, it can still absorb liquids.
Do not place hot pots/pans directly on the wood surface. As you can see from the previous photo above, wood burns!
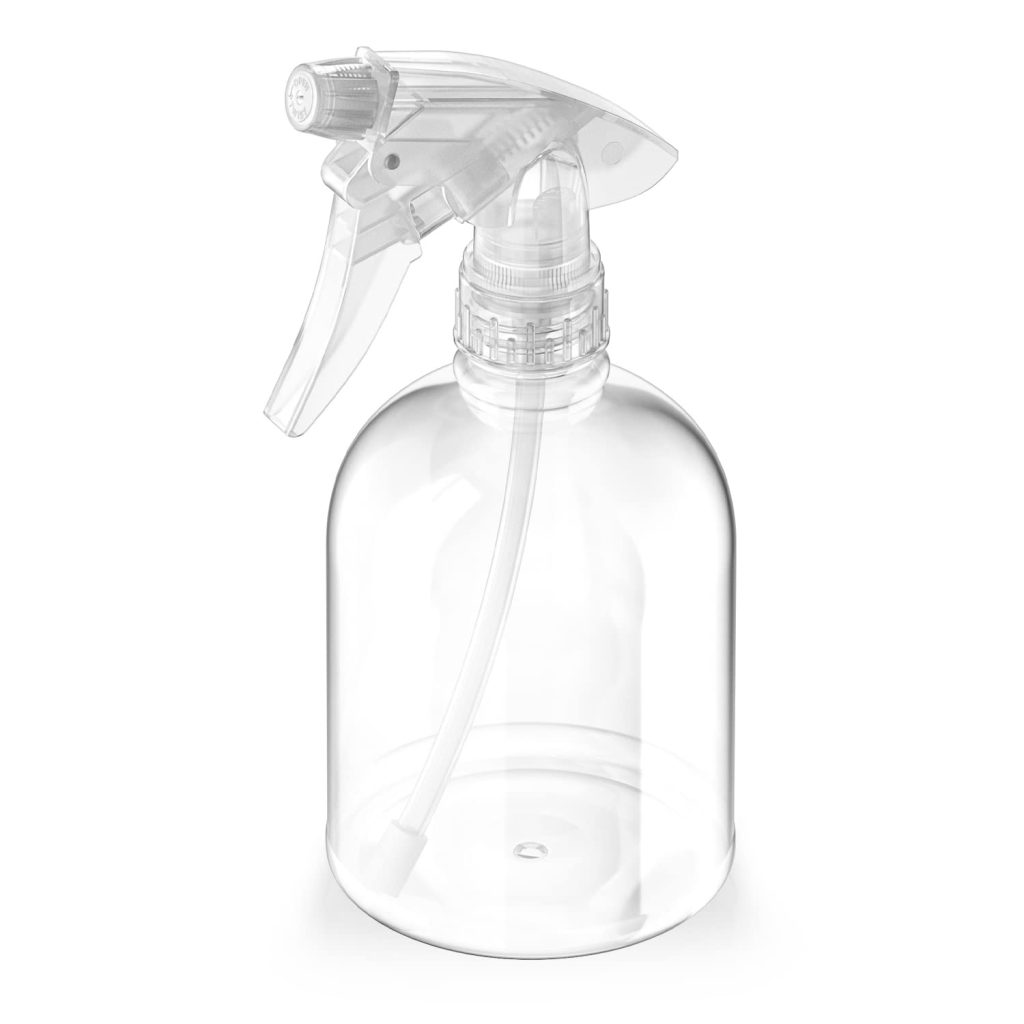
To sanitize your butcher block, mix equal parts water and white vinegar in a spray bottle. Spray your countertop with the mixture and then wipe with a clean, damp cloth.


Now that you know how to take care of your butcher block island, it’s time to enjoy it! With a little bit of love, your butcher block can look beautiful for many years!
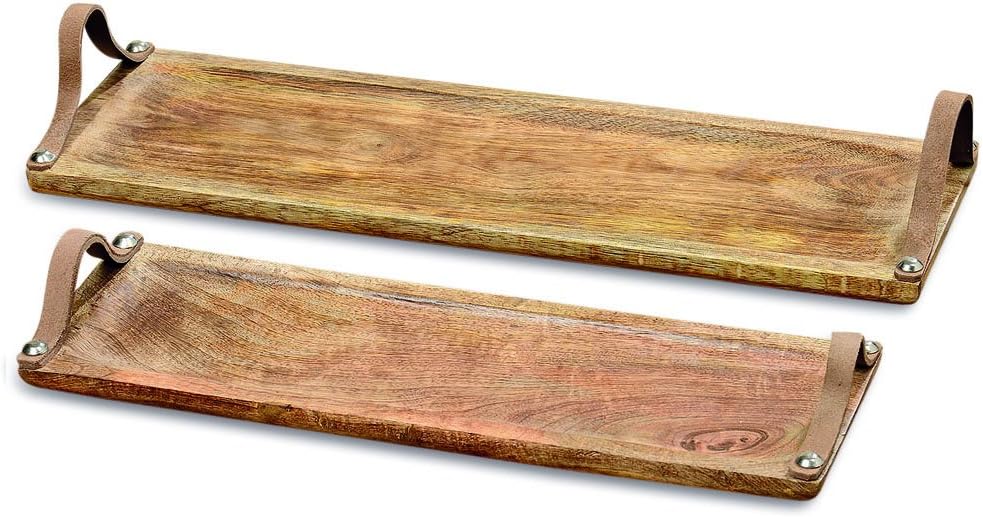
Shopping Ideas
Watch My Amazon Live

Click here to watch any of my Amazon Live shows. All shows are recorded.
You might enjoy this one titled Cozy Winter Ideas for Your Kitchen.

Pin the image below to your boards on Pinterest (just click the Pin button in the top left corner). You can also follow along with me on Pinterest!
For more real-time updates, follow me on Instagram @My100YearOldHome


Oh, your island is just gorgeous, Leslie!! I love it!
Omg you’re so sweet Kim thank you! I love it and it gets so much use 😆♥️🙌🏻
Now I know what & how to use a product to restore my wood boards.
Thanks Leslie for more of your very experienced advise🩵
Oh wonderful! That makes me happy, I’m so happy to share ☺️