How to Tie a Bow With Ribbon
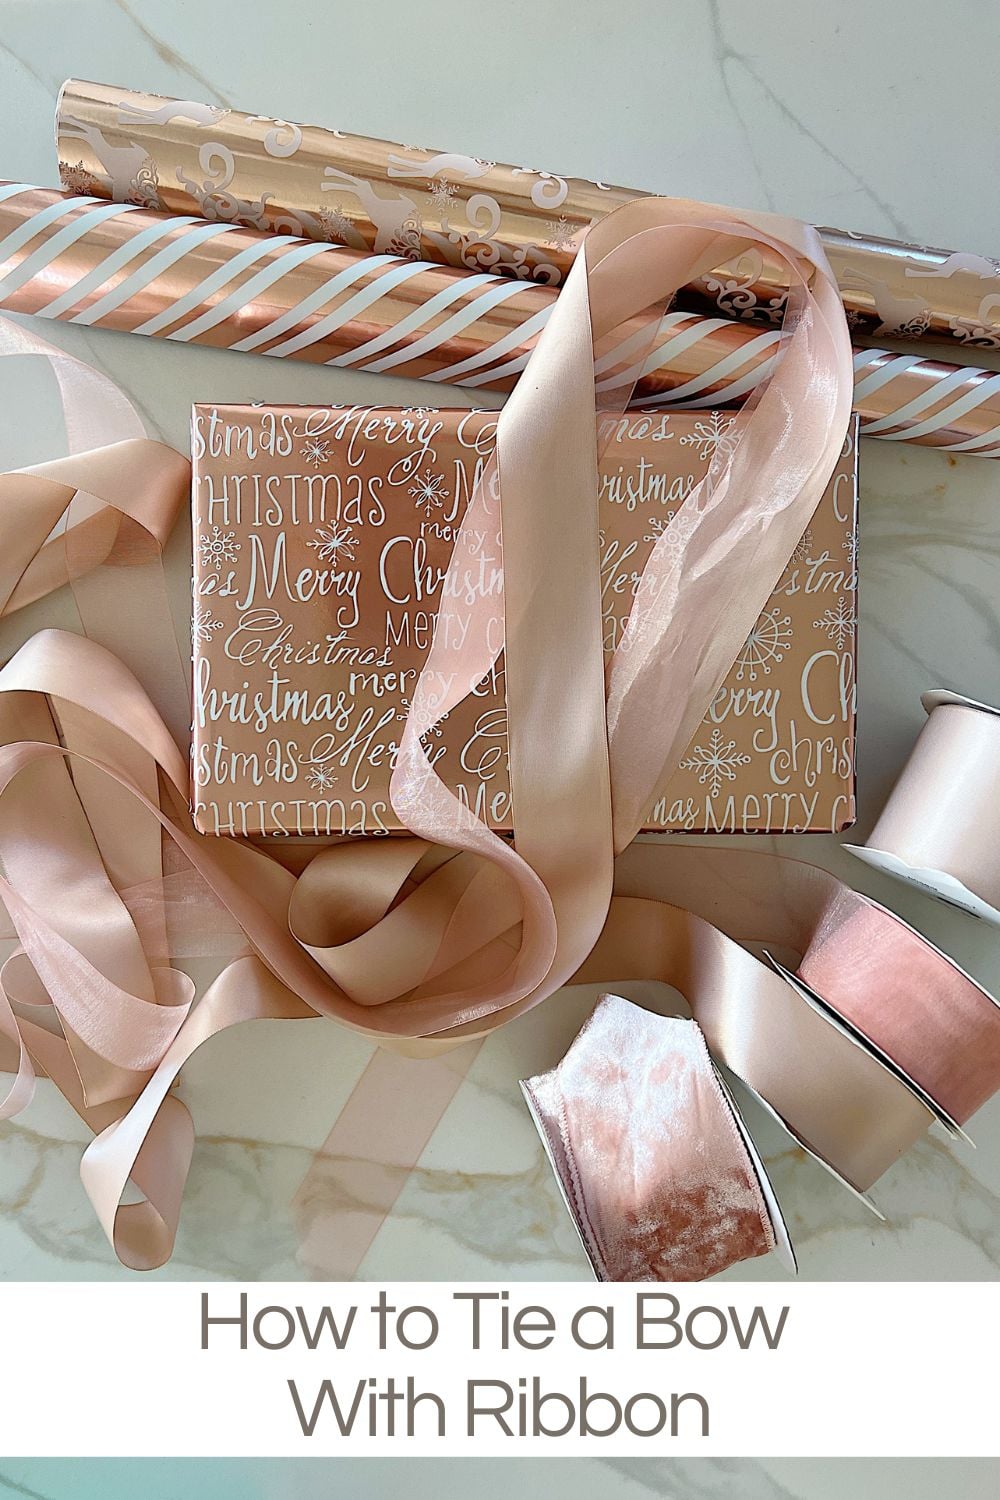
A beautifully tied bow is the perfect finishing touch to any Christmas gift, turning a simple package into something special.
Whether using classic satin ribbon, festive plaid, or sparkly metallics, learning to tie a perfect bow will make your presents look stunning under the tree. Today, I am sharing step-by-step instructions for creating gorgeous bows that elevate your gift wrapping and add a touch of holiday magic to every package. Let’s make your Christmas gifts as beautiful as the thought behind them!
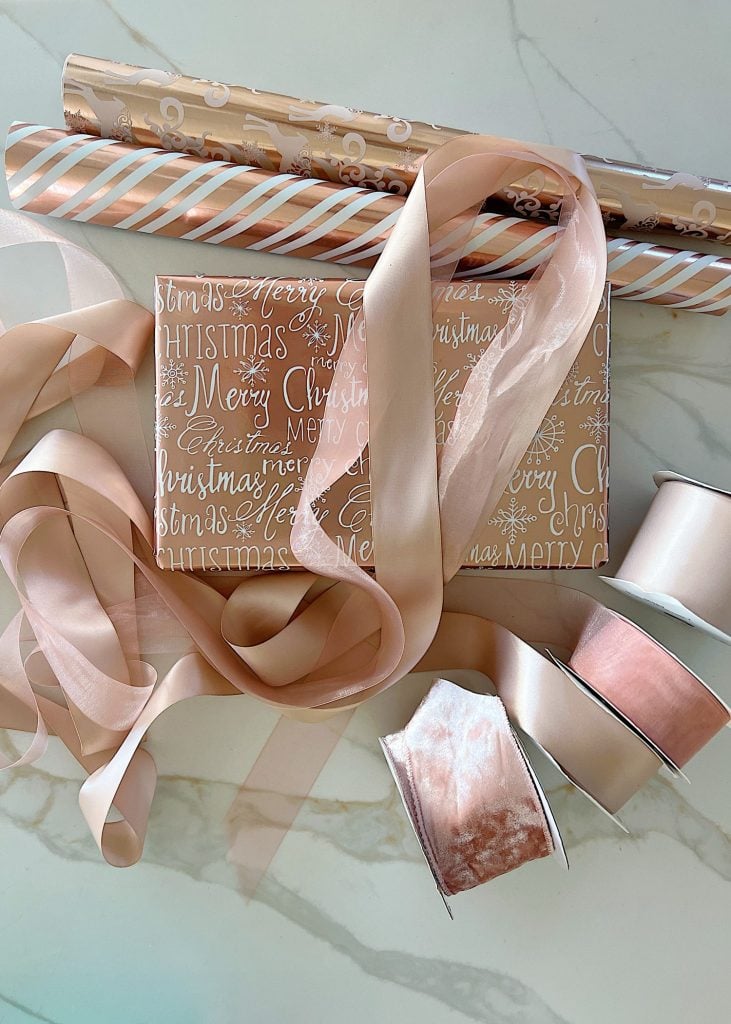

Let’s Learn How to Tie a Bow With Ribbon
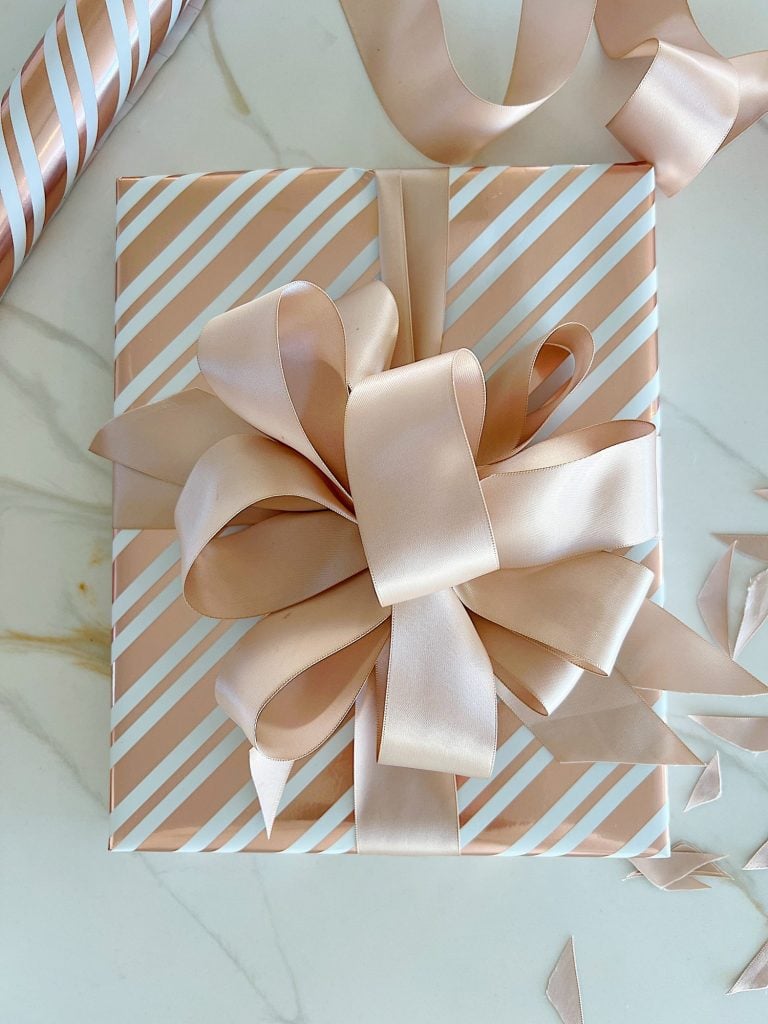
The Art of the Bow: Mastering Gift Presentation with Bows
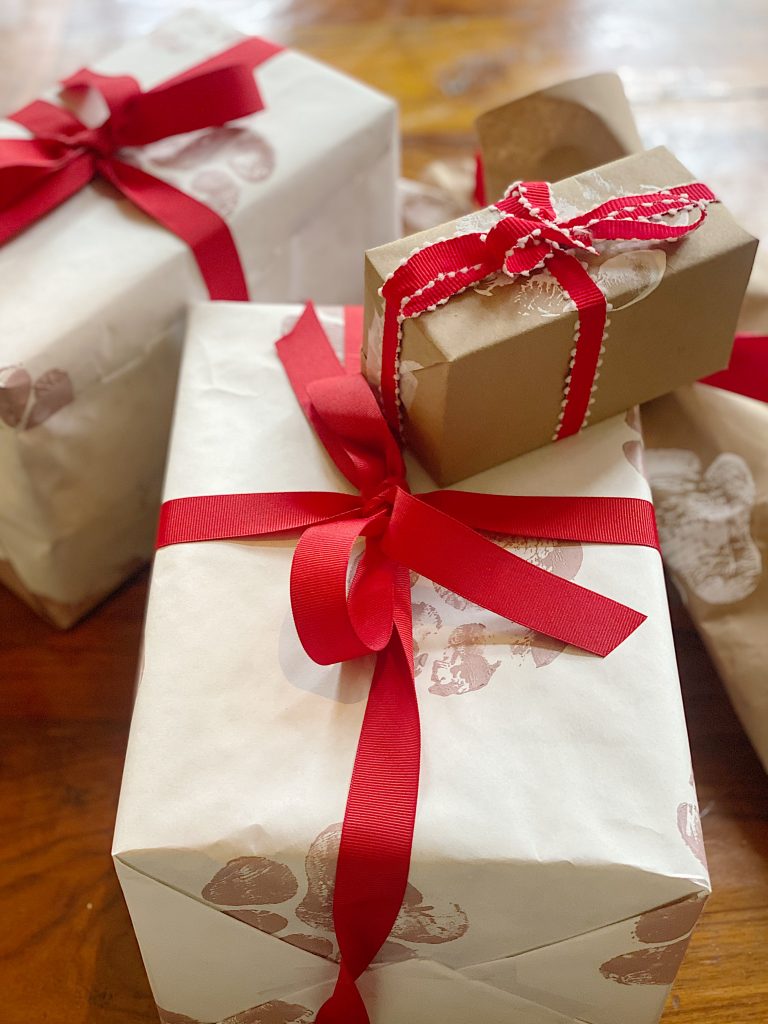
When it comes to gift-giving, they say the thought counts. But let’s face it: a beautifully wrapped present with a perfectly tied bow can elevate a thoughtful gift to new heights.
As we approach the season of giving, let’s examine many options for tying a bow with a ribbon and explore various techniques to make your Christmas gifts stand out beneath the tree.
Today, I am sharing how to tie my six favorite bows!
The Rosette Bow
The rosette bow resembles a flower and adds a special touch to any present.

This voluminous bow is ideal for larger gifts and makes a dramatic statement.
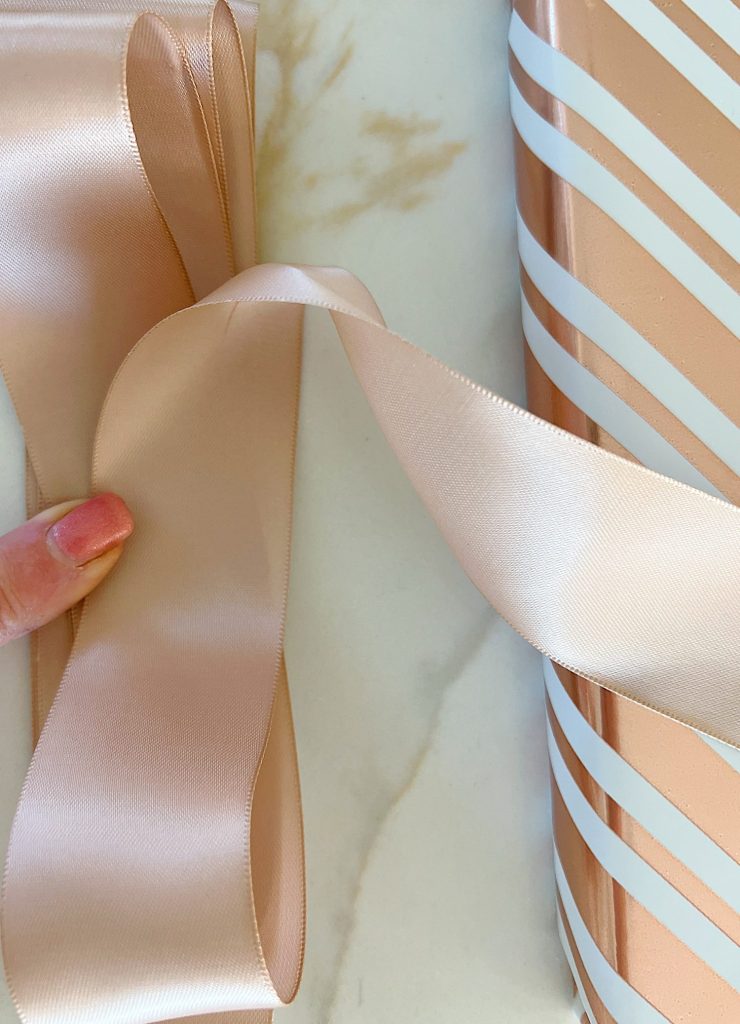
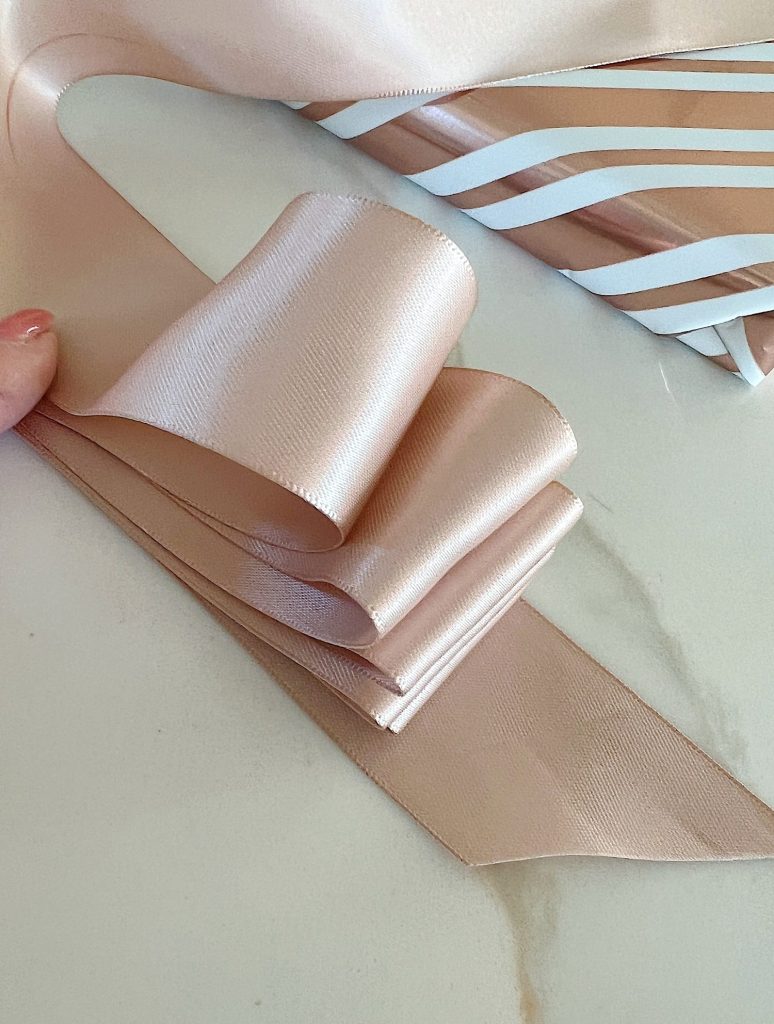
- Start with a longer piece of ribbon.
- Create a series of loops by making loops with the ribbon and folding it back on itself.
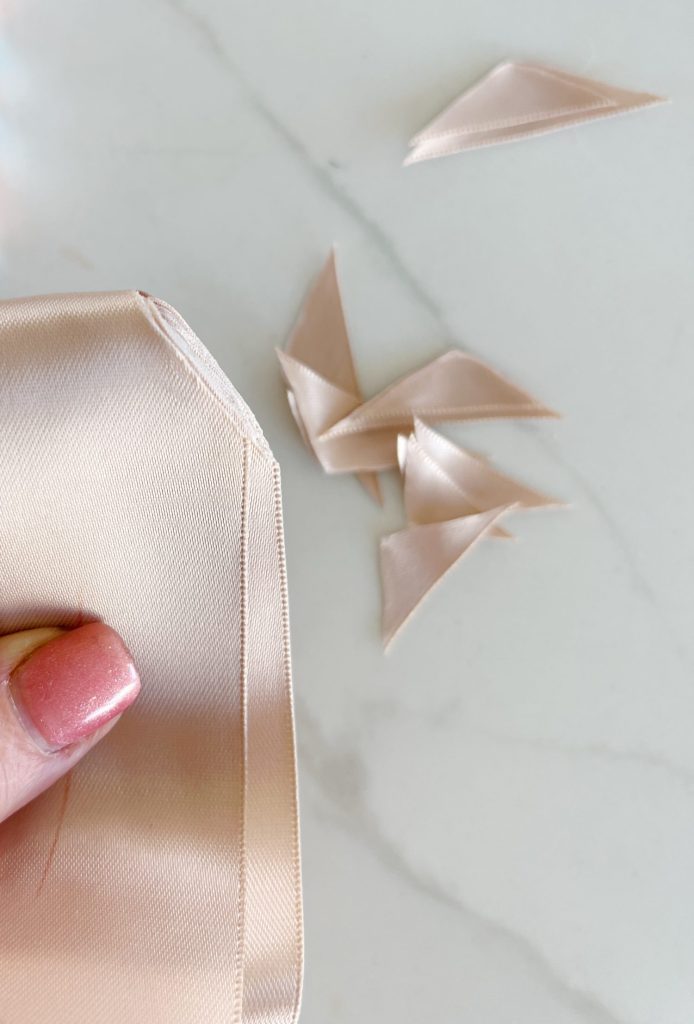
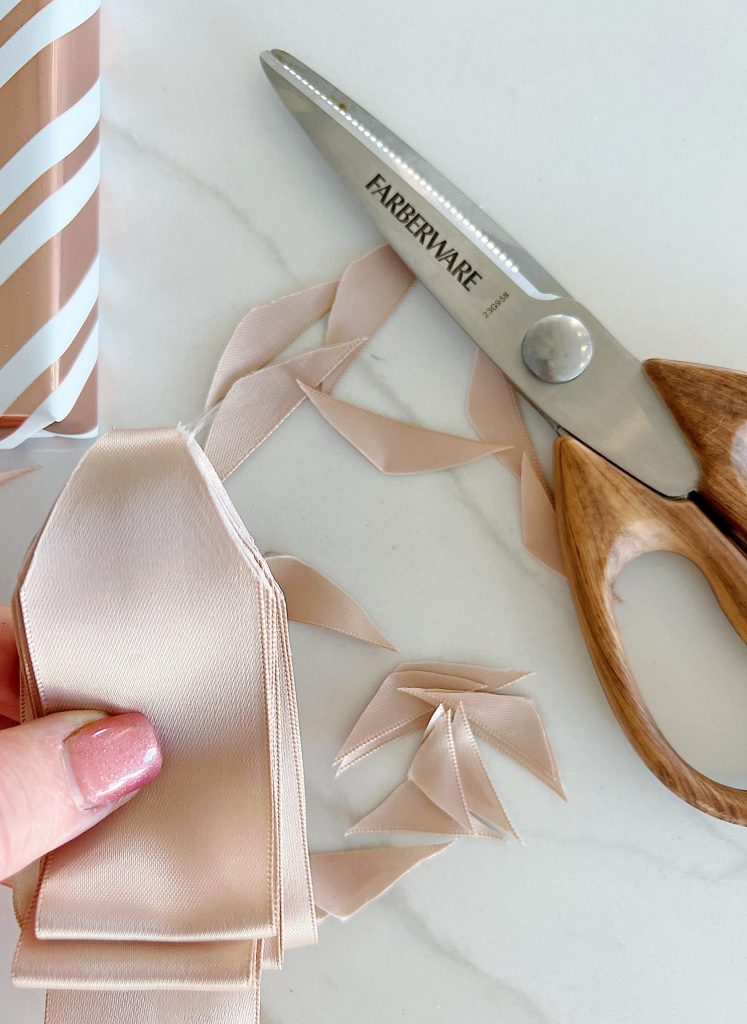
- Pinch the center and cut the angles on both sides to lessen the bulk.
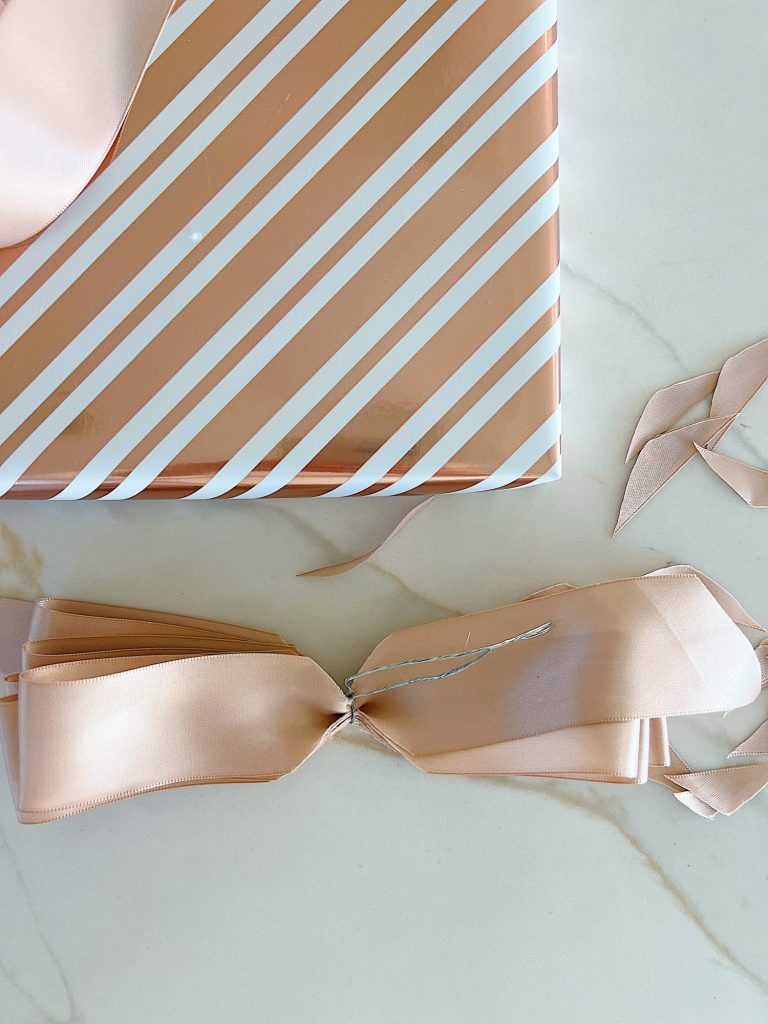
- Secure it with wire or a smaller ribbon.
- Fluff out the loops to create the rosette and secure it atop your gift.

I may sometimes use affiliate links on this blog, which means a small commission is earned if you purchase via the link. The price will be the same whether you use the affiliate link or go directly to the vendor’s website using a non-affiliate link.
The Classic Bow
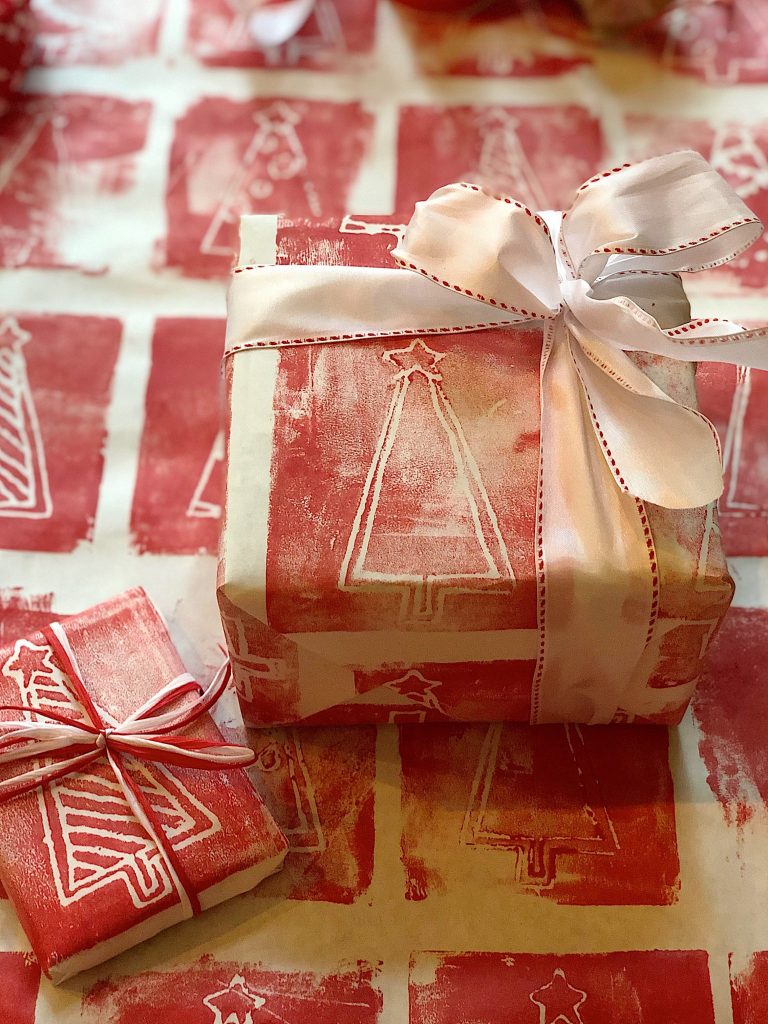
The classic bow is timeless, similar to what you’d tie your shoelaces into. You’ll need a good-quality ribbon about six times the length of the box you’re wrapping.
- Lay your gift face down on the length of the ribbon.
- Pull the ends up and cross them over the box, then pull them under the box and cross them again so they come up the sides.
- Flip the box over and tie a simple knot in the center.
- Create two loops with the ribbon ends, cross them over each other, and pull one loop through the hole that forms (just like tying your shoes).
- Adjust the loops and tails to be symmetrical, and voila!
The Gift-Tag Bow
Integrate the gift tag into the bow for a personalized touch.
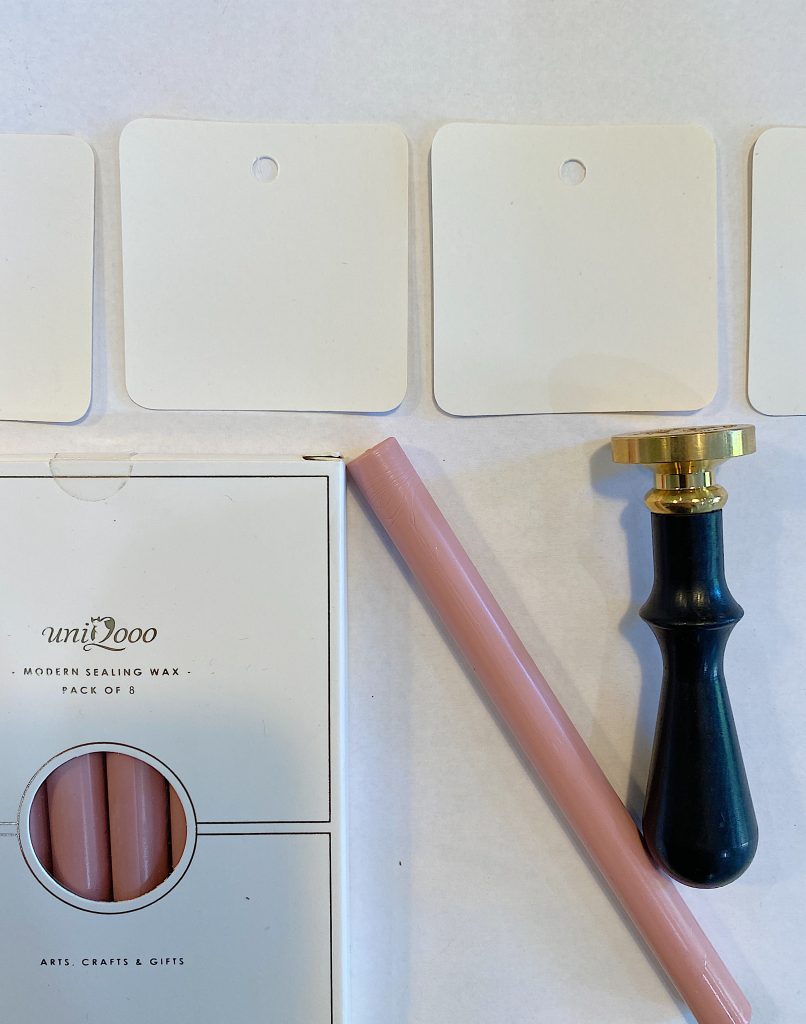
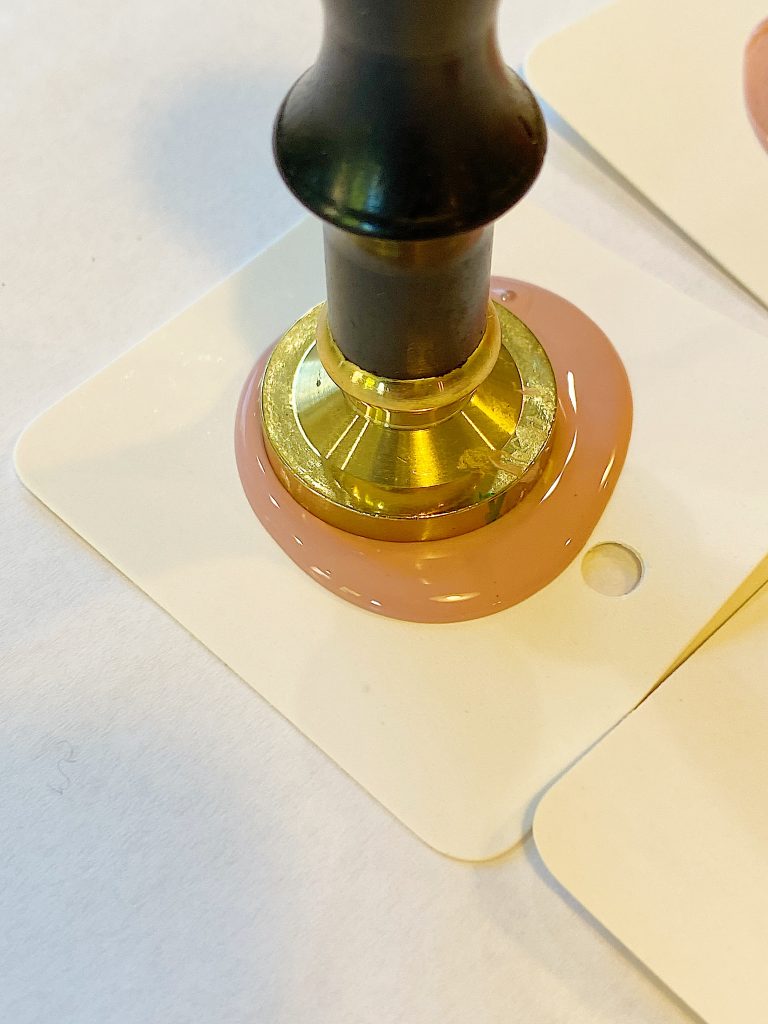
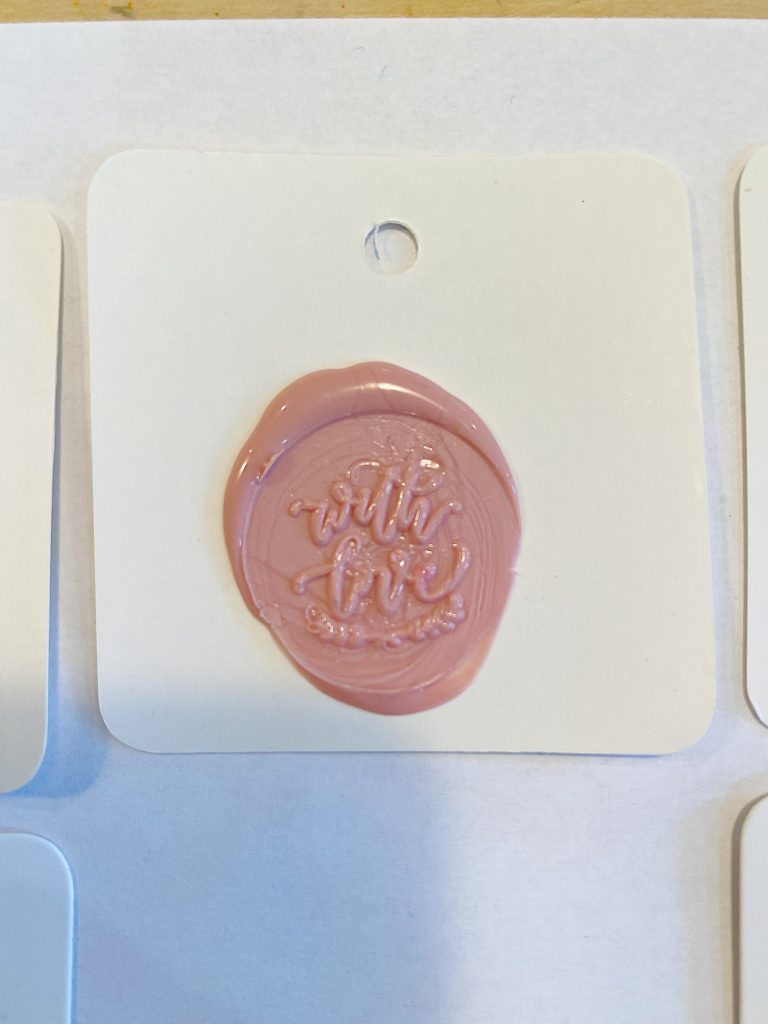
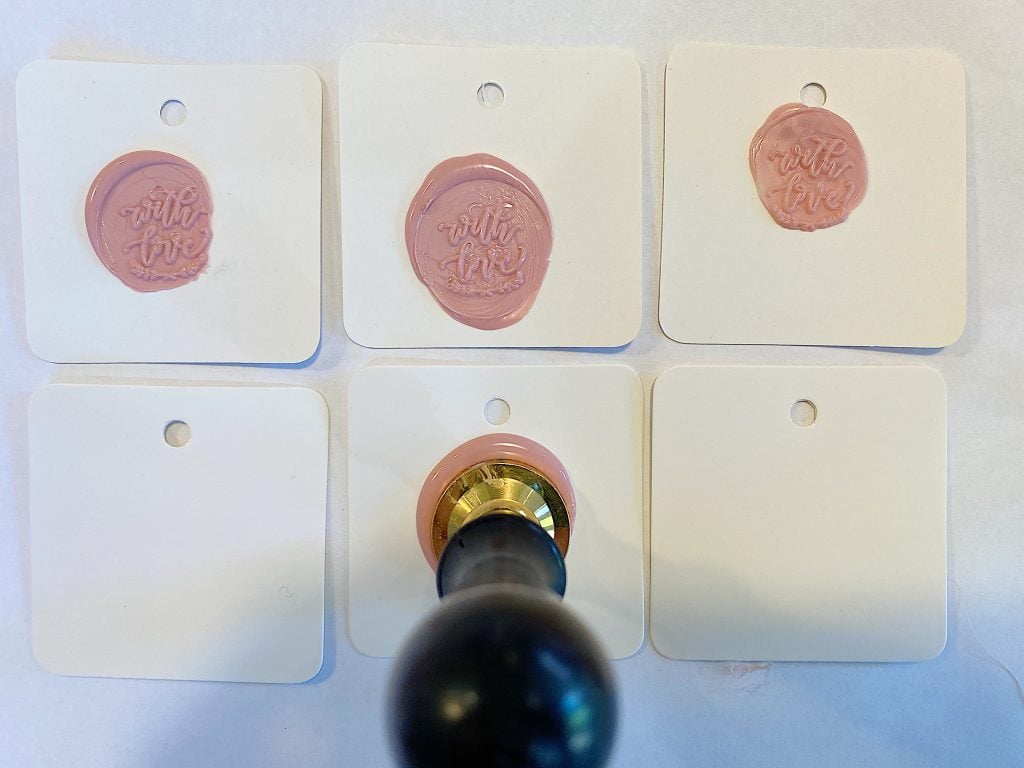
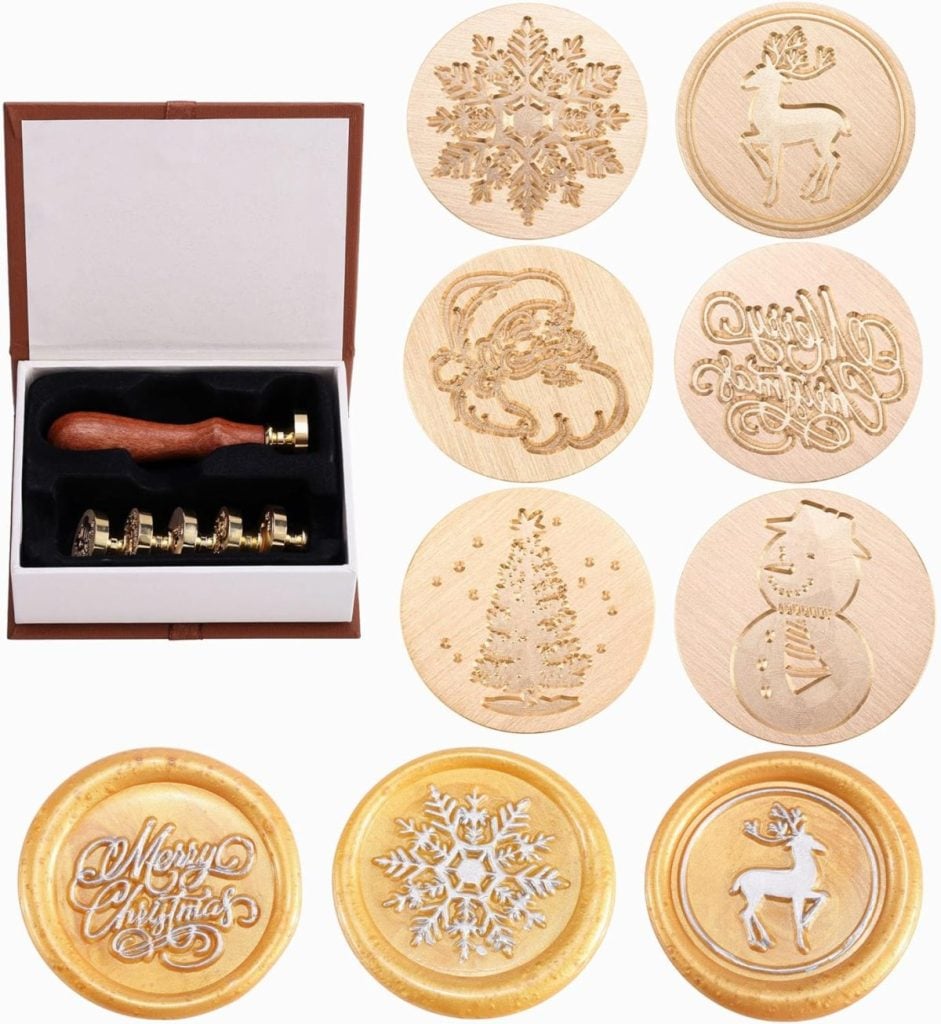
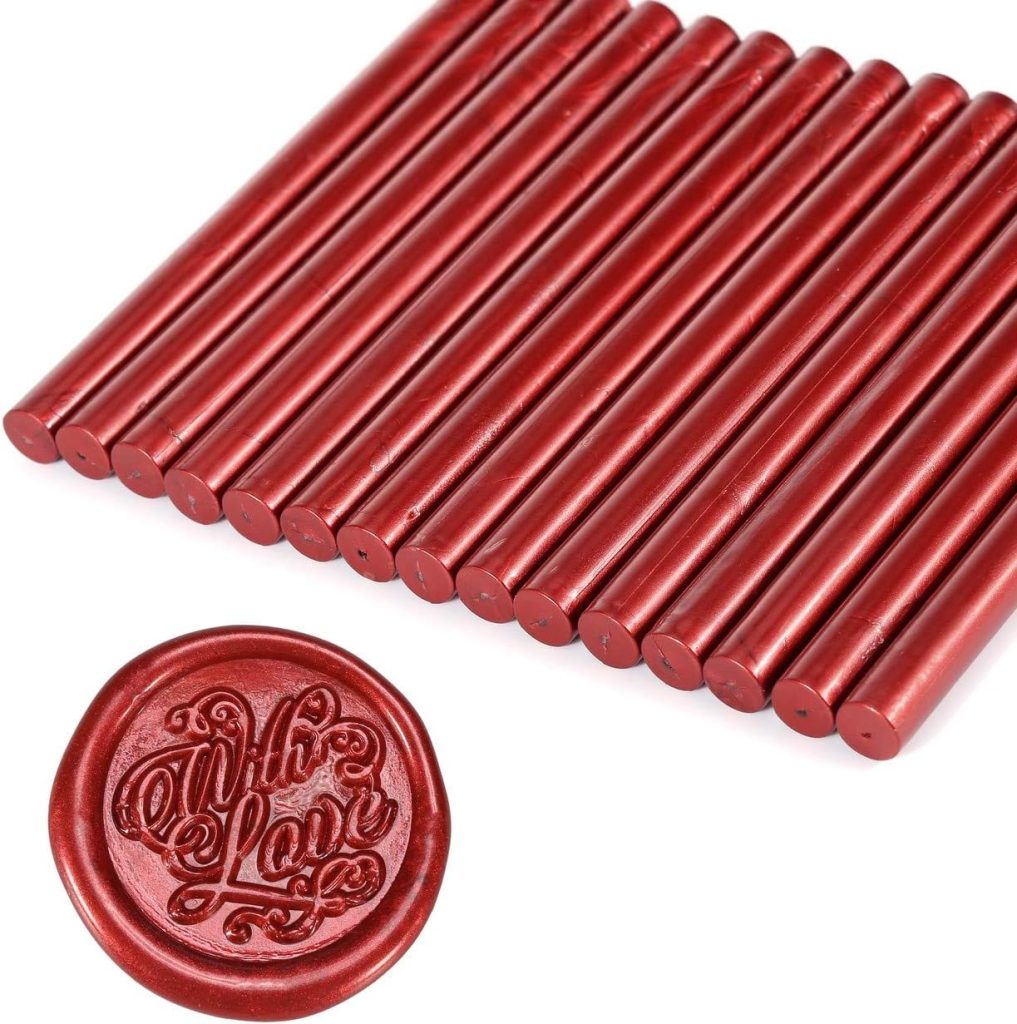
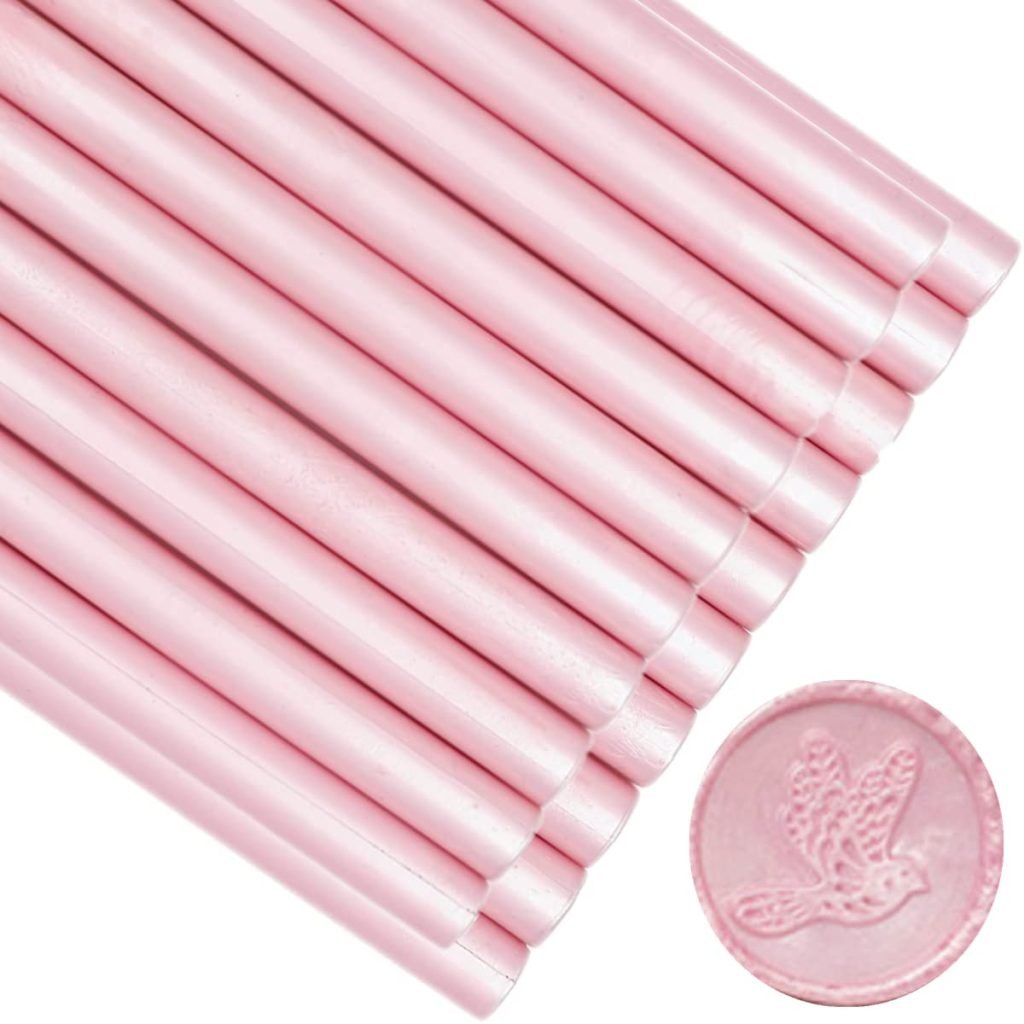
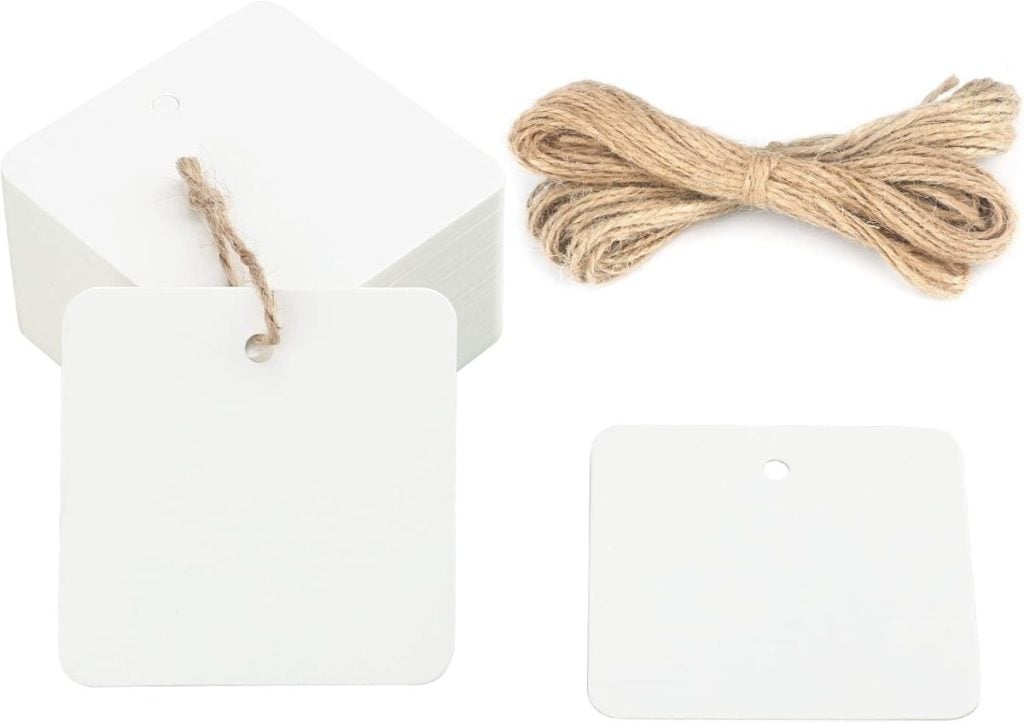
I even used a hot glue gun for the “With Love” gift tags I made with wax and a sealer.

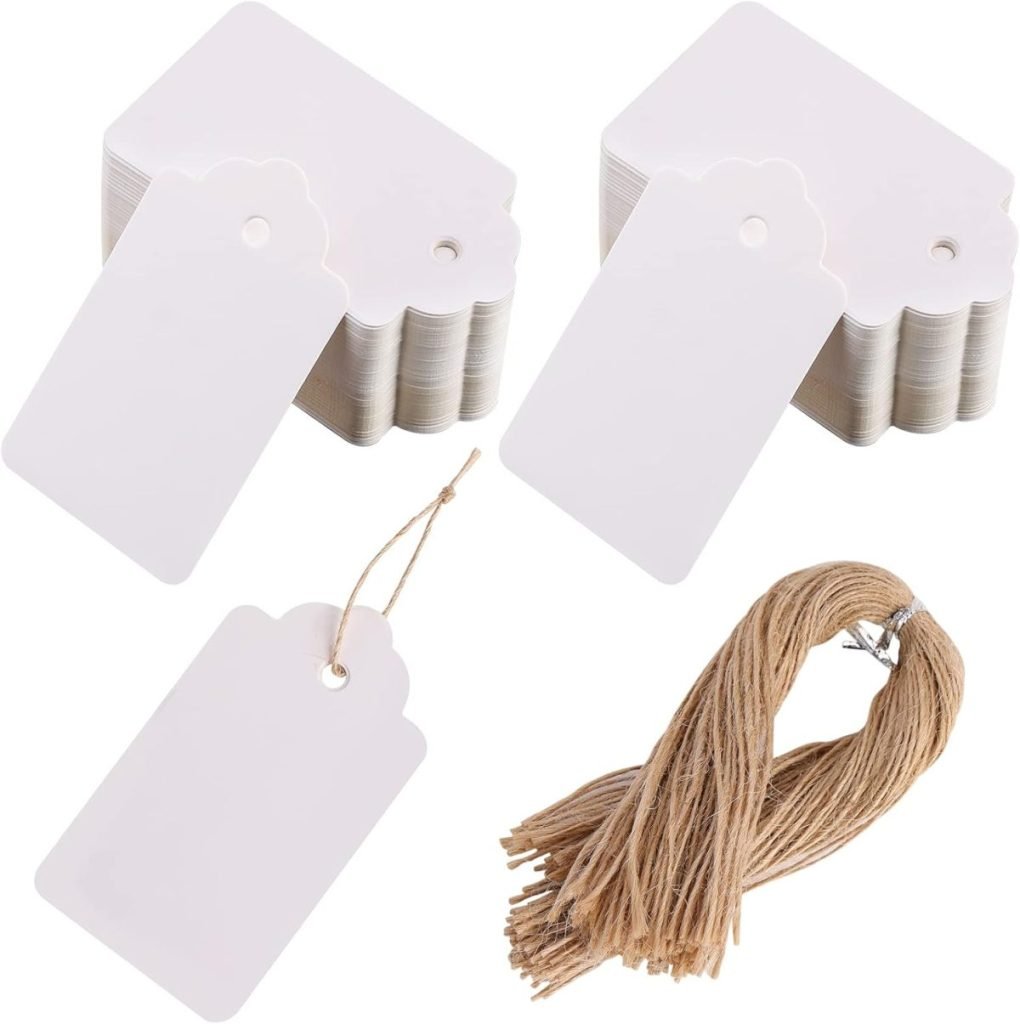
- Punch a hole in the corner of a gift tag and thread it onto a ribbon.
- Tie your bow, ensuring the tag hangs neatly at the front.
Here is how to make these fun Christmas Gift Tags.
The “Not Made From Traditional Ribbon” Bow
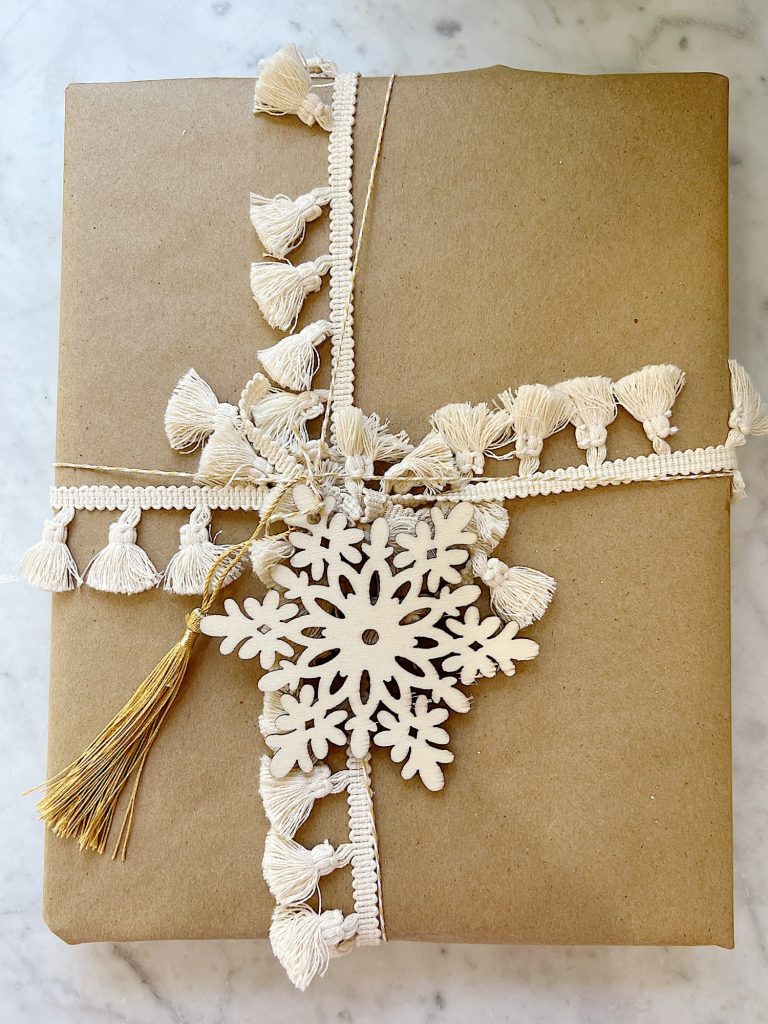
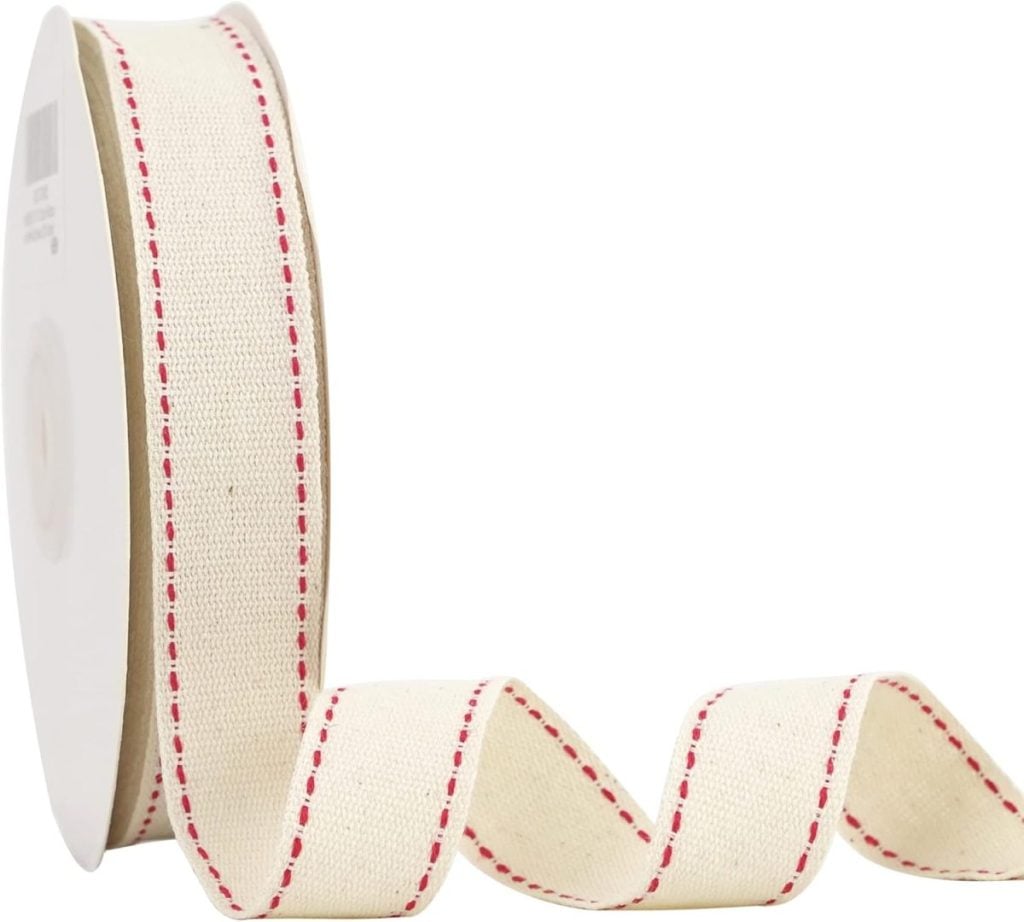
For those wanting a fun and different look, opt for material like fringe or cloth ribbons.
- Use the same technique as the classic bow but with fringe and twine.
- The beauty is in the texture, wooden tag, and tassel!
The Diagonal Bow
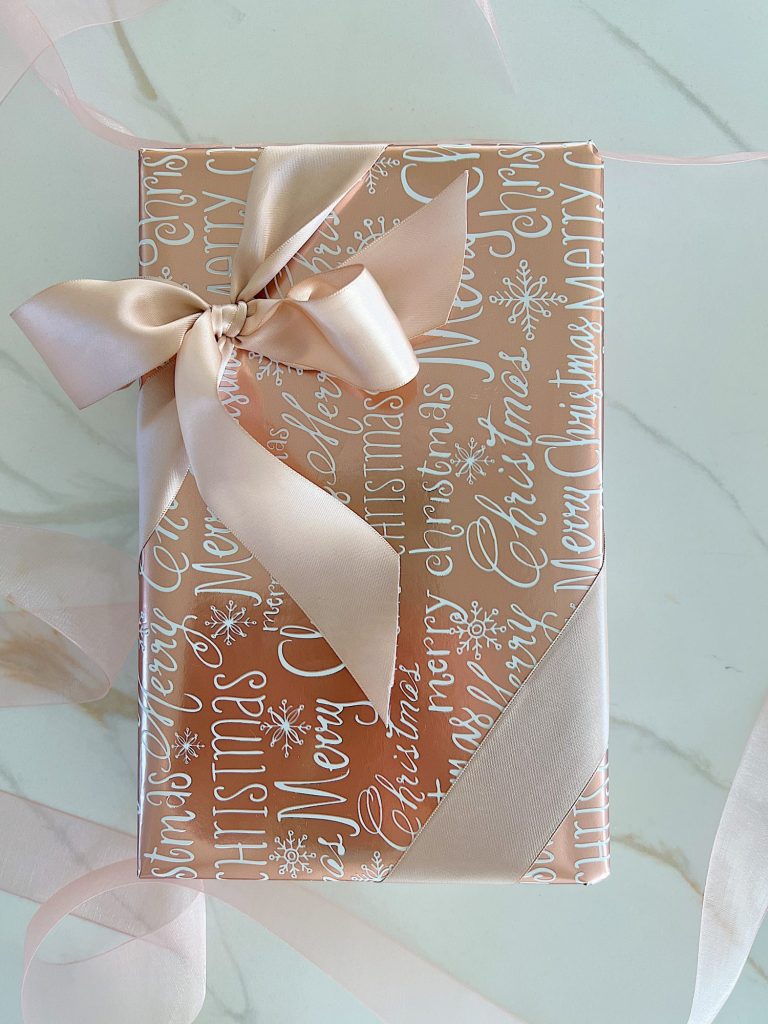
A diagonal bow gives an asymmetric and modern look to your gift wrapping.
- Place the box diagonally on the ribbon.
- Wrap the ribbon around the box’s corners instead of the sides.
- Flip and tie a classic bow on the diagonal for a chic finish.
The Layered Bow
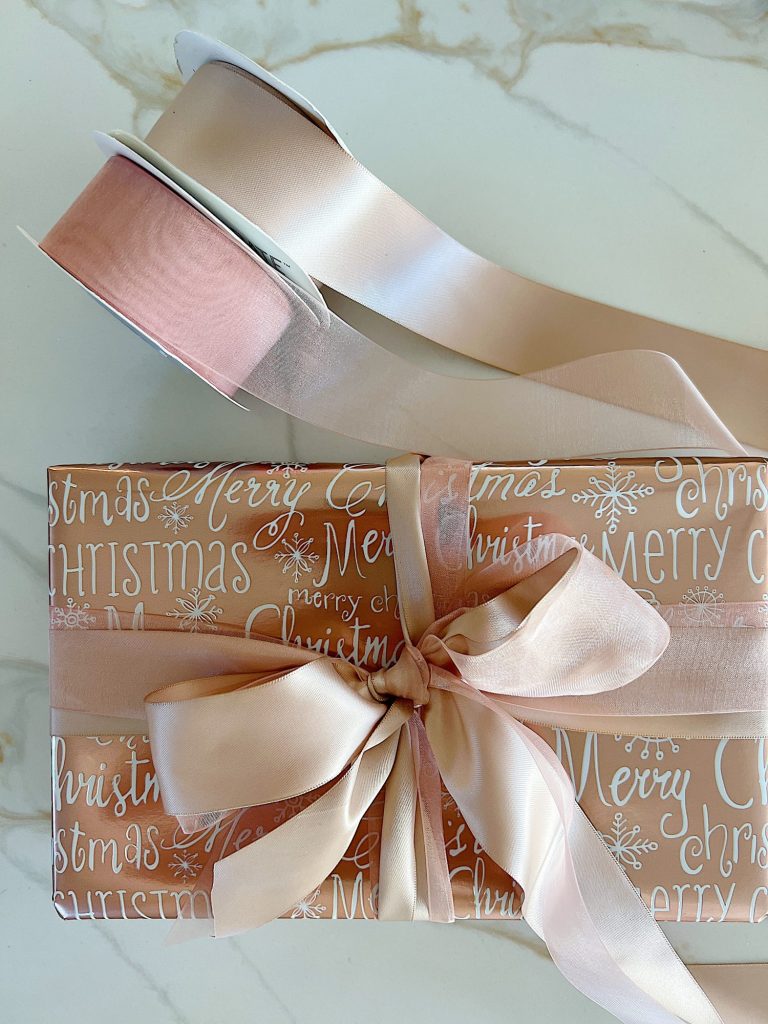
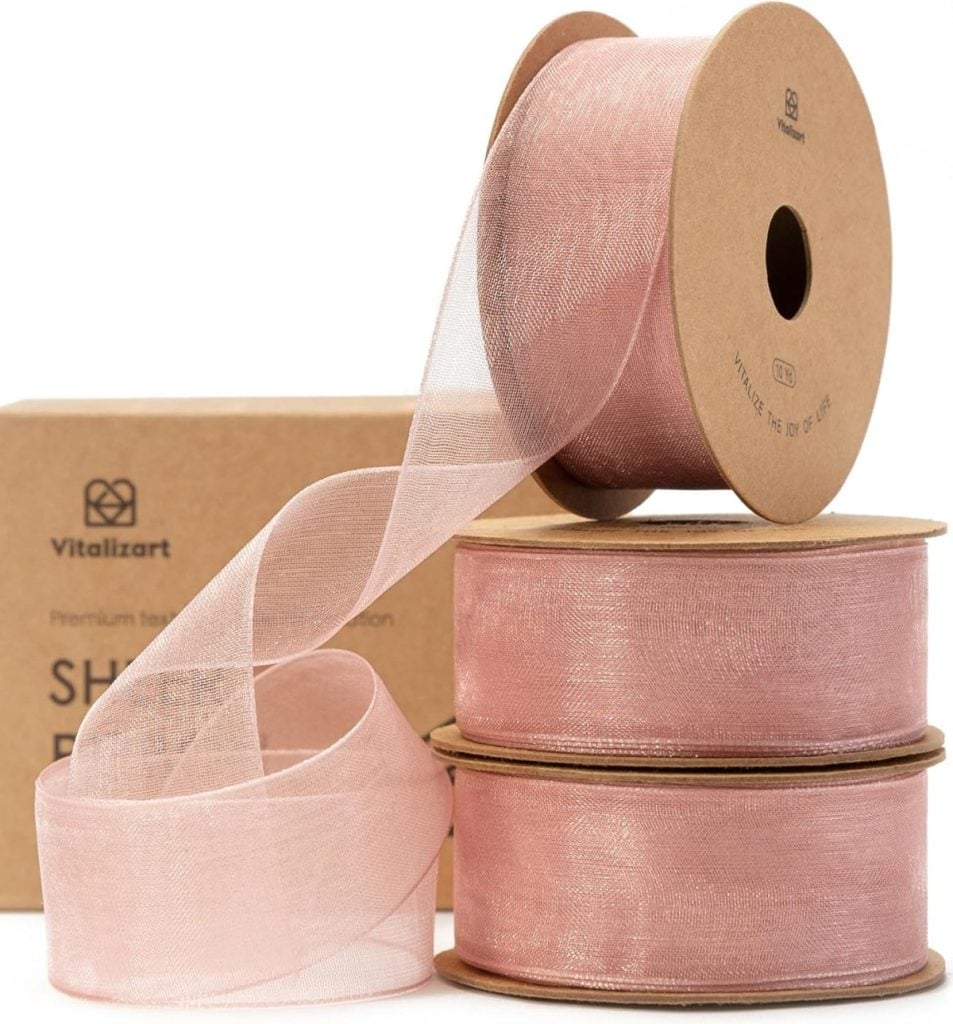
Choose two or three ribbons in coordinating colors or varying widths for this bow.
- Stack the ribbons on top of each other and tie them around the box, finishing with a classic bow.
- Separate the loops and tails to display all the different ribbons.
Tips About Tying Bows
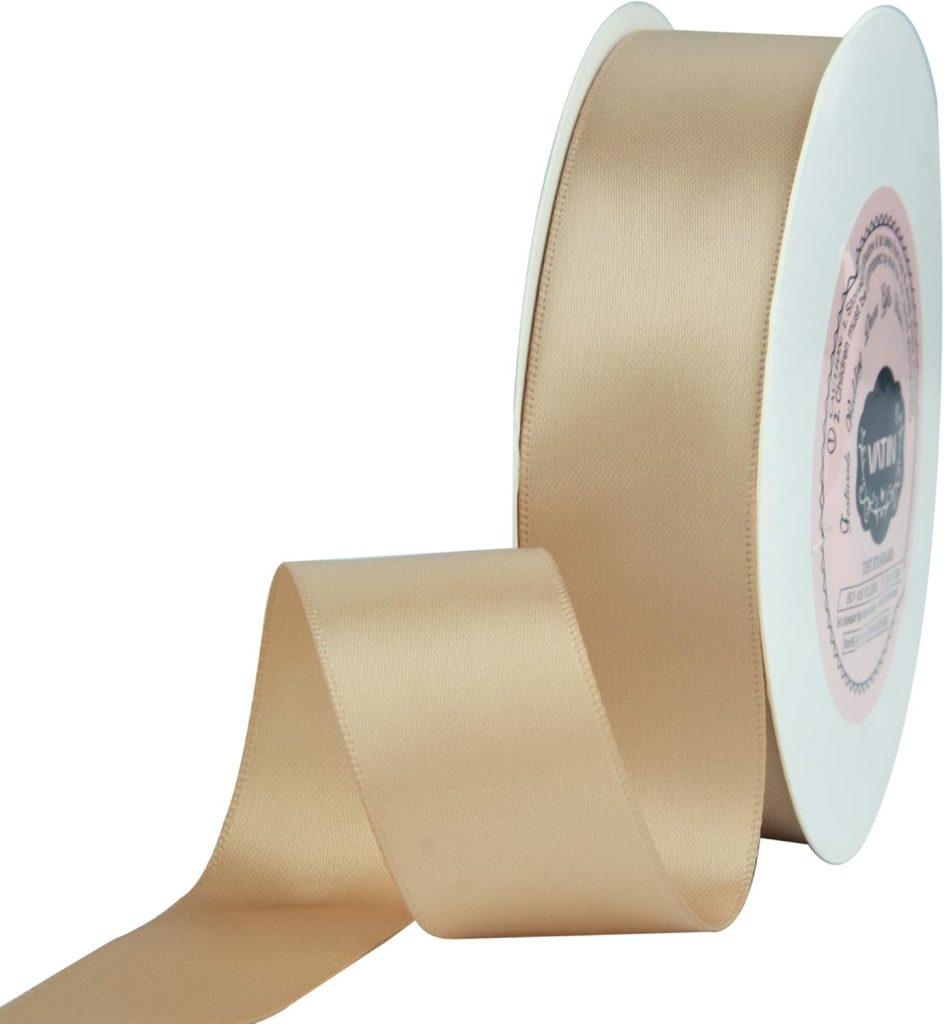
- Always choose high-quality ribbon; it holds its shape better and makes a more substantial bow.
- Use wired ribbon if you’re looking for bows that maintain their form.
- Ensure your hands are clean when tying bows to avoid smudging the ribbon or gift wrap.
Finishing Touches
After mastering these bow-tying techniques, remember that practice makes perfect. Each bow has its personality and charm, and with a little patience and creativity, your gifts will look as though a professional has wrapped them.
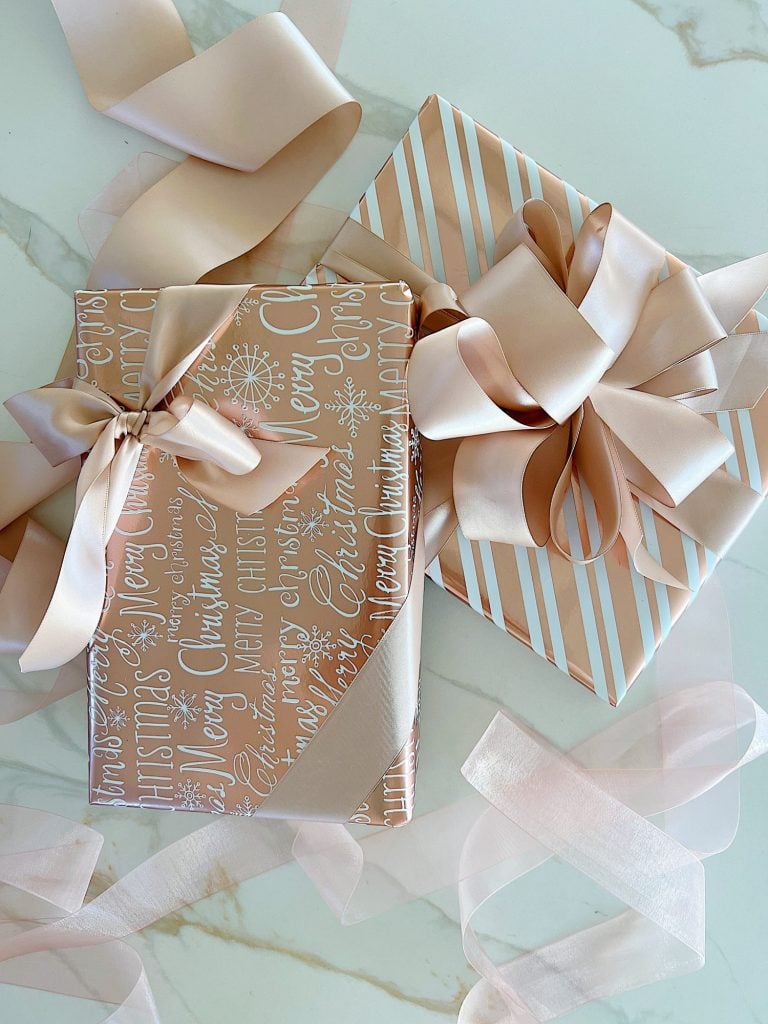
As your family and friends gather around the Christmas tree, they’ll be greeted by a chorus of perfectly presented packages, each with a bow telling its story of your careful consideration and holiday spirit.
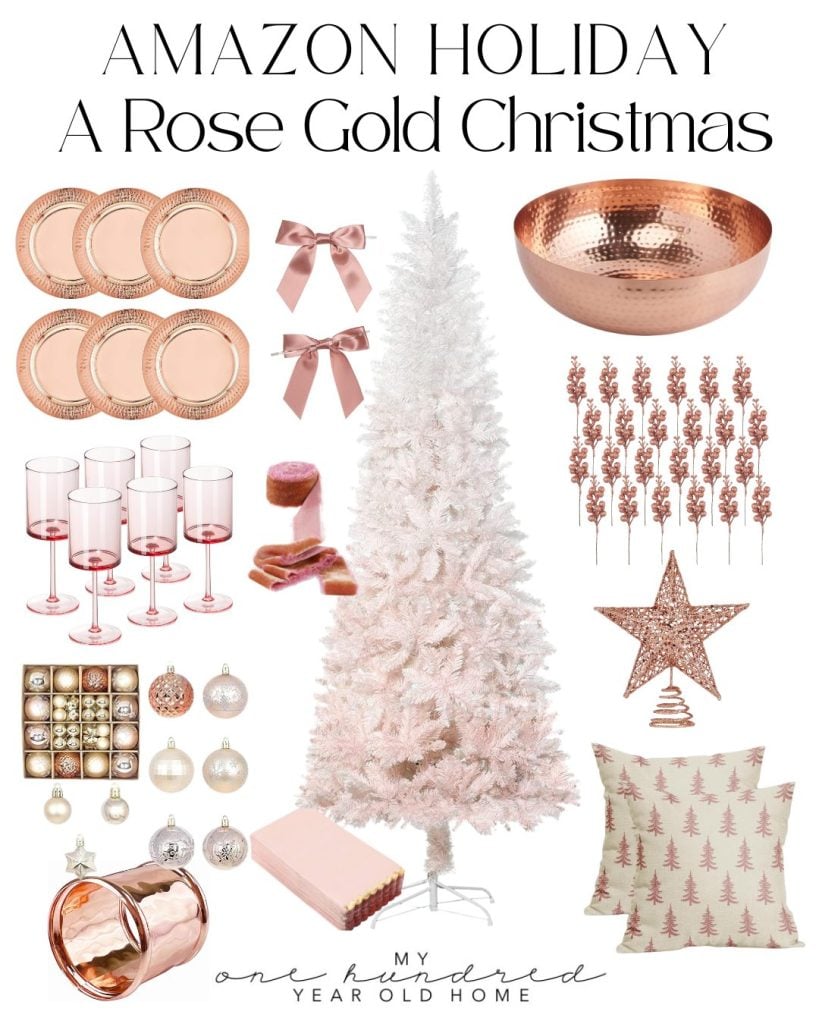
Gorgeous Rose Gold Christmas Decor
If you enjoy my blog, you can sign up to receive my updates here.
.You can pin the image below to your boards on Pinterest (click the Pin button in the top left corner) or follow me on Pinterest!
For more real-time updates, follow me on Instagram @My100YearOldHome



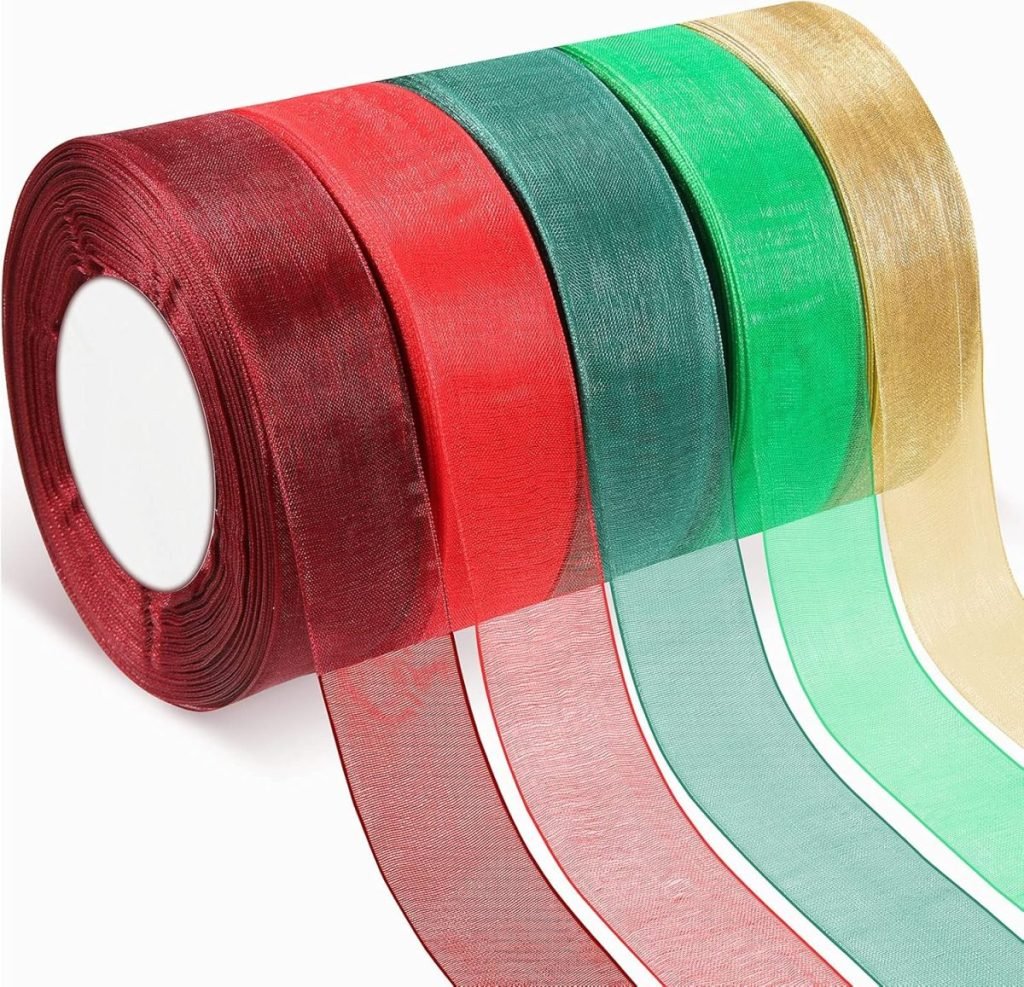
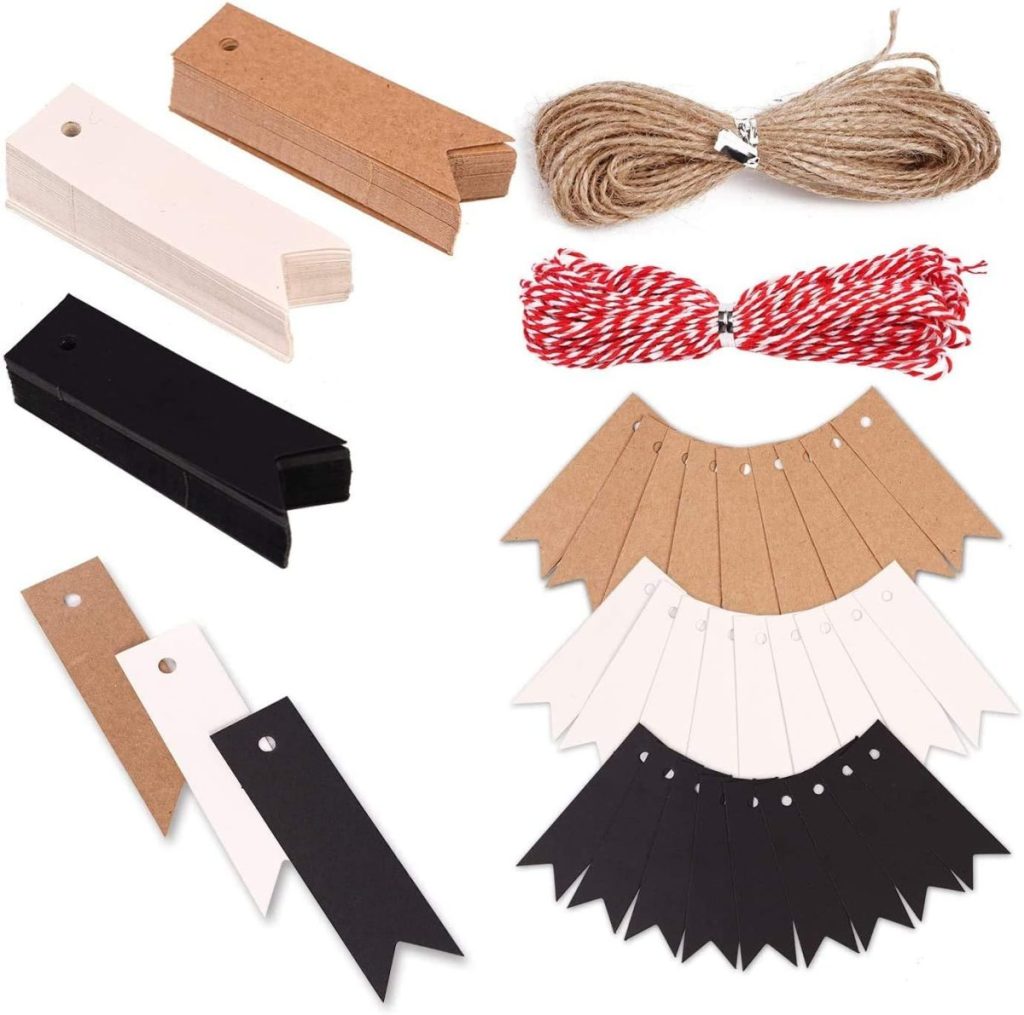
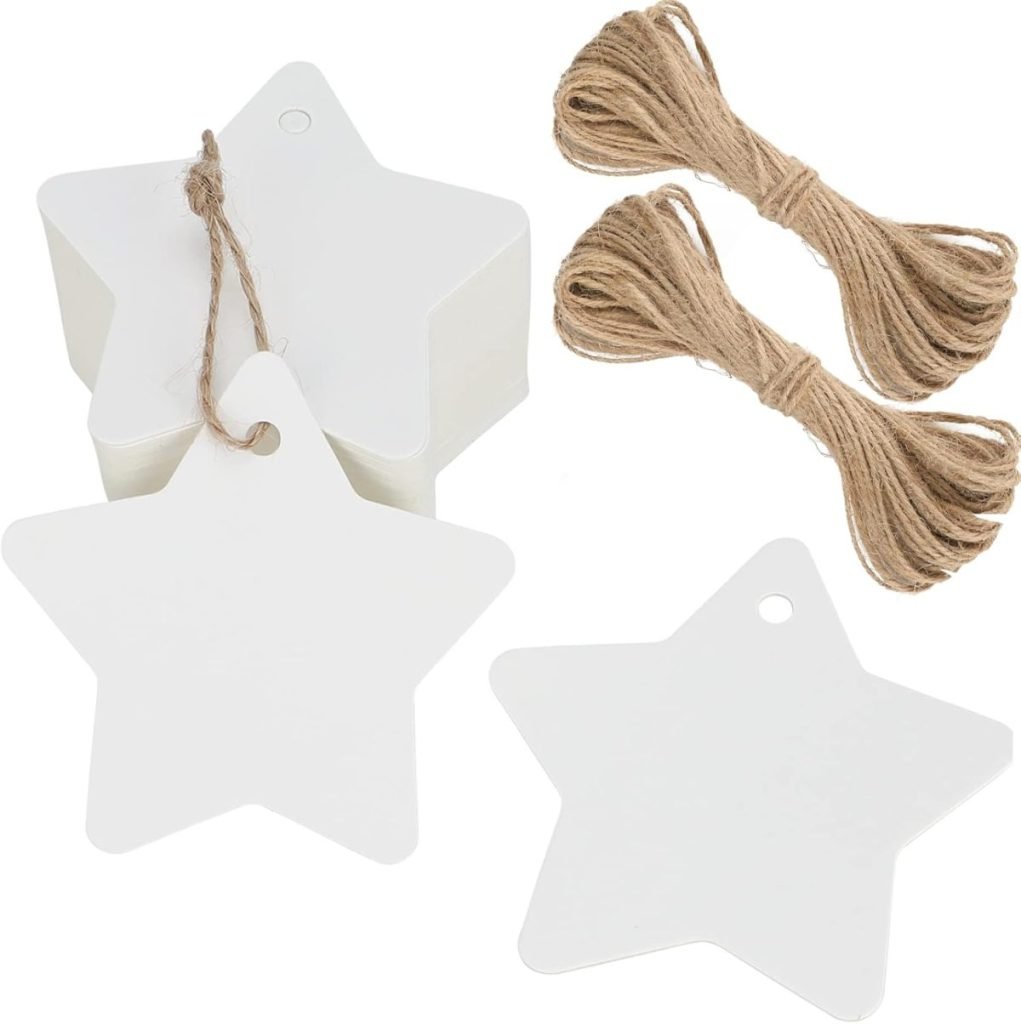
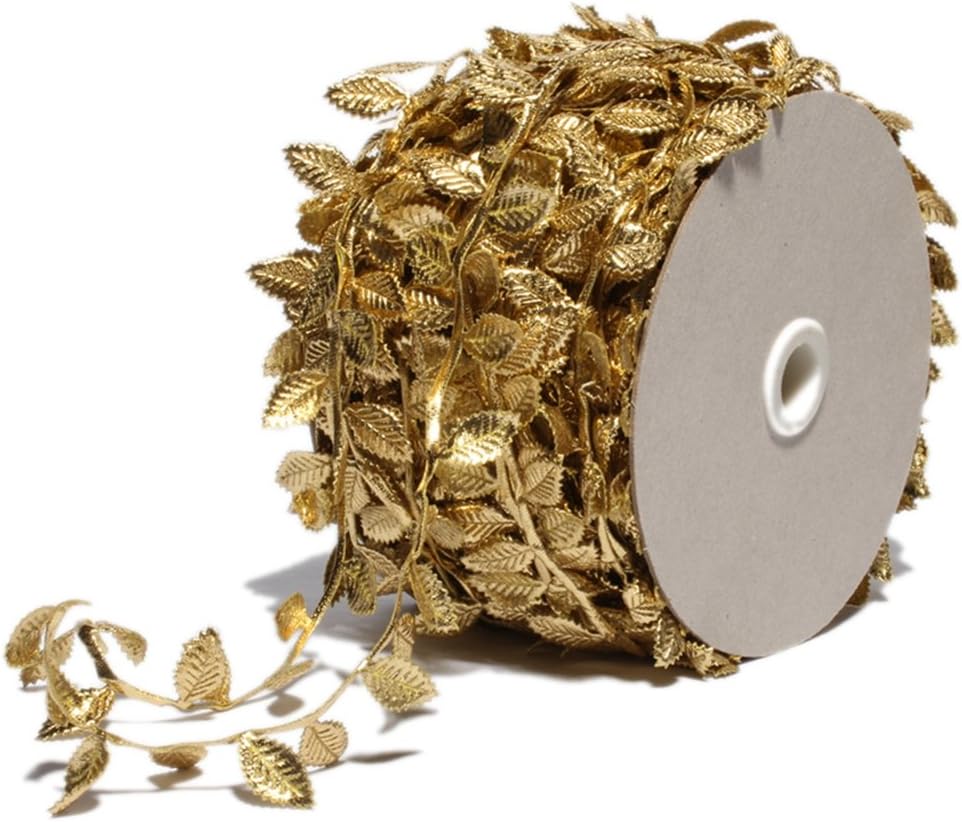


Thank you for the instruction! I love the idea of stamping a tag. I have added to my list on Amazon!
Enjoy your blog
Oh so happy you liked it Diana! Thank you!
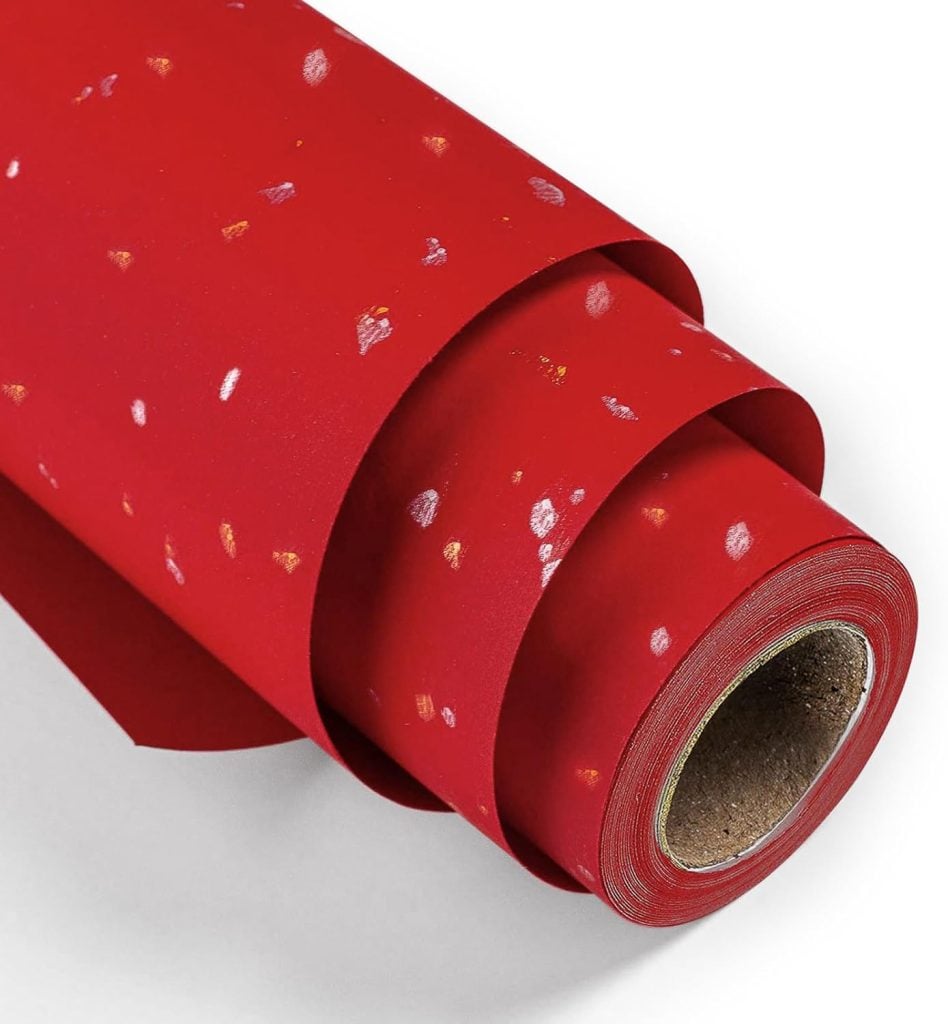
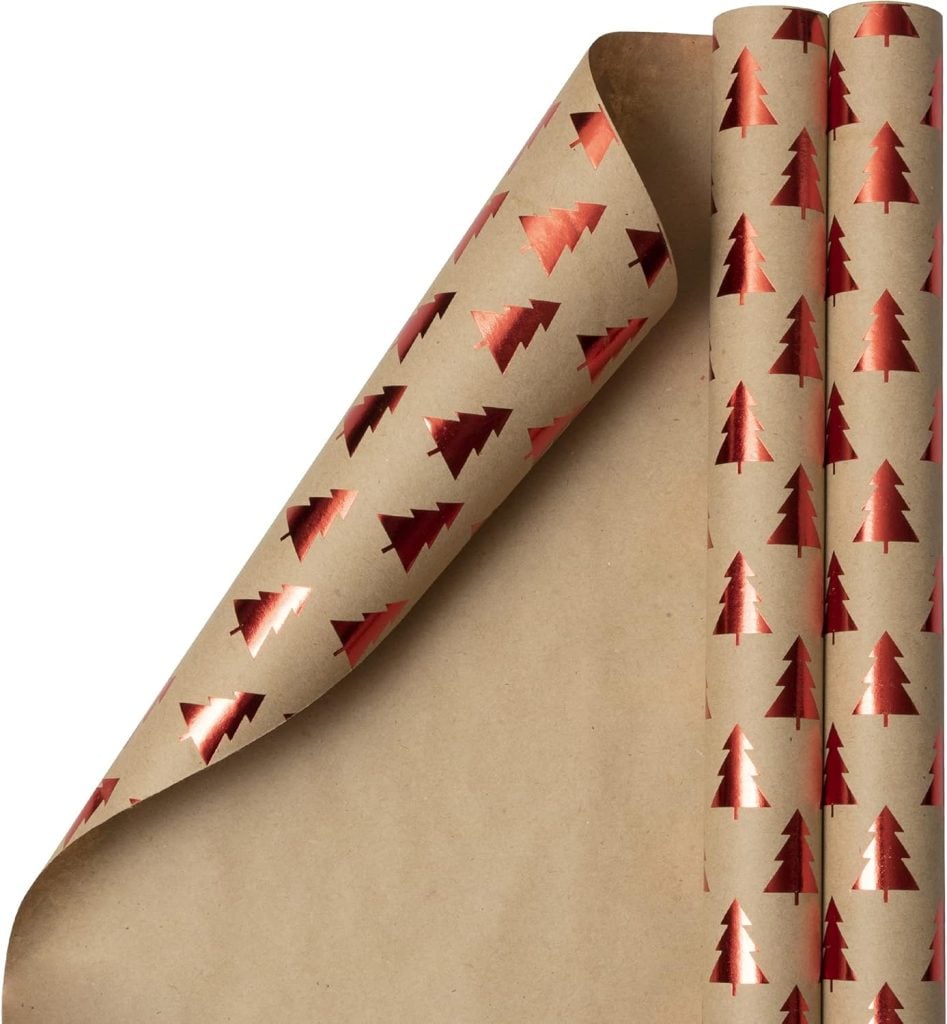
Please email me about the painted wrapping paper, the red stamped look on kraft paper maybe. Love that look! I could get our grands to help me make it. Directions please. Thank you! Love your ideas!
Hi Teresa! I’ve attached the directions below, just click the link ☺️
https://my100yearoldhome.com/how-to-make-christmas-wrapping-paper/
This is really helpful…and so pretty! It always bothers me when I see lovely ribbons and bows tossed out after packages are opened. I save them!
Nice tutorial — super helpful! 🎀 Learning how to tie a ribbon bow is such a small thing, but it really levels up gift wrapping or decorating.
Such a beautiful guide! I love how each bow style adds its own personality to a gift, especially the layered and rosette bows. These simple techniques make holiday wrapping feel so much more special and polished. 🎀✨
Con Futbol Libre puedes disfrutar fútbol online gratis, seguir a tus equipos favoritos y consultar horarios. Click here para acceder a transmisiones estables y de calidad.
Such a lovely and practical guide. The step-by-step approach makes bow-tying feel approachable, and the variety of styles is perfect for adding a personal, festive touch to gifts. A great reminder that small details can really elevate holiday wrapping.
This is such a lovely and festive guide — learning different ribbon bow styles really makes gift wrapping feel extra special and magical. The rosette and classic bow ideas are perfect for creating beautiful presents under the Christmas tree! 🎁✨
For more creative inspiration, visit this website.
Such a charming and festive guide these ribbon bow styles really add a magical touch and make gifts feel extra special. Creative ideas like these, just like the inspiration on thetokuplay, make simple moments more beautiful.