The Best Creative Halloween Table Decor
Halloween is a crazy time in our town. We get lots of trick-or-treaters (600+) and this year I decided to have some fun with Halloween table decor.
So how could it possibly be that I have never decorated the inside of our home for Halloween? Well, that has finally changed! Today I have made up for many years of neglecting our home on Halloween. I created Halloween table decor for a dinner party I am hosting for my girlfriends.
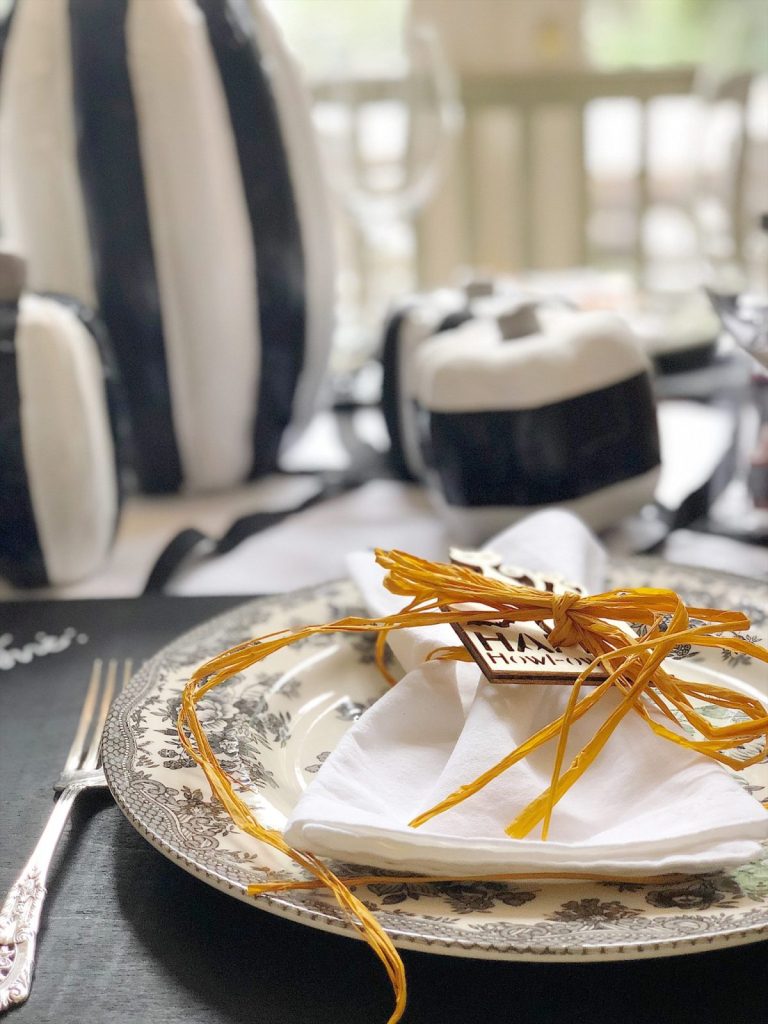

Halloween Table Decor
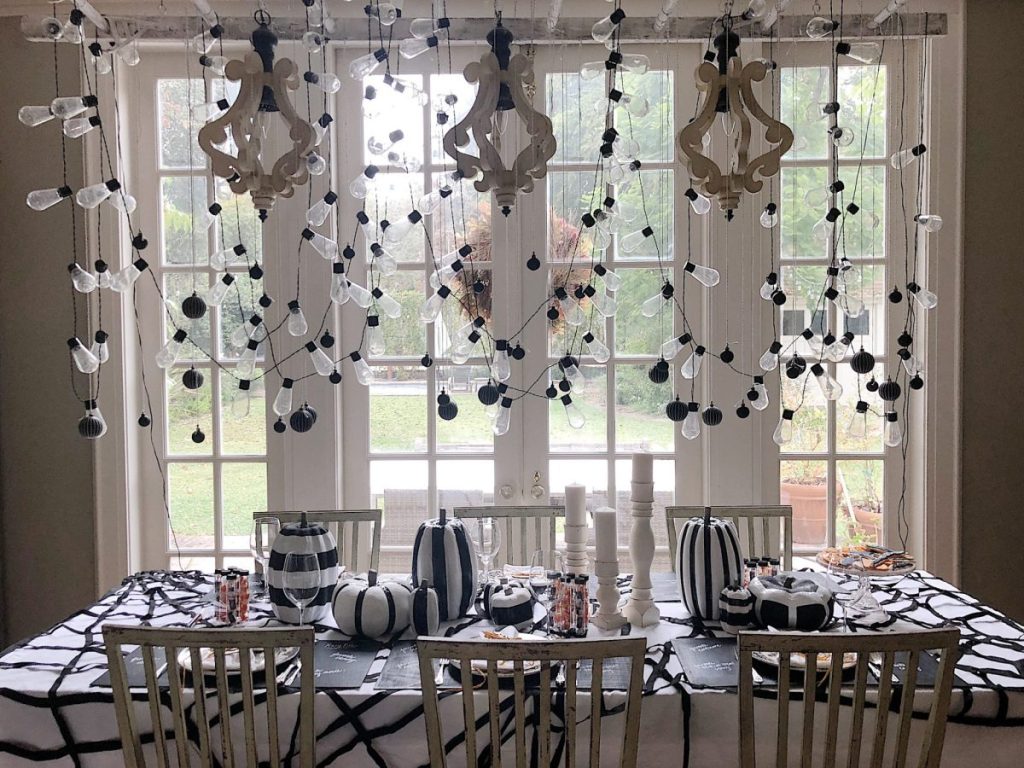
Making Halloween table decor was so much fun. I can’t even begin to tell you how great it was to create a table in a black-and-white theme!
The pumpkins are made with paint and duct tape. The chargers are wood painted with chalkboard paint. For the cookies, I used a basic sugar cookie and royal icing recipe.
Making Duct Tape Pumpkins
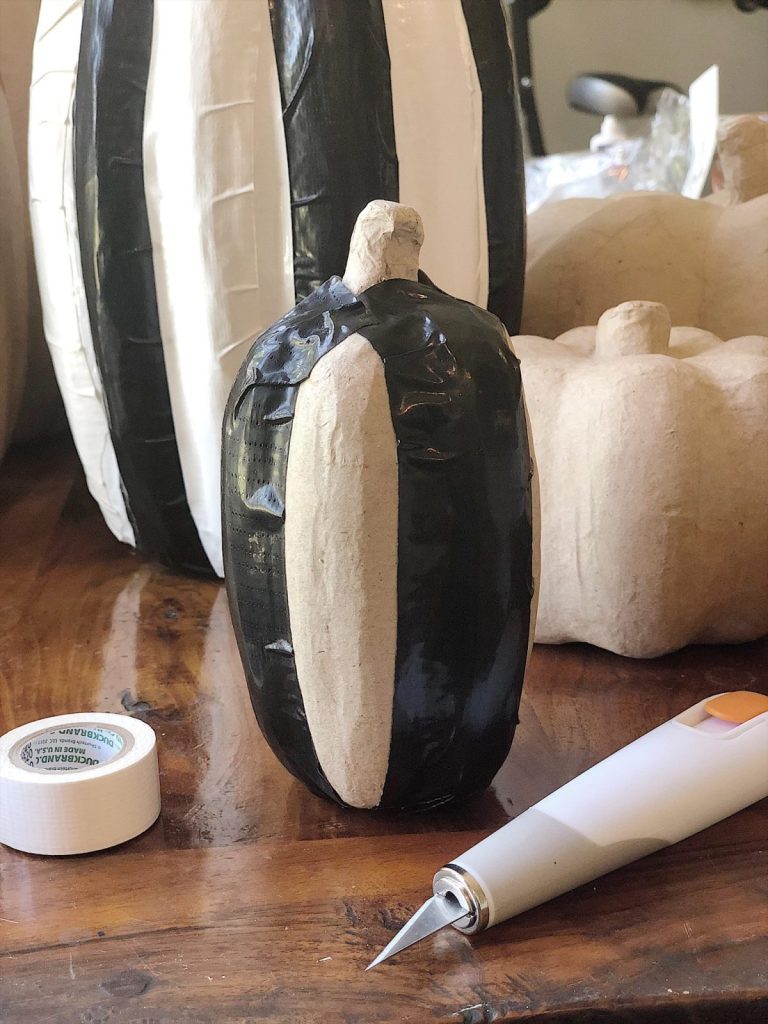
I can’t even begin to tell you how much I love my duct tape pumpkins.
Of course, I hadn’t planned anything, I just started adding tape to the pumpkins.
These pumpkins are so easy to make you don’t even need any instructions. Here are a few photos to show you how easy they are to make. I used paper mache medium pumpkins, tall pumpkins, and small pumpkins. I also used thin and thick widths of duct tape in black and white.
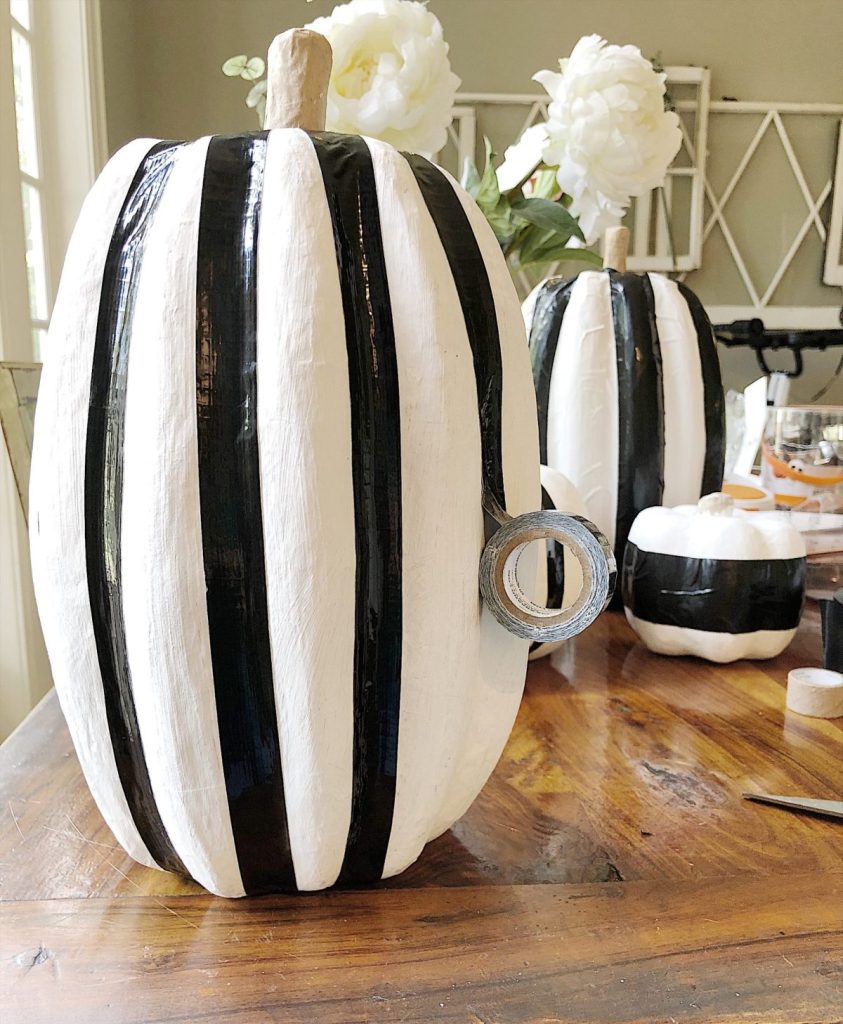
I painted some of the pumpkins with chalk paint and used duct tape to create the accents. The most important tool I used to make these was my Fiskars craft knife. It was really helpful to cut the tape.
Aren’t these fun?
On this blog, I may sometimes use affiliate links, which means a small commission is earned if you purchase via the link. The price will be the same whether you use the affiliate link or go directly to the vendor’s website using a non-affiliate link.
Making Chalkboard Chargers
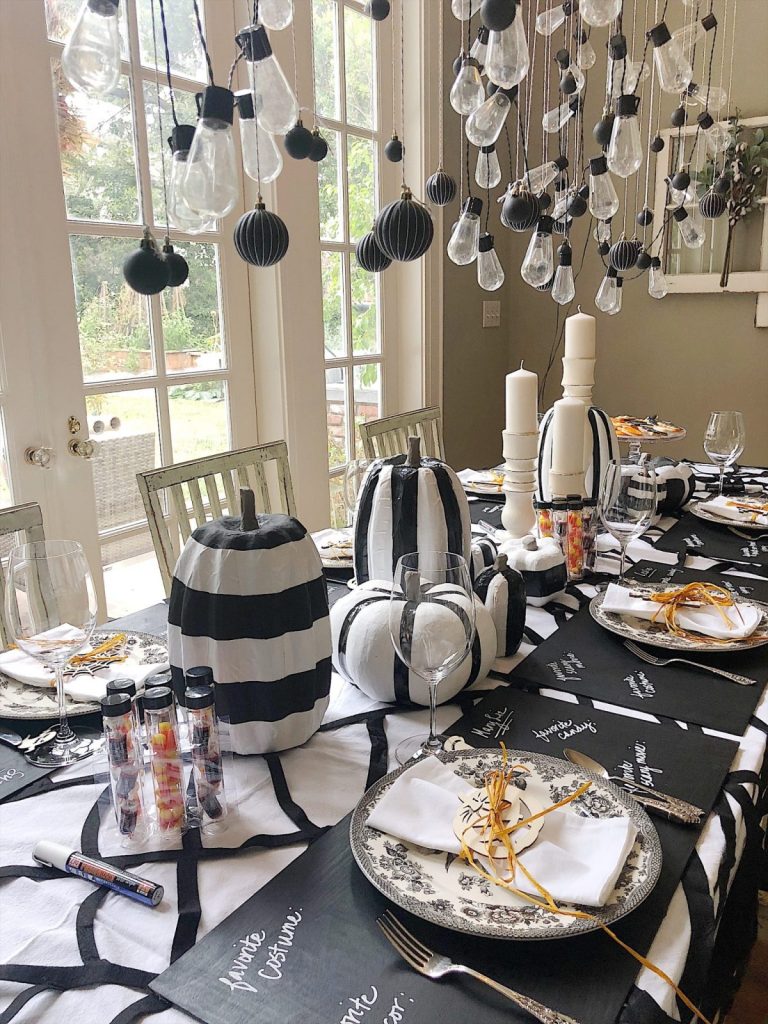
I also made my own charger plates. I bought six rectangular wood pieces and painted them with chalkboard paint.
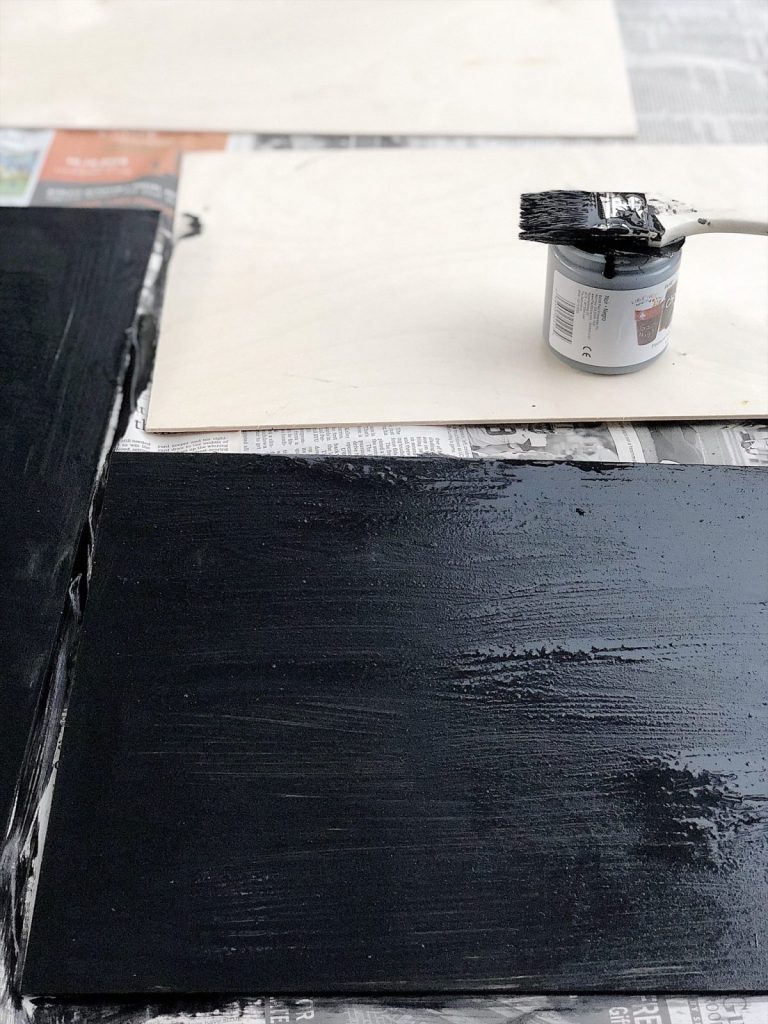
I thought it would be fun to use the chargers to write the names for “place cards” and add some “Halloween Favorites” questions so that each person could share their answers during dinner. These chalk markers were perfect to write with.
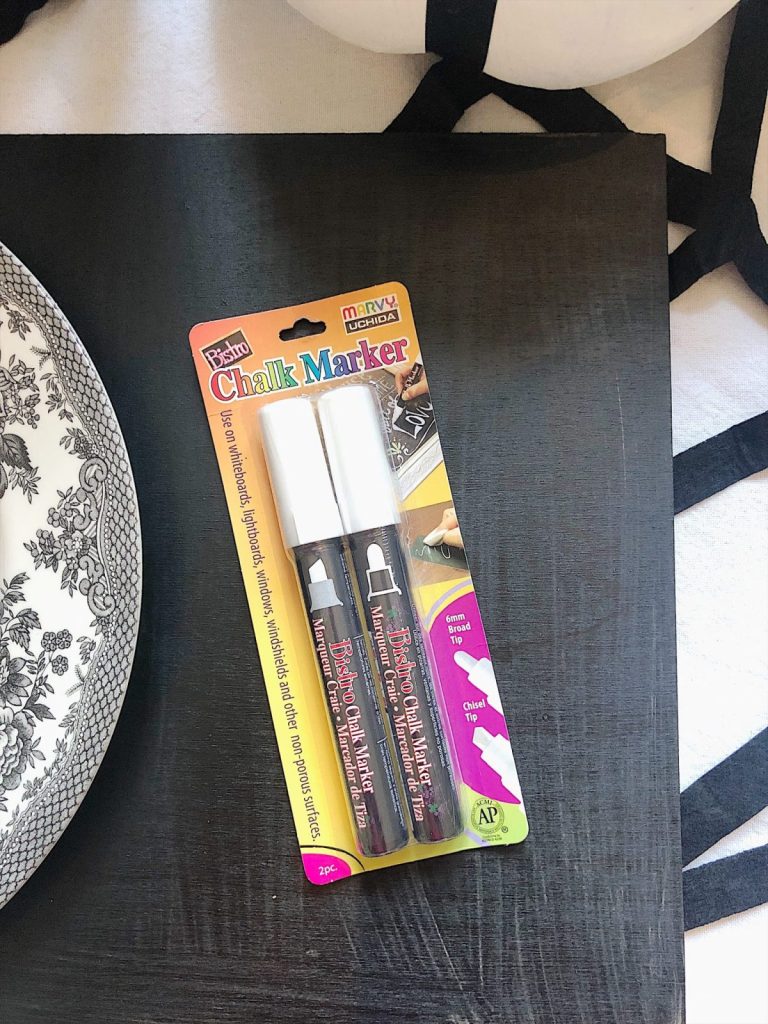
These were so easy to make and I will use them again for sure!
Do you know the best thing to use to clean a chalkboard? A Mr. Clean magic eraser!
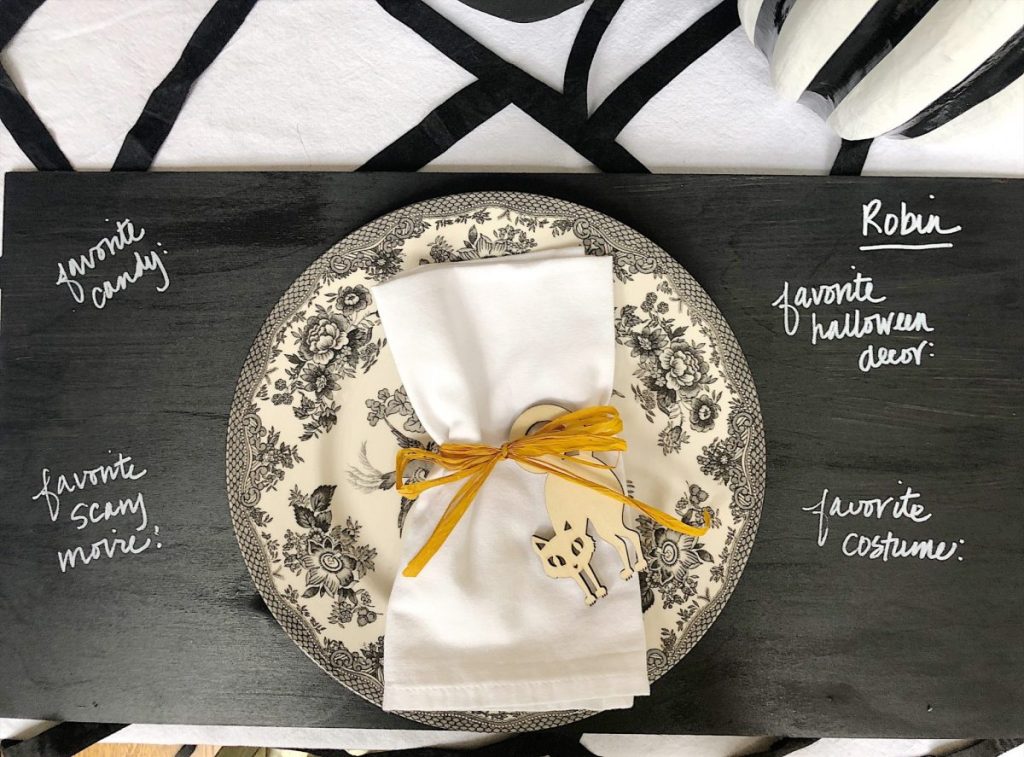
Making Napkin Rings
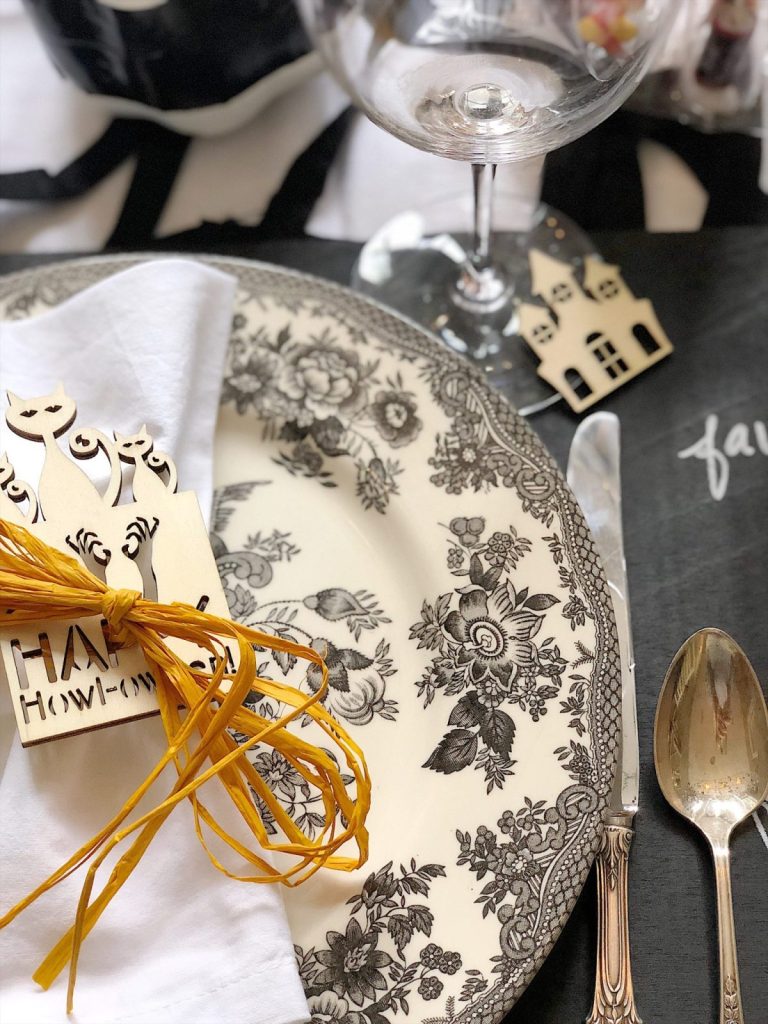
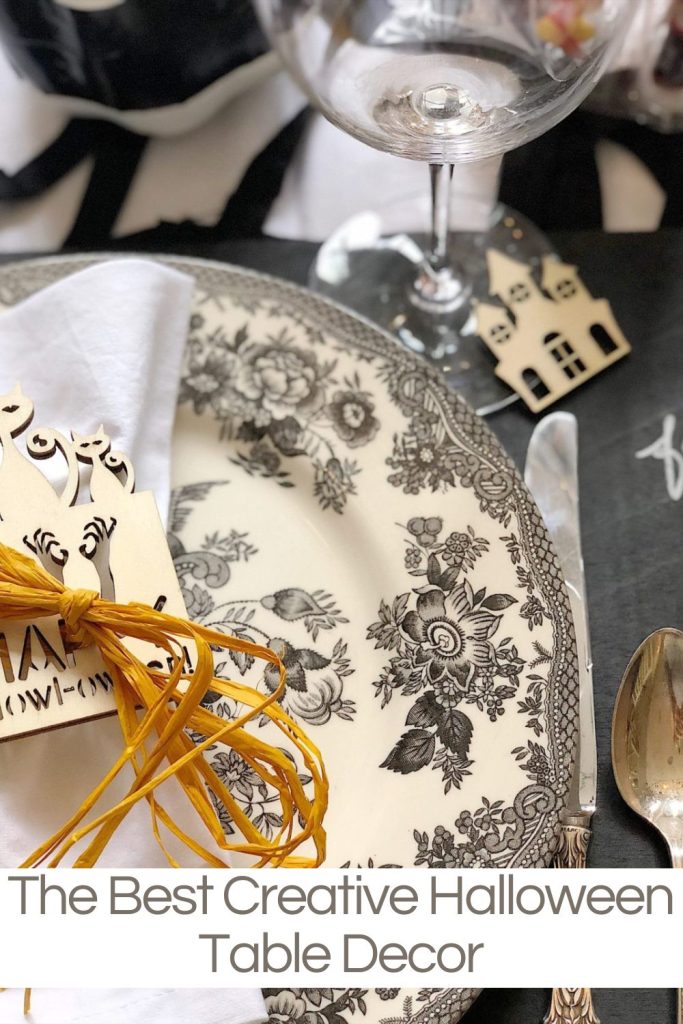
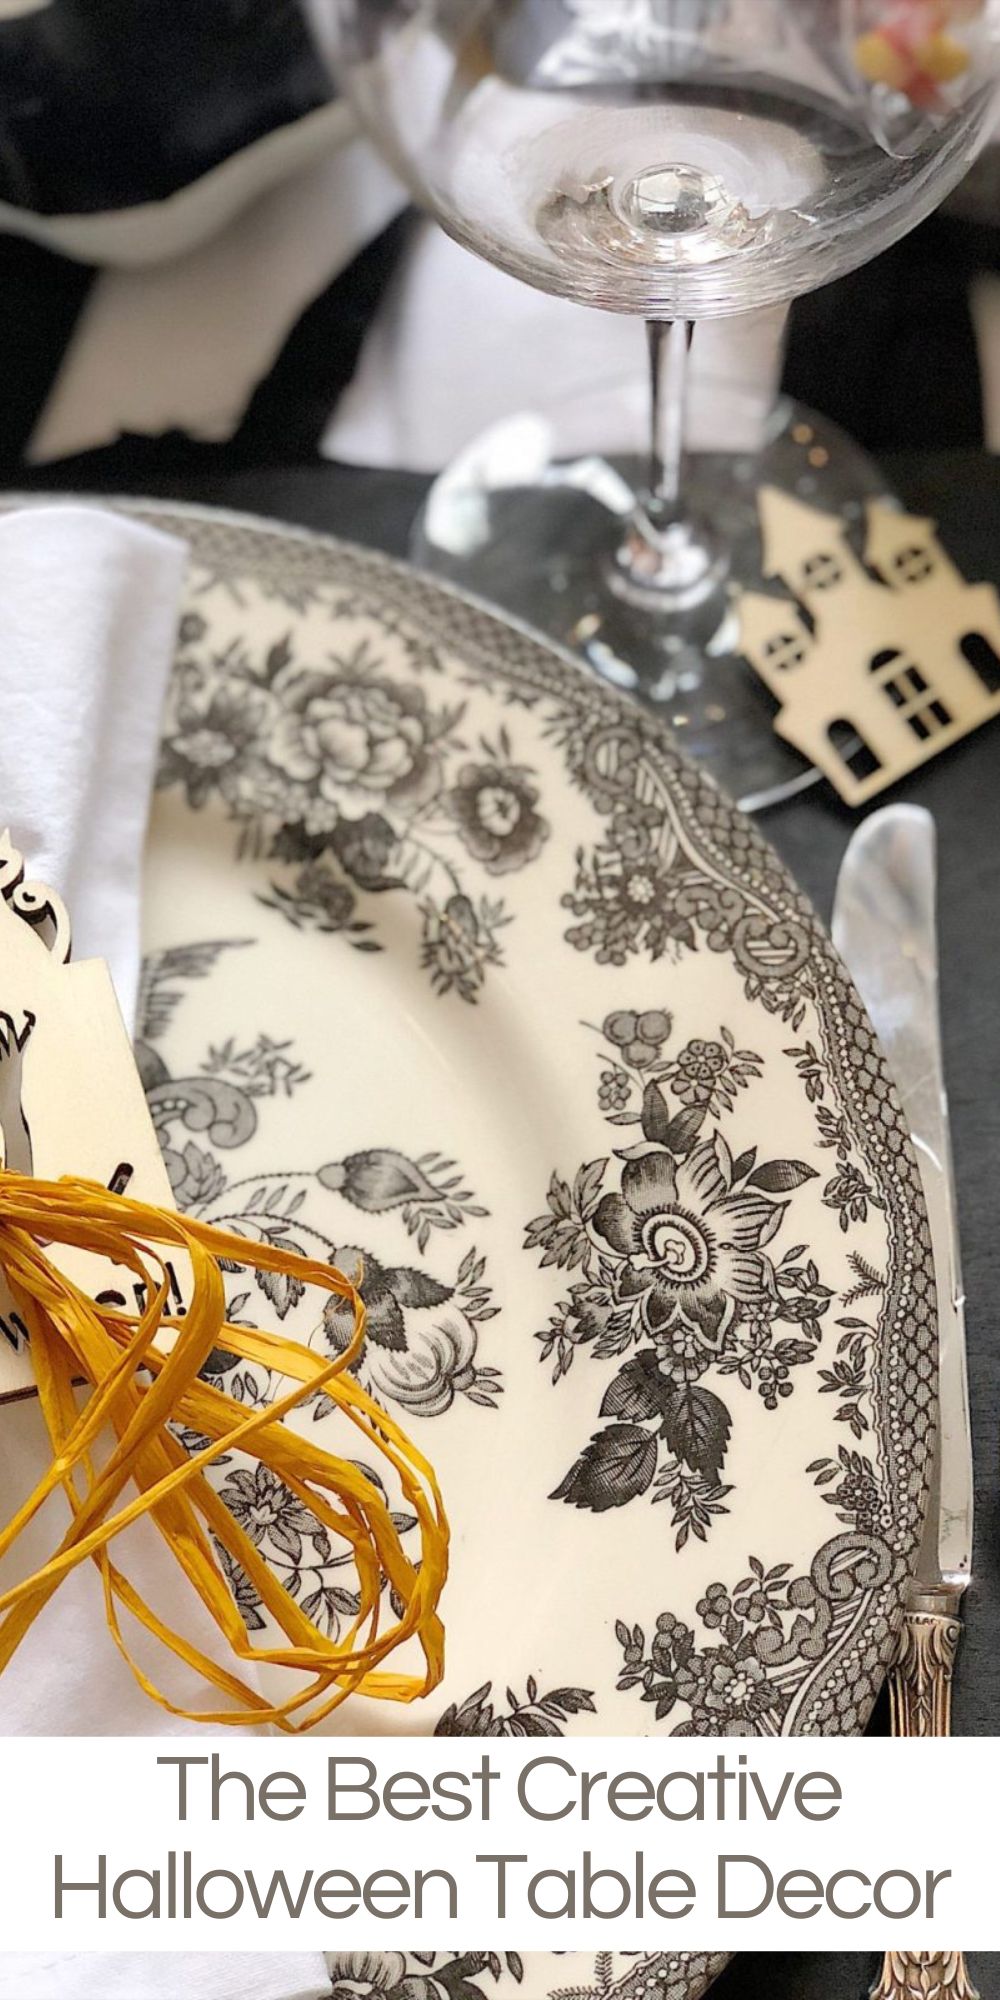
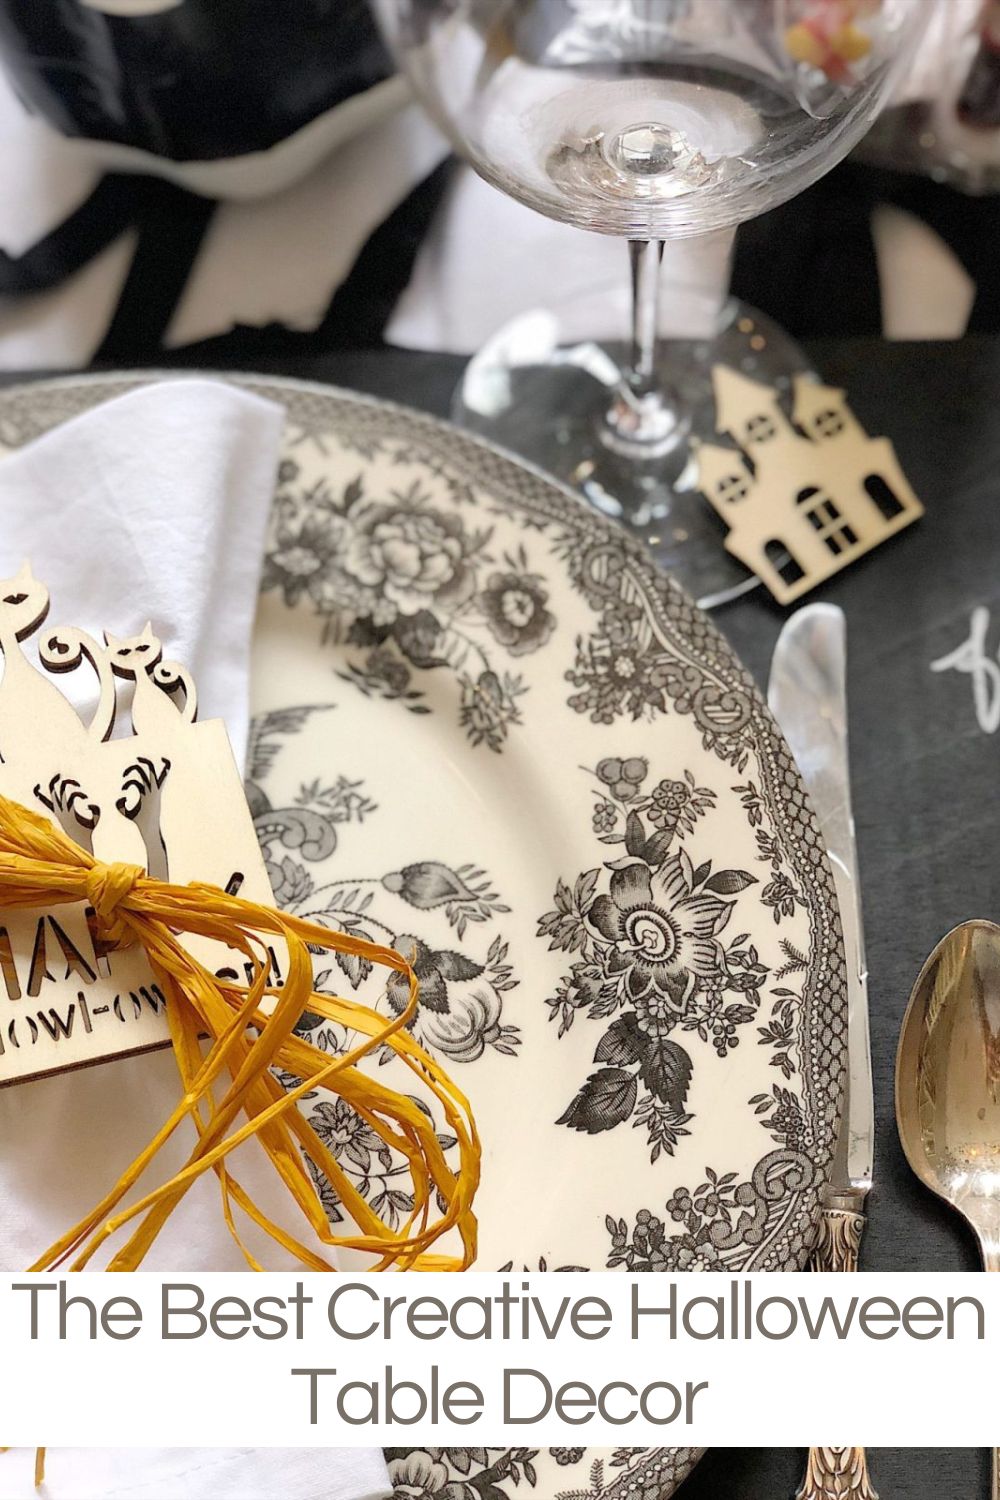
I purchased some wood cutouts to make my own napkin rings. There are so many cute Halloween cutouts. The raffia was left over from another project!
Making Wine Charms
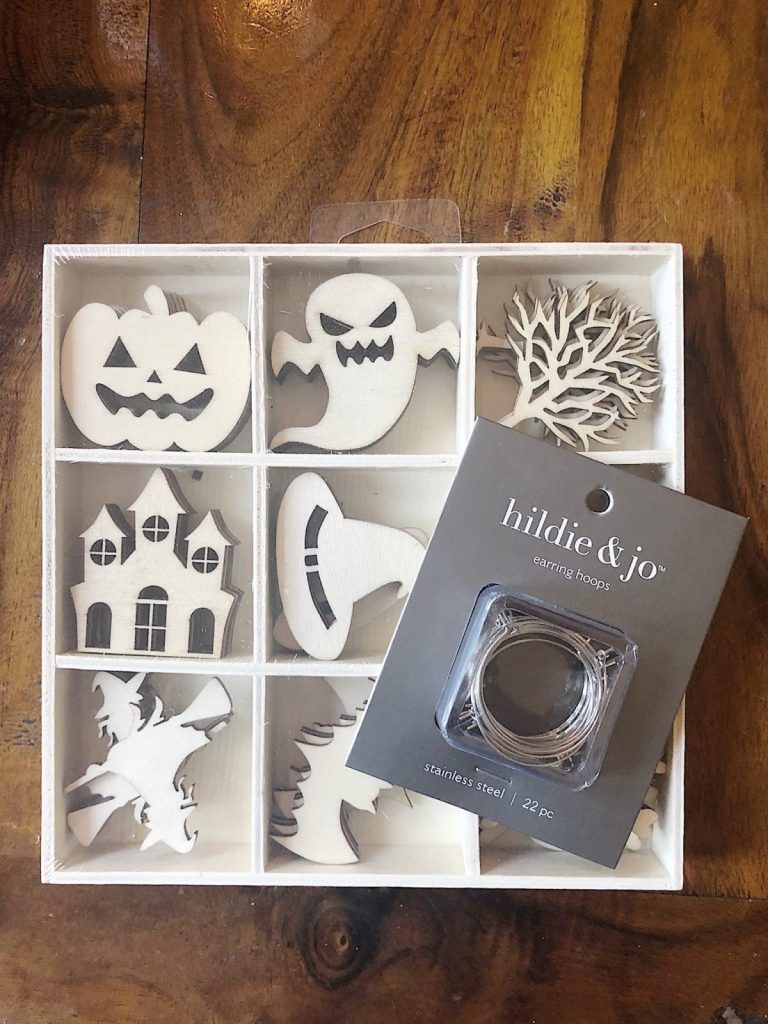
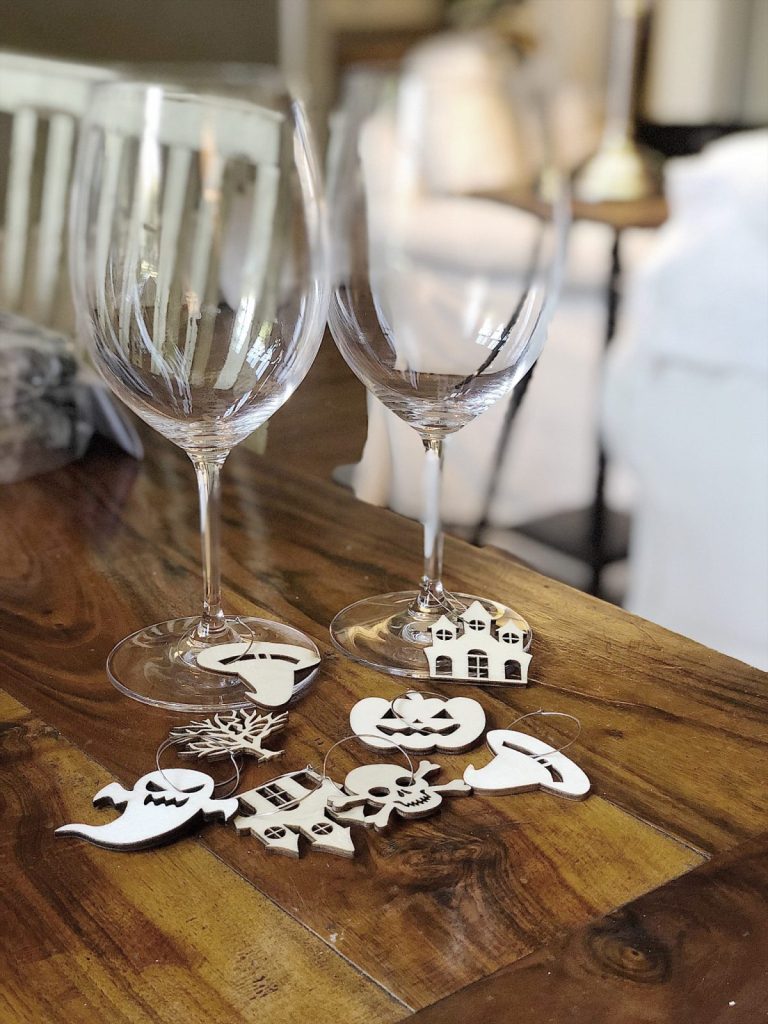
I also bought the smaller wood cutouts and some earring hoops to make wine glass charms. Aren’t these adorable?
Making the Cookies
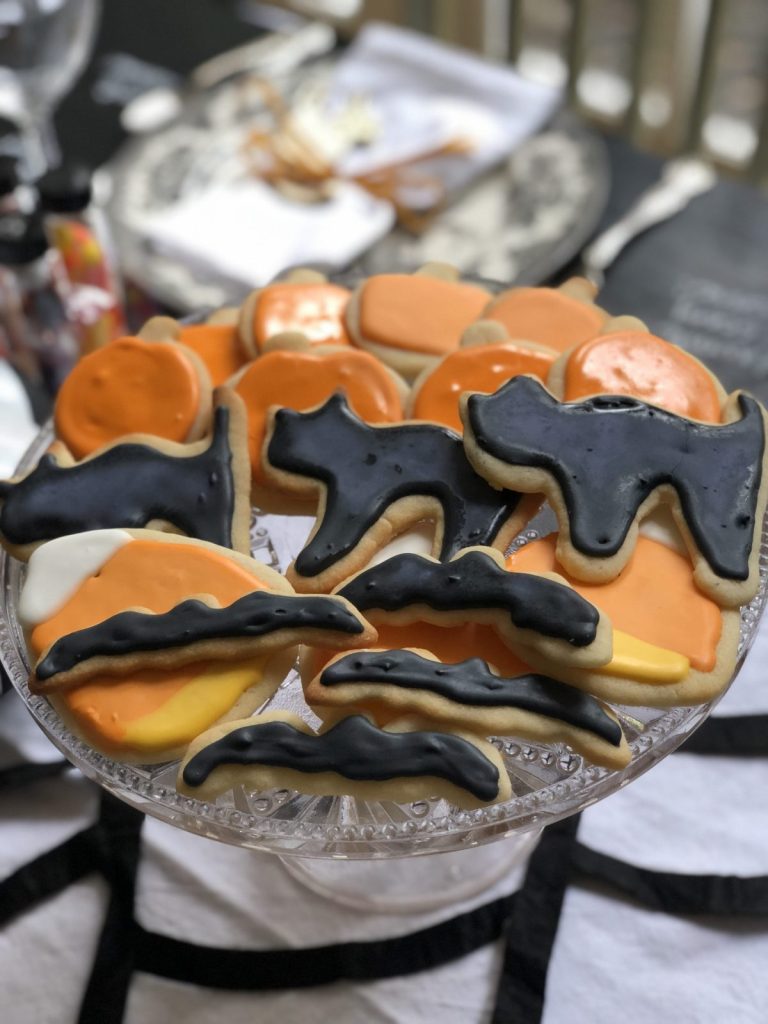
I also wanted to make a Halloween dessert and I decided to make Sugar Cookies with Royal Icing. I found some great cookie cutters and some cake decorating tips, icing bags, a coupler, and coloring.
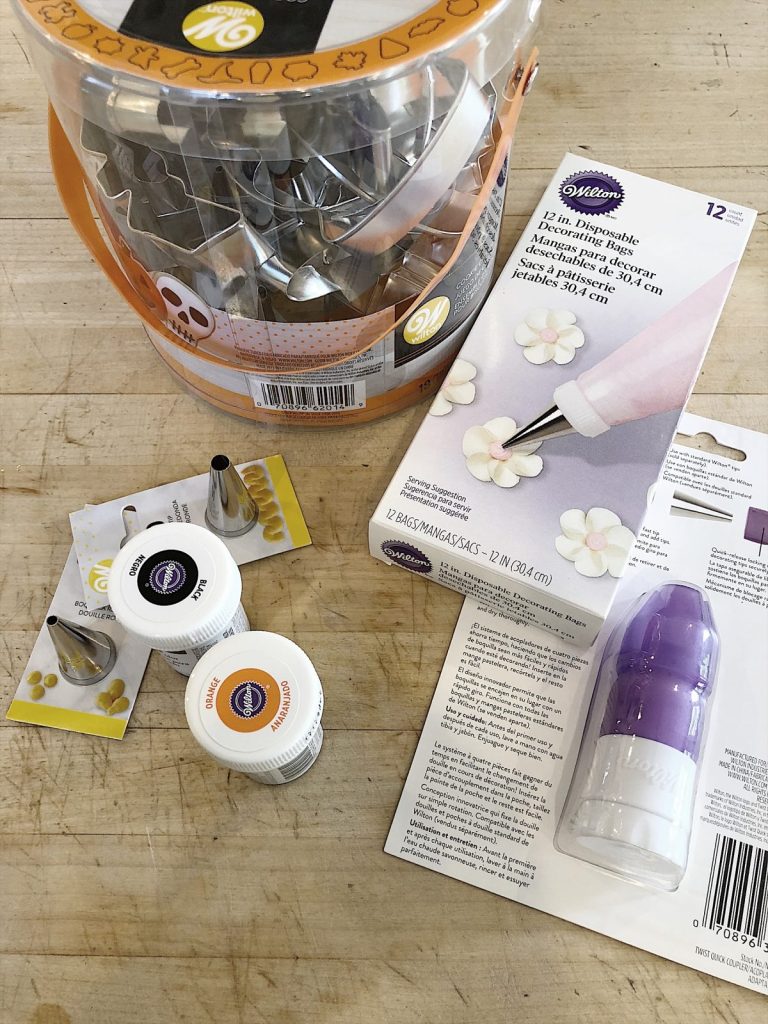
First I made the sugar cookies. I chose cookie cutters to make pumpkins, bats, cats, and candy corn shapes.
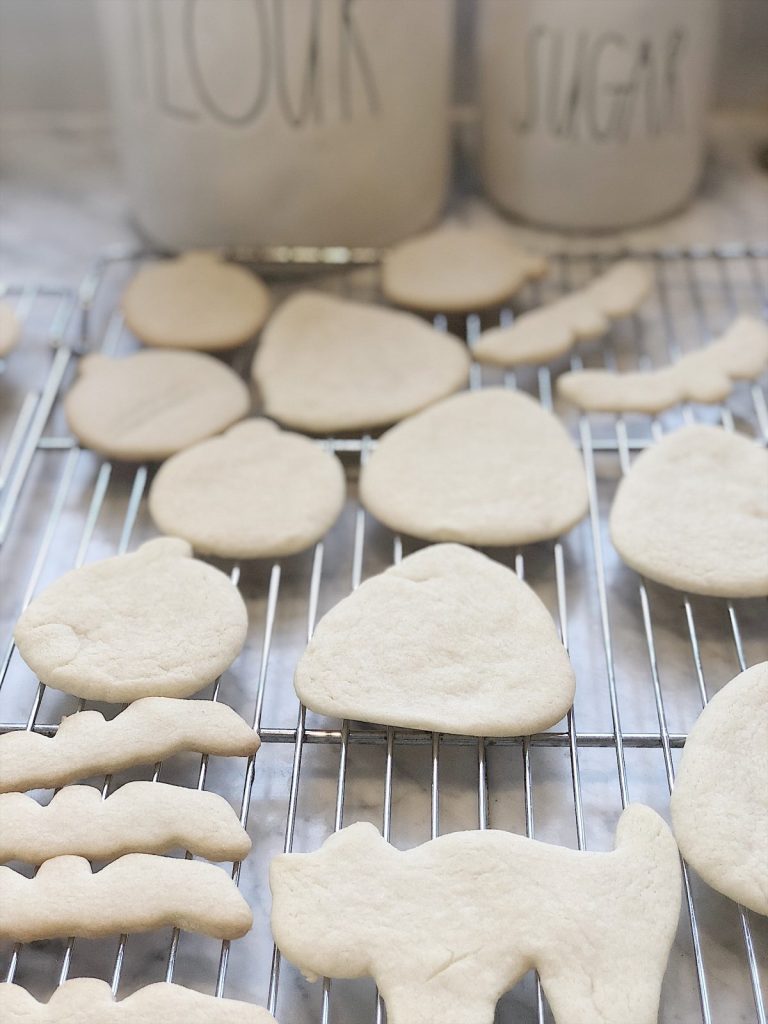
Then I made the Royal Icing. It is a lot thinner than buttercream frosting but it works very well.
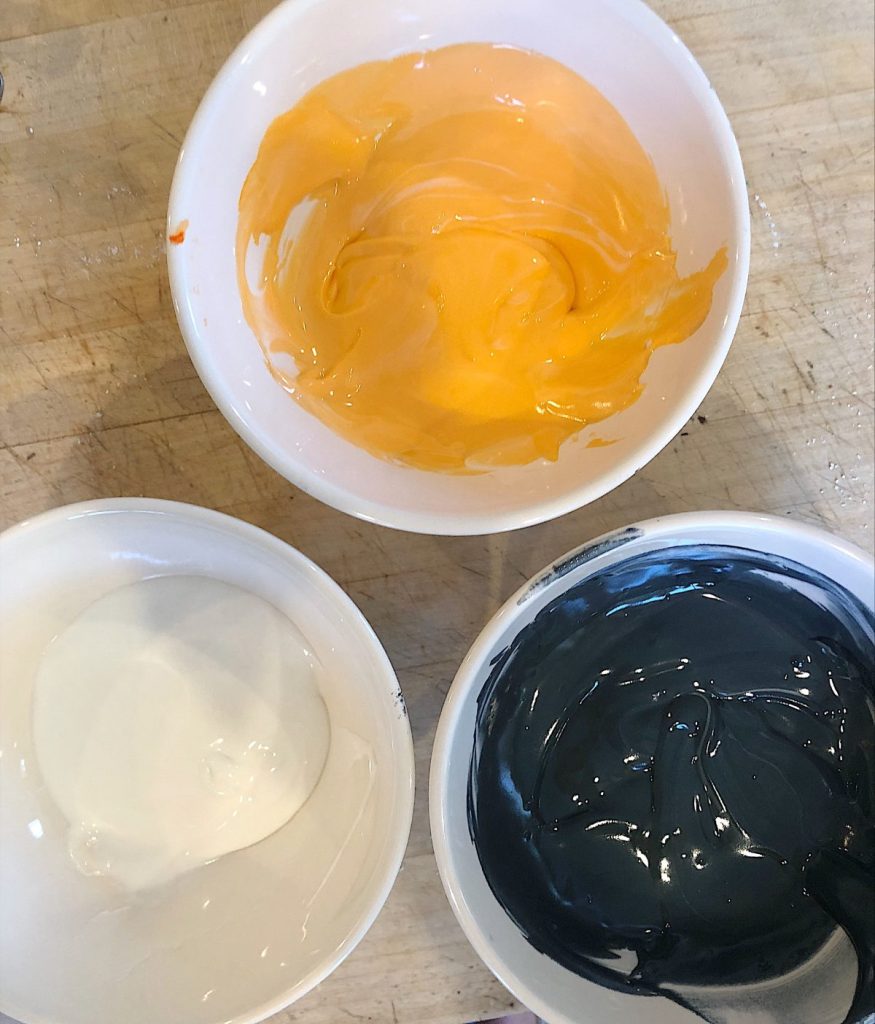
The first thing you do is outline the cookie with frosting. Then you fill inside the outline with frosting and shake the cookie so that it fills in evenly.
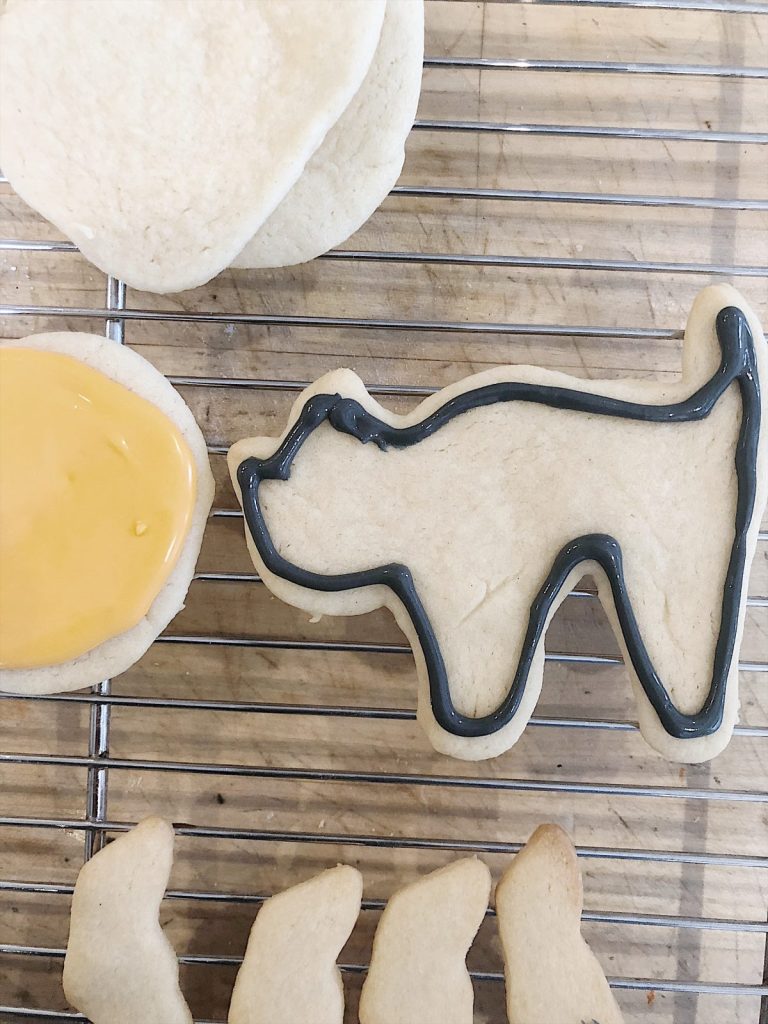
I know these aren’t perfect but I love how they came out. I think the frosting was a bit too thick. I am sure they will look better on my next attempt!
Setting the Table
Many years ago I hung a vintage ladder above our family room dining table with three white wood chandeliers. The ladder and lights are great to hang some fun lights and ornaments. The first thing I did was hang the lights. Then I added one of my white tablecloths to the table.
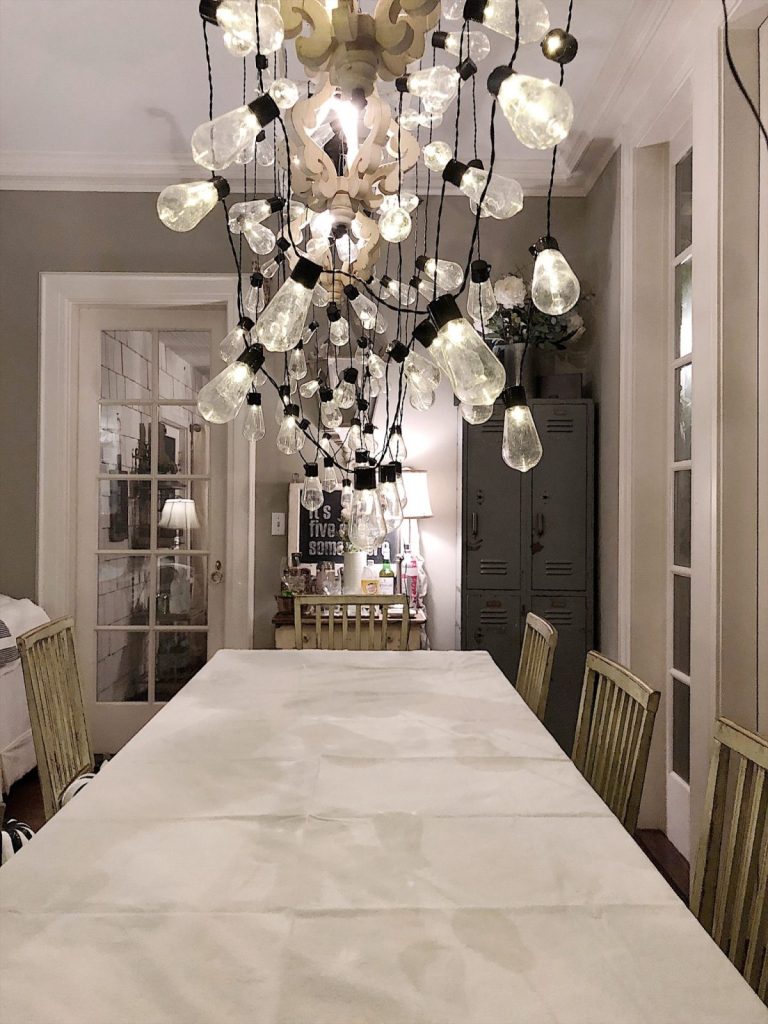
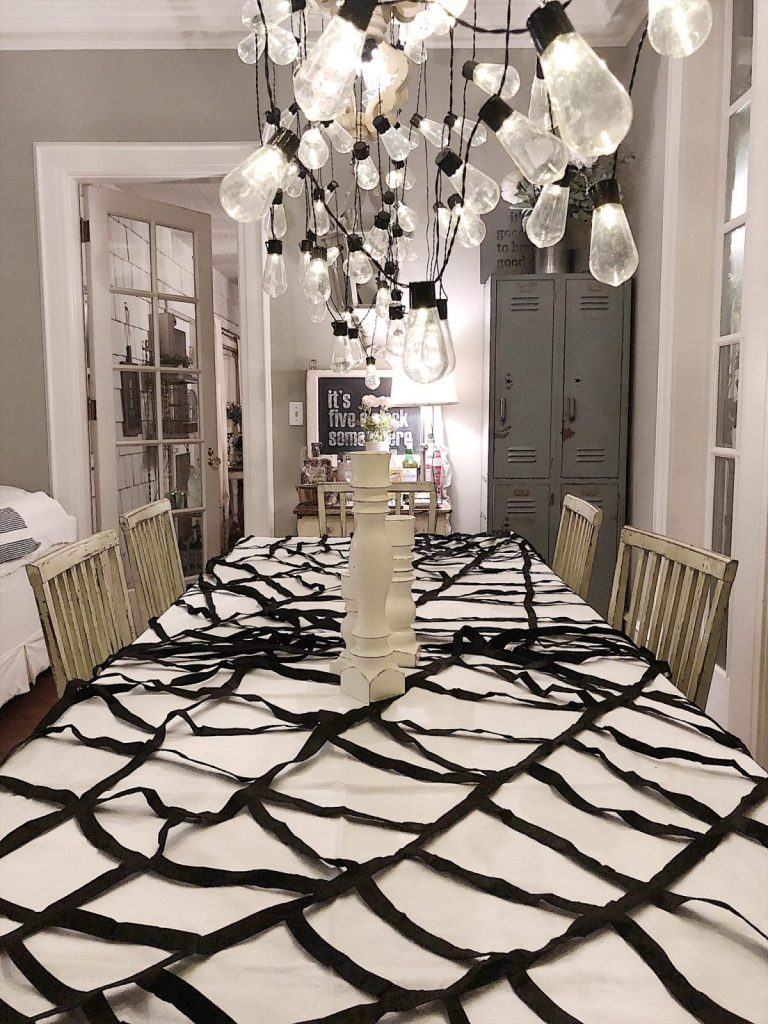
I found two large spider webs and placed them on top of the tablecloth. They fit perfectly! Then I added my white wood candlesticks.
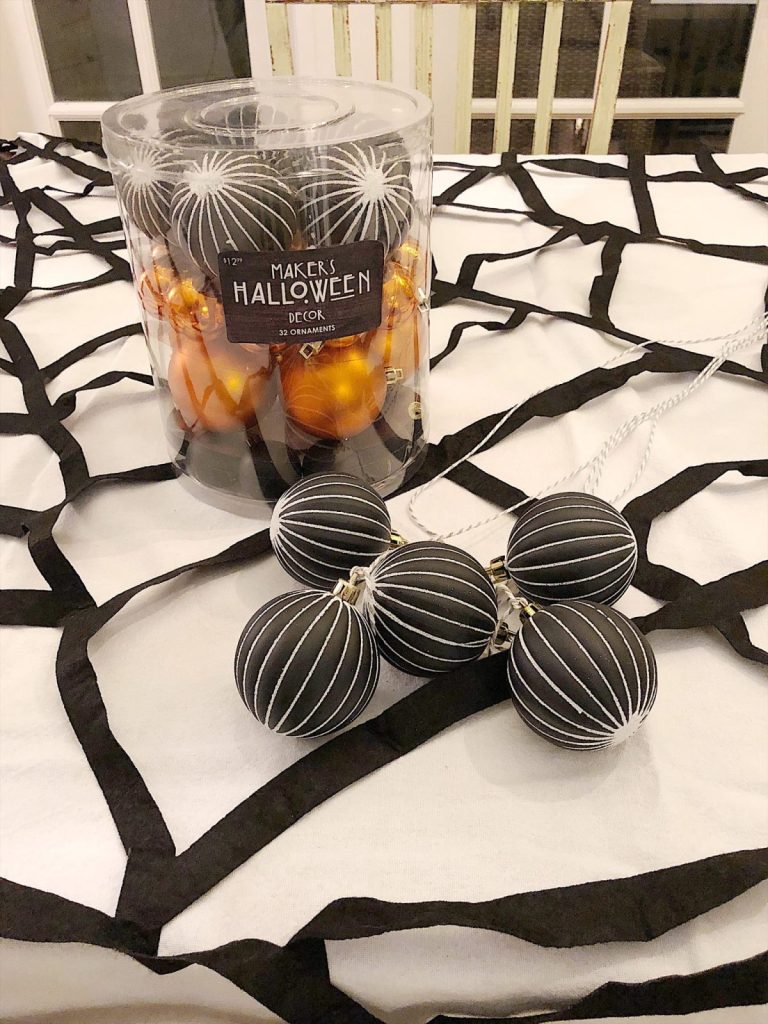
I bought three boxes of Halloween ornaments. I decided to only use the black ones. I tied a 45″ piece of string to each ornament.
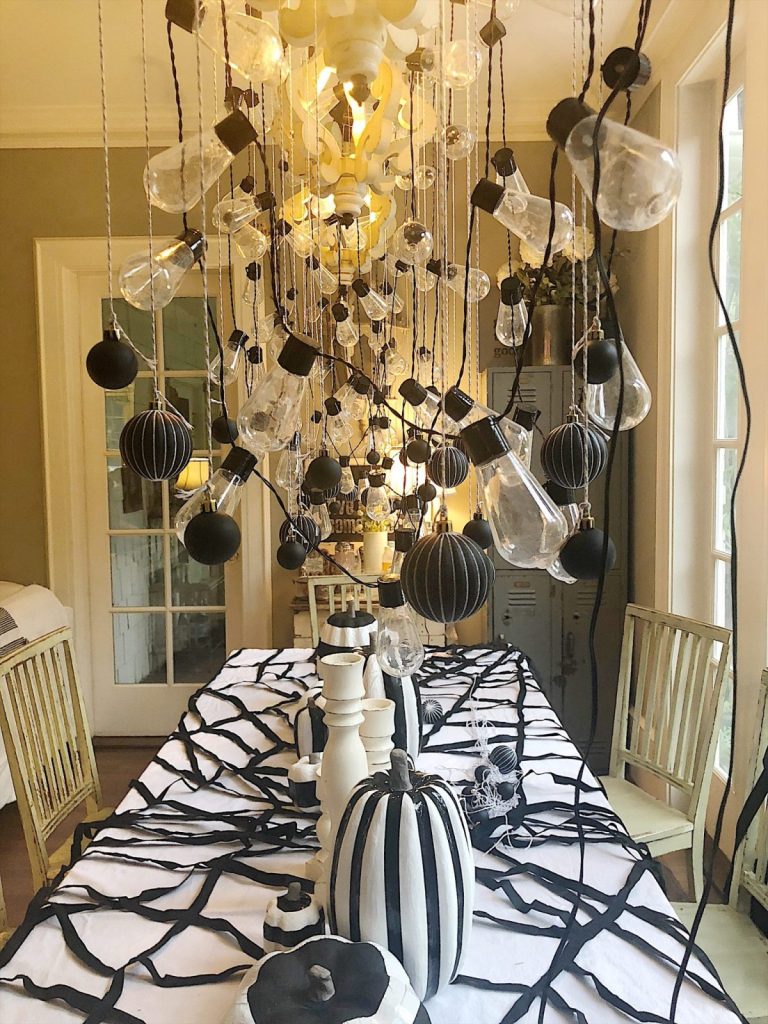
And then I hung the ornaments from the ladder too. Next, I placed my black and white pumpkins on the table as my centerpiece.
I set the table with the chargers. I used my vintage black and white china plates and my sterling silver. They are my favorite and I can’t believe how great they look with this fun decor! The orange raffia was left over from the fabric pumpkins I made last month.
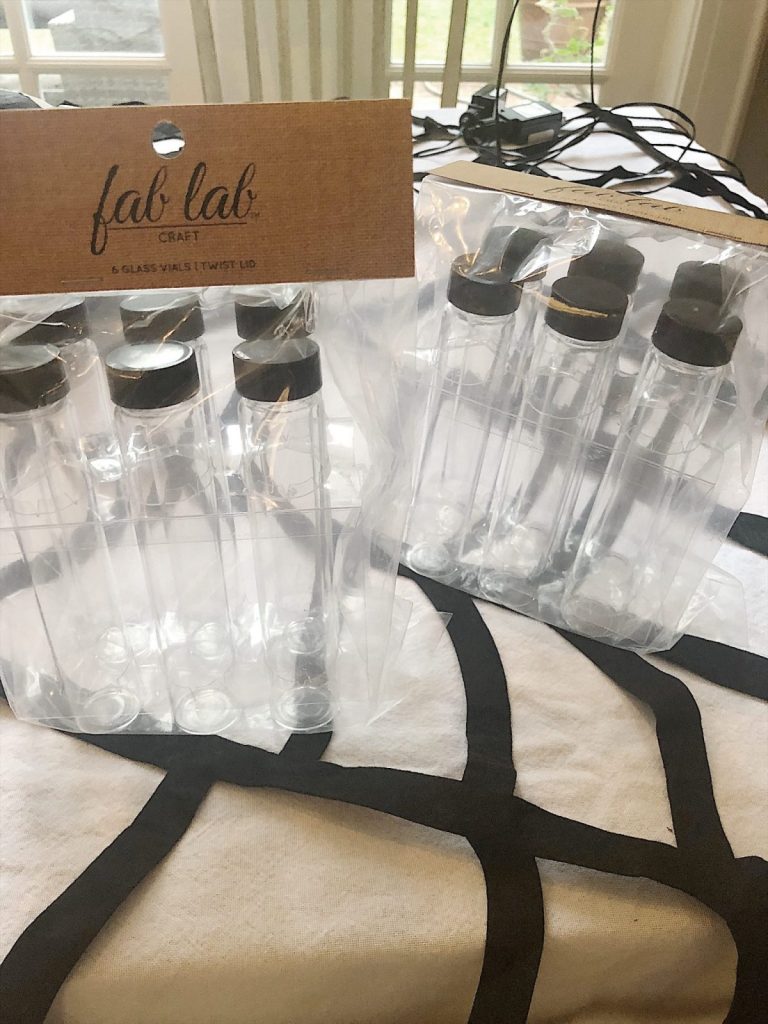
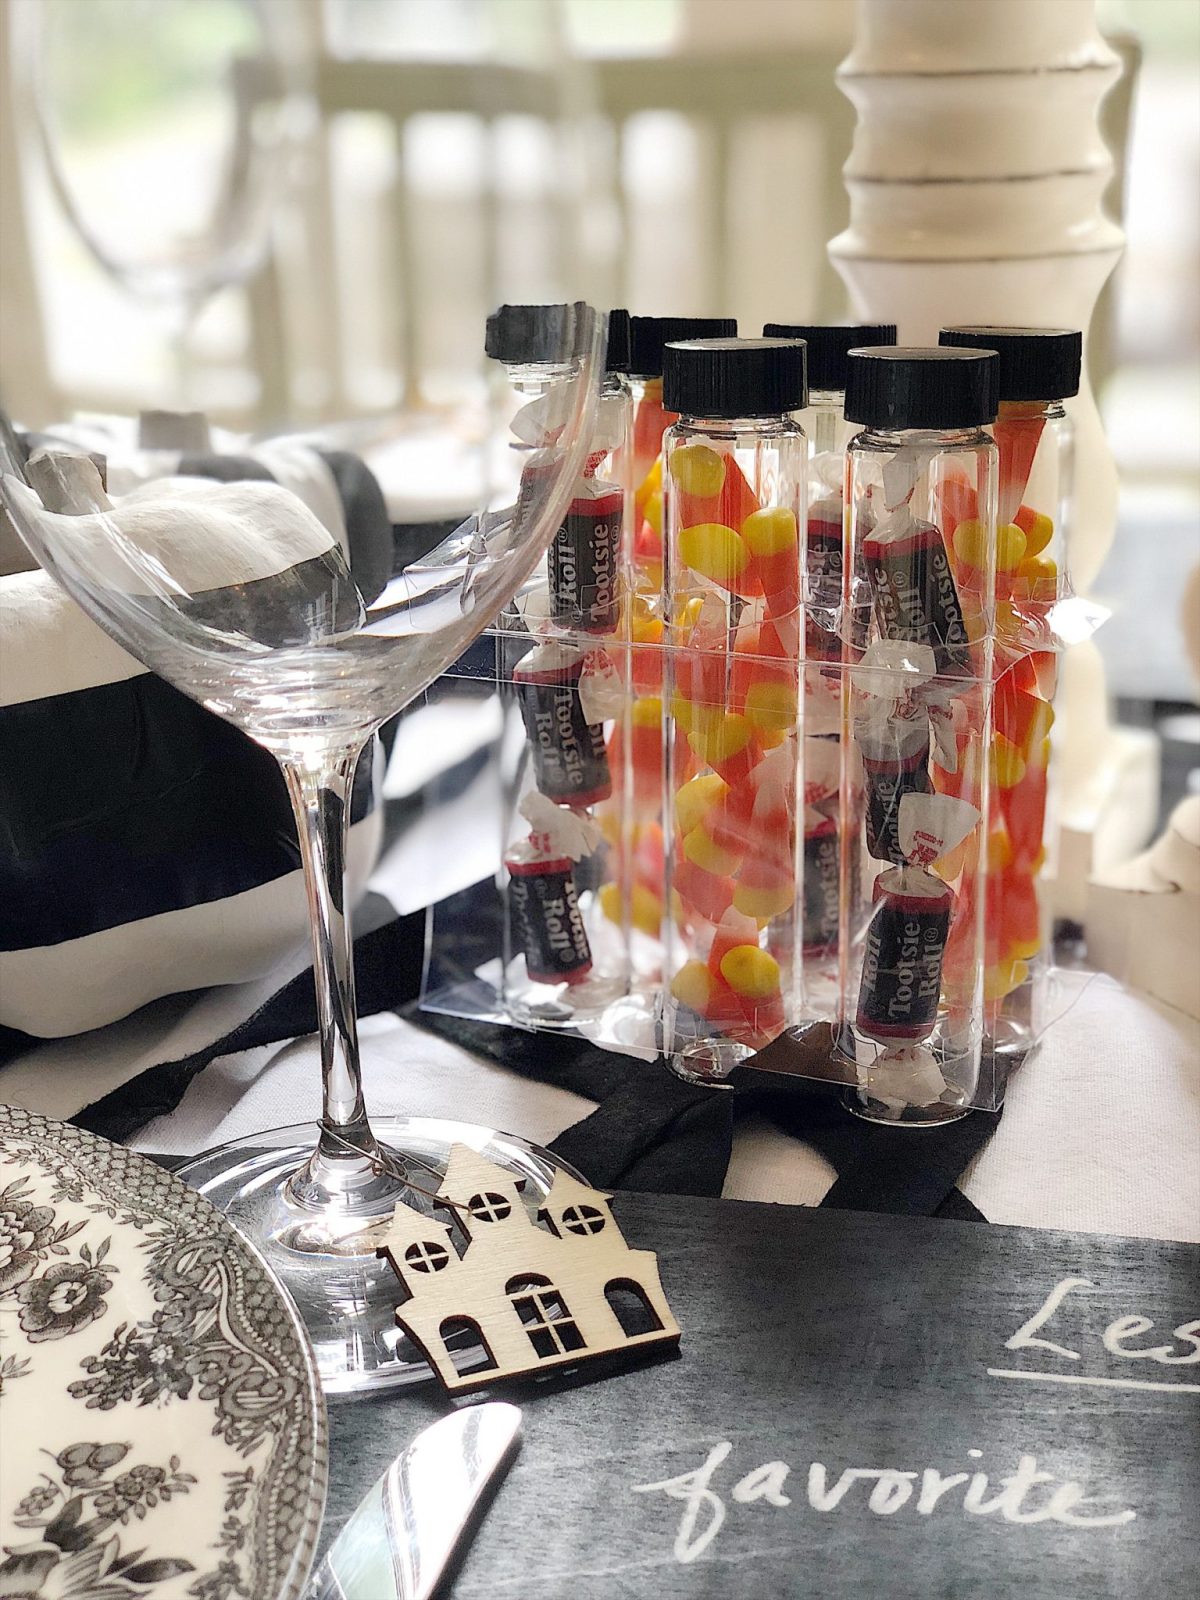
I also bought some craft vials.
filled them with candy and placed them on the table.
The table is finished. Can I just tell you how much I love my Halloween Table Decorations?
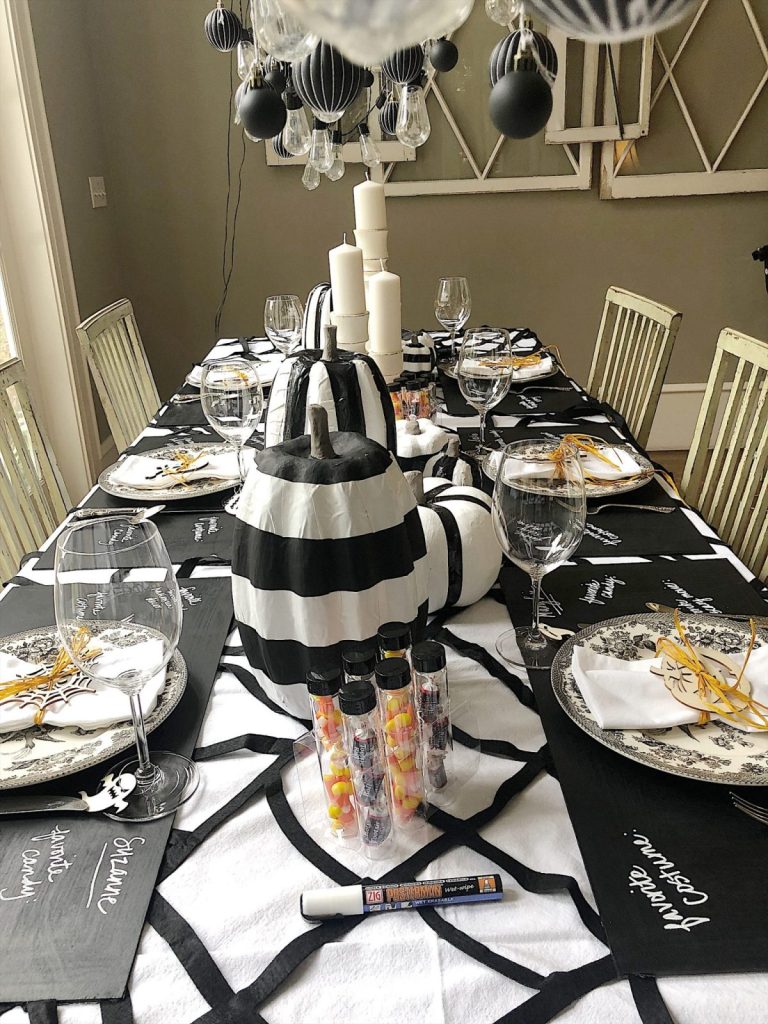
I think this will be a new Halloween tradition in our home!
Shop This Post
Just tap the photo.
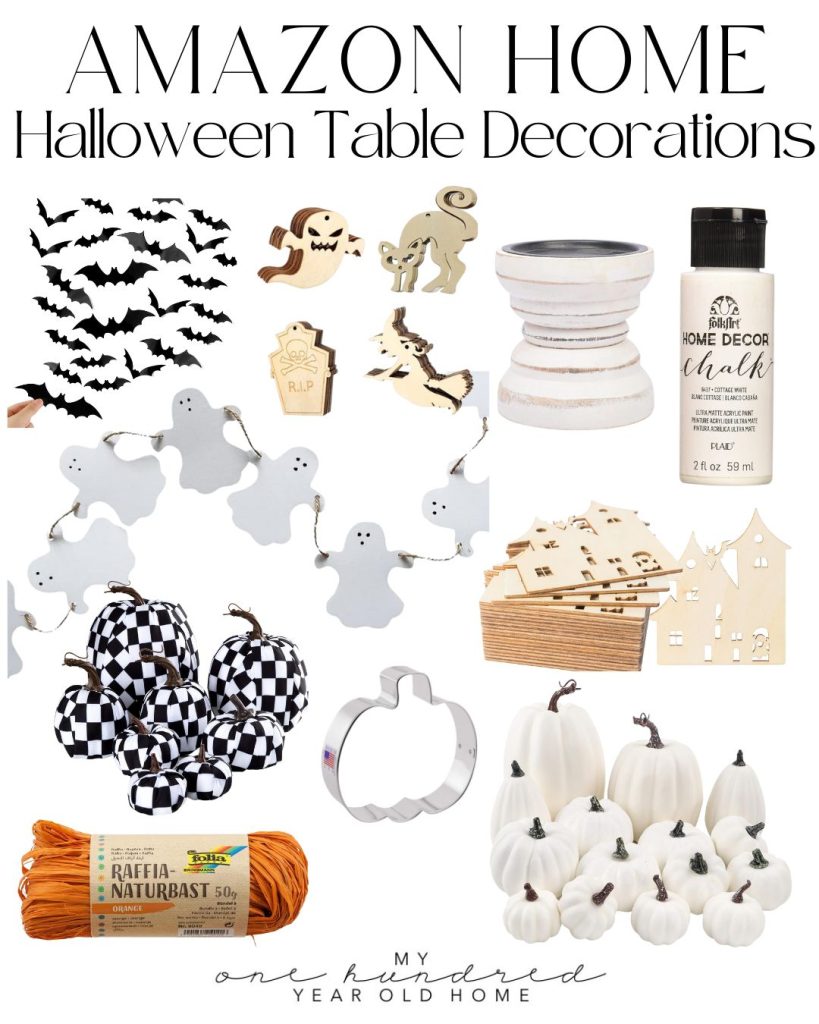
Pin the image below to your boards on Pinterest (just click the Pin button in the top left corner). You can also follow along with me on Pinterest!







Love it!!! It is funny, like you, I never did much with the table for Halloween when my children were young either. I always just did a fall display on it. Probably, I was too busy doing costumes and classroom parties as a room mom(it is all a blur now). Now is our time to shine right??? Please take a pic of the table at night and post it.
Love it!
Super cute!
Love it! Have fun😁
Fab-Boo-Lous !!👻👻
This is awesome!! I too have never really done Halloween decor around our home. You would guess that with our two little boys and me being a Halloween baby, I would!!! But, slowly and surely, this year I have started buying skeletons and such to decorate our home for some spooky memories!! Thanks again for all the tips!! Love it!! P.S. yes, please post some evening pictures of this gorgeous table!!
This is adorable!
Wow the table and decor turned out amazing! I love all of your DIY ideas because they are doable. Have fun at your dinner party and take more pics of it all lit up!
Those hanging lights are perfection!! You blew it out of the park! And such great DIY elements to this look.
love it!
That looks so good! Well done Leslie
I can’t believe what I am seeing. You are amazing!
Love it! Your table decoration is just stunning, great job!
I never would have thought of duck tap pumpkins! So creative! And those chargers with the fun dinner
party questions ahhh I love that!!!
Oh wow Leslie, its all so incredible!