How to Make Copper Foil Easter Eggs DIY


Easter is around the corner, and I am sharing one of my favorite ideas for Easter eggs. I loved making these copper foil Easter eggs DIY.
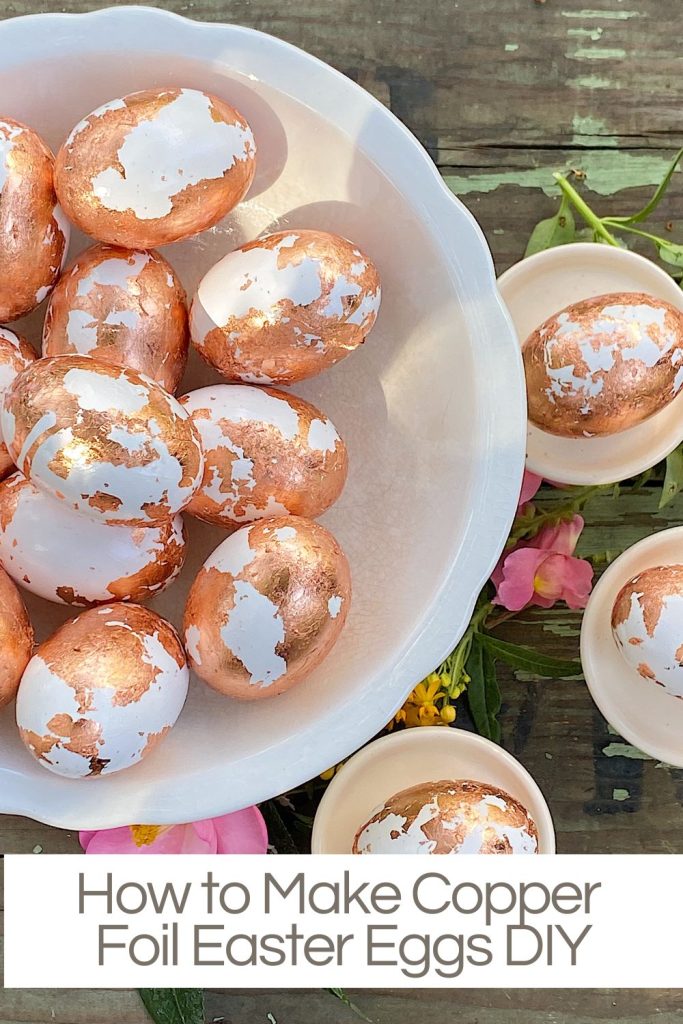
Decorating eggs is fun, so why not try something different and make your own copper foil Easter eggs? Handcrafted DIY projects add extra charm and thoughtfulness to any holiday celebration. I love to use metal leaf foil for craft projects. It is such a unique application, and it’s almost impossible to mess it up. The copper foil leaf is gorgeous and adds a little quiet sparkle. So here are my copper foil Easter eggs DIY!


Copper Foil Easter Eggs DIY
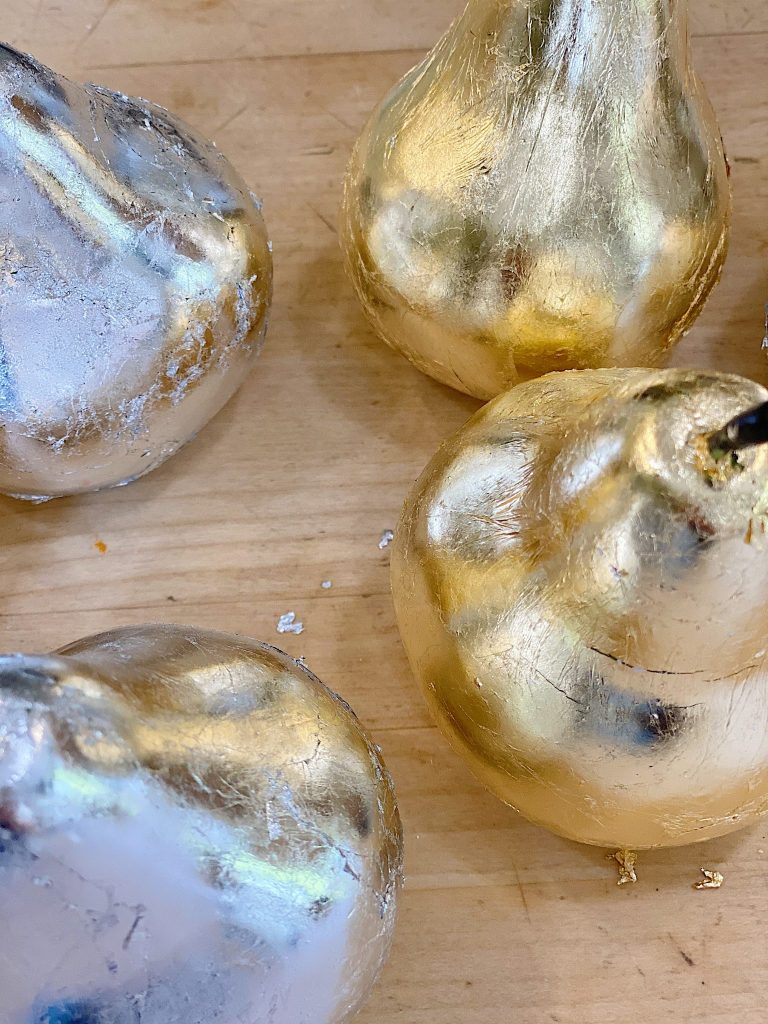
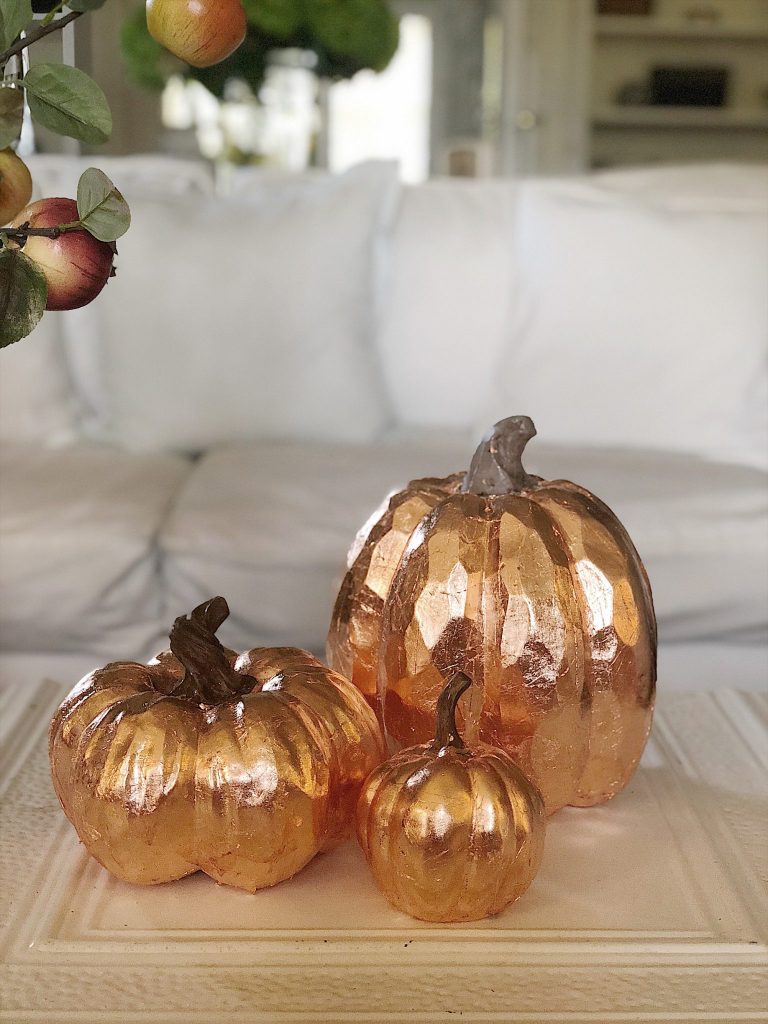
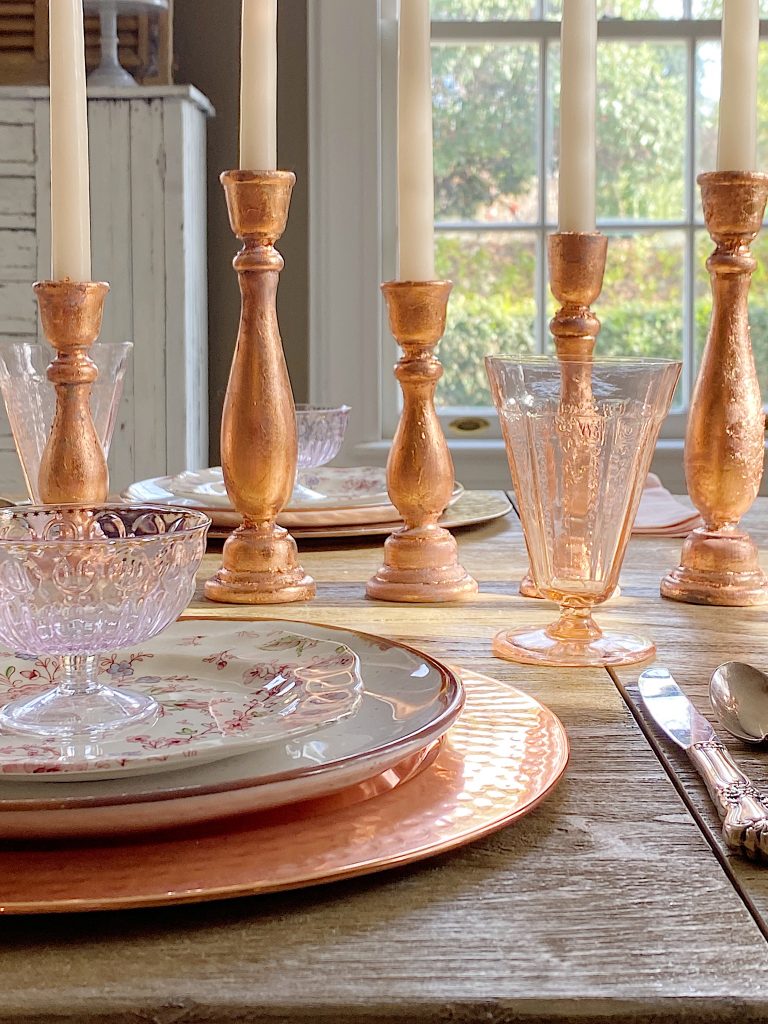
I have made metal leaf candlesticks, pumpkins, apples, and pears, and I love each of these metal leaf DIY projects.
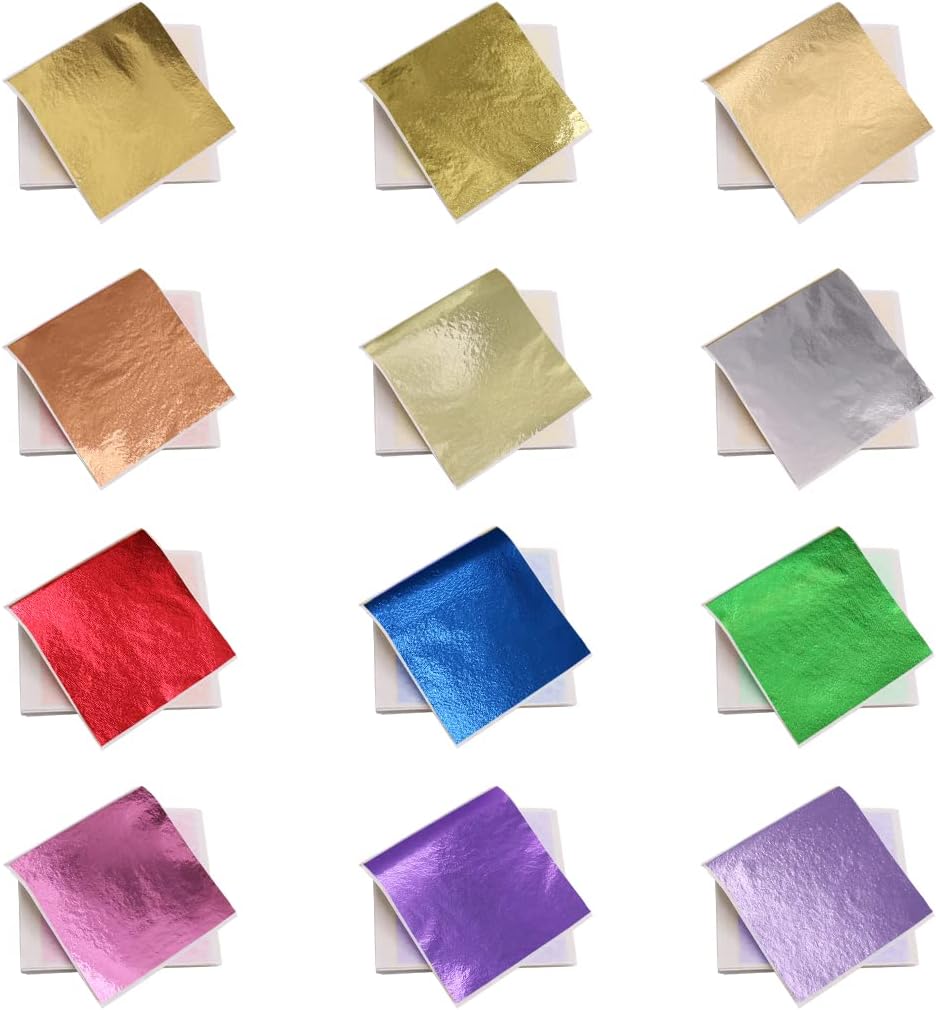
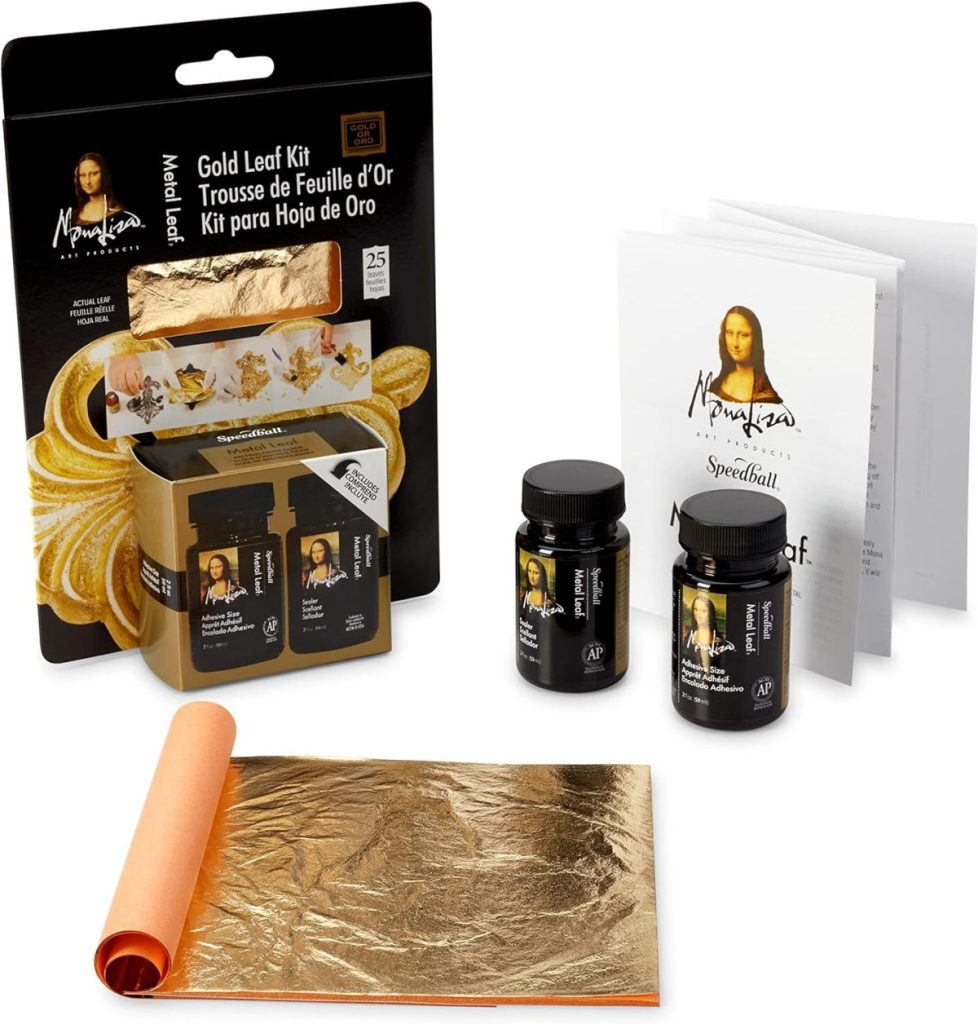
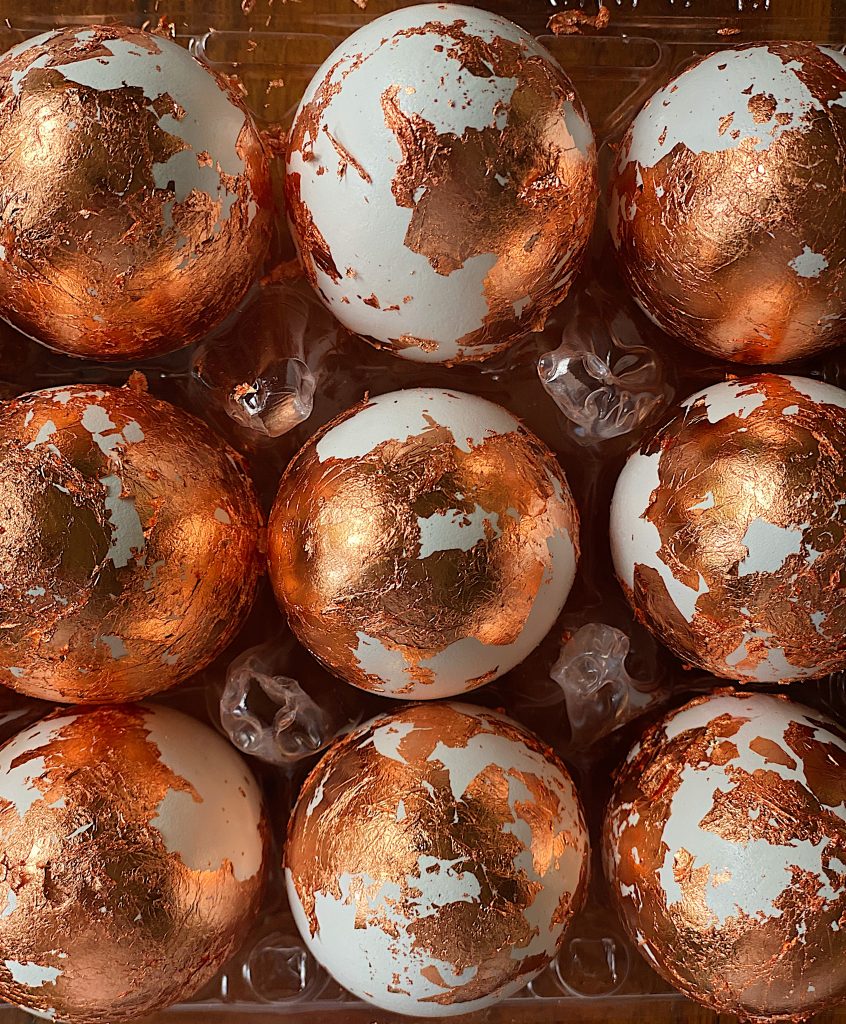
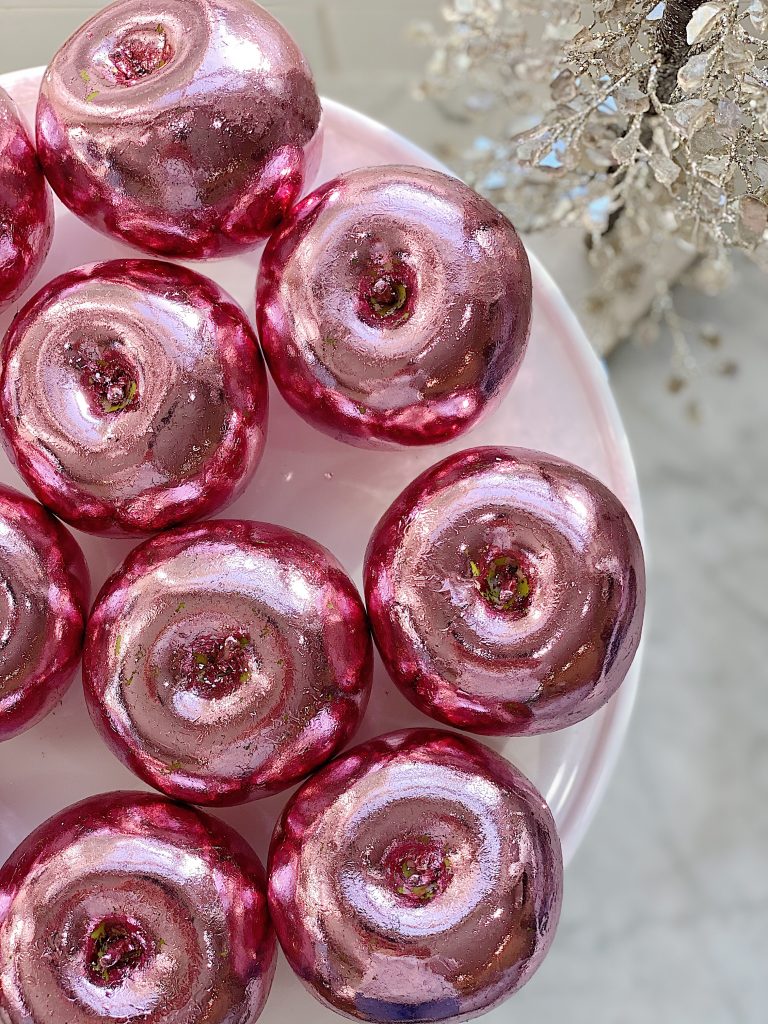
I still have a lot of metal leaf in my craft room, including silver, gold, copper, pink, green, blue, and red. Copper foil leaf might be my favorite, so I thought it would be fun to make Easter Eggs DIY with it. I used wooden eggs and sealed them so I could reuse them each year.
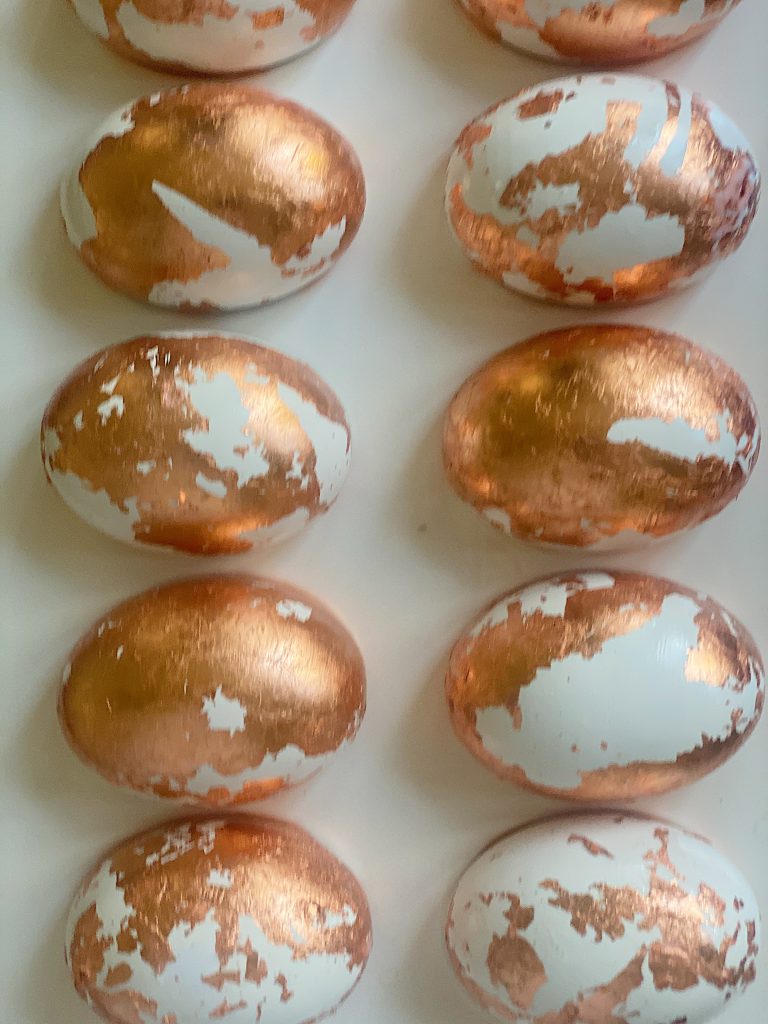
Originally, I was going to cover the eggs entirely in copper leaf. But when I was working on the first one, I accidentally missed applying some of the areas with the adhesive sizing.
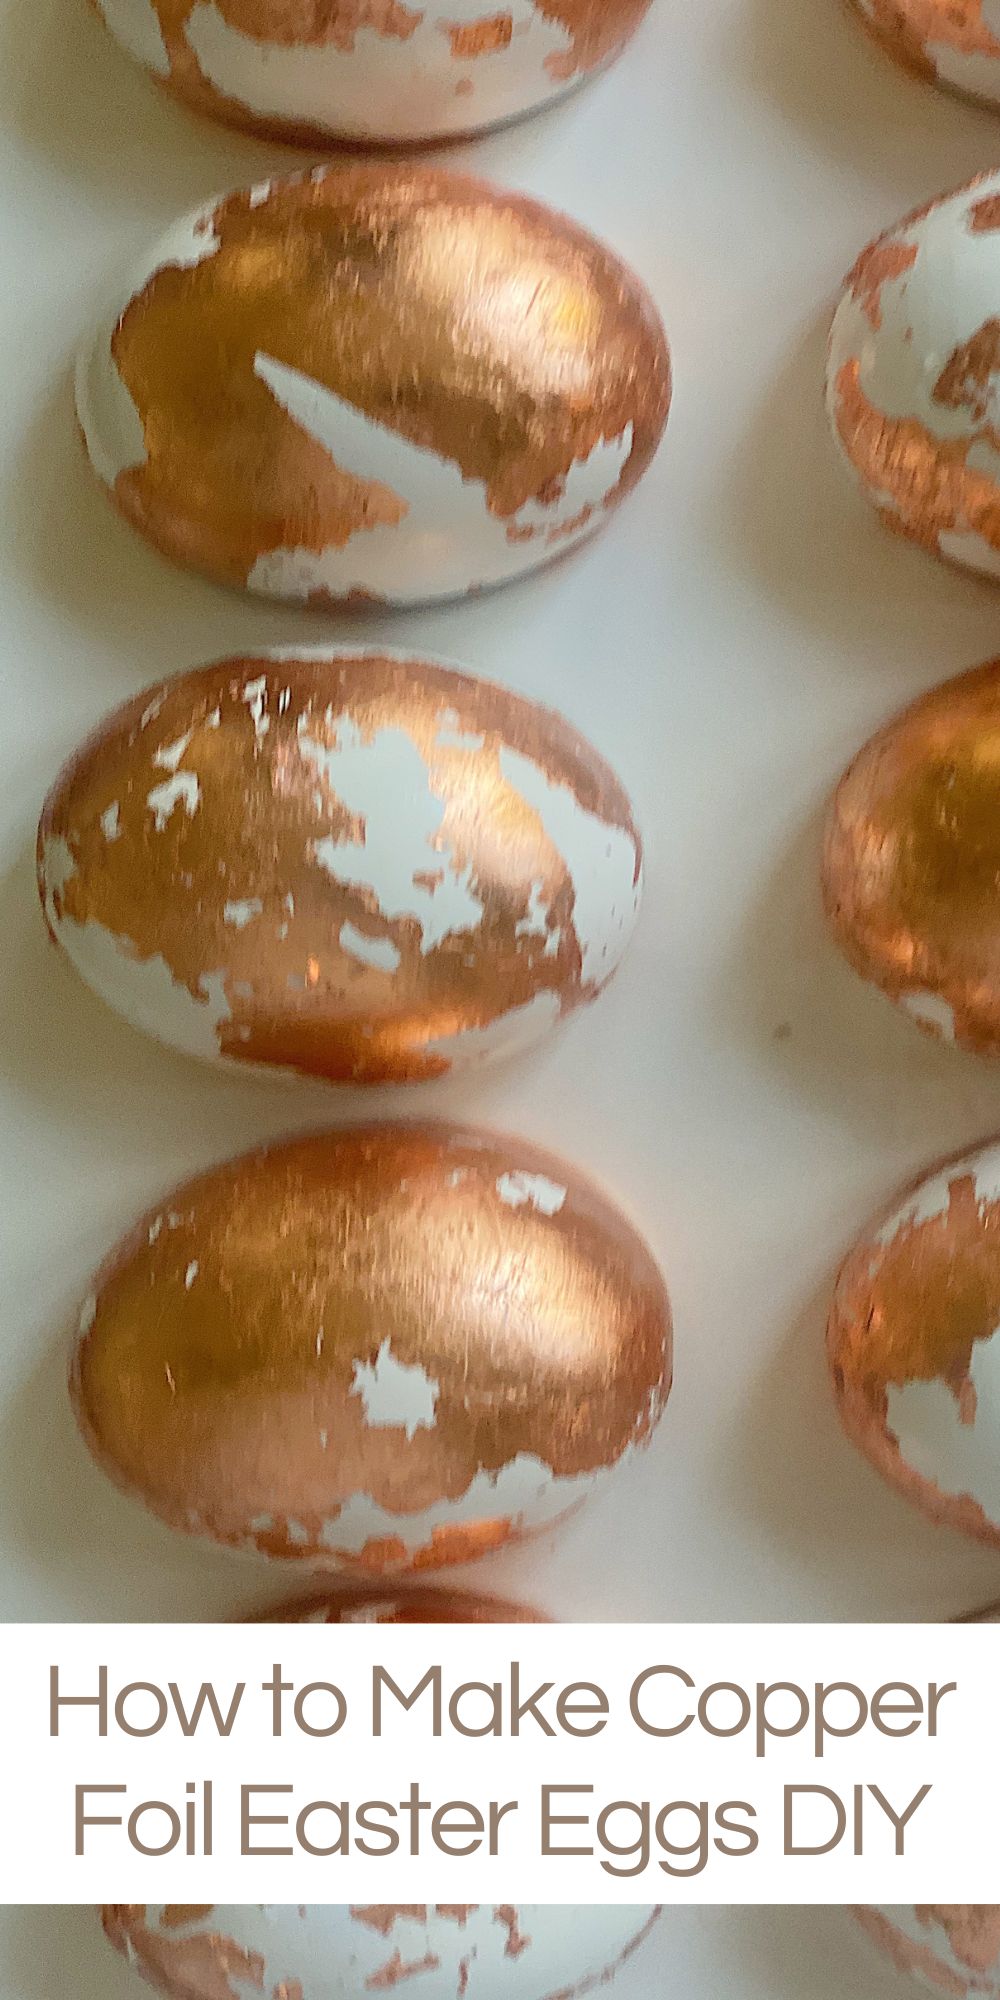
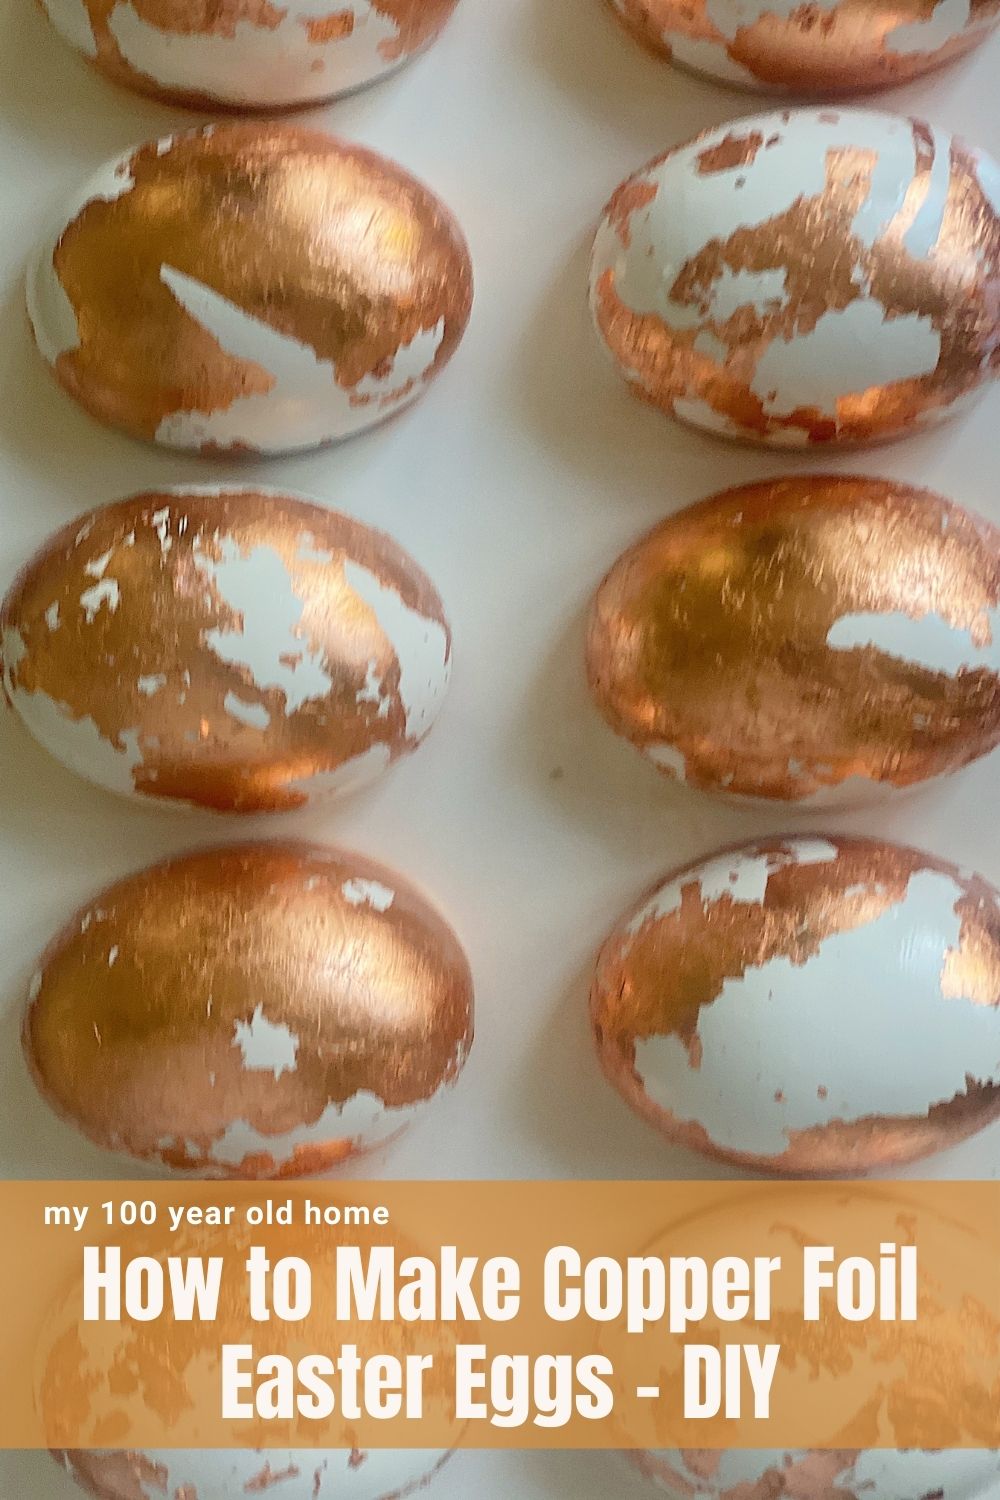
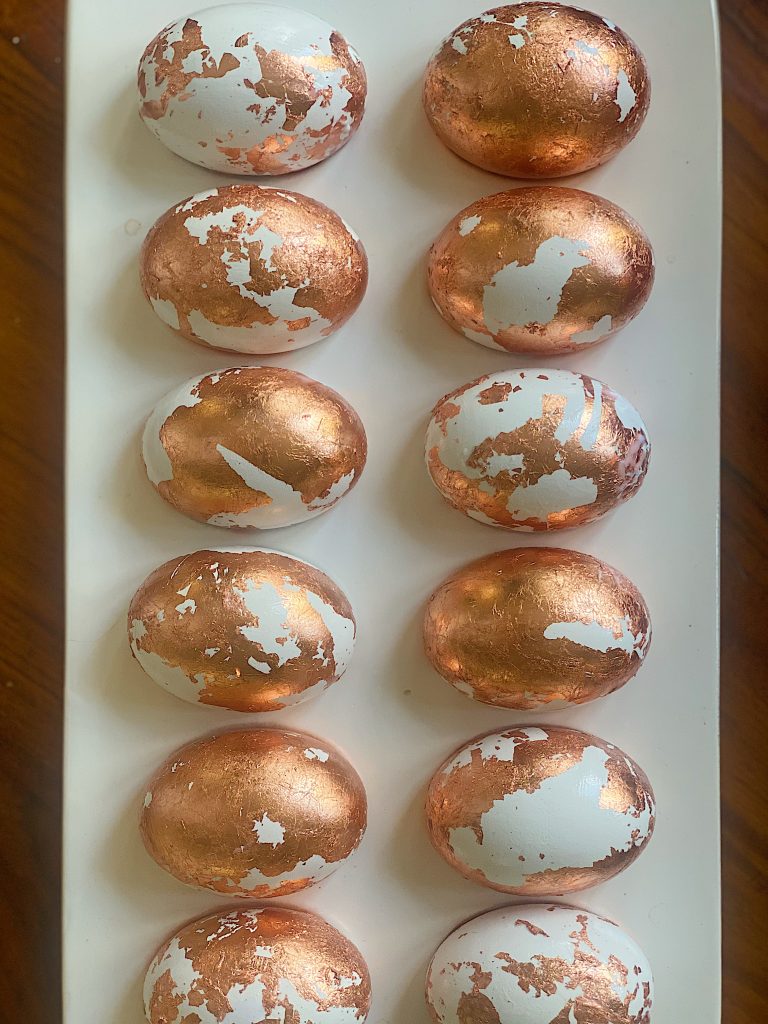
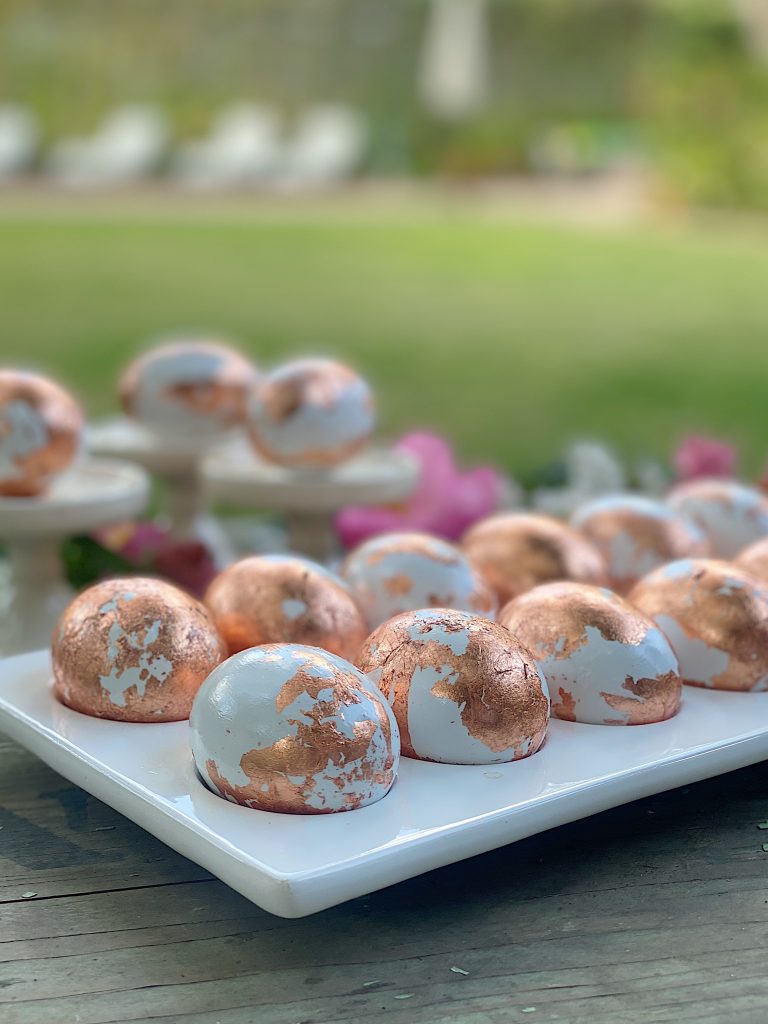
I loved the “chippy look” and decided to decorate all of the eggs with a partial covering of the copper foil leaf.

This is the first time I have applied copper foil that didn’t completely cover the item. It wasn’t hard to do, but just a slightly different process.
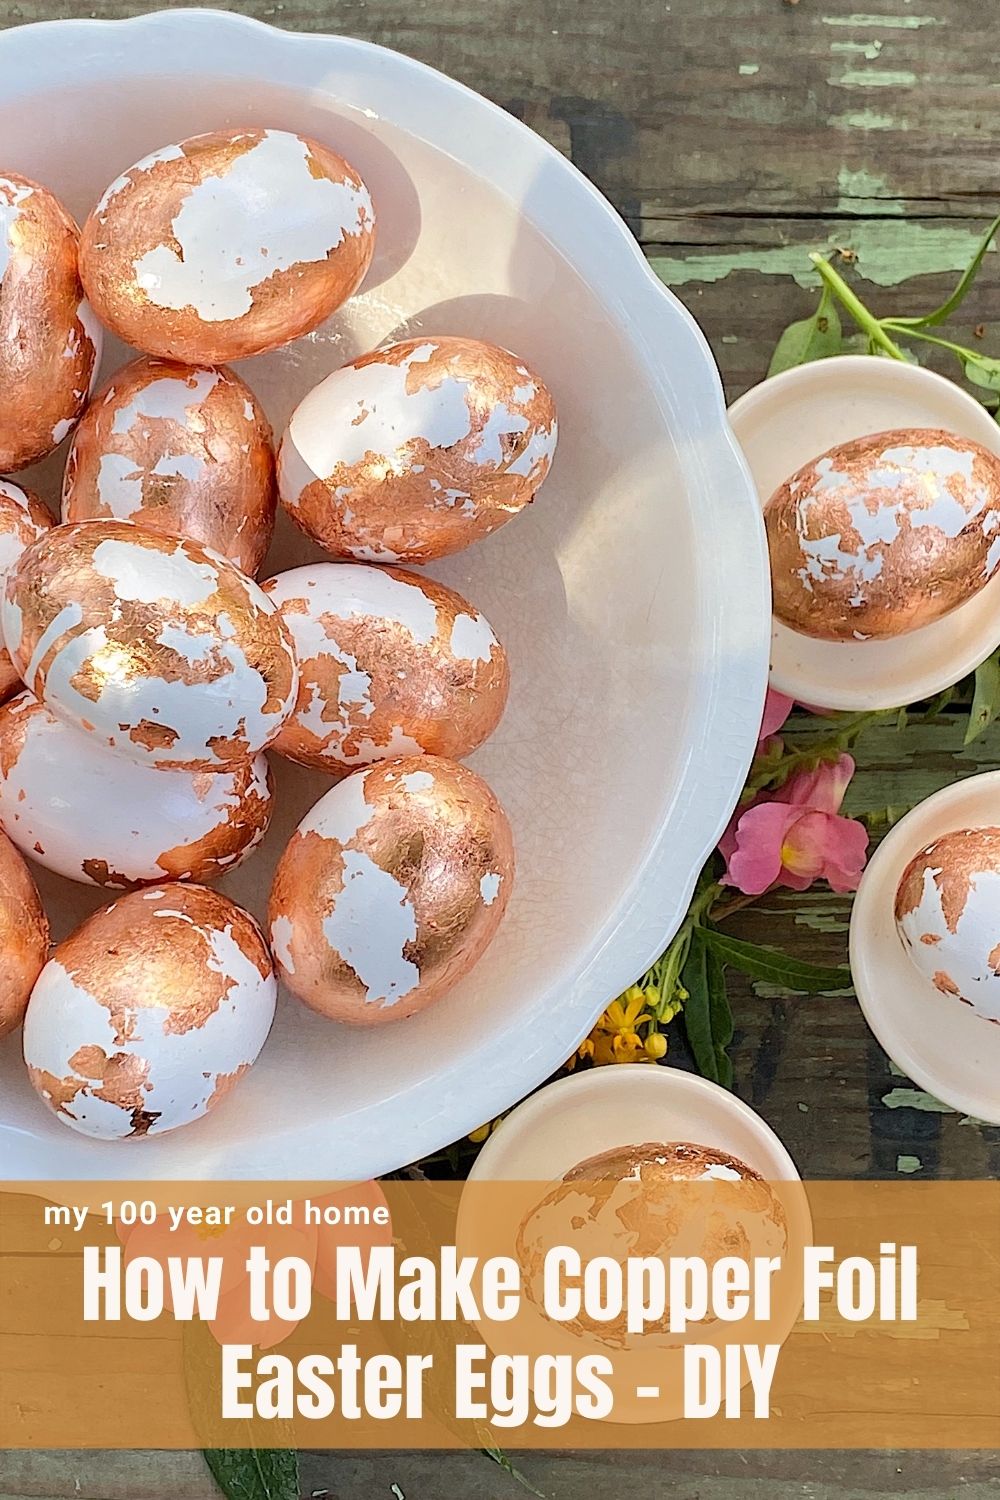
Somehow I managed to make Easter Eggs look elegant! And I love that.
On this blog, I may use affiliate links, which means I earn a small commission if you make a purchase via the link. The price you pay will be the same whether you use the affiliate link or go directly to the vendor’s website using a non-affiliate link.


How to Make My Easter Eggs DIY
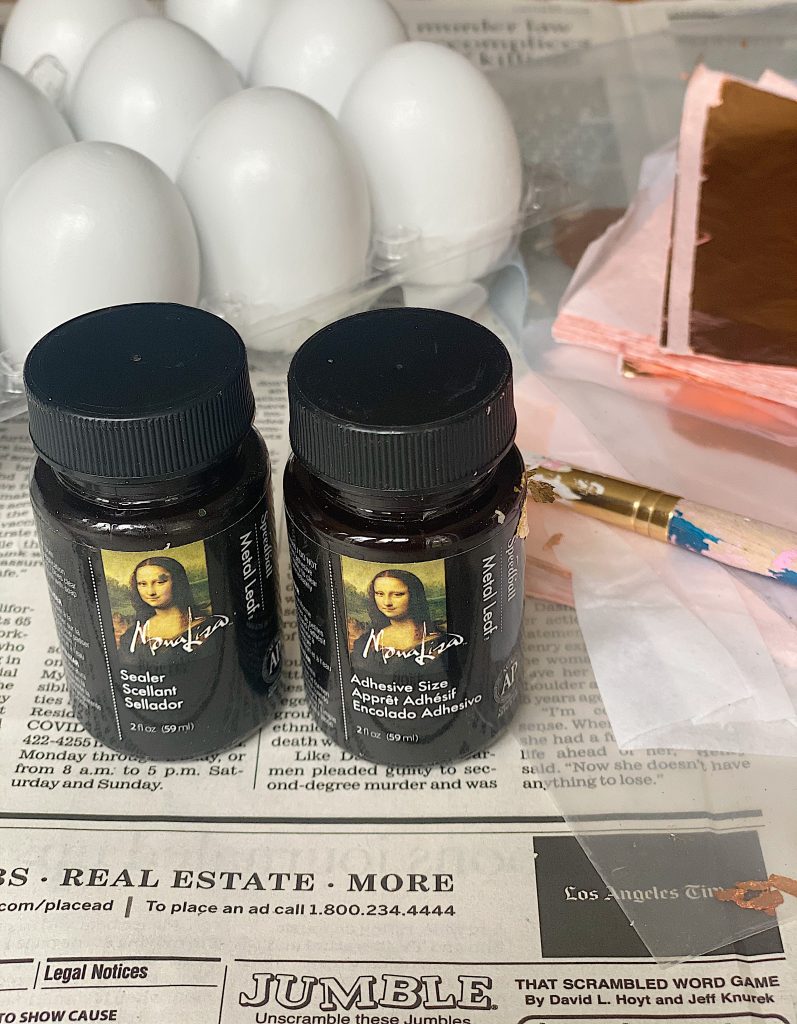
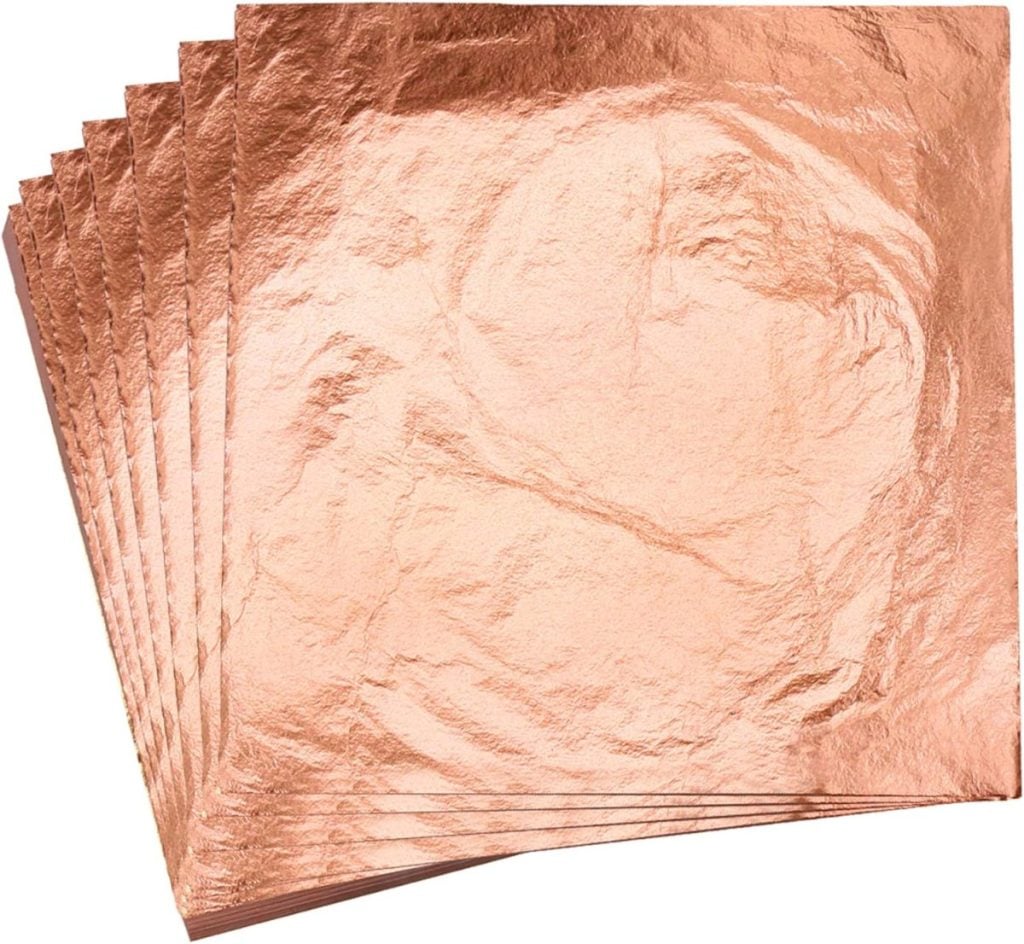
Last year, I found imitation rose-gold sheets for crafting on Amazon and purchased 100 sheets for under $8! I am still using the same foil, and I have always considered rose gold and copper to be almost the same color.
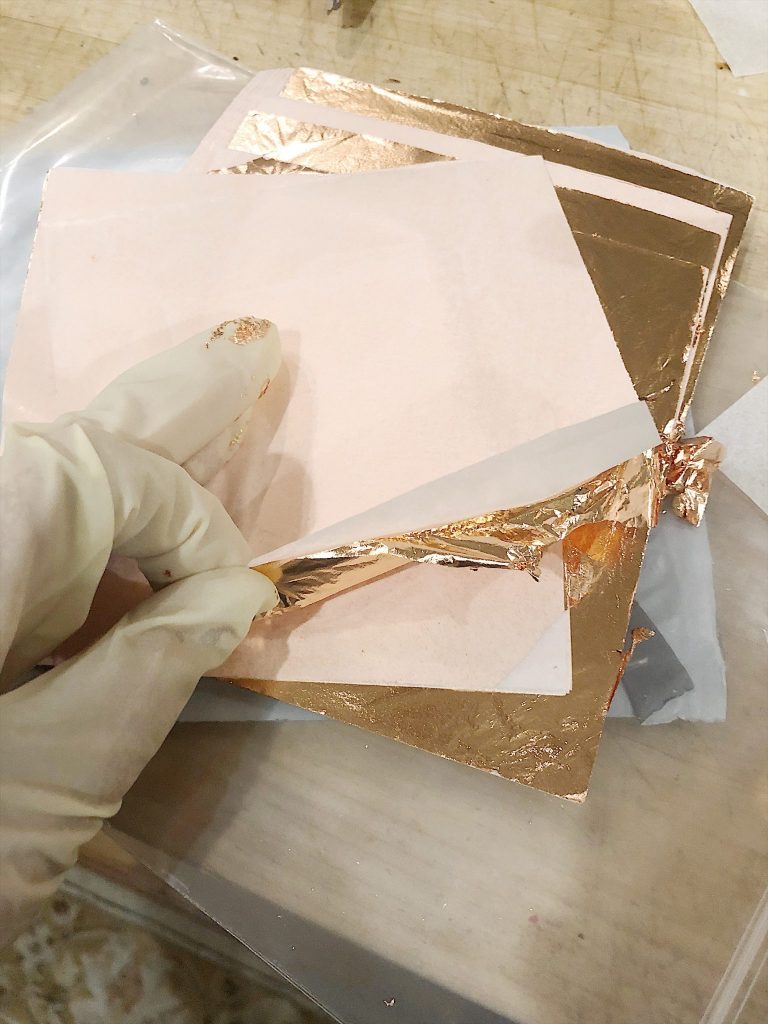
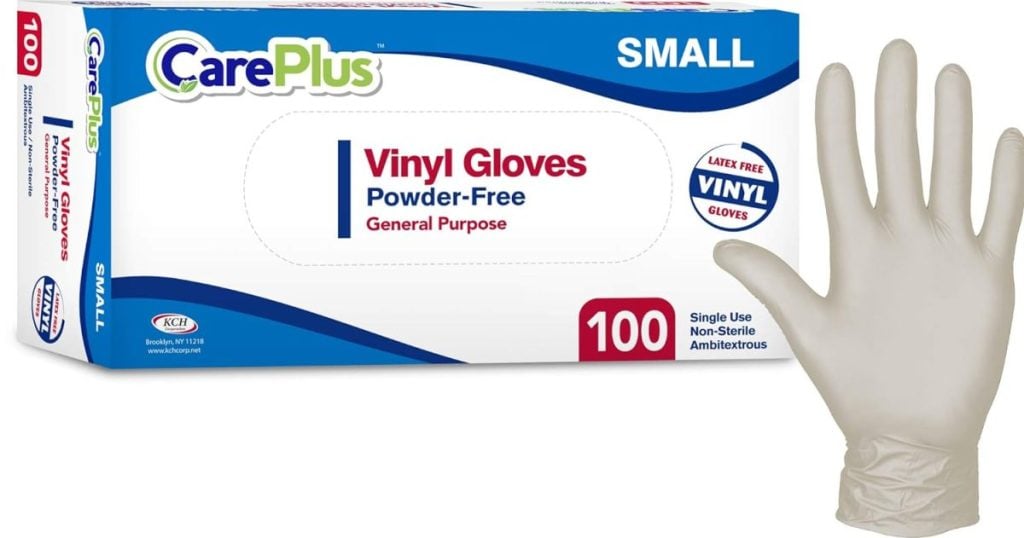
You can see how thin the copper foil leaf is. If you touch it directly, it will stick to your hands or gloves. You should wear gloves to avoid leaving fingerprints or sticking to the metal. When you handle the sheets, use the paper inserts to pick them up and apply them. (And if it does tear, don’t worry. You will use plenty of small pieces, and you have plenty!)
What You Need for the Copper Foil Easter Egg DIY
One package of Imitation Leaf Gold Rose for Gilding for Crafting (you can also use silver, gold or multiple colors)
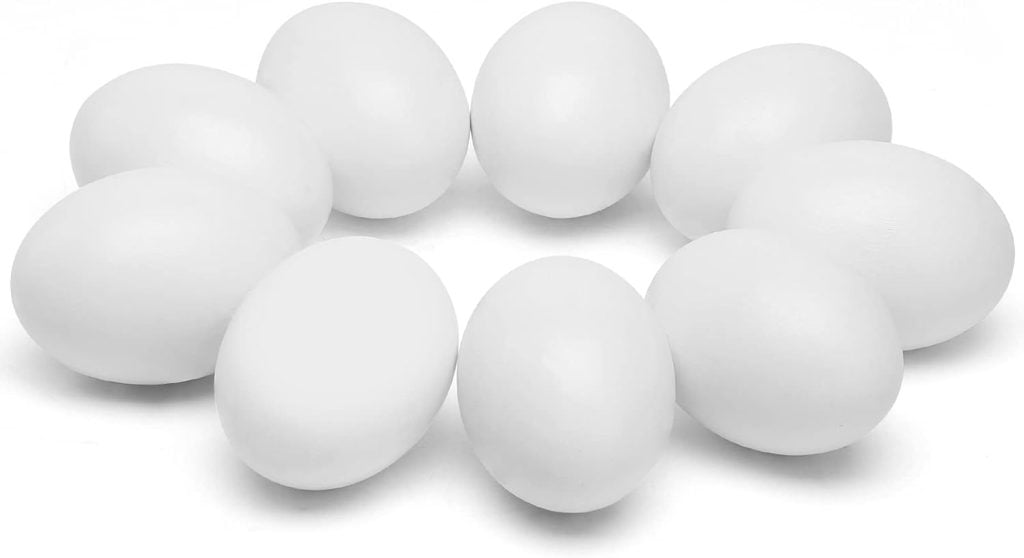
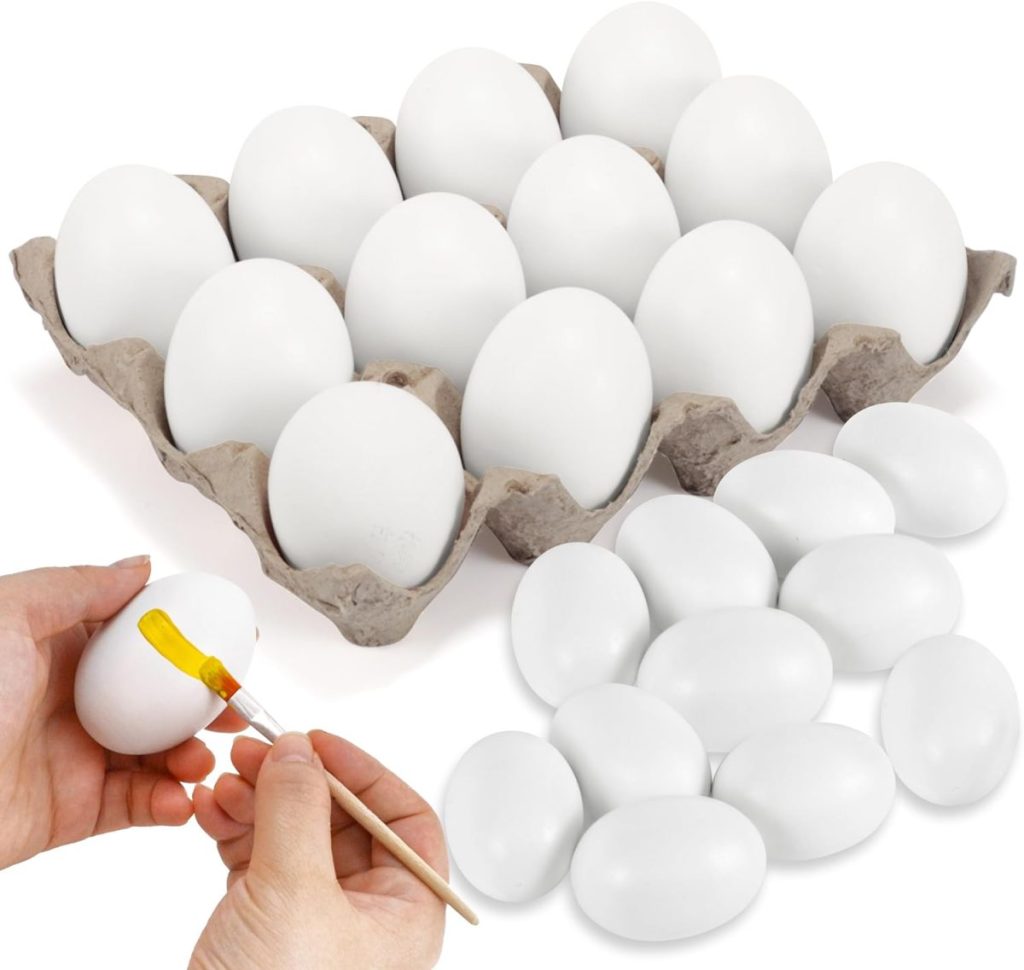
Wooden Easter Eggs or these Wooden Easter Eggs
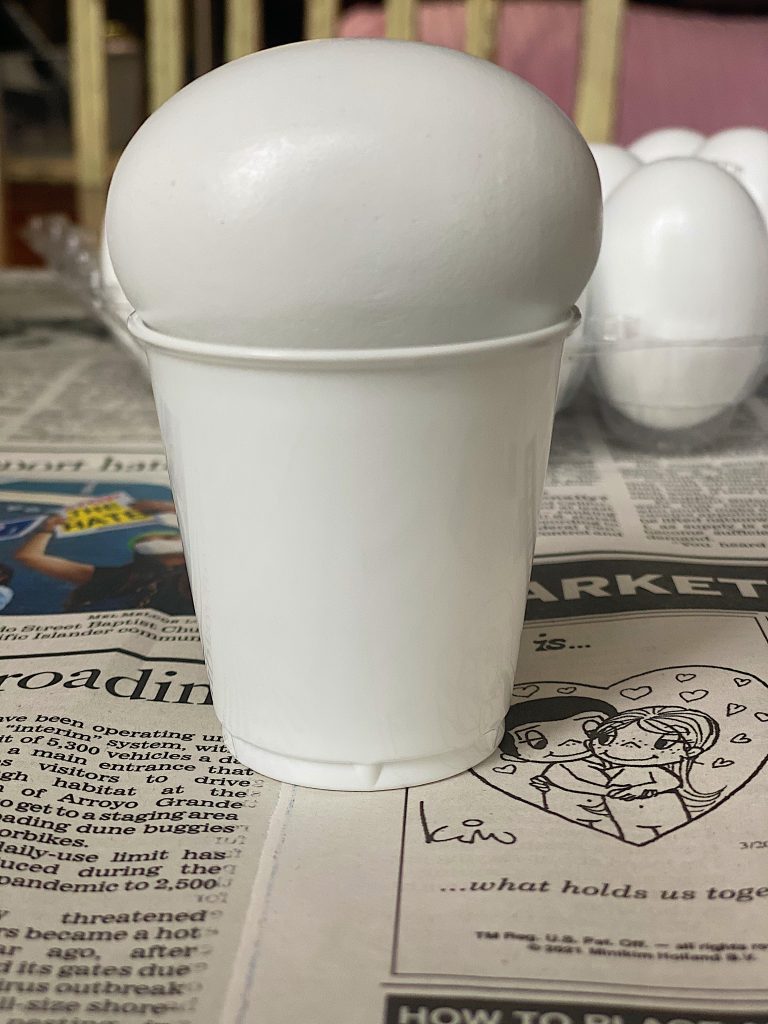
Before I got started, I needed a way to secure the eggs while I applied the fixative. I found paper cups, which worked well. If you have an extra egg carton, I think that would be best.
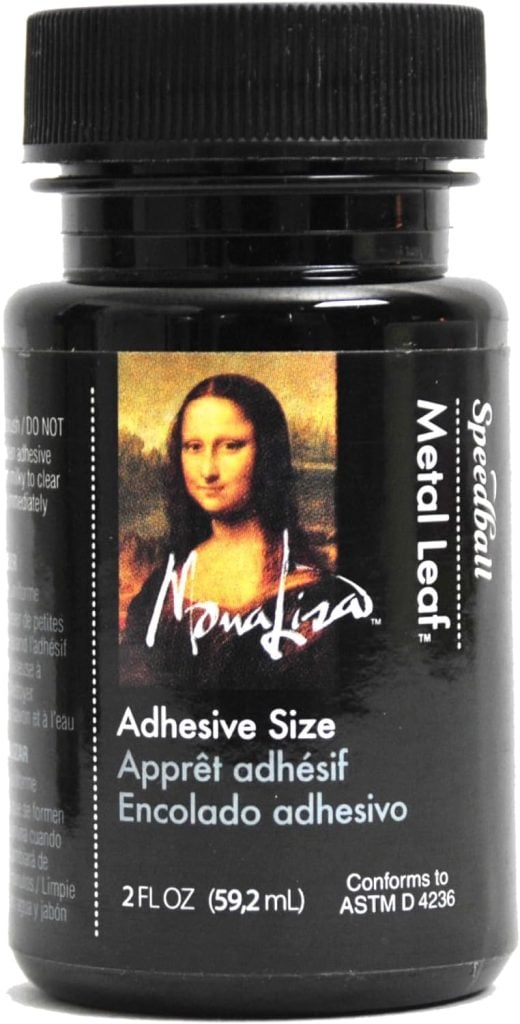
Step One – Apply Adhesive
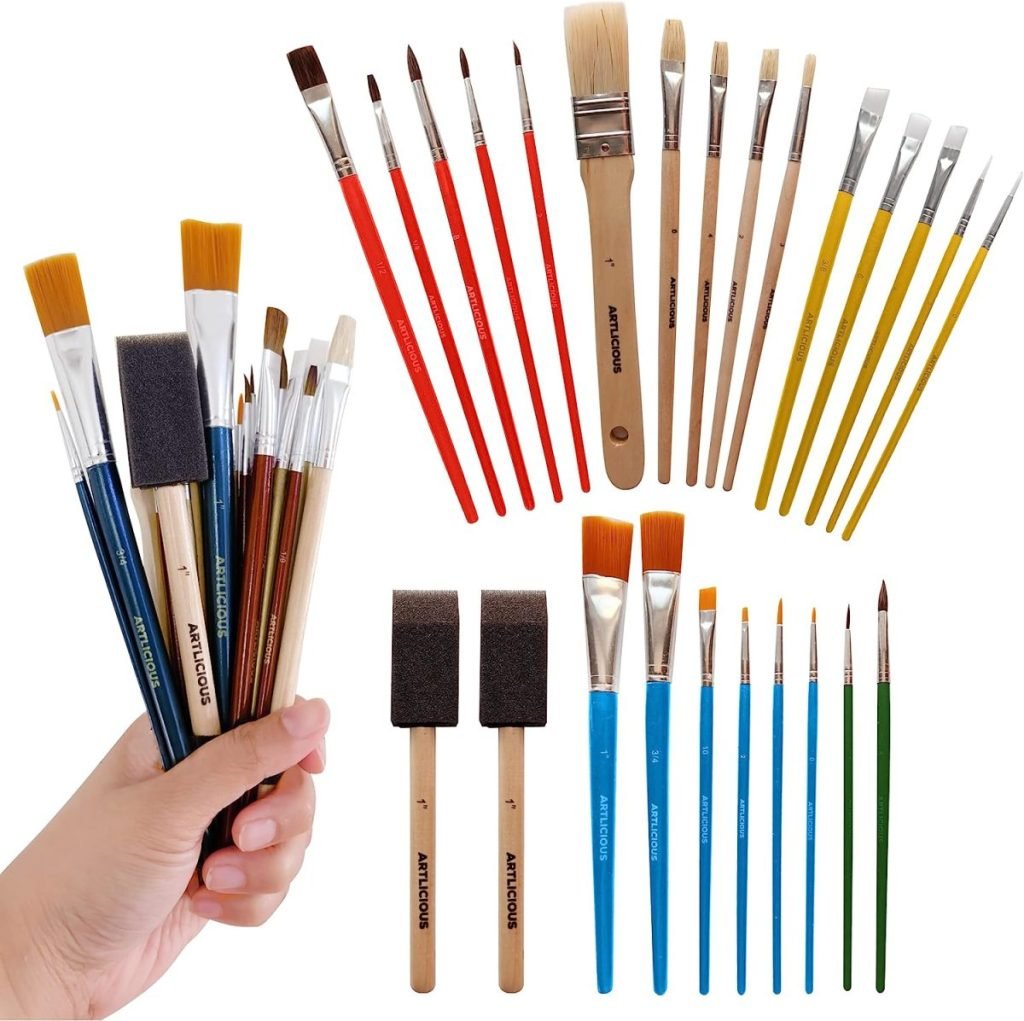
Put your gloves on before you start. Use a paintbrush to apply the adhesive to the eggs in small spots. Be sure to place your eggs on a plastic-type surface that won’t stick to the egg. Try not to cover all of the egg’s surfaces with the adhesive.
Let the adhesive set for about thirty minutes to get extra sticky.
Step Two – Apply the Copper Leaf
Gently lay a piece of the copper metal leaf on the egg. You can cover the entire egg as it will be easy to wipe off, and the copper won’t stick to the areas without the fixative adhesive.

Gently press the copper leaf onto the egg. Don’t try to peel off the extra copper leaf, as the eggs must sit for another thirty minutes. If you try too early, the fixative will move around and make a mess.
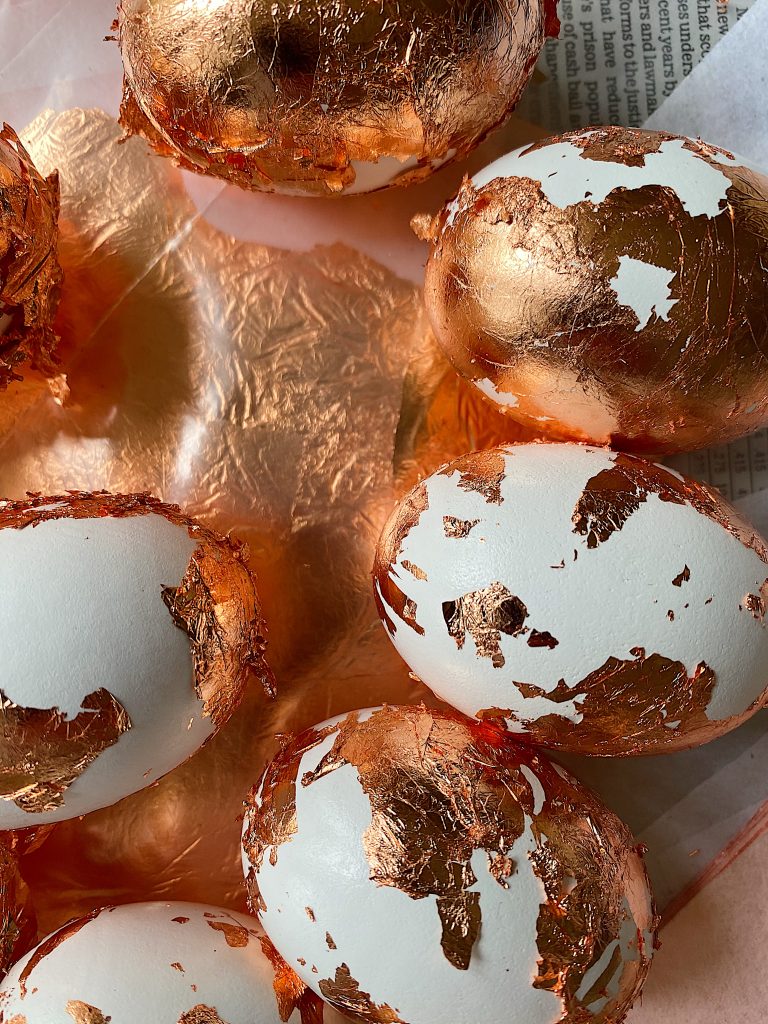
Once the eggs are almost dry, remove the extra foil. Gently rub the eggs in the palm of your hand to remove the extra foil. You can also use a dry paintbrush. Just be gentle.
Can you believe how these are looking? I love them.
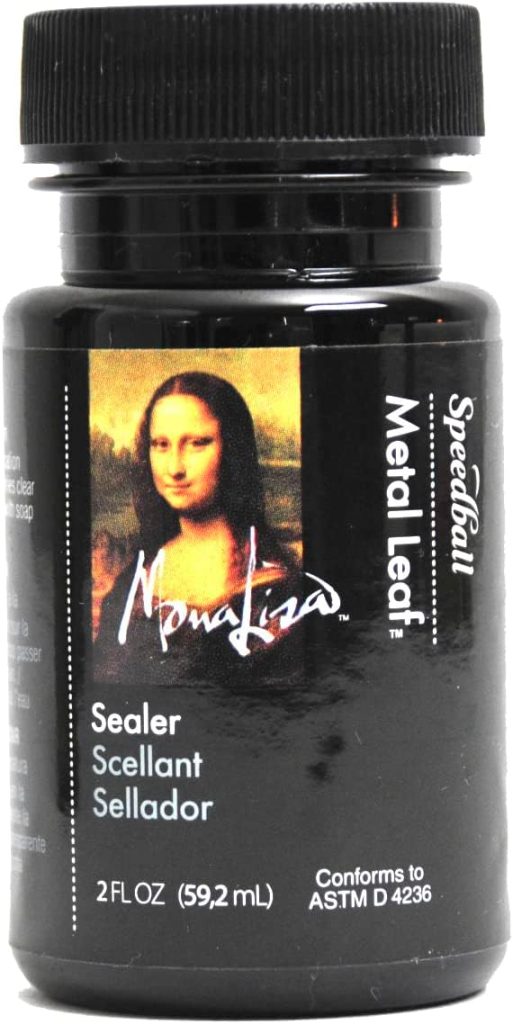
Step Three – Applying the Sealer
Once the eggs are dry, remove any extra copper. Lightly apply a complete coat of the Sealer to protect the copper.
Let them dry and style them however you want!
Feel free to copy any of my styling ideas in the blog post, too!

Frequently Asked Questions
Use a paintbrush to thinly cover the item with the adhesive. Be sure to place your item on a plastic surface that won’t stick to the item. Try to cover all surfaces of the item with adhesive. Let the adhesive dry for 30 minutes. Gently lay a piece of copper foil onto the item. Continue to cover with as many sheets as necessary. Don’t worry about missed spots; you will come back and add more copper foil later. Press down on the copper foil sheets to adhere the metal to the adhesive. I used my fingers (with gloves) and a dry brush to do this.
Remove any extra foil once the item is covered with copper foil and completely dry. Lightly apply a complete coat of the sealer with a paintbrush to protect the item. Let dry before use.
I love these eggs and how they look now that they are done. They are so easy to make because they don’t have to be perfect.

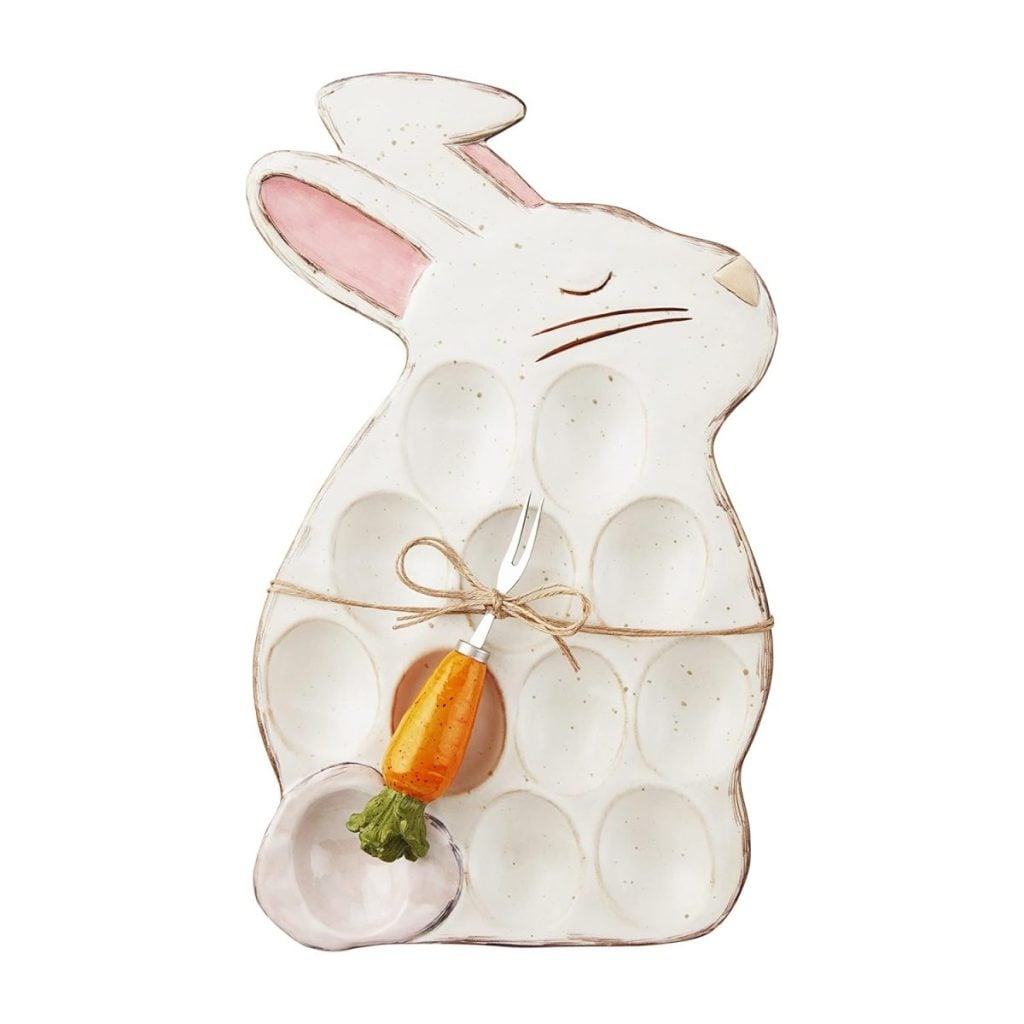
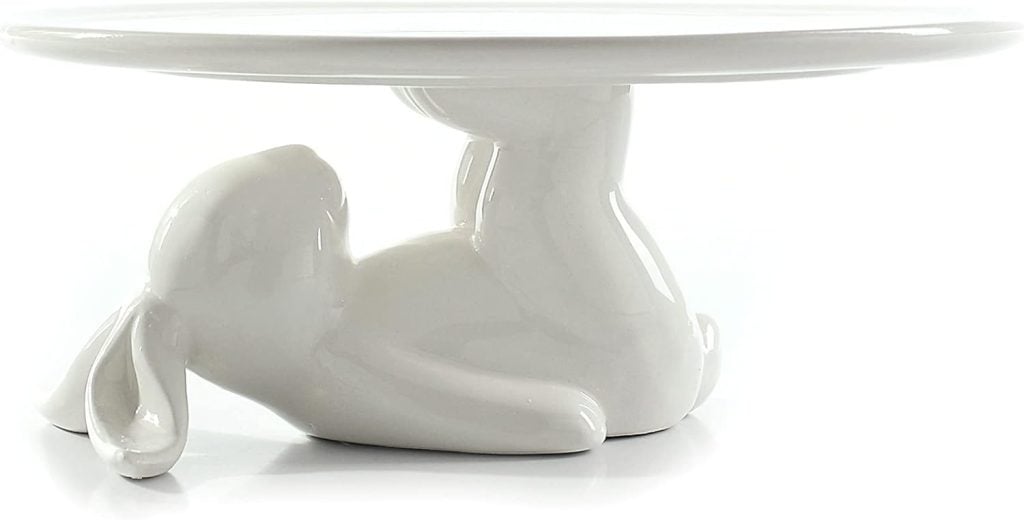
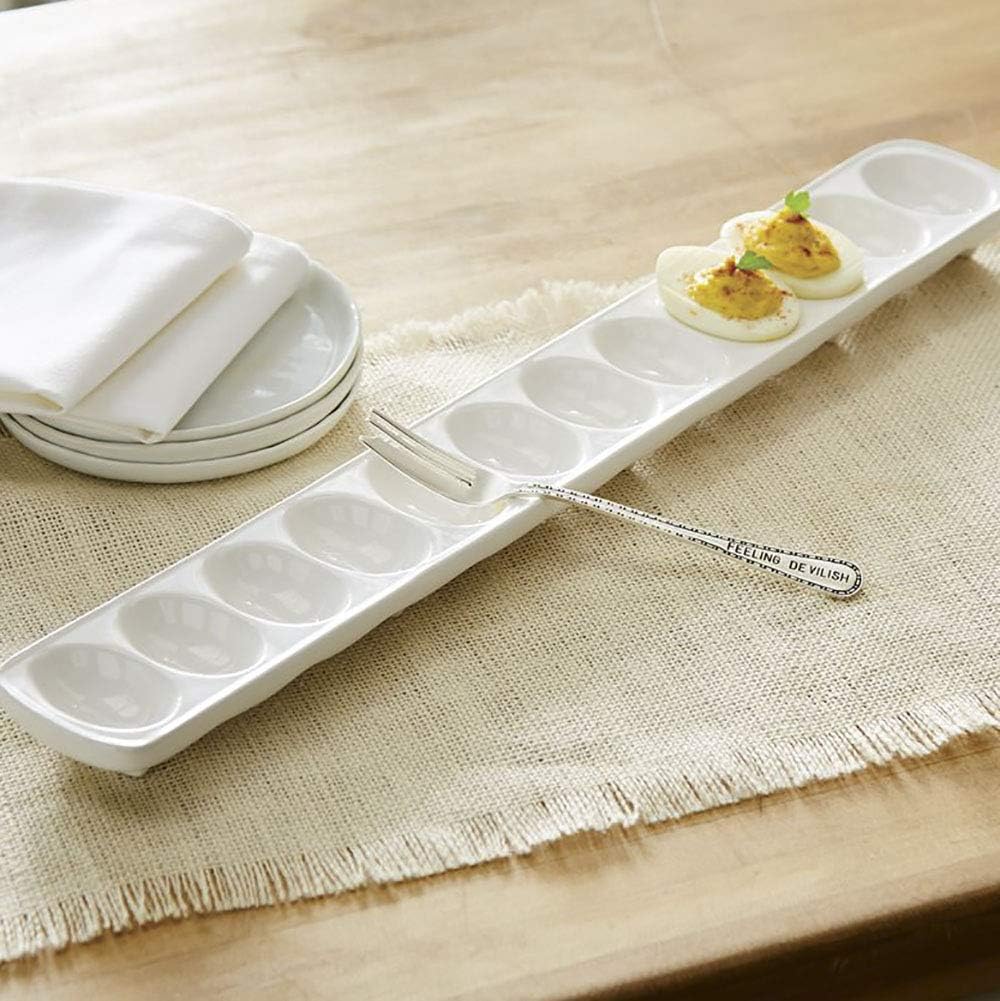
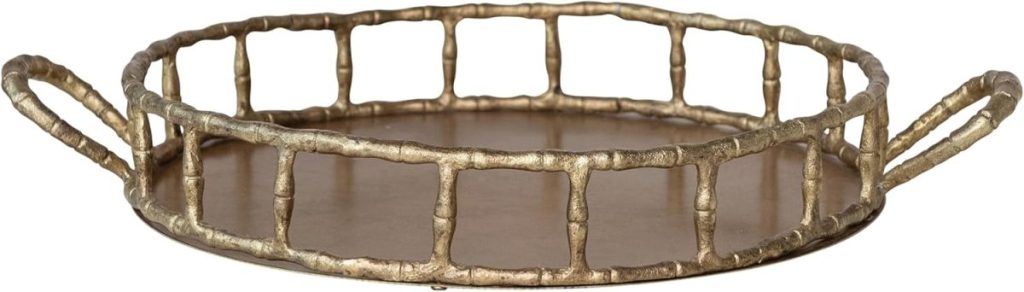
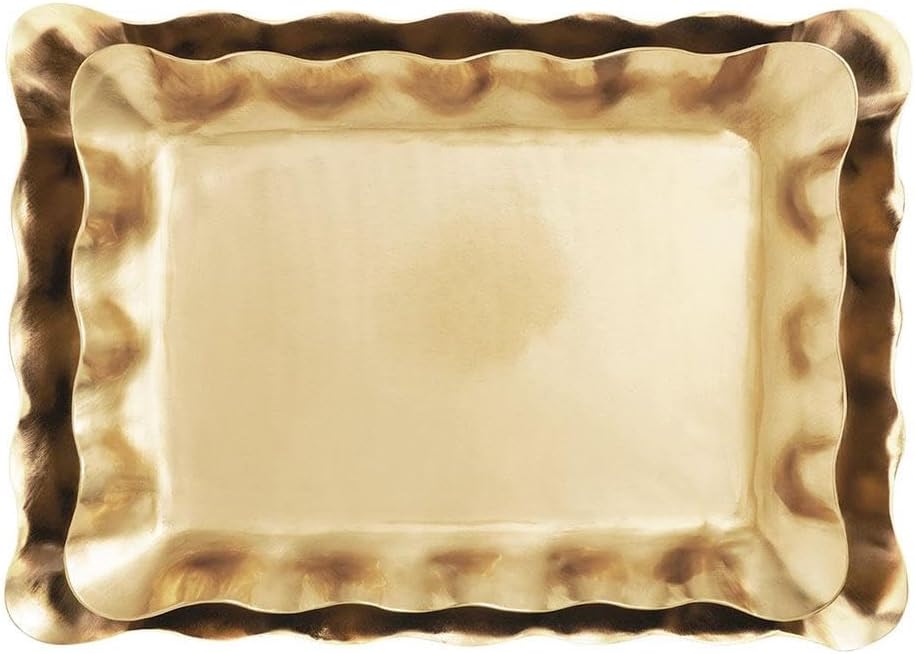
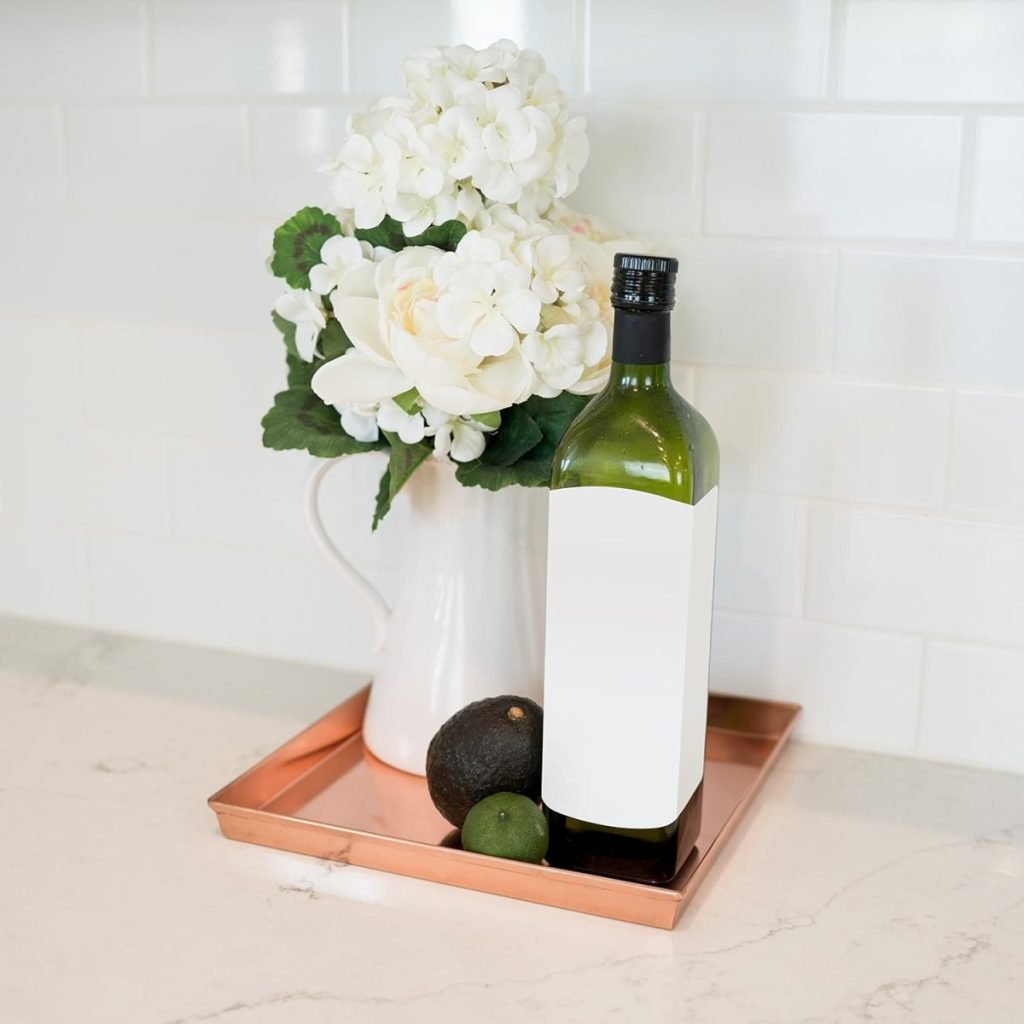
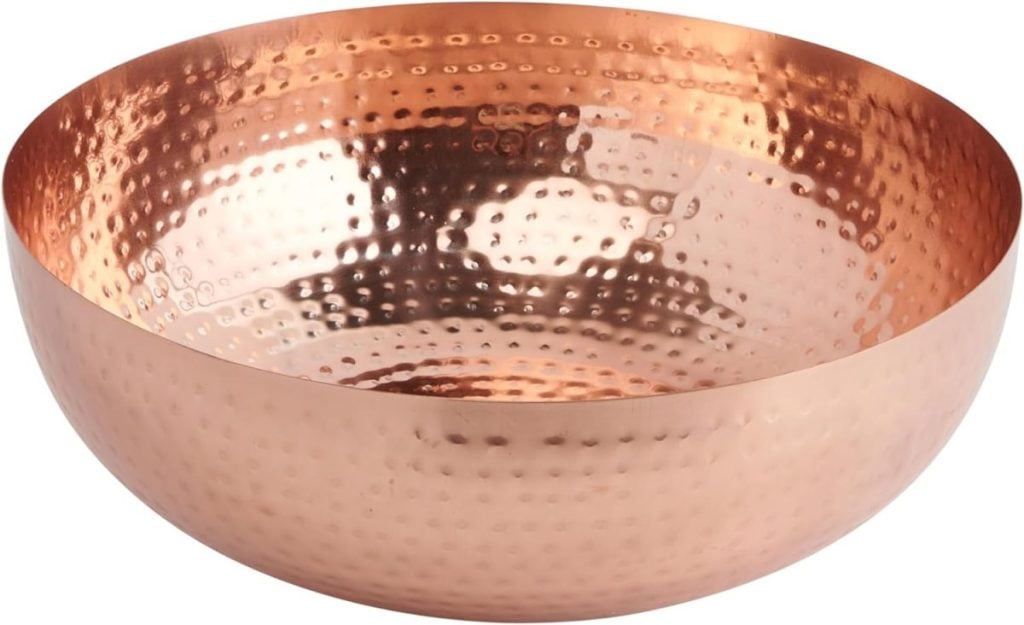
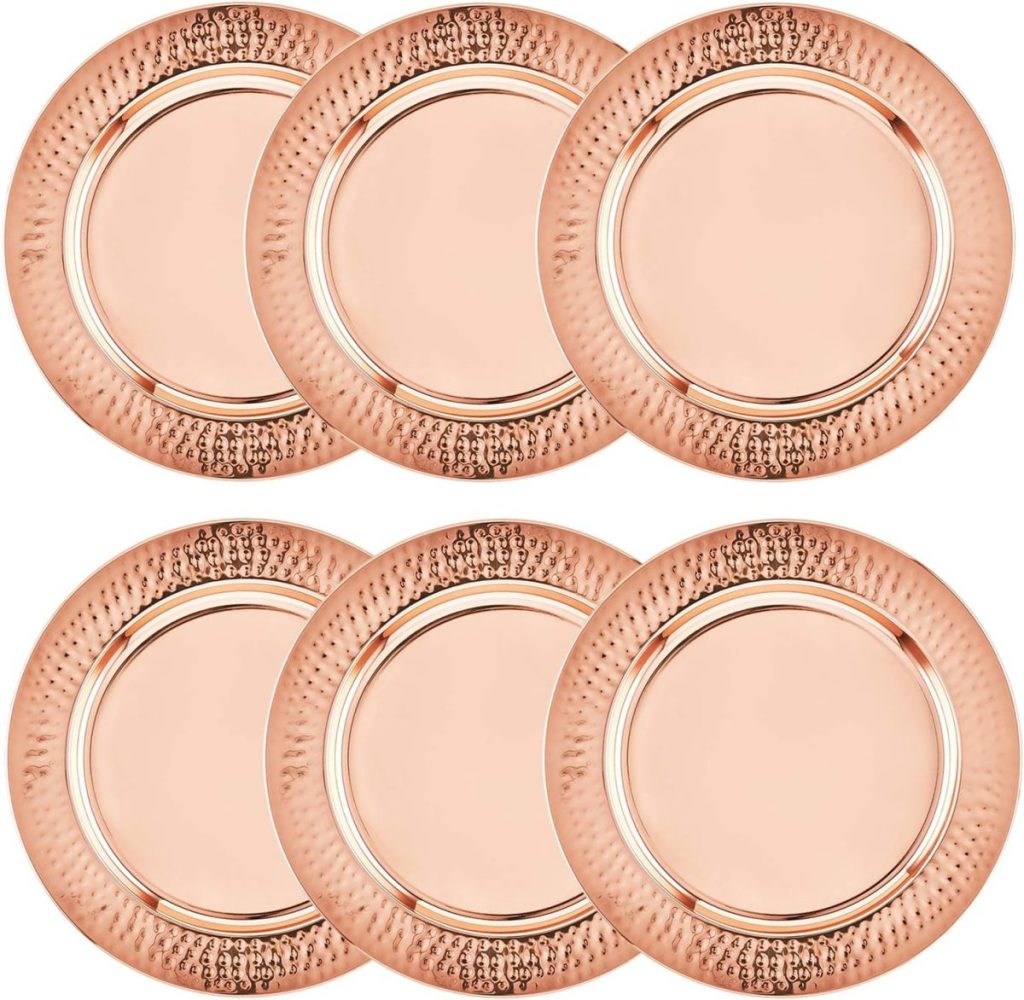

Gorgeous Displays for Your Eggs!
Similar Posts
You can pin the image below to your decor boards on Pinterest (just click the Pin button in the top left corner) or follow me on Pinterest!
For more real-time updates, follow me on Instagram @My100YearOldHome


Leslie,
These are so cute. I hope it’s ok to share your post on my Dirt Road Adventures on Sunday. I’ll link back to your post for all the details.
Absolutely, tag me/link back. If you share me in your stories, tag me and I will share your share!
Hello. I was thinking of using copper foil on my small range hood. Any thoughts on this , or advice?
Thank you.