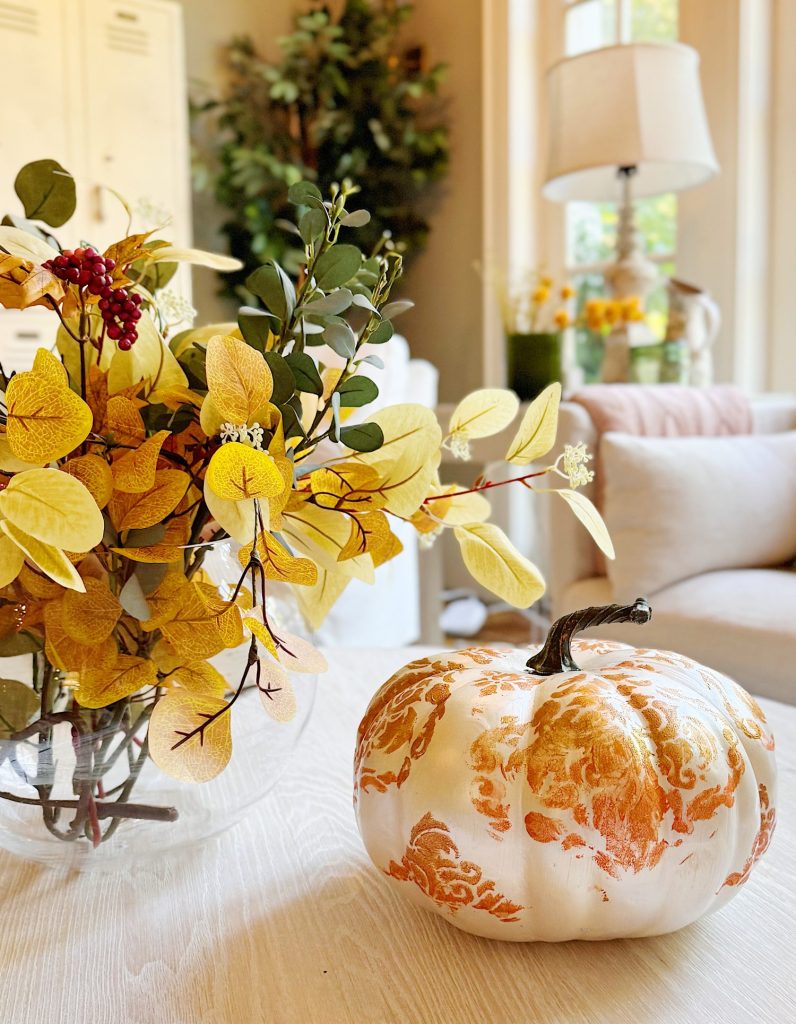
How to Make a Stenciled Painted Pumpkin That Looks Like a Designer Find
I love taking something inexpensive and transforming it into a piece that looks like it came from a high-end store. That’s precisely what happened with this stenciled painted pumpkin project.
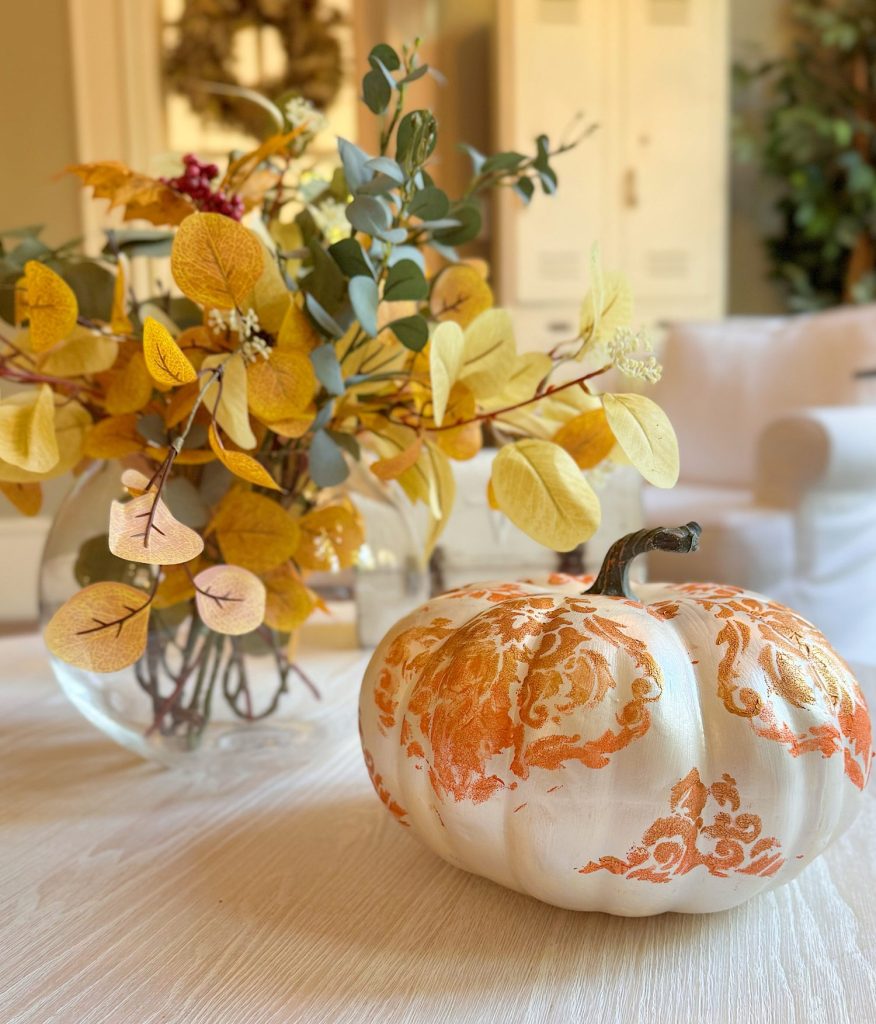
You would never guess that it started as a tired old plastic pumpkin that had seen better days. With a bit of paint, a stencil, and my fall color palette, it became a metallic work of art that now fits seamlessly into my autumn décor.
painted pumpkin ideas,
painted pumpkin,


How to Make a Stenciled Painted Pumpkin
This is one of those projects that proves creativity doesn’t have to cost much. The secret to this painted pumpkin is layering paint, sheen, and color in a way that feels intentional and timeless.
Today I’m walking you through every step, from preparing the pumpkin to applying the paint and stencil pattern. By the end, you’ll have a stunning pumpkin that you’ll want to display in every room of your home.
Why I Love This Painted Pumpkin Project
There’s something so satisfying about giving new life to an old decoration. I’ve collected a few plastic pumpkins over the years, and while they’re durable, they don’t exactly scream “elegant fall décor.” Instead of letting them sit in a bin, I decided to try a little creative upcycle project.
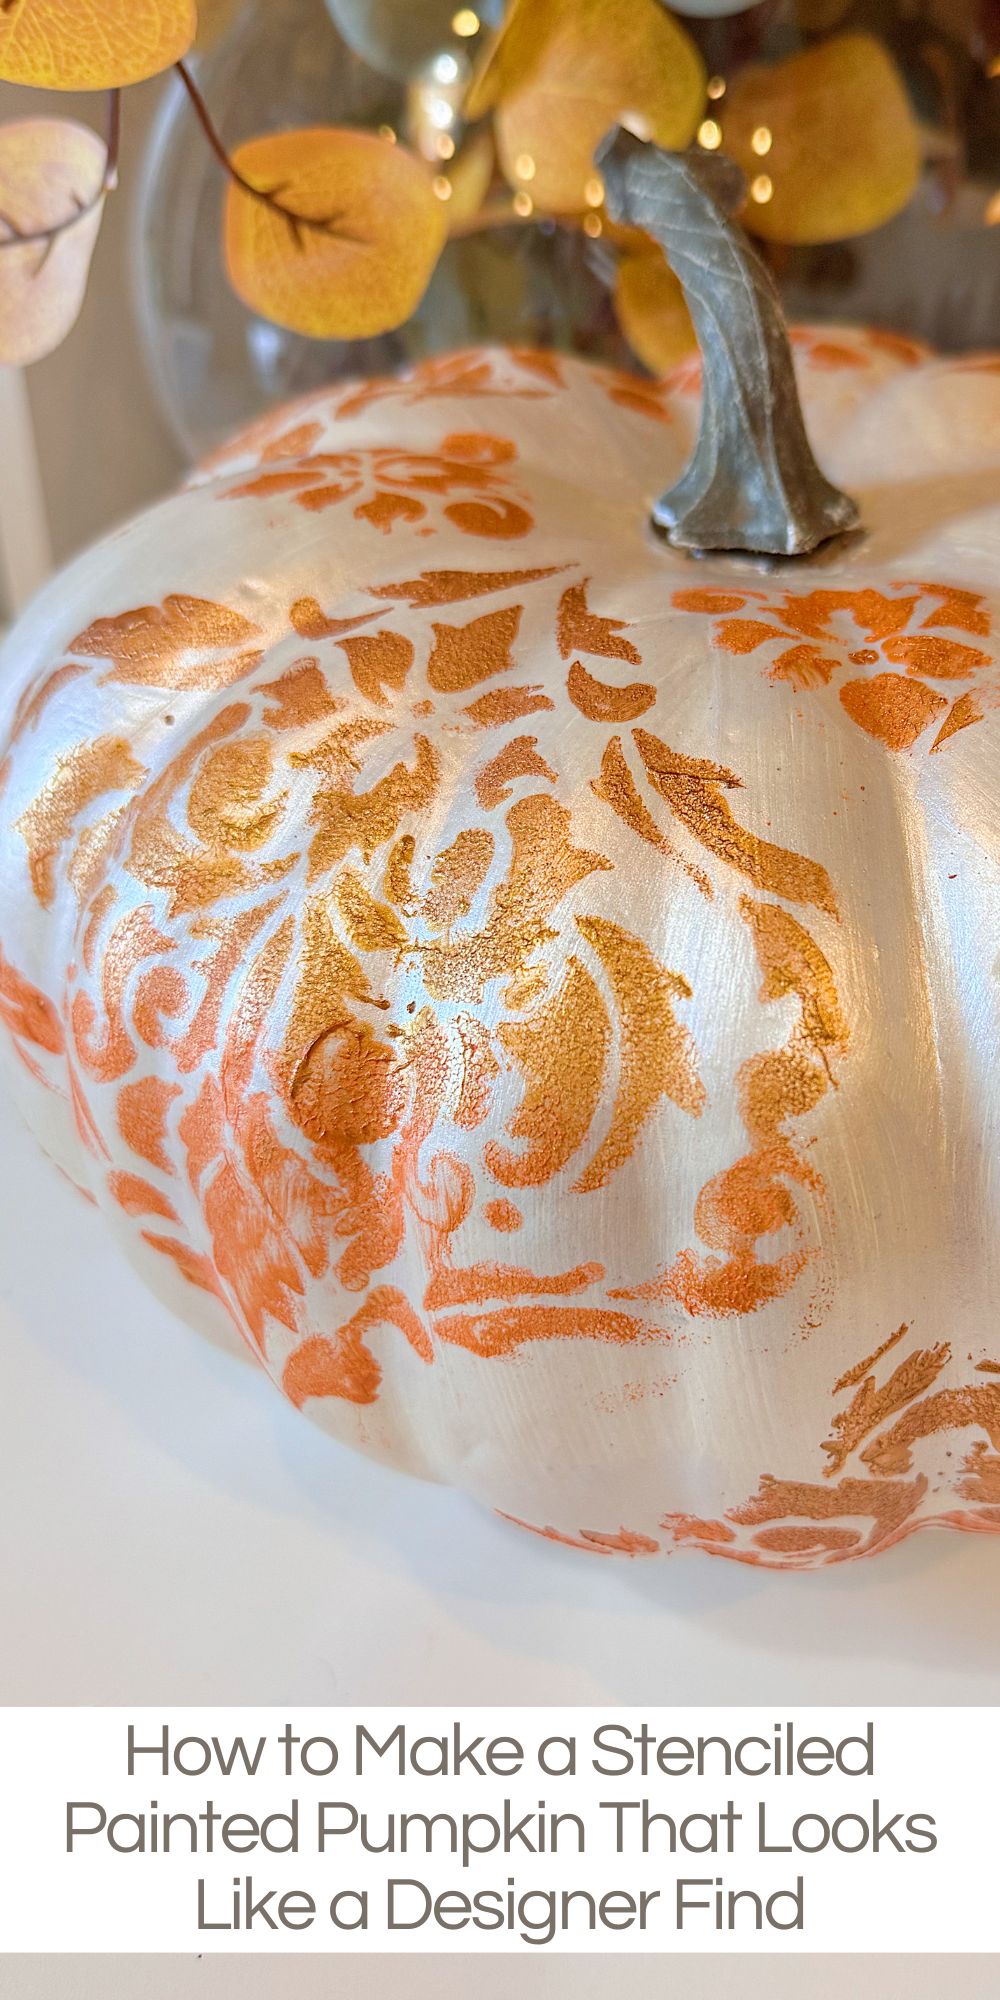
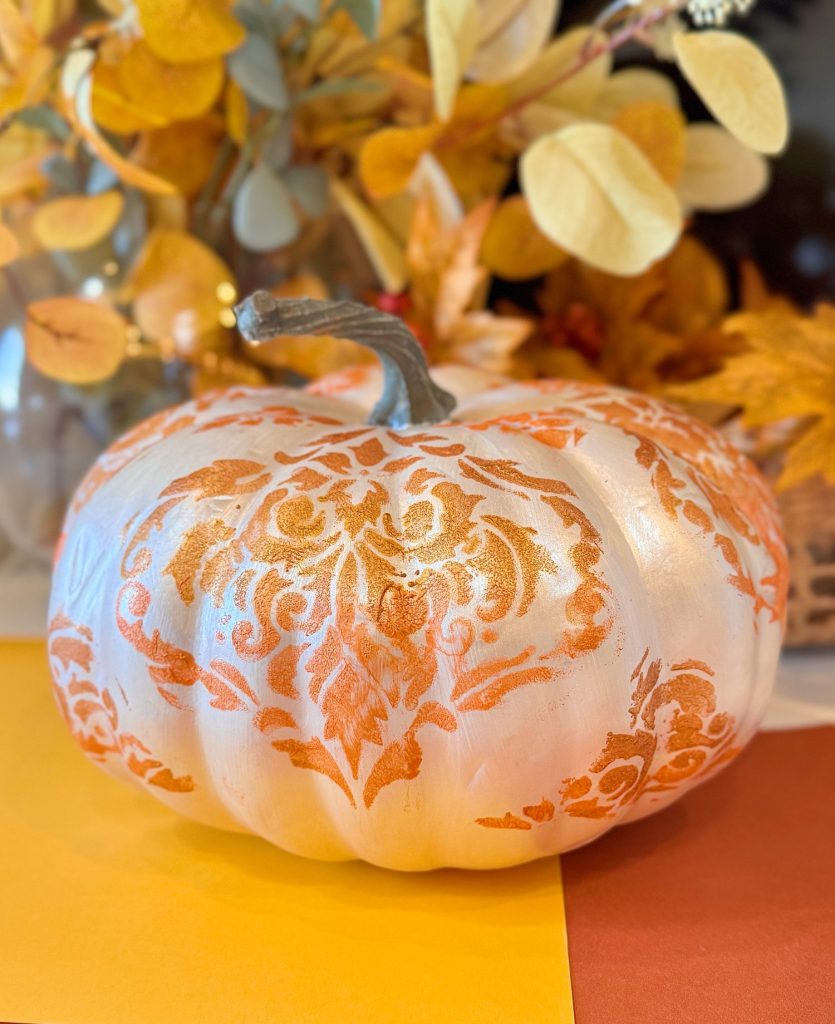
My fall color palette this year is filled with soft, warm metallics such as copper, gold, and orange tones with a hint of pearlescent glow. So, I reached for my Arteza metallic paints and a damask stencil that I’ve had tucked away in my craft room. The idea was to transform the flat plastic pumpkin into something rich and dimensional, something that could sit proudly on a mantel, dining table, or sideboard in the entryway.
And honestly? The result blew me away.
It’s elegant but still playful, the perfect blend of fall warmth and metallic glamour. The best part is that no one would ever guess it started as a simple plastic pumpkin!
Materials You’ll Need

Here’s everything I used for this project:
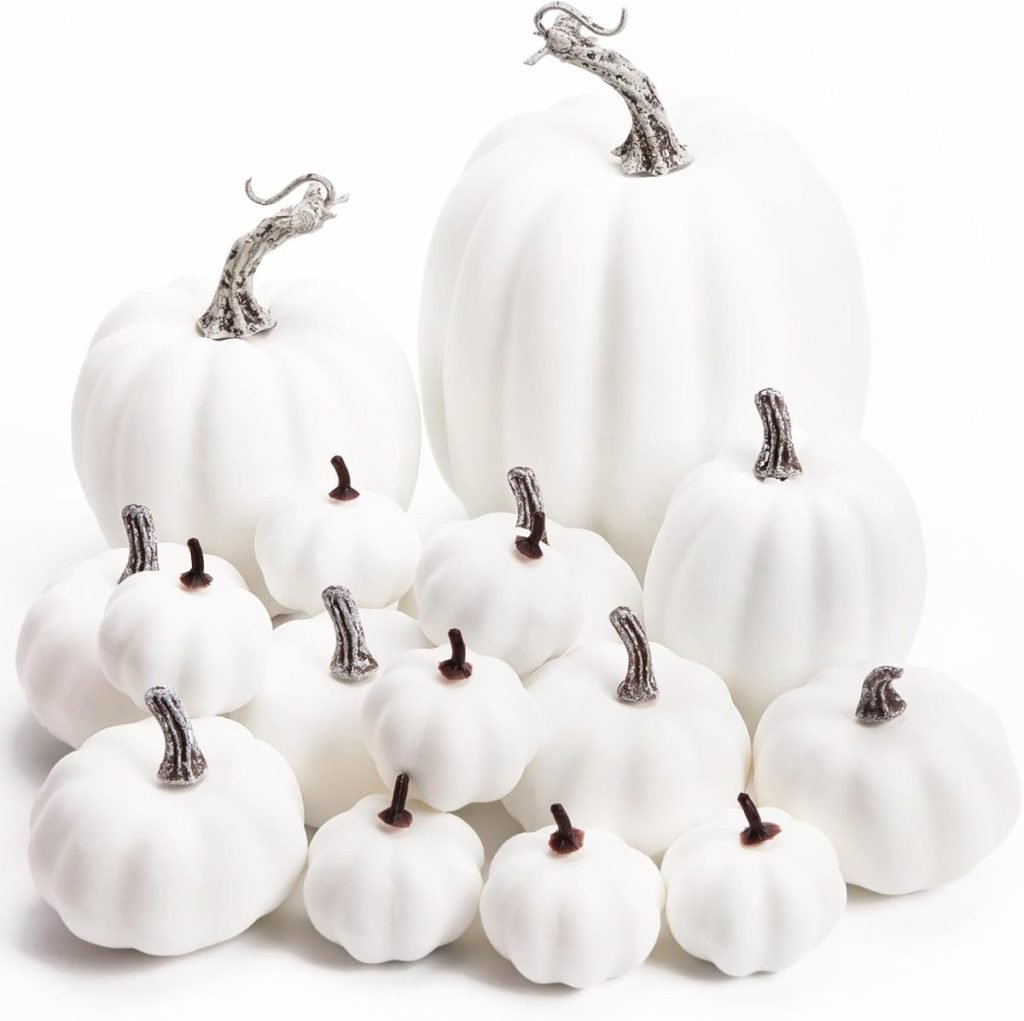
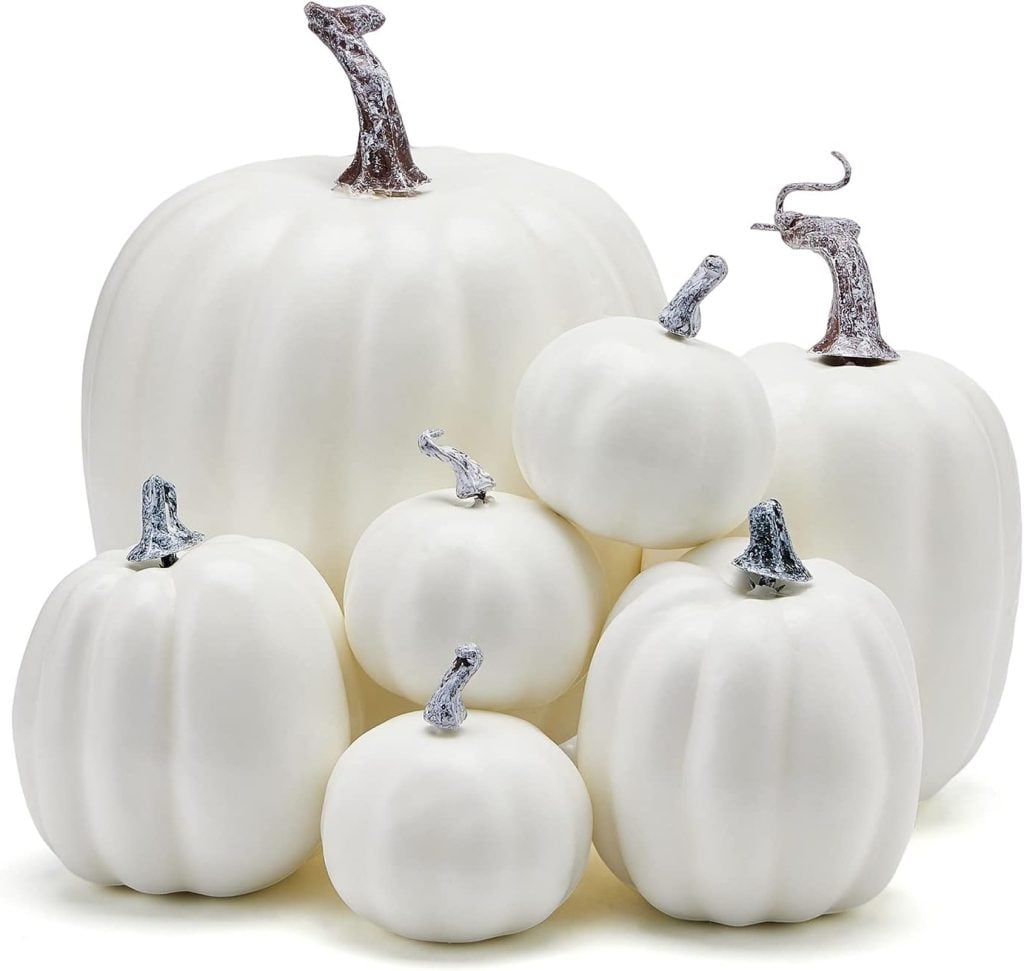
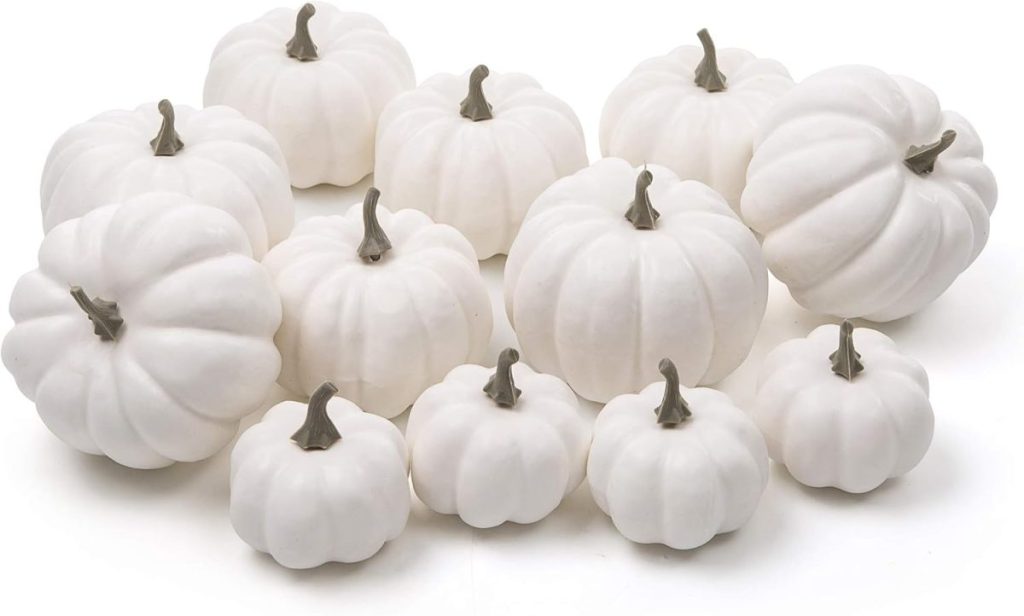
- Old plastic pumpkin (any size works)
- Pearl metallic base paint (I used a pearl-white metallic)
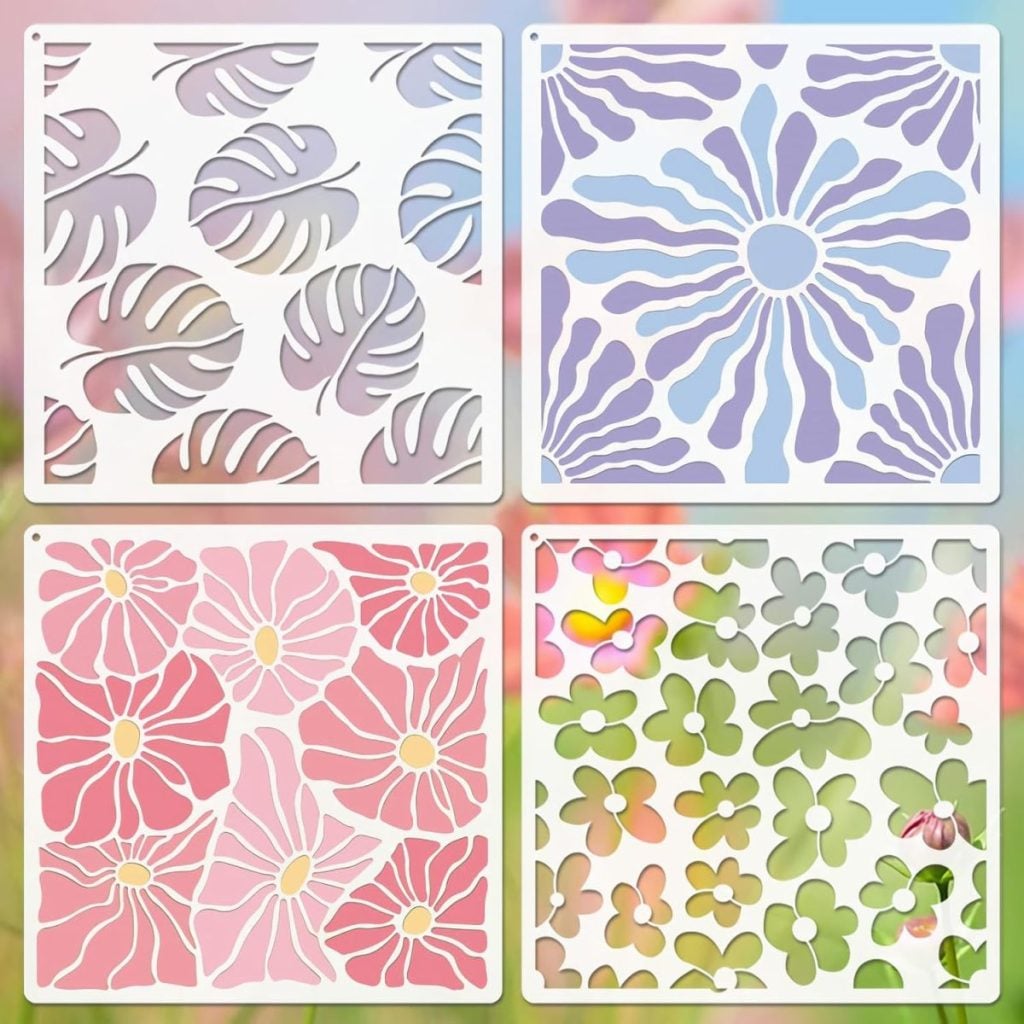
- Damask or Fleur-de-lis stencil (or any pattern you love)
- Painter’s tape or masking tape
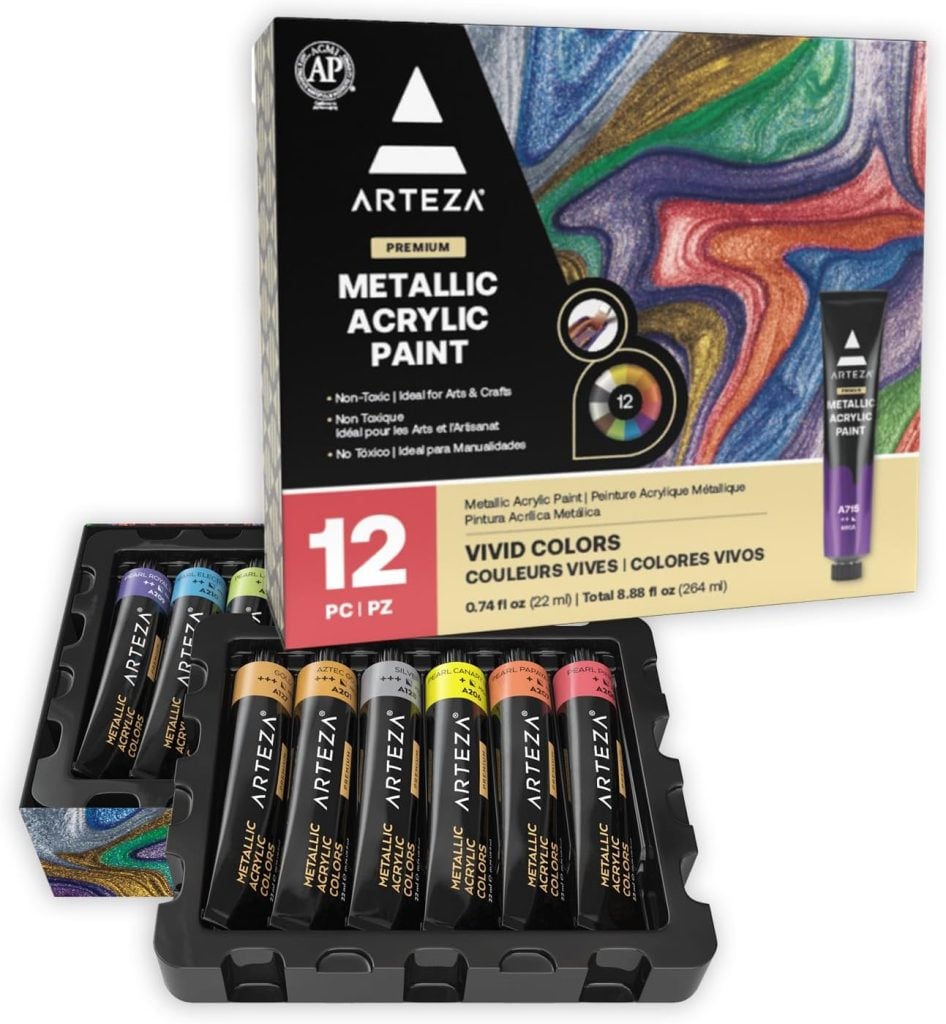
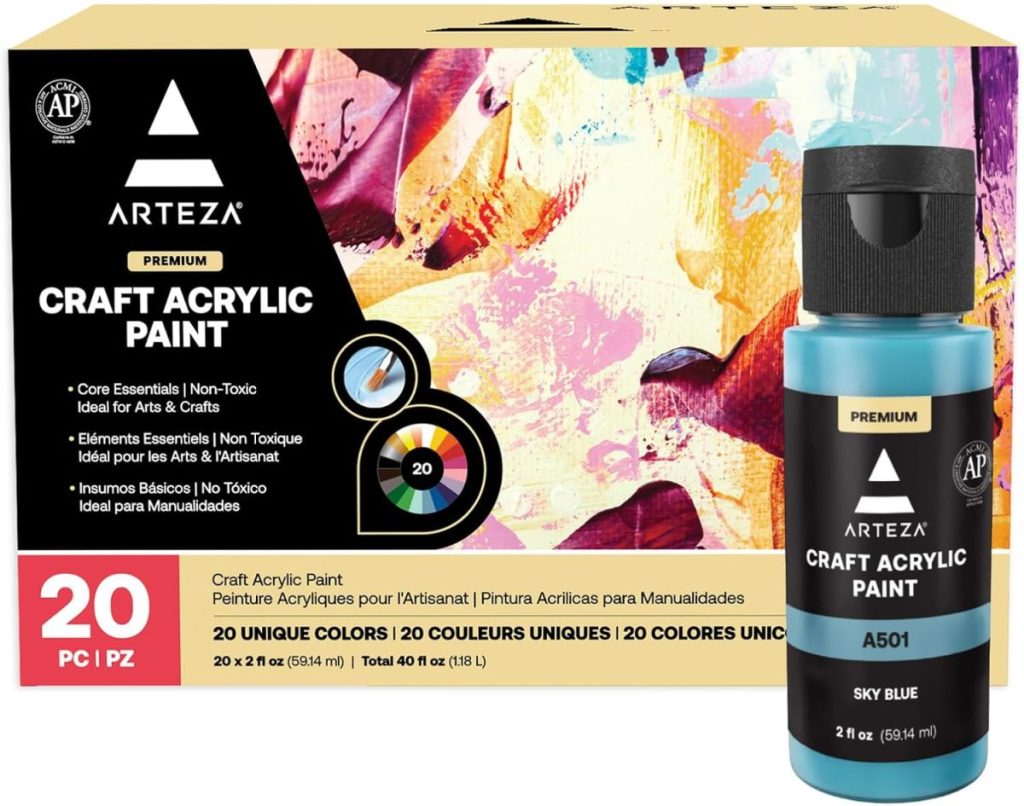
- Arteza metallic paints in:
- Pearl Copper Gold
- Aztec Gold
- Pearl Papaya Orange
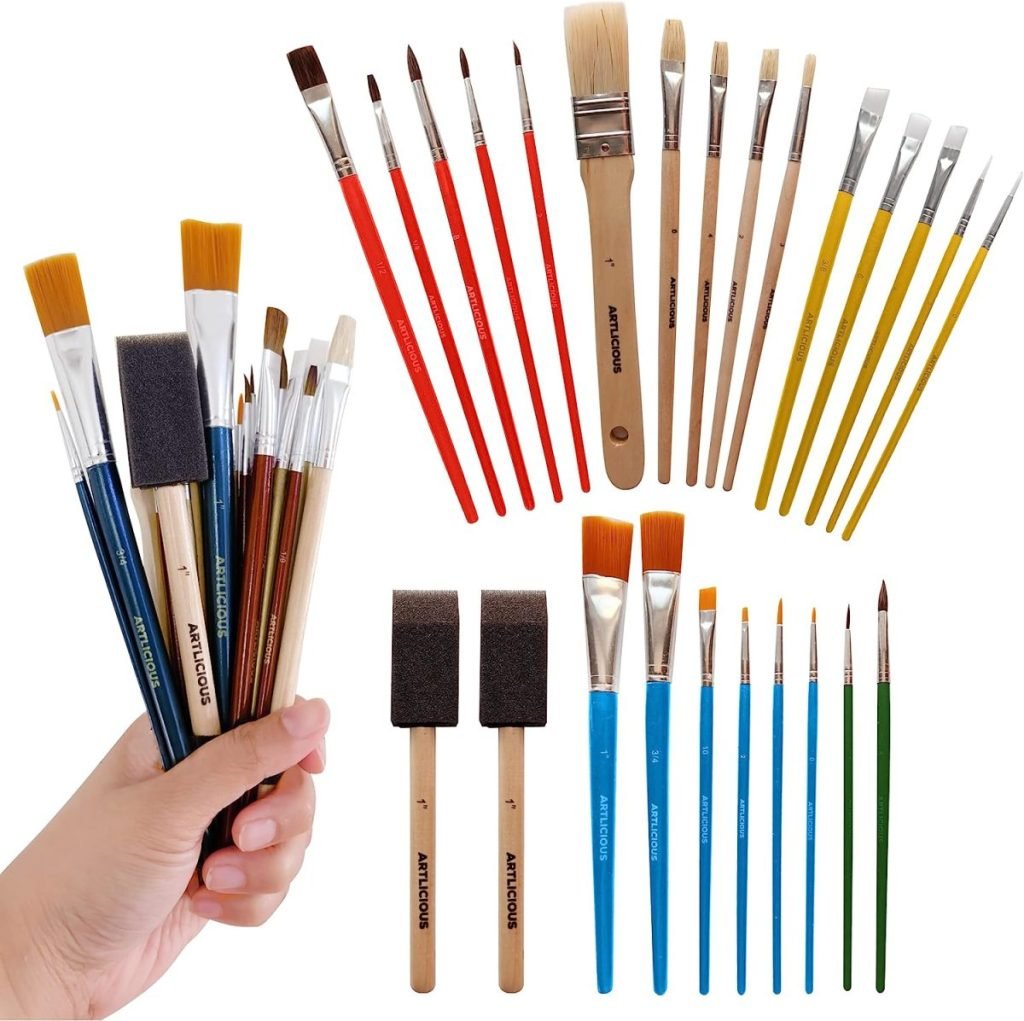
- Sponge-tipped stencil brush
- Scissors (to cut the stencil into sections)
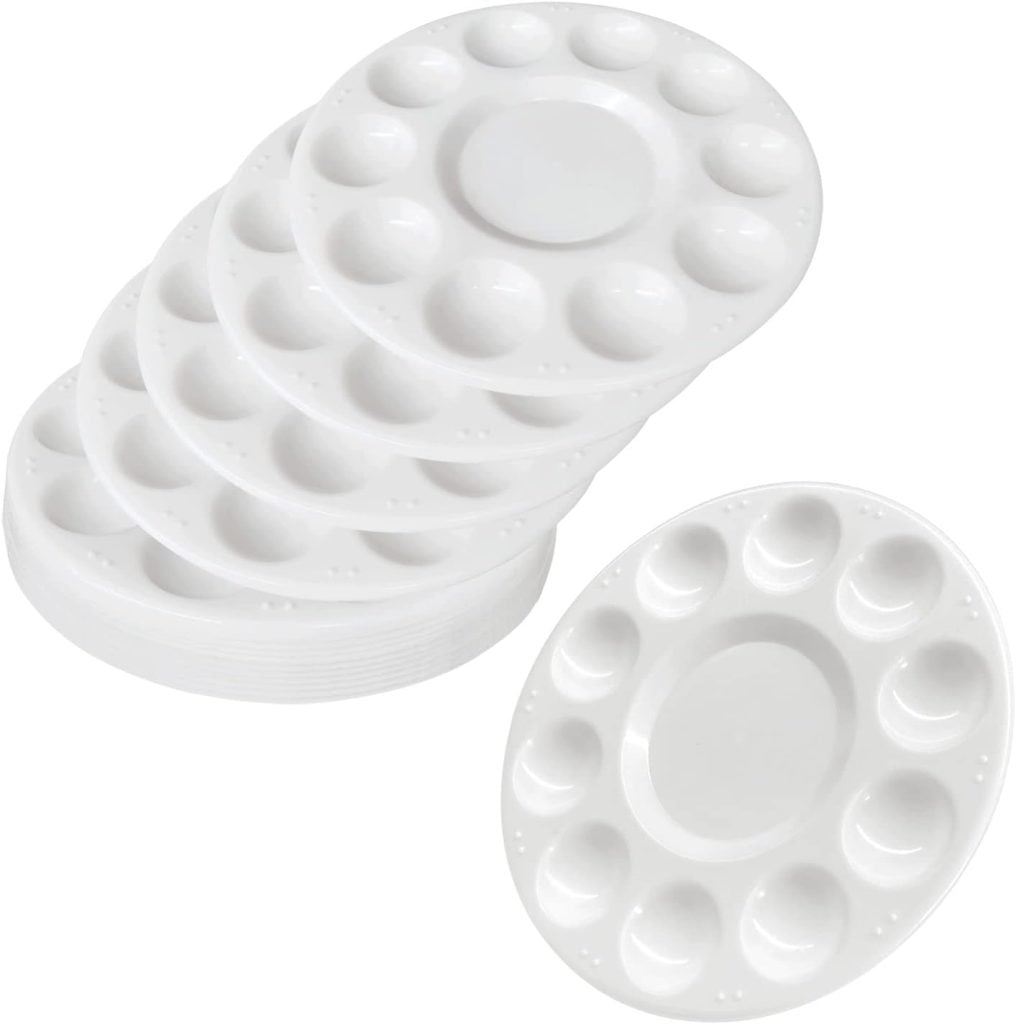
- Paper plate or palette for mixing paint
- Soft cloth or paper towels
- Optional: clear sealer or varnish for protection
I may sometimes use affiliate links on this blog, which means a small commission is earned if you purchase via the link. The price will be the same whether you use the affiliate link or go directly to the vendor’s website using a non-affiliate link.

Step 1: Preparing Your Pumpkin
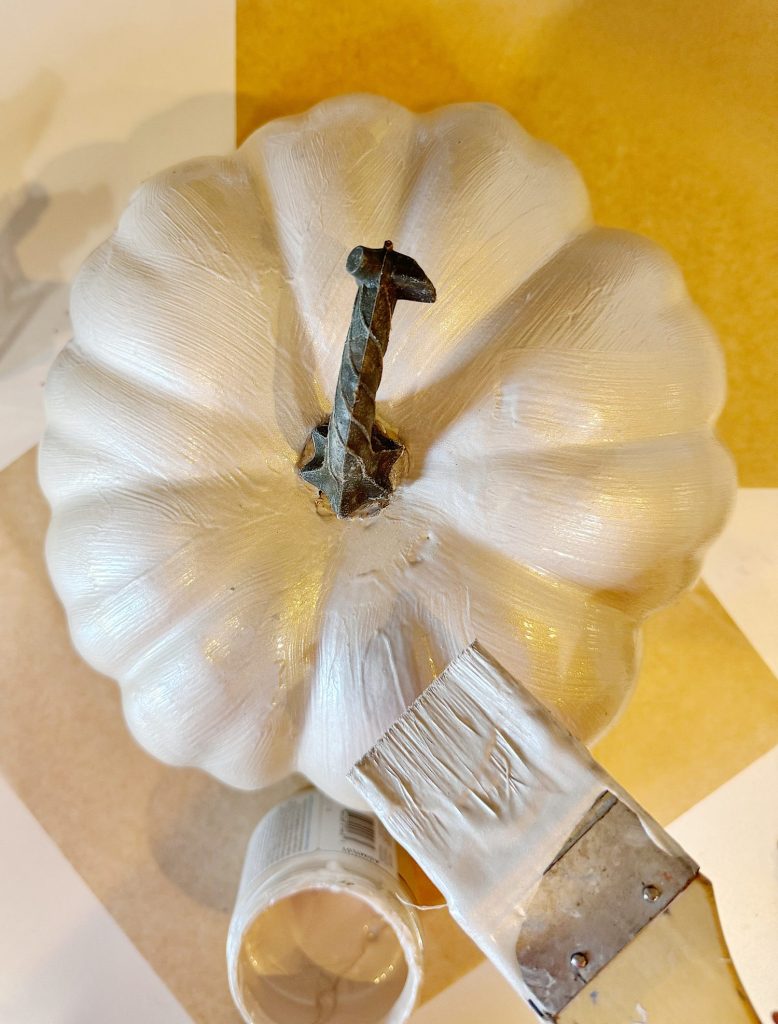
Start by cleaning your old plastic pumpkin. Wipe it down with a damp cloth to remove any dust or residue, then let it dry completely.
If the pumpkin has a glossy finish, lightly scuff the surface with fine-grit sandpaper to ensure the paint adheres better. This step isn’t mandatory, but it helps the metallic paint grip and prevents peeling later.
Once it’s dry, apply a base coat of pearl metallic paint. I used a pearl-white tone that adds just the right amount of shimmer without overpowering the metallic colors that will go on top. Allow the base coat to dry completely before proceeding to the stenciling.
Step 2: Cutting and Positioning the Stencil
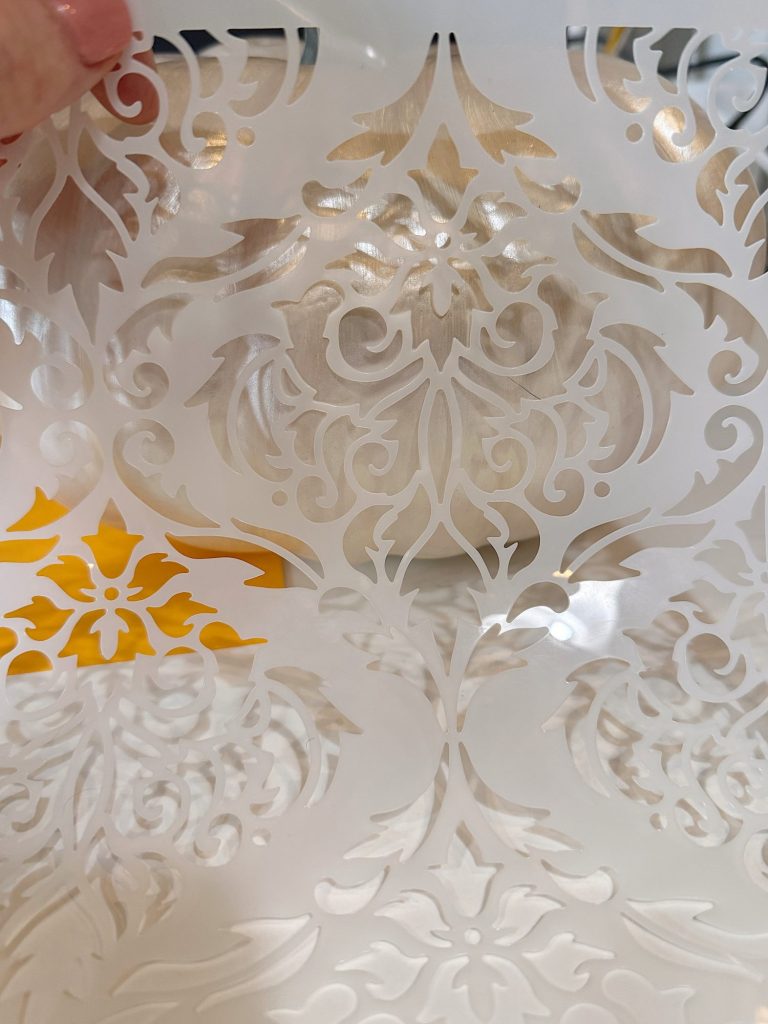
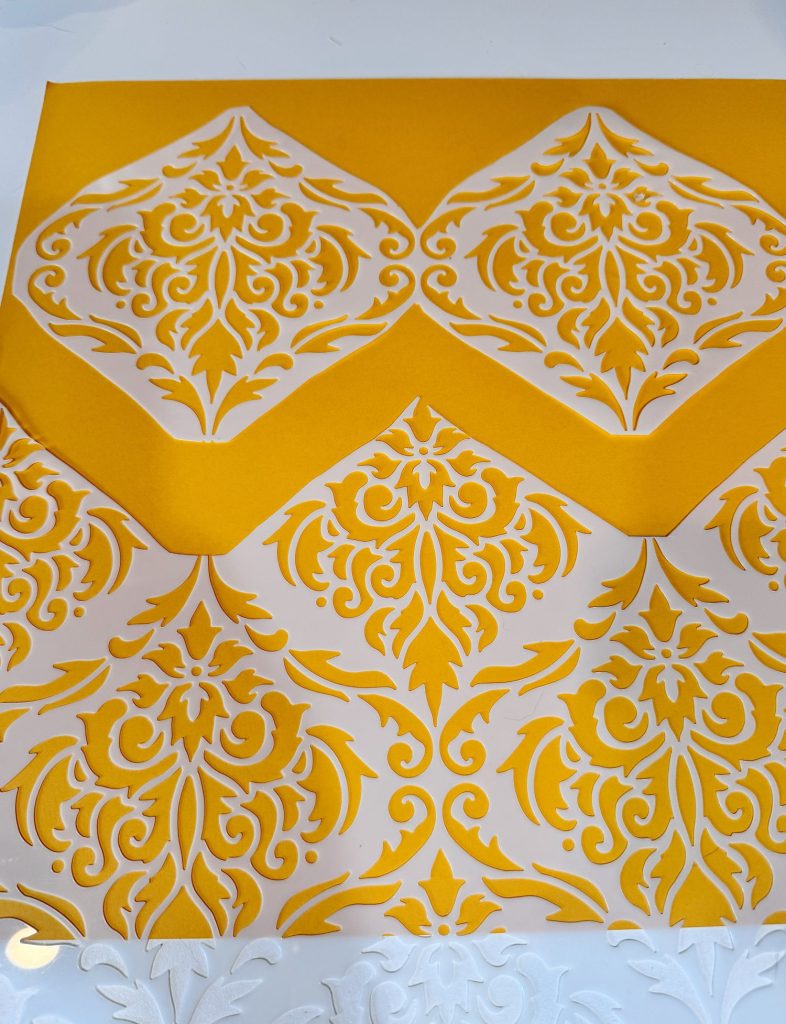
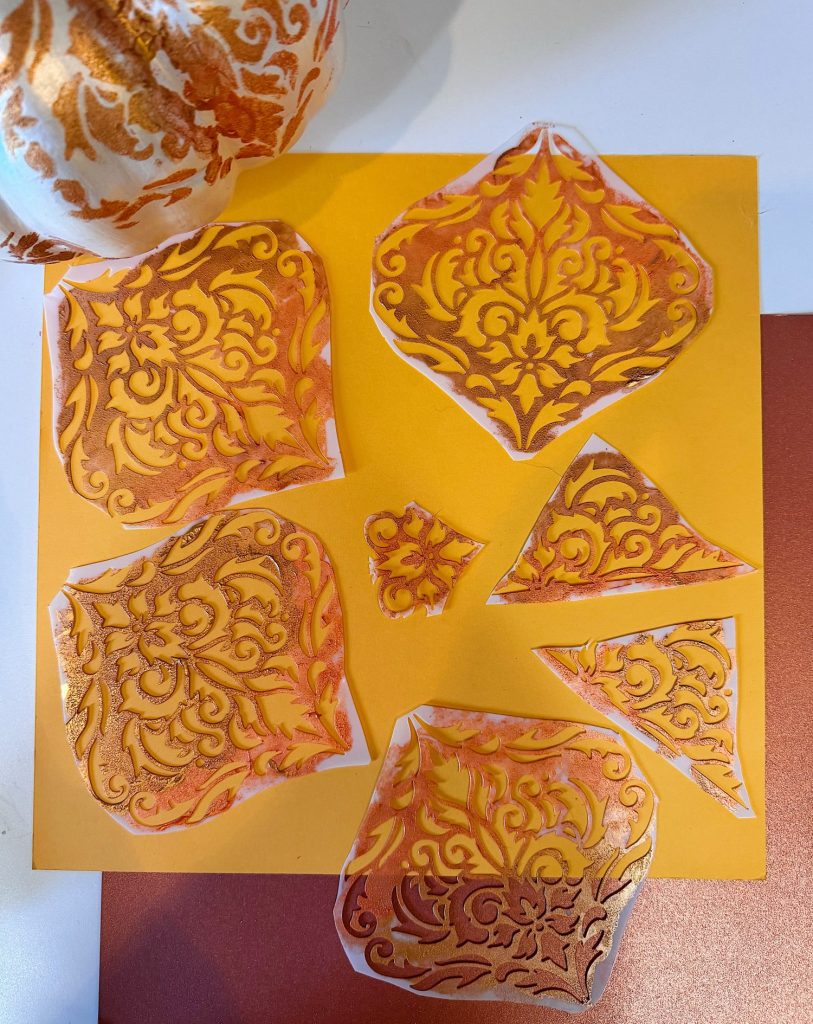
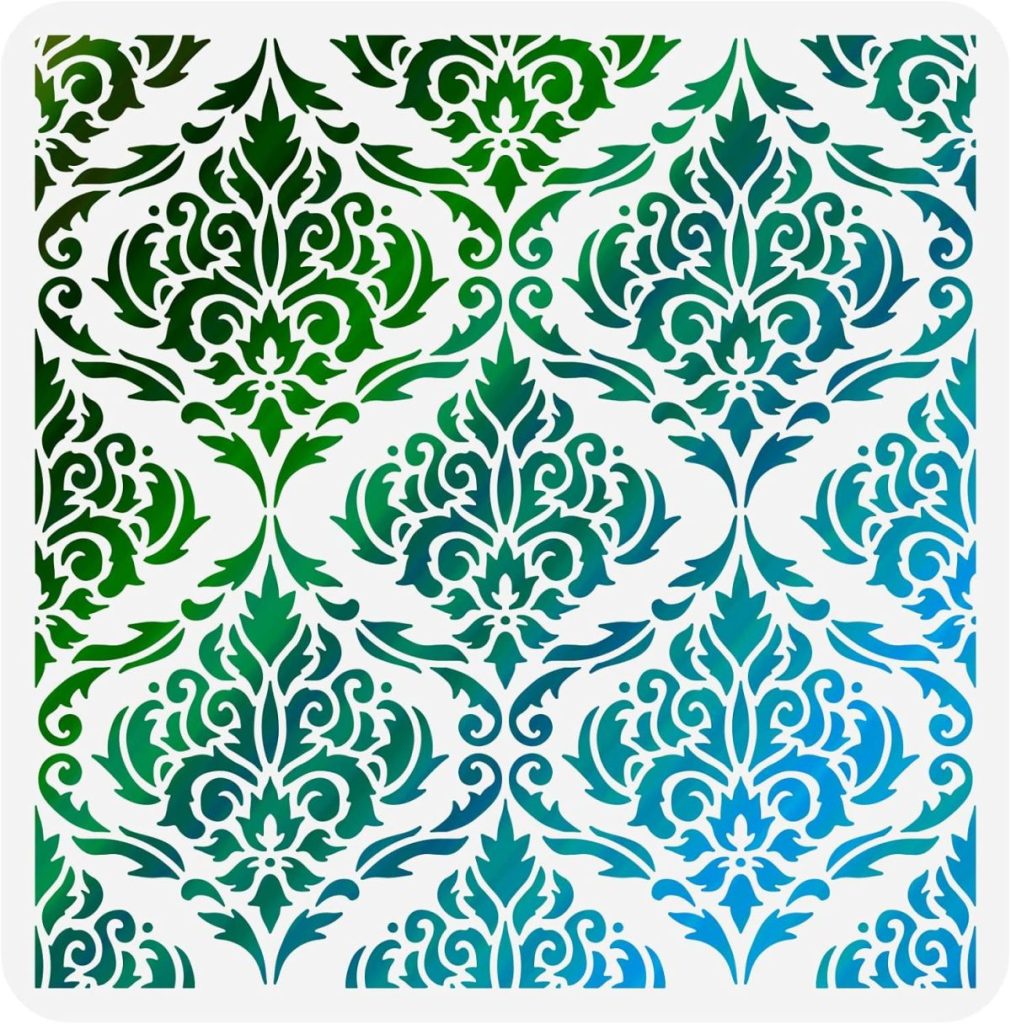
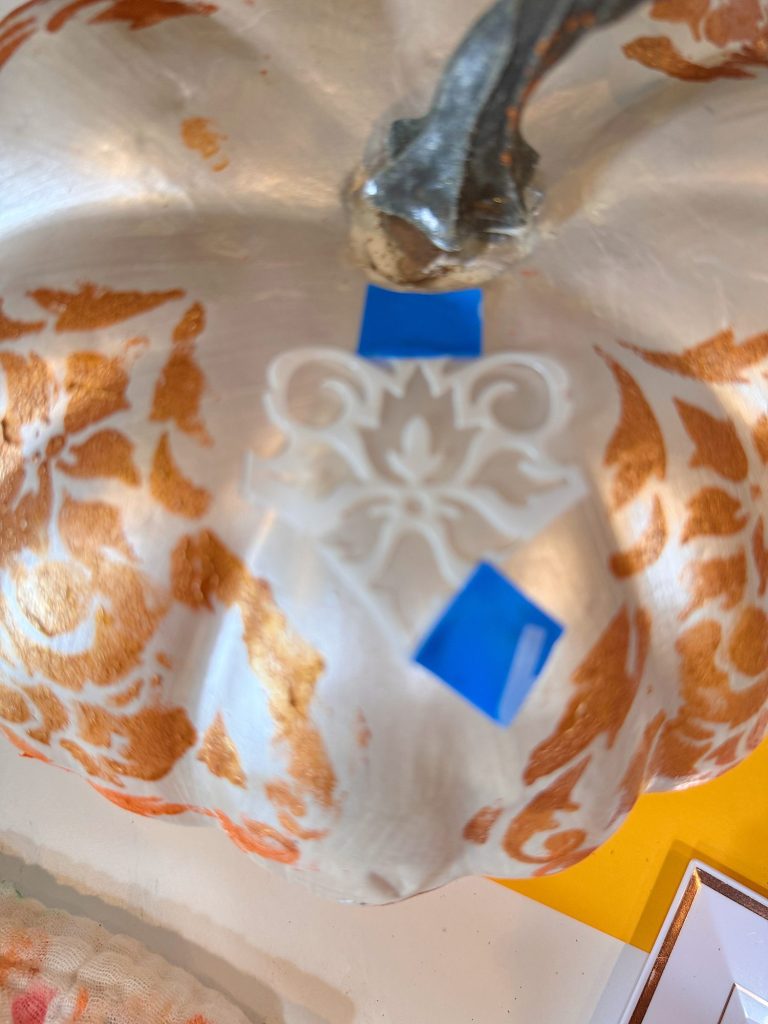
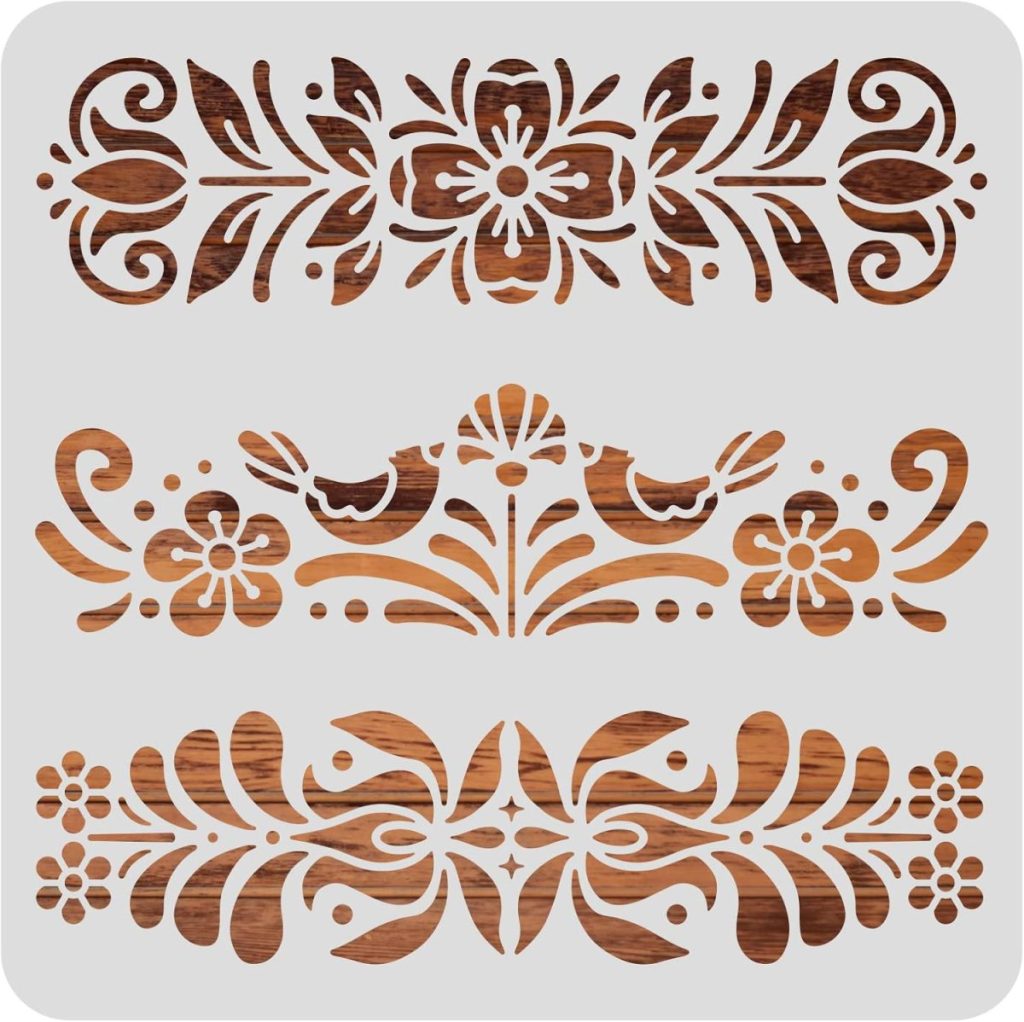
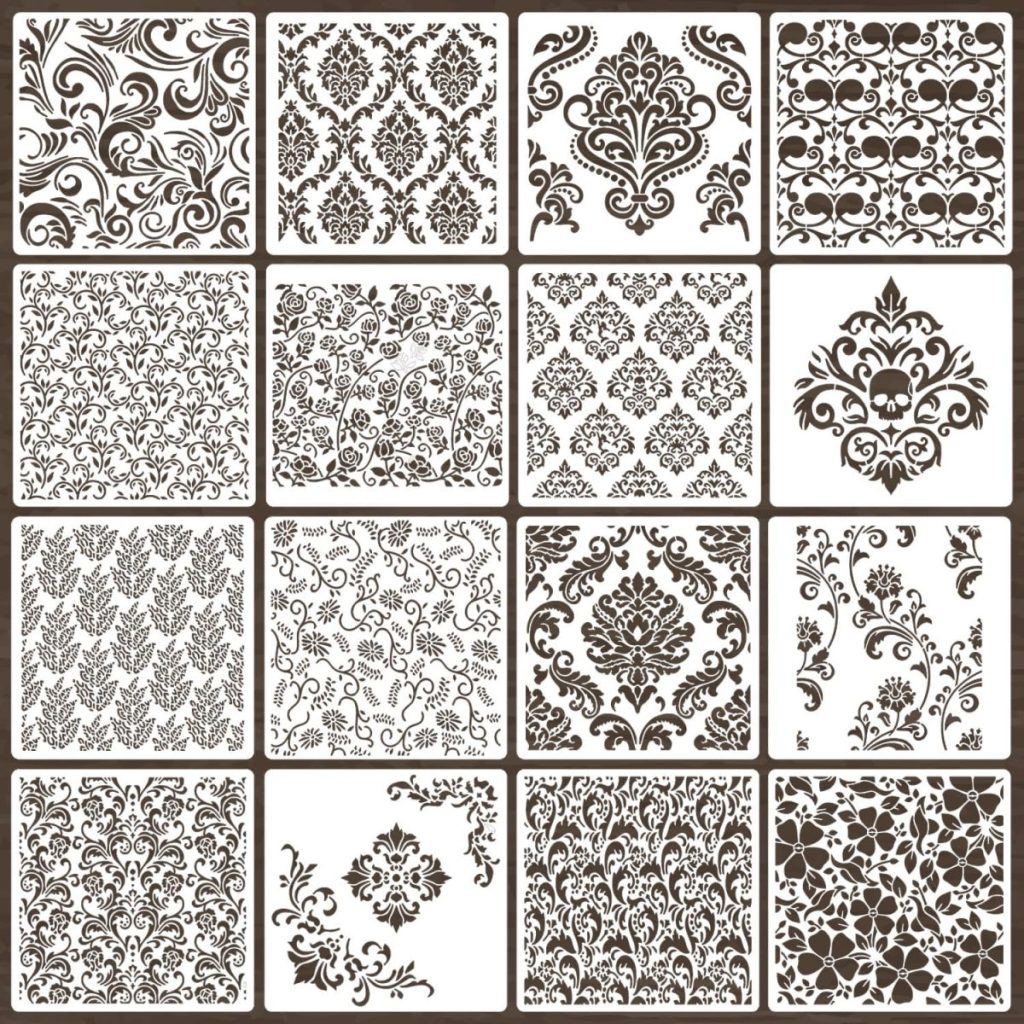
Here’s where things get a little creative. Because pumpkins are round (and not at all flat), you’ll need to cut your stencil into manageable sections. I used a damask stencil, which has an intricate design that looks beautiful when repeated around the pumpkin.
Cut your stencil into smaller pieces that can bend and flex slightly. This helps the stencil lay flatter on the pumpkin’s curved surface.
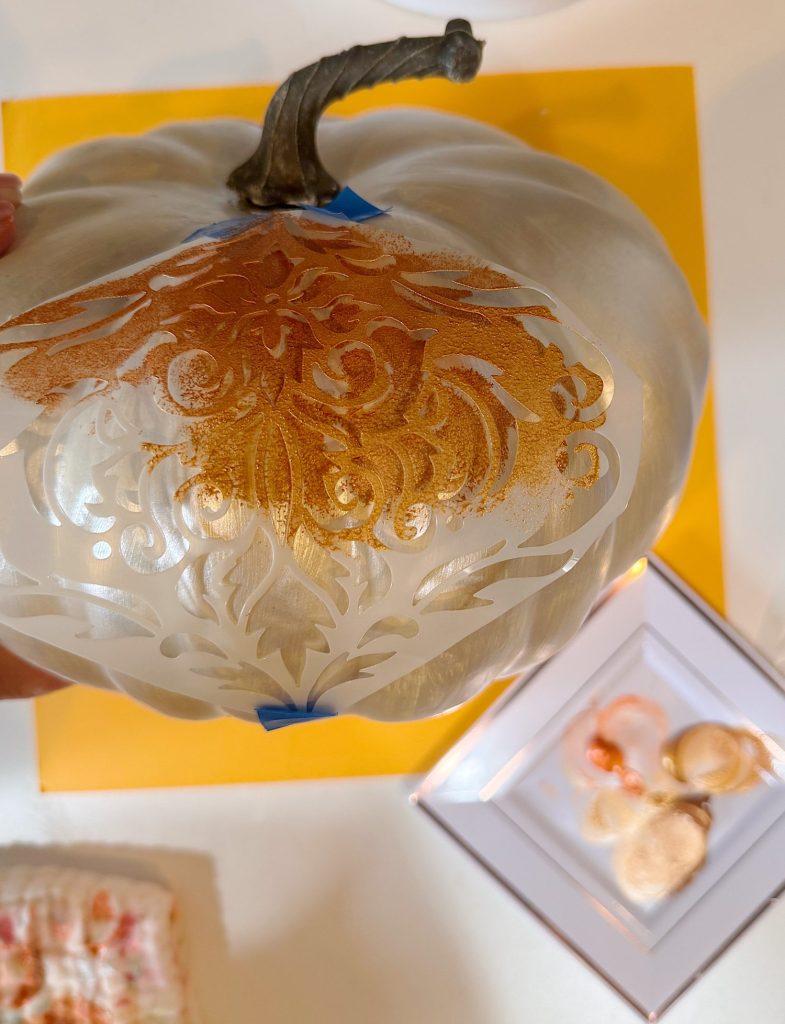
When positioning your stencil, secure it at the top and bottom of one pumpkin section with painter’s tape. Don’t tape the sides, which will allow the stencil to lift slightly in the middle so it conforms naturally to the curve. This makes it easier to dab on the paint evenly without creating smudges or gaps.
Step 3: Mixing and Applying the Paint
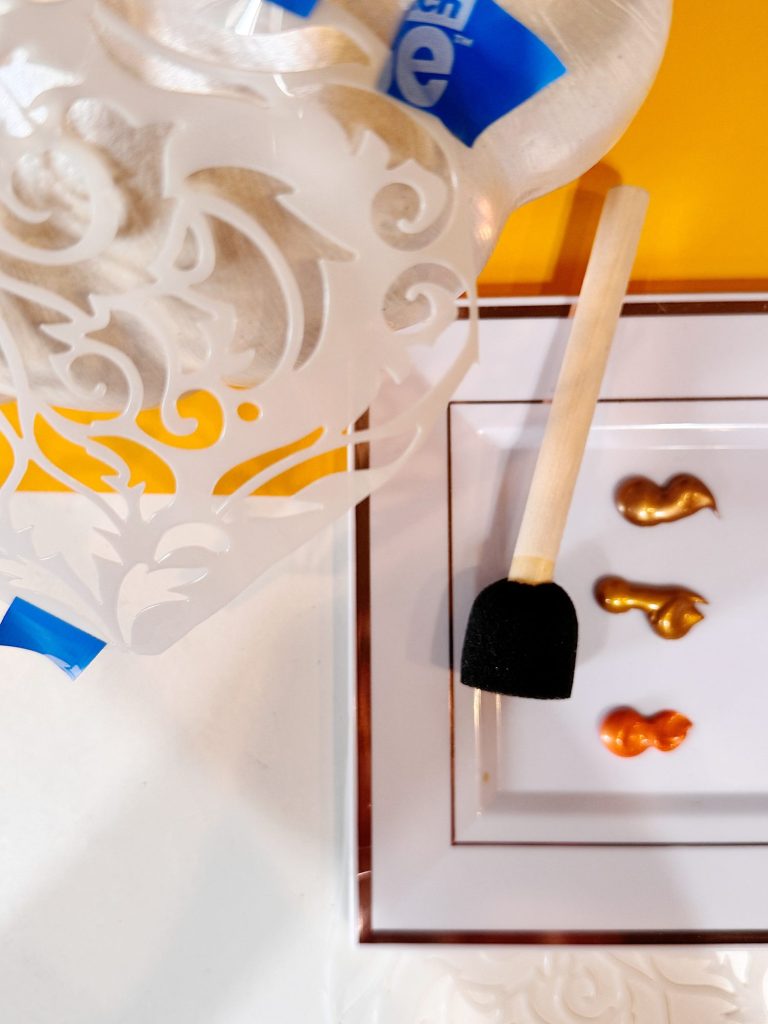
Now for the fun part … painting! I used three of my favorite Arteza metallic paints:
- Pearl Copper Gold (a soft, rosy copper tone)
- Aztec Gold (a classic warm gold)
- Pearl Papaya Orange (a cheerful metallic orange with a subtle shimmer)
Of course, you can use acrylic paint in any color palette you want!
Pour small amounts of each color onto a paper plate or palette. Using your sponge-tipped stencil brush, pick up a small amount of paint and dab off the excess on a paper towel before applying it to the pumpkin.
The key is to use a light, dabbing motion, not a brushing one. This prevents paint from seeping under the stencil edges, resulting in a crisp, professional finish for the design.
Start with the pearl copper gold, blending gently into aztec gold, and finish with pearl papaya orange toward the bottom. This gradient gives the design beautiful depth and movement.
Each color complements the next, and the metallic shimmer catches the light in the prettiest way.
Step 4: Stenciling the Pumpkin in Sections
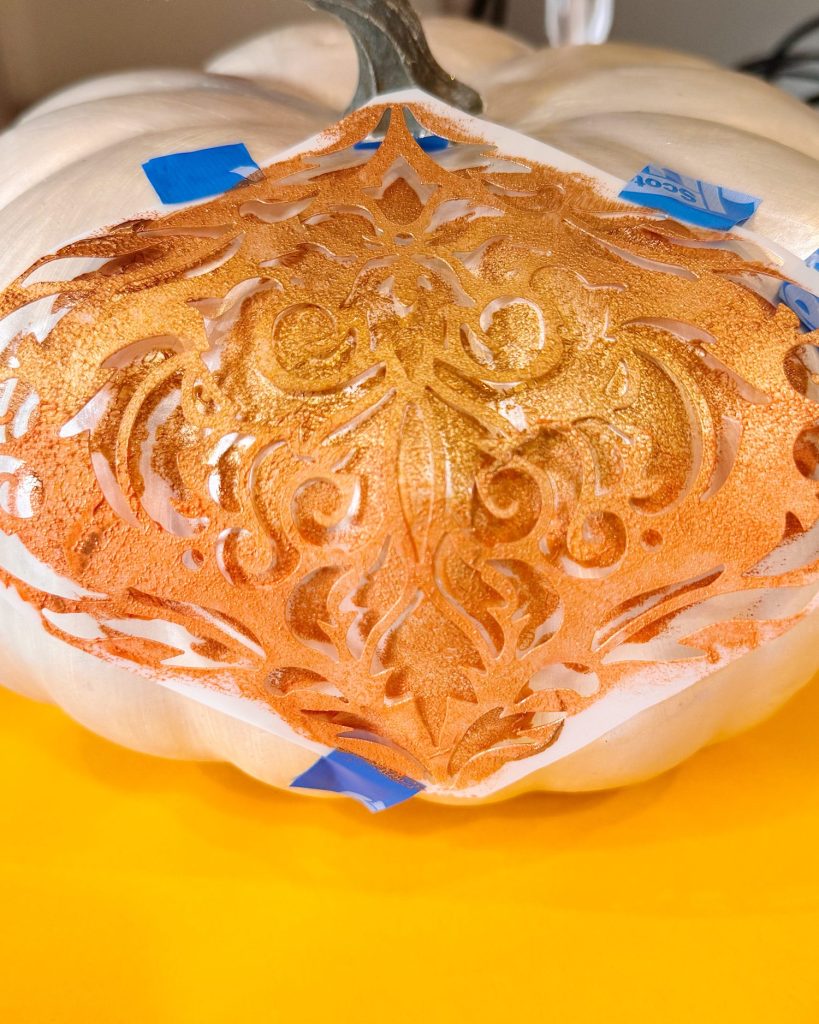
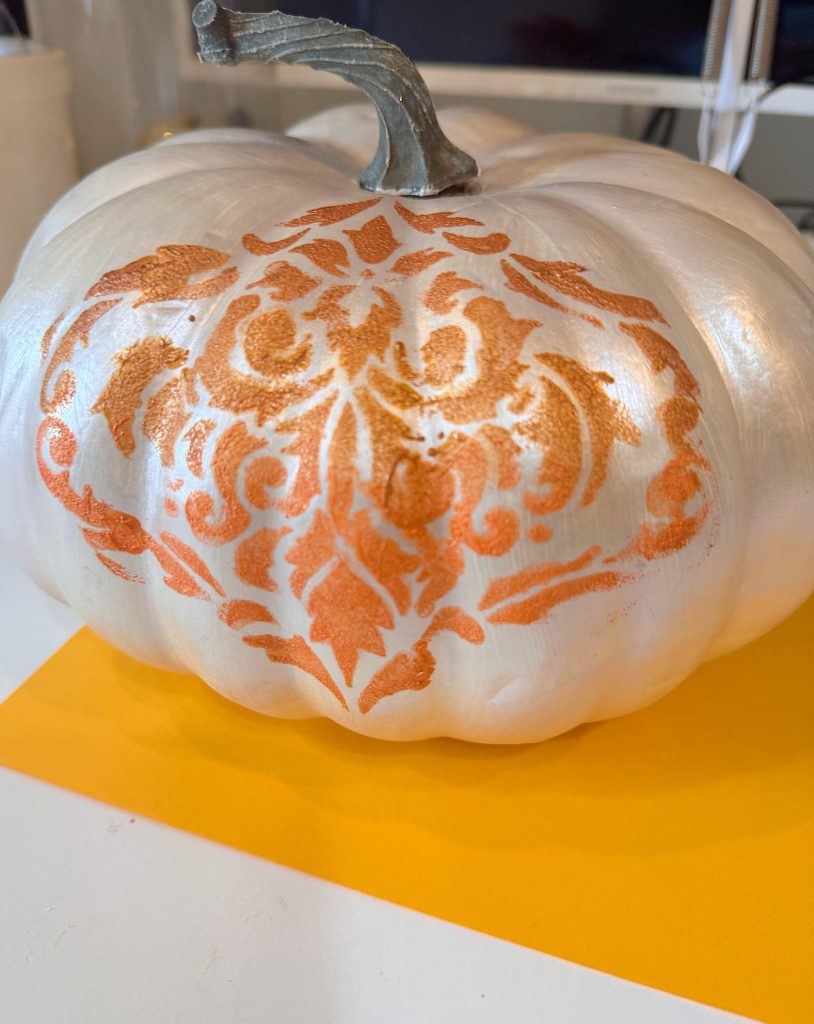
I began with the most significant portion of the stencil and applied it evenly in four areas around the middle of the pumpkin. I wanted the design to wrap around the pumpkin like a repeating pattern you might find on fine wallpaper or embossed fabric.
Once those main sections were dry, I cut smaller portions of the stencil and applied them to the upper and lower areas of the pumpkin to fill in any gaps. Each section overlaps slightly, creating a continuous, elegant flow of design all the way around.
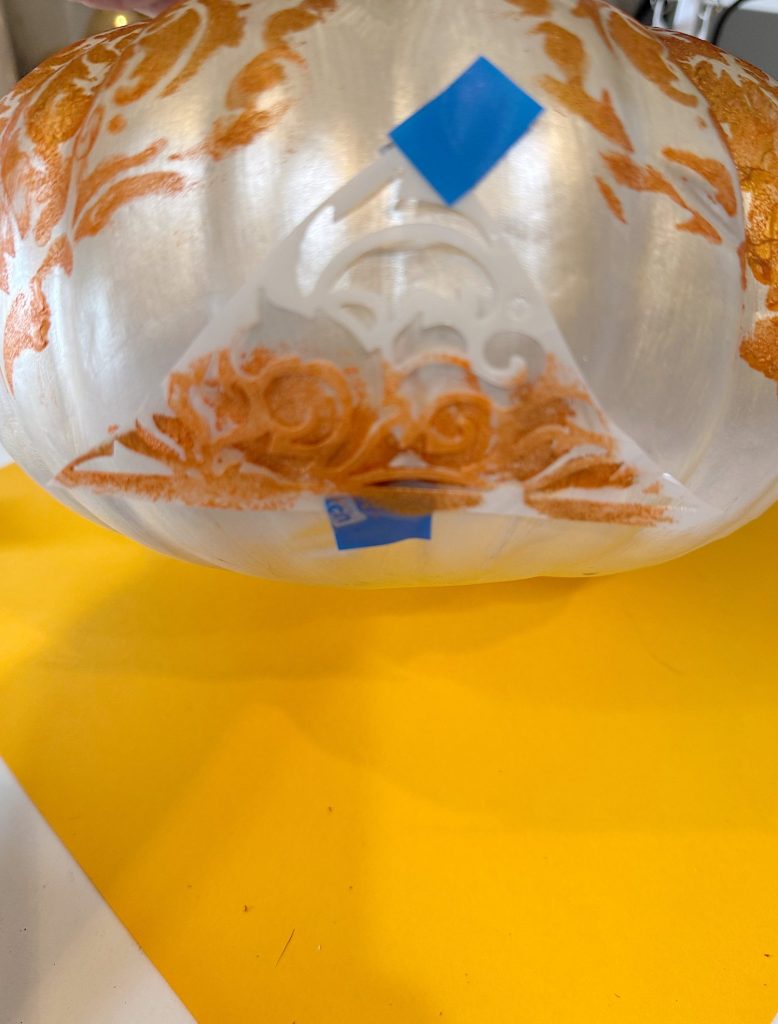

It’s essential to let each section dry completely before applying the next one to prevent smudging. Metallic paints tend to dry quickly, so the process moves faster than you might expect.
When removing the stencil, do so carefully to avoid lifting any paint from the surface. If you notice minor imperfections, you can touch them up with a fine brush.
Step 5: Finishing Touches
After the stenciling is complete, let the pumpkin dry thoroughly for a few hours. Once dry, you can seal it with a clear matte or satin spray sealer for extra durability, especially if you plan to display it outdoors or handle it frequently.
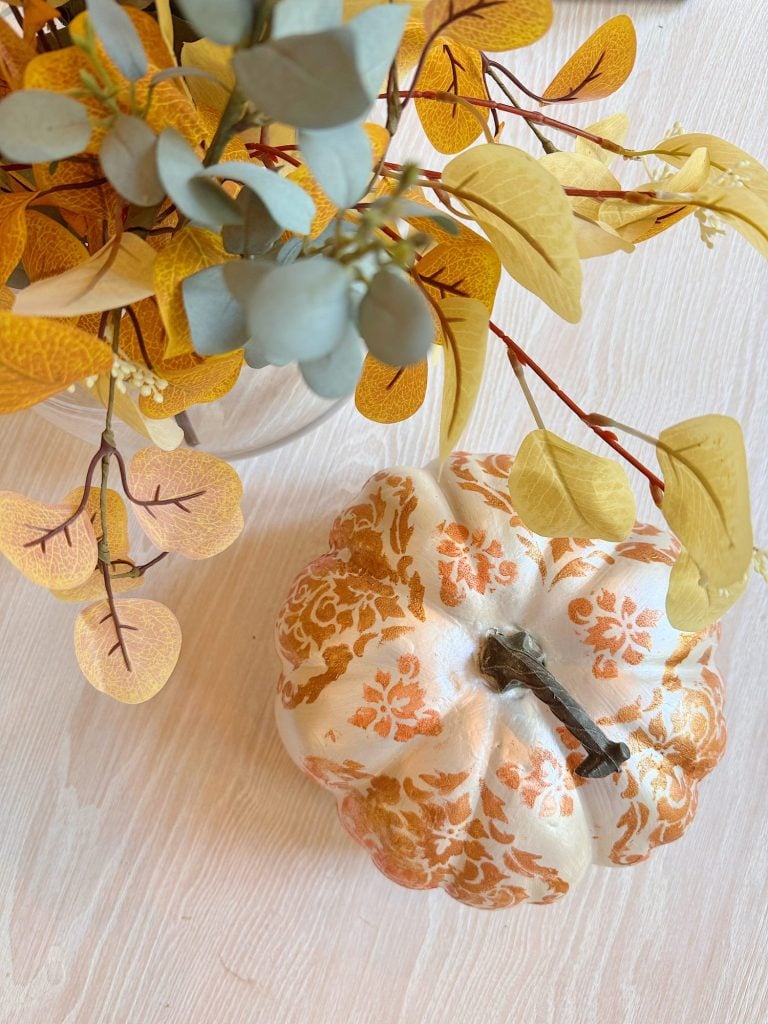
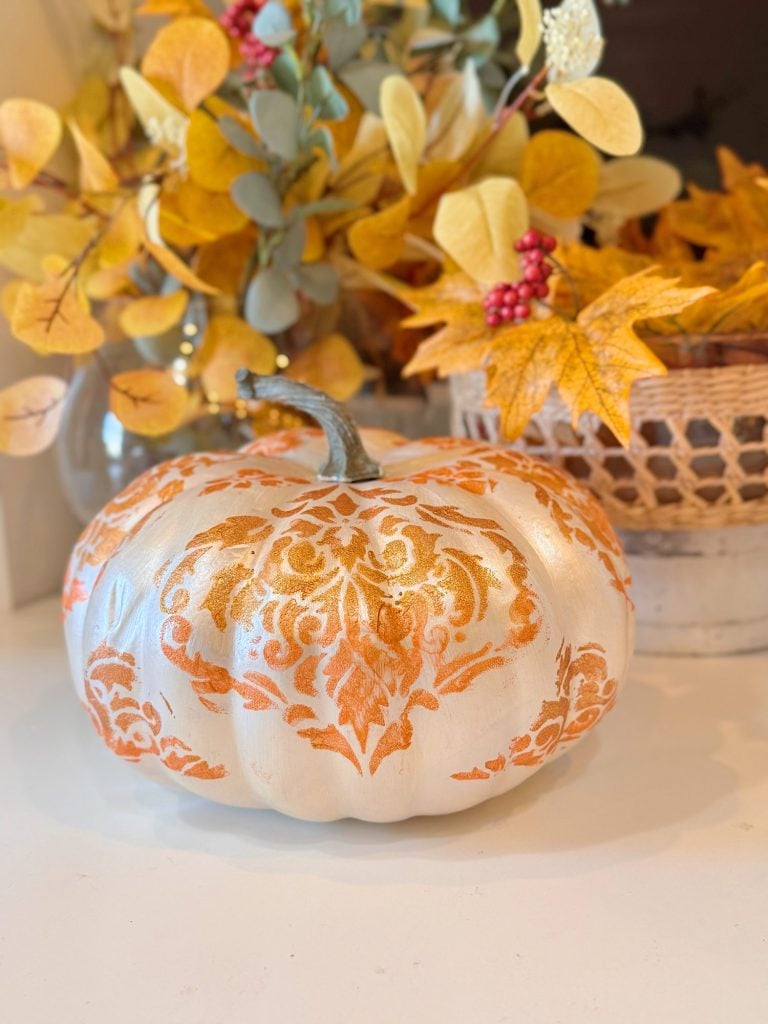
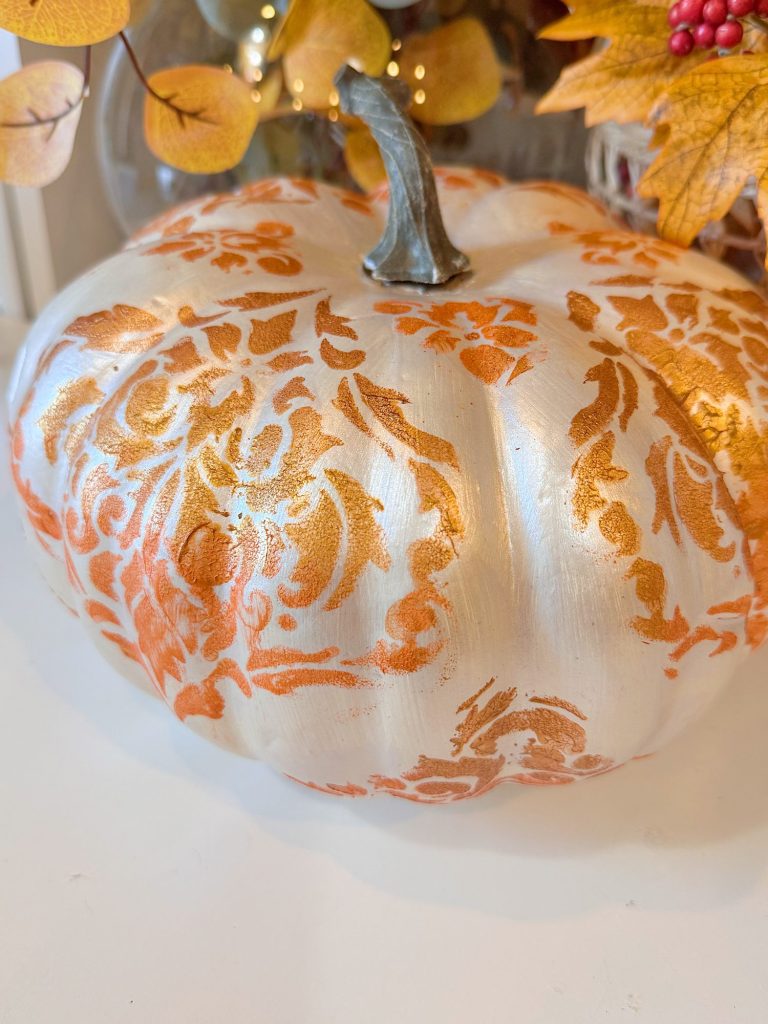
When the light hits the pumpkin, the metallic sheen is absolutely stunning. The pearl copper, gold, and papaya tones shift slightly depending on the angle, giving the pumpkin a soft, luminous quality.
I love how the fleur-de-lis pattern adds a subtle nod to traditional elegance while the metallic colors make it feel modern and fresh.
Decorating with Your Metallic Stenciled Pumpkin
Now comes the best part … styling!
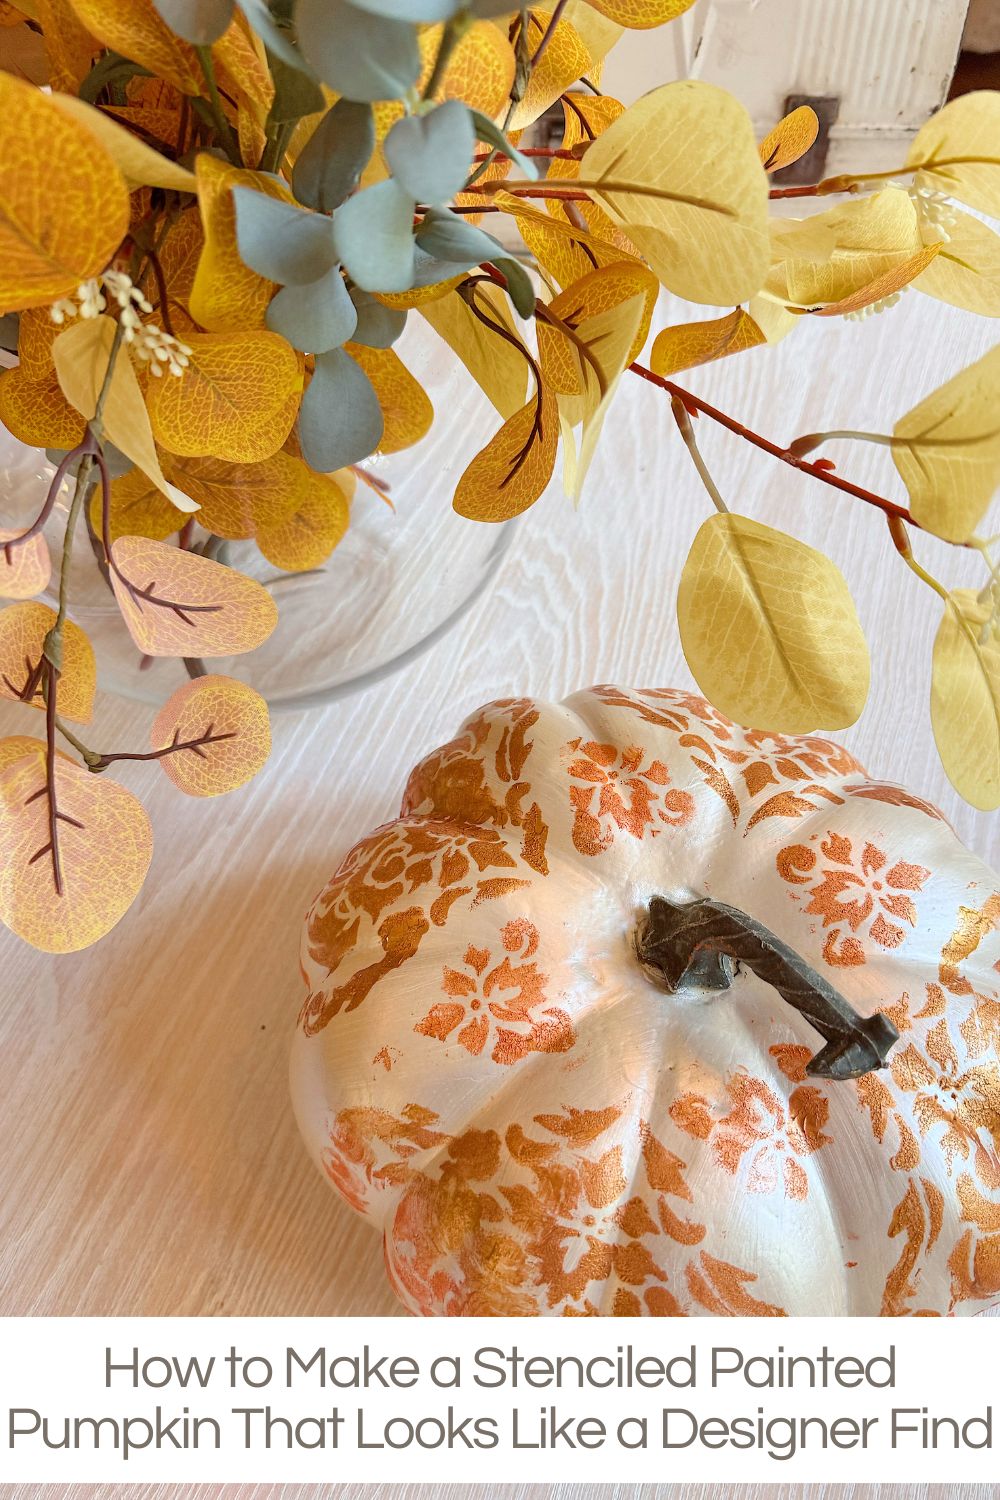
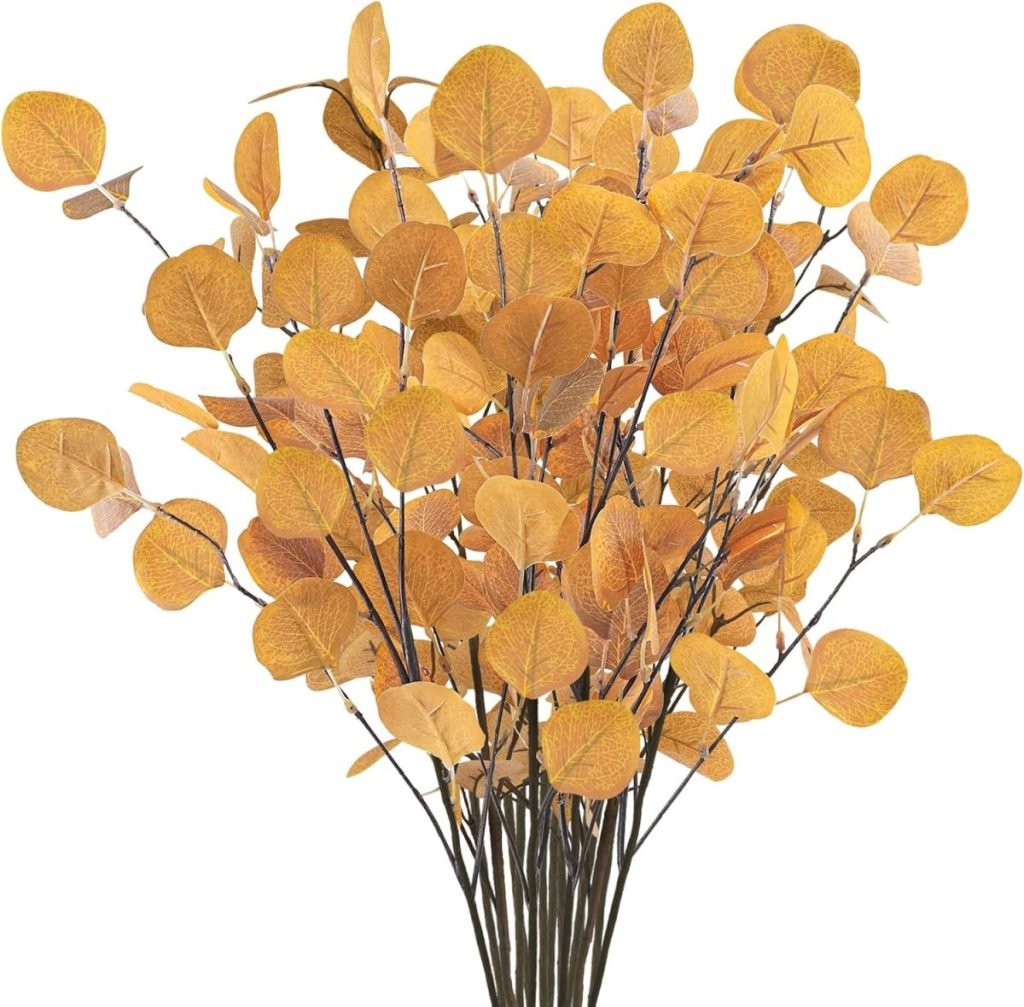
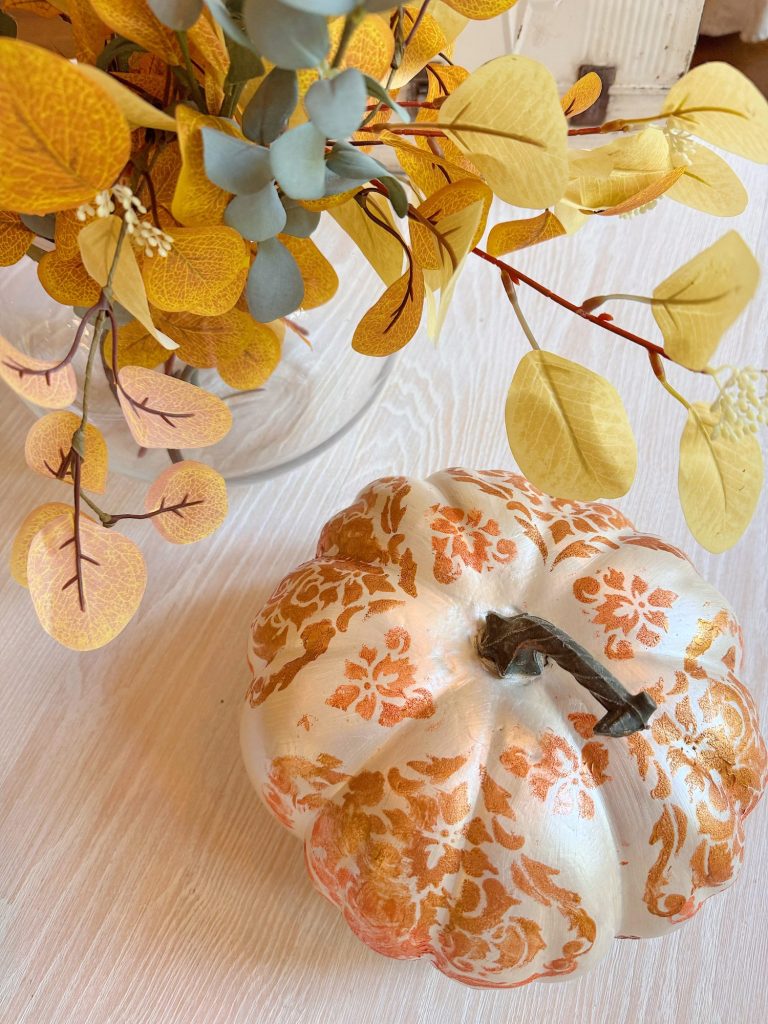
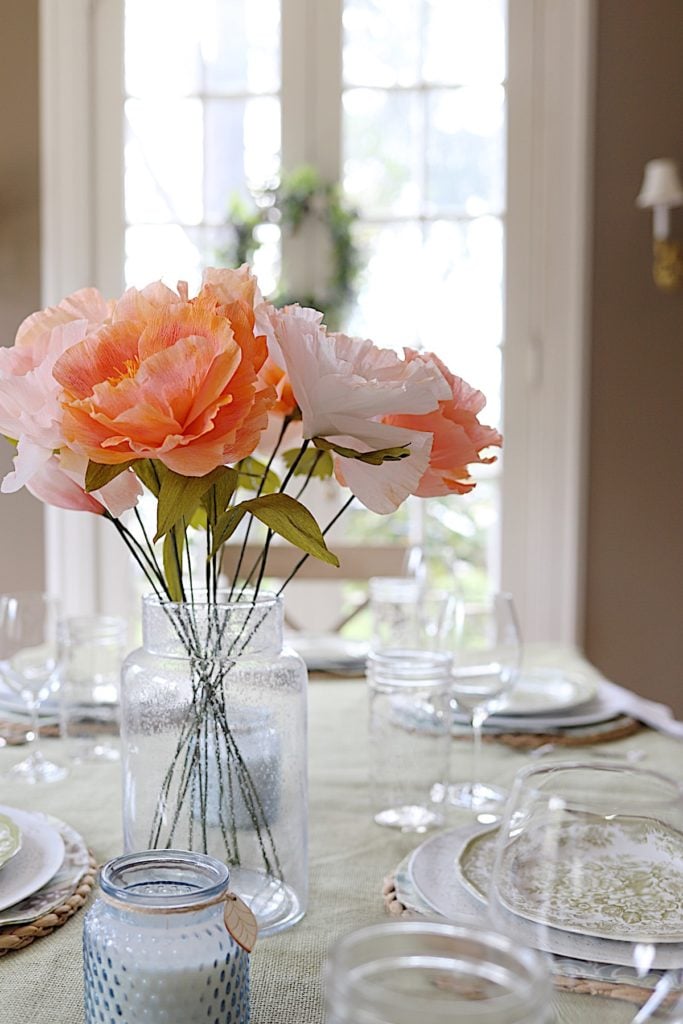
This pumpkin complements my fall color palette beautifully this year, which features warm golds, coppers, and soft greens. I’ve displayed it on the mantel in my family room, where it catches the afternoon sunlight, but it would also look gorgeous as part of a centerpiece on a dining table or sideboard.
Here are a few styling ideas:
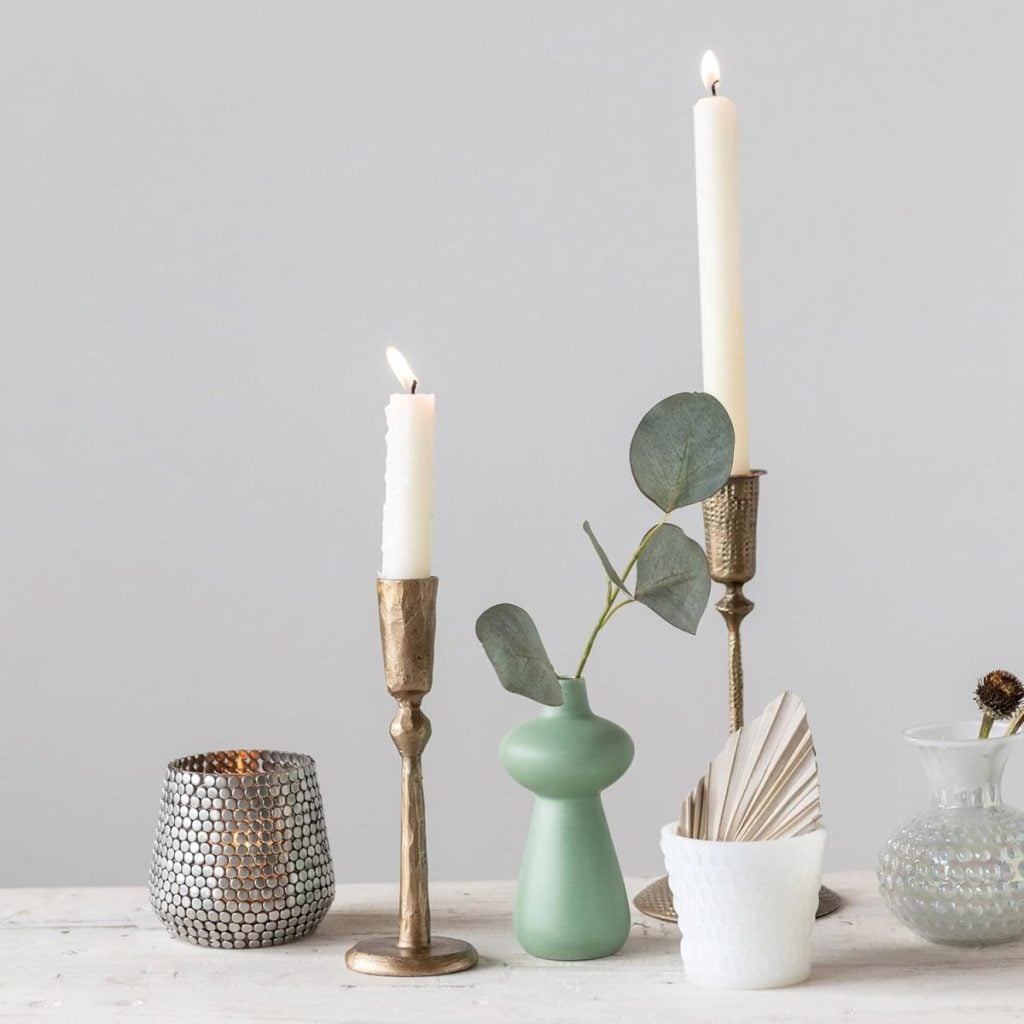
- On a mantel: Pair it with faux eucalyptus, small votive candles, and a few gold candlesticks for an elegant fall vignette.
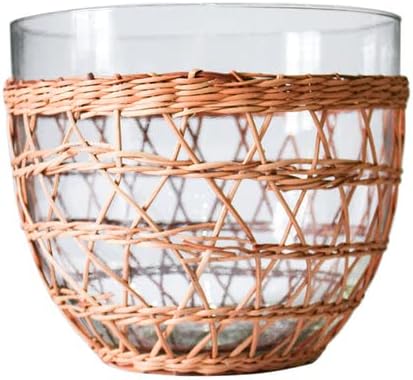
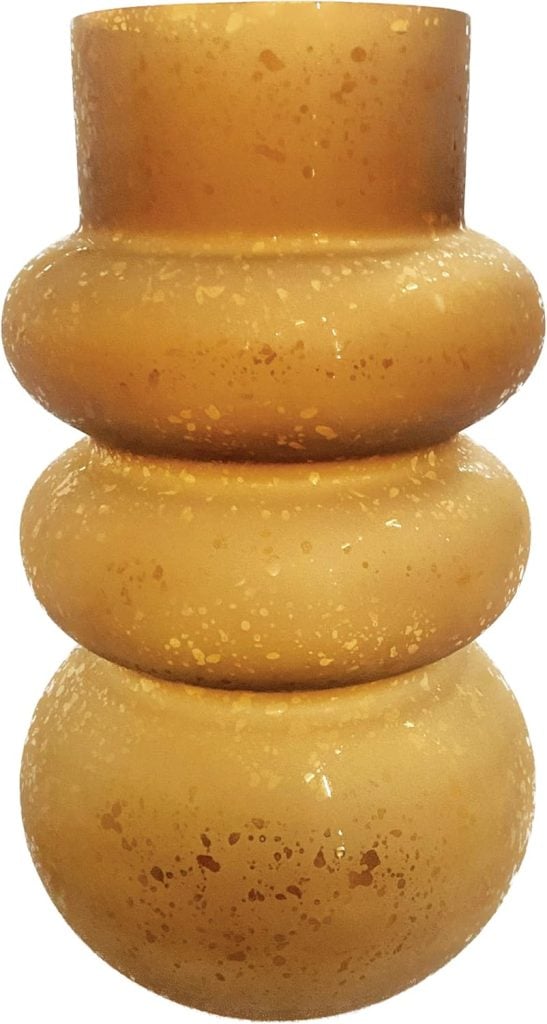
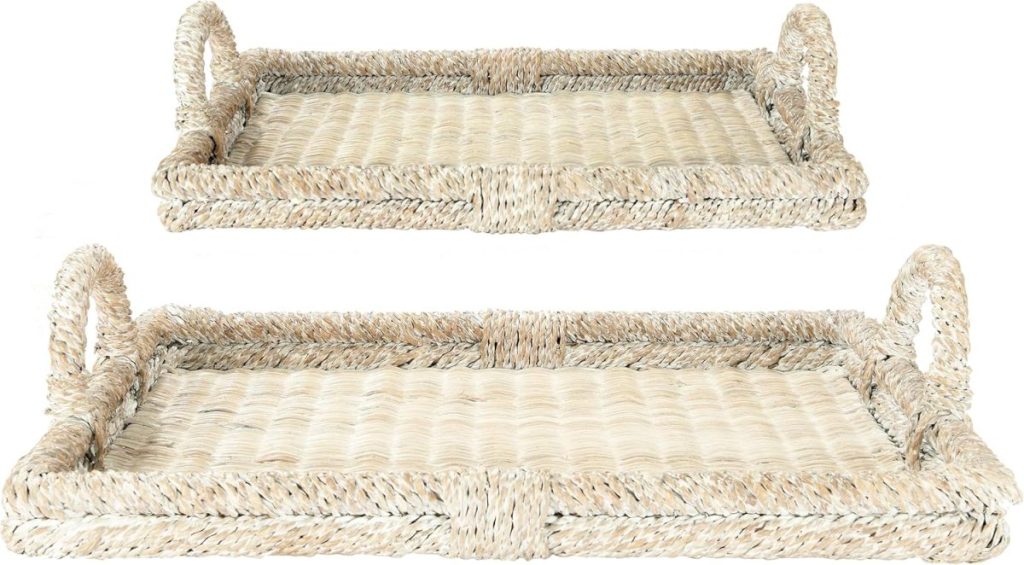
- On a dining table: Place it on a rattan tray surrounded by mini pumpkins and greenery. The metallic pattern adds just enough shine to make the centerpiece special without being overpowering.
- In an entryway: Set it beside a vase of fall florals or a wicker basket filled with pinecones for a cozy, welcoming look.
- On open shelving: Mix it in with neutral ceramics and soft textiles to bring subtle warmth to your everyday décor.
This project works beautifully because the metallic tones blend easily with other textures—wood, rattan, linen, and even copper cookware. It’s versatile enough to work in almost any room of your home.
A Few Tips for Success
If you’re trying this project at home, here are a few things to keep in mind:
- Test your colors first. Metallic paints can look slightly different when dry, so test your blend on a scrap of paper or the bottom of your pumpkin.
- Work in layers. It’s better to apply two light coats of paint through the stencil than one heavy one.
- Clean your stencil frequently. Wipe it off between uses to prevent the paint from building up and causing smudging.
- Be patient. Let each section dry thoroughly before moving on to the next to maintain a crisp pattern.
- Add personality. Feel free to experiment with other metallic shades or even add a bit of fine glitter for extra sparkle.
Why This Project Works So Well
This stenciled pumpkin is a perfect blend of creativity and practicality. It uses inexpensive materials but delivers a high-end result that rivals designer décor. The layered metallics mimic the look of hand-gilded ceramics, while the stencil adds a level of sophistication that elevates the entire piece.
Because it’s made from lightweight plastic, it’s also easy to move and store. You can reuse it year after year, and the neutral metallic tones mean it will fit into almost any seasonal color palette you create in the future.
I also love how personal this kind of project feels. Every brushstroke, every blend of color, adds character. No two pumpkins will ever turn out the same, which makes each one truly one-of-a-kind.
Expanding the Idea
Once you’ve mastered this technique, there are endless ways to use it:
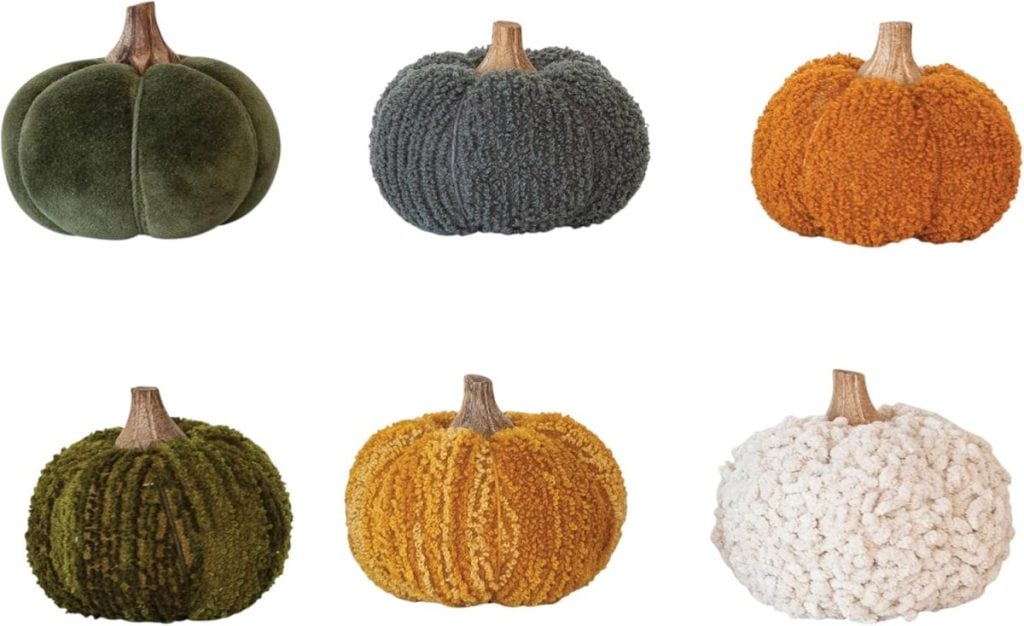
- Try different stencil patterns, think damask, vines, or geometric motifs.
- Paint mini pumpkins to create a matching set for a mantel or table.
- Use matte paint instead of metallic for a more rustic look.
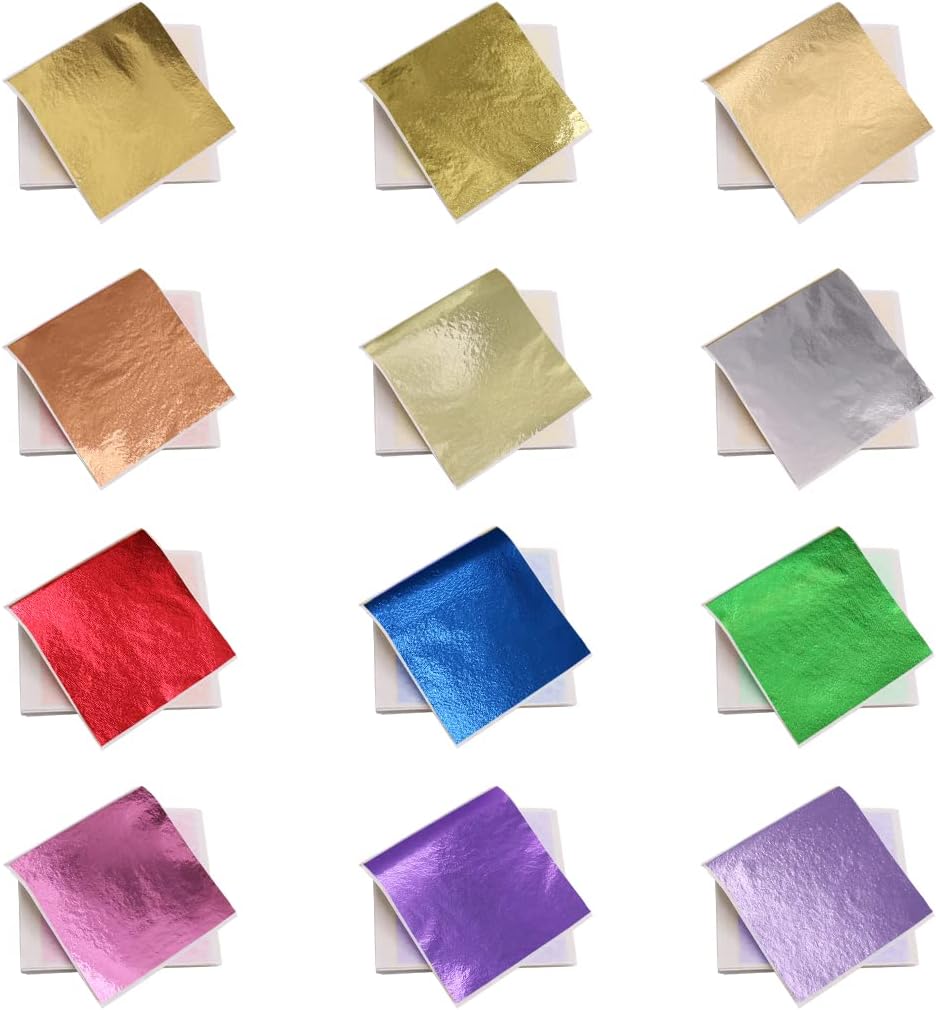
- Add gold leaf accents for an even more luxurious finish.
- Stencil letters or monograms for a personalized touch—perfect for gifting.
You can even use this method on other surfaces, such as vases, planters, wooden trays, or even fabric. The technique is simple but incredibly adaptable.
The Final Look
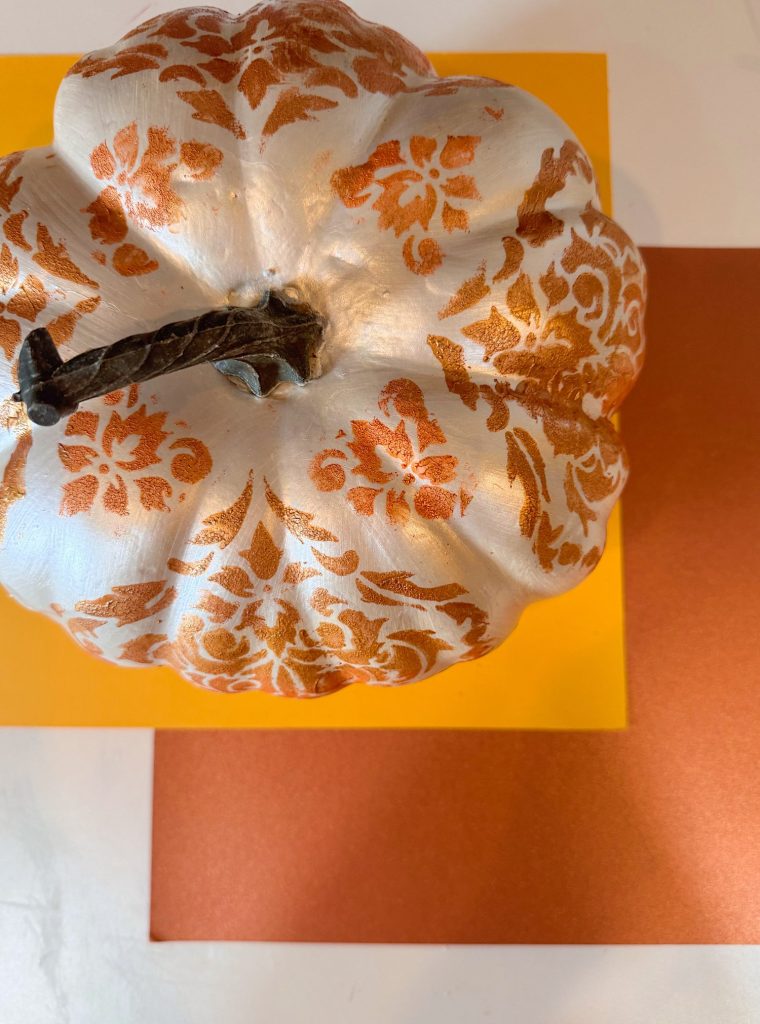
When I finished my stenciled pumpkin and set it on the table to dry, I honestly couldn’t believe it was the same plastic pumpkin I had started with. The metallic colors transformed it into something rich and sophisticated. The fleur-de-lis pattern added elegance, and the shimmer from the pearl paints caught the light beautifully.
Now, every time I walk by it, it makes me smile. It’s proof that creativity and a little imagination can turn the most ordinary things into extraordinary pieces.
So, if you have a few old pumpkins sitting around, pull out your paints and give them a new life. This project is easy, affordable, and completely customizable, making it a great choice for your favorite fall DIY of the season.
Whether you’re decorating for fall, Thanksgiving, or just adding a touch of warmth to your home, this project will help you do it with style.
And the best part? You’ll never look at a plastic pumpkin the same way again.
If you enjoy my blog, you can sign up to receive my updates here.
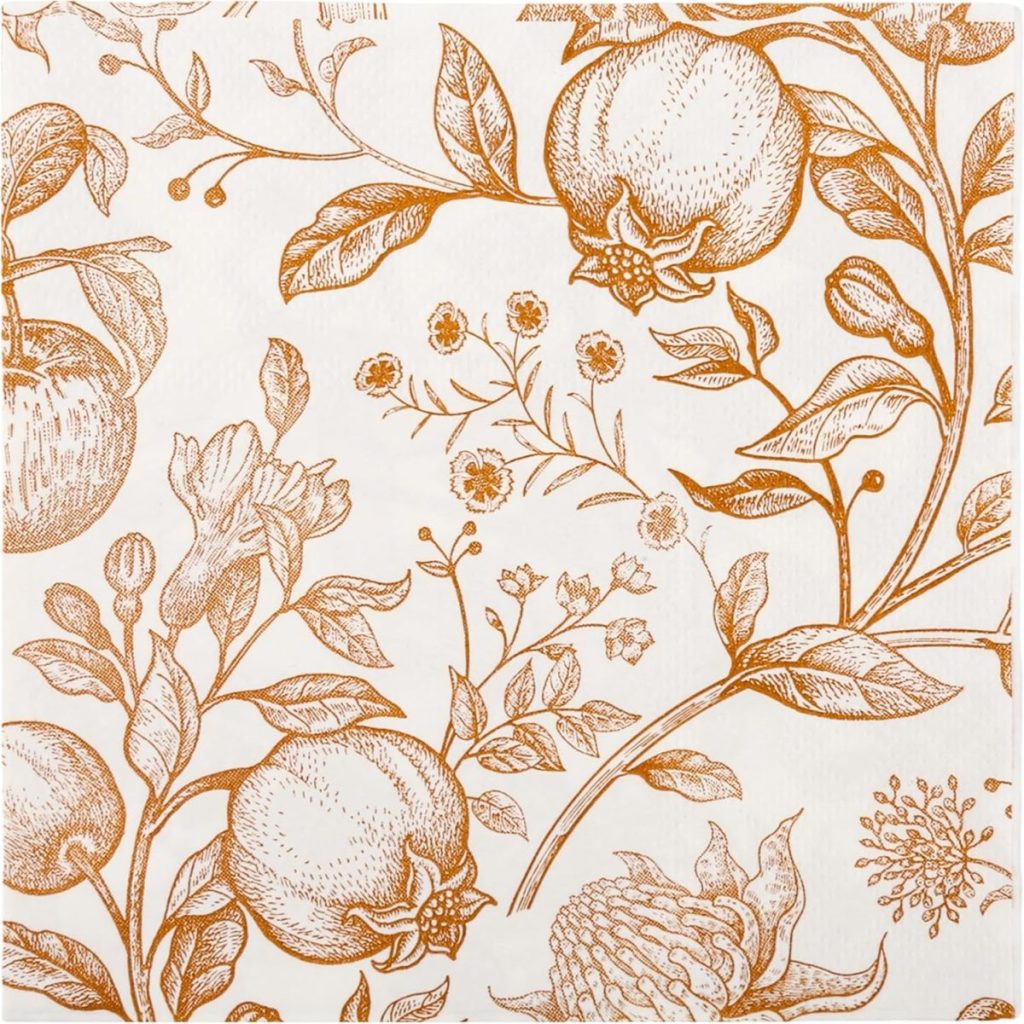
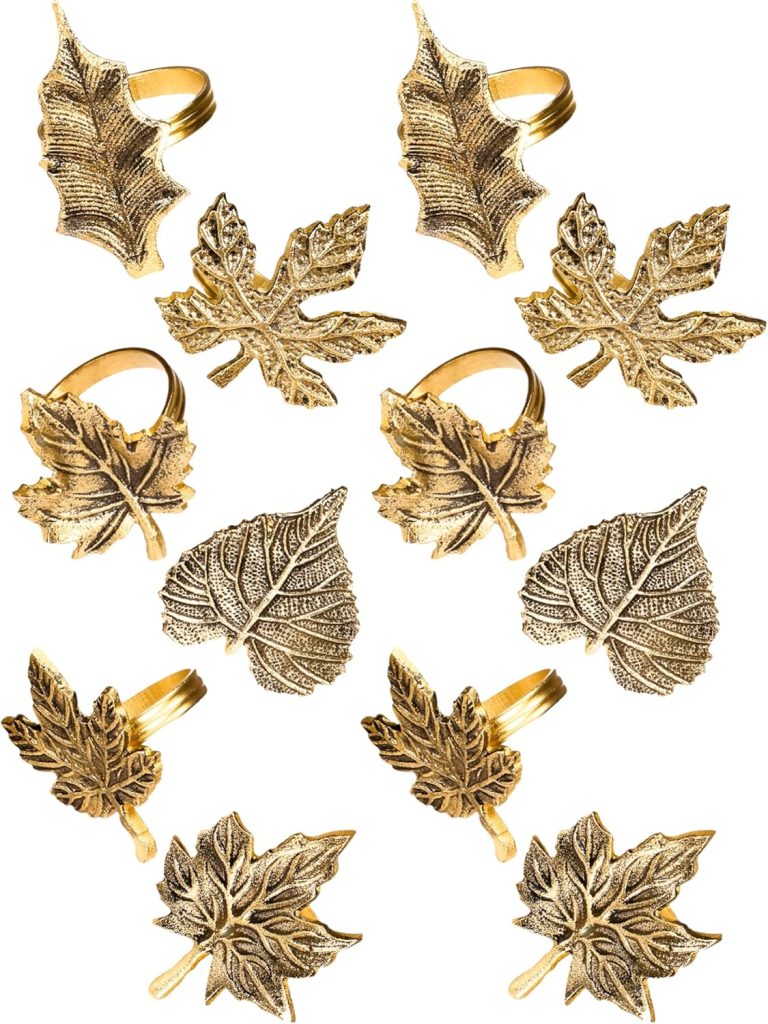
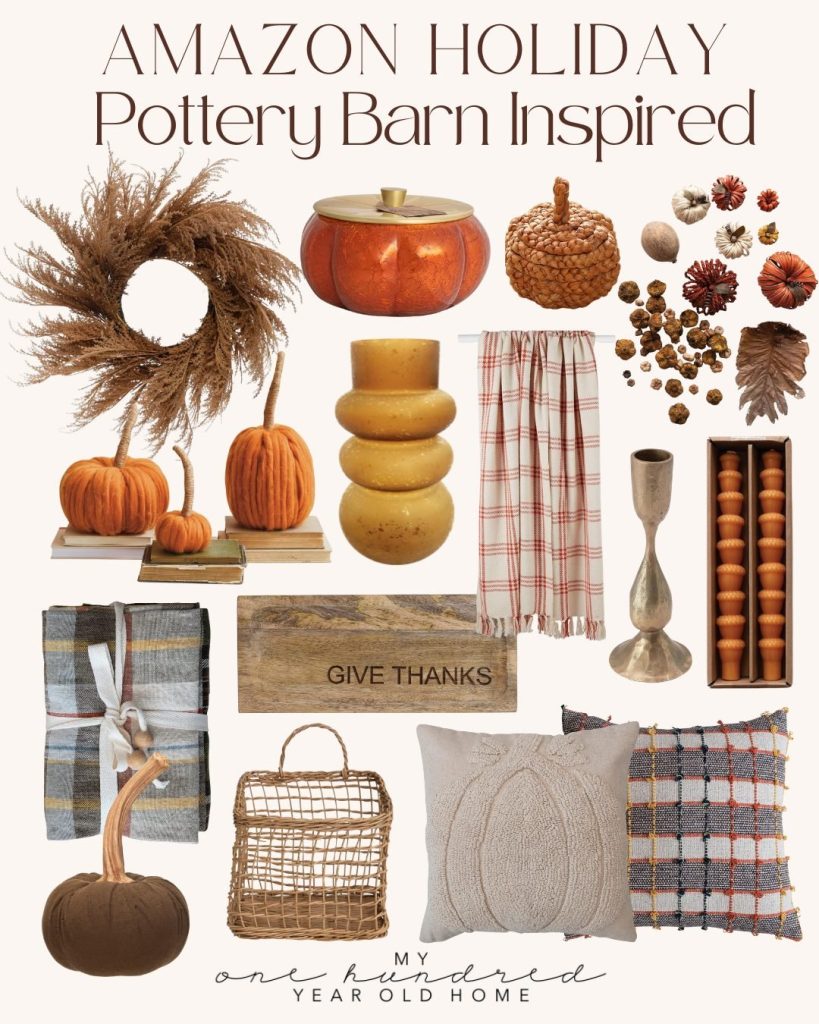
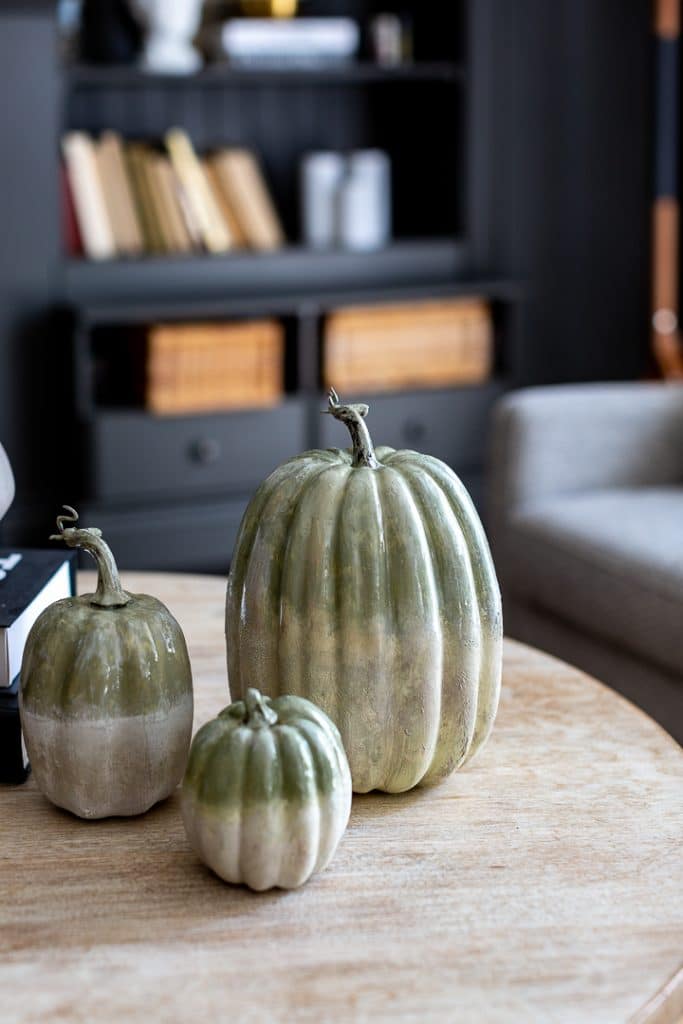
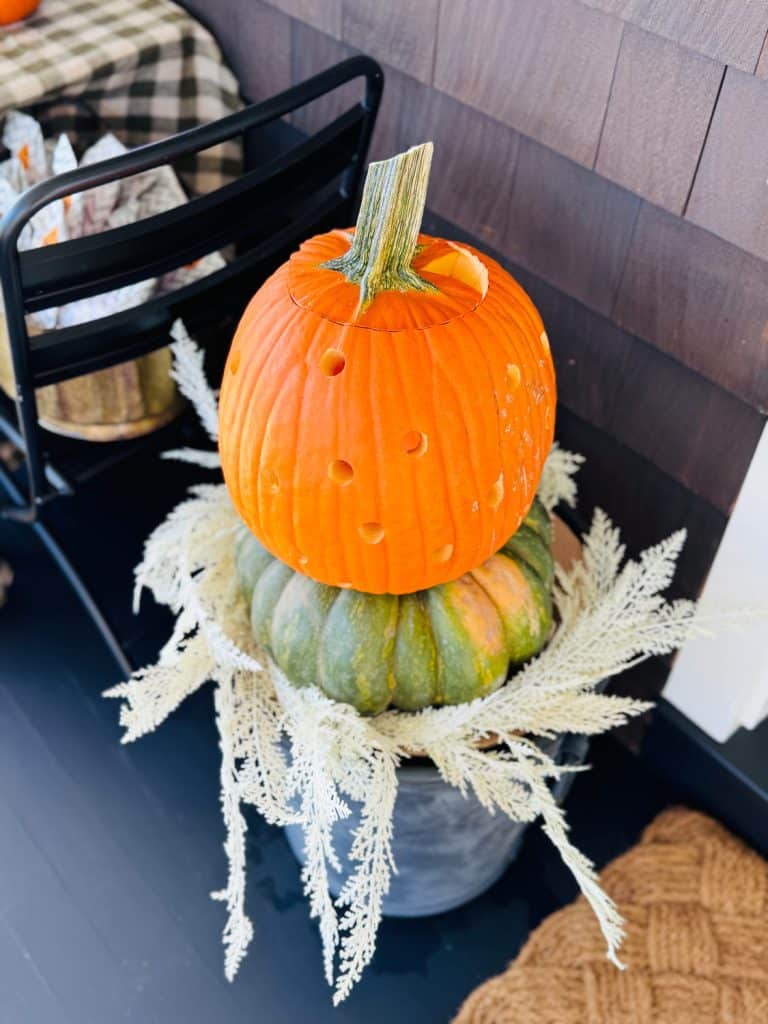
.Pottery Barn Inspired Fall Finds
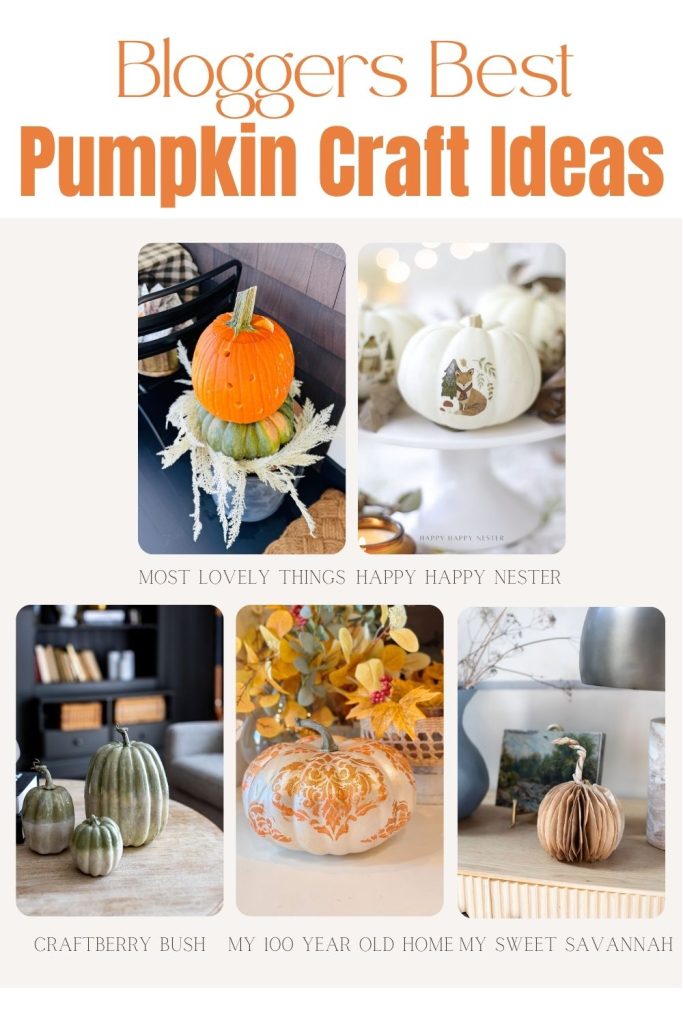
Blogger’s Best Pumpkin Craft Projects
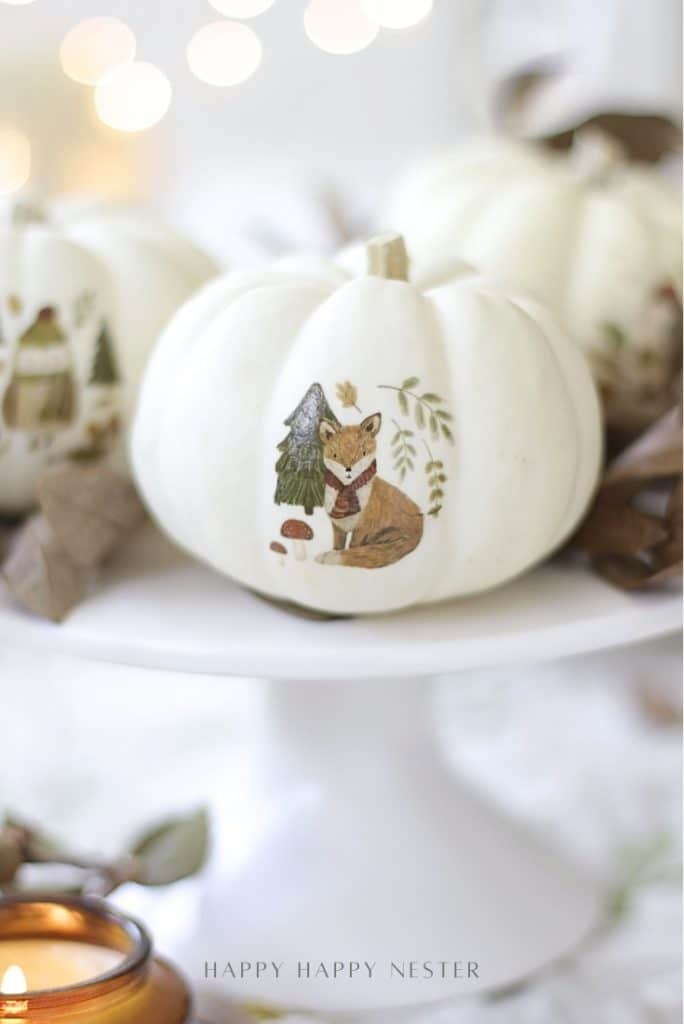
Pumpkin Decorating Ideas Without Carving (Temporary Tattoos) | Happy Happy Nester
Pumpkin Decorating Ideas without Carving (Temporary Tattoos) are one of the easiest and cutest ways to style your pumpkins this fall. I used adorable woodland animal tattoos—like a hedgehog, rabbit, raccoon, bear, owl, and fox—on small white pumpkins, and the results are absolutely charming. The tattoos go on so easily and instantly transform a plain pumpkin into a sweet fall decoration. It’s a quick craft that requires no carving mess, no paintbrushes, and no special tools—just simple, stylish pumpkins that look like they came straight out of a storybook. Perfect for kids and adults alike, this pumpkin decorating idea is as fun as it is beautiful!
French Glaze Pumpkin DIY | Craftberry Bush
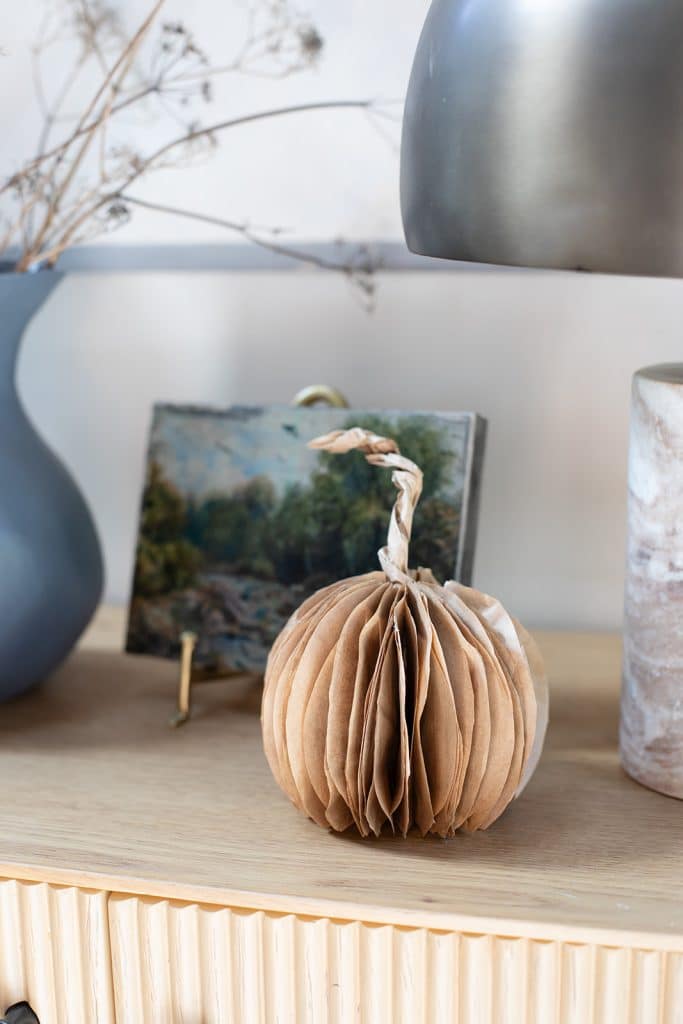
Free Pumpkin Decor Craft | My Sweet Savannah
Learn how to create free pumpkin decor craft using lunch sacks or grocery bags. This simple DIY is budget-friendly, 3D, and perfect for fall decorating.
How to Make Polka Dot Pumpkins | Most Lovely Things
Make beautiful, glowing polka dot pumpkins using a drill.
Latest Posts
-
Spring Cleaning and Sunday Morning Coffee
I don’t know about you, but every spring I feel this strong pull to refresh something in our home, and this year I started in a place that might surprise you. It’s Spring Cleaning time! The very first room on my spring-cleaning list was our nursery. And yes, I know that sounds a little unexpected,…
-
Best Easter Brunch Egg Dish: Loaded French Onion Frittata
Easter brunch is one of those special meals where the table is complete, the laughter is loud, and the food is nothing short of spectacular. If you want to wow your guests with something savory, cheesy, and unforgettable, let me introduce you to your new Easter brunch hero: a Loaded French Onion Frittata.
-
The Best Spring Pillow DIY – A Handmade Spring
There are certain projects that start as an idea and quietly turn into something you love far more than you expected, and this Spring pillow is exactly that. As part of my A Handmade Spring series, I wanted to create something soft, beautiful, and full of texture, and this pillow checked every box. This pillow…
-
DIY Clay and Metallic Foil Easter Eggs
With Easter just around the corner this week, I decided to create something special and truly unique for my spring décor … handmade clay and metallic foil Easter eggs. These little works of art are soft, pastel, and subtly shimmery, and they’re a beautiful way to add a handmade touch to your Easter celebrations. While…


My Recent Instagram Posts

You can pin the images below to your boards on Pinterest (click the Pin button in the top left corner) or follow me on Pinterest!

For more real-time updates, follow me on Instagram @My100YearOldHome
IT LOOKS SO GOOD, I LOVE IT!