How to Make a Peppermint Candy Plate
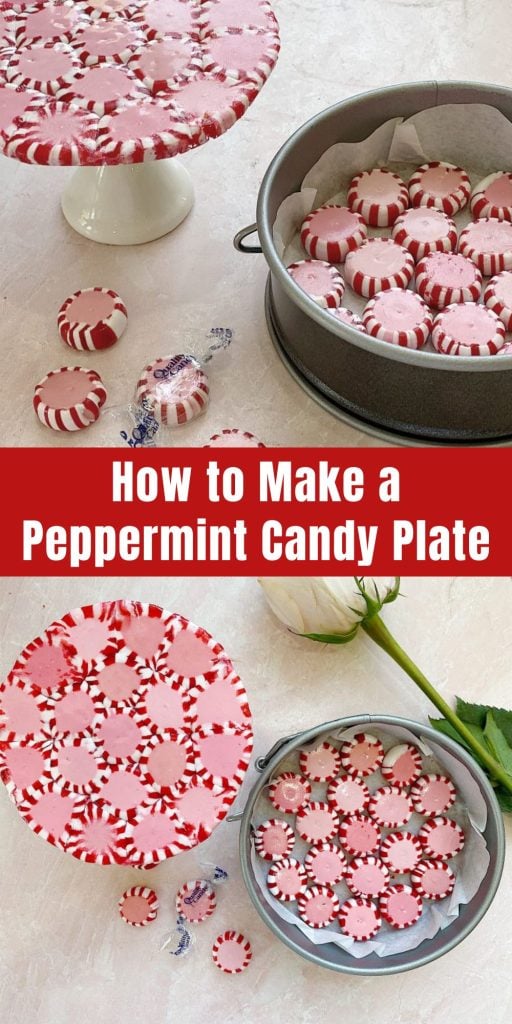
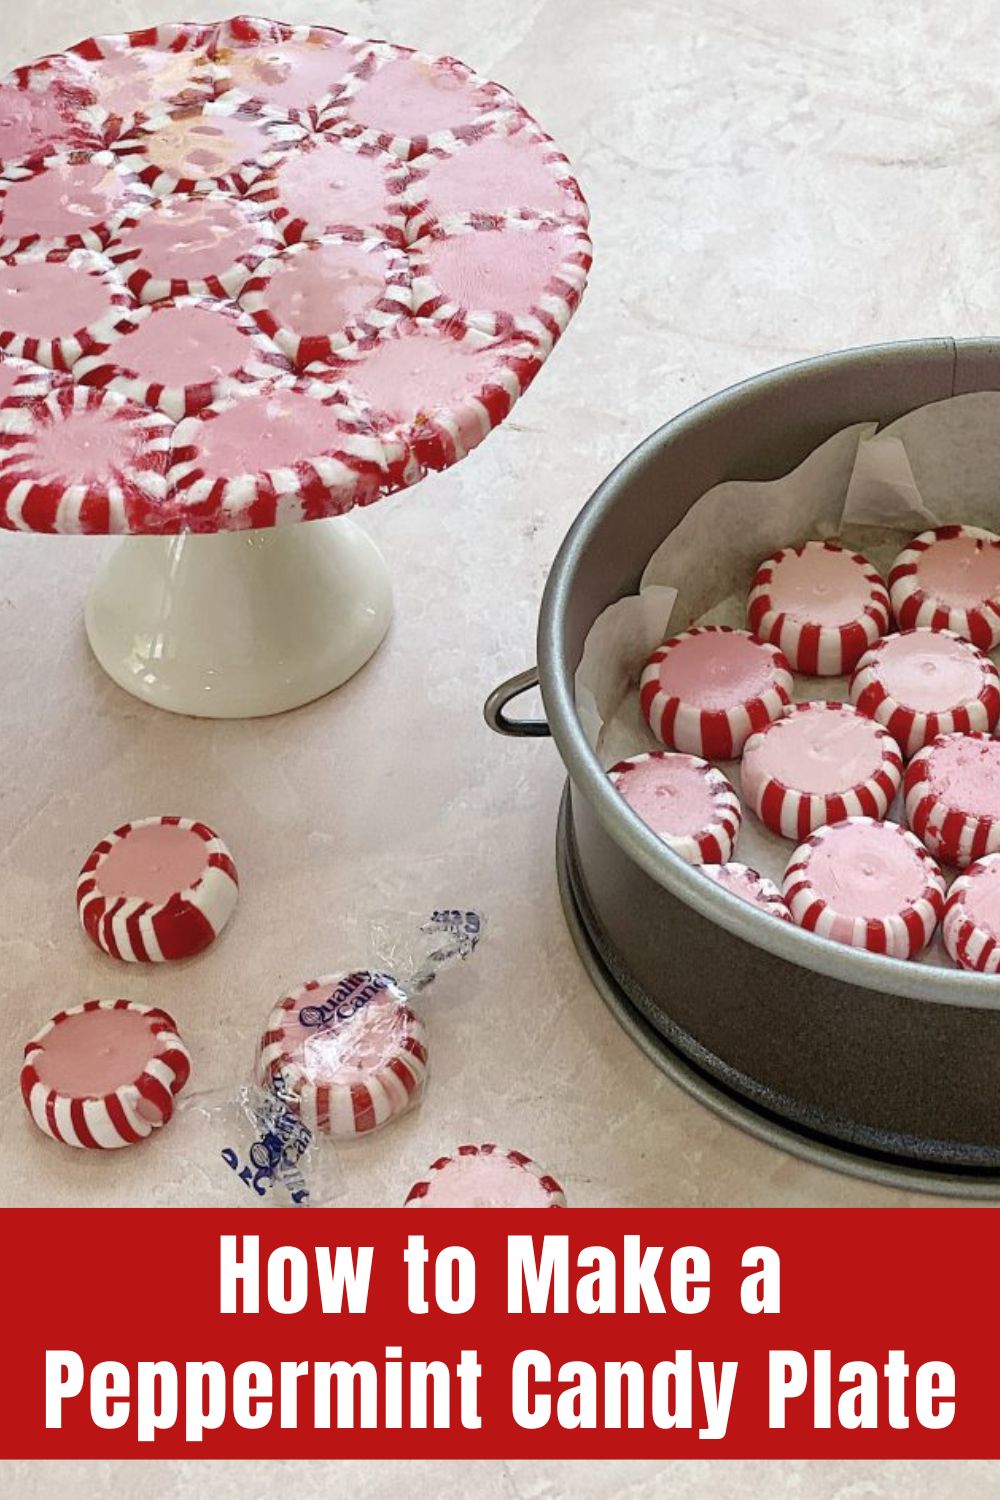
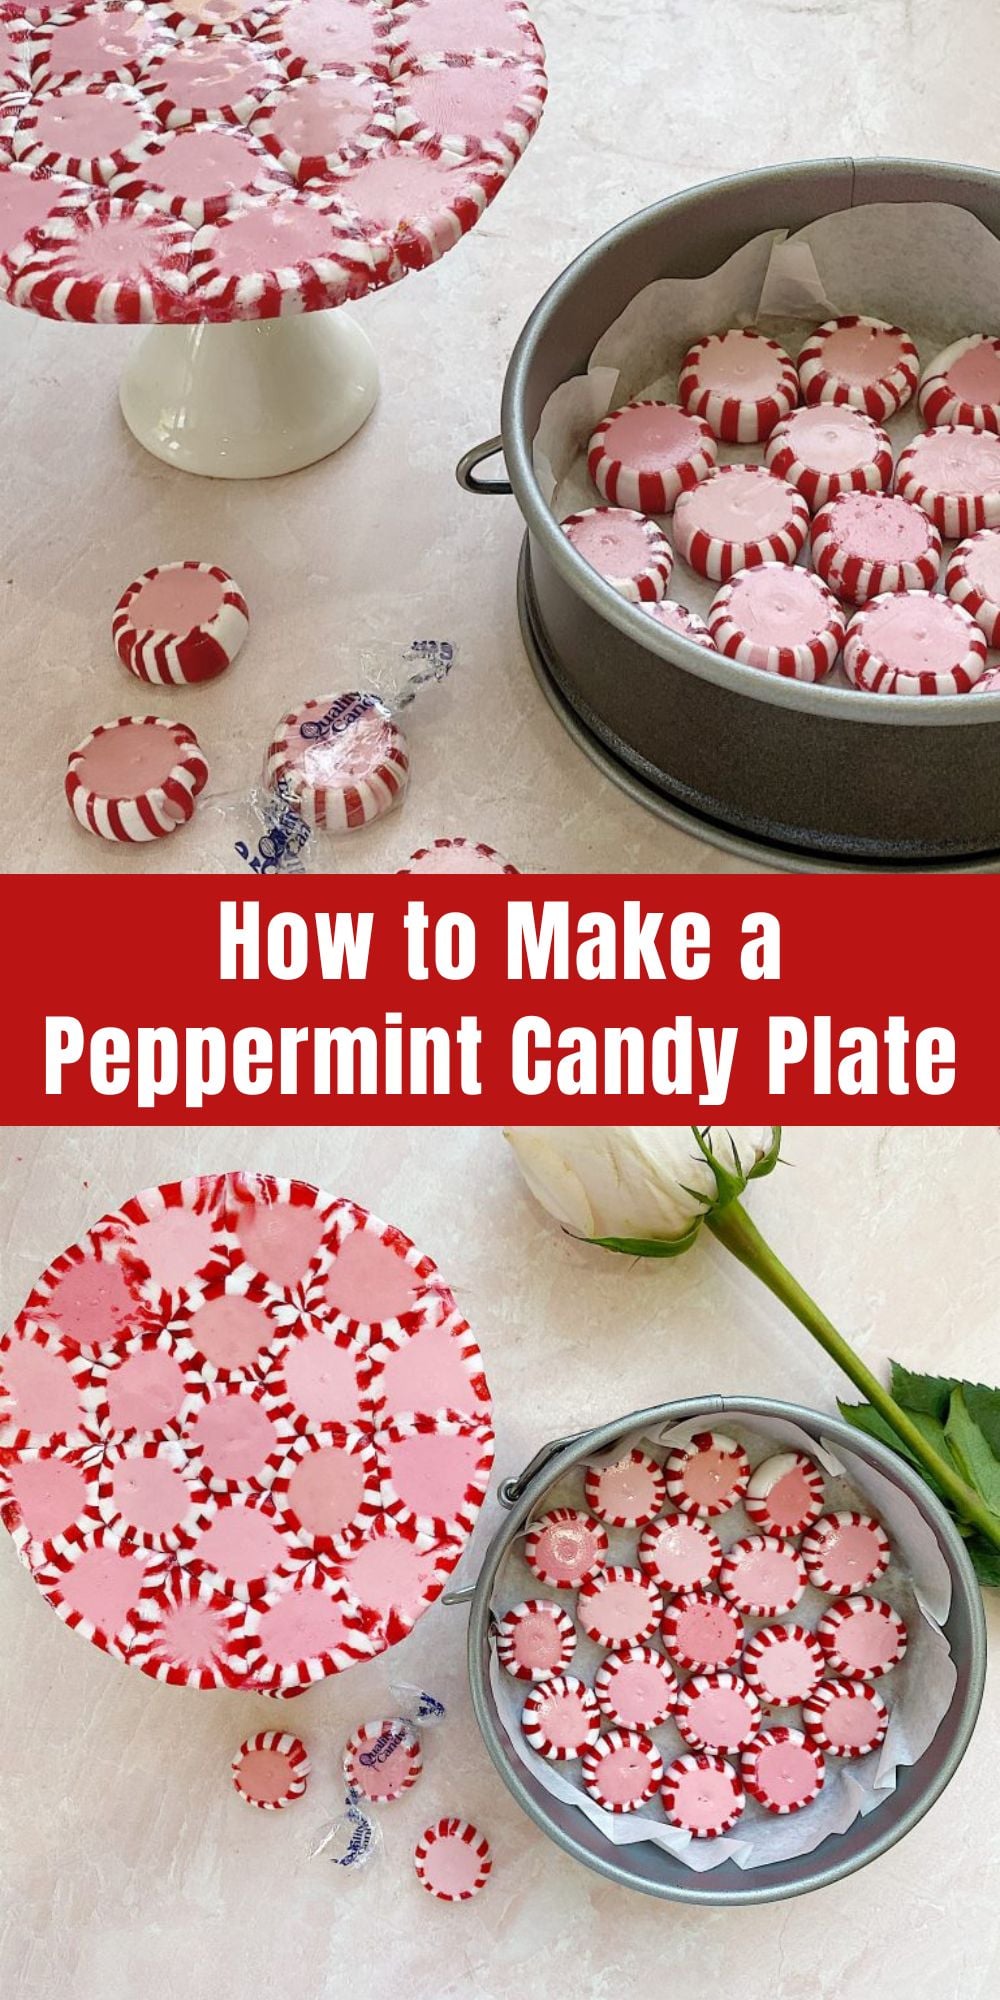
There is something so festive about peppermint candy at Christmas time. Did you know that you can use them to make a candy plate?
All you need are peppermint candies, parchment paper, and a springform pan. This is so easy to make and so, so cute! Keep reading to learn how to make one yourself!
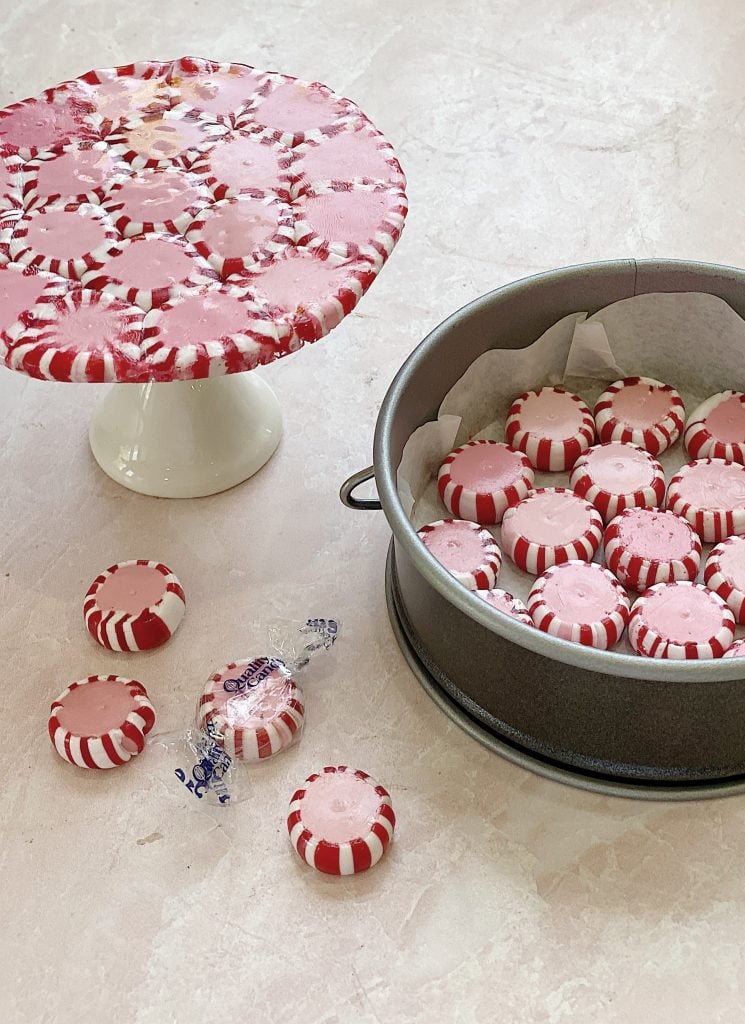
This peppermint candy plate is adorable. And it’s so easy to make that you can make it for Christmas.

My new book, A Home to Share, is available now! Click here for more details!

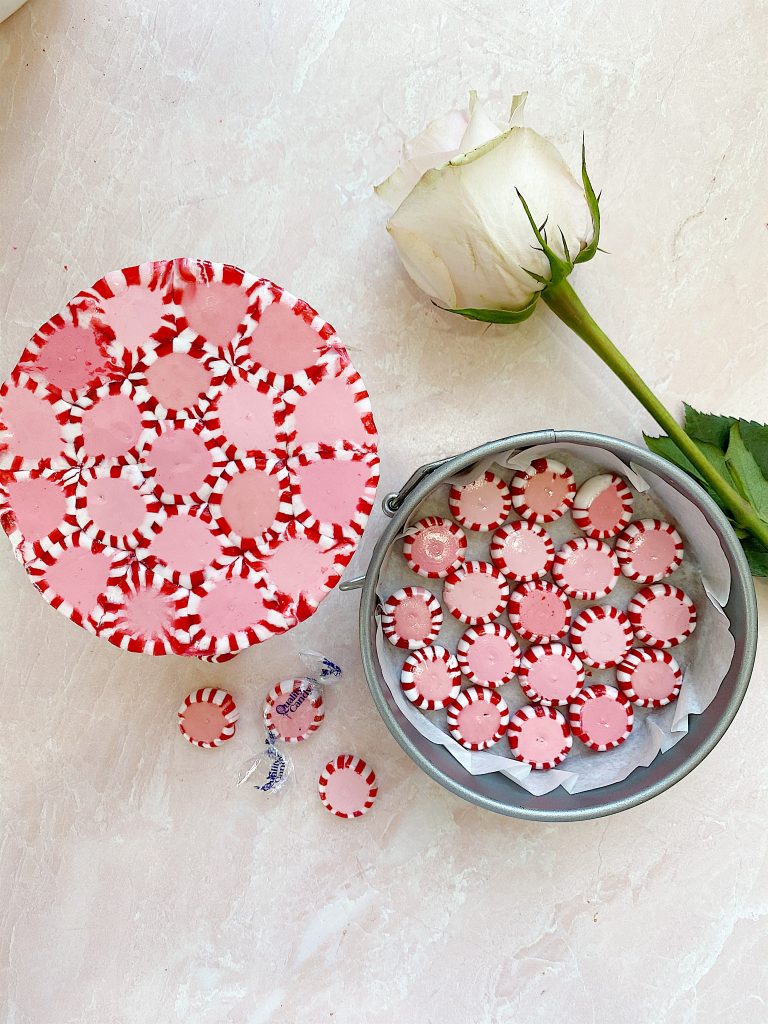
I mentioned this plate is perfect for Christmas. You can also make this plate to celebrate a birthday party.
Or a baby shower or a dinner party.
You can even make this for Valentine’s Day!
This is such an easy DIY that you can make one of these in less than half an hour, including cooking time.
Although that assumes you can find someone to help unwrap these candies.
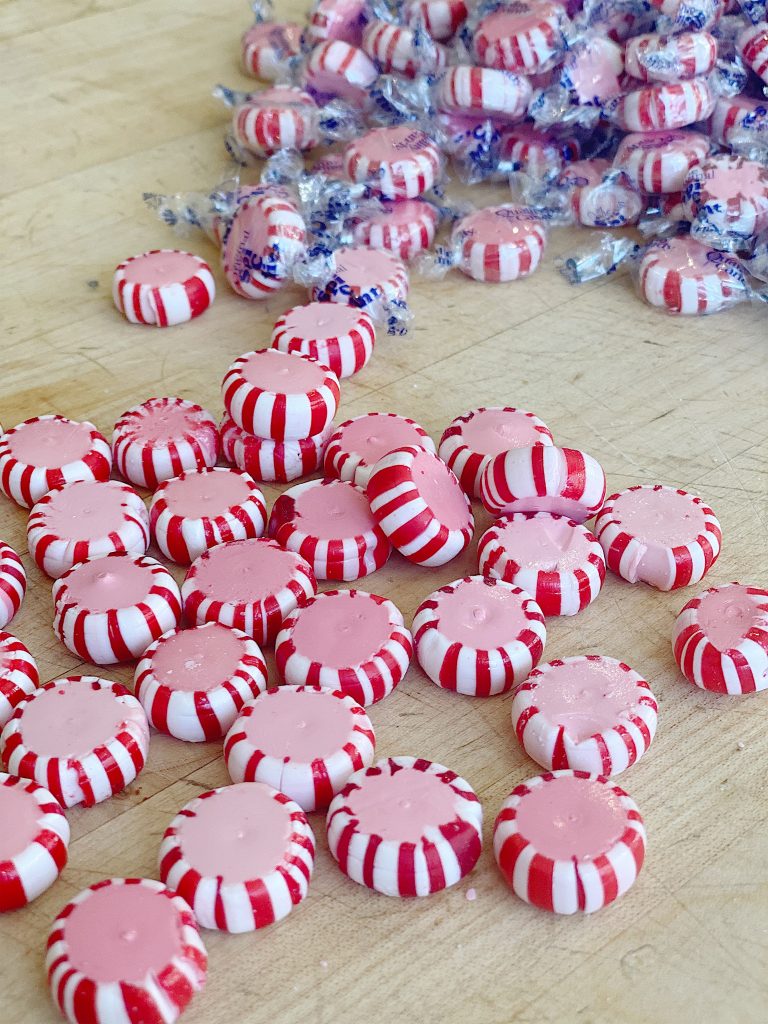
What You Need to Make a Peppermint Candy Plate
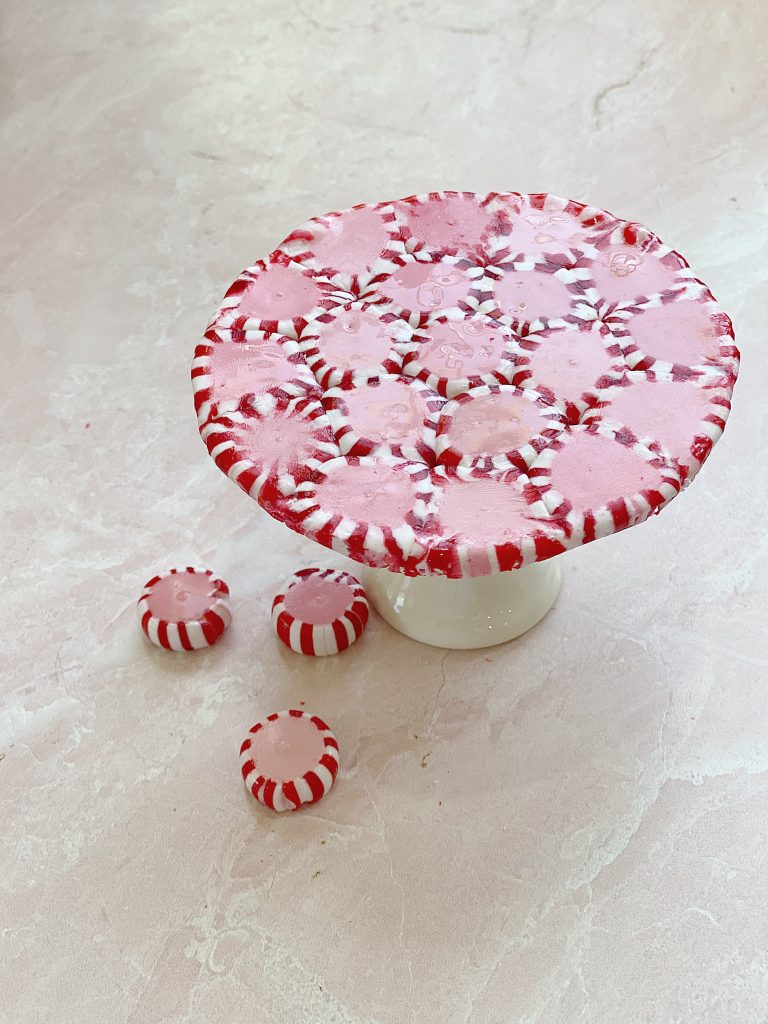
Peppermint candies (any color will work, I used these pink ones, or you can use these traditional peppermint candies.)
Springform pan (I used a 4″ springform pan but you can use any size. Even a cake plate size!
Check out my video below that shows how easy these are to make!
How to Make a Peppermint Candy Plate or Platter
The hardest part of making these is unwrapping the candies. If you make multiple plates as I did, I highly suggest you enlist some help.
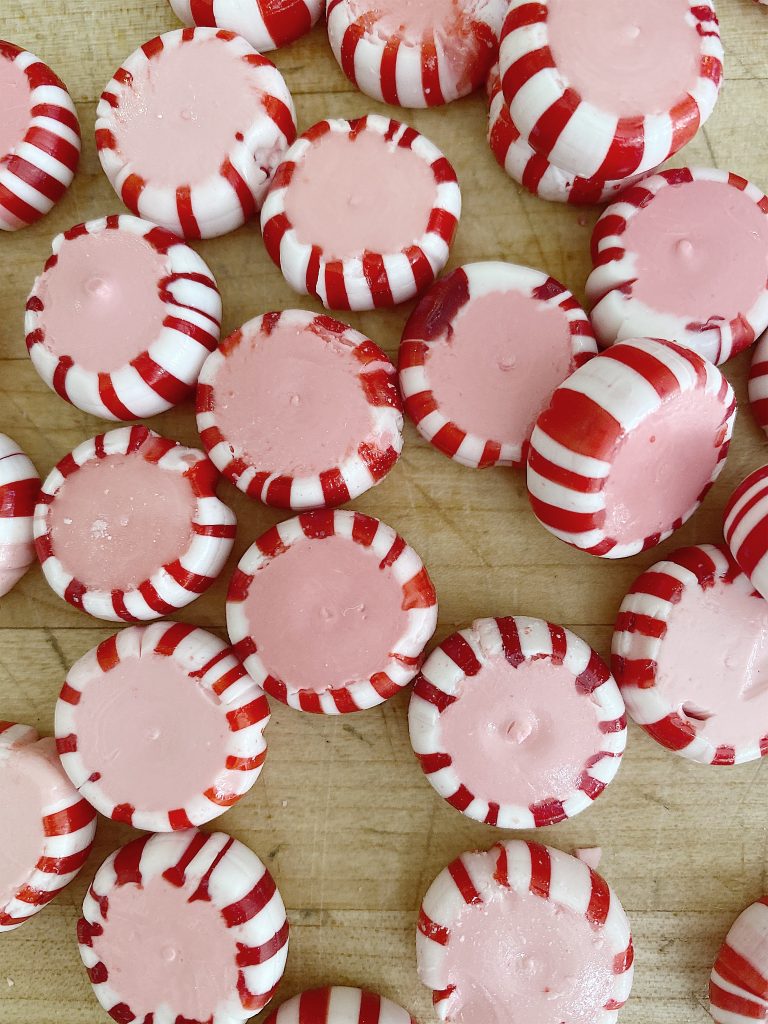
Make a quick estimate of the number of candies you will need for your Springform pan. My 4″ pan used about twenty candies.
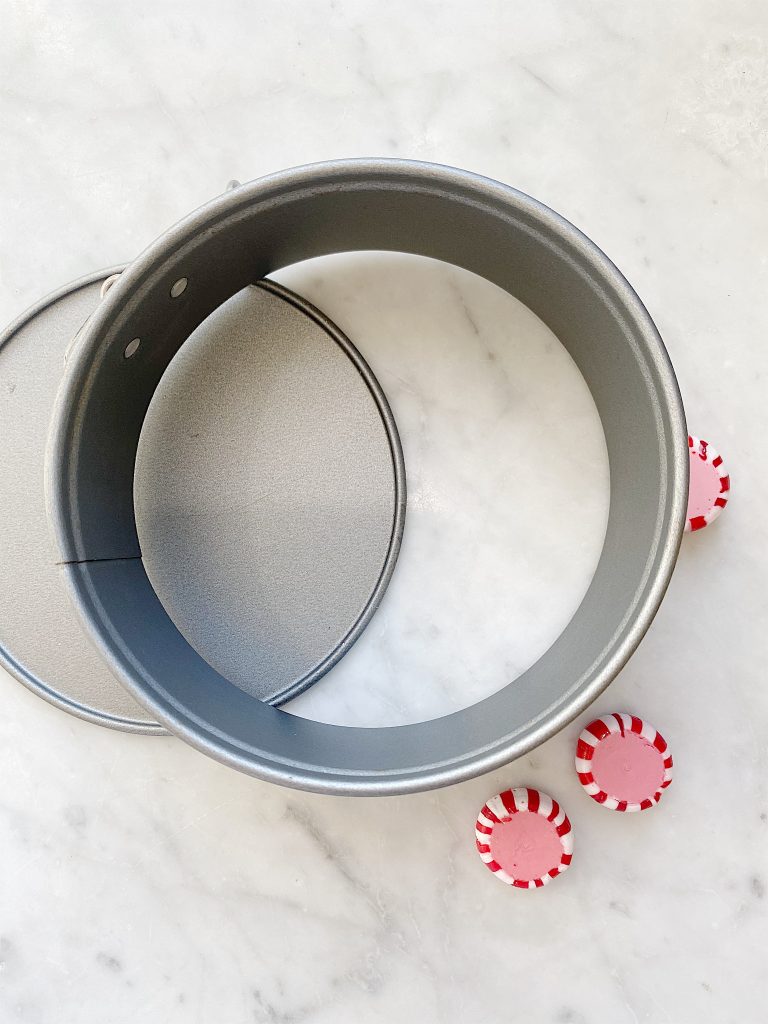
Using the bottom section of the springform pan, draw a circle around the pan on parchment paper. Cut out the paper about 3/4″ larger than the drawn size.
You can cut many pieces of paper at once if you are making multiples.
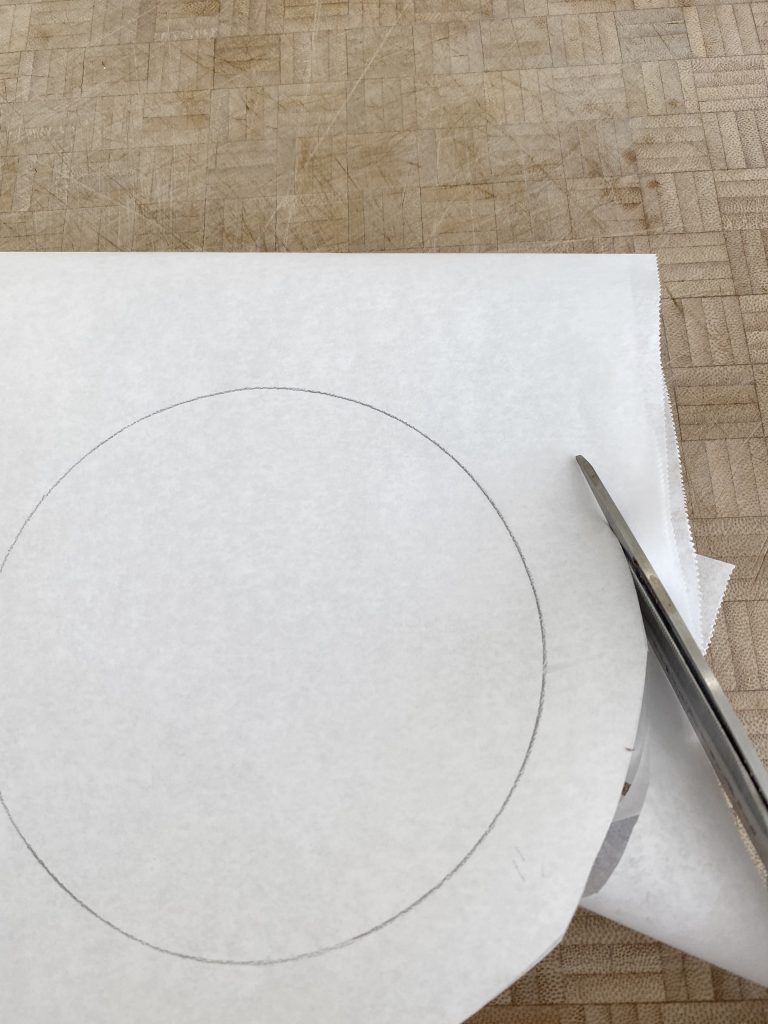
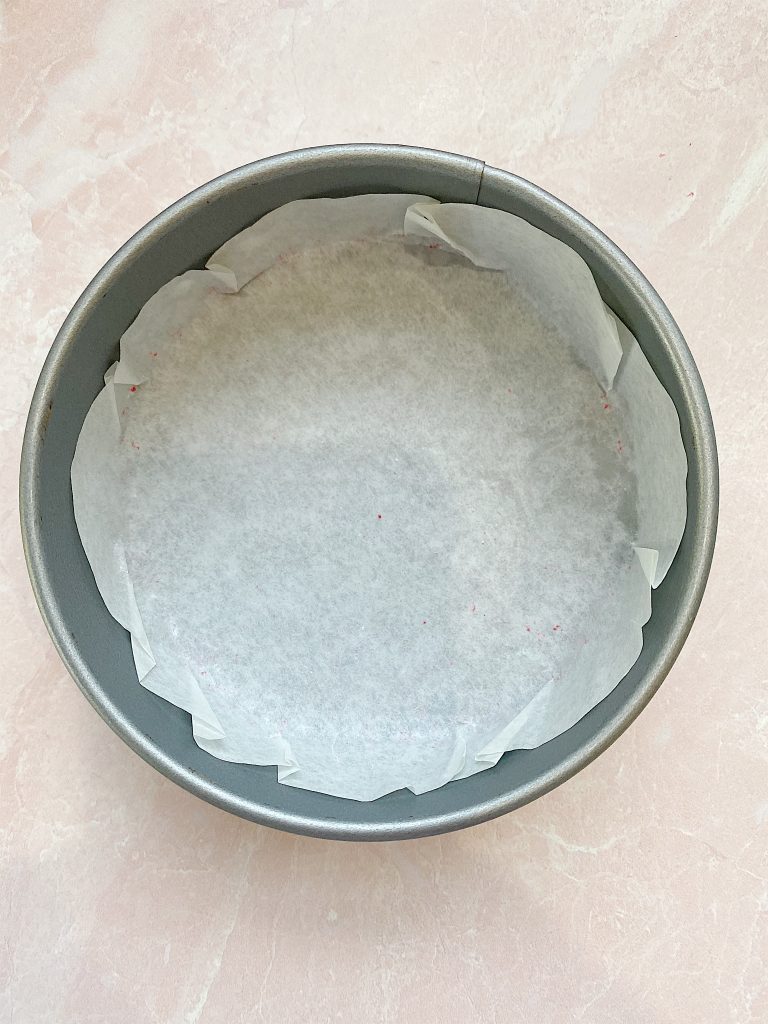
Press the paper into the springform pan. This photo shows the parchment paper before I pressed the edges. Make sure to press all the way around the edges so that the candies can form a circle and not have indentations from the parchment paper.
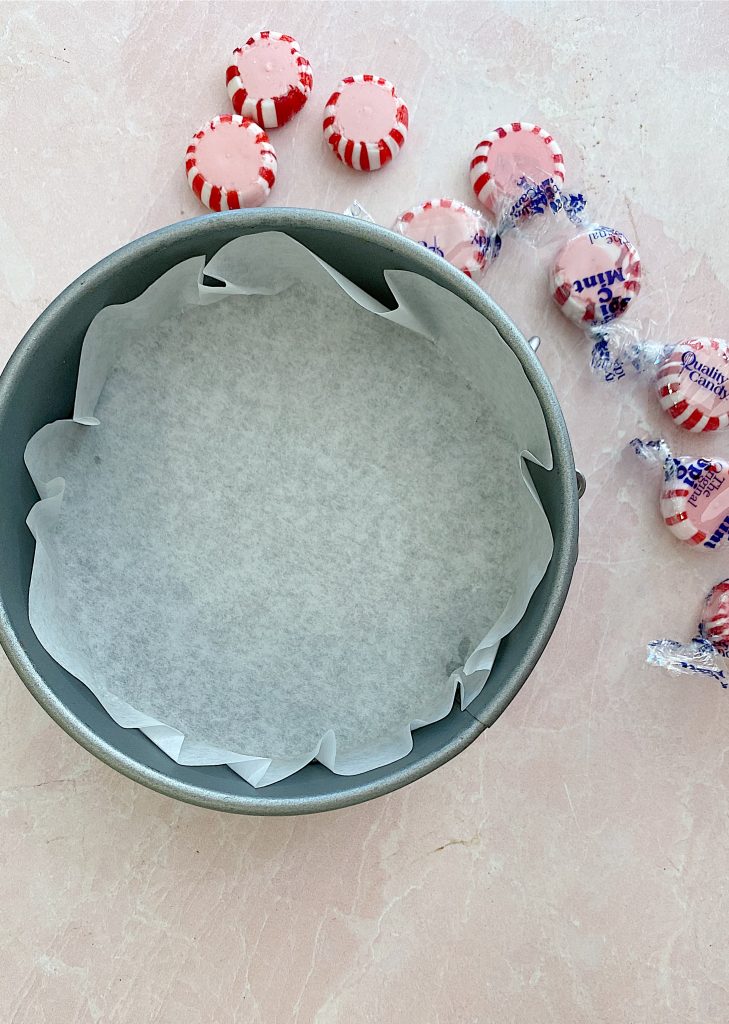
Can you see how much tighter the paper is in the photo below?
Start lining the outside layer of the pan with candies.
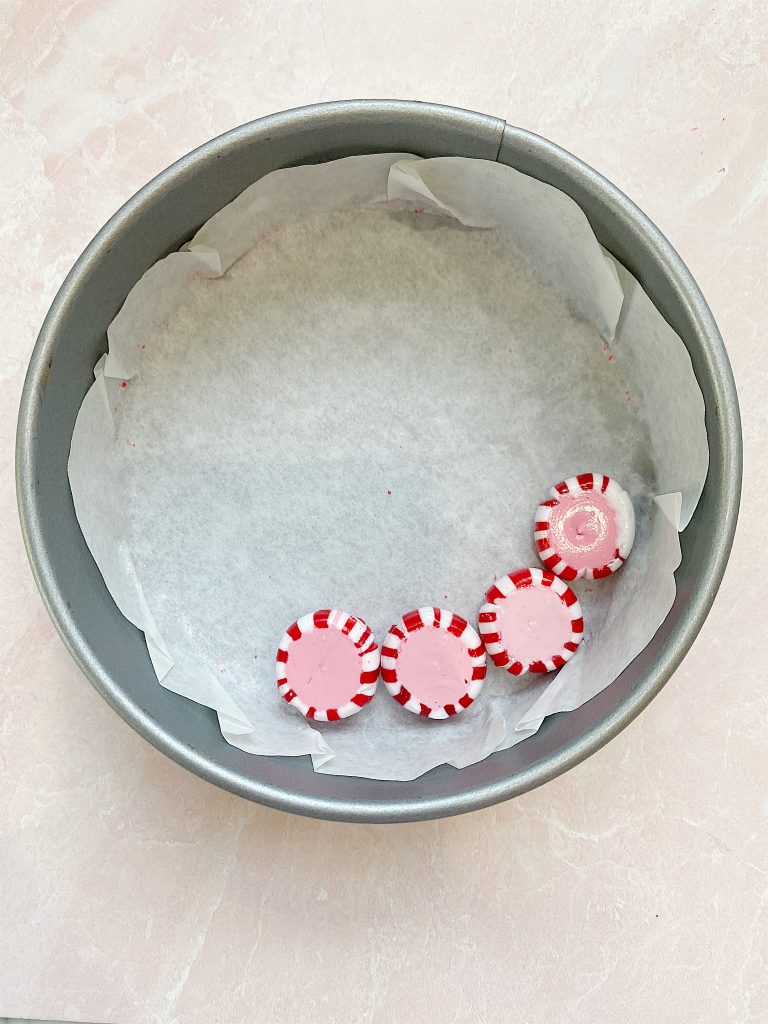
If they don’t fit, just leave a small opening between each one to close the gap.
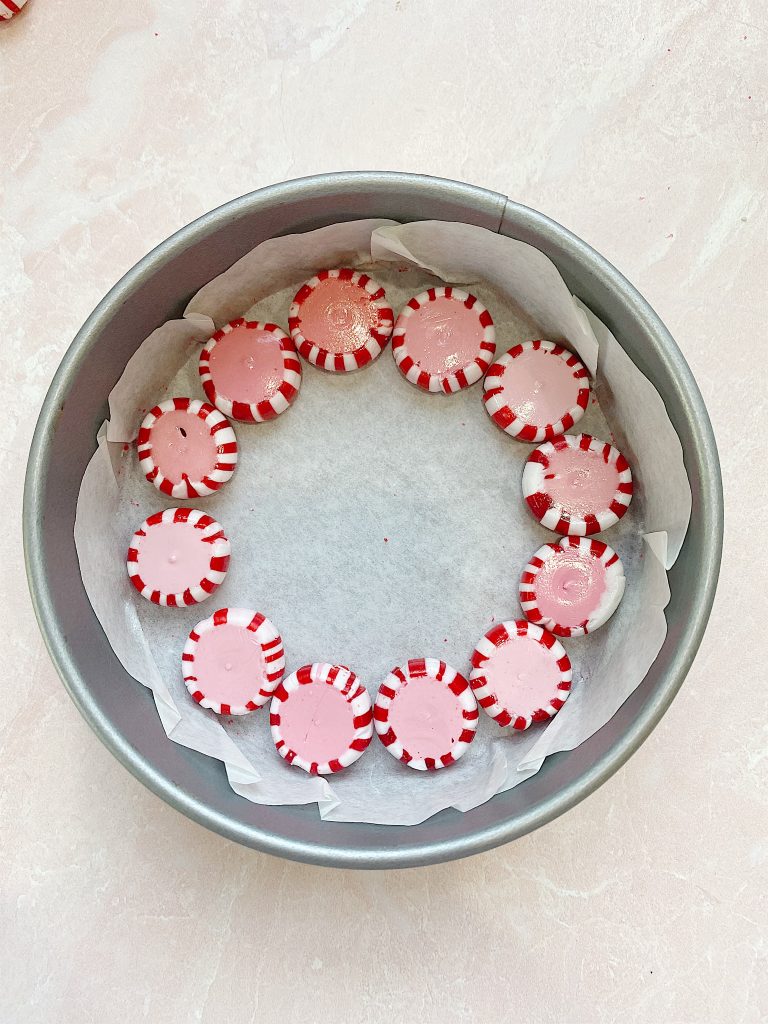
Start adding the next layer.
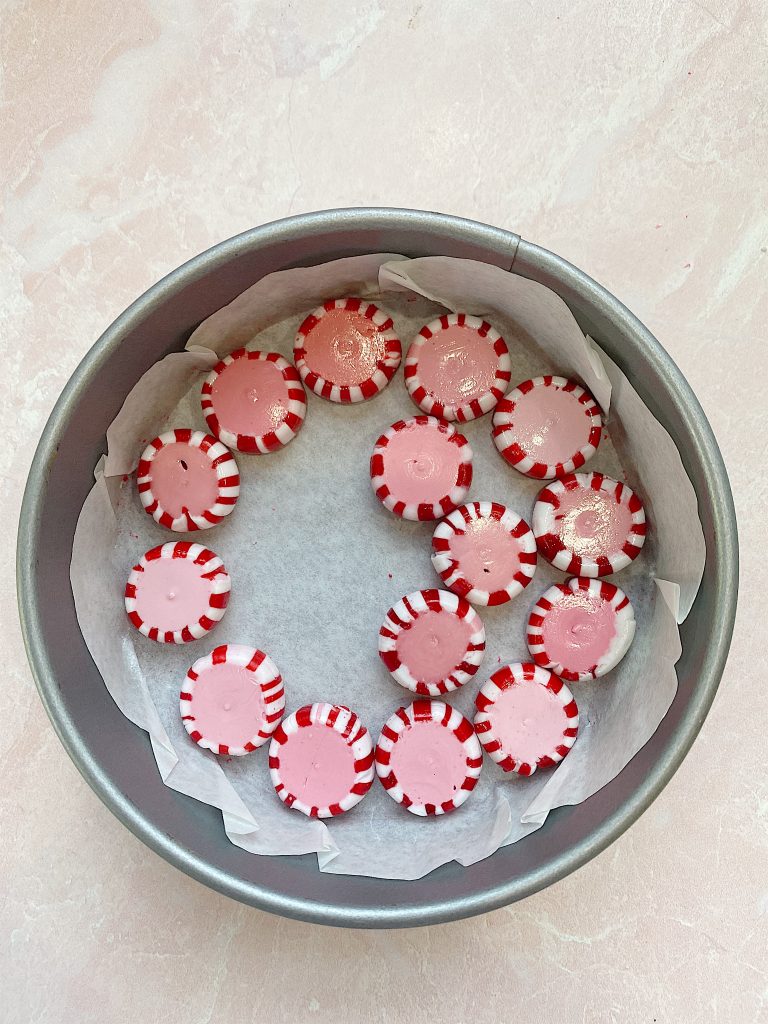
Once again, separate the candies slightly all the way around if they don’t fit perfectly. (It is doubtful that they will fit perfectly anyway!)

Add a candy in the center of the pan. If the space in the center is too small, you can break a piece and just insert it into the center.
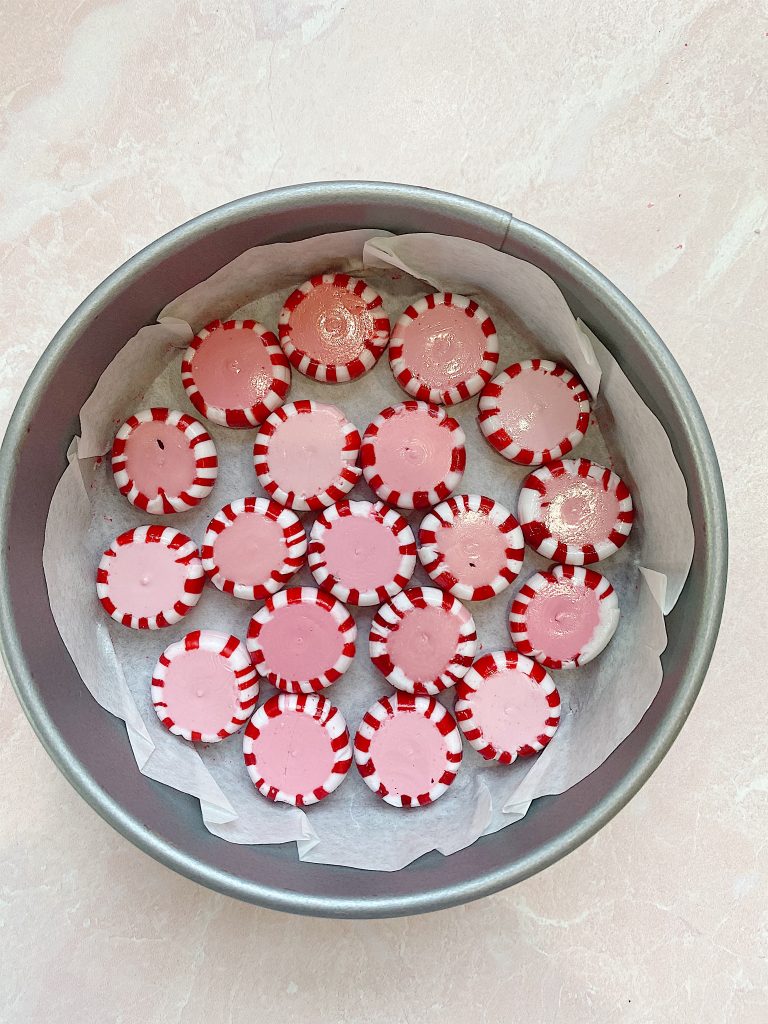
Place the pan on the center rack in a 350-degree oven. Bake for 6-10 minutes, depending on your oven. Keep an eye on it, do not overbake them.
I overbaked the first four that I made. Hehe. You just want the candies to expand and touch. That’s it!
This pan is even overbaked a bit.
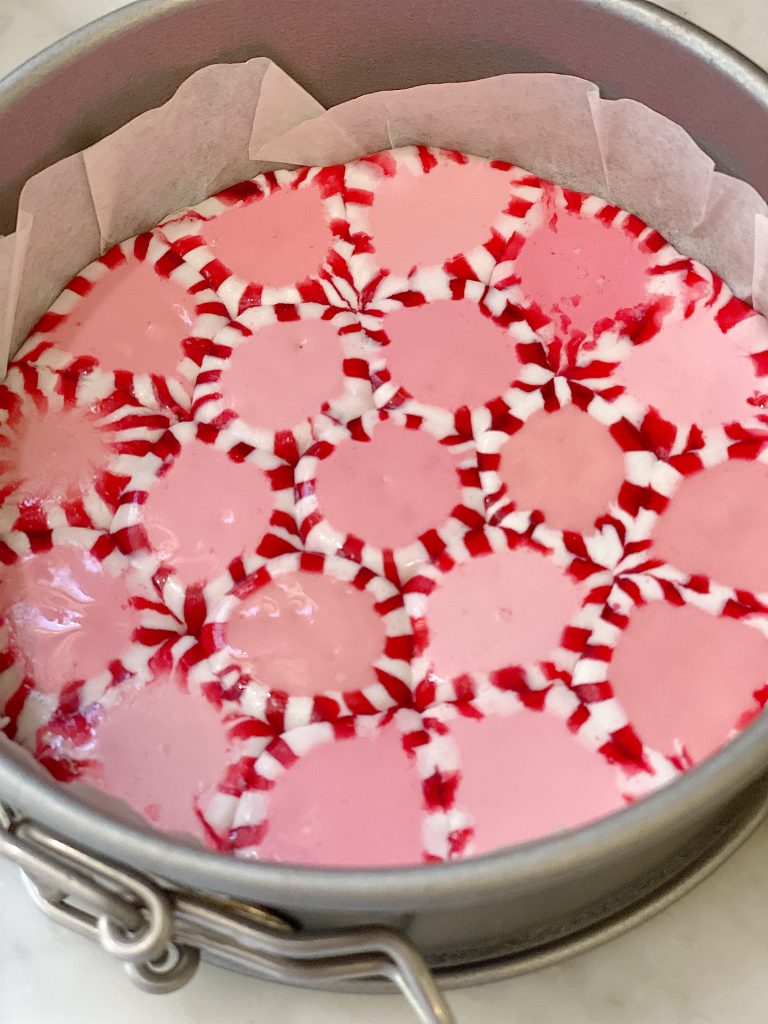
Let the candies cool completely and gently remove them from the pan.
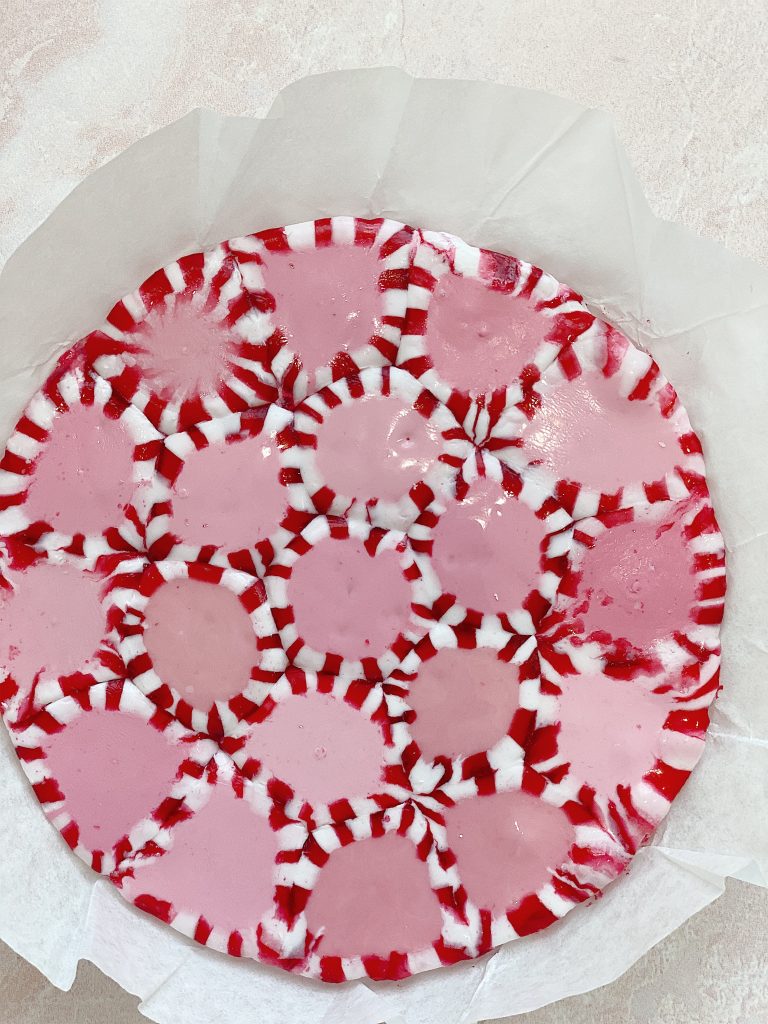
I made a video highlighting how to make this adorable candy plate.
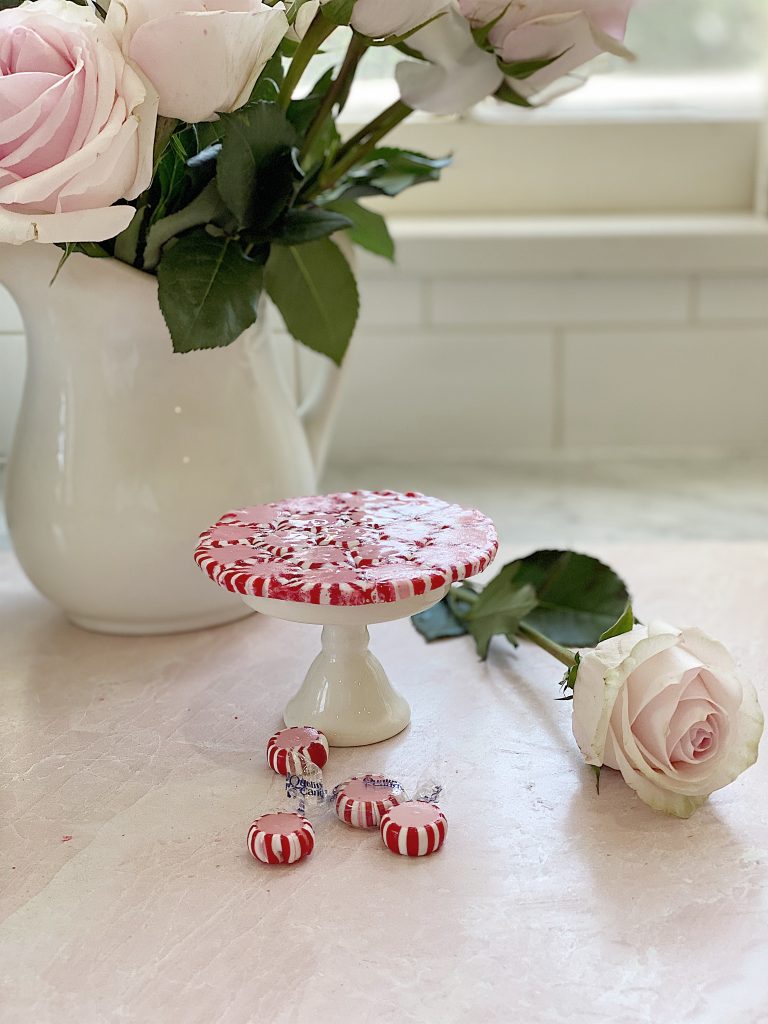
That’s it! How easy were these peppermint cany plates?
Although I put them on a cupcake stand these could easily be placed on top of a small mason jar or just flat on a dessert plate.

On this blog, I may sometimes use affiliate links, which means a small commission is earned if you make a purchase via the link. The price you pay will be the same whether you use the affiliate link or go directly to the vendor’s website using a non-affiliate link.
Watch My Amazon Live
Click here to watch any of my Amazon Live shows. All shows are recorded.
This live show is titled Twenty Beautiful Floral and Gift Ideas and these items are amazing!

I also held two Live shows yesterday with lots of Black Friday Deals. Just tap the links below to watch them now.

Pin the image below to your boards on Pinterest (just click the Pin button in the top left corner). You can also follow along with me on Pinterest!
For more real-time updates, follow me on Instagram @My100YearOldHome
Pin the image below to your Craft or Christmas boards on Pinterest (just click






I’m going to make one tomorrow! I’ve never seen the pink colored mints. Where did you find yours? I’ve only seen red and white.
They are from Amazon. The link is above!
I love this! They would also be a great idea for a February wedding reception! Definitely pinned this for future party decor ideas!
Ahna,
Yes,they would be! I am so glad you like them.
Leslie
Did you seal them at all? Seems they would be sticky
Cherri,
They are not sticky at all! Very hard and very shiny.
Leslie
Just too cute! My husband loves to eat these mint candies, he grabs a handful from the cleaners when picking up clothes! Glad to know the finished product isn’t sticky and shines.
Hi Cindy! Peppermints are the best- so fun around Christmas. Yes! Not sticky, just super cute 🤗
This is such a clever idea. I love it!
Thank you Renae! It is SUCH a cute and fun Christmas craft 🎄🤗
This is such a cute idea and so festive! A must try! Thanks for sharing!
Yay! So happy you like it Kim, let me know how it goes if you decide to try it 🤗♥️
Thank you so much for sharing! ♥️🤗
I just made your candy plate. So much fun. I only had a 7″ springform pan, so mine is not as thick as yours. It’s cute anyway. Maybe your candy was thicker than mine. So fun and no clean up. Thanks for sharing
Hi Maxine! Yay! That sounds great, so happy it turned out well for you ❤️🥰🙏
love this idea – is there a way to preserve the plate in a way that protects it from getting wet/sticky etc but is also safe to eat off of to use as future serving plate?
Hi Becca! Wrap in wax paper and then a baggie- that usually does the trick! 🤗
I love your peppermint plates, Leslie. I will be making them this week with my grandson who loves to help cook and create in the kitchen. I’m pretty sure he will own his own restaurant(s) someday. Thank you for such a sweet idea!
Hi Marilyn! Oh yay! What a fun project to do with your grandson- let me know how it goes for you both. I’d love to go someday! 🤗
love this idea