Fall Photo Shoot – The Day Finally Arrived
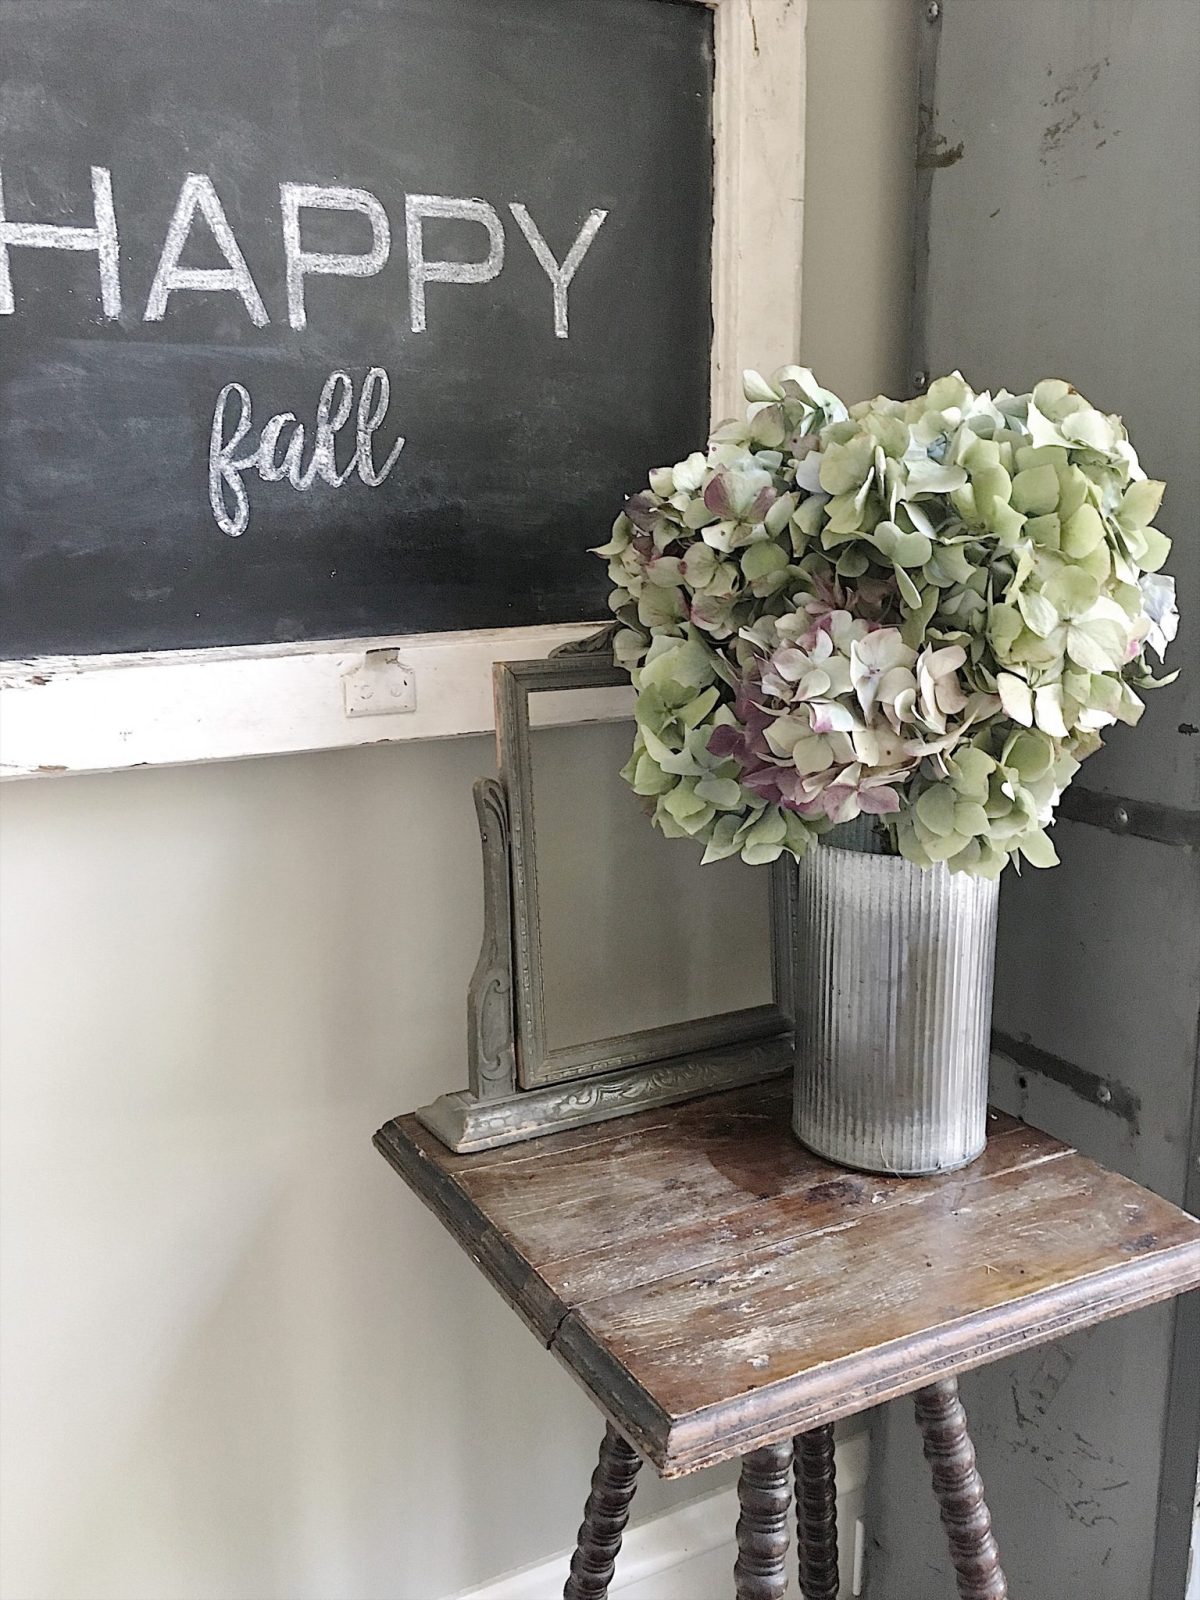 I can’t tell you how happy I was when the day of the photo shoot finally arrived. We survived the filming (barely) and I was at the flower market at 6:00am on a beautiful Saturday morning.
I was home by 7:00am and spent the next hour frantically redoing and adding the last minute touches and art to all of the rooms in our home.

At 8:00 am my best friend arrived and we started on the Butler’s Pantry project. Wow. What was I thinking? This was a much bigger project than I ever imagined. A lot of things had to be moved and the entire area needed to be set up. But was it worth it? Yes. I absolutely love it and I think it will get a ton of use in the next few months! I promise to share the concept and how-to steps on my blog very shortly!
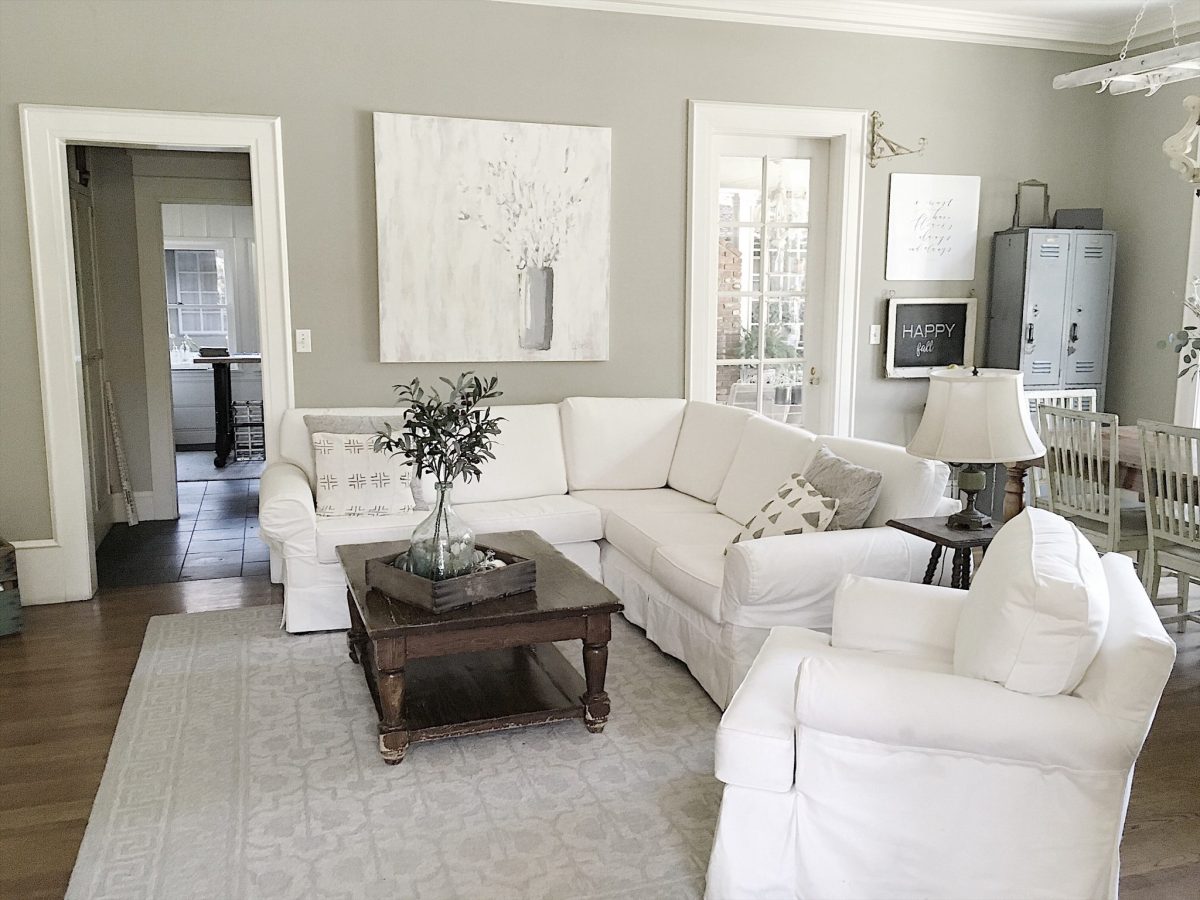
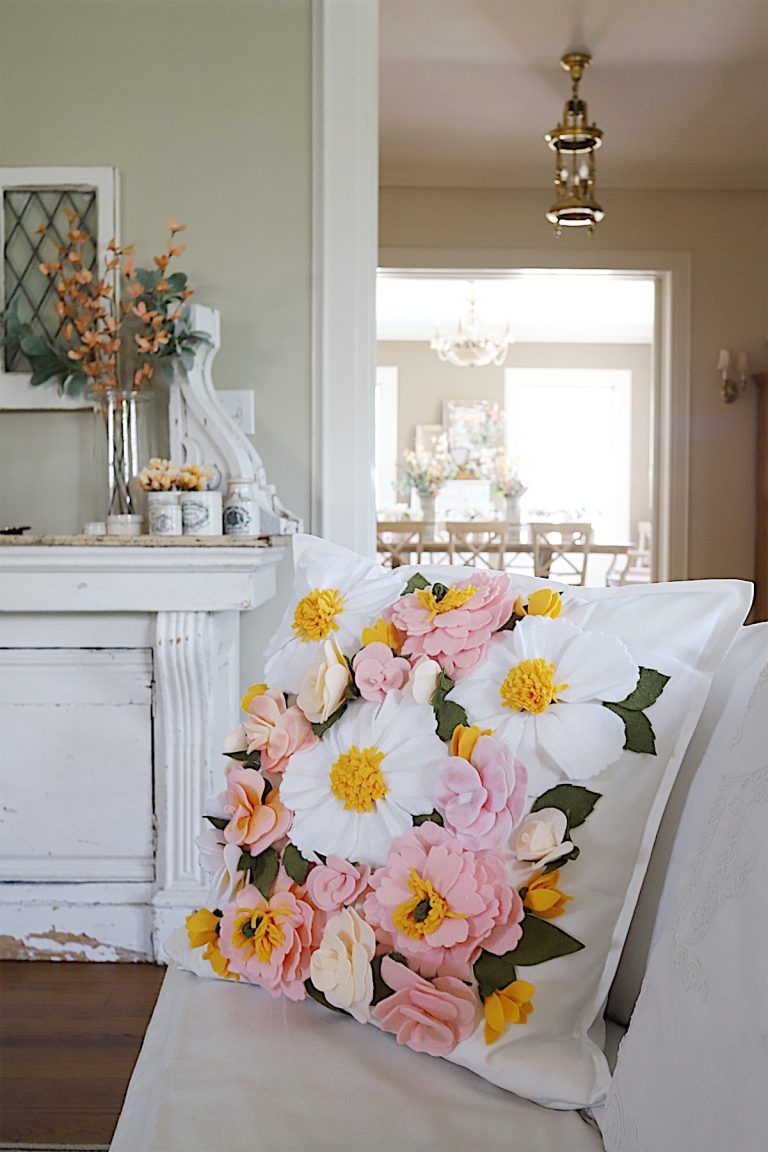
Once we were done setting up in the Butler’s Pantry we started the official photo shoot in the Dining Room. I chose to use the same order to photograph the rooms as we did for the Summer Blog Tour because I thought it worked so well. From there we moved to the Living Room. I cannot believe how different our living rooms looks from just a few months ago!

Next, we photographed the Butler’s Pantry. But I am going to wait to show you what I did in that room. Sorry!
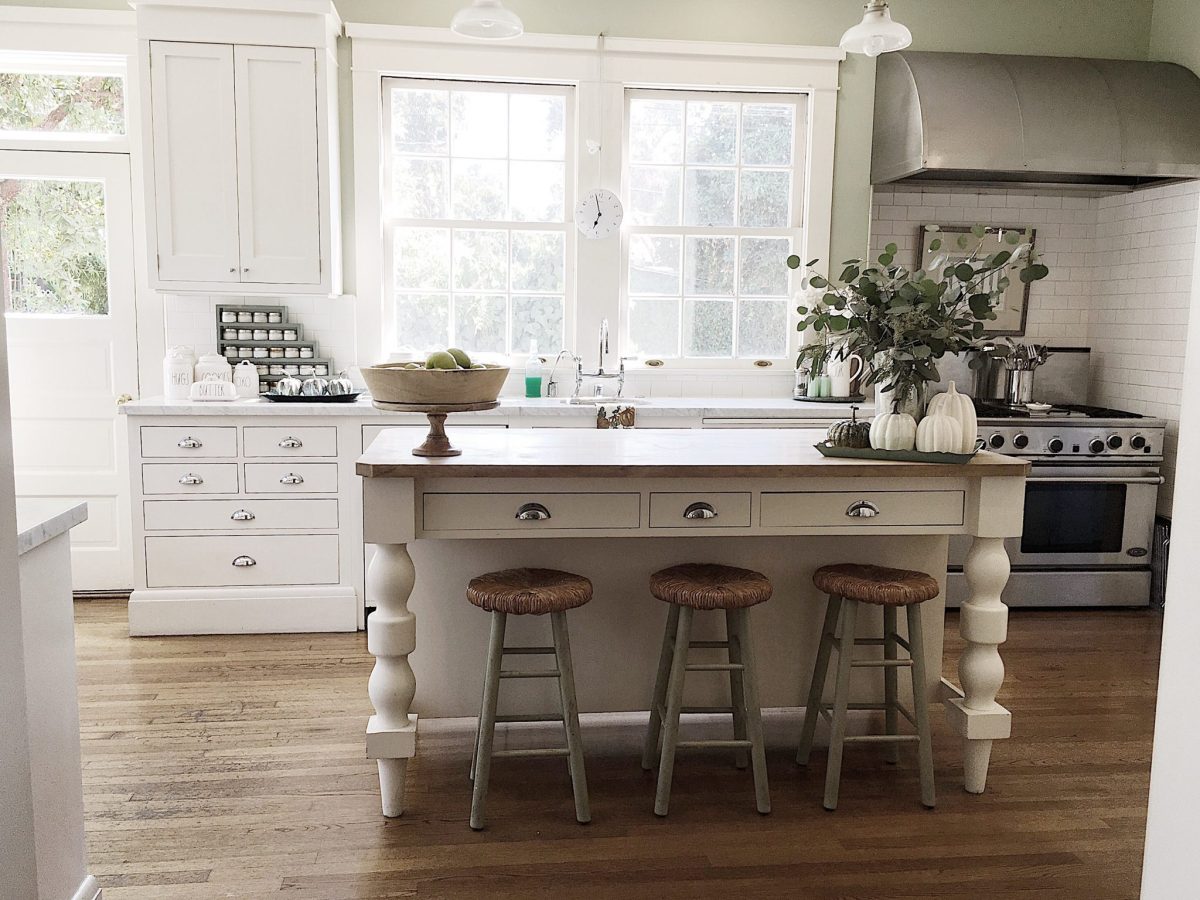
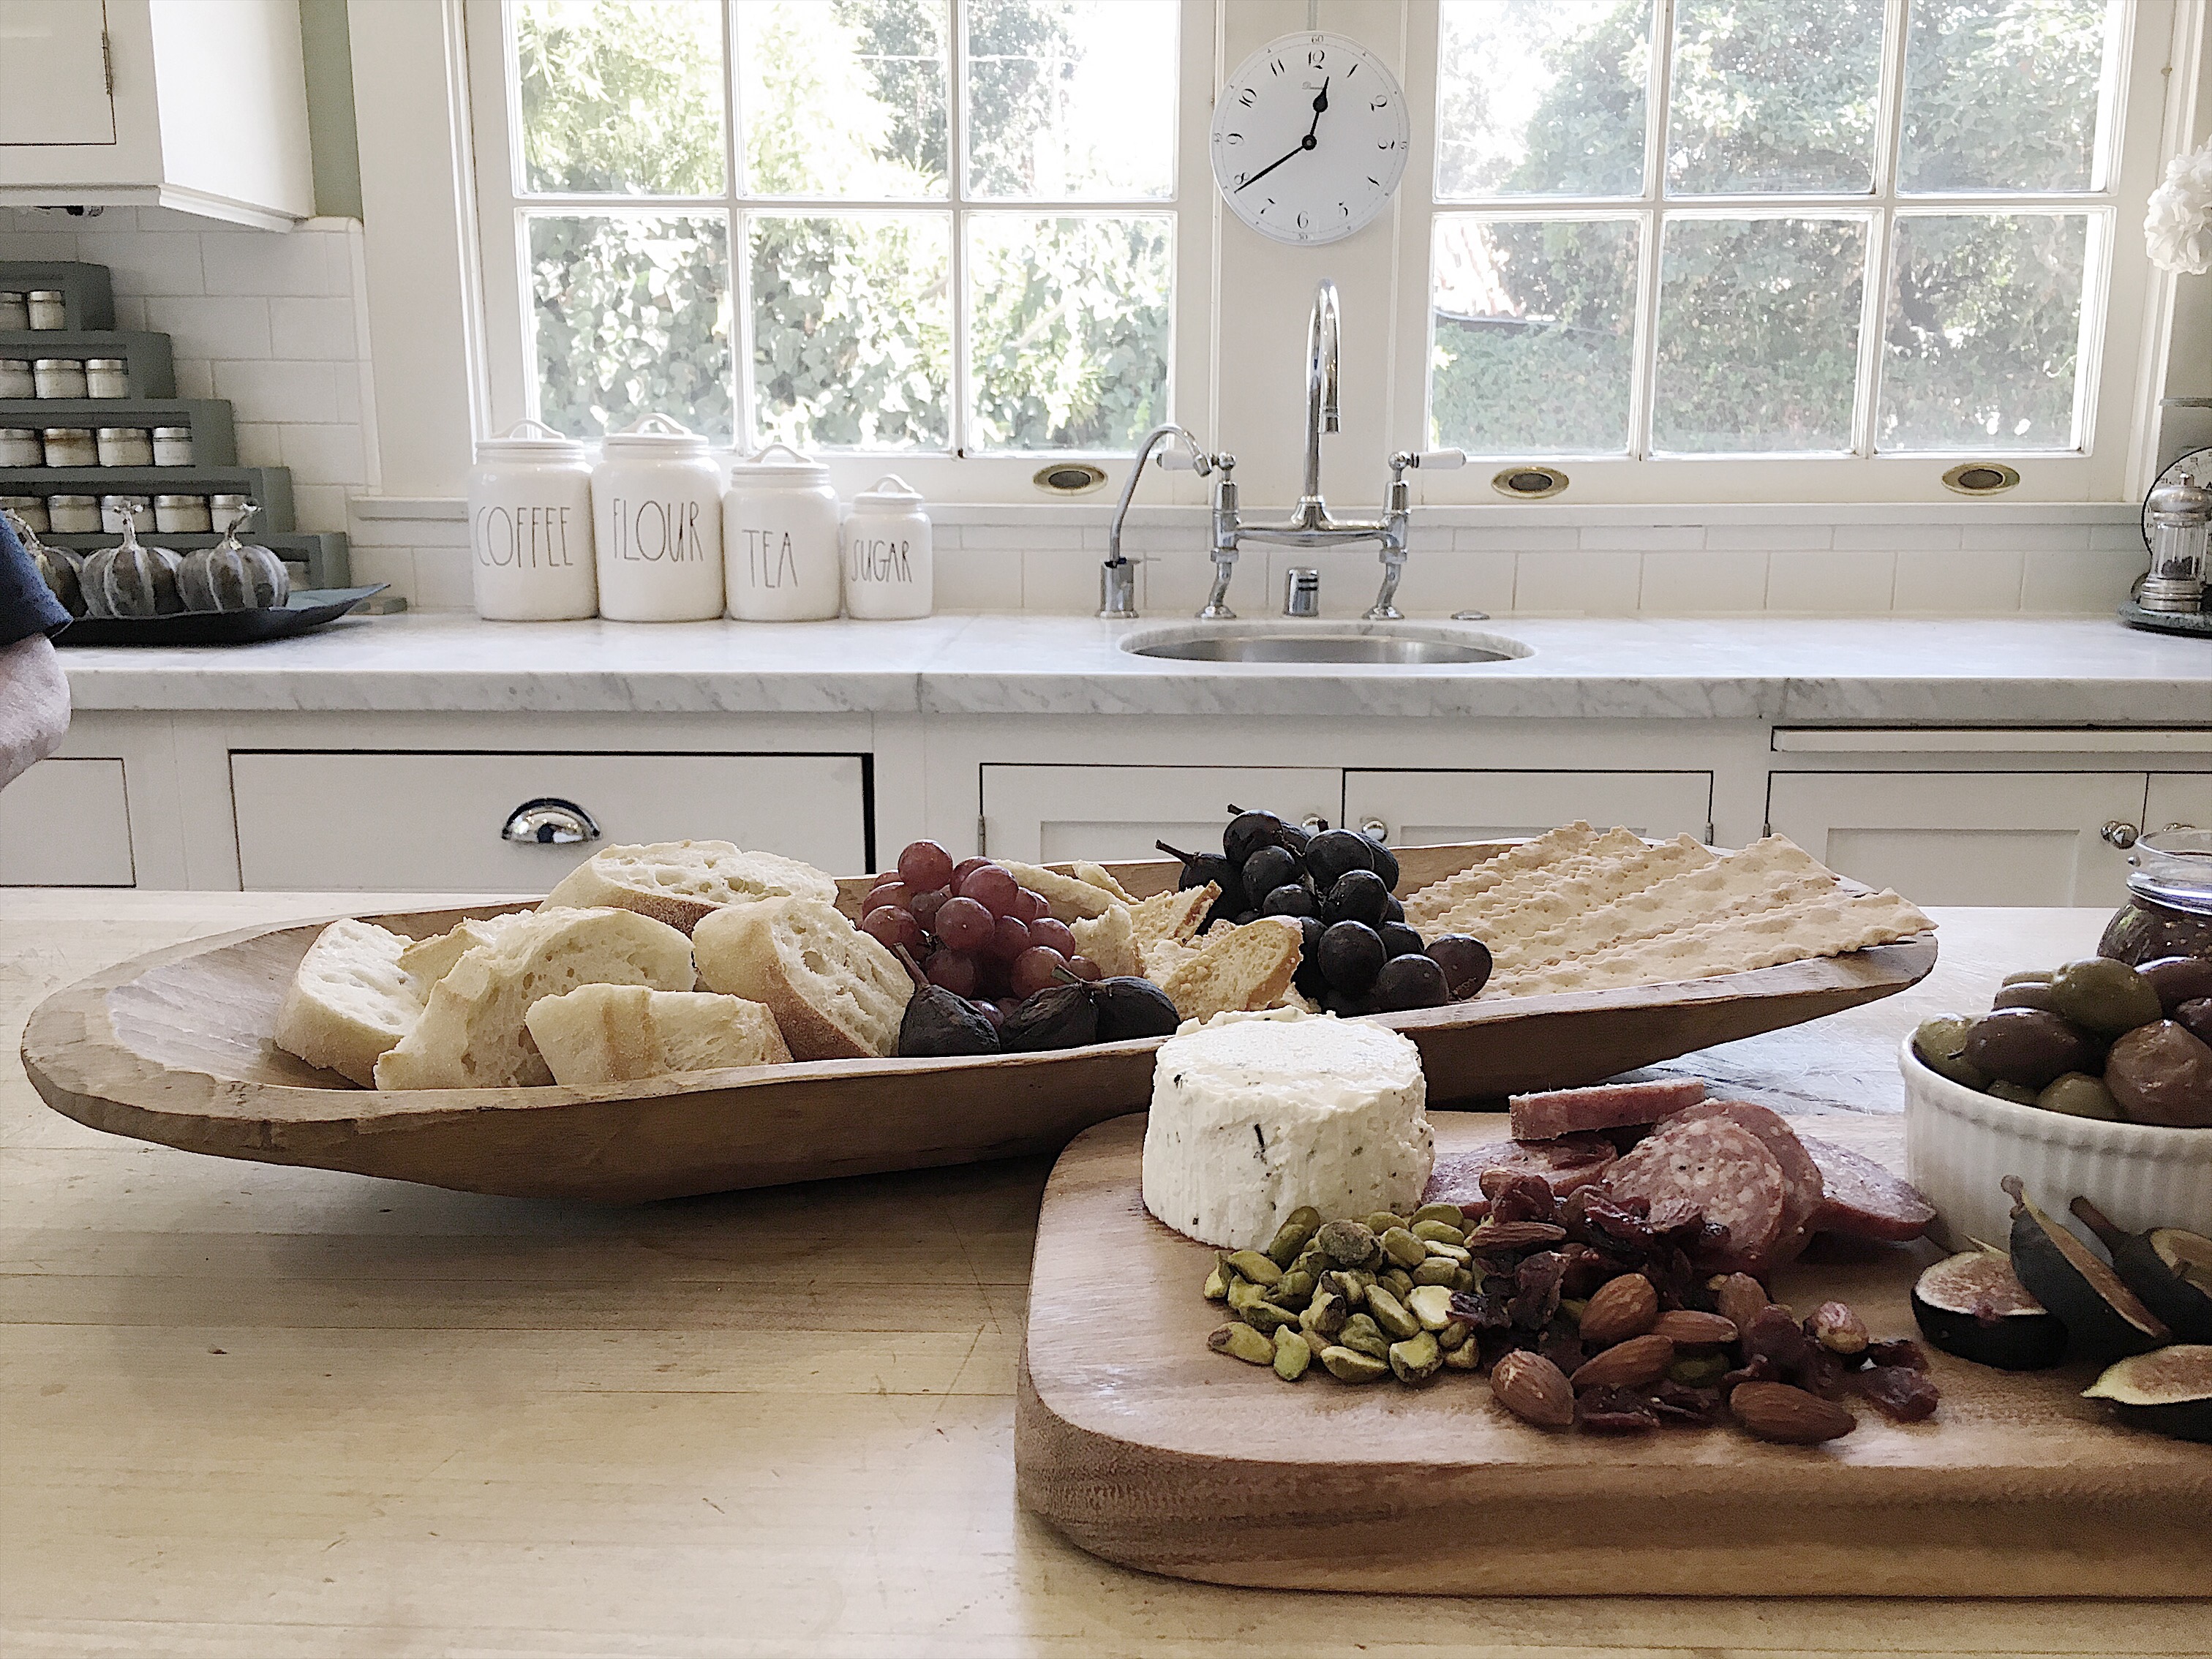
We spent the most time in the kitchen. It was pretty easy to style but incorporating the food is always a big task. I didn’t want the photos to look exactly like the Summer Blog Tour and I found myself falling into my comfort zone and taking the same camera angles I have taken before. So we tried some different things and styled some great food and really had fun with the kitchen photo shoot.
We went straight to the Family room to capture the early afternoon light. At the last minute, we decided not to set the family room table. We didn’t want to take away from my new ladder chandelier and we thought it looked better this way. We did move some of the décor from room to room as the styled and took photos because I just didn’t have enough pumpkins to go around. (Don’t forget my previous “fall décor” consisted of two orange plastic jack-o-lanterns and a very large black spider.)
We then moved to the craft room and we decided we wanted to feature a craft project. After I got the whole area set up and took photos, it became very clear that the photos were too busy with the craft project. So I did a bit of unwinding and took the photos all over again.
From there we moved to the back porch. We didn’t need too much styling out here except that we set a very fallish-woodsy table which was a lot of fun. I think it might be one of my best settings yet and my girlfriend and I were so happy with what we came up with! I can’t wait to share more details in a future blog post.

 Our last room needed for the photo shoot was our master bedroom. This room probably looks the most different. It’s just so bright and clean and I love it. And I can’t wait to add some color for the holidays.
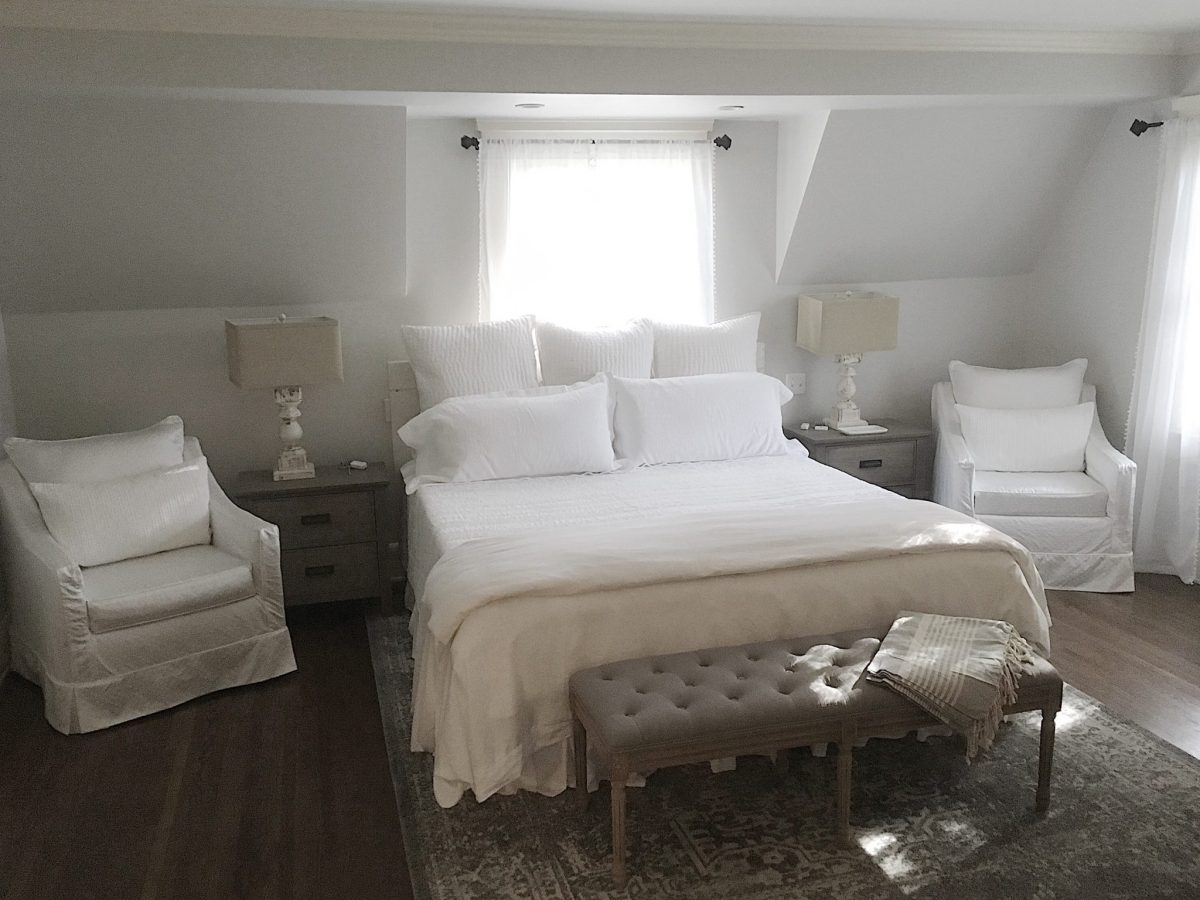
So what did I learn about the photo shoot? First, it took way longer than I expected. The project room, master bedroom, and front exterior shots happened later in the week as we ran out of time on the first day. It never occurred to me that we were adding four entirely new rooms to this photo shoot. They included the living room, butler’s pantry, family room and master bedroom. That about doubled the time of the photo shoot we did in the Summer, with one exception. Many of the rooms were already styled and didn’t need a lot of changes. Had I not gotten these rooms styled in advance I would have been in big trouble.
I love the photos and you will see a lot more of them on October 15th. It’s a big surprise. I can’t wait to share them!
For more real-time updates, follow me on Instagram @My100YearOldHome




Yah!!! I love it friend!!! You are amazing