Easy DIY Easter Crafts
Today I am sharing some very creative Easter Crafts Ideas. You can use mostly household items to make these Easter Crafts DIY.
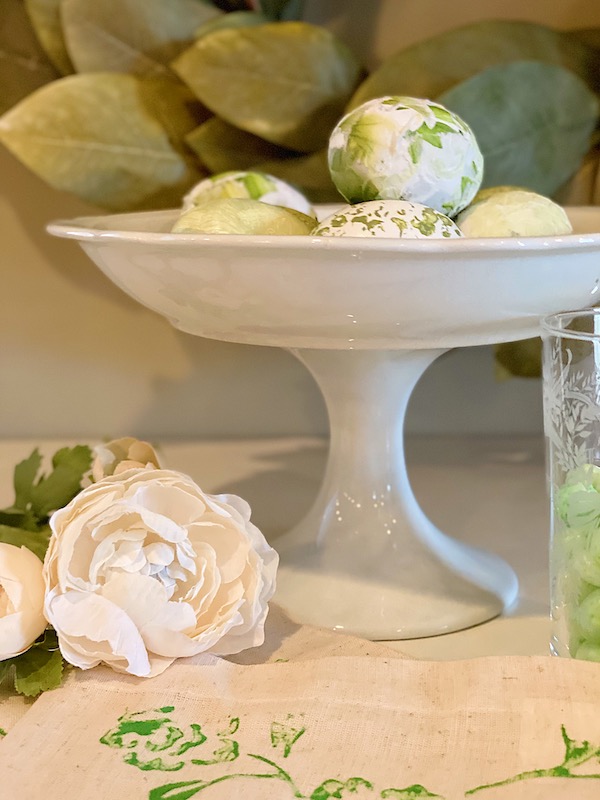
I love to decorate Easter Eggs. In the past few years I have made these, and these. Of course, many years ago, I would open up the PAAS box, boiled water, and decorated eggs. But times have changed so yesterday I sat at my craft table today and played. I started with paint and ended up using bubble wrap! Here are the Easter craft ideas I came up with!
Easter Craft Ideas
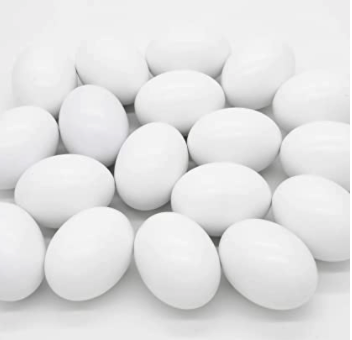
I started with a dozen white wooden eggs. I think they are so much easier to work with (than real eggs). You don’t have to put them in the refrigerator when you are done and they don’t spoil. The wooden eggs last forever and can be stored in a decor box for eleven months with no problems!
At first I painted some eggs pink, purple and melon. But I didn’t like them so they were set aside.
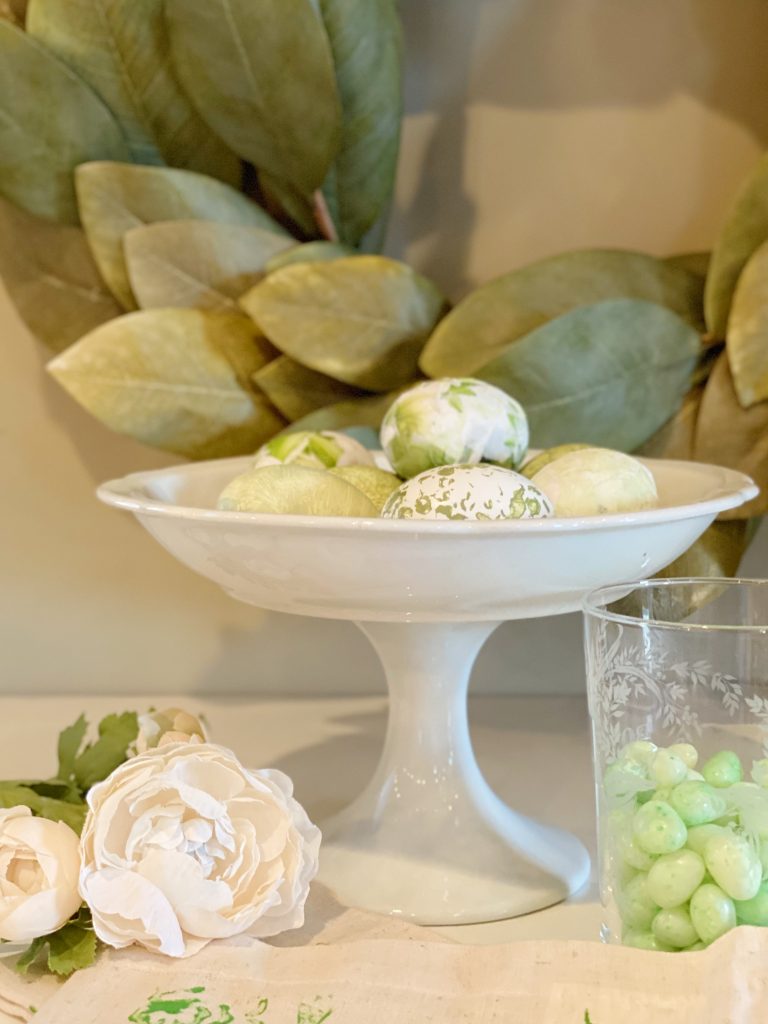
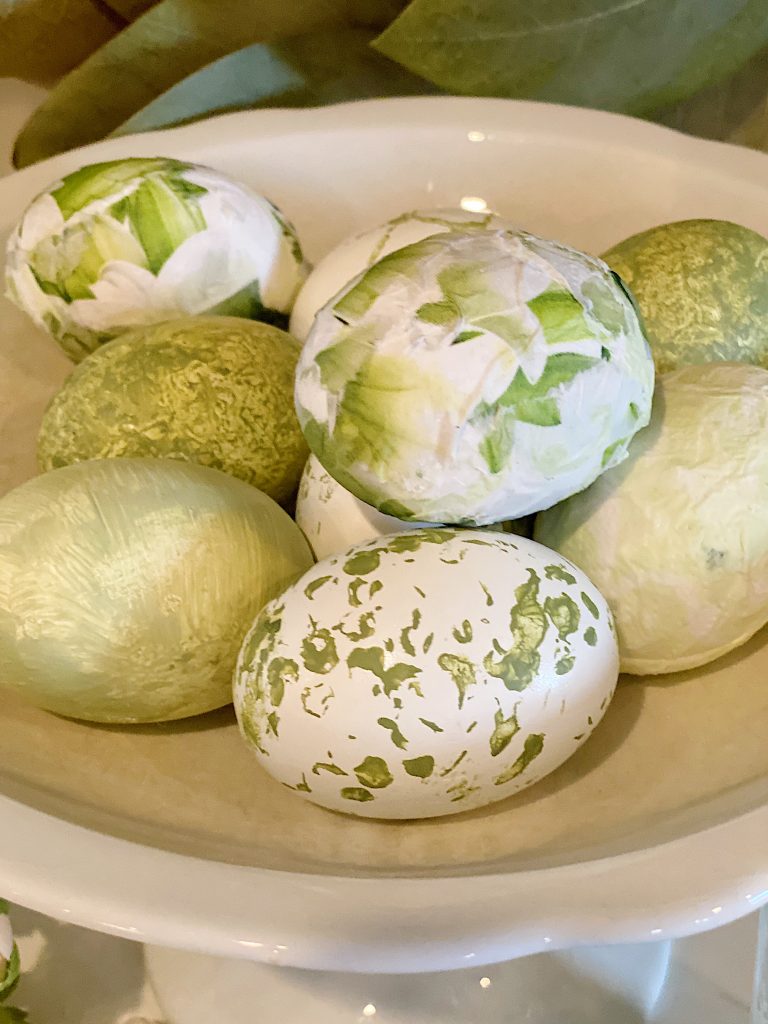
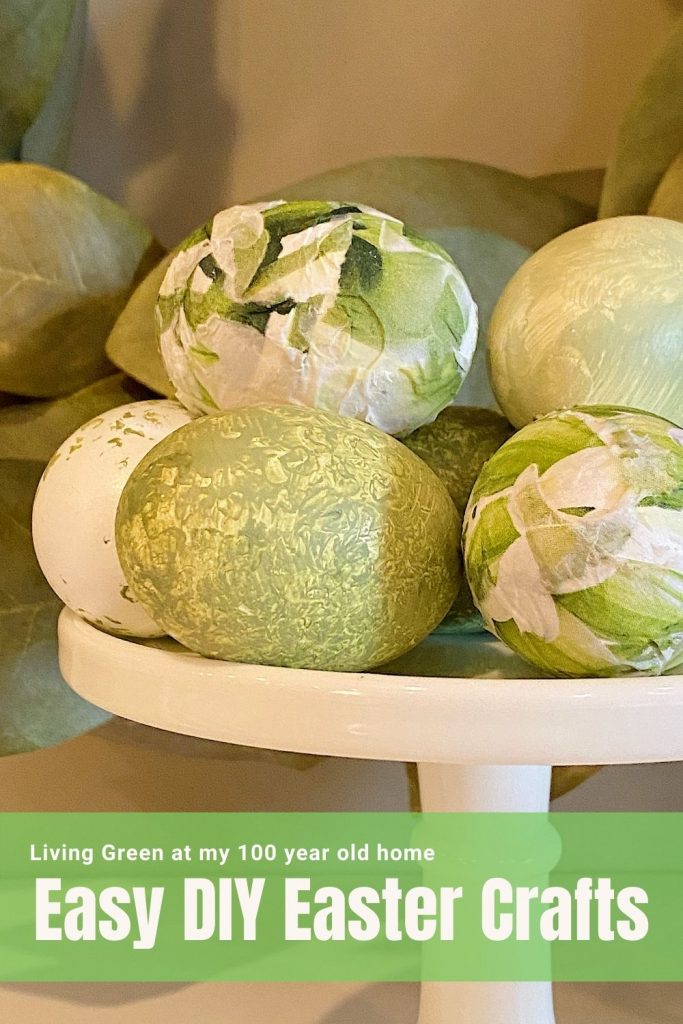
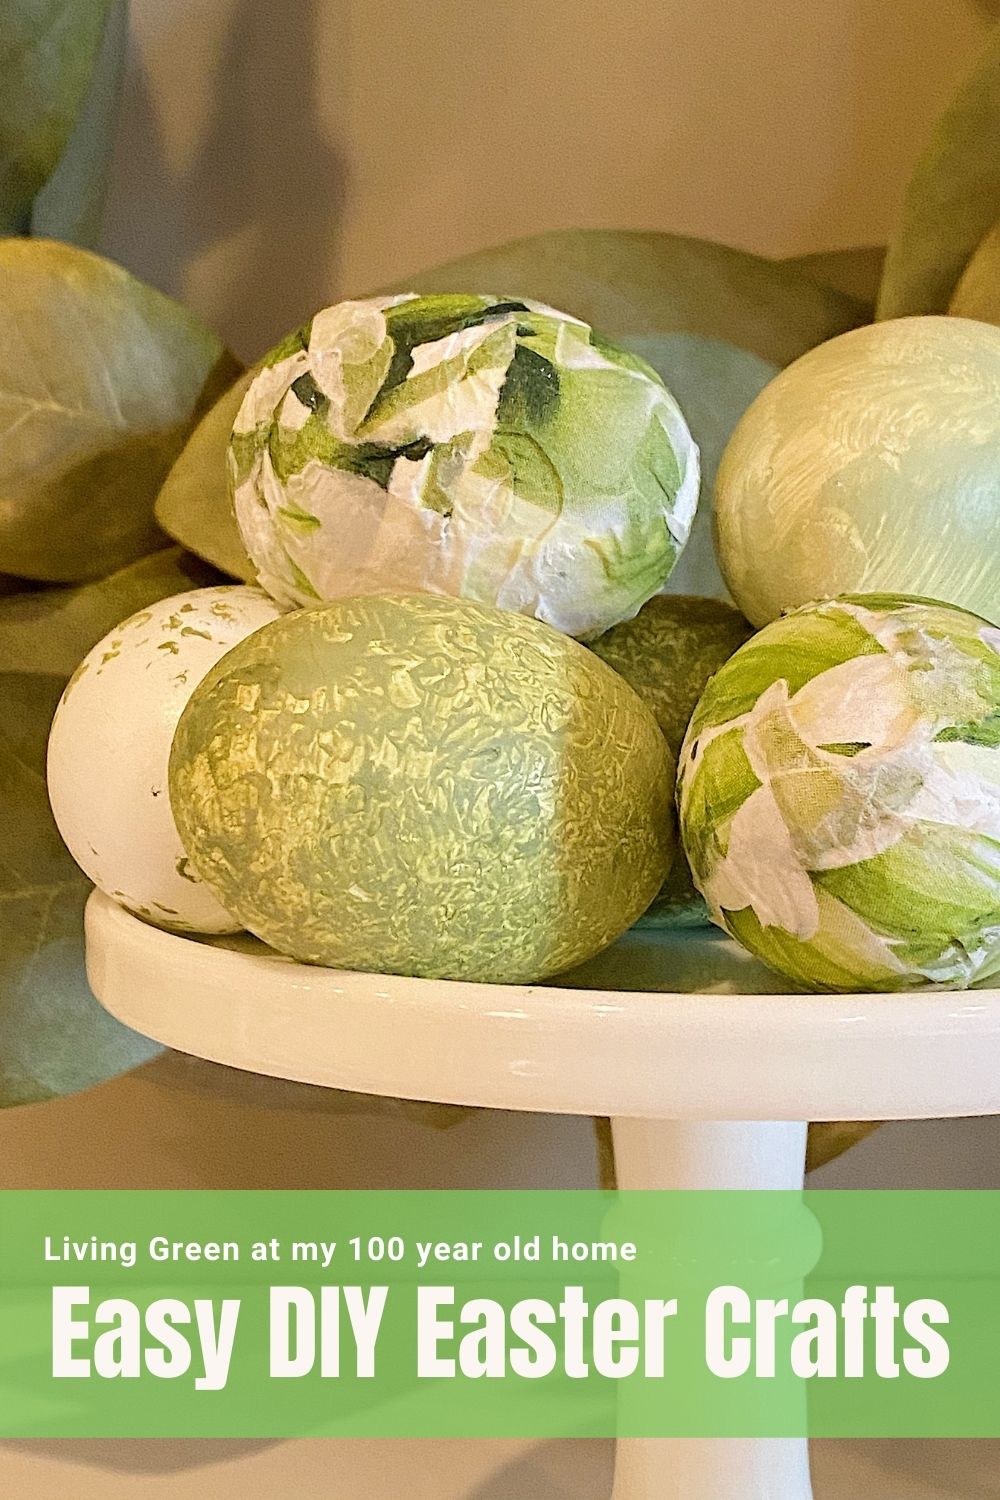
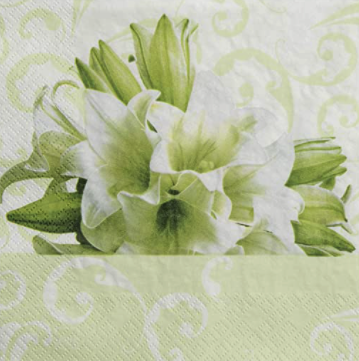
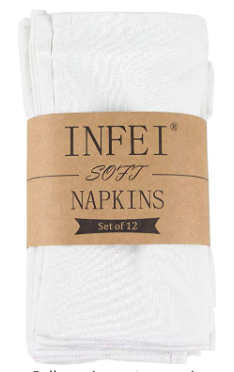
I had purchased some very fun Easter looking green napkins and I decided to use them. Then I started painting and playing and these eggs are what I ended up with.
Aren’t they fun?
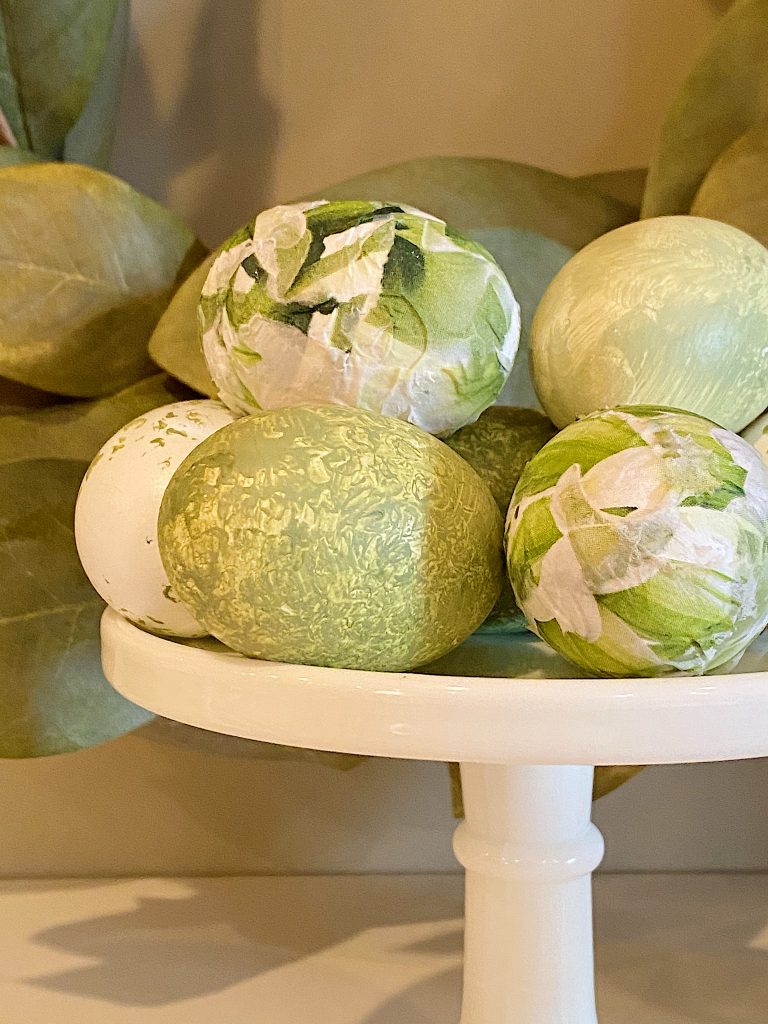
I like textures. I like things that are similar in color. I had some netting nearby and loved the effect so I scoured my craft room for more things to use for my Easter craft idea.
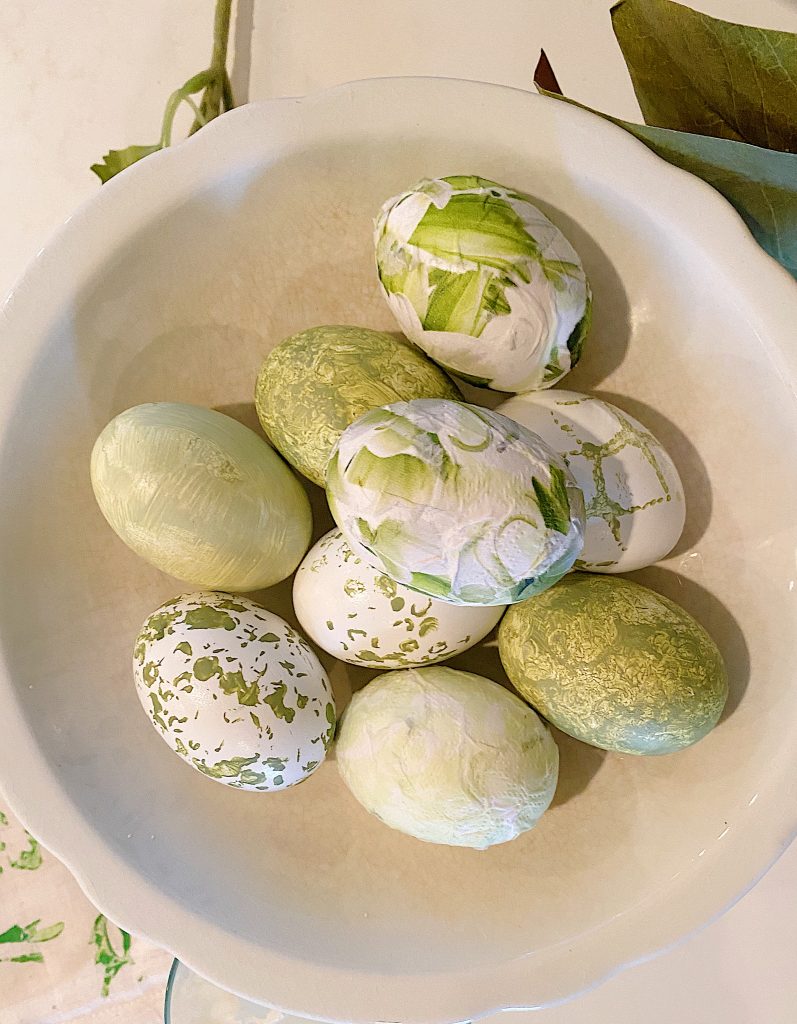
Just in case you are wondering, the ability level for this craft is EASY. Anyone can make these. I promise.
I only made nine because I ran out of time. I have another dozen of the white wood eggs and I think I am going to make more because I love how these turned out.
If you are enjoying my blog, you can sign up to receive my blog updates here.
.
How to Make These DIY Easter Crafts Eggs
What You Need
- Wooden Easter Eggs (you can use hardboiled if you aren’t planning on displaying them in your home)
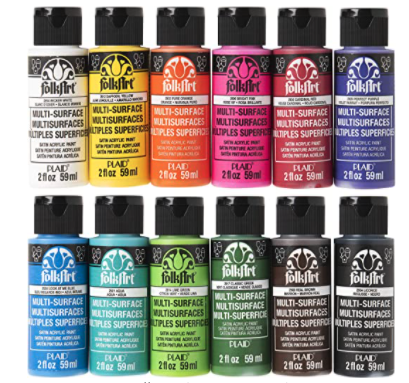
- Acrylic Paint
- Paper Napkins with a fun design
- Assorted items for texture – bubble wrap, string, ribbon, mesh netting, etc.
- Paint Brush
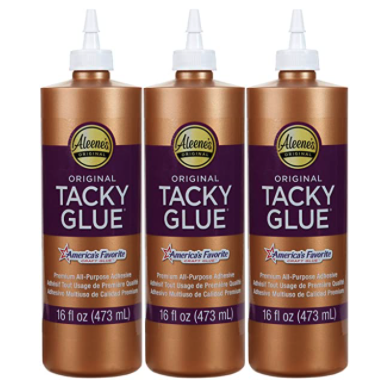
- Tacky Glue
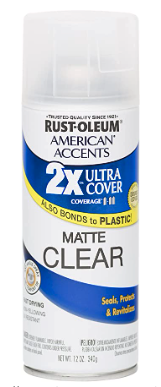
- Matte Acrylic Spray Paint
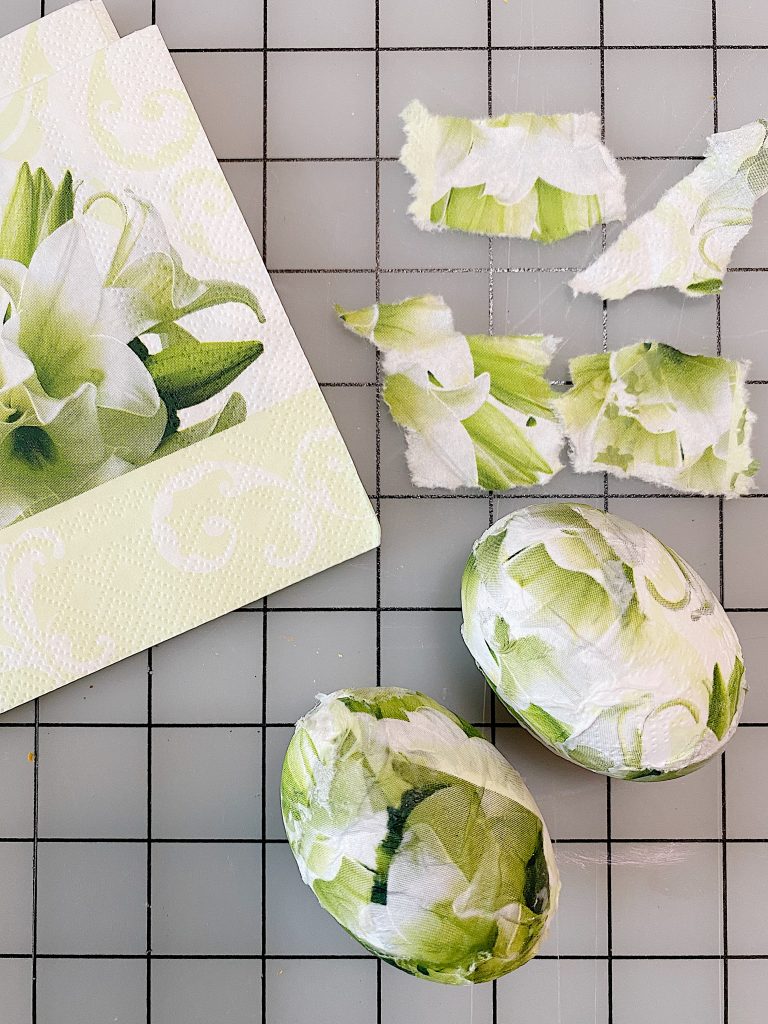
Easter Eggs Covered in Napkins
Tear the napkins in to small pieces. Cover the egg with tacky glue and attach napkin pieces. If the napkins are two-ply you can use just the top layer or both layers of the napkin.
Cover the egg in glue and let dry. Spray will matte sealer.
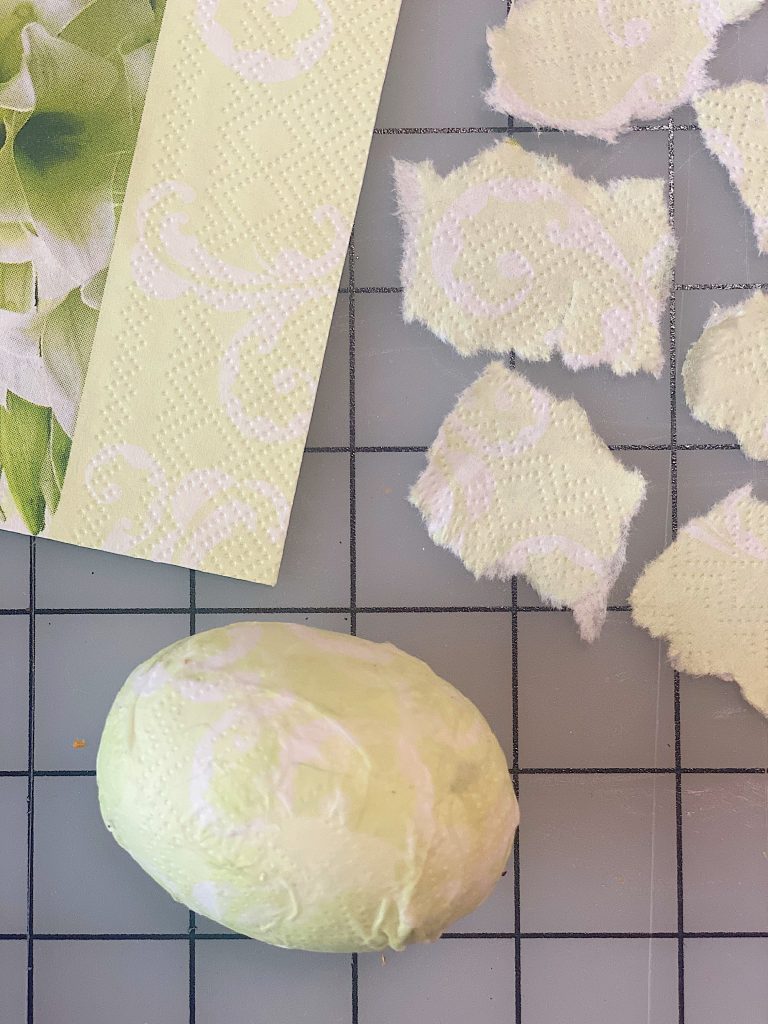
Easter Eggs Covered in Napkins
Some napkins have multiple colors and designs so I used the same napkin to make an entirely different look.
Follow the same directions as above.
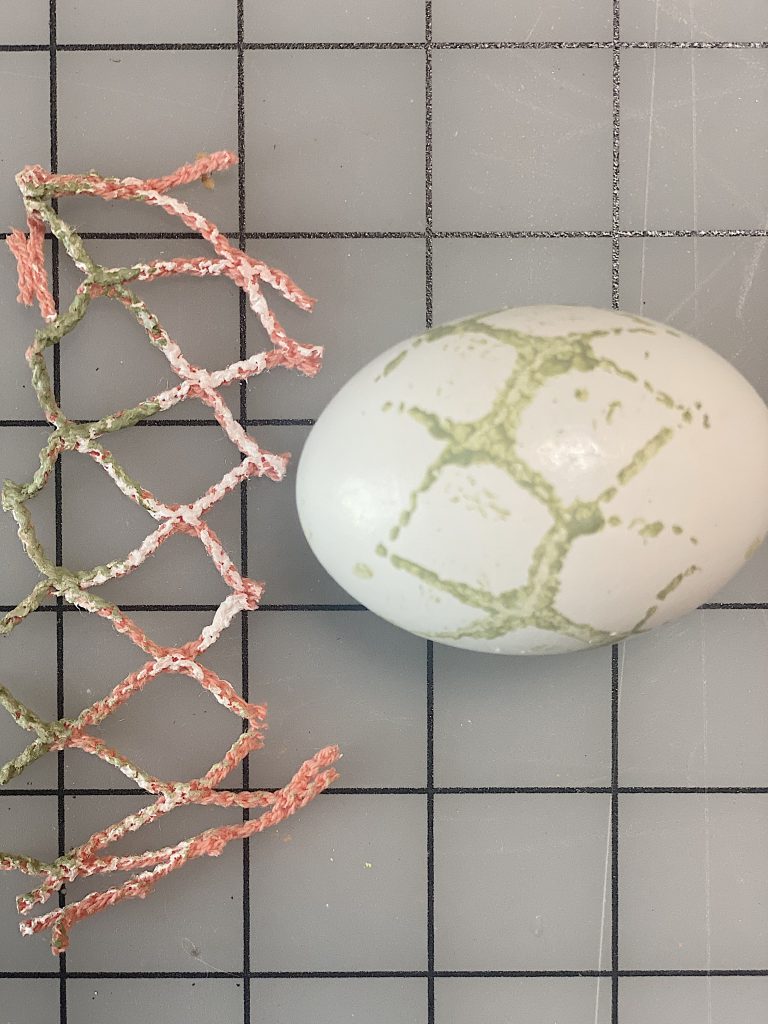
Eggs Rolled in Netting
These eggs were so easy to make. All I did was cut a row of netting.
Next, I painted one side of the netting and then laid the egg on top.
I carefully rolled the egg on top of the netting and carefully “painted” the egg. Spray will matte sealer.
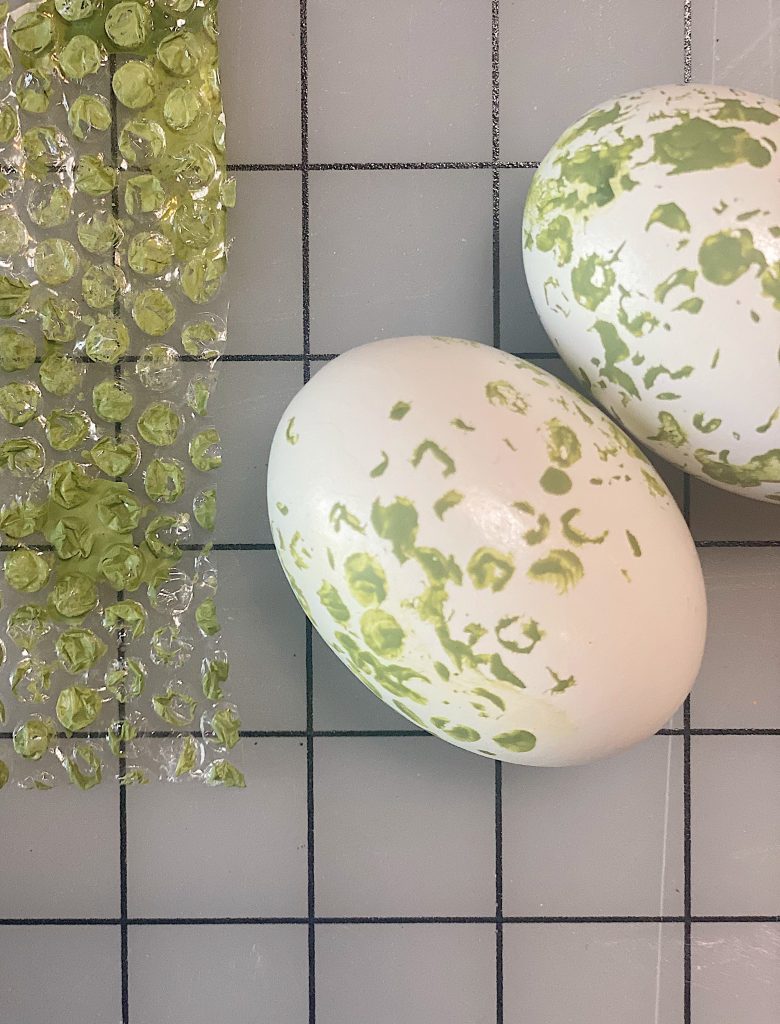
Eggs Patterned with Small Bubble Wrap
I love these eggs so much!
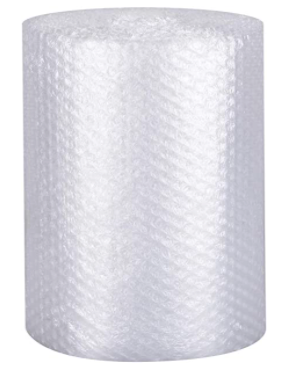
I found some really small bubble wrap in my craft room. All I did was cut it into some strips and carefully apply paint.
Then I slowly dapped the bubble wrap on top of the egg in different places. I love the uneven pattern so much. Spray will matte sealer.
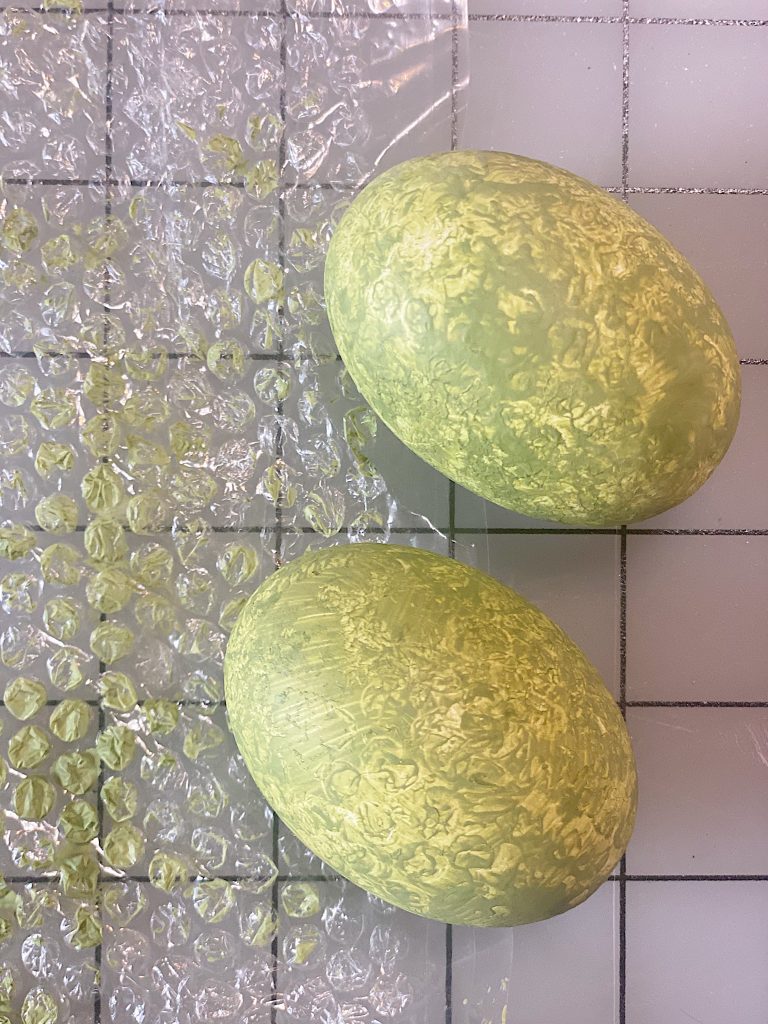
Painted Eggs Rolled in bubble Wrap
This idea happened completely by accident.
First, I painted the eggs with acrylic paint. One of the eggs rolled over on to some bubble wrap and I loved the design it left.
So I did the same to the rest of the egg. Spray will matte sealer.
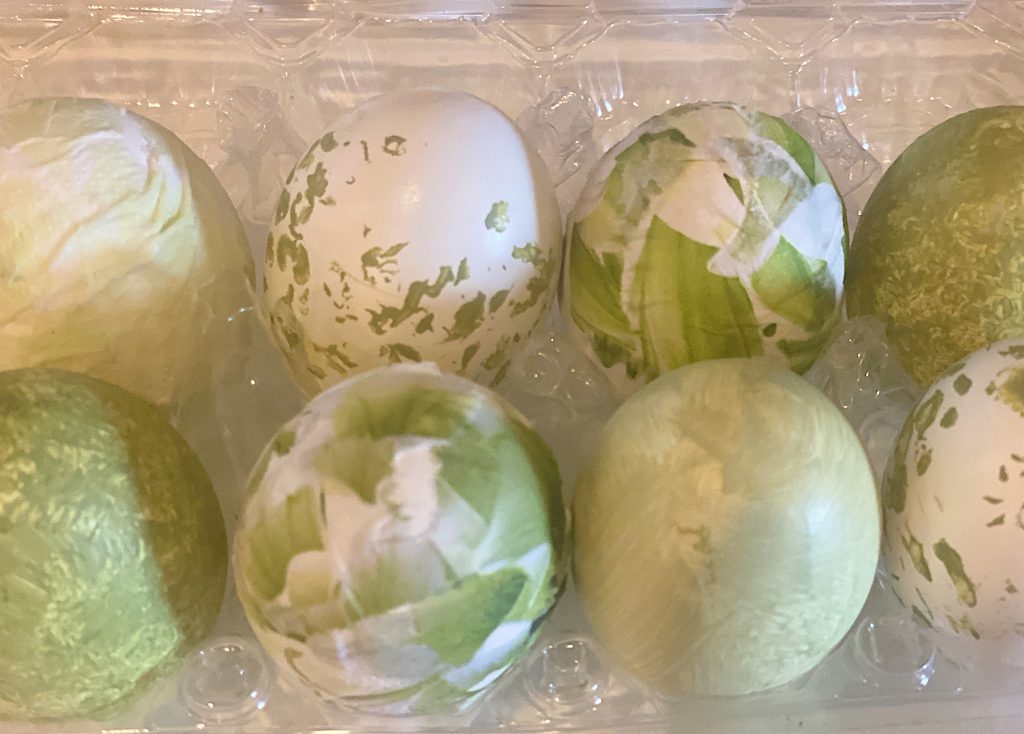
I put most of the eggs back into the plastic egg carton. I love how they look together.

Frequently Asked Questions
There are so many incredible crafts for Easter. My favorite are Easter egg crafts. I like to use wooden or plastic eggs so that I can reuse the finished product year after year.
Easy crafts can be determined by a number of factors, level of difficulty, cost to complete and time to complete to name a few. Paint finishes is a very easy craft requiring very low level of difficulty, cost and time.
Links to the Items Shown in This Post
More Wonderful Easter Crafts
How to Dry Flowers and Make a Wreath
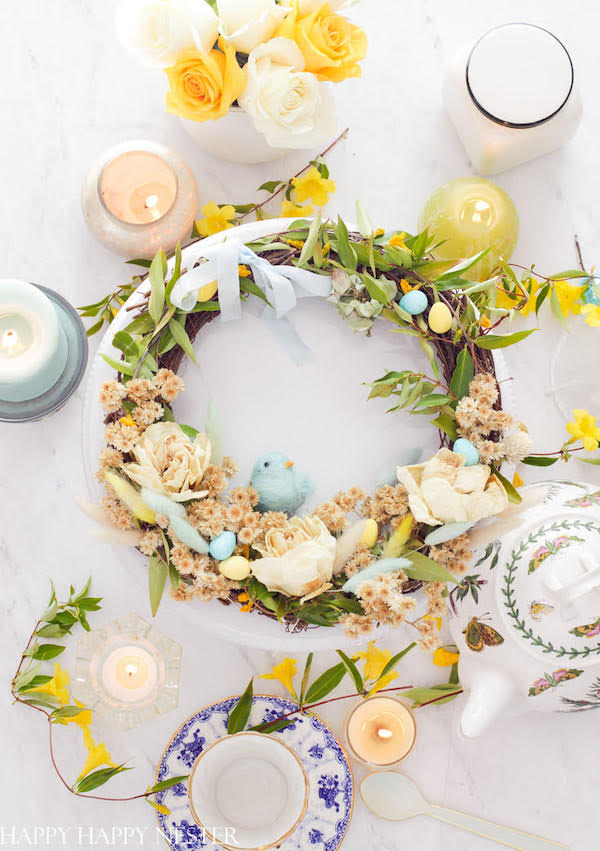
How to Dry Flowers is a simple project. No need to use silica gel since they dry quickly. I recently preserved a bunch of store-bought roses, and I made a beautiful wreath. Check out this easy DIY project.
How to Make a Textured Vase with DIY Plaster Paint
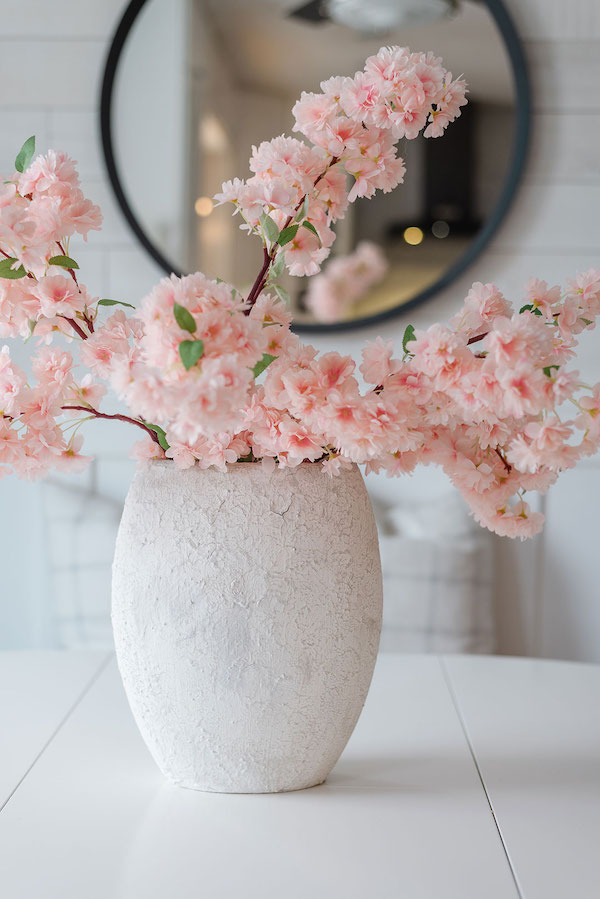
Have an old vase or jar that you want to turn into a beautiful, textured piece? Let me show you how to make DIY plaster paint to make the perfect vintage-look vase to hold your Spring blooms!
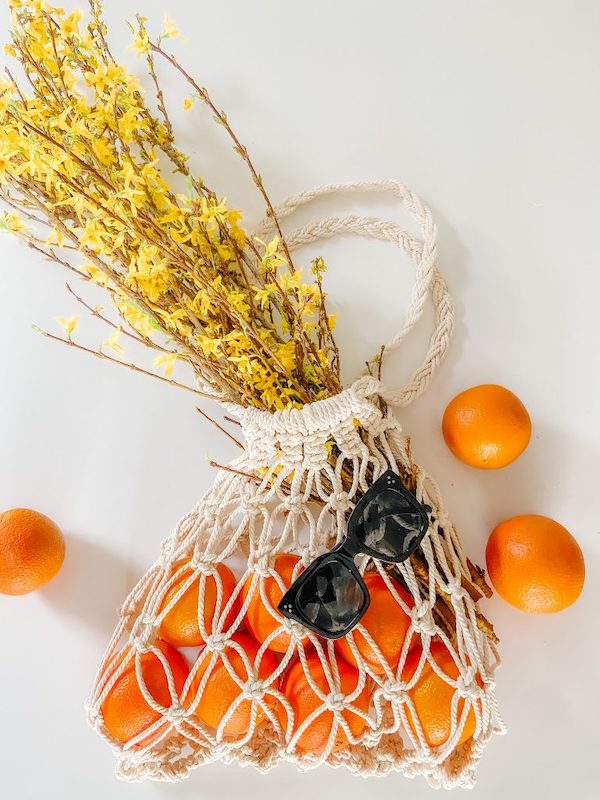
Make a Macrame Farmer’s Market Bag for Spring
Pin the image below to your Easter or decor boards on Pinterest (just click the Pin button in the top left corner). You can also follow along with me on Pinterest!
For more real-time updates, follow me on Instagram @My100YearOldHome




Loving your stuff!
Thank you so much Rue! I appreciate so much that you reached out to me!
These are so pretty, I am definitely making these and keeping them out all summer, yup, that’s what’s going to happen over here. Thanks Leslie
look forward to your emails everyday. You have inspired me. I used to be very creative in my younger days. My health has been horrible the last 15 years. When I started receiving all those inspirations thru your emails I am now creating again. Thanks
Oh my gosh Peg, your sweet comment just made my day! I am so happy that you are creating again! Thank you for reaching out!
Leslie,
I just have to order some of these wooden Easter eggs! Next project on the list. My list keeps getting longer and longer with all your wonderful inspiring ideas!! Thanks so much for sharing.