Easter Table Runner DIY
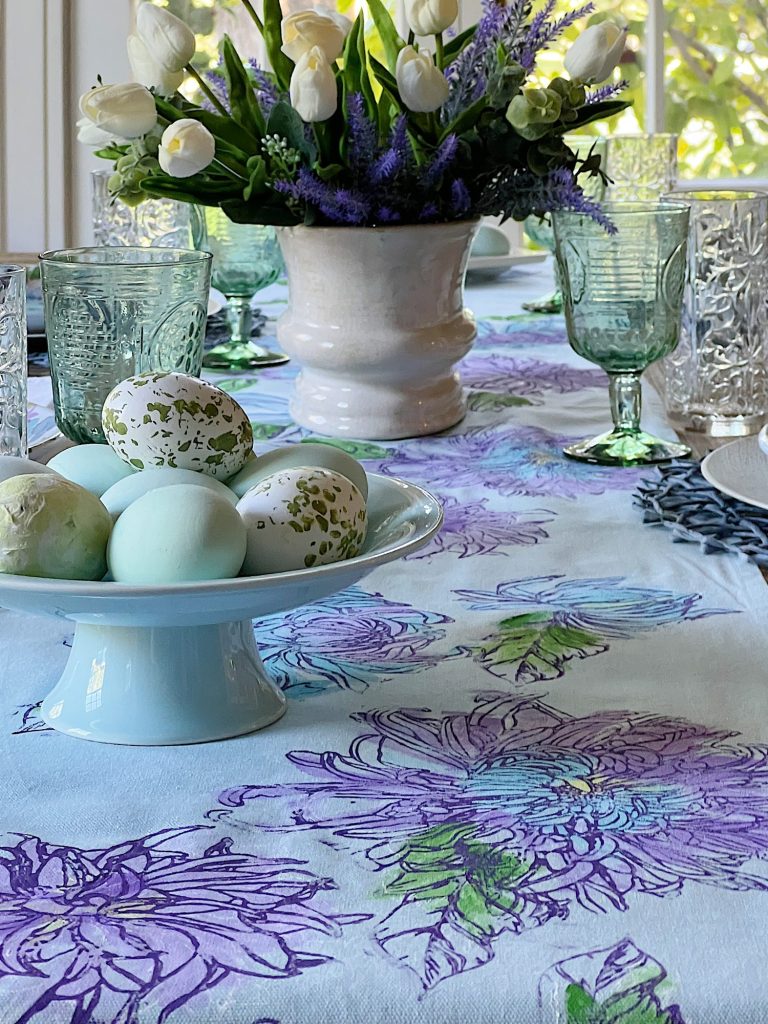
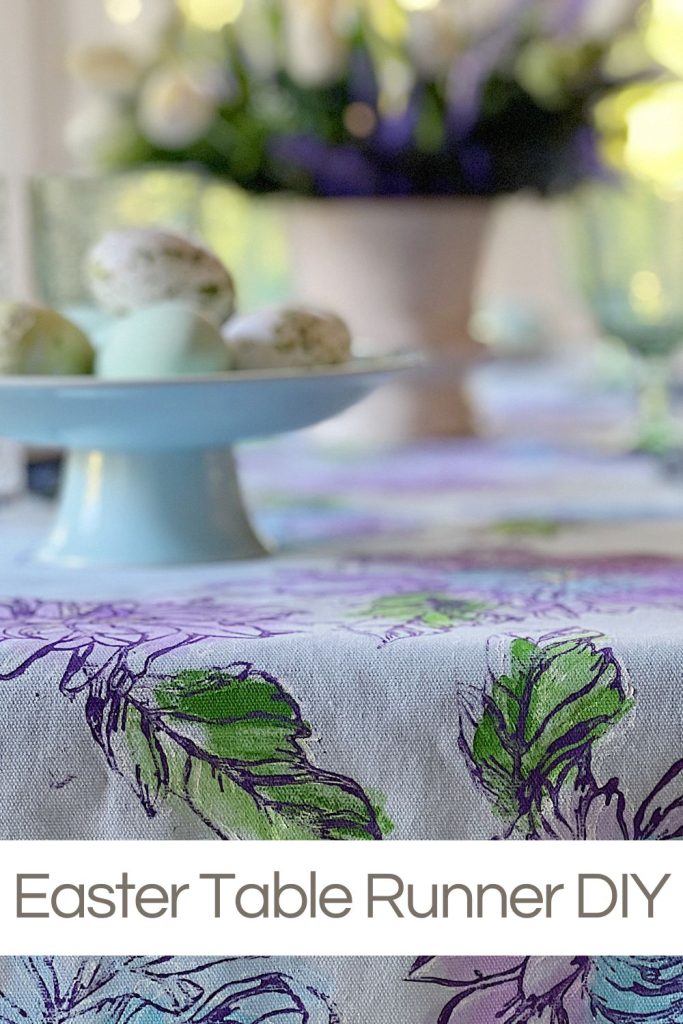
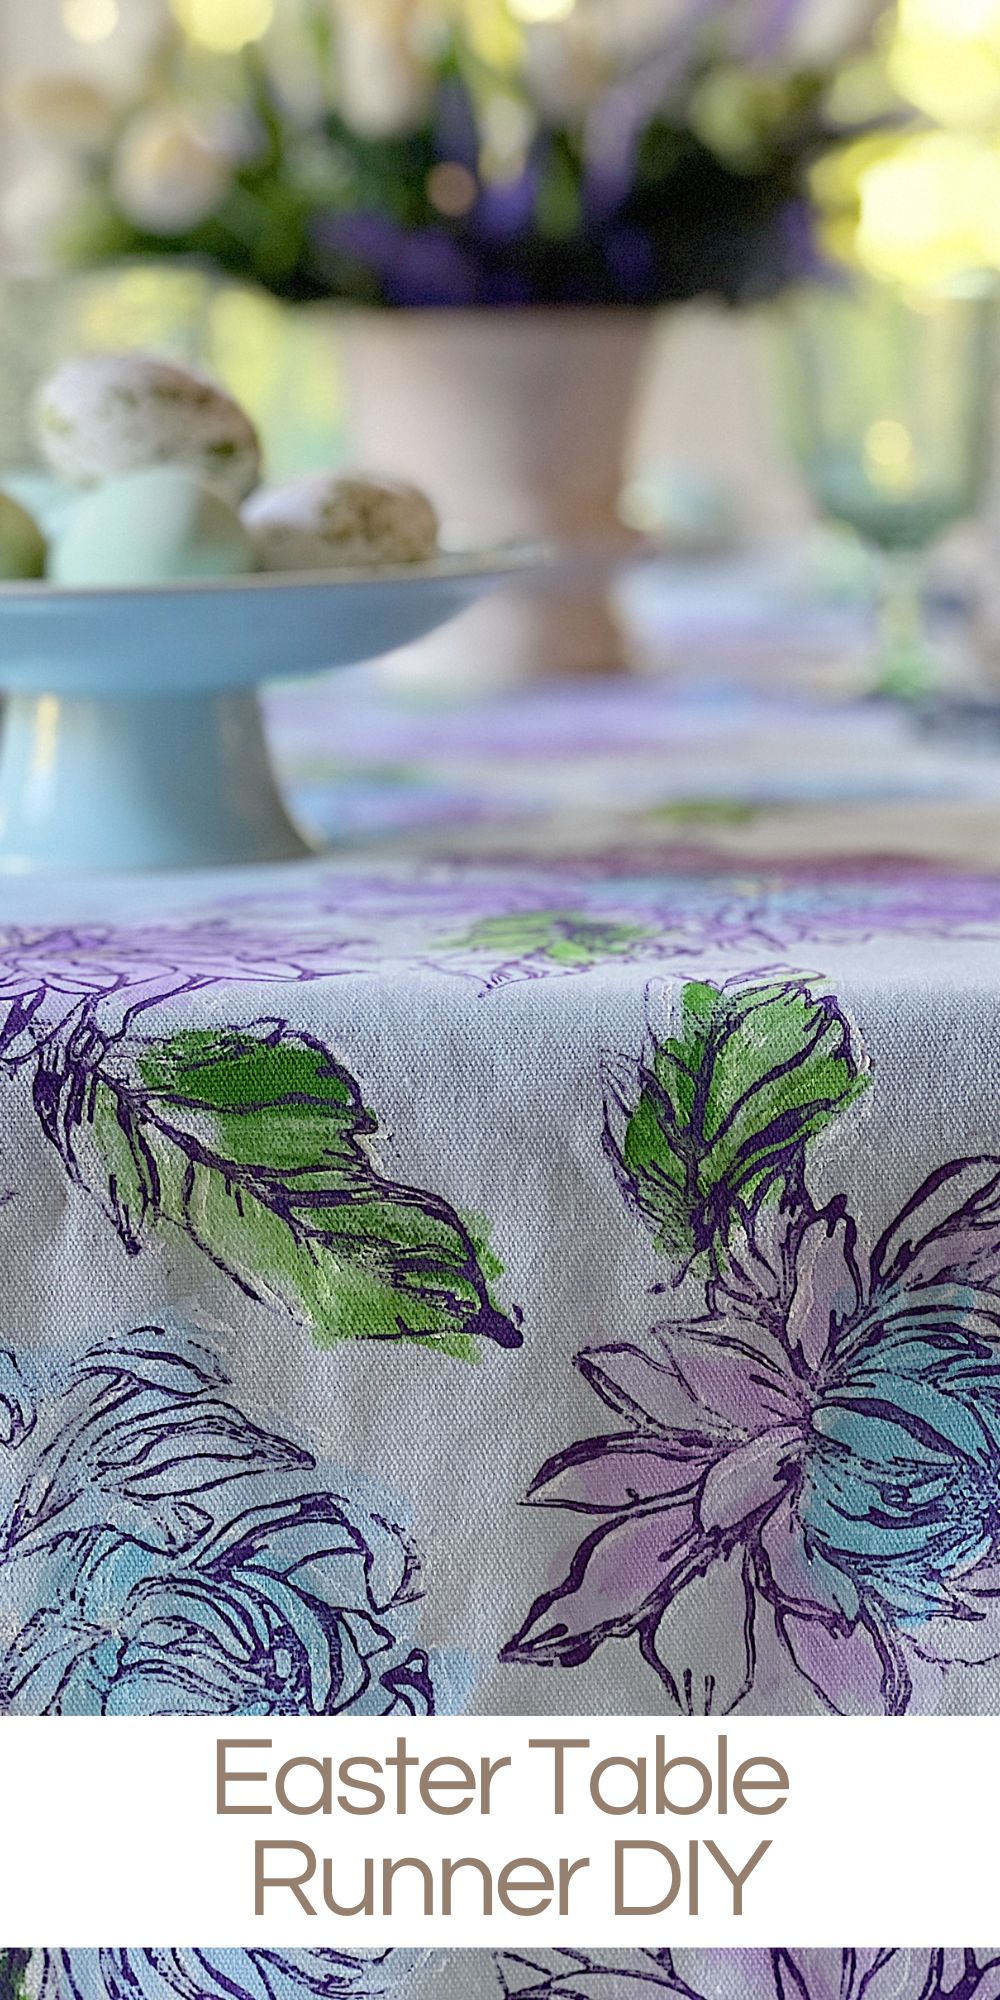
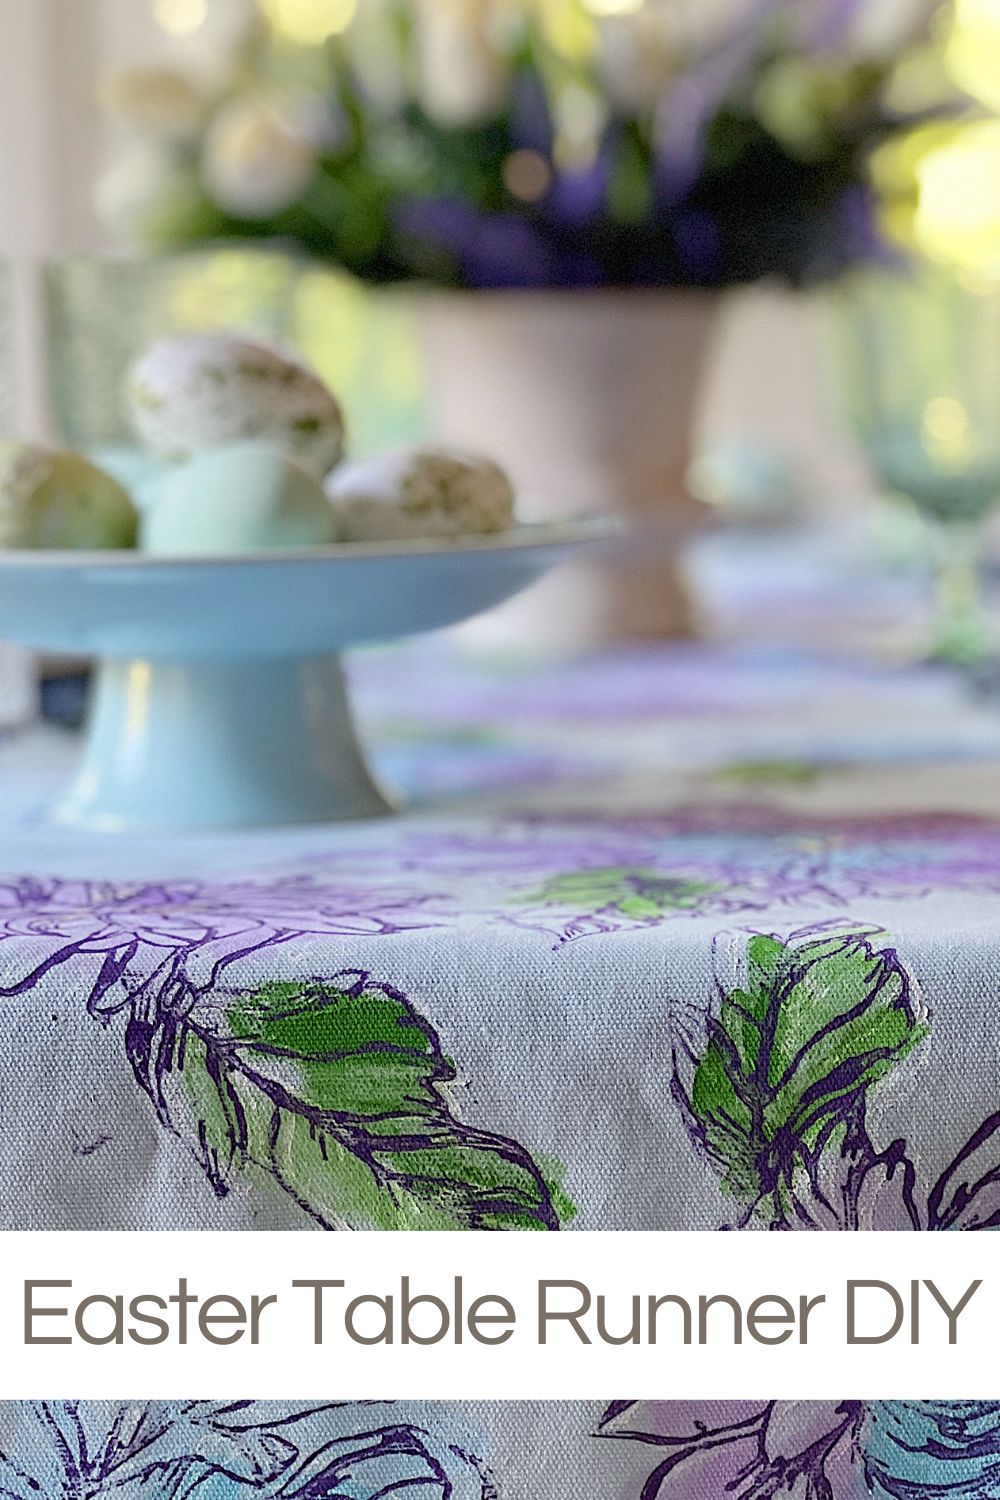
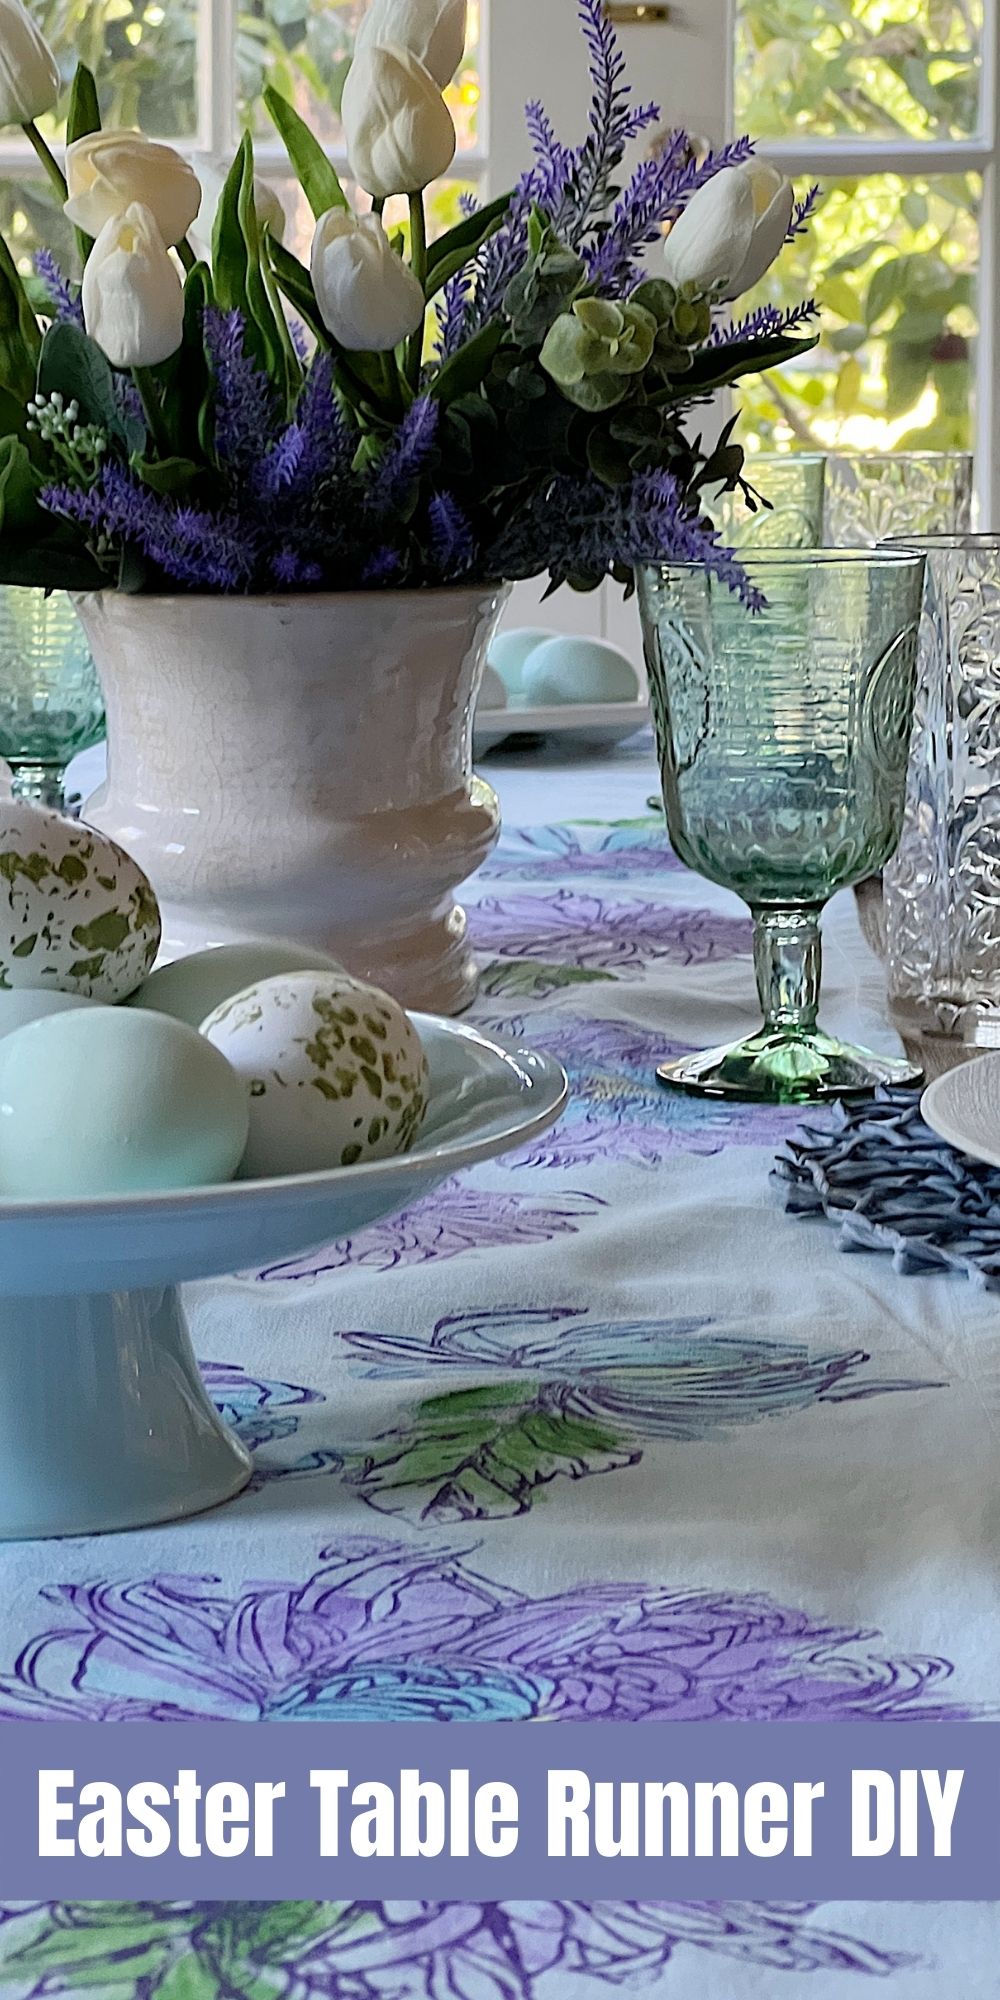
I made a beautiful Spring Easter Table Runner using my newest technique I call paint and stamp. There is very little artistic skill required.
All you need is some fabric, some paint, and a stamp or two. This project is perfect for beginners. So let’s get creative and have some fun and make a Spring Easter Table Runner that you can use year after year all spring long.
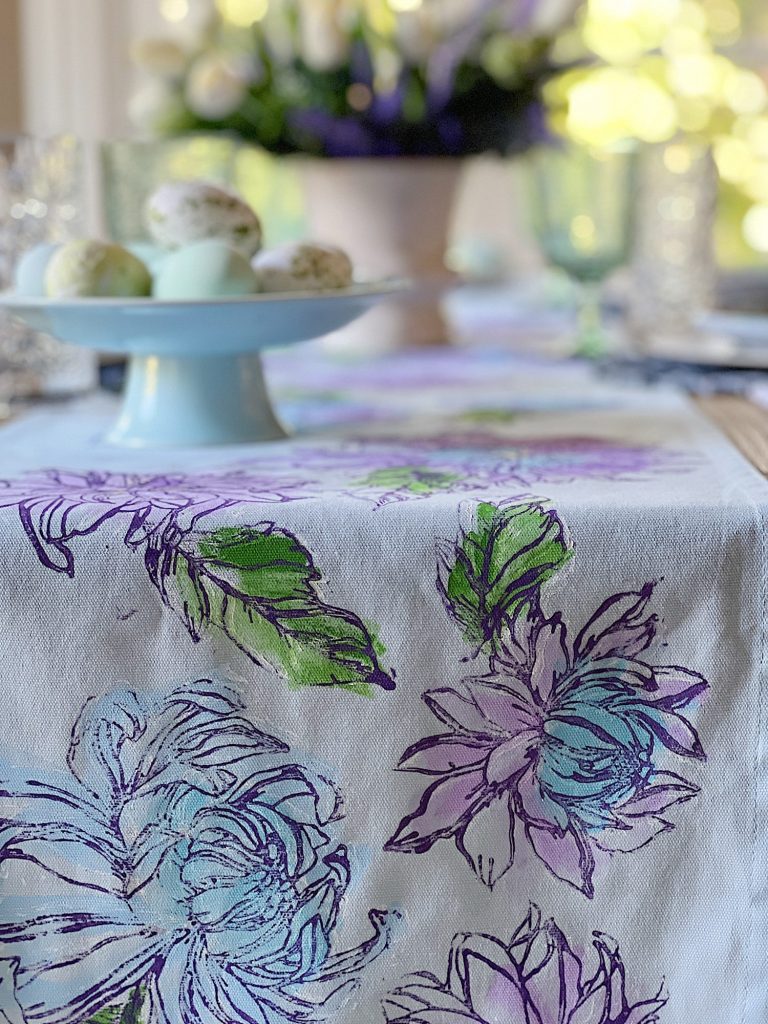


A Spring Easter Table Runner
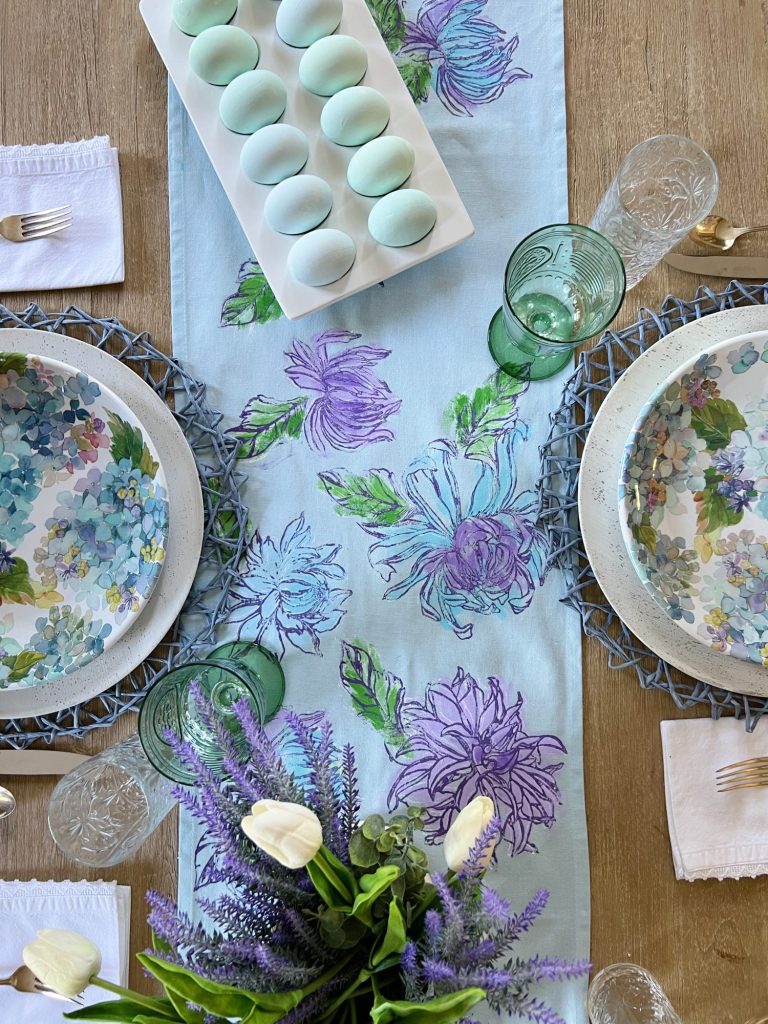
I have wanted to make a spring table runner for the past month. I also wanted it for my Easter table but thought it might make sense to make one I can use for the entire spring, and maybe even summer, season.
So that’s why I chose flowers!
I made a pillow a few months ago using these same stamps from Iron Orchid design. You can see the pillow in my blog post titled Flower Pillow DIY.
I used an Iron Orchid Design Chrysanthemum stamp which made the process so easy because all you do is stamp the runner, then paint over the designs, and then stamp them again. Very little artistic talent is required. I promise.
I love how this turned out and it looks amazing on our Easter table.
Iron Orchid Designs
I love Iron Orchid Designs. You all know how much I love to craft and I am always looking for new ideas that look amazing and are not hard to do. Iron Orchid Designs has the most incredible products for crafts and DIYs. Their designs are so creative, they are a company of wonderful people, and their products will easily help you to discover amazing new DIYs and crafts.
If you go to the IOD website you will find “DIY tools and tutorials to inspire your creative soul”. They have decor moulds, decor stamps, and decor transfers to make fabulous items for your home. Today I get to share how I made used their decor stamps to decorate my homemade Easter table runner.
Where can you buy Iron Orchid Designs products? Just click here to find a retailer near you! (You can also order online from some of the retailers.)
I used the IOD Decor Chrysanthemum Stamp.
How to Make a Chrysanthemum Flower Easter Table Runner
On this blog, I may sometimes use affiliate links, which means a small commission is earned if you purchase via the link. The price you pay will be the same whether you use the affiliate link or go directly to the vendor’s website using a non-affiliate link.
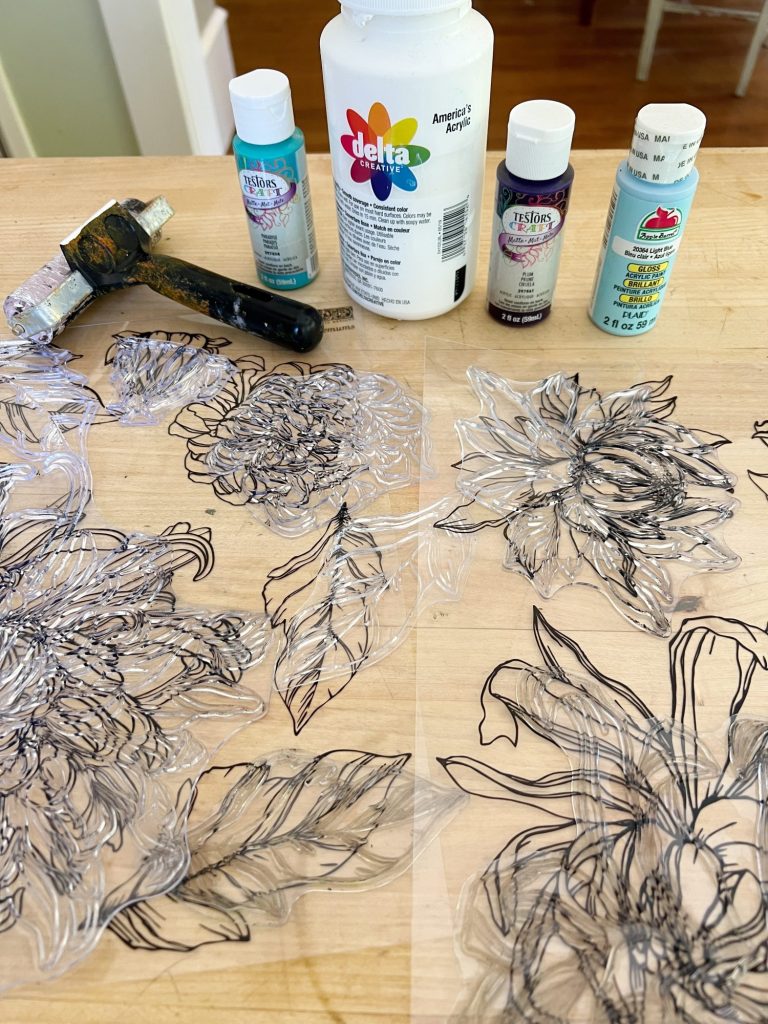
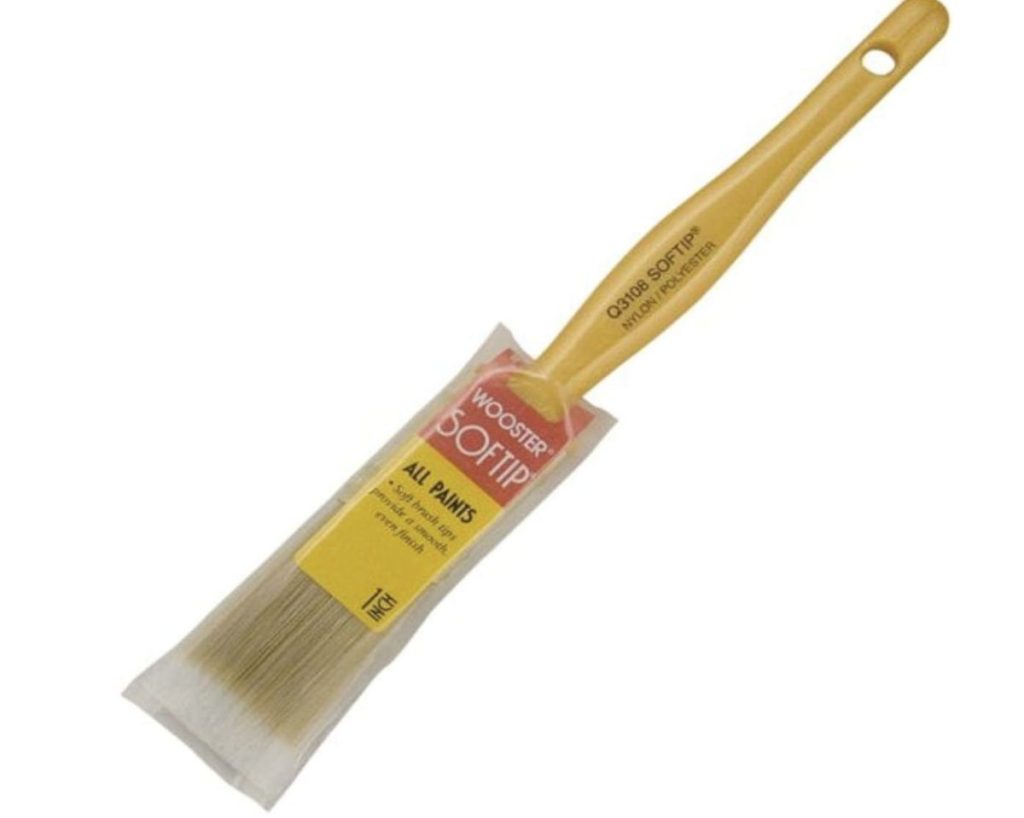
Here is what you need to make this Easter table runner.
- Iron Orchid Designs Chrysanthemum Decor Stamp
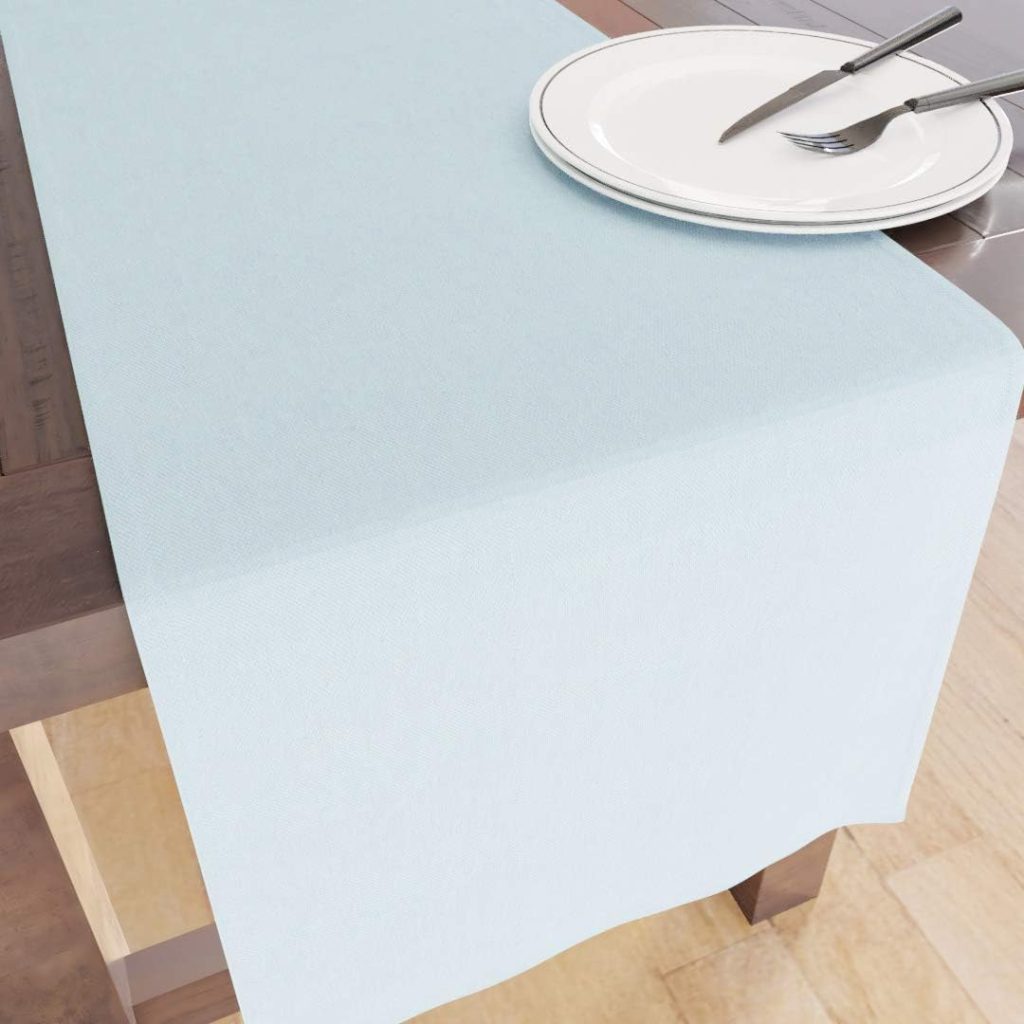
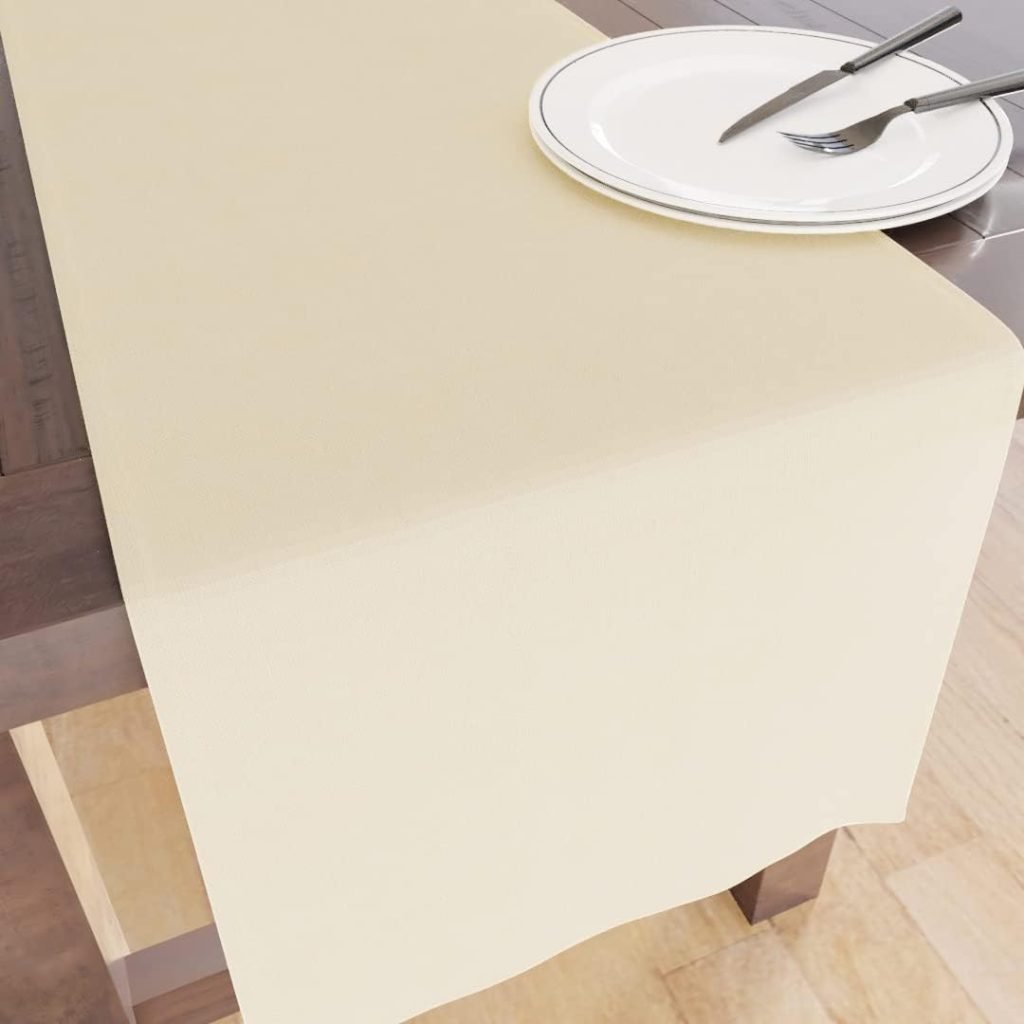
- Table Runner
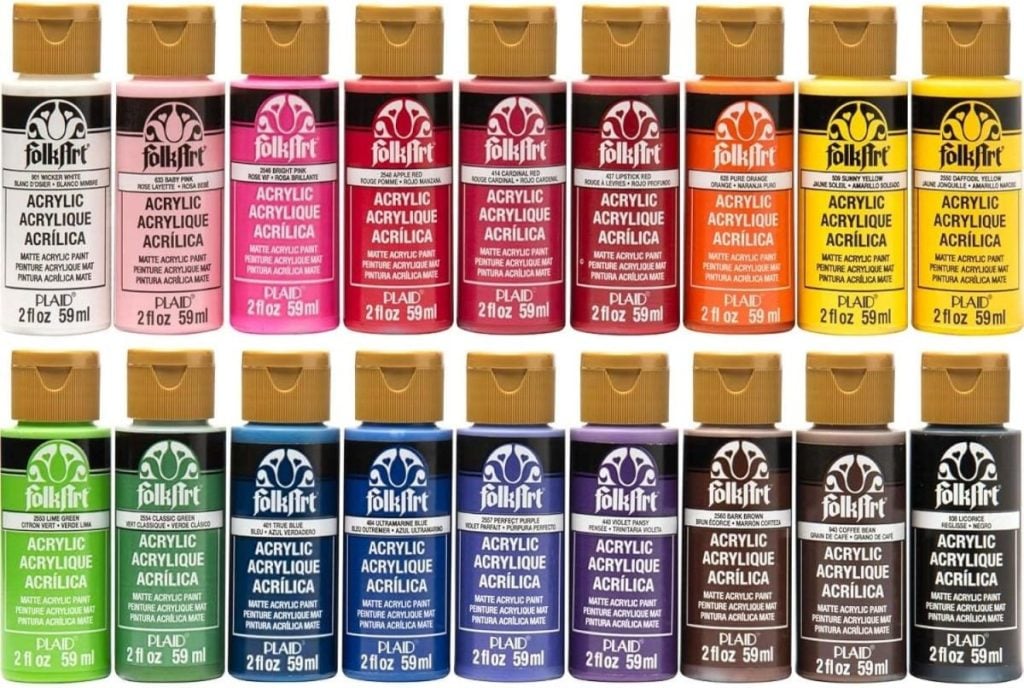
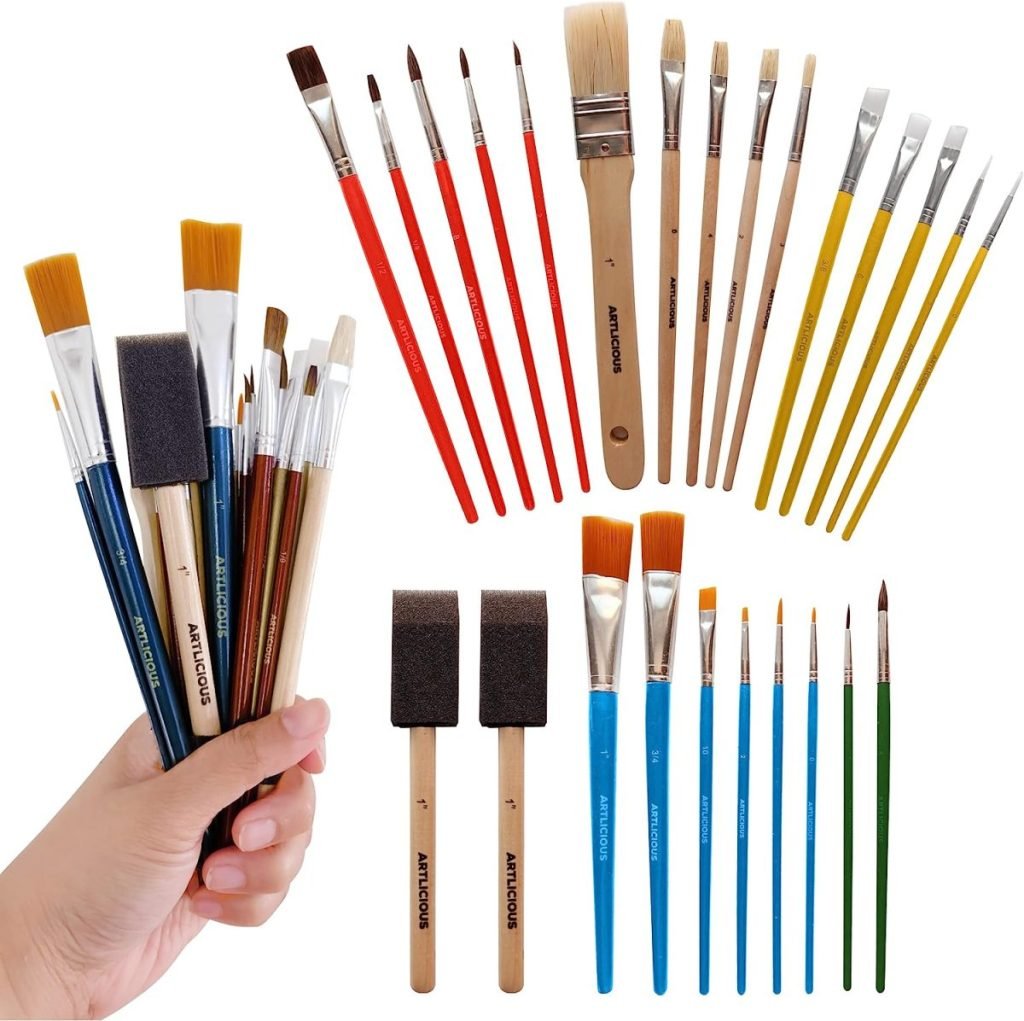
- Assorted Acrylic Paints
- Brayer (Sometimes I use two and I would suggest you do the same.)
If you are enjoying my blog, you can sign up to receive my blog updates here.
.Step-by-Step Instructions
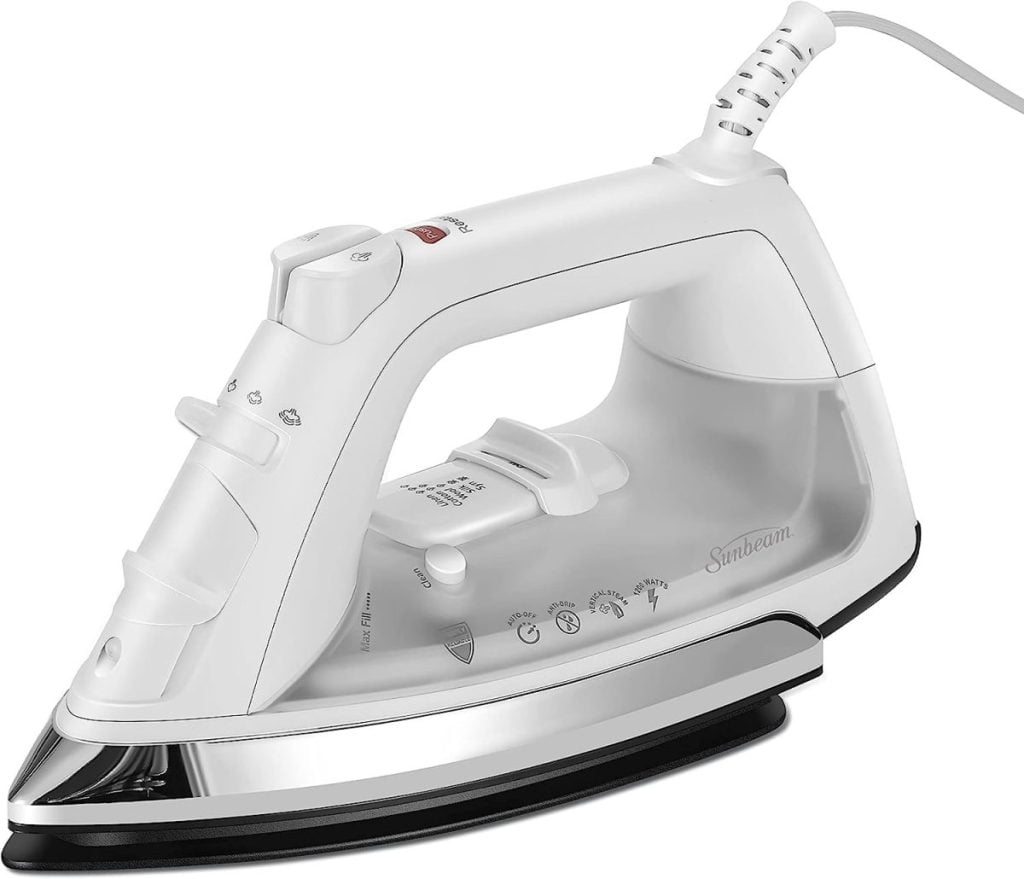
- Iron the table runner and layout the stamps to determine a design for your runner
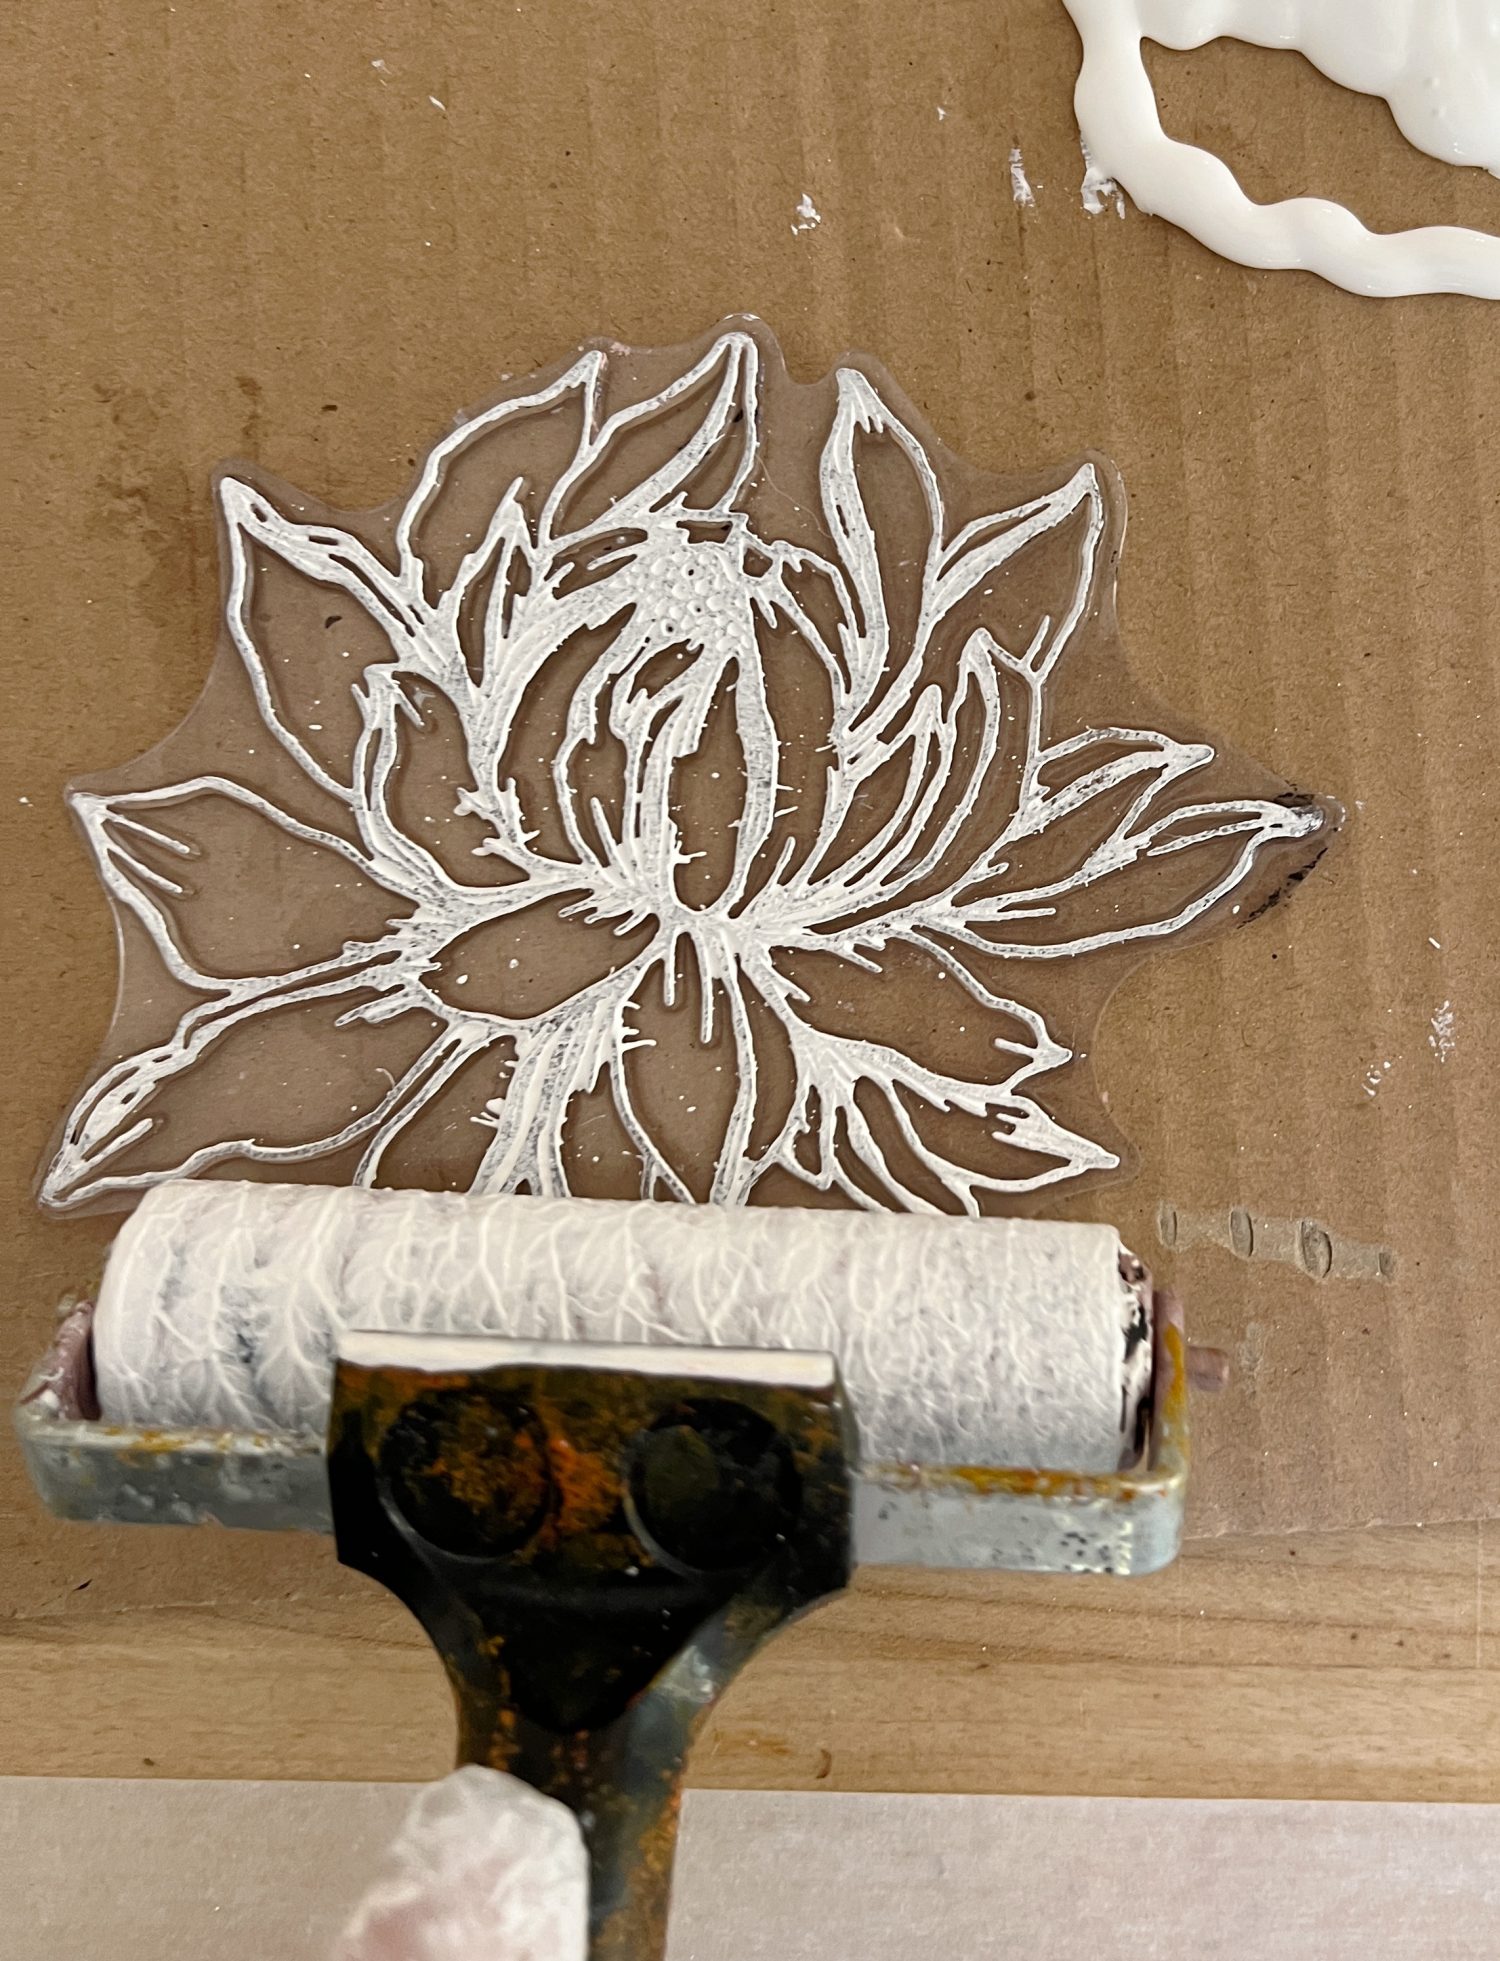
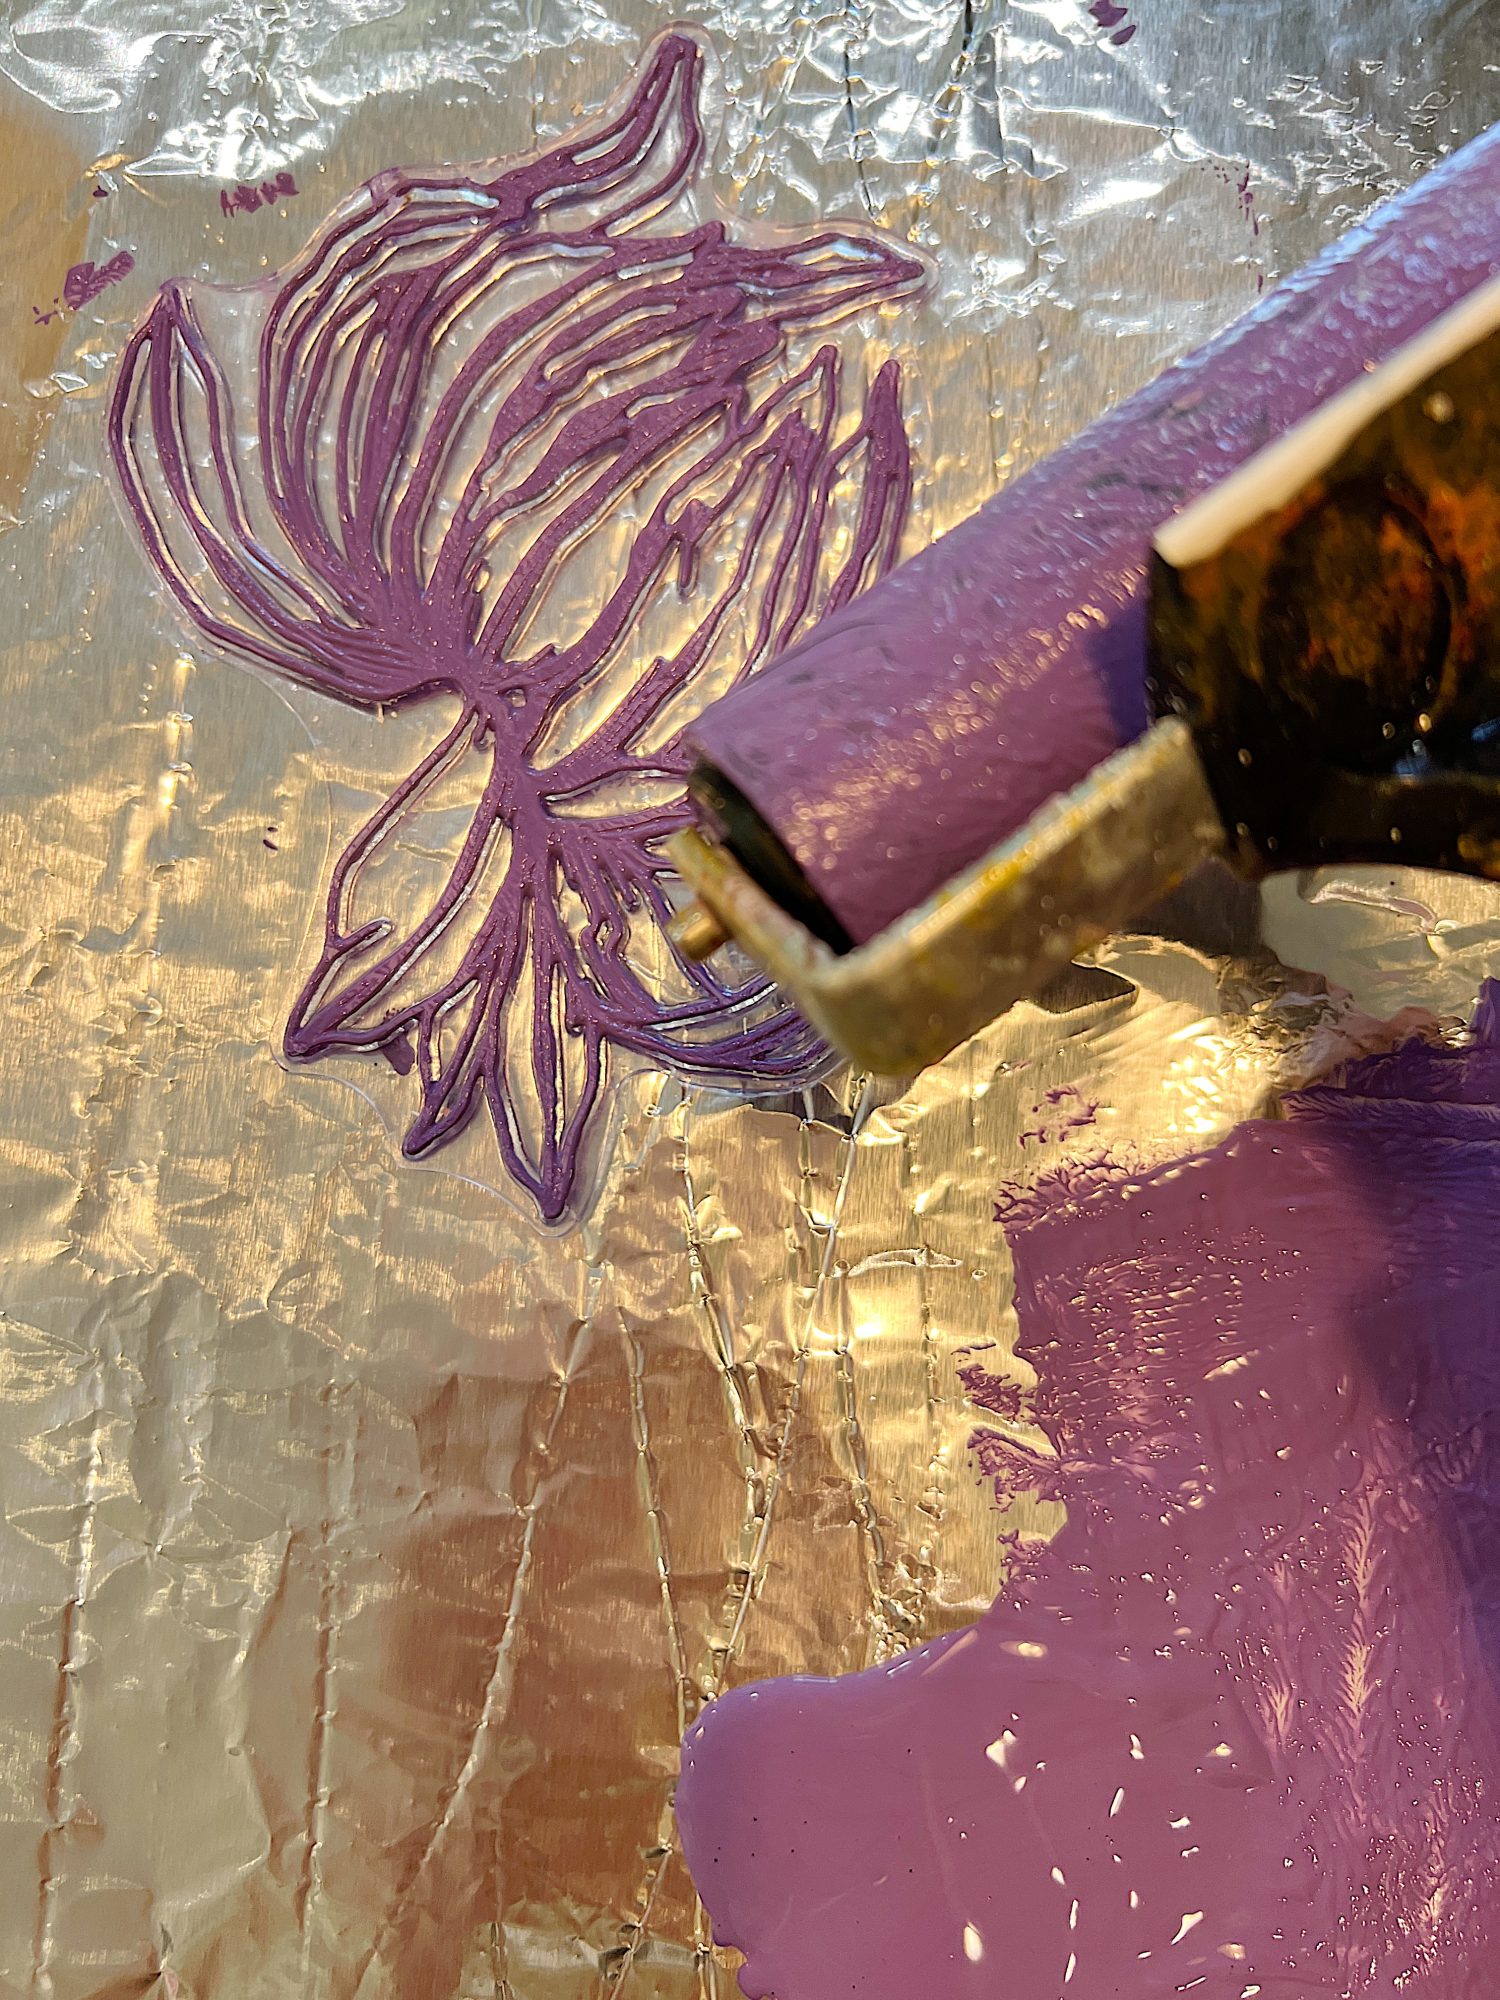
- To make the painting step very simple, choose a light color of paint and roll paint on the stamp with the brayer.
- Stamp the design on your table runner. This will give you an outline to paint your design.
- As soon as you are done with the stamps, please place them in warm soap and clean off the paint. They are very easy to clean if you do this before they dry completely.
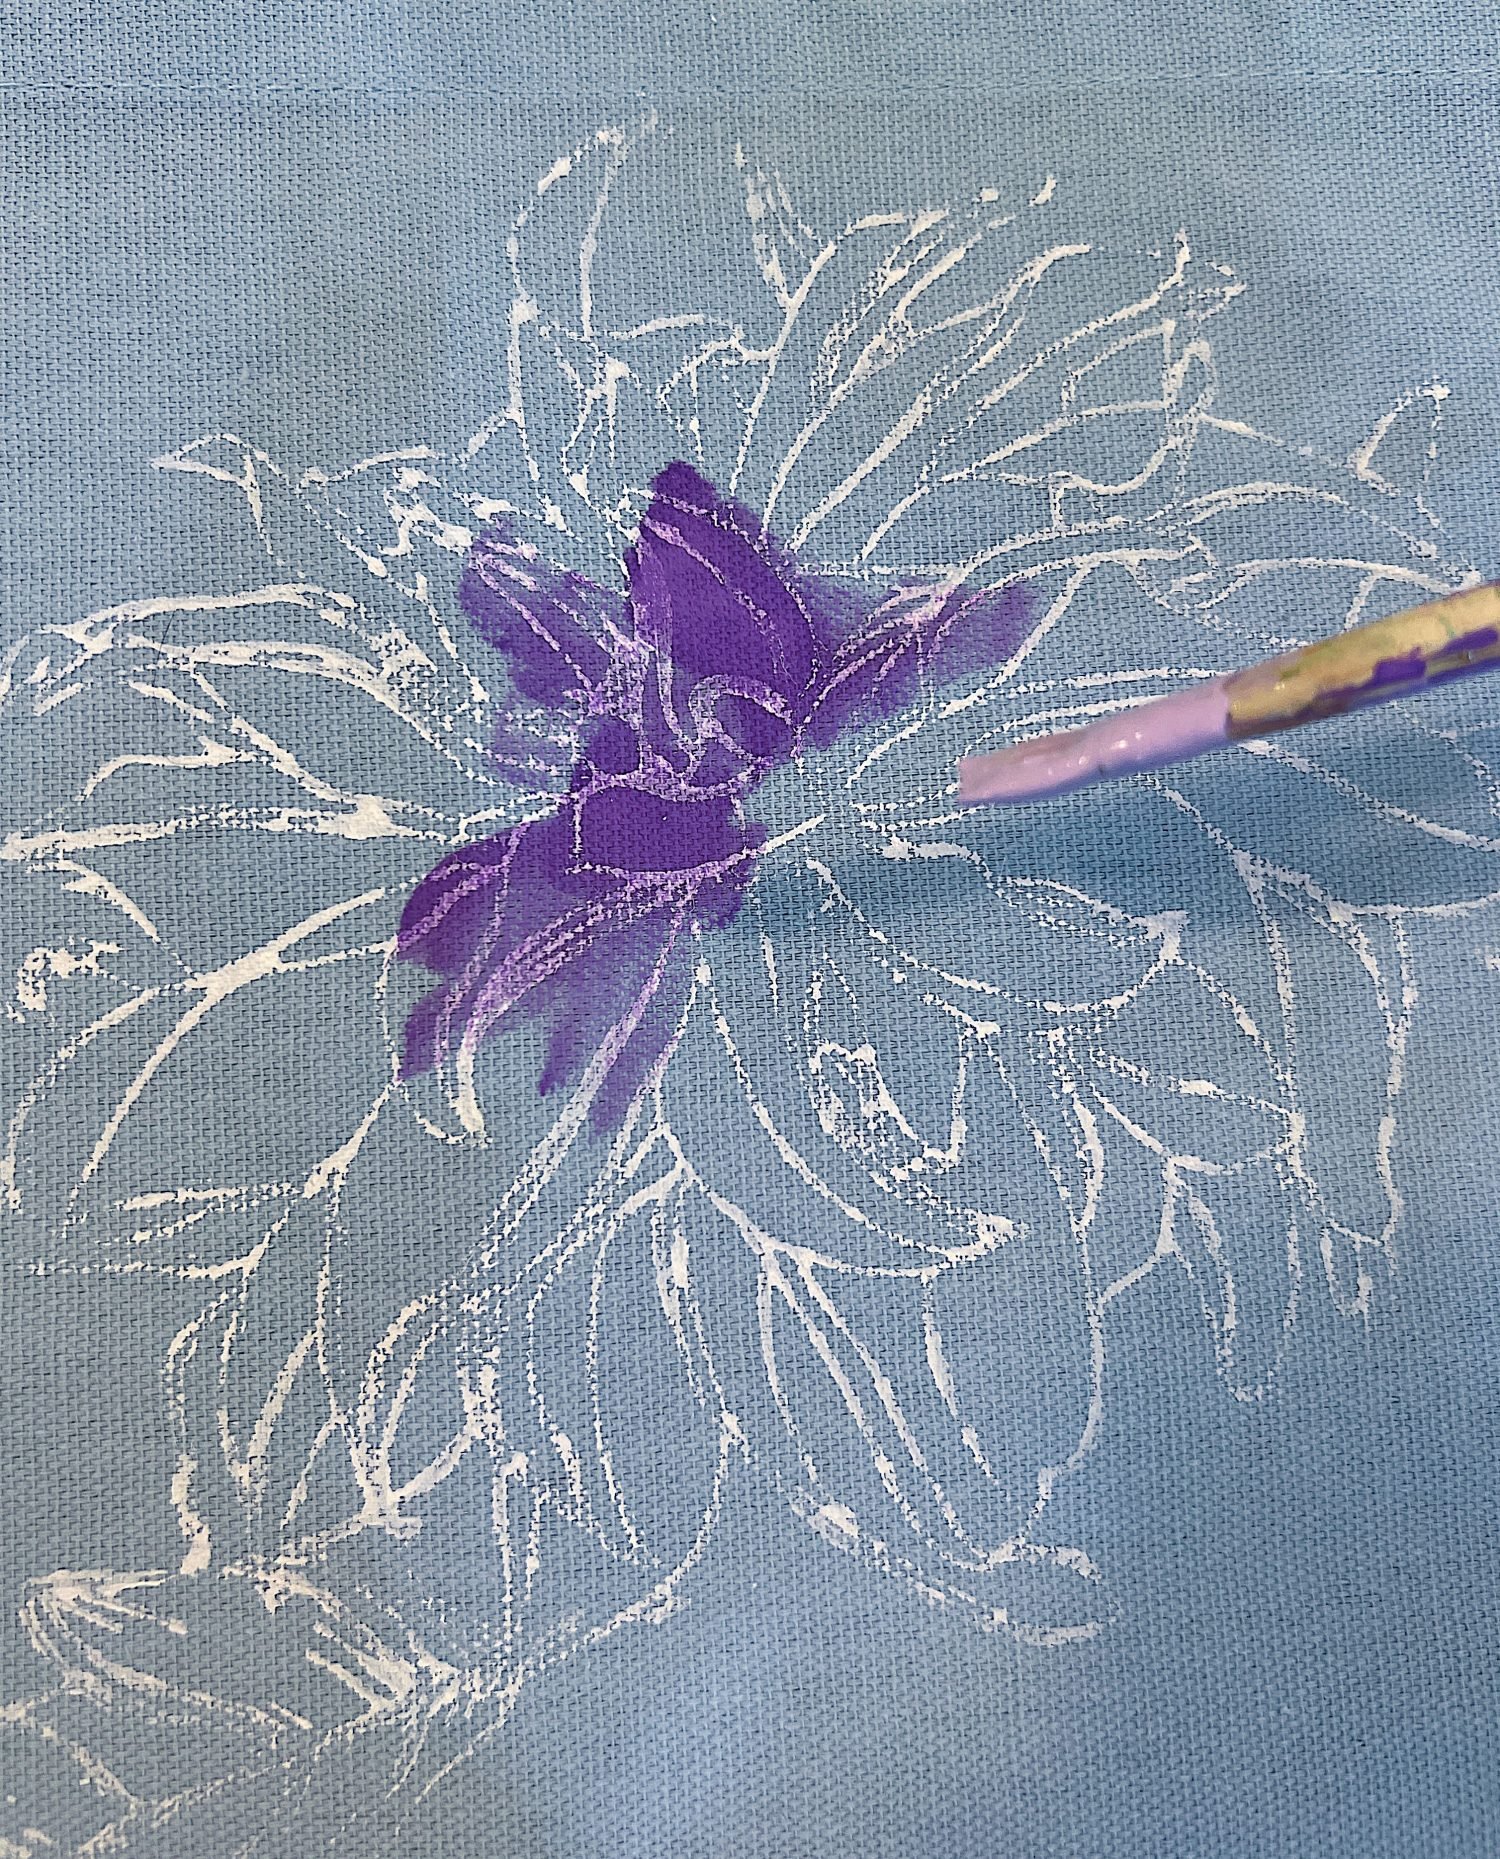
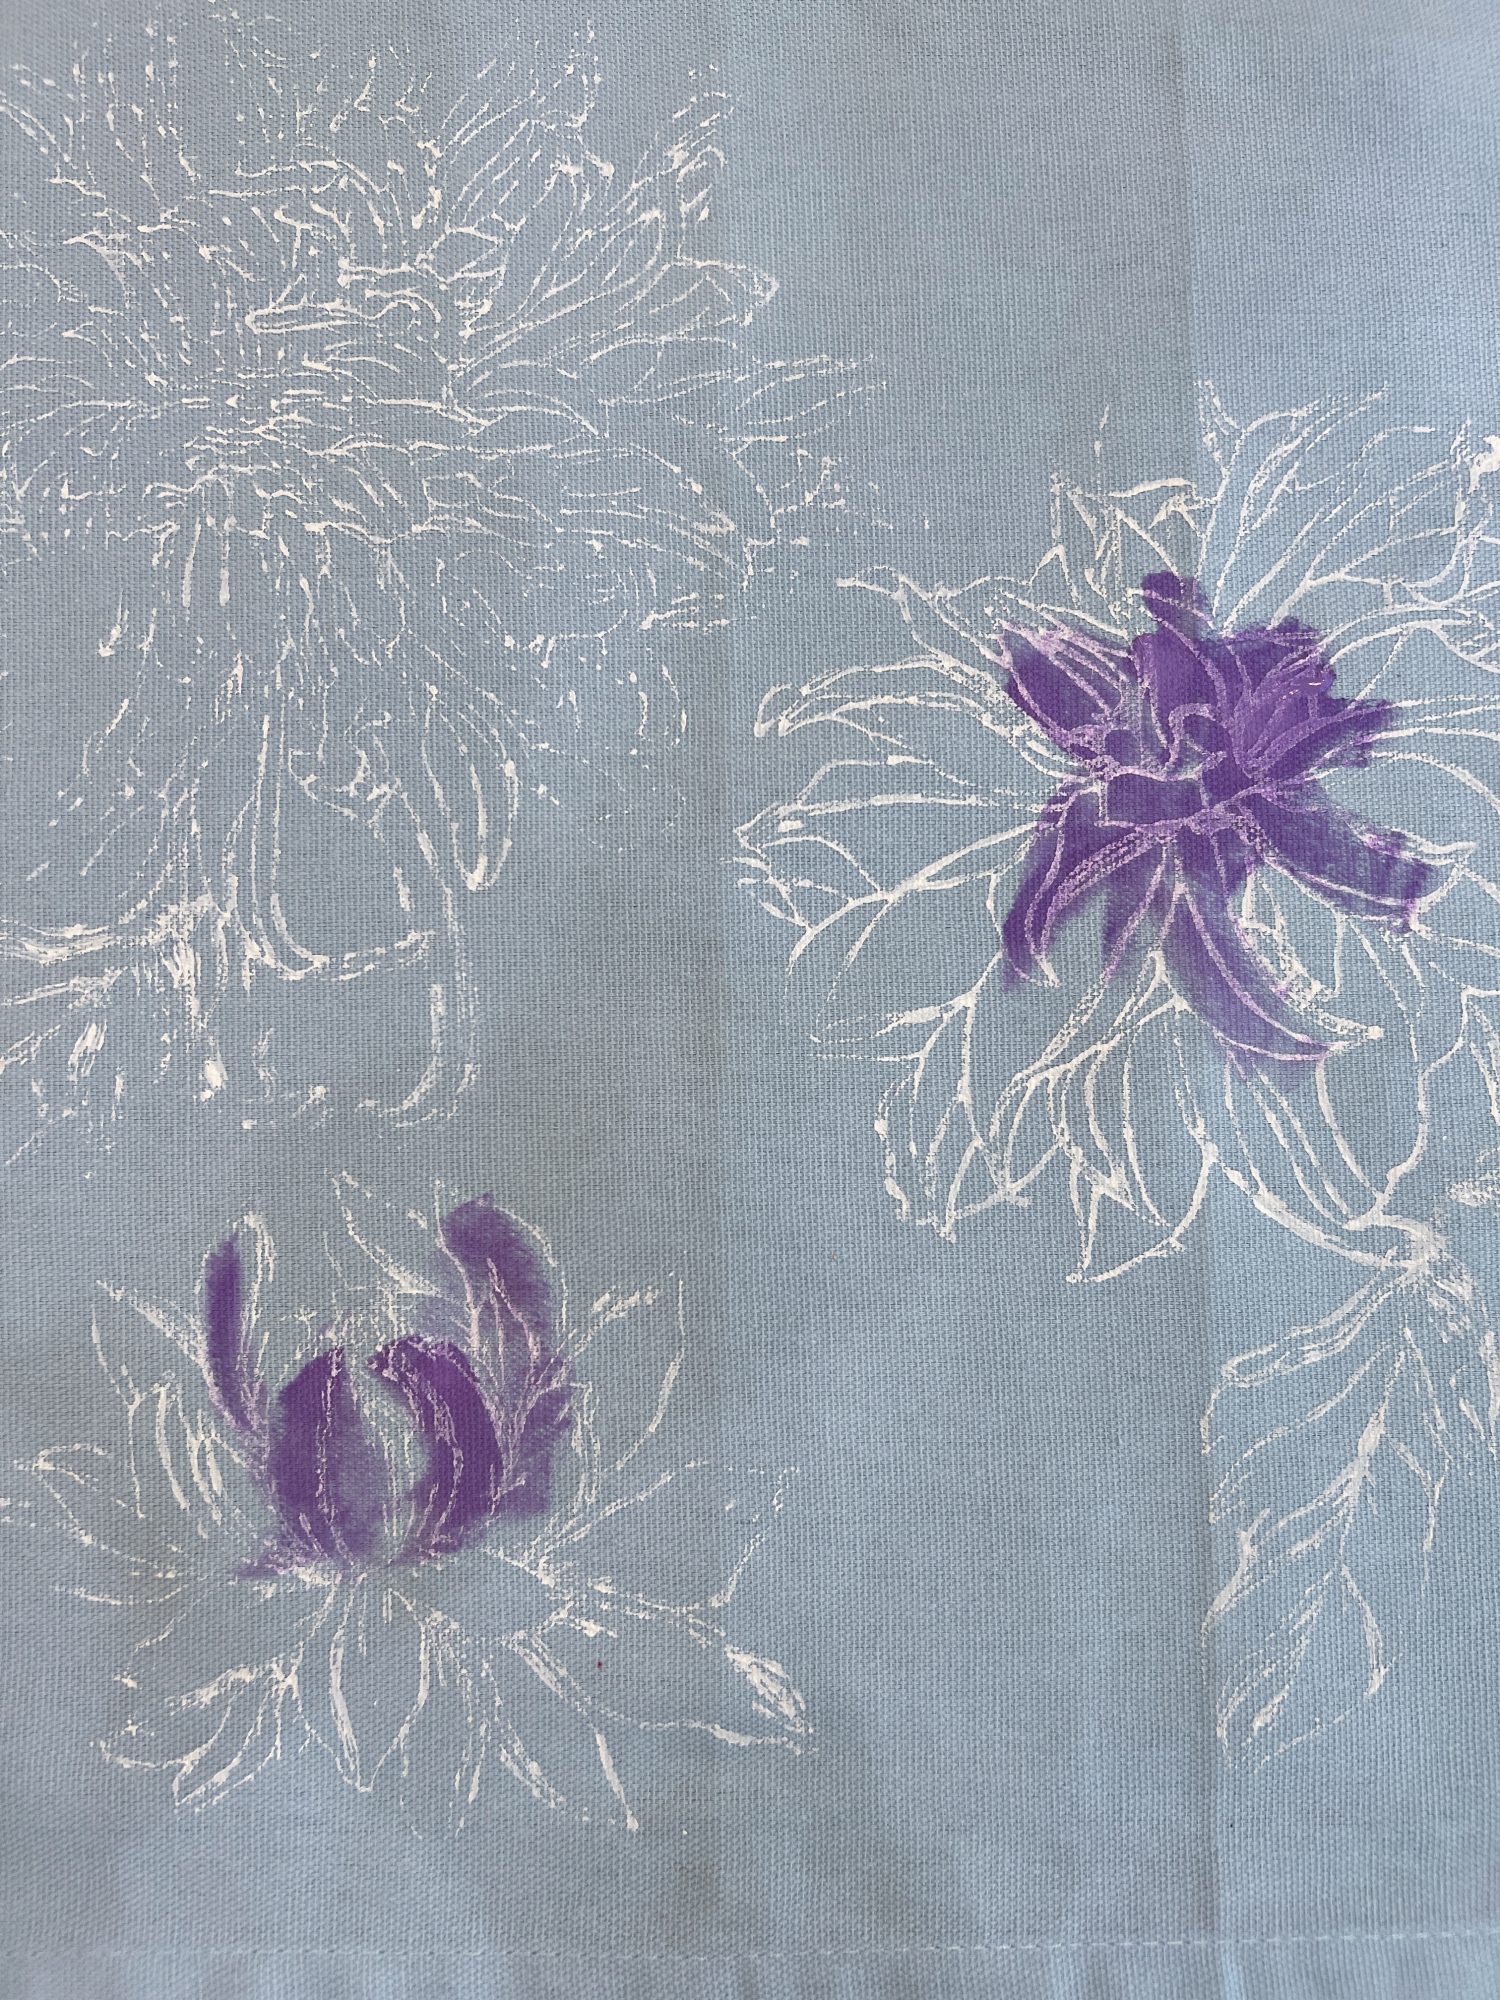
- Mix your paints. I didn’t want to paint my flowers all one color so I mixed two shades of three different colors, lavender, yellow, and blue for the flowers. Plus, I also used two shades of green for the leaves.
- I made the centers of each flower either darker or lighter and I followed the stamp design to see where the petals were but knew my painting did not need to be perfect.
- You can see how loose I painted this. Just know, anyone can paint this!
- Once the paint is dry, the next step is to add the stamp design on top of the painted flowers. I used purple paint but you could also use any darker shade of paint.
- Use the brayer to add a layer of paint to the stamp. Be sure to get enough paint on the stamp, but not too much.
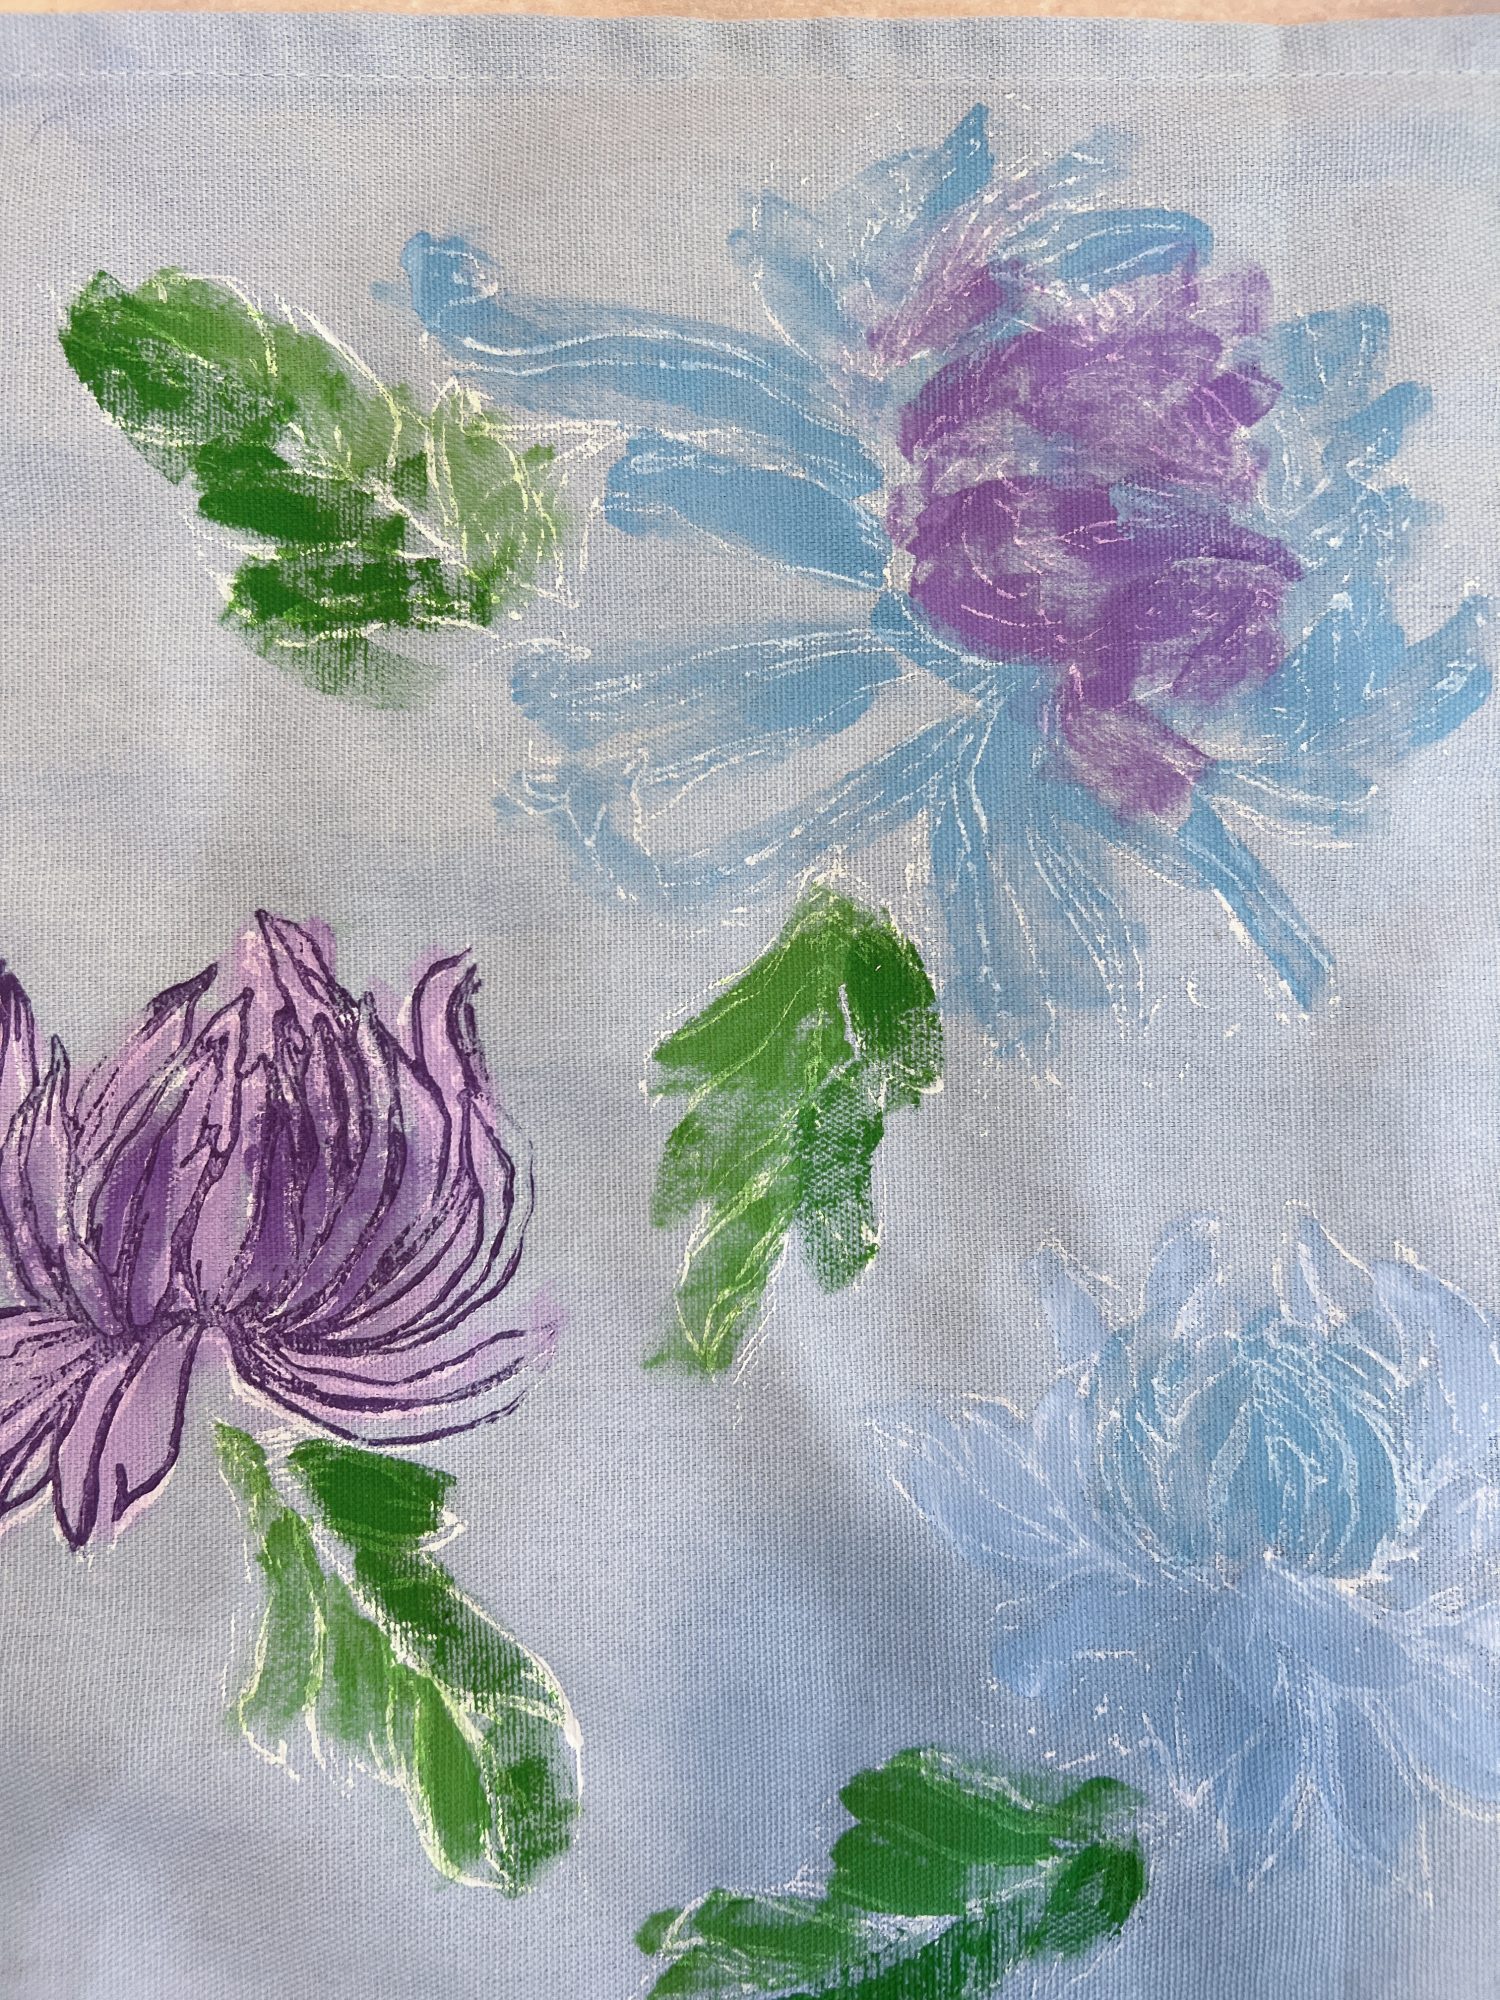
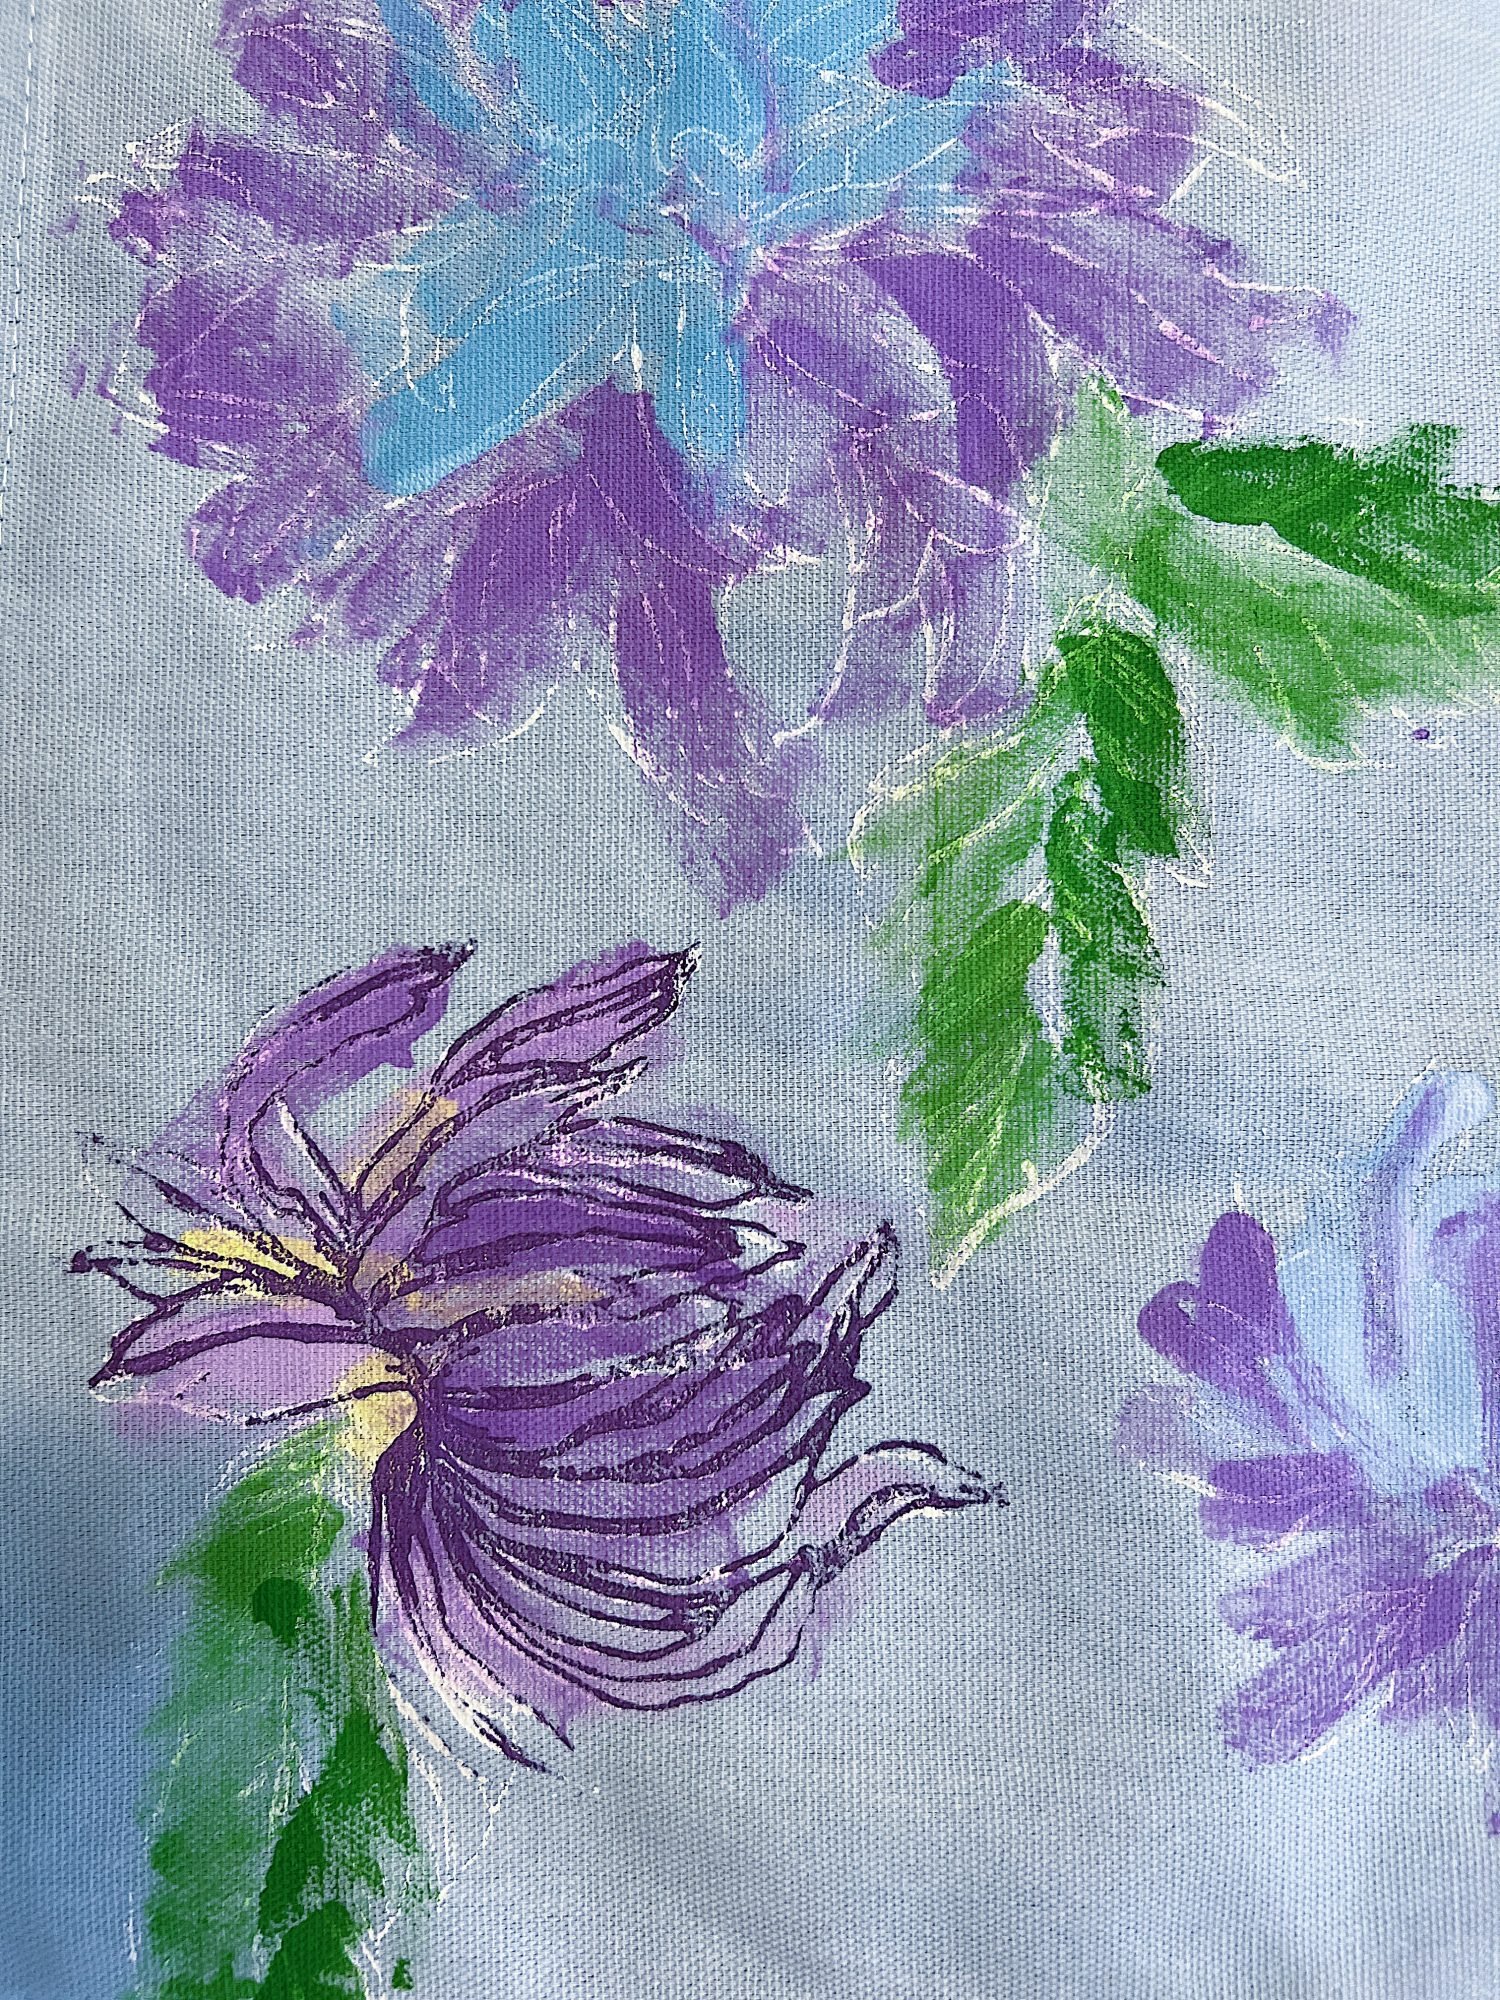
It is amazing how good this looks once you add the darker stamp on top of the paint, even if your paint isn’t close to perfect, it looks amazing.
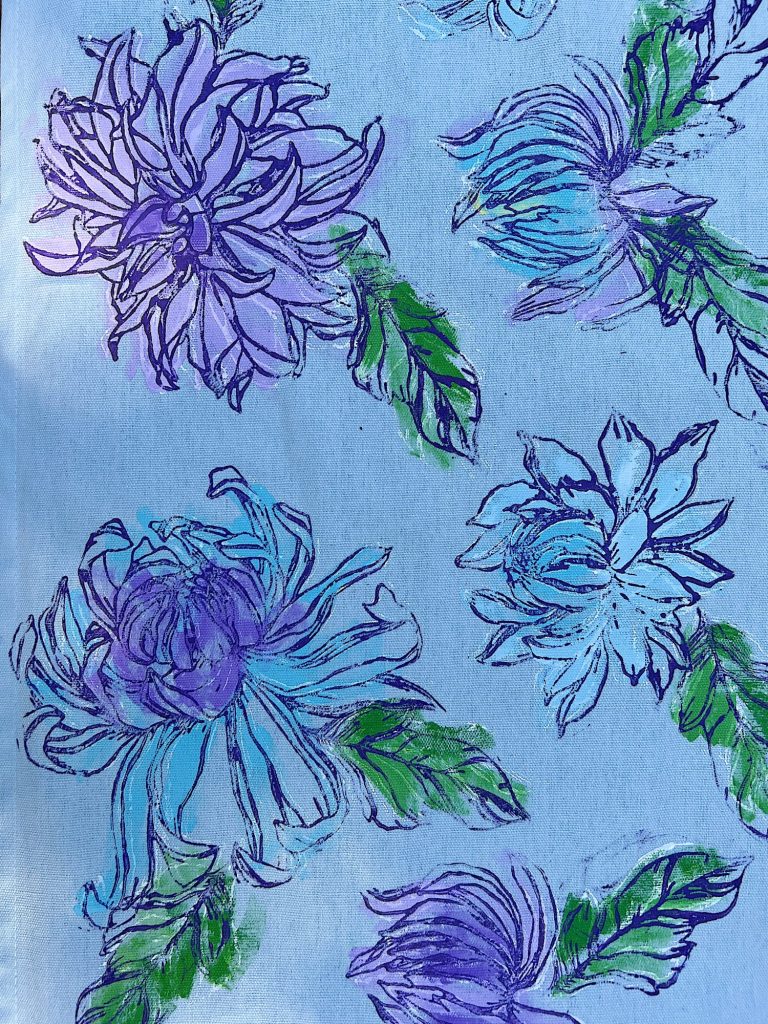
- See the leaf stamp above? I placed it on the green paint, then used a second clean brayer to gently add pressure to the stamp to transfer the paint onto the runner.
- Let the runner dry and then iron it to set the paint.
Setting the Table
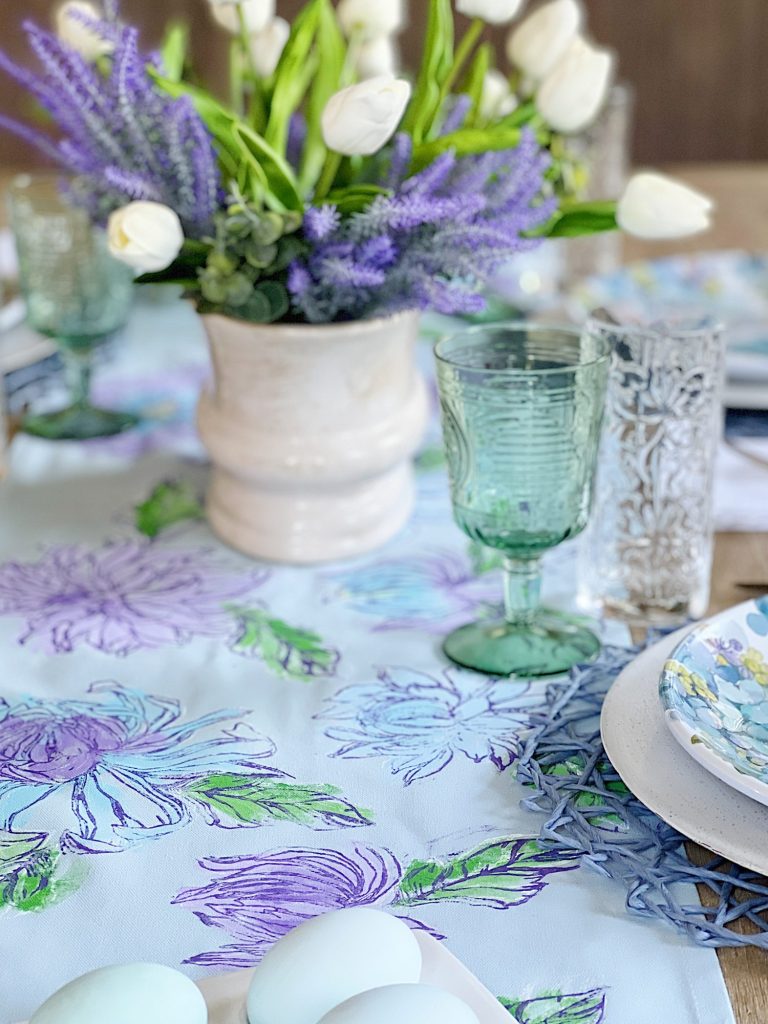
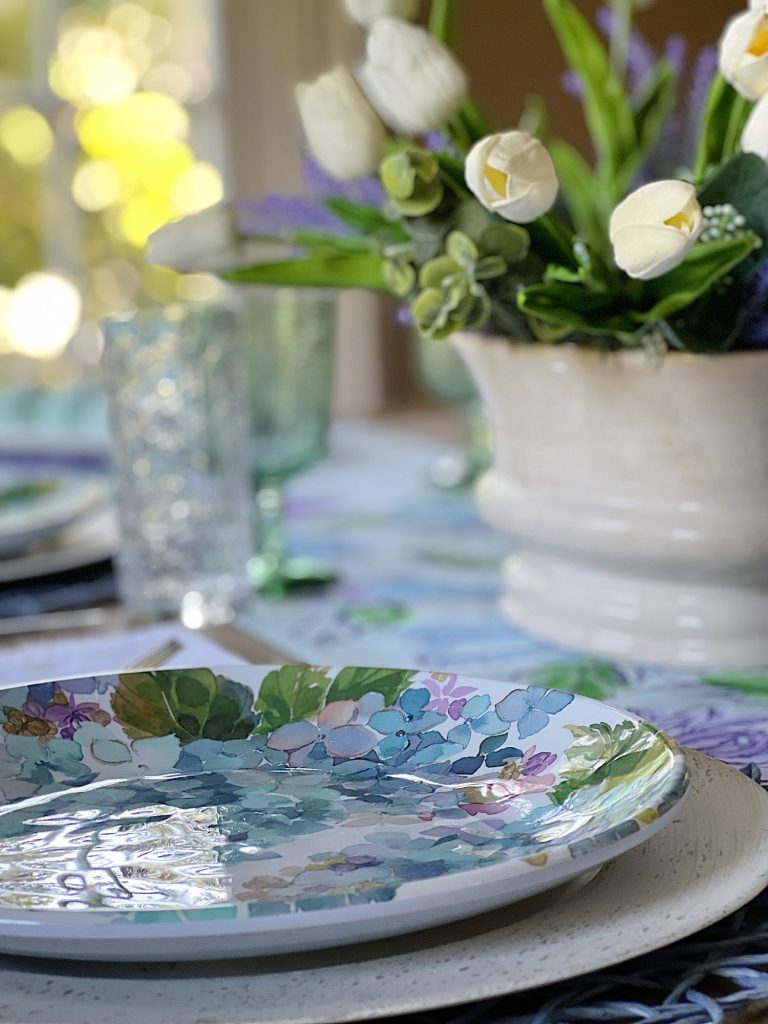
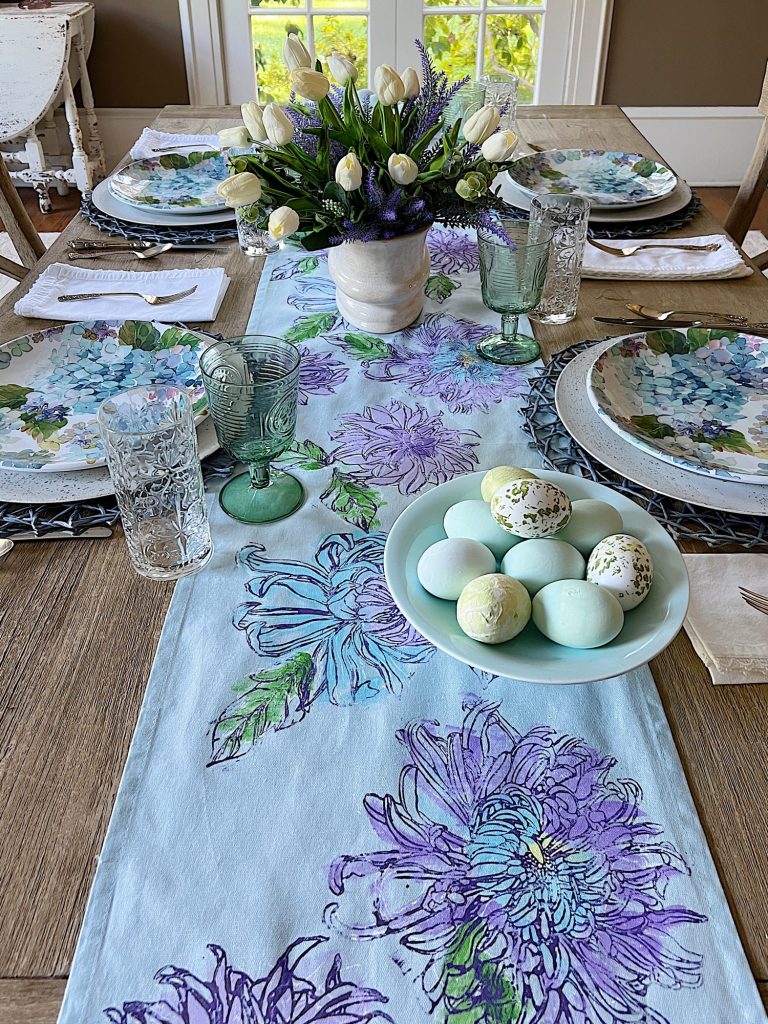
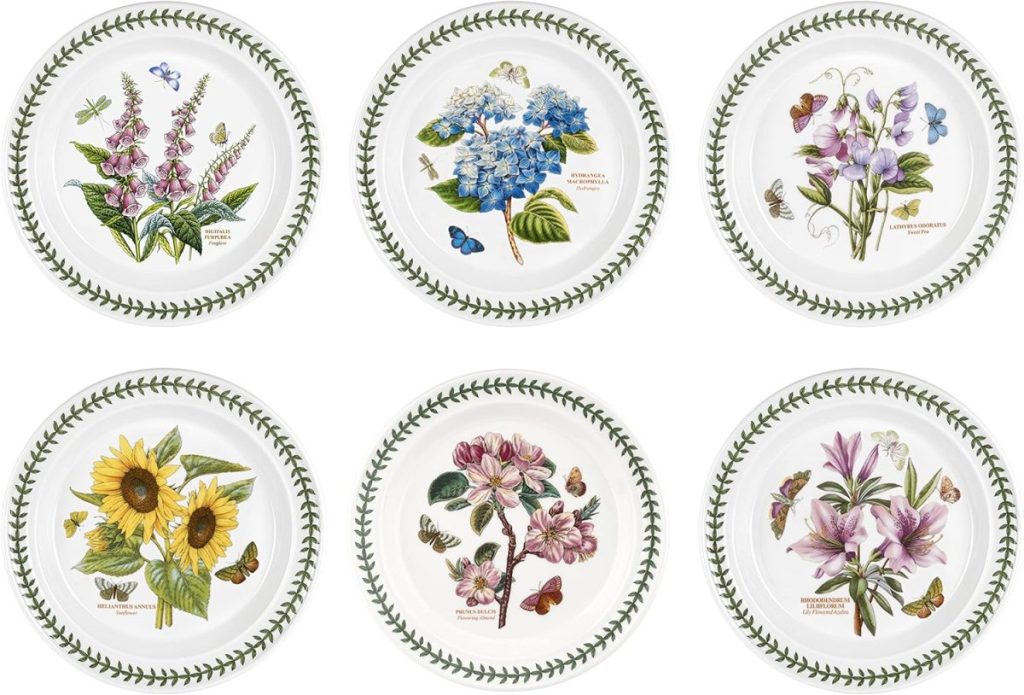
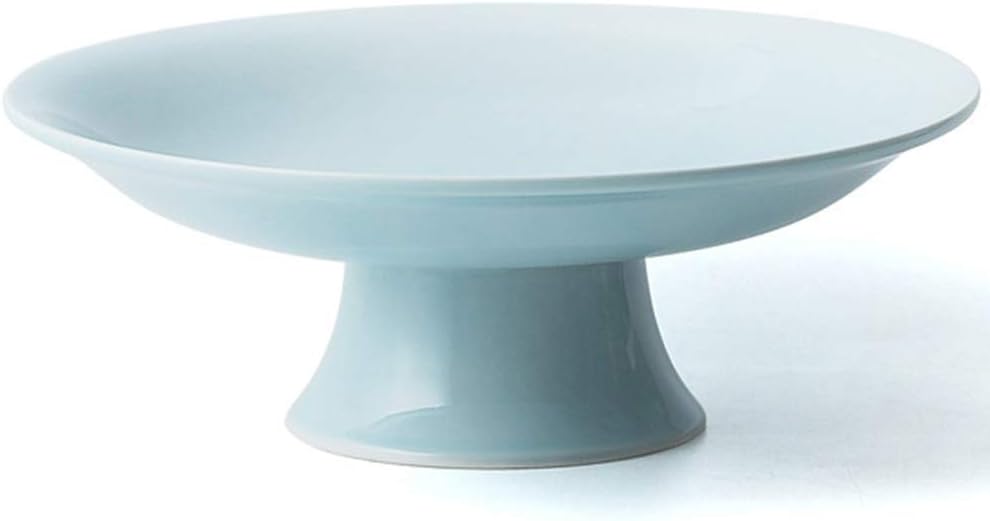
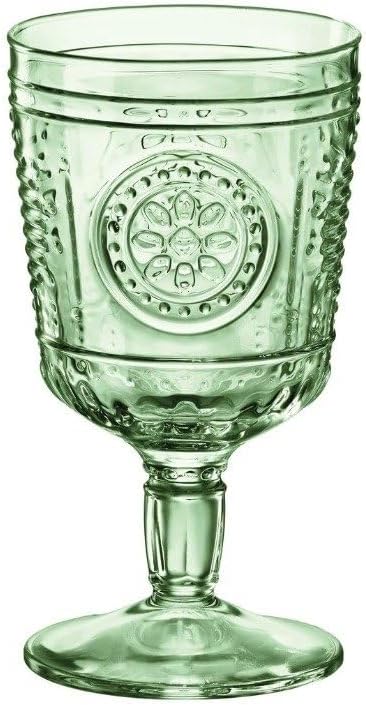
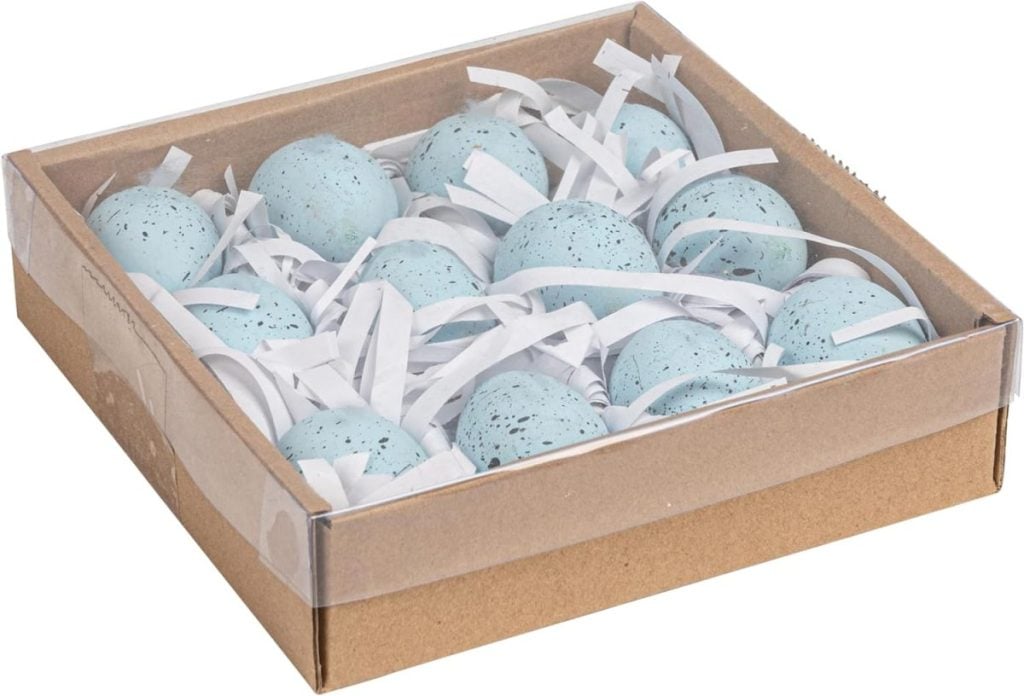
I love this Easter-themed table. Aren’t the colors wonderful?
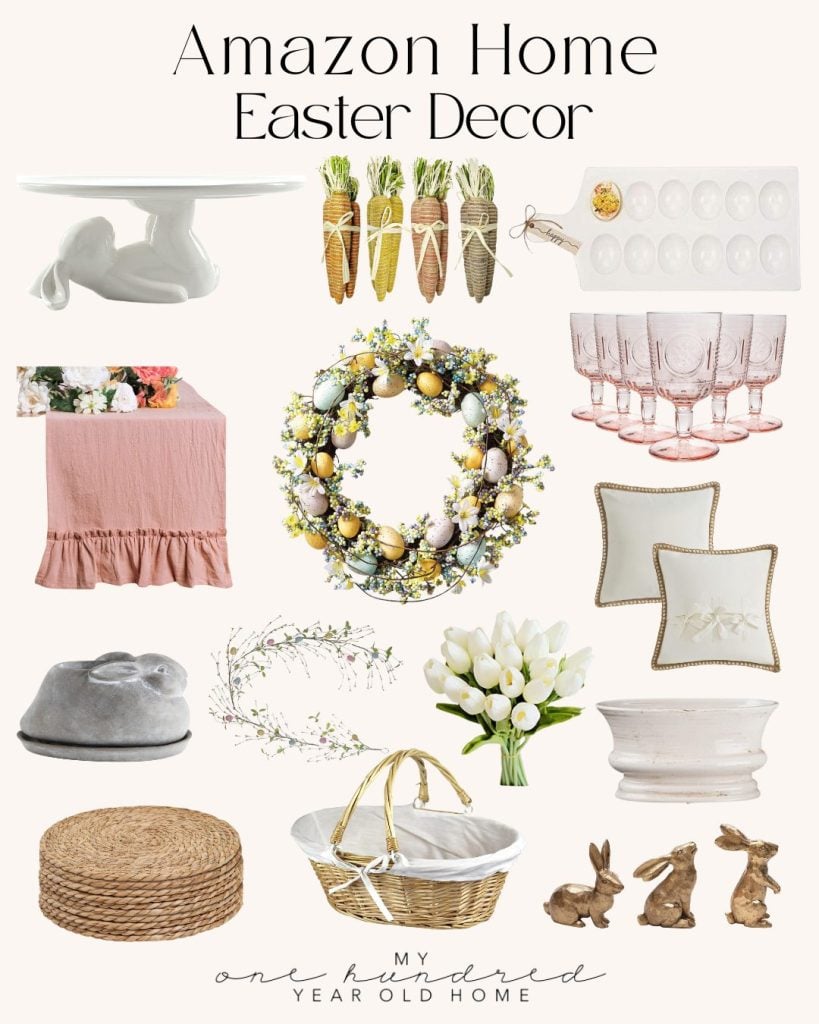
All the Pretty Easter Decor!
Watch My Amazon Live
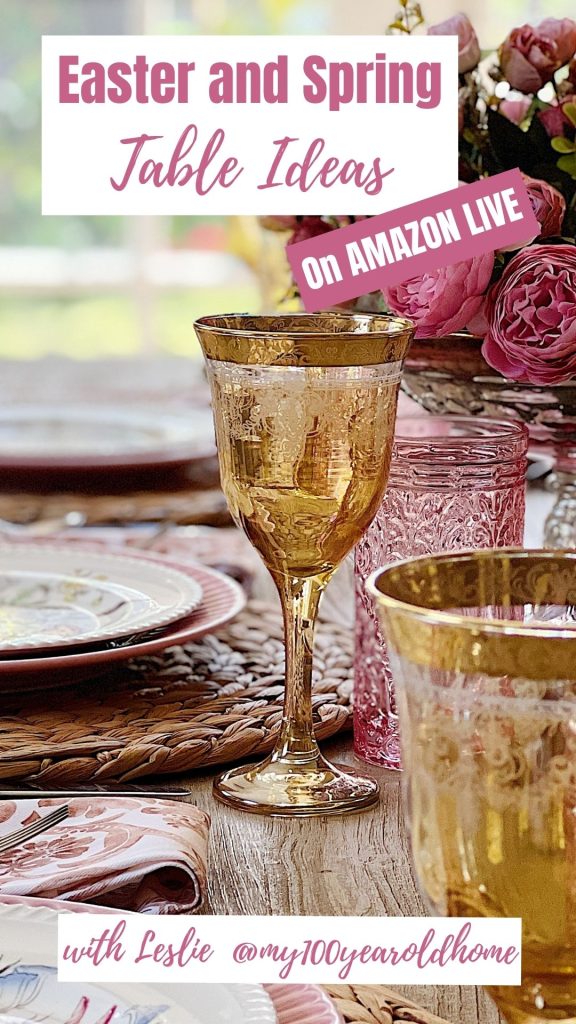
Join me today at noon and 3:00 pm for TWO Amazon Live broadcasts

Click here to watch any of the Live Broadcasts on my feed. All of my Amazon Live Broadcasts are recorded.
Pin the image below to your boards on Pinterest (just click the Pin button in the top left corner). You can also follow along with me on Pinterest!
For more real-time updates, follow me on Instagram @My100YearOldHome






Leslie,
So, so pretty! I absolutely love all the different ways you have used the Iron Orchid Designs. They are beautiful, and makes me want to do all of them. Just inspiring!! Thank you for sharing.
Oh thank you so much Debra!
Love this runner. I am so happy you introduced me to the world of IOD. I bought molds and stamps and made pots following your instructions. It was fun and simple for me. I look forward to more of your posts. I am new to your blog but it is one of my favorites. I can’t wait to read it each time it’s in my mailbox. Have a great day!
Oh that makes me so happy! I am glad you are enjoying!
After each new diy I always say “This is my favorite”, but I love this one so much! The plates with that runner are fabulous. This tablescape has to be my favorite one yet. One question though – after the initial white stamp and then colors painted loosely, what color did you stamp at the end to get the darker outlines? Purple?
Yes I used purple! Thanks Monica! Let me know if you give it a try
You and all of your DIYs are so inspirational! This runner might be my favorite. I love those colors! Do you ever stop or do you always go like that battery bunny all the time? Always happy to see one of your posts pop into my email. Hope you and your family have a wonderful Easter. I know it will be beautiful!
Haha I like to stay busy! Thank you so much Vicki!
Leslie, you are full of amazing talent and ideas! Love this DIY; the colors, the technique, the finished product! What a beautiful table.
Thanks so much Paula!
Leslie, thank you so much for your response to my many entries for your blogs. I do not want to loose contact with you, as I so much look forward what you have for each new day. God bless you for sharing your talents with us
Thanks Heidi!