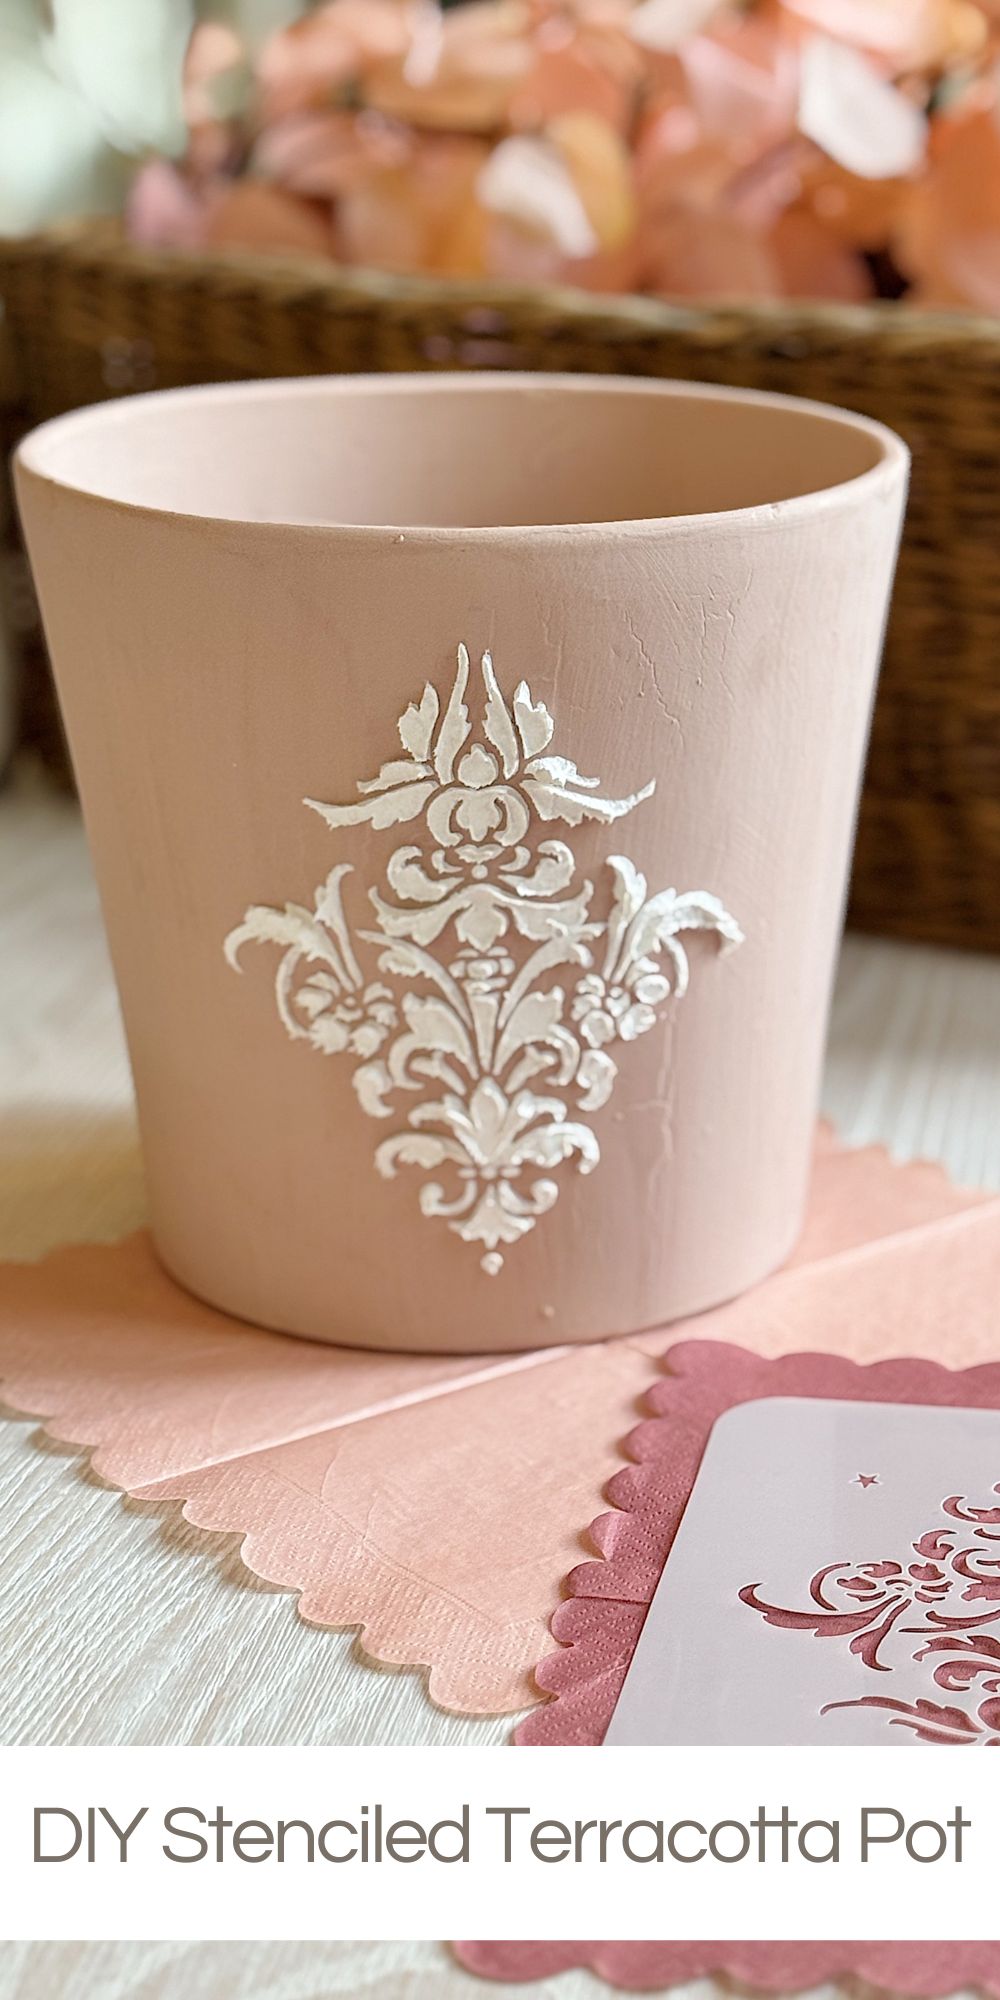
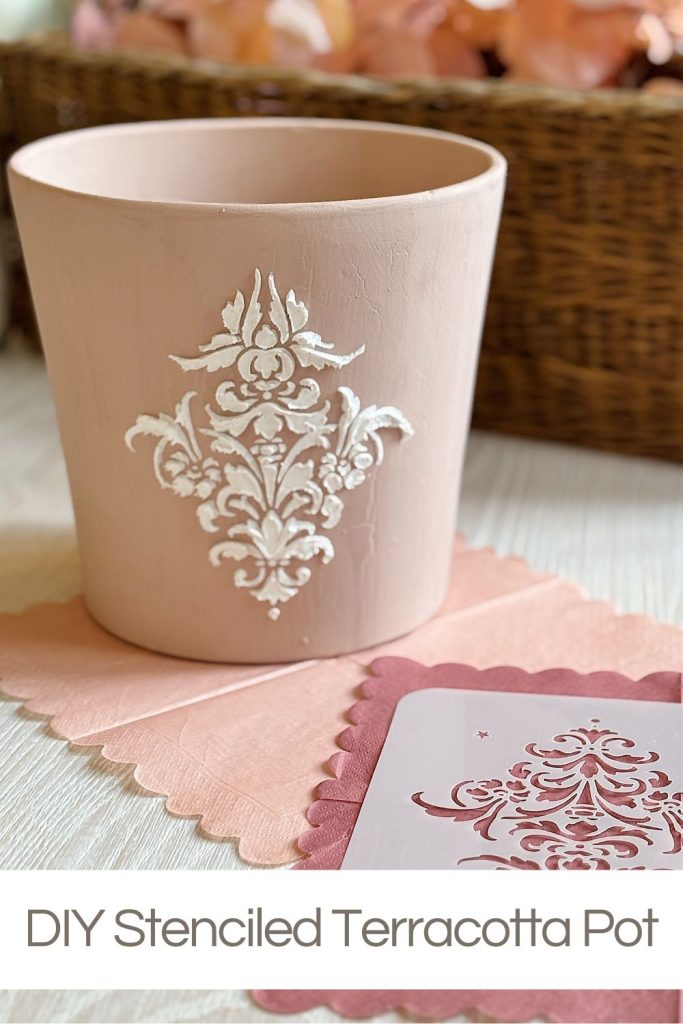
DIY Stenciled Terracotta Pot

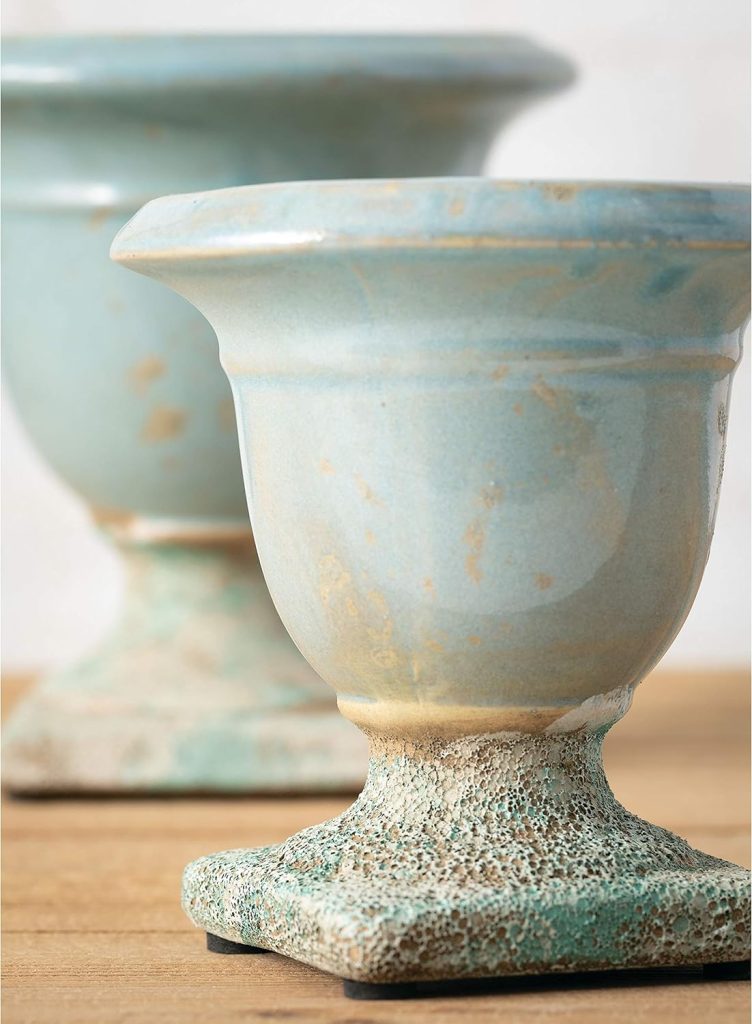
There’s something so satisfying about transforming a simple terracotta pot into a custom, one-of-a-kind decorative piece. I treasure my beautiful flower pot.
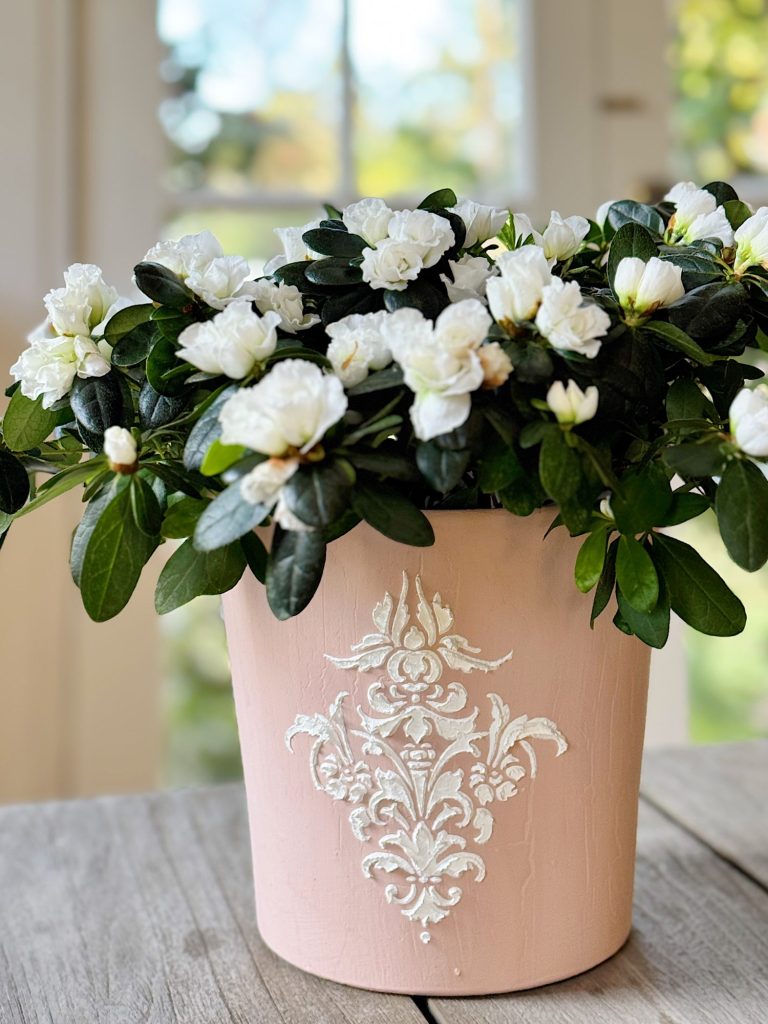
I created this beautiful stenciled terracotta pot using stencil fiber paste, and I love how it turned out! The raised stencil design adds an elegant, textured look, making this pot perfect for displaying fresh flowers and herbs inside my home.


DIY Stenciled Terracotta Pot: A Beautiful and Textured Home Accent
This DIY project is easy, fun, and budget-friendly, making it a great way to add a personal touch to your indoor or outdoor plant decor. If you love crafting and want to elevate your plant pots with a high-end, textured design, keep reading for a step-by-step guide on creating your stenciled terracotta pot!
Why You’ll Love This DIY Stenciled Pot
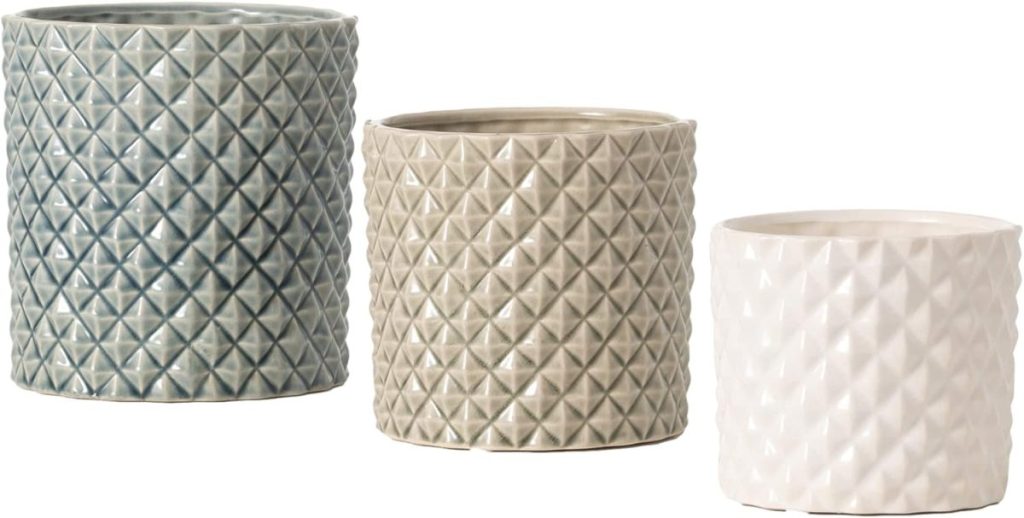
Budget-Friendly – Terracotta pots are inexpensive, and you can customize them with supplies you may already have.
Customizable – Choose your favorite paint colors and stencil patterns to match your decor.
Fun & Easy – This project is beginner-friendly and requires no special skills.
Perfect for Home Decor – Use these pots to grow fresh herbs in your kitchen, decorate your windowsill, or create a charming centerpiece.
Supplies You’ll Need
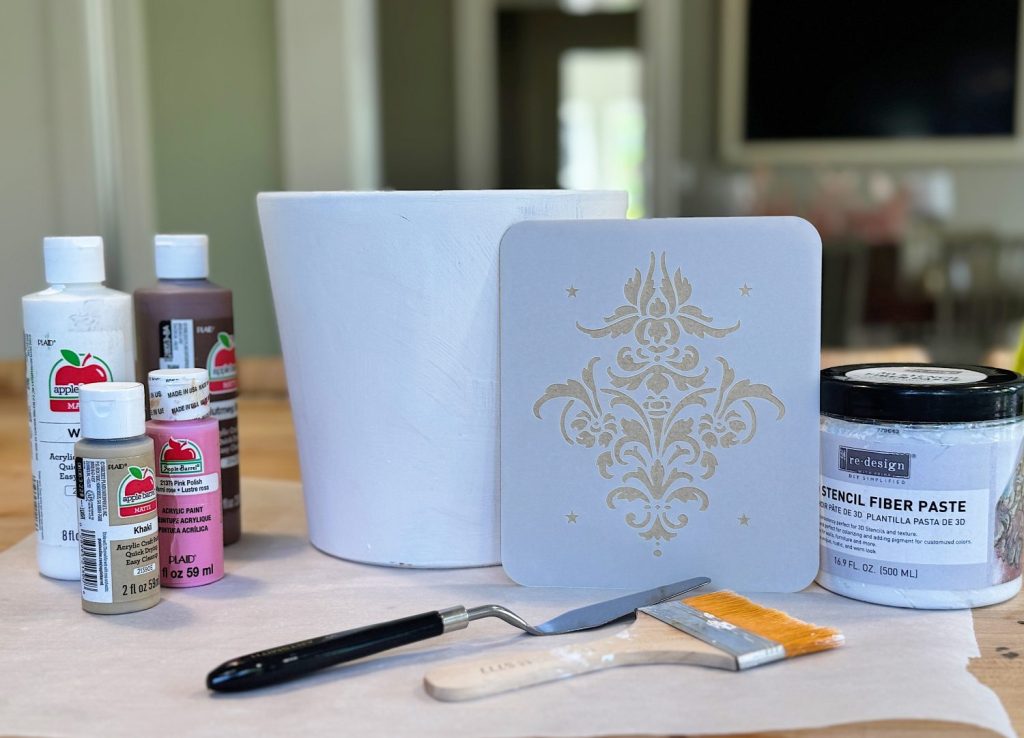
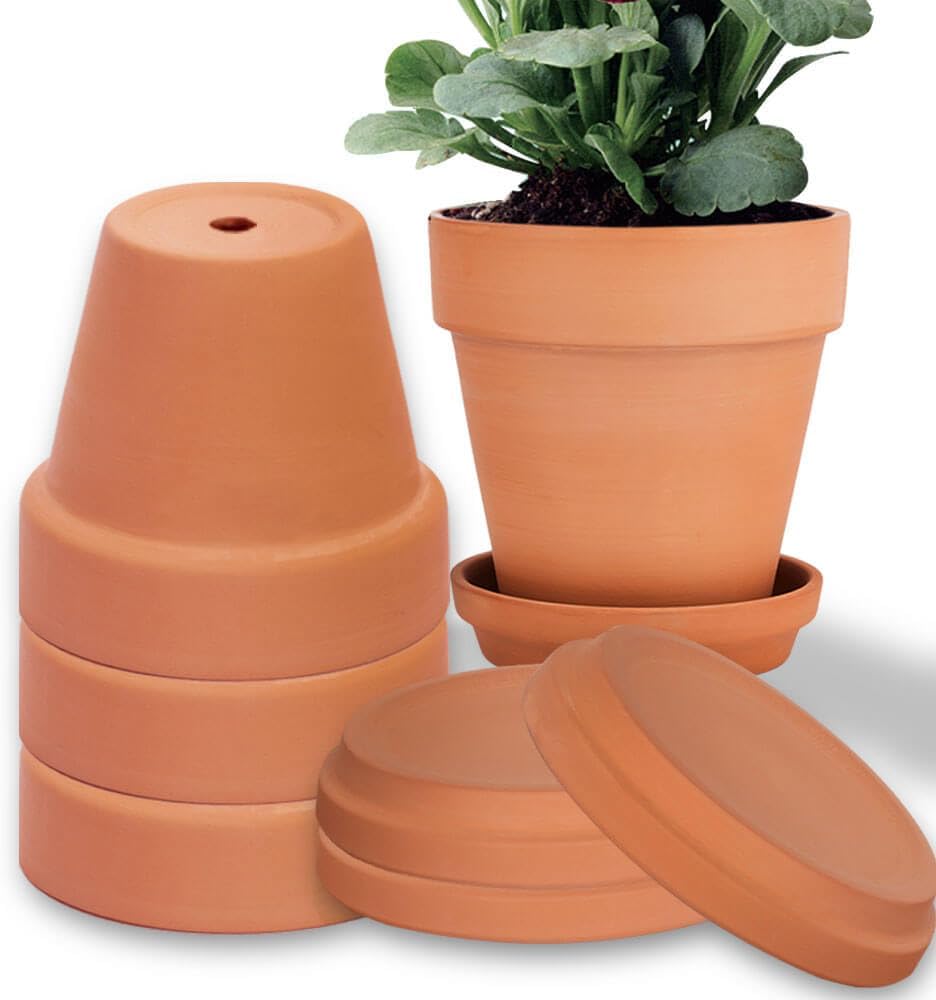
Before we dive into the process, gather the following materials:
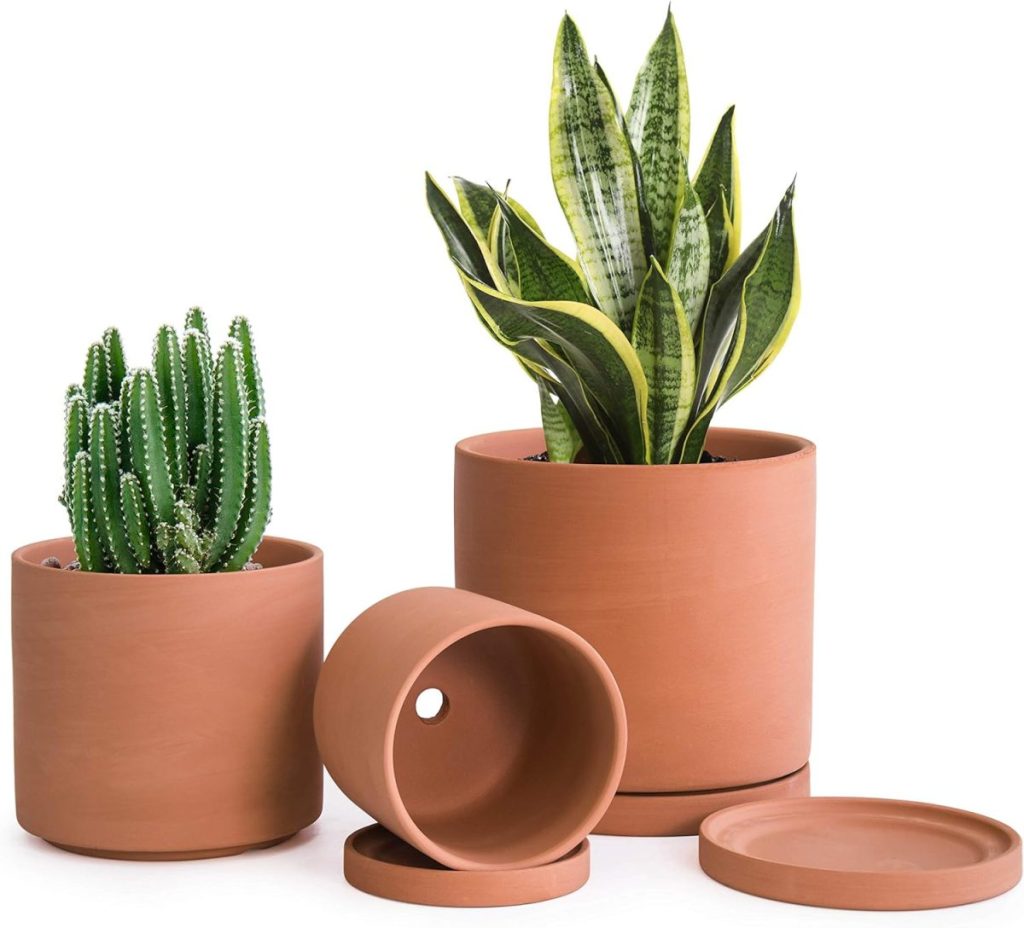
- Terracotta pot (any size)
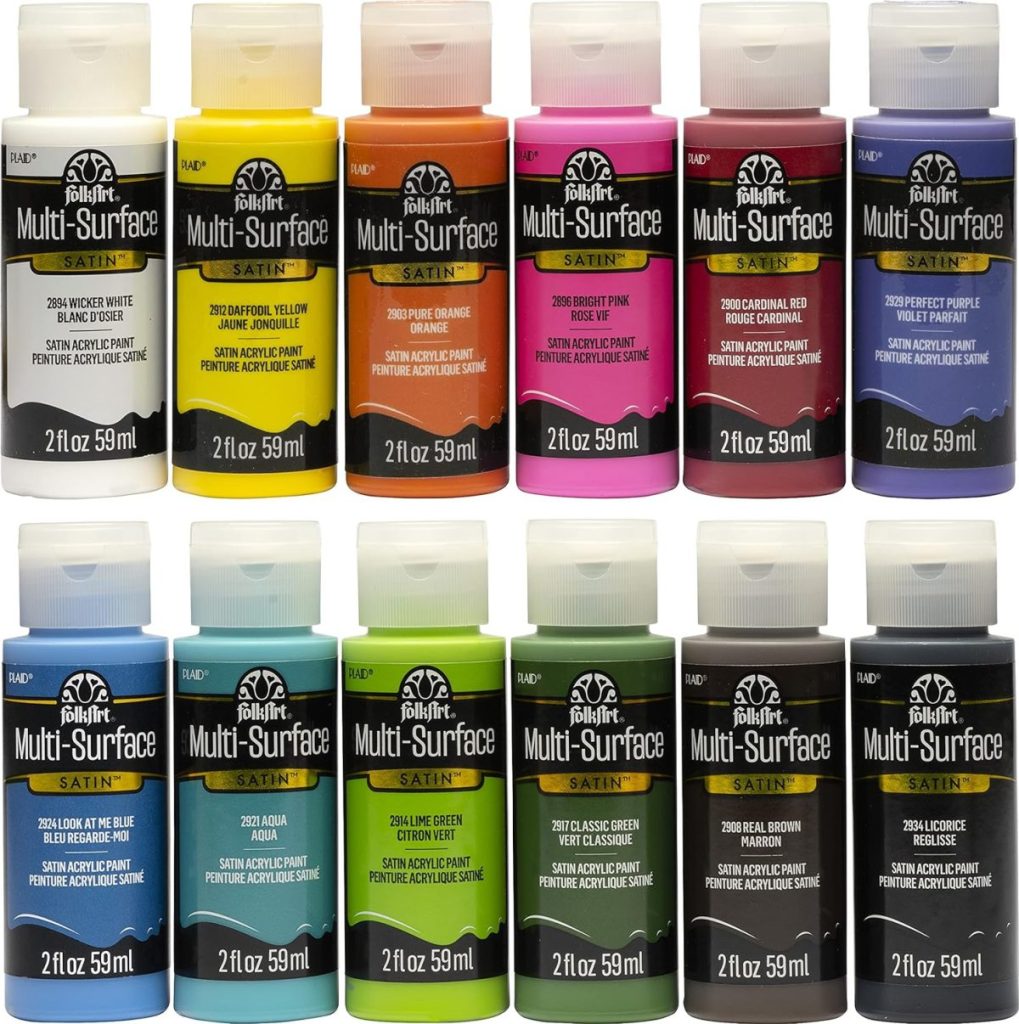
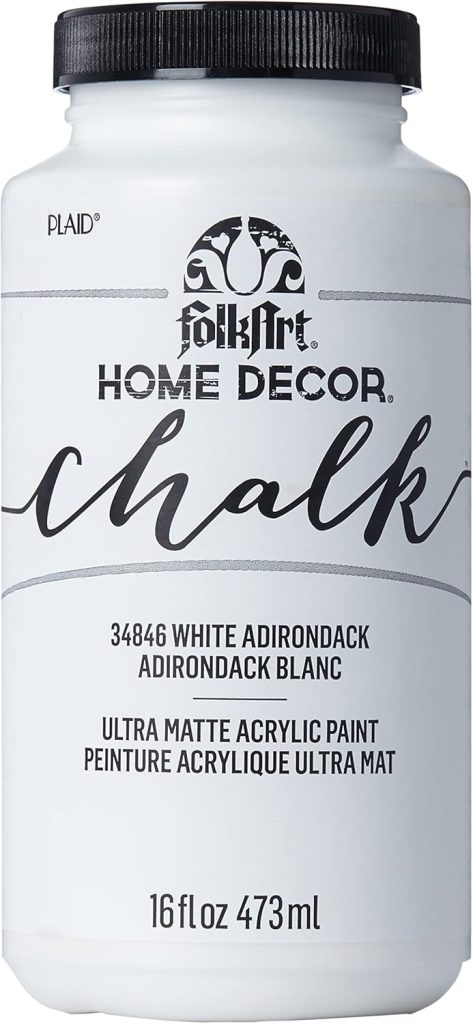
- White acrylic or chalk paint (for the base coat)
- Light brown/pink acrylic or chalk paint (for the top coat)
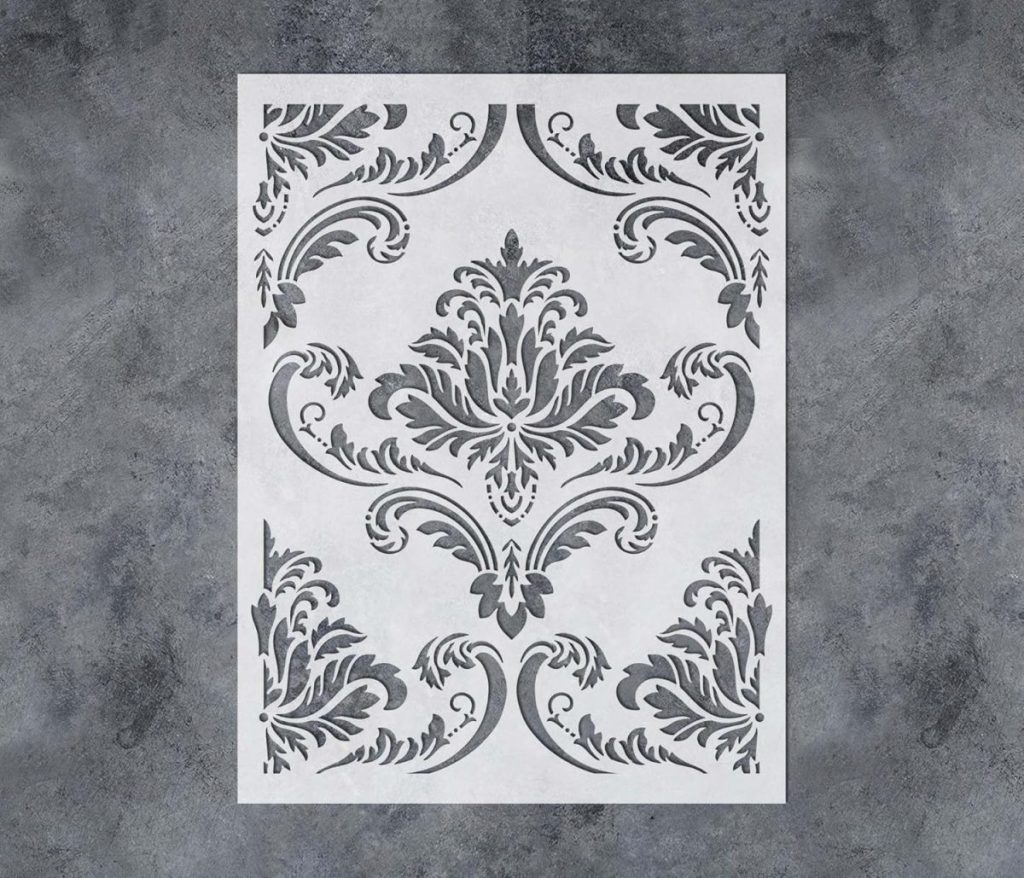
- Stencil of your choice
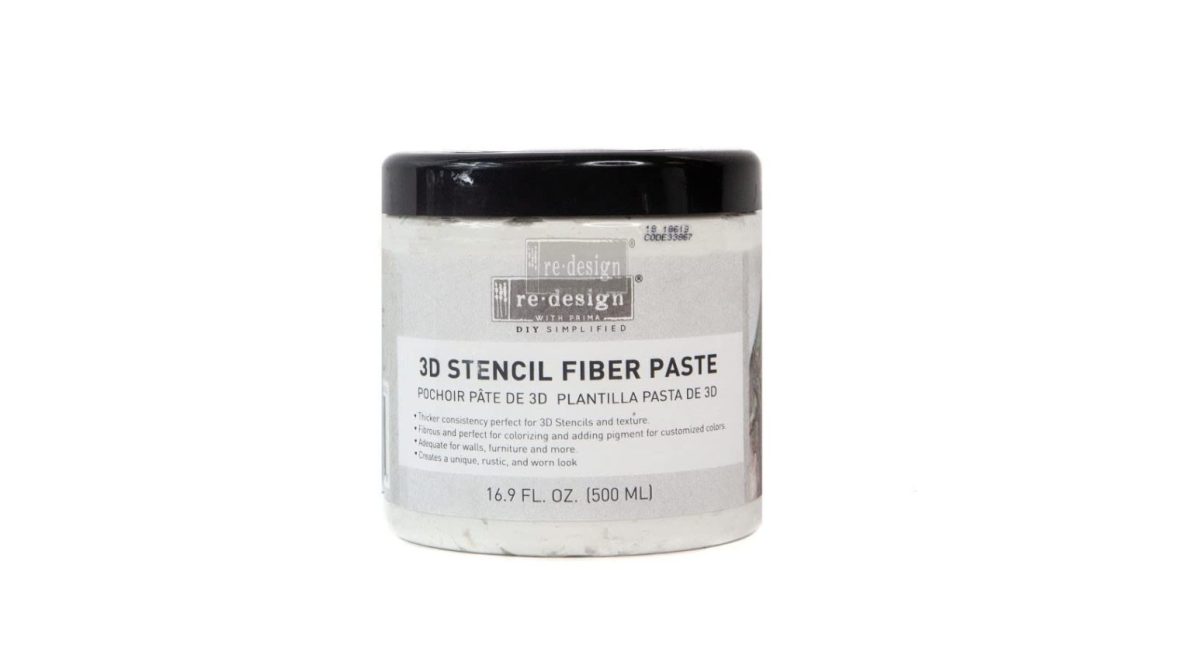
- Stencil fiber paste (thick consistency works best)
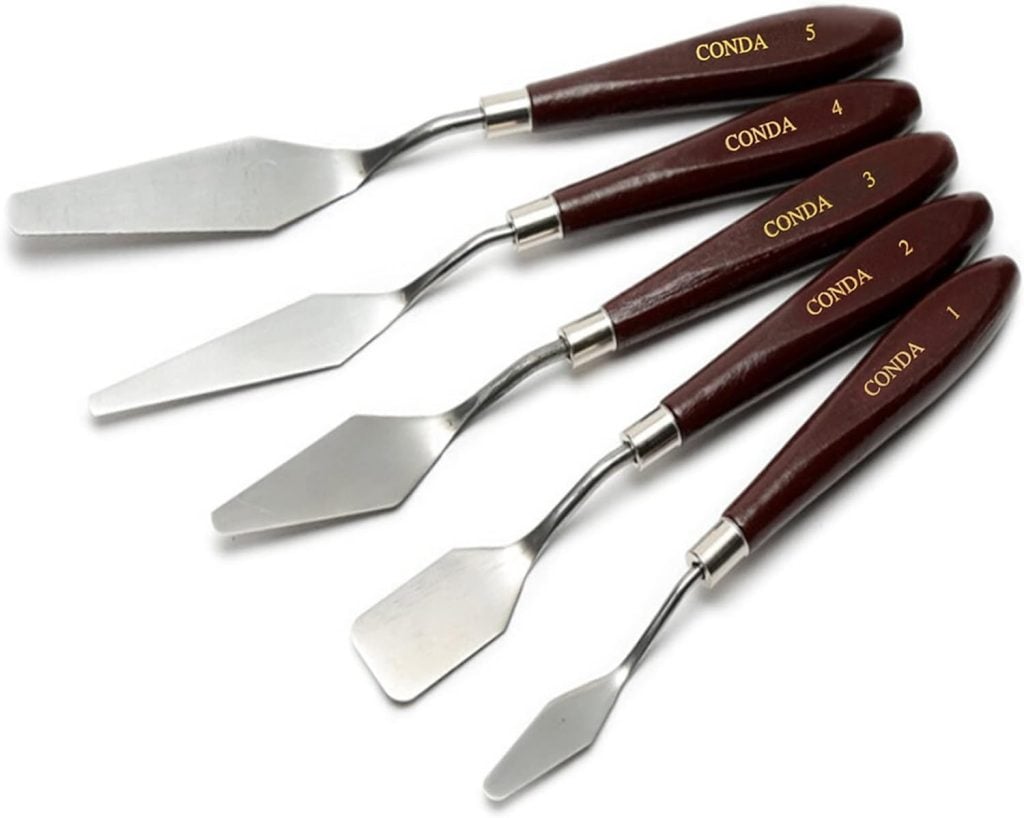
- Palette knife (to apply the fiber paste)
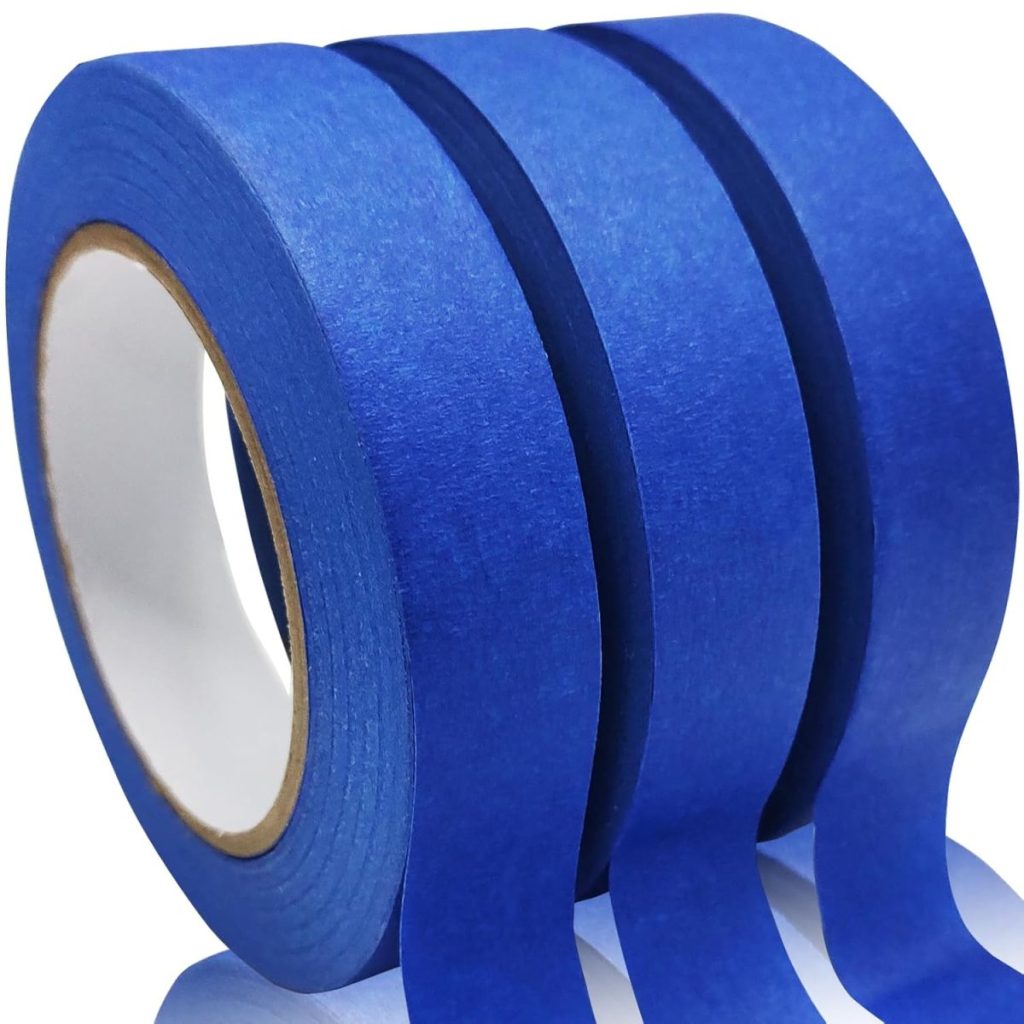
- Clips or painter’s tape (to hold the stencil in place)
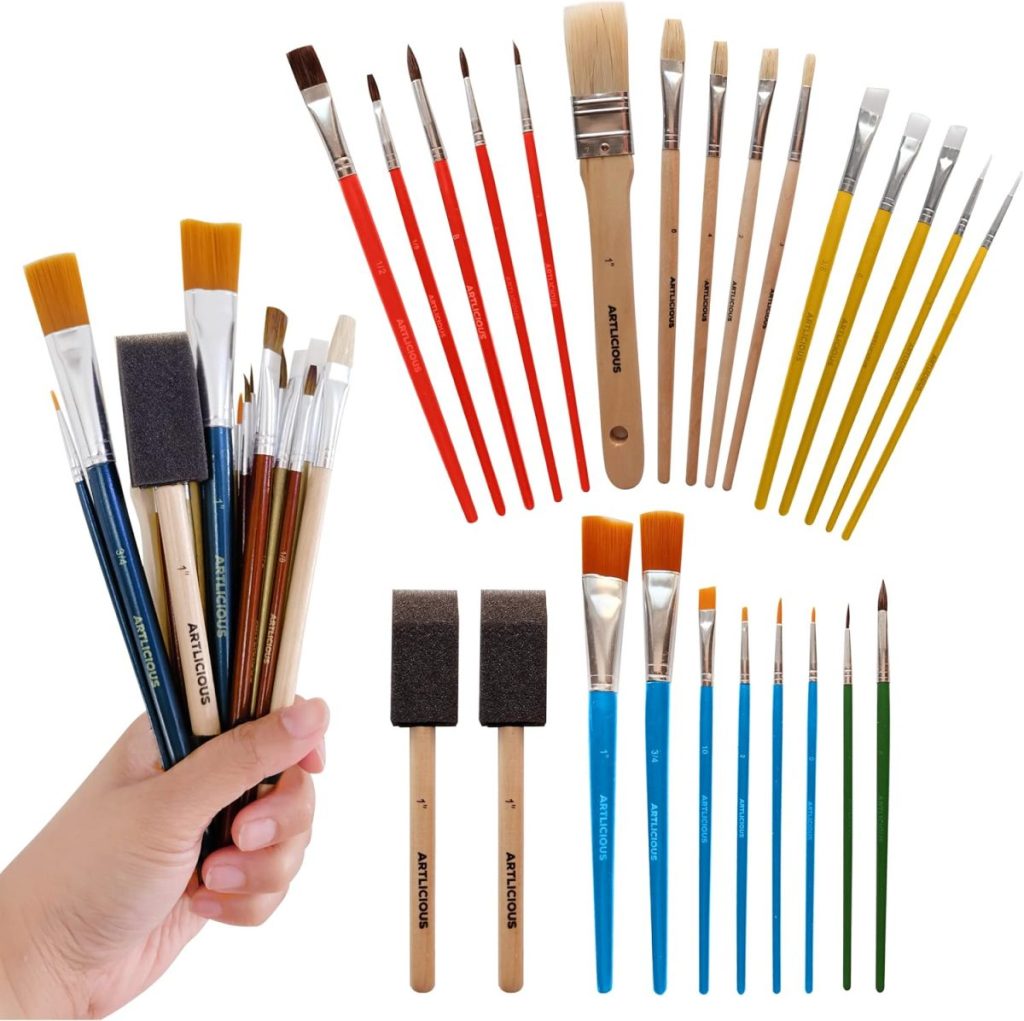
- Paintbrushes
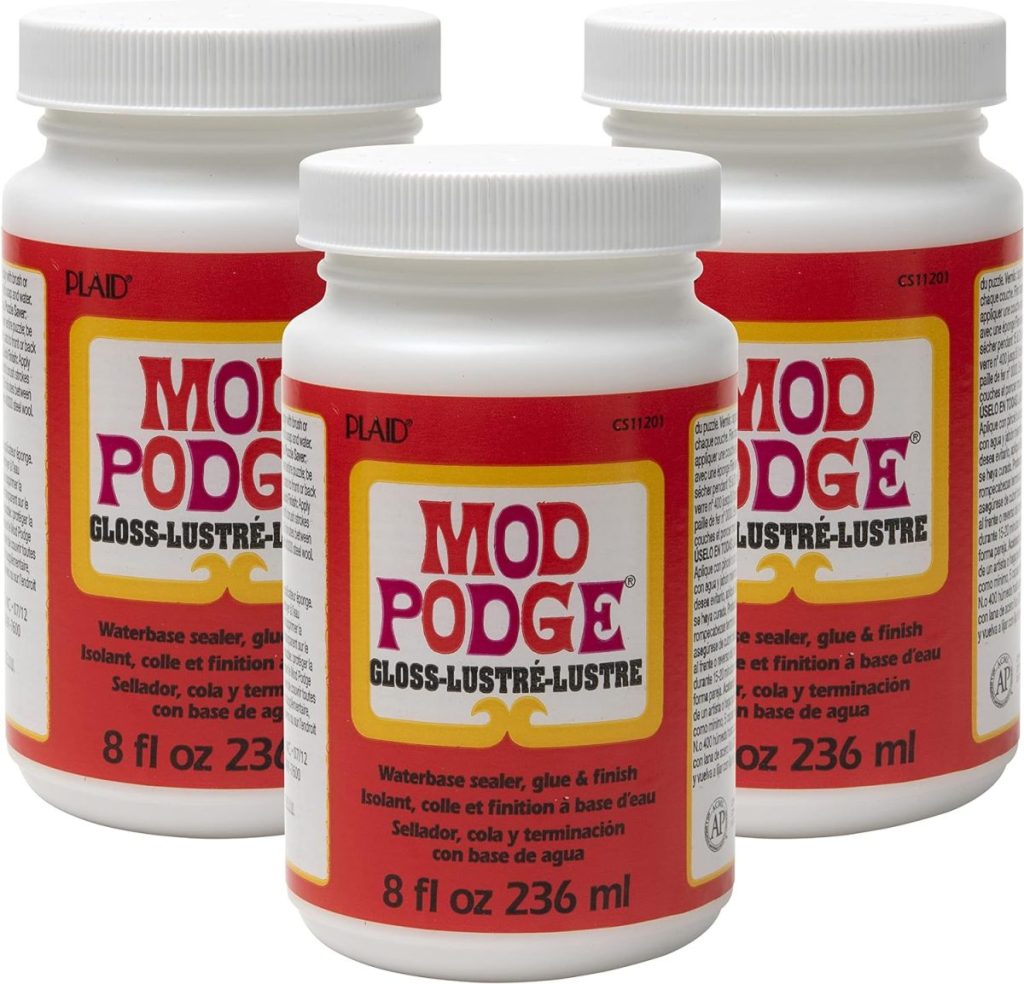
- Sealer (optional) – A matte or satin sealant can protect the design from wear and moisture
- A fresh plant – Choose a small herb or flower to complete the look
I may sometimes use affiliate links on this blog, which means a small commission is earned if you purchase via the link. The price will be the same whether you use the affiliate link or go directly to the vendor’s website using a non-affiliate link.
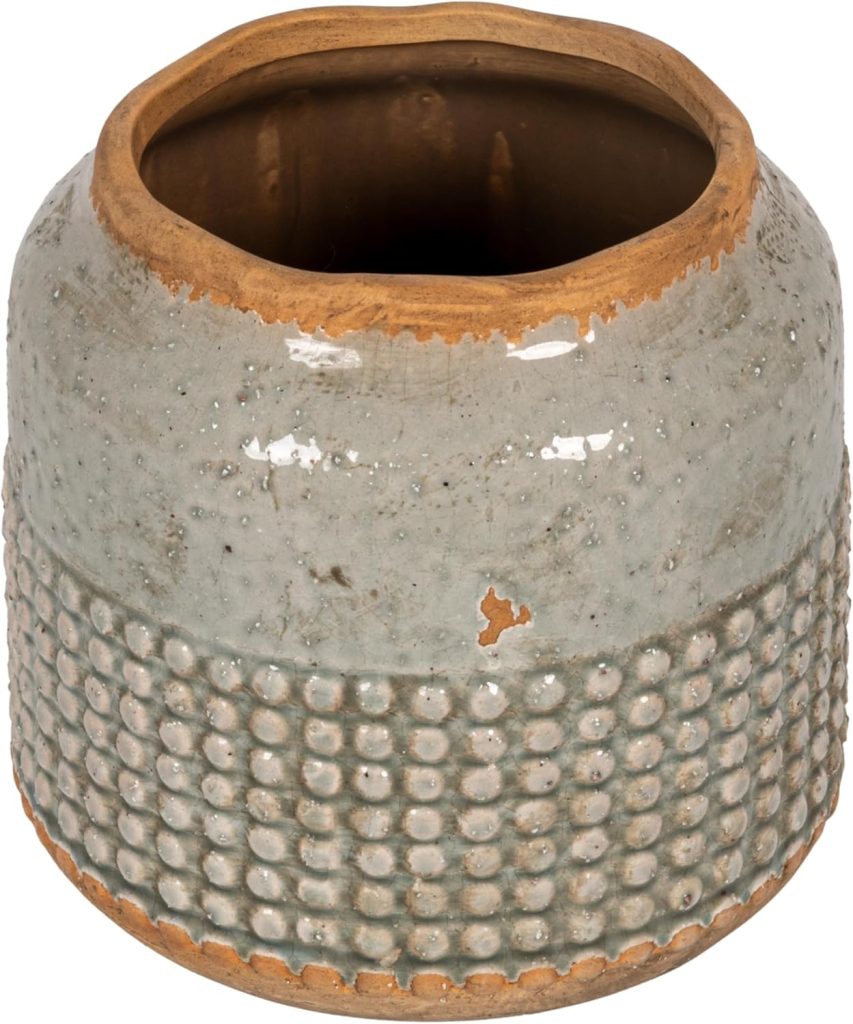
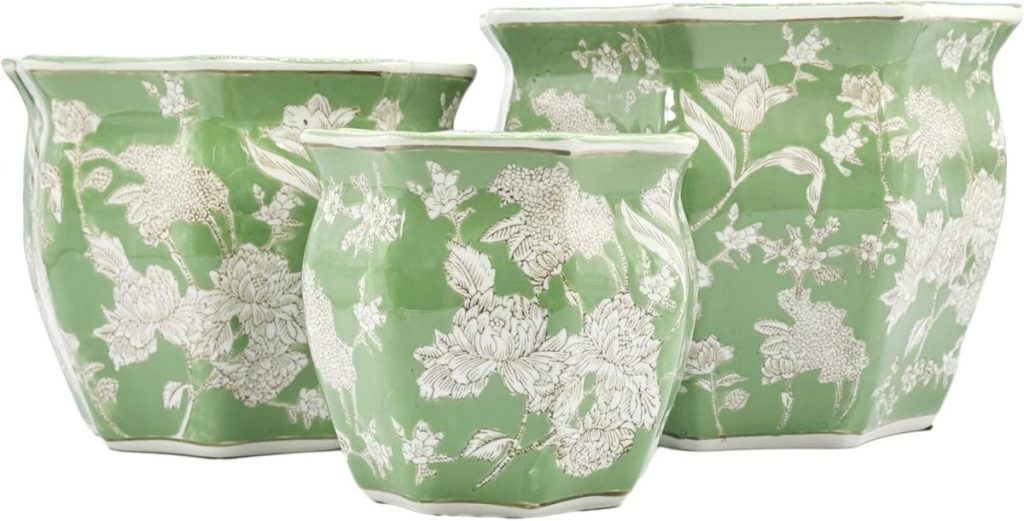
More Stencil Options


Step-by-Step Instructions
Step 1: Mix the Paint Color and Paint the Base Coat
I mixed my paint using brown, white, and pink acrylic paint. You can use any color to make this! Start by painting your terracotta pot with white acrylic or chalk paint. This helps create a neutral base, ensuring the final color appears soft and evenly toned.
Since terracotta is porous, it may absorb some of the paint. I recommend applying two coats and letting each layer dry completely before proceeding.
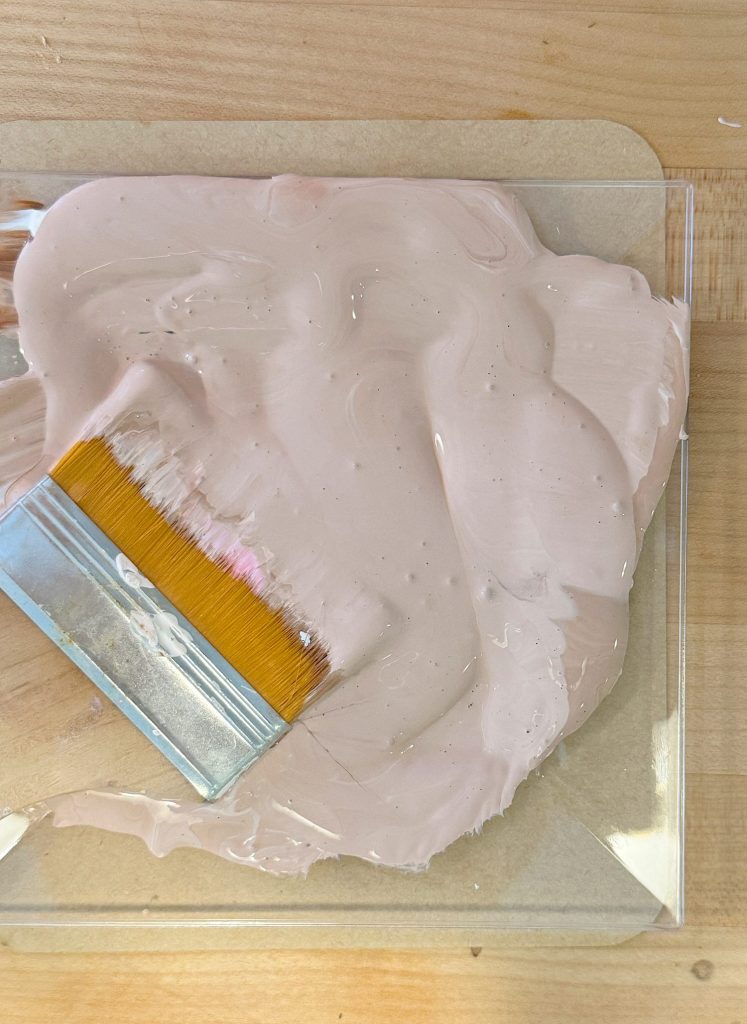
Step 2: Apply the Top Coat
Once the white base coat is fully dry, it’s time to add the top color! I used a beautiful light brown/pink shade, which gave the pot a soft, warm, and slightly vintage feel. You can mix a custom color by blending a bit of white, brown, and pink acrylic paint until you achieve the perfect shade.
Paint the entire pot evenly, using long brush strokes to prevent streaking. Allow the paint to dry completely before moving on to the stencil step.
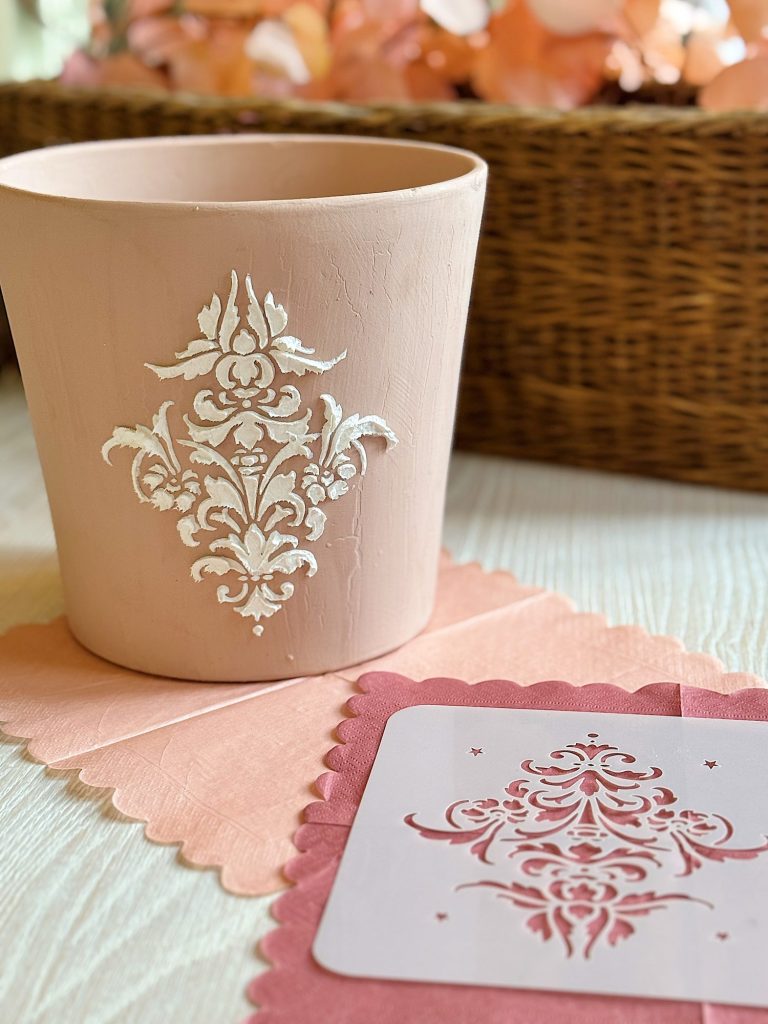
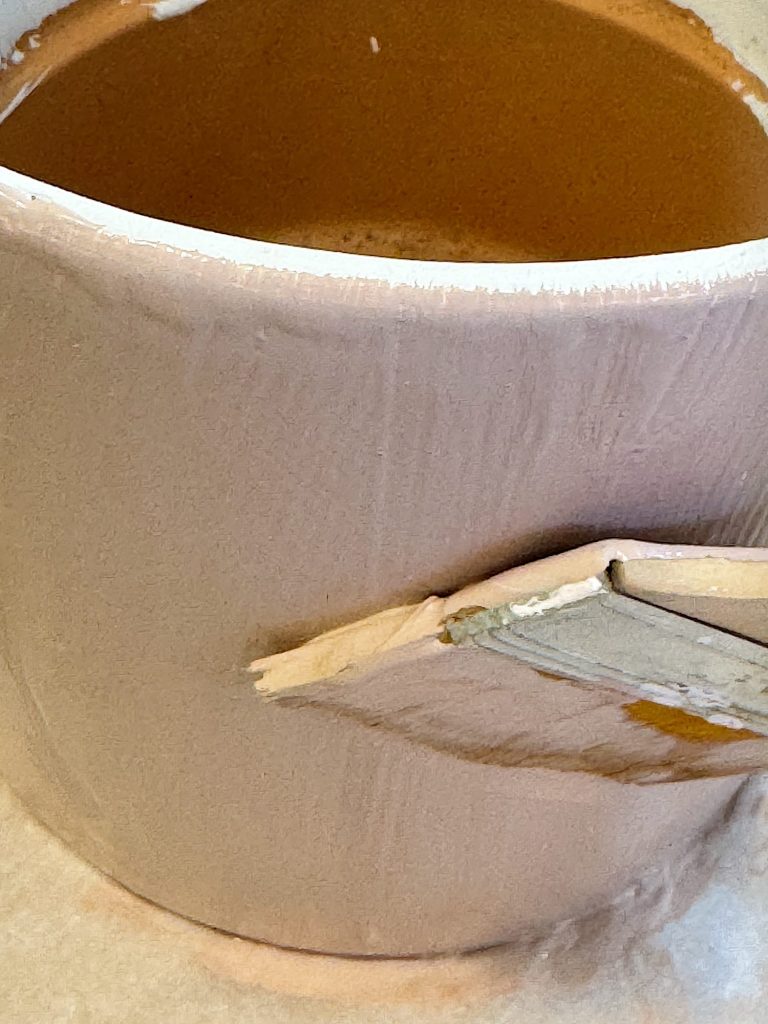
Step 3: Attach the Stencil
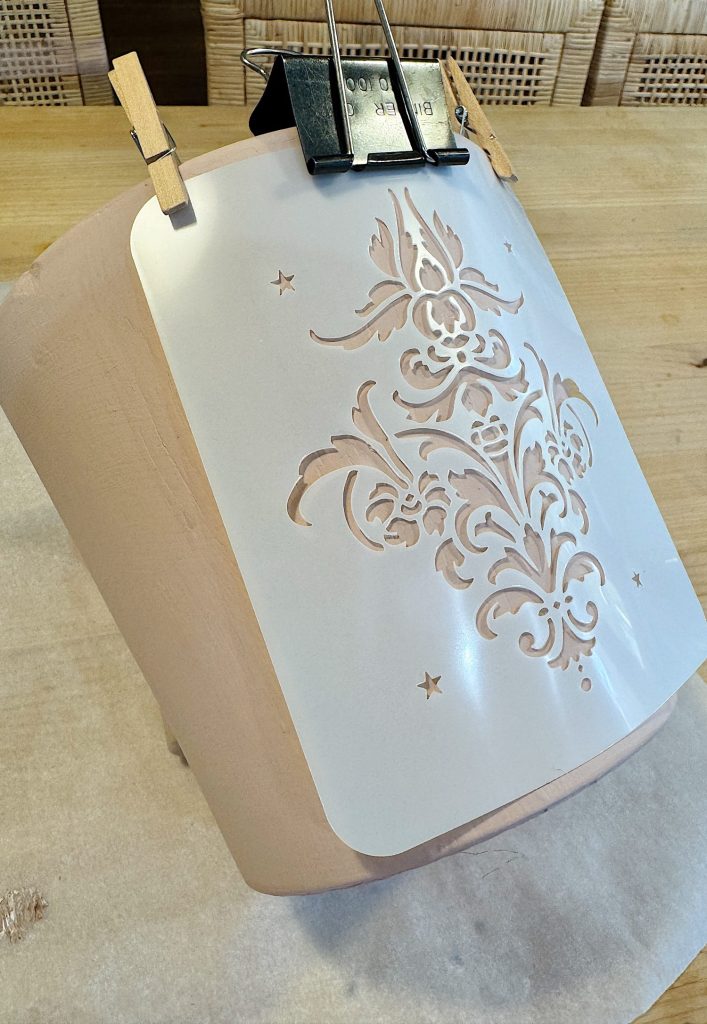
Now for the fun part—adding the textured stencil design!
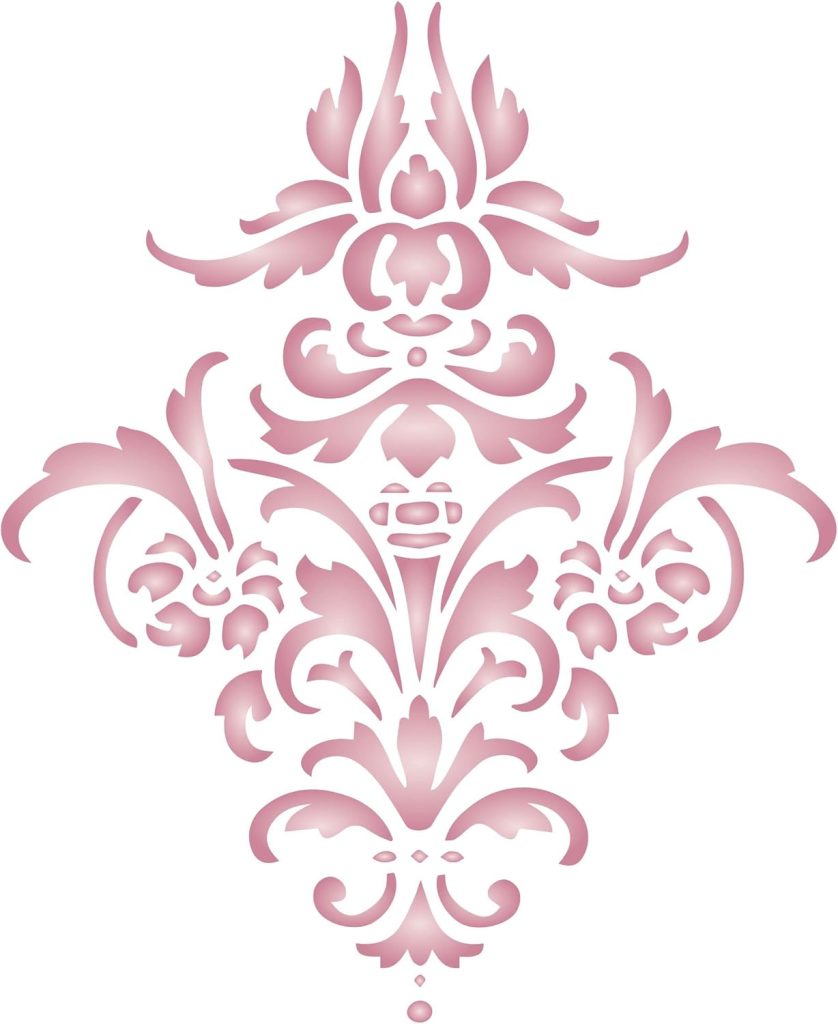
- Choose a stencil pattern that complements your style. Floral, geometric, or boho-inspired designs work beautifully.
- Secure the stencil onto the side of the pot using clips or painter’s tape. This ensures it stays in place while applying the fiber paste.
- Make sure the stencil lies flat against the pot’s surface to prevent paste from seeping underneath.
Step 4: Apply the Stencil Fiber Paste
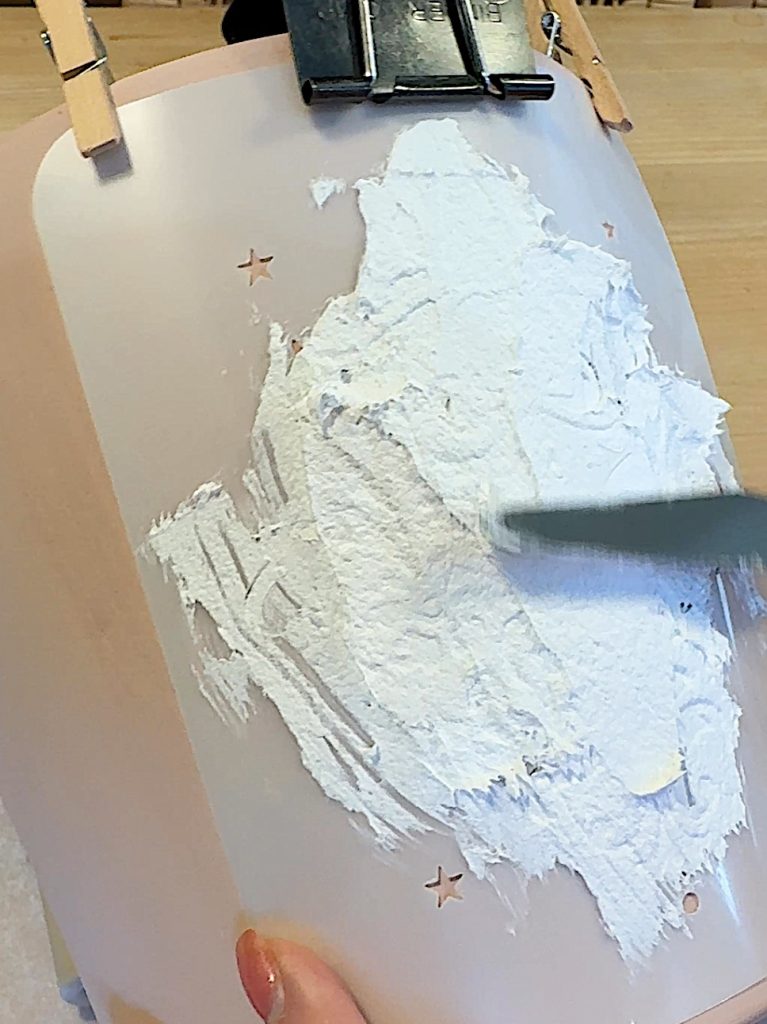
With the stencil secured, use a palette knife to spread the stencil fiber paste evenly over the cut-out design.
- Work in sections, gently pressing the paste over the stencil to create a somewhat even, raised texture.
- Don’t rush—apply a thick and consistent layer to make the pattern bold and defined.
- Once covered, gently lift the stencil off slowly and steadily to reveal the textured design underneath.
✨ Tip: If edges look uneven, use a small brush or knife to smooth them out before the paste fully dries. Personally, I like an uneven edge look!
Step 5: Let It Dry
Patience is key here! Allow the stencil fiber paste to dry for at least 12 hours before handling the pot. This ensures the design is set properly and remains durable.
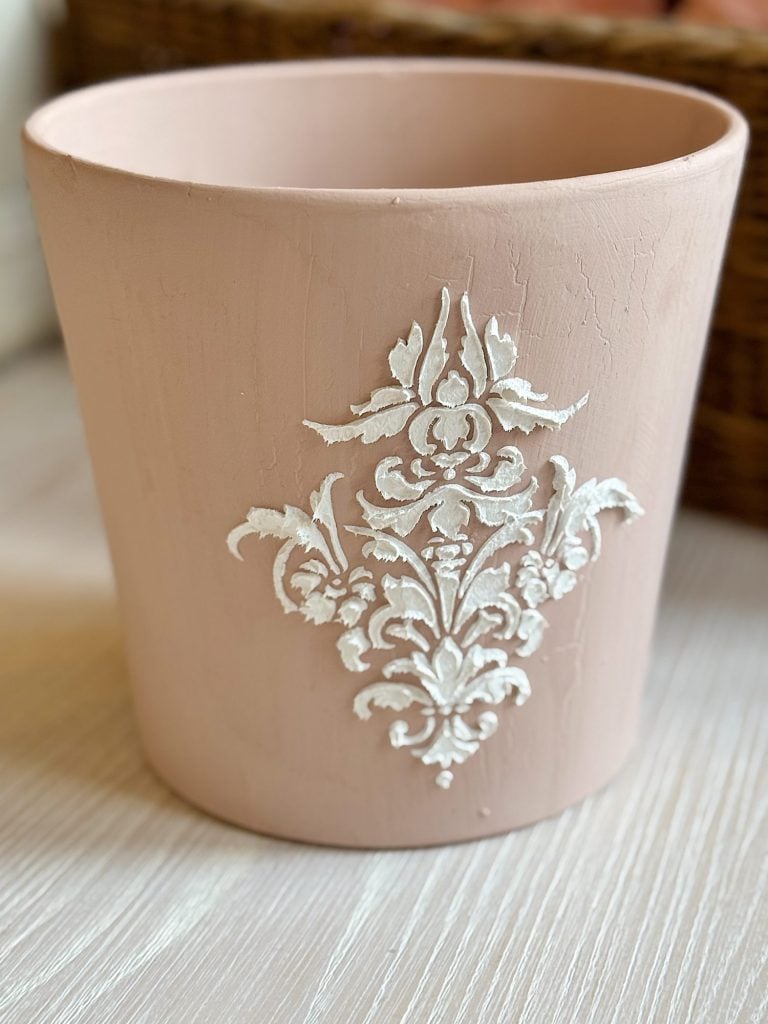
Once dry, you’ll see the beautiful raised texture, which will give your terracotta pot an elegant and artistic touch!

Step 6: Seal the Pot (Optional)
If you plan to place your pot outdoors or near moisture, consider sealing it with a clear matte or satin sealer. This step is optional but helps protect the paint and texture from wear and tear.
Apply a thin coat of sealer using a brush or spray and let it dry before adding your plant.
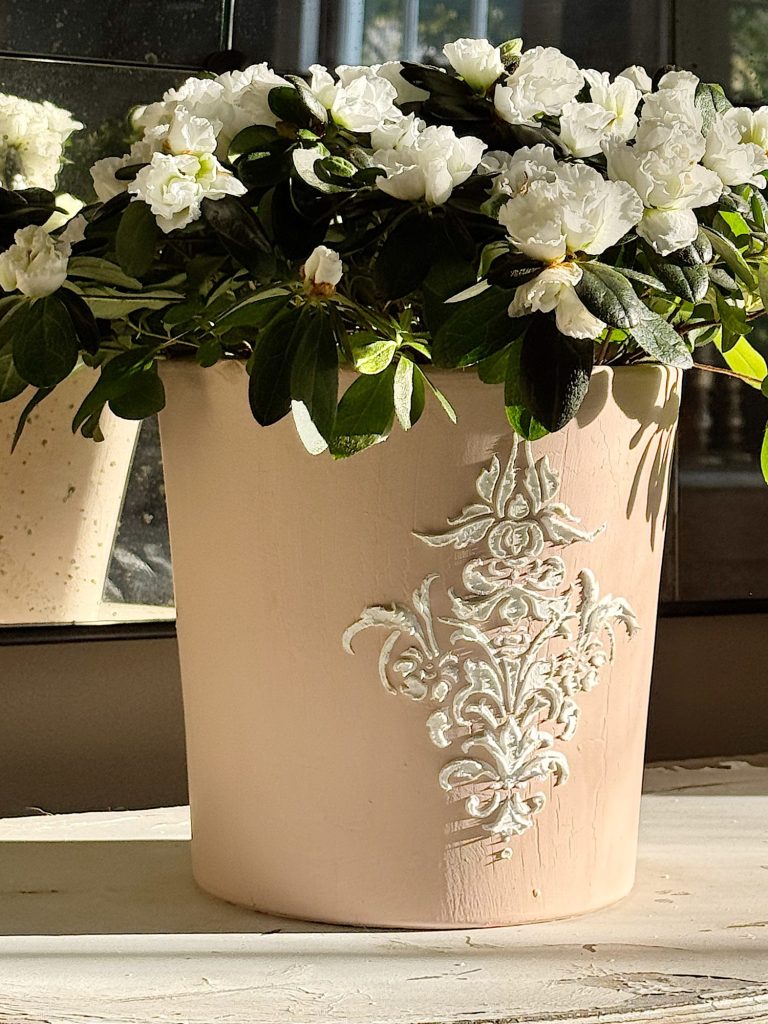
Step 7: Add a Fresh Plant & Display
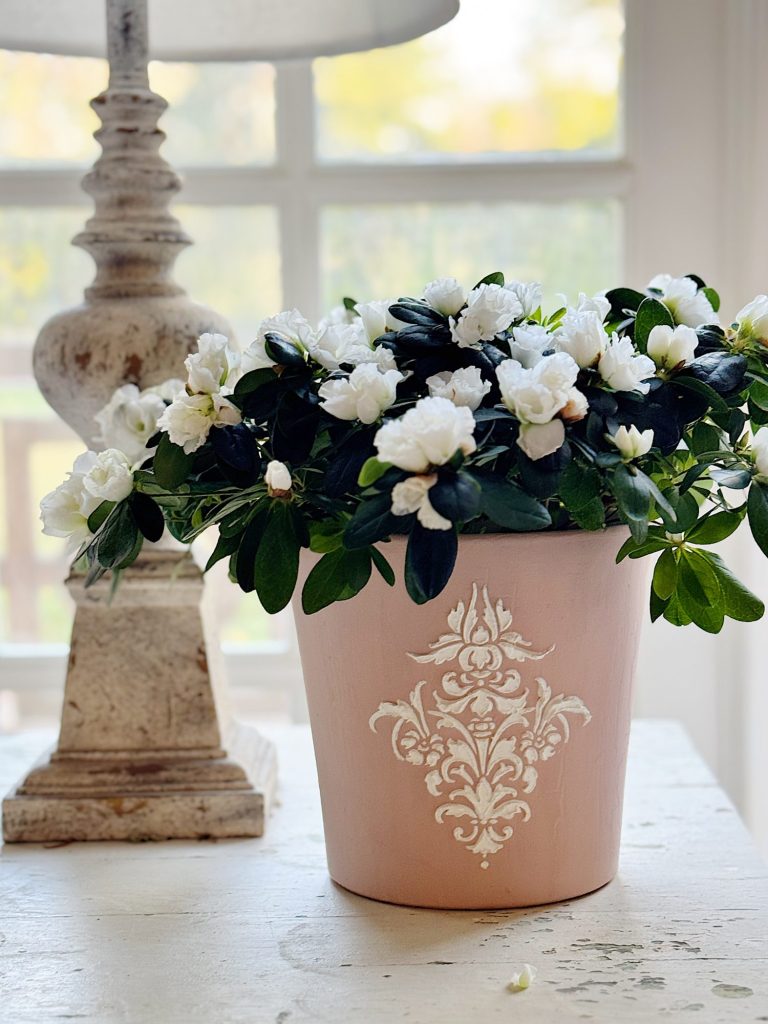
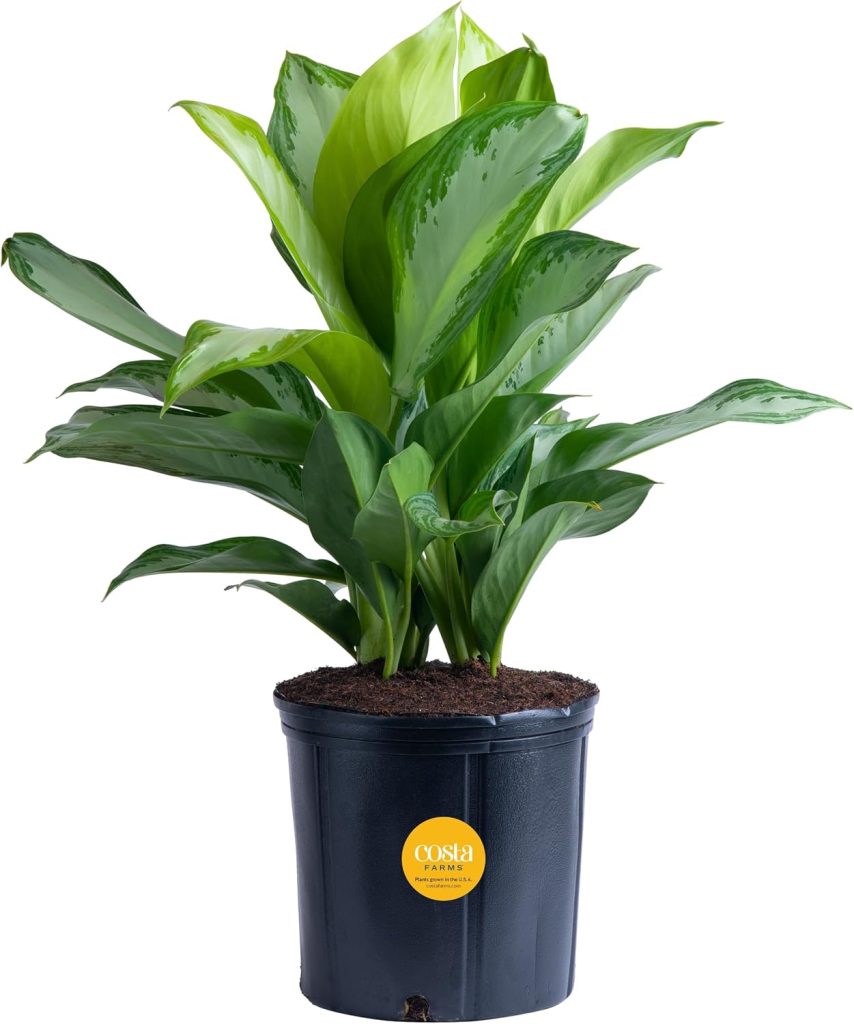
Now for the finishing touch—choosing a plant to complement your gorgeous DIY pot! I added a fresh green plant and placed the pot in front of the window with plenty of natural light.
You can use this pot for:
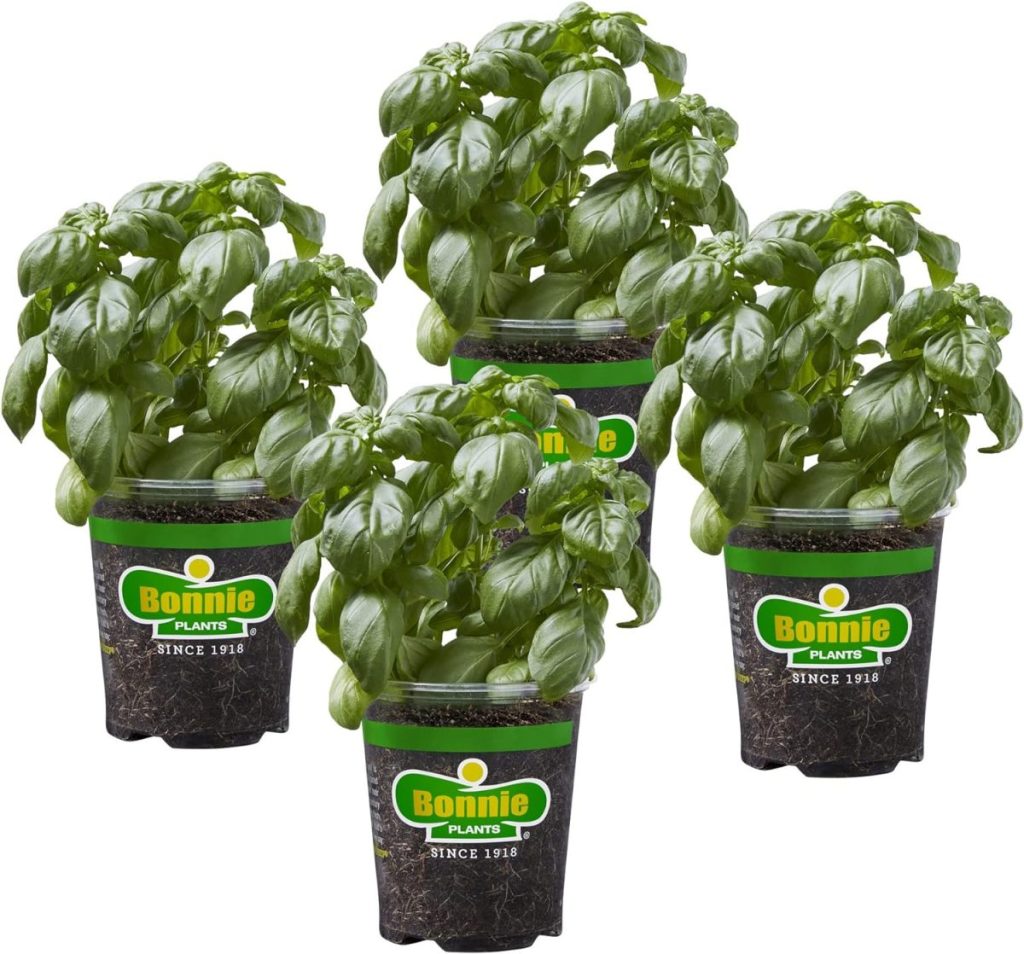
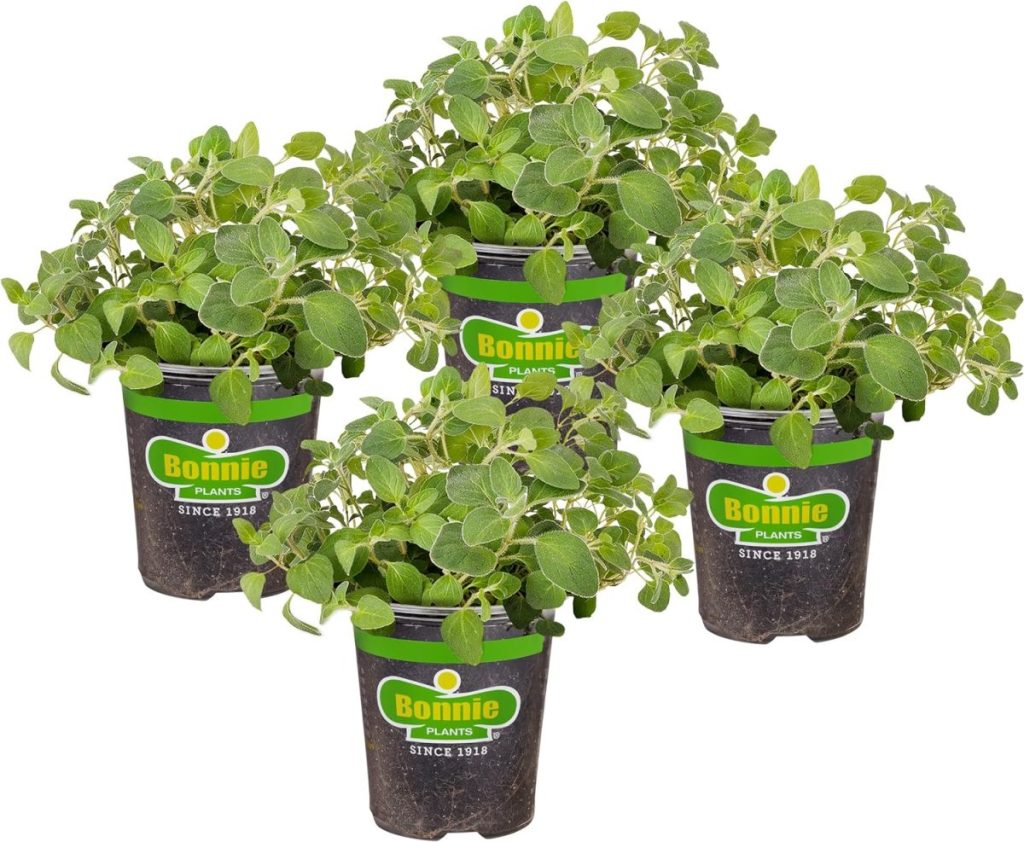
🌿 Fresh herbs (basil, rosemary, thyme)
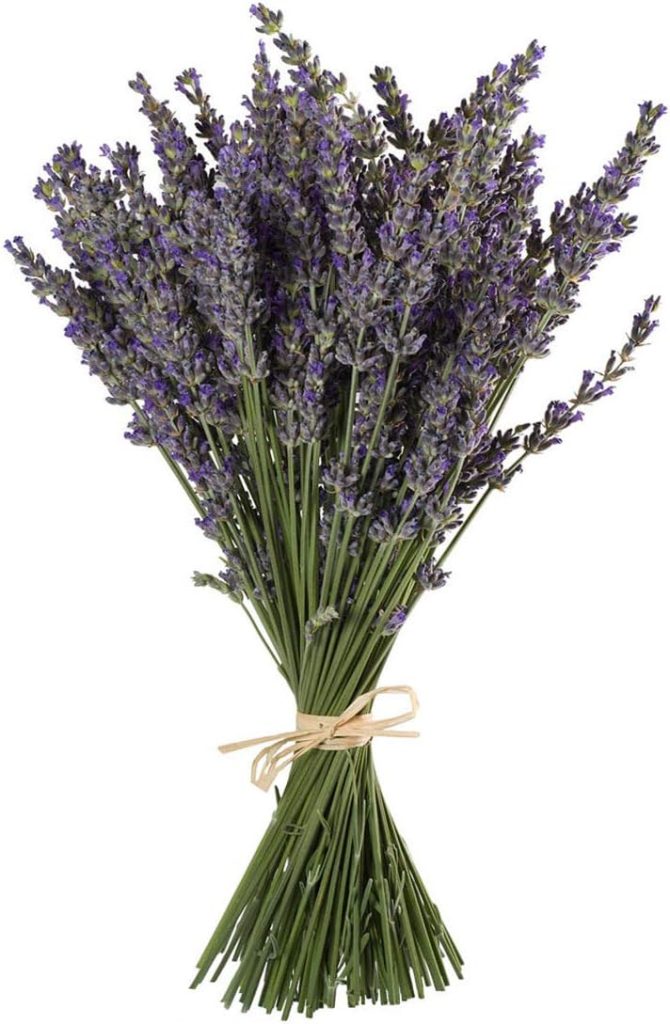
🌸 Small flowers (lavender, petunias, marigolds)
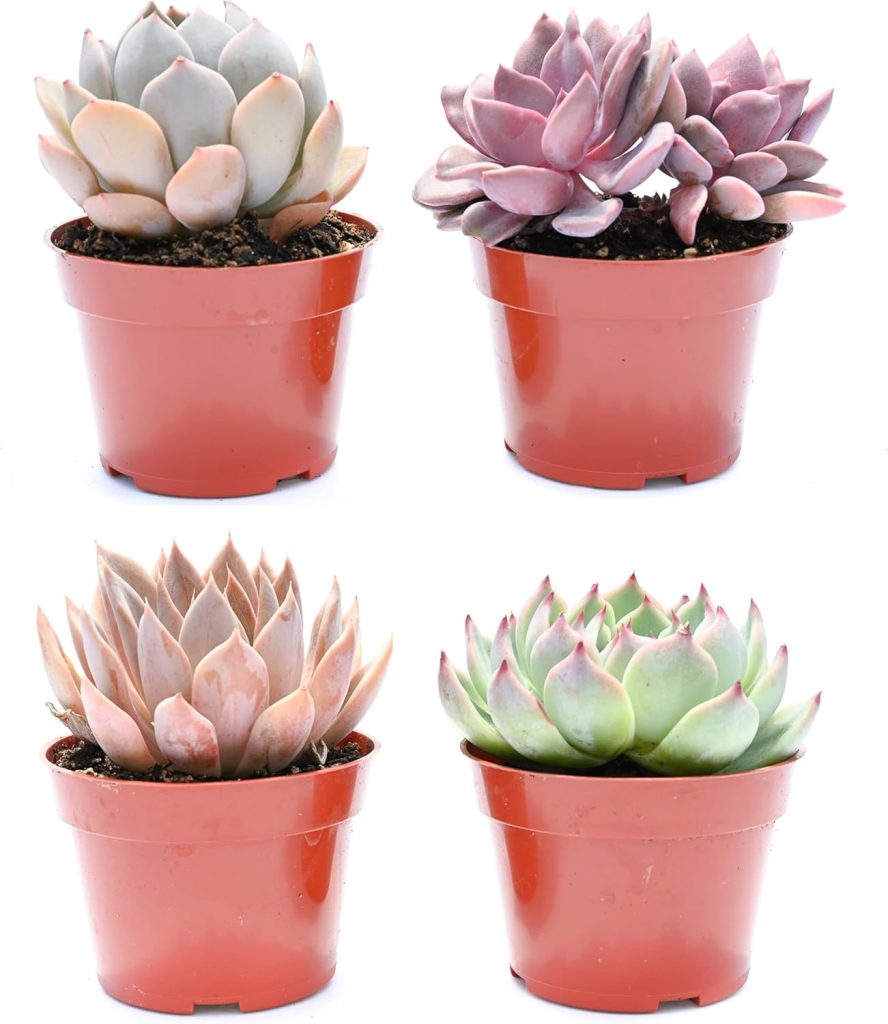
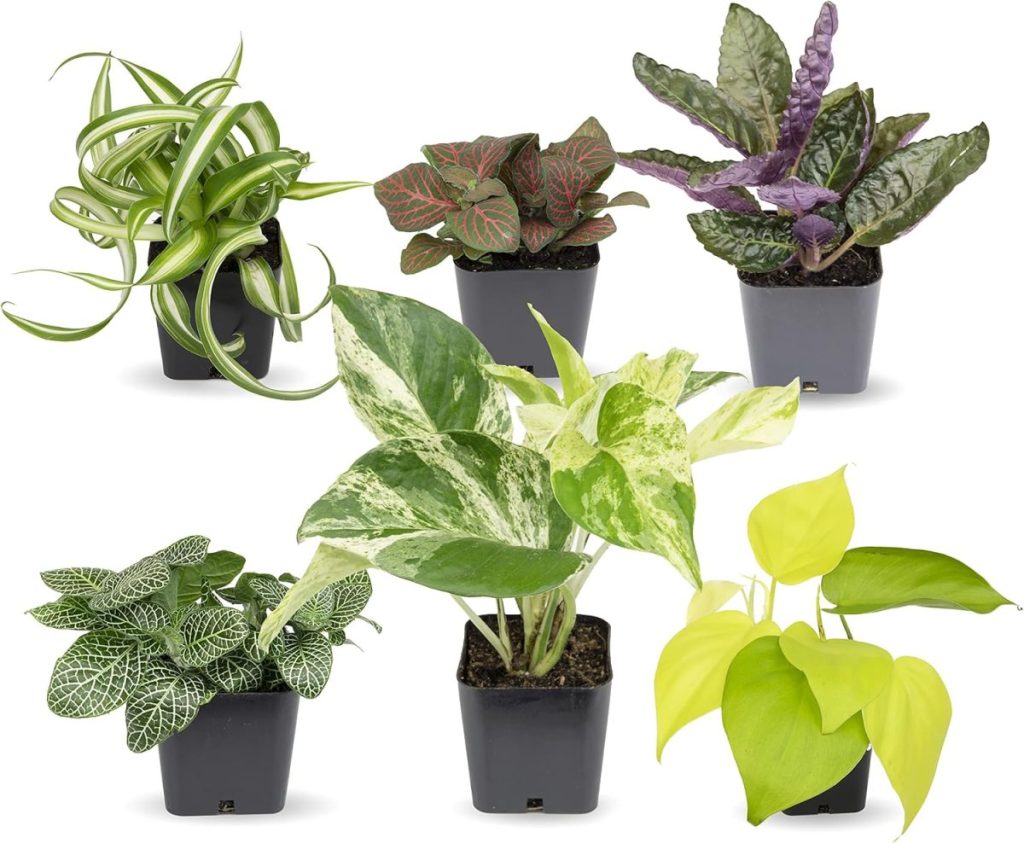
🍃 Houseplants (succulents, ivy, pothos)
Wherever you place it, your handmade stenciled terracotta pot will be a stunning decorative piece that brings warmth and charm to your home!
Styling Ideas for Your Stenciled Pot
Looking for creative ways to showcase your DIY terracotta pot? Here are a few styling ideas:
- Kitchen Herb Garden – Create a collection of stenciled pots and plant different herbs for a charming, functional kitchen display.
- Window Sill Decor – Place your pot by a sunny window for a cozy, welcoming touch.
- Outdoor Patio Display – Arrange multiple pots on your patio or balcony for a stylish outdoor look.
- Gift Idea – A personalized stenciled pot makes a thoughtful handmade gift for a friend or loved one!
Final Thoughts
I love how my stenciled terracotta pot turned out! It’s such a simple yet elegant DIY project that allows you to get creative with color, texture, and design. The raised stencil adds a beautiful dimension, making it look like a high-end decorative piece.
If you’re looking for an easy way to elevate your home decor or add a personal touch to your plant collection, I highly recommend this stencil fiber paste technique. It’s an inexpensive, fun, and rewarding project anyone can do!
Have you ever decorated a terracotta pot? If you try this DIY, I’d love to hear about your experience—let me know in the comments! Happy crafting!
If you enjoy my blog, you can sign up to receive my updates here.
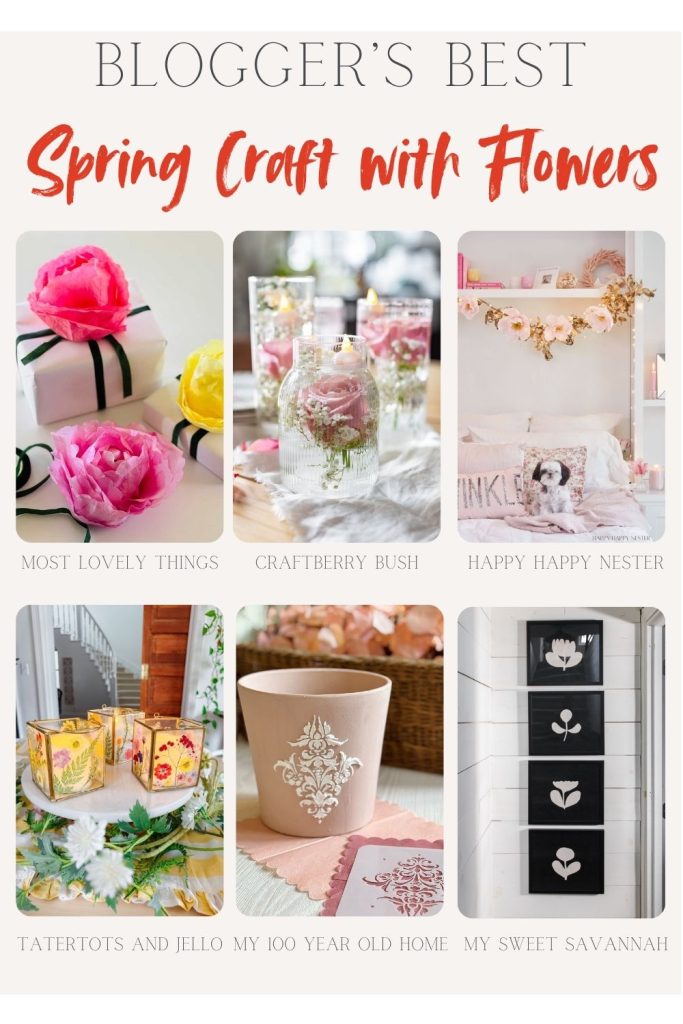
.Blogger’s Best Spring Craft With Flowers
I am sharing a few more spring flower craft ideas from some of my favorite bloggers.
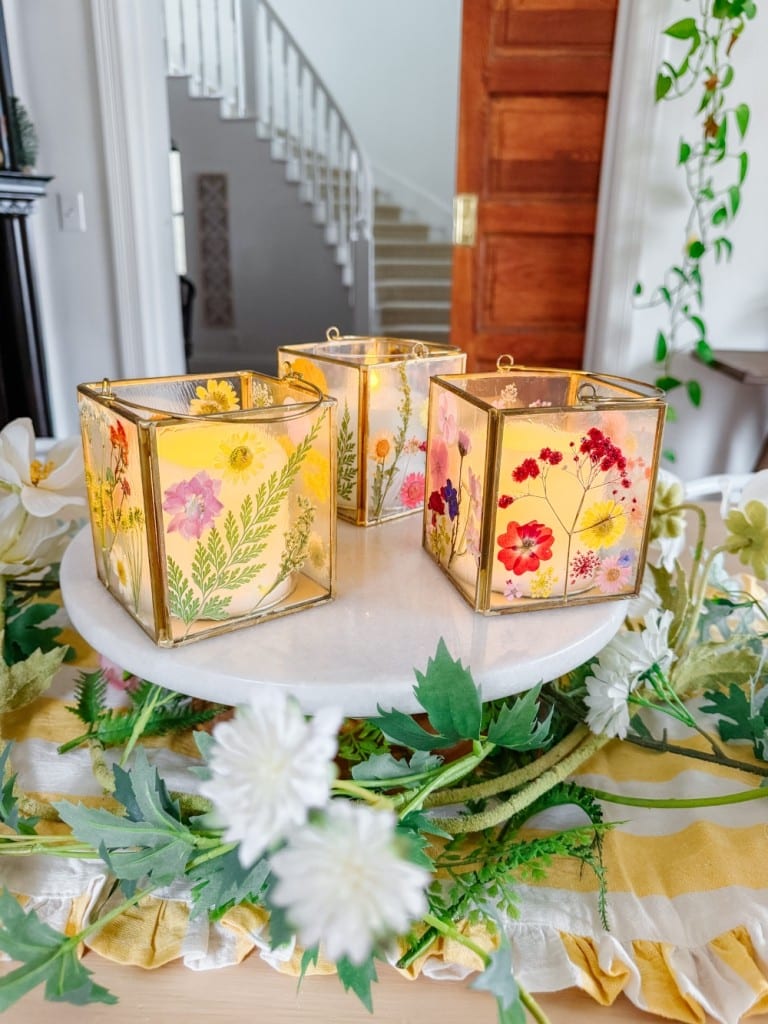
DIY Spring Flower Lanterns | Tatertots and Jello
Spring is almost here, and there’s no better way to bring the beauty of the season into your home than with a simple and charming DIY project!! These easy DIY Spring Flower Lanterns capture the essence of blooming flowers and glowing candlelight, creating a cozy and inviting atmosphere.

DIY Flower Garland | Happy Happy Nester
A DIY flower garland is an easy and beautiful way to add charm to any room. This specific garland is made from paper flowers and a bay leaf base! It’s a fun, creative project suitable for any season, whether you want bright blooms for spring or warm tones for fall. You can drape it across a mantel, use it as a table runner, or display it over a shelf for a cozy touch. With just a few basic supplies—crepe paper flowers and some string—you can create this homemade floral garland that looks effortlessly beautiful and lasts a long time.
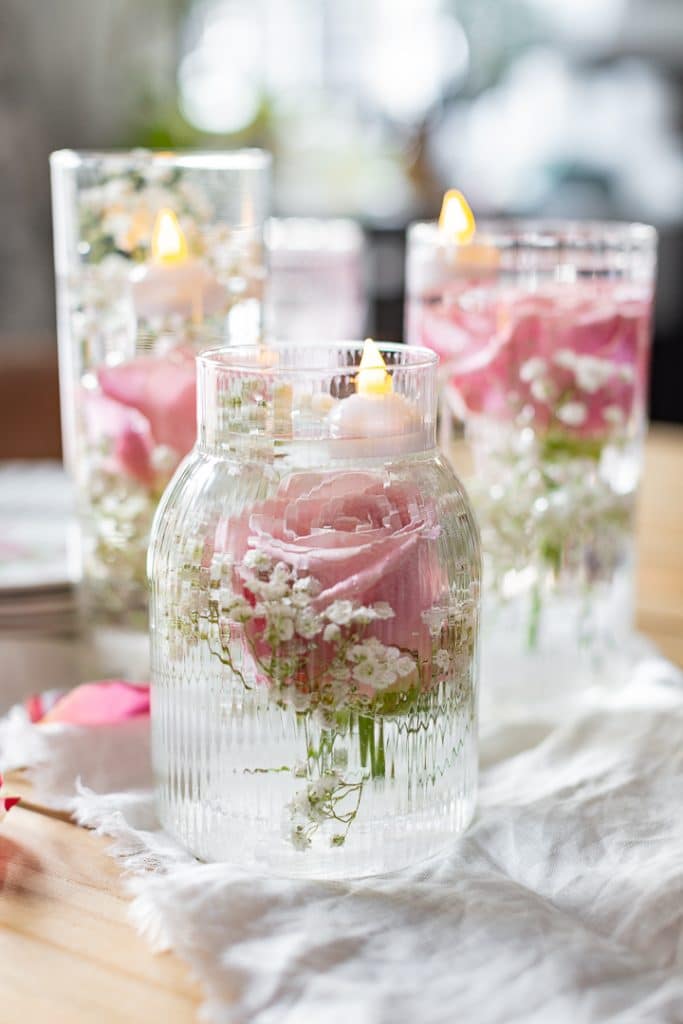
Easy Rose And Floating Candle Centerpiece | Craftberry Bush
This easy to put together centerpiece would be beautiful for any occasion but a great way to welcome spring.
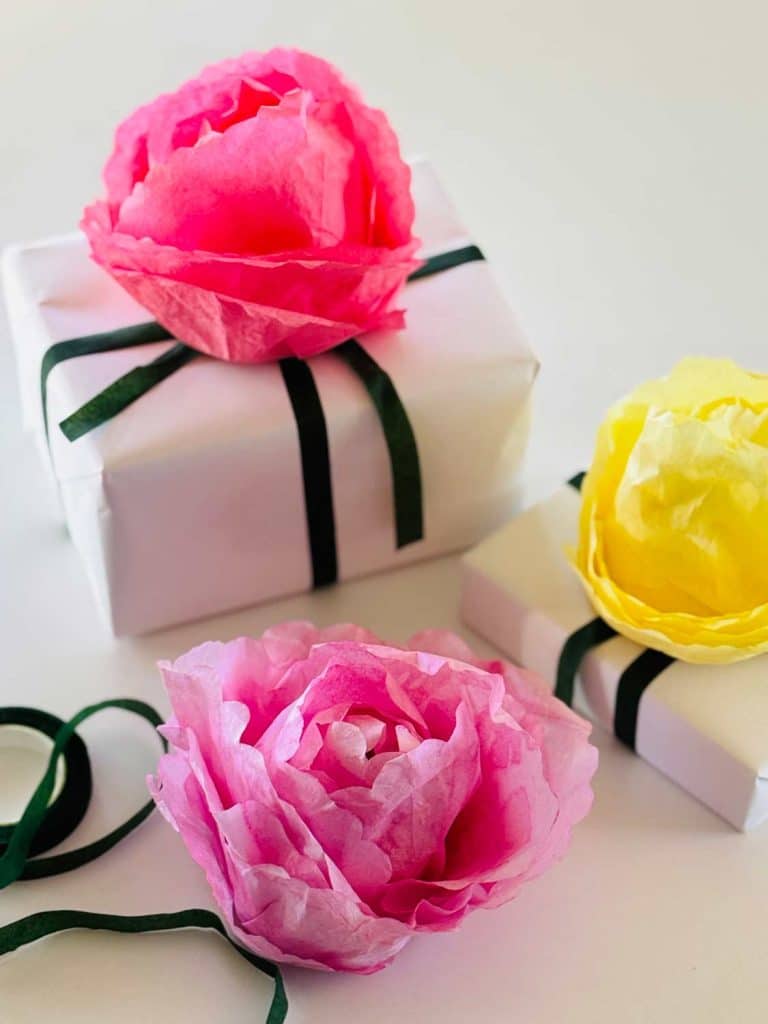
How to Make Beautiful Flowers Using Coffee Filters | Most Lovely Things
Make beautiful paper flowers to use on gifts for bridal showers, Easter & Mother’s Day.
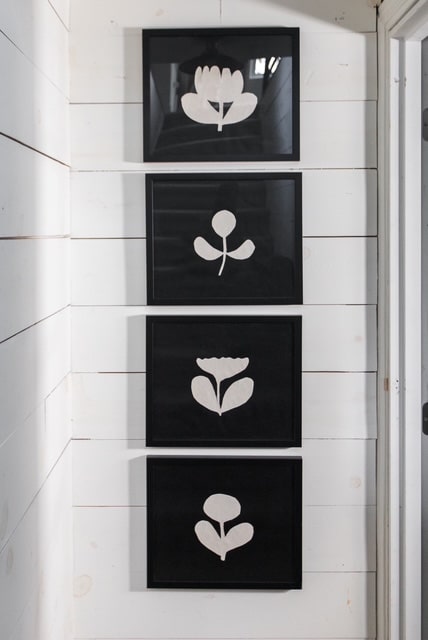
Affordable Spring Floral Art | My Sweet Savannah
Create beautiful, affordable spring floral art with this easy DIY project! Using simple materials and free downloadable patterns, you can make stunning floral artwork that fits perfectly with your neutral home decor. Get started today and add a touch of spring to your walls!
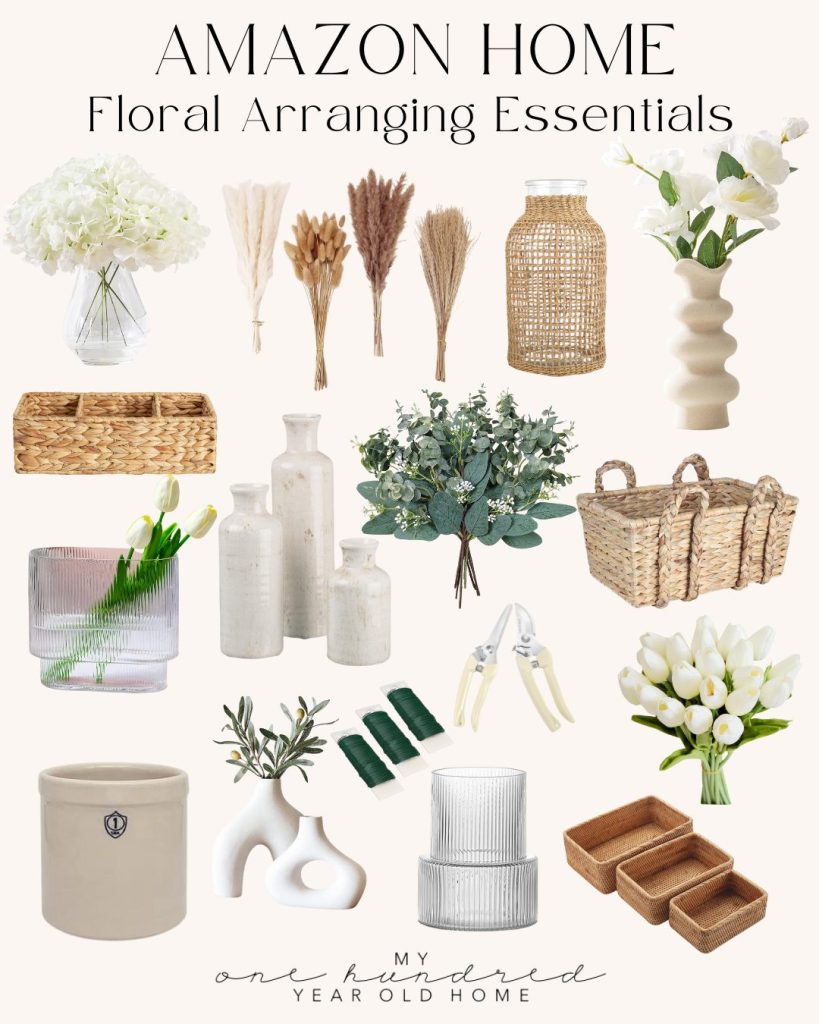
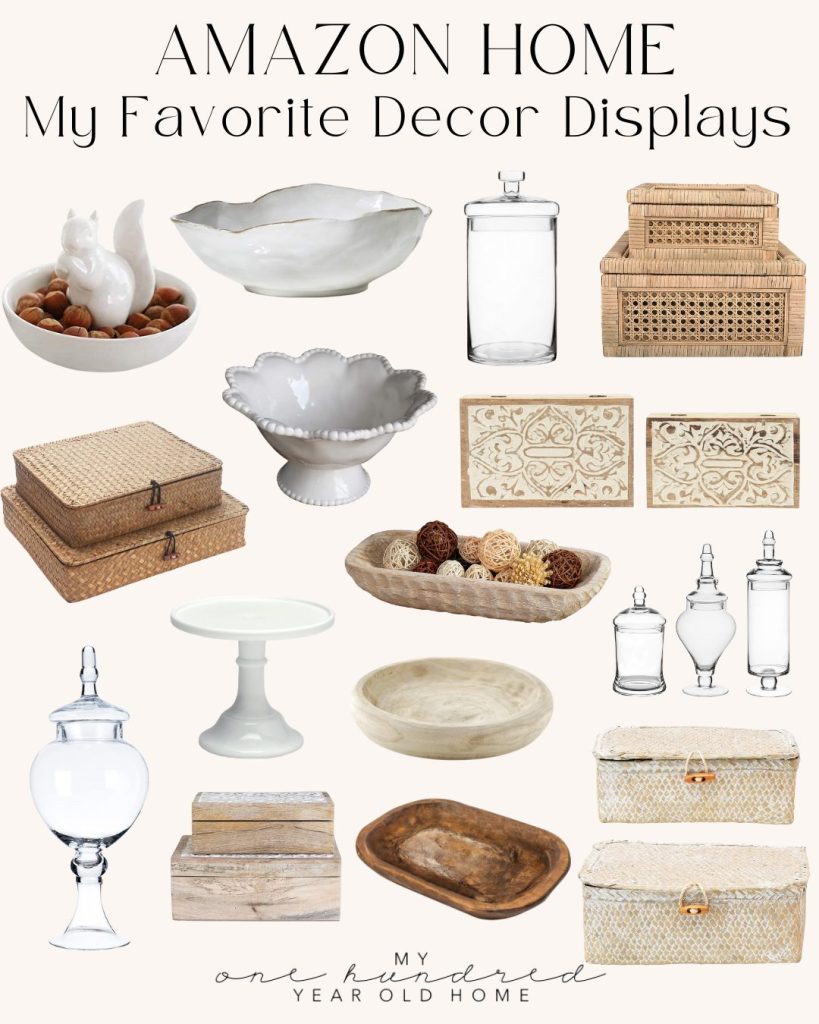
Floral Arranging & Display Decor Favorites

Latest Posts
-
Five Easy Steps to Adding Hanging Planters in Your Yard
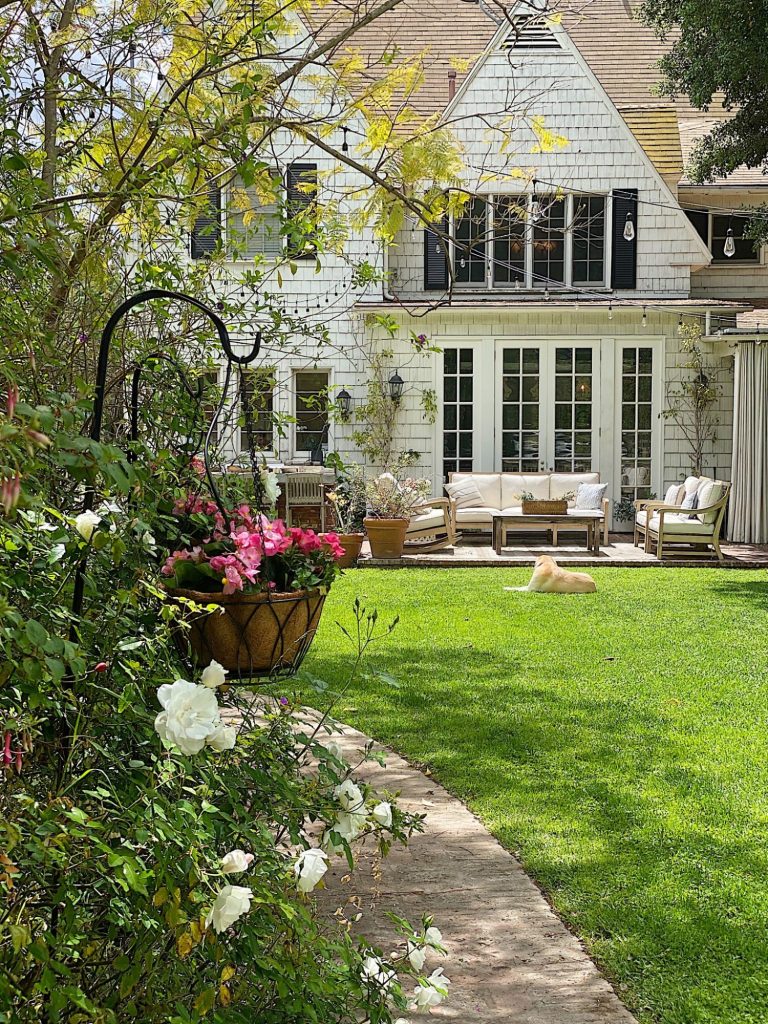
Today, I am sharing how I created the hanging planters in our backyard. I love mine so much! Hanging planters look lovely in any yard. My hanging planters have been looking awful all winter long. Here are five easy steps to add (or redo) hanging flower baskets in your yard. Adding hanging planters is a…
-
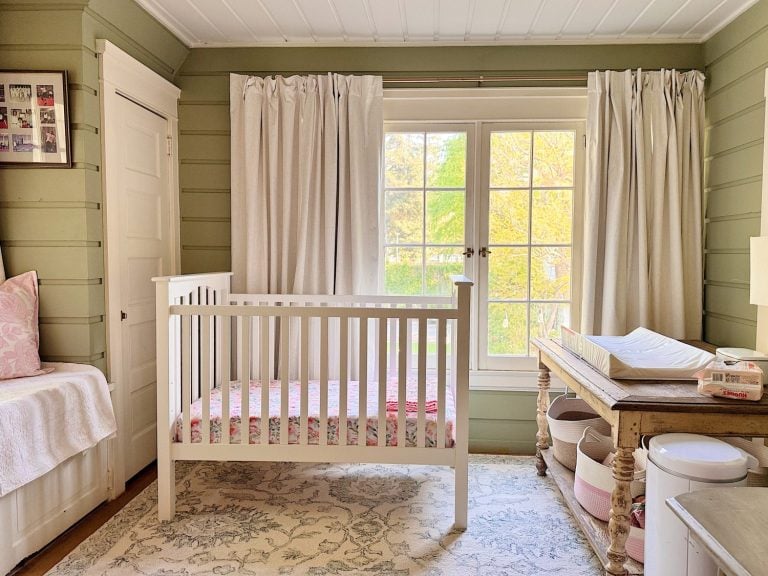
Spring Cleaning and Sunday Morning Coffee
I don’t know about you, but every spring I feel this strong pull to refresh something in our home, and this year I started in a place that might surprise you. It’s Spring Cleaning time! The very first room on my spring-cleaning list was our nursery. And yes, I know that sounds a little unexpected,…
-
Best Easter Brunch Egg Dish: Loaded French Onion Frittata
Easter brunch is one of those special meals where the table is complete, the laughter is loud, and the food is nothing short of spectacular. If you want to wow your guests with something savory, cheesy, and unforgettable, let me introduce you to your new Easter brunch hero: a Loaded French Onion Frittata.
-
The Best Spring Pillow DIY – A Handmade Spring
There are certain projects that start as an idea and quietly turn into something you love far more than you expected, and this Spring pillow is exactly that. As part of my A Handmade Spring series, I wanted to create something soft, beautiful, and full of texture, and this pillow checked every box. This pillow…


My Recent Instagram Posts

You can pin the images below to your boards on Pinterest (click the Pin button in the top left corner) or follow me on Pinterest!
For more real-time updates, follow me on Instagram @My100YearOldHome
So beautiful! Pinned 🙂
Aw yay! Thank you!
Leslie! I love your elegant stenciled terracotta pot! It’s so pretty!
Thanks so much Annie! Love this DIY!
Hi Sales
Tyson Foods Inc is seeking quotations from qualified vendors for the supply of the below item for use in our Facility.
The purpose of this RFQ is to solicit competitive quotations that meet our specified requirements.
Specification needed:
White dinner napkins
Quantity:2ply white dinner napkins
300 pieces in one roll
10 rolls in a case.
In addition, we would like to open a NET 30 account with your company, Good discount pricing will be appreciated for better partnership.
I would appreciate a reply at your earliest convenience.
Instead of buying candles, why not make your own candle? It’s a fun way to create something unique and even experiment with eco-friendly ingredients!