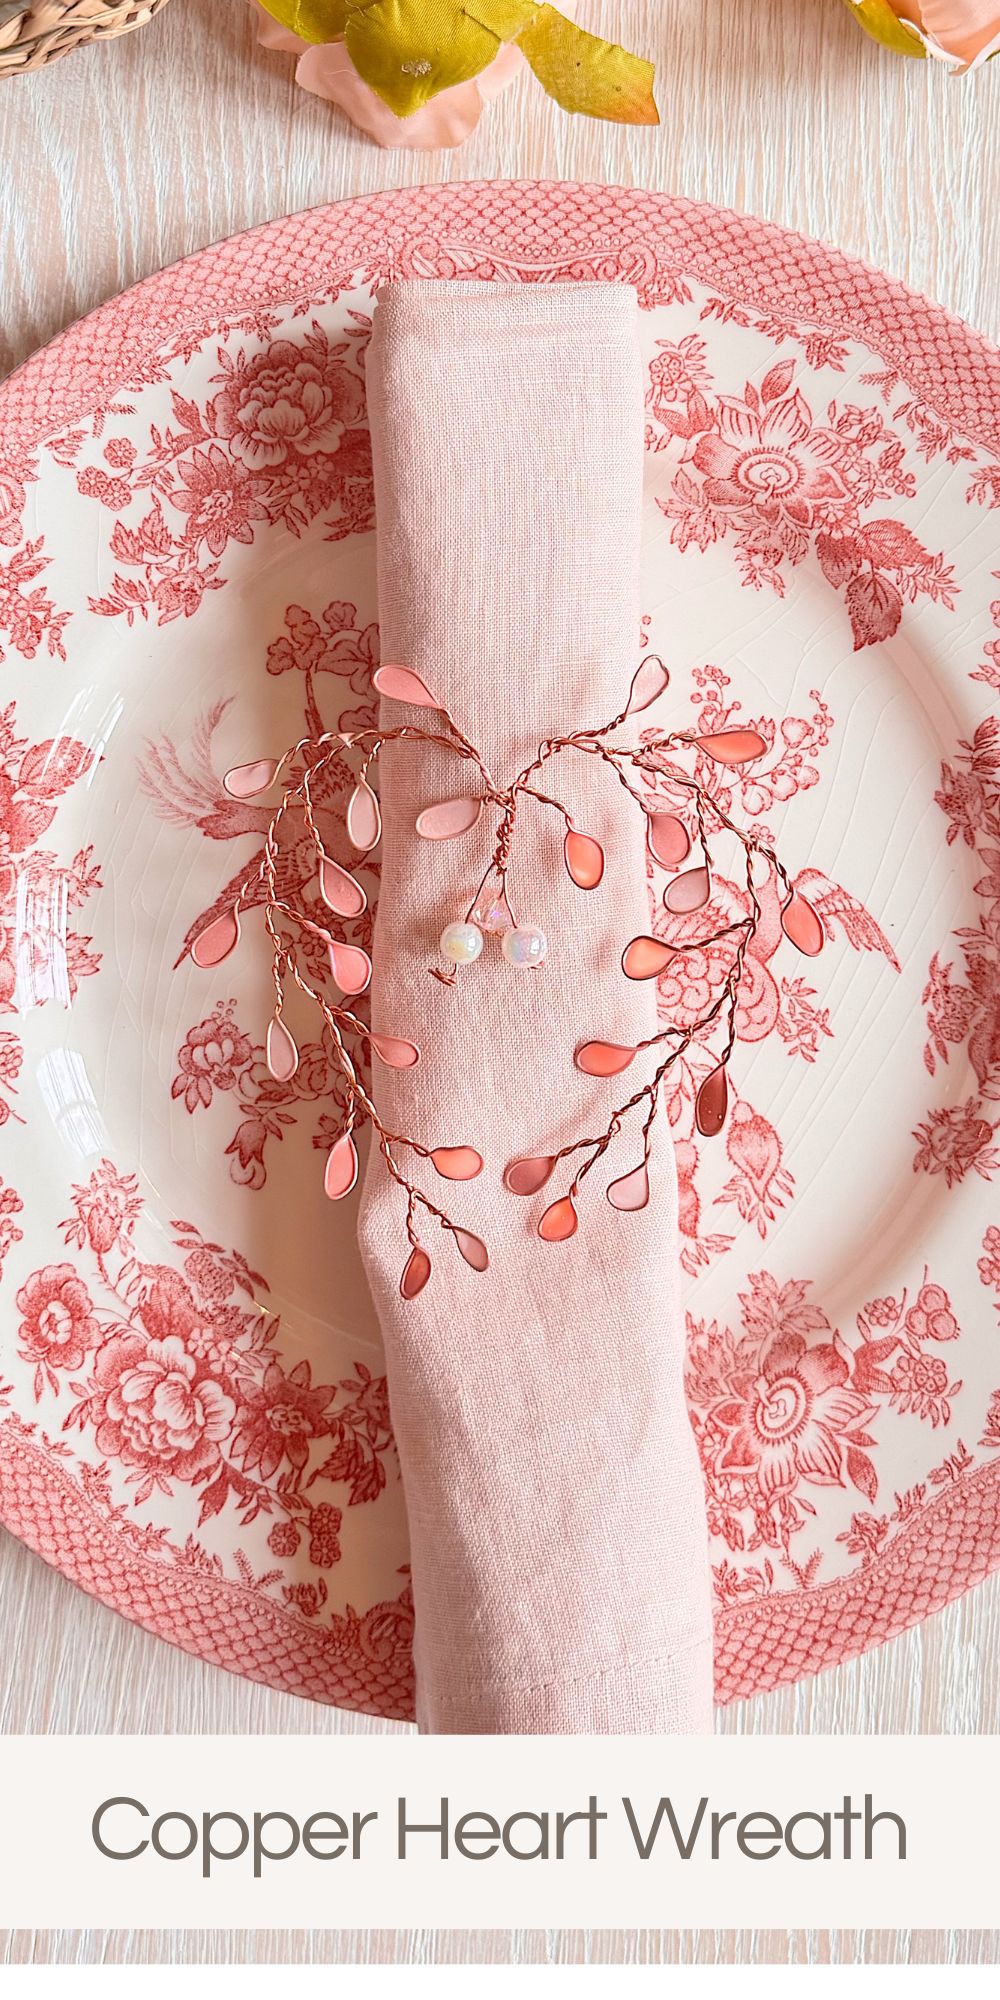
Copper Heart Wreath

This copper heart wreath is the very first project in my brand-new creative series, A Handmade Spring.
Last year, I created A Handmade Christmas, and it turned out to be one of my favorite projects I’ve ever shared. You loved it, I loved it, and honestly, I wasn’t ready for the crafting momentum to end when the holidays were over. So instead of stopping, I decided to keep going.


Valentine’s Day Copper Heart Wreath
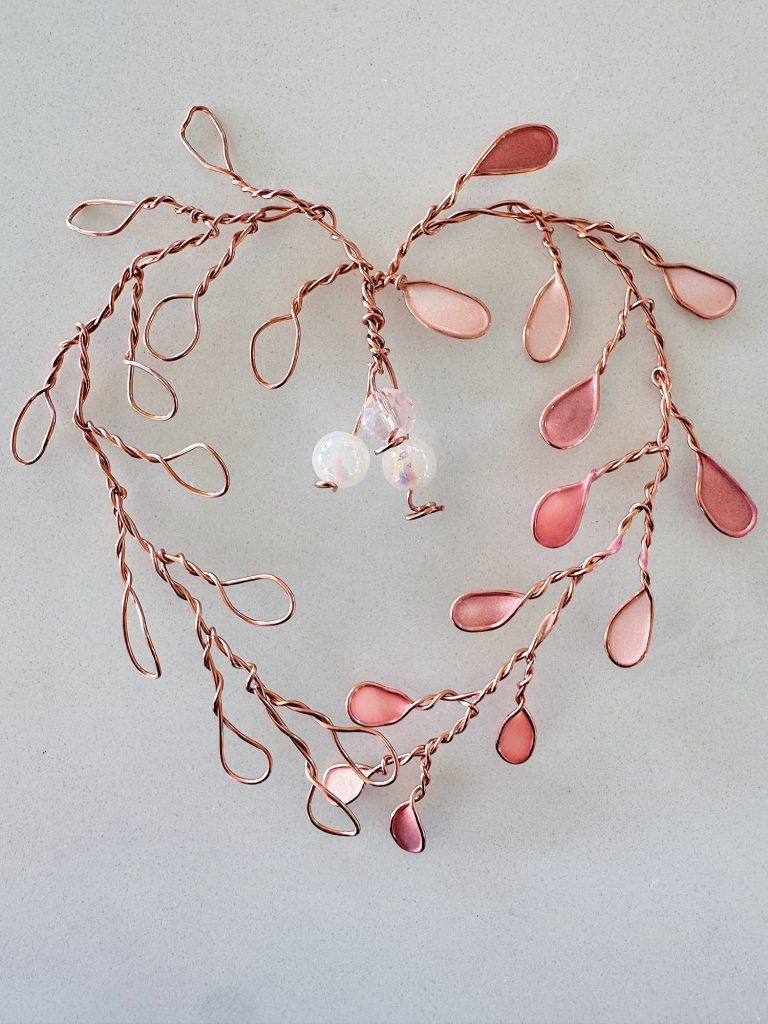
Believe it or not, this beautiful Valentine’s Day copper heart wreath is made with copper wire and nail polish.
When I finished it, I couldn’t stop smiling because it feels both delicate and unexpected, and it perfectly captures what I love most about handmade decor. Simple materials, a little patience, and a finished piece that looks far more special than you’d ever guess.
Be sure to watch the video as this is one of those DIY projects that needs a video!
For the next 12 weeks, I’ll be sharing a new spring-inspired craft every Friday. Each project is designed to feel approachable, creative, and joyful, with plenty of room to make it your own. Today’s copper wreath felt like the perfect way to begin.
A Valentine’s Day Wreath That Works All Spring
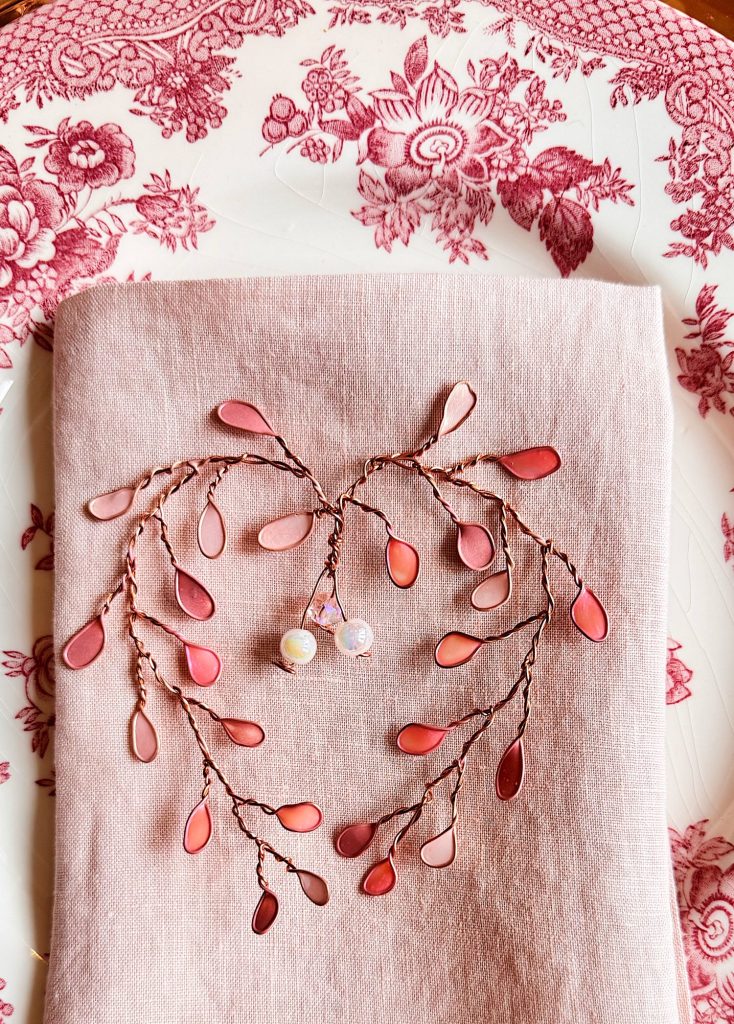
At first glance, this wreath feels very Valentine’s Day, thanks to its heart shape and soft pink tones. But one of the things I love most about this project is its versatility. With just a slight change in shape or color, this same design can easily transition into a round wreath for spring, or even a neutral accent that works year-round.
The copper wire gives it warmth and structure, while the nail polish creates these lovely, translucent “petals” that catch the light beautifully. It’s airy, elegant, and lightweight, making it perfect for hanging, styling on a tabletop, or even as part of a place setting.
And yes, nail polish really is the magic ingredient here.
What You’ll Need
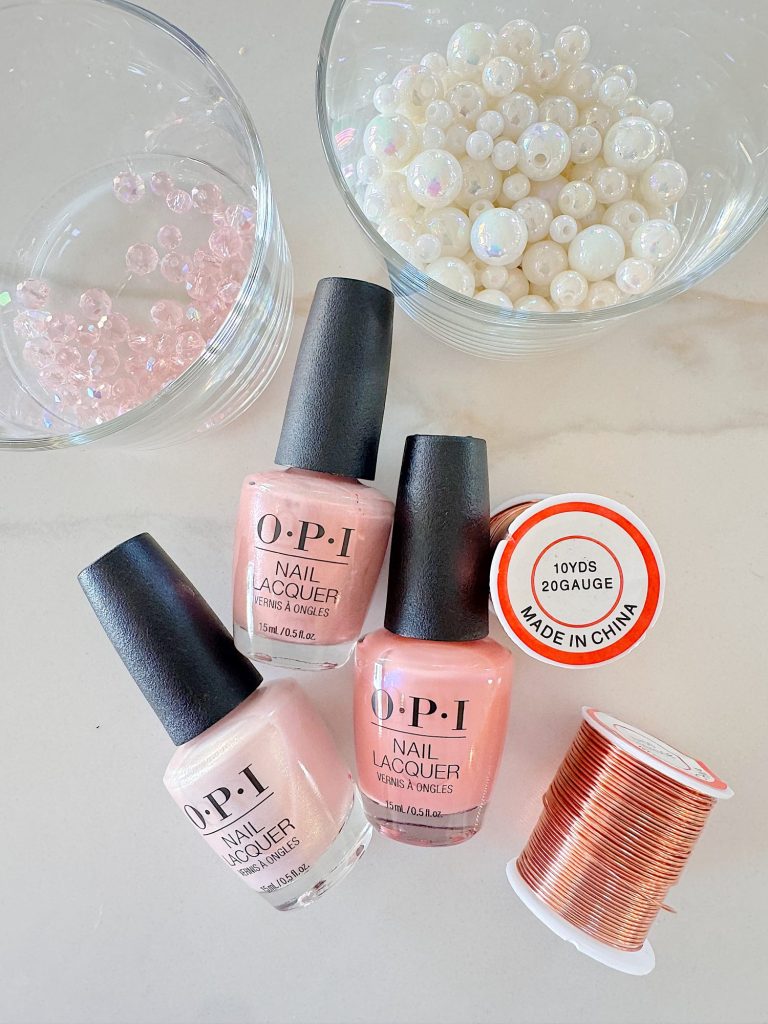
This project uses just a handful of supplies, many of which you may already have at home.
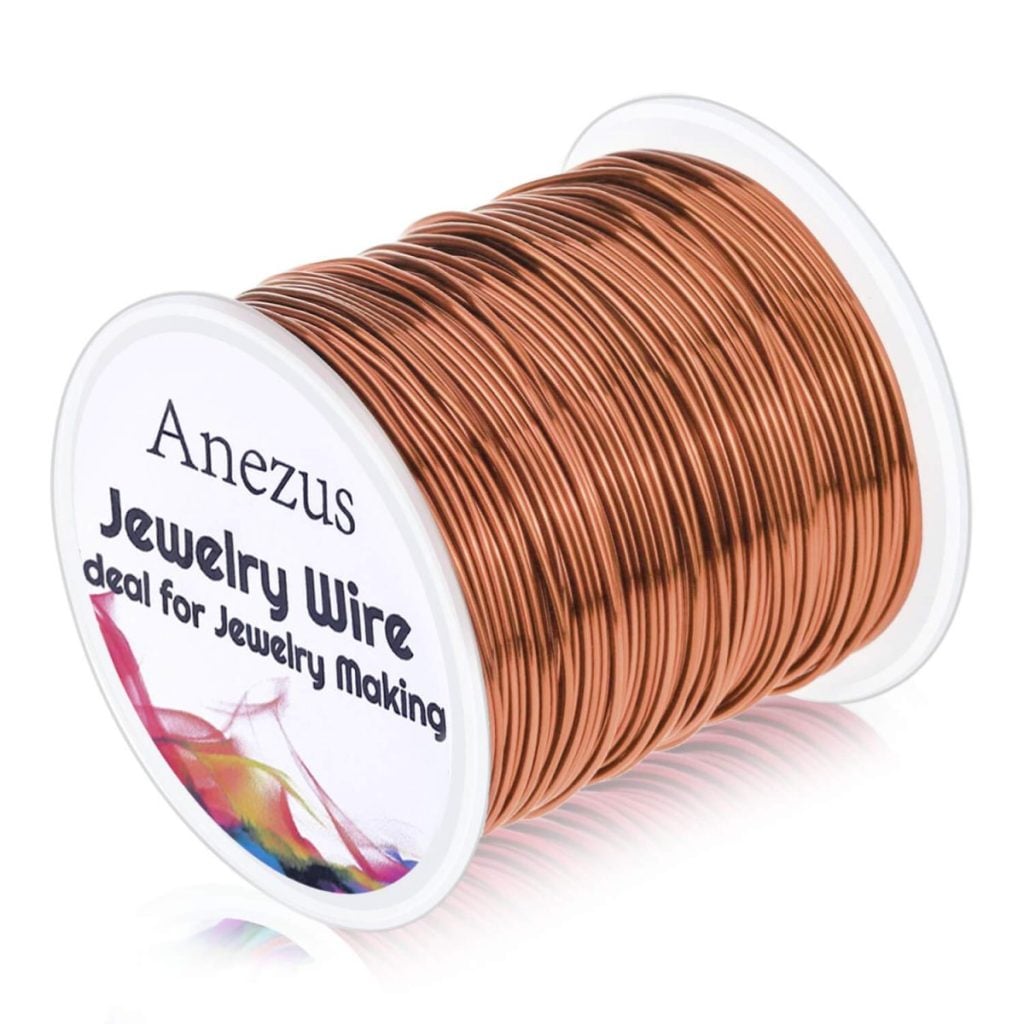
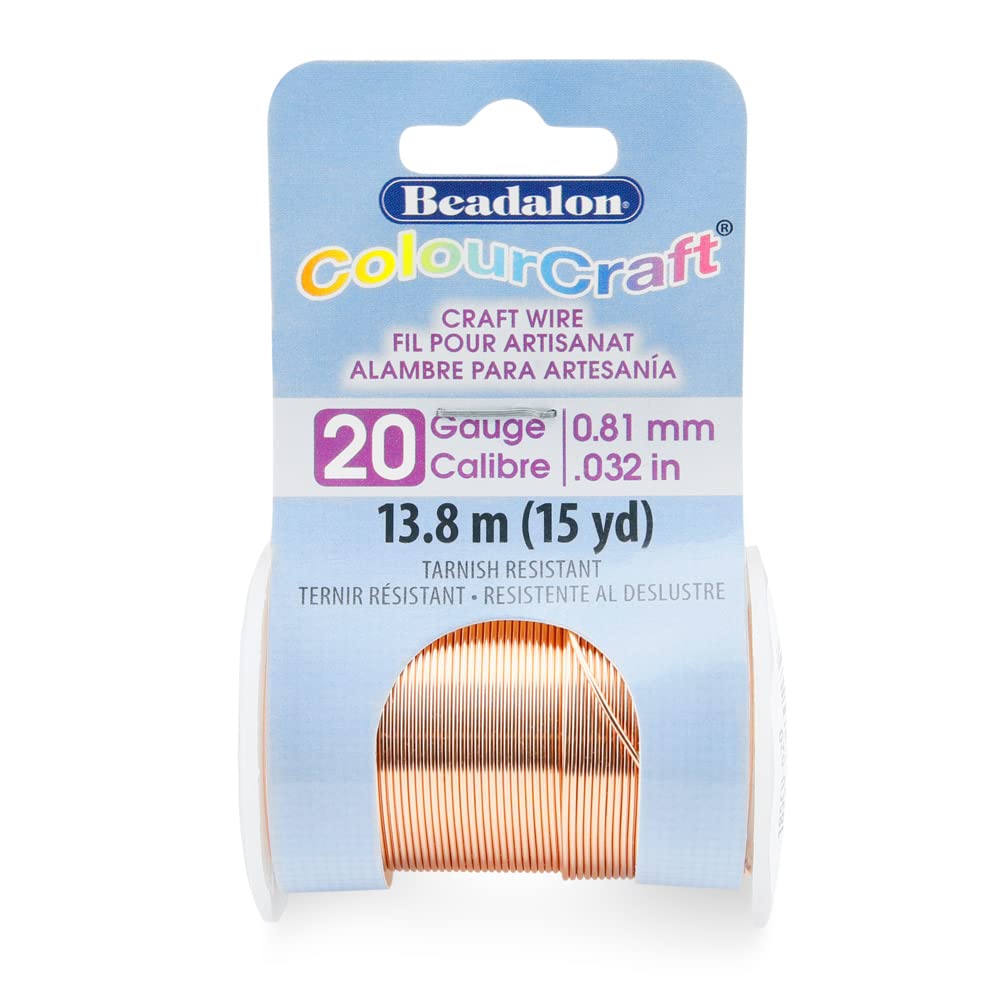
- 20-gauge copper wire
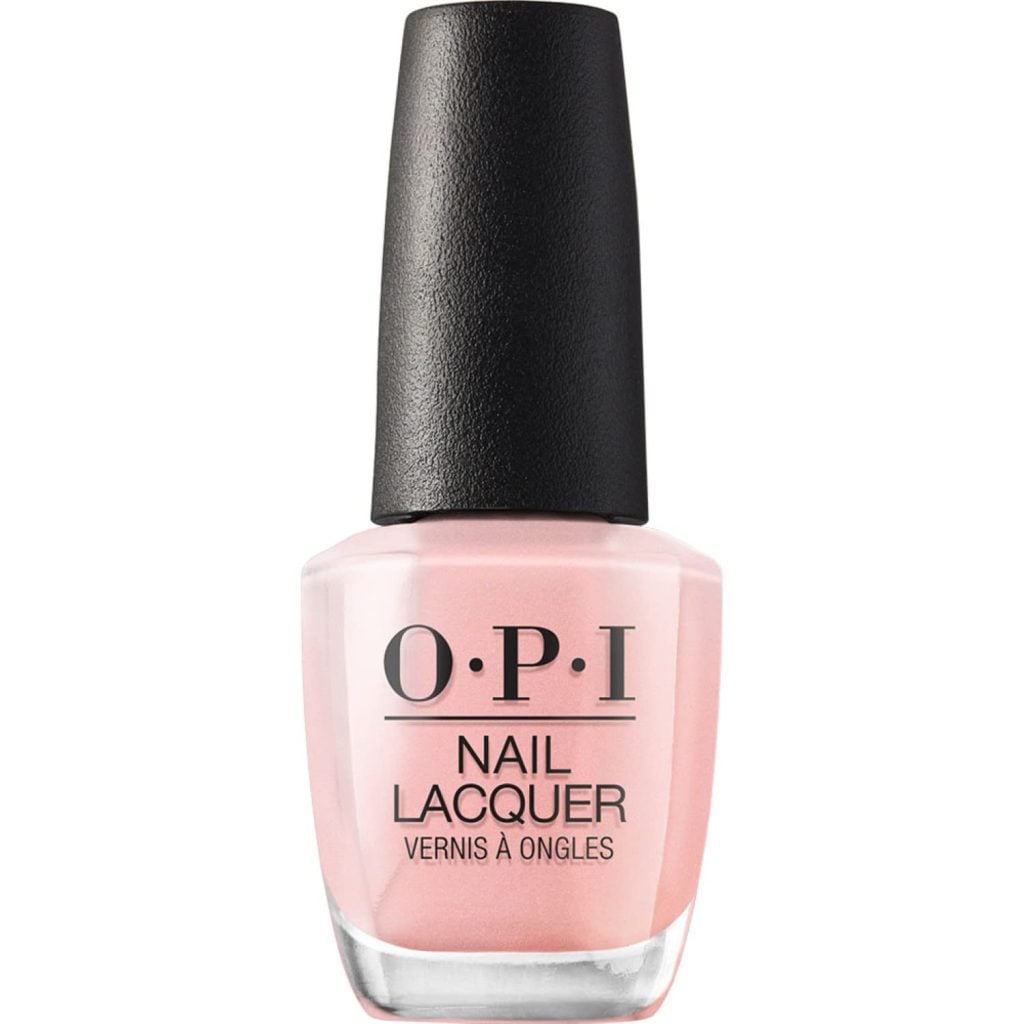
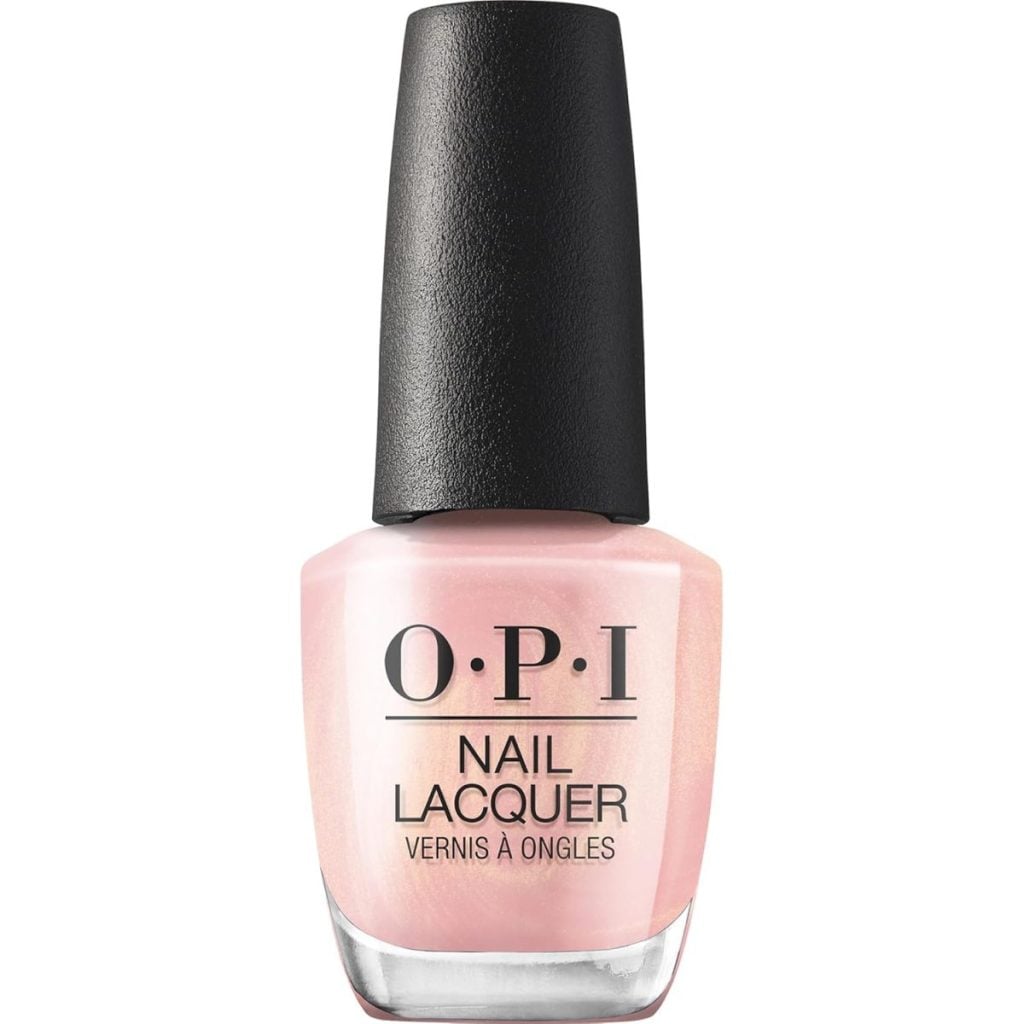
- Three colors of nail polish (I used pearl soft pinks and blush tones) The Opi Nail Lacquer colors are Humidi-Tea, Rosy Future, and Reoccurin Gleam
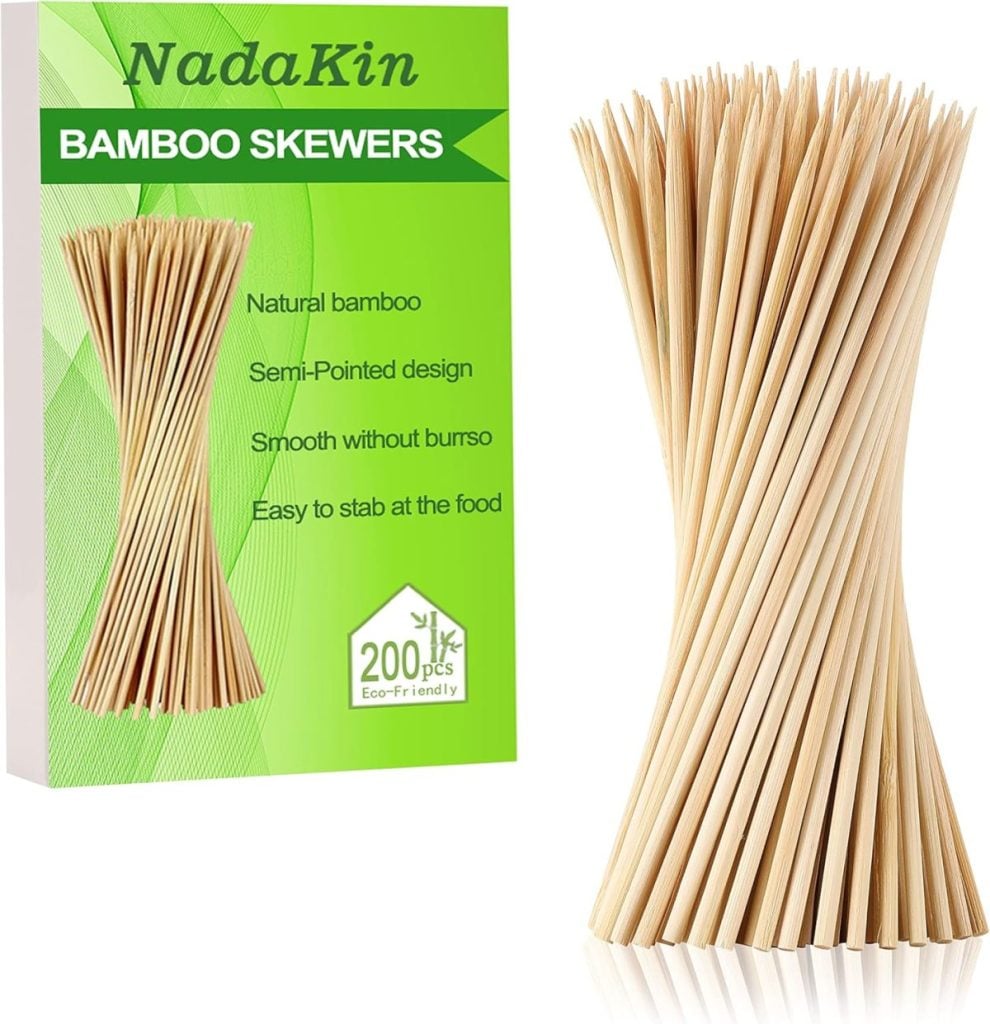
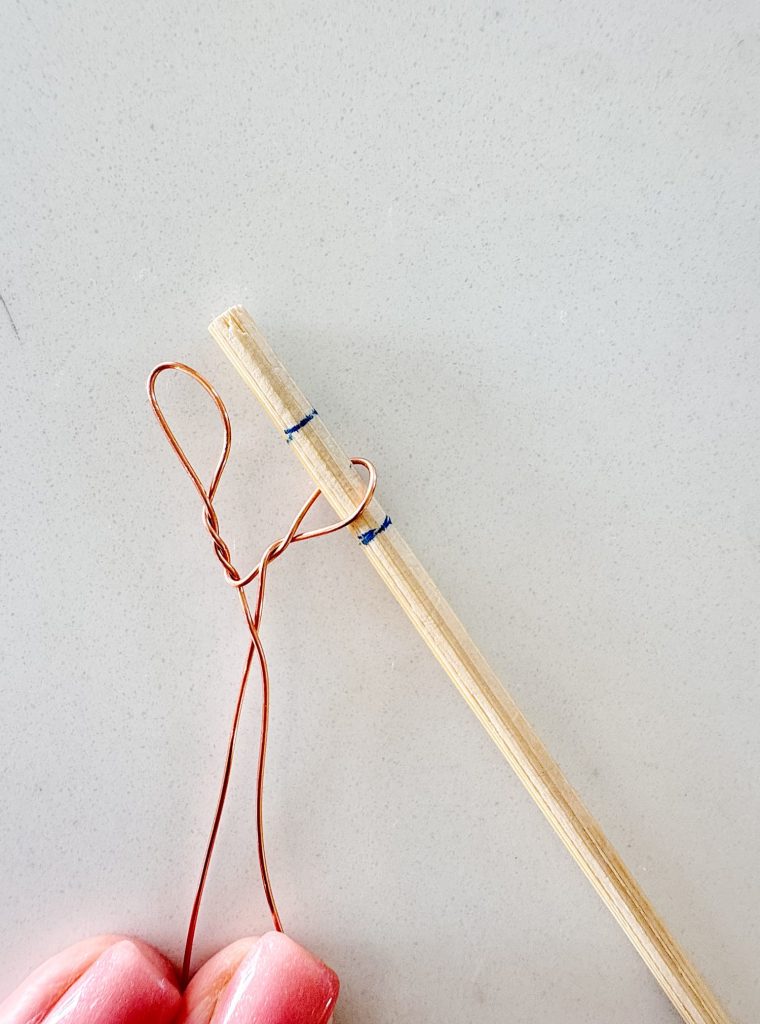
- A wooden skewer (for shaping the loops)
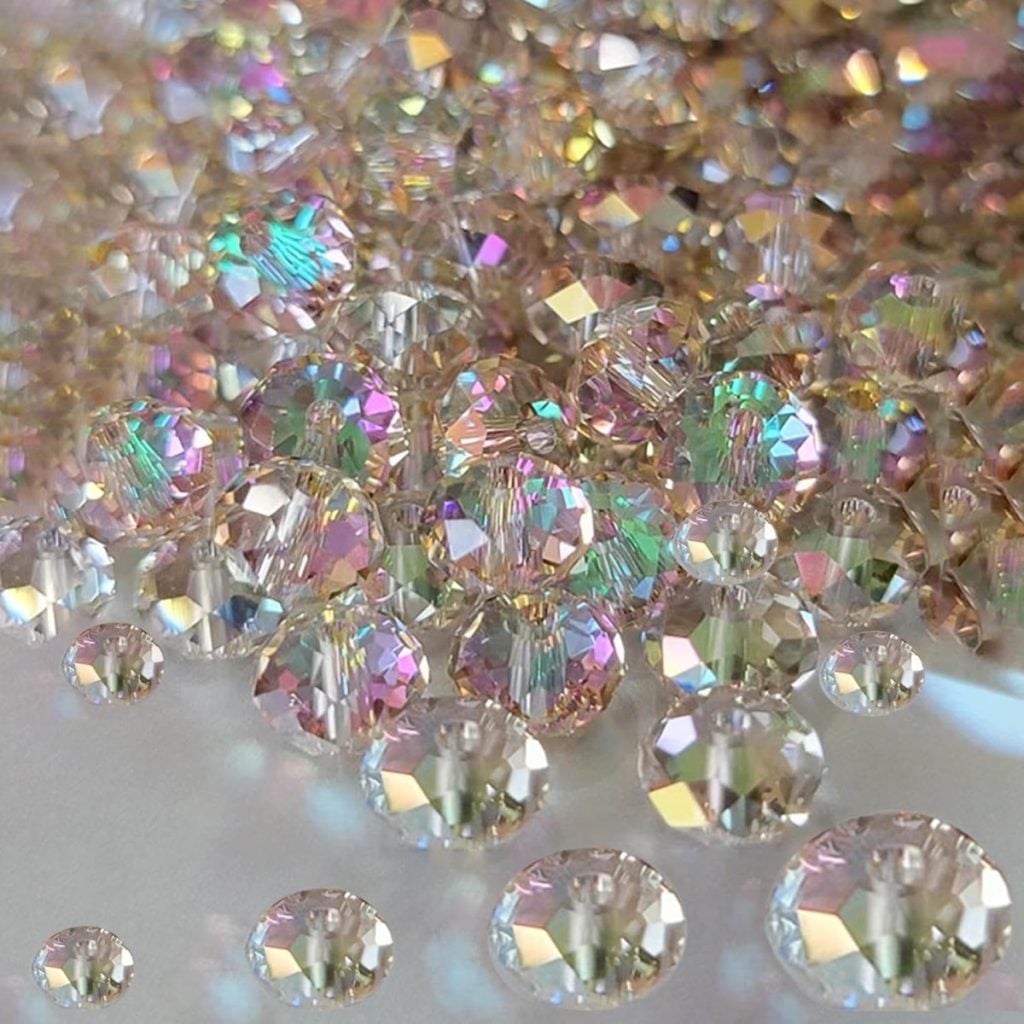
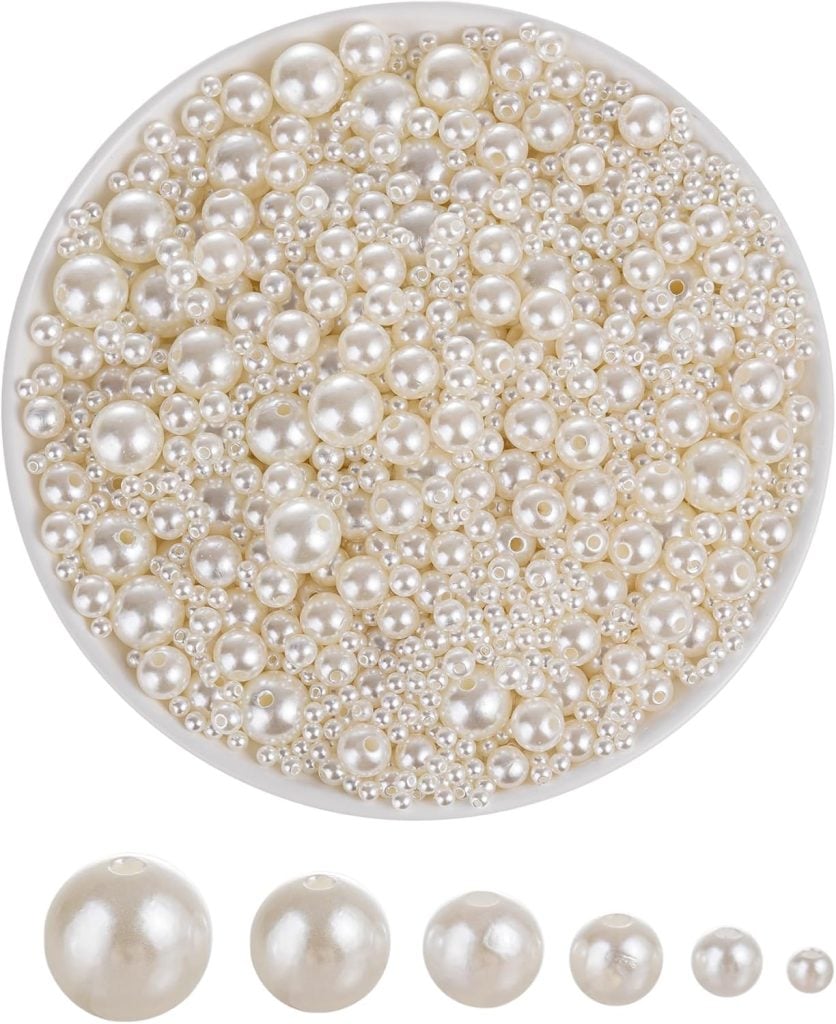
- Glass beads and pearl beads (for a simple garnish in the center)
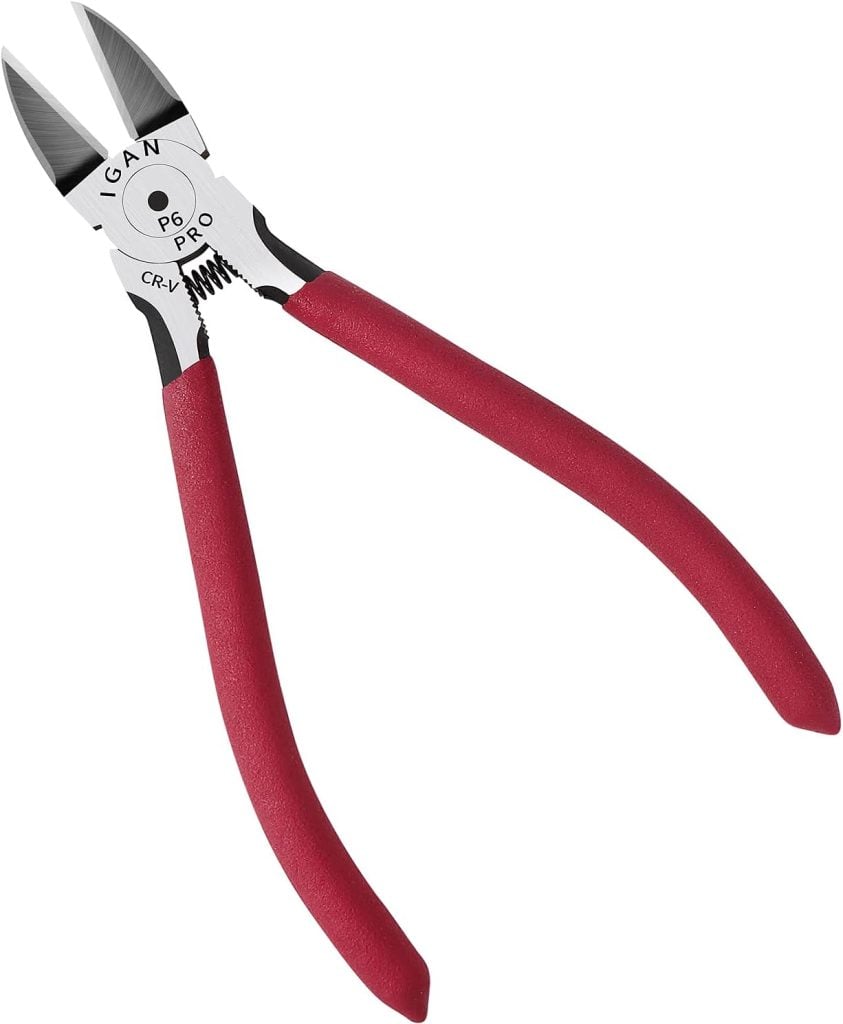
- Wire cutters
- Round-nose or small pliers
I may sometimes use affiliate links on this blog, which means I earn a small commission if you purchase through the link. The price will be the same whether you use the affiliate link or go directly to the vendor’s website using a non-affiliate link.

That’s it. No special tools, no complicated setup, and nothing intimidating.
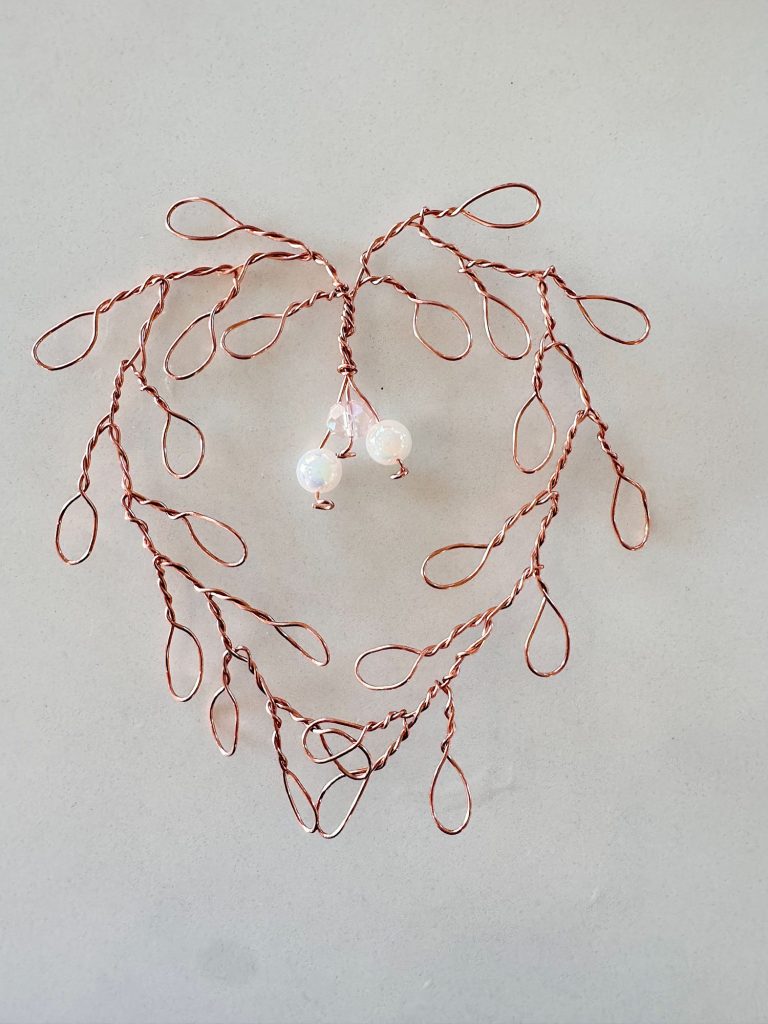
How This Copper Heart Wreath Comes Together
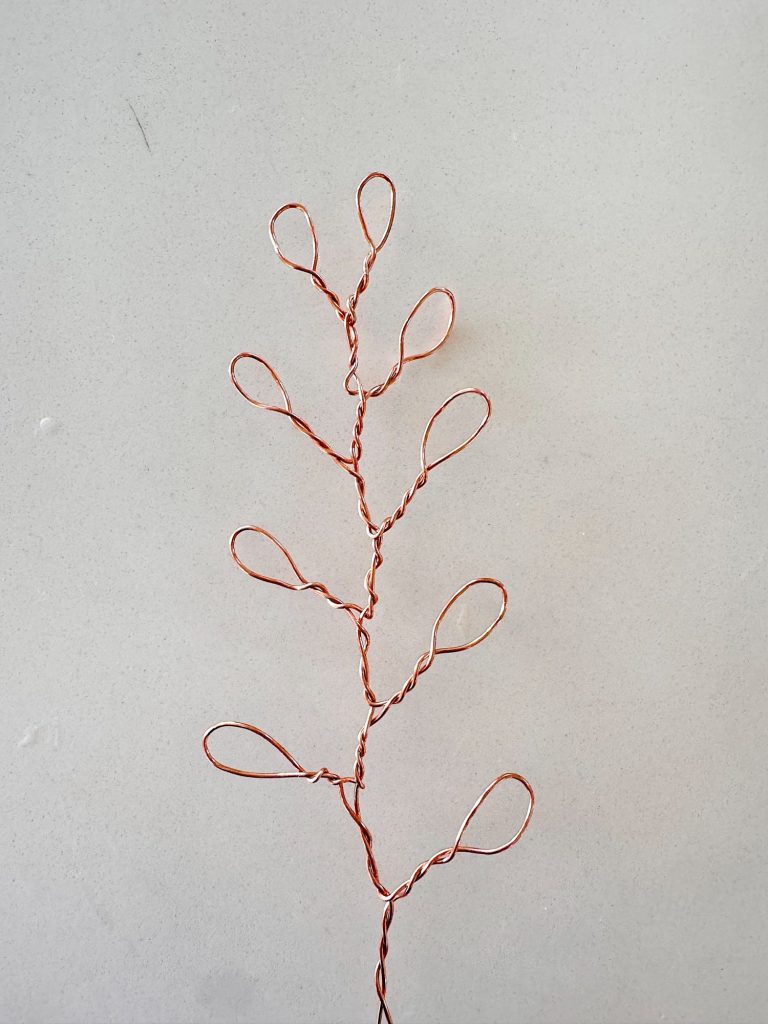
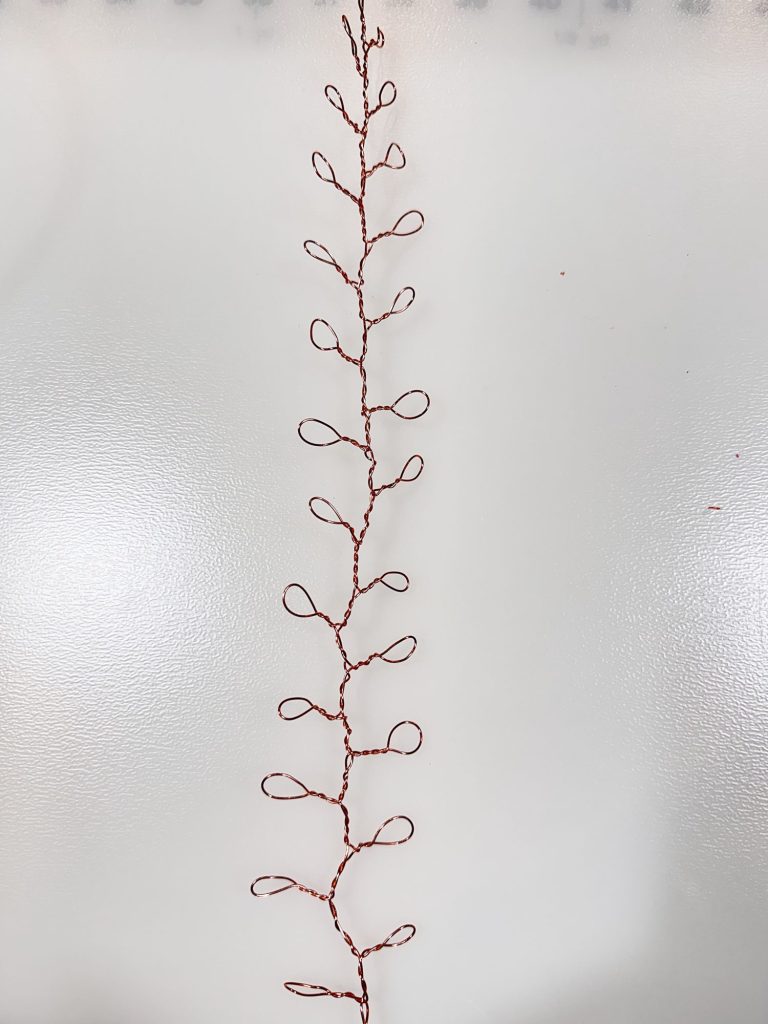
I started with two lengths of copper wire, each measuring about 46 inches long. Each piece is bent in half, so you’re working from the center outward. Using the wooden skewer as a guide, I formed small loops in the wire, alternating sides as I went.
The key here is keeping the loops small and consistent. Mine are all less than 3/8 inch wide, which helps the nail polish hold its shape later. Larger loops can work, but they tend to be trickier to fill evenly.
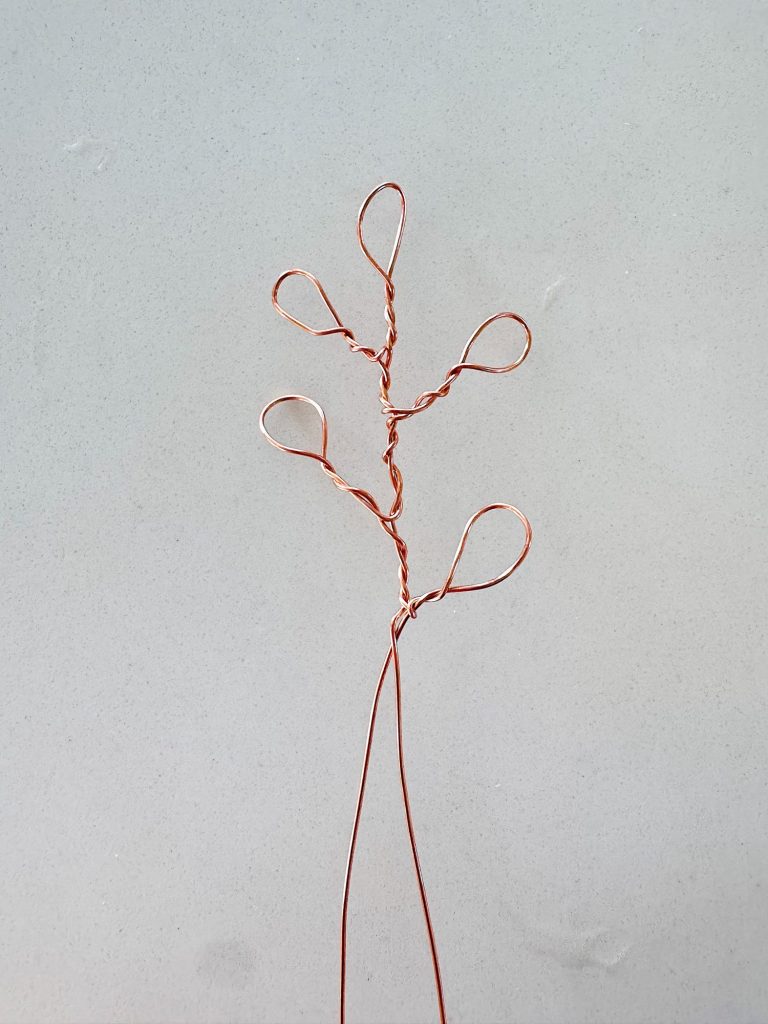
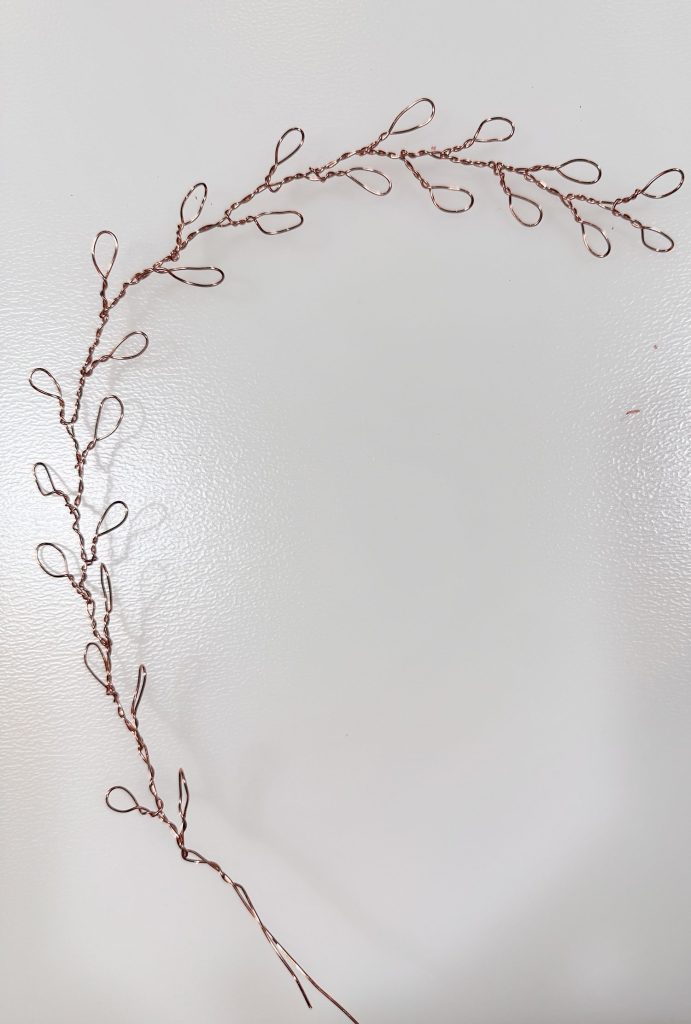
On each side, I created 12 to 13 loops, evenly spaced along the wire. Once both sides were finished, I attached the two sections together at the center. The extra copper wire at the center becomes the perfect place to add a little detail.
Leave about two inches of wire at the end to attach the two pieces and hang the beads.
Be sure to watch the video below as this will really help you see how to make this!
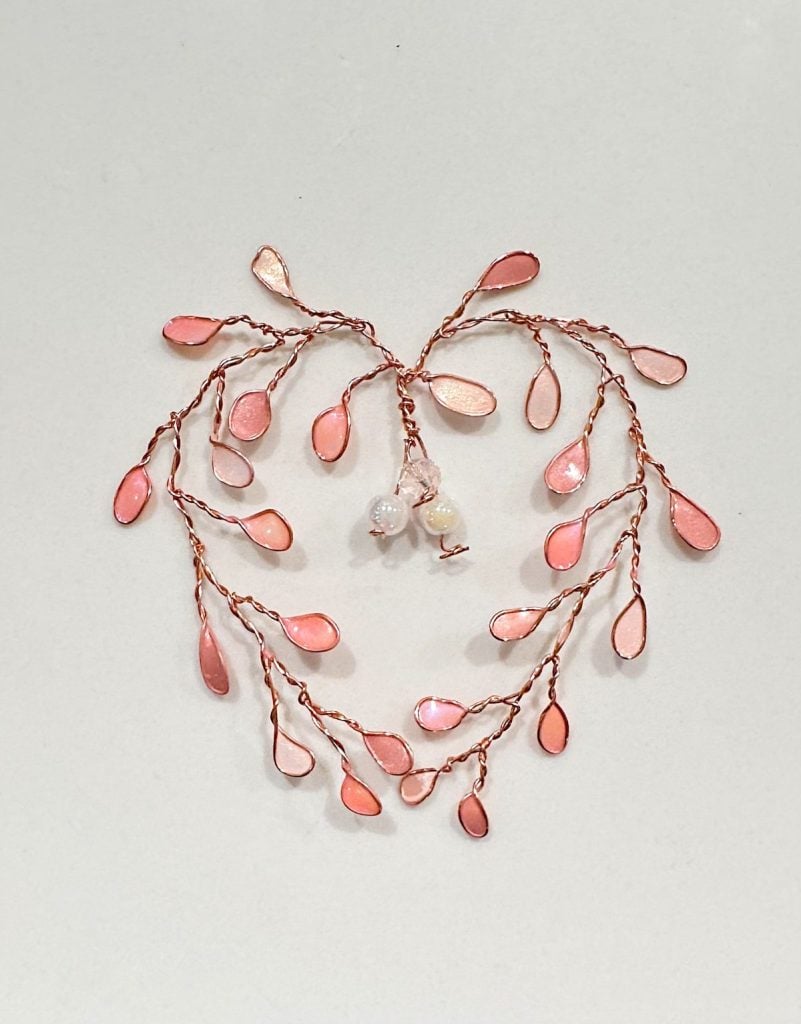
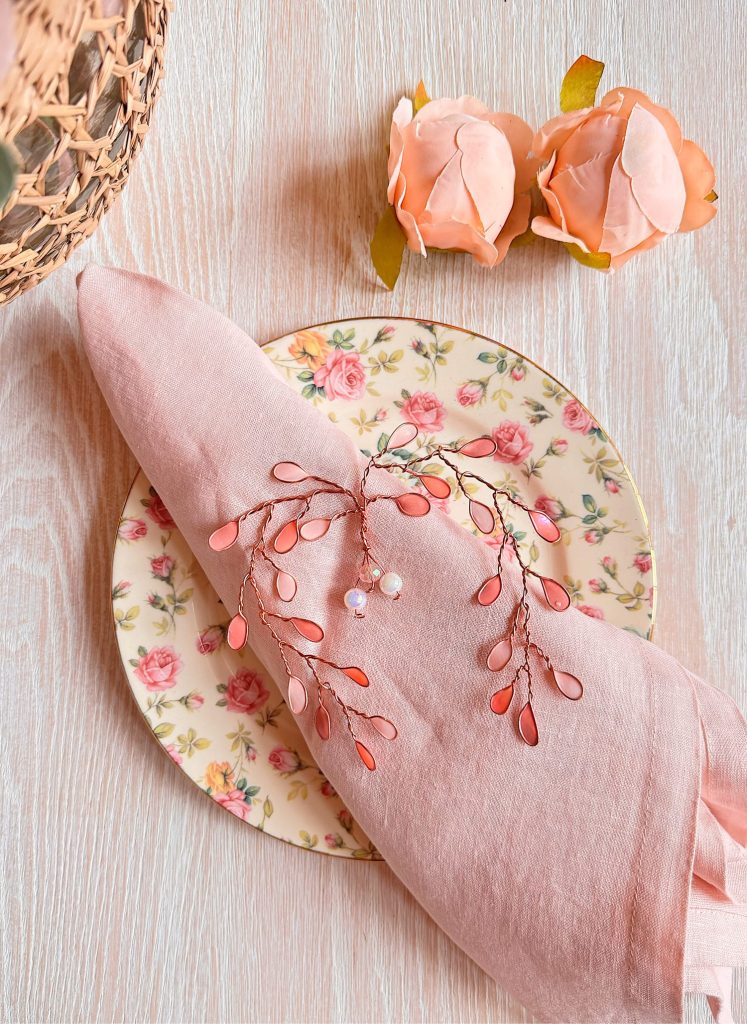
Adding the Beaded Garnish
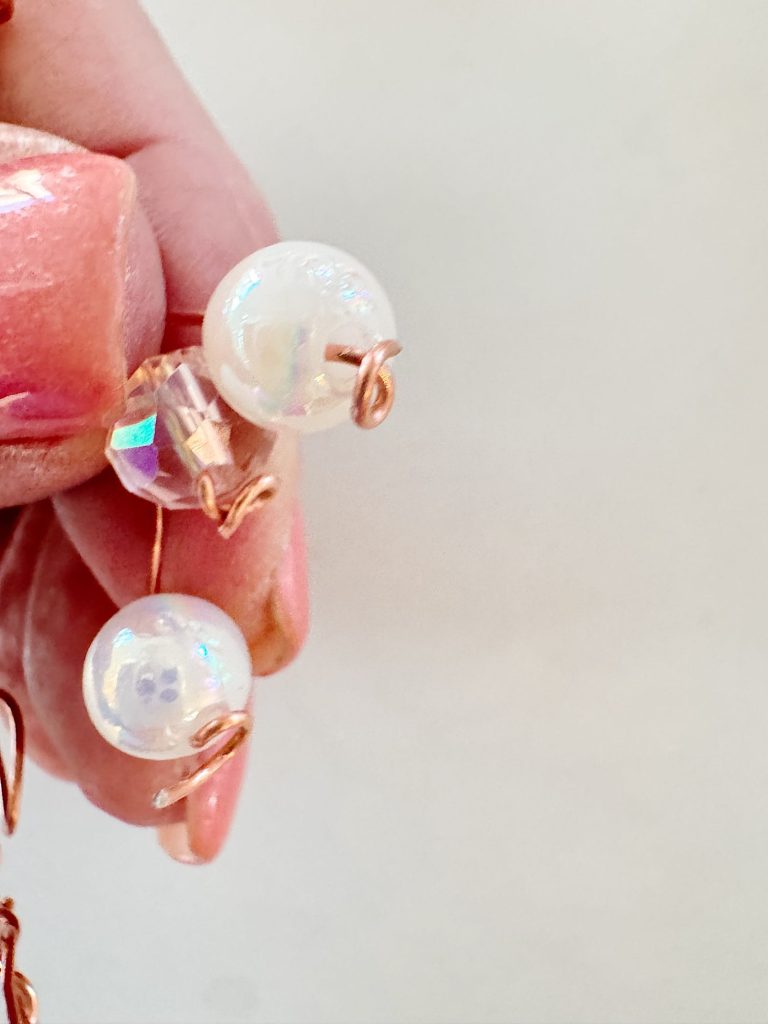
Right at the center of the heart, I added a small cluster of beads. I used a mix of three clear glass beads and pearl beads, wrapped with copper wire so they hang freely in the middle of the wreath. It’s a subtle detail, but it adds movement and a soft sparkle that I absolutely love.
This step is completely optional, but I think it gives the wreath a finished, intentional look.
Shaping the Heart
Once the structure was complete, I gently shaped the wire into a heart. Copper wire is wonderfully forgiving, which means you can adjust and reshape it as much as you need. I like to hold it up, step back, tweak one side, then tweak the other until it feels balanced.
This is one of those moments where you don’t need to rush. Let the shape evolve naturally.
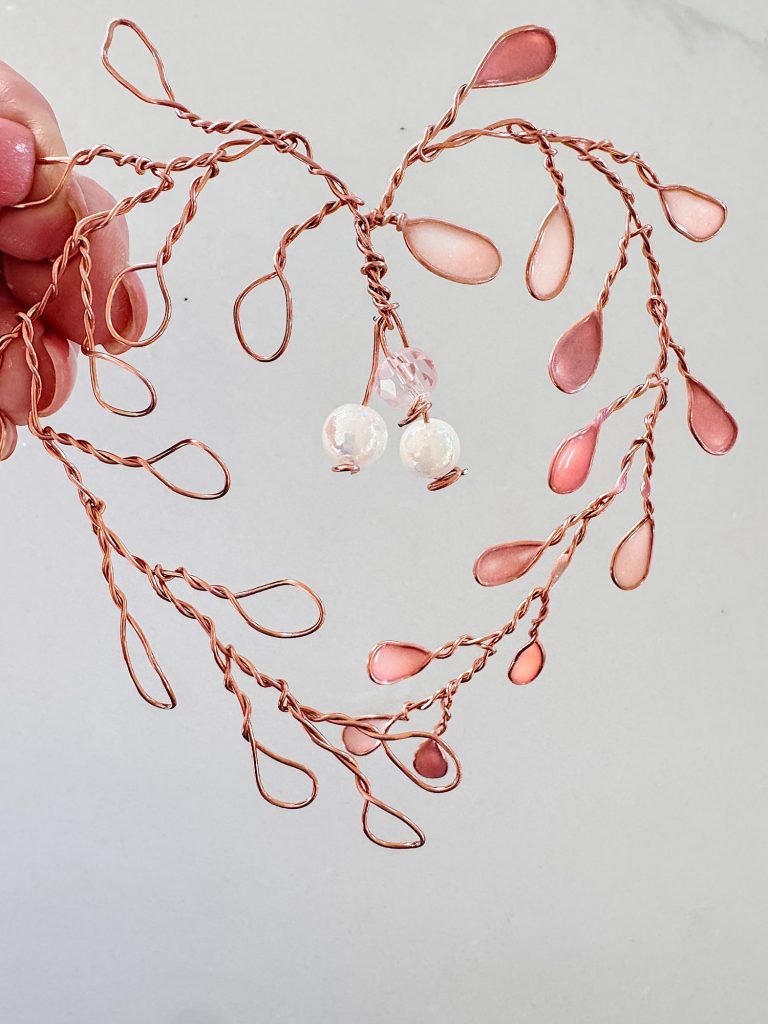
The Nail Polish Magic
Now for the fun part.
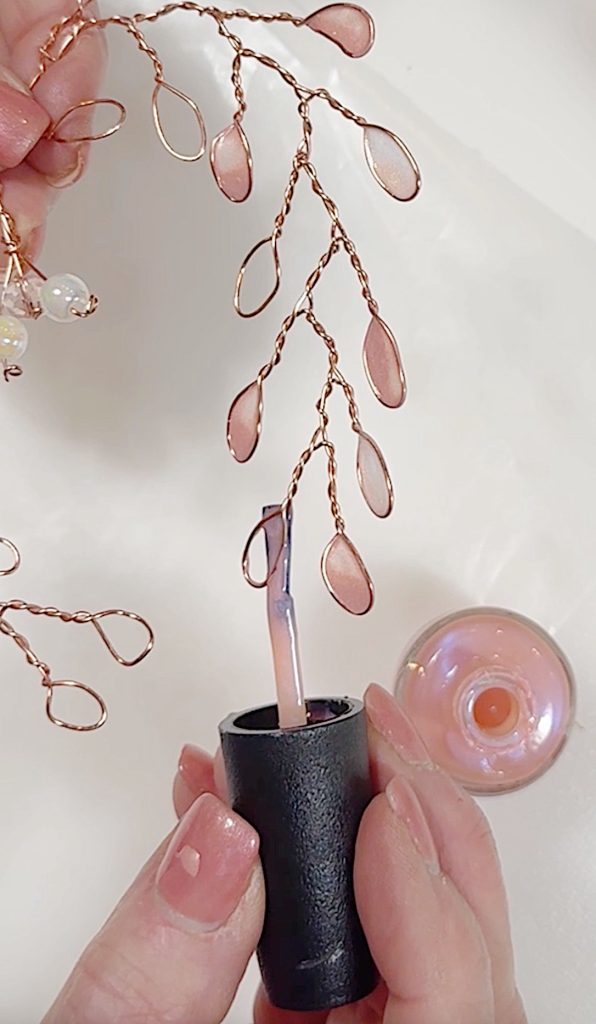
Using the brush that comes with the nail polish, I carefully coated the outside rim of each wire loop. Once the edge was coated, I gently dragged the brush across the opening, allowing the polish to stretch and fill the loop like a tiny stained-glass window.
It takes a little practice, but it’s surprisingly easy once you get the feel for it. The secret is not to overload the brush and to work slowly. And patience is key!
After filling a loop, I gently tilted the wreath so the polish could settle evenly. Gravity does most of the work for you here.
Watch the video below to see exactly how to do this.
I highly recommend working on one side at a time, then letting it dry completely before moving on. Nail polish needs time to adhere, and patience really pays off with this step.
And don’t worry if a loop doesn’t look perfect on the first pass. Once the polish dries, you can always add another thin layer.
Color Choices Make It Yours
I used three shades of nail polish in soft pinks and blush tones, alternating them throughout the wreath. You could absolutely customize this to fit your decor.
Clear polish creates a subtle, glass-like effect. Whites and creams feel fresh for spring. Pastels are beautiful for Easter. Even deeper tones would be stunning for fall or winter.
This is one of those projects where a simple color change gives you an entirely different look.
Let It Dry Completely
Once all the loops were filled, I set the wreath aside to dry completely. I recommend leaving it undisturbed for several hours, or even overnight, just to be safe.
When the polish is fully dry, the loops become surprisingly sturdy, while still maintaining that delicate, airy appearance.
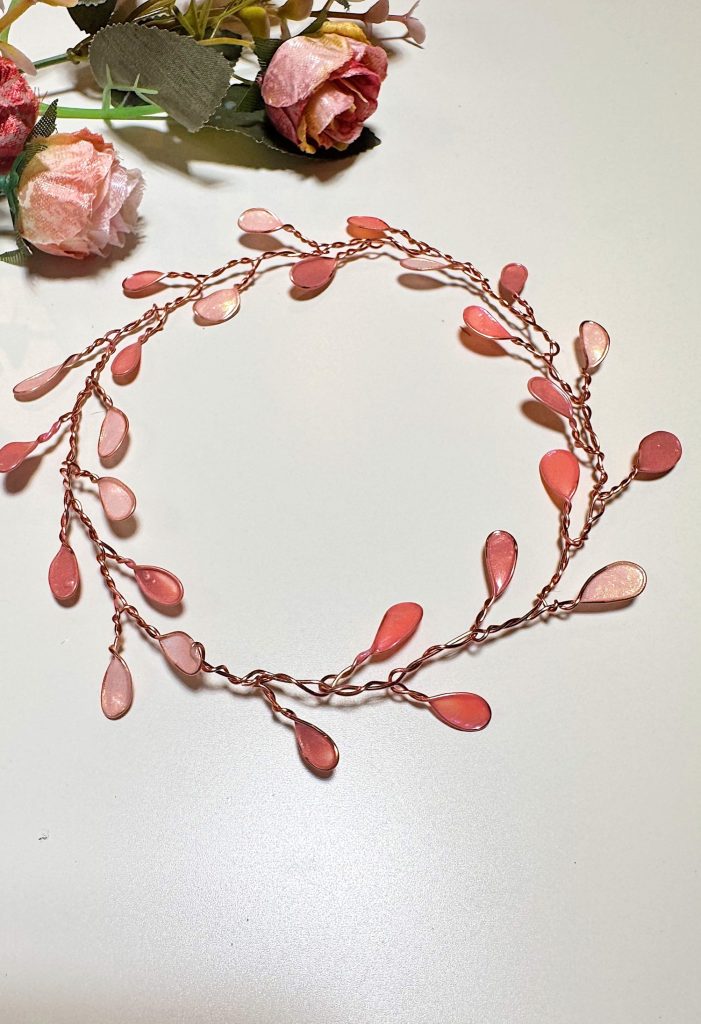
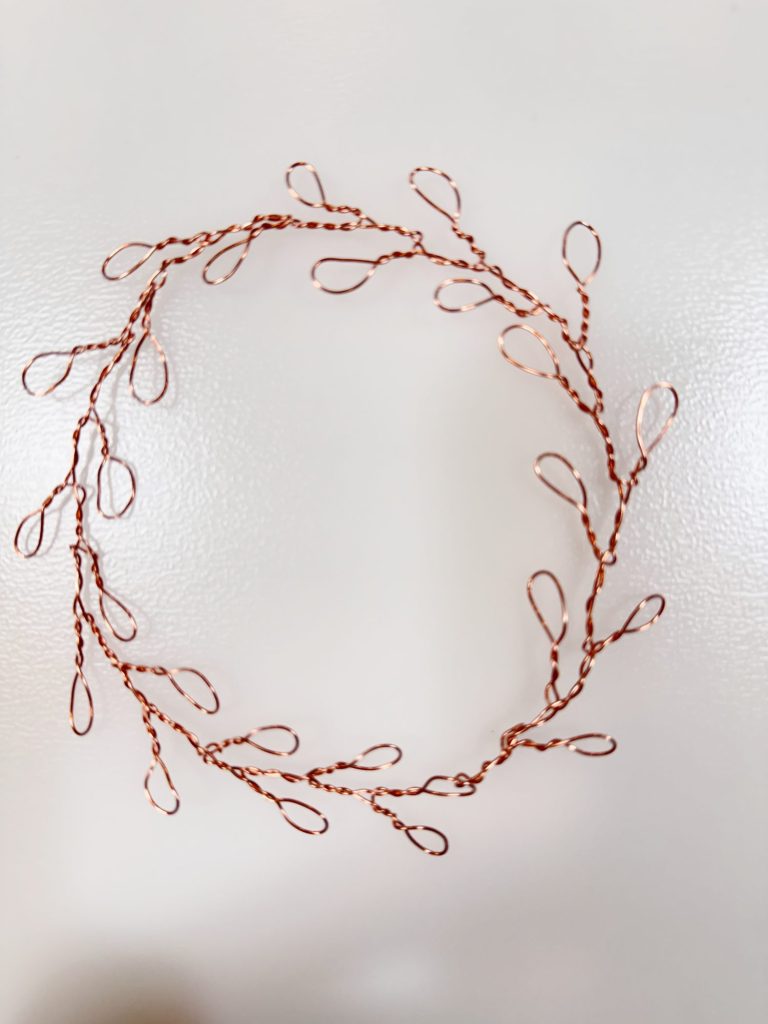
Any Shape Works
It is really easy to make a round wreath. I used 80″ of wire, bent it to make the first loop, and then made 26 loops. It was so easy to make.
Watch the Video
This is one of those projects that needs a video. It took me a while to come up with a plan, but this process is easy, and the end result is awesome!
Here is a slower version of the photo, which should help you see exactly how to make these!
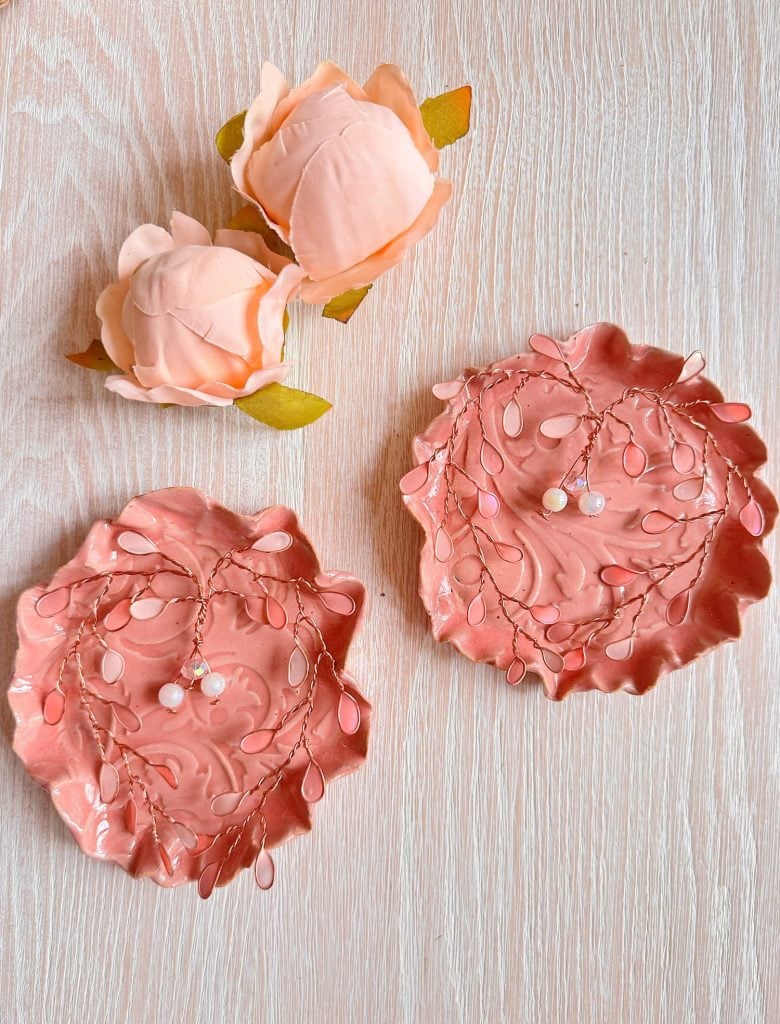
Styling Your Copper Heart Wreath
One of my favorite things about this wreath is how many ways it can be styled.
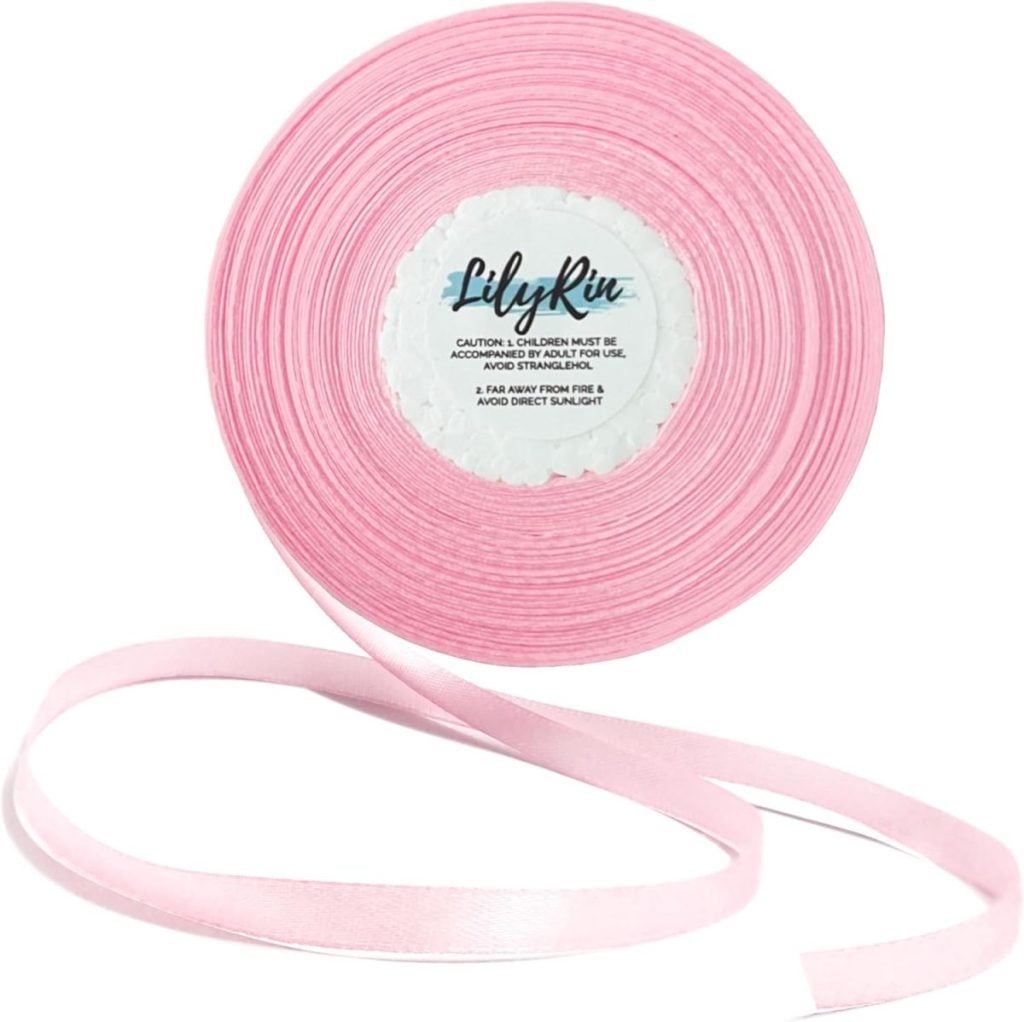
- Hang it on a hook or ribbon
- Lay it flat on a table as part of a centerpiece
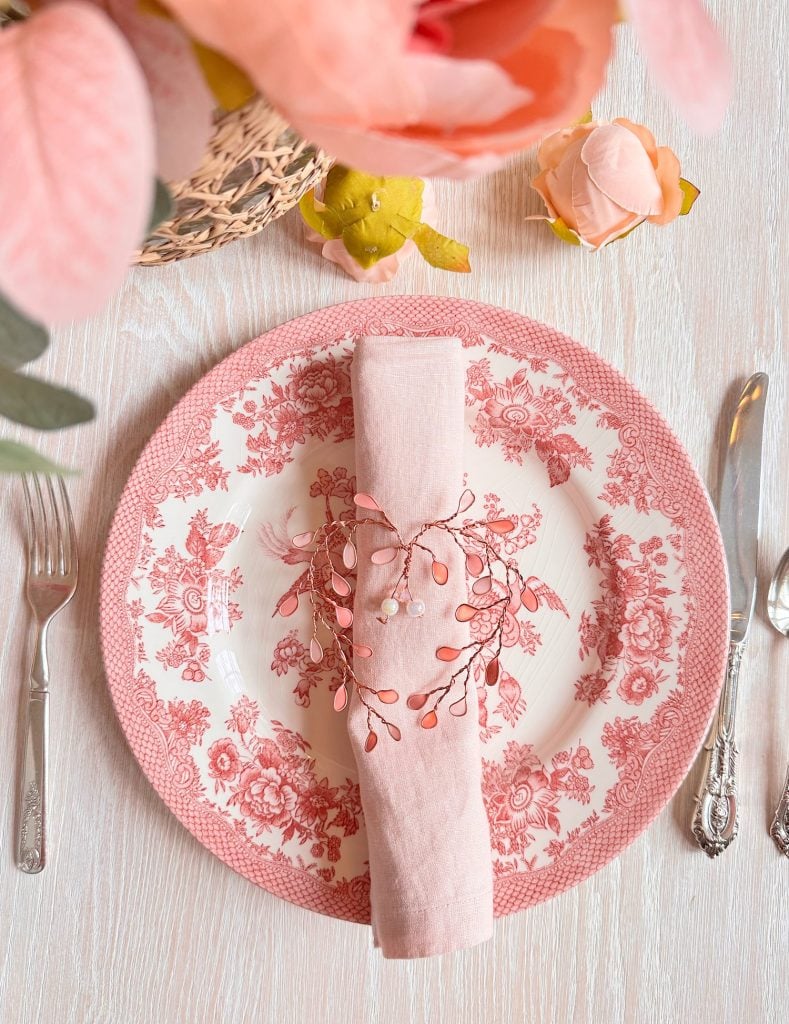
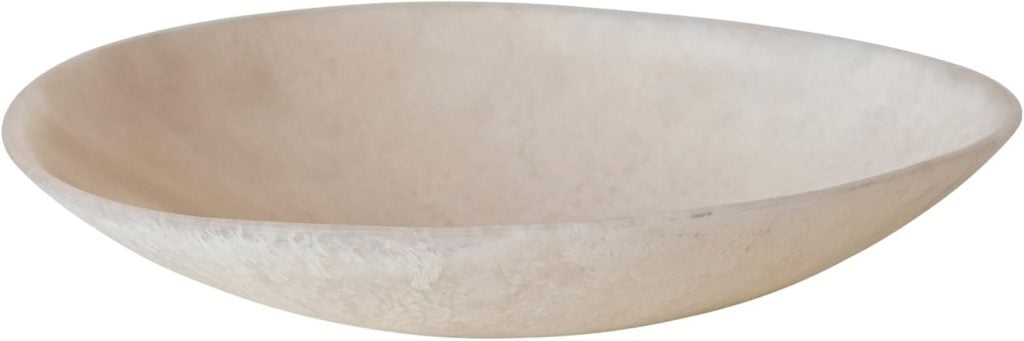
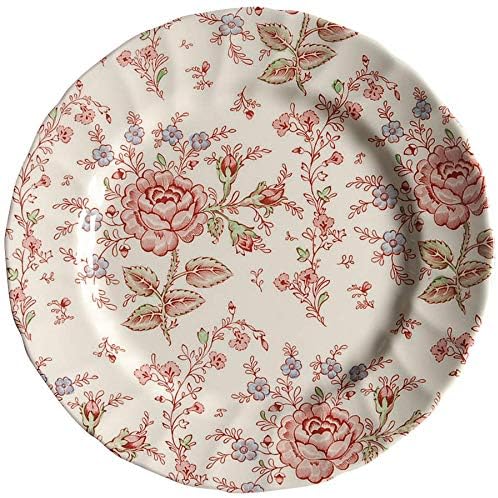
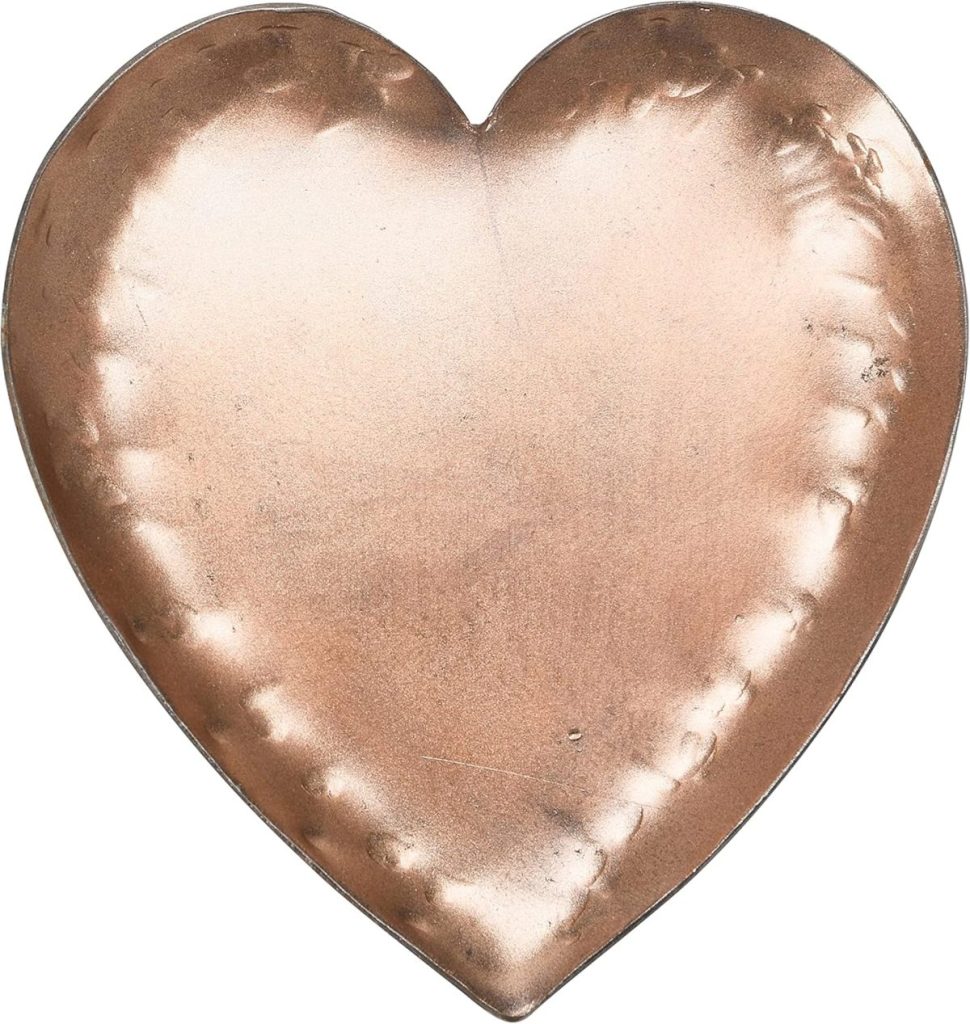
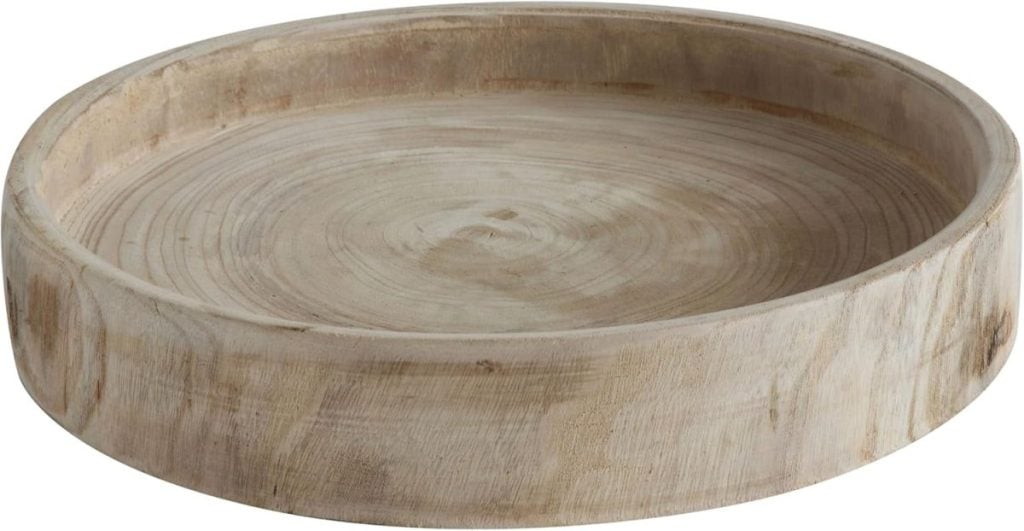
- Place it inside a vintage dish or tray
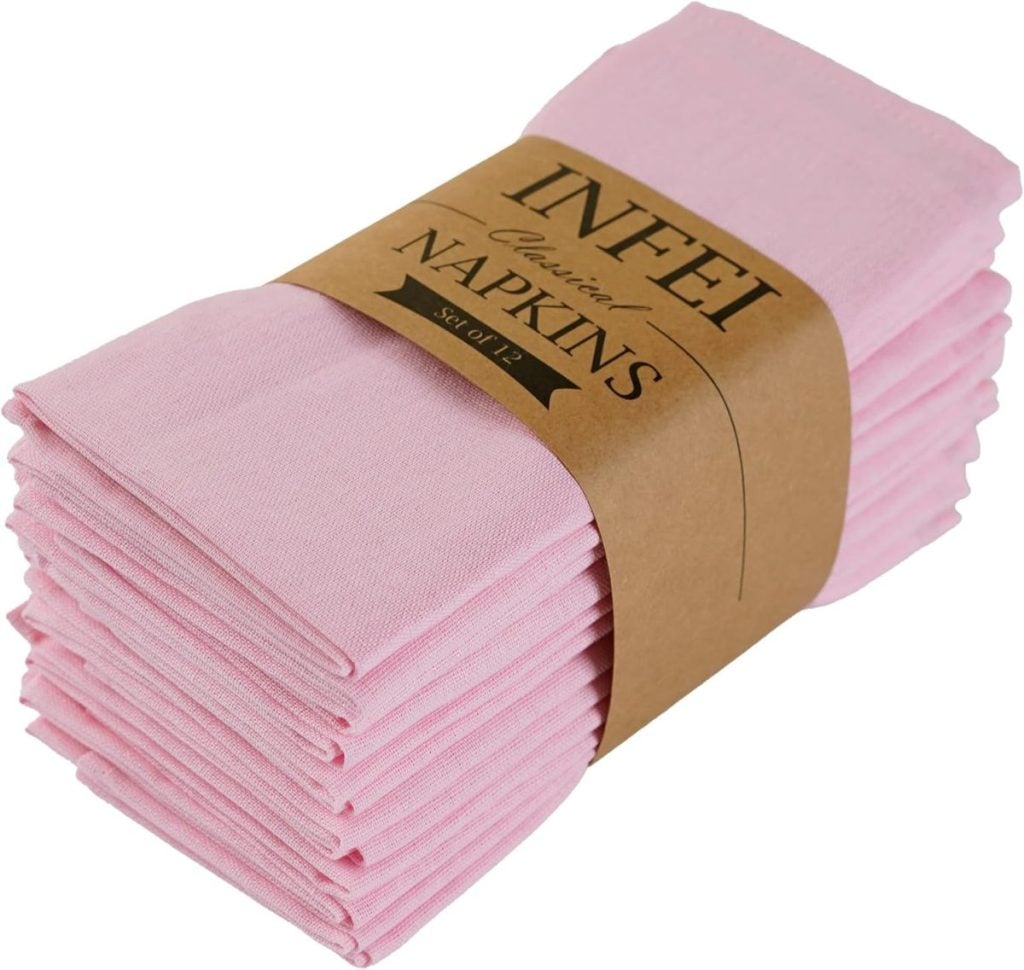
- Use it as a napkin holder for a Valentine’s table
- Style it on a shelf or mantel
And if you make it round instead of heart-shaped, it works beautifully well beyond Valentine’s Day.
Why I Love This Project

This copper Valentine’s Day wreath perfectly captures what A Handmade Spring is all about. It’s creative, a little unexpected, and made from materials you’d never guess would turn into something so pretty.
It’s also a wonderful reminder that crafting doesn’t have to be complicated to be special. Sometimes, the most charming projects come from simply experimenting and having fun.
If you’d like to see this process in action, be sure to watch the video, where I walk through each step and show exactly how the nail polish fills the wire loops.
I can’t wait to share the rest of the projects in this series with you. If this first one is any indication, we’re in for a very creative spring.


Latest Posts
-
The Amazon Big Spring Sale is Here!
The Amazon Big Spring Sale is here! It runs from March 25th (today) through March 31st, and here are some of the best Amazon Deals ever! There are millions of deals available, and today I will help you find the best ones for everything you need. Now is the perfect time to shop for Spring.
-
My Favorite Easter Brunch Recipe Ideas
Today, I am sharing some of my favorite Easter Brunch Recipe ideas. These recipes are amazing, and everyone in our family loved them! I used my favorite Easy Crab Cake recipe and created a menu with an “eggs benedict”-style entree, a new gluten-free cinnamon roll recipe, and fresh berries. This latest version of Eggs Benedict…
-
My Obsession with Abstract Wall Art
Abstract wall art, with its enigmatic allure and boundless interpretations, has long captivated the hearts of many, including myself. Believe it or not, I have ventured deep into the realm of abstract painting, creating expansive canvases as large as 12′ x 12′. I completed ambitious projects like painting thirty paintings in 30 days, inspired by…
-
The Inspired Home Show and Sunday Morning Coffee
Last week I had the opportunity to attend The Inspired Home Show in Chicago once again, and I have to say, it was just as exciting and inspiring as I remembered. This show continues to be one of the most important events in the home and housewares industry, bringing together an incredible mix of brands,…


My Recent Instagram Posts

You can pin the image below to your boards on Pinterest (click the Pin button in the top left corner) or follow me on Pinterest!

For more real-time updates, follow me on Instagram @My100YearOldHome


Hi Leslie! I really really want to try and make this but your video is way to fast for me. I wonder if there is anyway to slow it down. I am 62 so my brain doesn’t work as fast as it used to. haha. These are so wonderful!! I will keep watching to see if I can understand more about how to twist the copper. Thank you so much for sharing this.