Christmas Cookie Wreath
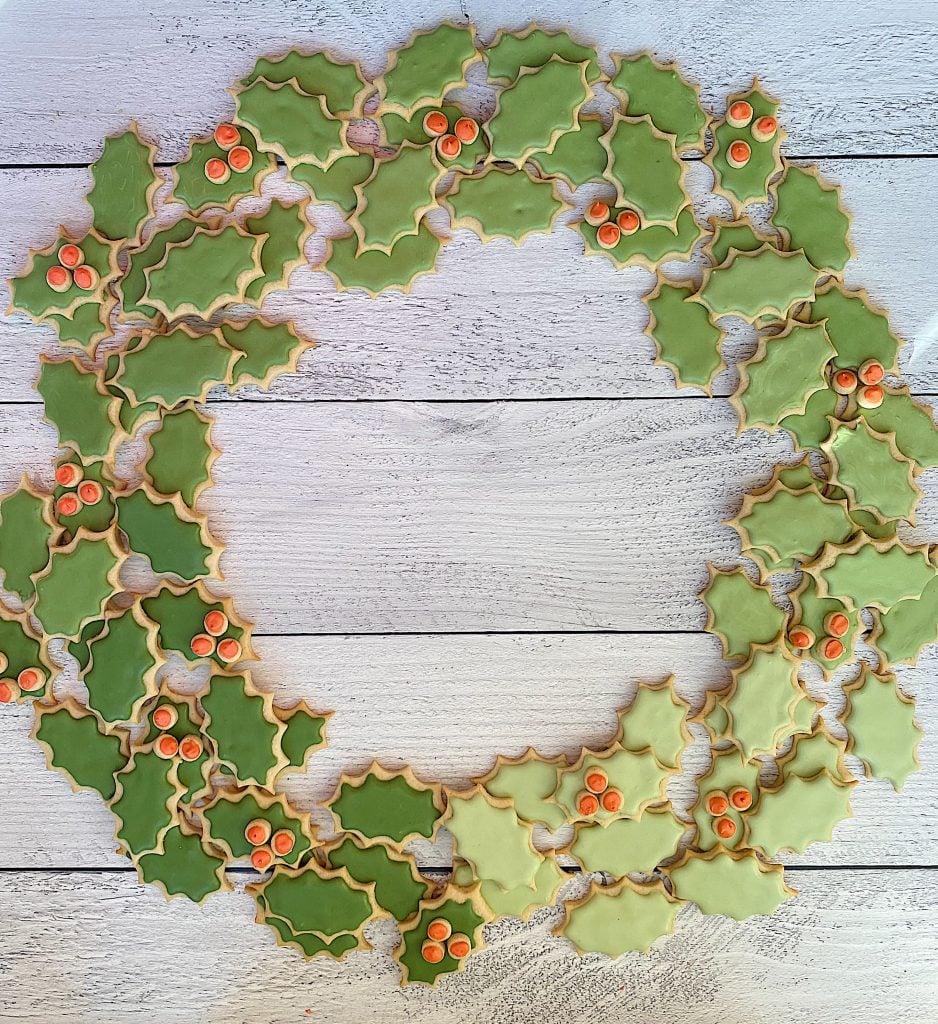
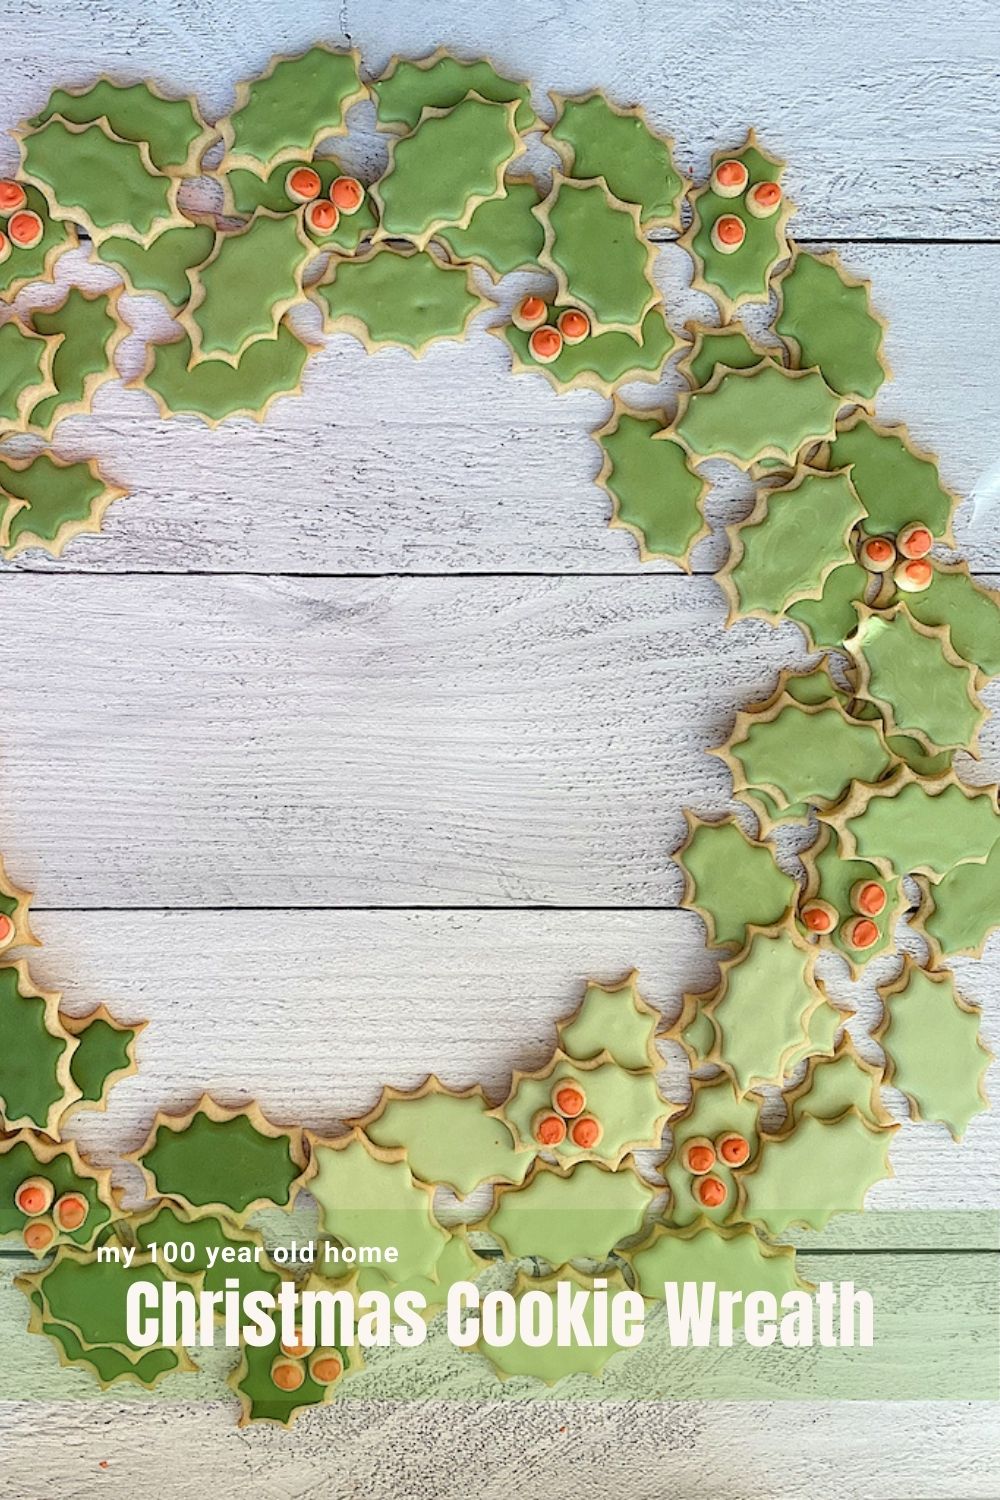
Today I am sharing a Christmas cookie wreath! I used my sugar cookie recipe with royal icing and my favorite holly leaf cookie cutters.
Isn’t this a fun way to display your Christmas cookies? They not only look good, but they taste good too!
What are the two most important things about holiday baking?
Taste and Presentation. Since I used my best sugar cookie recipe, taste was covered, so today is all about presentation.
I am very happy to be joining some of my girlfriends today as we are sharing some wonderful holiday cookie recipes. But I do have to laugh because instead of making a few cookies, I had to make a Christmas Cookie Wreath with 81 cookies. I may never learn to do things simply, but I think it is because I don’t think that way. I love creating something you haven’t seen before and that is unexpected.
I hope you like it!

I have always wanted to make an ombre Christmas cookie wreath ever since I made the ombre succulent wreath a few years ago.
So today, I made it!
As you can tell, I had some fun with the cookies making two different styled wreaths.

I can’t wait to put this out for the holidays and watch my boys enjoy all of these cookies.
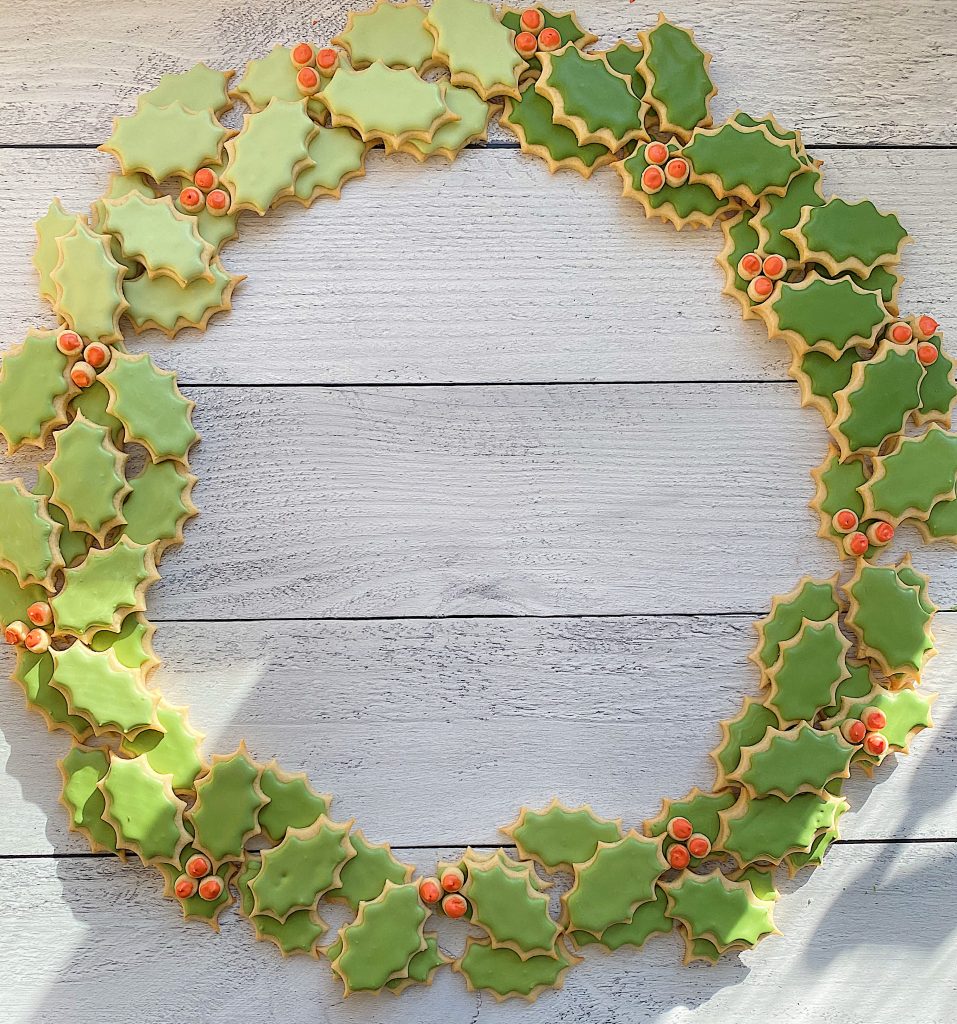
I think I have the presentation part figured out. Next comes taste.
I have a great sugar cookie recipe that I have made for a gazillion years. I taught myself how to decorate cookies with Royal icing earlier last year and I am hooked. It is so much fun.
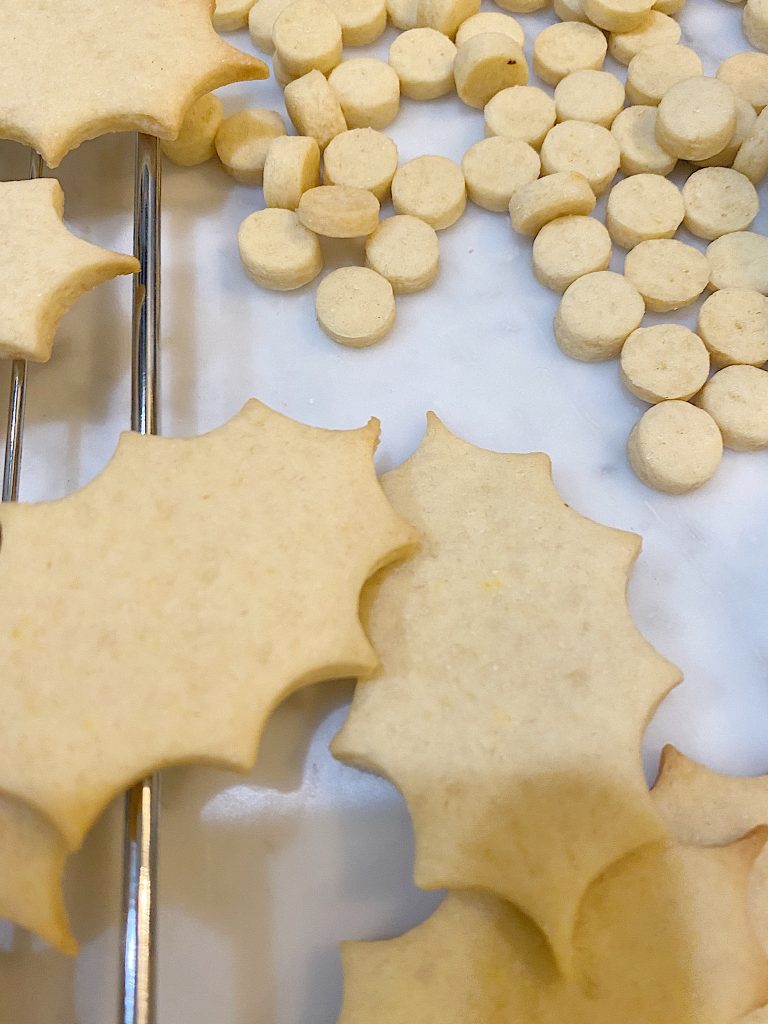
I ordered the leaf cookie cutters from Amazon. I cut out about 100 leaves because I wasn’t sure how many I would need.
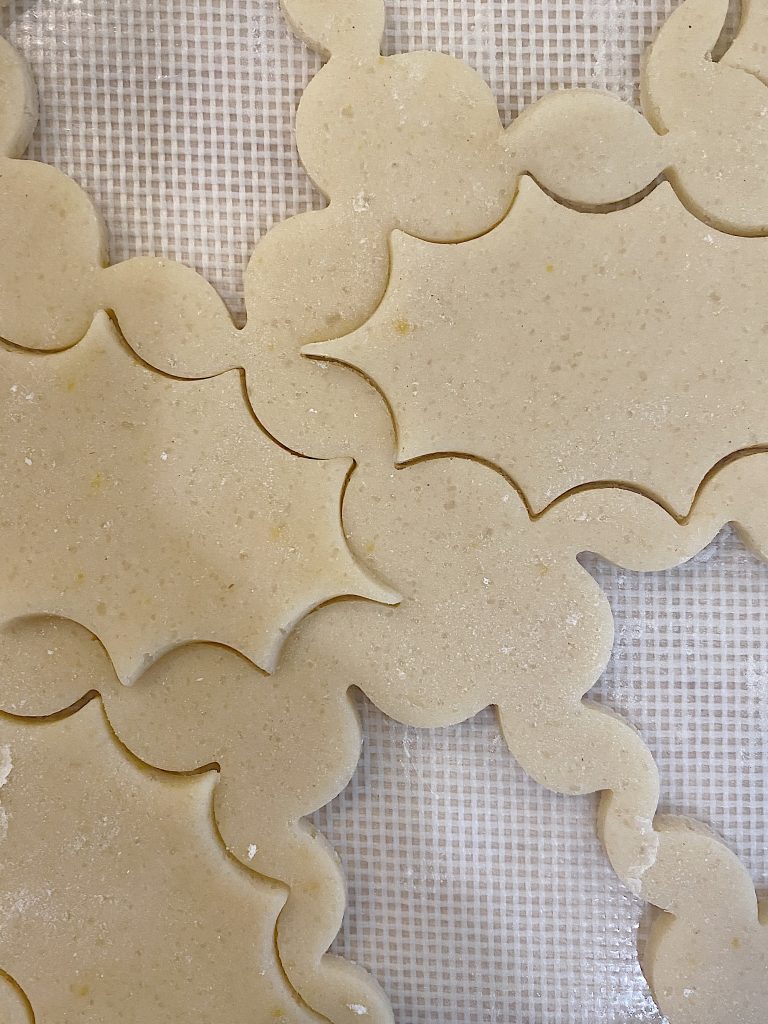
They bake so quickly that I have to set my phone alarm every single time!
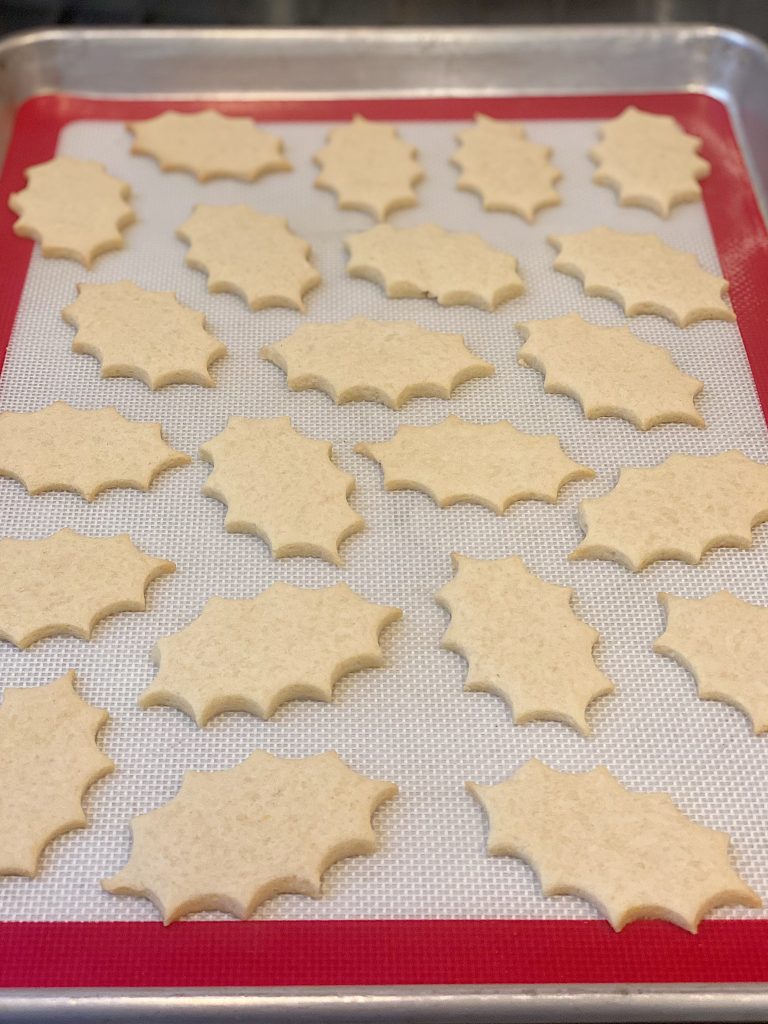
When I am decorating cookies with royal icing, I know that the outside edges will always show. I don’t want brown edges so I tend to undercook them a bit.

I also decided to make some berries for the wreath so I found a small circle cookie cutter and made 1/2″ circle cookies.
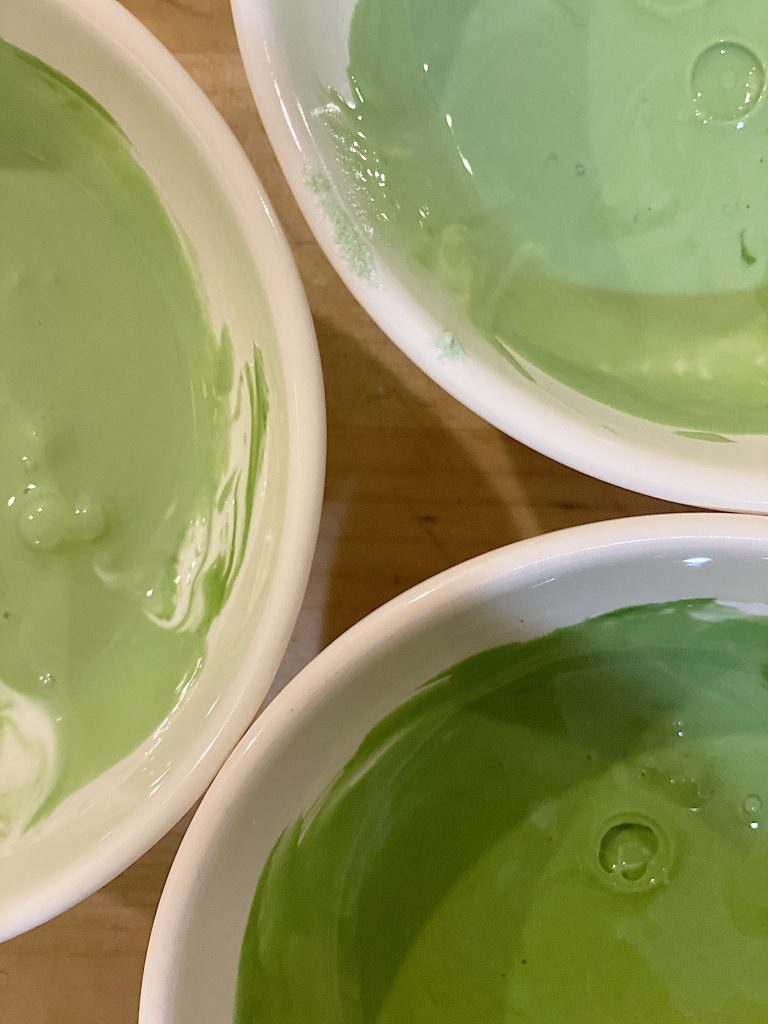
Next, I made a big batch of royal icing and I separated it into six bowls. Five were varying shades of green and one was red.
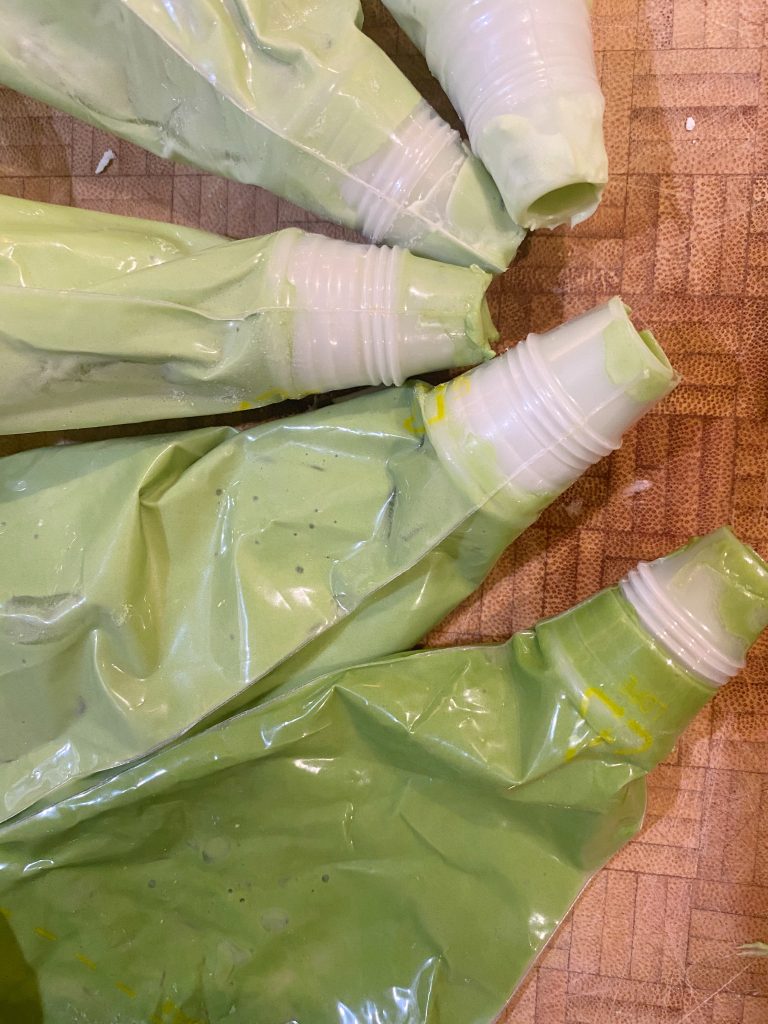
I also filled five different piping bags with green royal icing.
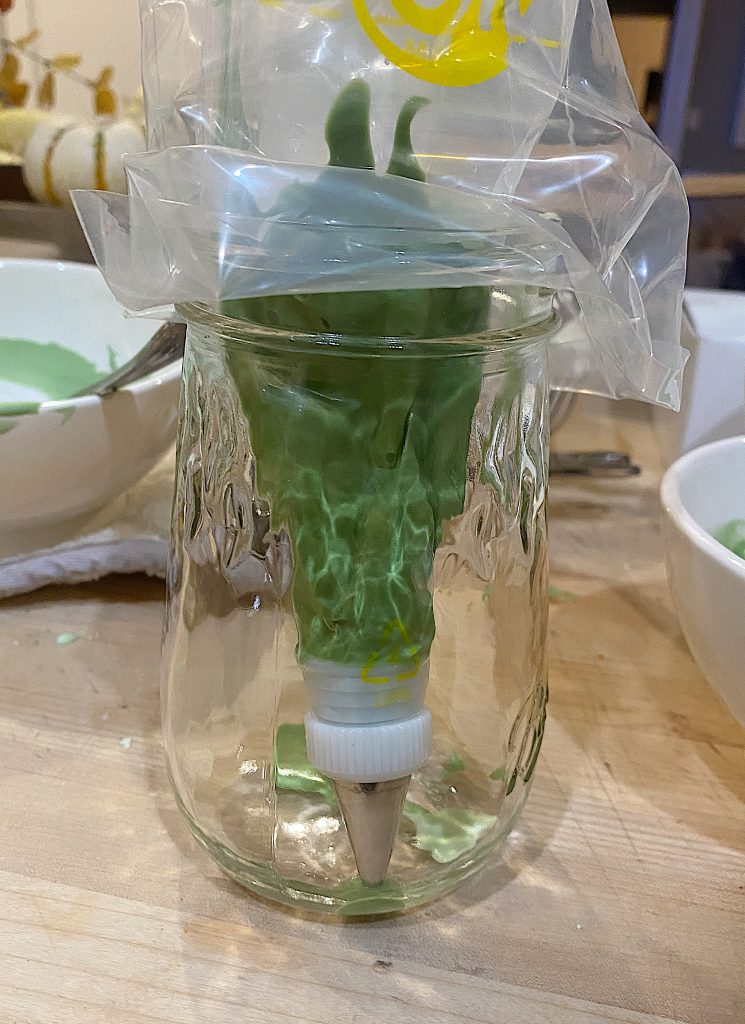
This is the best way to fill a pastry bag with icing. After you have put the tip on the end of the bag, fold down the sides on the outside of the bag and set the bag in a glass. The glass supports the bag which makes it very easy to fill with icing. Then fold over the top edge and start decorating.
To decorate the cookies, you can watch this video. But it’s not hard as it looks.
You need to learn the ten-second rule of Royal icing which is how I know when it’s ready! Once it’s done mixing, all you do is swipe a knife through the top inch of the icing. Count to see how long it takes for the knife mark to disappear. If it is about ten seconds then you will have an icing that you can use to outline the outside of the cookie and fill in the center. I filled in the cookies about 90% and then used a wooden skewer to push the icing so that all areas were covered.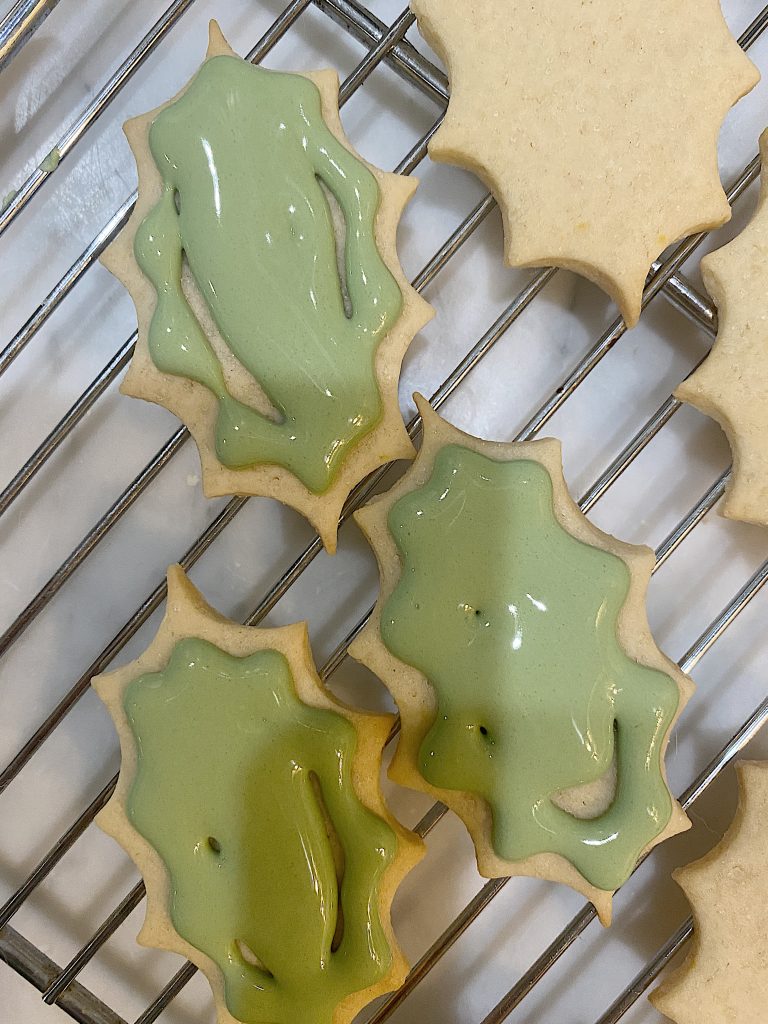
I love how these holly leaves came out!

Here are the five colors I mixed up and used for this wreath.

Aren’t these so much fun?

I love that I can put this wreath on a plate and arrange them in any way I want!
Here is the recipe to make my Best Sugar Cookies with Royal Icing.
The Best Sugar Cookies with Royal Icing

These sugar cookies are light and flaky and have a slight taste of lemon. I love how they taste!
Ingredients
- Sugar Cookies
- 2 cups all-purpose flour
- 1/4 teaspoon salt
- 1/2 teaspoon baking powder
- 1/2 cup (1 stick) unsalted butter
- 1 cup sugar
- 1 large egg, lightly beaten
- 1 tablespoons milk
- 1 TBL lemon juice
- 1/2 teaspoon pure vanilla extract
- Royal Icing
- 5 tbl warm water
- 3 TBL Meringue Powder (with vanilla)
- 4 cups Powdered sugar
Instructions
Whisk together flour, salt, and baking powder in a medium bowl.
In the bowl of an electric mixer fitted with the paddle attachment, cream
butter, and sugar; add dry ingredients, and mix until incorporated. With the mixer running, add egg, milk, lemon, and vanilla; mix until incorporated.
Transfer dough to a work surface. Shape into 2 discs, cover with plastic wrap and refrigerate
for at least 1 hour.
Preheat oven to 350 degrees. Line baking sheets with nonstick baking mats or
parchment paper; set aside.
On a lightly floured work surface, roll out dough to 1/8-inch thickness. Cut
into desired shapes, and transfer to prepared baking sheets, leaving an inch in
between. Leftover dough can be rolled and cut once more.
Bake until lightly golden, about 10 minutes; do not allow to brown. Transfer to wire racks to cool.
To make Royal Icing, beat all ingredients together until icing forms peaks (about 8 minutes with a heavy-duty mixer, 10 - 12 minutes with a hand mixer). Add additional water until the desired thickness.
If you want the icing to outline and fill then use the 10-second rule. The test is done by dragging the tip of a knife across your frosting, about 1" deep. If the surface of the icing smooths over in roughly ten seconds, then it's ready for use.
What's so great about this thicker icing is you can use the same icing for the outline and for the filling in.

Here are twelve more amazing cookie recipes. Click the links to learn more.

Gingerbread House Mug Toppers // Modern Glam
Christmas Linzer Cookies (Gluten Free ) // Satori Design For Living
Mini Gingerbread House Mug Hugger Cookies // The Ginger Home
Linzer Cookie Recipe // Jennifer Maune

Norwegian Krumkake Cookies // Finding Lovely
Christmas Cookie Wreath // My 100 Year Old Home
Gluten/Dairy Free Snickerdoodle Cookie Recipe // Zevy Joy
Pumpkin Snickerdoodle Cookie Recipe // Happy Happy Nester
Swirly Chocolate Meringue with Cream // Lemon Grove Lane
Light and Fluffy Sand Dollar Cinnamon Cookies // Twelve on Main

Christmas Star Brownies // Maison De Cinq
Molasses Gingersnaps // My Sweet Savannah
Candy Cane Frosted Swirl Cookies // Tatertots & Jello
Pin the image below to your Desserts or Cookie Recipe boards on Pinterest (just click the Pin button in the top left corner). You can also follow along with me on Pinterest!

For more real-time updates, follow me on Instagram @My100YearOldHome





This is gorgeous! Thank you so much for the 10 second rule. I often don’t get it quite right and end up with drips over the edge!
This is so creative and I love the gradient in the leaf colours!
Leslie,
I knew this project was yours! There is a medication for what we both have! 🙂 I’m almost done with my marathon advent calendar!