The One Room Challenge – Week Three
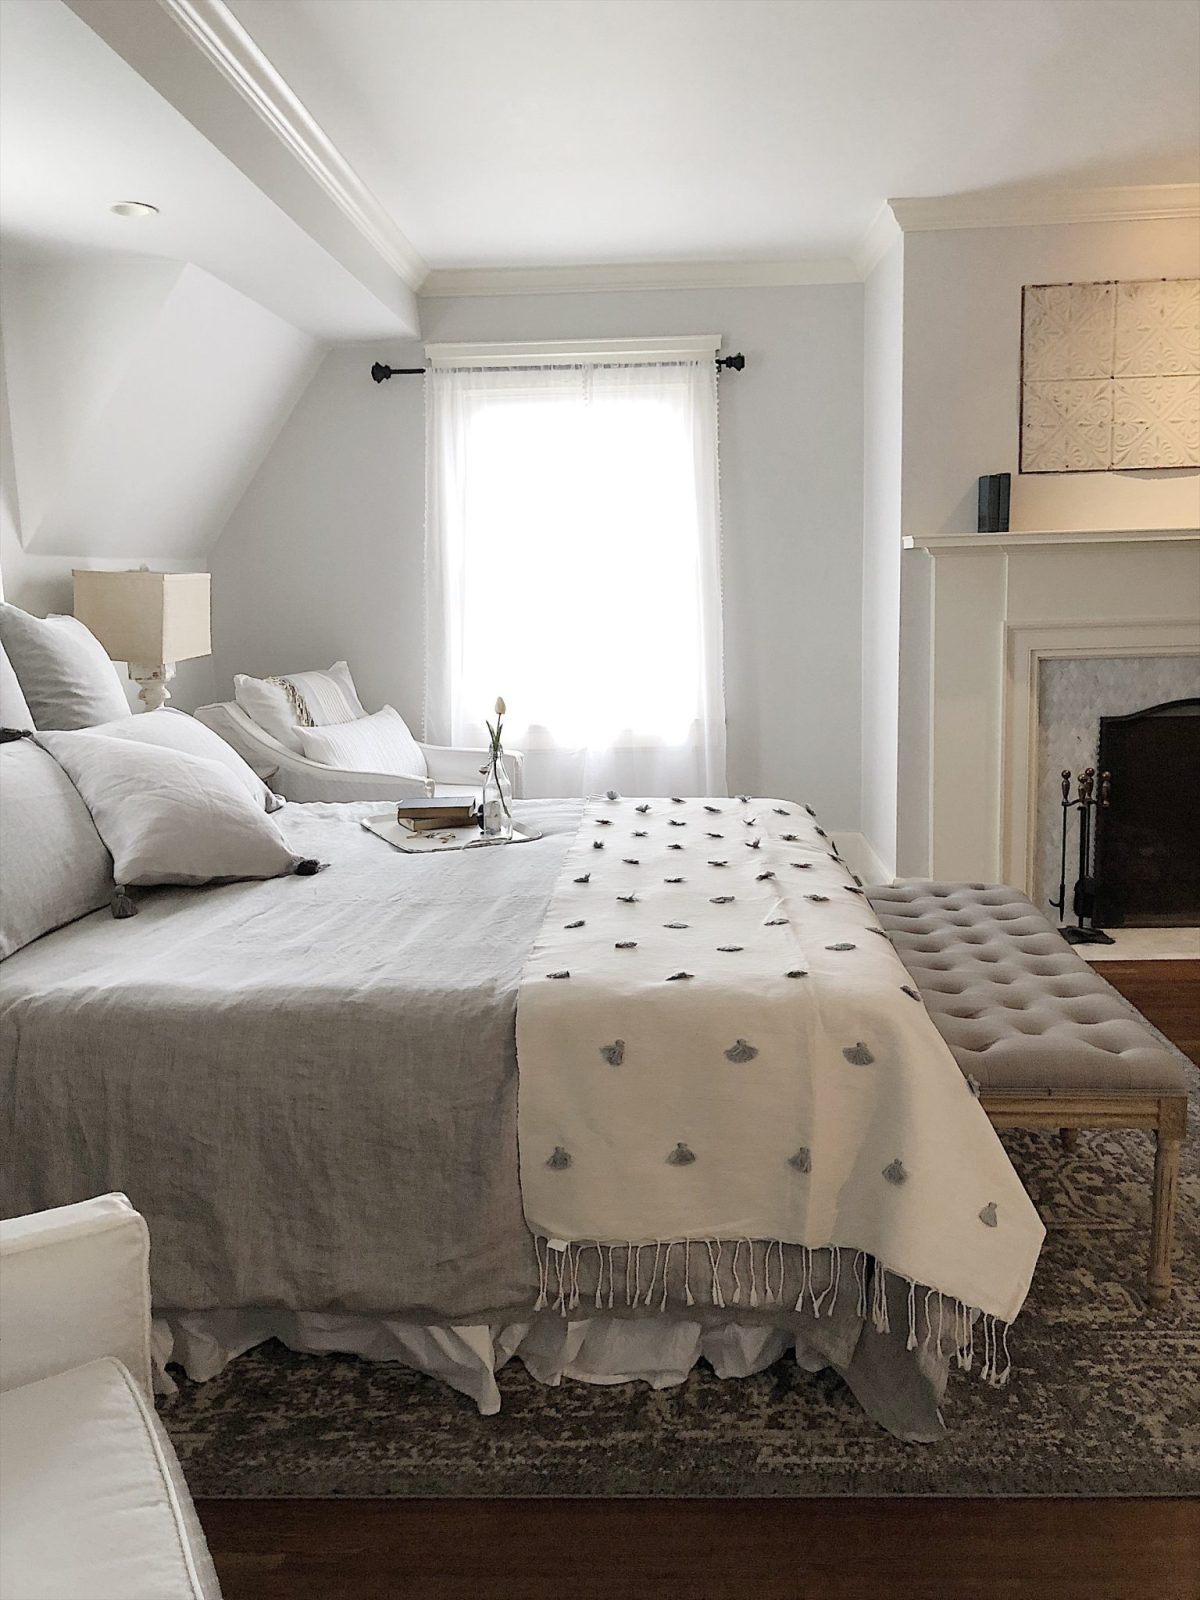
Last fall when we redid our master bedroom it was pretty straightforward. I painted, did a DIY headboard and replaced the curtains, rug, and bedding. The biggest project was replacing the marble around the fireplace. This month I have joined the One Room Challenge and I am doing a makeover of our boy’s bedroom. This project seems to be a bit more involved. And that is because of the board and batten installation.
Why was this so much harder than it looks?
The fact that it is done is the biggest relief. In fact, this project was so difficult I doubt I will ever do it again.
Ok, that might be an exaggeration.
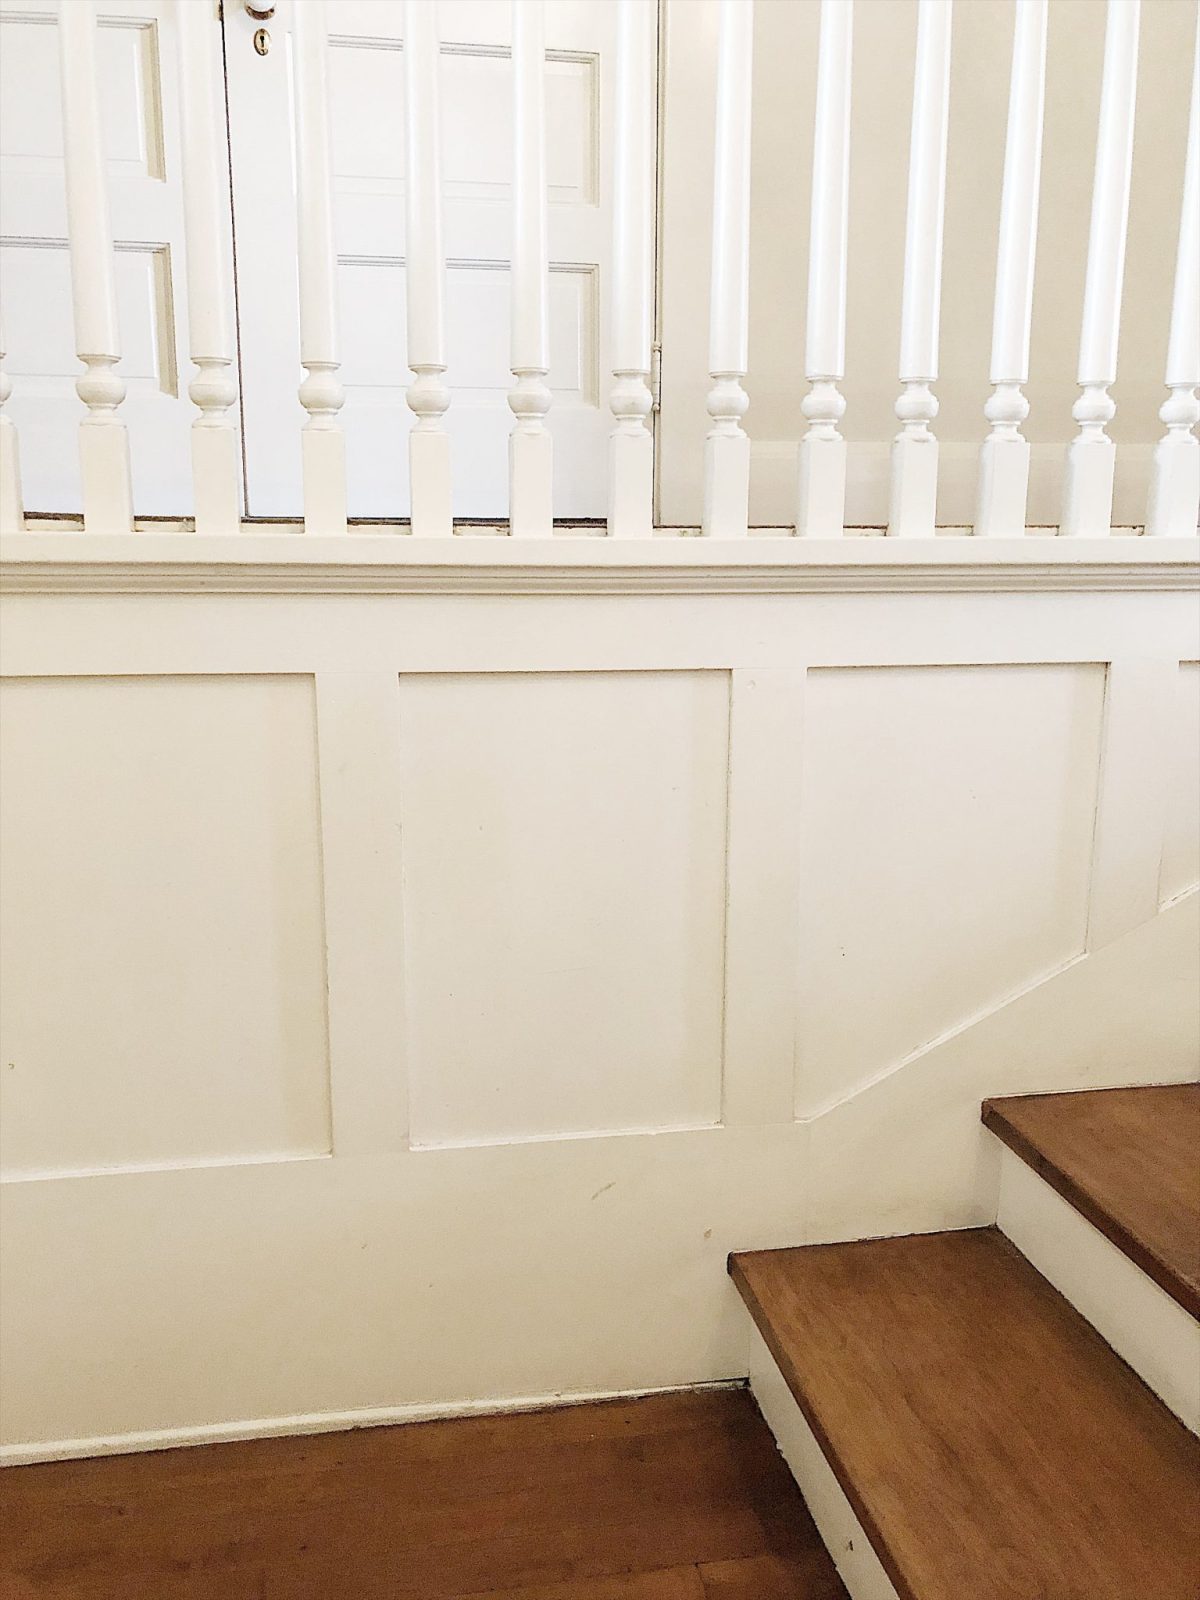
Let’s start with why I chose board and batten in the first place. One day I was walking up our stairs to the second floor and I happened to notice this. See the molding under the stairs? It looks like board and batten. Now, don’t get me wrong. Of course, I have seen this before. But if you had asked me if there was any board and batten in our house I would have said, “Absolutely not!”.
I was in a total quandary about adding something new to our house until I saw this. Done deal.
Adding board and batten to the walls in a bedroom seems straightforward, right? Well … there is a bit more to it.
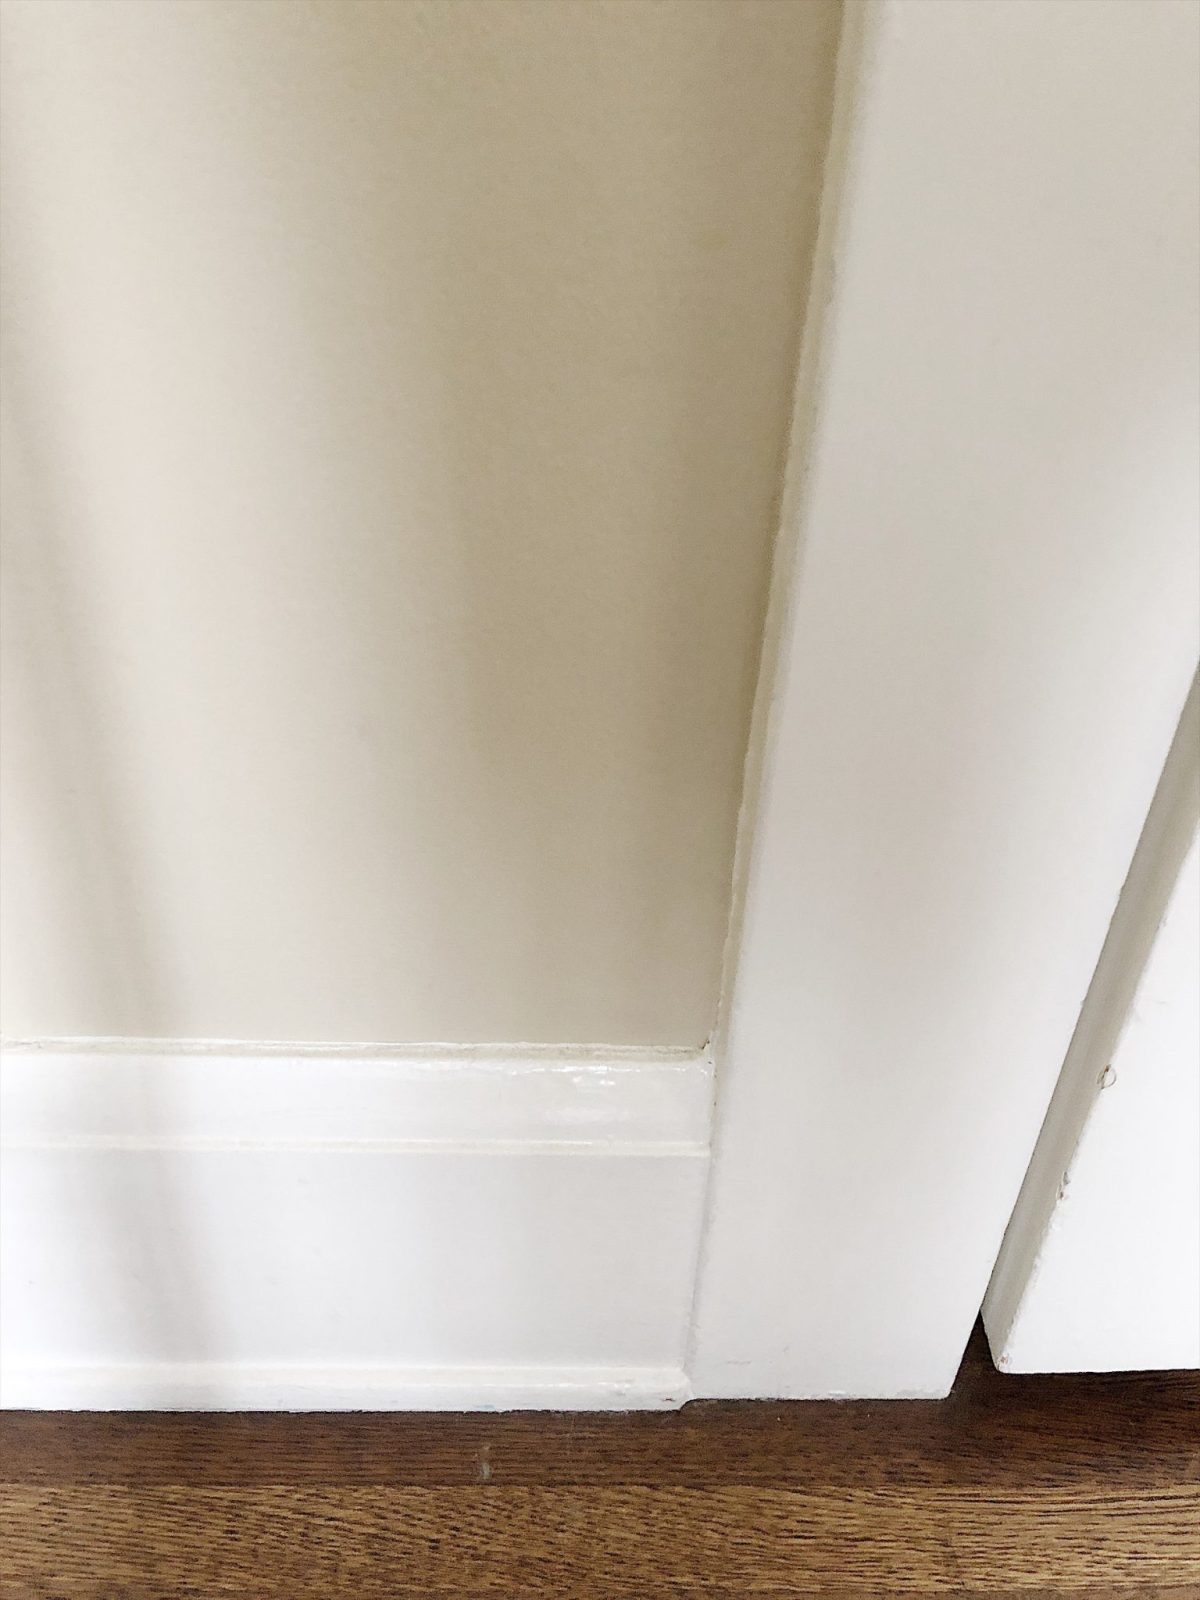
My first problem was selecting the wood. It seemed pretty obvious that I would use a 1/2″ depth. But take a look at my 100-year-old baseboards. How could I add a 1/2″ board that would meet up with a 1/4″ baseboard?
Replacing the baseboard was not an option since it is the same in 100% of our upstairs. So I chose a 1/4″ MDF. I was nervous it might be too thin but it looks just fine. I talked to my handyman and found out that the MDF comes in 4′ x 8′ sheets and needed to be stripped. So I scheduled him to come out and do the cutting while I did the measuring, gluing and nailing.
In school, I was really good at math. I only took one math class in college (calculus) and we won’t mention how that went. (I was a political science major.) But measuring the layout of these boards was one of the most frustrating things I have ever done. And here is why.
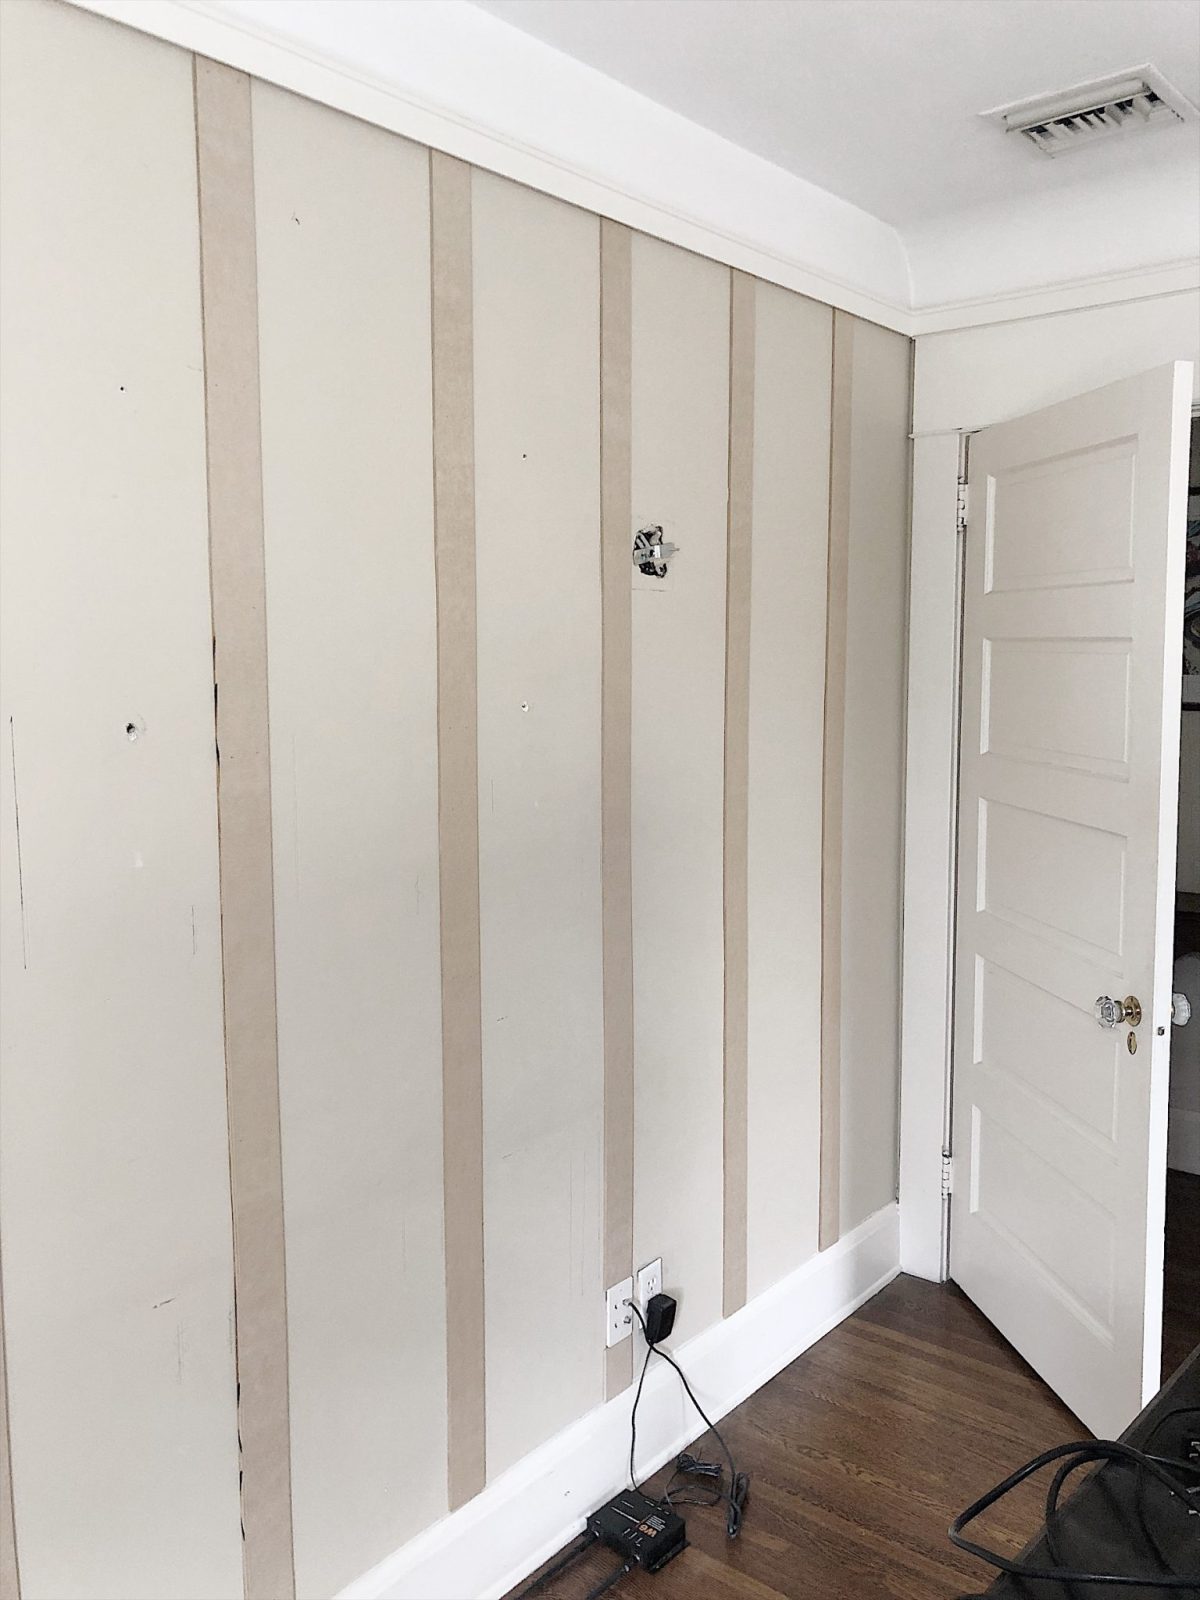
Not only do you want the spacing to be the same way all around, you can’t have the boards hit the molding on the edge of your windows or hit an outlet or hit the corner seam. So my original decision to space the boards 12″ apart had tons of hazards and did not work.
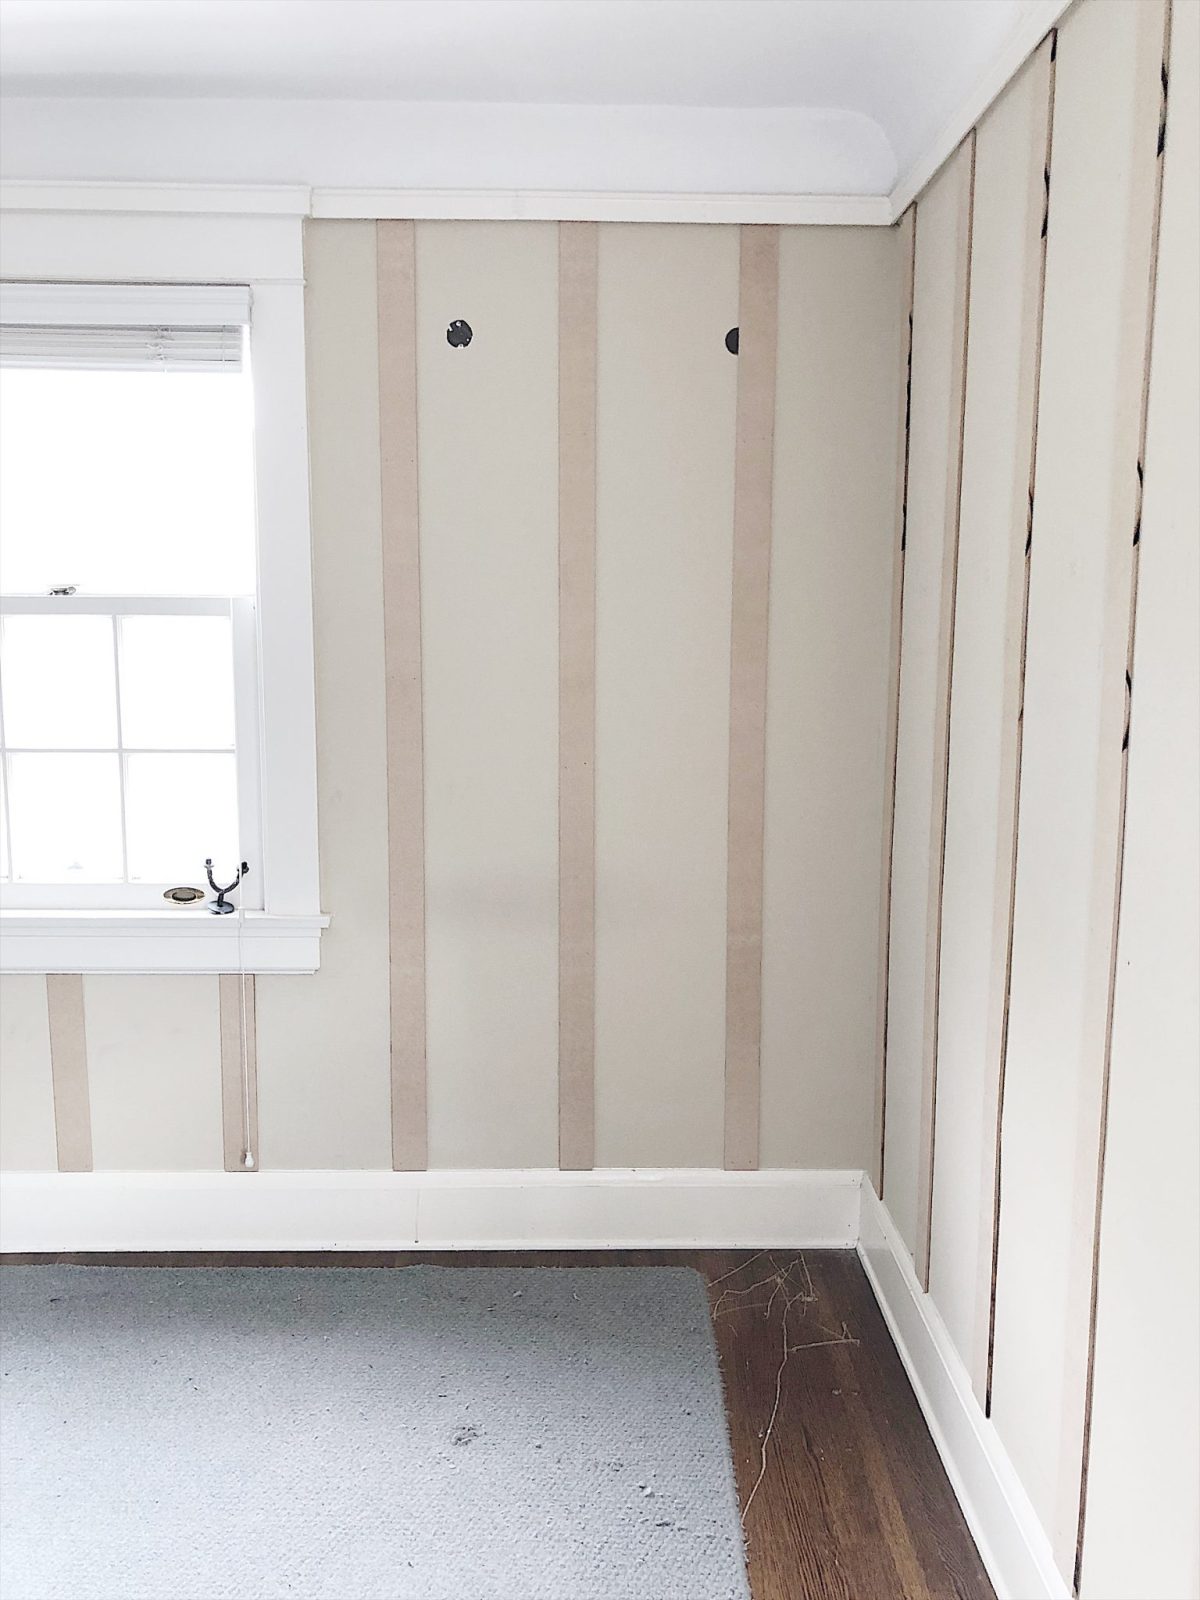
The second problem, which is way worse, is that I made a mistake in my measurements. You have to measure the 12″ gap and then allow for 3″ which is the width of the board. As I was counting, 12 + 3 +12 +3, I stopped for a break and came back and measured 3 +12 +3. I should have measured 12 +3 +12. If this makes no sense, all you need to know is that I messed up and sure enough, after an entire wall was completed (glued and nailed), one of the boards landed right along the window molding which would have been impossible to cut and look awful.
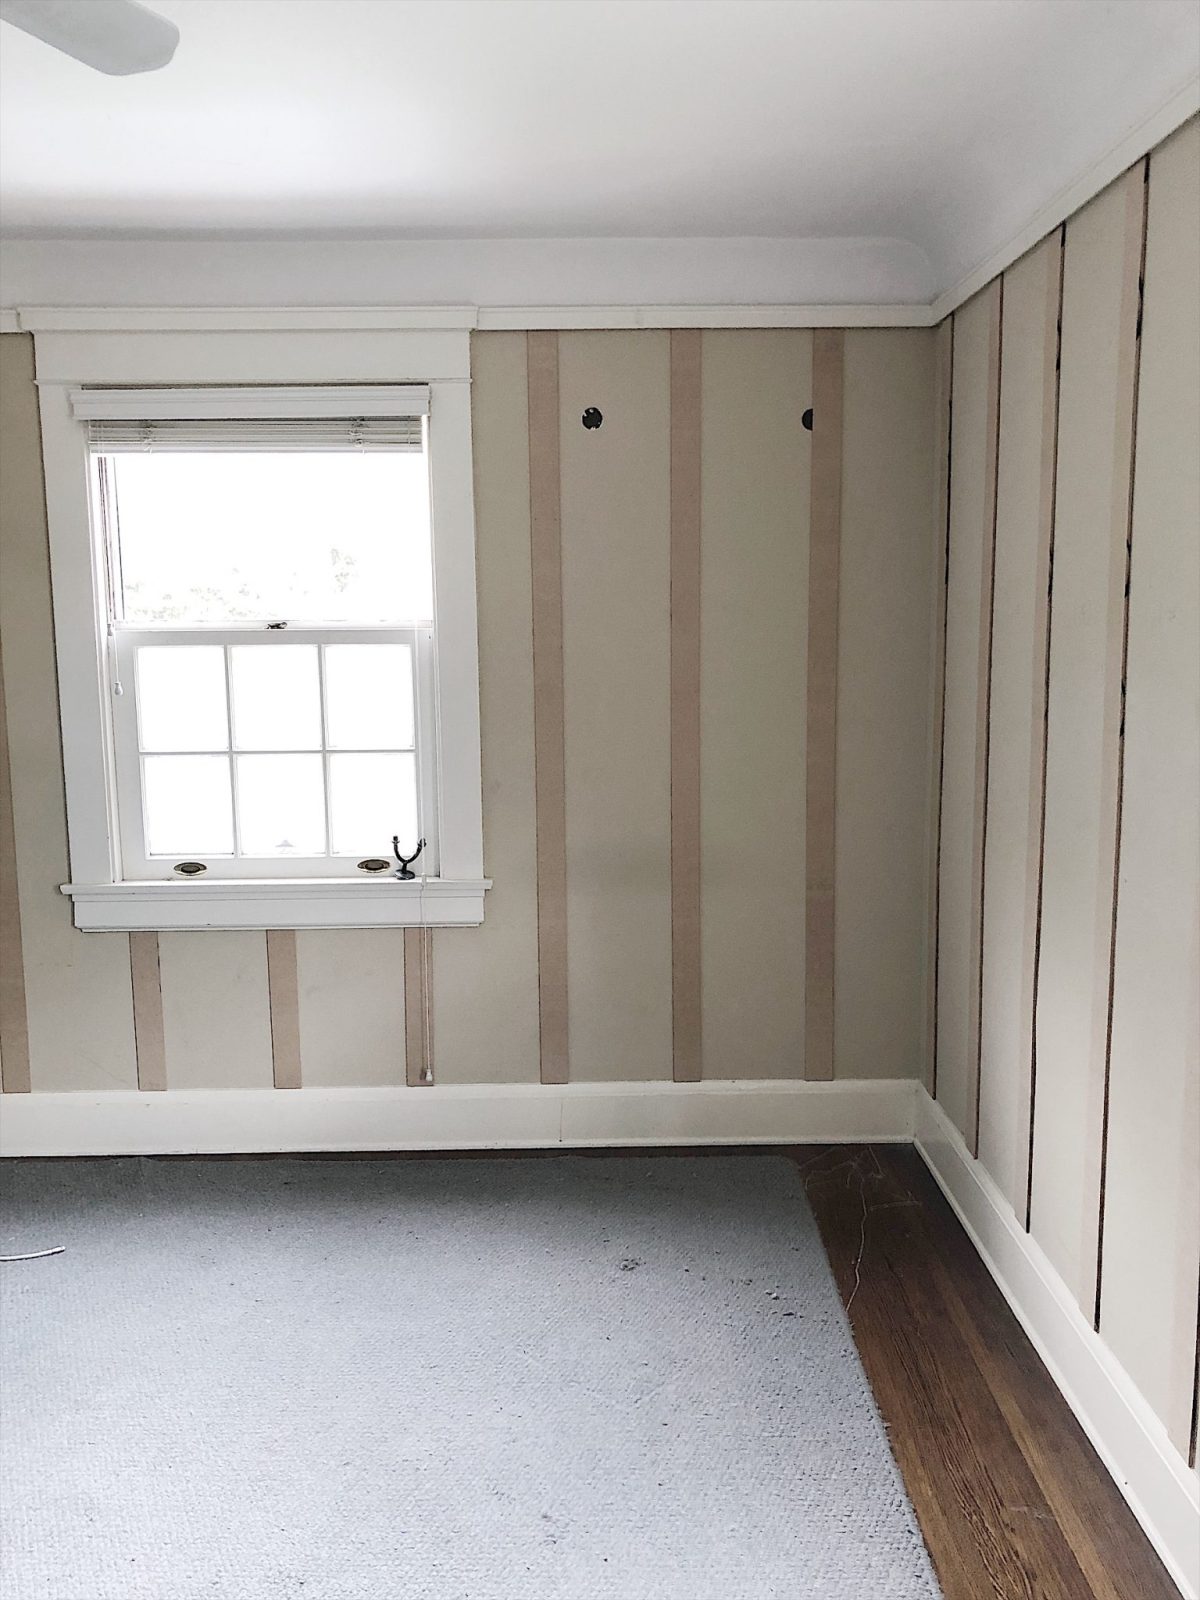
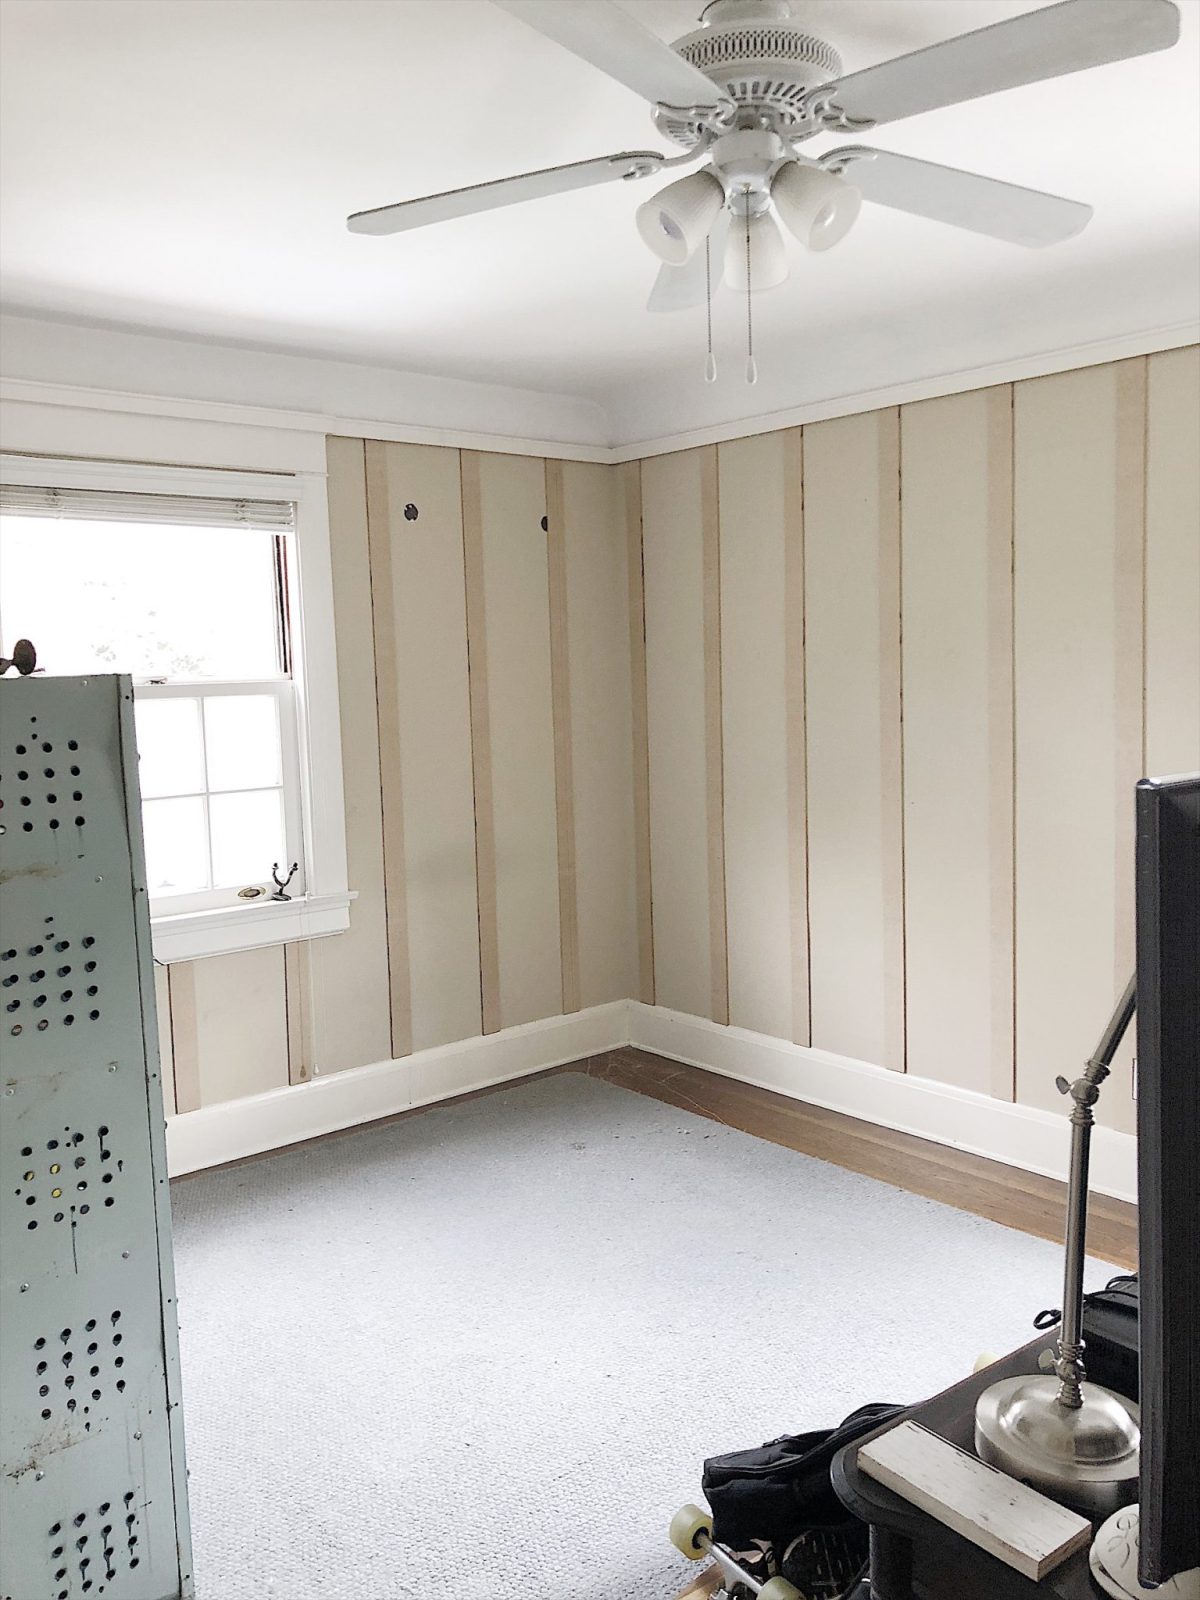
So, if you look closely, you might notice that the spacing on the wall with the window is 12″ and the wall on the right is 12 1/2″. I seriously doubt anyone will notice.
Can you tell in the photo below? Please just say no.
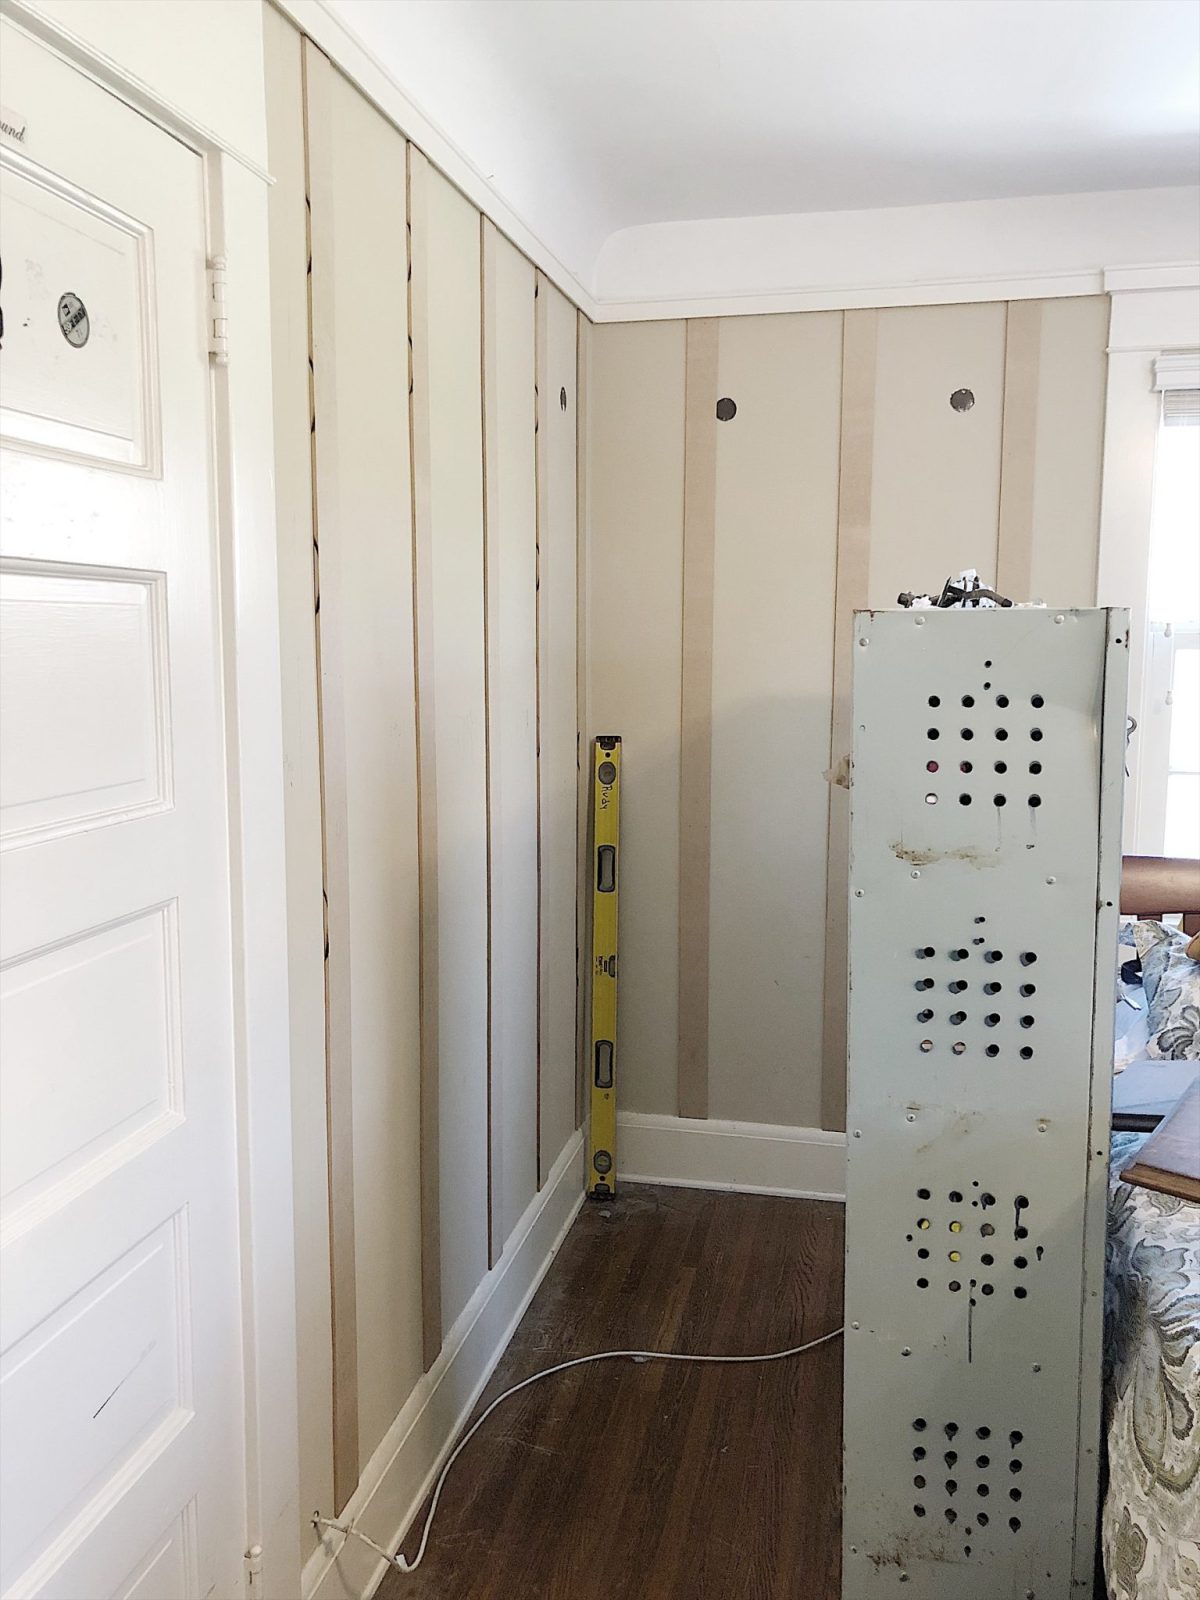
The easiest way to measure this is with spacers that you need to cut (which are the exact width you need) and a level (that’s the yellow thing in the photo below). Obviously, I had to cut spacers that measured 12″ and 12 1/2″. Not funny.
As I rounded the corner to the last wall and kept gluing and measuring, I then realized when I marked the wall that I had forgotten to look down for the cable connection. So there is one little “oops” in this photo.
I think I managed to make it look just fine. If you think it looks bad, you are welcome to keep those thoughts to yourself.
This project took an entire day and although it was painful, I really love it. I should mention there are three doors and two windows in this room which I am sure qualified this project for a difficulty rating of 10+.
But it is over and it looks great. I do think paint will hide all of the flaws and I am covered in paint right now. That is because I had to use oil based primer for the boards and I forgot to buy a turpenoid based product for cleaning. Oh heavens …
 Click here to see more projects that are a part of the #oneroomchallenge.






I think it looks so good!! Paint and caulk will definitely hide any flaws and or imperfections. Nothing good ever comes easy! Well done!
Did I miss a photo of the finished product? I’d love to see it!
Just think of how much you have learned along the way! When you do the next one (and you will) think how much simpler it will be.
Beautiful! And imperfections??? That’s what gives it character! (That’s my motto anyway ????)
I think it looks great! My husband and I did board and batten in our pantry and it was an all day project and our pantry is less than half the size of this room you’re doing. With paint (and without paint because you can’t tell) no one will ever know but you. You’ll be ready to do another room in no time, lol. Can’t wait to see the finished room.
Wall panelling is the worst! I learned that through the experience of my last ORC. Spoiler alert: I’m not doing panelling this time around! But I think you did a great job and it really suits the style of architecture in your house .