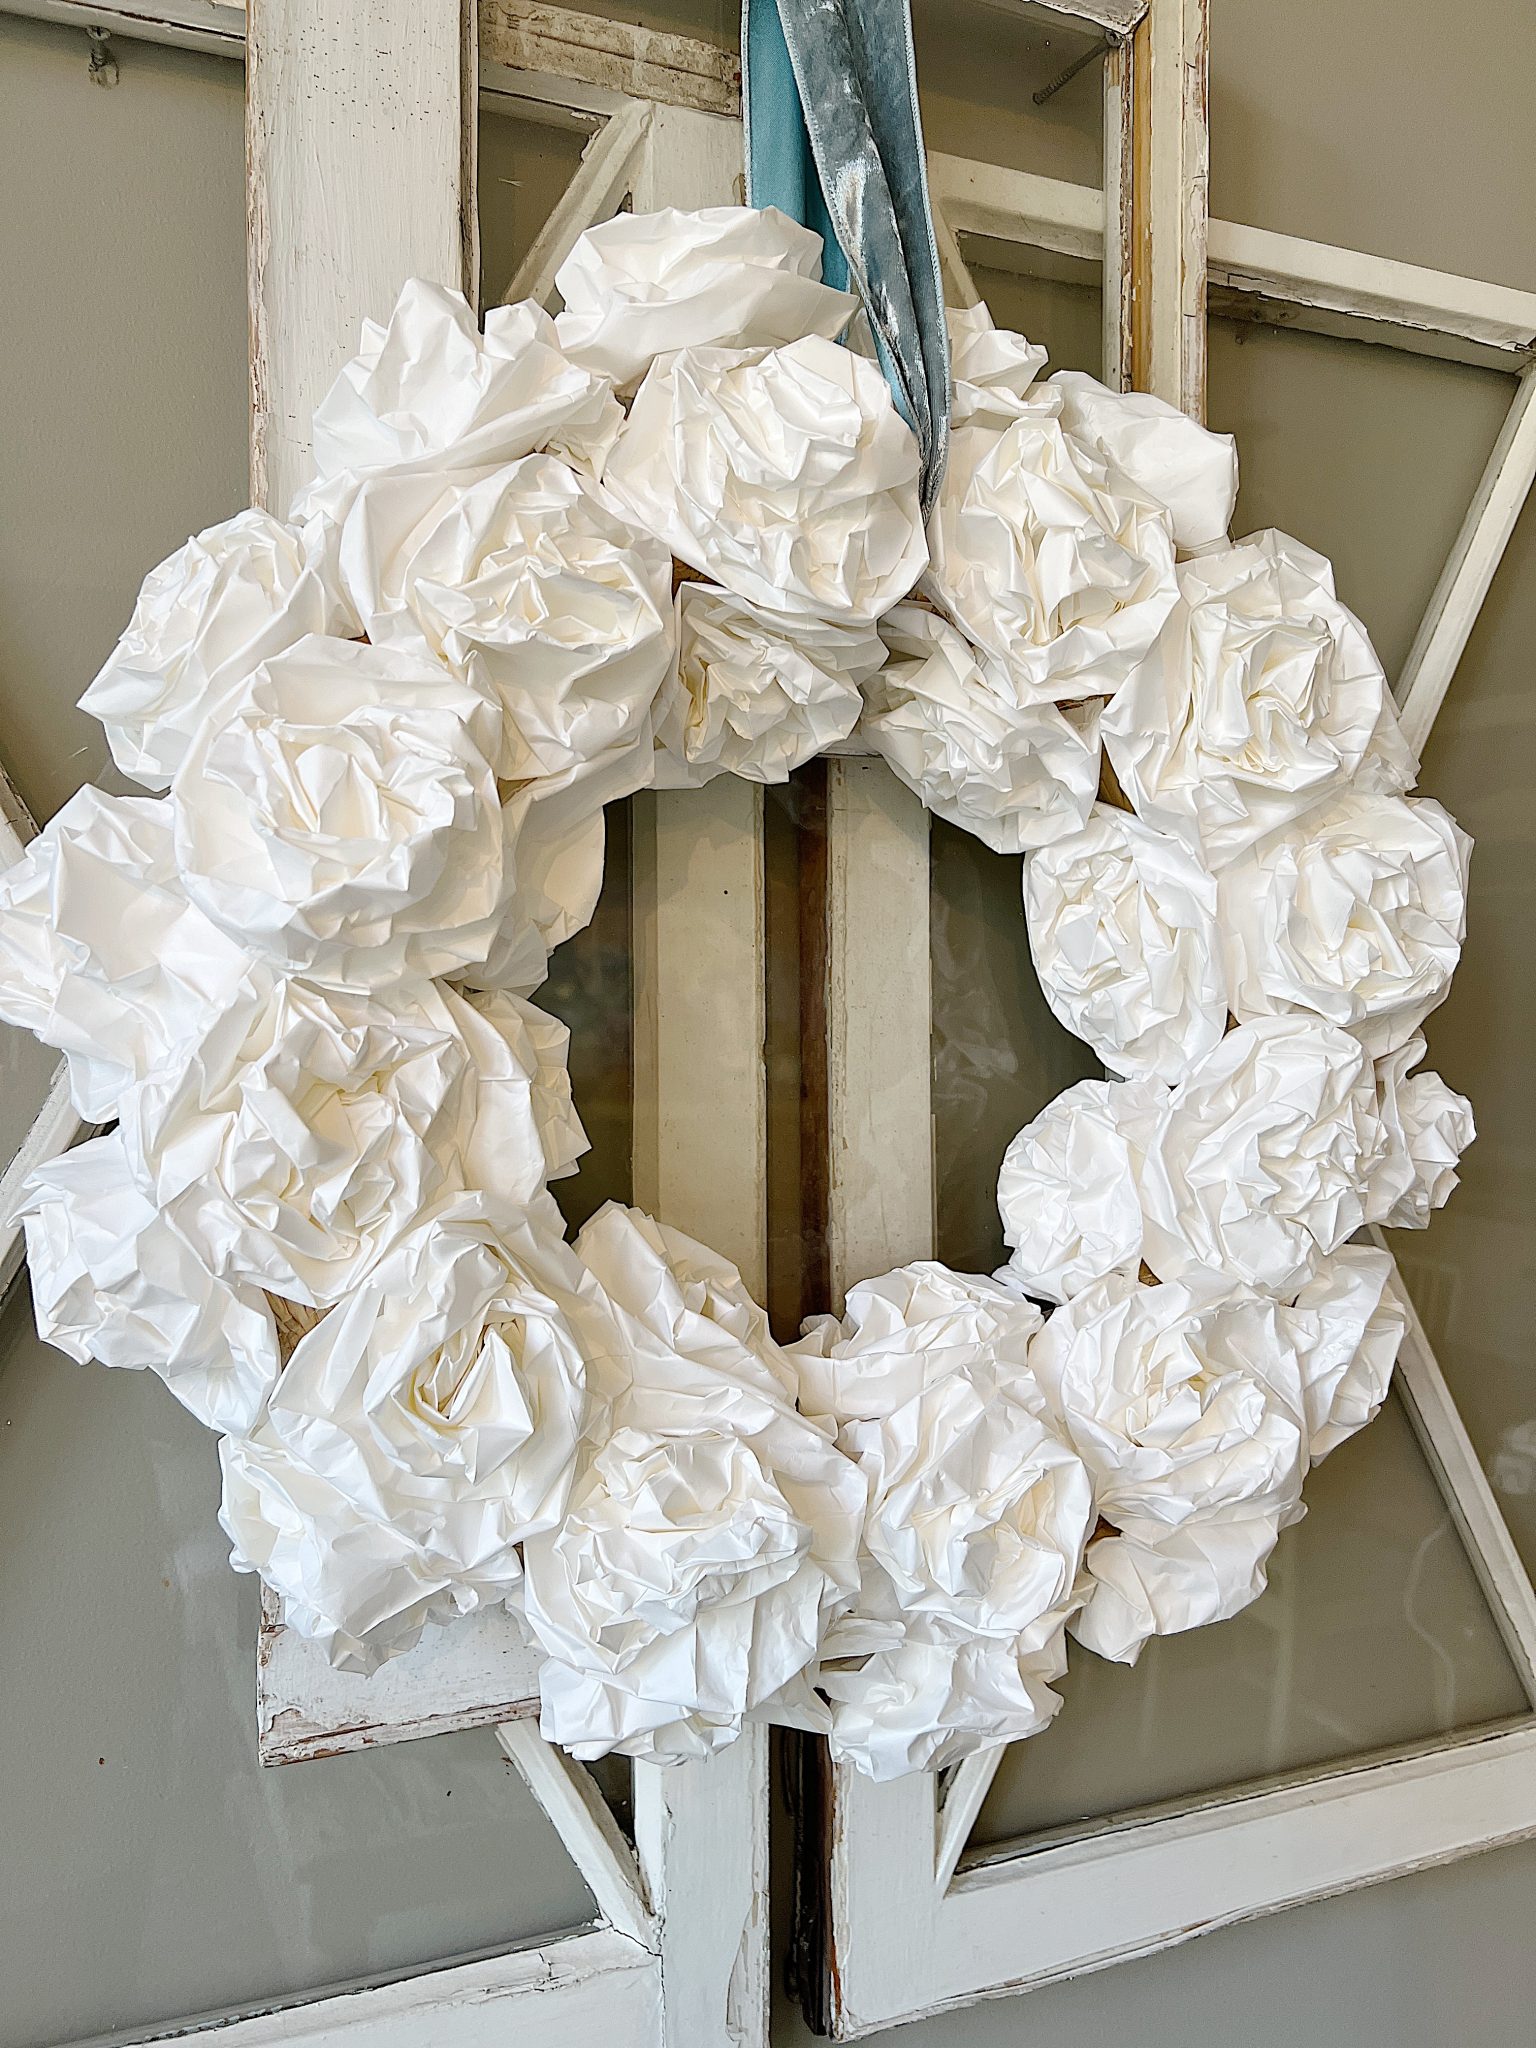
The Forty Five Minute White Wreath
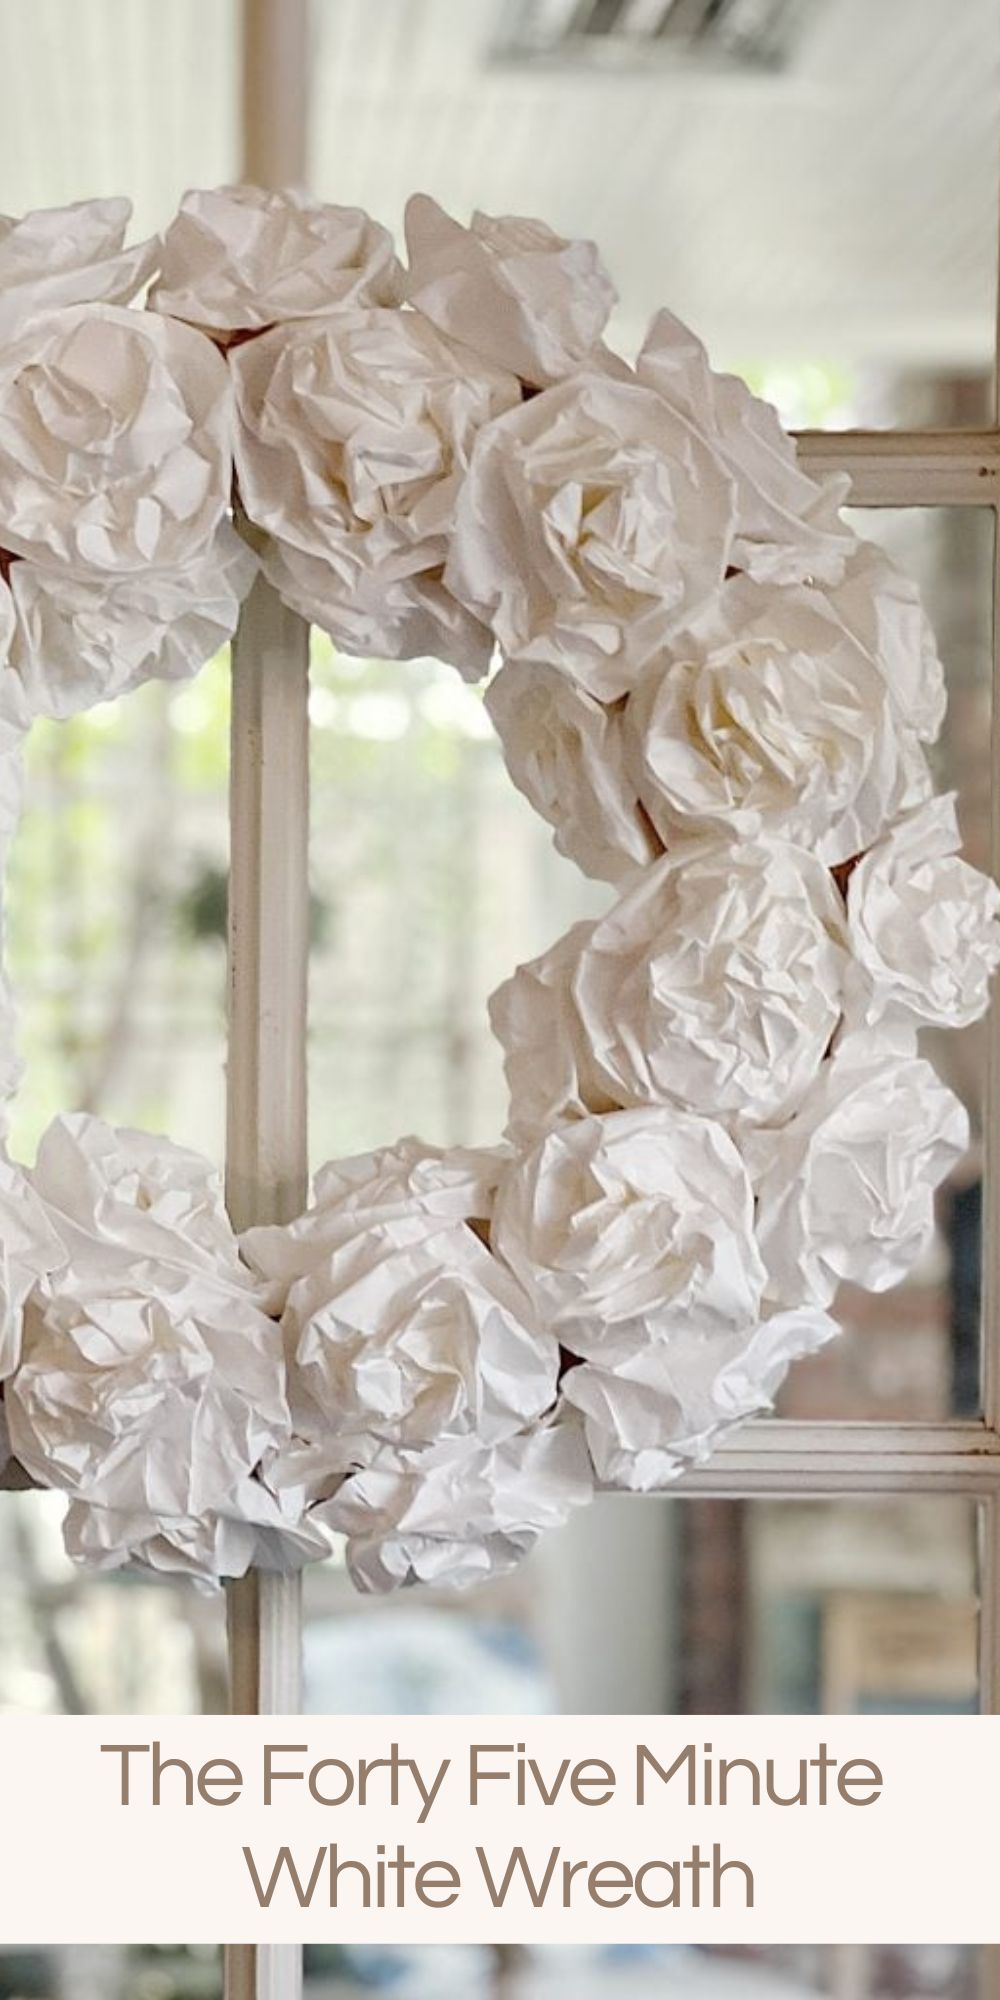
You all loved the five-minute wreath I made last year so this time I am making a Forty-Five Minute White Wreath with paper lunch bags!
Yep, you read that correctly, with paper lunch bags! If you have a little bit of time, no crafting ability whatsoever, and want to give crafting a try, this is the craft for you!


The Love of Crafting
I have been crafting for my whole life. I cannot remember when I wasn’t attempting to make something. Sewing was my first love, but I quickly learned about macrame, crochet, jewelry making, and glue guns, and I have never looked back.
While I am an experienced crafter, I always strive to make sure that what I have to share is meaningful and approachable to everyone who reads my blog and follows along. So, I have started adding some simple, no crafting knowledge, experience, or ability required!
I don’t know about you, but I learned from watching a video, so I made one for you. I think it’s easier than trying to follow a step-by-step. Watch and then do!
*I uploaded a video to show you how to make the flow3rs for this wreath. If you can’t see the video, click here.
How to Make a White Wreath From Lunch Bags
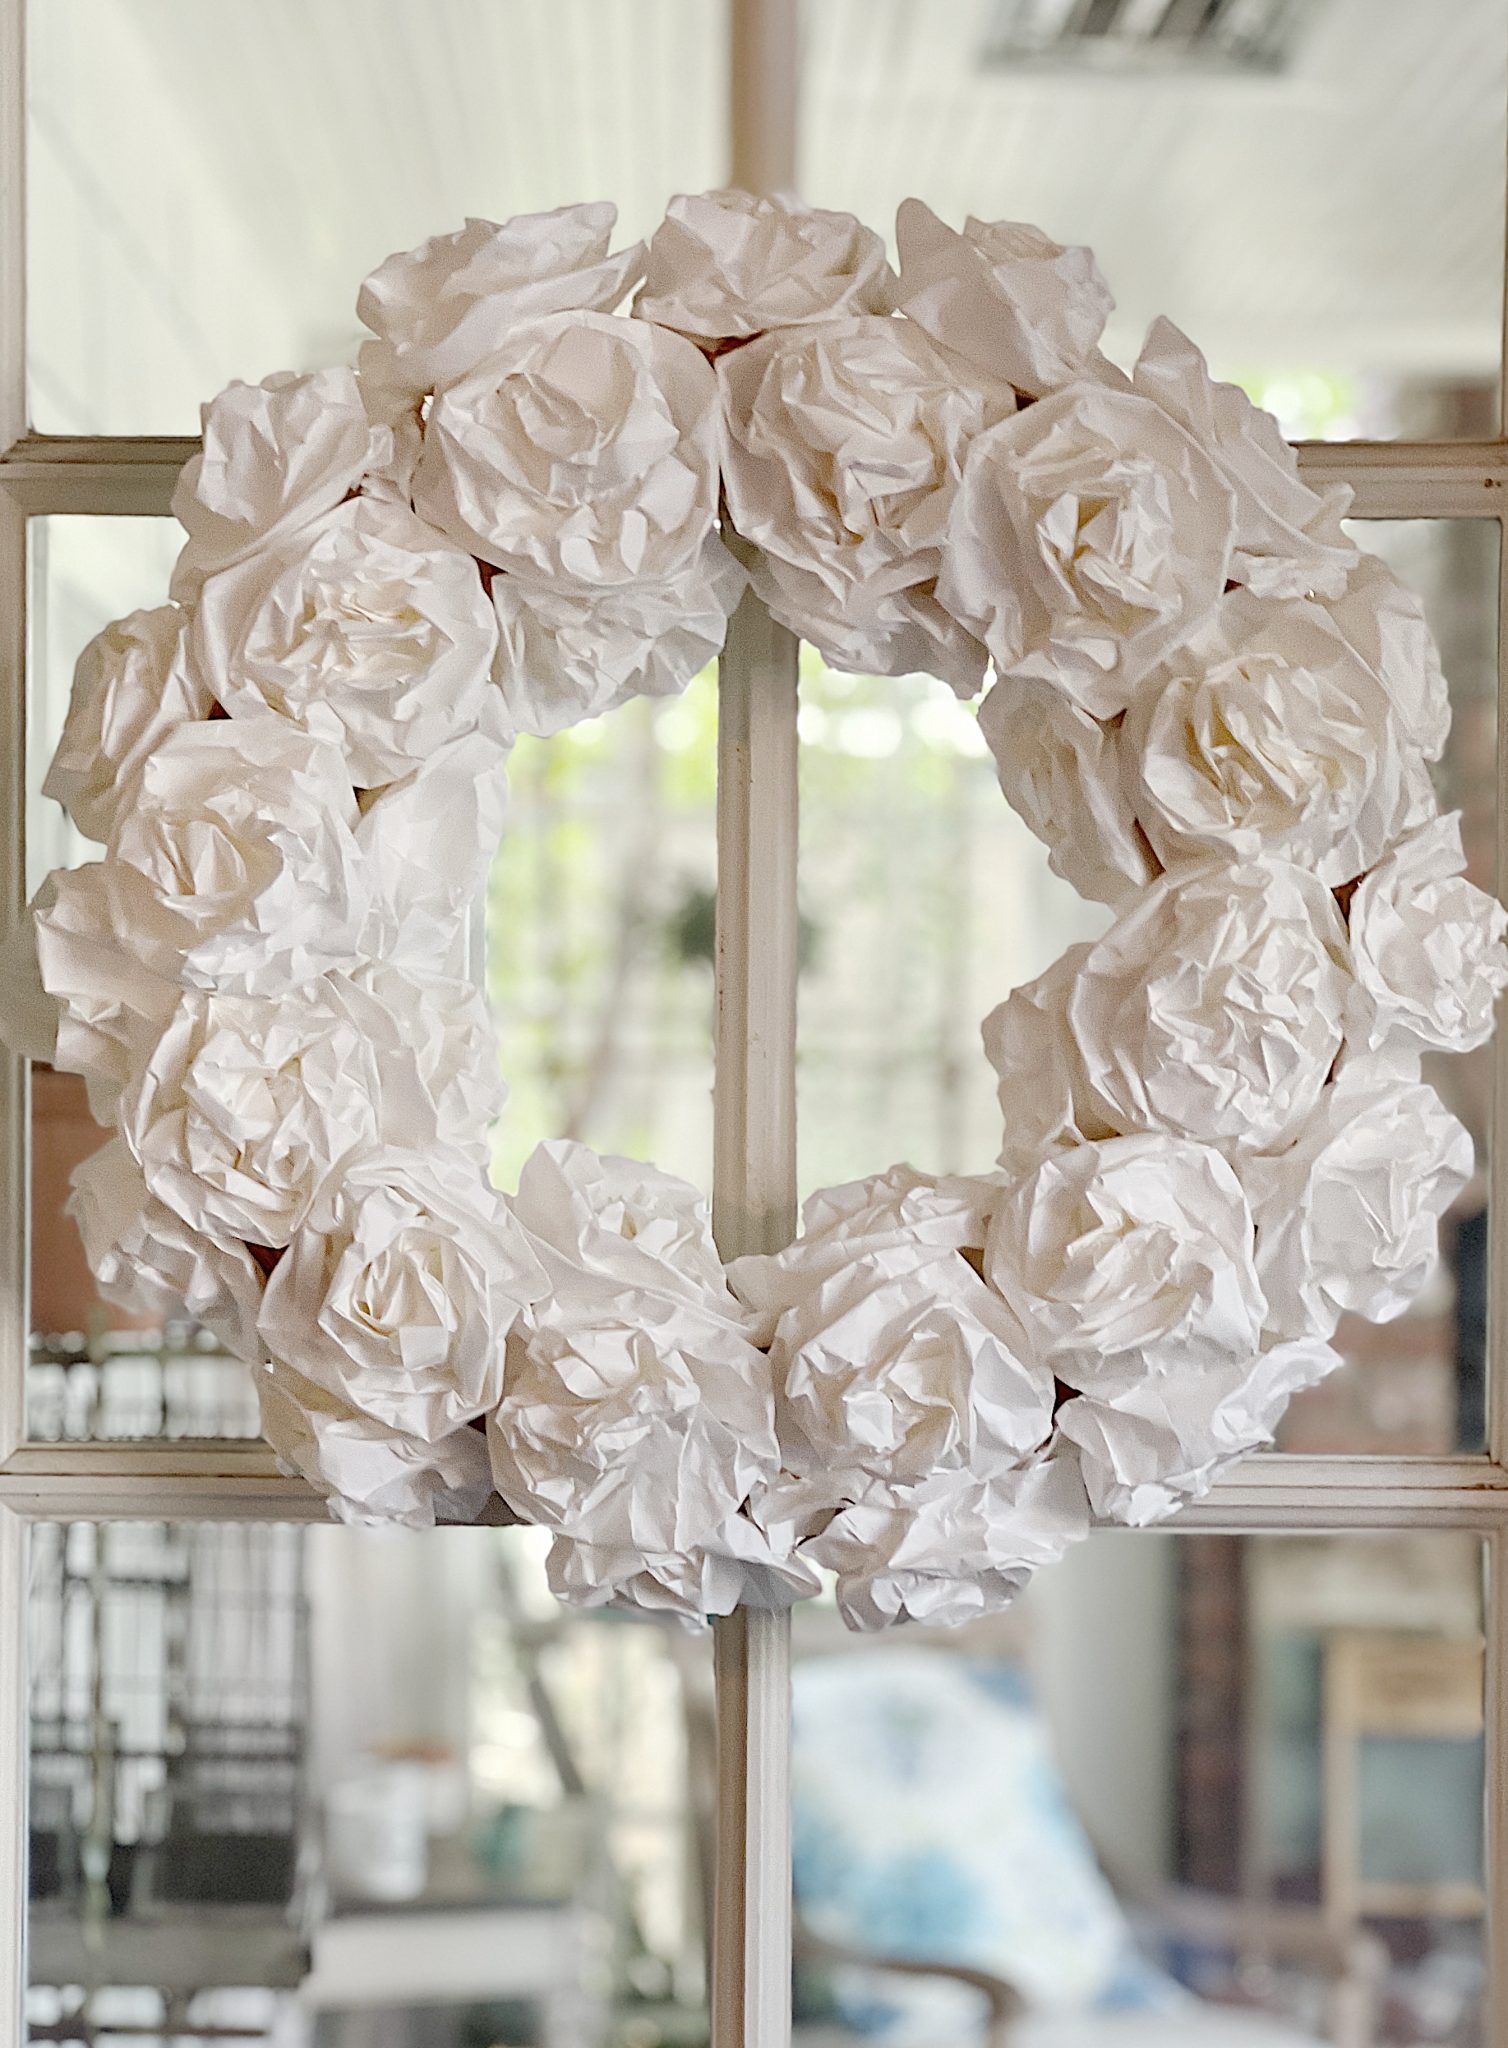
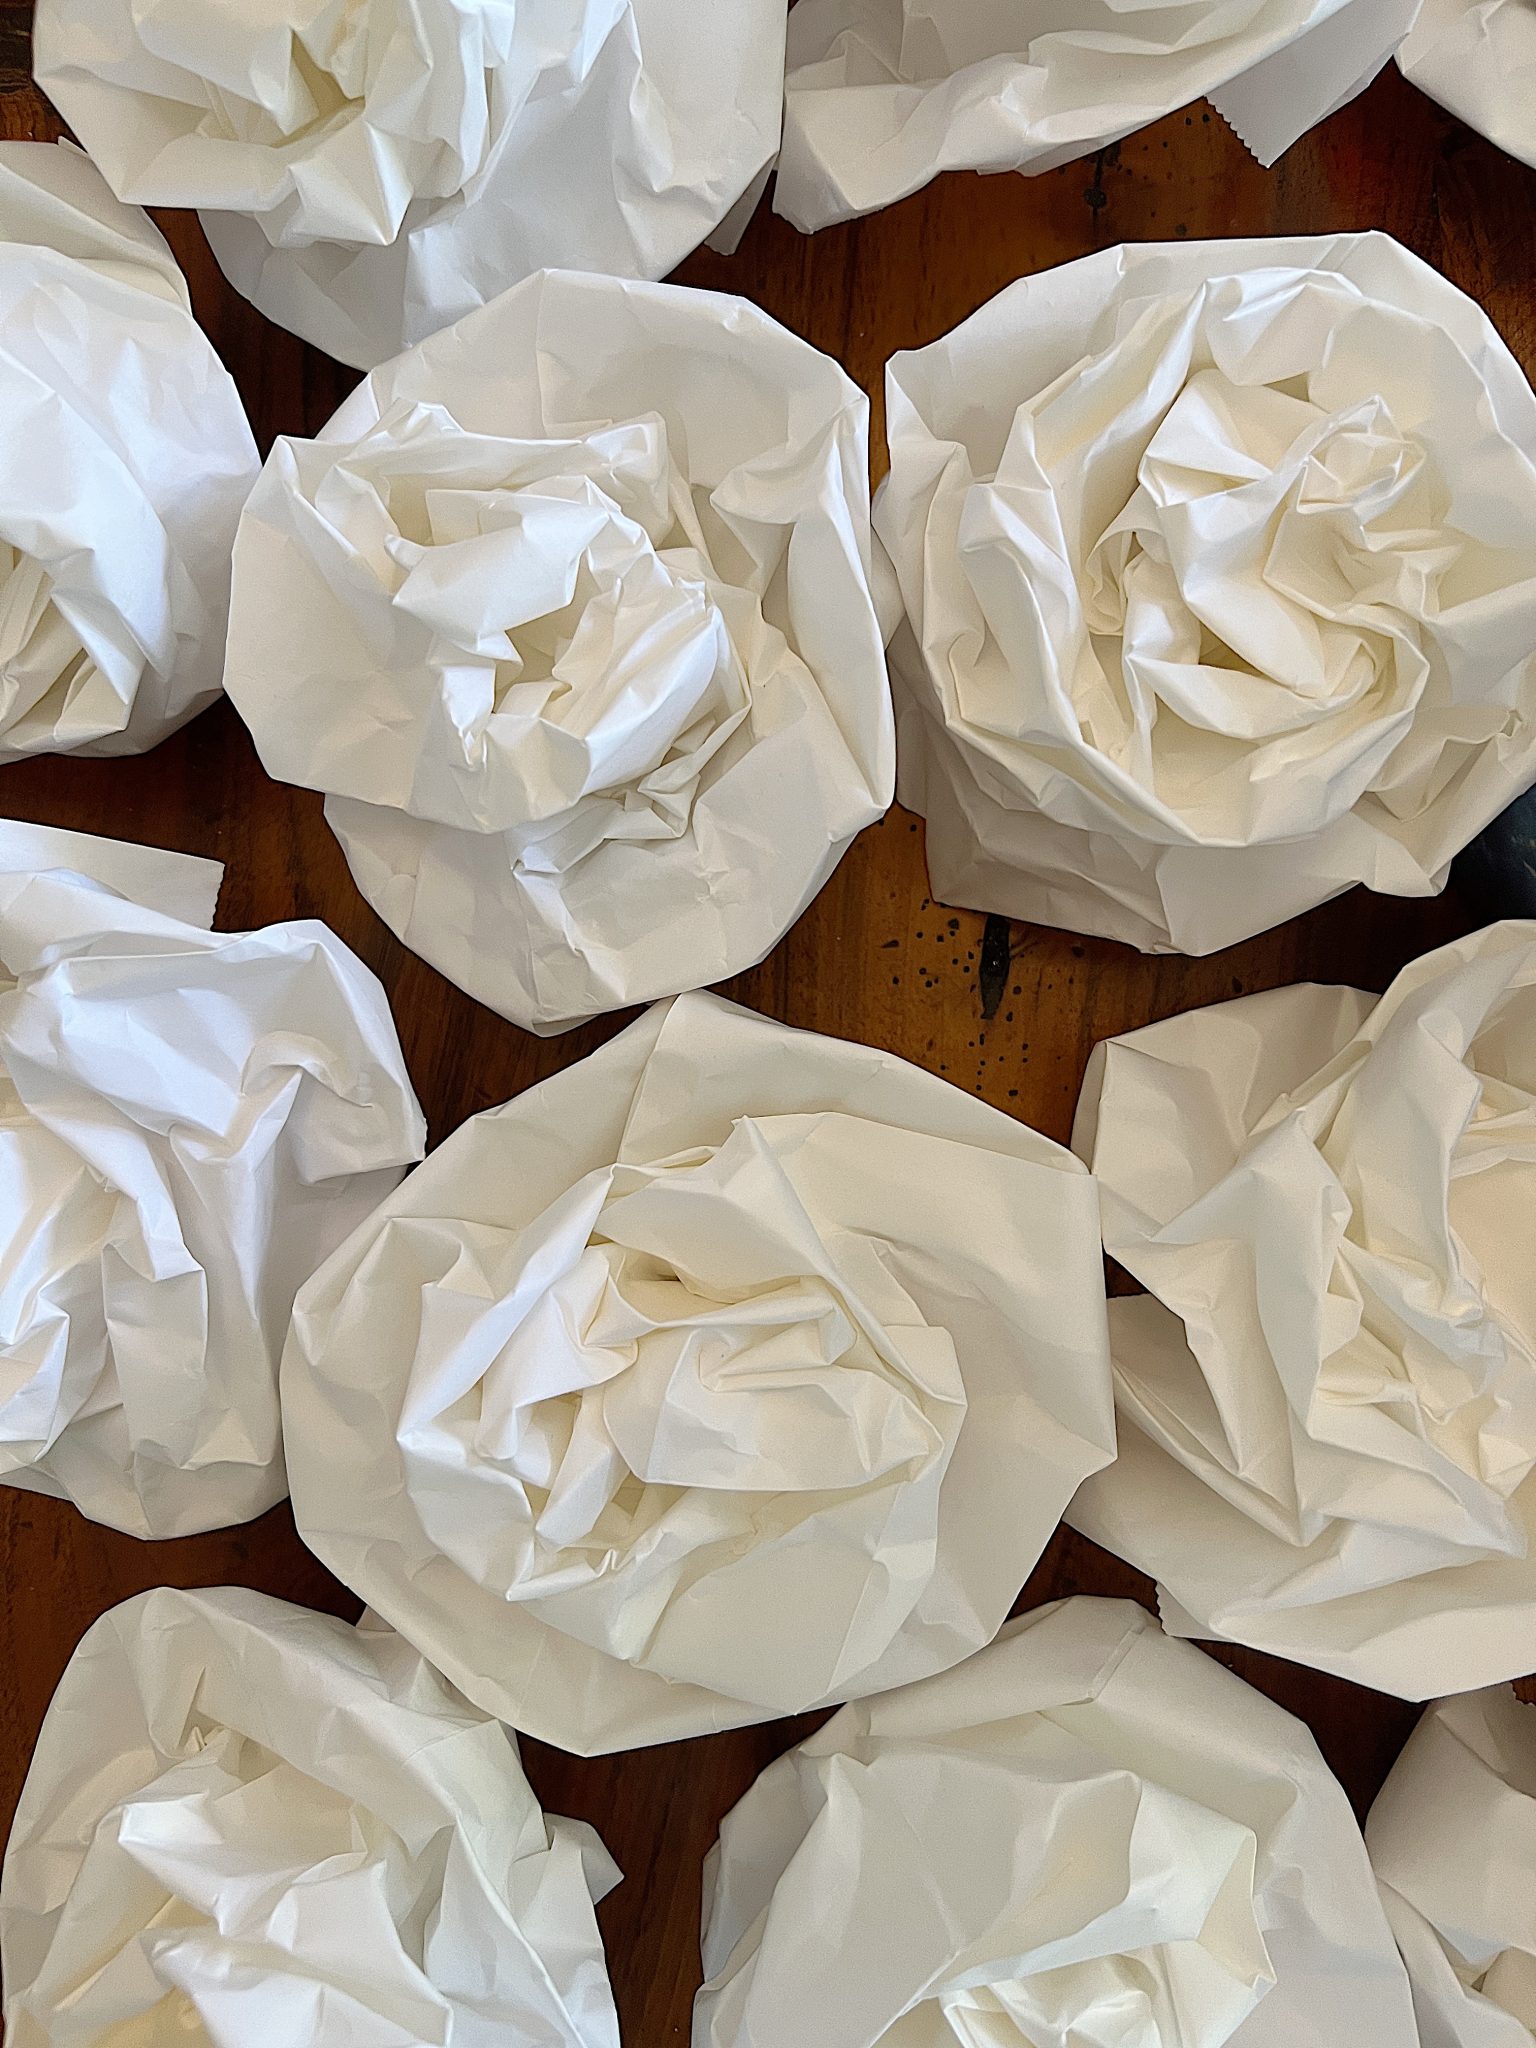
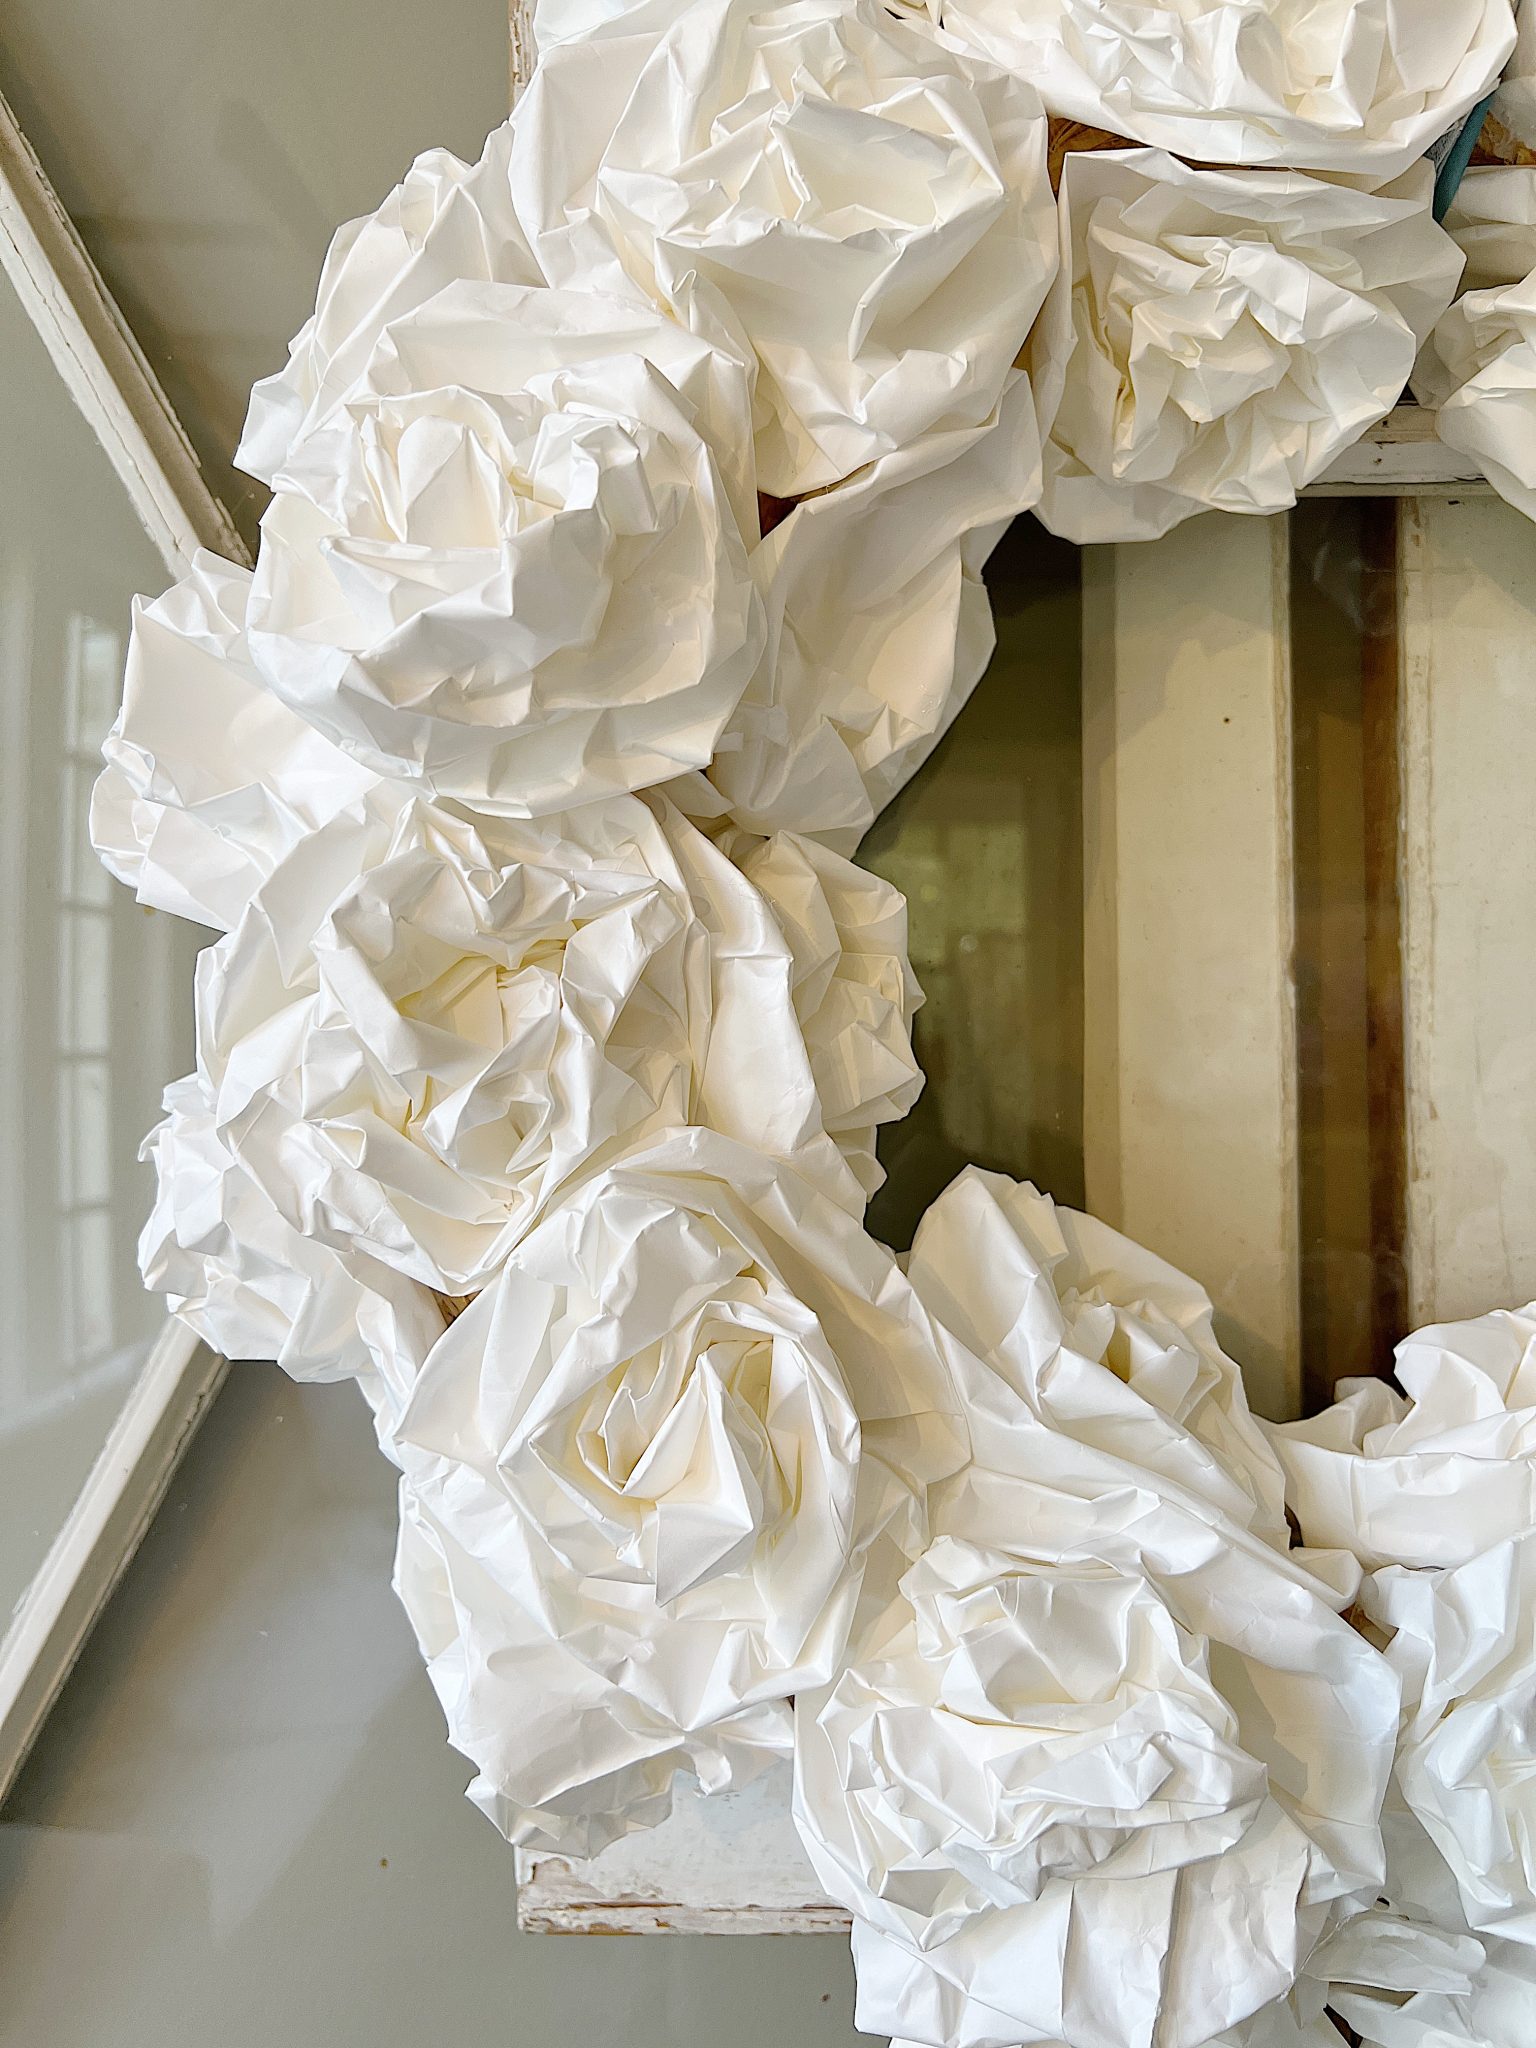
What do I love most about this wreath? I love that it does not look like it is made from paper lunch bags!
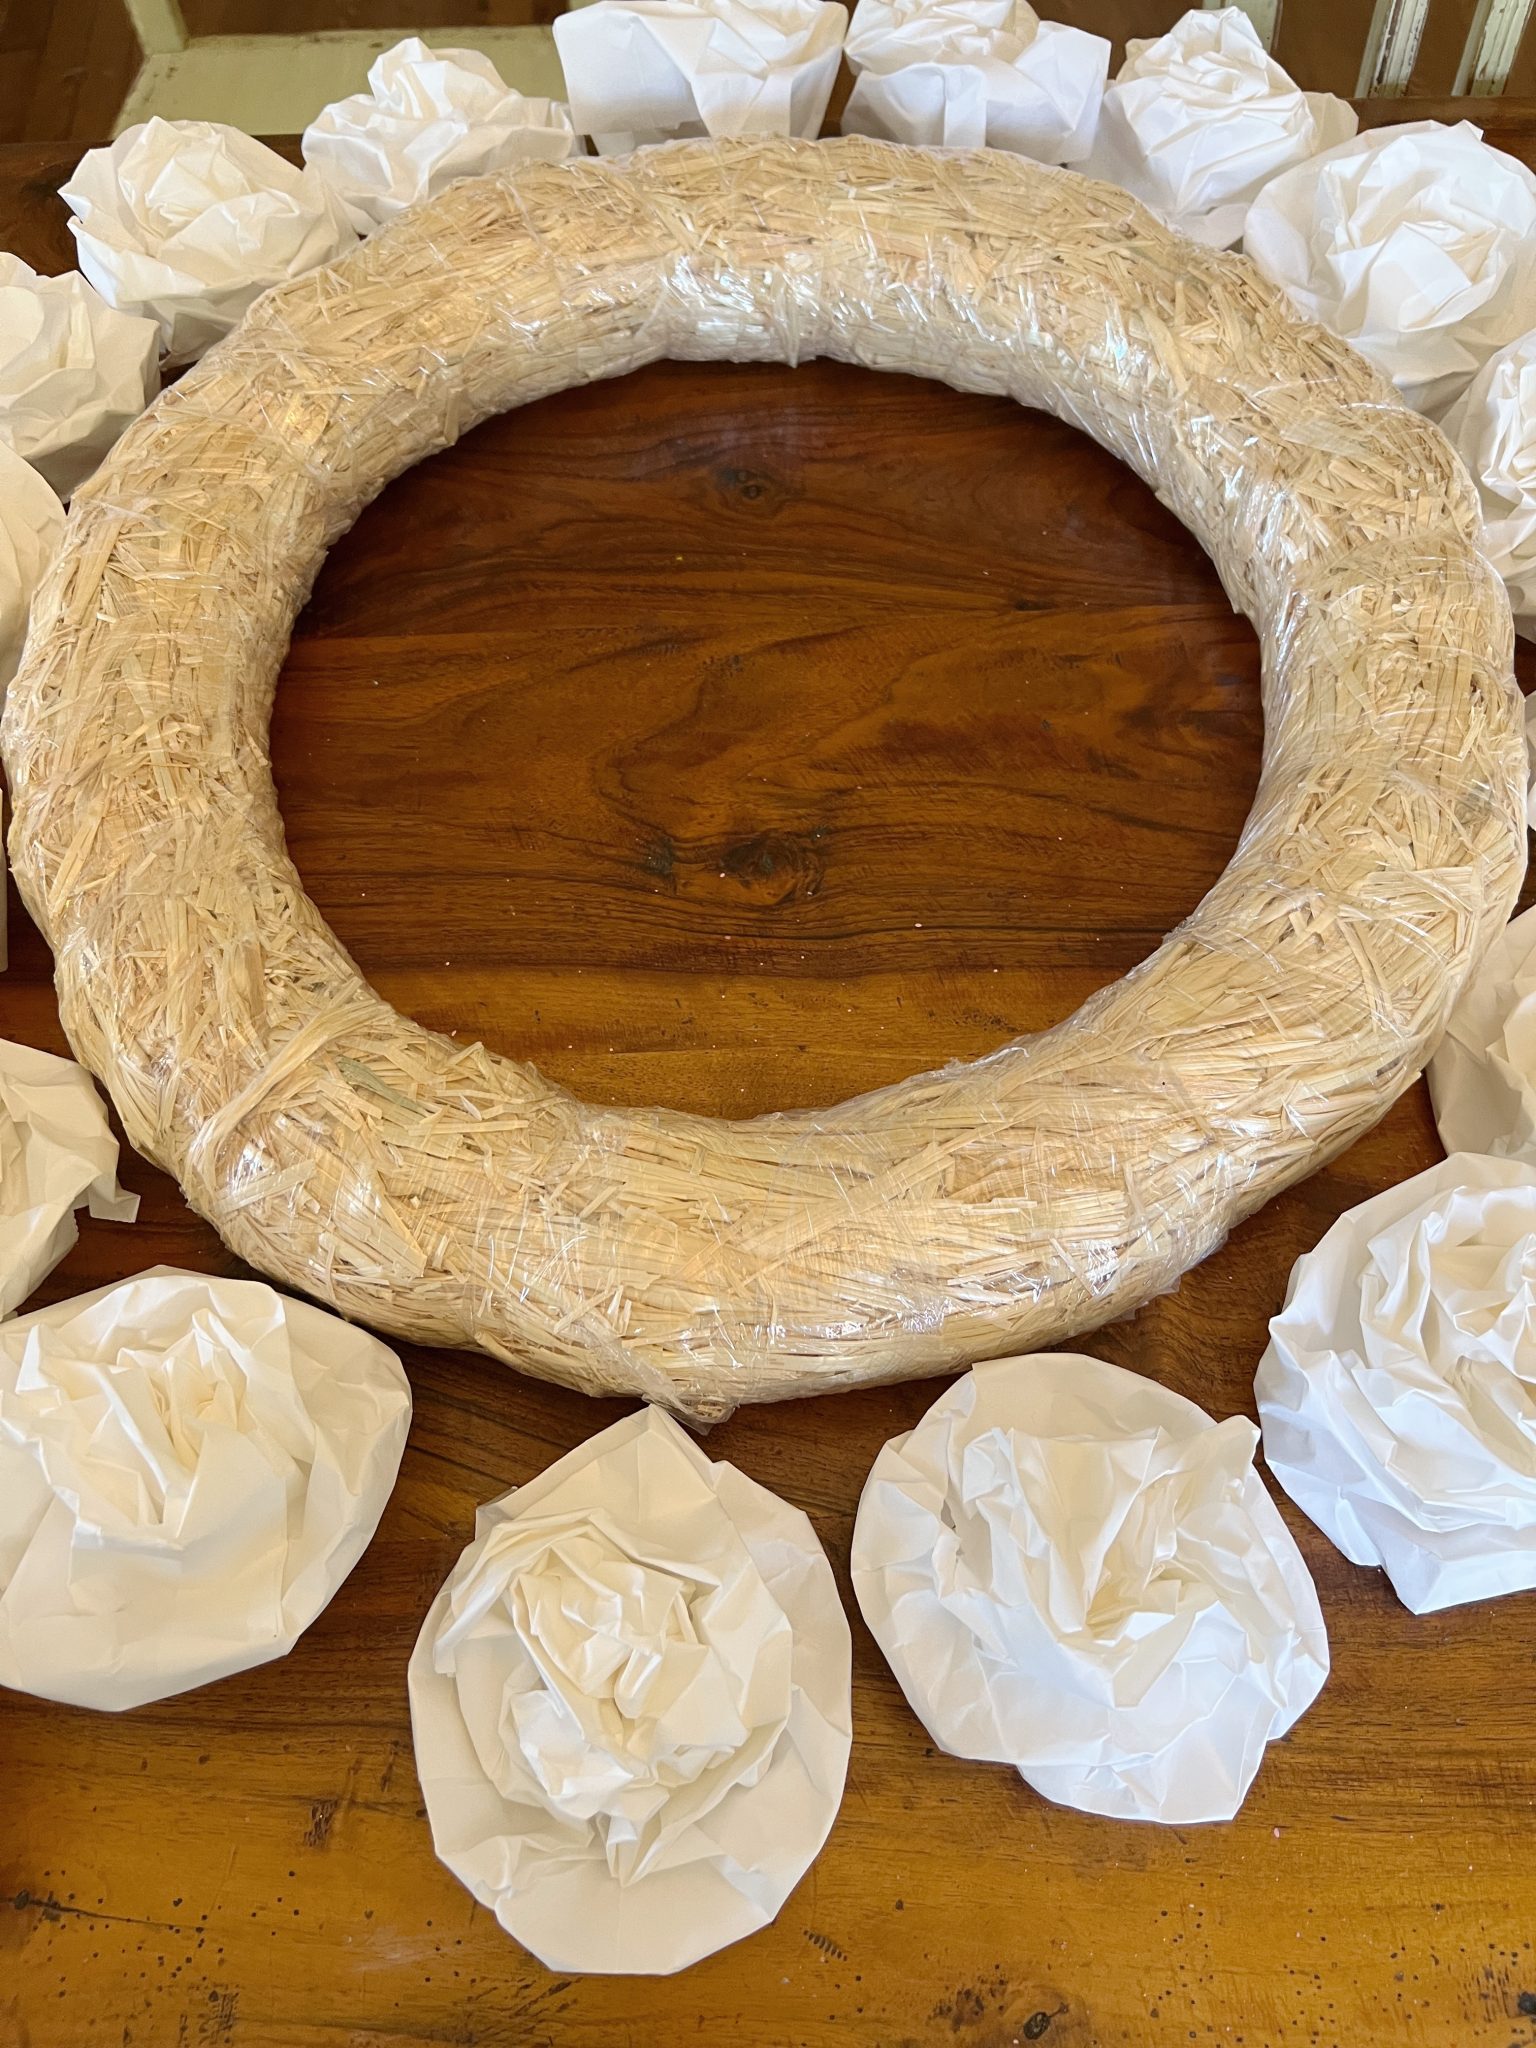
Materials Needed to Make This White Wreath
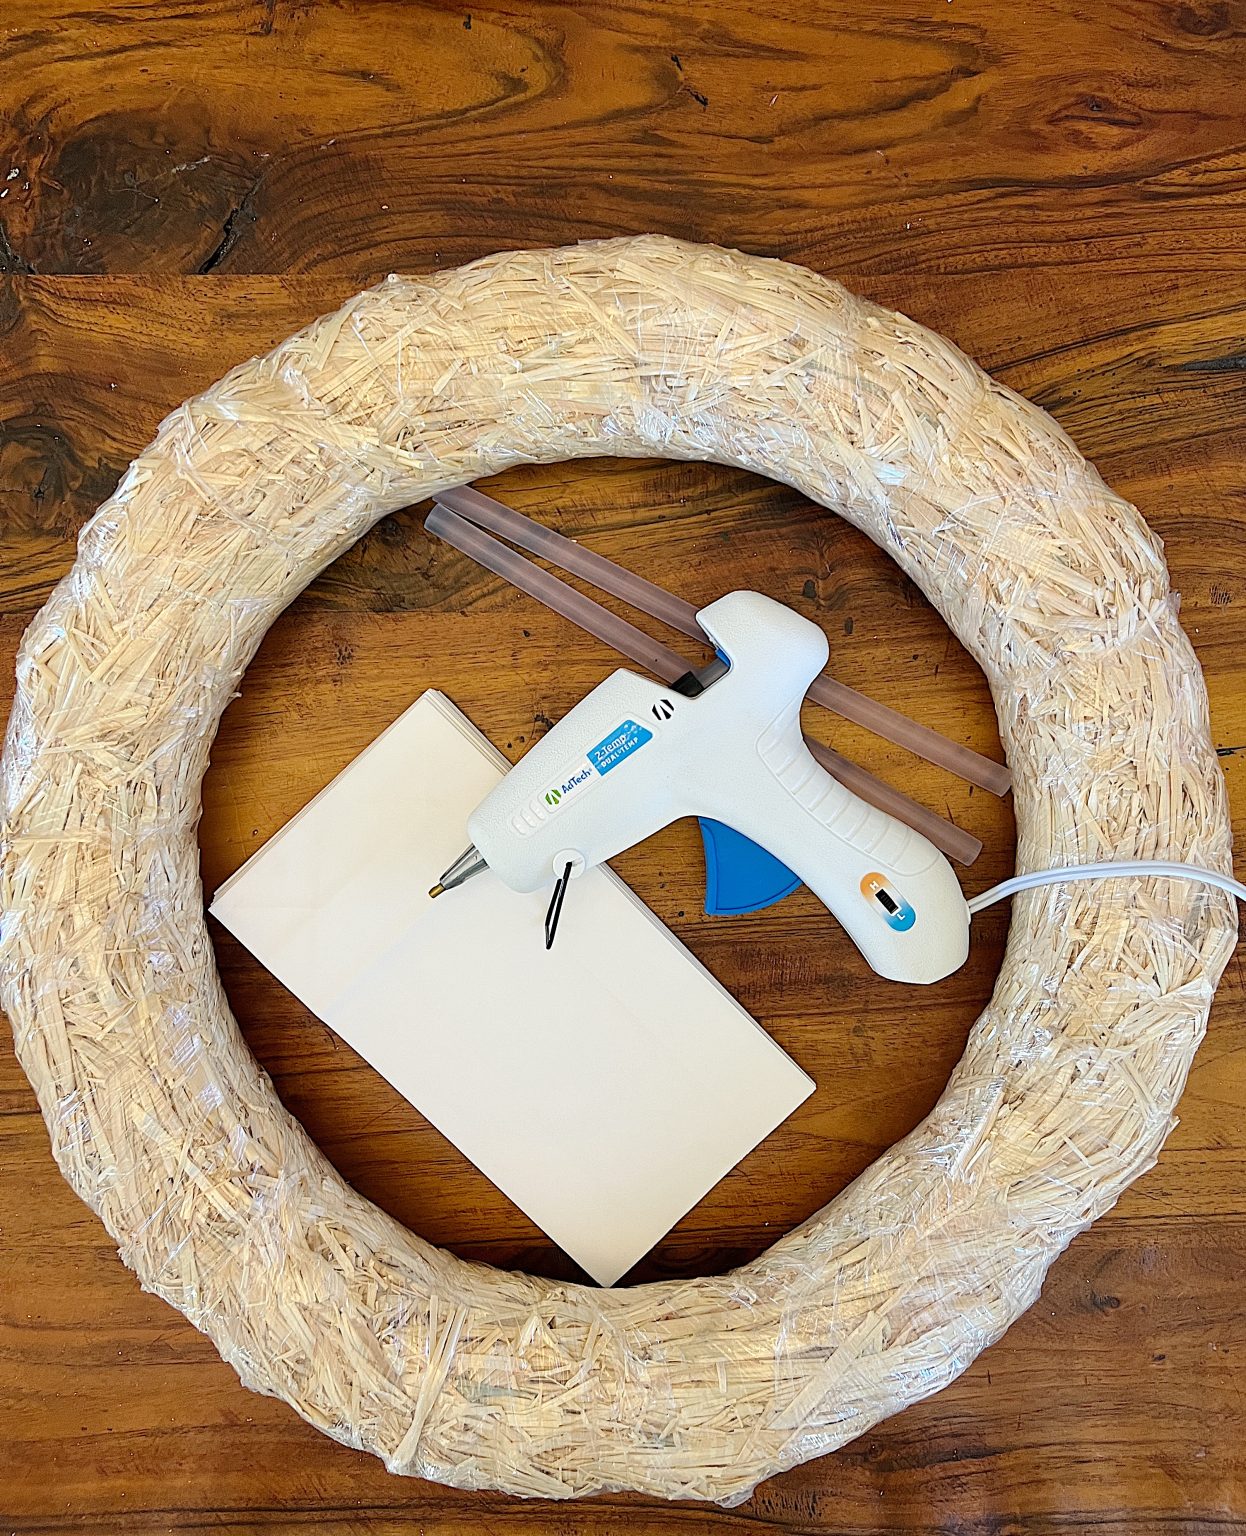
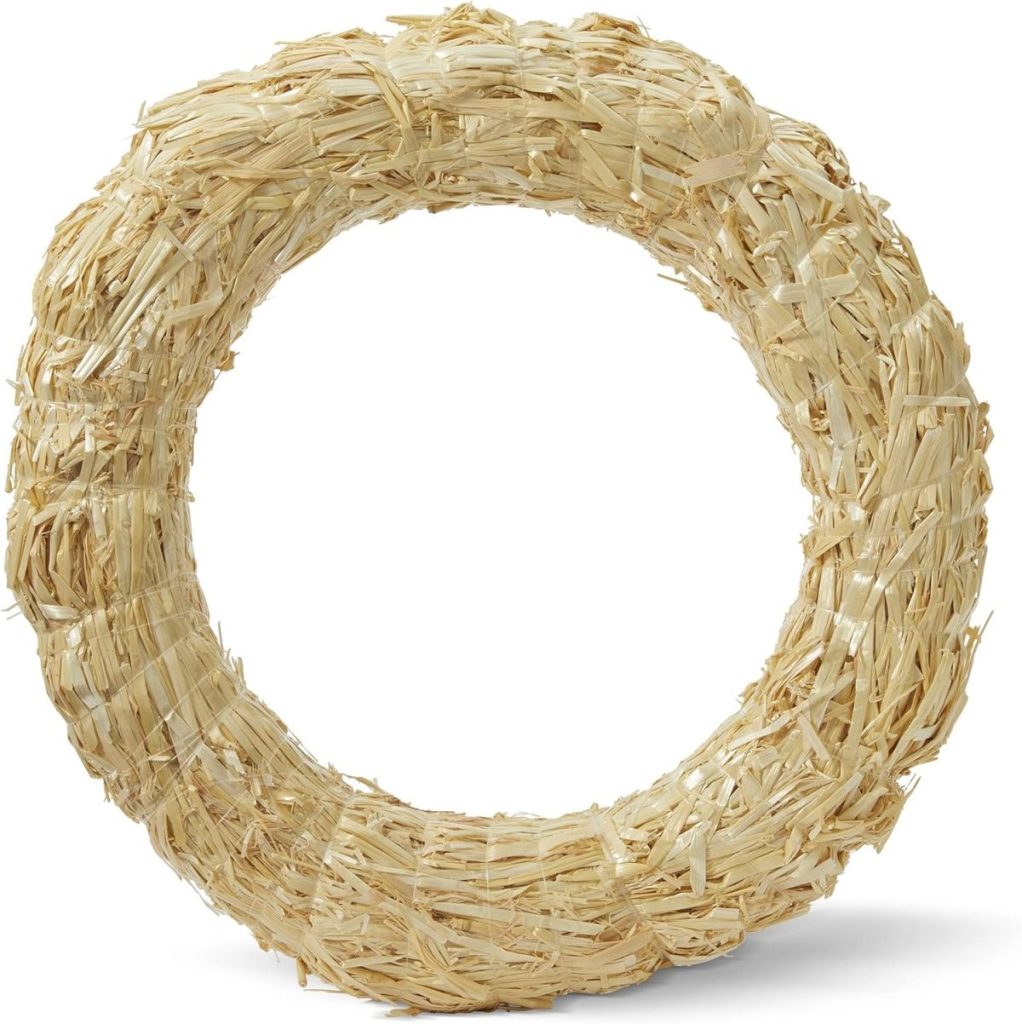
- 18″ (or smaller) straw wreath, leave the plastic on or the straw will disintegrate and shed everywhere
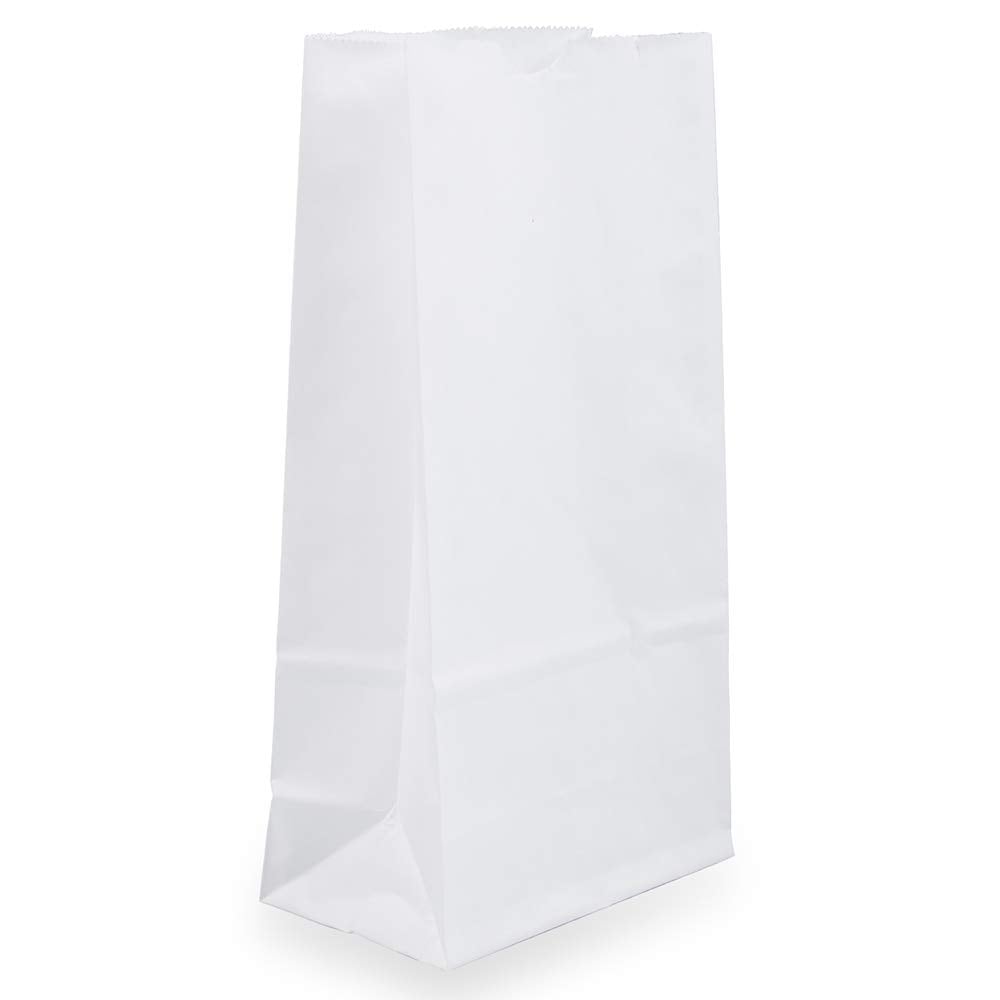
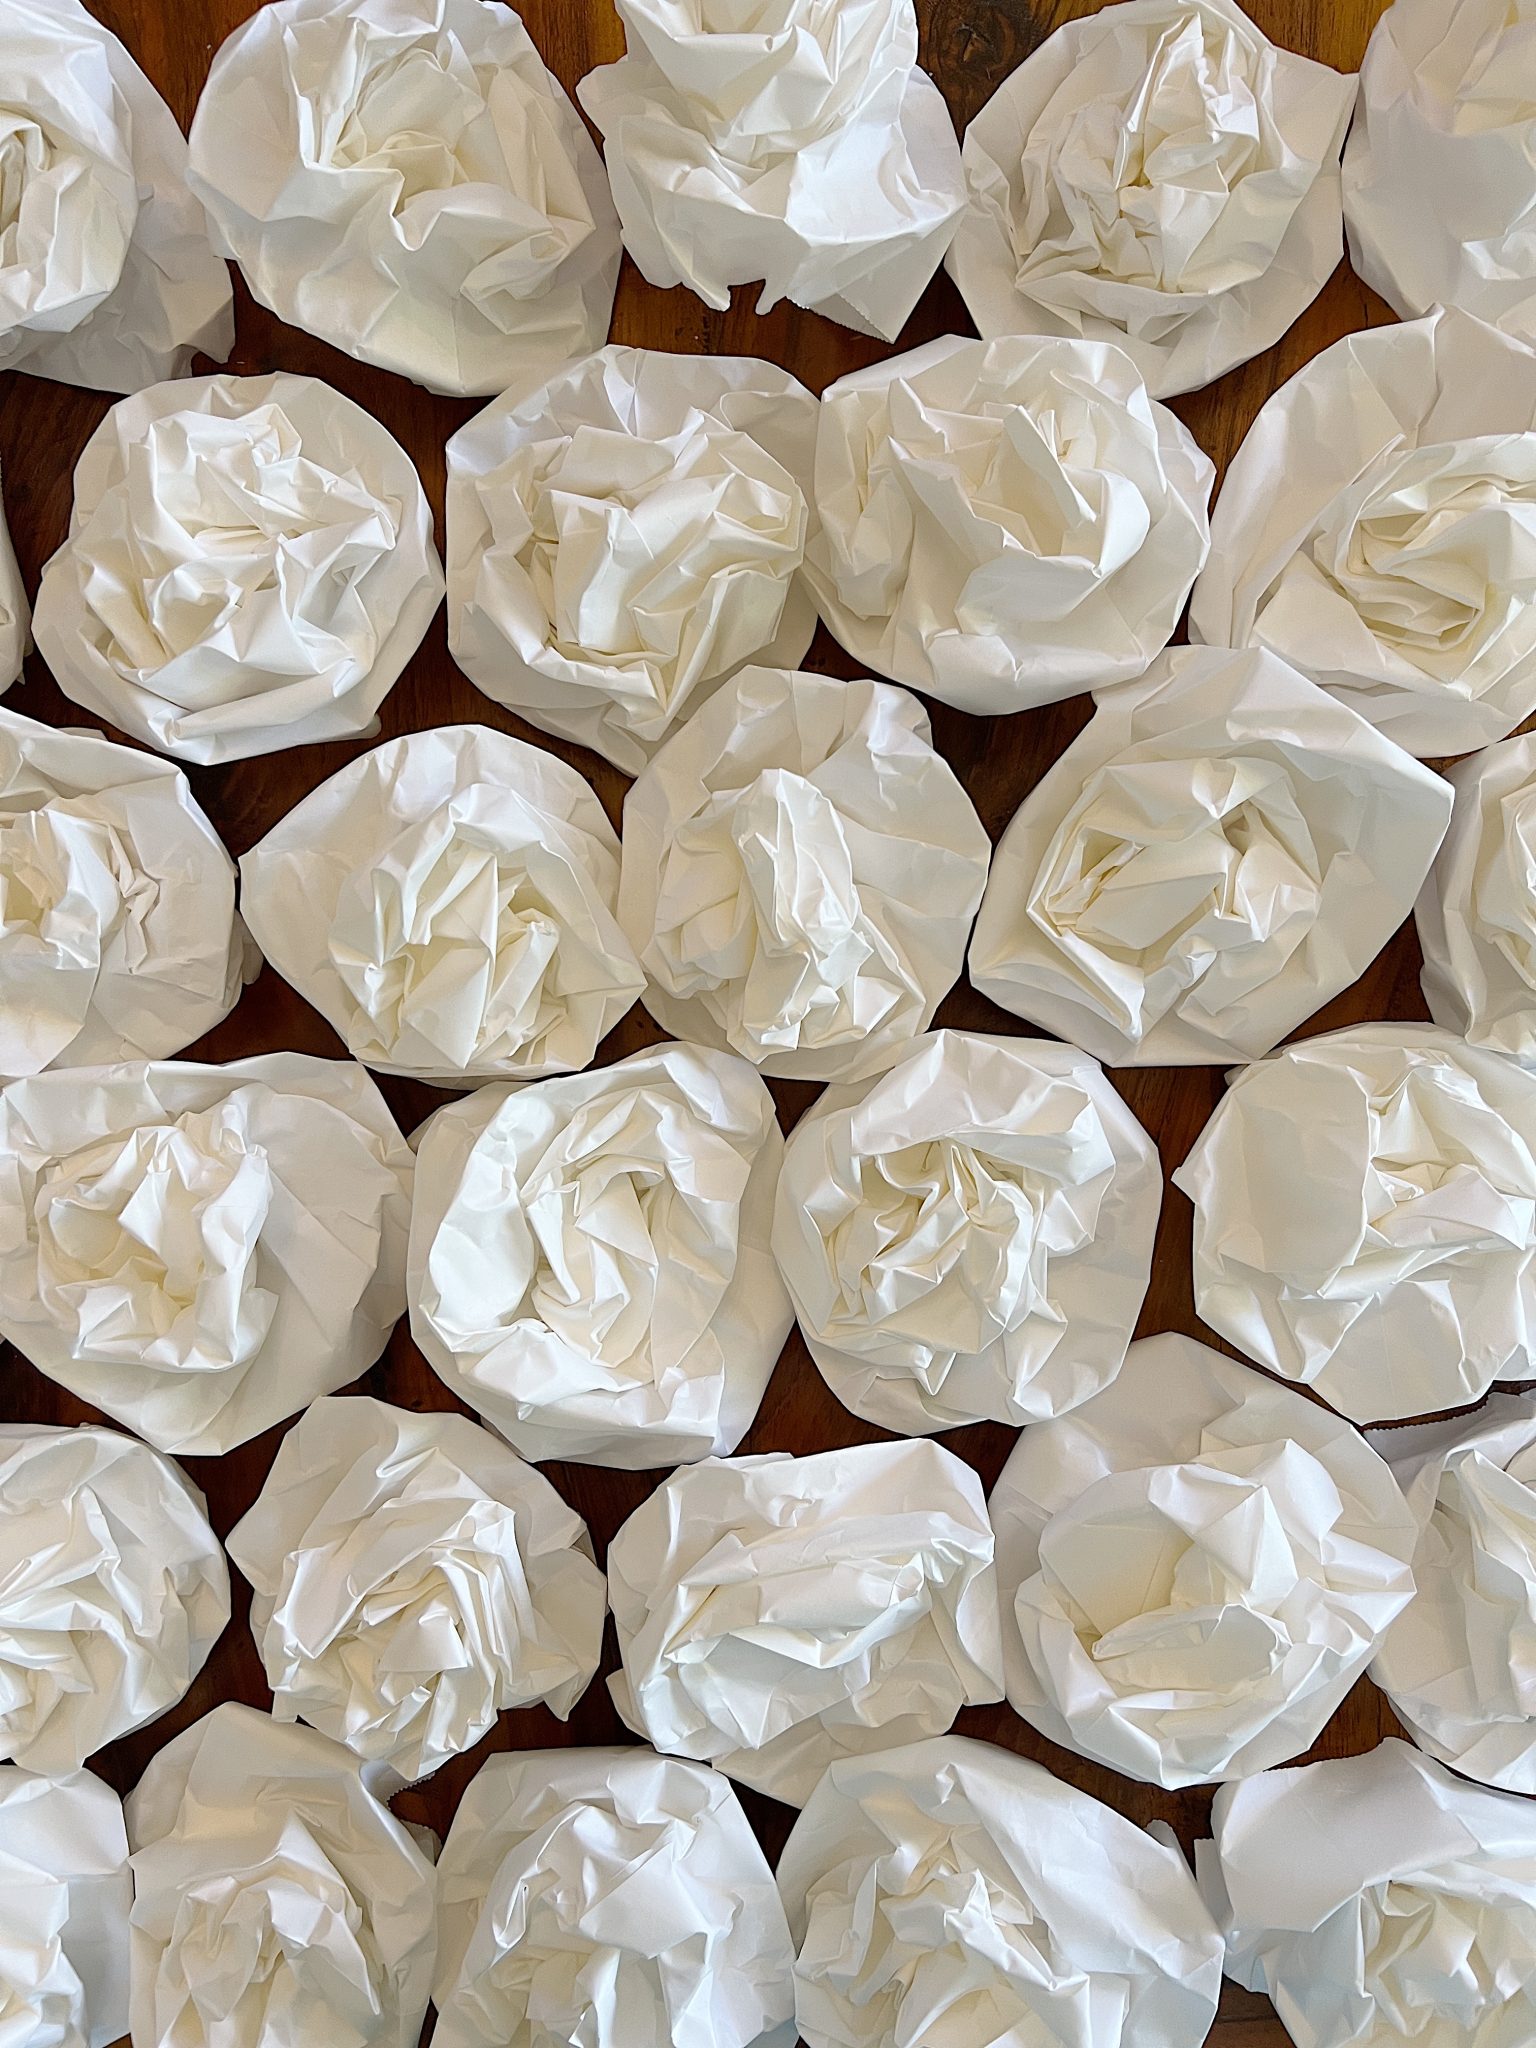
- 25-35 white paper bags
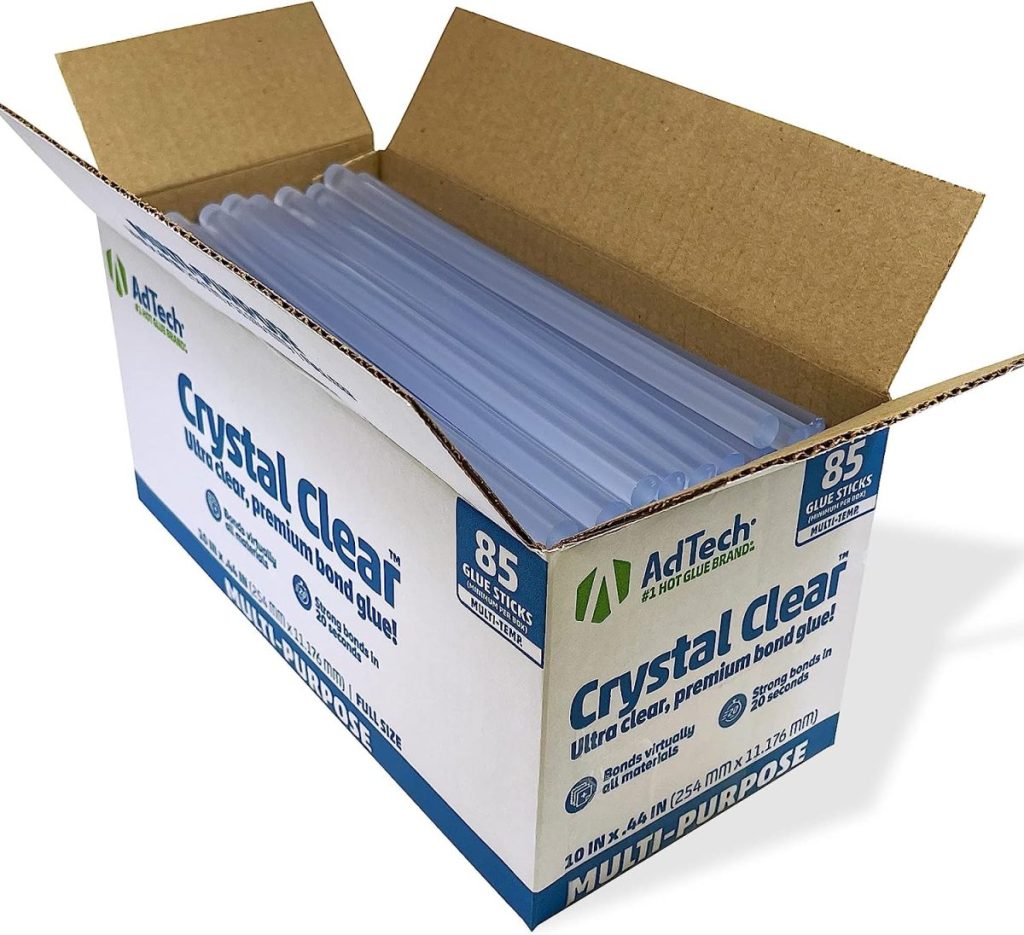
- Glue gun
- Glue sticks
- Ribbon


For those of you who prefer a step-by-step, here you go!
- Watch the video for reference
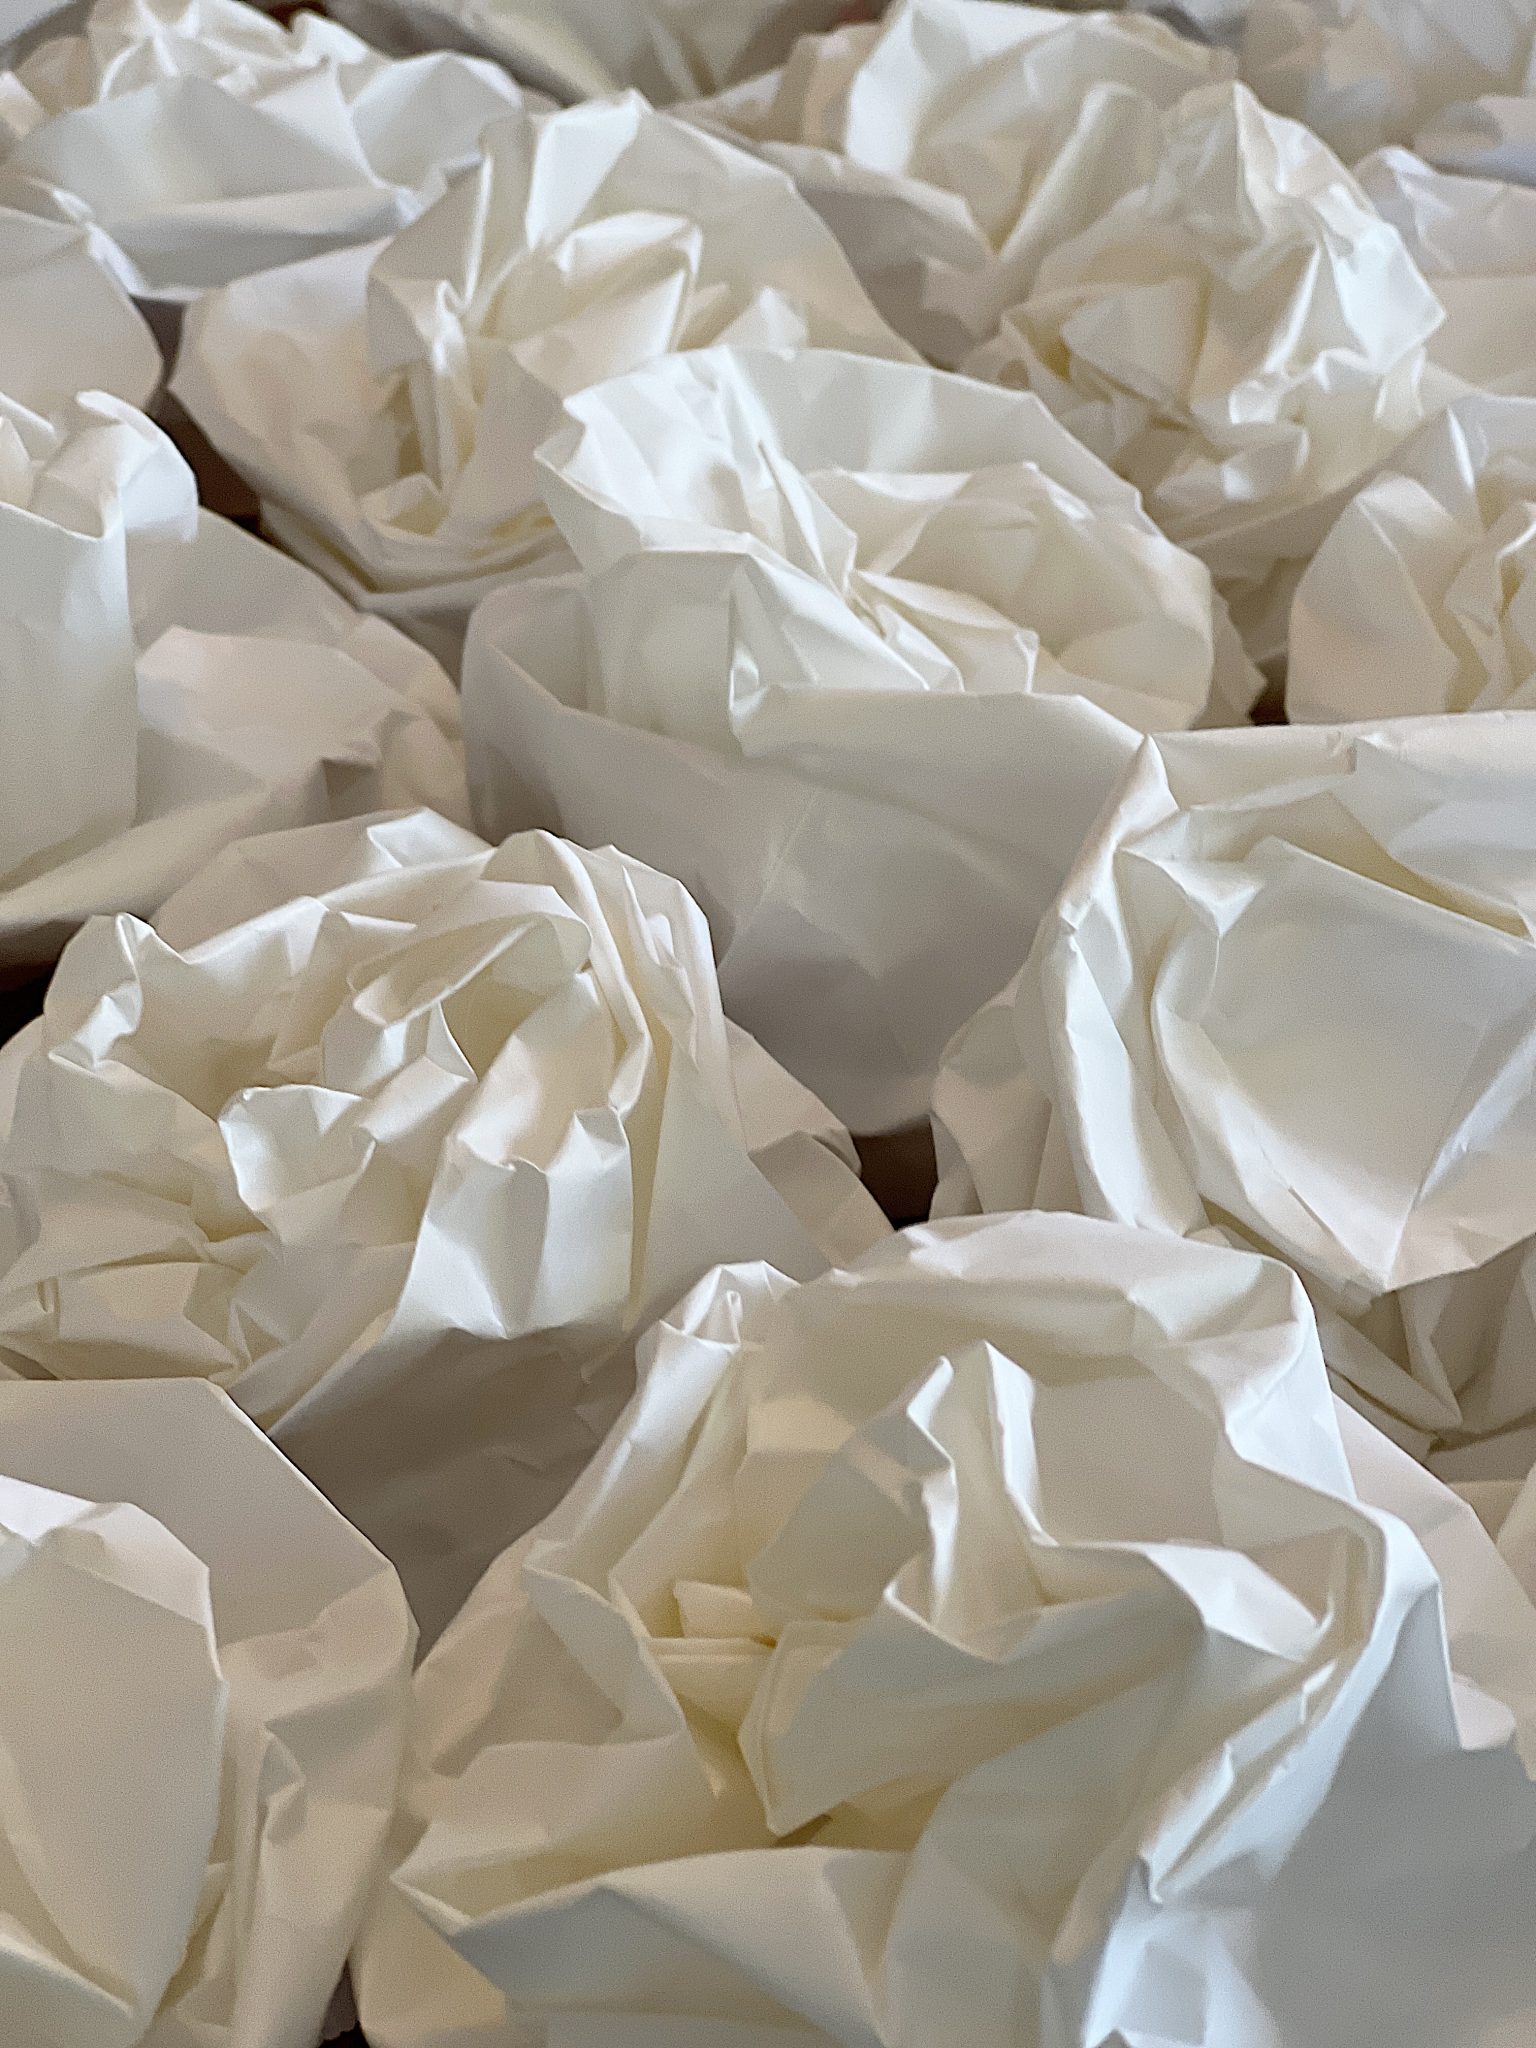
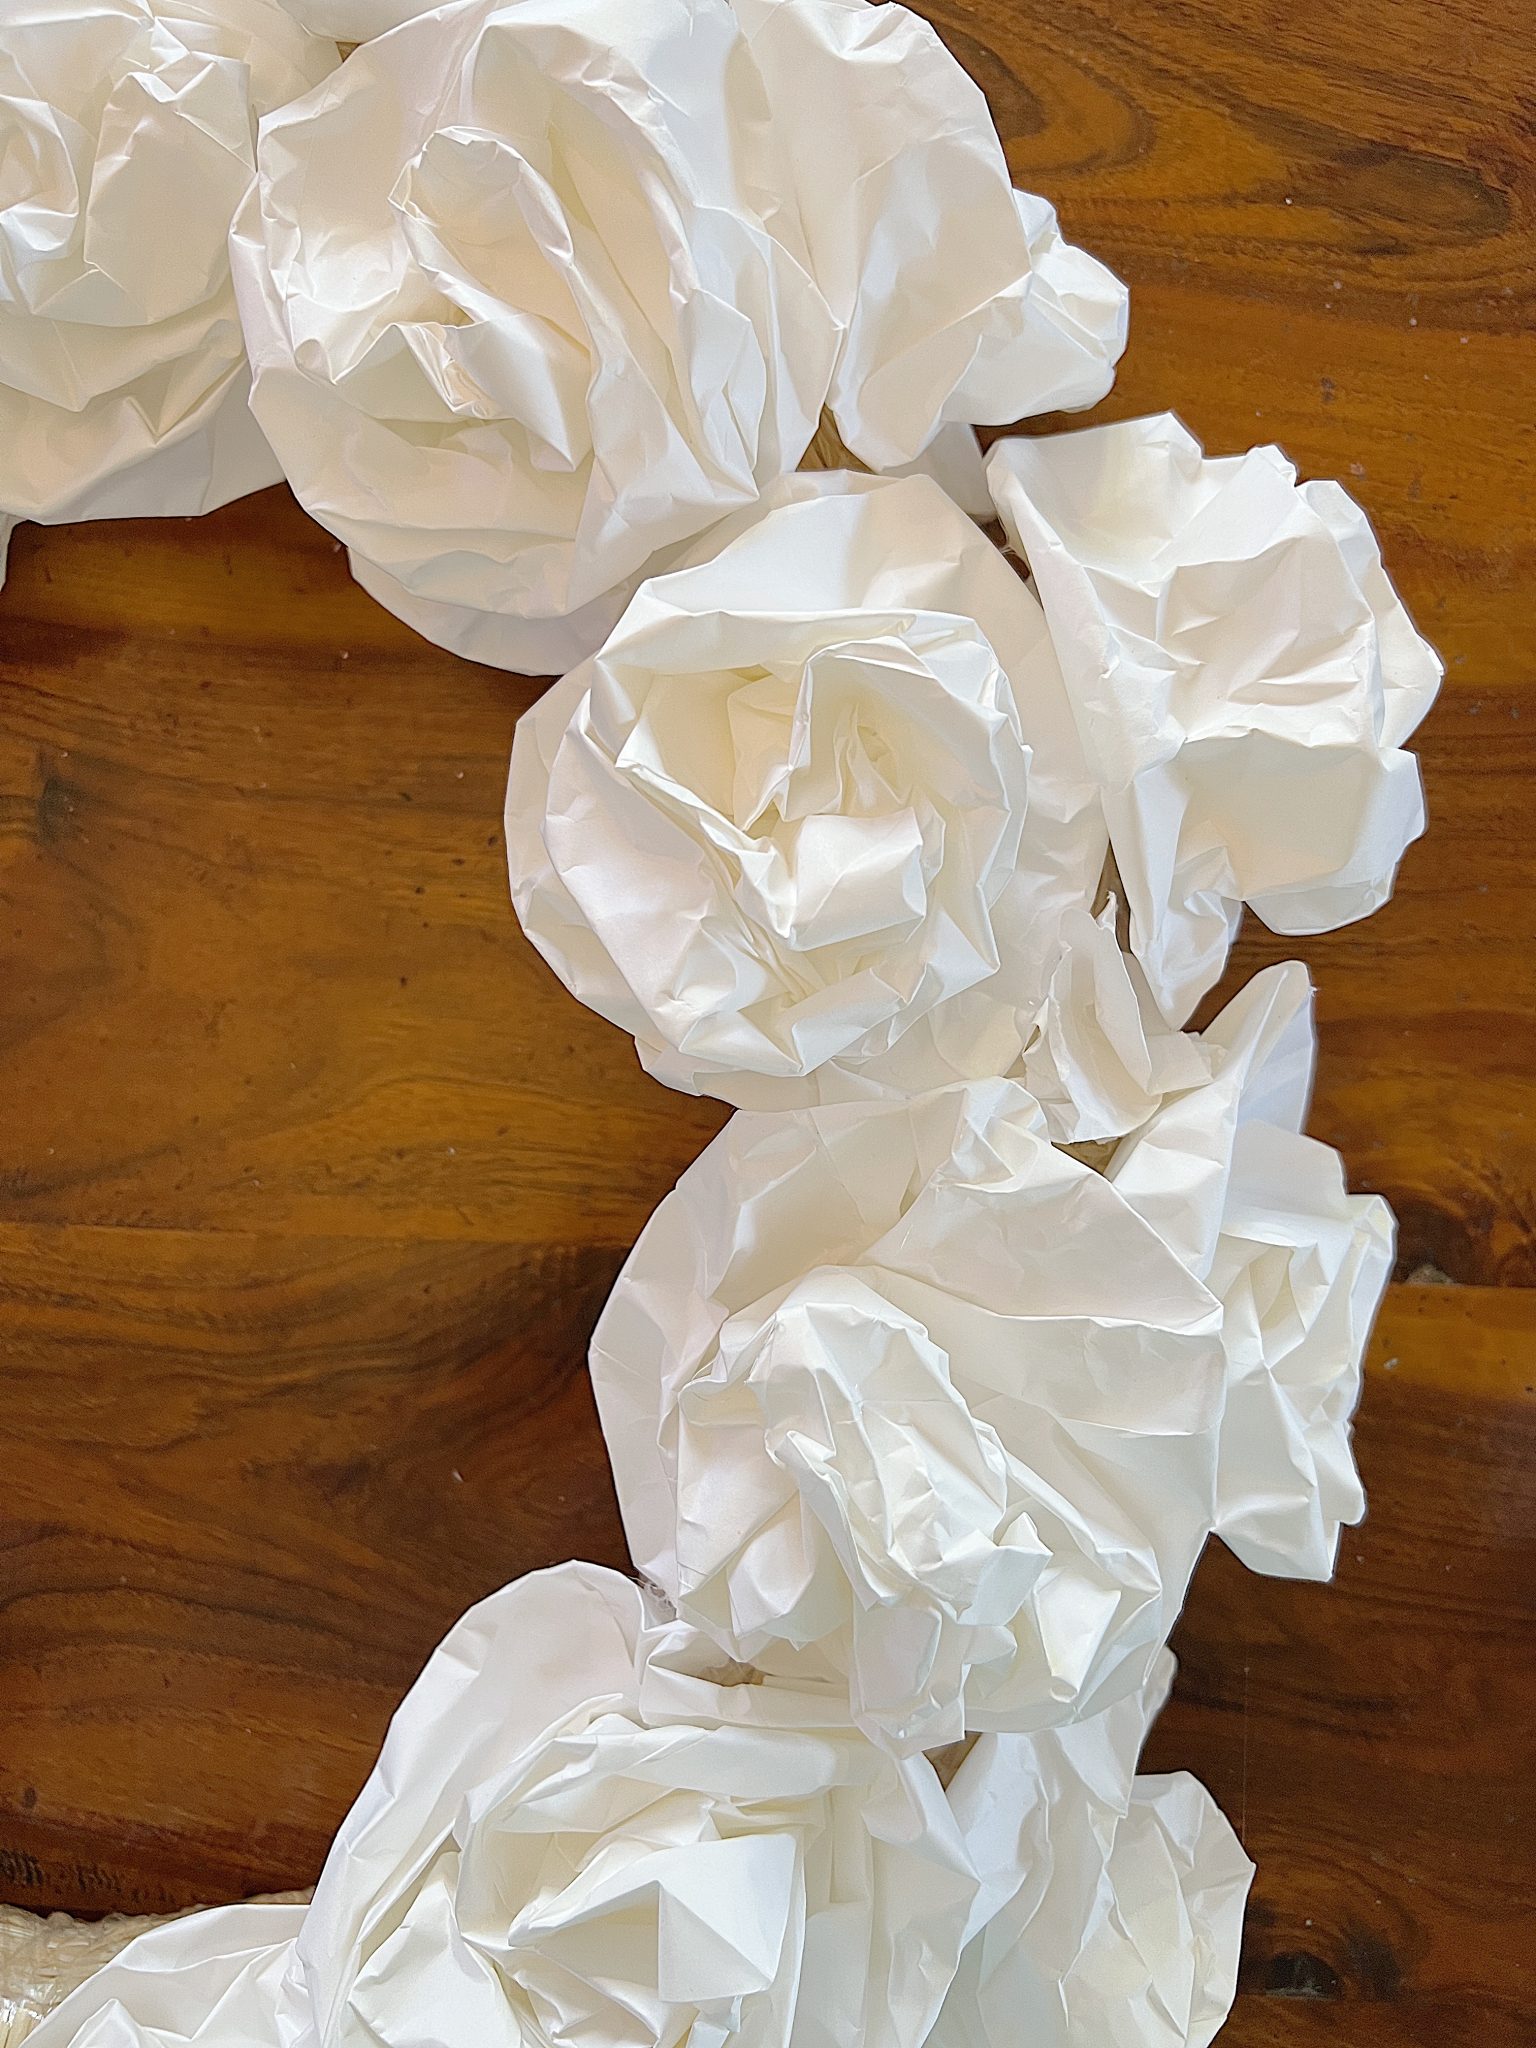
- Open the bag
- Put your hand inside the bag and punch in the two outside edges of the bottom of the bag.
- Pinch the center of the bottom of the bag with your thumb and forefinger
- With your other hand, twist the bag while maintaining the pinch in the bottom of the bag
- Twist the bag 2 times
- Remove your hand from the bag
- Turn the edges of the top of the bag up toward the twisted area
- Ta-da, you have a paper rose
If you enjoy my blog, you can sign up to receive my updates here.
.
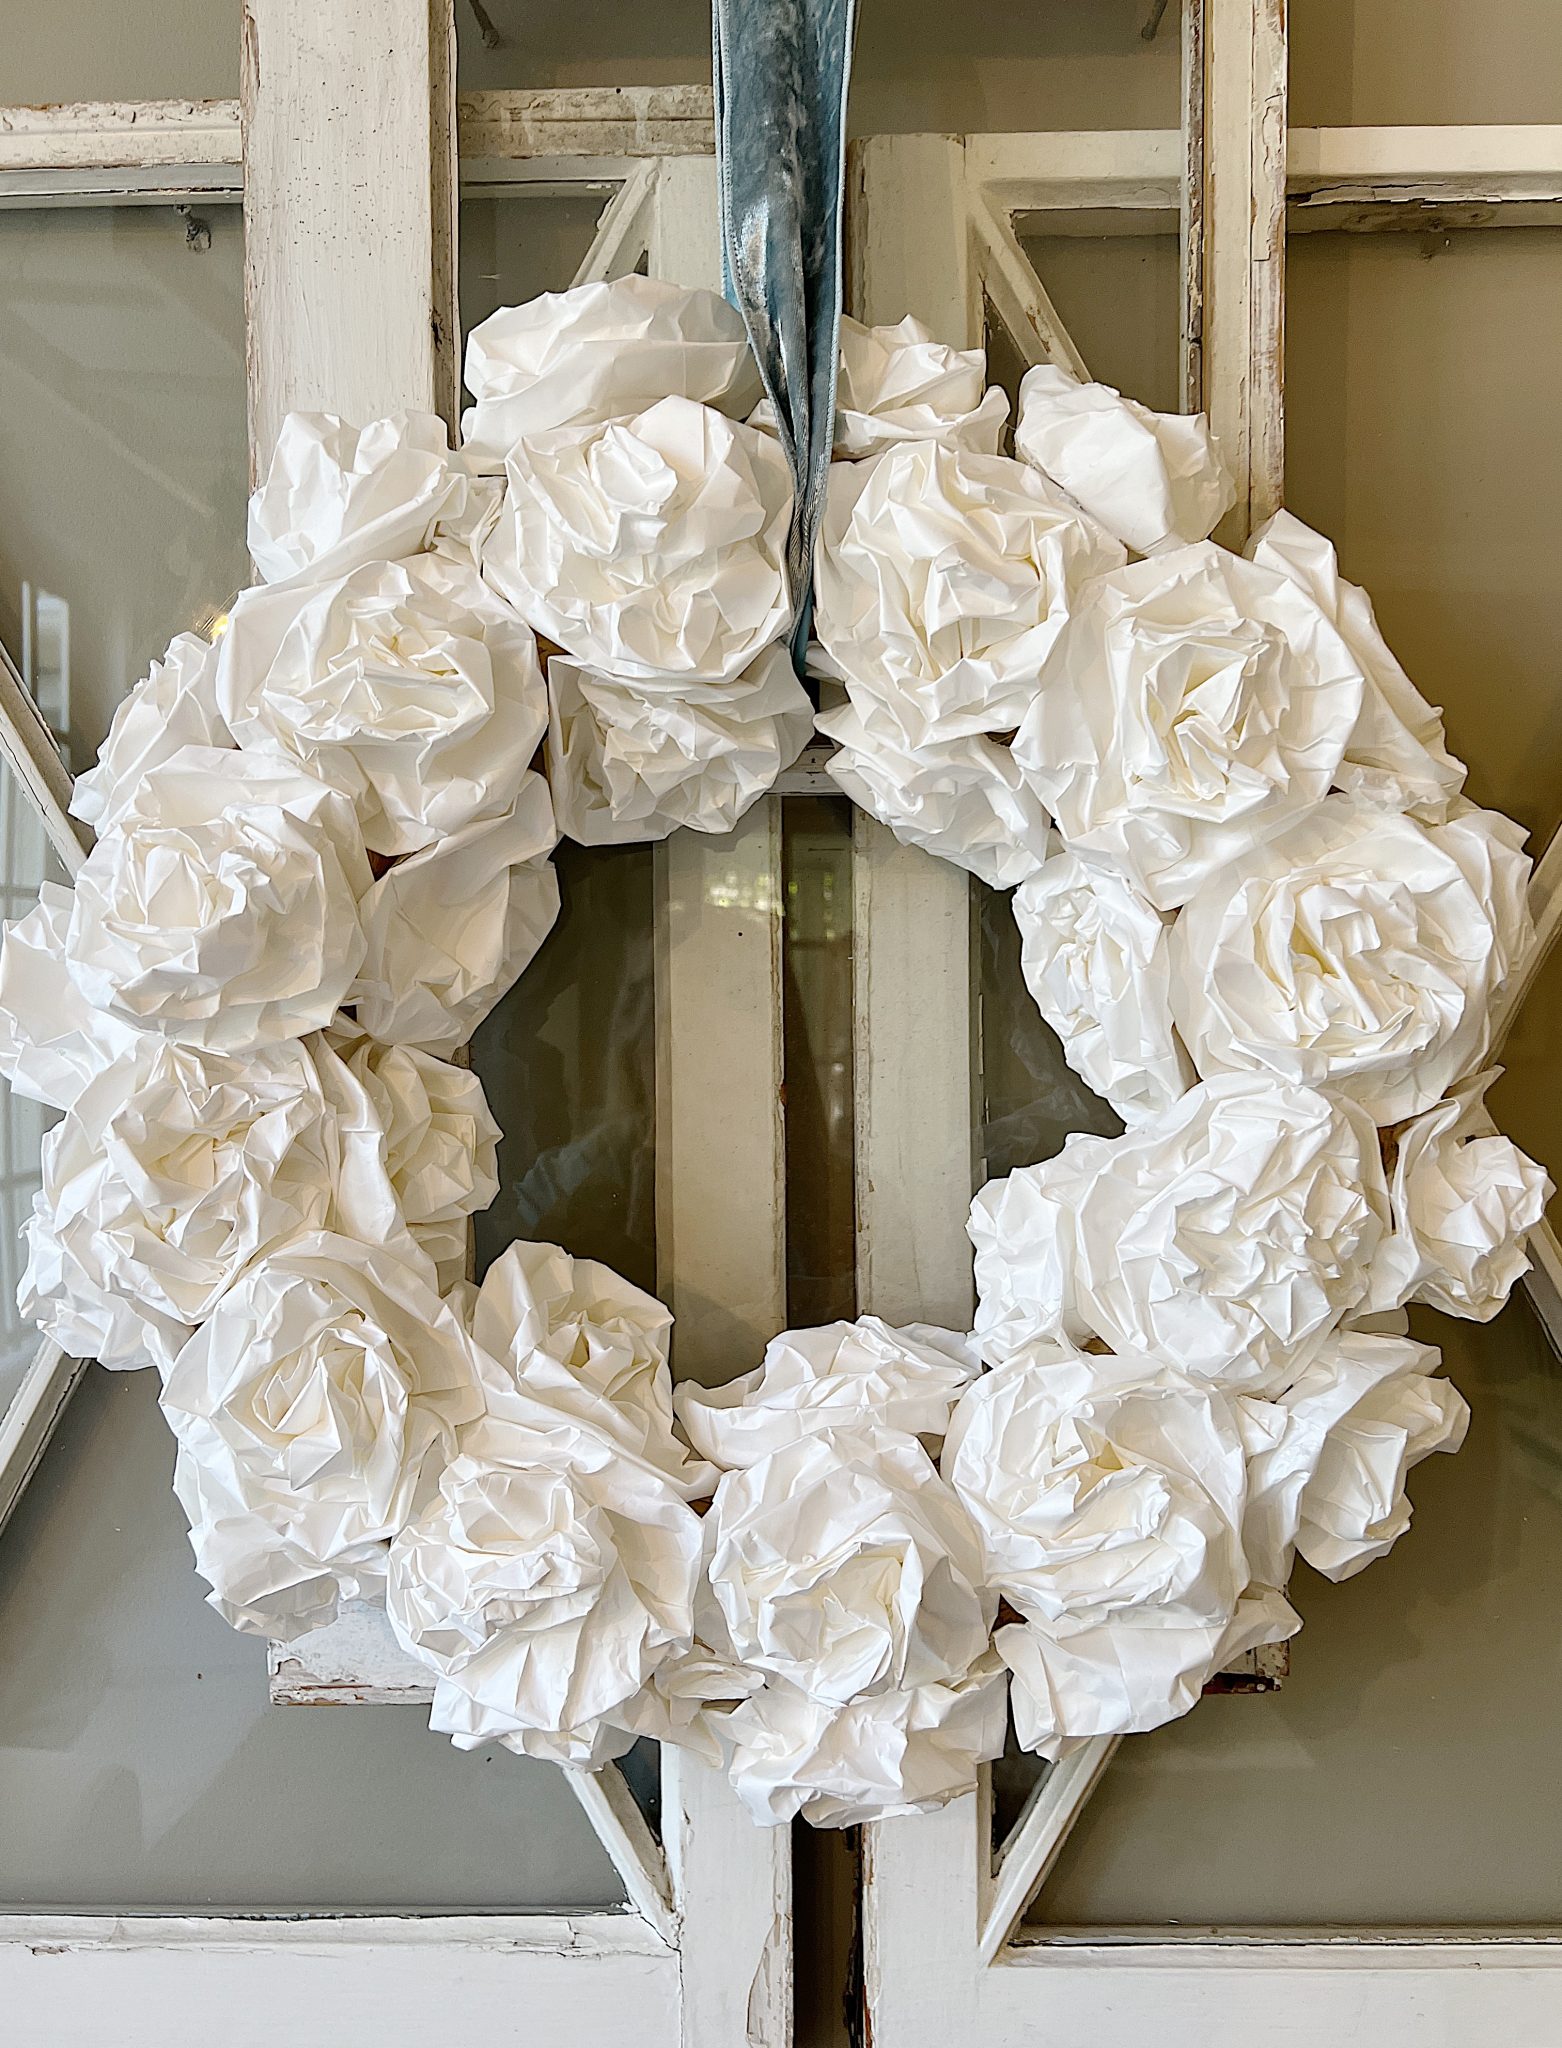
Assembly Instructions
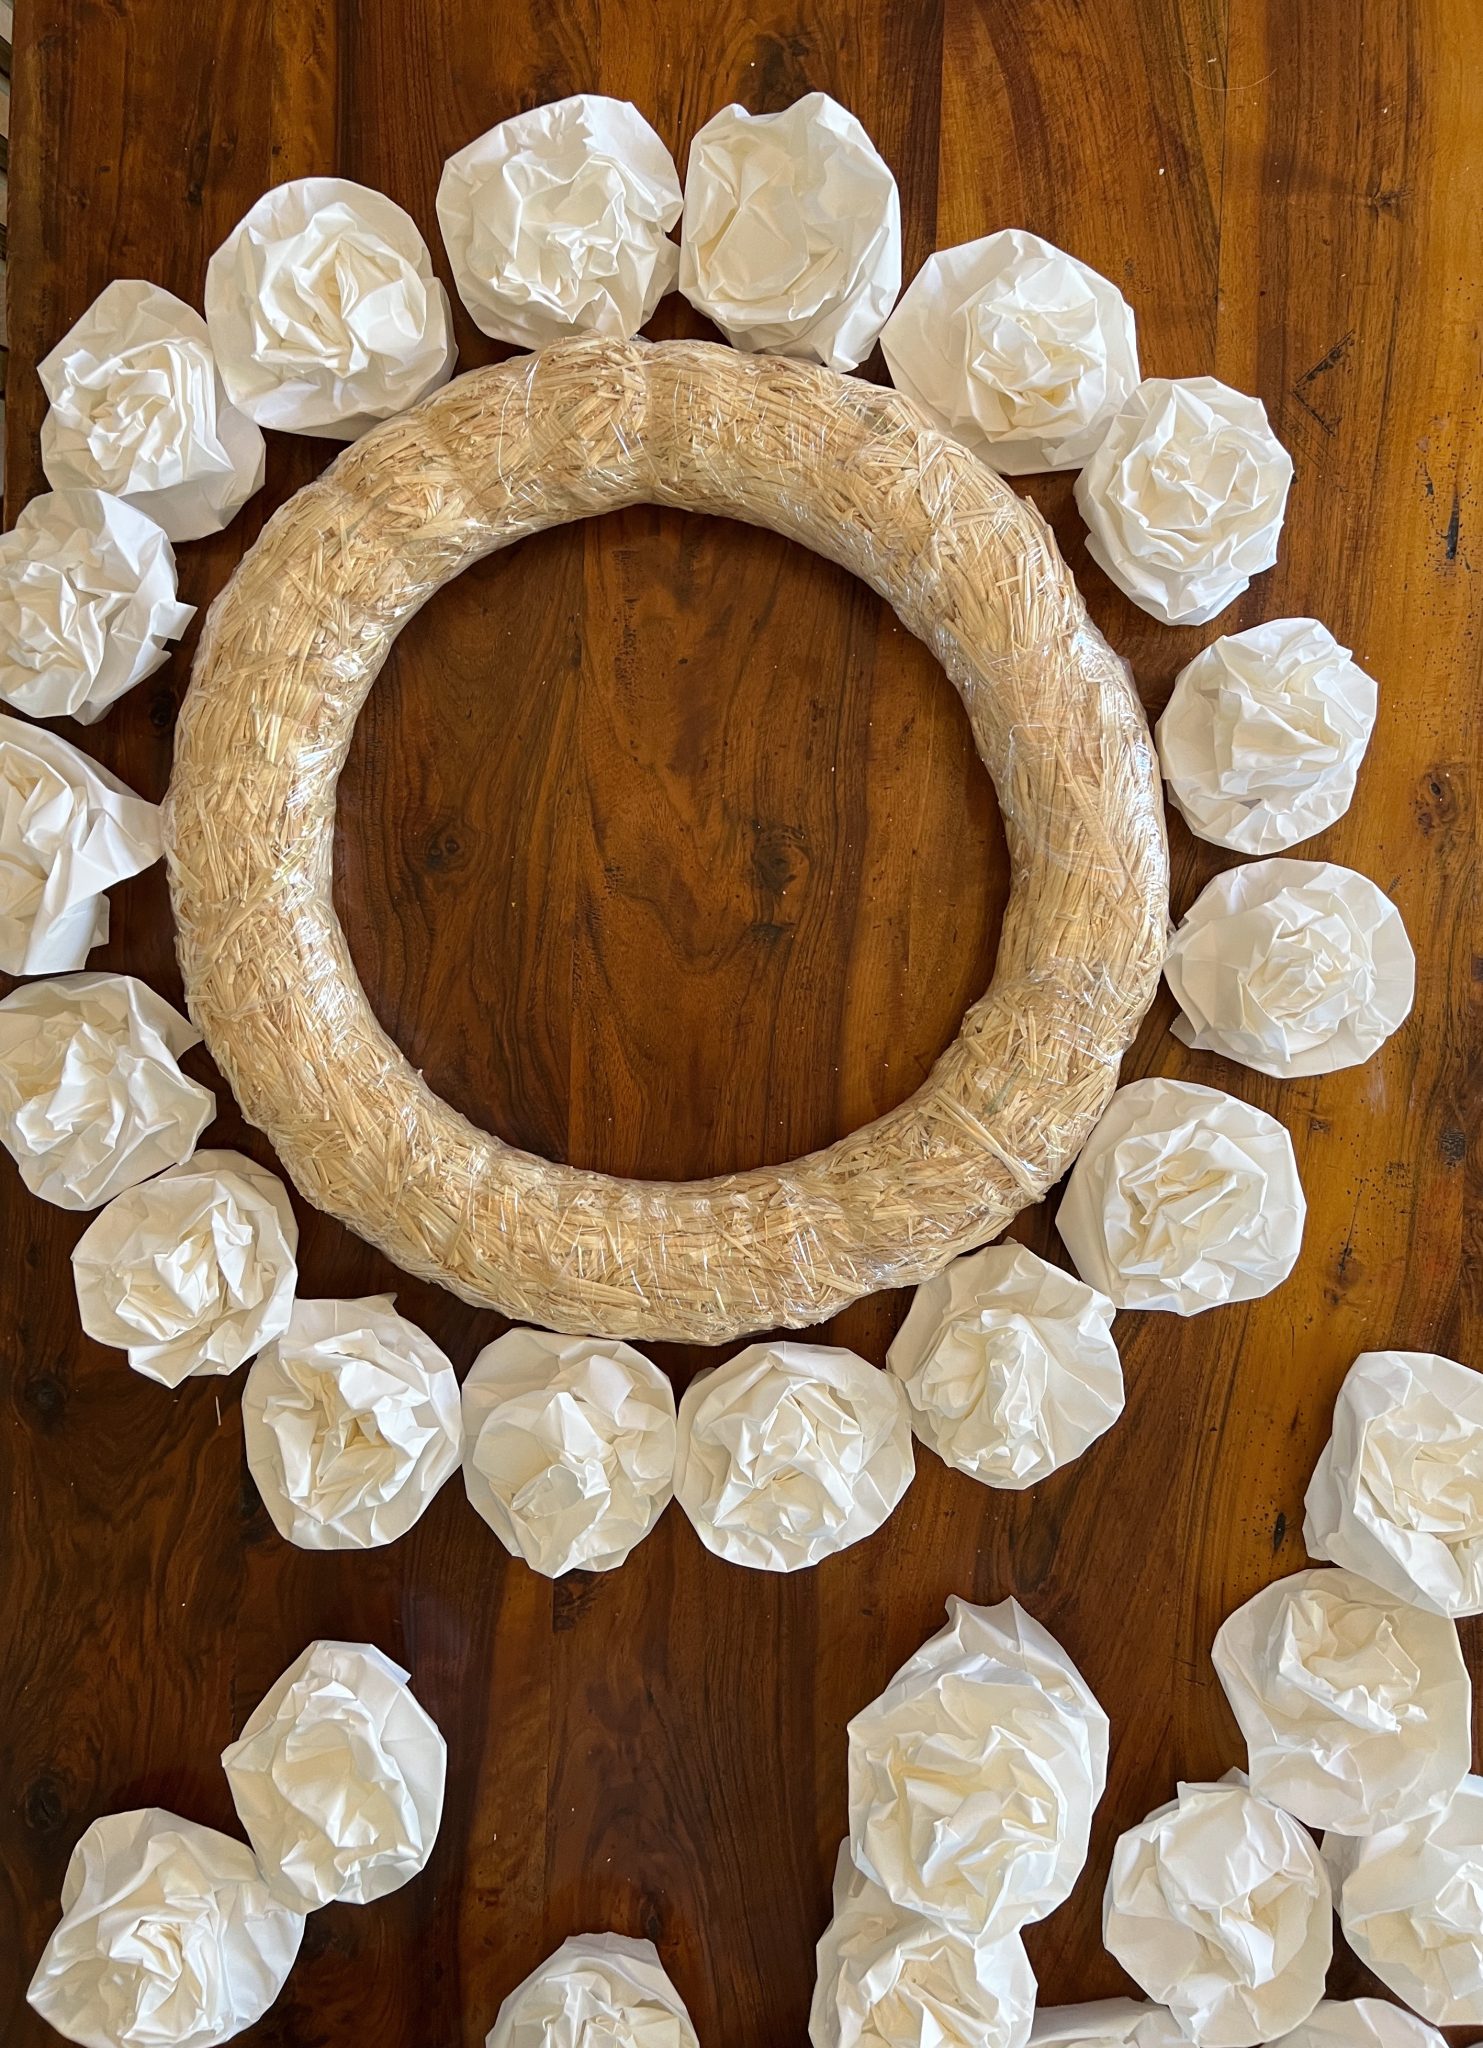
I glued three rows of flowers onto the wreath to assemble the wreath. The first row was alongside the outside edge. The second row was on top of the wreath. And , the third row was on the inside of the wreath.
- Plug in your glue gun to warm it up.
- Begin by gluing the roses in a horizontal line, one on top of the wreath, one on the inside of the wreath, and one towards the outside of the wreath so that the roses are all snuggly together, not leaving any gaps
- Continue gluing the roses around the wreath’s circumference until the entire wreath is covered. The top, inside, and outer edge
- Once the wreath is covered in paper roses, cut a length of satin ribbon and thread it through the middle of the wreath at the top to create a loop for hanging. You can tie a knot or glue the ribbon together with a gun.
Have fun with this craft. I left the paper bags white, but you could paint them also. How much fun would that be to do with your little ones? Perfection is not required, only imagination!
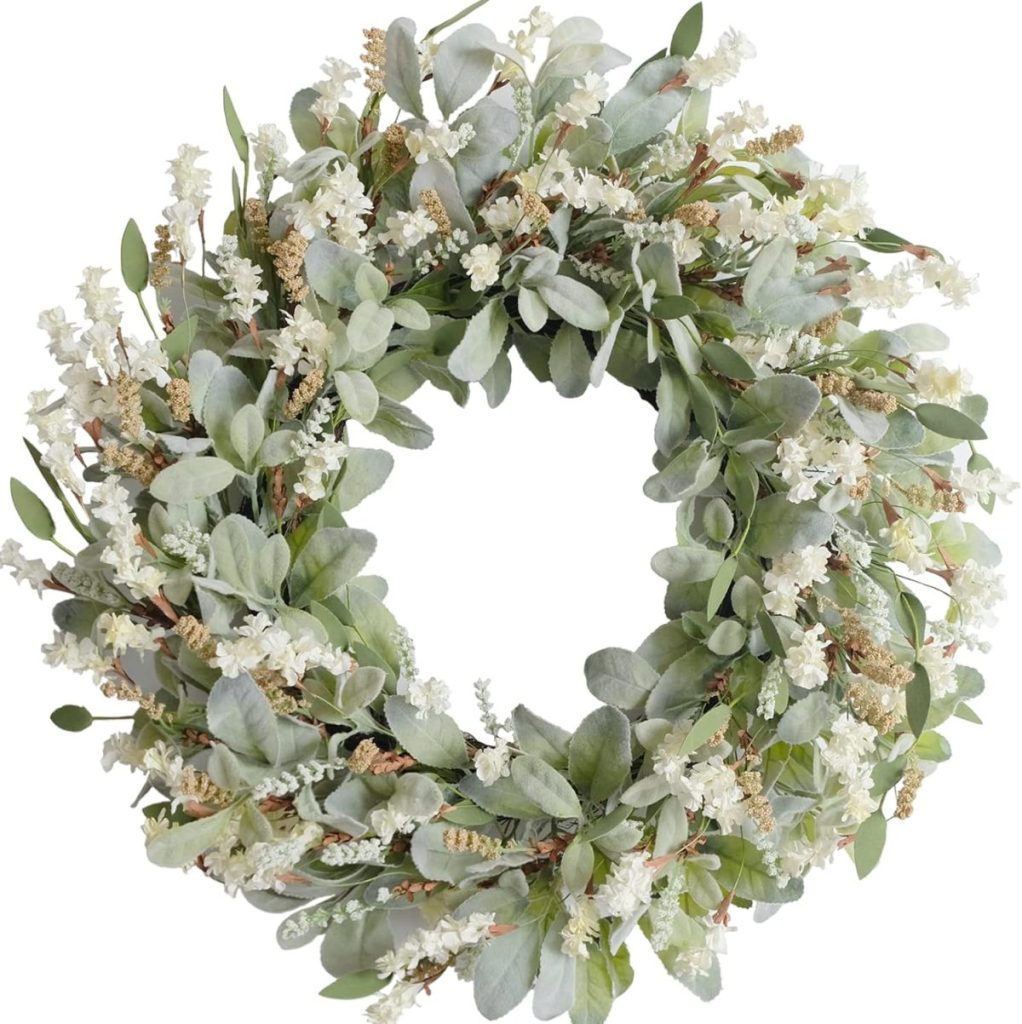
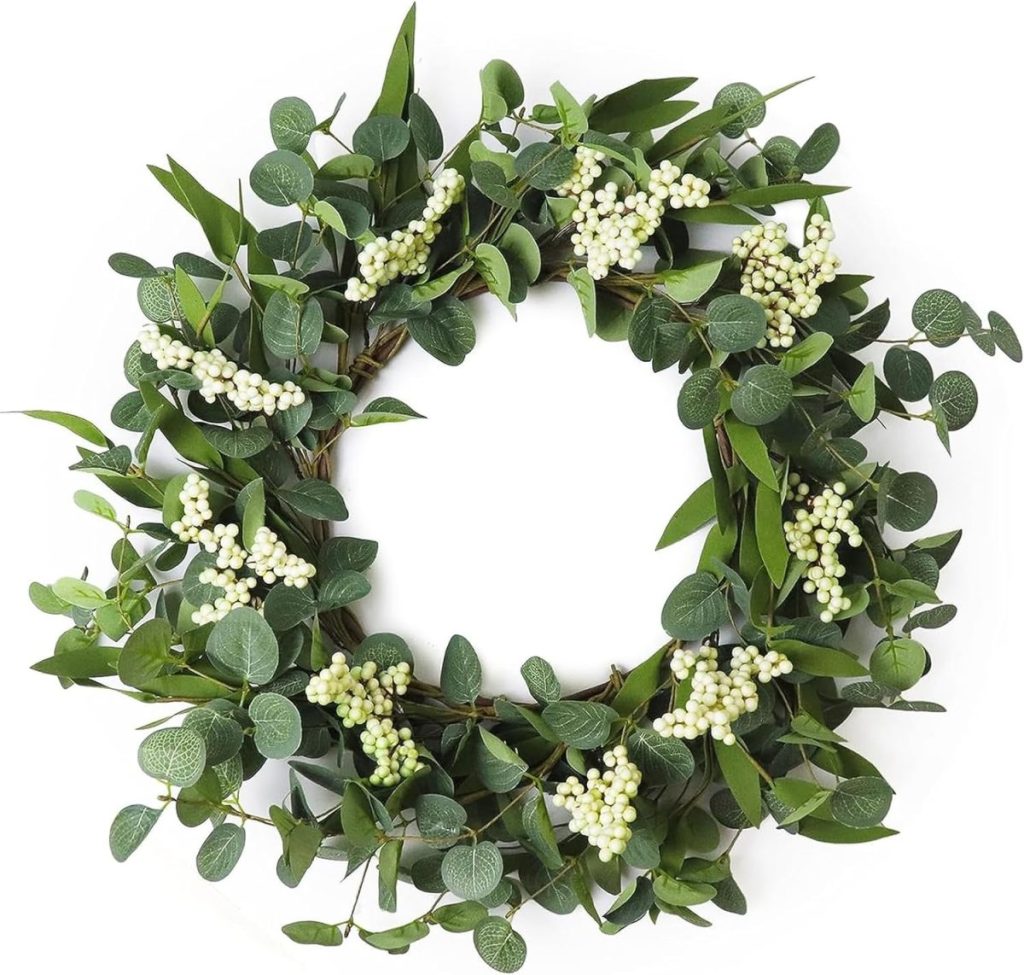
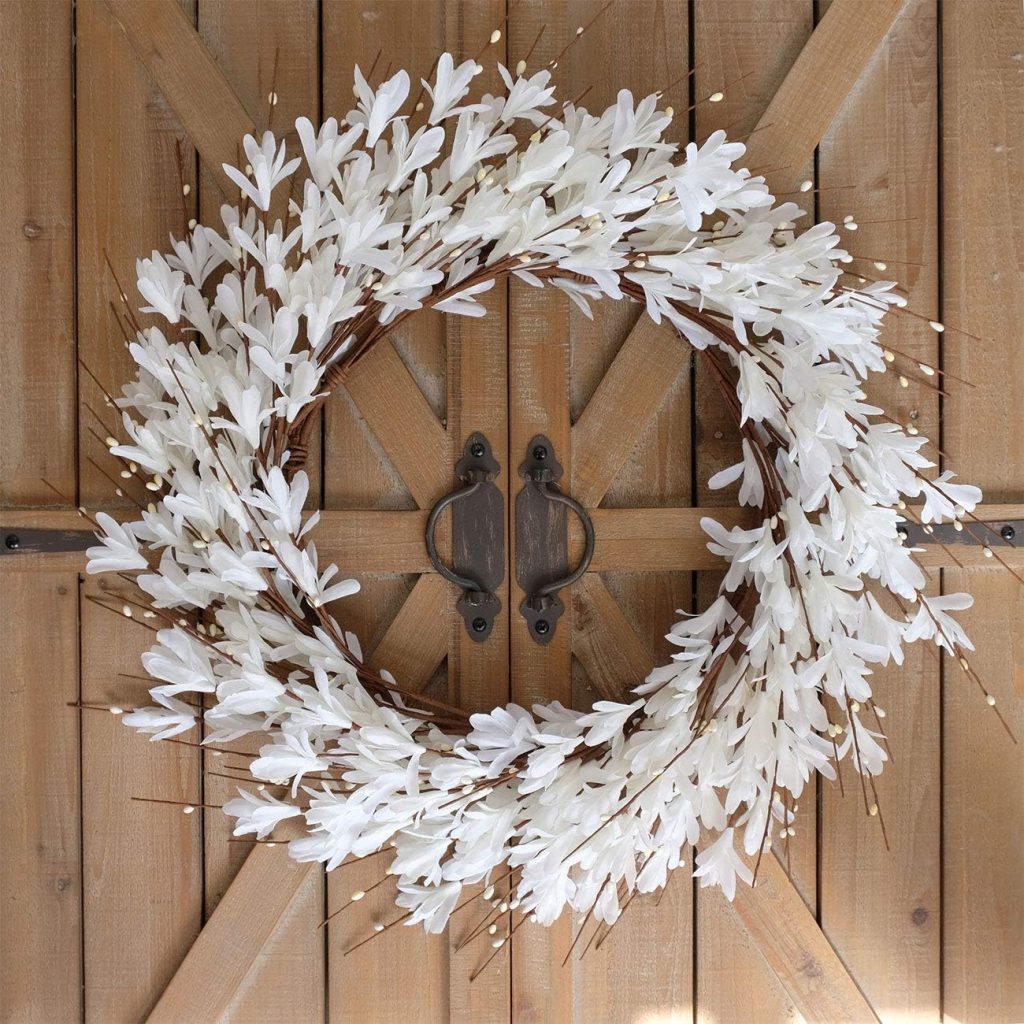
Not going to make this wreath? Here are some gorgeous faux wreaths!


Shop below for some blue winter decor inspiration!

Getting Ready for a Galentine’s? We Have You Covered!

Watch My Amazon Live
I love having the chance to talk with all of you about everything I love.
Listed below are some of my Amazon Live broadcasts.

Here are some great tips for things to serve at a Big Game party! Click here.

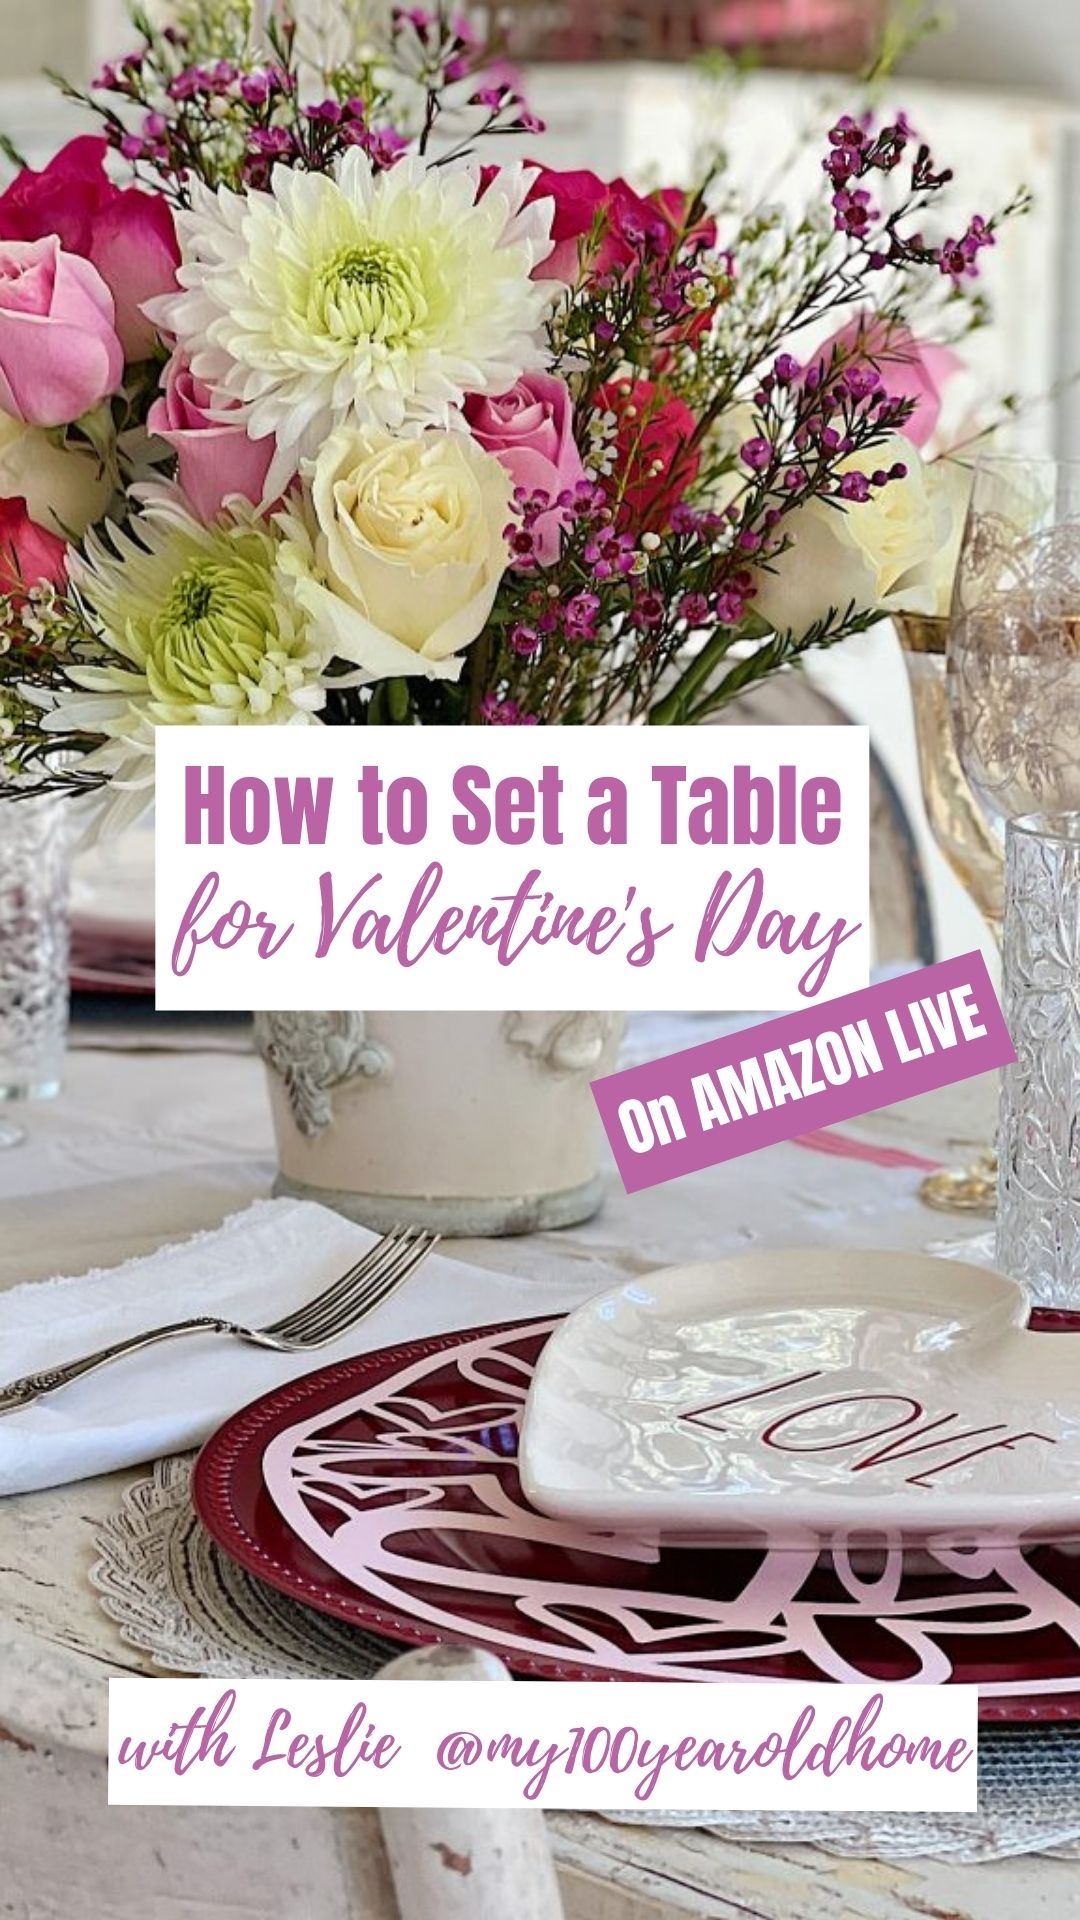
Looking for ways to set a fun and romantic table for Valentine’s Day? Click here.

Pin the image below to your boards on Pinterest (just click the Pin button in the top left corner). You can also follow along with me on Pinterest!

For more real-time updates, follow me on Instagram @My100YearOldHome

Leslie this is fabulous!! Thank you for sharing!
Oh of course! Thank you for being here ☺️♥️
Clever! Almost looks like meringue.
Thanks Becky 🤗🙏 Haha you’re so right, it does!
i don’t see any video…?
Leslie, I made this a year or so ago, and it is my most favorite wreath!! I did burn my finger pretty bad with the glue gun, lol, but have since made some for friends. Love your ideas!!
Omg I love that! Not the burnt finger of course- the cost of crafting 🫣 so happy you enjoyed it! Perfect gift for friends.
Leslie, I did not receive your blog for today (Feb. 2). Will you please send it again> Thank you
I did not receive your blog for Thursday, Please send again Thank yoou
Sorry to hear that Heidi! I’ve attached Thursday’s blogpost below for you ☺️
https://my100yearoldhome.com/valentine-crafts-in-less-than-an-hour/
I love this! Thank you!
Yay! I’m so glad ☺️
I just made this wreath today, I used yellow bags and absolutely love it! And it was surprisingly easy, thank you for posting the video on the making of the roses. That was a huge help!
Do you have any ideas that could preserve it for outside hanging?
That’s a great question! I have always kept mine indoors as I am worried about it attracting dust. Mays a spray sealant would work?
Leslie