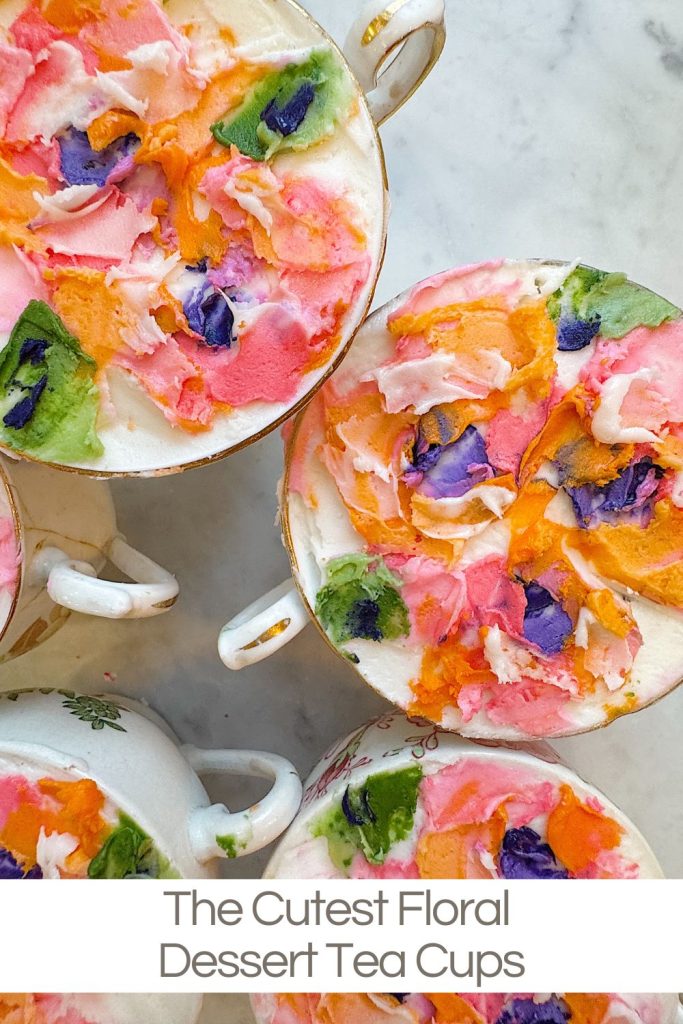
The Cutest Floral Dessert Tea Cups
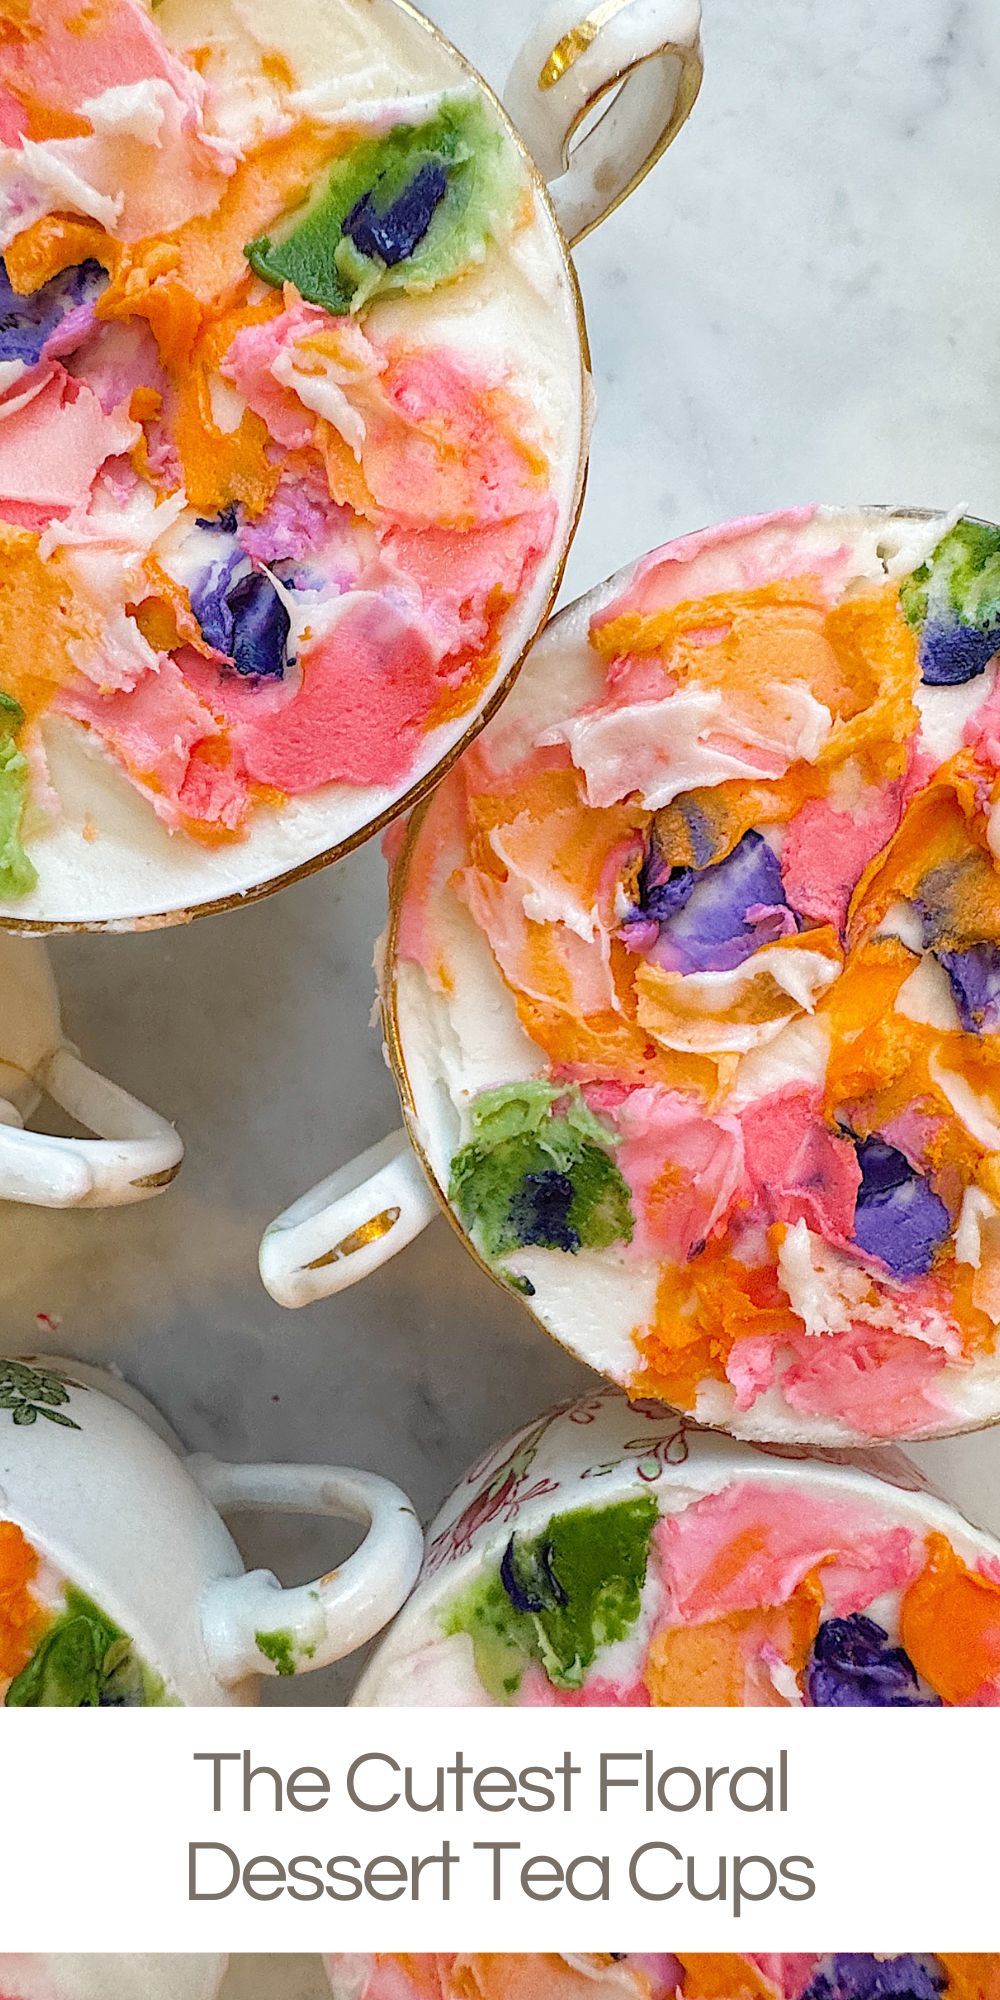

I absolutely love creating desserts that are both beautiful and delicious. When I decided to try to make floral dessert tea cups for Ellie’s baby shower, I knew they would be a showstopper.
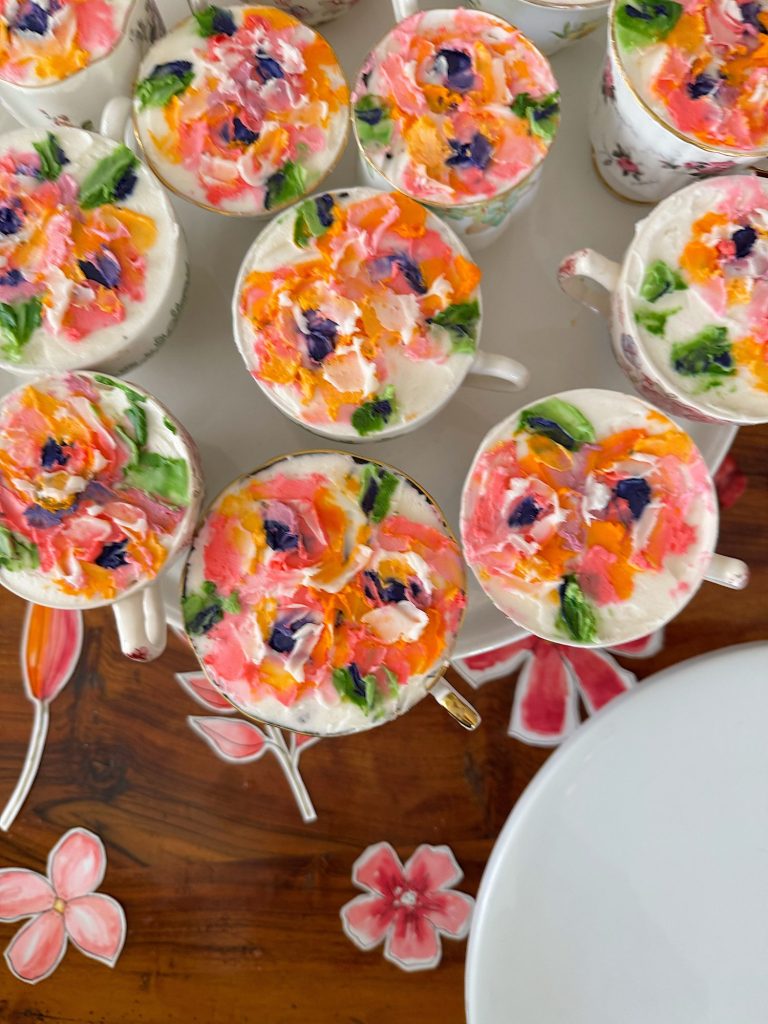
After all, what could be cuter than using vintage tea cups as the canvas for an edible bouquet of buttercream roses?

Floral Dessert Tea Cups
These little treasures are not just desserts, they’re tiny works of art. And the best part? They’re easier to make than they look! With a few simple ingredients, some creativity, and a palette knife, you can turn ordinary brownies and frosting into a whimsical floral tea party treat.
Today, I’m walking you through exactly how I made these floral dessert tea cups so you can recreate them at home. Trust me, once you make them, you’ll want to bring them out for birthdays, baby showers, bridal teas, or even just a fun afternoon with friends.
Why I Chose Vintage Tea Cups
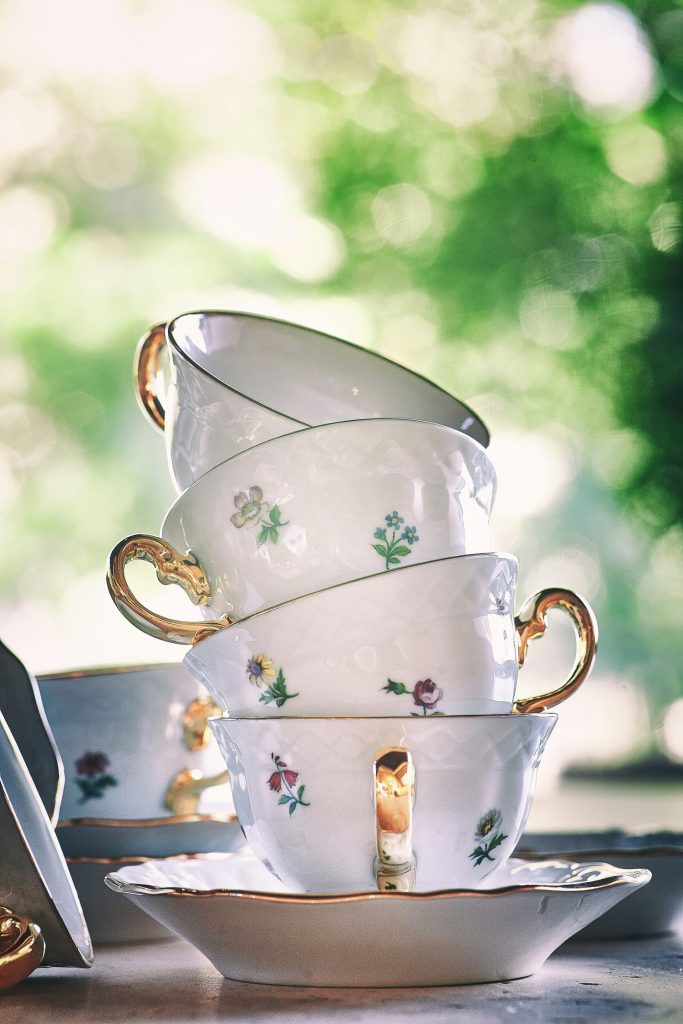
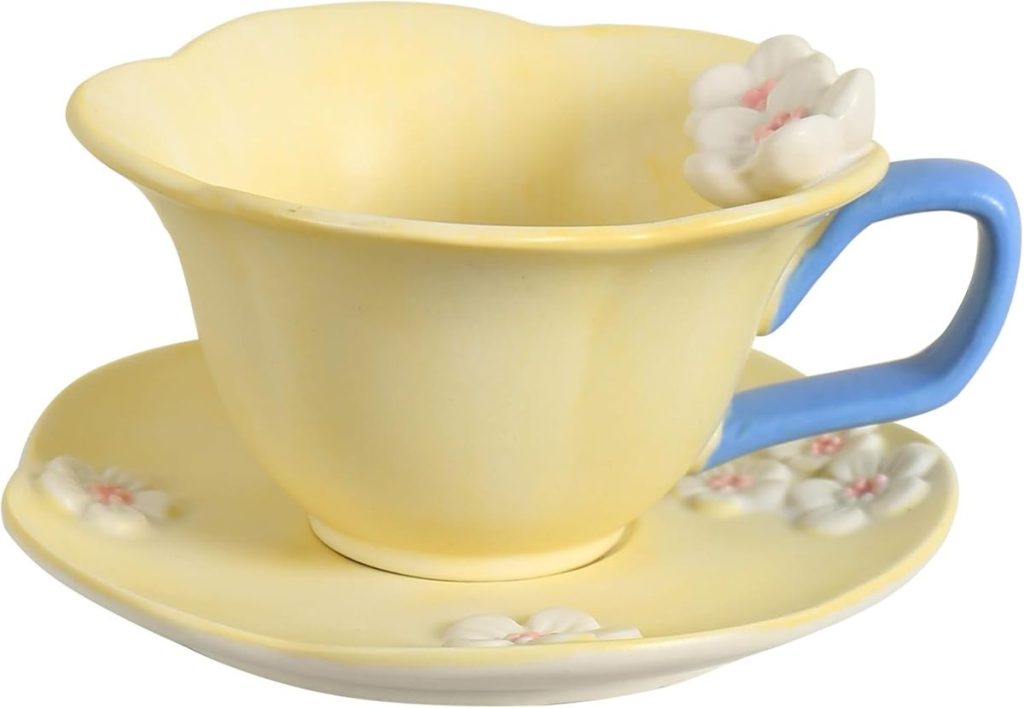
I’ve always had a soft spot for vintage tea cups. Over the years, I’ve collected them from flea markets, antique shops, and even my mom. Each one feels like it has its own story. Some are dainty bone china with delicate gold rims, while others are more playful with colorful floral prints.
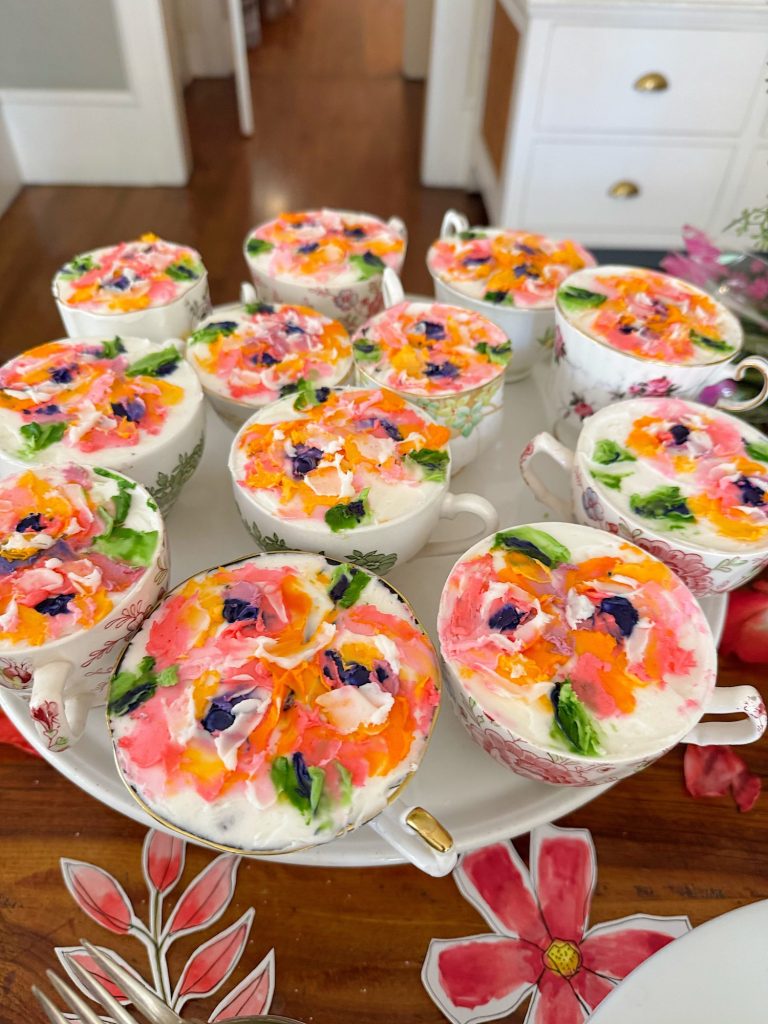
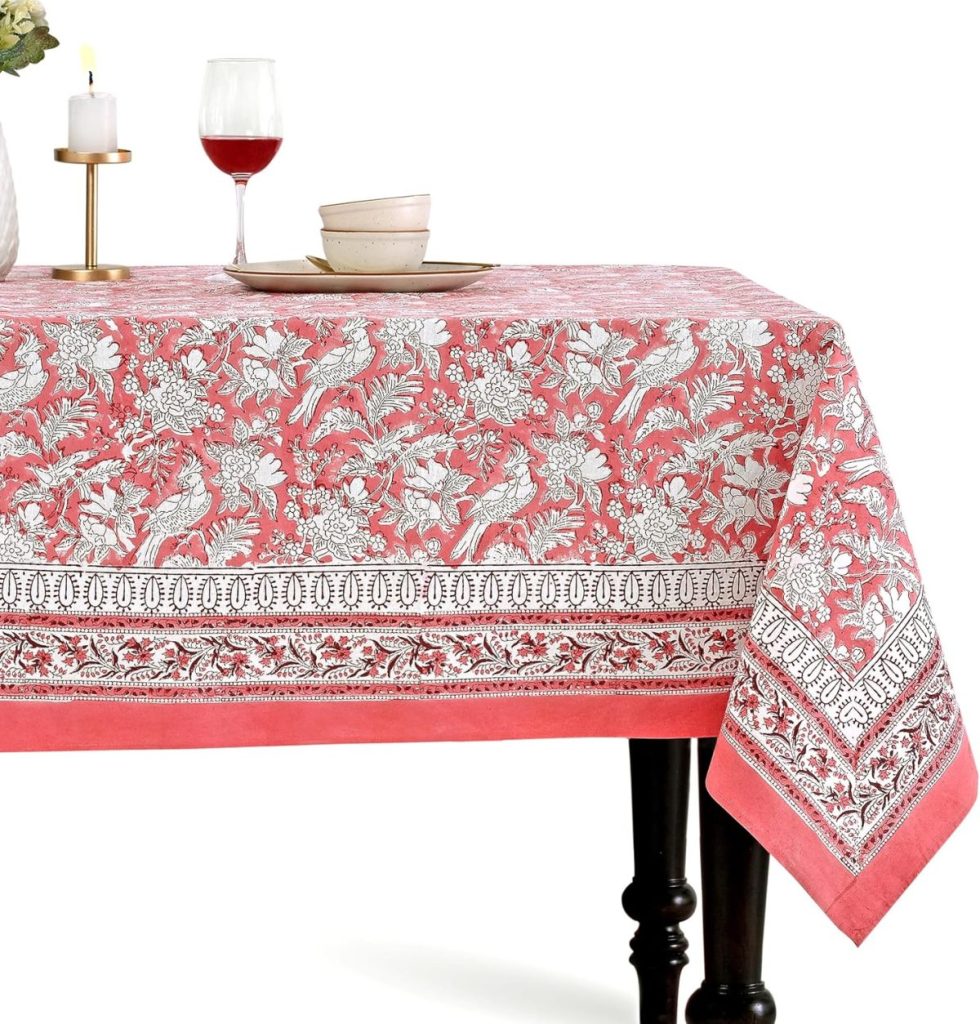
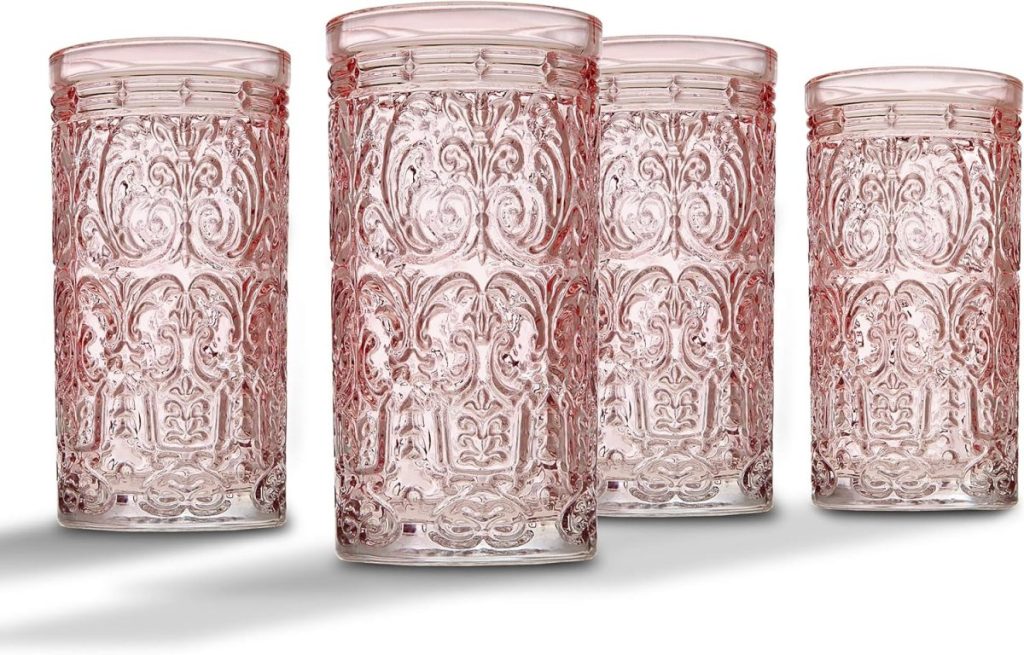
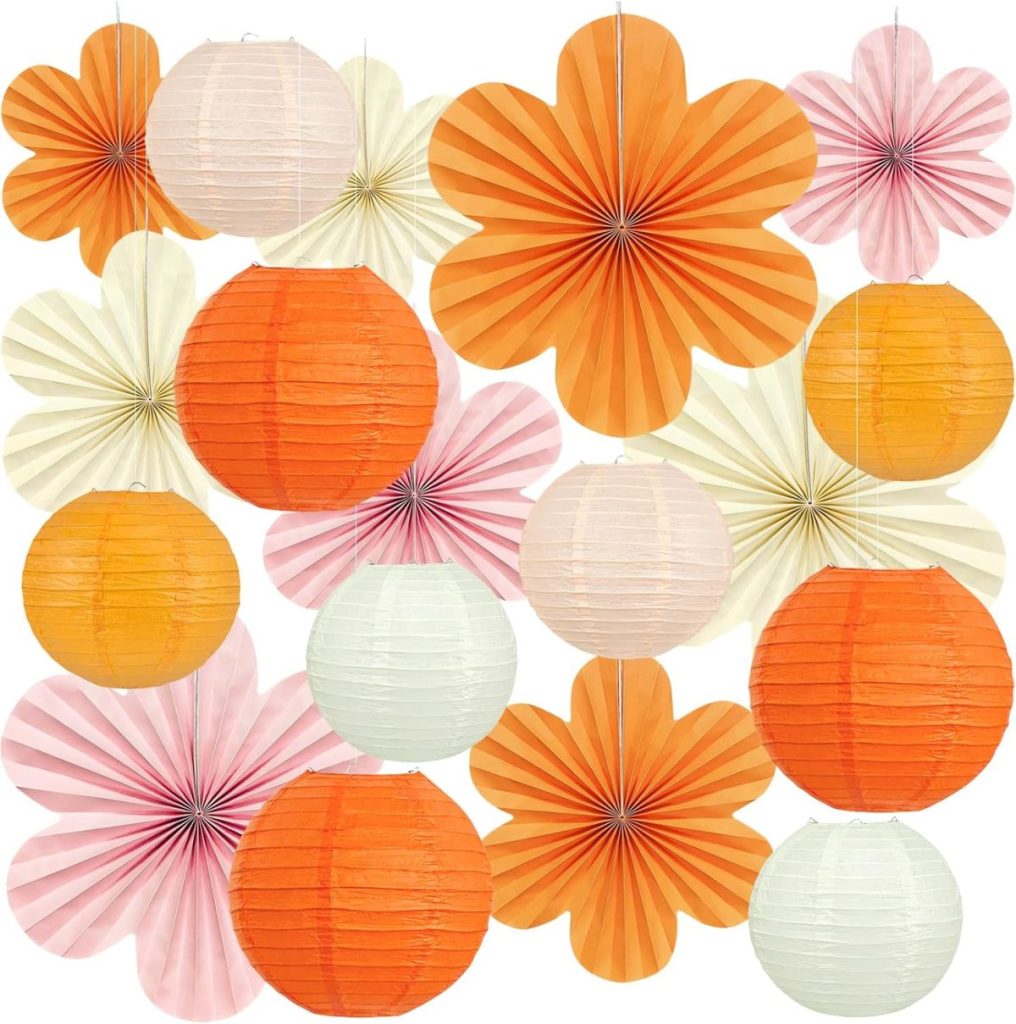
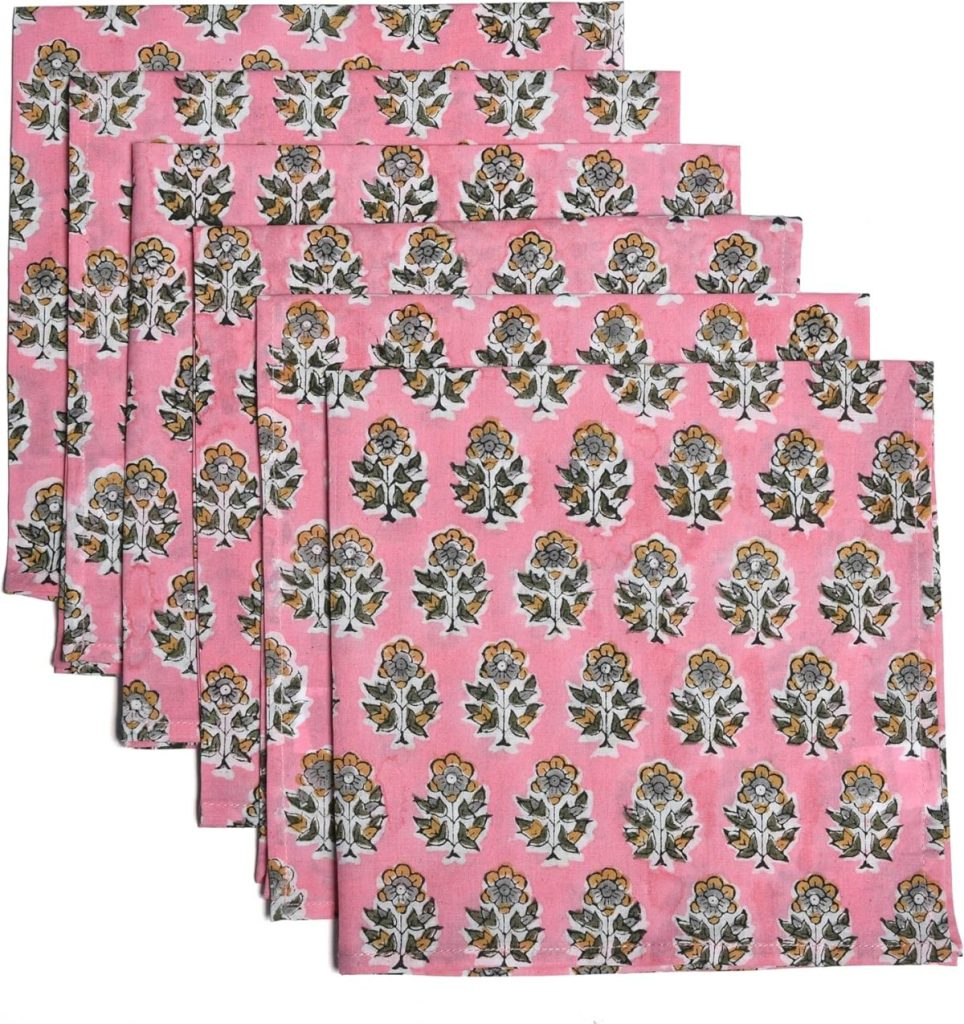
For this project, I pulled out a mix of tea cups that complemented each other and fit the pink and orange theme for Ellie’s baby shower. The beauty of these dessert tea cups is that you don’t need a perfectly coordinated set. In fact, mixing patterns and colors only adds to their charm.
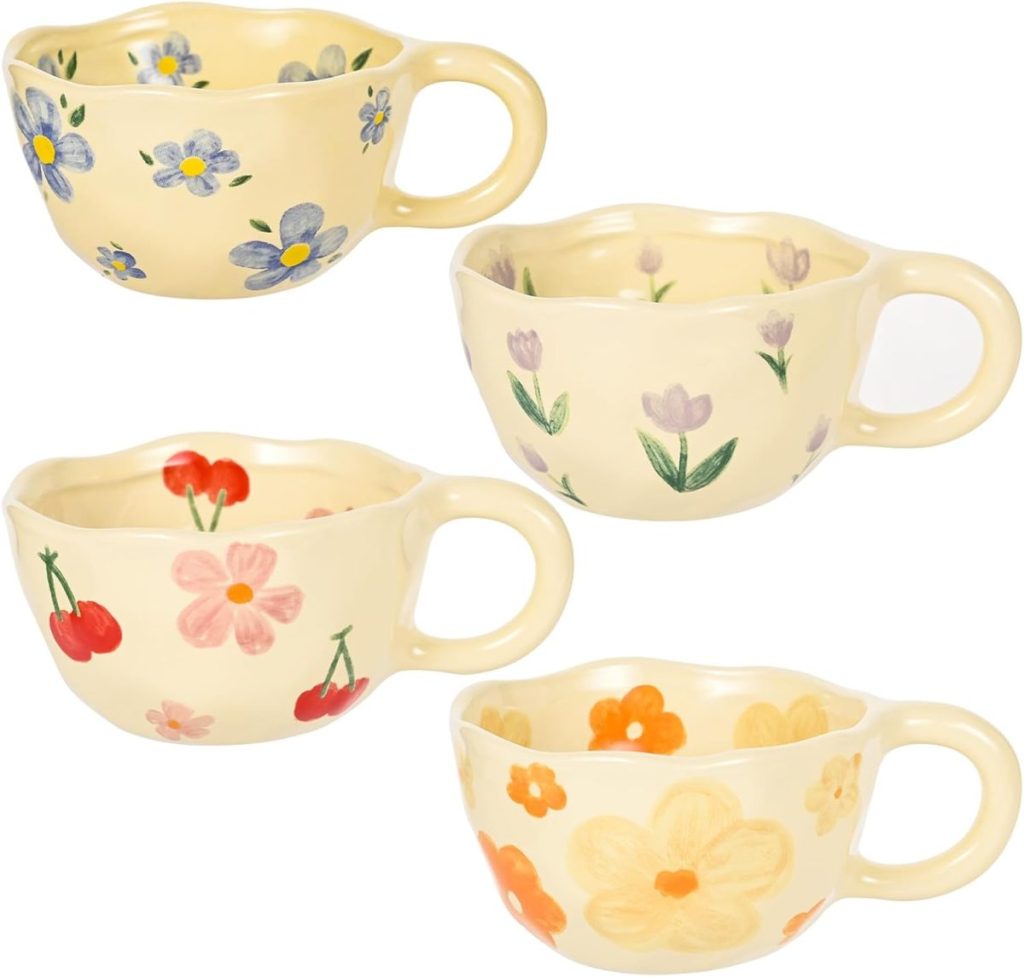
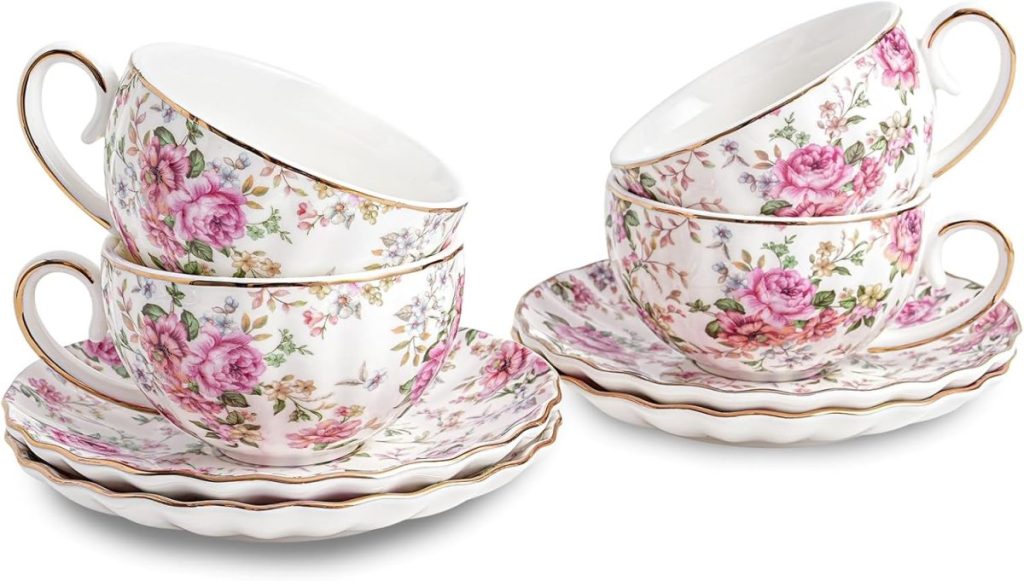
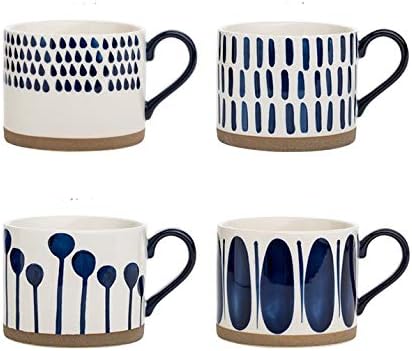
If you don’t already have vintage tea cups in your collection, don’t worry. You can easily find them at estate sales, antique fairs, or even online. The more character, the better! Of course, the tea cups don’t need to be vintage either!
On this blog, I may occasionally use affiliate links, which means I earn a small commission if you make a purchase through the link. The price will be the same whether you use the affiliate link or go directly to the vendor’s website using a non-affiliate link.

How I Built the Base of the Dessert
The secret to making these dessert cups sturdy and delicious is layering. Each layer adds flavor and stability. Here’s precisely how I did it:
- Sauce Layer
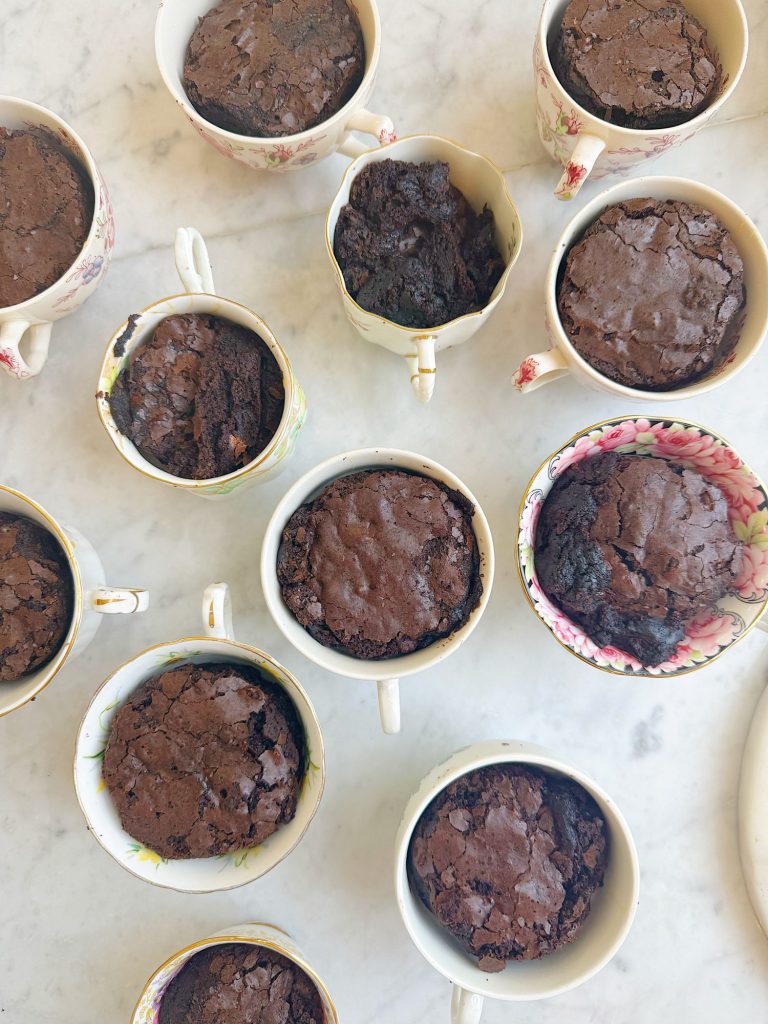
To add extra decadence, I drizzled caramel sauce and hot fudge sauce over the bottom of each cup before placing the brownie. This not only soaks into the brownie slightly (yum!) but also gives a gooey surprise when you dig into the dessert later. - Brownie Base
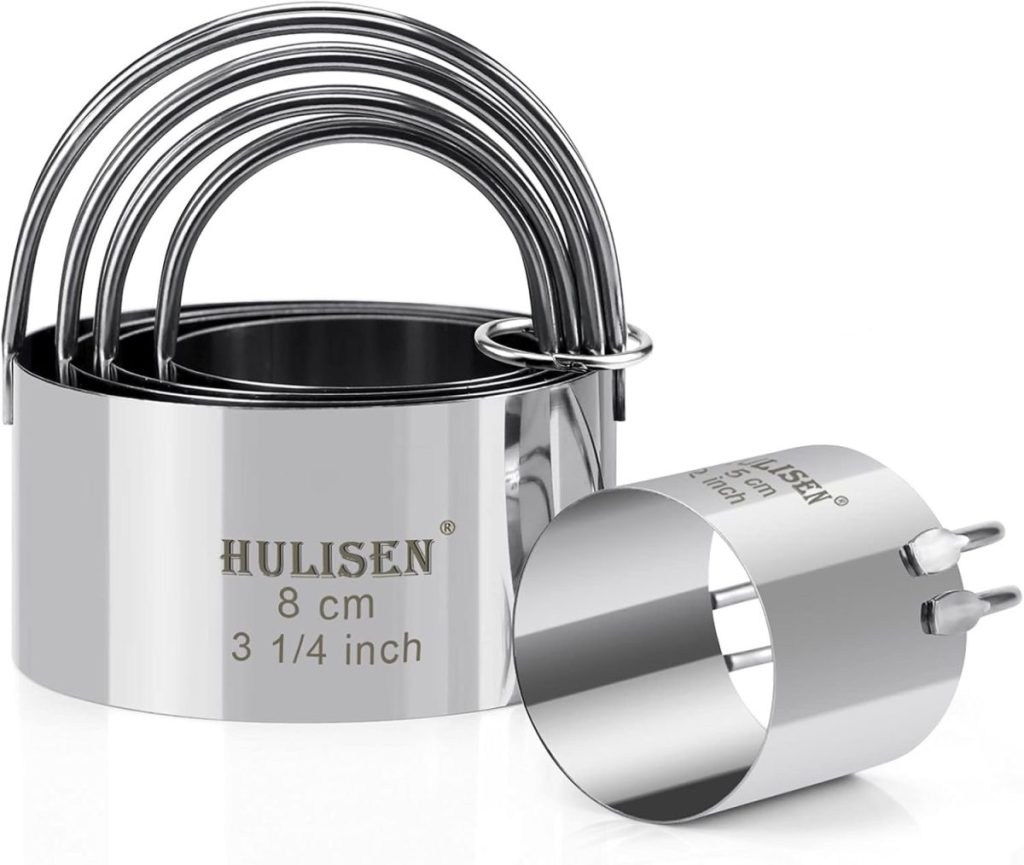
I started by baking a pan of thick, fudgy brownies. You want a recipe (or boxed mix) that’s dense and chewy rather than light and cakey. Once cooled, I used a circle cookie cutter that fit perfectly into the tea cups. These brownie rounds formed the heart of the dessert — rich, chocolatey, and substantial. - Buttercream Seal
Once the brownie and sauces were in place, I filled the top of the tea cup with a layer of buttercream frosting, smoothing it so it sat flush with the rim of the cup. This step is essential because it creates the perfect flat “canvas” for the floral design.
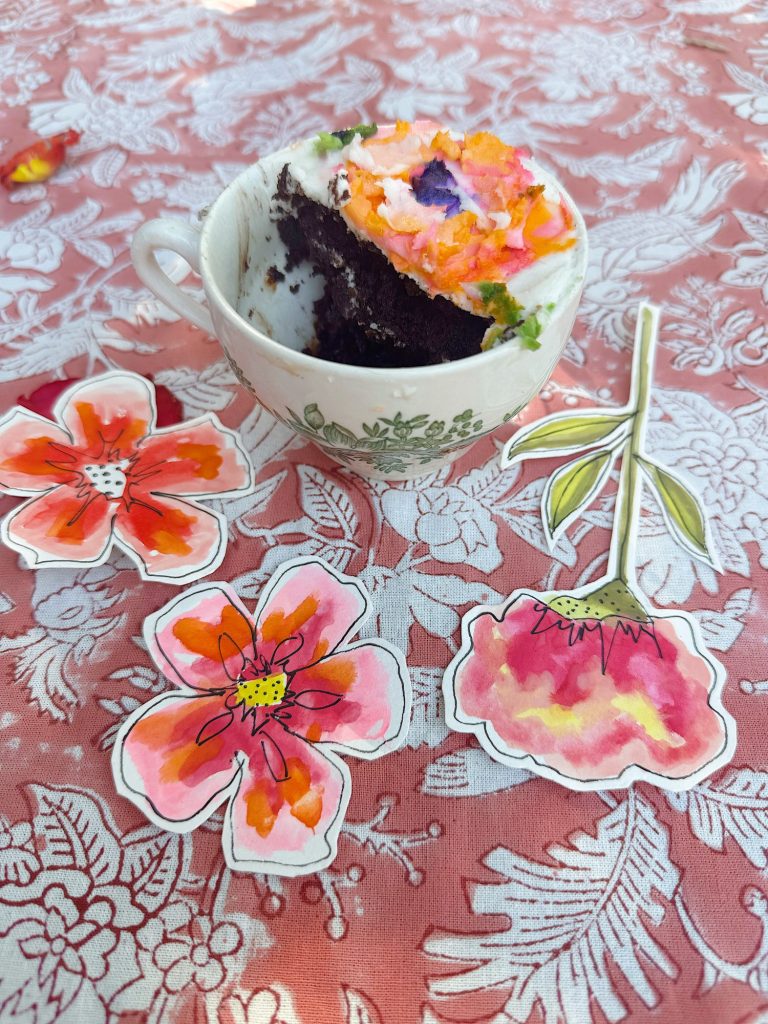
At this point, the cups already looked delicious, but I knew the magic was about to happen. I cut one of the teacups in half so you could see how they looked inside.
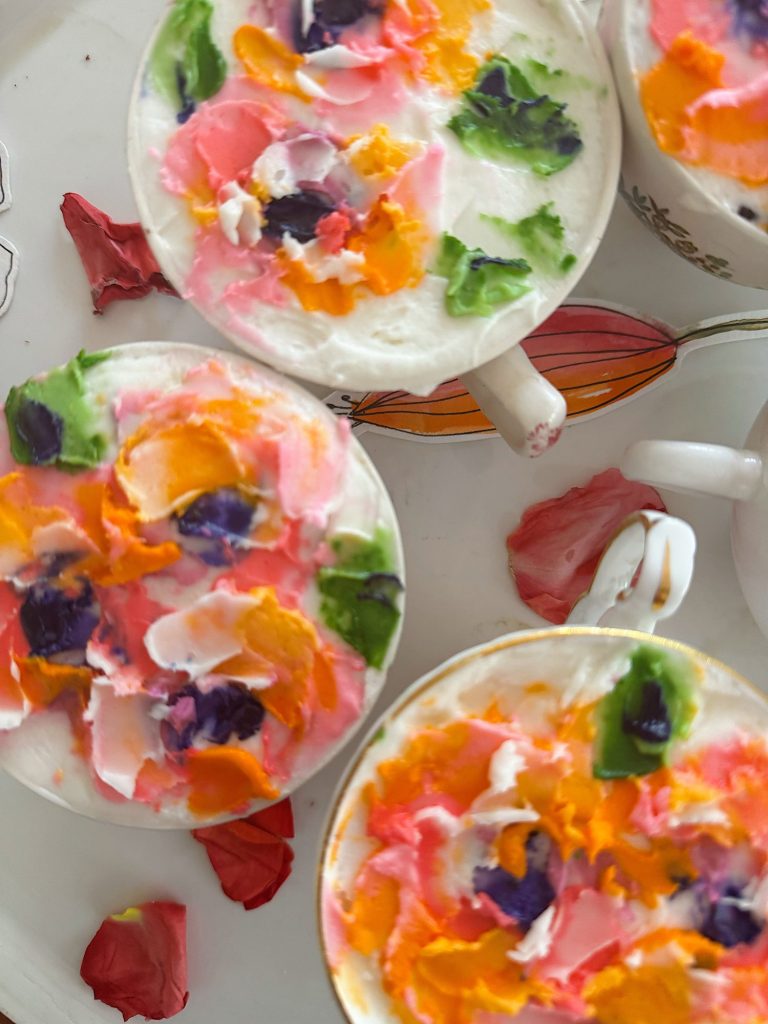
Creating the Floral Topping
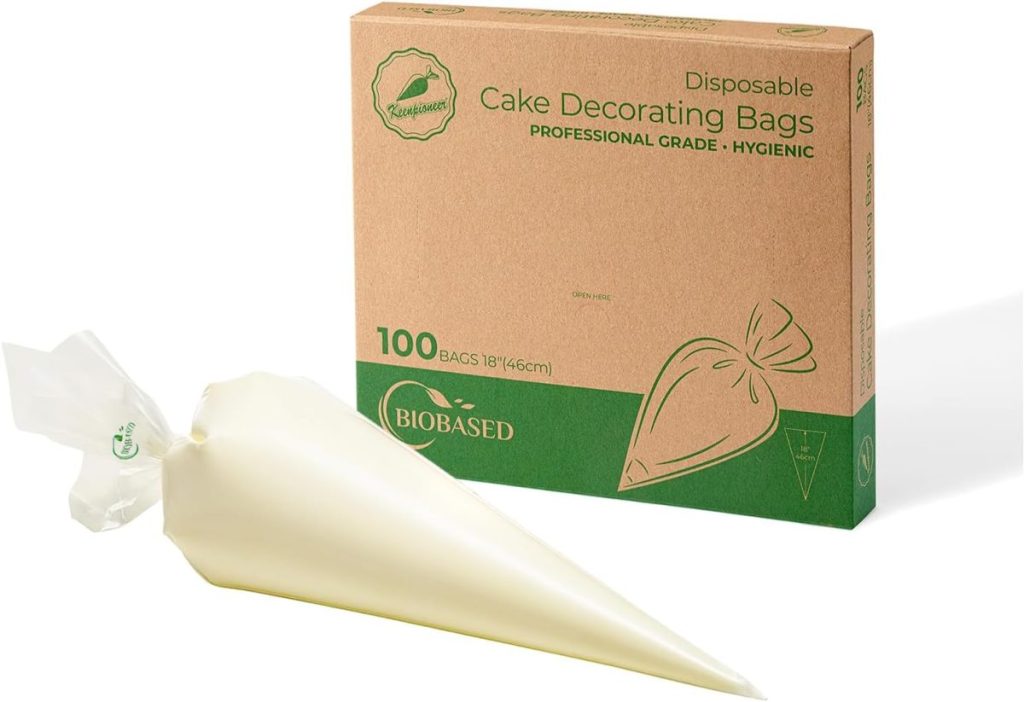
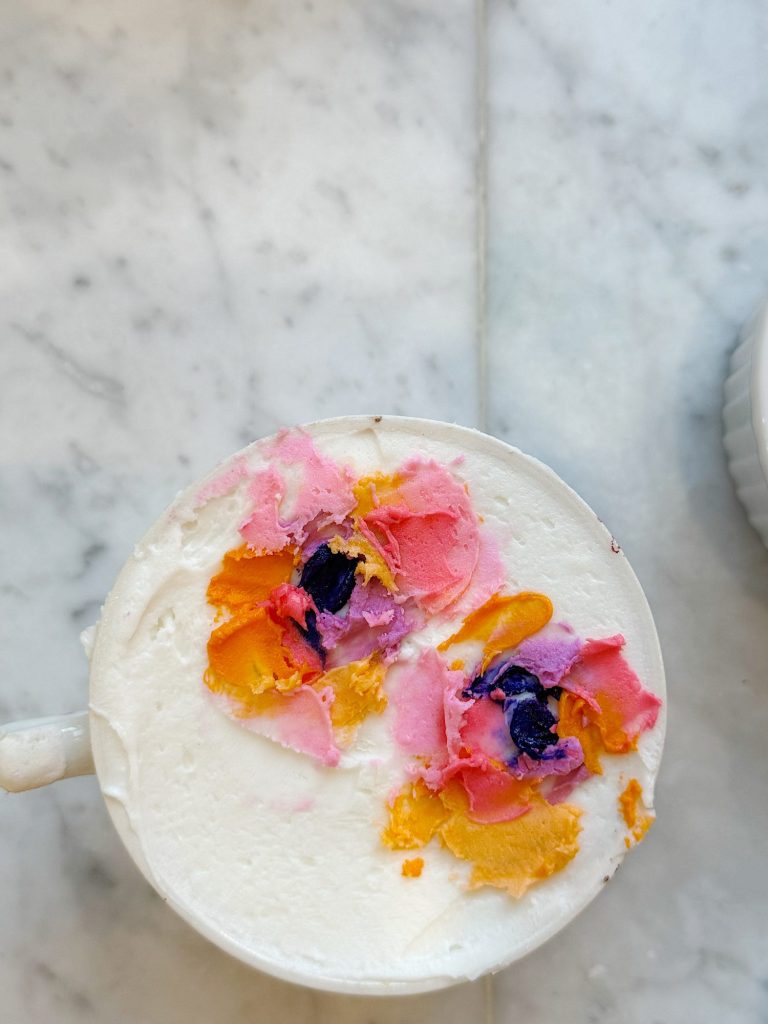
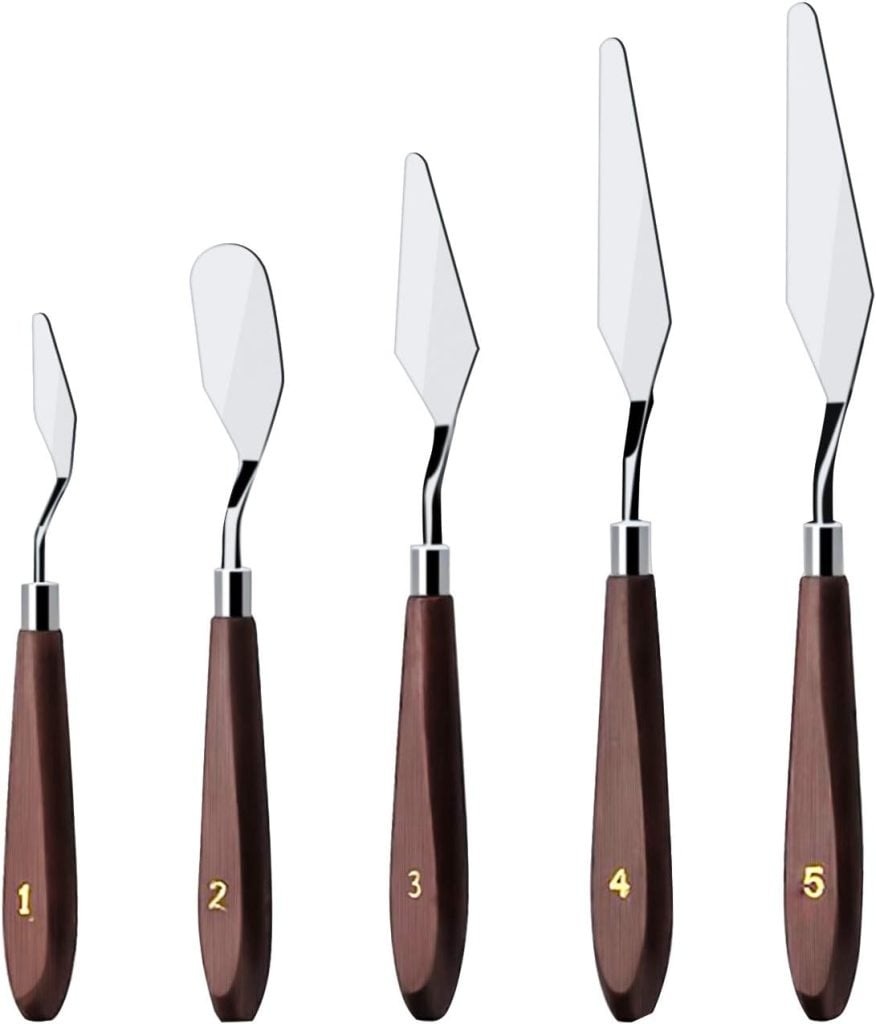
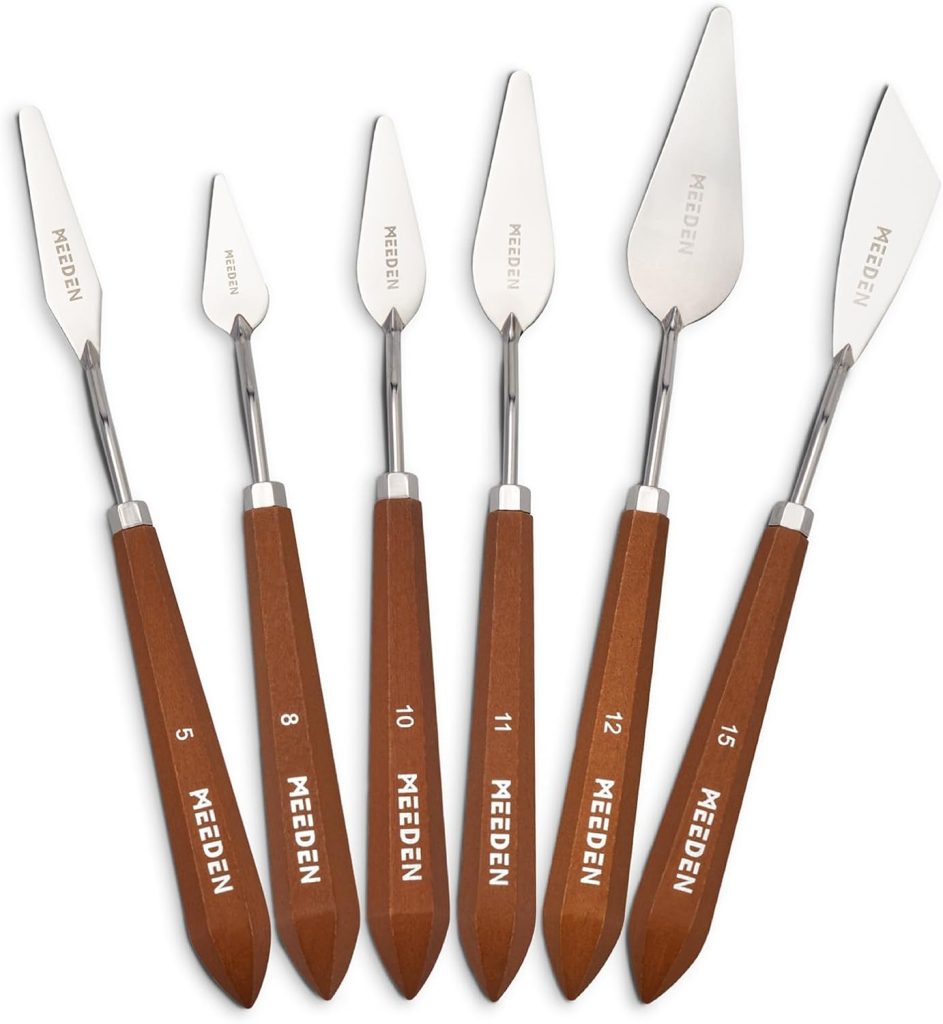
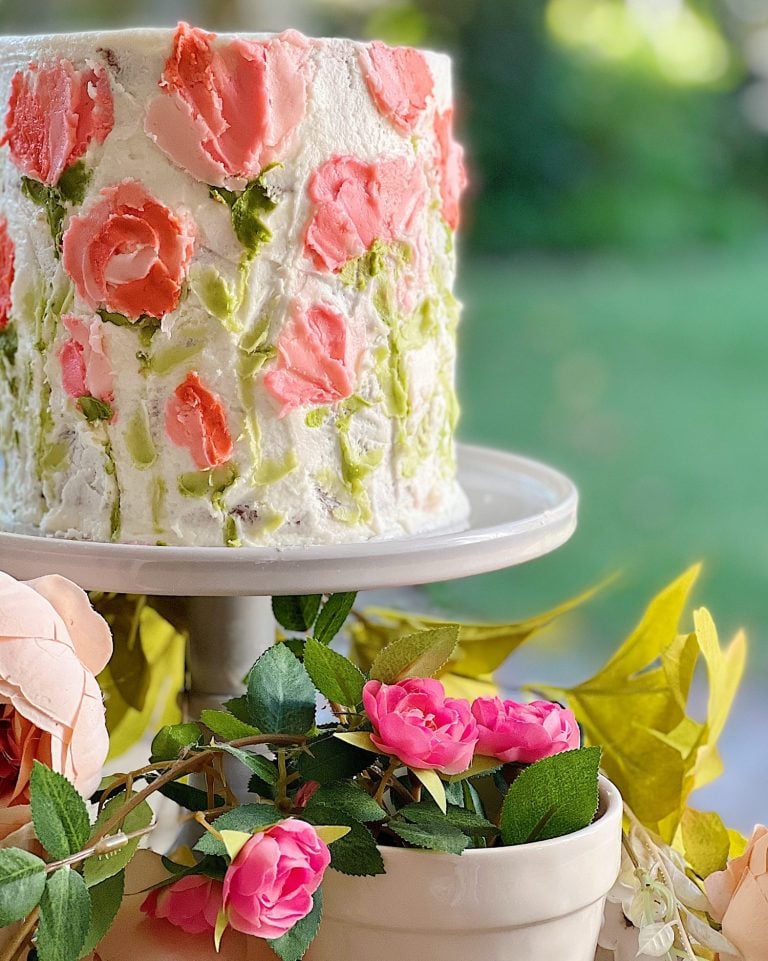
The real showstopper here is the buttercream flowers. While you could pipe roses with a piping bag, I wanted something a little more modern and artistic. So, I turned to one of my favorite tools — the palette knife.
Think of this like buttercream painting. With just a few strokes, you can create abstract roses and leaves that look almost like an impressionist painting.
Here’s how I did it:

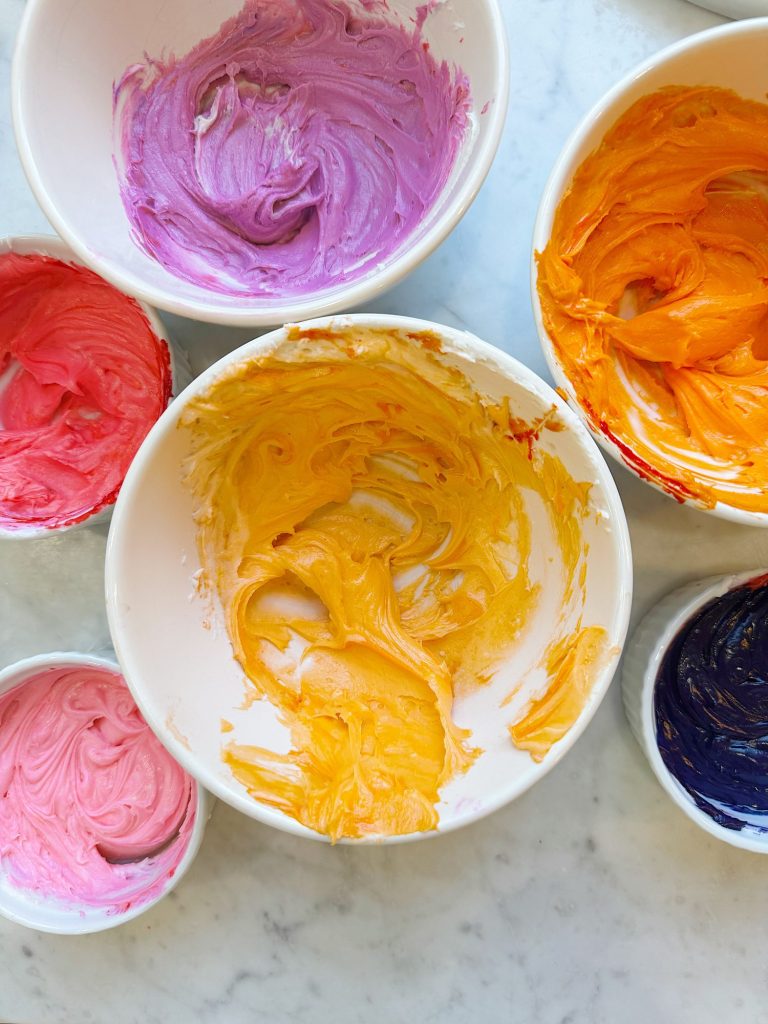
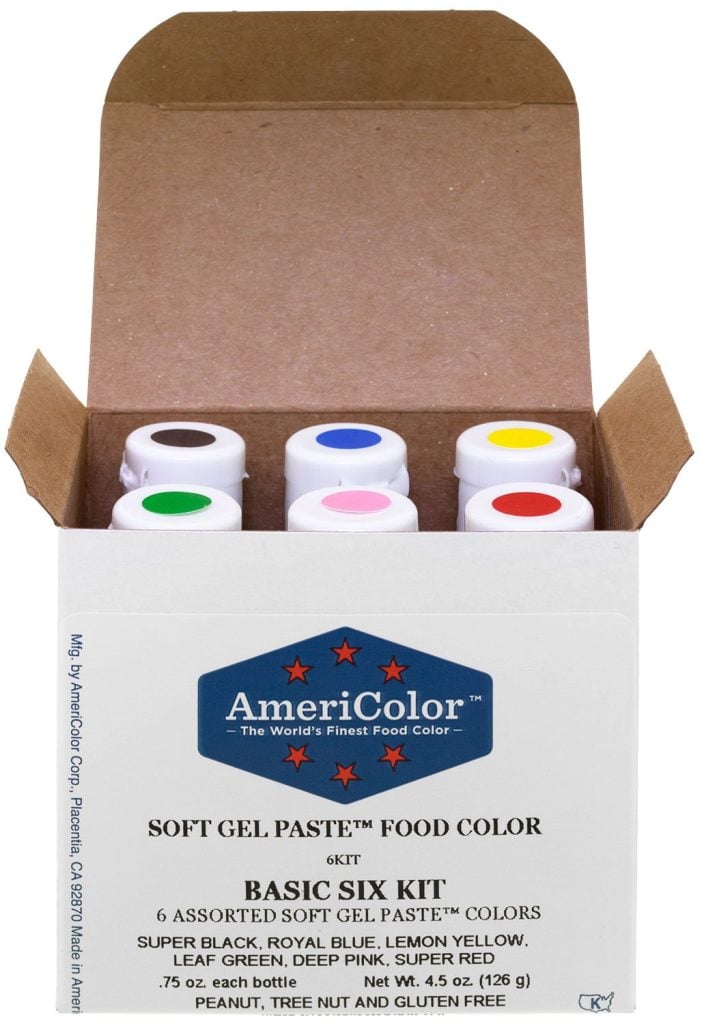
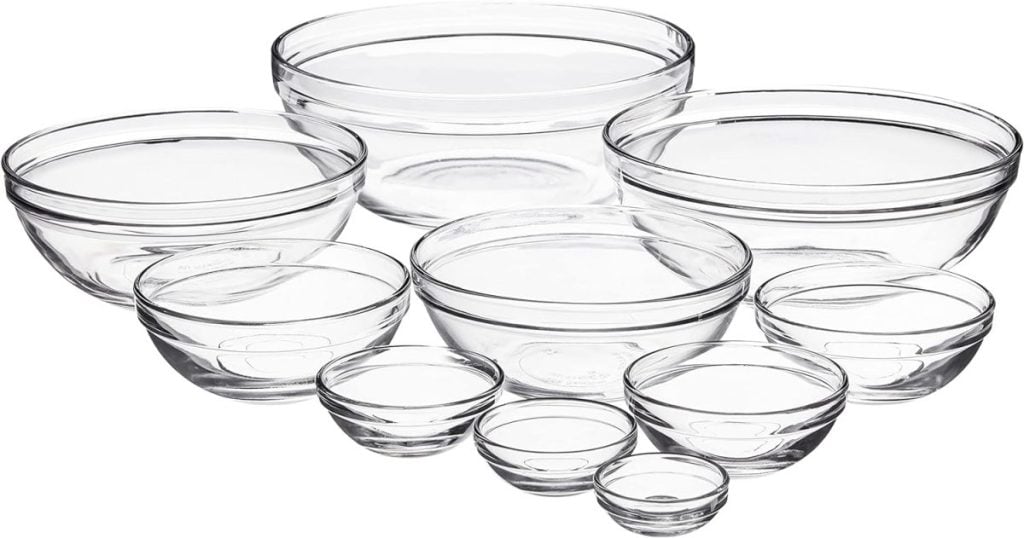
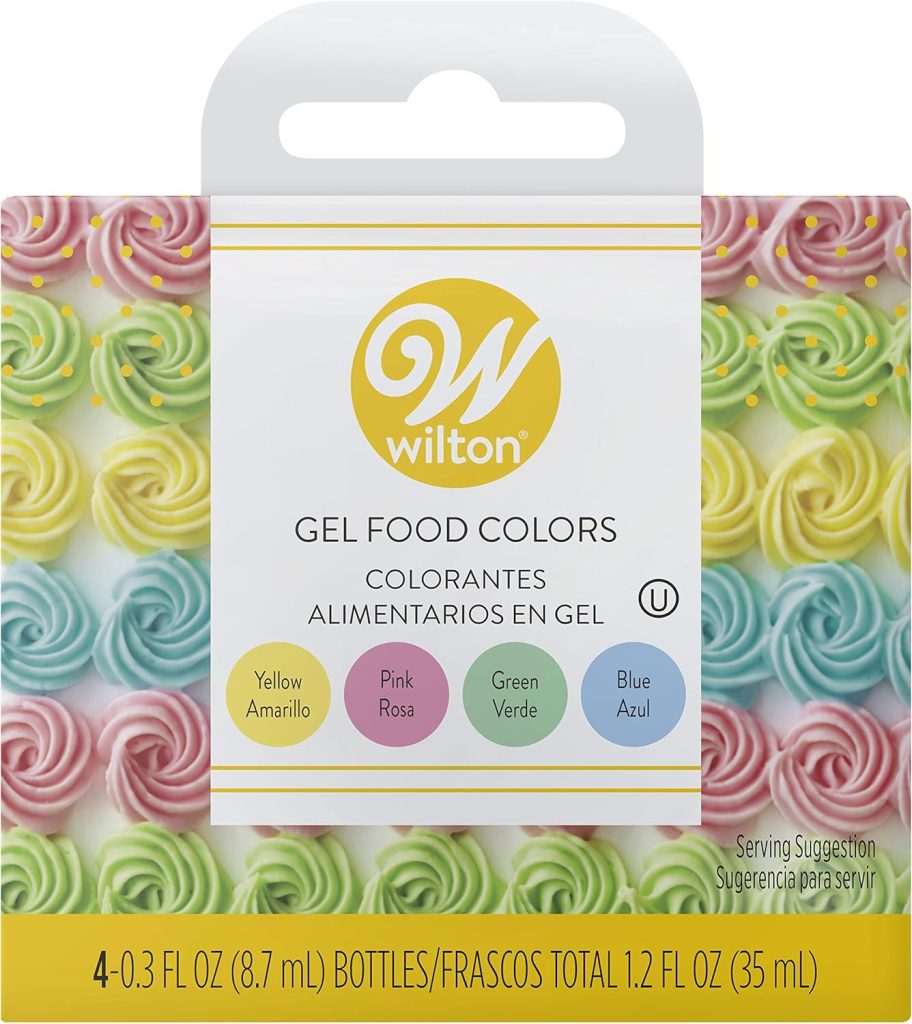
- Mixing Colors
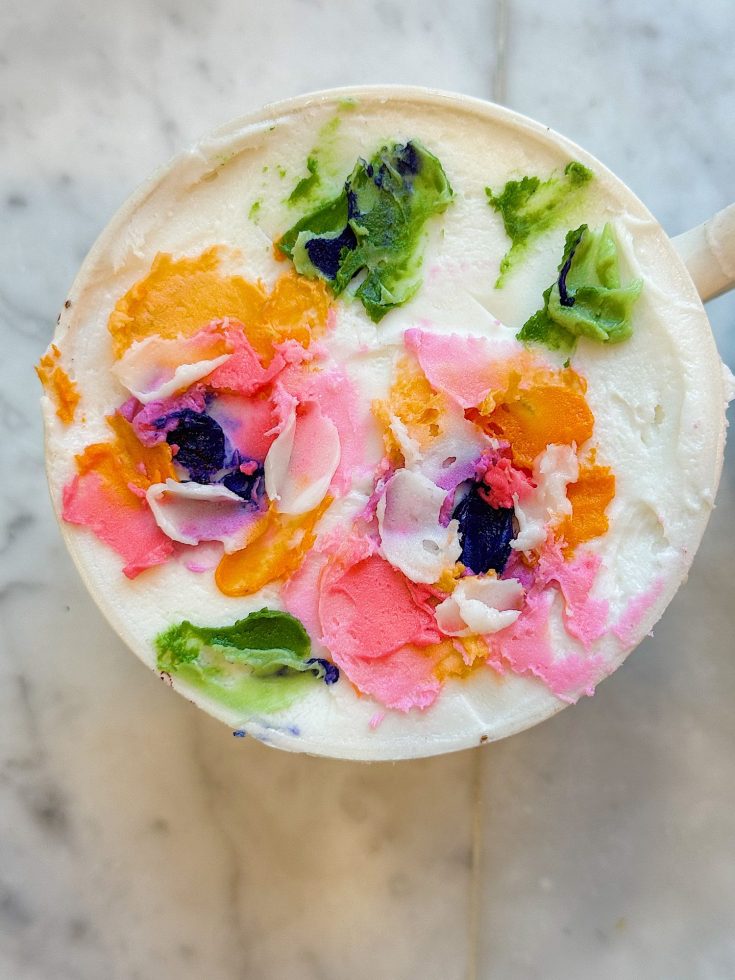
I divided my buttercream into six bowls and dyed each one with gel food coloring. My palette included soft pinks, bold magenta, warm orange, sunny yellow, leafy greens, and a touch of violet. The trick is to have both light and dark shades in each color family so the flowers have depth. - Abstract Rose Technique
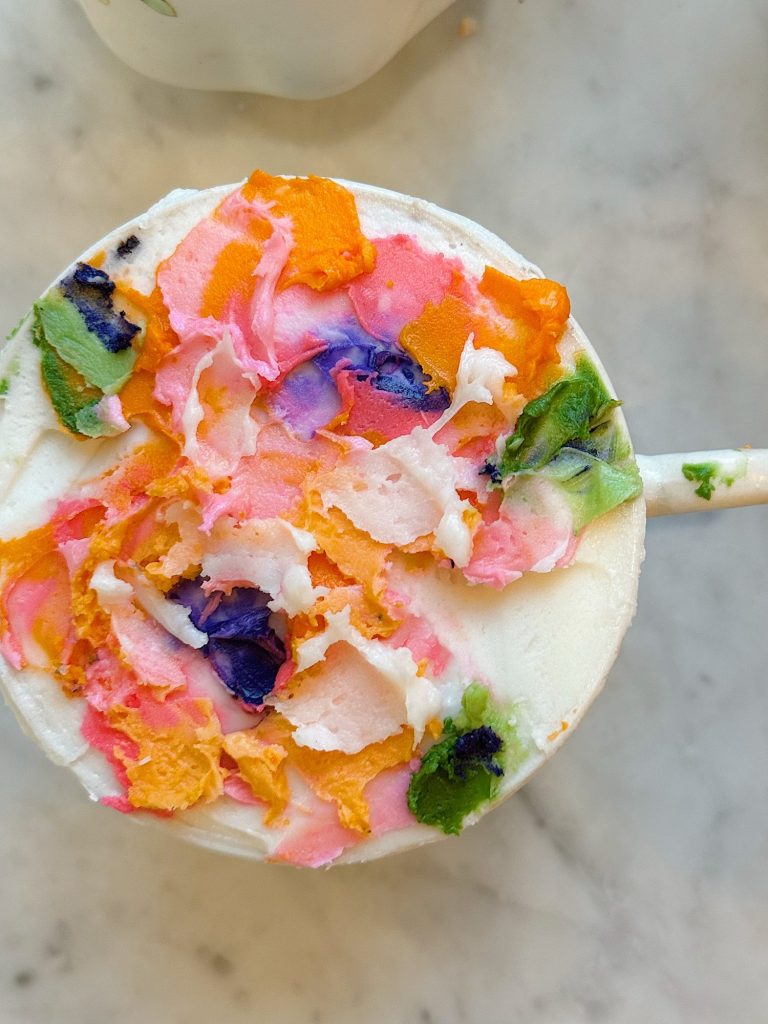
Using the palette knife, I dabbed on petals in circular patterns. Each stroke built upon the last, creating the illusion of layered rose petals. I didn’t worry about making them perfect — in fact, the more imperfect, the more natural they looked. It’s essential to use darker shades, such as deep purple, to add depth to the flowers. - Adding Leaves
Between the flowers, I added strokes of green to mimic leaves. A few darker green touches added contrast to the arrangement, making the flowers stand out. - Finishing Touches
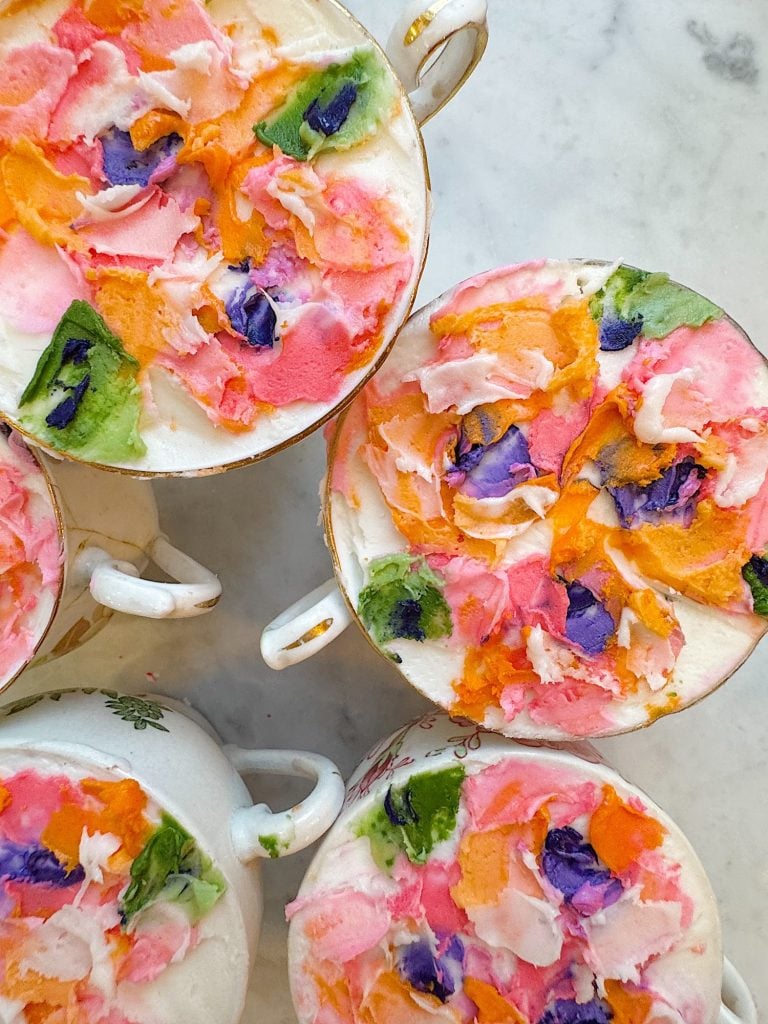
I stepped back after each cup to make sure it looked balanced. Some featured bold orange roses with pops of pink, while others leaned more towards pastel shades. No two were exactly alike, which made them even more special.

When I was done, the tops of the tea cups looked like miniature gardens in bloom.
My Favorite Buttercream Frosting
This Buttercream Frosting recipe is excellent for cakes, cupcakes, and more. Its unique flavor is just the best.
Ingredients
- 1 cup nonsalted butter (do not warm)
- 4 cups powdered sugar
- 1 tsp vanilla
- 4-6 TBL coconut milk (I like The Kitchen Organic)
Instructions
- Cream the butter until soft in a mixer for about two minutes.
- Add the sugar, vanilla, and three tablespoons of coconut milk.
- Add the remaining tablespoons of coconut milk as needed.
- When frosting cupcakes, make sure the cake is completely cooled. You can place them in the freezer for about thirty minutes before decorating.
Tips for Success

If you want to try these at home, here are a few tips I learned along the way:
- Choose the Right Cutter: Make sure your cookie cutter fits snugly in your tea cups. Too small, and the brownie will slide around. Too big, and it won’t fit at all.
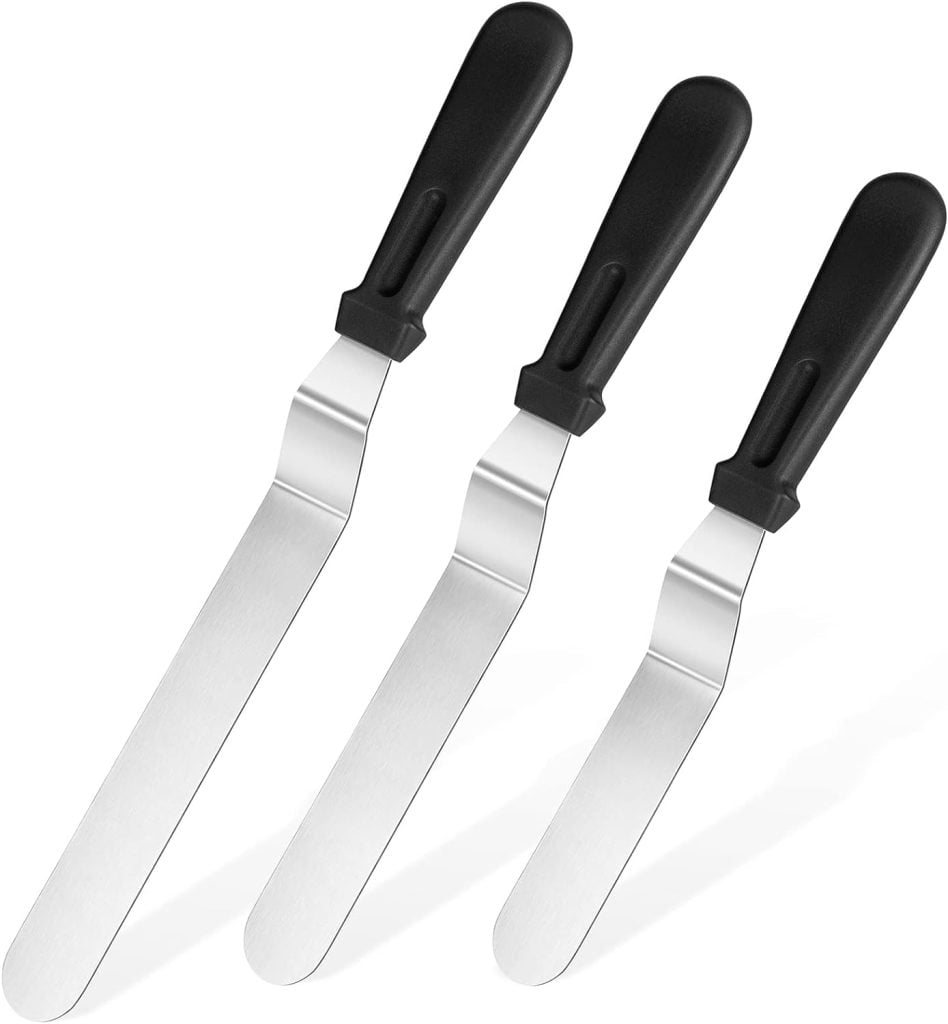
- Keep It Flat: Level off your buttercream with a spatula to create a perfectly flat surface for decorating.
- Don’t Overthink It: Abstract flowers are meant to be playful and imperfect. Don’t stress about symmetry.
- Practice First: If you’ve never used a palette knife for frosting, practice on parchment paper first. Once you’re comfortable, move to the cups.
- Be flexible: Don’t forget that you can use a brush too!
- Work in Layers: Start with a base color for your flowers, then add highlights or darker shades for dimension.
When to Serve These
These floral dessert tea cups are perfect for a variety of occasions.
Here are just a few ideas:
- Bridal Showers: Imagine a table filled with these dainty cups, each one a different floral design.
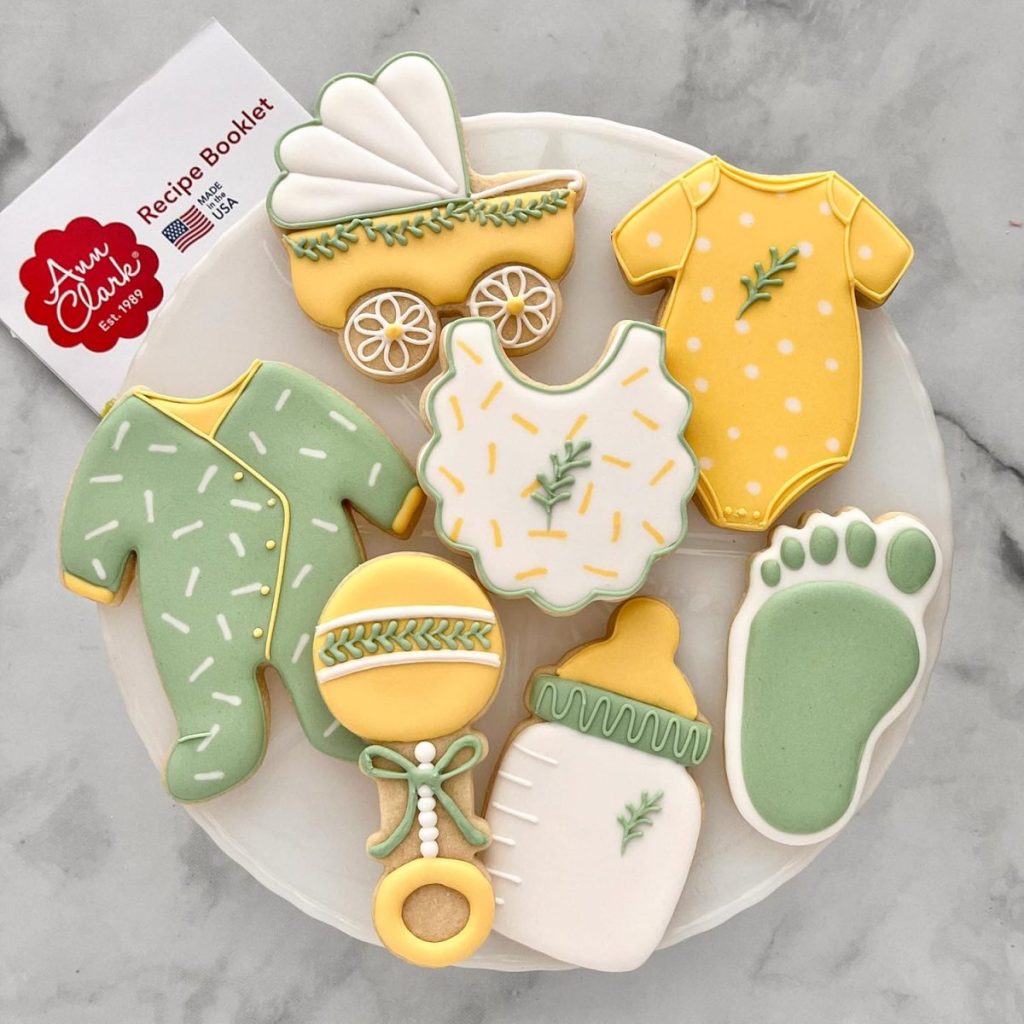
- Baby Showers: Use pastel pinks and blues to match the theme as I did here.
- Mother’s Day: A sweet way to serve dessert to the moms in your life.
- Garden Parties: They’d look gorgeous on a spring or summer table outdoors.
- Birthdays: Especially for anyone who loves flowers or vintage tea sets.
And honestly, you don’t need a special occasion. Make them on a rainy afternoon just for fun!
Storage and Make-Ahead Tips
You can make these tea cups ahead of time if you’re planning for a party. Here’s how:
- Brownies: Bake and cut the brownie rounds up to two days in advance. Store in an airtight container in the refrigerator.
- Buttercream: You can prepare the buttercream frosting a day ahead and store it in the refrigerator. Allow it to come to room temperature before use.
- Assembled Cups: Once fully decorated, the tea cups can be stored in the refrigerator for up to 24 hours. Be sure to cover them gently with plastic wrap so the flowers don’t get smudged.
Why This Dessert Works
What I love most about this project is its versatility. The brownie base lends richness, the sauces add gooey sweetness, and the buttercream flowers bring beauty and whimsy. It’s a dessert that makes people say “Wow!” before they even take a bite.
Plus, serving dessert in vintage tea cups adds a layer of nostalgia and charm that you can’t get from a regular cake slice. It’s thoughtful, it’s playful, and it’s oh-so-delicious.
Final Thoughts
Creating these floral dessert tea cups was such a joy. They combine two of my favorite things: baking and creativity. Each one feels like a tiny piece of edible art, and I love that no two turned out the same.
If you try making these, I’d love to hear how yours turn out. Tag me so I can see your floral creations! Whether you’re hosting a bridal tea, celebrating with family, or just indulging in a bit of kitchen creativity, I promise these tea cup desserts will bring smiles to everyone who sees them.
So, the next time you’re looking for a dessert that’s just as pretty as it is delicious, reach for your vintage tea cups, bake up some brownies, and get out your palette knife. Trust me, The Cutest Floral Dessert Tea Cups will be the star of the show.
If you enjoy my blog, you can sign up to receive my updates here.
.

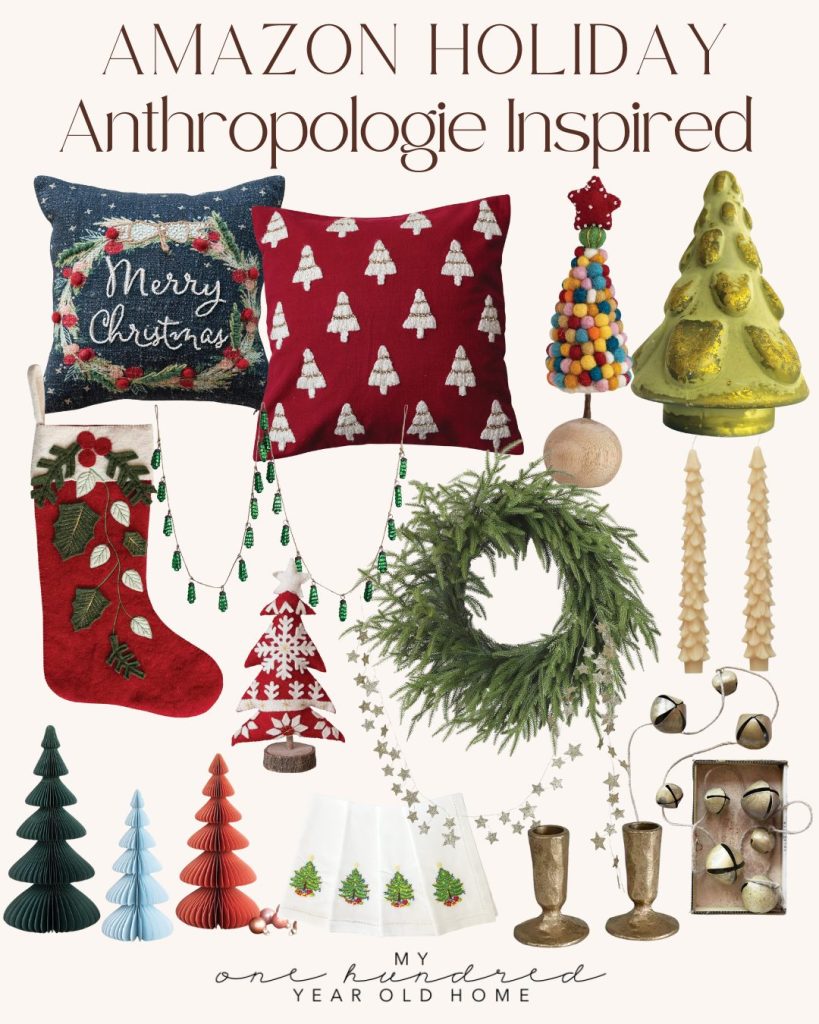
Anthropologie Inspired Christmas Finds

Latest Posts
-
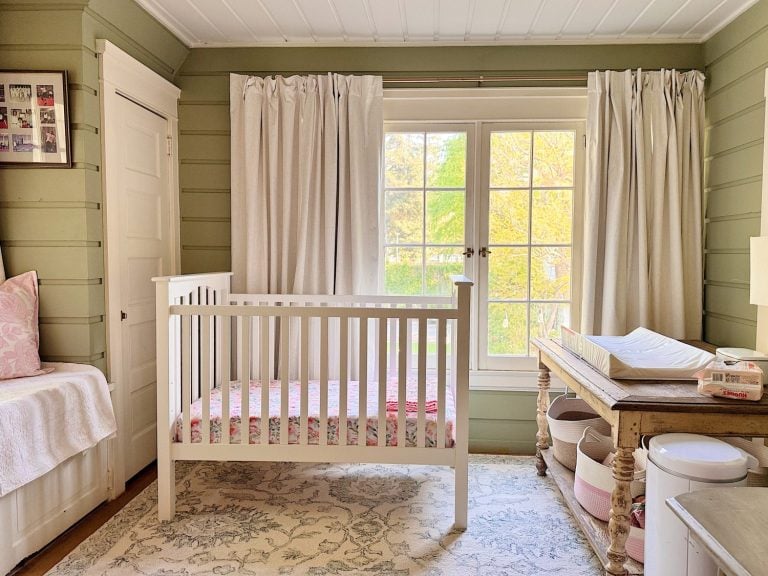
Spring Cleaning and Sunday Morning Coffee
I don’t know about you, but every spring I feel this strong pull to refresh something in our home, and this year I started in a place that might surprise you. It’s Spring Cleaning time! The very first room on my spring-cleaning list was our nursery. And yes, I know that sounds a little unexpected,…
-
Best Easter Brunch Egg Dish: Loaded French Onion Frittata
Easter brunch is one of those special meals where the table is complete, the laughter is loud, and the food is nothing short of spectacular. If you want to wow your guests with something savory, cheesy, and unforgettable, let me introduce you to your new Easter brunch hero: a Loaded French Onion Frittata.
-
The Best Spring Pillow DIY – A Handmade Spring
There are certain projects that start as an idea and quietly turn into something you love far more than you expected, and this Spring pillow is exactly that. As part of my A Handmade Spring series, I wanted to create something soft, beautiful, and full of texture, and this pillow checked every box. This pillow…
-
DIY Clay and Metallic Foil Easter Eggs
With Easter just around the corner this week, I decided to create something special and truly unique for my spring décor … handmade clay and metallic foil Easter eggs. These little works of art are soft, pastel, and subtly shimmery, and they’re a beautiful way to add a handmade touch to your Easter celebrations. While…


My Recent Instagram Posts

You can pin the image below to your boards on Pinterest (click the Pin button in the top left corner) or follow me on Pinterest!
For more real-time updates, follow me on Instagram @My100YearOldHome

Love the tea cup desserts with the modern floral topping! I will have to try this with a vanilla sheet cake (white cake and white icing is my favorite!). Thanks!
So pretty! I would almost hesitate to eat them, except they sound delicious.
These are gorgeous!
How beautiful are these tea cup desserts! Well done, Leslie!