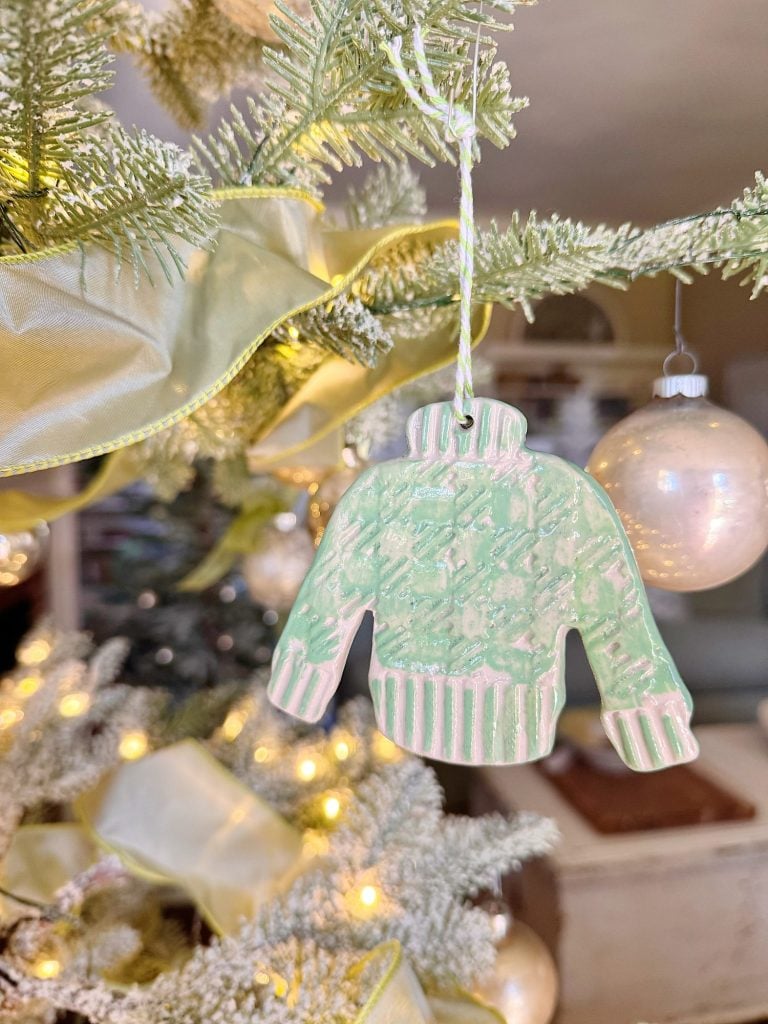
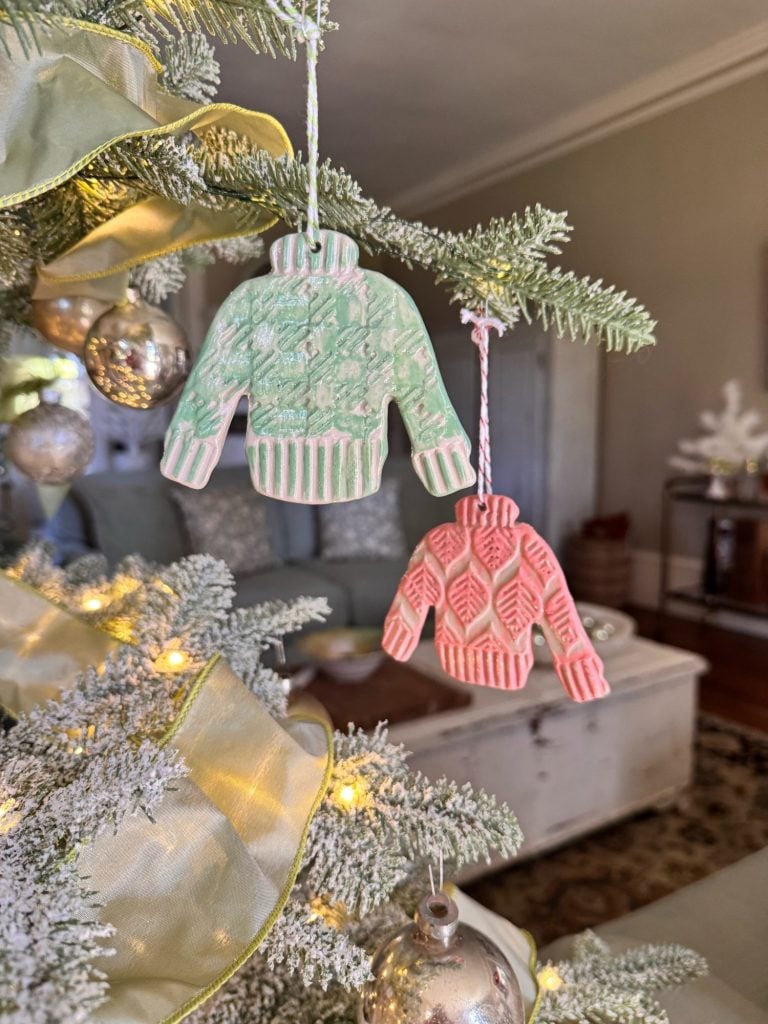
Sweater Christmas Ornaments – A Handmade Christmas
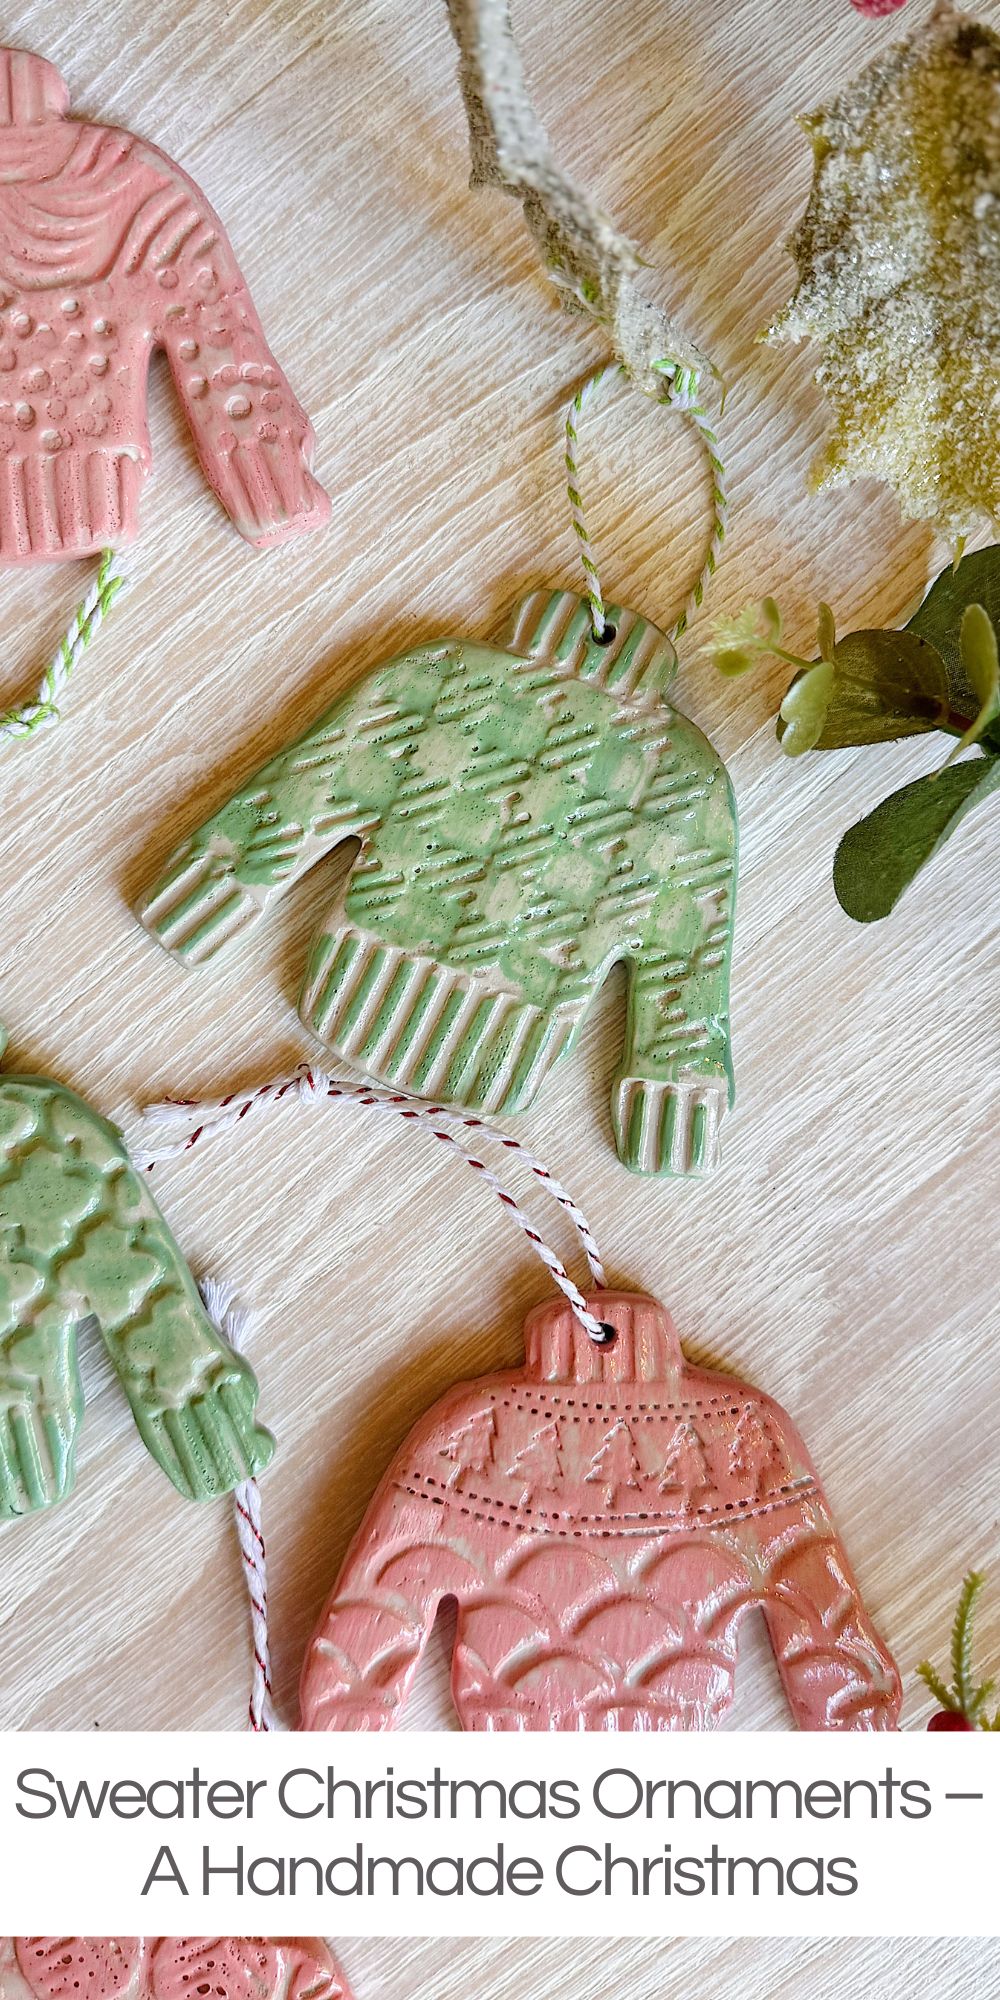
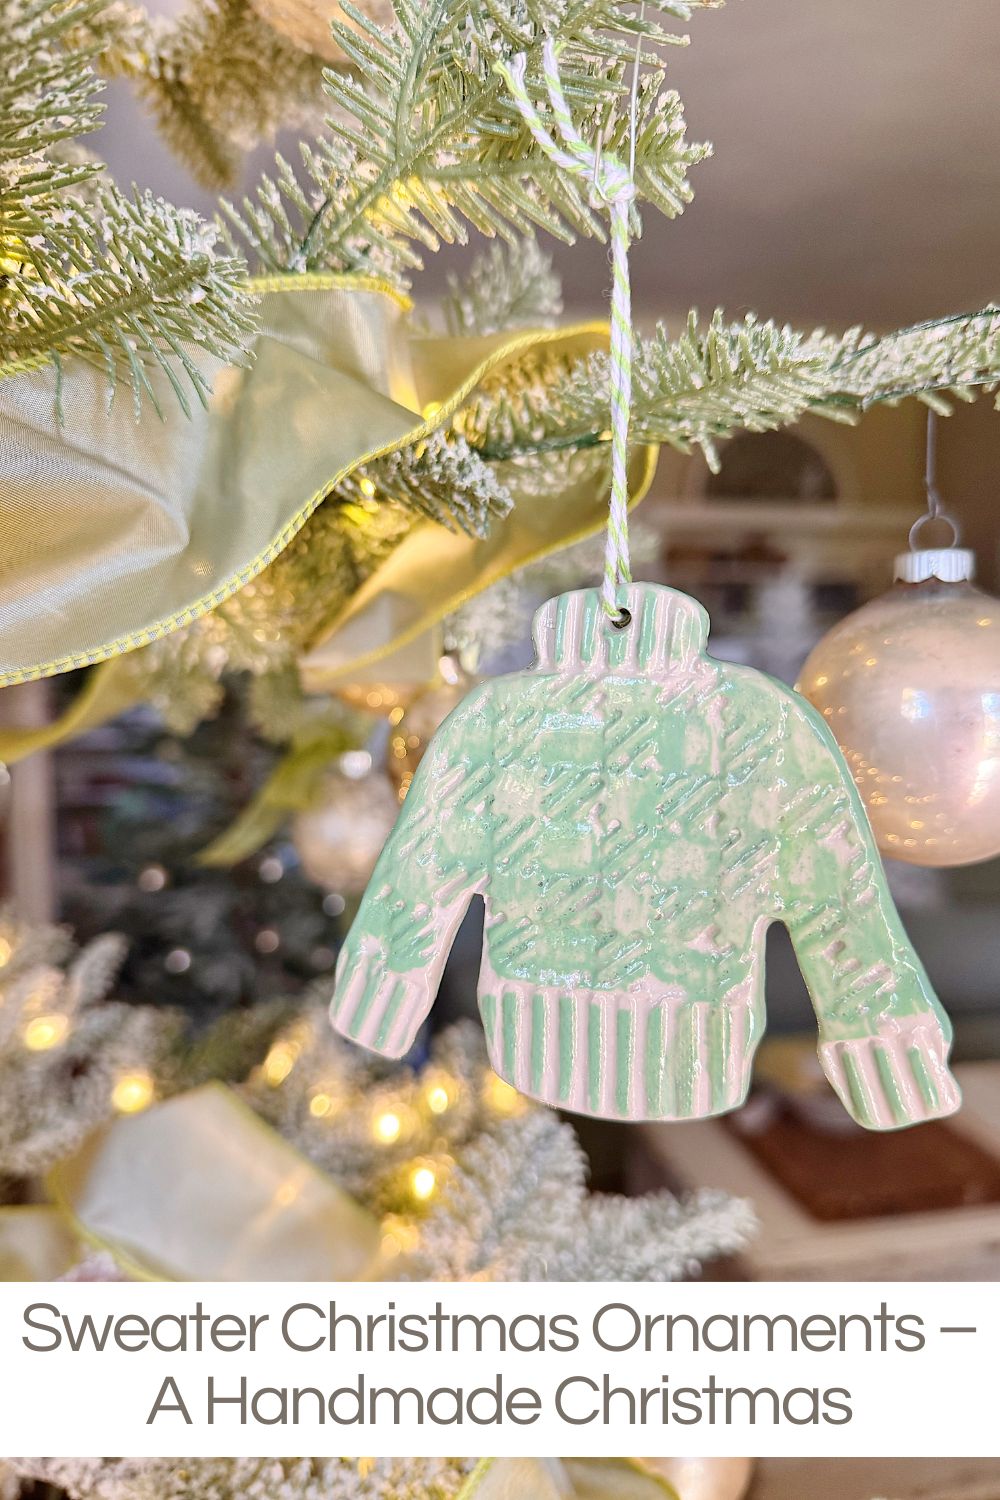
This week’s A Handmade Christmas project, Sweater Christmas Ornaments, is absolutely adorable and very easy to make.
These little clay sweaters combine everything I love about holiday crafting: simple materials, cozy textures, creativity without stress, and that special handmade touch that instantly makes any Christmas tree feel more personal.
Sweater Christmas Ornaments
There’s just something magical about tiny sweaters at Christmastime. Maybe it’s the nostalgia, maybe it’s the charm… or maybe it’s simply because anything mini is automatically adorable.
As many of you know, this year’s Handmade Christmas series has been all about approachable projects that look high-end but are easy enough for anyone to create. These clay sweater ornaments check every box. They’re whimsical, cozy, customizable, inexpensive, and incredibly fun to make.
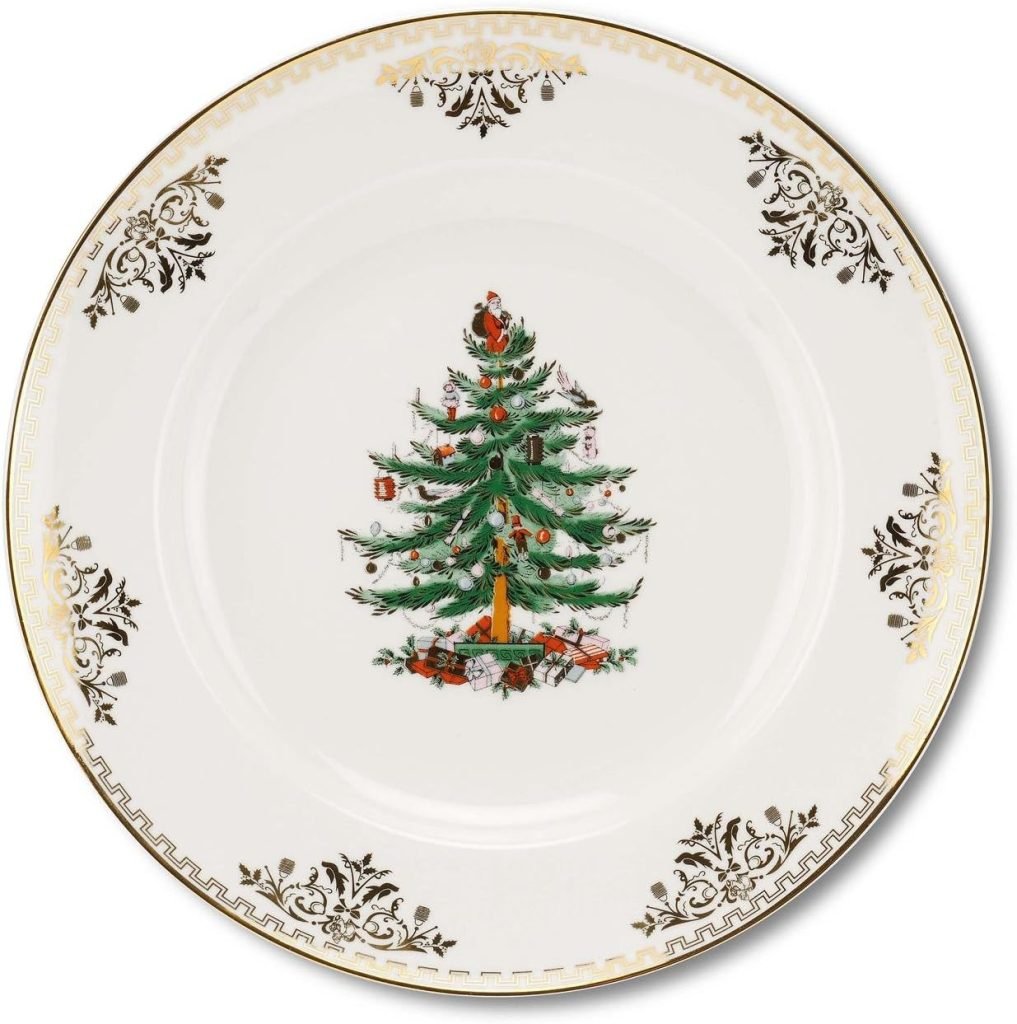
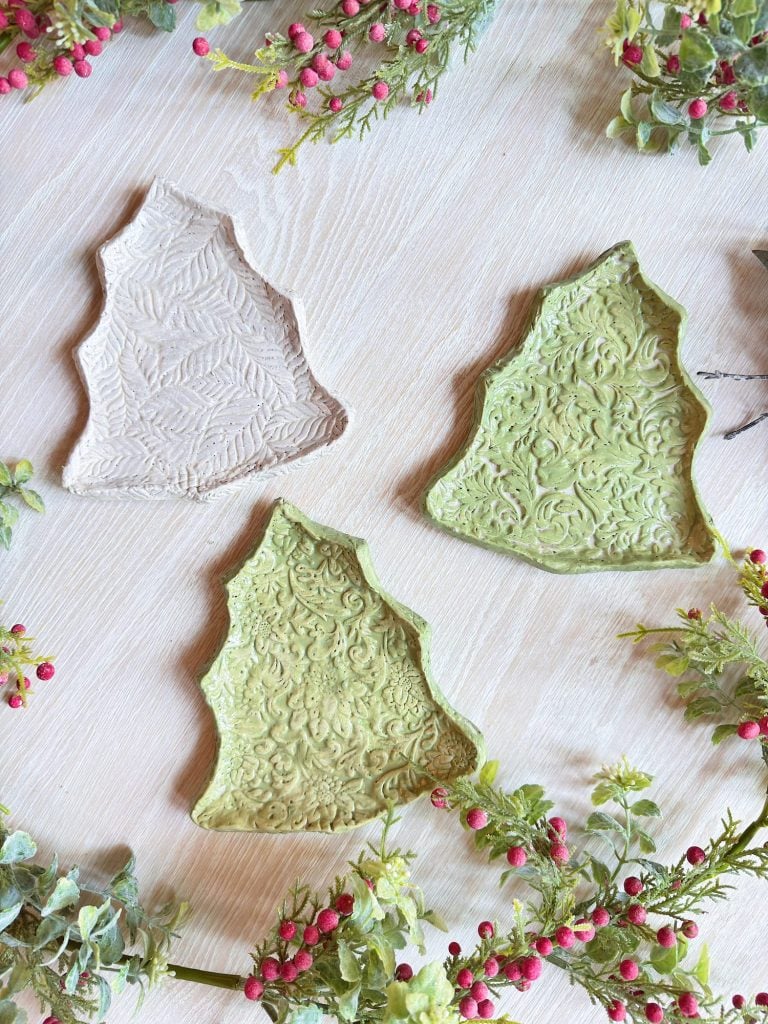
Plus, if you enjoyed the DIY process behind my Christmas Tree Plates, you’ll feel right at home with this one, as the steps are very similar, just smaller and even more charming.
Today, I’m walking you through everything you need to create your own sweater ornaments, from materials to technique to creative variations. So grab your rolling pin, your favorite textured rollers, and a cute sweater-shaped cookie cutter because we’re diving in!
Why Sweater Ornaments?
Every year I look for a few handmade ornaments to add to my tree. Not only does it keep my holiday décor feeling fresh, but it also turns decorating into a walk down memory lane:
• “Oh, remember when I painted these?”
• “These clay stars were from the year I hosted craft night.”
• “Those paper ornaments were the year I ran out of time and needed something fast!”
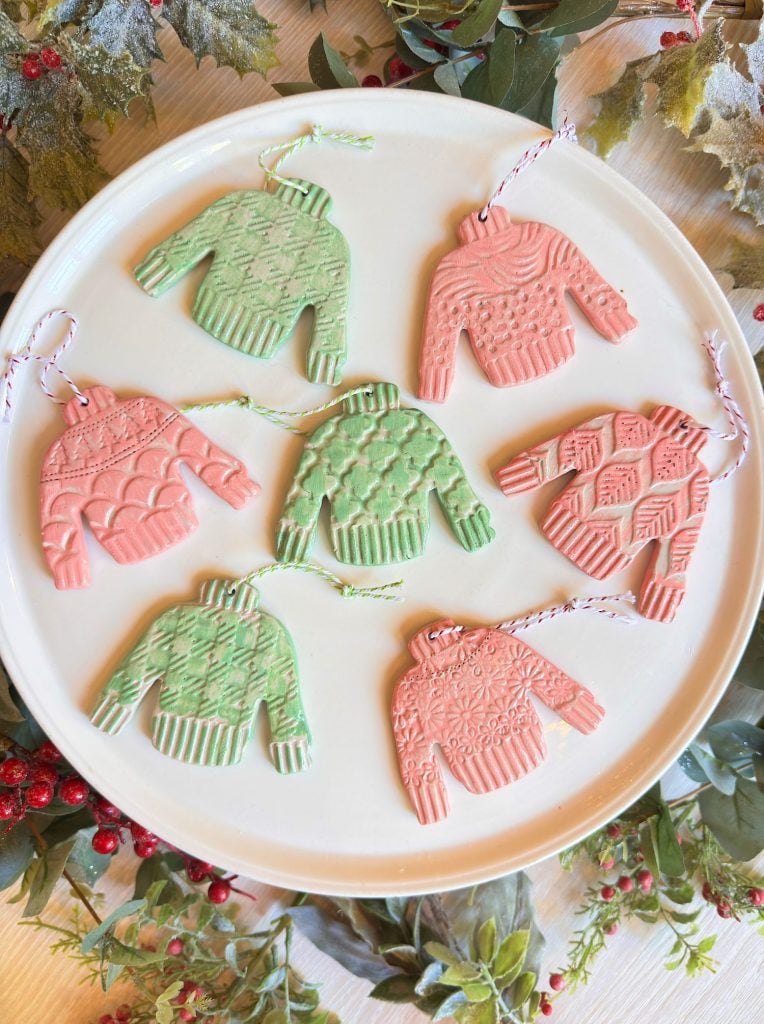
This year, I wanted something soft, cozy, and winter-themed to complement my Cozy Christmas palette of sage green and warm whites. Sweaters instantly came to mind. I already owned the sweater-shaped cookie cutter ( from my ugly Christmas sweater cookies) and inspiration struck.And I realized these would make adorable keepsakes, gift toppers, teacher gifts, and even party favors.
They’re also easy to personalize, which makes them even more special.
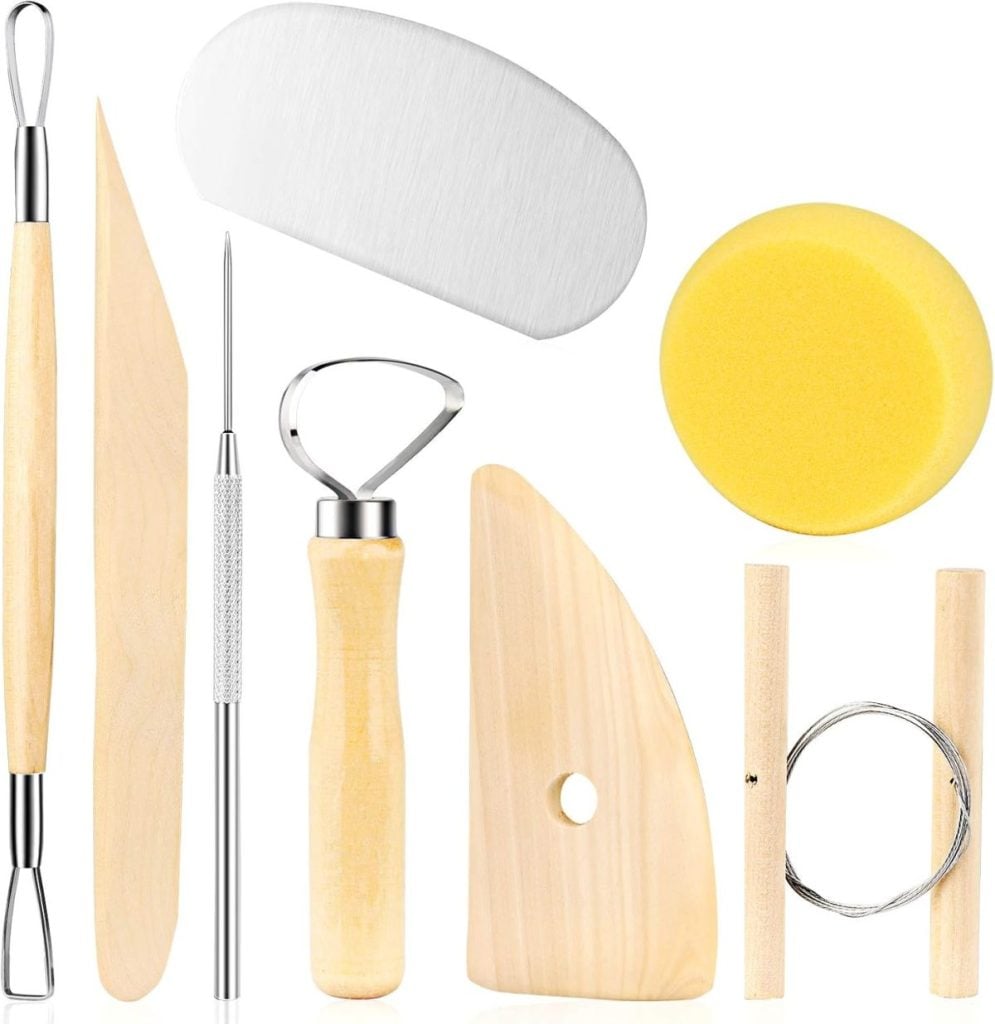
Materials You’ll Need
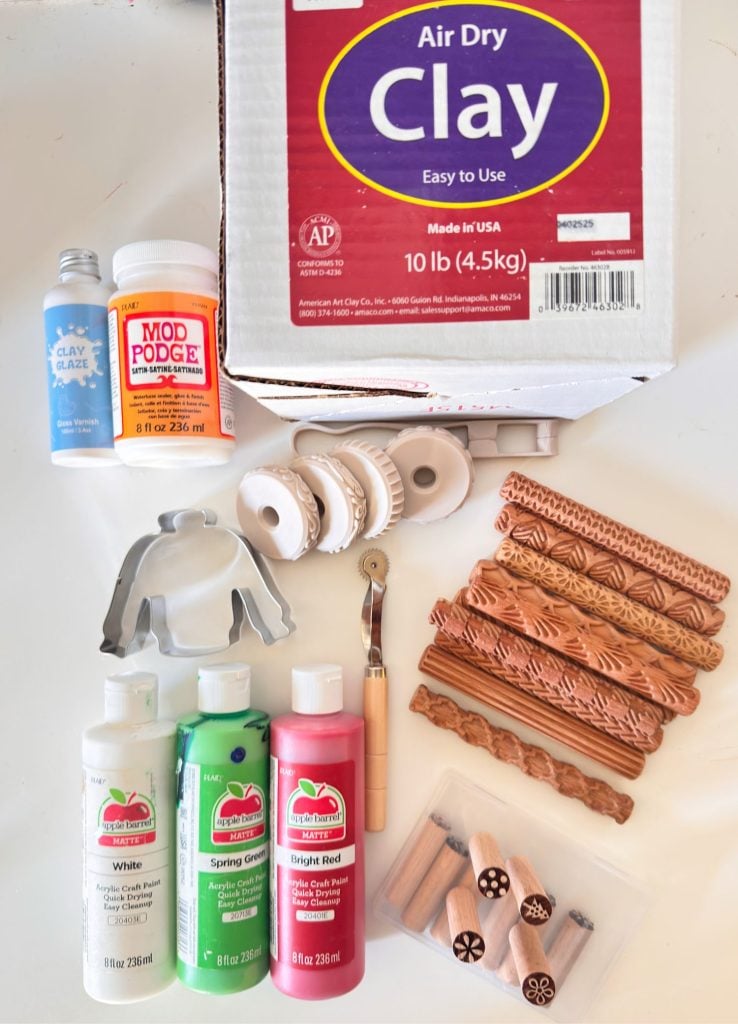
Here’s everything you’ll want to gather:
Materials
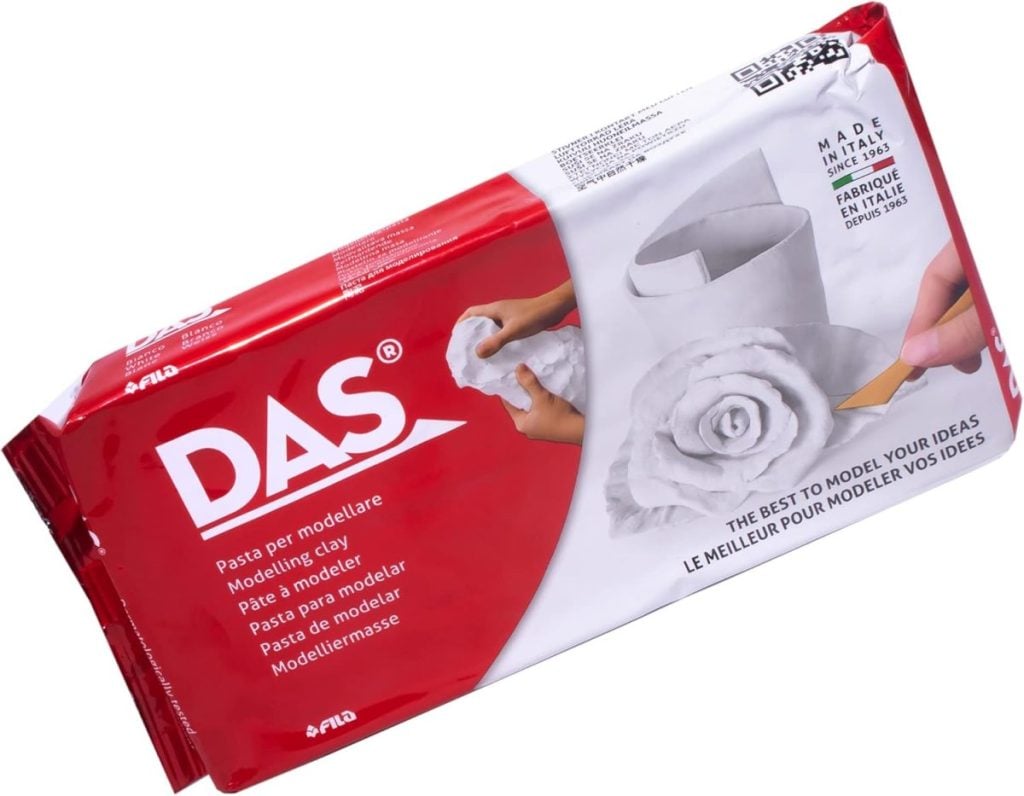
- Air-dry clay (white works best for painting)
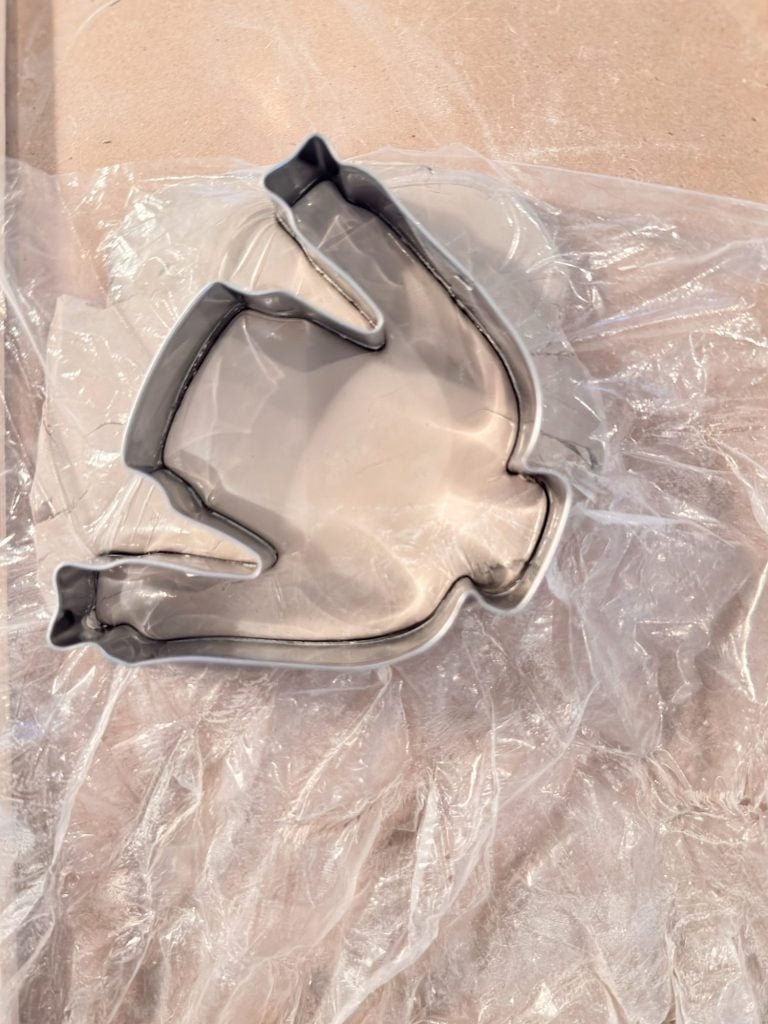
- Sweater-shaped cookie cutter
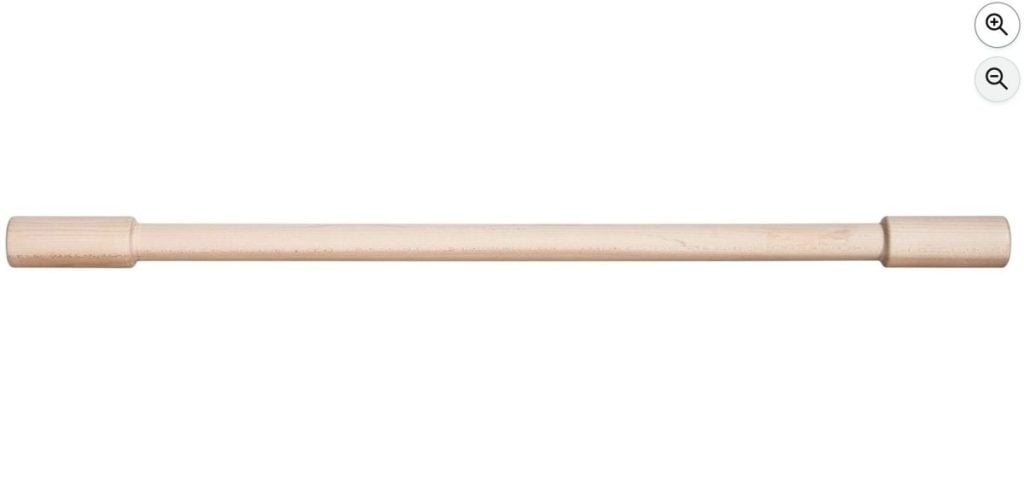
- Rolling pin
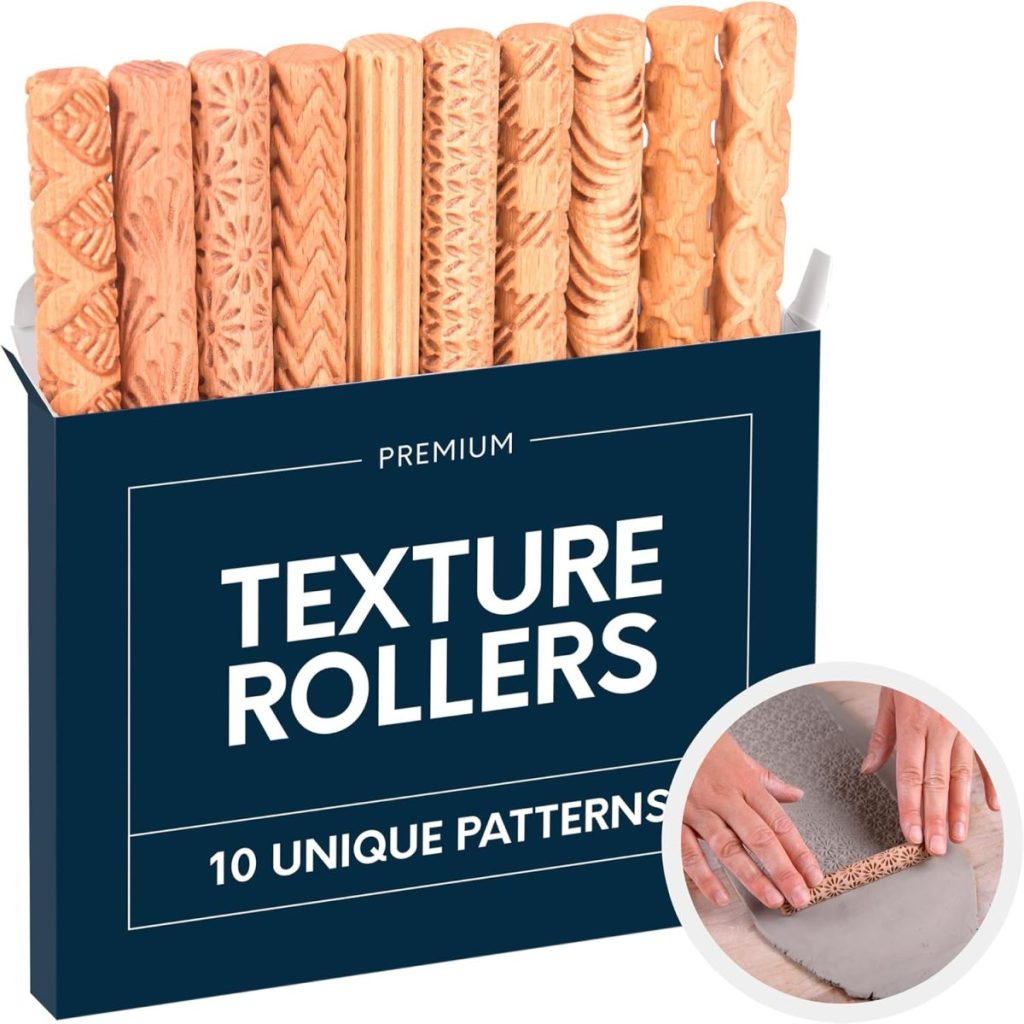
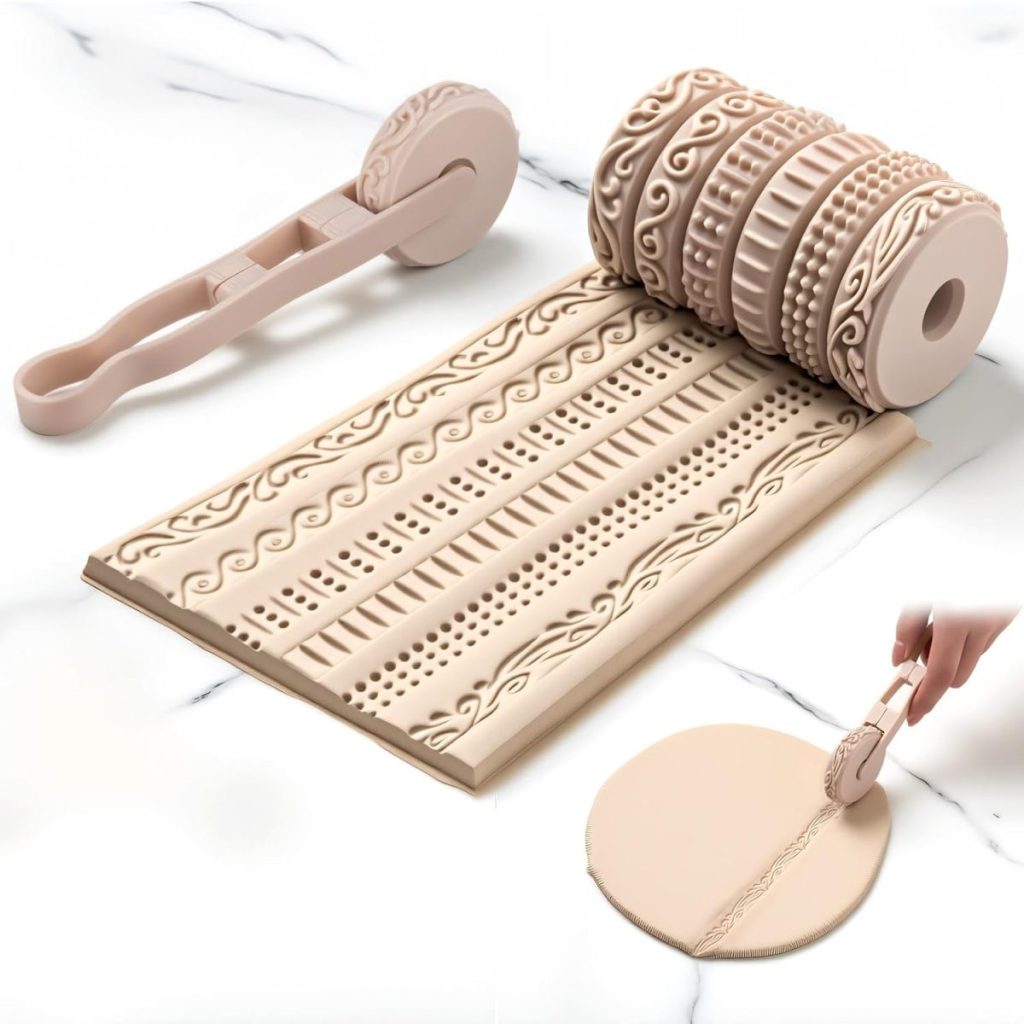
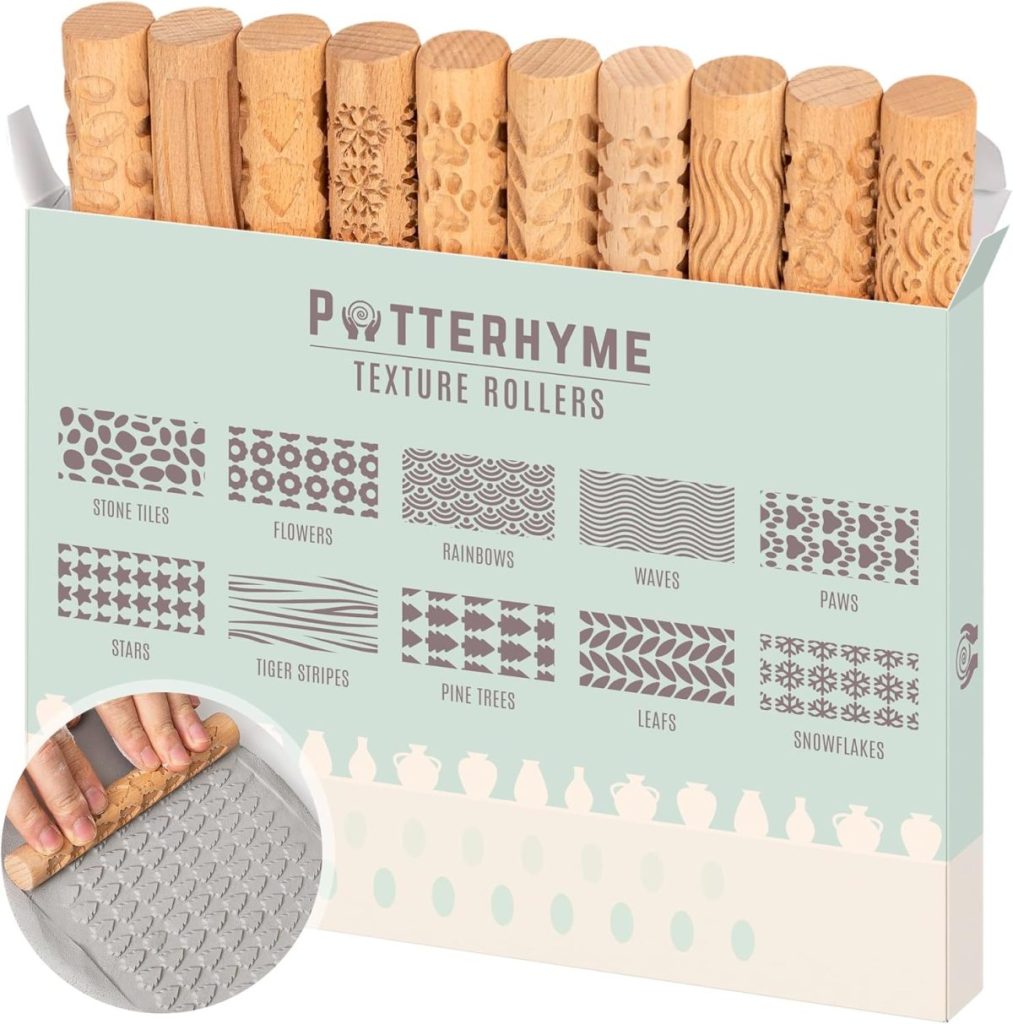
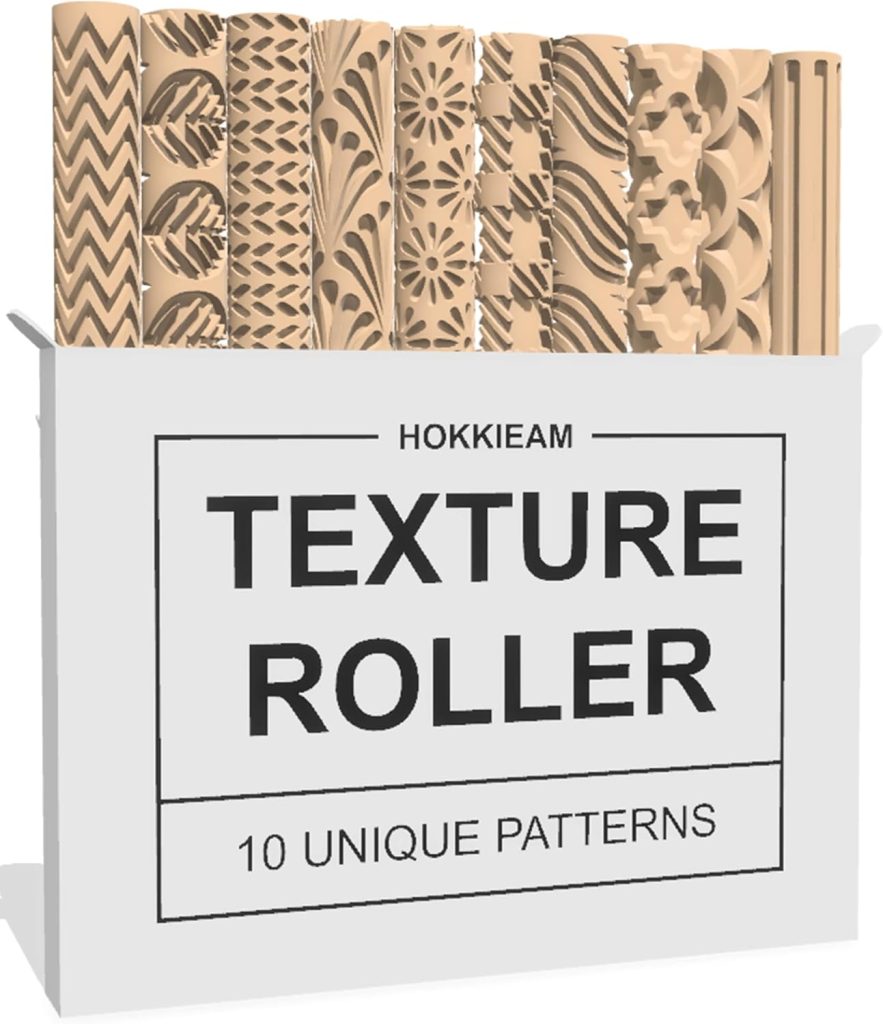
- Textured rollers or stamps (cable knit patterns, dotted textures, basketweave—anything sweater-like!)
- Small kitchen tools for detailing (toothpick, skewer, or sewing wheel for faux stitching)
- Cutting mat or smooth work surface
- Straw or skewer to make a hole for hanging
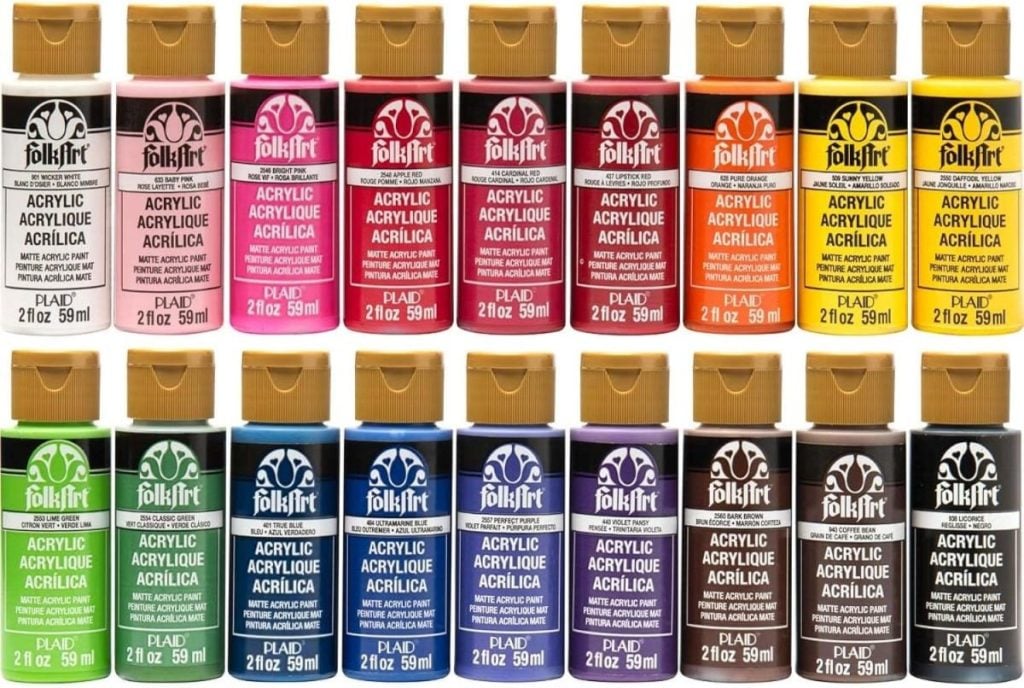
- Acrylic paint (optional, depending on look)
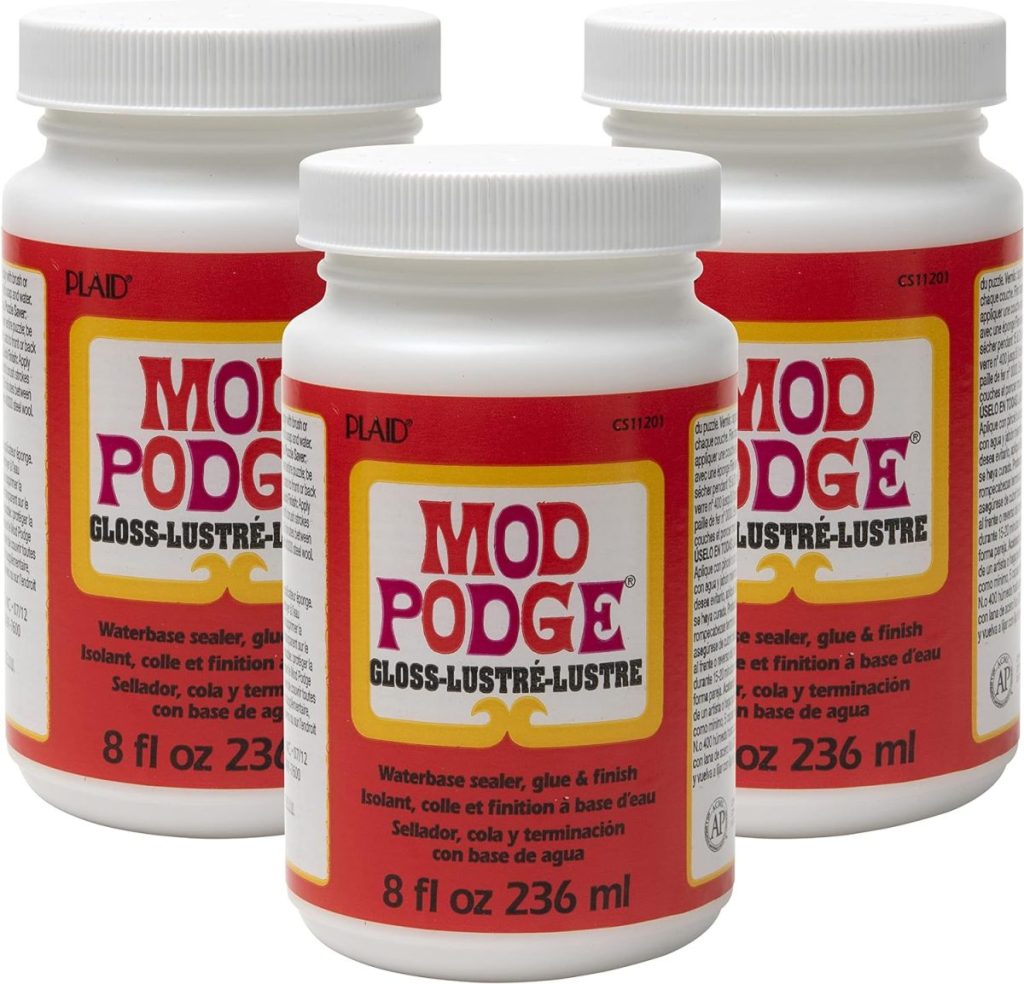
- Mod Podge (for sealing before paint)
- Clay glaze (for sealing after paint)
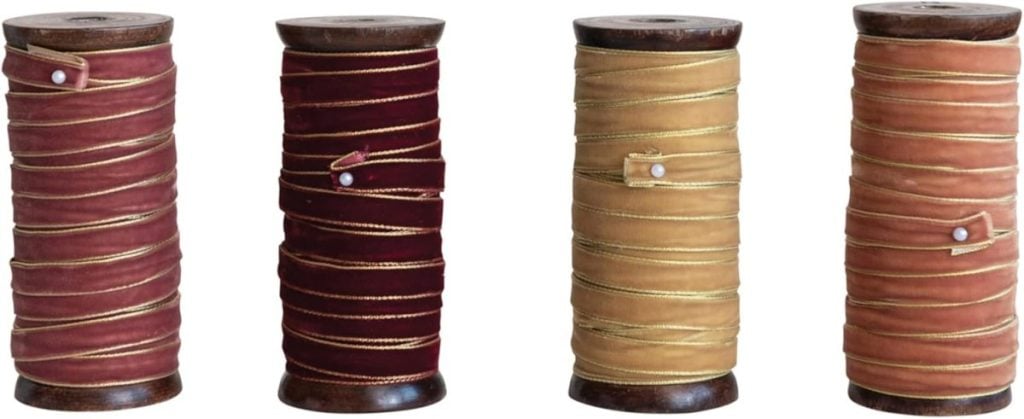
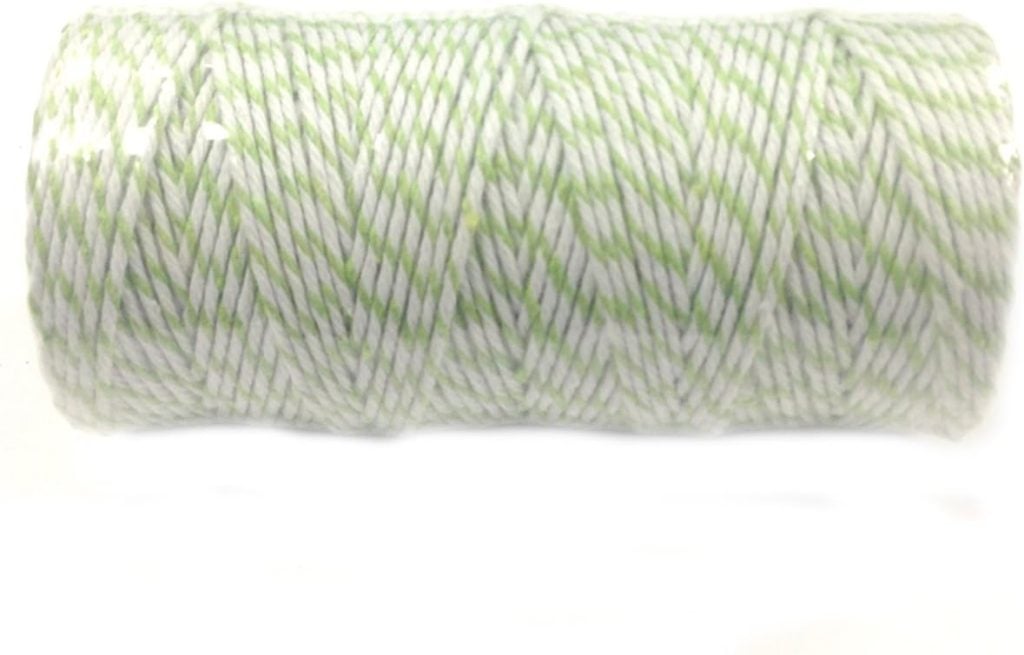
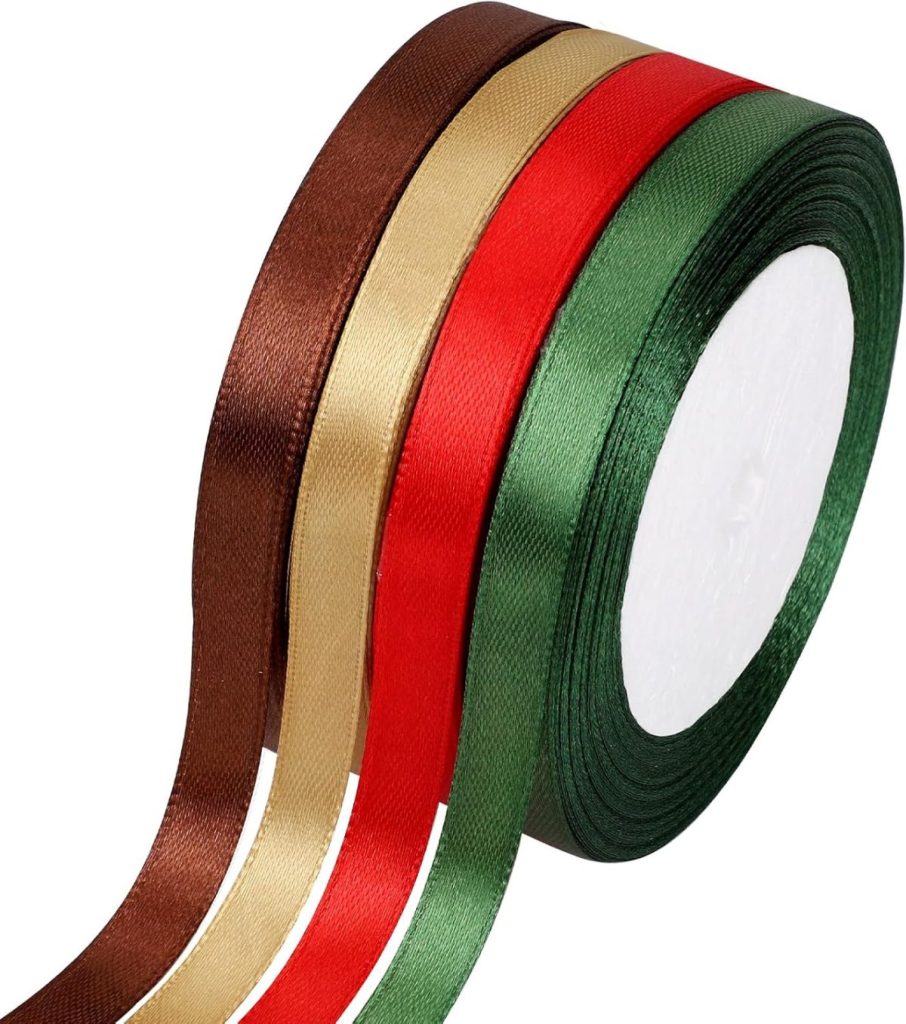
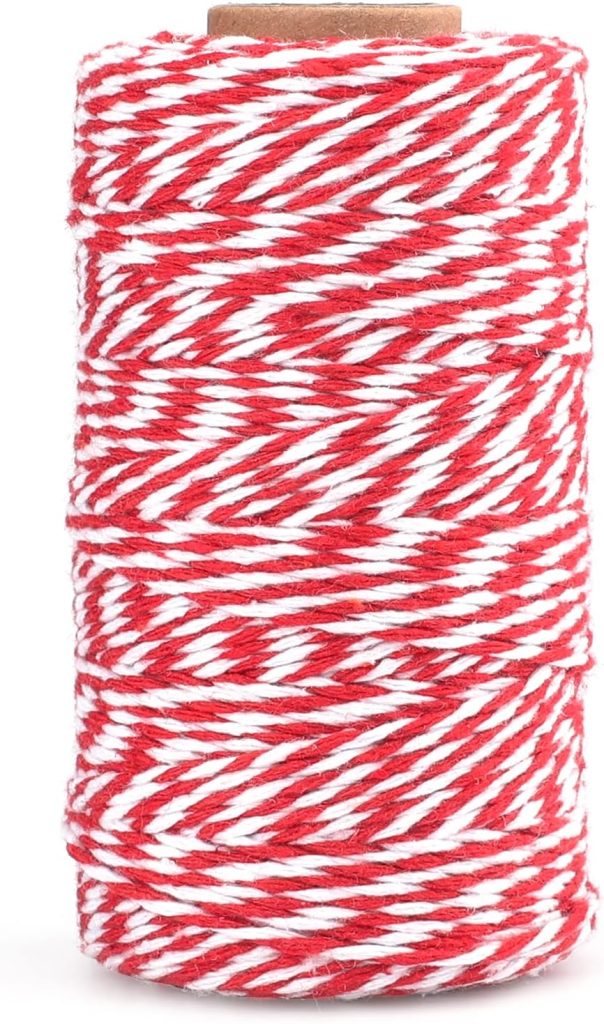
- Ribbon, twine, or yarn for hanging
I may occasionally use affiliate links on this blog, which means I earn a small commission if you purchase through the link. The price will be the same whether you use the affiliate link or go directly to the vendor’s website using a non-affiliate link.


Optional but fun
- Metallic accents
- Baking soda mixed with paint for a textured “knit” look
- Fine-tip paint pens

Step-by-Step: How to Make Sweater Christmas Ornaments
These ornaments follow a simple, relaxing rhythm: roll, cut, texture, dry, paint, seal.
1. Prepare Your Clay
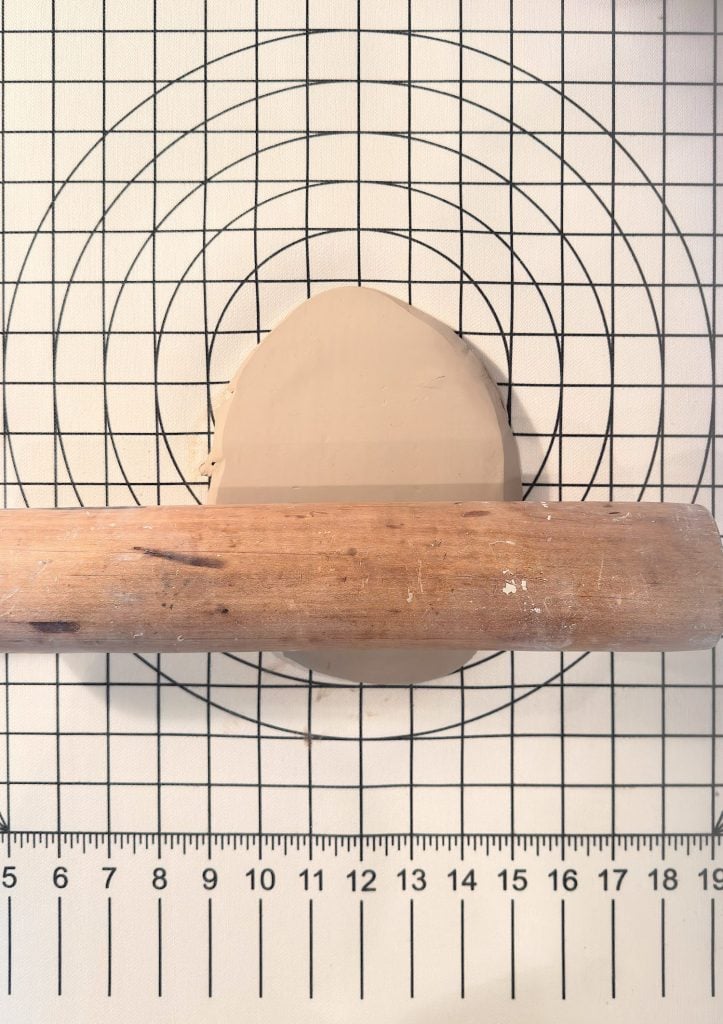
Start by kneading your air-dry clay for 1 to 2 minutes. This helps soften it and prevents cracks later.
Roll it out on a cutting mat using a rolling pin. You’ll want a thickness of about 3/8 inch. Any thinner than that and the sweaters can warp while drying; thicker makes them sturdier and more substantial.
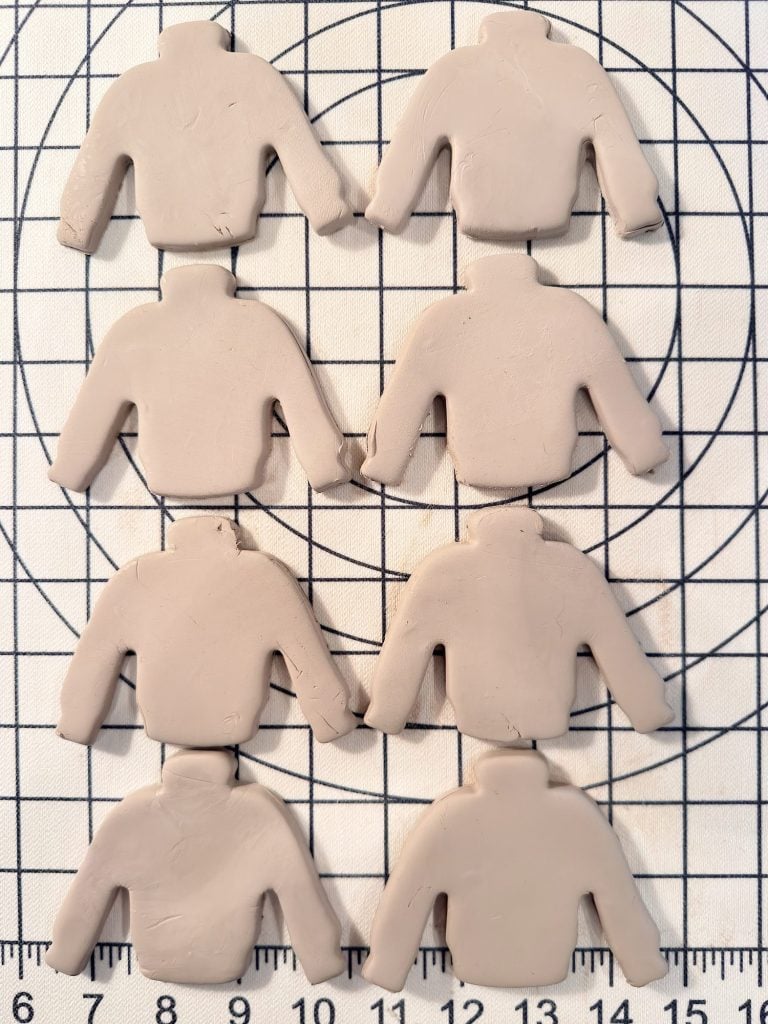
2. Cut Out the Sweater Shapes
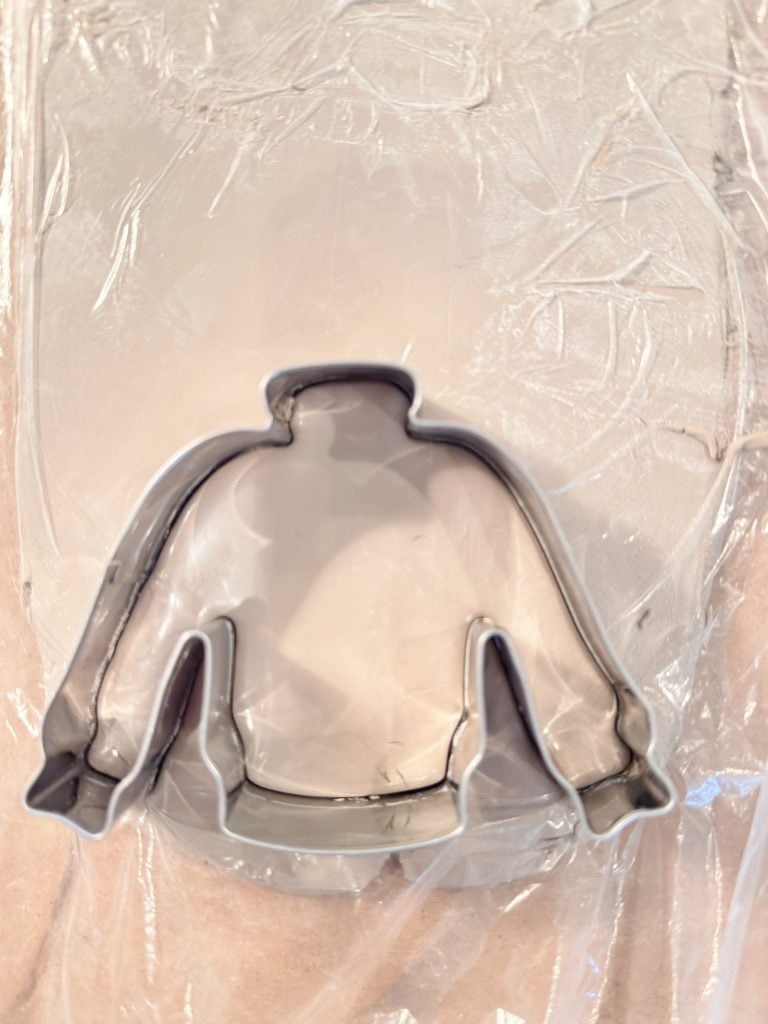
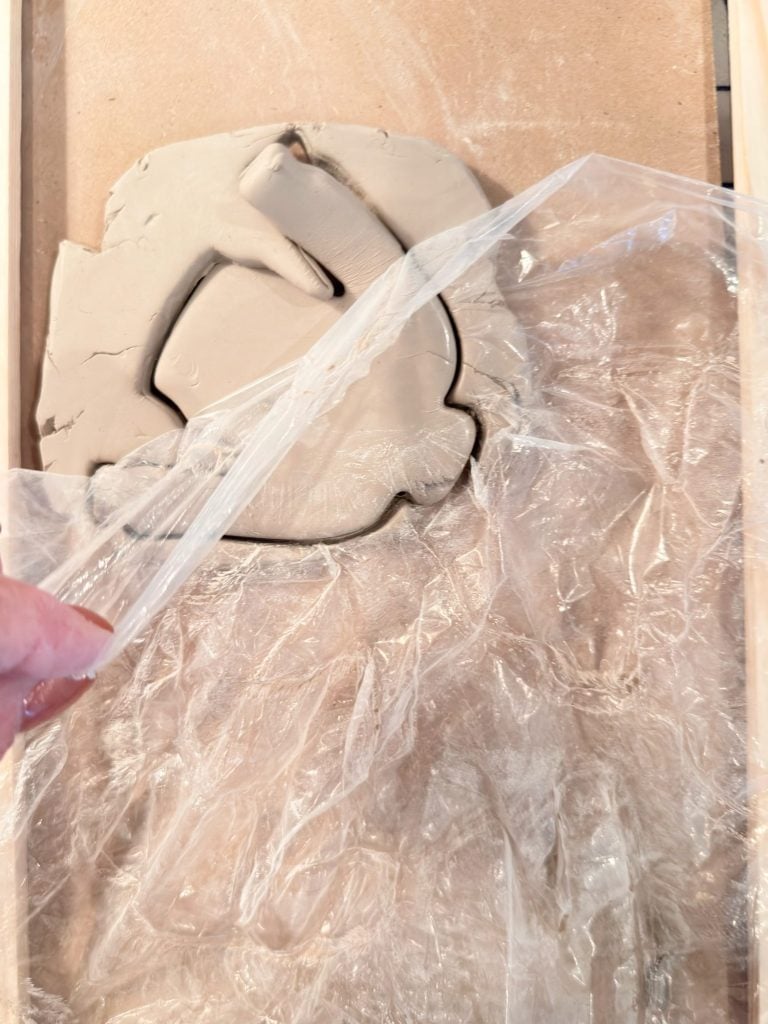
I recently discovered a great way to cut clay with a cookie cutter. First, cover the clay with plastic wrap. Then, using your sweater-shaped cookie cutter, firmly press into the clay and lift straight up. The crisp outline sets the stage for all the charming details you’ll add next.
If you use plastic wrap, the clay won’t stick to the cutter and will lift out easily. If you don’t use plastic, and the clay sticks to the cutter, lightly dust the edges with cornstarch or dip the cutter in water.
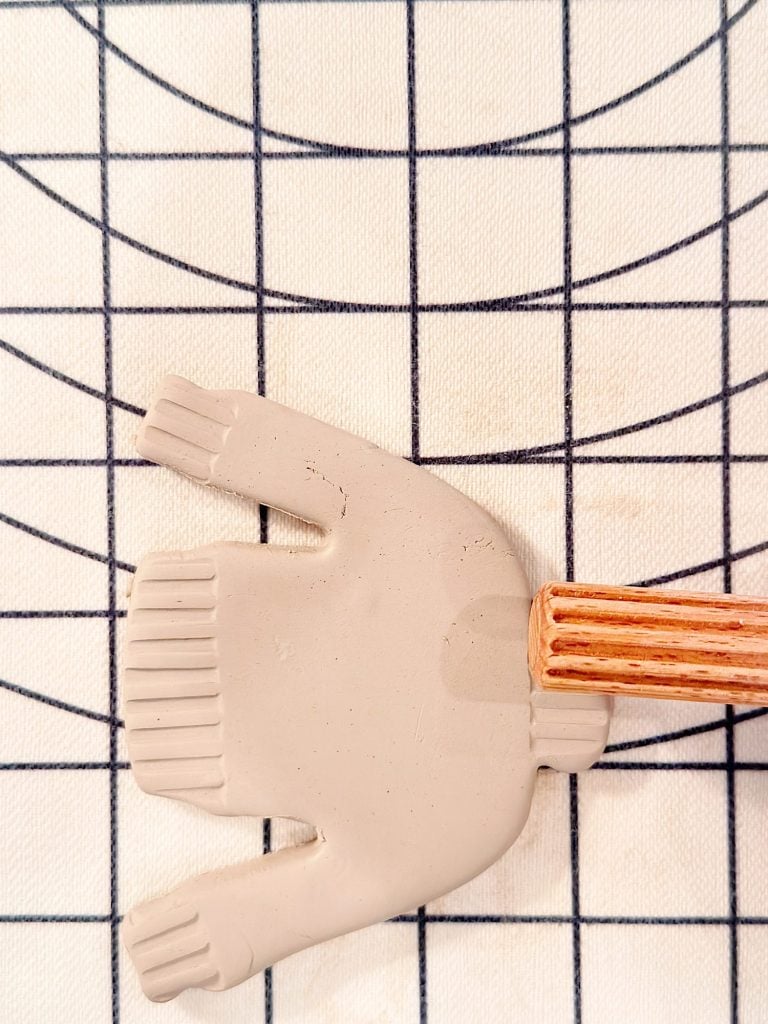
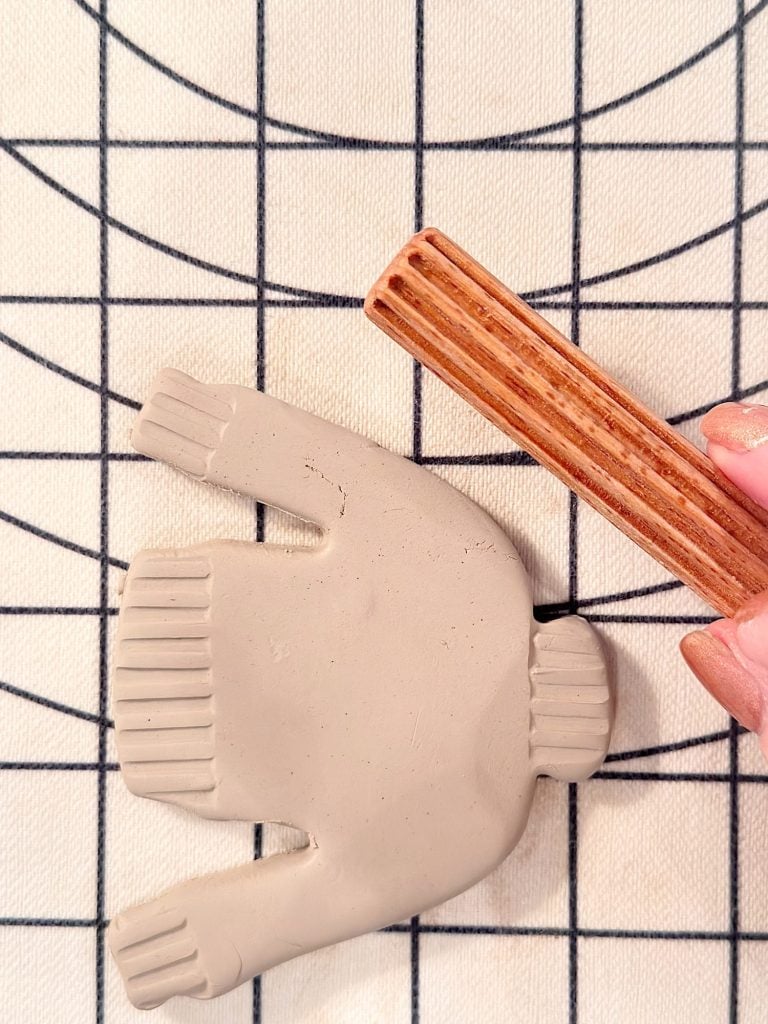
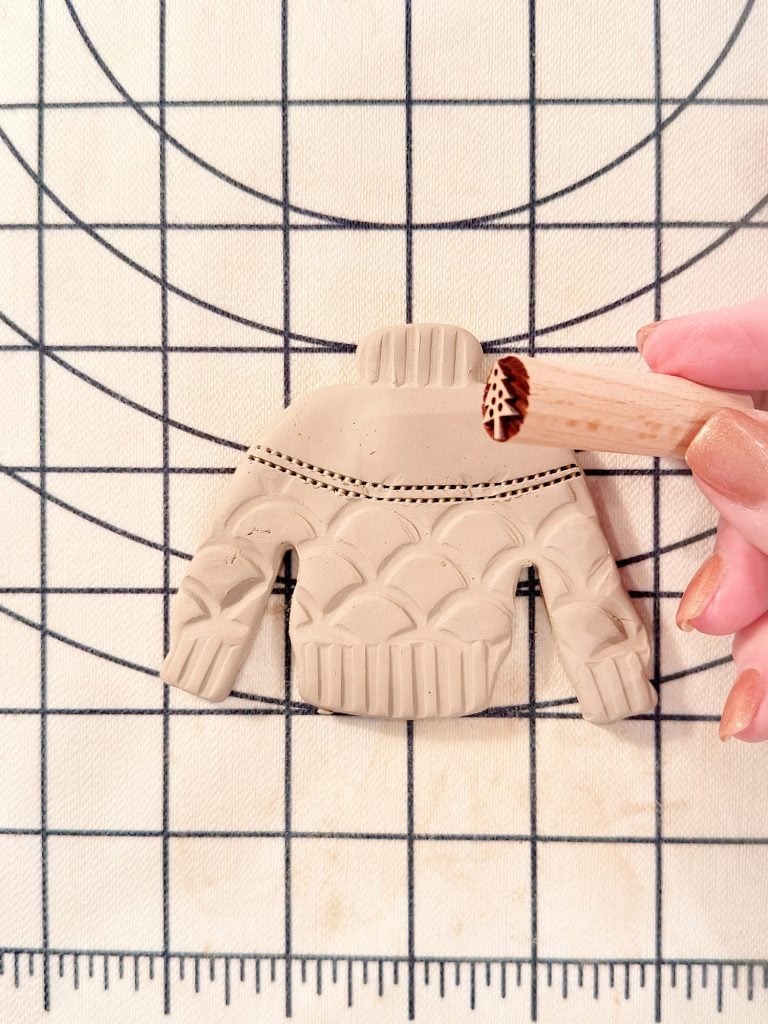
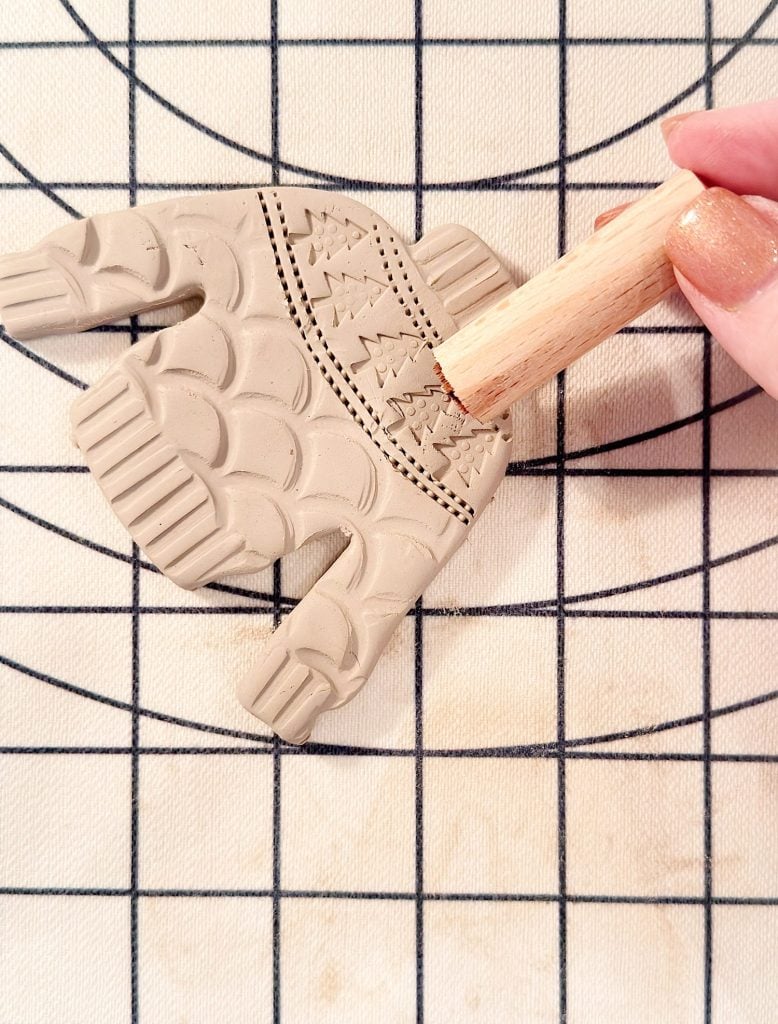
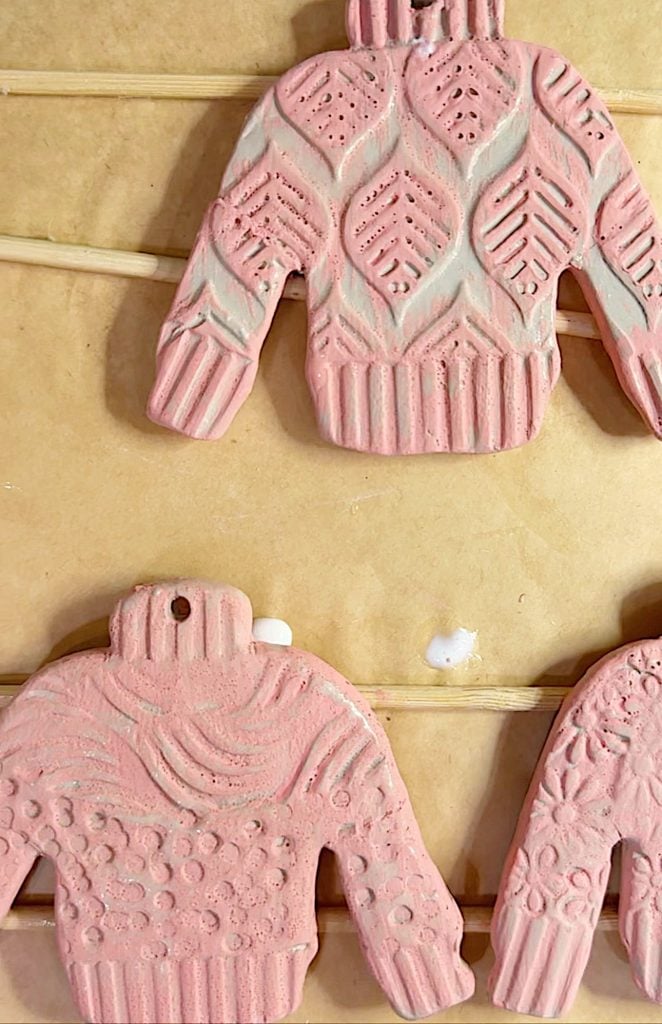
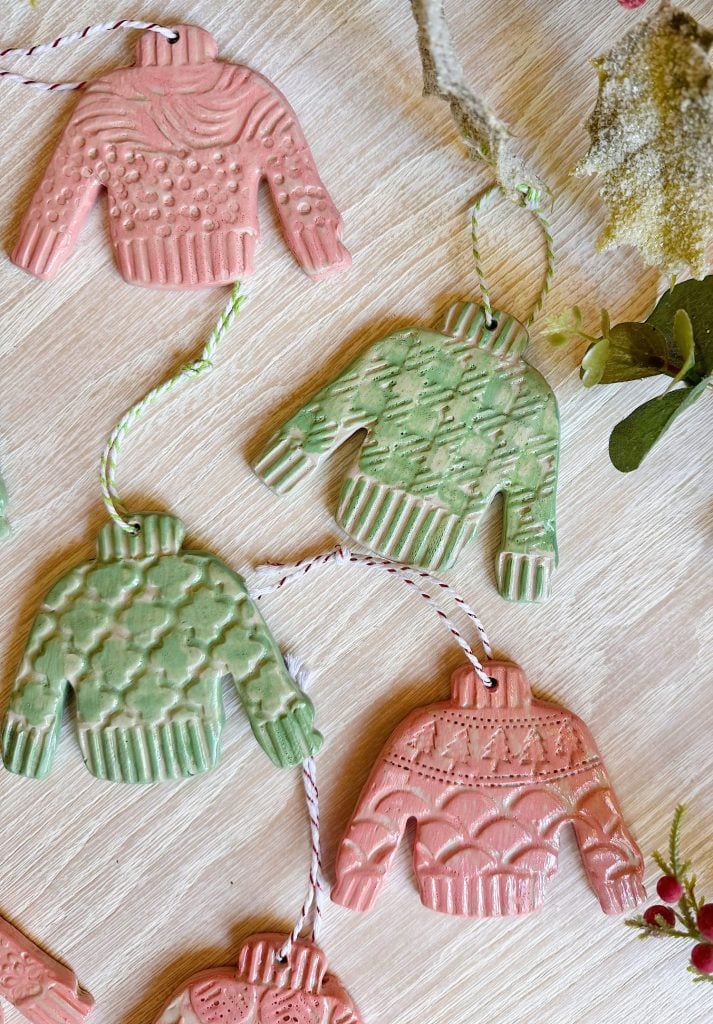
3. Add the Sweater Texture
This is the fun part!
Using your textured rollers, stampers, and small tools, begin adding patterns:
- Cable-knit rollers create that perfect cozy-sweater feel.
- Dot rollers make adorable polka dots or faux stitching.
- Mini carving tools or toothpicks can create decorative stripes on cuffs and collars.
- A sewing wheel glides along the clay, making perfect, tiny dotted lines.
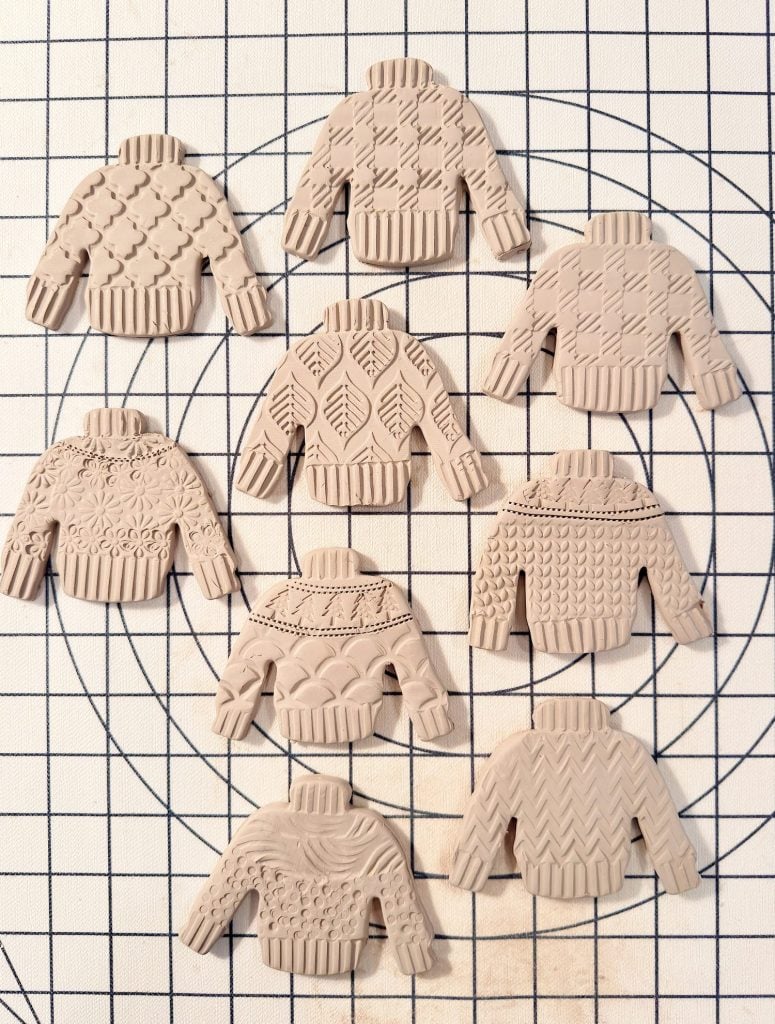
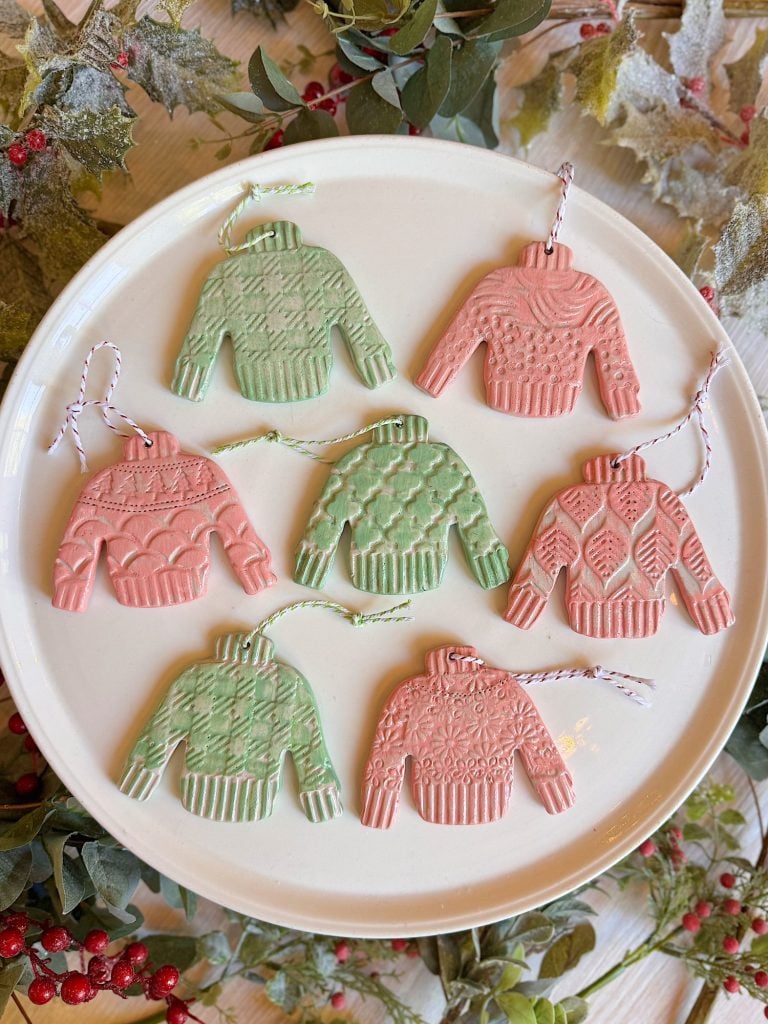
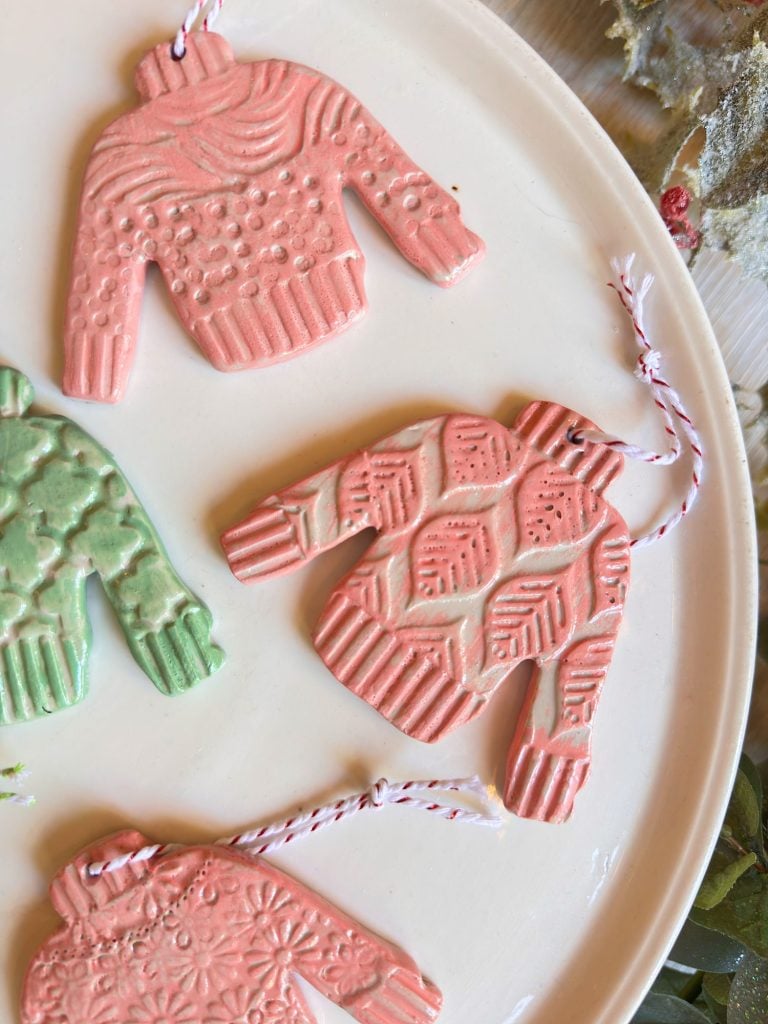
I absolutely love making these, and it was pretty easy. Add the collar and cuff design first, then add in the other details.
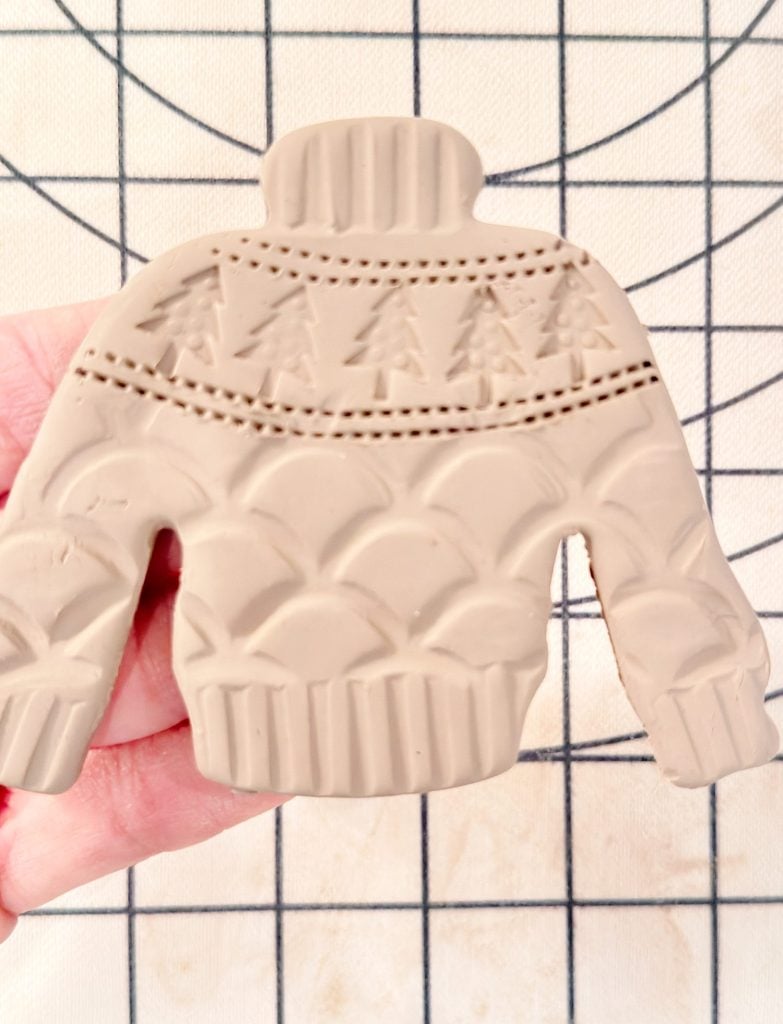
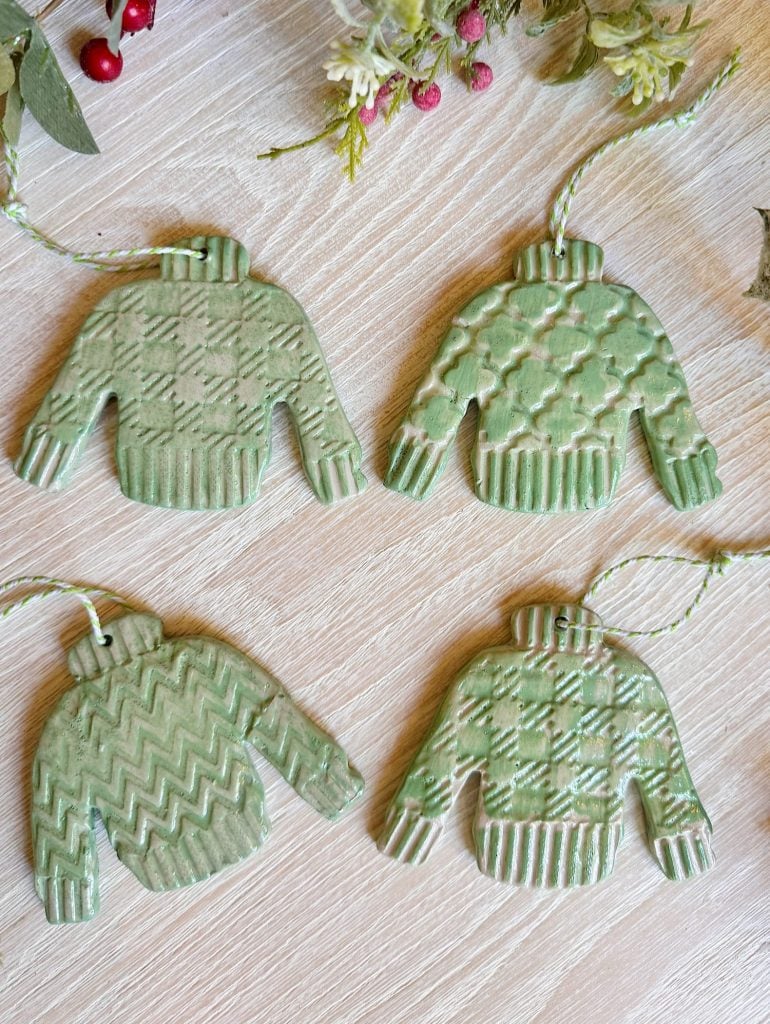
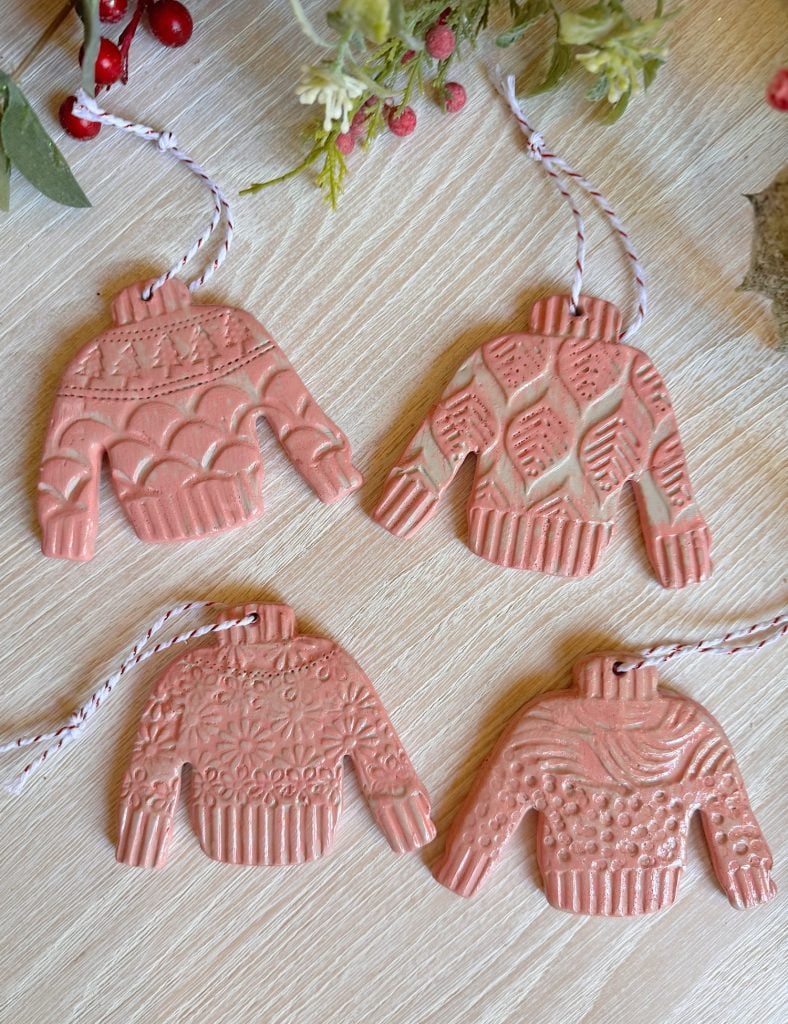
Here are two more sweaters I made, along with the rollers I used to add the design.

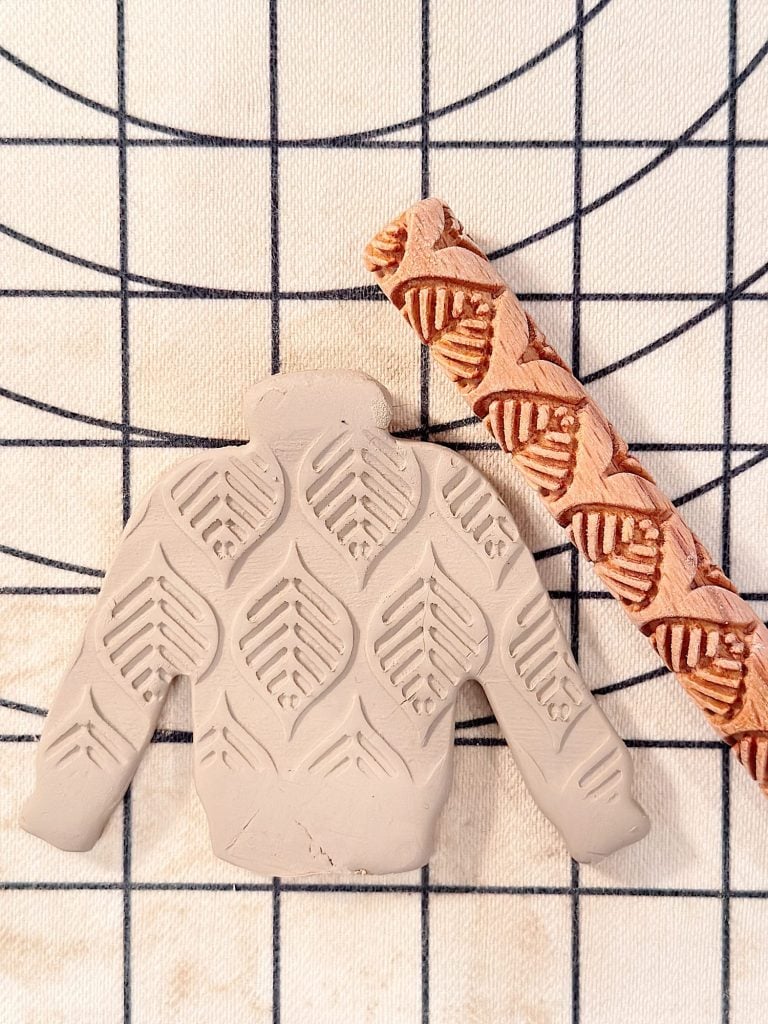

There’s no wrong way to do this. Some of my sweaters have mixed patterns—ribbed cuffs, cable knit sleeves, and a delicate Nordic band across the chest. Others are uniform and simple.
You can get as detailed or as minimal as you want.
4. Make a Hole for Hanging
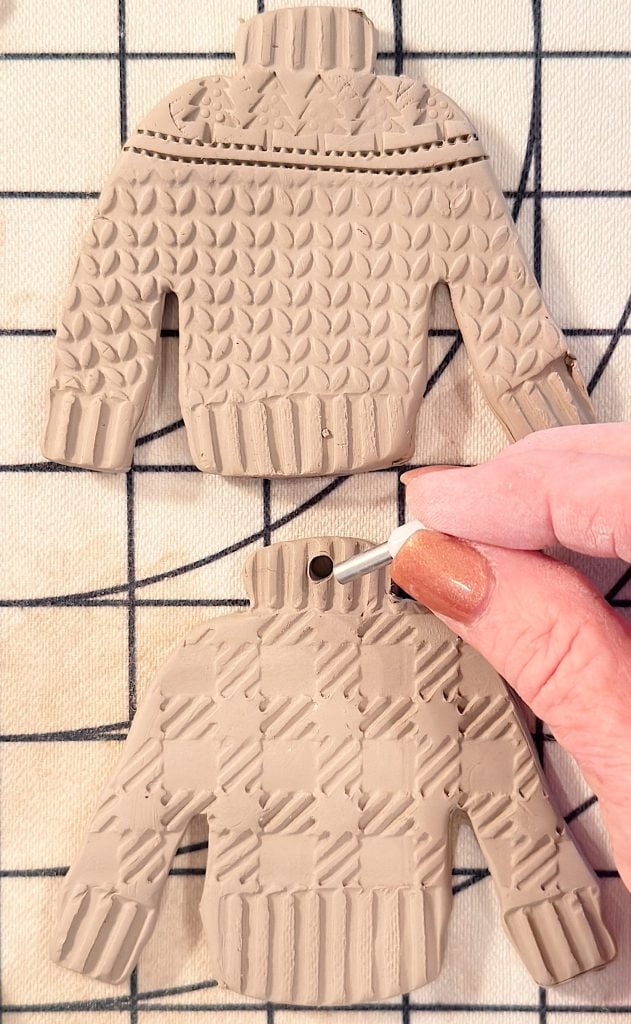
Before the clay dries, create a hole for hanging the ornament. A straw works perfectly for creating a clean, rounded hole, but a skewer works just as well.
Place the hole at the top of the neckline or wherever you want the ornament to hang.
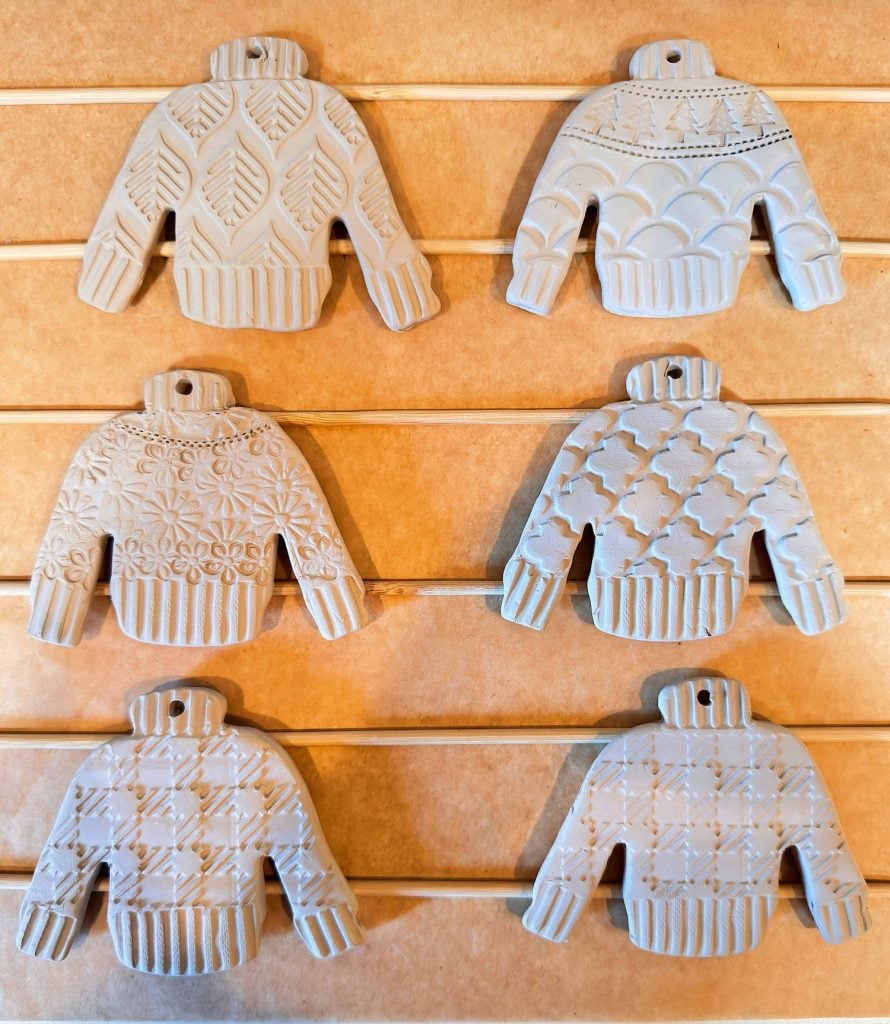
5. Let Them Dry Completely
Air-dry clay typically takes 24–48 hours to dry fully, depending on thickness and humidity. Lay sweaters flat on parchment paper and flip occasionally to prevent curling.
Let them dry naturally, or if you are impatient like me, put them on a baking sheet and bake at 200 degrees until dry. Usually, that is about 20 minutes on each side.
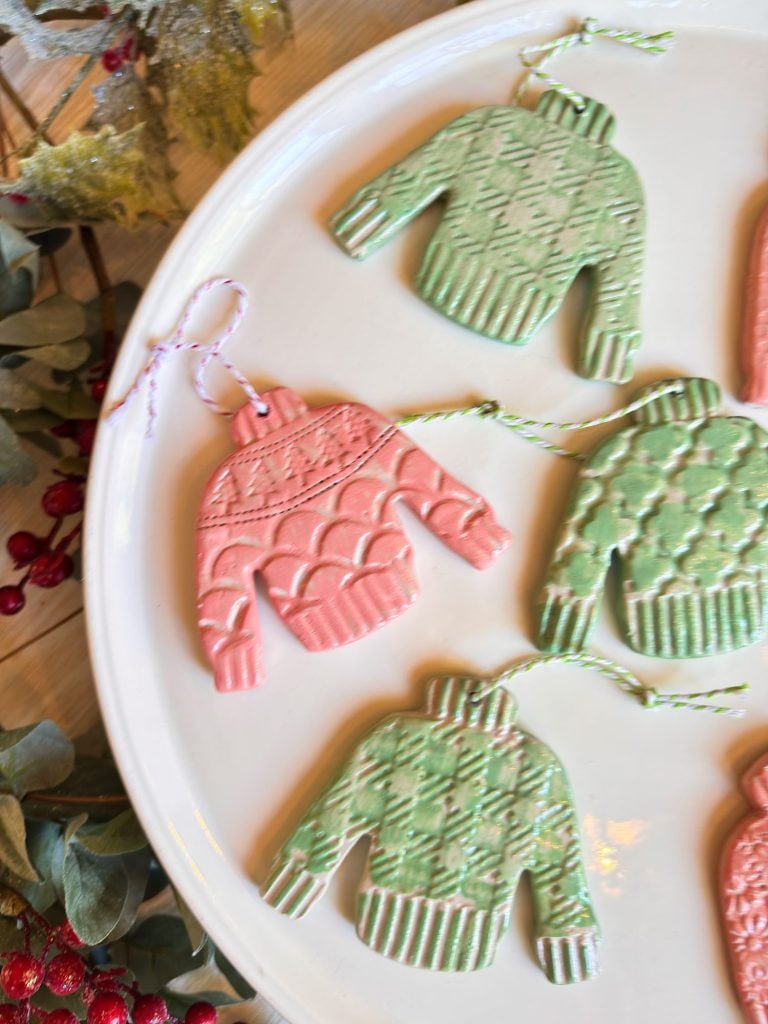
6. Seal, Paint, and Glaze
I use a three-step finishing process:
#1. First Coat: Mod Podge
This seals the clay and creates the perfect base for paint.
#2. Paint

You can paint your sweaters:
- Keep them monochromatic for a Scandinavian vibe
- Paint details only (cuffs, collars, stitches)
- Use soft winter pastels
- Add a pop of Christmas red or green
- Try paint + baking soda for a textured knit look
Or keep them completely white for the clean, frosted pottery feel they have in the inspiration photos.
#3. Final Coat: Clay Glaze
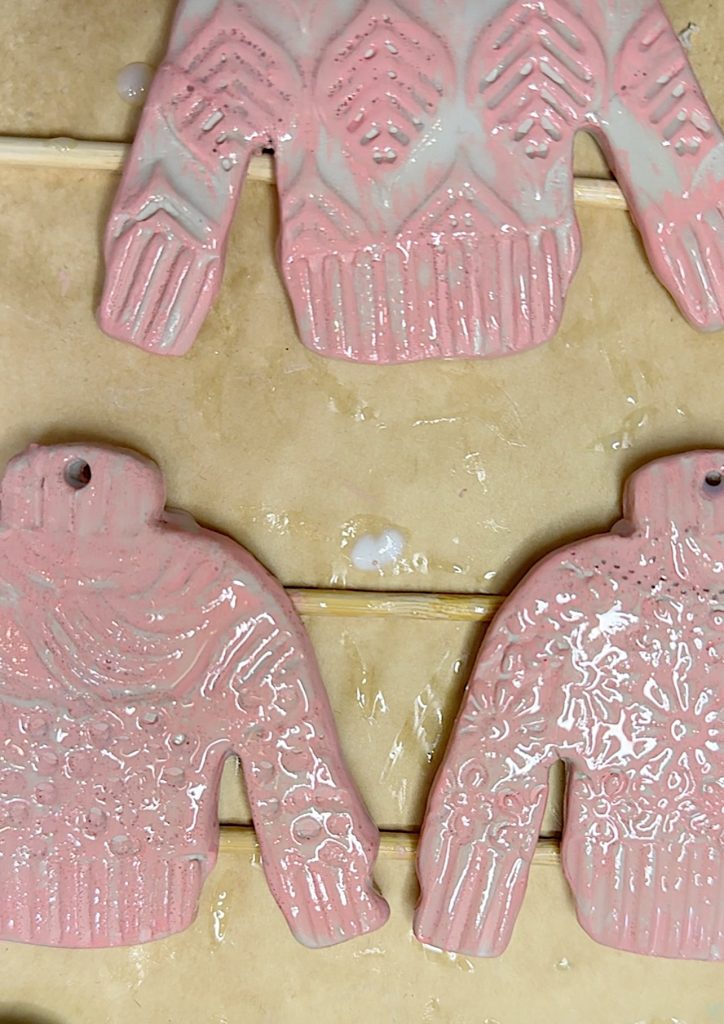
This adds a subtle sheen and protects your ornaments for years to come.
8. Add Ribbon, Twine, or Yarn
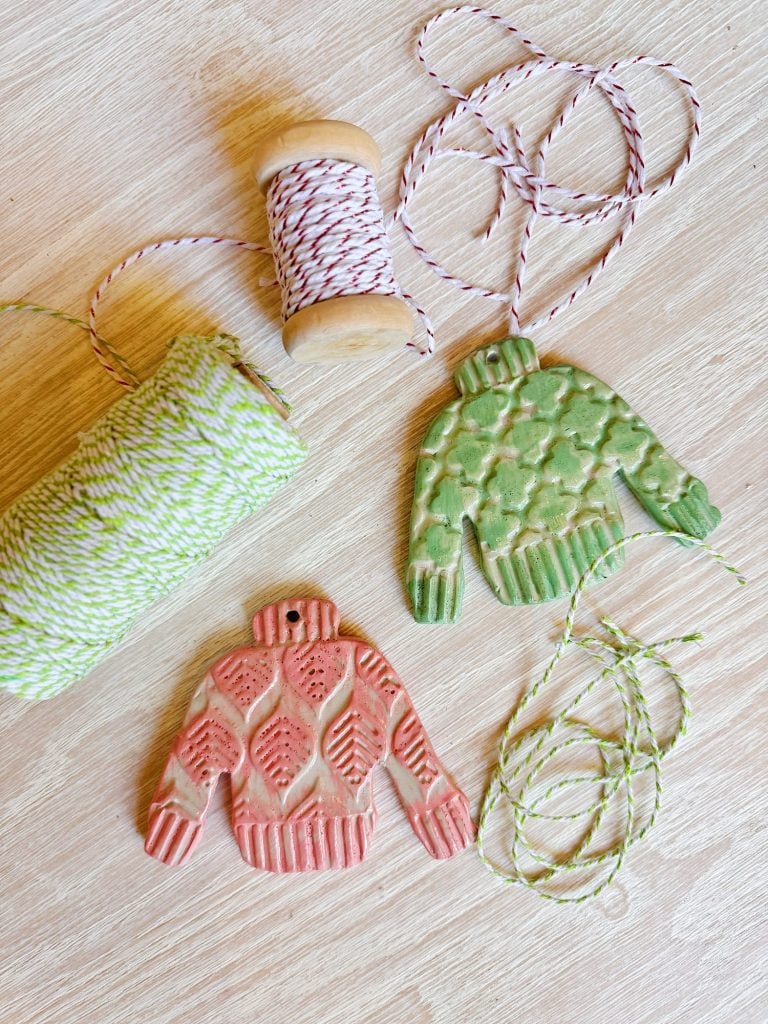
Thread yarn, ribbon, velvet, or twine through the hole you made earlier. Red yarn gives them a nostalgic vintage feel, but any color works depending on your tree décor.
Creative Variation
Once you make one sweater ornament, you’ll immediately have ideas for dozens more. Here are some variations to try:
- Monogram Sweaters – Add initials with a stamping tool or paint pen.
- Snowflake Sweaters – Use fine-tip tools to create intricate Nordic snowflakes.
- Color-Block Sweaters – Paint just the sleeves a different color for a retro style.
- Kids’ Names or Handprints – Make one each year as a keepsake.
- Gift Tag Sweaters – Write the recipient’s name right onto the sweater before gifting.
Tips & Lessons Learned
After making multiple batches, here are a few things I learned:
- Thicker clay + slow drying = no warping
- Smaller textures work better on small sweaters
- Paint pens are your best friend for tiny details
- Sand before painting, not after
- Make extra—people always want one!
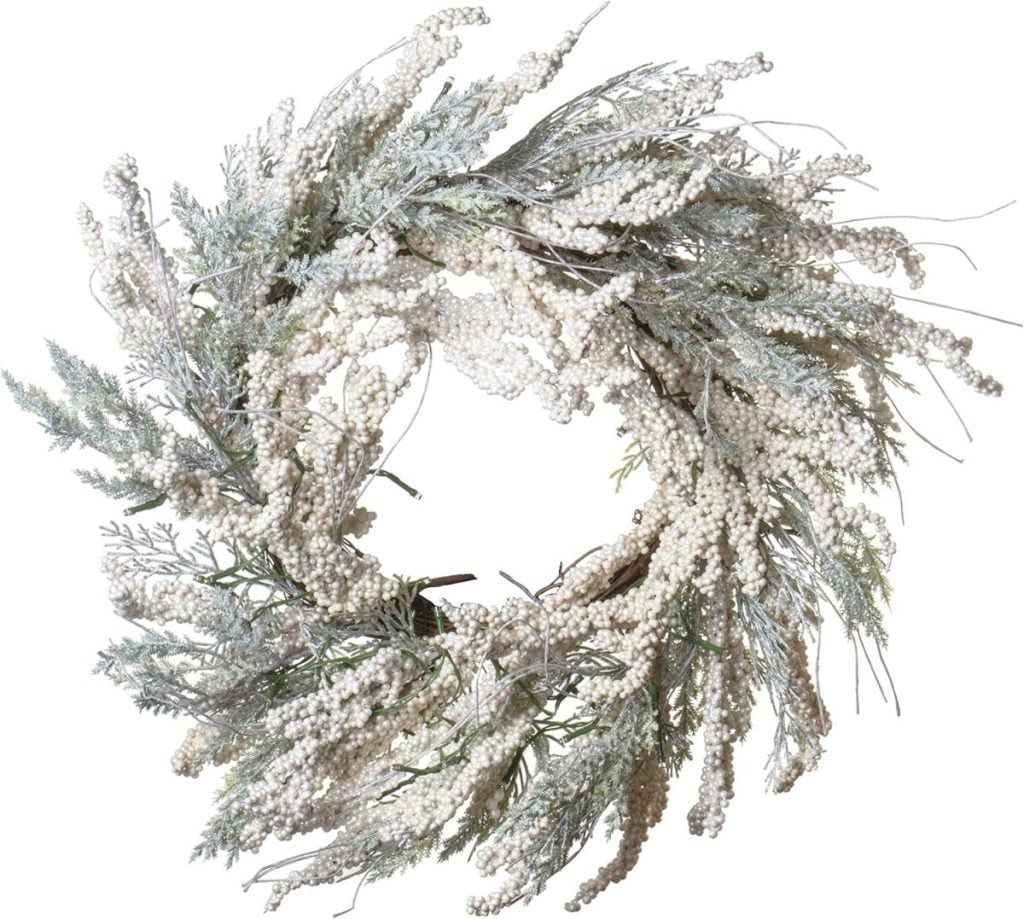
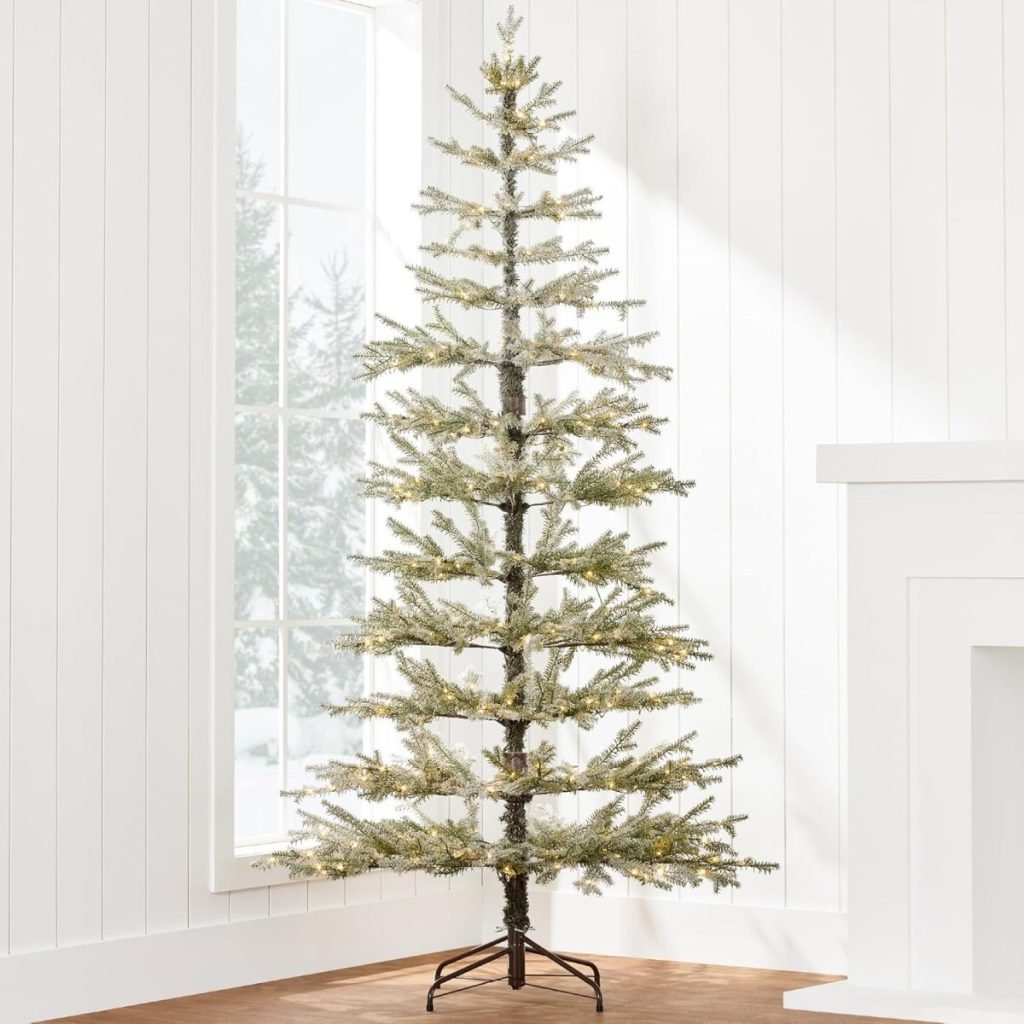
How to Display Your Sweater Ornaments
These ornaments look adorable on:
- A full Christmas tree
- A mini tree dedicated to handmade ornaments
- A garland
- A gift as a tie-on
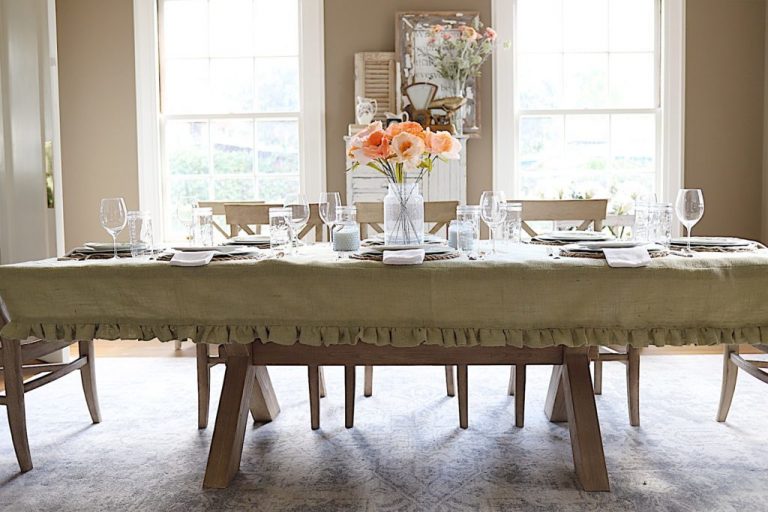
- A holiday place setting
- A wreath
- Peg hooks in an entryway
- A bakery stand or tiered tray

They also make great friend gifts, teacher gifts, coworker surprises, hostess gifts, or thoughtful little keepsakes for your holiday guests.
Why I Love This Project
There’s something incredibly relaxing about rolling clay and adding tiny sweater textures. These ornaments are one of those projects that feels nostalgic and comforting, like sipping hot cocoa by the tree. They’re easy, kid-friendly, beautiful, and meaningful—the perfect combination for handmade holiday décor.
And truly, each one turns out differently. Some are charmingly imperfect; some look like real tiny knit sweaters. All of them bring a smile.
Final Thoughts – A Handmade Christmas Keepsake
Week 14 of A Handmade Christmas has felt especially joyful. These Sweater Christmas Ornaments capture that magical combination of whimsy and craft that I love so much during the holidays.
Handmade ornaments have a way of carrying memories year after year, and I hope these sweet little sweaters become part of your holiday traditions, too.
If you make them, please share! I love seeing your creations and how you customize each project to fit your home and your holiday style.
If you enjoy my blog, you can sign up to receive my updates here.
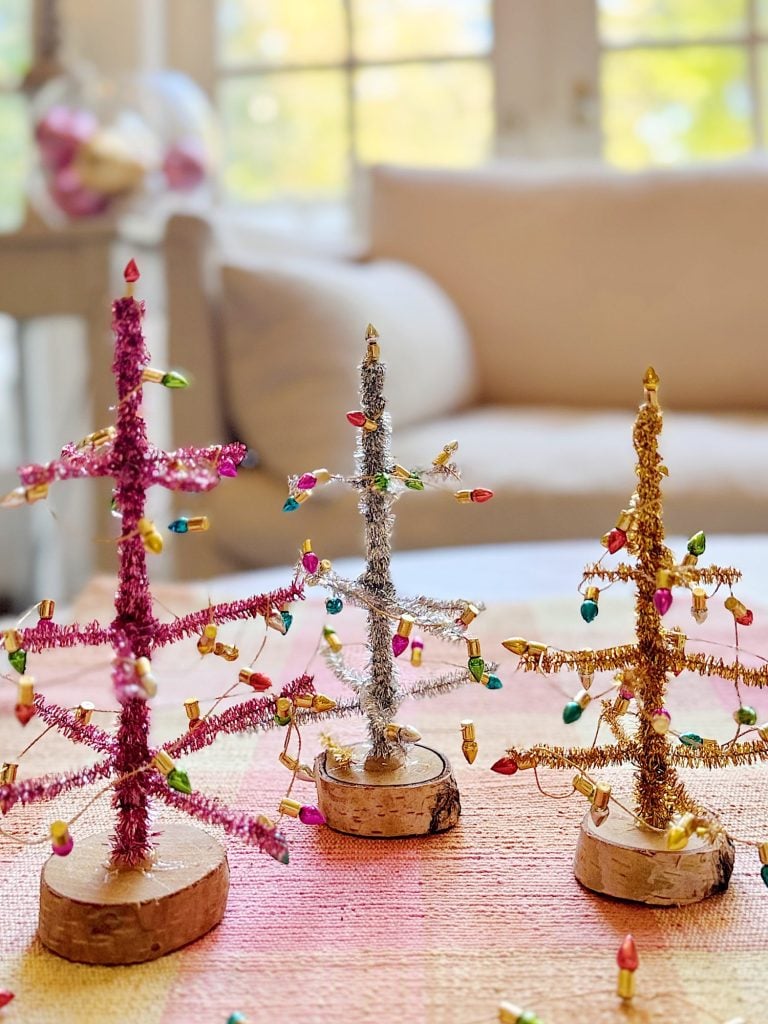
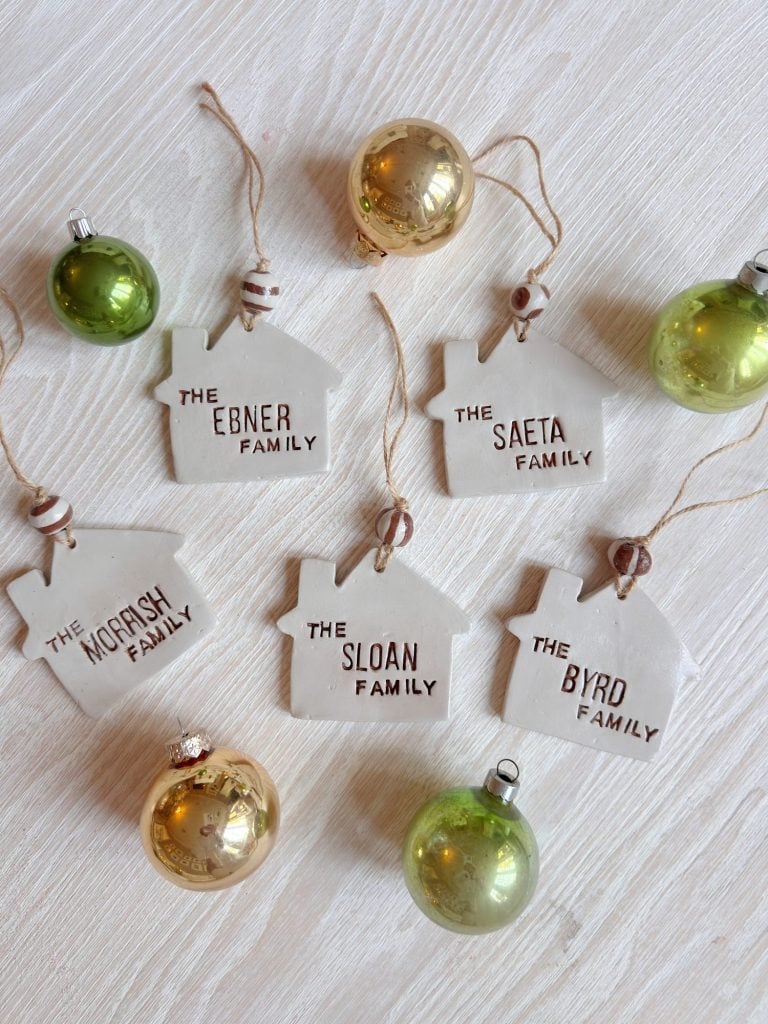
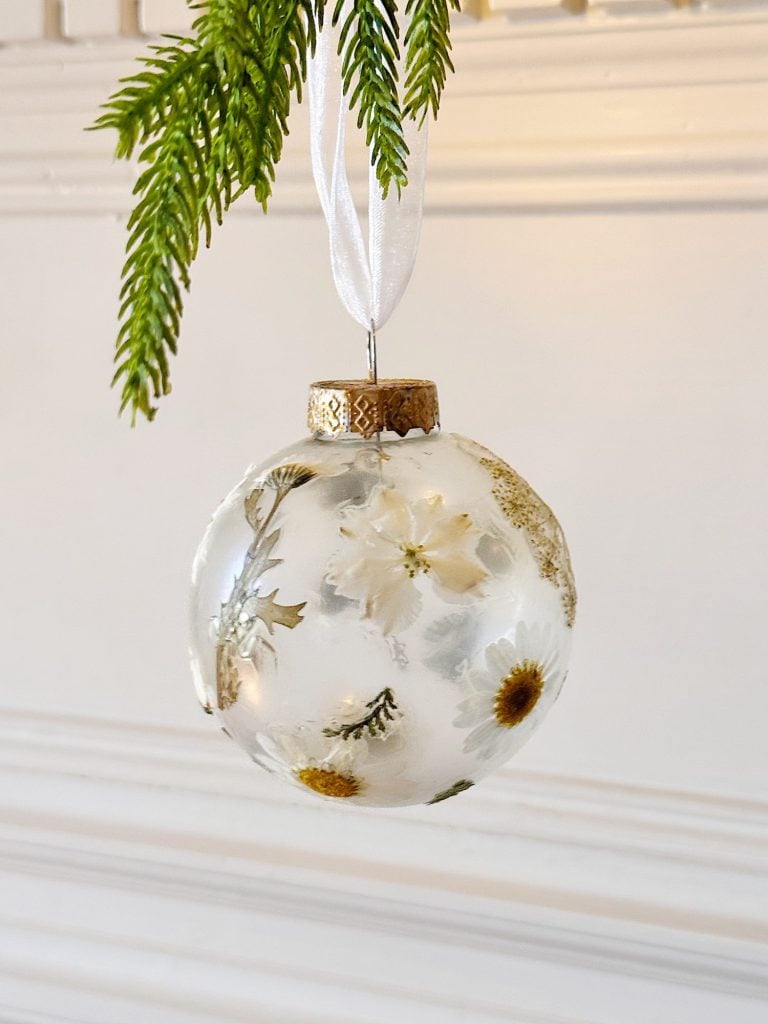
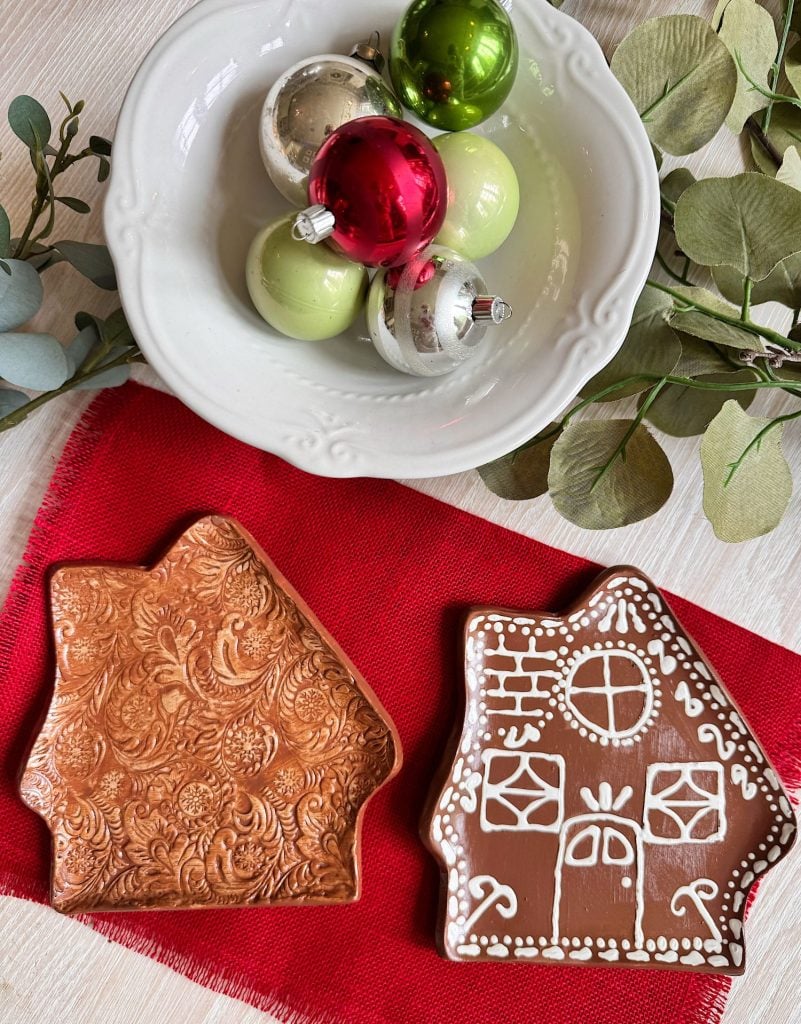
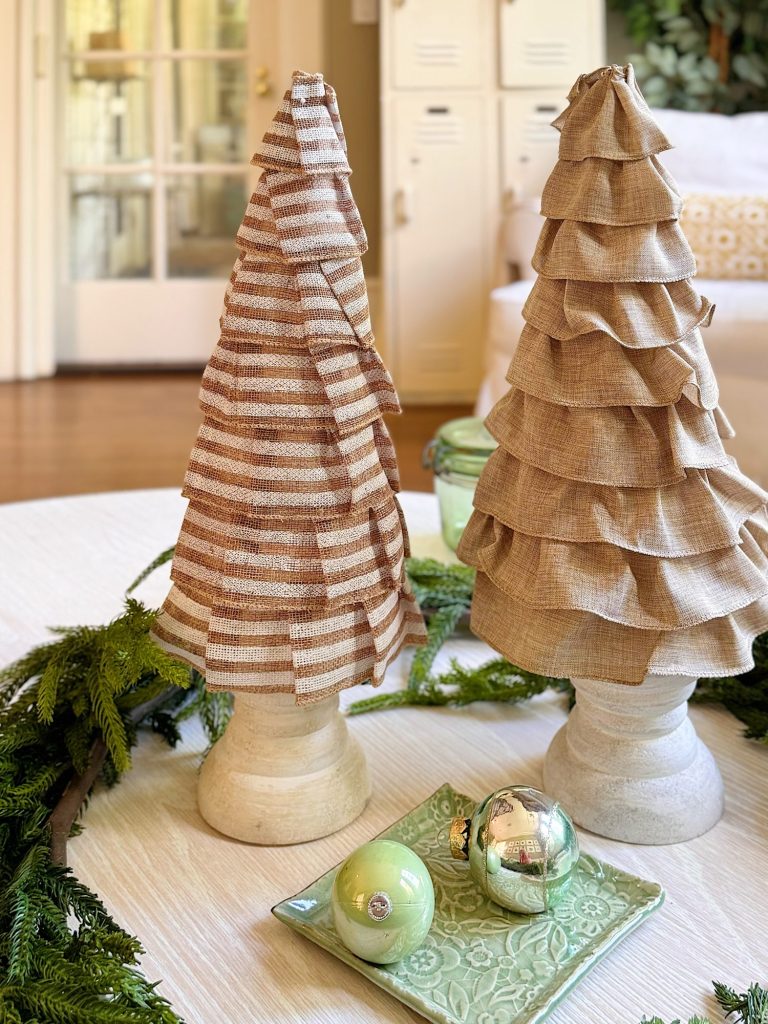
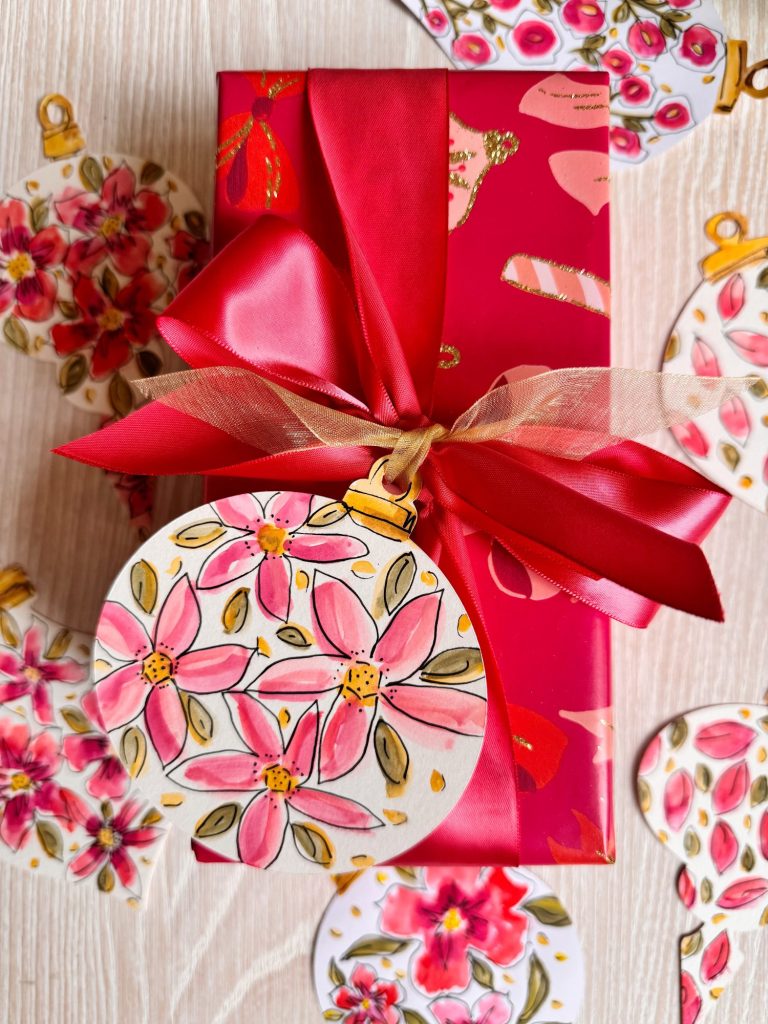
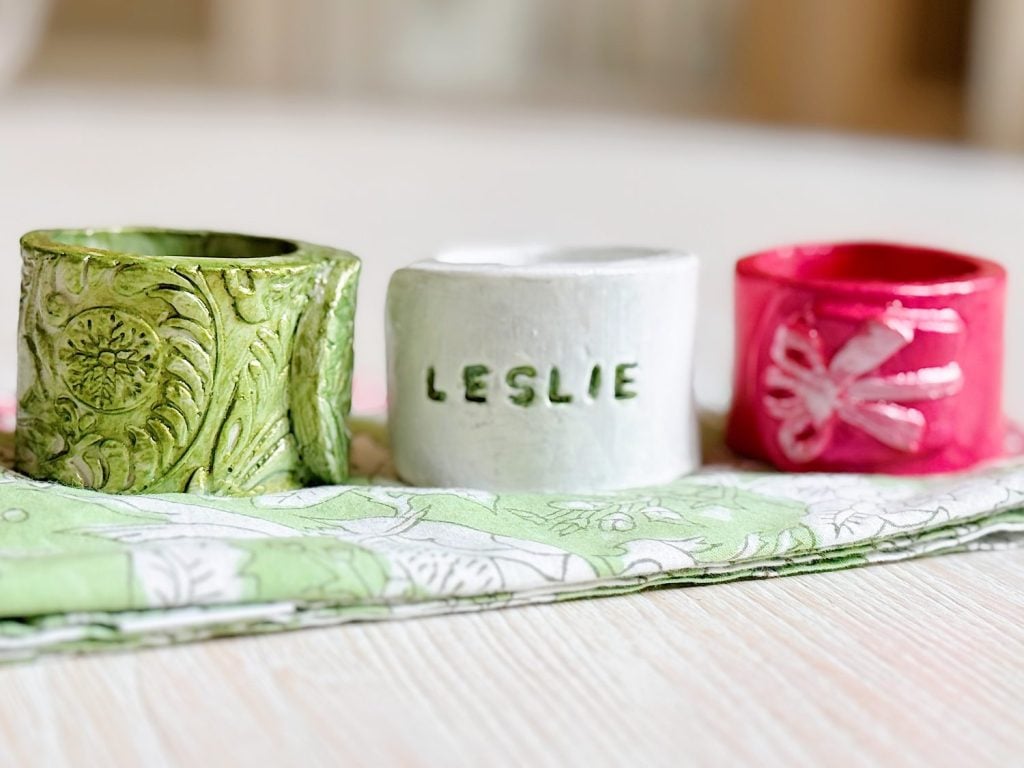
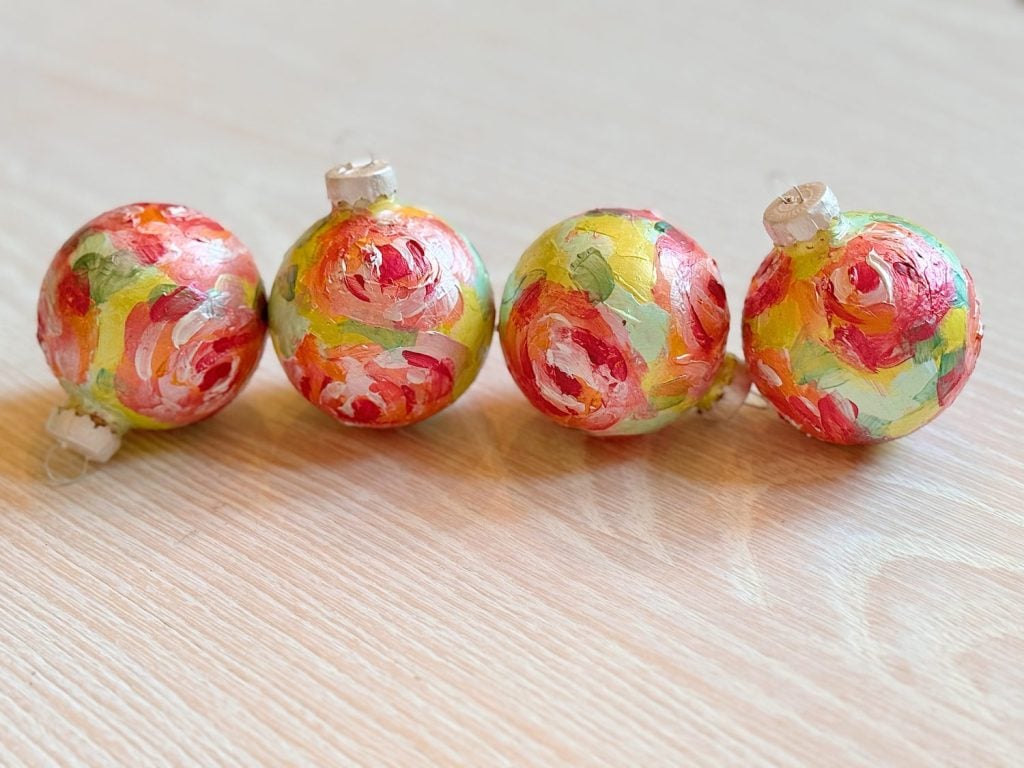
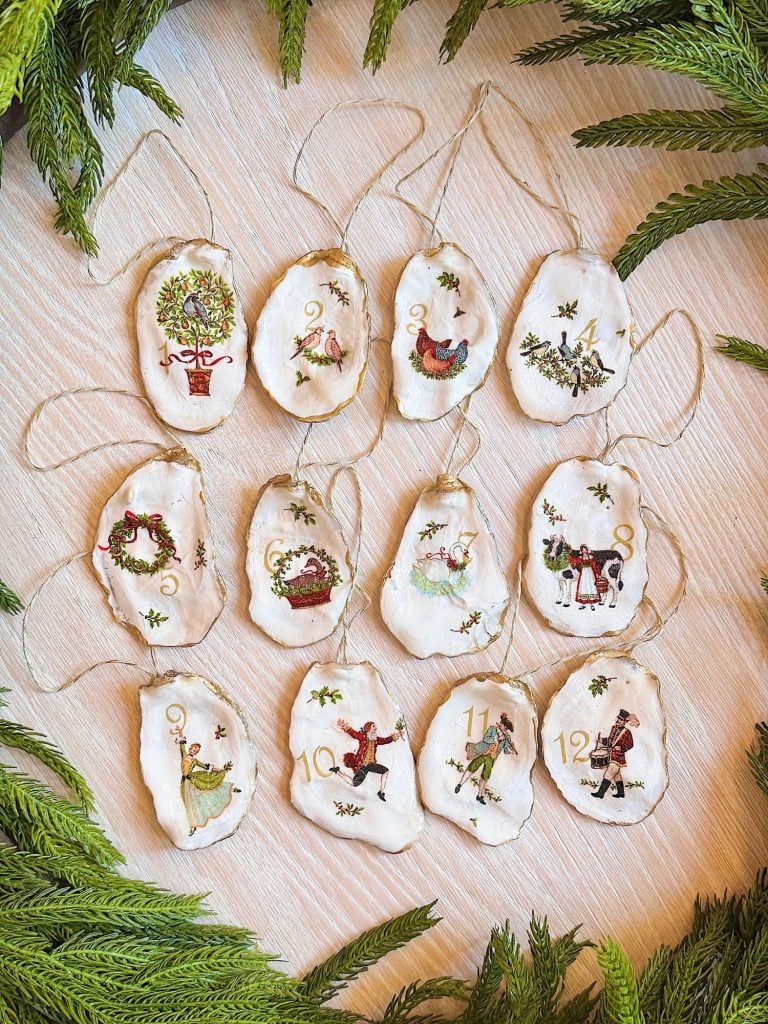
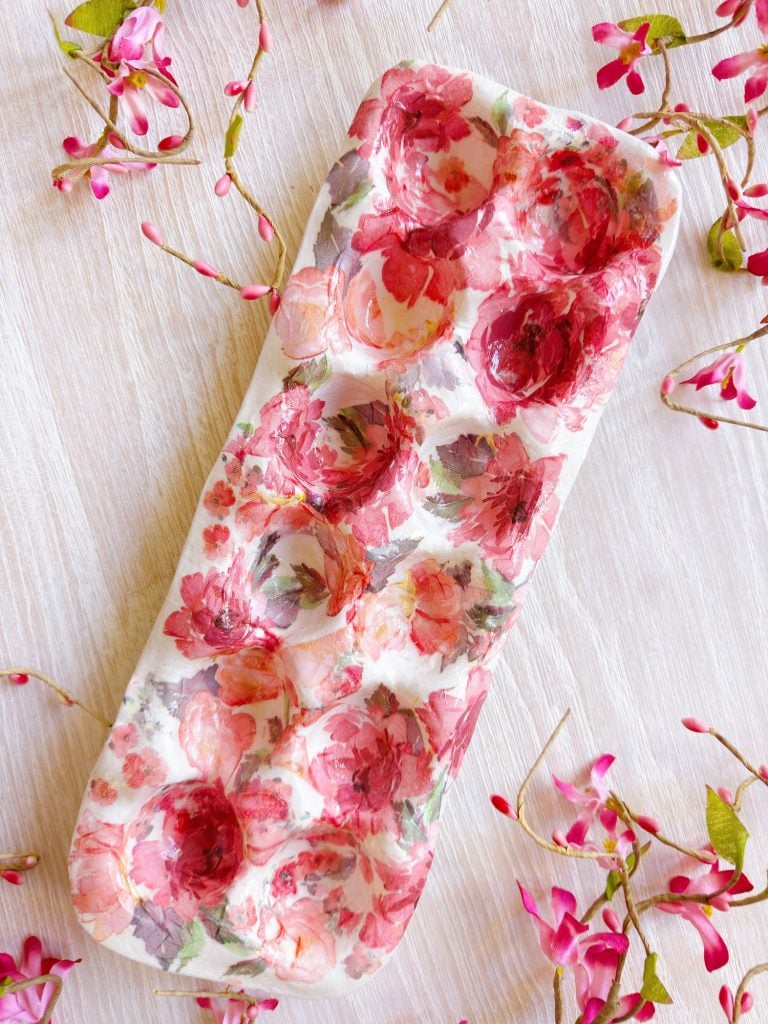
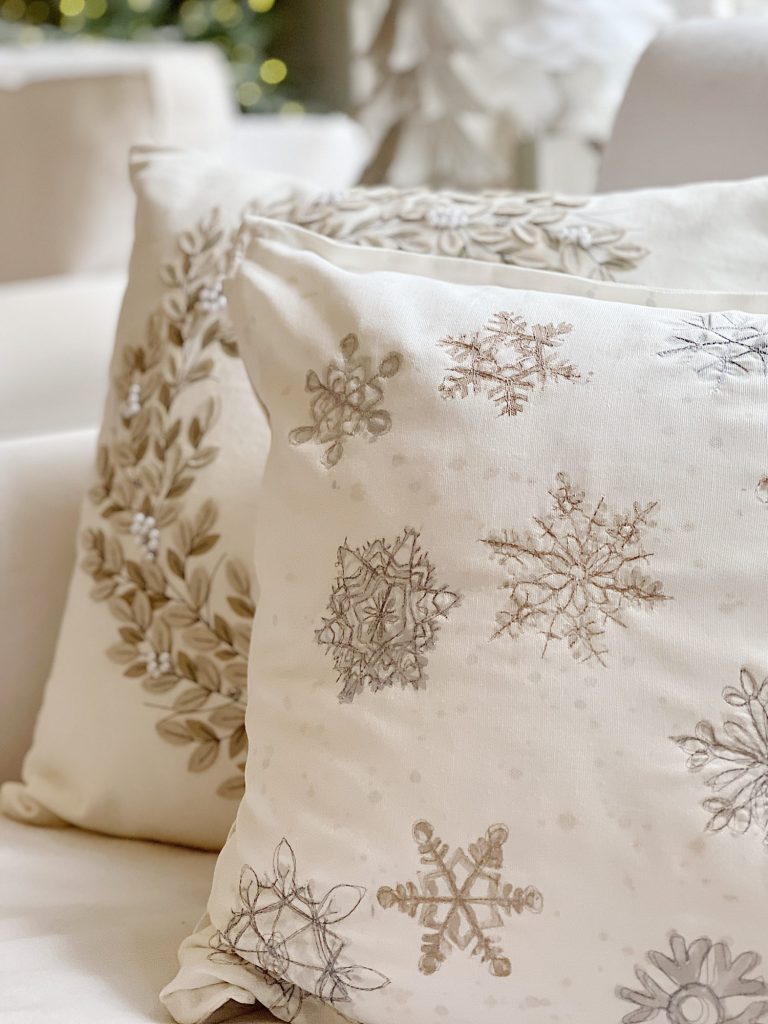
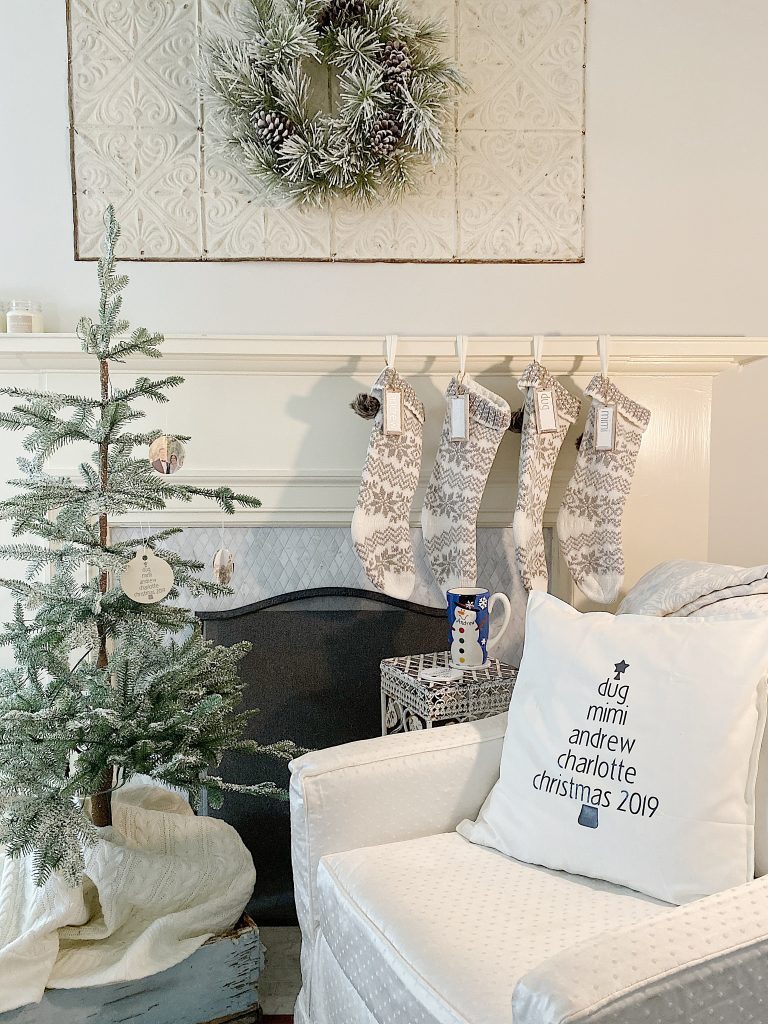
.Sixteen Weeks of A Handmade Christmas
Here are the first fourteen weeks of A Homemade Christmas. Can you believe I have only two more still to share?
Latest Posts
-
Best Easter Brunch Egg Dish: Loaded French Onion Frittata
Easter brunch is one of those special meals where the table is complete, the laughter is loud, and the food is nothing short of spectacular. If you want to wow your guests with something savory, cheesy, and unforgettable, let me introduce you to your new Easter brunch hero: a Loaded French Onion Frittata.
-
The Best Spring Pillow DIY – A Handmade Spring
There are certain projects that start as an idea and quietly turn into something you love far more than you expected, and this Spring pillow is exactly that. As part of my A Handmade Spring series, I wanted to create something soft, beautiful, and full of texture, and this pillow checked every box. This pillow…
-
DIY Clay and Metallic Foil Easter Eggs
With Easter just around the corner this week, I decided to create something special and truly unique for my spring décor … handmade clay and metallic foil Easter eggs. These little works of art are soft, pastel, and subtly shimmery, and they’re a beautiful way to add a handmade touch to your Easter celebrations. While…
-
The Amazon Big Spring Sale is Here!
The Amazon Big Spring Sale is here! It runs from March 25th (today) through March 31st, and here are some of the best Amazon Deals ever! There are millions of deals available, and today I will help you find the best ones for everything you need. Now is the perfect time to shop for Spring.


My Recent Instagram Posts

You can pin the image below to your boards on Pinterest (click the Pin button in the top left corner) or follow me on Pinterest!

For more real-time updates, follow me on Instagram @My100YearOldHome