Stitched Floral Ribbon DIY – A Handmade Spring
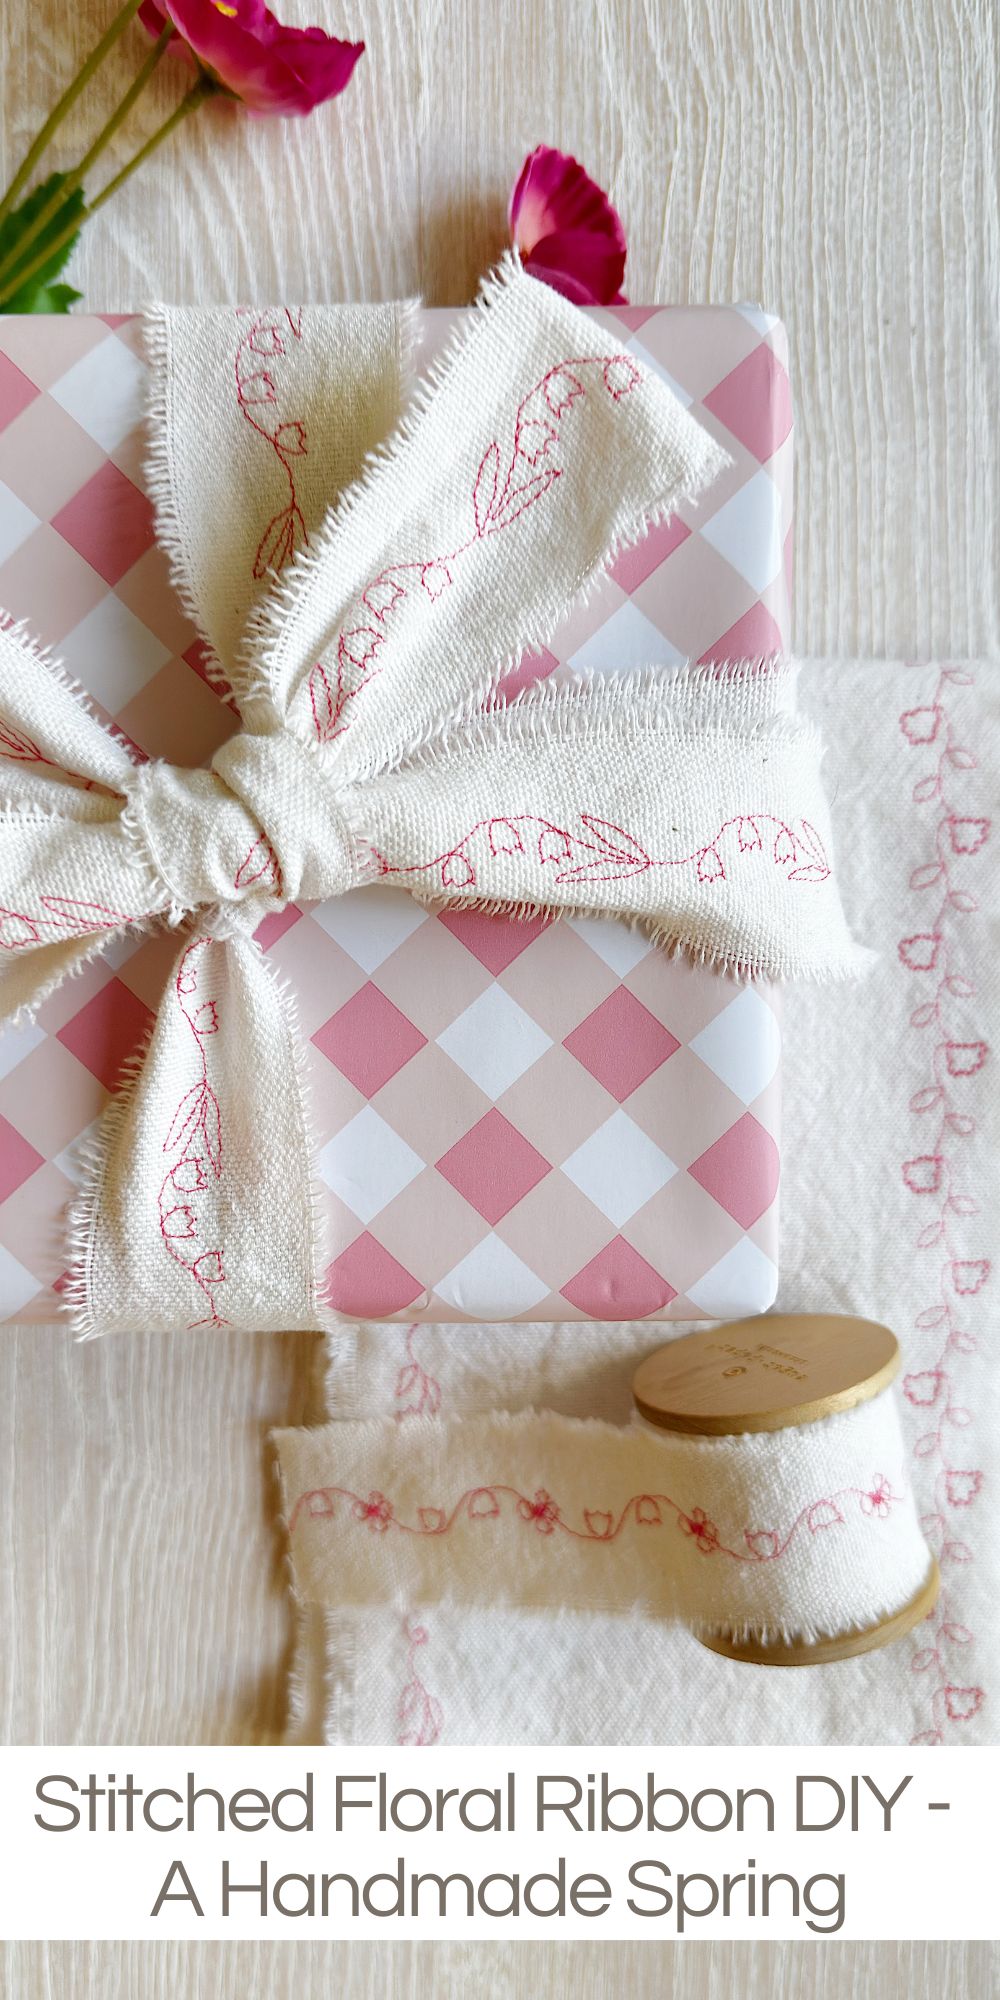
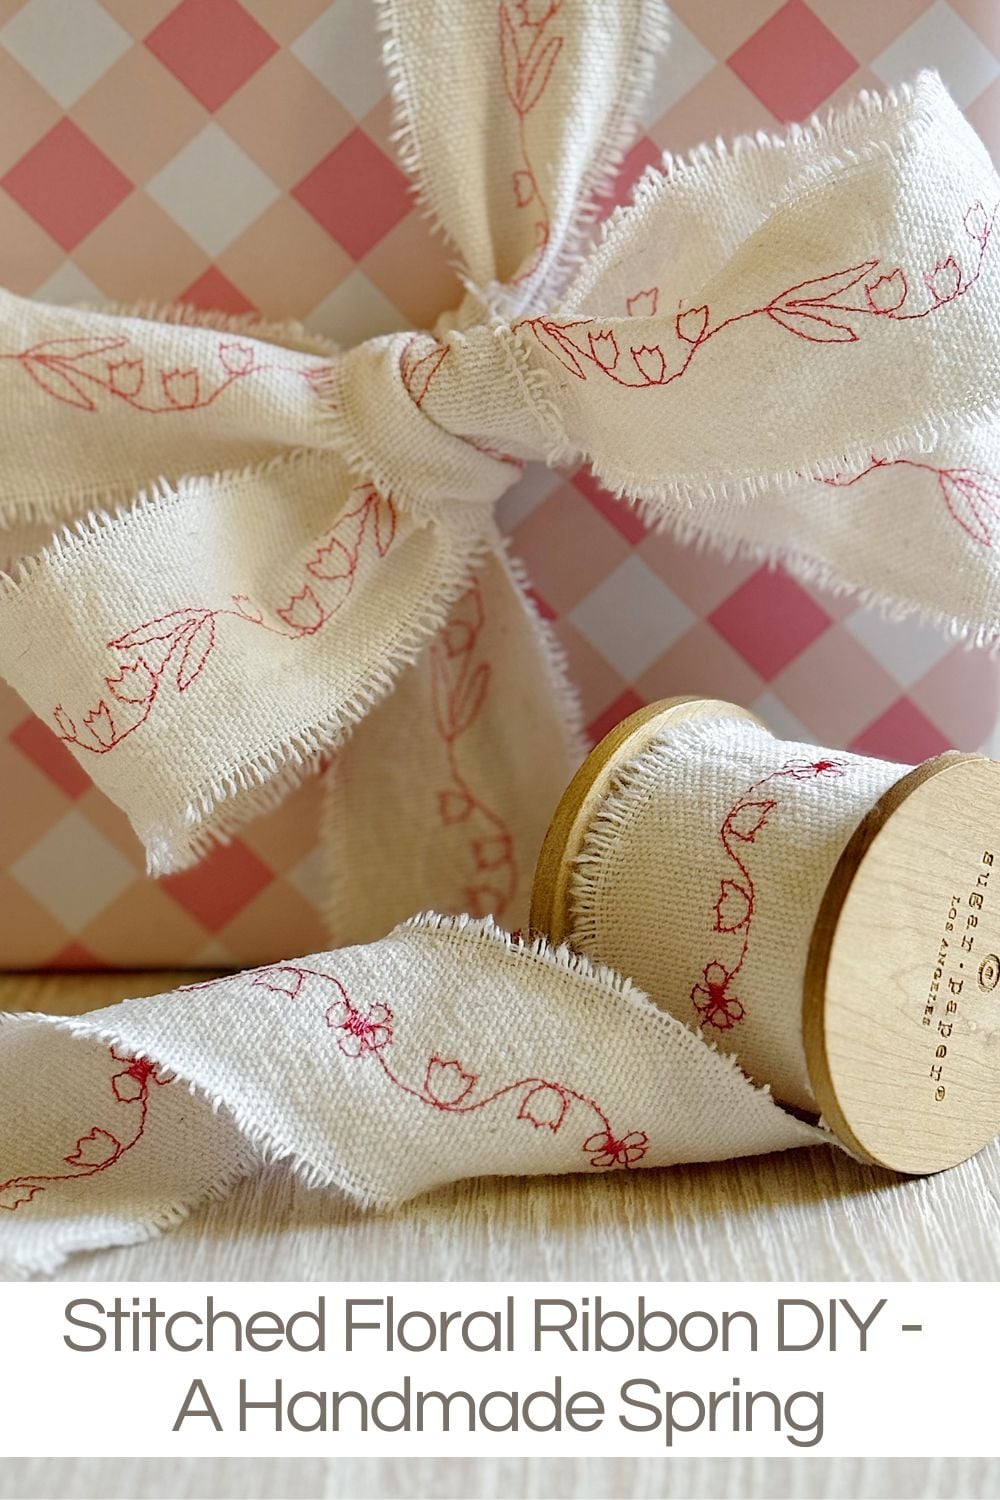
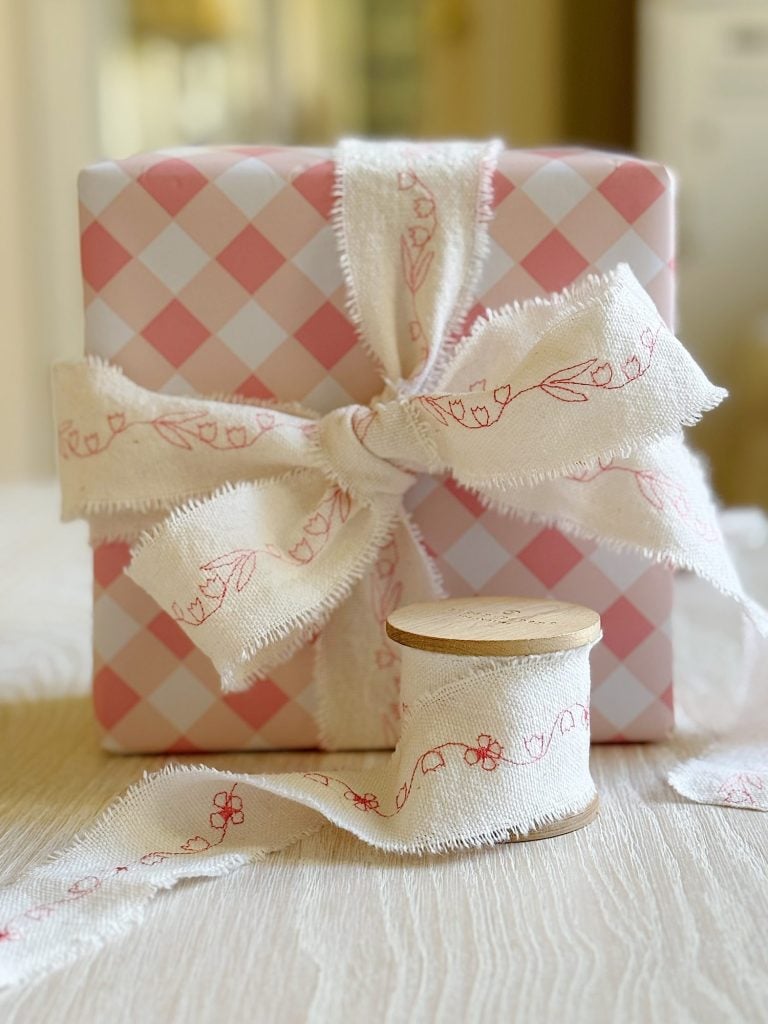
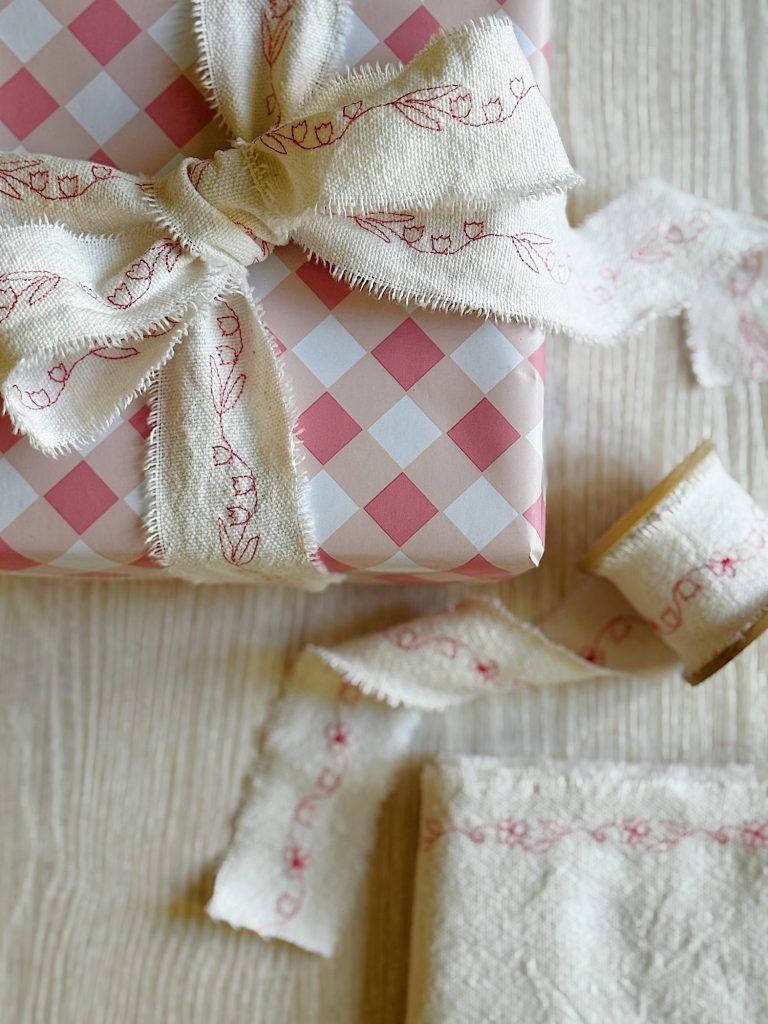
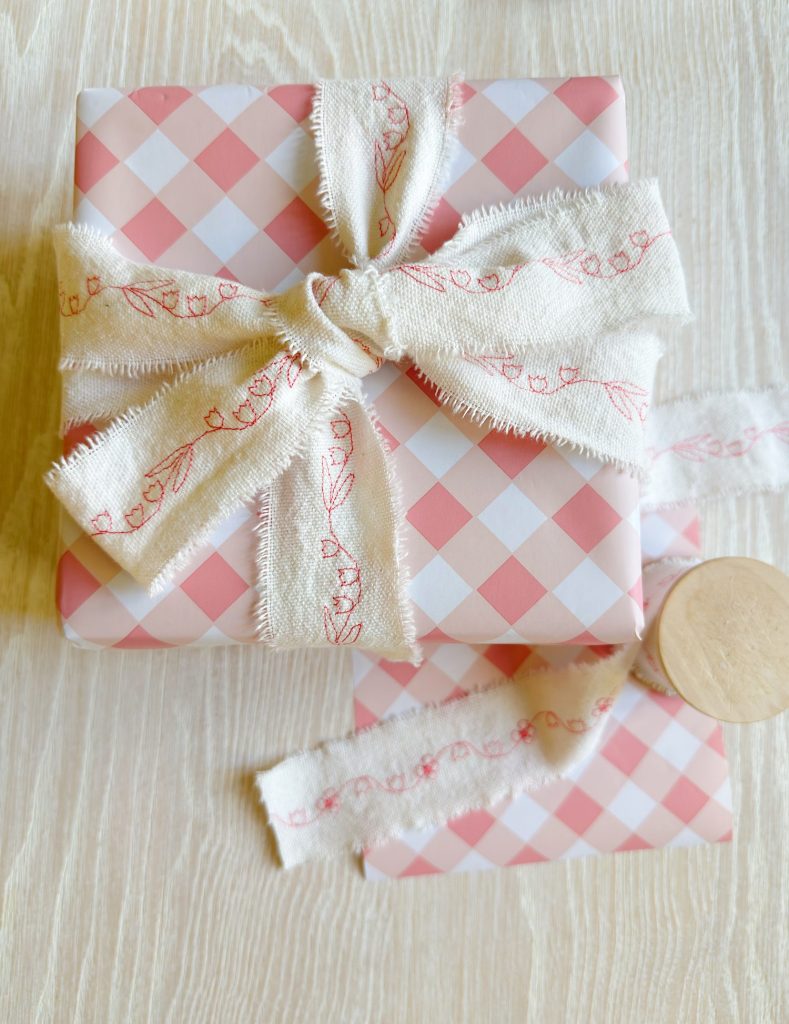
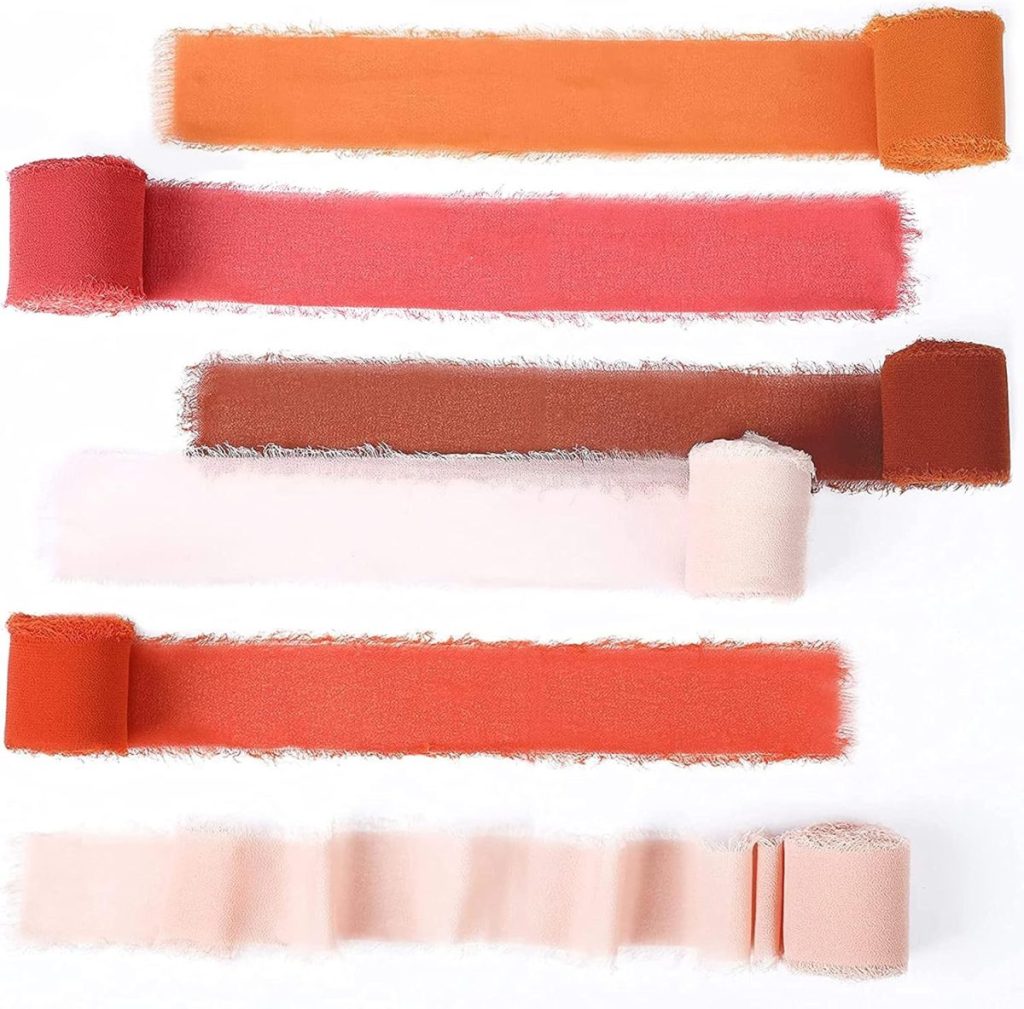
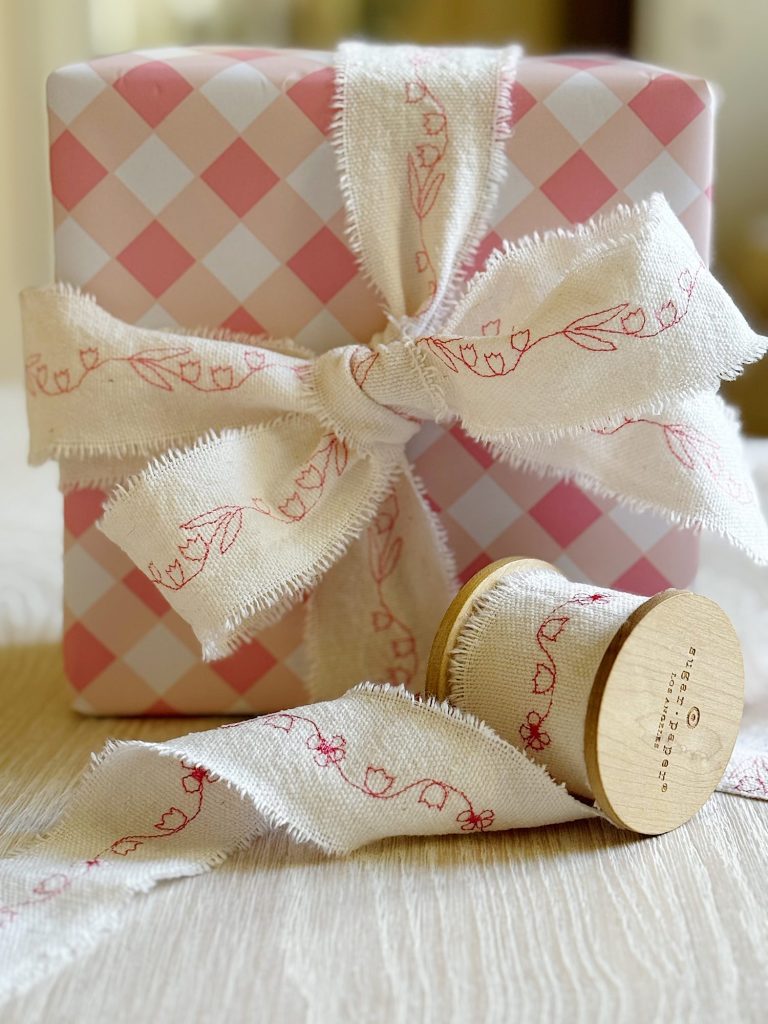
This Stitched Floral Ribbon DIY transforms simple muslin fabric into a beautifully embroidered pink bow using decorative stitches found on almost every sewing machine.
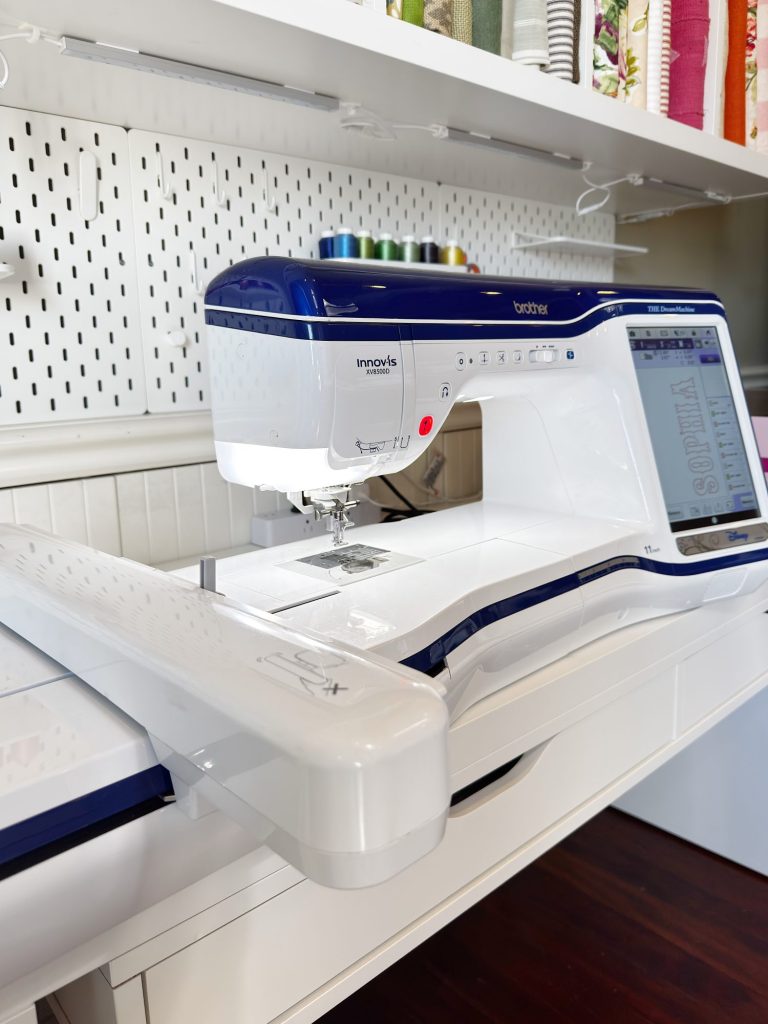
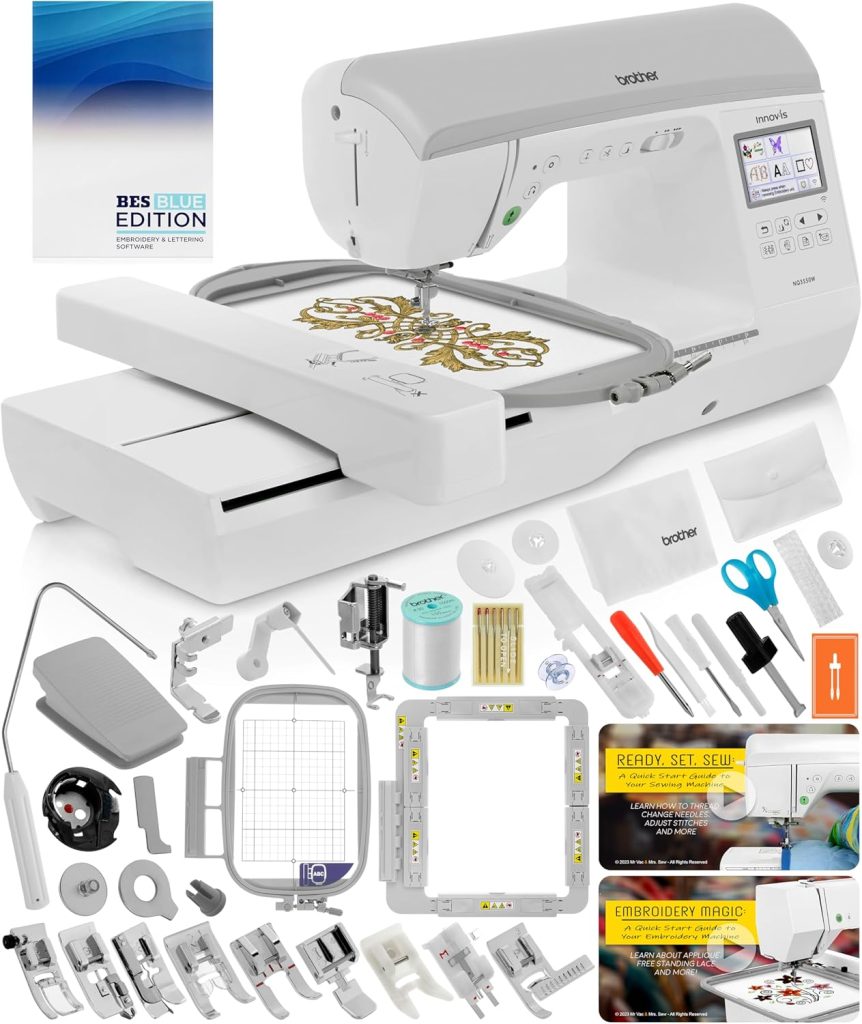
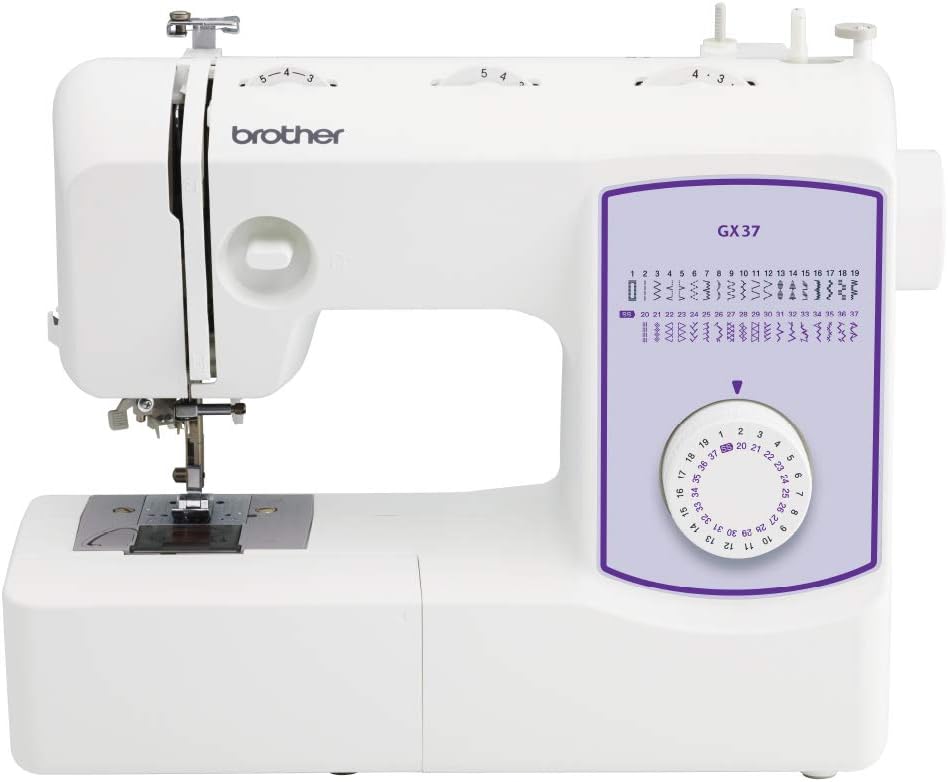
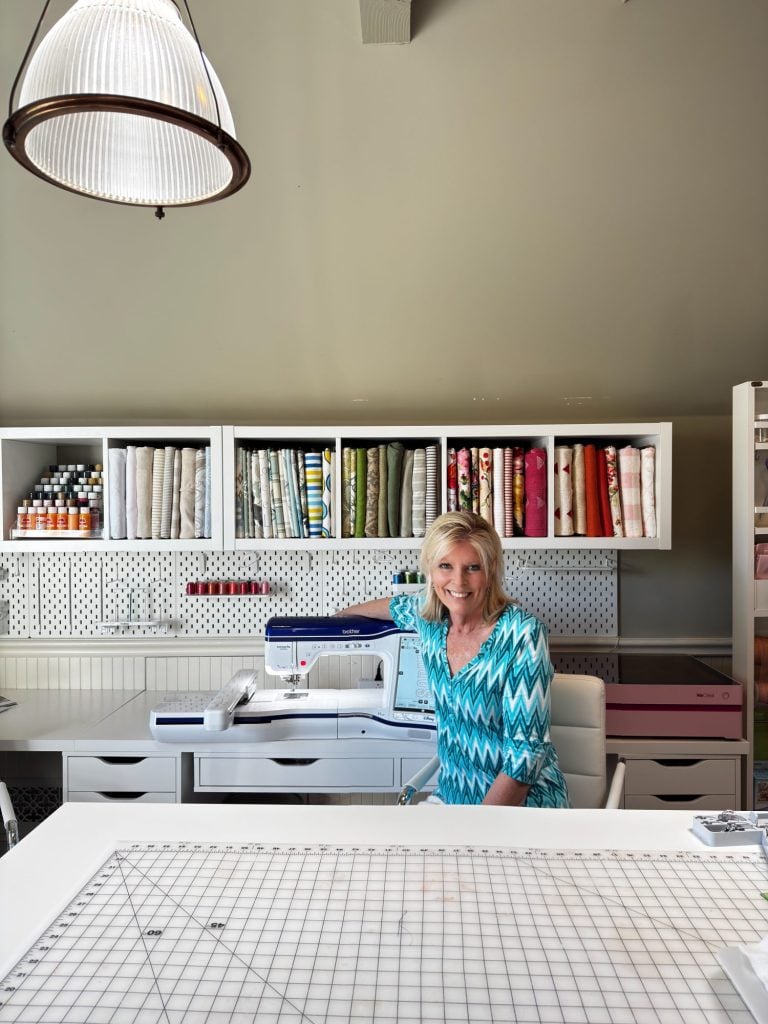
My newest project for A Handmade Spring began as an experiment with my “new-to-me” Brother Dream Machine XV8500D, which is a sewing/embroidery/quilting machine. This quickly turned into one of the most charming and useful crafts I have made in years.


Stitched Floral Ribbon DIY
A Handmade Spring Craft Series
One of my favorite parts of starting a new creative season is discovering unexpected ways to use tools I already own. This is my first sewing project on my “new-to-me” Brother Dream Machine, which is a sewing/embroidery/quilting machine. Here is a new Brother machine similar to the one I found.
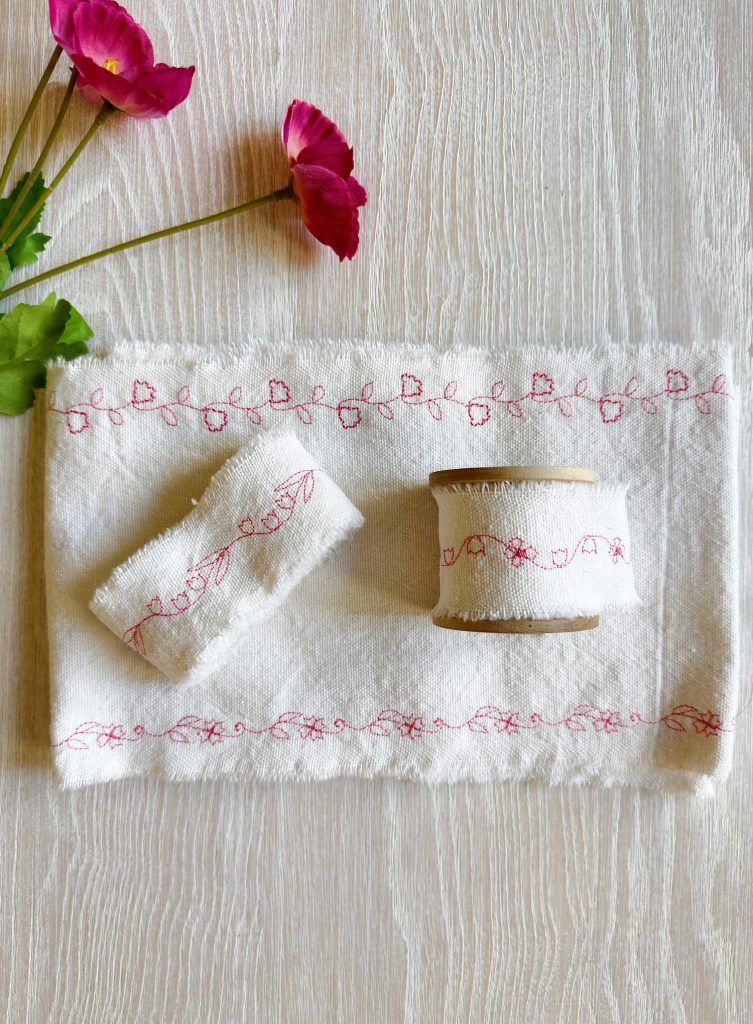
This Stitched Floral Ribbon DIY transforms simple muslin fabric into a beautifully embroidered pink bow using decorative stitches found on almost every sewing machine. The result feels handmade, romantic, and completely custom, yet surprisingly affordable to create.
What makes this project especially exciting is that it does not require embroidery mode. I created everything using standard sewing settings. That means if you own a sewing machine with decorative stitches, you can make this too.
And honestly, once I figured it out, it was a total “why didn’t I think of this sooner” moment.
Why This Project Works So Well
When I first started exploring the decorative stitches on my new Brother Dream Machine, I naturally assumed they were meant only for hems or small accents. But scrolling through the amazing stitch library revealed dozens of floral motifs that looked almost like delicate embroidery borders.
That sparked an idea.
What if decorative stitches could become ribbon?
Instead of buying expensive specialty trim, I could stitch my own using fabric scraps.
The key discovery was realizing that the more complex the stitch, the more movement your machine makes. Many floral stitches move forward, backward, and sideways as they sew. Traditional ribbon simply can’t really stabilize that kind of motion. (Unless you know what you are doing!)
My first attempt confirmed this immediately.
I tried stitching directly onto store-bought ribbon.
It did not go well.
The fabric twisted, shifted, and fought every stitch.
In hindsight, the problem was me, as I struggled to hold the ribbon straight while the needle jumped around everywhere!
But … that failure led to the breakthrough that made this project work beautifully.
And now that I figured it out, I promise to share soon how to do this on ribbon!
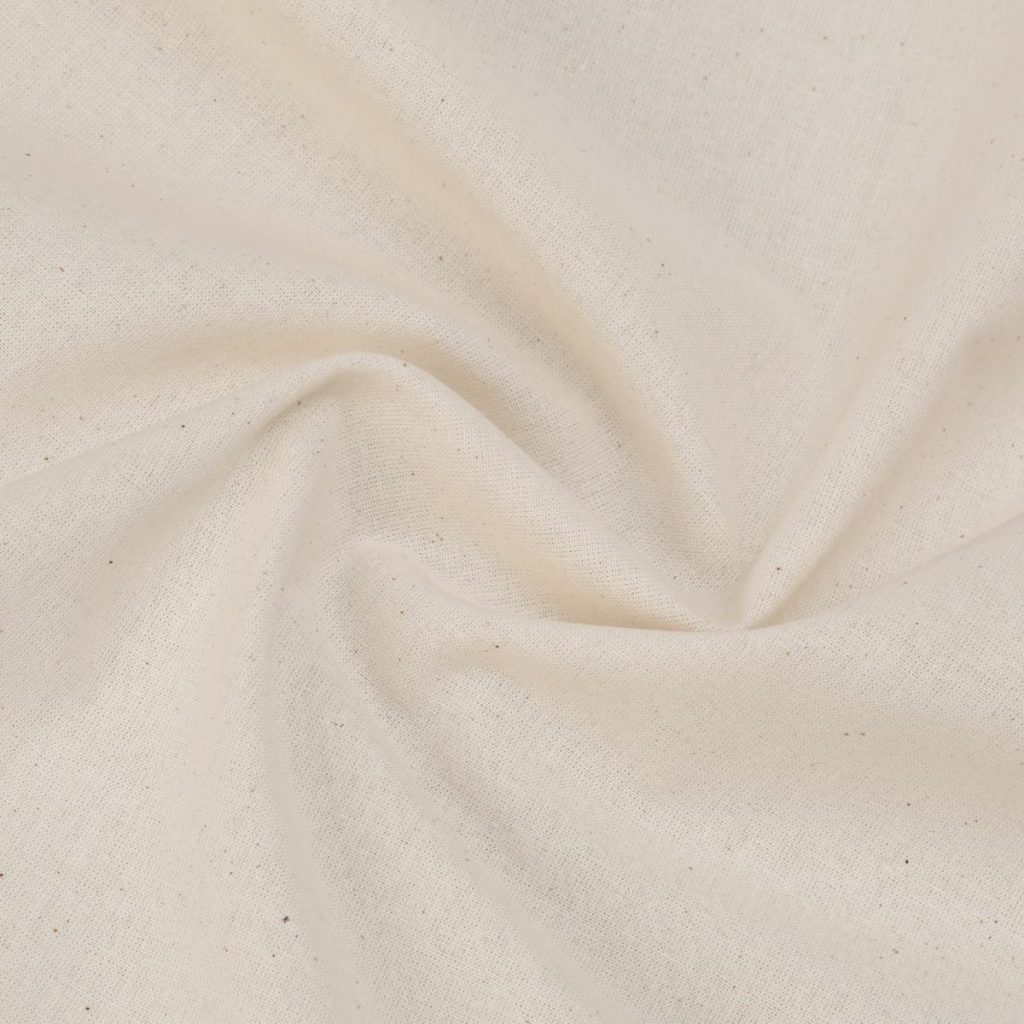
The Secret: Start With Tearable Fabric
Instead of ribbon, I switched to an old piece of muslin. (If you are curious, I have enough supplies and fabric to keep me crafting for a very long time!)
Muslin and lightweight cotton fabrics are perfect because they:
• Stabilize complex stitches
• Allow the needle to move freely
• Tear cleanly into strips afterward
• Fray naturally for texture
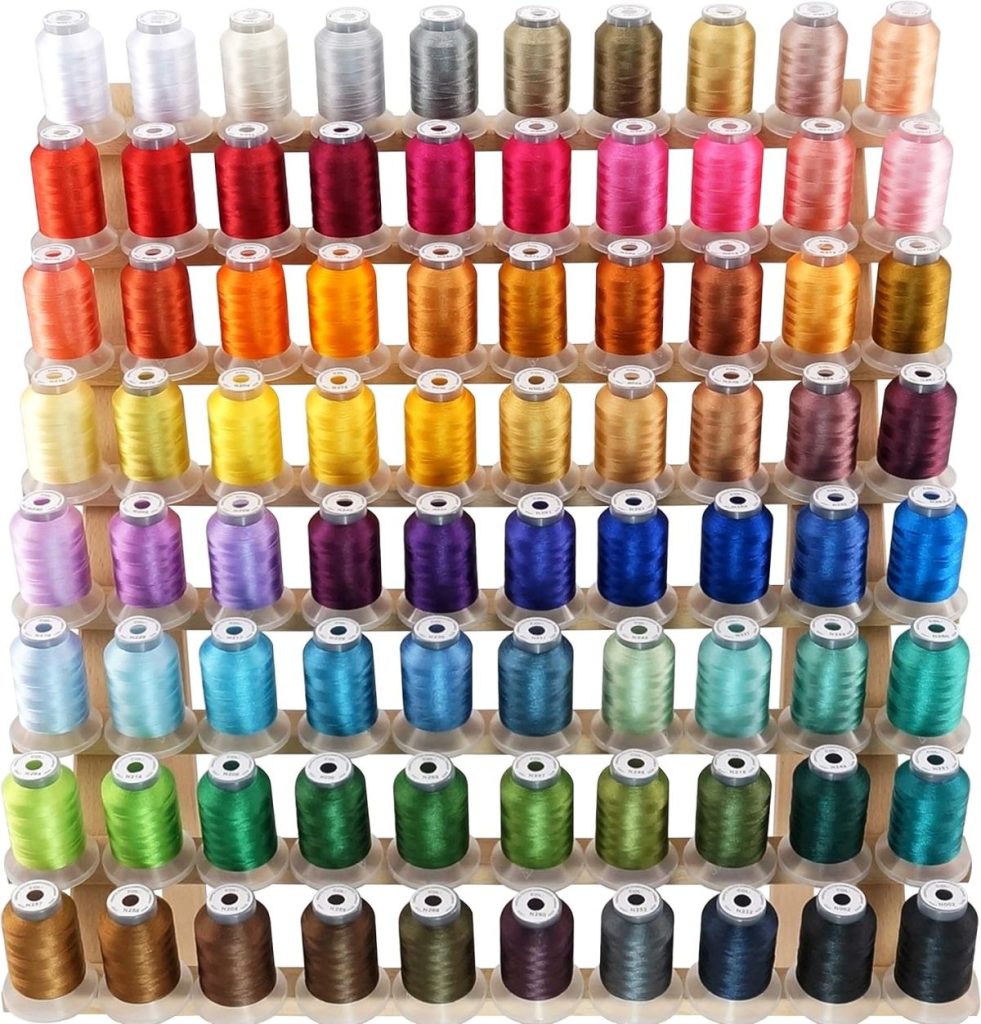
Another important decision was threading both the top thread and bobbin in the same color. This makes the ribbon completely reversible, which instantly elevates the finished look.
Choosing Decorative Stitches
One of the most fun parts of this project was selecting stitches.
Almost every sewing machine includes decorative stitches. My Singer Esteem, which is one of the most basic (and old) machines ever, even has some decorative stitches.
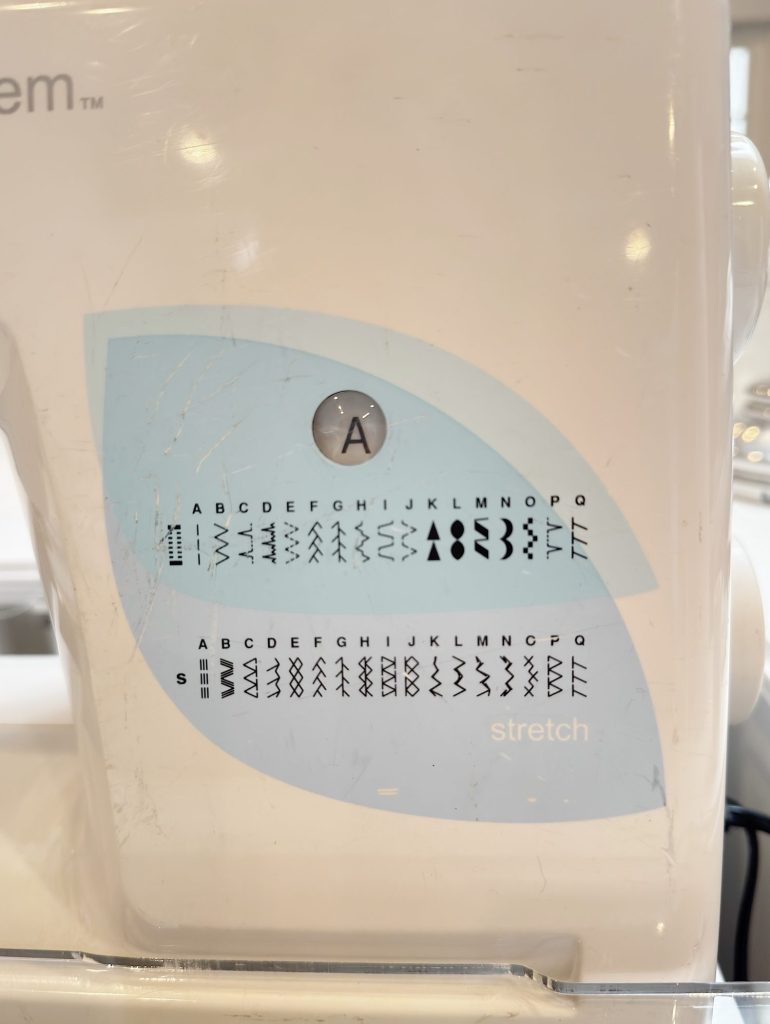
Many of the newer machines have options such as:
• Floral vines
• Leaves
• Small blossoms
• Scallops
• Hearts
• Continuous borders
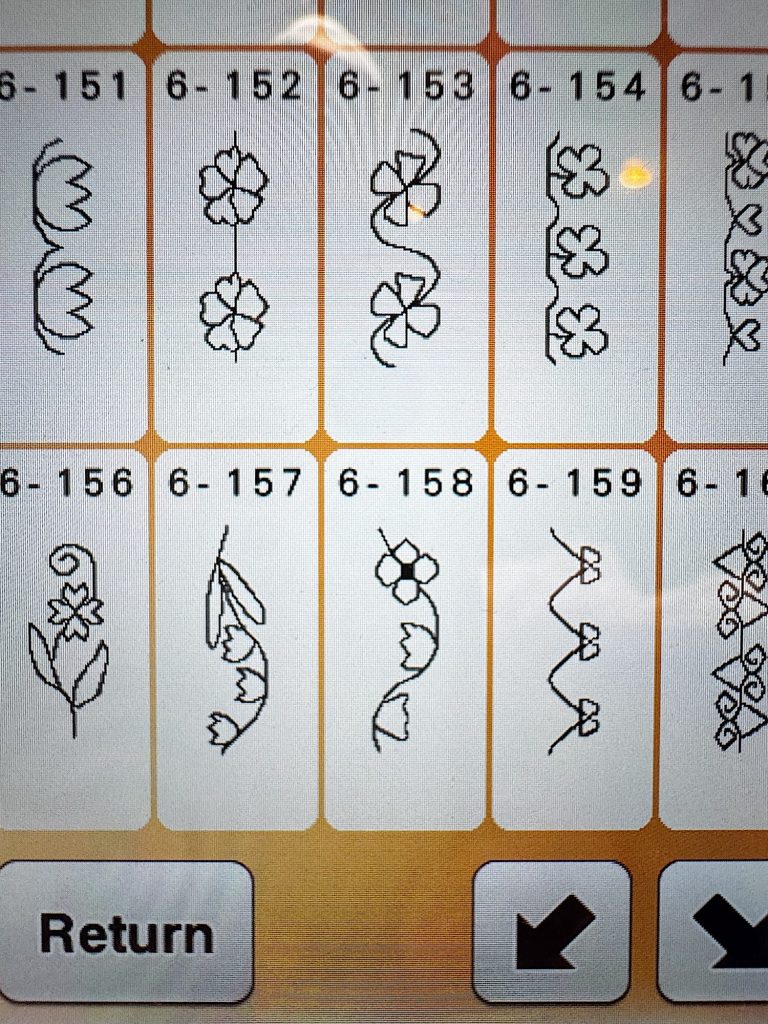
Here are just a few of the hundreds of stitches available on my new-to-me Brother machine.
I leaned heavily into a floral theme to match my Handmade Spring aesthetic.
On this blog, I may sometimes use affiliate links, which means I earn a small commission if you purchase through the link. The price will be the same whether you use the affiliate link or go directly to the vendor’s website using a non-affiliate link.
The “Duh” Moment That Changed Everything
Here is something important I learned quickly:
Intricate stitches require patience.
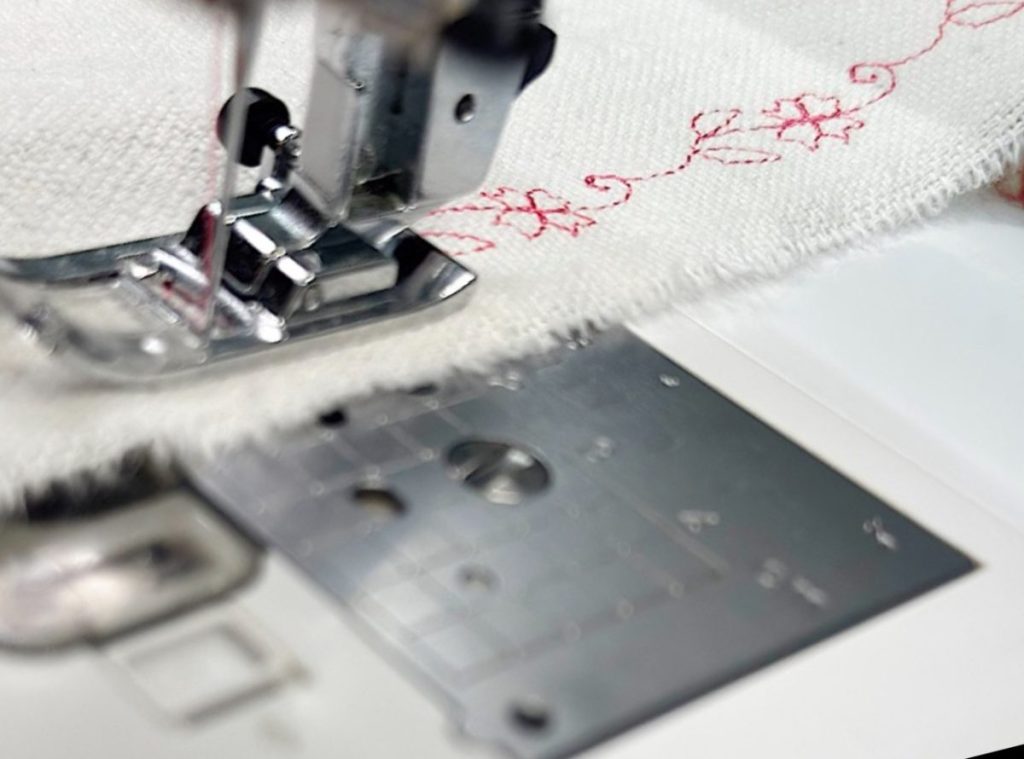
The needle travels widely across the fabric, sometimes stitching sideways or doubling back. At first, this feels wrong because we are trained to guide fabric straight through the machine.
This project requires the opposite mindset.
You must let the machine lead.
My biggest struggle early on was trying to control the fabric too closely.
I kept guiding it along the seamline, constantly correcting its movement. The stitches became uneven and slightly distorted.
Then I realized something simple.
The machine already knows where the stitch should go.
My job was only to guide gently.
Here is the technique that worked perfectly:
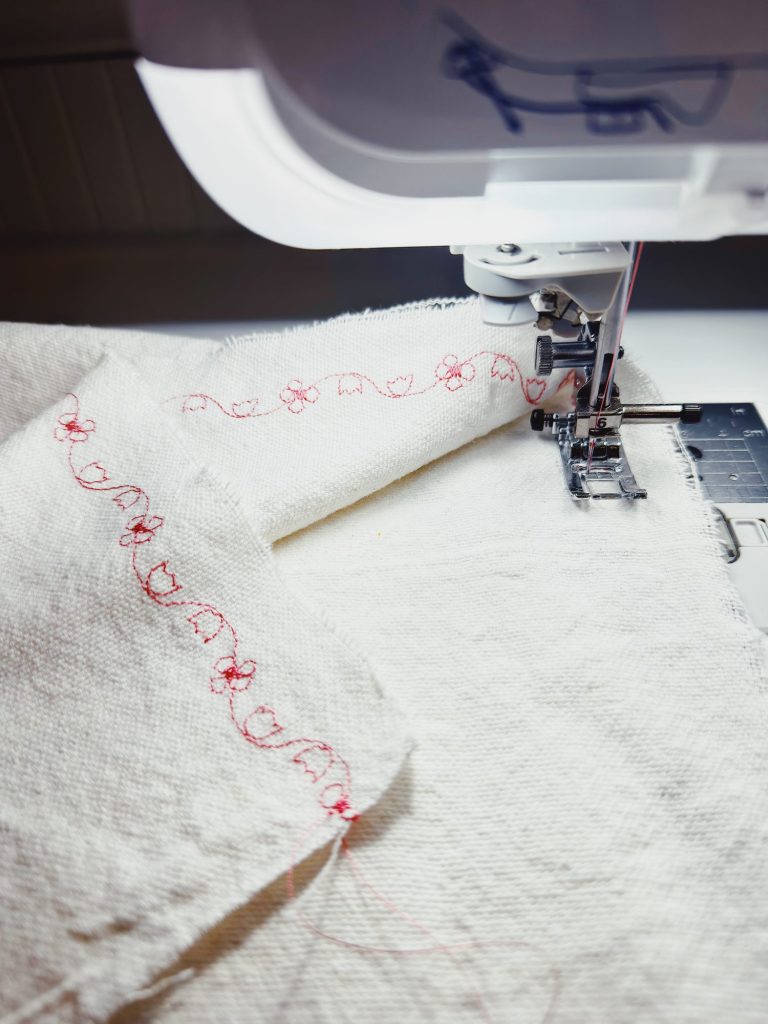
- Place a small piece of tape on your machine bed as a visual stitch guide.
- Hold the fabric four to five inches in front of the needle.
- Do not pull.
- Allow the fabric to move naturally as the stitch forms.
- Lightly guide instead of steering.
The moment I relaxed my grip, the stitching straightened instantly.
It truly felt like magic.
Step-by-Step Instructions
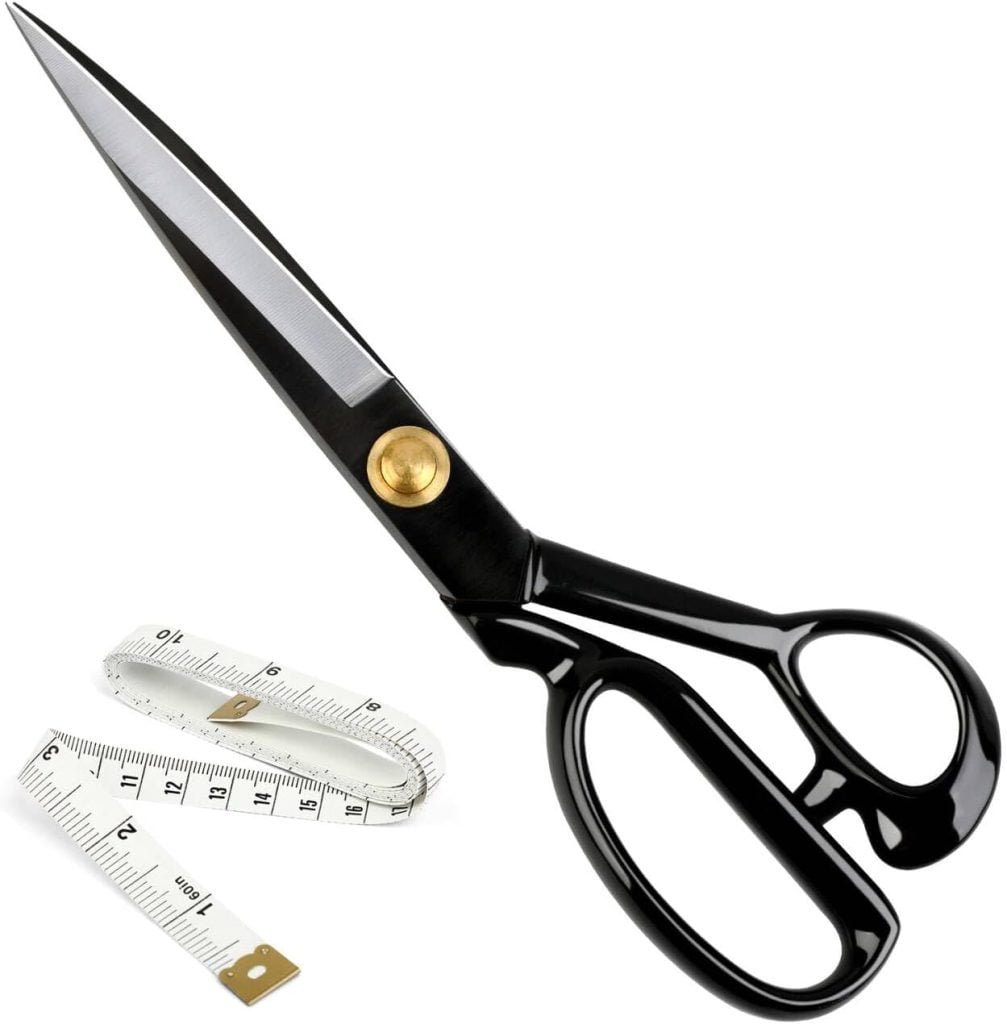
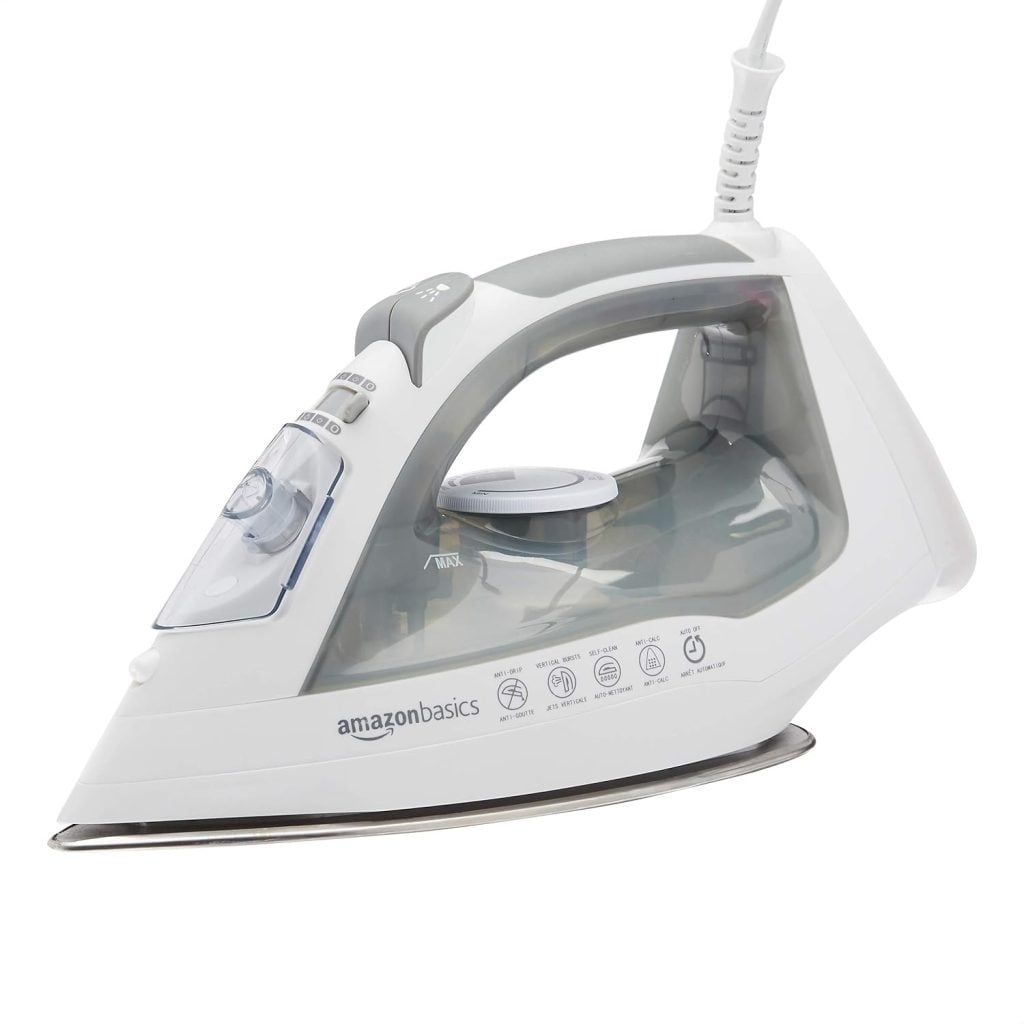
Materials
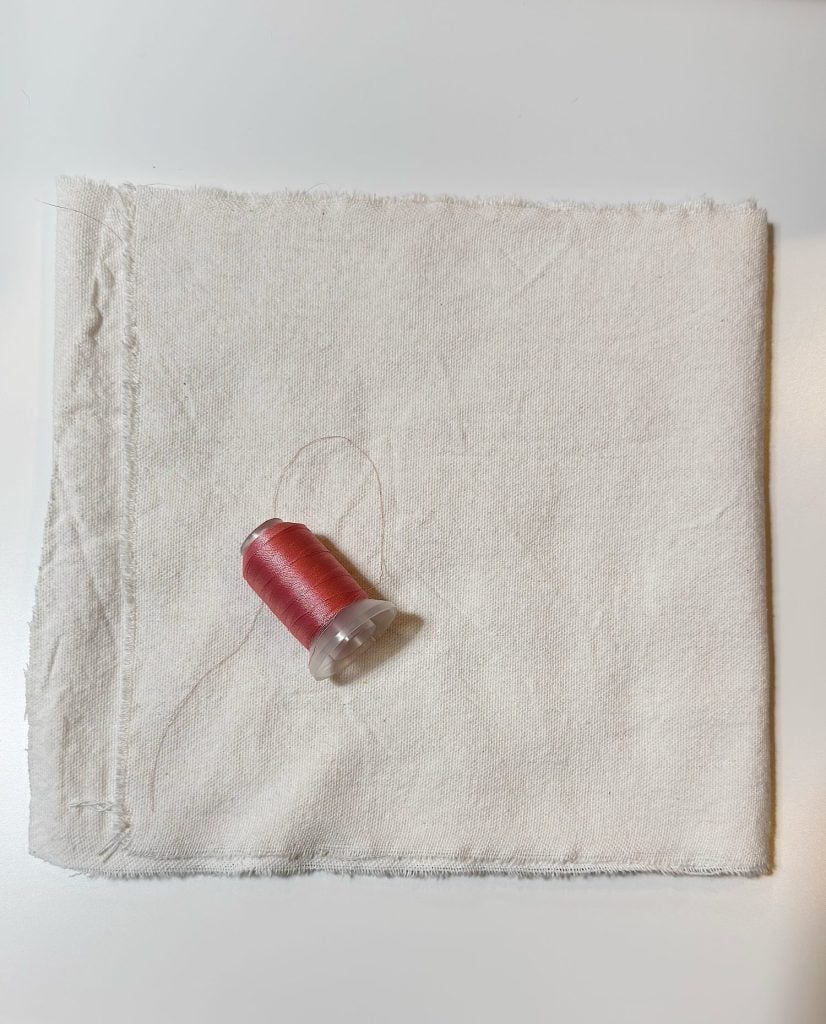
• Muslin or lightweight cotton fabric
• Sewing machine with decorative stitches
• Machine embroidery thread (40 wt. rayon is best), use for both upper thread and bobbin
• Fabric scissors
• Painter’s tape or washi tape
• Iron (optional)

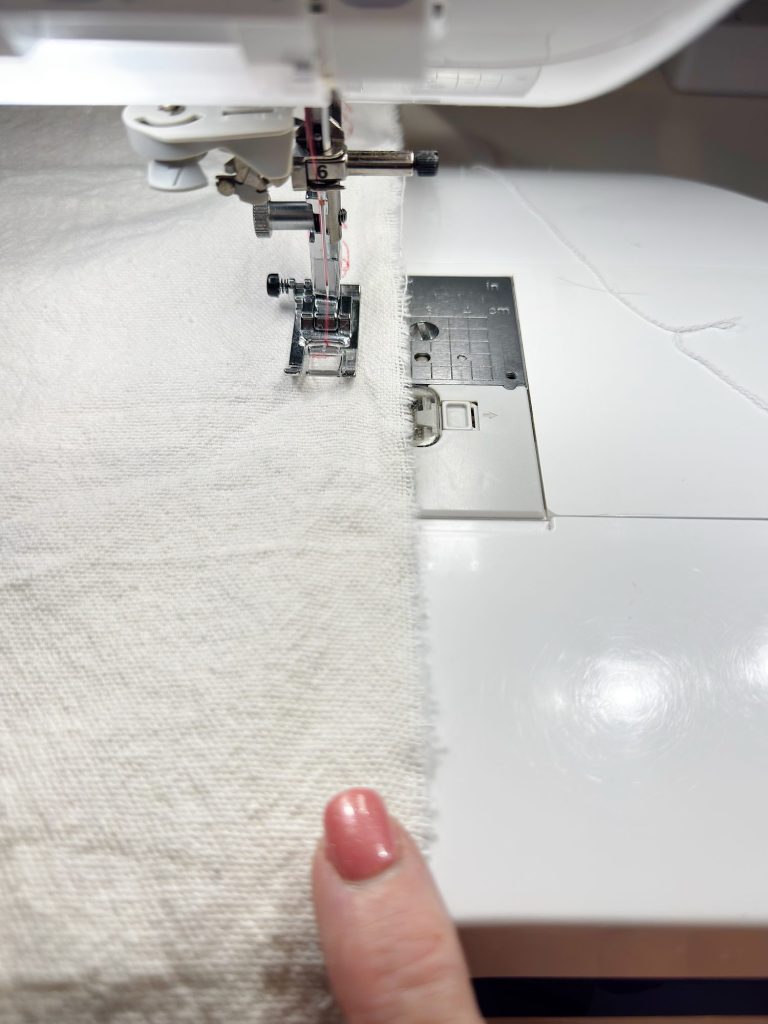
Step 1: Prepare the Fabric
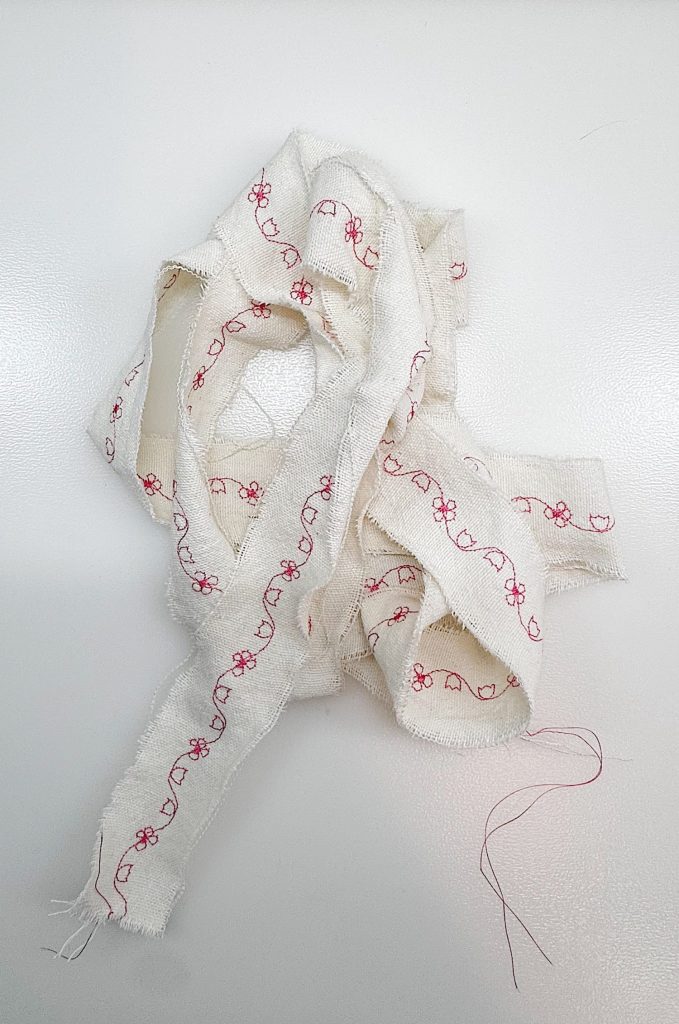
Cut long strips or work from a larger piece of muslin. I stitched across a wide section first and decided later whether to tear it into ribbon.
I cut one length, approximately 2.5 yards long by 12″ wide, so I could make plenty of ribbon for wrapping gifts or winding onto spools.
Press the fabric lightly so it feeds smoothly.
Step 2: Select Your Stitch
Choose a decorative stitch with continuous movement.
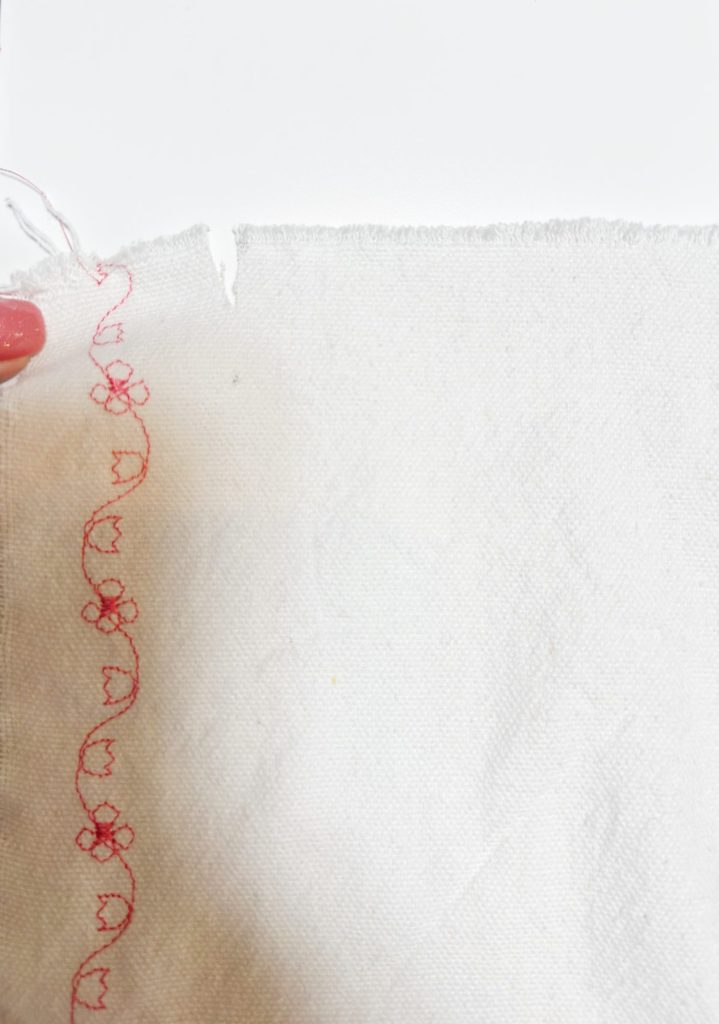
Floral vines work especially well because they naturally resemble ribbon trim.
Adjust stitch length or width if desired, but test first on scrap fabric.
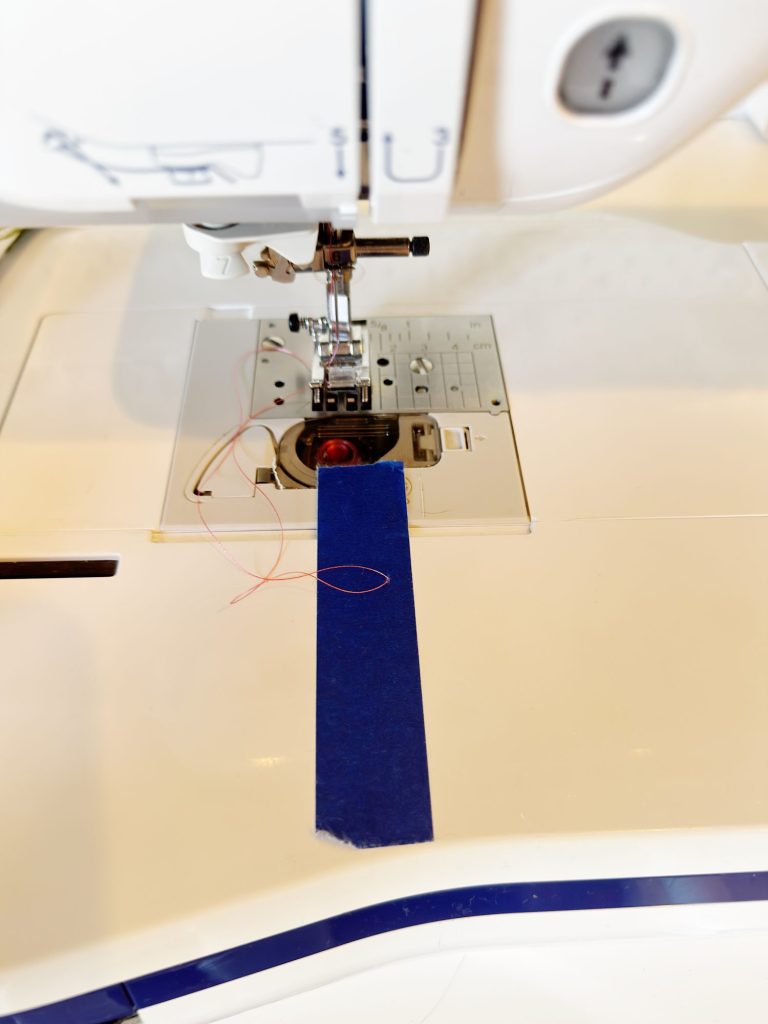
Step 3: Create a Stitch Guide
Place a strip of tape on your sewing machine to mark alignment.
This becomes your visual reference, rather than watching the needle constantly.
Step 4: Begin Stitching
Start slowly.
Hold the fabric several inches in front of the needle and allow the machine to move it naturally.
Resist the urge to correct constantly.
Gentle guidance produces the straightest results.
Step 5: Continue Lengths
Stitch as long as desired. I created multiple 2.5 yard lengths so I would have plenty for wrapping and decorating.
You may notice the machine moving side to side quite dramatically. This is normal.
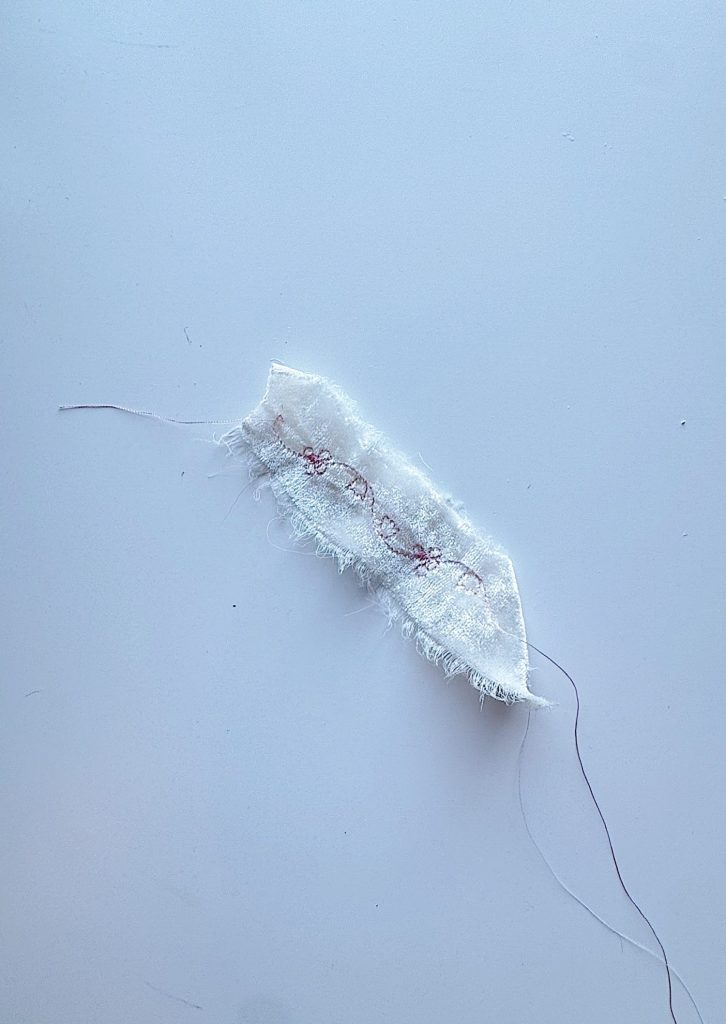
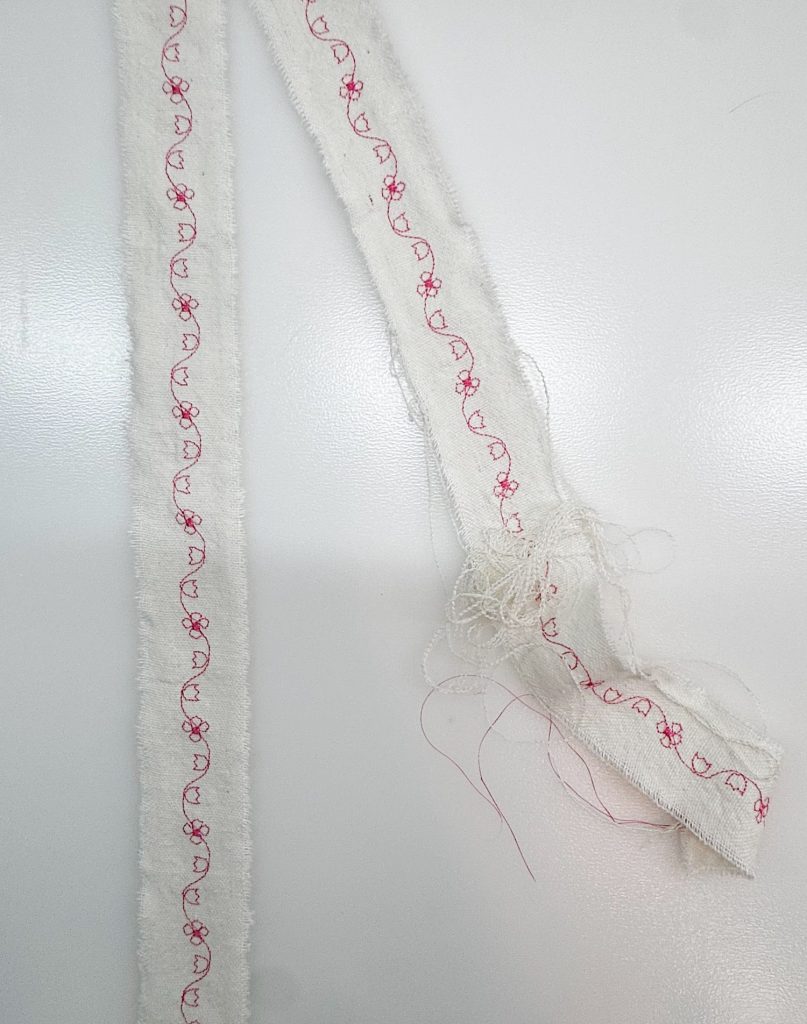
Step 6: Tear Into Ribbon
Once stitching is complete:
- Make a tiny cut at the top of the fabric to start the tear
- Tear the fabric along one side of the stitching
- Repeat on the opposite side
- Pull threads gently to fray edges
The frayed edge gives the ribbon a soft, handmade character that cannot be replicated with store-bought trim.
The Unexpected Bonus
One surprise from this project was what remained after stitching several rows.
I ended up with a beautifully stitched fabric panel that looks exactly like a table runner.
Now I cannot decide whether to tear it into ribbons or leave it intact.
That is part of what makes this craft so enjoyable. Every step creates something usable.
Nothing feels wasted.
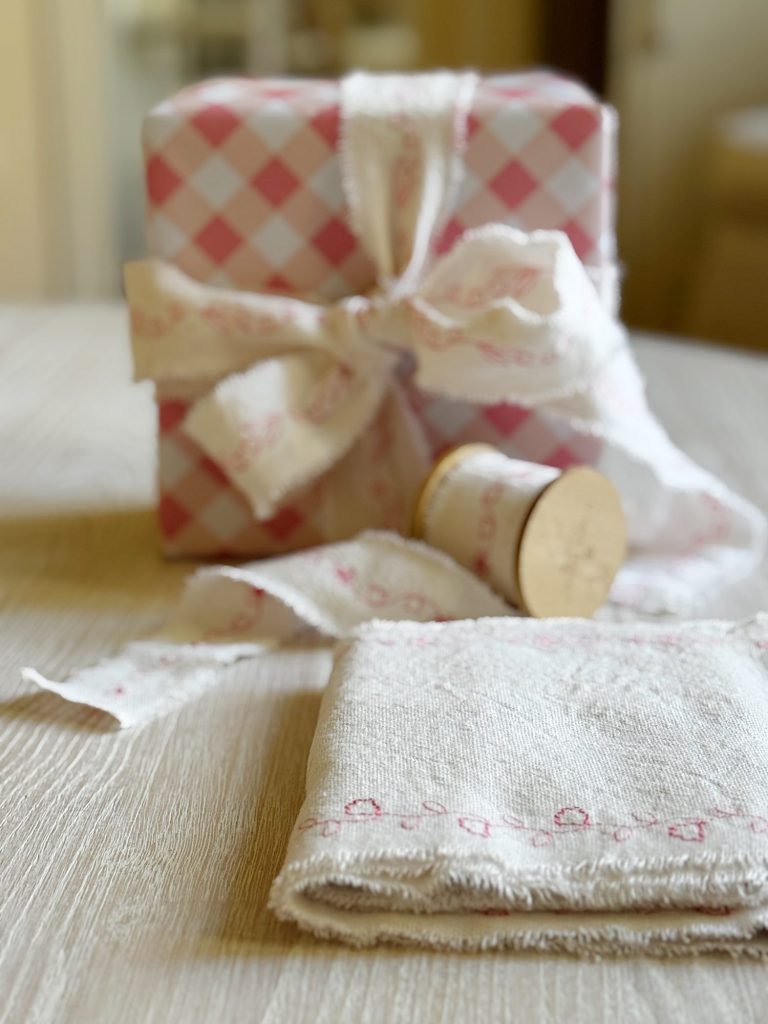
Styling Ideas for My Pink Bow
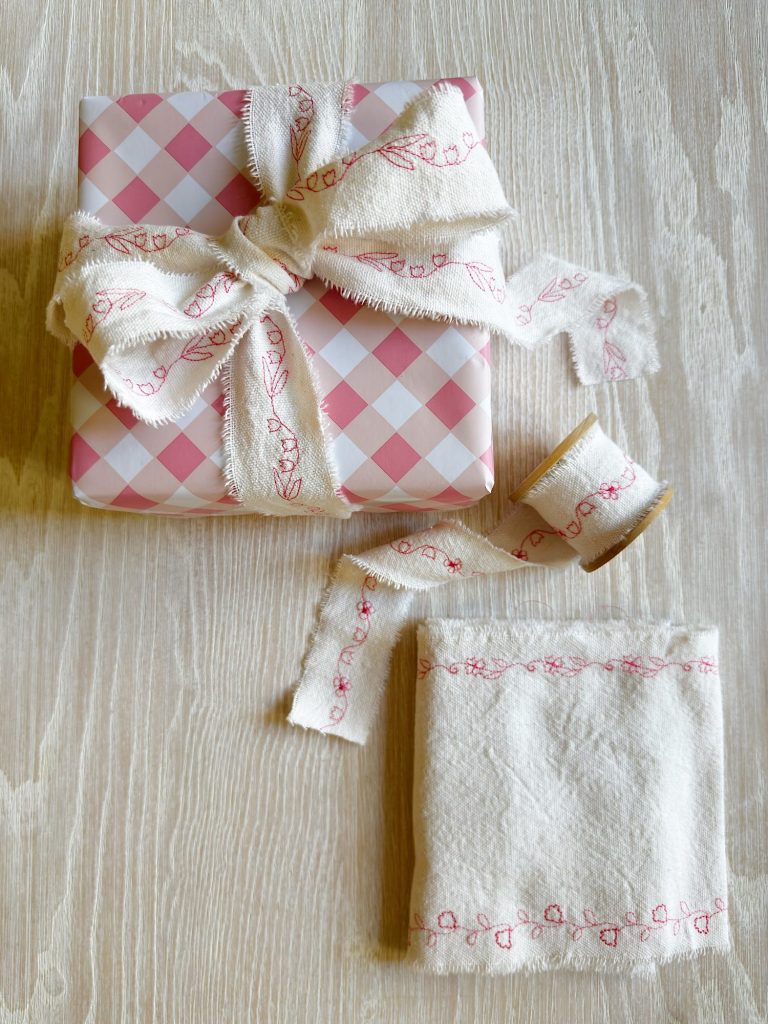
Once finished, the possibilities are endless.
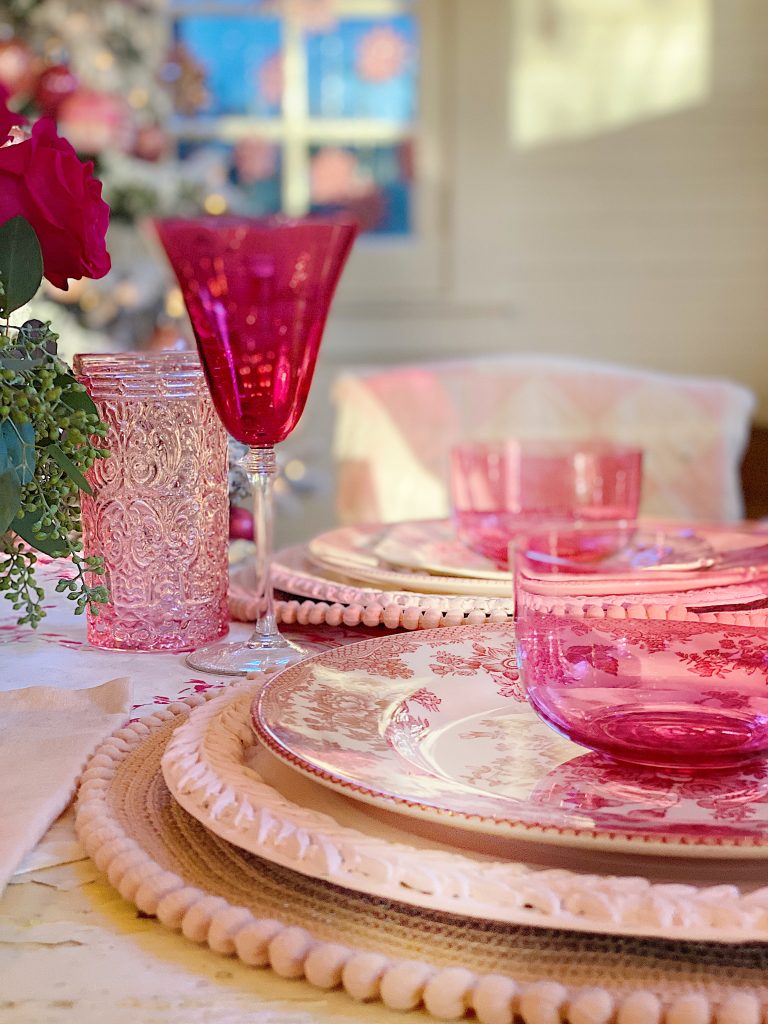
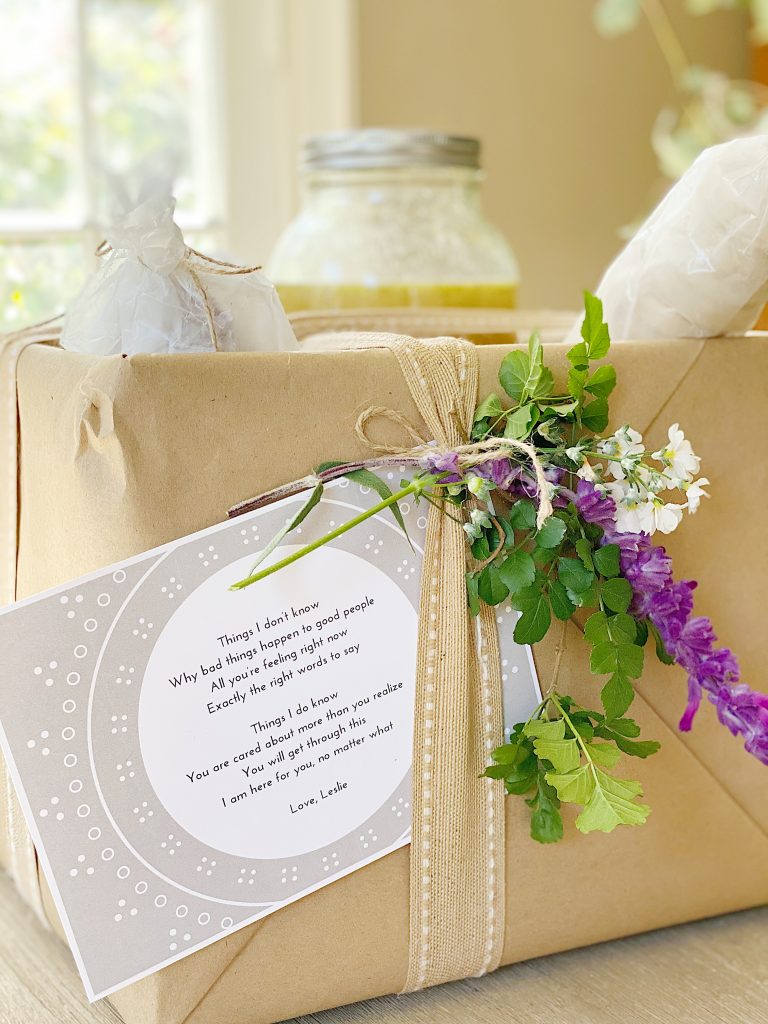
I used my pink bow to wrap gifts, and the result felt incredibly personal and elevated.
Here are some favorite ways to use stitched ribbon:
Gift Wrapping
Instantly transforms simple wrapping paper into something heirloom-worthy.
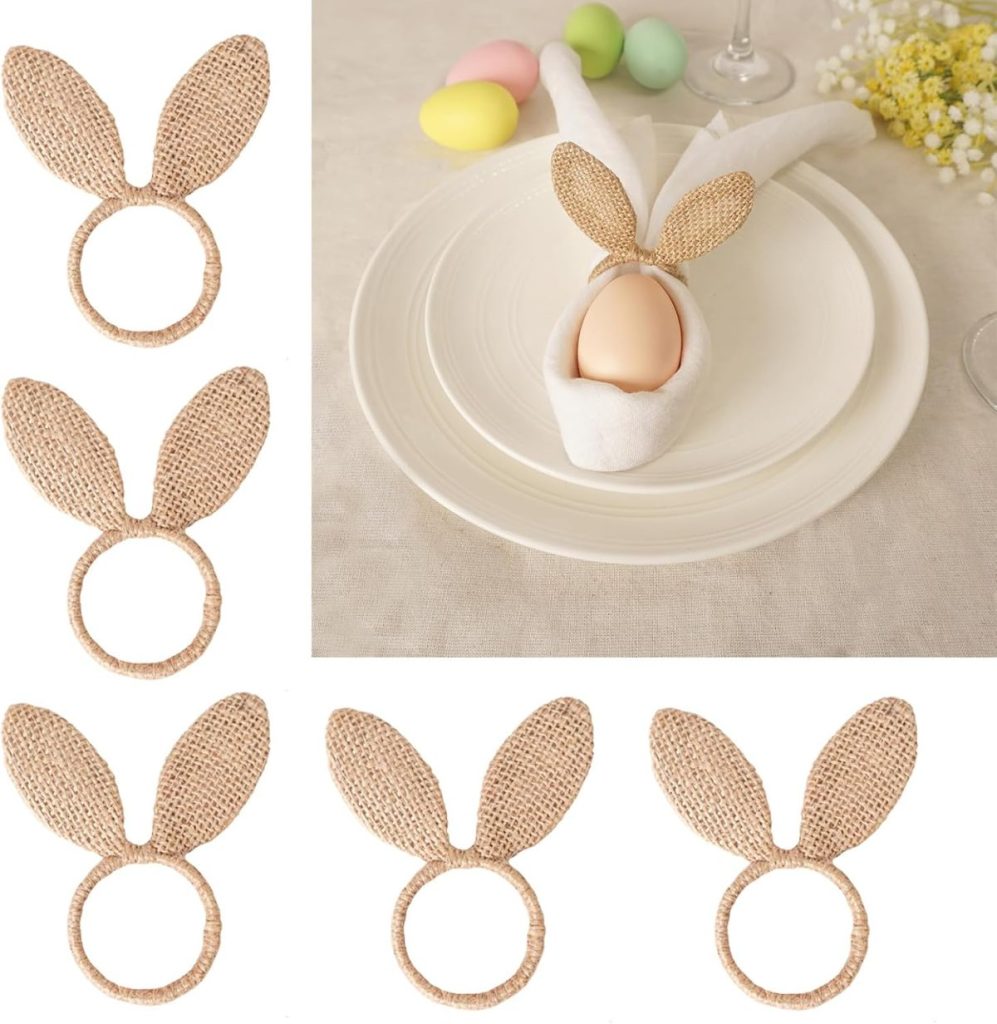
Napkin Ties
Perfect for spring entertaining and Easter tables.
Floral Bouquets
Wrap around fresh flowers for a soft, handmade detail.
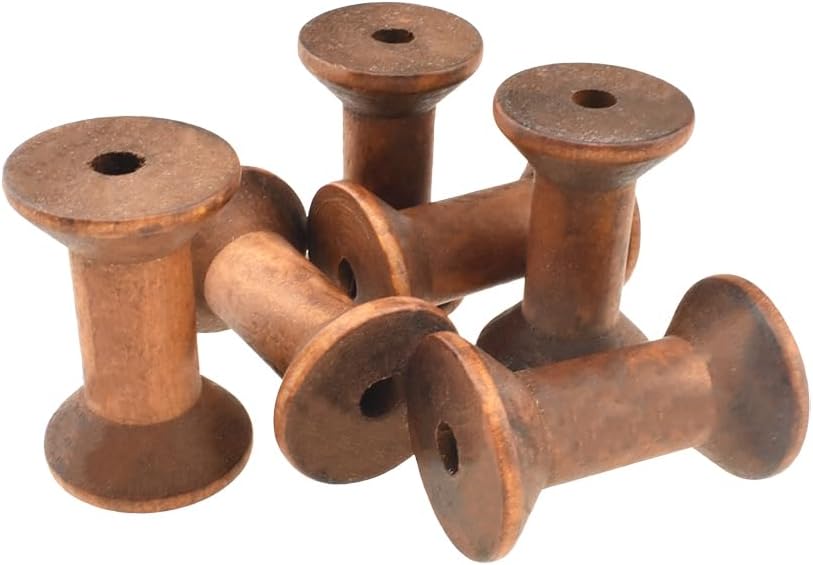
Spool Storage
Wind ribbons onto vintage wooden spools for beautiful craft room decor.
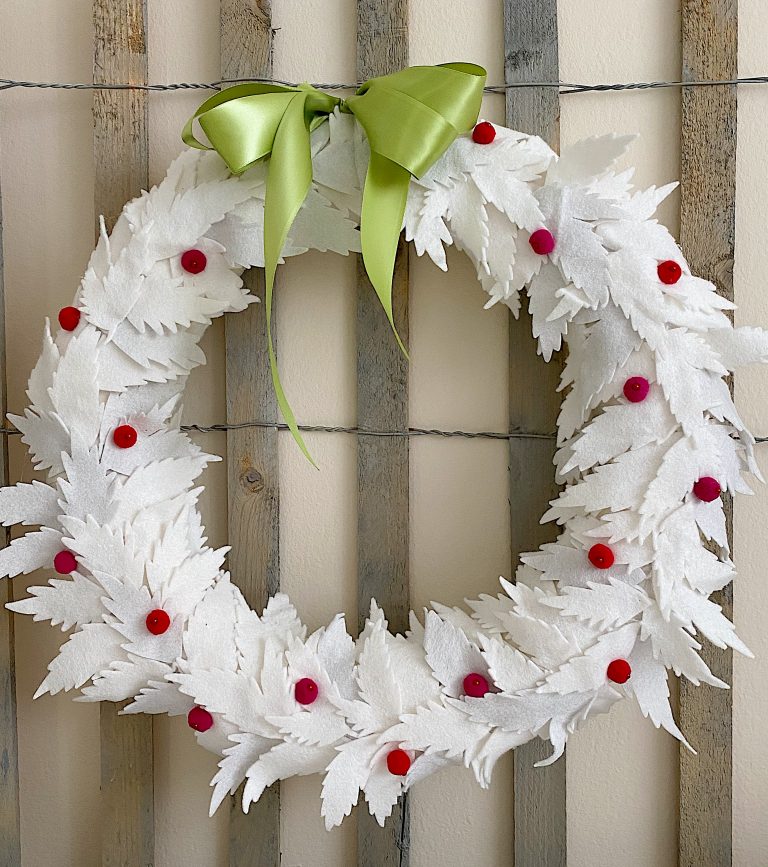
Seasonal Decor
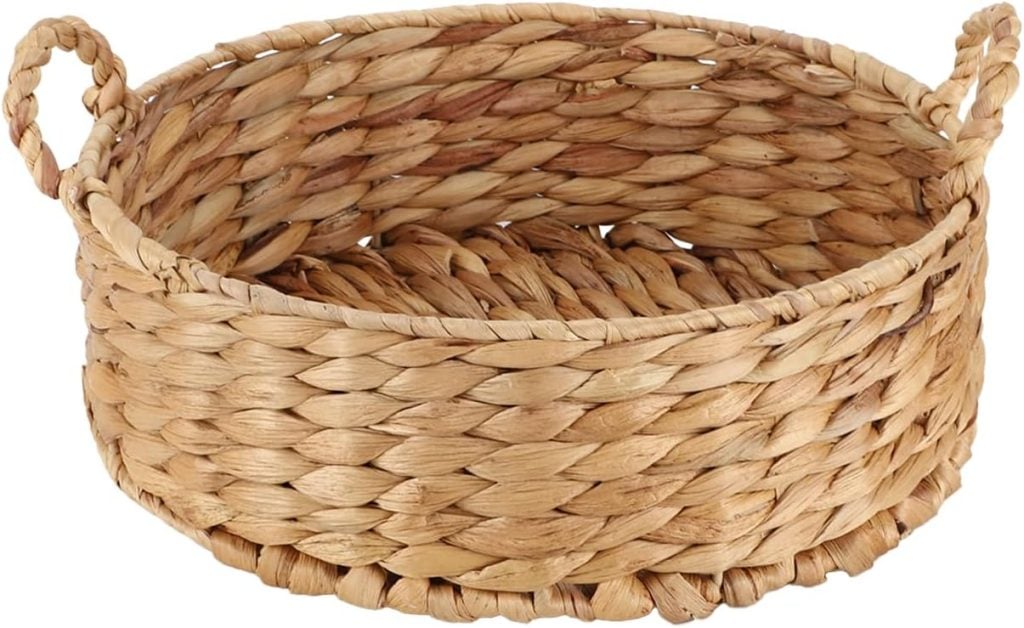
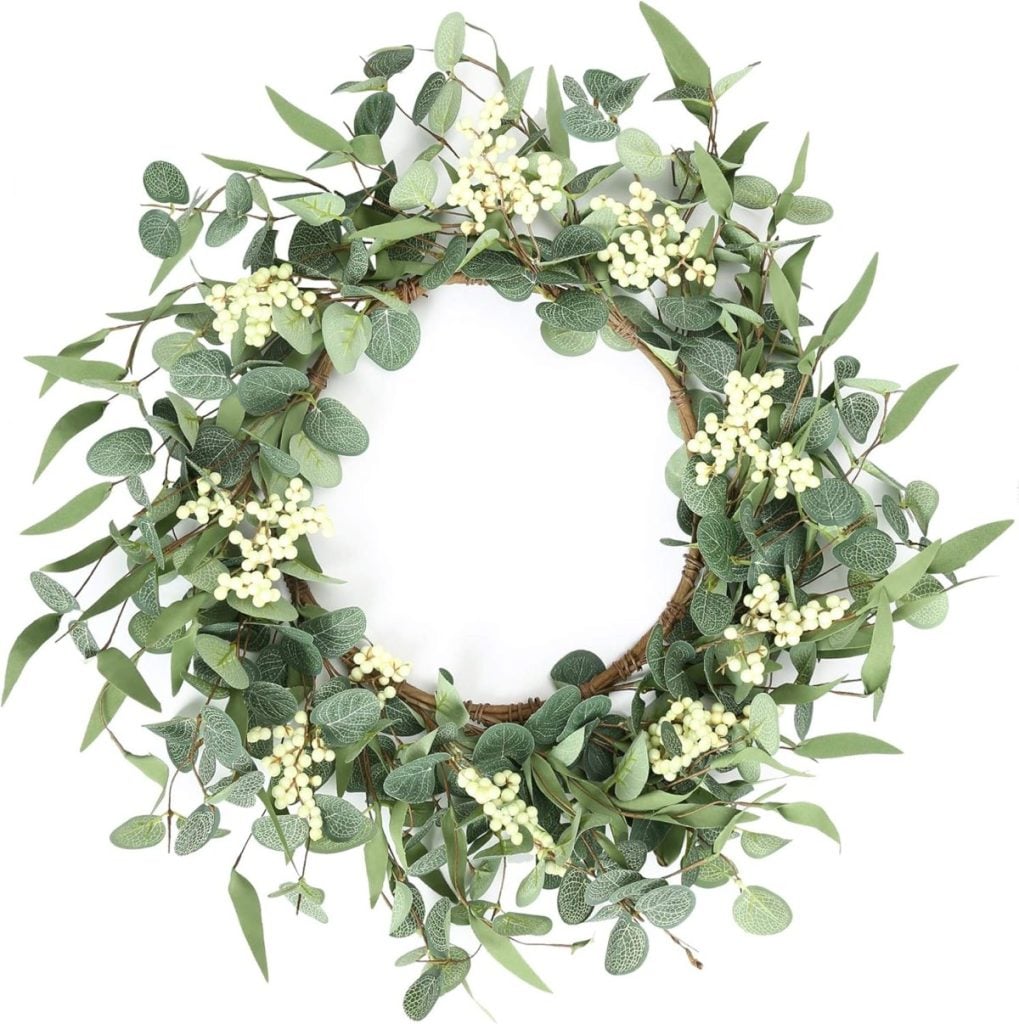
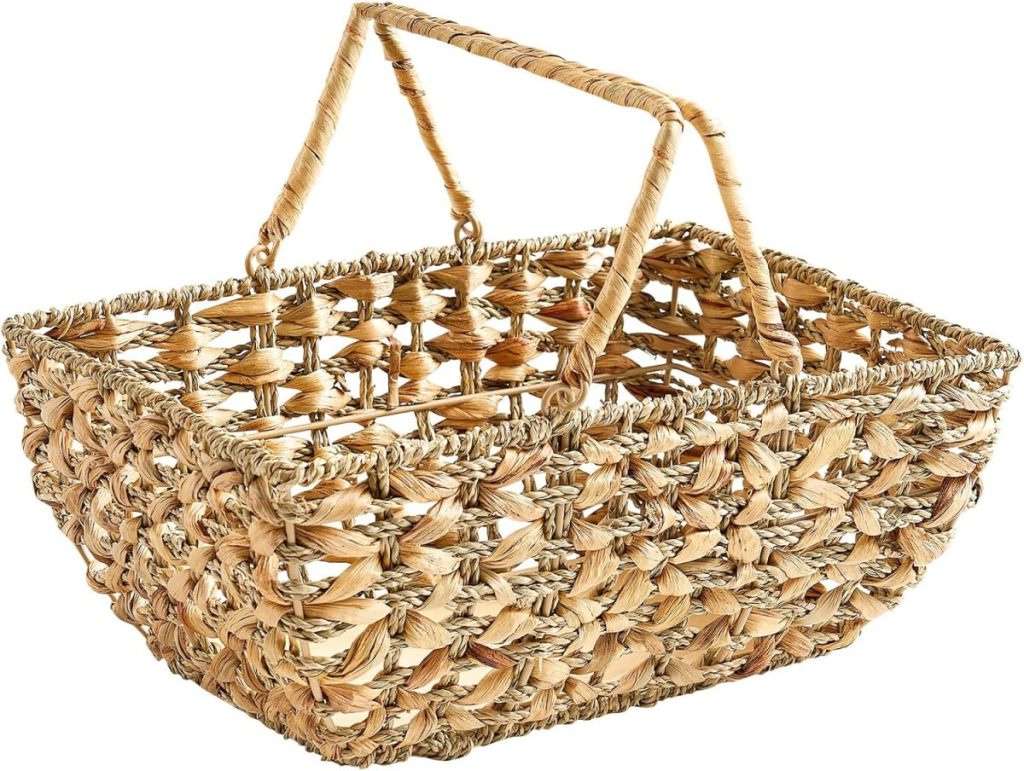
Tie onto baskets, wreaths, or drawer pulls.
Because the ribbon is reversible, it looks finished from every angle.

Why This Is a Perfect Handmade Gift
This project checks every box I love in a craft:
• Affordable materials
• Beginner-friendly once understood
• Highly customizable
• Useful and beautiful
• Easy to batch produce
You can create several yards in an hour and gift bundles of handmade ribbon to friends who sew, entertain, or love wrapping presents.
It feels thoughtful without being complicated.
Lessons Learned
Every new machine comes with a learning curve, and this project taught me several important things:
- Decorative stitches are far more versatile than expected.
- Fabric choice matters more than stitch choice.
- Letting the machine work naturally produces better results.
- Imperfection adds charm.
- Experimentation leads to the best discoveries.
Most importantly, I learned that sometimes the best projects begin simply by exploring what your tools can already do.
A Handmade Spring Continues
This Stitched Floral Ribbon DIY perfectly represents what my Handmade Spring series is all about.
Slowing down.
Using what we have.
Creating beauty from simple materials.
And finding joy in learning something new.
My new embroidery-sewing-quilting machine inspired this project, yet ironically, the magic happened in regular sewing mode. It reminded me that creativity is rarely about having more tools. It is about seeing familiar tools differently.
I already know this ribbon will appear everywhere this spring. On gifts, tables, baskets, and probably many future projects.
And honestly, I am just getting started.
If this is what happens while learning decorative stitches, I cannot wait to see what comes next!
How to Follow Along With A Handmade Spring
Each week, a new spring craft will be shared here on the blog. I will also be sharing behind-the-scenes moments, progress videos, and finished projects on Instagram so you can see each craft come to life.
You can jump in at any point. There is no need to start at the beginning or complete every project. Choose the ones that speak to you and make them your own.
If you love seasonal crafting, this series is designed to inspire you throughout spring.
Here are all of the A Handmade Spring craft projects so far. I can’t wait to share all twelve.
Latest Posts
-
Best Easter Brunch Egg Dish: Loaded French Onion Frittata
Easter brunch is one of those special meals where the table is complete, the laughter is loud, and the food is nothing short of spectacular. If you want to wow your guests with something savory, cheesy, and unforgettable, let me introduce you to your new Easter brunch hero: a Loaded French Onion Frittata.
-
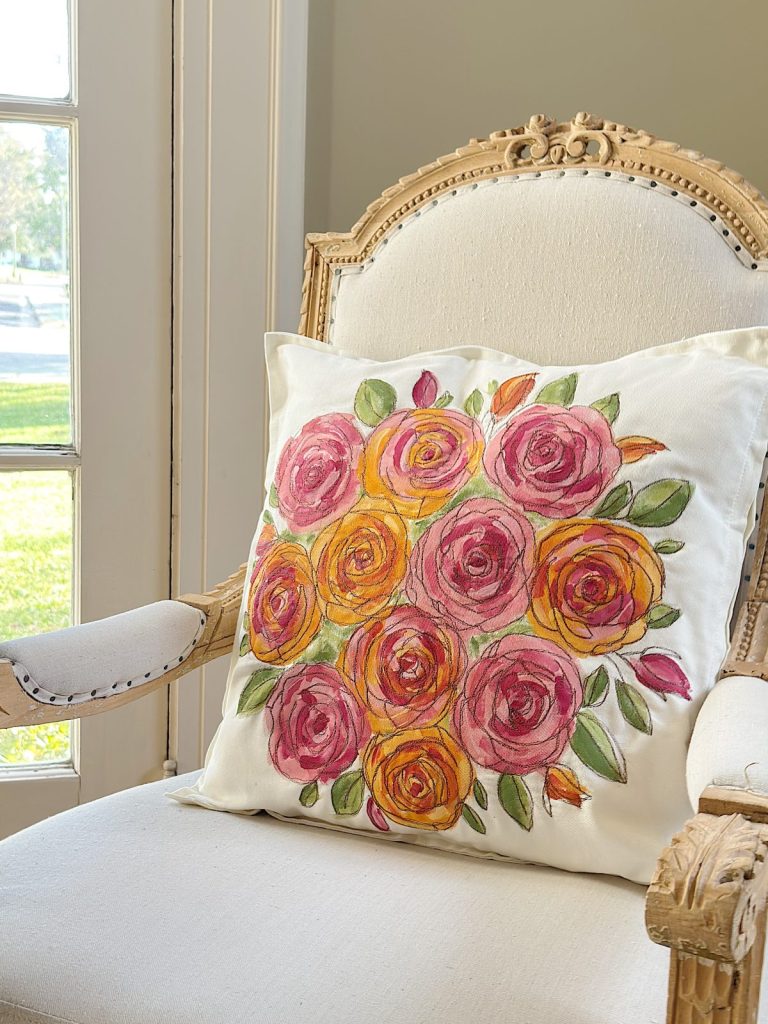
The Best Spring Pillow DIY – A Handmade Spring
There are certain projects that start as an idea and quietly turn into something you love far more than you expected, and this Spring pillow is exactly that. As part of my A Handmade Spring series, I wanted to create something soft, beautiful, and full of texture, and this pillow checked every box. This pillow…
-
DIY Clay and Metallic Foil Easter Eggs
With Easter just around the corner this week, I decided to create something special and truly unique for my spring décor … handmade clay and metallic foil Easter eggs. These little works of art are soft, pastel, and subtly shimmery, and they’re a beautiful way to add a handmade touch to your Easter celebrations. While…
-
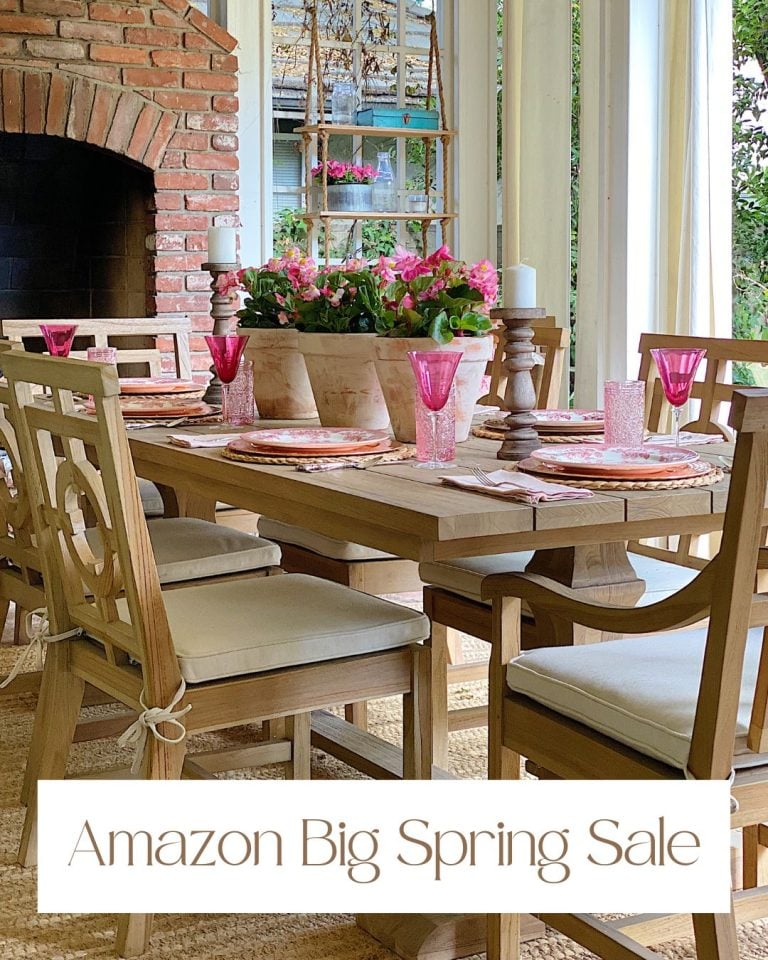
The Amazon Big Spring Sale is Here!
The Amazon Big Spring Sale is here! It runs from March 25th (today) through March 31st, and here are some of the best Amazon Deals ever! There are millions of deals available, and today I will help you find the best ones for everything you need. Now is the perfect time to shop for Spring.


My Recent Instagram Posts

You can pin the image below to your boards on Pinterest (click the Pin button in the top left corner) or follow me on Pinterest!

For more real-time updates, follow me on Instagram @My100YearOldHome

Love this idea. Can’t wait to make some decorative ribbon. Look forward to your creative posts every day.
I always look forward to your posts. You have such creative projects that I can do easily. I’m looking forward to making some beautiful ribbon. Thanks for all your hard work.
I love how simple muslin fabric can be turned into a decorative ribbon using sewing machine stitches. The floral patterns and frayed edges give it a soft handmade look that’s perfect for gift wrapping or spring decor.