Oyster Shell Christmas Ornaments
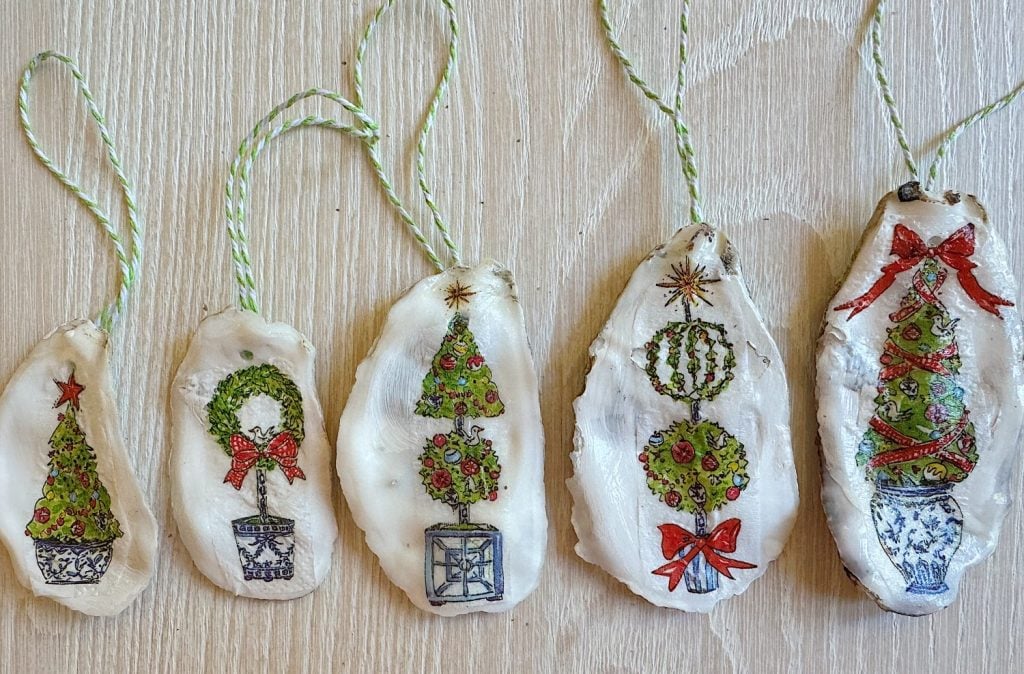
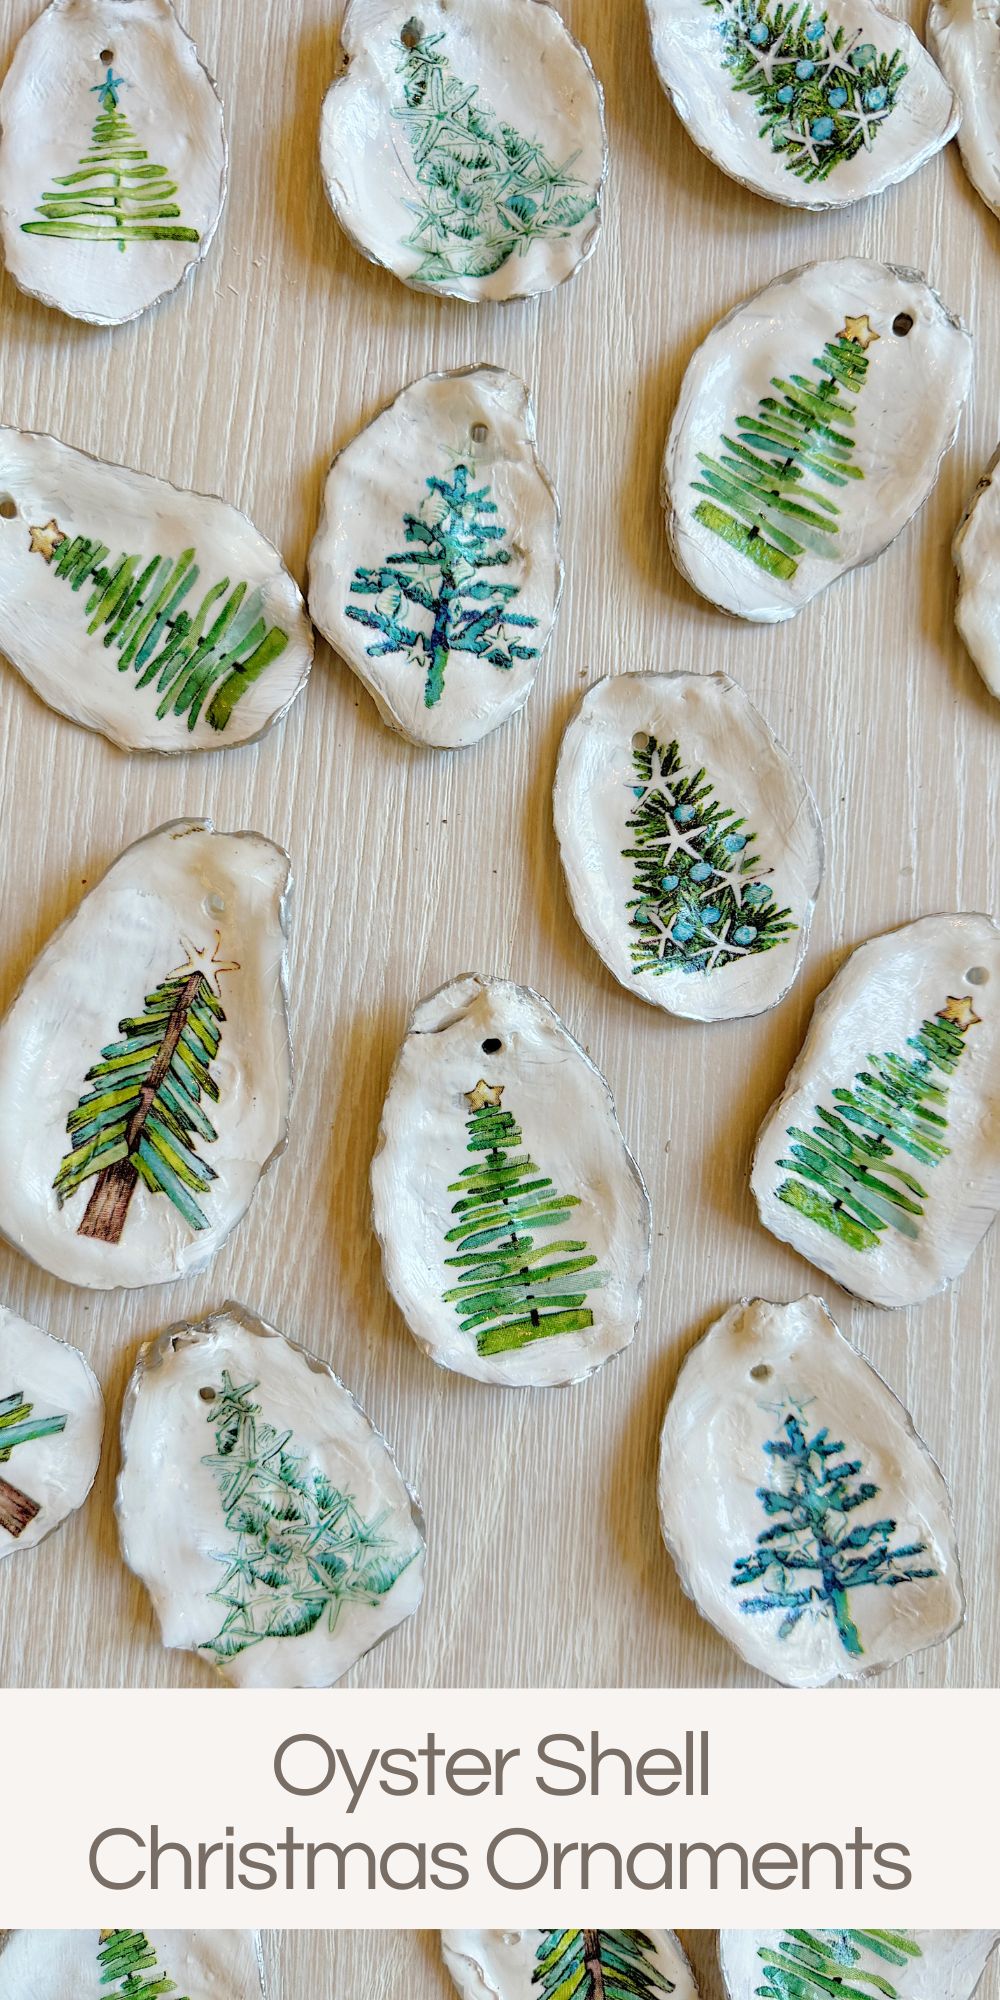
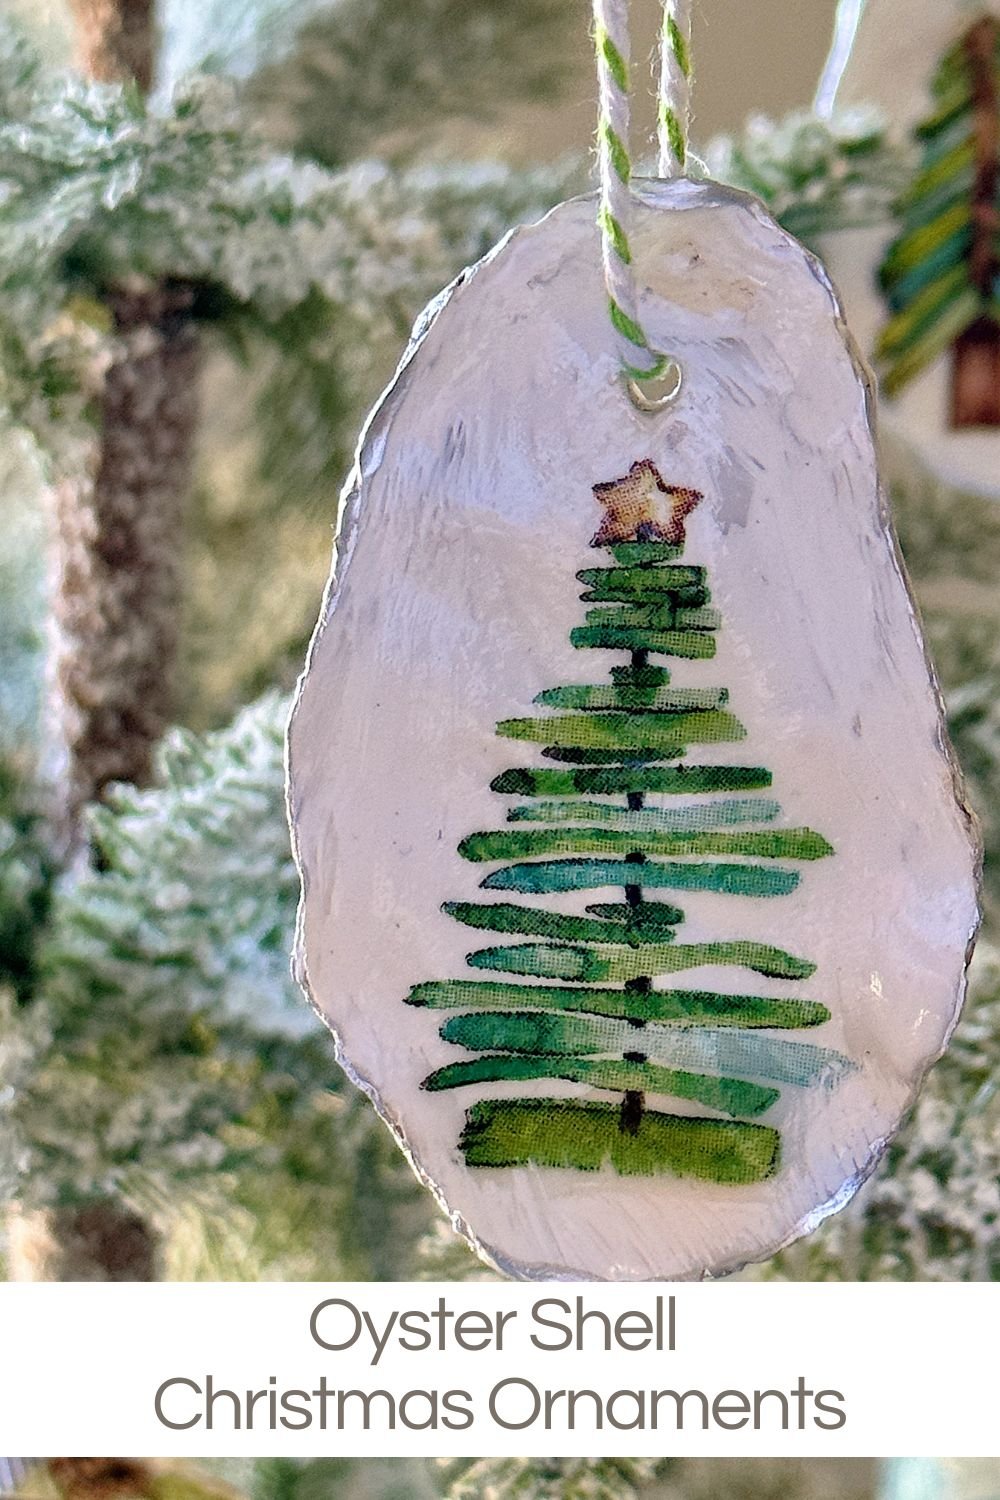
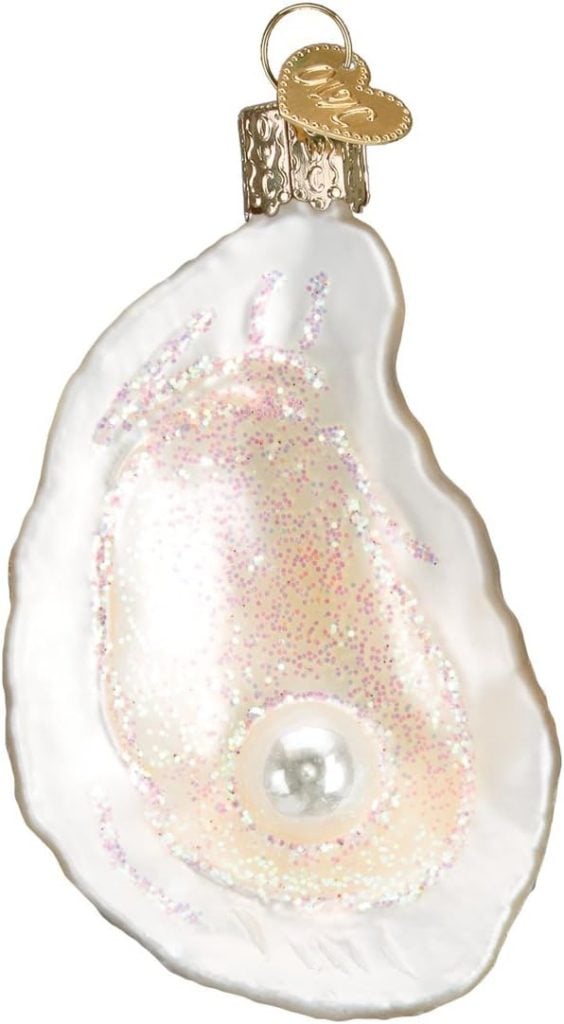
Creating oyster shell Christmas ornaments with paper napkins is an incredibly easy and enjoyable craft that combines natural elements with artistic flair.
This project is perfect for anyone looking to add a touch of coastal elegance to their holiday decor or make personalized, handmade gifts for loved ones. The process is simple, and the results are stunning, making it a fun activity for crafters of all skill levels.
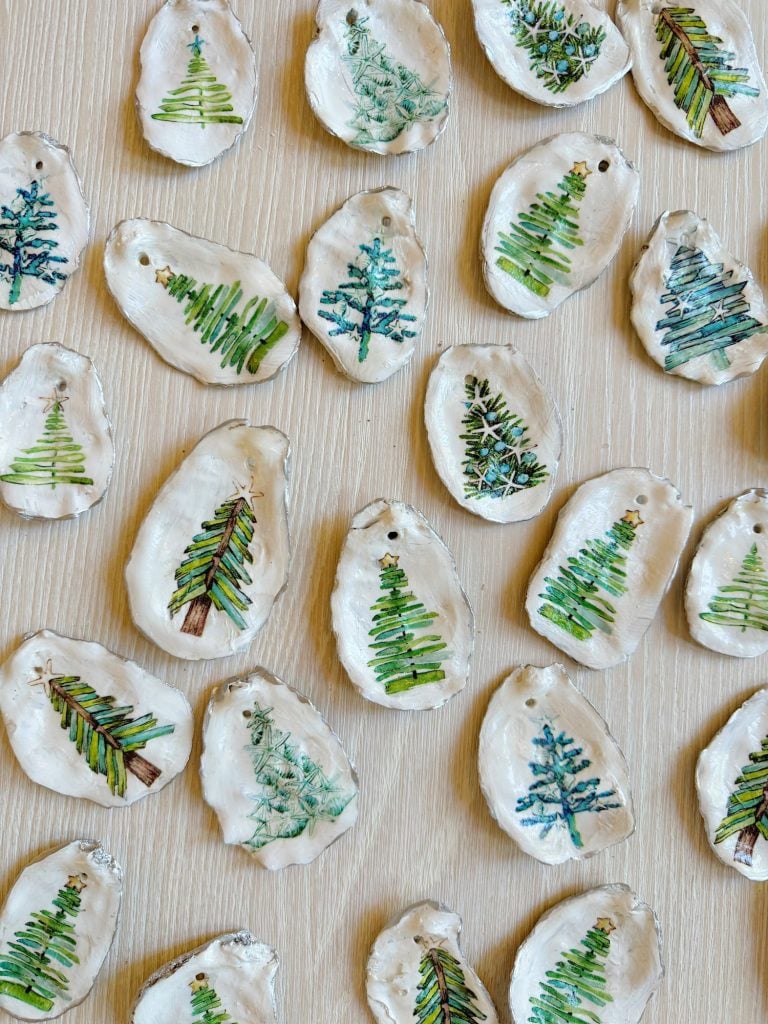


Oyster Shell Ornaments
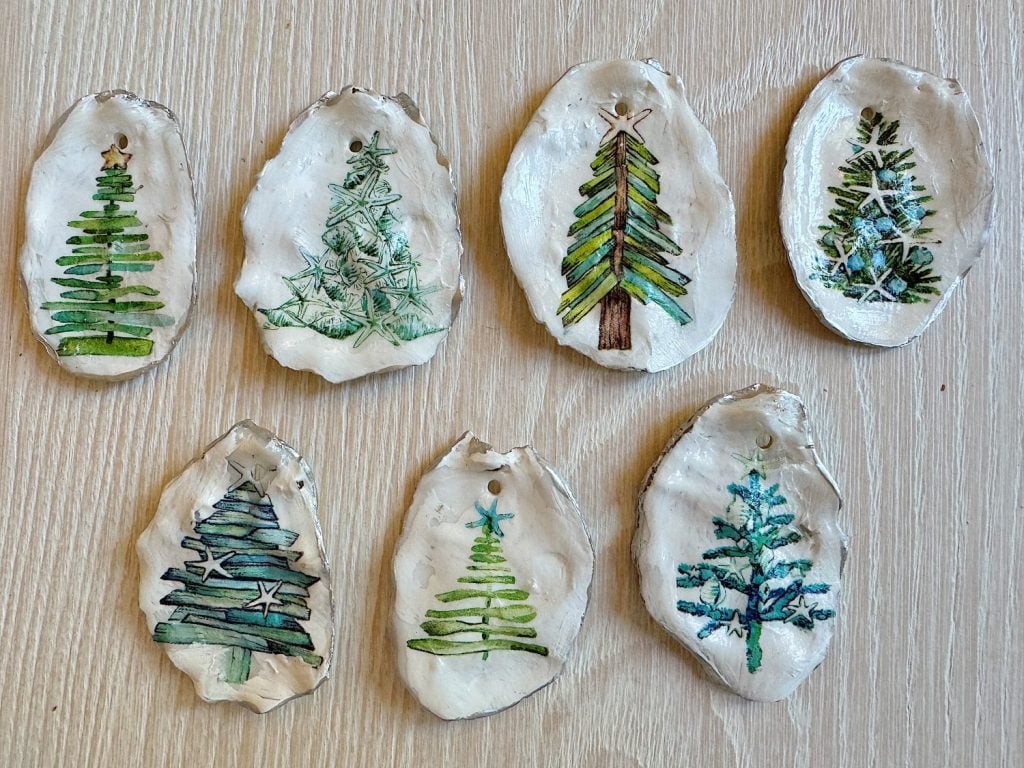
The key to this project is selecting oyster shells with smooth surfaces and beautiful paper napkins featuring festive designs. From intricate snowflakes to coastal-inspired patterns, the variety of napkin designs allows endless customization.

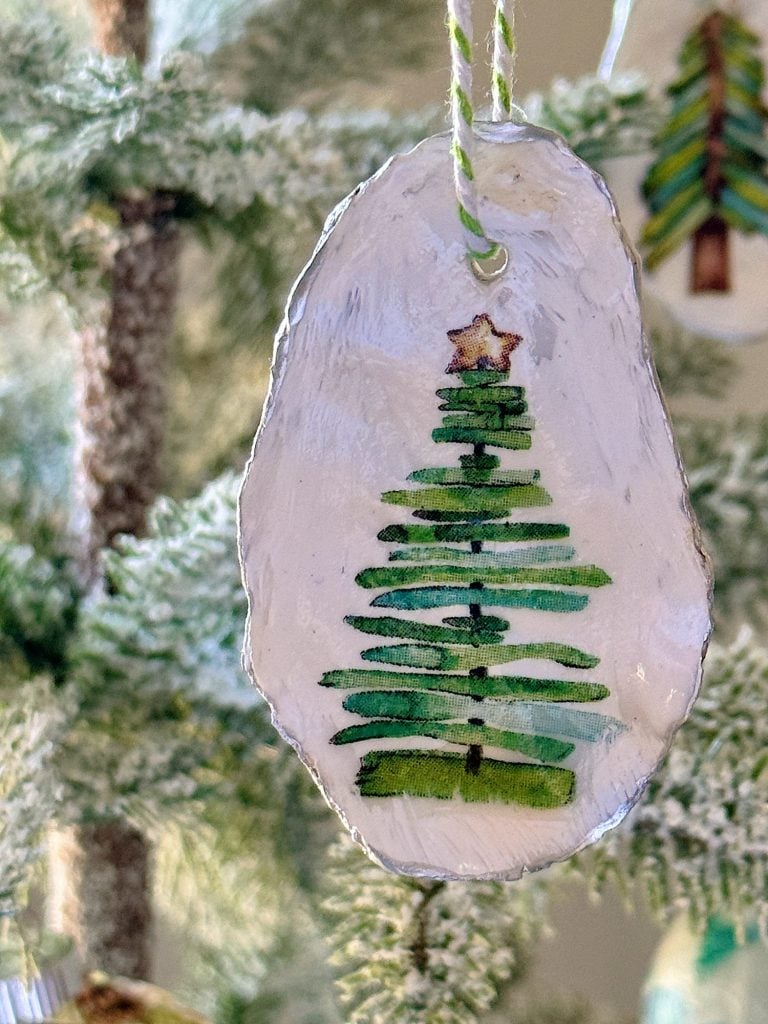
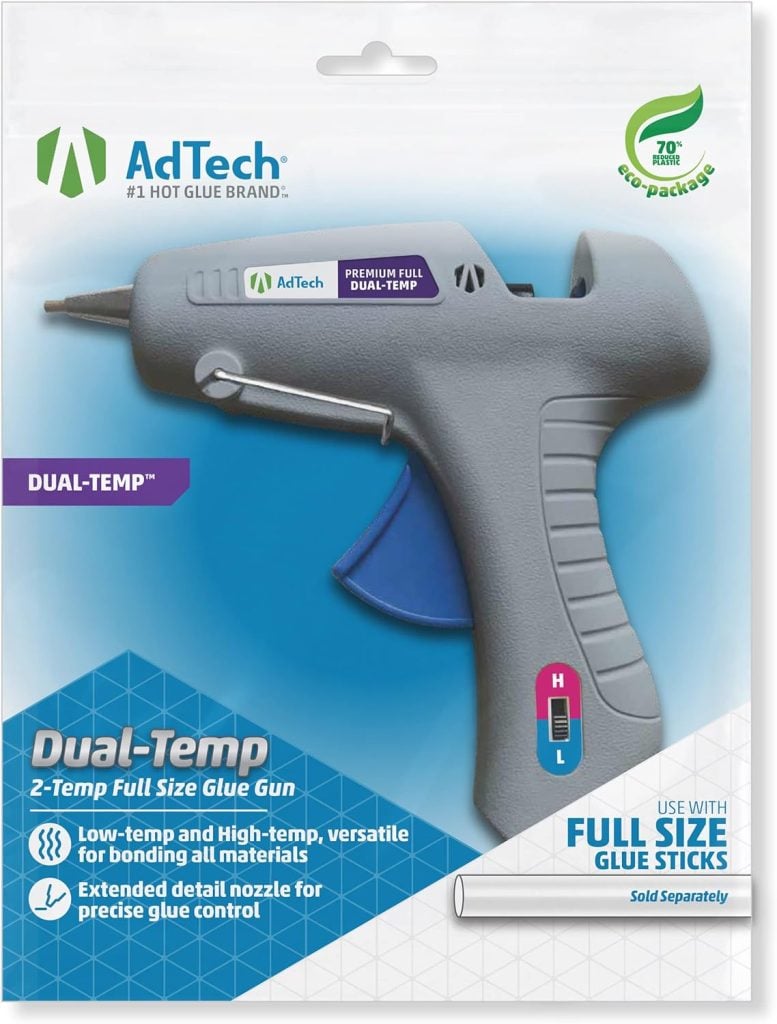
What makes this craft so much fun is the creativity you can bring to the finishing touches. Add a touch of glamour by brushing the edges of the shells with metallic gold or silver paint. Attach a small loop of ribbon, twine, or fishing line to the back with hot glue to turn the decorated shell into an ornament. Using a fine-tip paint pen, you can further personalize them with initials, dates, or messages.
These oyster shell ornaments are an excellent way to repurpose natural materials and create unique, elegant, and handmade holiday decorations. Whether you use them to adorn your tree, add flair to a gift package, or display them in a bowl as part of your holiday decor, these ornaments will impress. The process is quick and easy, making it a perfect holiday craft for family or friends.
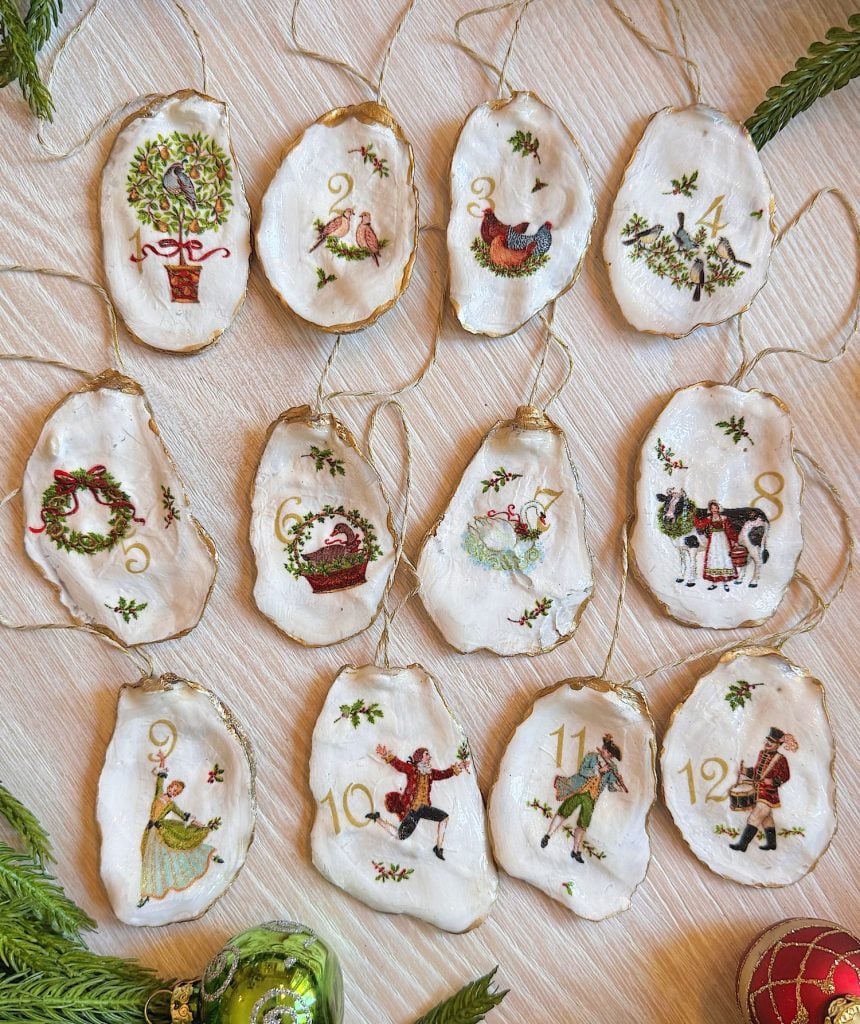
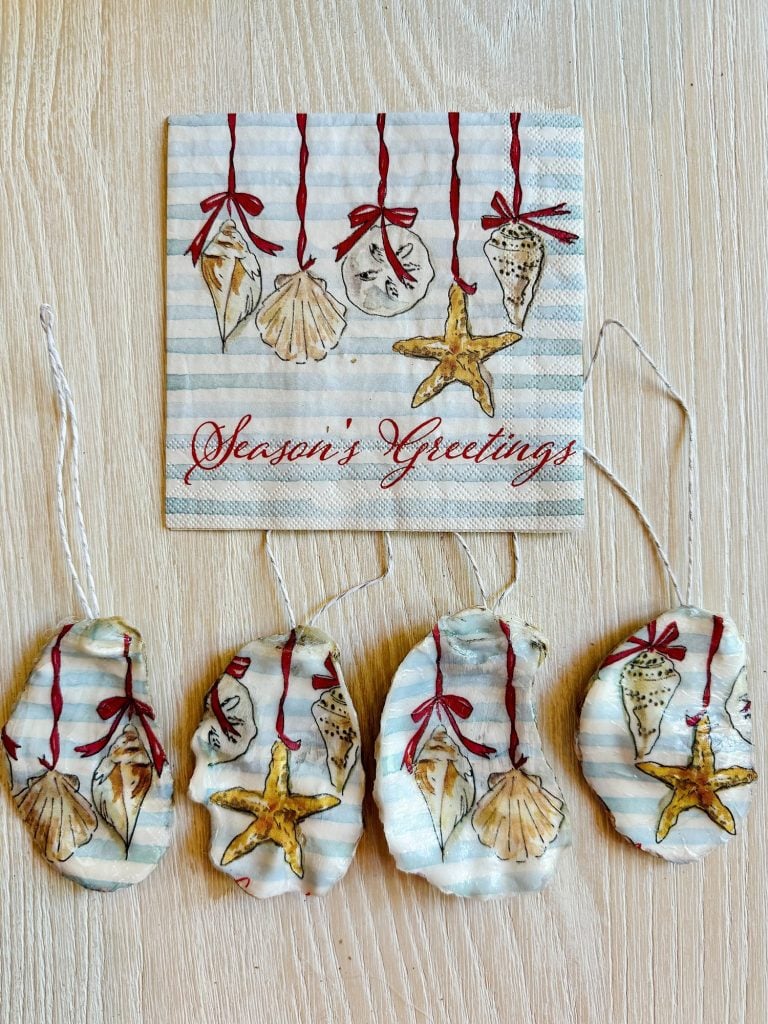
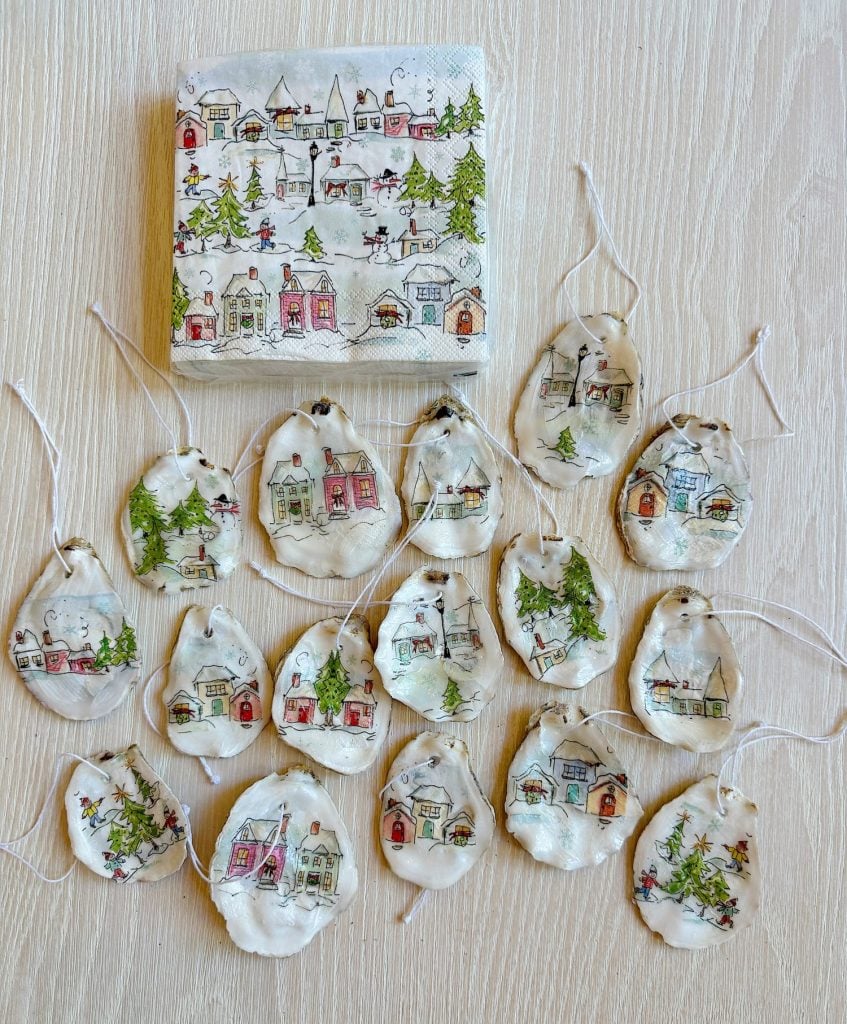
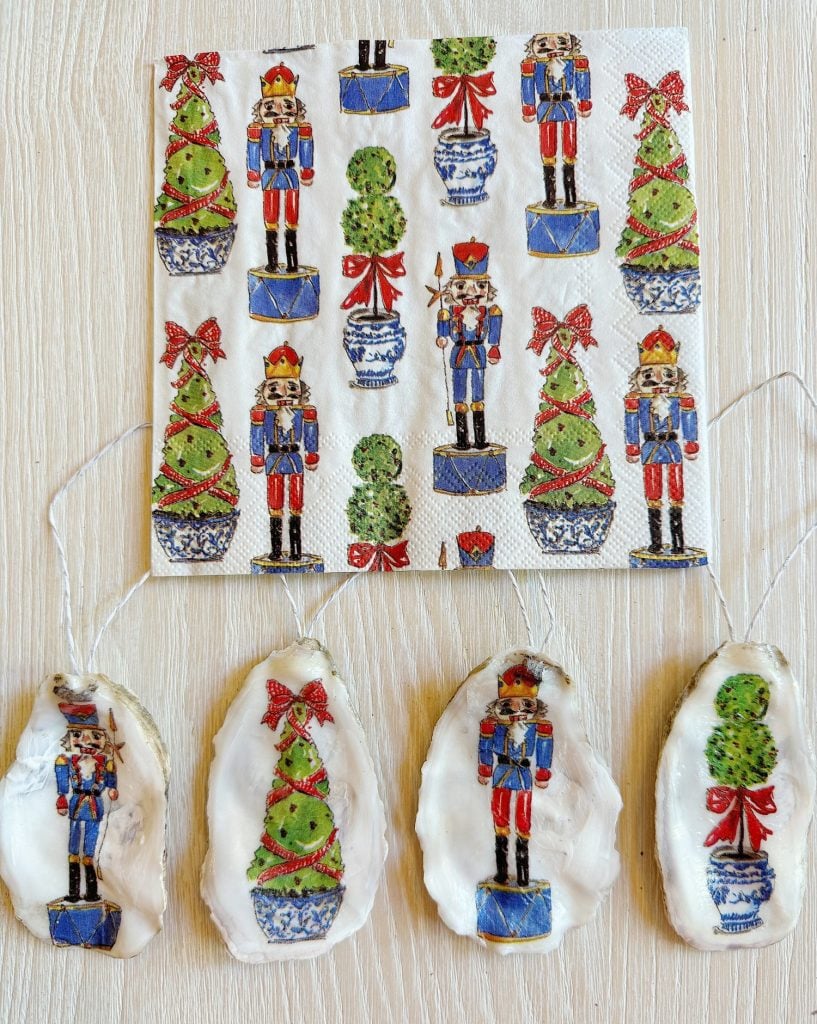
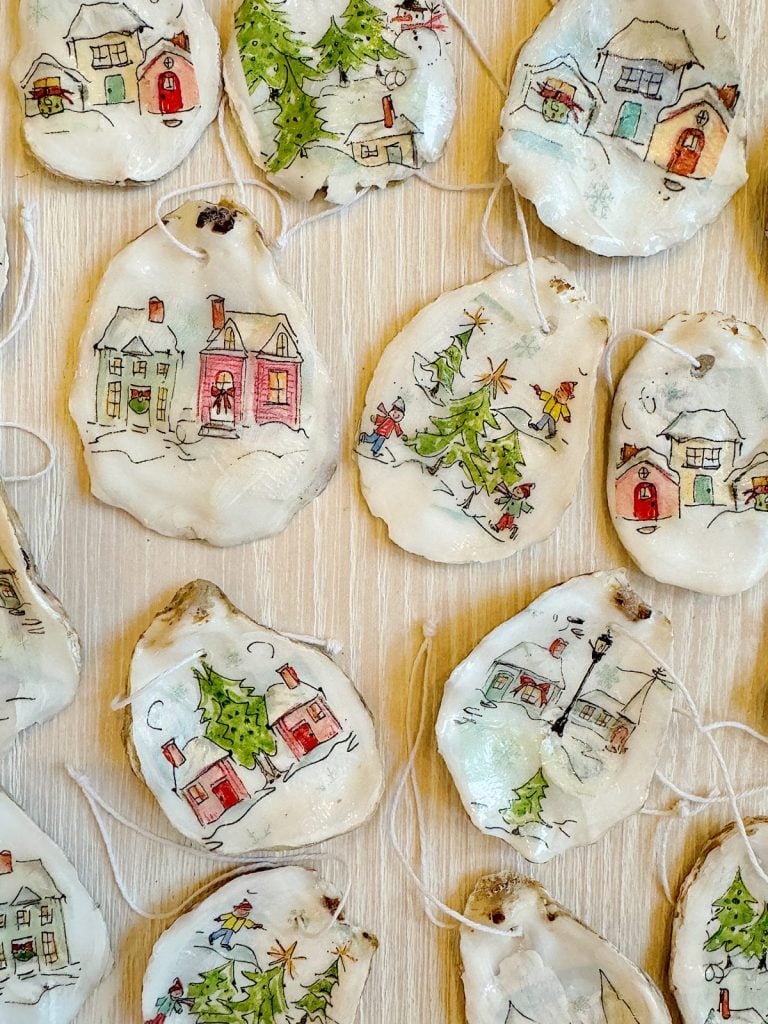
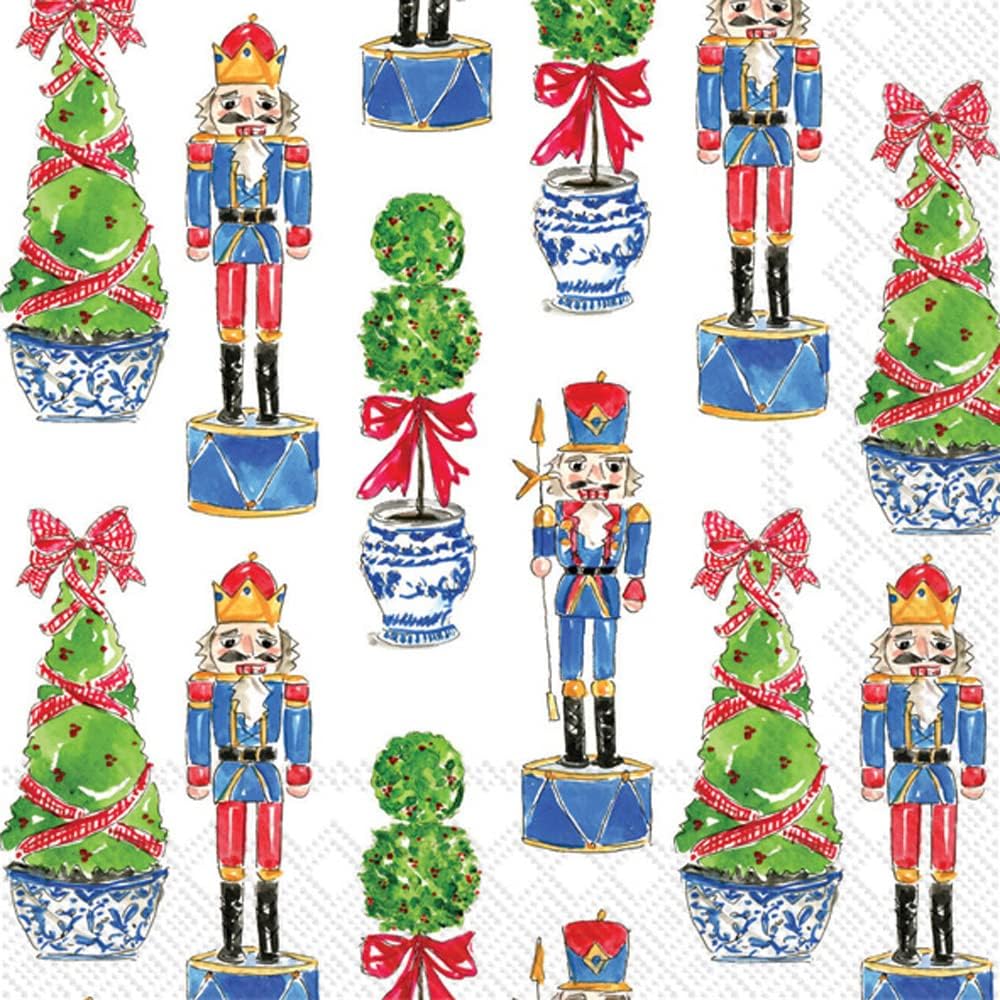
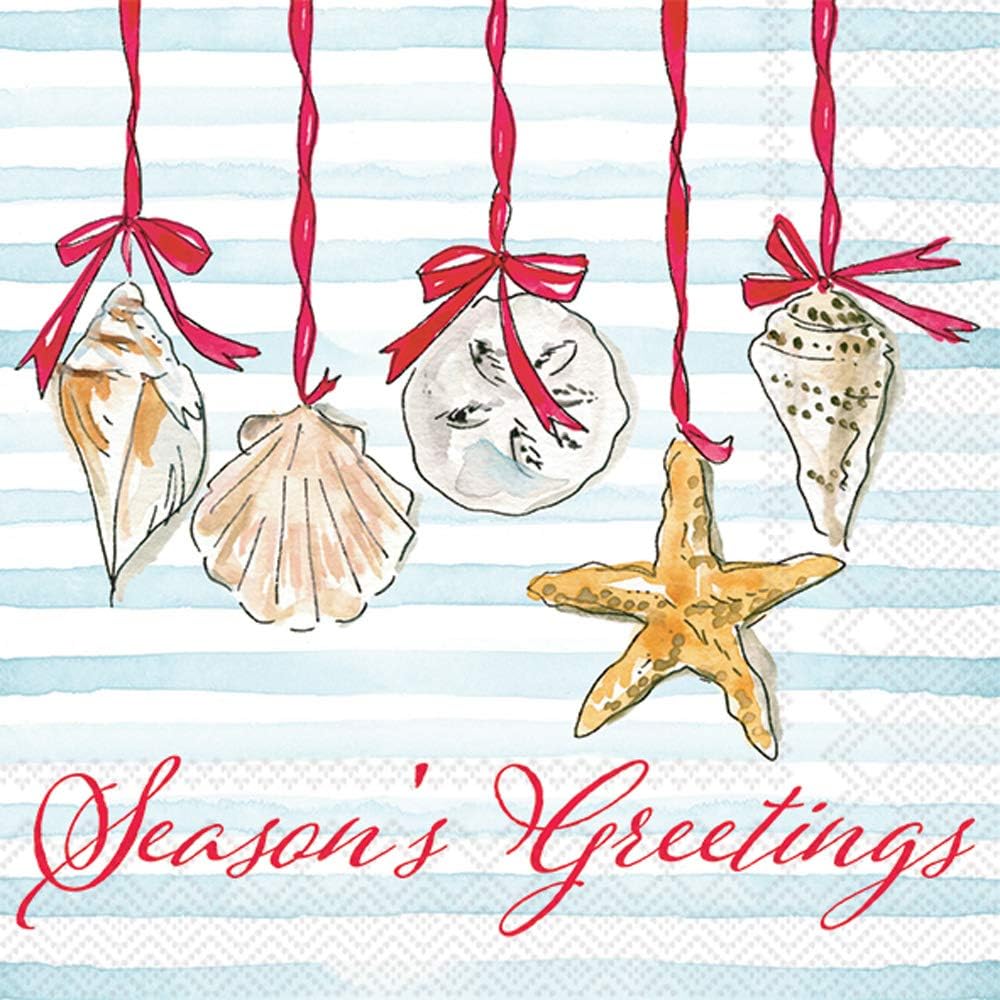
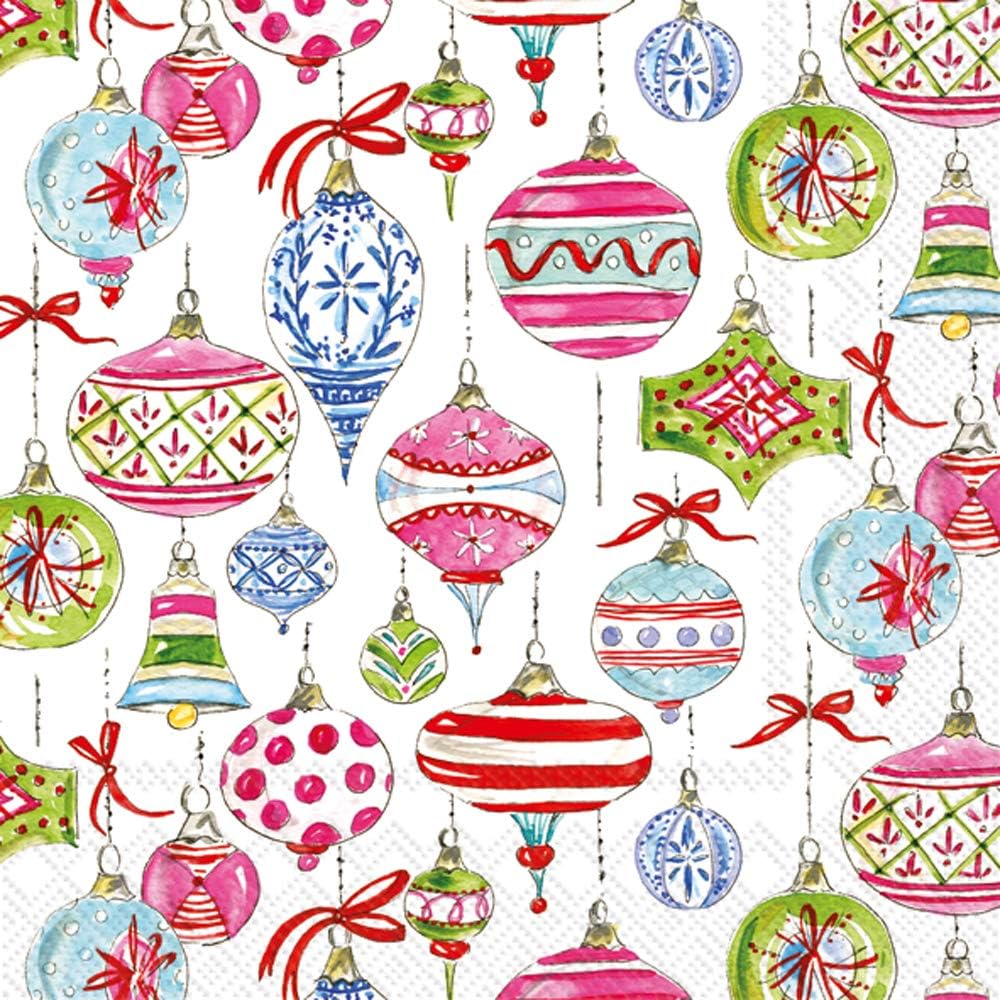
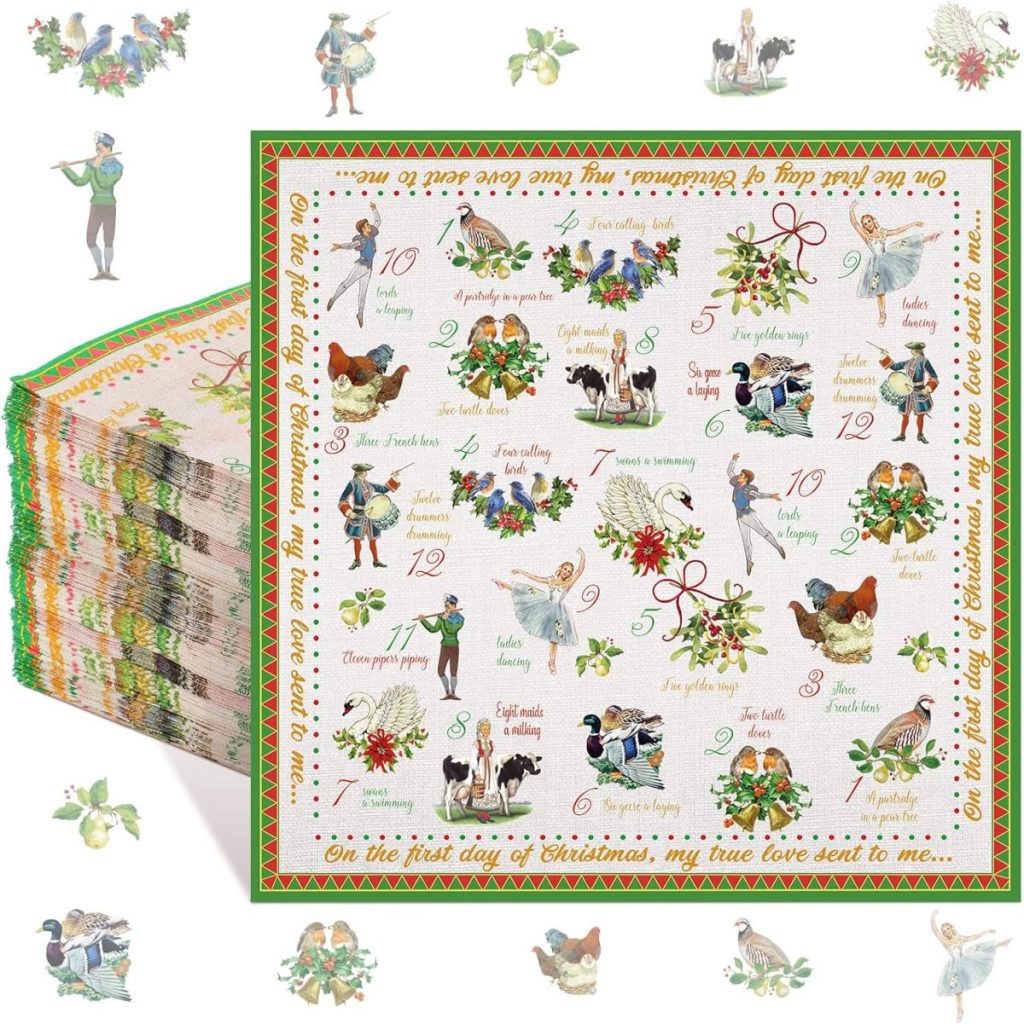
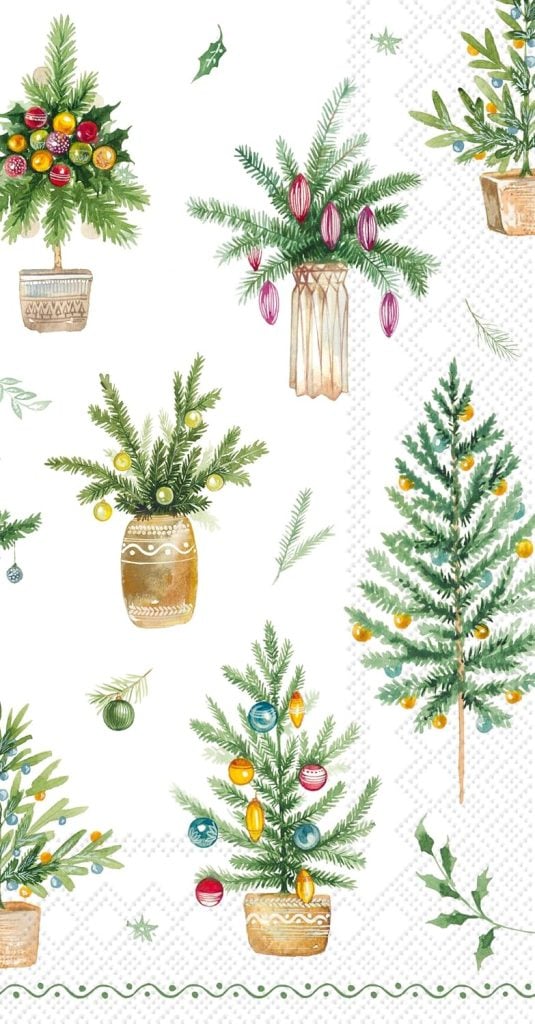
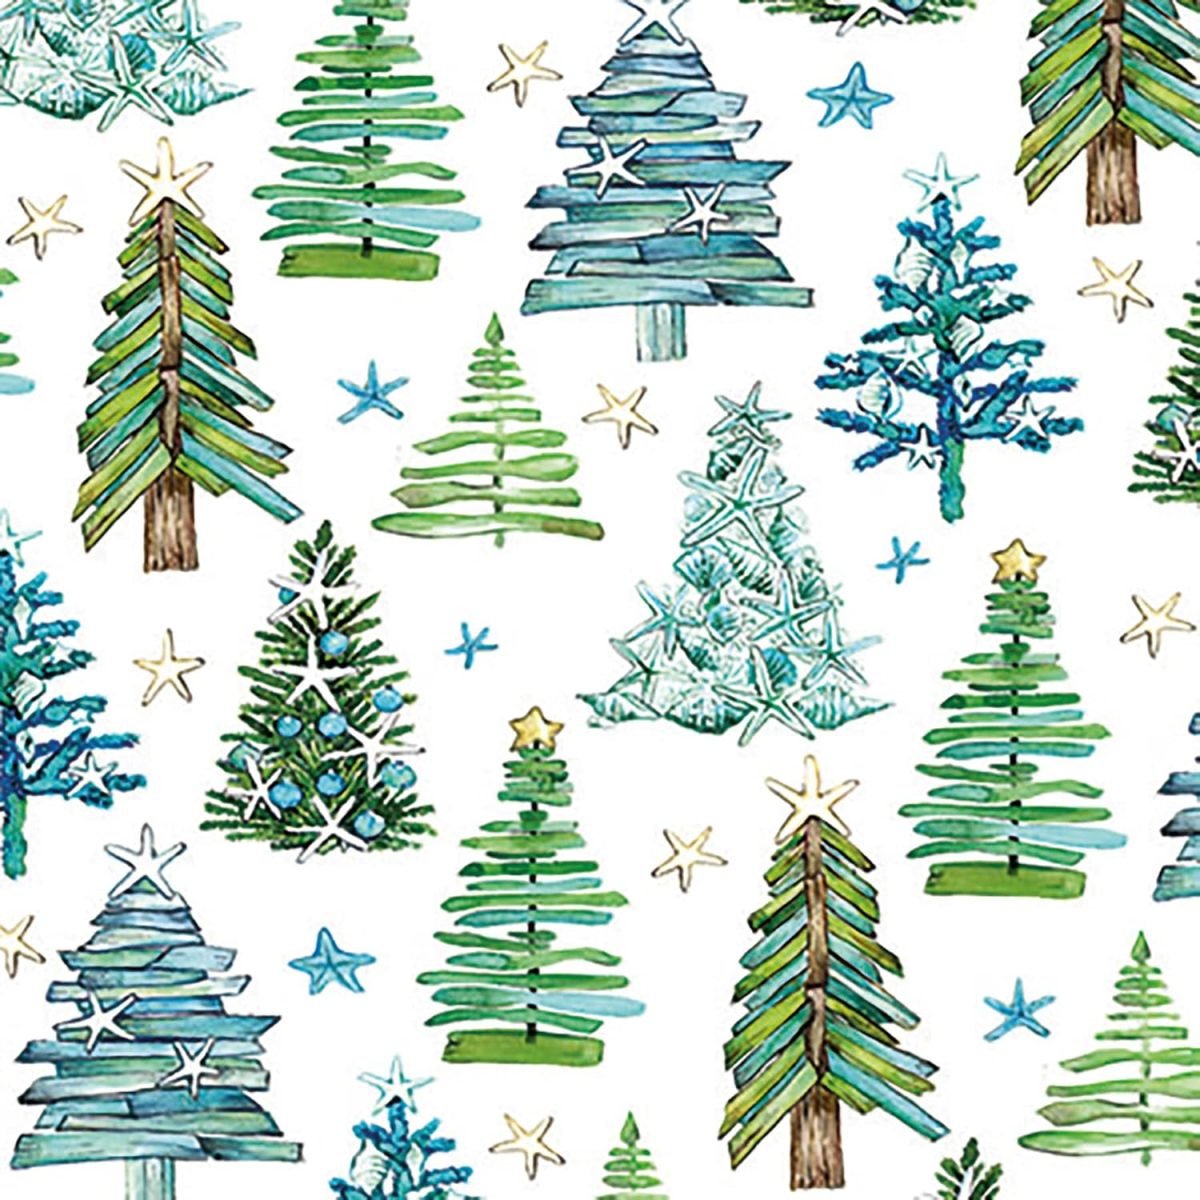
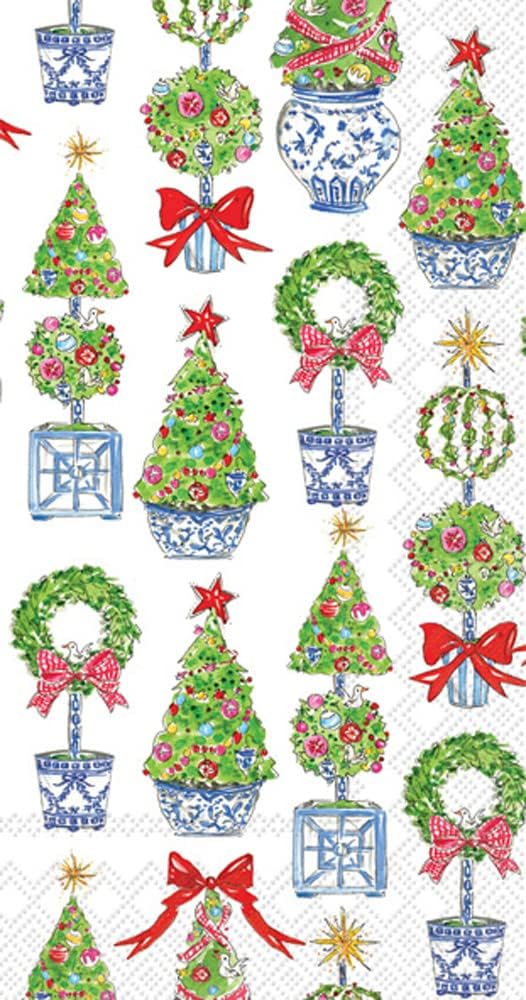
Here are more oyster shell Christmas ornaments, along with the napkins I used to make them.
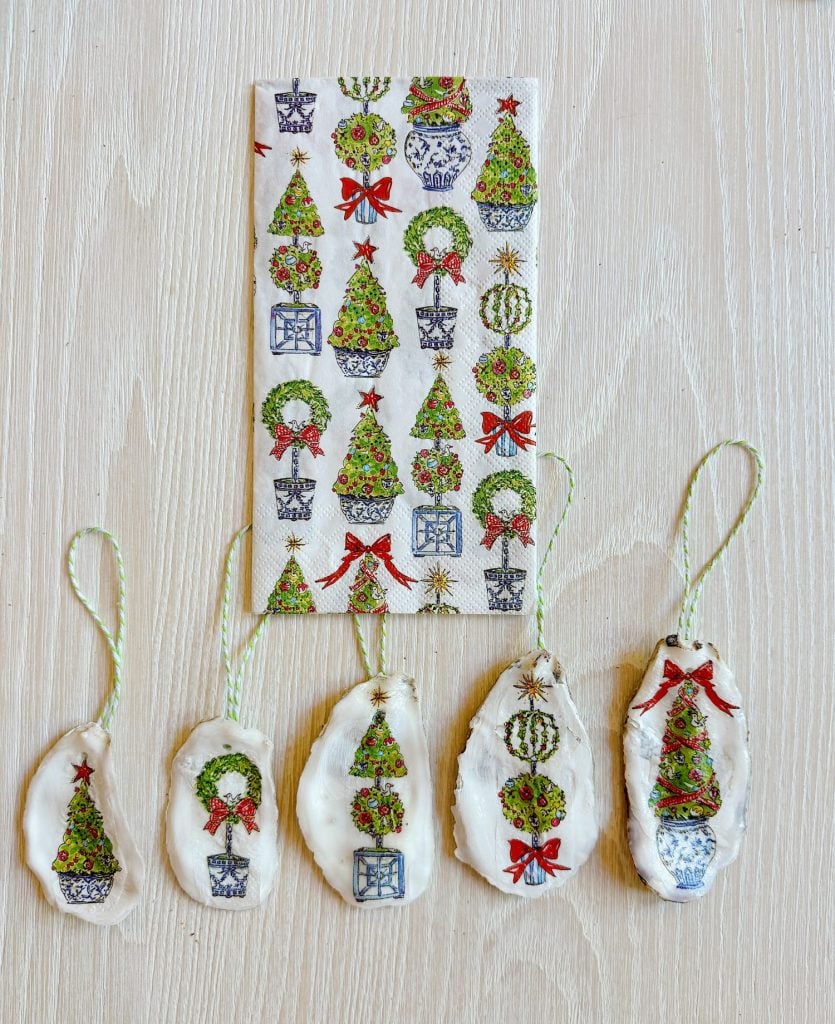
How to Make Oyster Shell Christmas Ornaments
Materials Needed
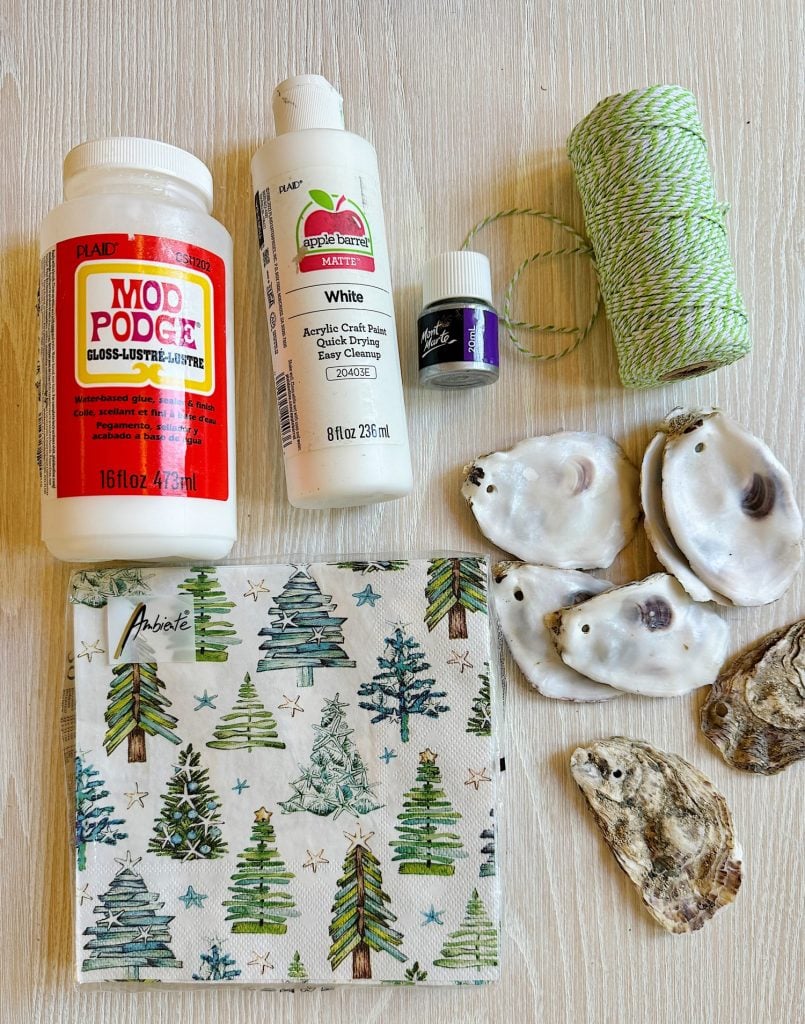
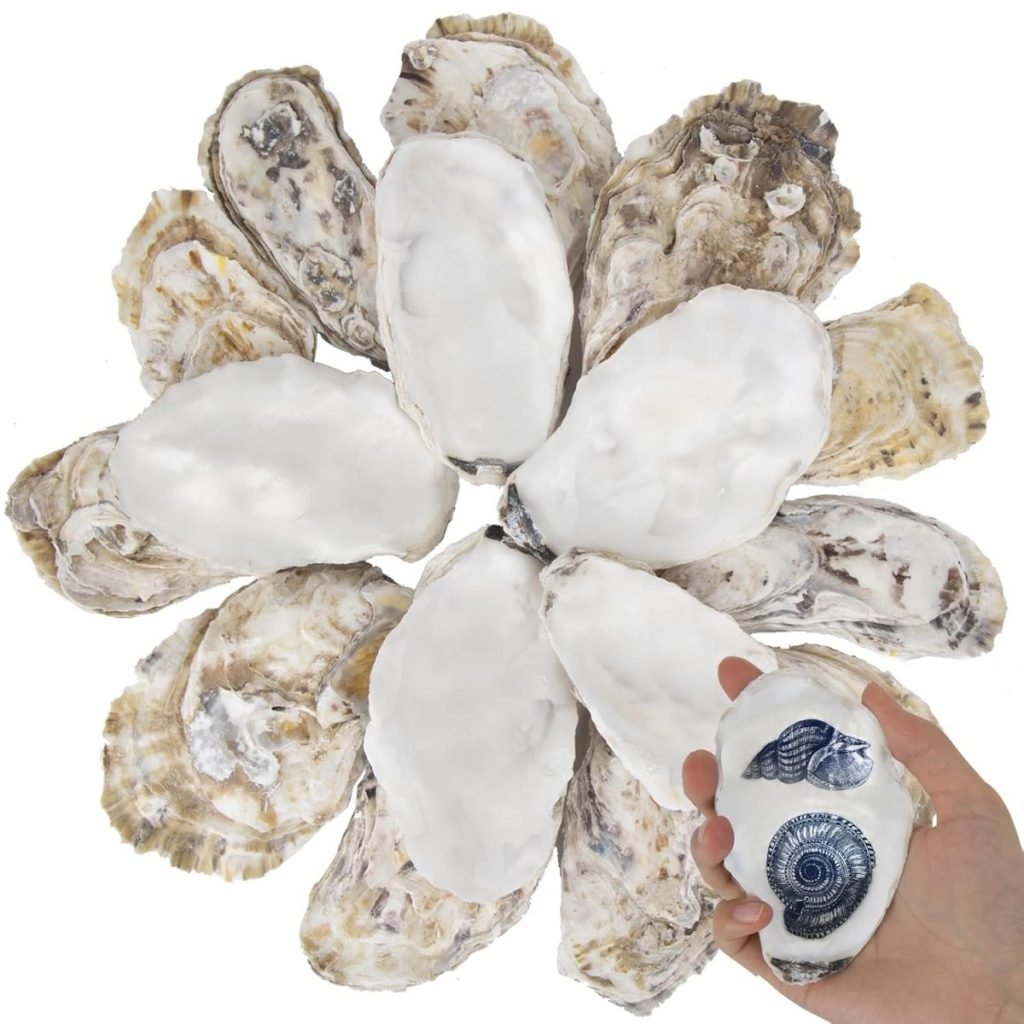
- Cleaned oyster shells (you can collect these or purchase them online). I like to use the top shell, which is the flat one. (The bottom shell is the curved one, which holds the oyster meat.)
- Christmas-themed paper napkins
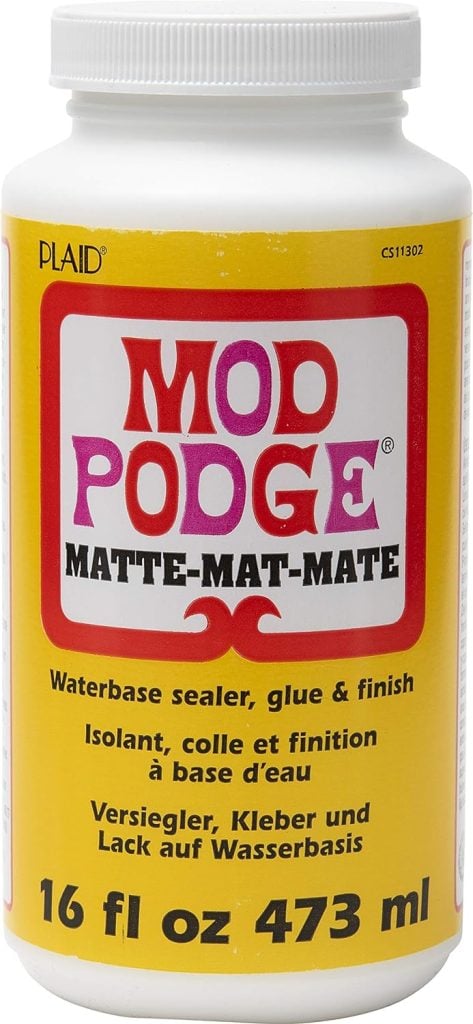
- Mod Podge or decoupage glue
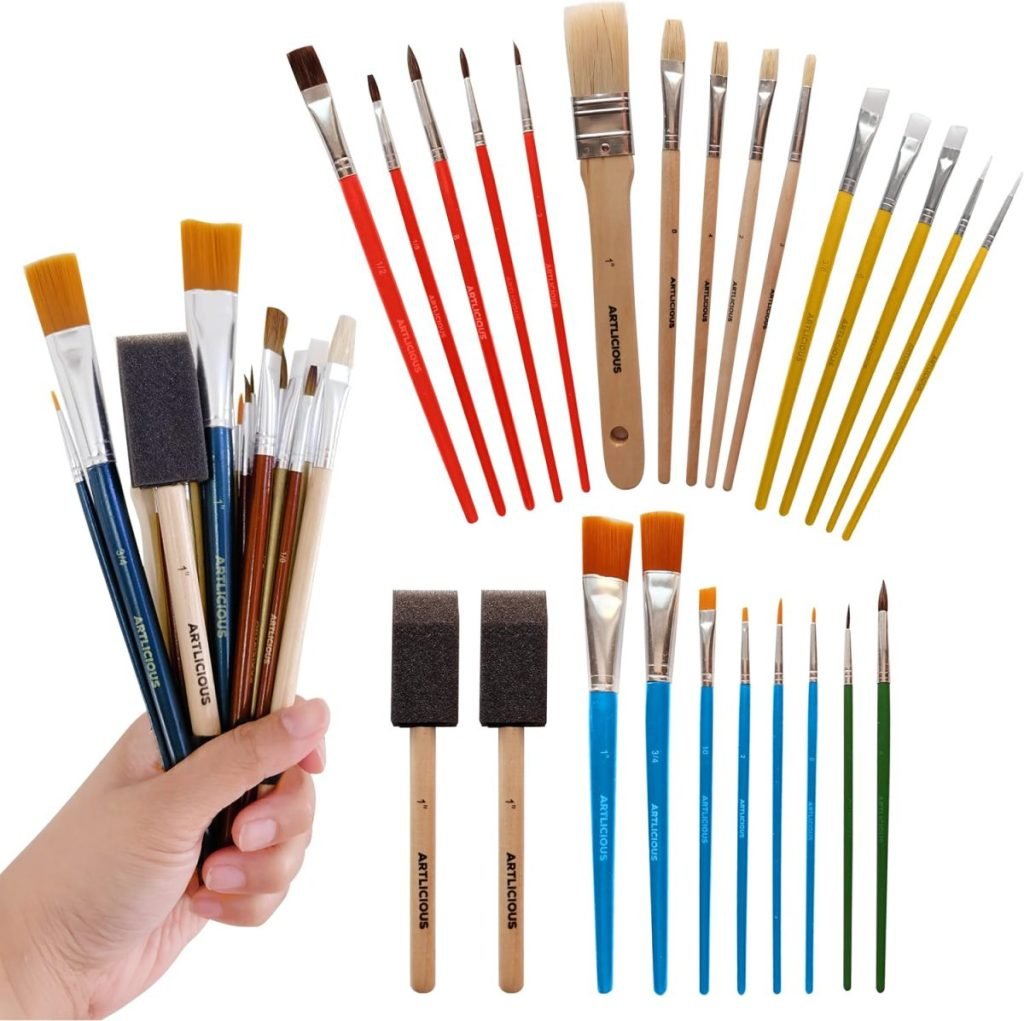
- Foam brush
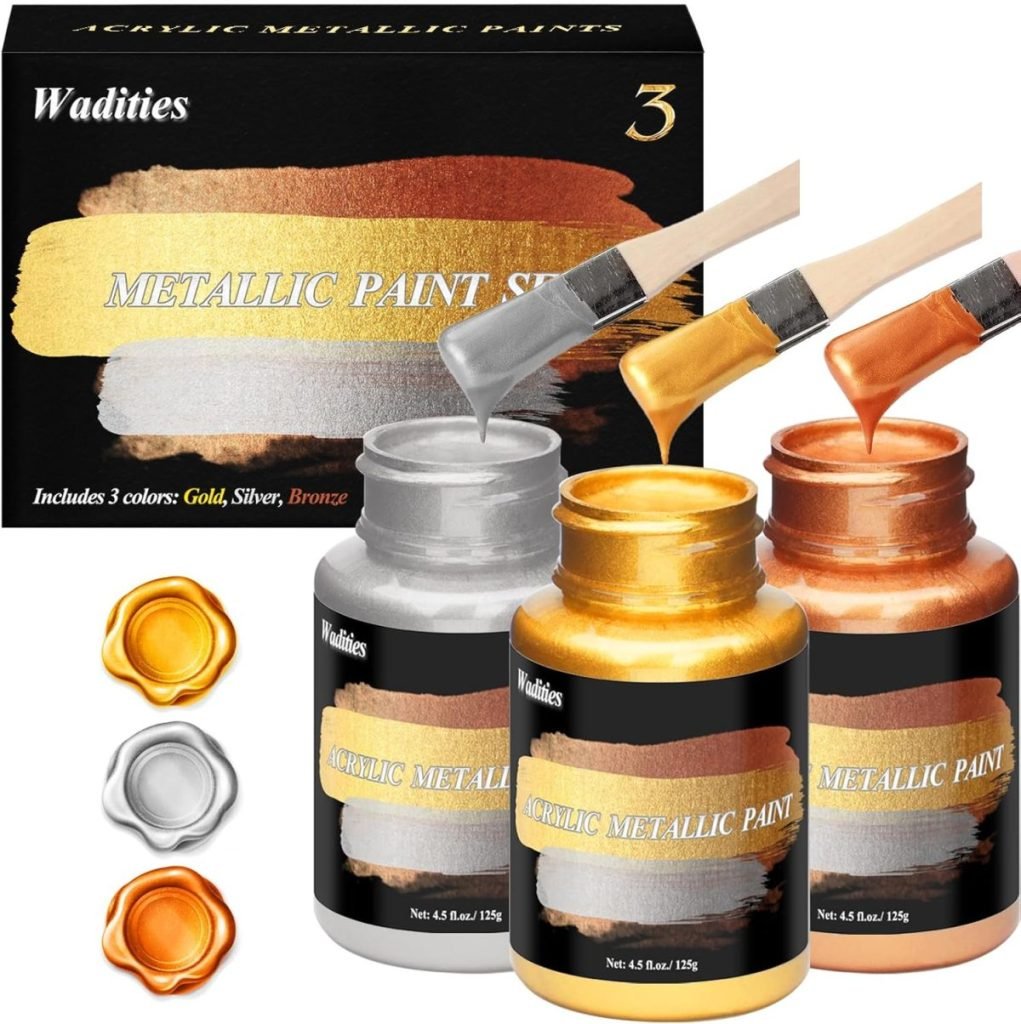
- Gold or silver paint (optional)
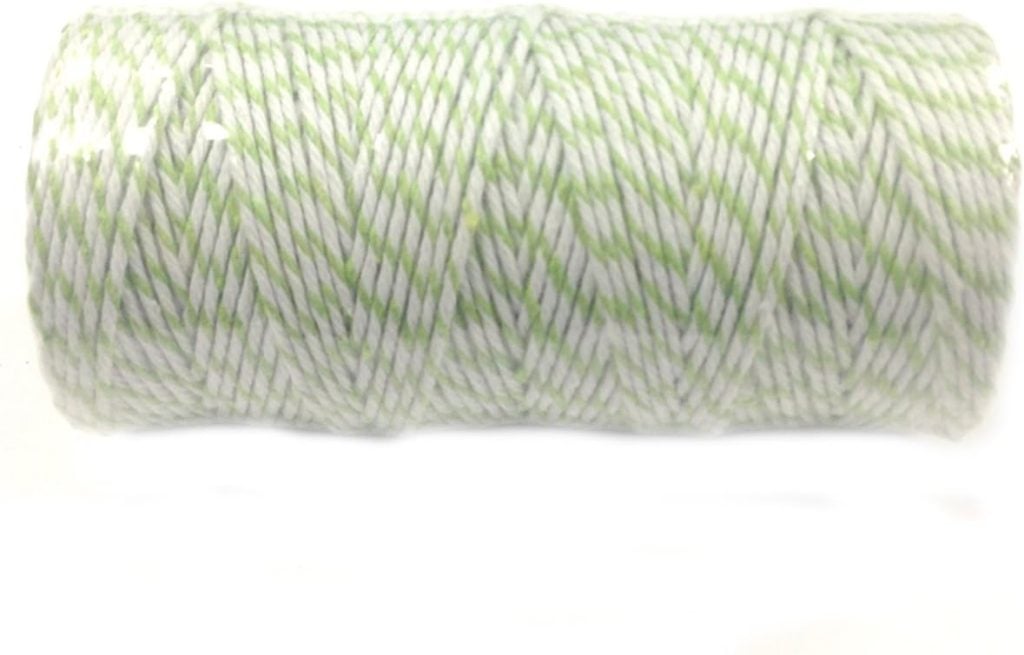
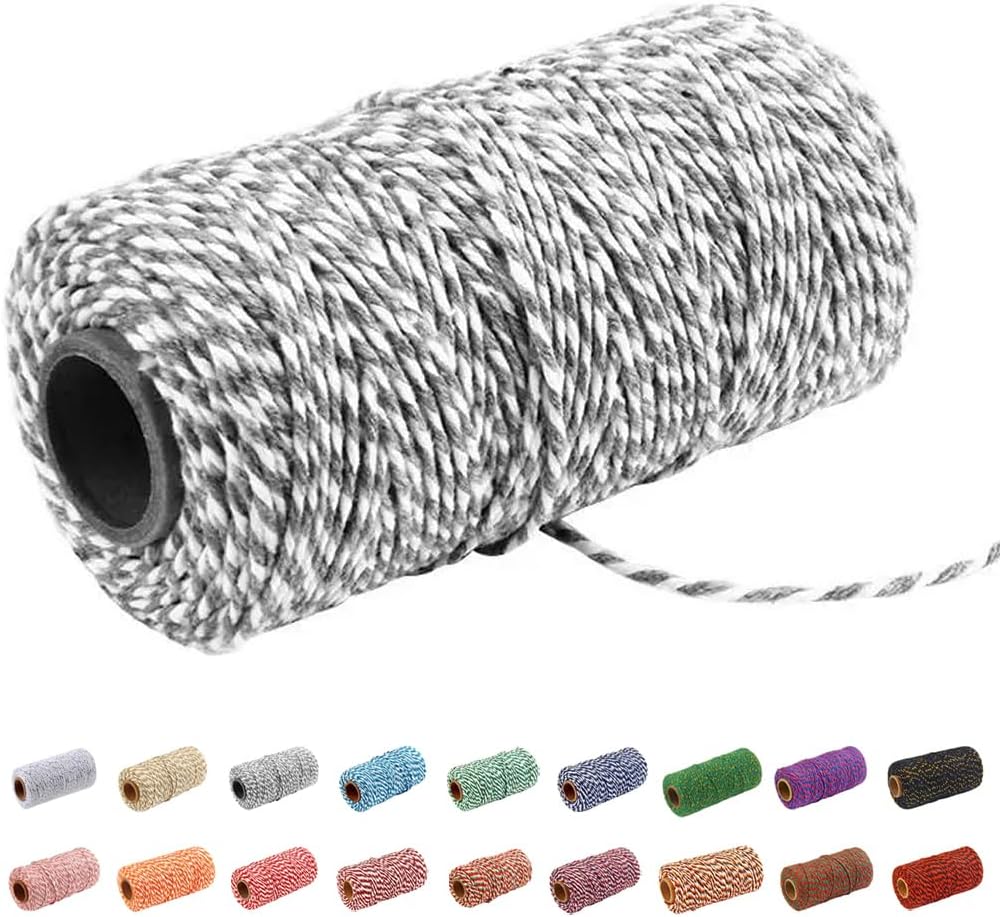
- Twine or ribbon for hanging
- Hot glue gun
I may sometimes use affiliate links on this blog, which means a small commission is earned if you purchase via the link. The price will be the same whether you use the affiliate link or go directly to the vendor’s website using a non-affiliate link.
I am fortunate to collect oyster shells from an oyster truck in Ventura. They are near the beach, and for years, they have saved discarded oyster shells around the perimeter of their “dining” area. They have thousands, so they don’t mind when I grab a few for my crafts!
Since I gathered my oyster shells, I used a drill to add the hole for the hanger. However, I realized adding hanging twine to the back of the shell with a glue gun was much easier. You can choose either way!
Finding the Perfect Shells
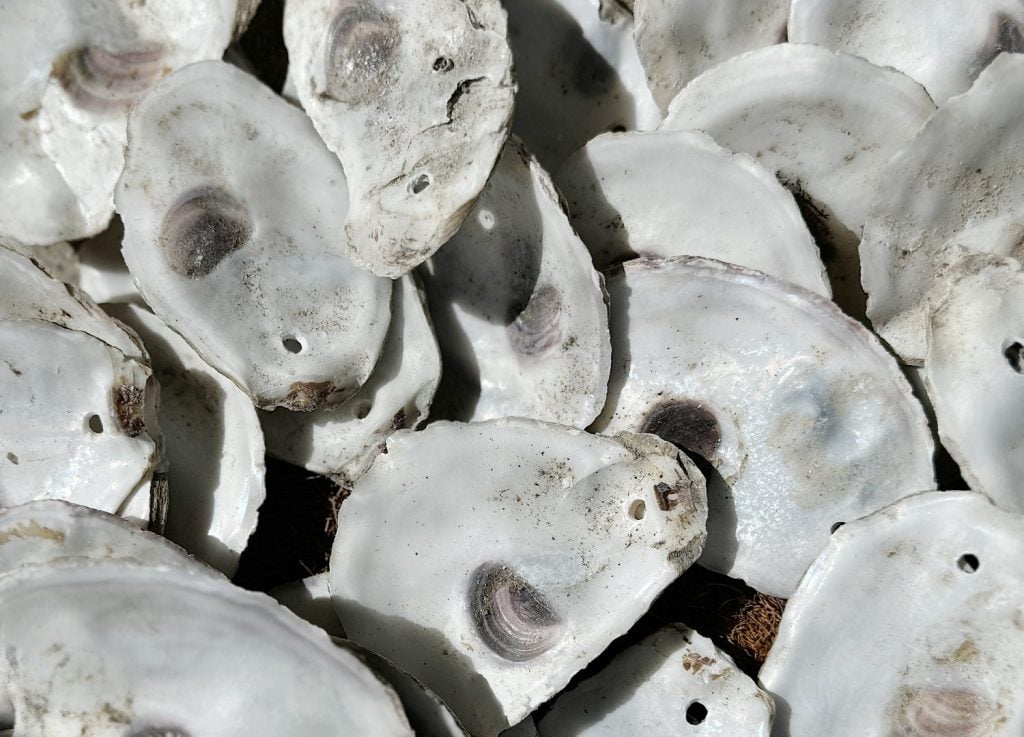
First, you’ll need to gather your oyster shells. Luckily, I stumbled upon a local oyster trailer venue in Ventura that was happy to provide me with as many shells as needed.
For free.
As I mentioned, I like to use the flat top shell. The curved bottom shell holds the oyster meat.
Beachcombing along the shorelines is a fantastic way to find oyster shells for free. Look for beaches or rocky areas where oysters thrive.
However, if you’re not near a coastal area, don’t fret! There are plenty of other places where you can find oyster shells for free or purchase them at a reasonable price.
The first place to check is seafood markets and restaurants, as they often gift you their shells.
Of course, online retailers sell oyster shells specifically for crafting purposes.
Options Other Than Oyster Shells
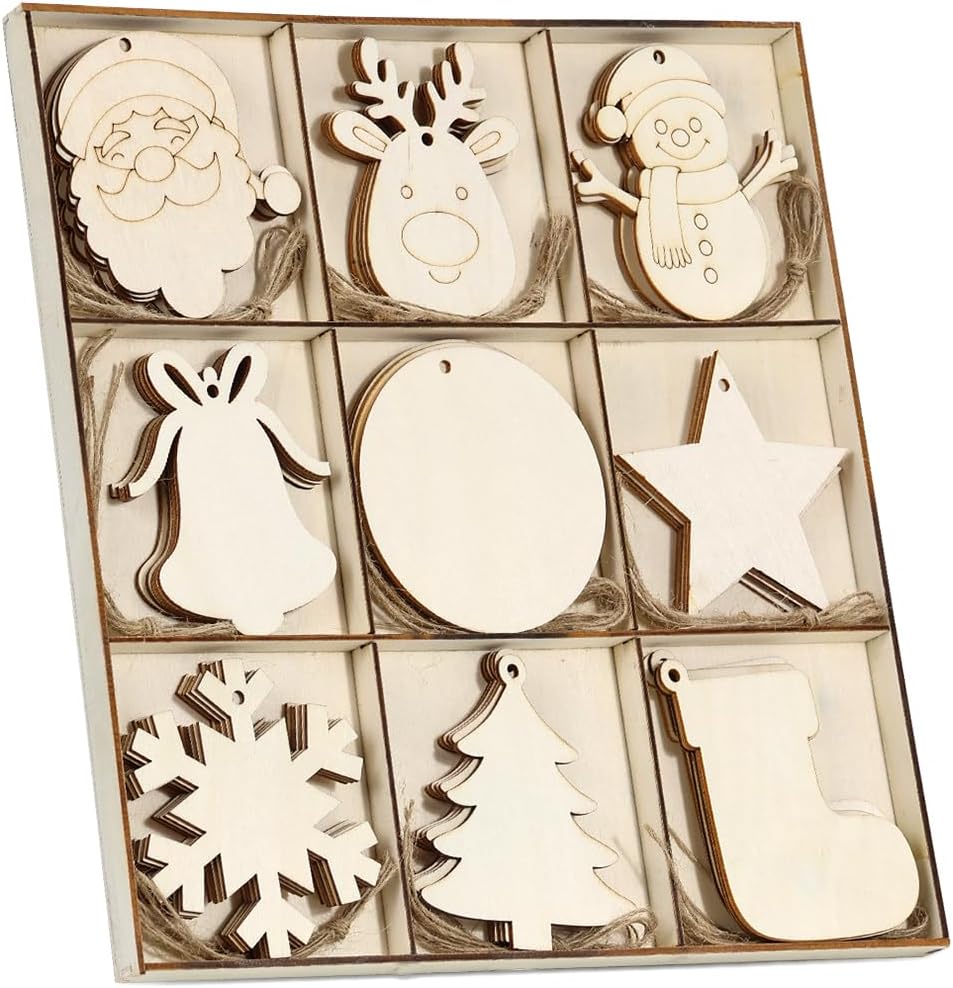
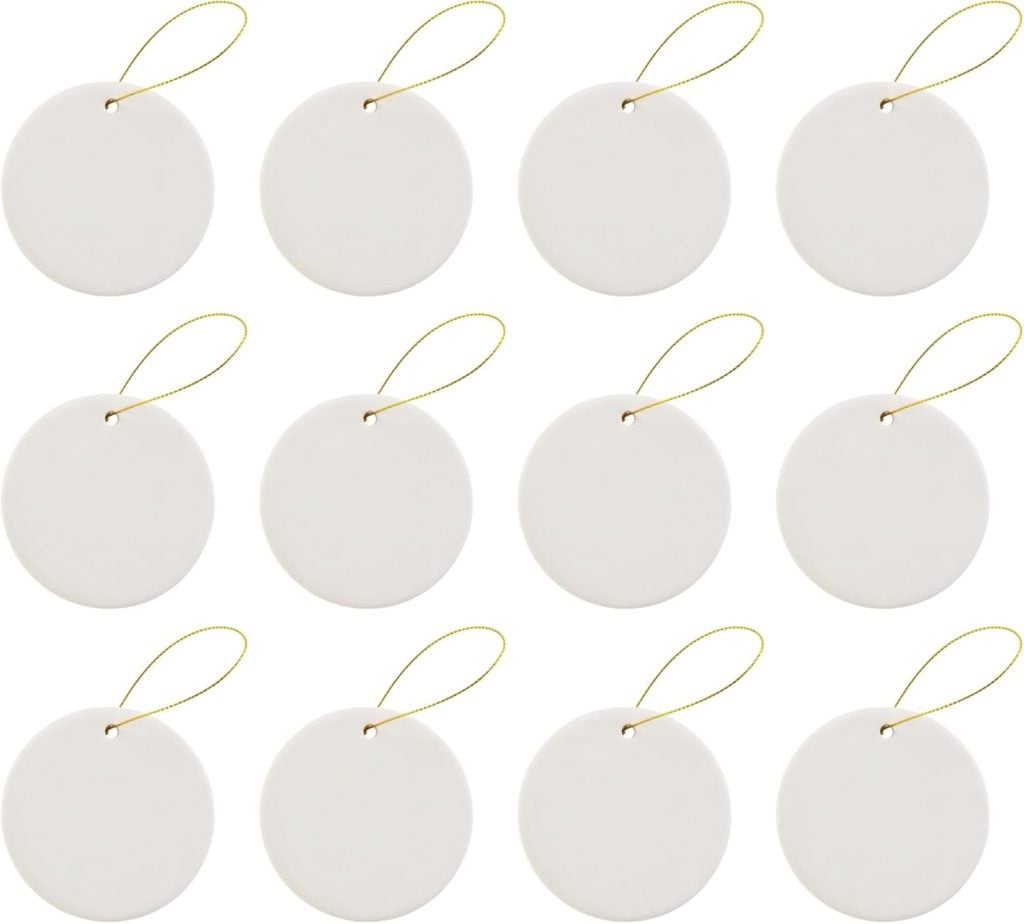
If you have trouble finding oyster shells, use clay shapes or wooden blank ornaments. These will allow you to achieve an even cleaner look.
Instructions:
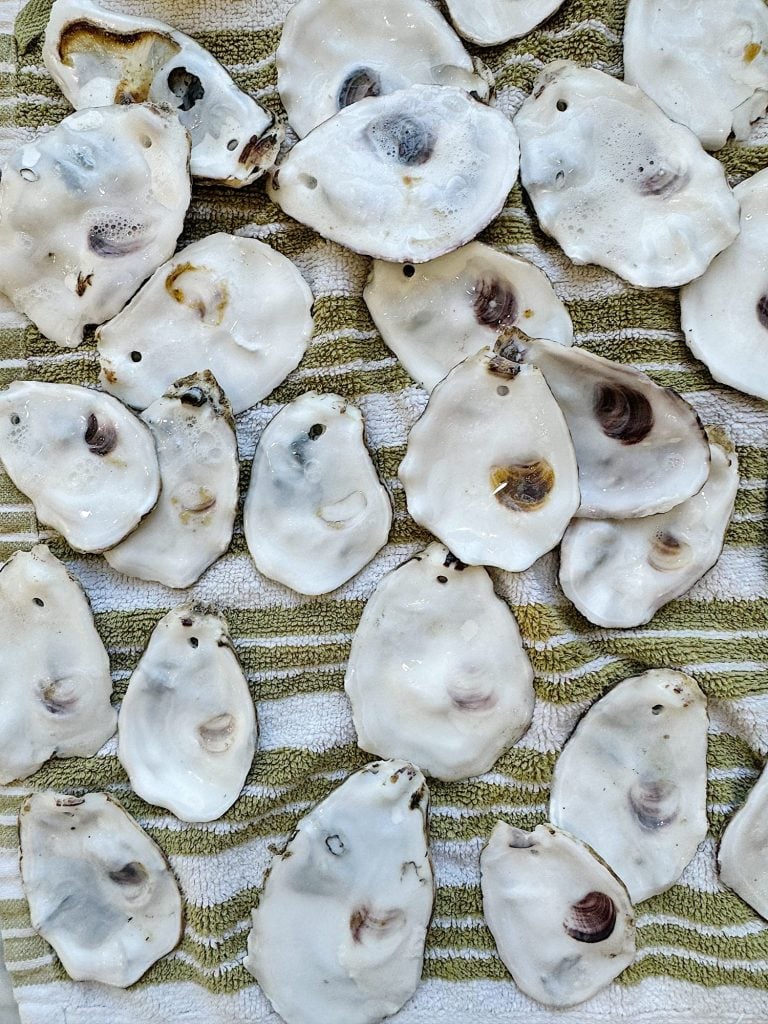
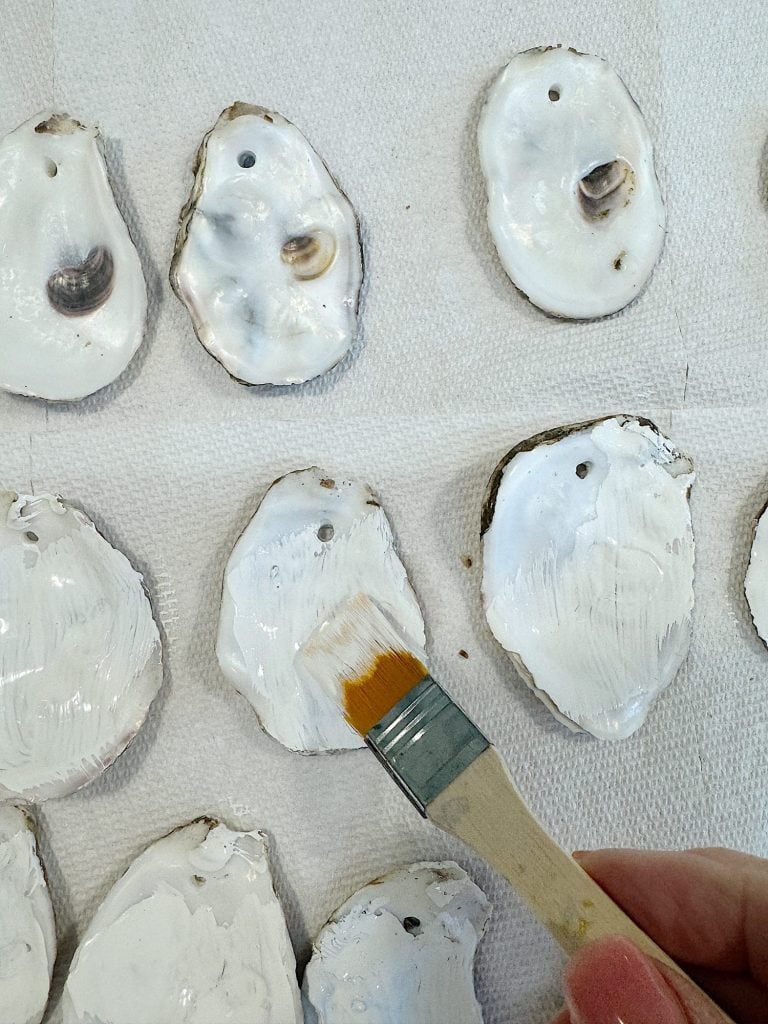
- Prepare the Shells: Clean the oyster shells thoroughly, removing dirt or debris. Paint the insides white if needed. If you paint them, paint the entire inside of the shell. Allow them to dry completely.
- Cut the Napkins: Just as with the glass balls, separate the printed layer of the napkin and cut out the designs you want to use.
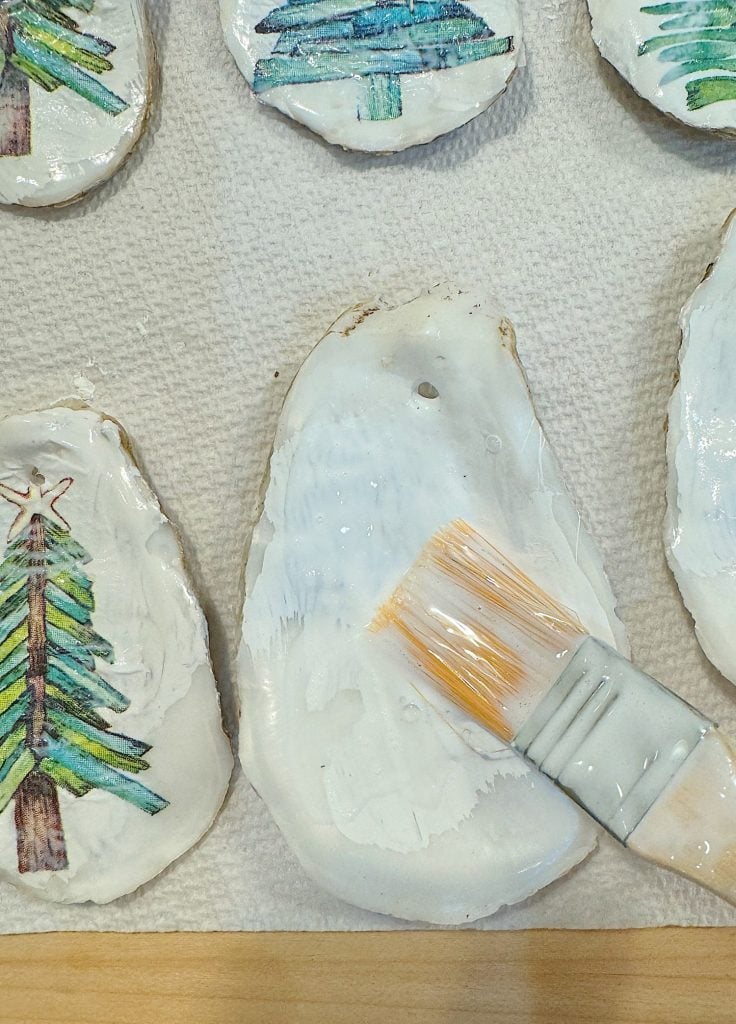
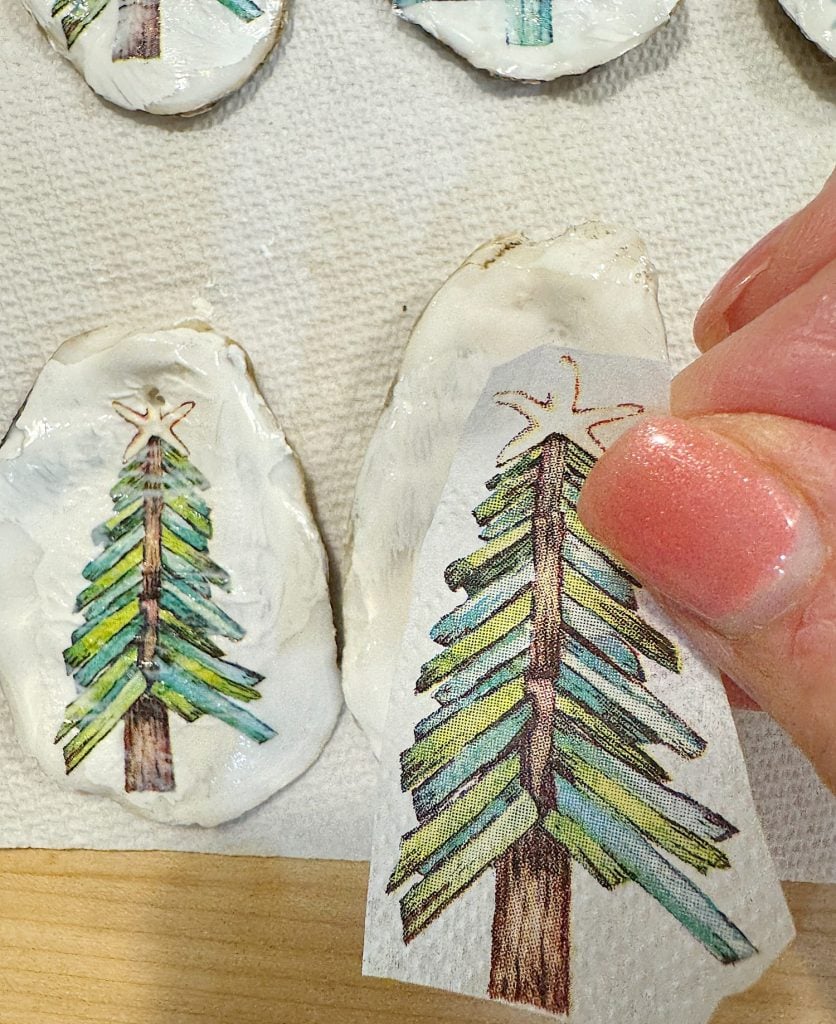
- Apply the Glue: Thin the Mod Podge with water. Brush a thin layer of Mod Podge onto the concave side of the oyster shell.
- Place the Napkin: Press the napkin design onto the glued surface, smoothing it out gently to avoid wrinkles. You can cover the entire shell or use smaller pieces for a collage effect.
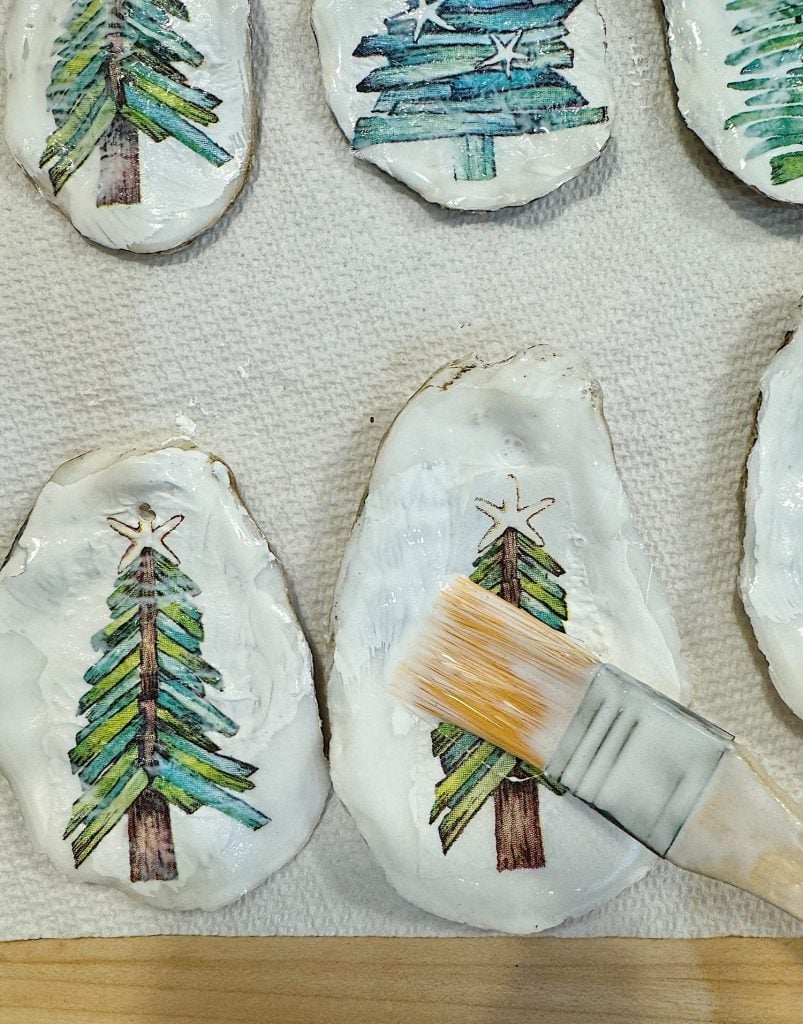
- Seal the Design: Brush another layer of Mod Podge over the napkin to seal it and let it dry completely.
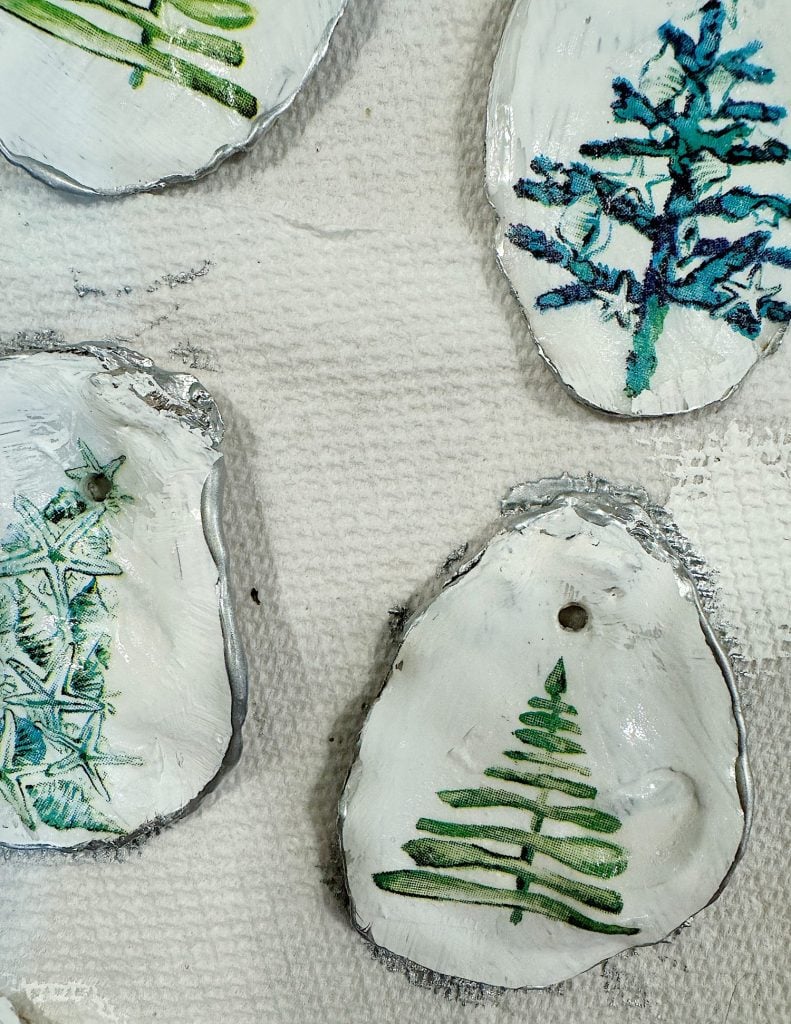
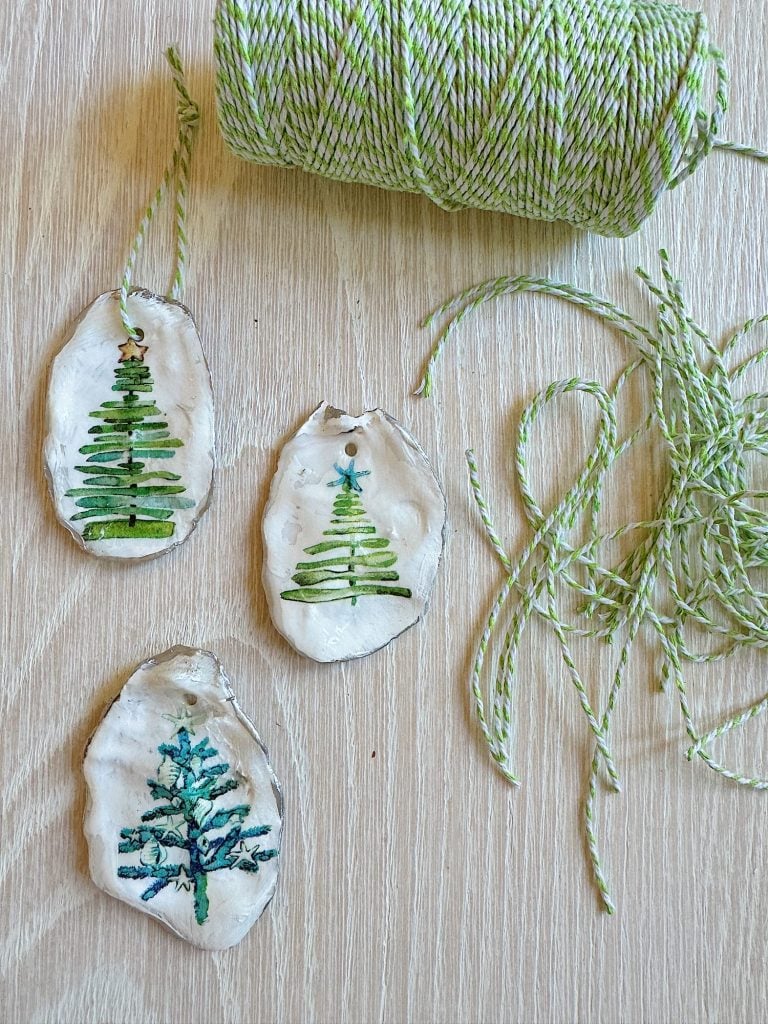
- Paint the Edges: To give the shells a polished look, highlight the edges with gold or silver paint. Allow the paint to dry before proceeding to the next step.
- Attach the Hanger: Cut a piece of twine or ribbon and thread it through the hole. (If you don’t want to cut a hole, use twine and form a loop. Use a hot glue gun to attach the loop to the back of the shell, ensuring it’s secure).
- Add Finishing Touches: Add a light dusting of glitter or tiny beads around the edges for extra sparkle.
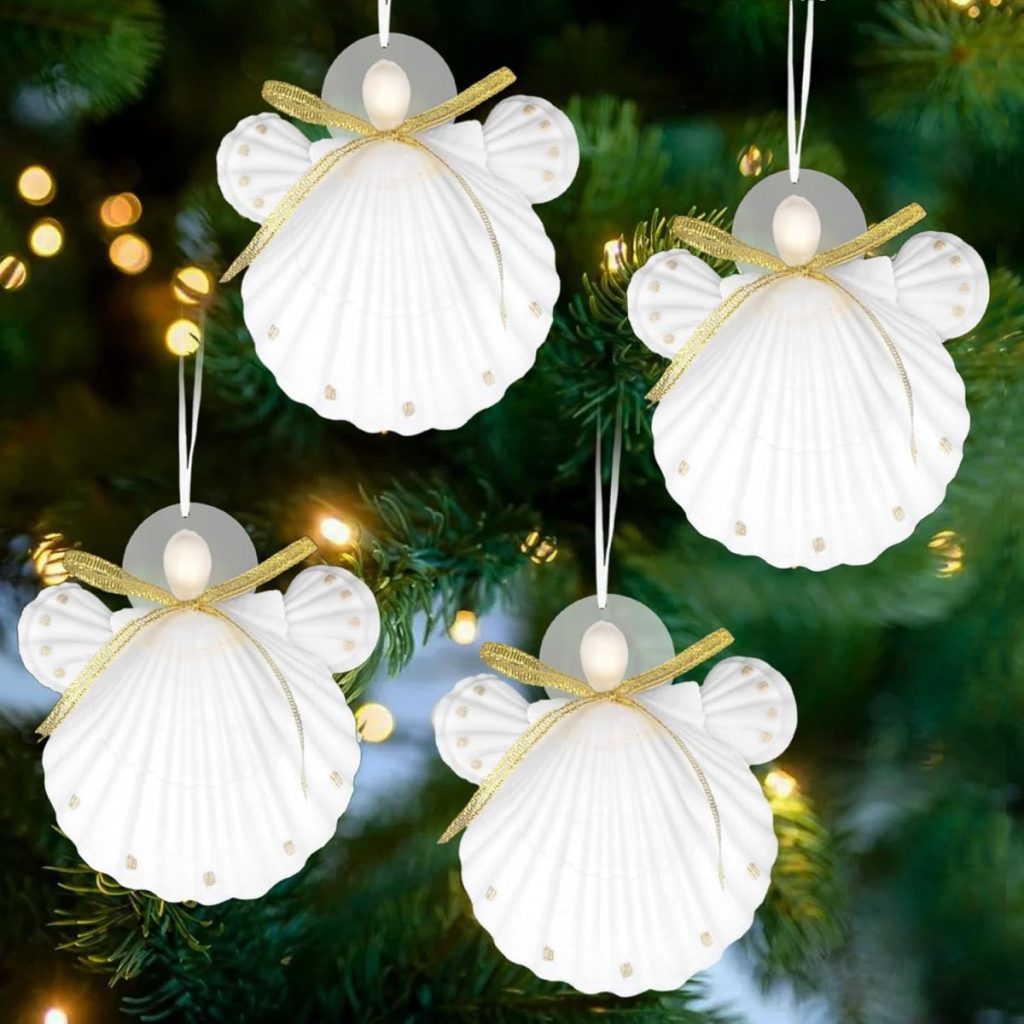
These oyster shell ornaments are stunning and great for incorporating natural coastal materials into your Christmas tree decor.
If you enjoy my blog, you can sign up to receive my updates here.
.Latest Posts
- Baked Brie with Jam

- A View From Above and Sunday Morning Coffee

- How to Make Beautiful Air Dry Clay Flower Frogs

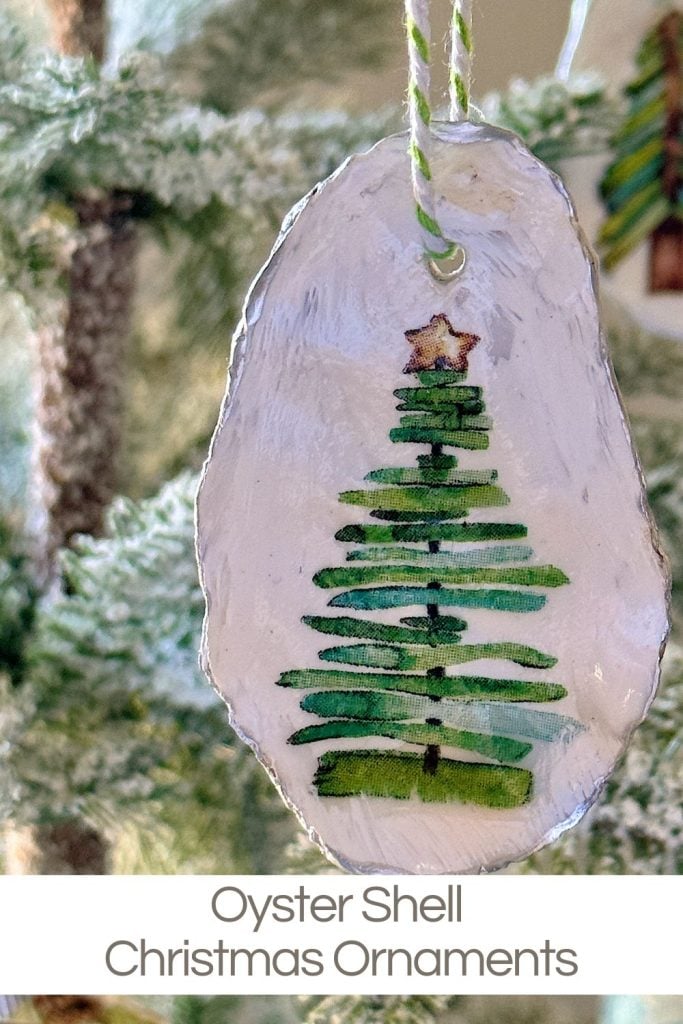
You can pin the image below to your boards on Pinterest (click the Pin button in the top left corner) or follow me on Pinterest!
For more real-time updates, follow me on Instagram @My100YearOldHome







This is my favorite craft idea you have shared yet!!! And, your napkin choices are the best! I have a coastal tree and I can’t wait to try this! A beach trip might be in order! Thank you!