My Favorite Baby Shower Cookie Centerpieces
Hosting Ellie’s baby shower was a joy, and, of course, one of my favorite parts was dreaming up the decorations and cookie centerpieces for the baby shower.
For me, it’s always about finding ways to add a personal, handmade touch that makes the day feel extra special. This time, I went back to one of my all-time favorite ideas — a cookie centerpiece that’s just as adorable as it is delicious.

The Baby Shower Centerpieces
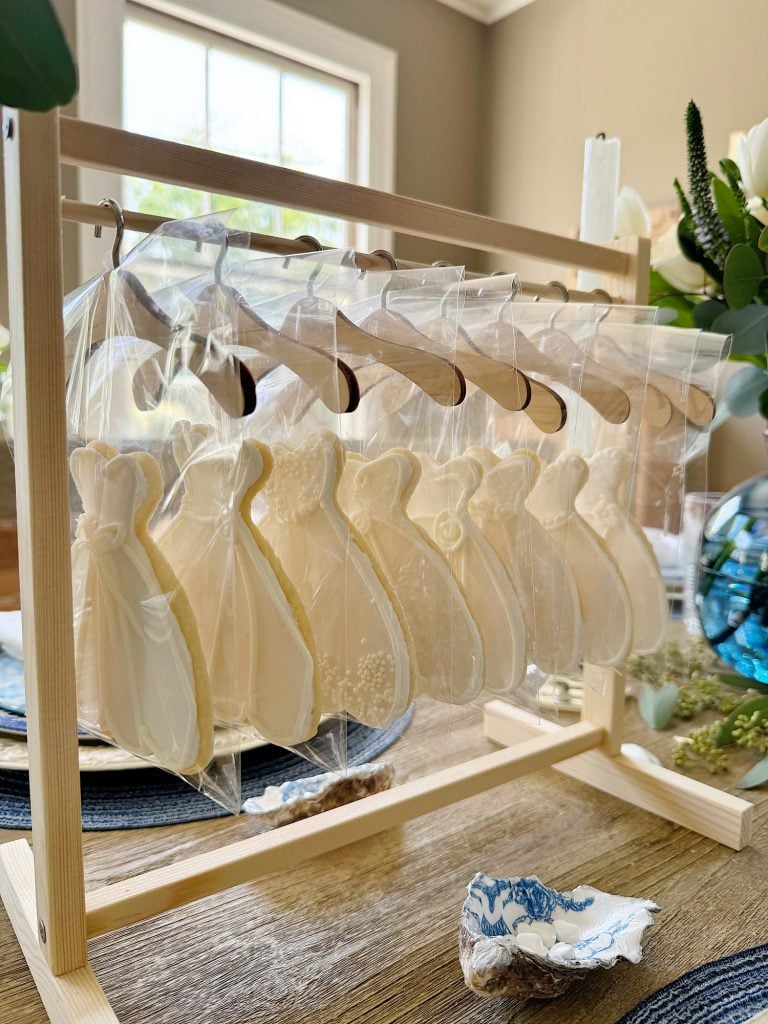
A year ago, when we celebrated Ellie and Michael’s bridal shower, I created the sweetest little display: bridal gown cookies hung on mini wooden hangers and displayed on doll-sized dress racks.
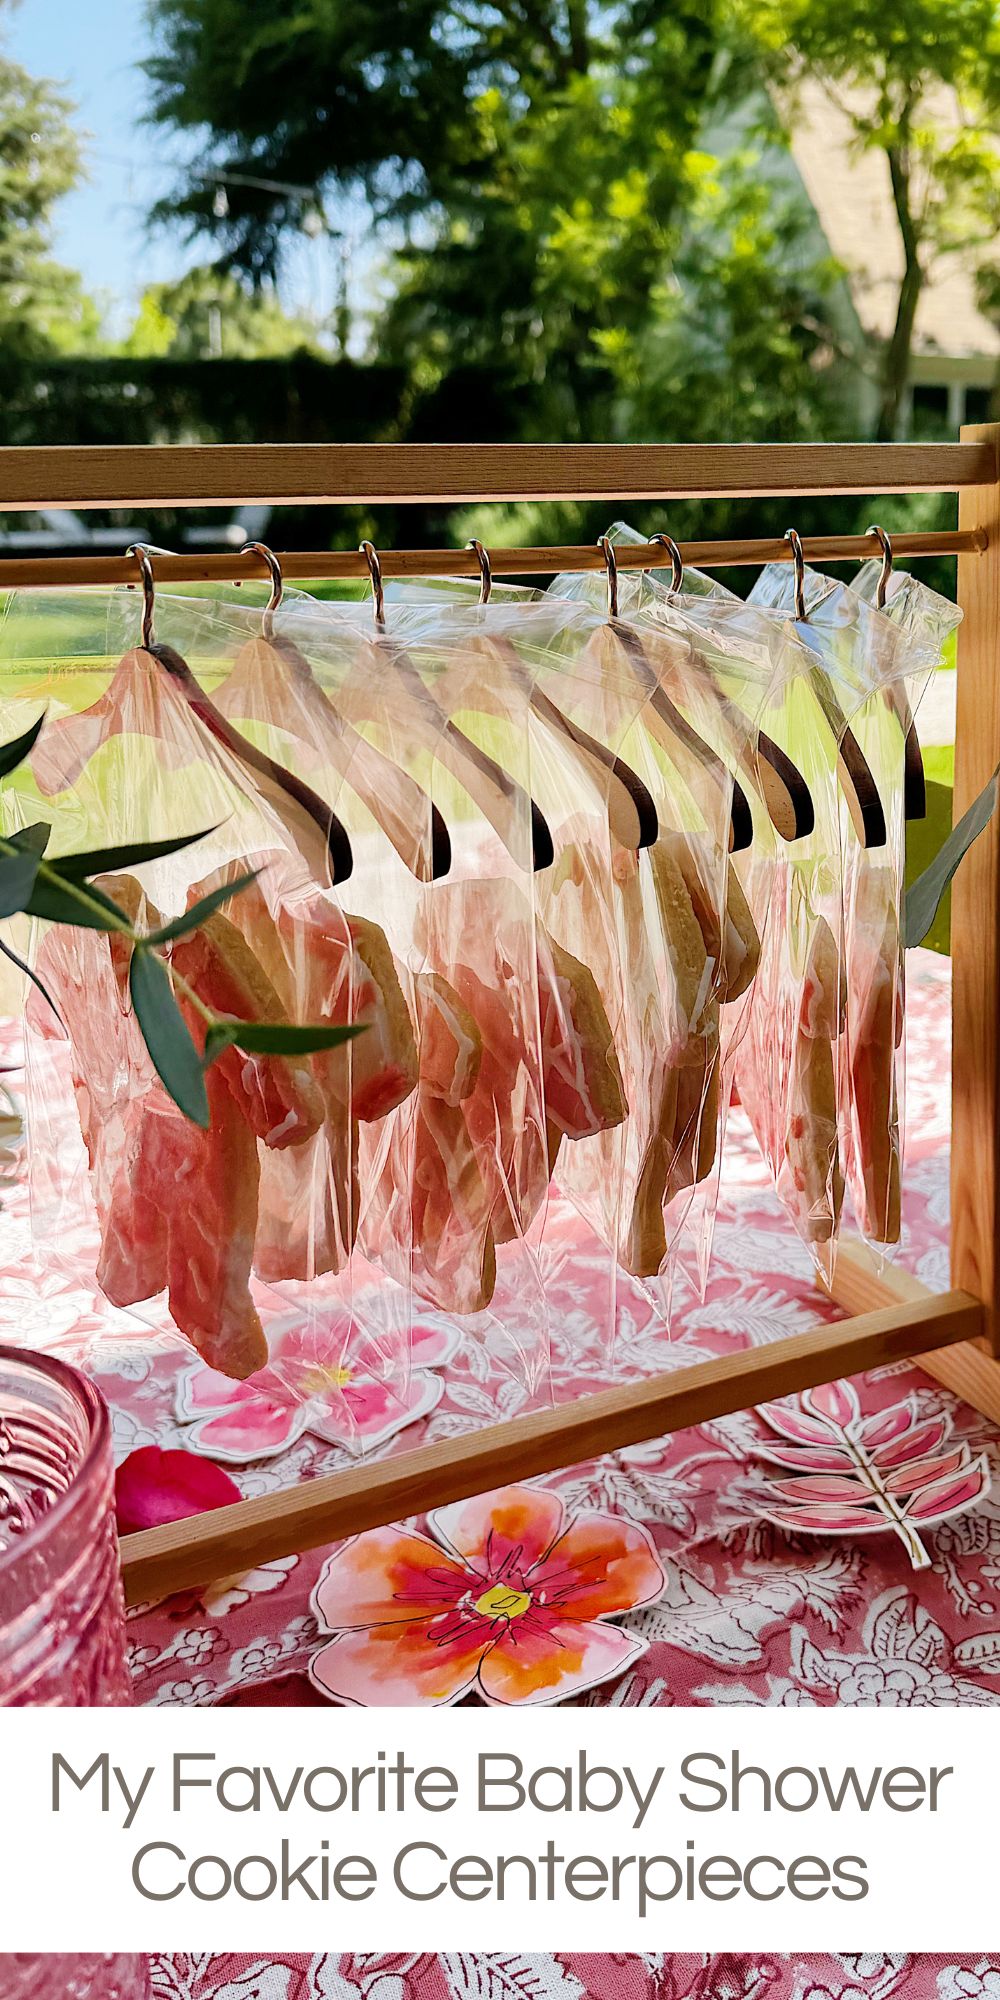
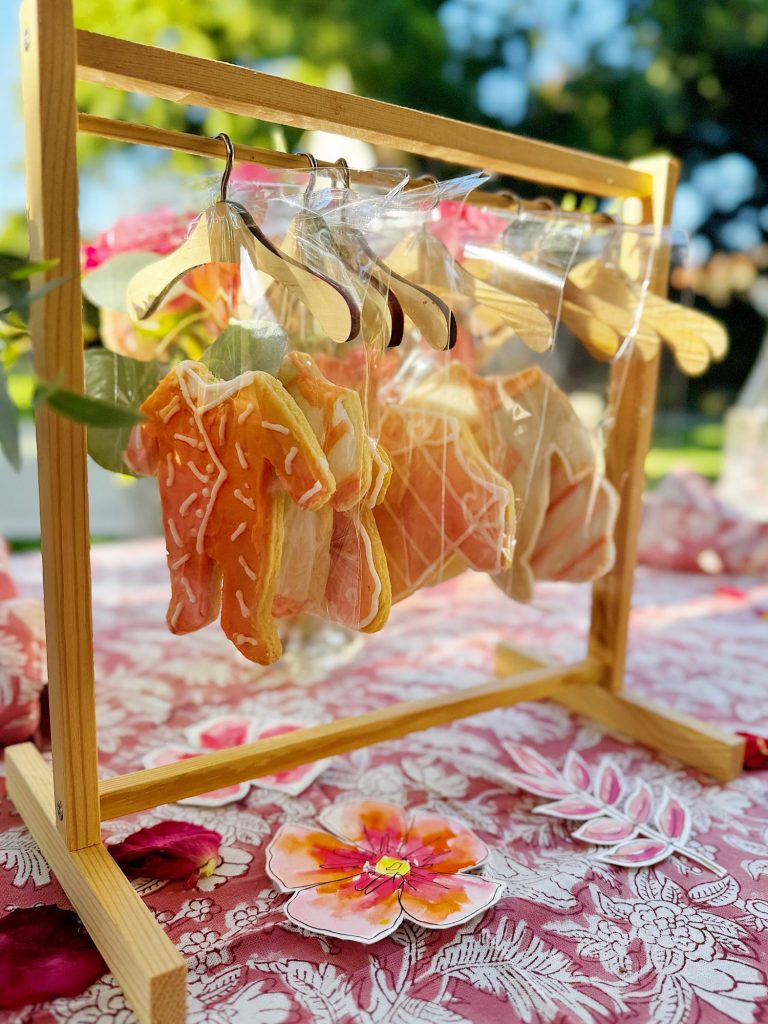
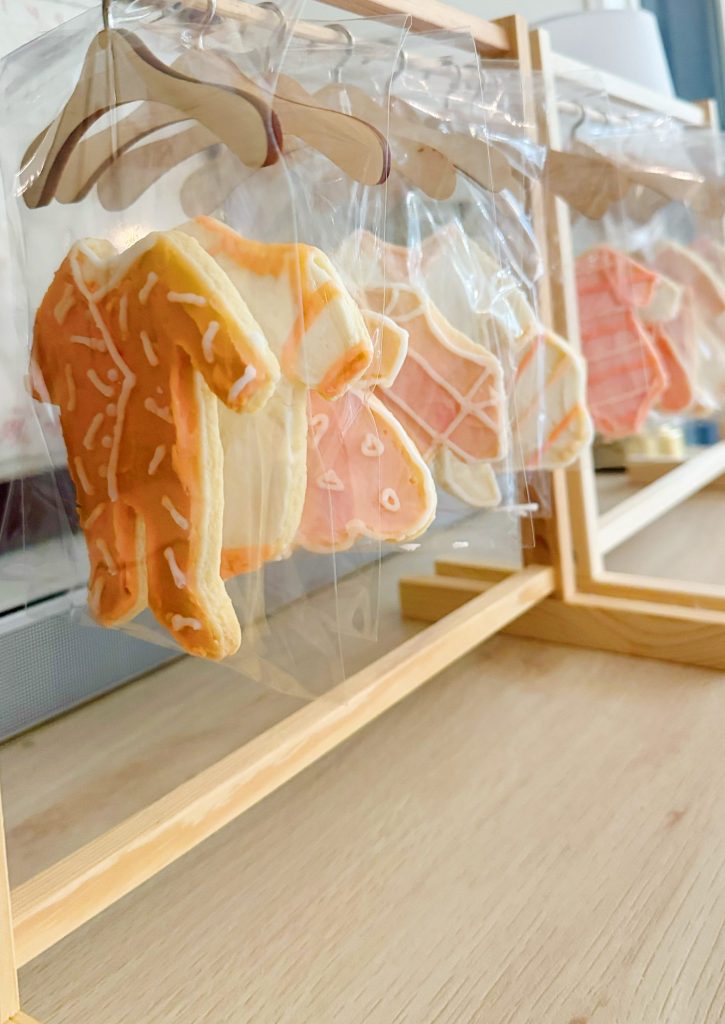
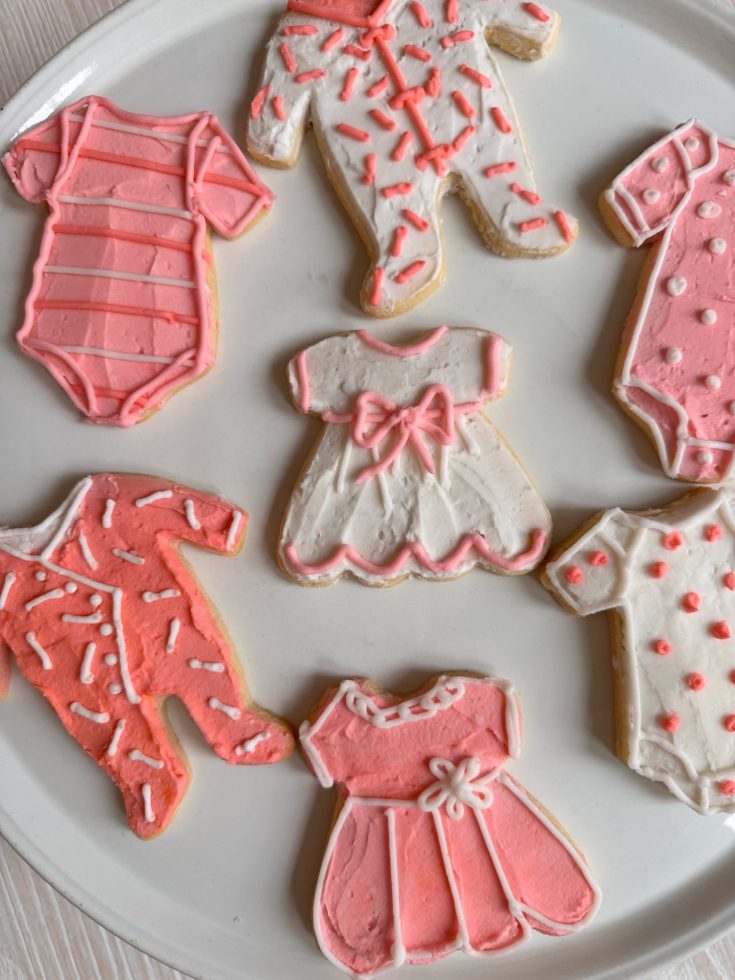
It was such a hit that I knew I had to bring the idea back, but with a baby shower twist. Instead of gowns, I baked and decorated baby girl cookies — tiny onesies, sleepers, and dresses in pink and white. I tucked each one into a clear bag, sealed it, and hung it up on a mini hanger. The result was the cutest baby cookie wardrobe you’ve ever seen!
Inspiration from the Bridal Shower
When I first created this display for the bridal shower, I wasn’t sure how it would turn out. I wanted a centerpiece that wasn’t just beautiful but interactive — something guests could admire, then actually take home with them. The doll-sized clothing rack was the perfect solution. I could hang each cookie as if it were part of a tiny boutique display, and everyone loved choosing their own sweet favor to take home.
That idea was too good not to revisit, so for the baby shower, I leaned into the theme of baby clothes and designed cookies shaped like onesies, sleepers, and little dresses. They turned out even better than I imagined.
On this blog, I may occasionally use affiliate links, which means I earn a small commission if you purchase through the link. The price will be the same whether you use the affiliate link or go directly to the vendor’s website using a non-affiliate link.

The Baby Shower Cookies
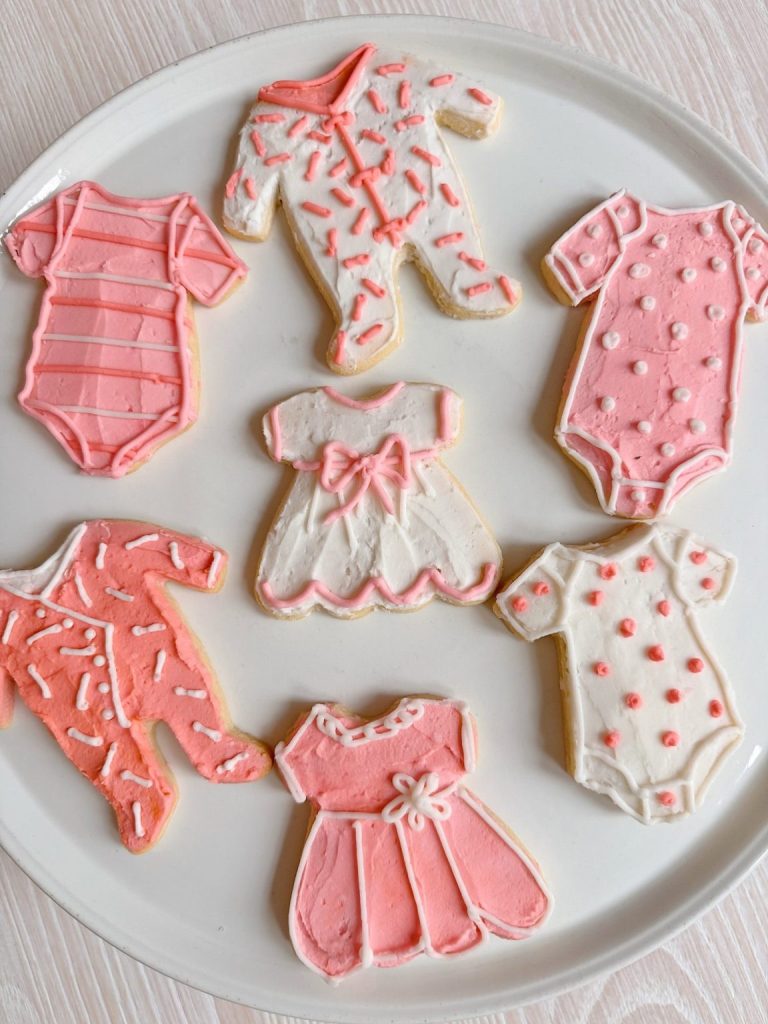
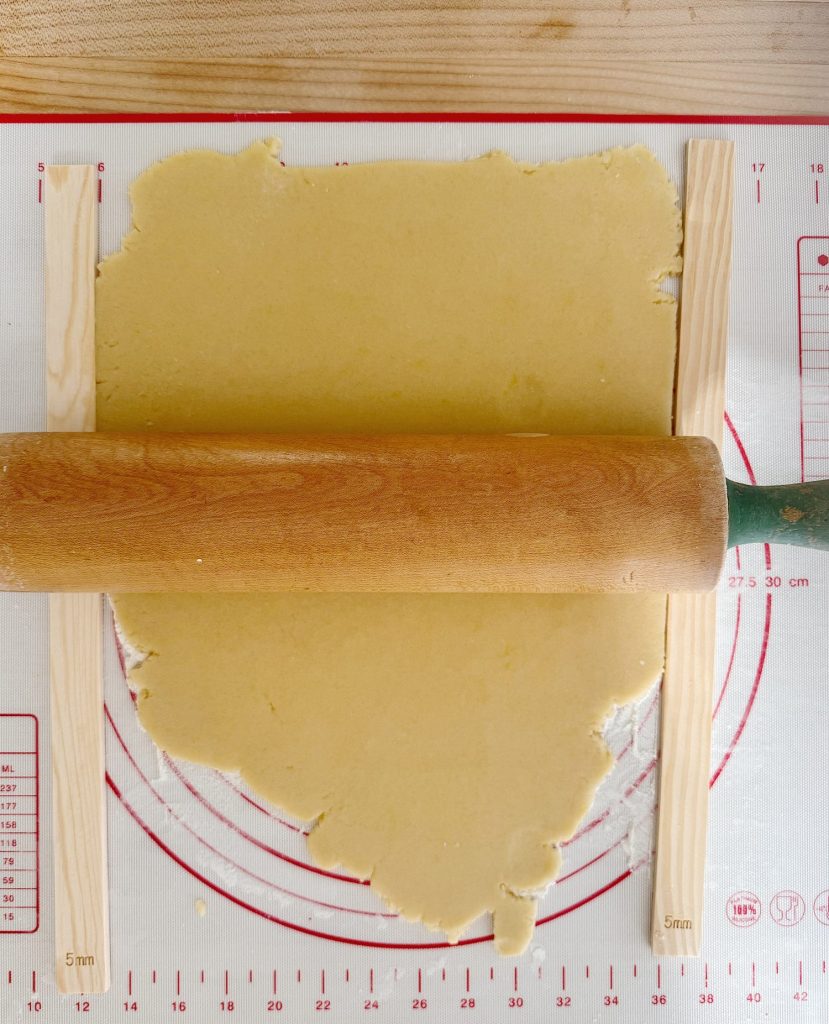
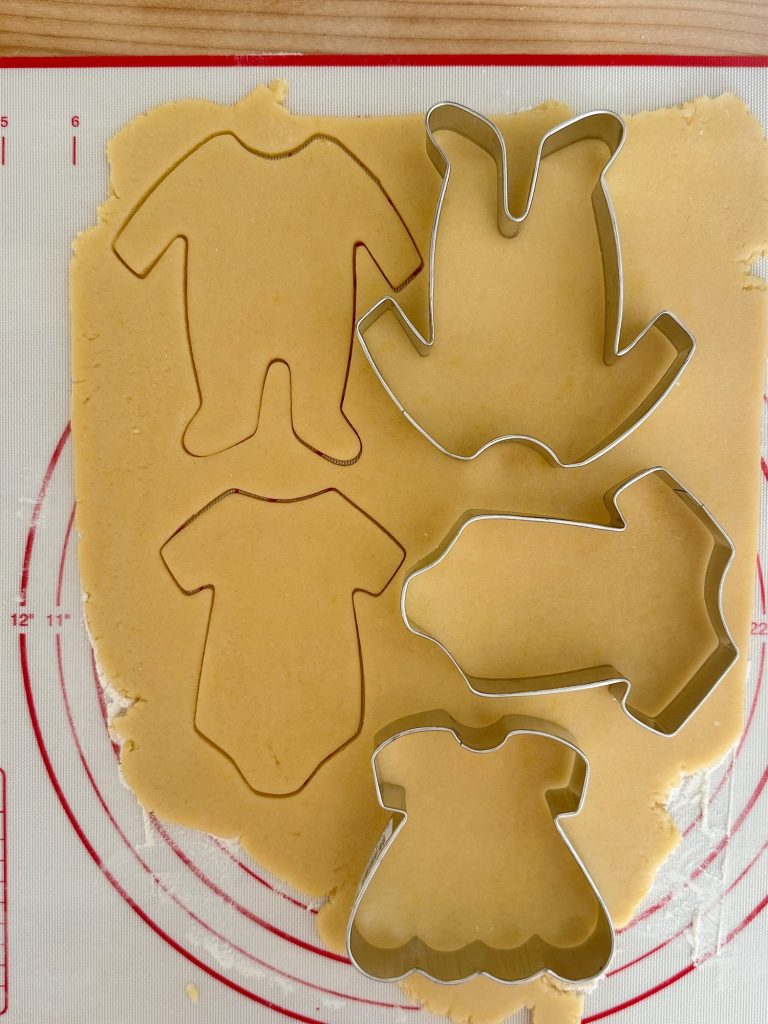
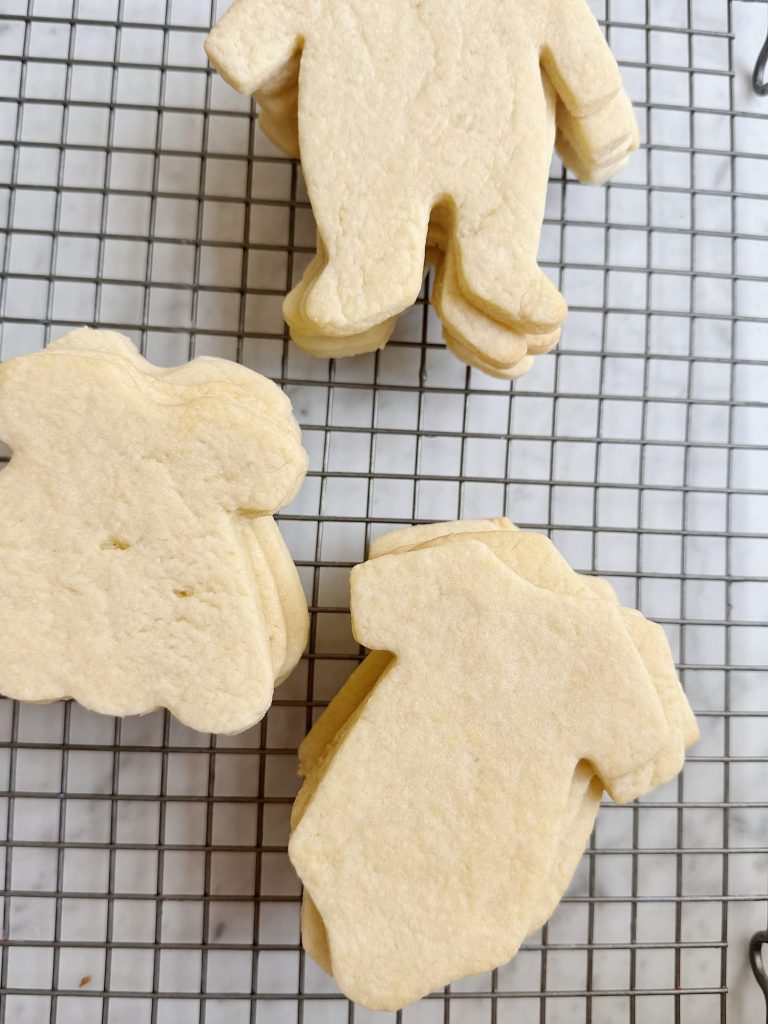
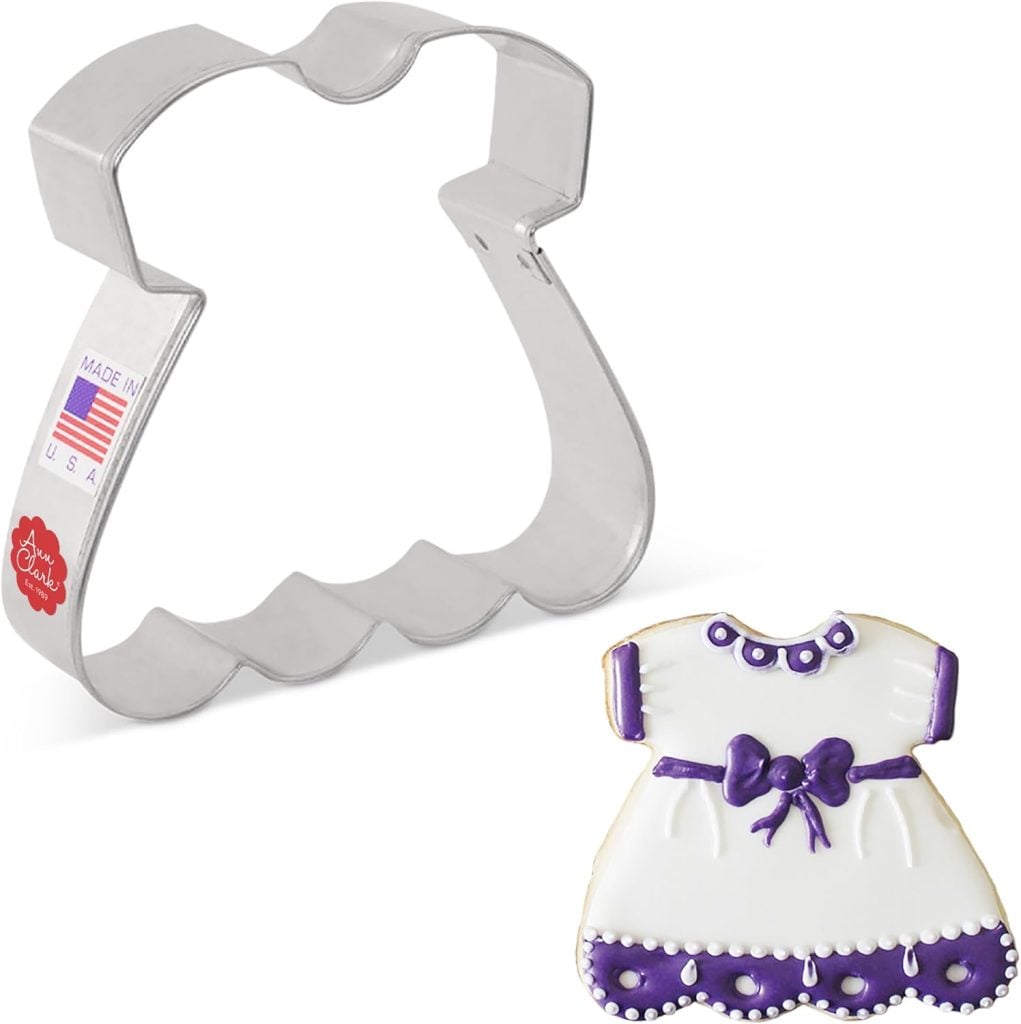
The cookies were a simple sugar cookie base, using the same recipe I shared in my earlier post about the bridal gown cookies. It’s my go-to cut-out cookie recipe because it holds its shape perfectly and tastes delicious. I rolled out the dough, cut the shapes with baby clothing cookie cutters, and baked them until lightly golden.
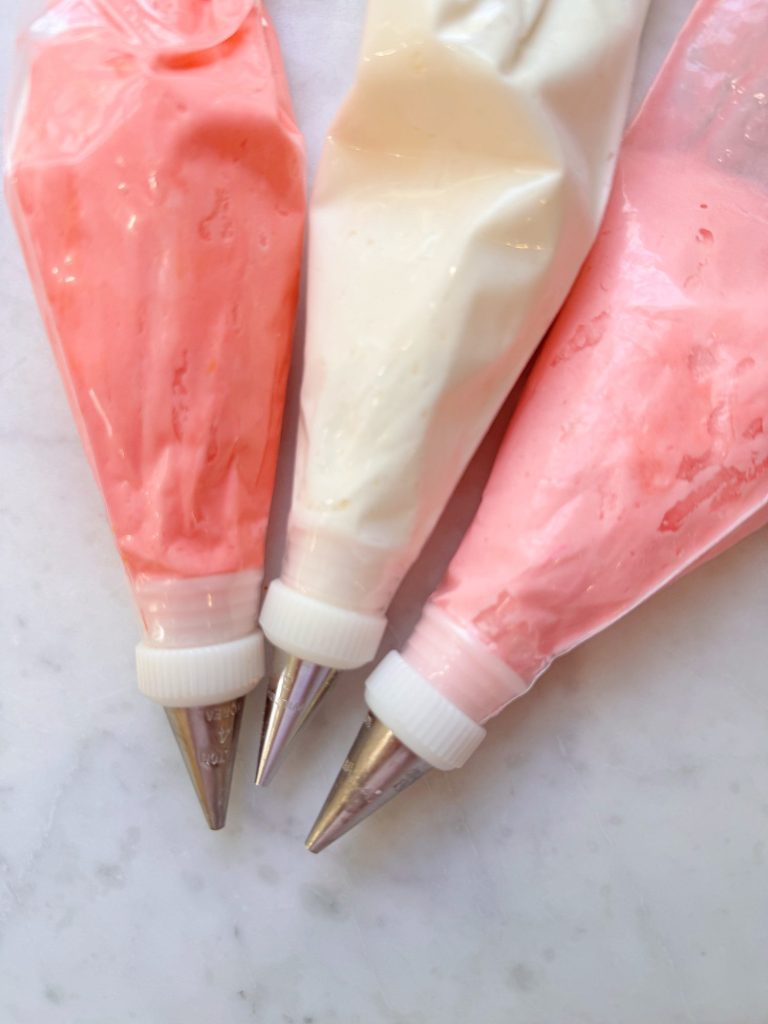
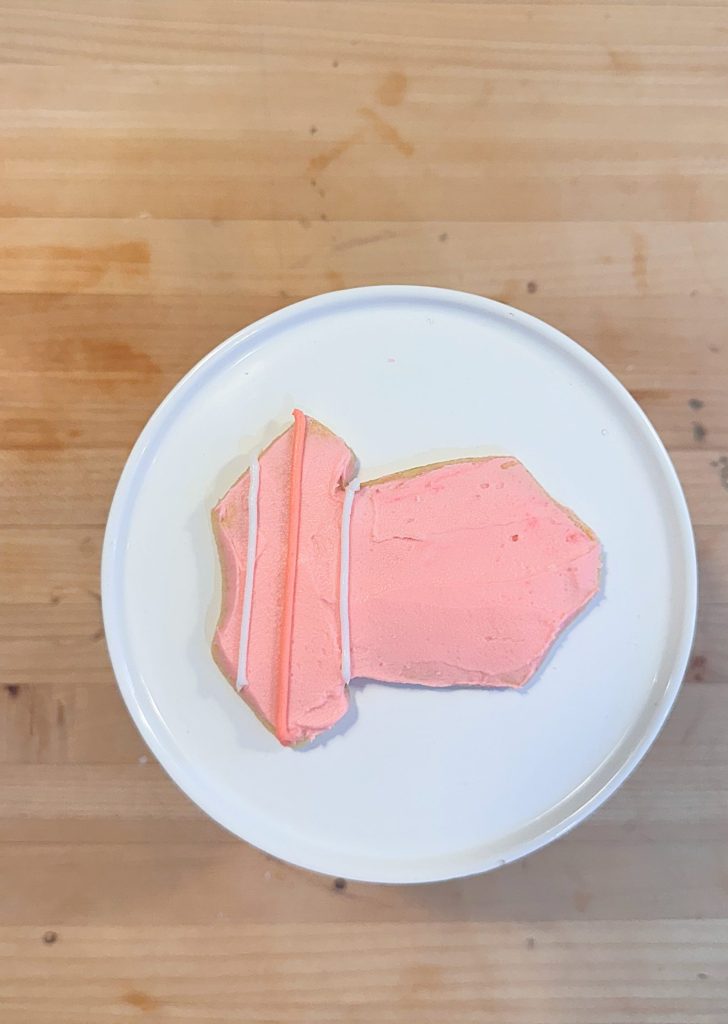
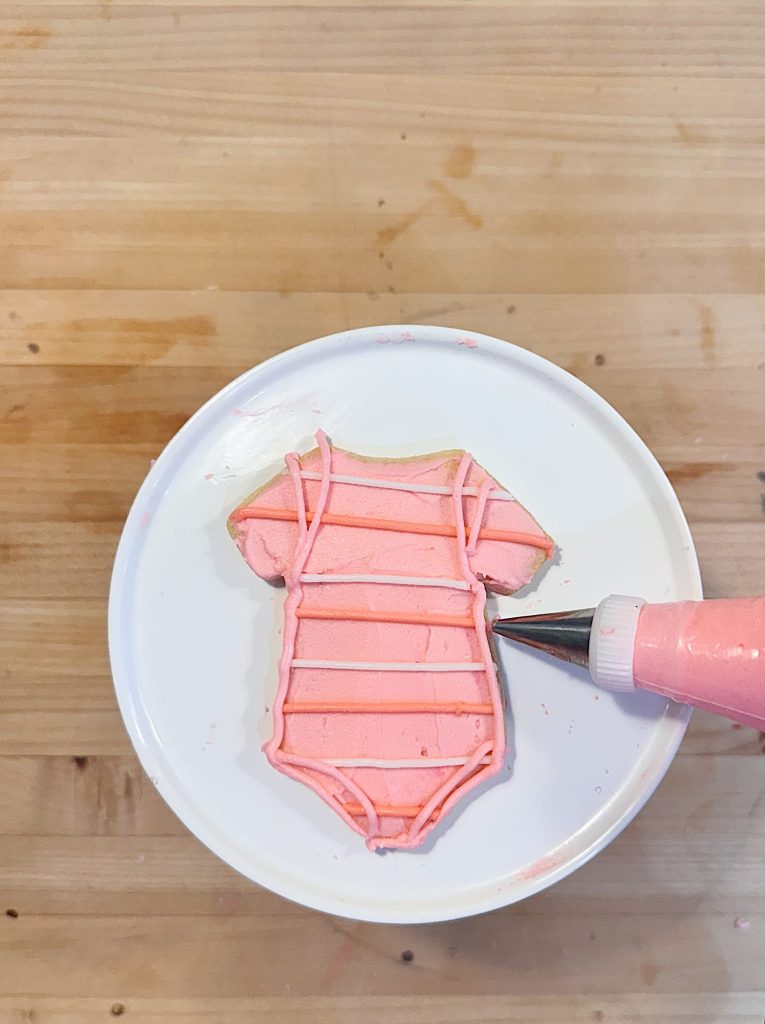
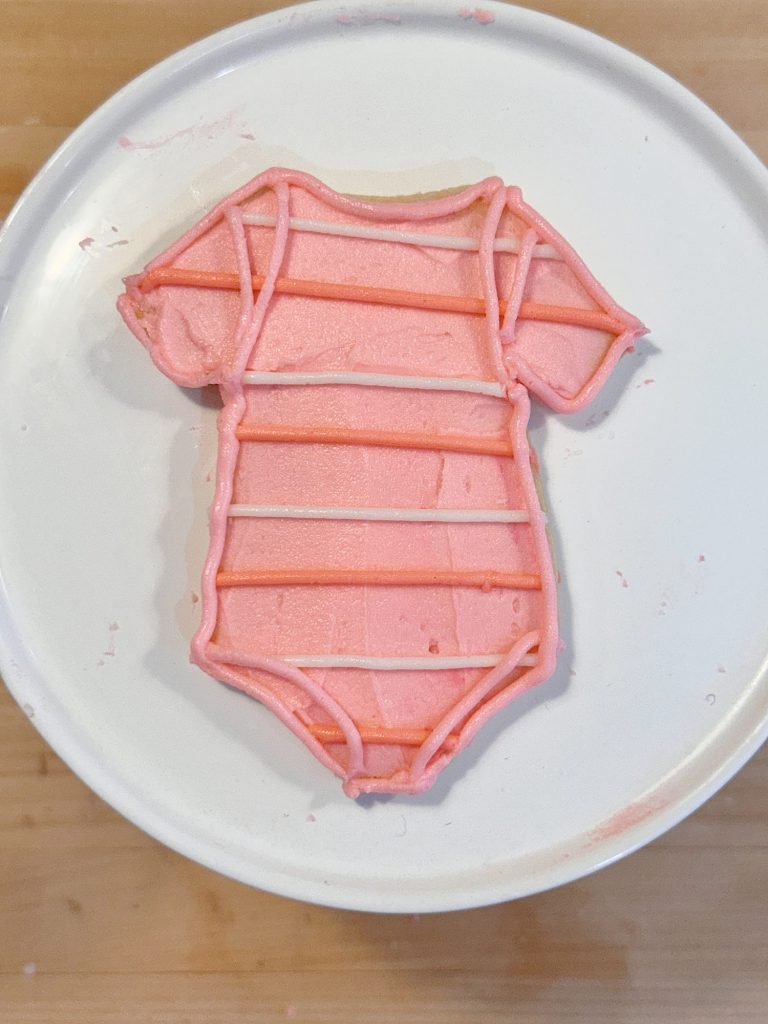
Decorating them was the most fun part. I used royal icing tinted in shades of pink and white, piping details like buttons, collars, tiny bows, polka dots, and sprinkles. Some cookies were frosted to resemble cozy pajamas, others were like crisp little onesies, and a few were like sweet baby dresses. The mix of designs made the display feel playful and full of variety, just like a real baby closet.
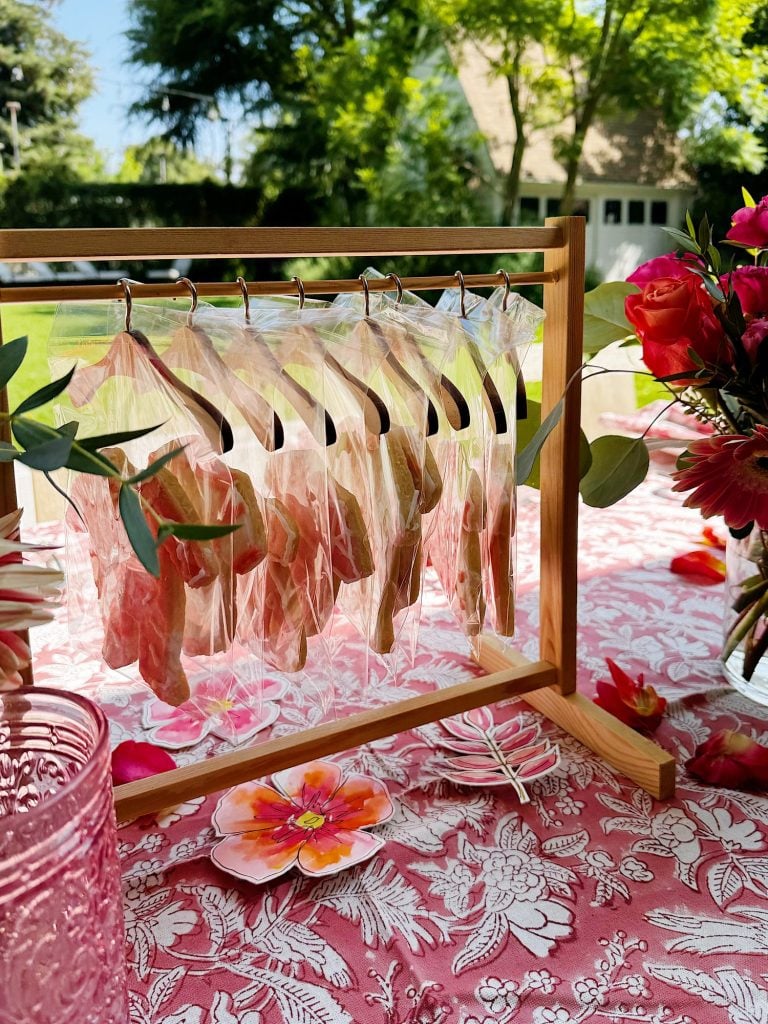
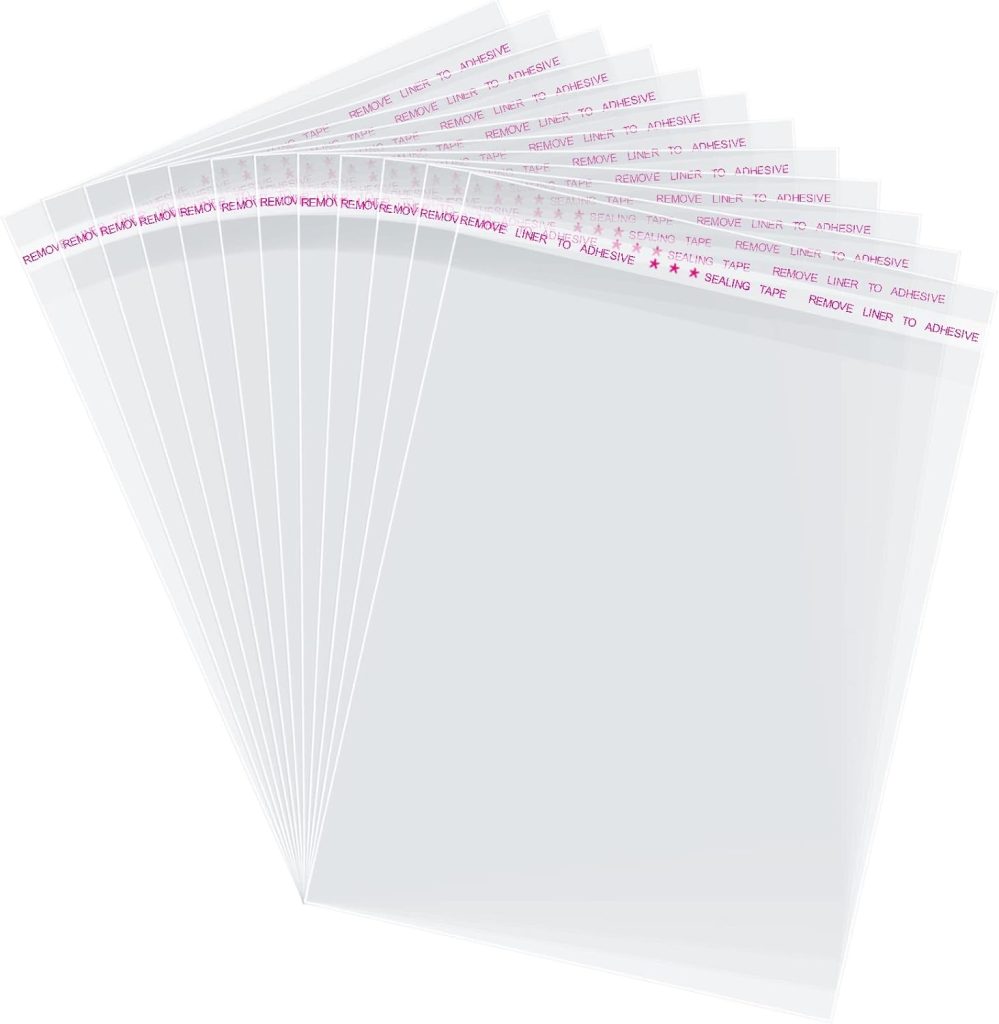
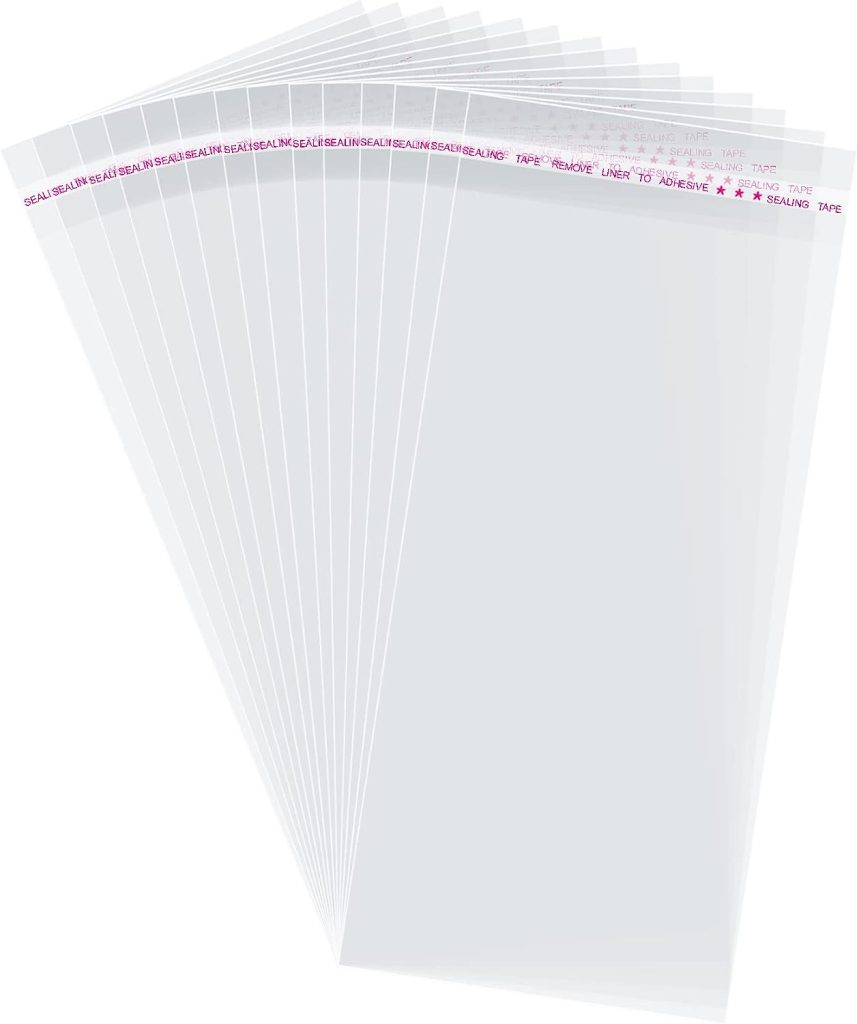
Once the icing had set, I carefully slipped each cookie into a clear cellophane bag and sealed it. Then came the finishing touch: hanging them up with miniature wooden hangers on the racks.
The Doll Dress Rack Display
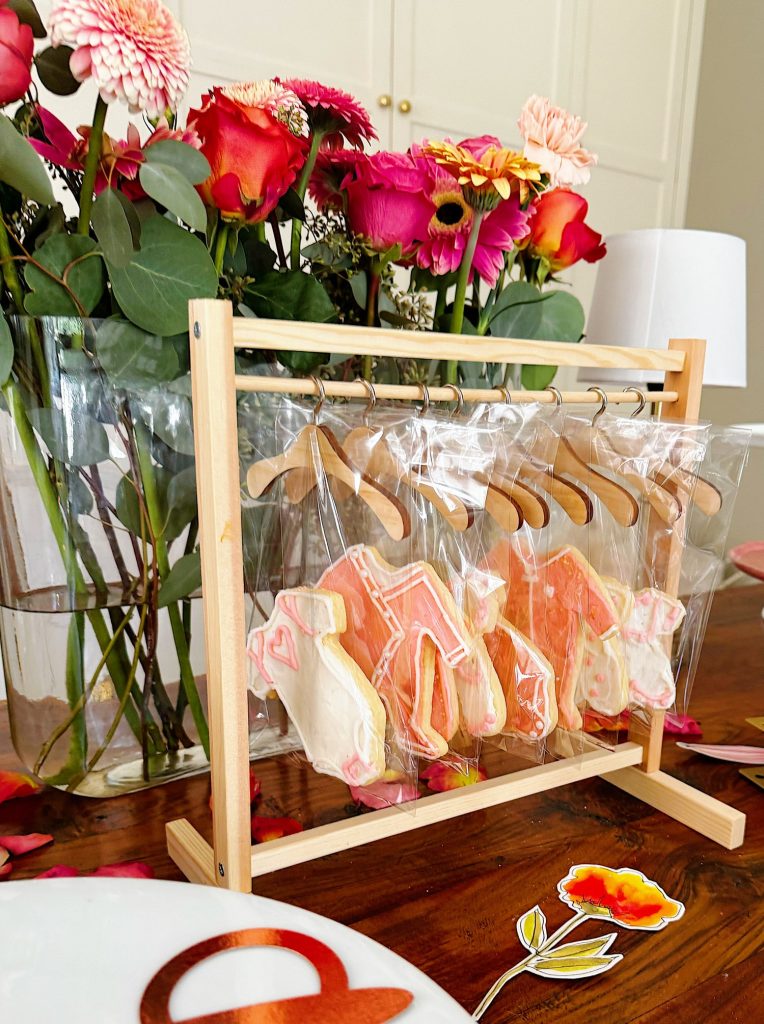
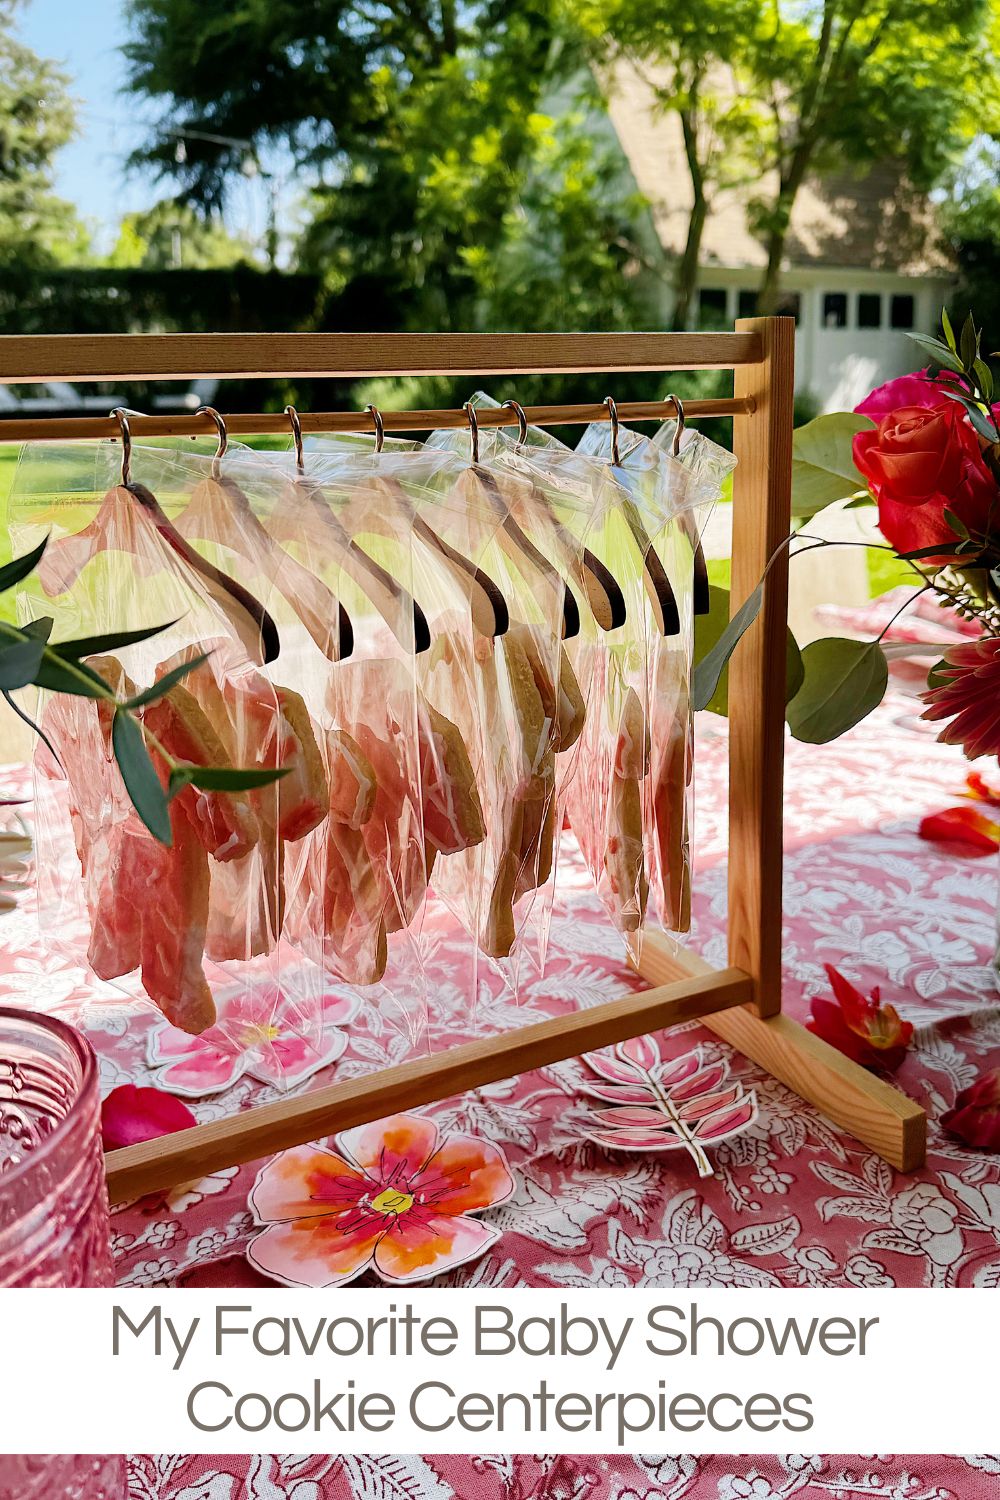
The racks were the exact ones I used for the bridal shower — wooden doll dress racks that are just the right size for hanging a row of cookies. They look adorable on their own, but when filled with colorful cookies, they make the most eye-catching centerpiece.
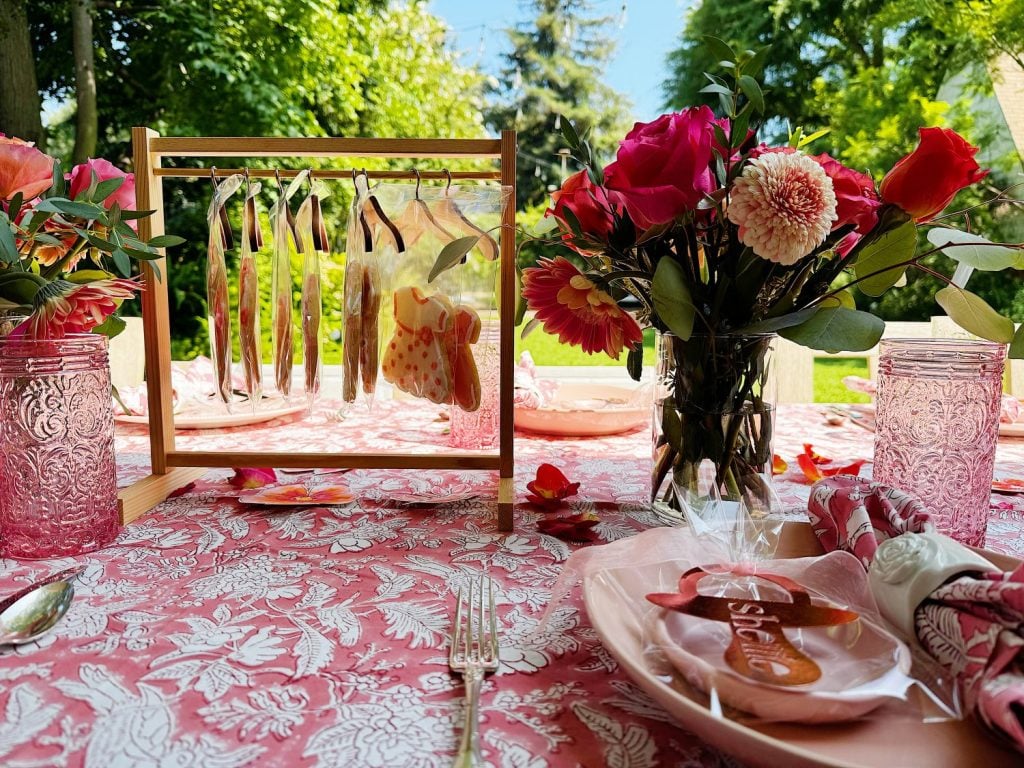
For Ellie’s shower, I set up several racks along the tables, and guests couldn’t stop smiling at the display. It felt whimsical, festive, and ideally on theme. Plus, it served a double purpose: guests enjoyed the cookies as part of the décor and then took them home as favors.
Why I Love This Centerpiece Idea
There are a few reasons why this project has become one of my favorites:
- It’s unique: Guests are always surprised to see cookies displayed this way. It’s not your average floral centerpiece.
- It’s interactive: Everyone gets to take a cookie home, making it a centerpiece part of the party favor.
- It’s customizable: You can adapt it for different occasions by changing the cookie shapes. Bridal gowns for a bridal shower, baby clothes for a baby shower, or even seasonal cookies for a holiday party.
- It’s affordable: Most of the supplies are reusable. The racks and hangers can be stored and retrieved as needed, and cookies are a budget-friendly treat that can be made in bulk.
How to Make Your Own Cookie Centerpiece
If you’d like to create this look for your own event, here are the steps I followed:
Supplies Needed
- Sugar cookie dough (homemade or store-bought)
- Cookie cutters (onesie, dress, sleeper, or bridal gown shapes)
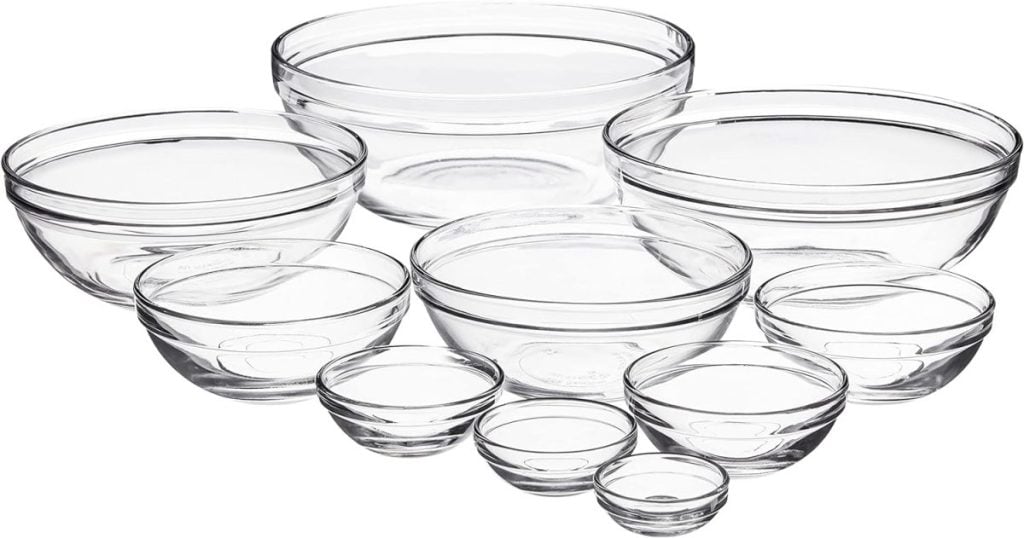
- Royal icing in coordinating colors
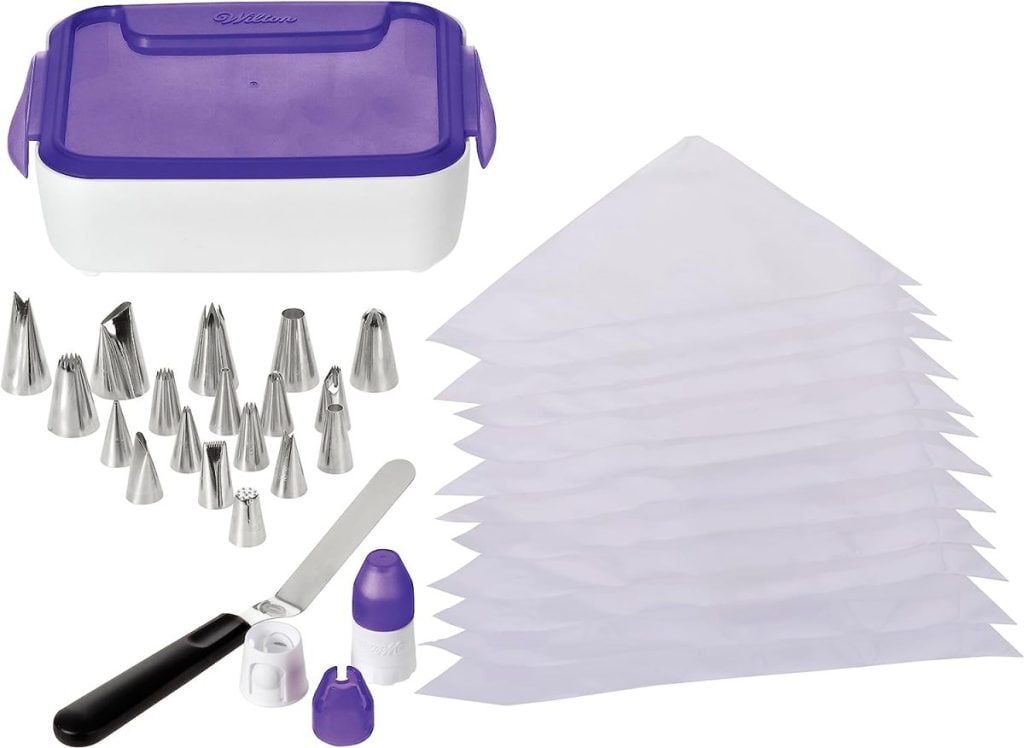
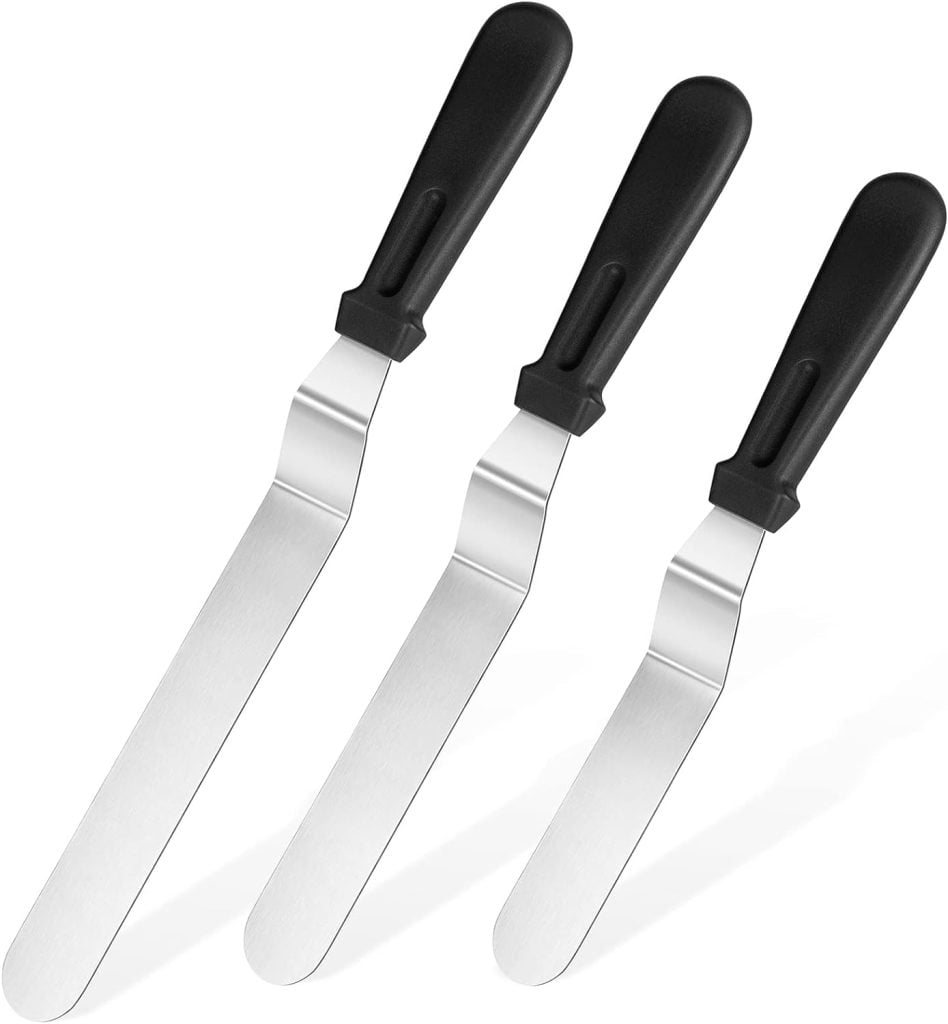
- Piping bags and tips
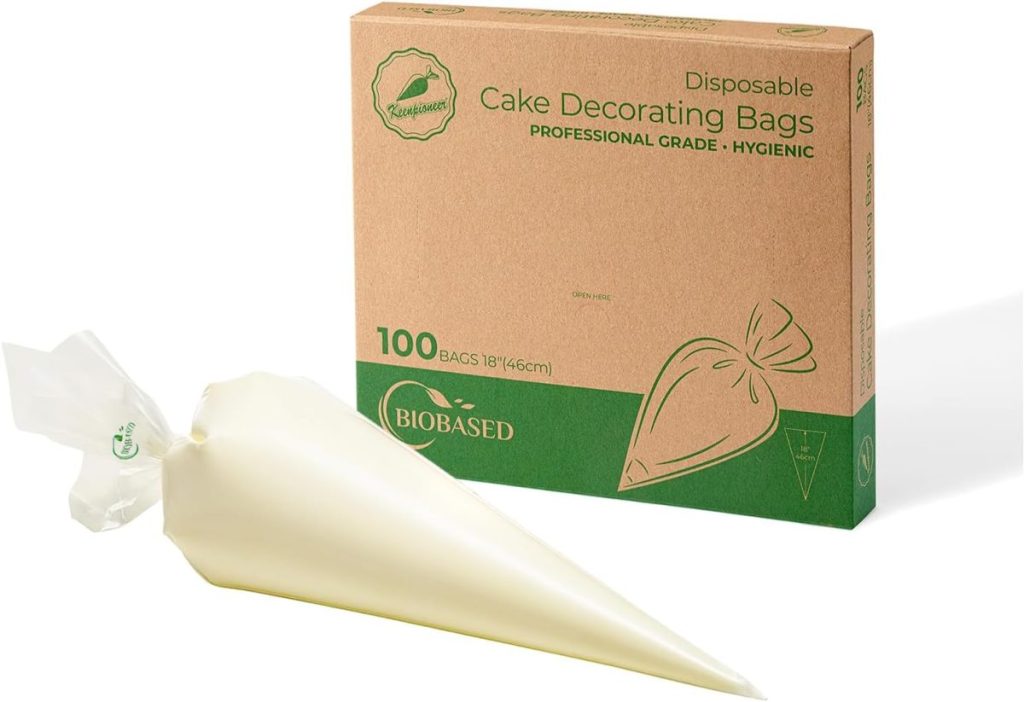
- Clear cellophane bags
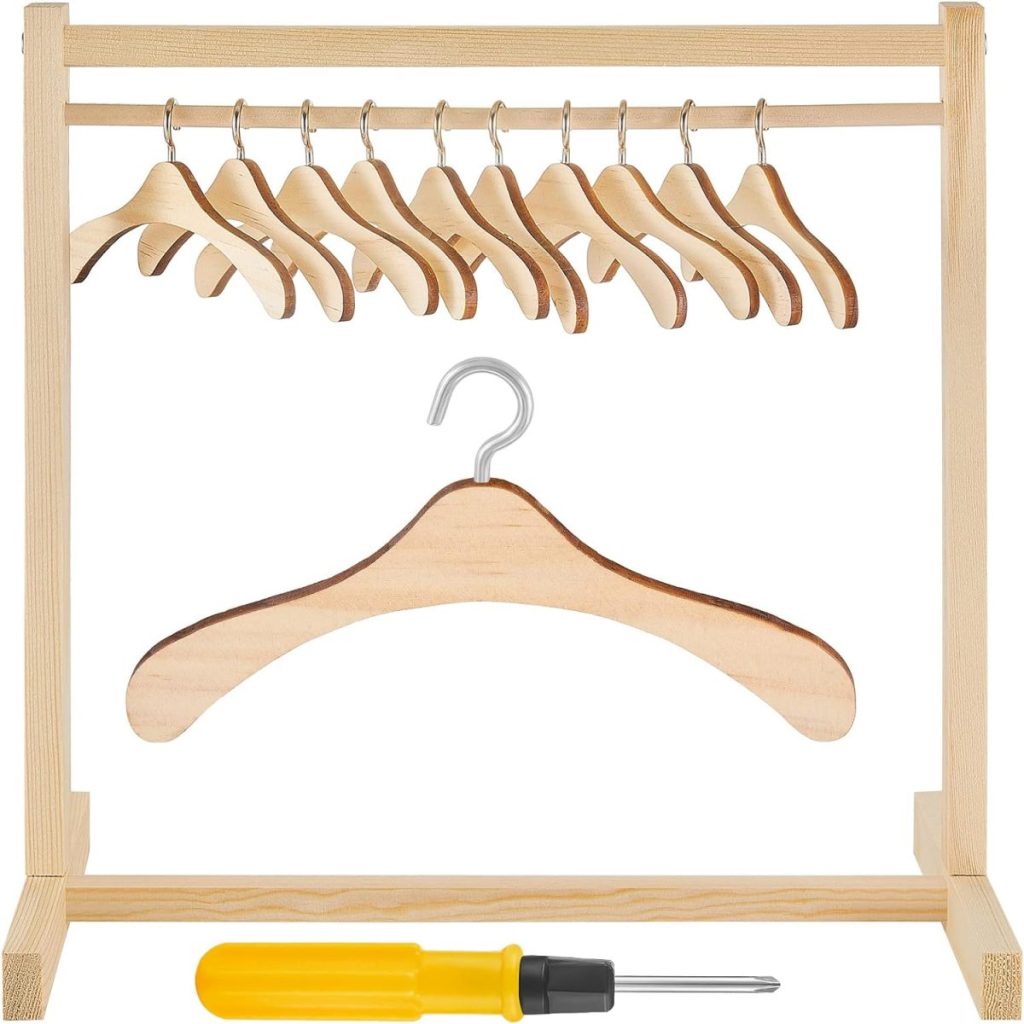
- Mini wooden hangers
- Doll clothing rack (wooden or wire)
Instructions
Bake the Cookies: Roll out your dough and cut into the desired shapes. Bake until lightly golden and let cool completely.
Decorate: Use royal icing to pipe details. Simple outlines, dots, bows, and stripes add a lot of charm. Let icing dry overnight for best results.
Bag the Cookies: Once the icing is set, place each cookie in a cellophane bag and seal it.
Hang: Use miniature hangers to clip or slide the cookies, then hang them evenly on the doll rack.
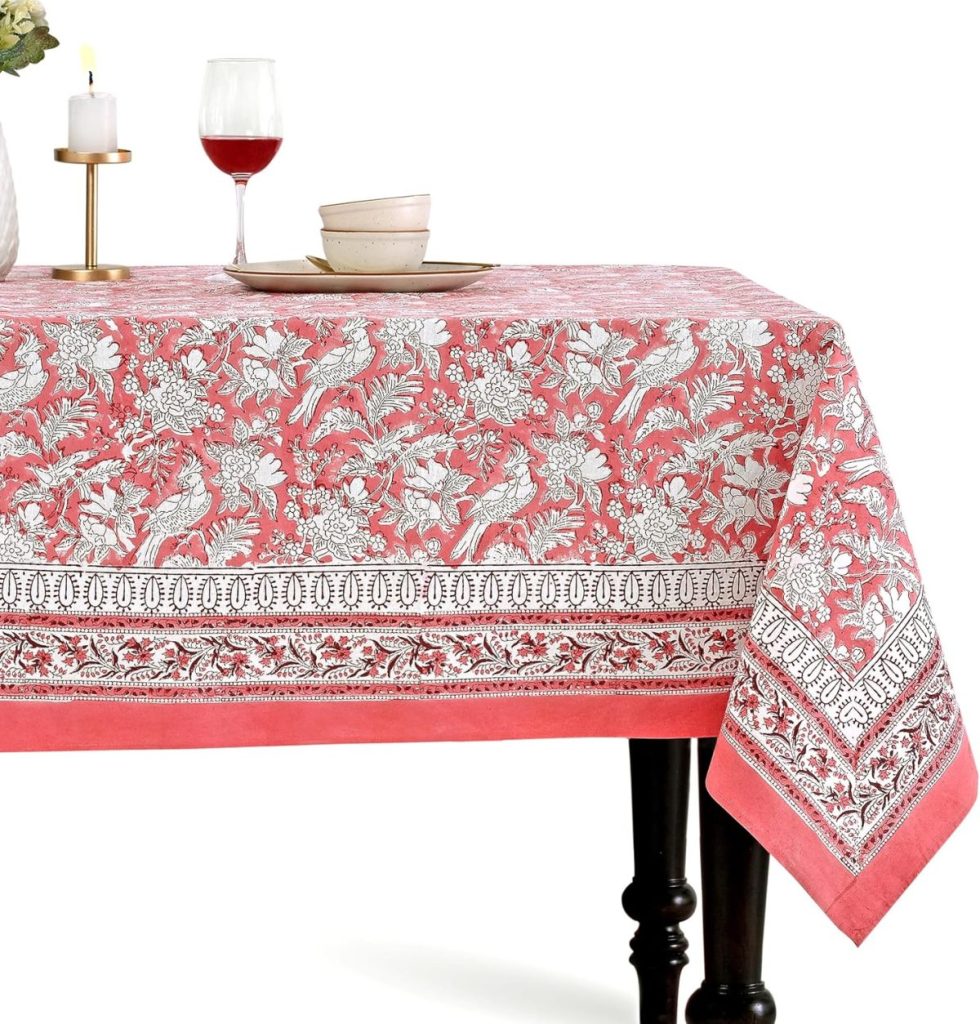
Display: Arrange the racks on your tables. You can decorate around them with florals, confetti, or ribbons for an added touch.
Baby Clothes Shaped Sugar Cookies
Ingredients
- Sugar Cookies
- 2 cups all-purpose flour
- 1/4 teaspoon salt
- 1/2 teaspoon baking powder
- 1/2 cup (1 stick) unsalted butter
- 1 cup sugar
- 1 large egg, lightly beaten
- 1 tablespoons milk
- 1 TBL lemon juice
- 1/2 teaspoon pure vanilla extract
- Buttercream Frosting
- 1 cup nonsalted butter (do not warm)
- 4 cups powdered sugar
- 1 tsp vanilla
- 4-6 TBL coconut milk (I like The Kitchen Organic)
Instructions
Whisk together flour, salt, and baking powder in a medium bowl.
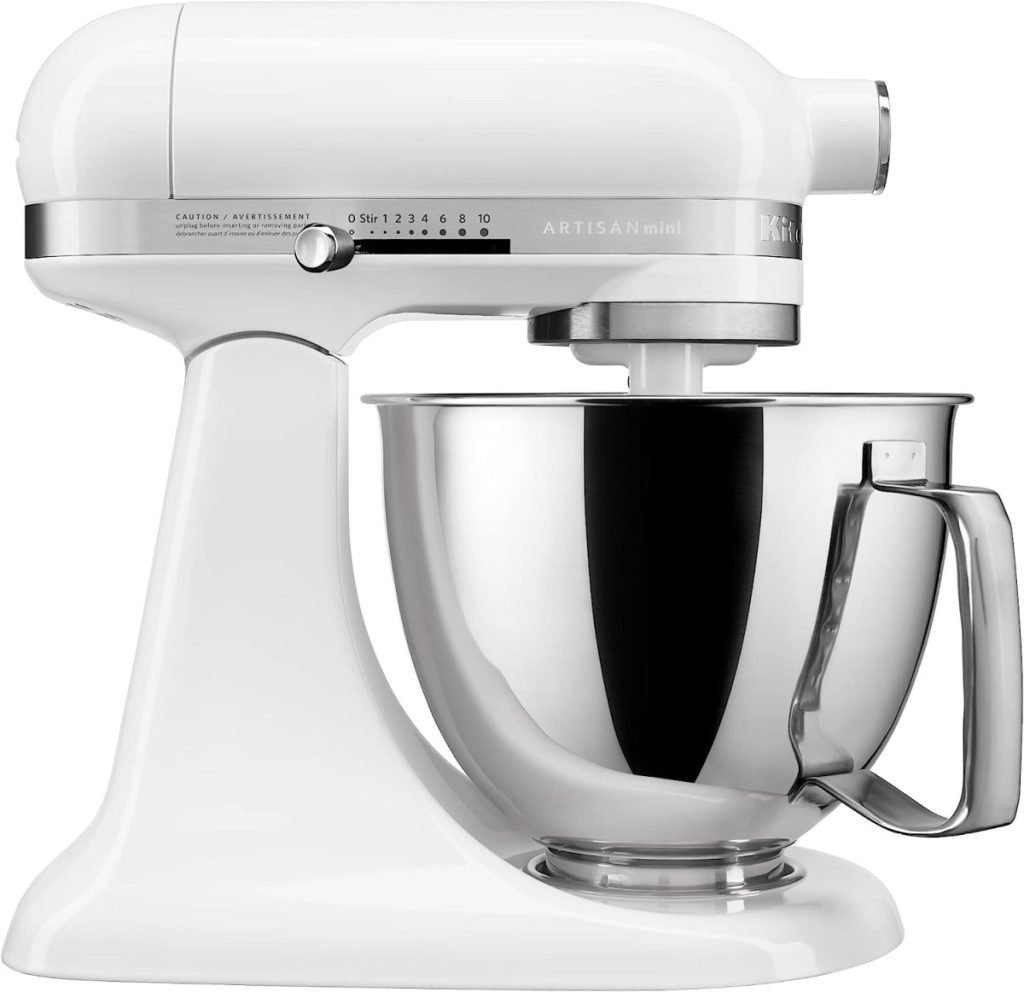
In the bowl of an electric mixer fitted with the paddle attachment, cream butter and sugar; add dry ingredients, and mix until incorporated. With the mixer running, add egg, milk, lemon, and vanilla; mix until incorporated.
Transfer the dough to a work surface. Shape into two discs, cover with plastic wrap, and refrigerate for at least 1 hour.
Preheat oven to 350 degrees. Line baking sheets with nonstick baking mats or parchment paper; set aside.
On a lightly floured work surface, roll out the dough to 1/8-inch thickness. Cut into desired shapes, and transfer to prepared baking sheets, leaving an inch in between. Leftover dough can be rolled and cut once more.
Bake until lightly golden, about 10 minutes; do not allow to brown. Transfer to wire racks to cool.
To make the Buttercream Frosting, Cream the butter until soft in a mixer for about two minutes. Add the sugar, vanilla, and three tablespoons of coconut milk. Add the remaining tablespoons of coconut milk as needed. When frosting cookies, make sure the cake is completely cooled. You can place them in the freezer for about thirty minutes before decorating.
Tips for Success
- Keep the designs simple: Even a few dots or stripes can make the cookies look darling.
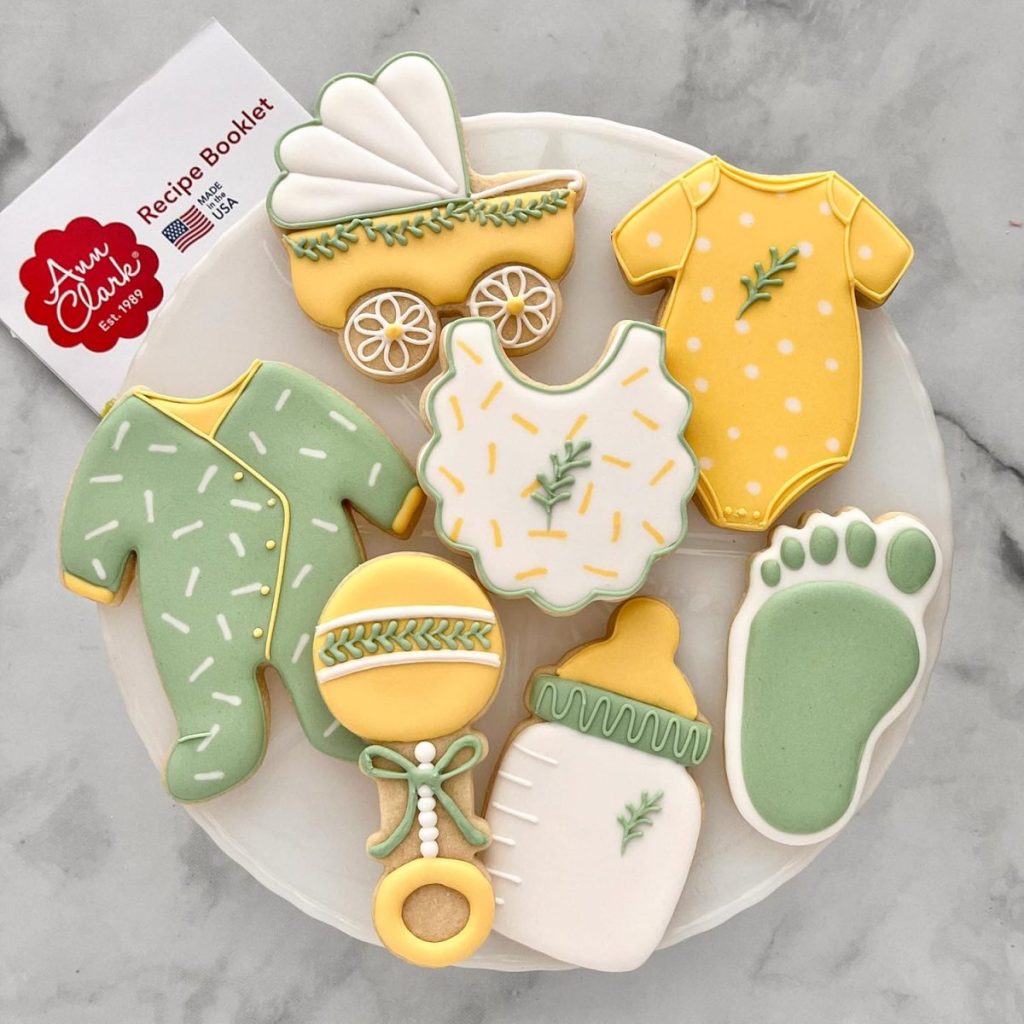
- Use pastel colors: For a baby shower, soft pinks, whites, and corals look lovely, but you could easily switch to blues, greens, or yellows.
- Make ahead: Cookies can be baked and decorated a few days in advance of the event. Keep them sealed and refrigerated (or frozen) to maintain freshness.
- Save your racks: Invest in a few good-quality doll racks that you can reuse for different celebrations.
Bringing It All Together

For Ellie’s baby shower, this centerpiece was the perfect nod to her bridal shower a year earlier. It felt full-circle, bringing back a beloved idea but with a new twist for a new season of life. Seeing guests admire the tiny baby cookies, hanging neatly in a row, made me incredibly happy, and it reminded me why I love hosting and creating so much.
These little details — cookies, racks, colors, and creativity — are what make gatherings memorable. It’s never about perfection; it’s about the love and thought put into the day. And for this baby shower, I couldn’t have imagined a sweeter way to celebrate Ellie and her baby girl.
Final Thoughts
Centerpieces don’t always have to be floral or traditional. Sometimes, the most memorable ones are the ones that tell a story or bring a smile to your guests’ faces. These baby shower cookie racks are a project I’ll treasure forever because they tie together family memories, creativity, and love.
I hope this inspires you to try something similar at your next celebration. Whether it’s a bridal shower, baby shower, or holiday gathering, this cookie centerpiece idea is endlessly adaptable. I can’t wait to see how you make it your own.

If you enjoy my blog, you can sign up to receive my updates here.
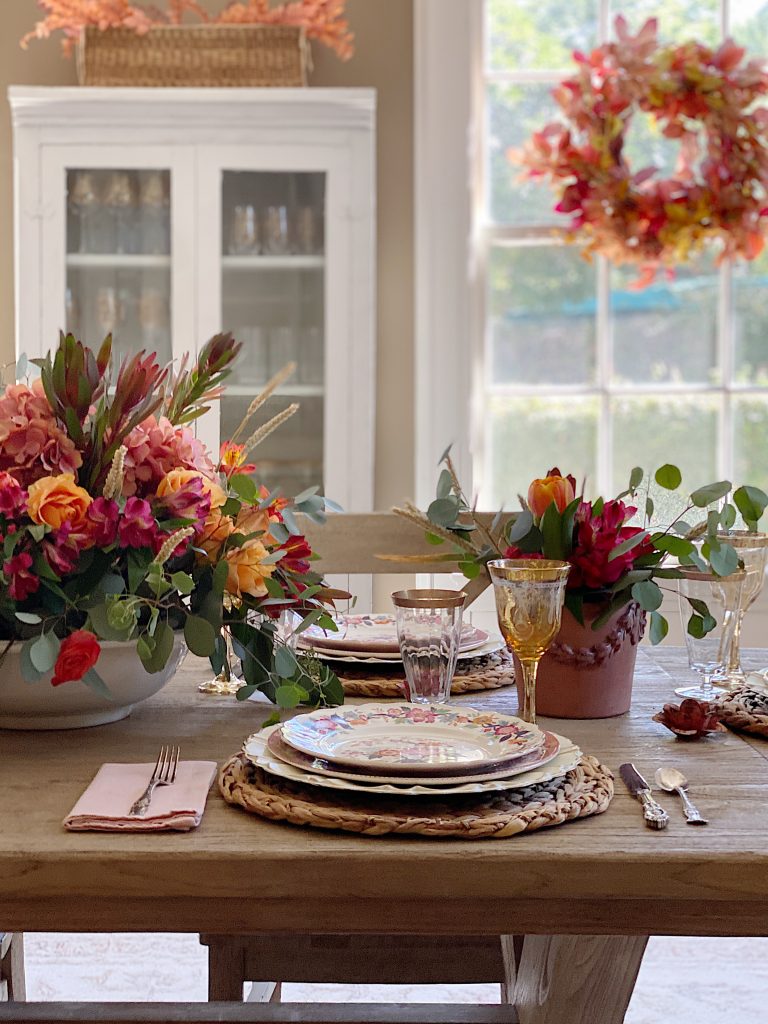
.Pottery Barn Inspired Fall


Latest Posts
-
The Best Spring Pillow DIY – A Handmade Spring
There are certain projects that start as an idea and quietly turn into something you love far more than you expected, and this Spring pillow is exactly that. As part of my A Handmade Spring series, I wanted to create something soft, beautiful, and full of texture, and this pillow checked every box. This pillow…
-
DIY Clay and Metallic Foil Easter Eggs
With Easter just around the corner this week, I decided to create something special and truly unique for my spring décor … handmade clay and metallic foil Easter eggs. These little works of art are soft, pastel, and subtly shimmery, and they’re a beautiful way to add a handmade touch to your Easter celebrations. While…
-
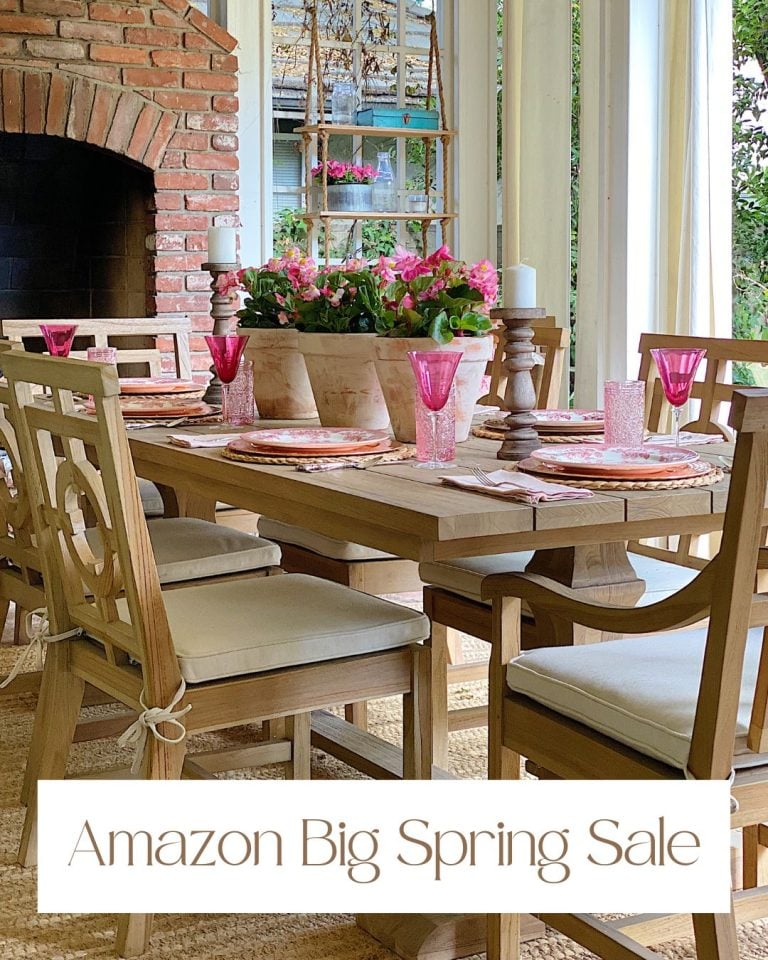
The Amazon Big Spring Sale is Here!
The Amazon Big Spring Sale is here! It runs from March 25th (today) through March 31st, and here are some of the best Amazon Deals ever! There are millions of deals available, and today I will help you find the best ones for everything you need. Now is the perfect time to shop for Spring.
-
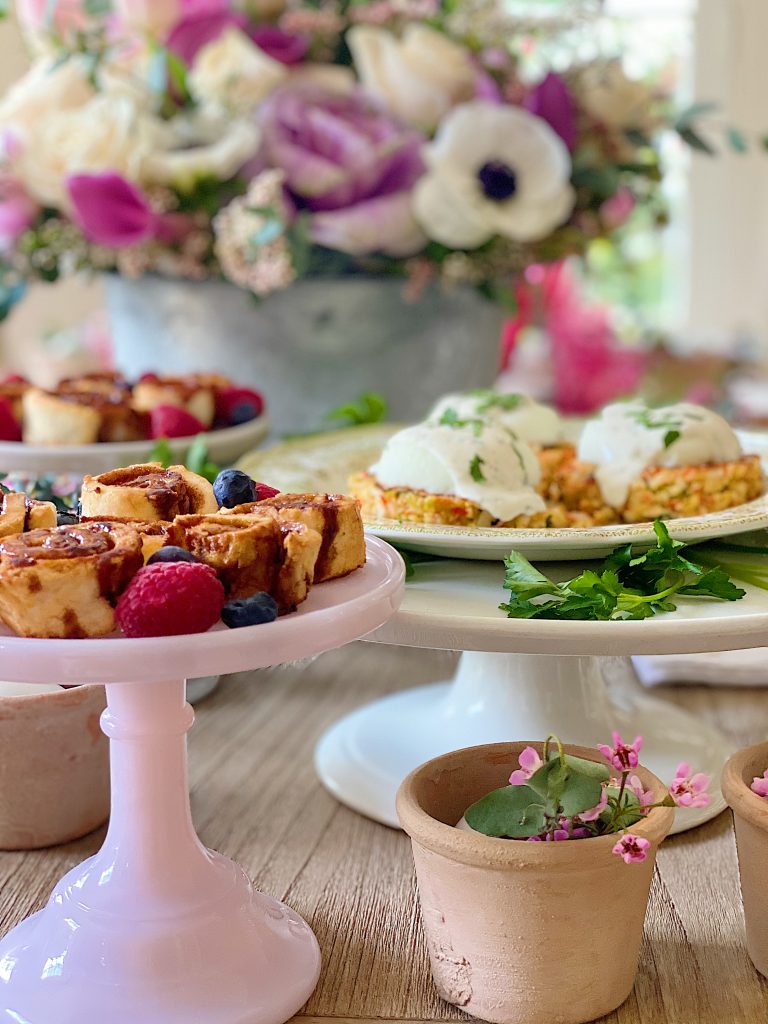
My Favorite Easter Brunch Recipe Ideas
Today, I am sharing some of my favorite Easter Brunch Recipe ideas. These recipes are amazing, and everyone in our family loved them! I used my favorite Easy Crab Cake recipe and created a menu with an “eggs benedict”-style entree, a new gluten-free cinnamon roll recipe, and fresh berries. This latest version of Eggs Benedict…


My Recent Instagram Posts

You can pin the image below to your boards on Pinterest (click the Pin button in the top left corner) or follow me on Pinterest!

For more real-time updates, follow me on Instagram @My100YearOldHome