How to Organize Your Gift Wrapping Room
I am so excited to share with you how you can organize your gift wrapping room. I am ready to wrap wonderful gifts all season long.

Oh my goodness! I spent quite a bit of time last week reorganizing my craft room and now it’s decorated for the holidays. This is my main crafting area and now it’s also my gift wrapping room for the holidays. I am feeling so ready to craft and wrap!
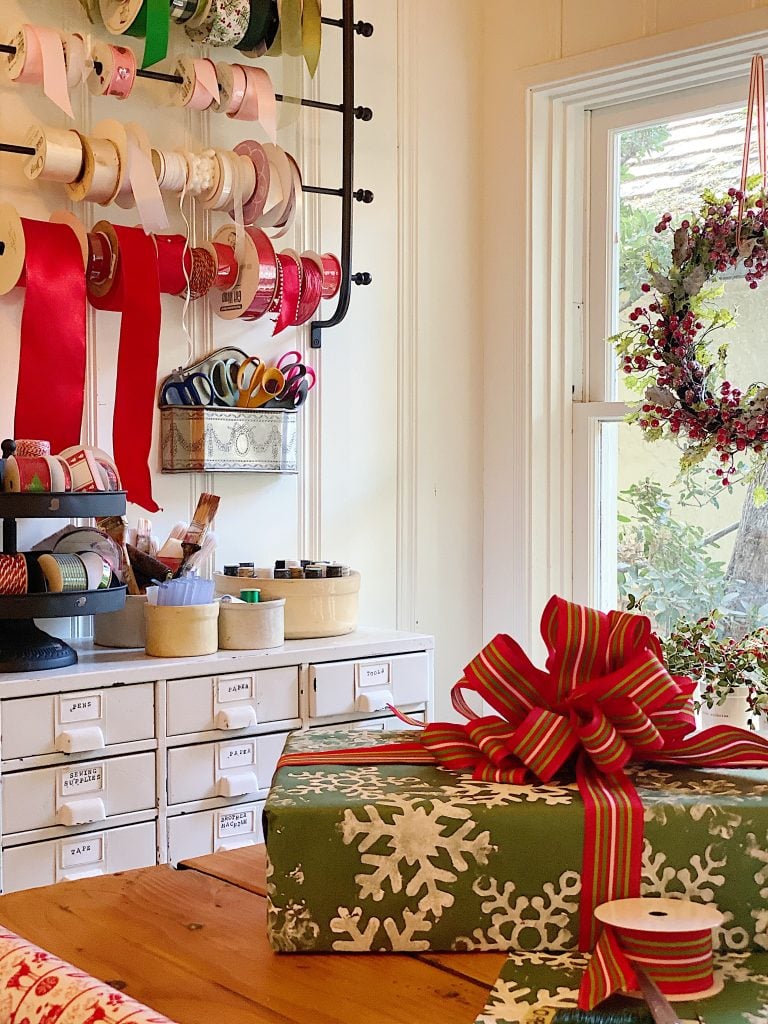
Welcome to Day Eight of Twelve Days to Get Ready for Christmas. My dear friend KariAnne @Thistlewood and I are sharing How to Organize Your Gift Wrapping Area.
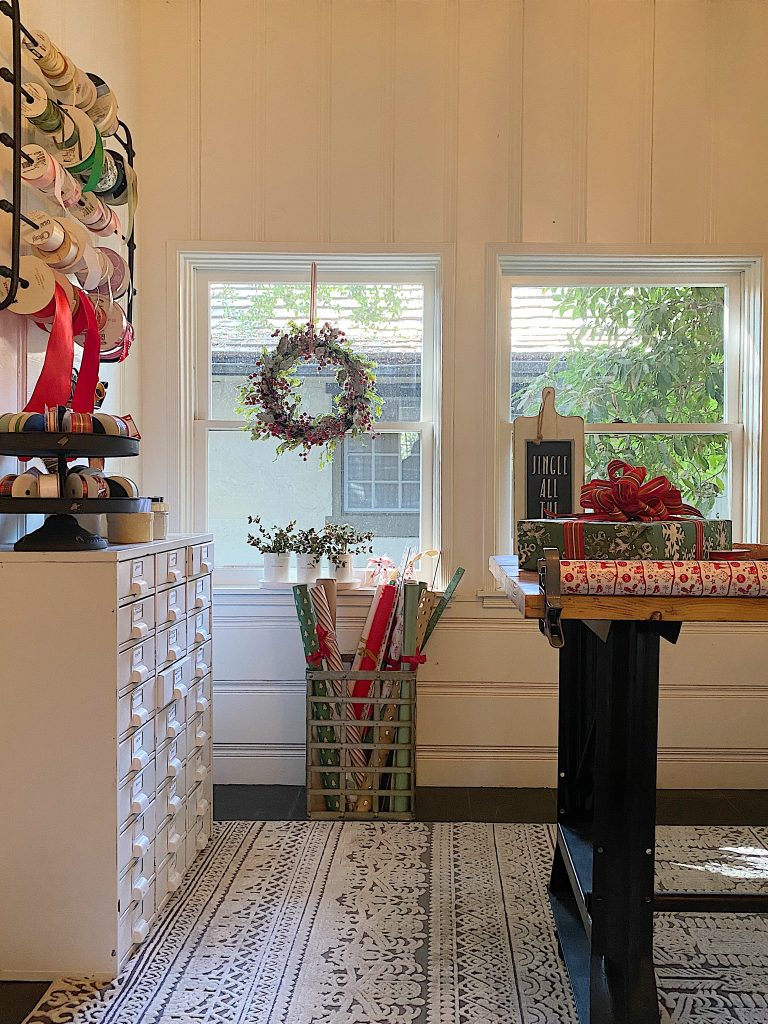
Tips for Organizing Your Gift Wrapping Room
The first thing you want to do to organize your gift wrapping is to find a good spot to wrap your gifts. If you don’t have a designated wrapping area, try to pick somewhere where you can at least store your wrapping supplies. I decided to organize all of my wrapping supplies in my craft room to ensure I won’t be wrapping gifts on the floor of my bedroom on Christmas Eve. Don’t be shocked, but our entire family wraps most of our gifts at the last minute. This is not happening this year, I promise!
(In my defense, I like to be able to put all of the boy’s gifts in piles and then I can count and make sure the piles are somewhat even. Every year there is some adjusting and swapping happening at the last minute! It helps my three boys are only 36 months apart)
You also should decide if you want to have a color theme and take an inventory of your supplies. I had so much wrapping paper and ribbon leftover from last year that the only thing I needed to buy was tape.
Where to Buy Gift Wrapping Supplies
I feel strongly that you don’t need to spend a lot of money on your gift wrap supplies.
Shop the sales because you will find wrapping paper this time of year at just about any store. Be careful and always check the width and length, I have brought home newly bought roles of paper, only to find they were much smaller than I thought! I like to buy butcher paper and make my own wrapping paper because I think it’s fun to make. For some fun gift wrapping supplies, you can visit my Amazon gift-wrapping store.
I now have everything I will need in my gift wrapping room. This includes paper, ribbon, tape, scissors, wire, gift tags, and more.
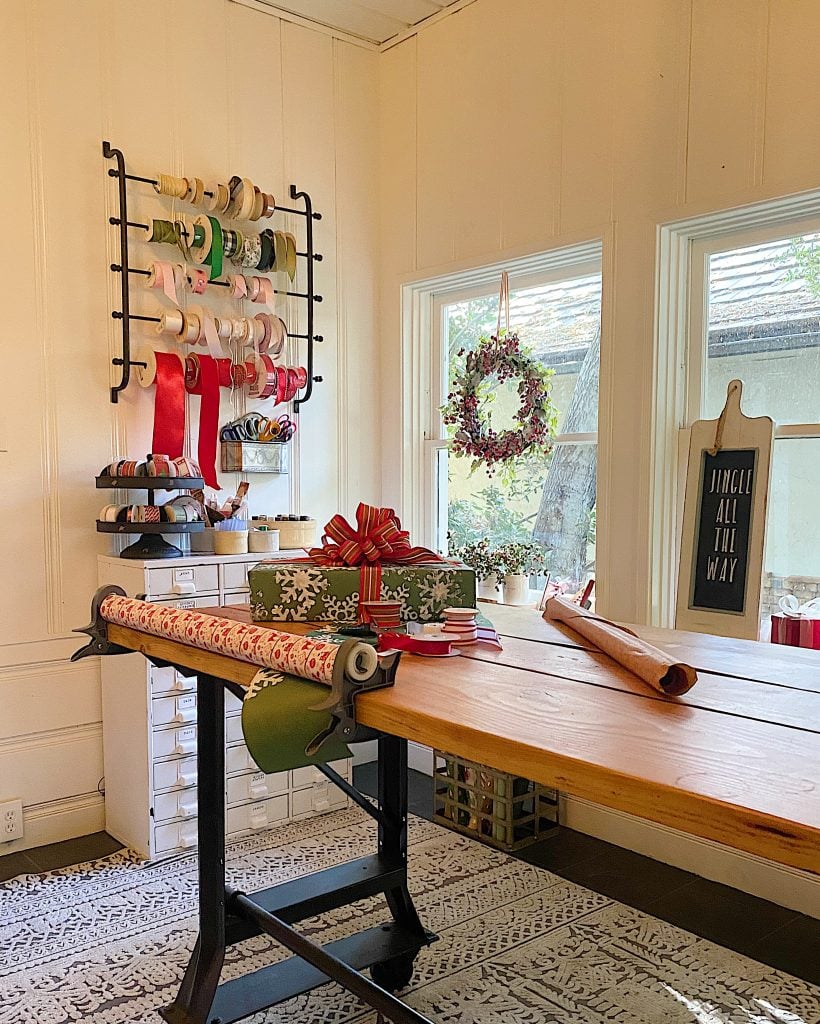
Organizing the Gift Wrapping Room
To organize the room, I made some changes. First off, I moved a lot of my craft supplies up to the third-floor craft storage room. Remember when I mentioned that I had a lot of craft supplies and that you could shop my house for supplies? I wasn’t kidding.
It was only about twenty trips up two flights of stairs. But it was worth it.
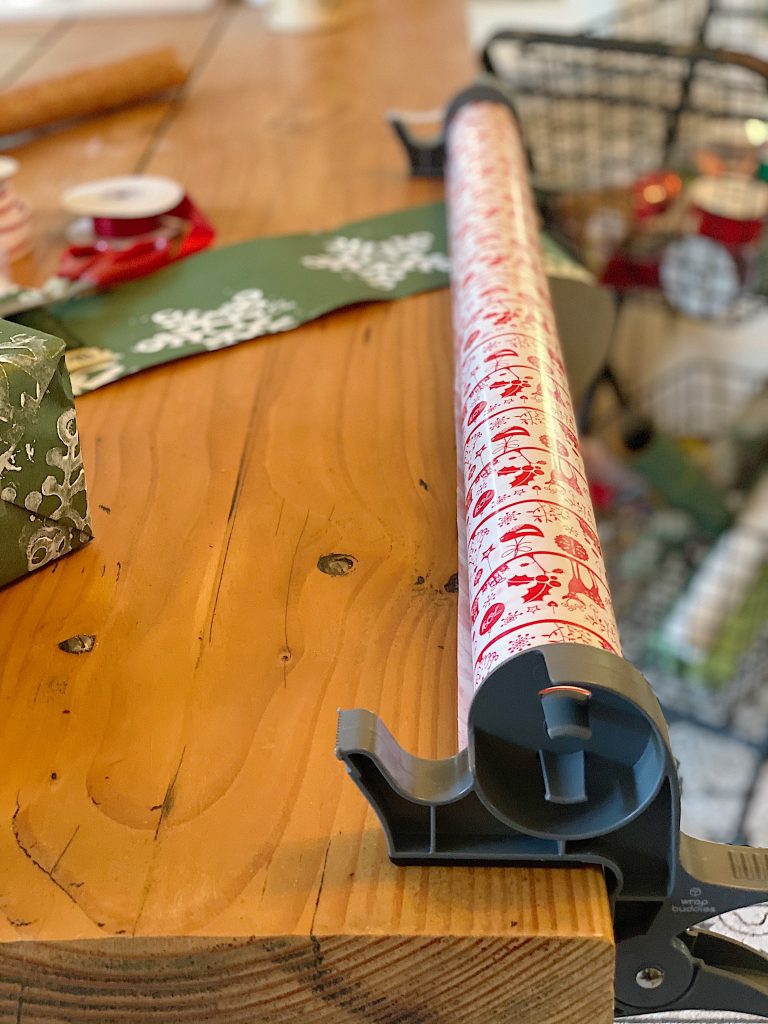
I also added the coolest wrapping paper “assistant” that clips on to a table and not only holds a roll of paper but also holds two rolls of tape.
See this vintage white cabinet? It has a lot of my essential supplies and I love it. It’s also a good idea to make your most common tools easily accessible. I decided I needed to do that with my scissors. I am always looking for scissors so I repurposed a metal vintage letter holder, hung it on the wall, and filled it with scissors. I also repurposed some crocks and a metal tiered divided tray to hold more supplies and spools of ribbon.
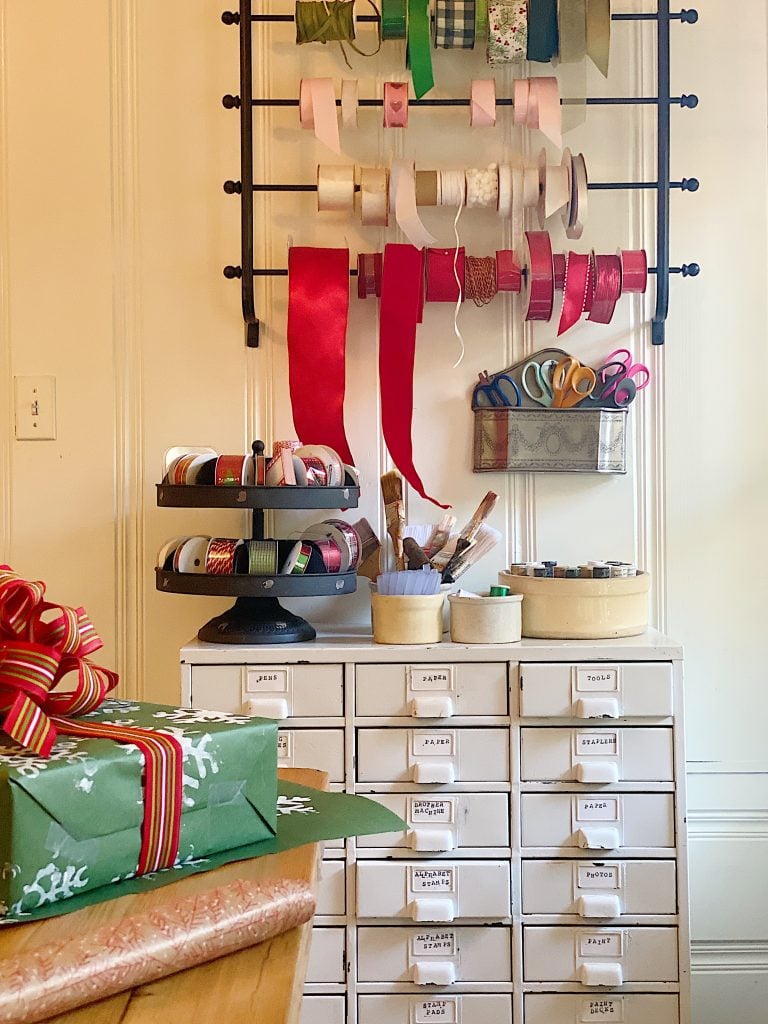
I bought the ribbon rack earlier this year and I love it. If you are looking for a ribbon rack, I have lots of suggestions in my post, How to Organize Ribbons in Your Craft Room.
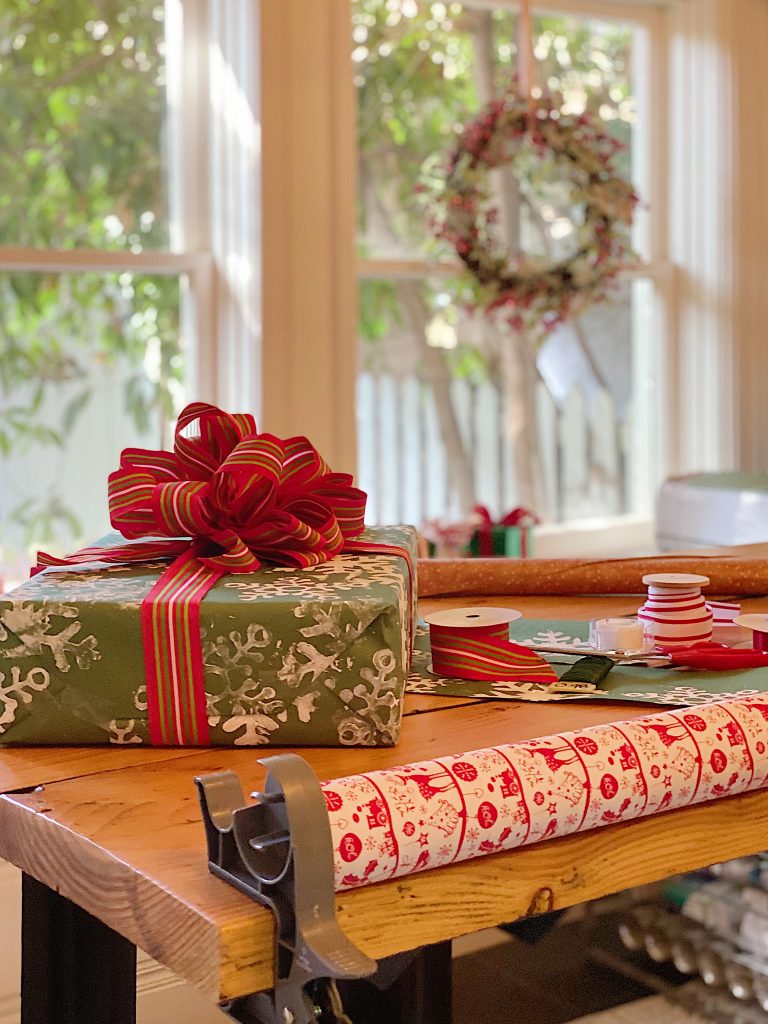
I emptied out every bin and container in my craft room and either moved it upstairs or filled it with wrapping paper and ribbon. I know there are a lot of fancy and expensive ways to organize wrapping paper. I prefer to use a tall bin. It’s simpler and cheaper.
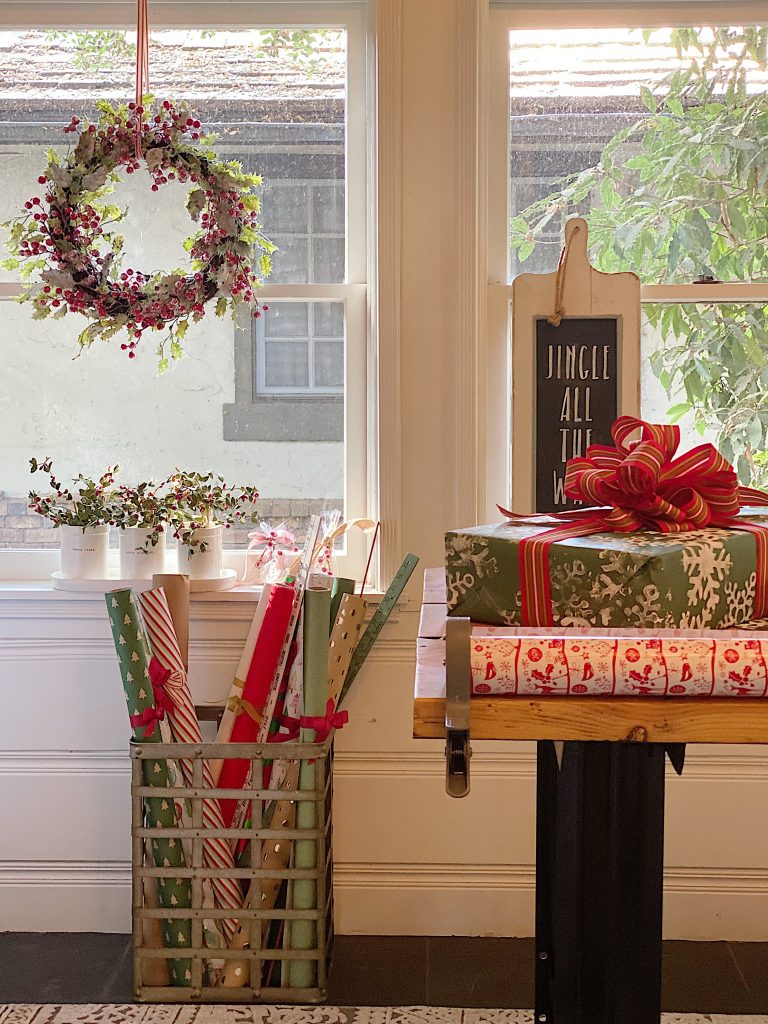
I tied each roll with a small ribbon. You can also use medium-sized rubber bands.
Next, I decided I needed to make some of my own wrapping paper. This is such a fun project to do with your kids!
How to Make Your Own Wrapping Paper
I love making wrapping paper. Last year I made this adorable red Christmas tree paper from styrofoam plates and this pink snowflake paper from foam sheets I cut on my Cricut. Click either link for instructions on how to make your own wrapping paper.
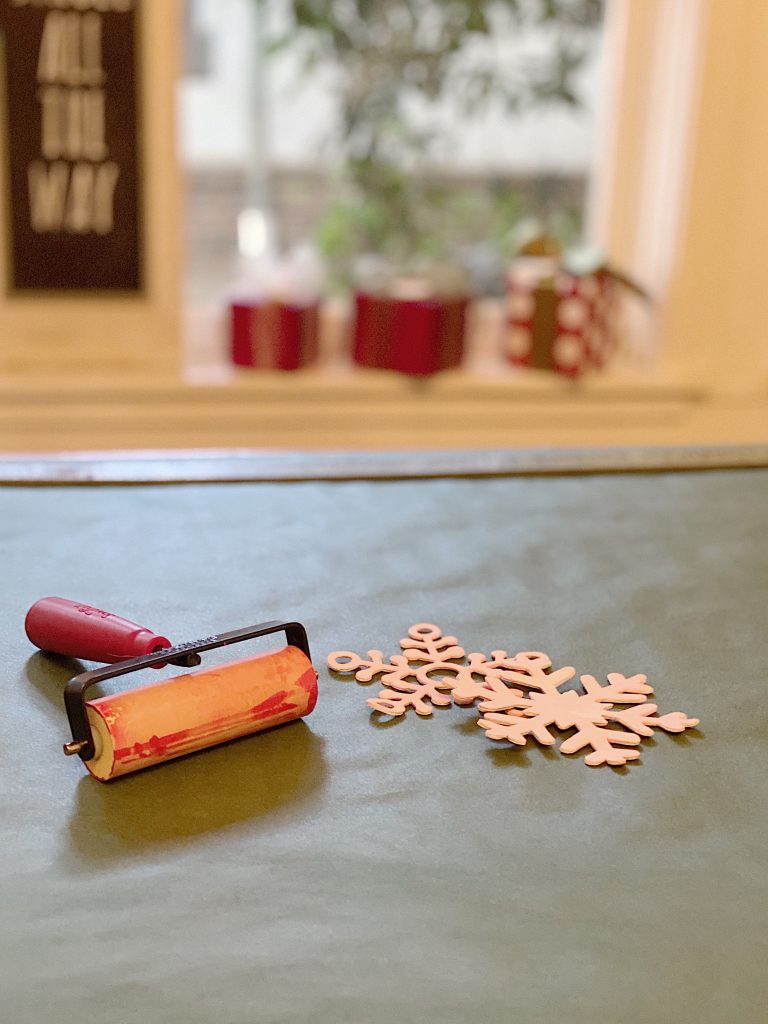
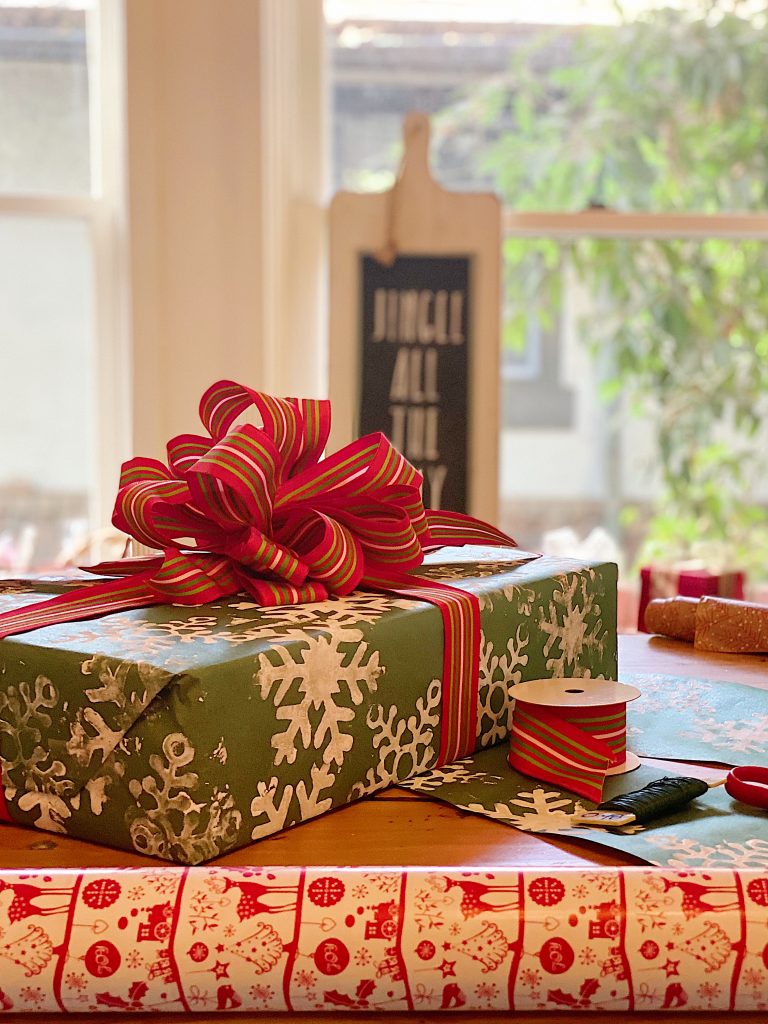
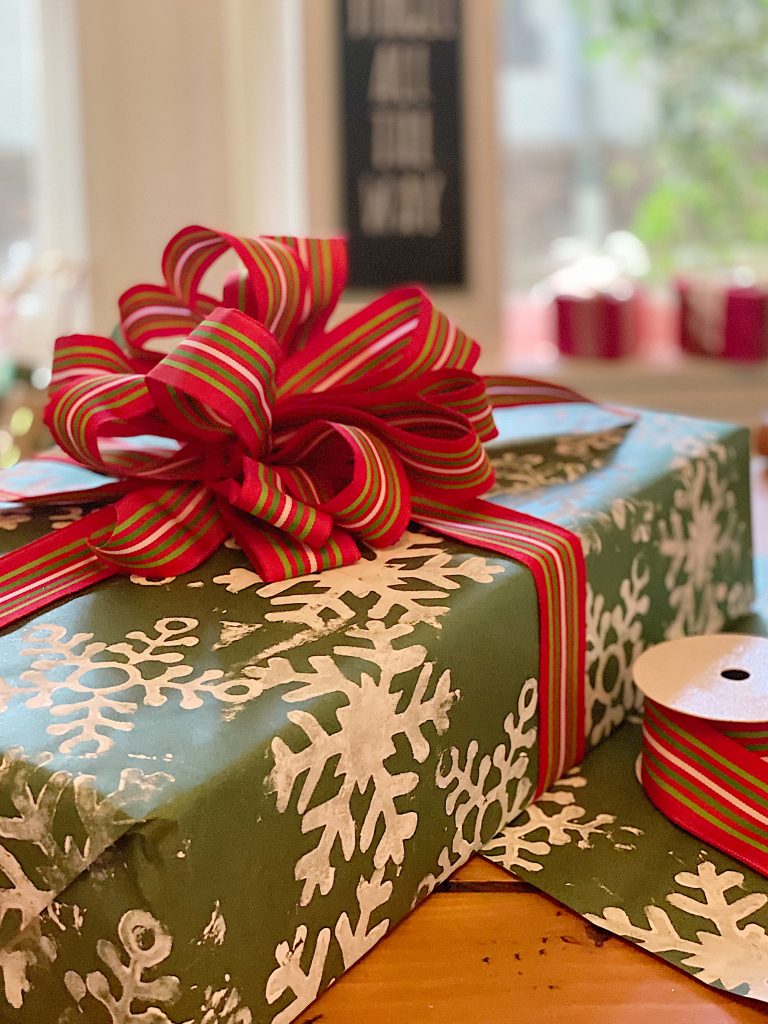
I pulled out the snowflake stamps I used previously here and used green paper and white acrylic paint.
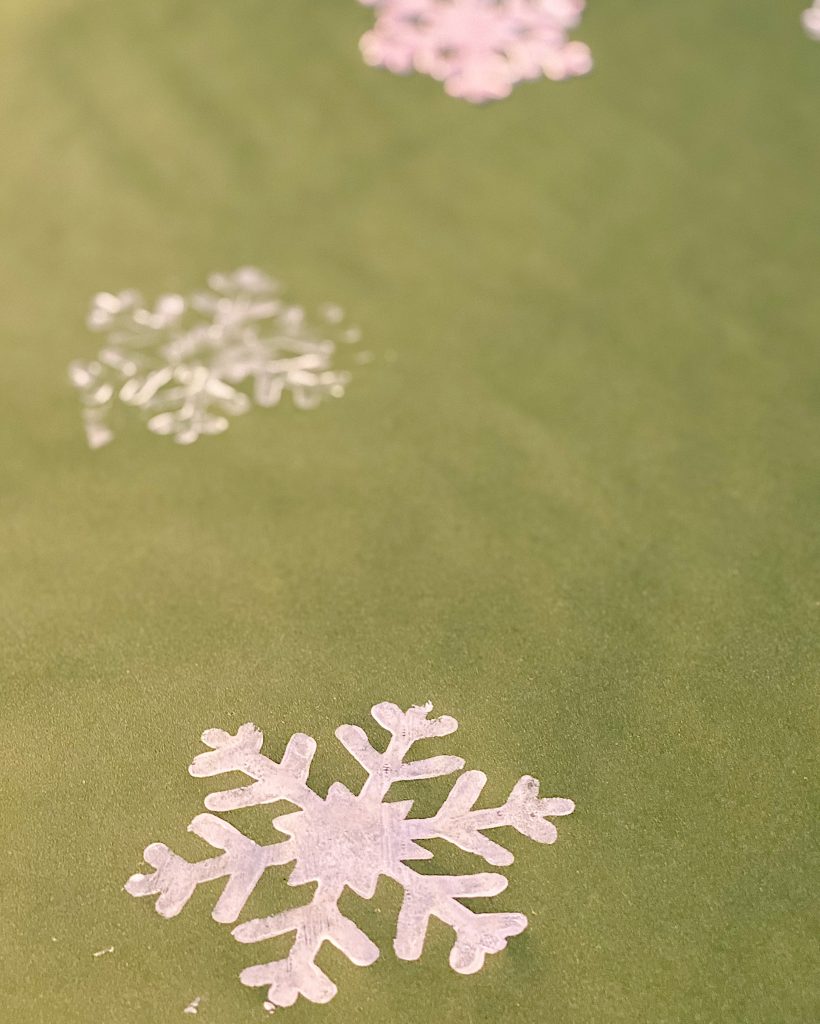
I stamped the paper freely, not worrying about being too careful. I like it when it doesn’t look perfect.
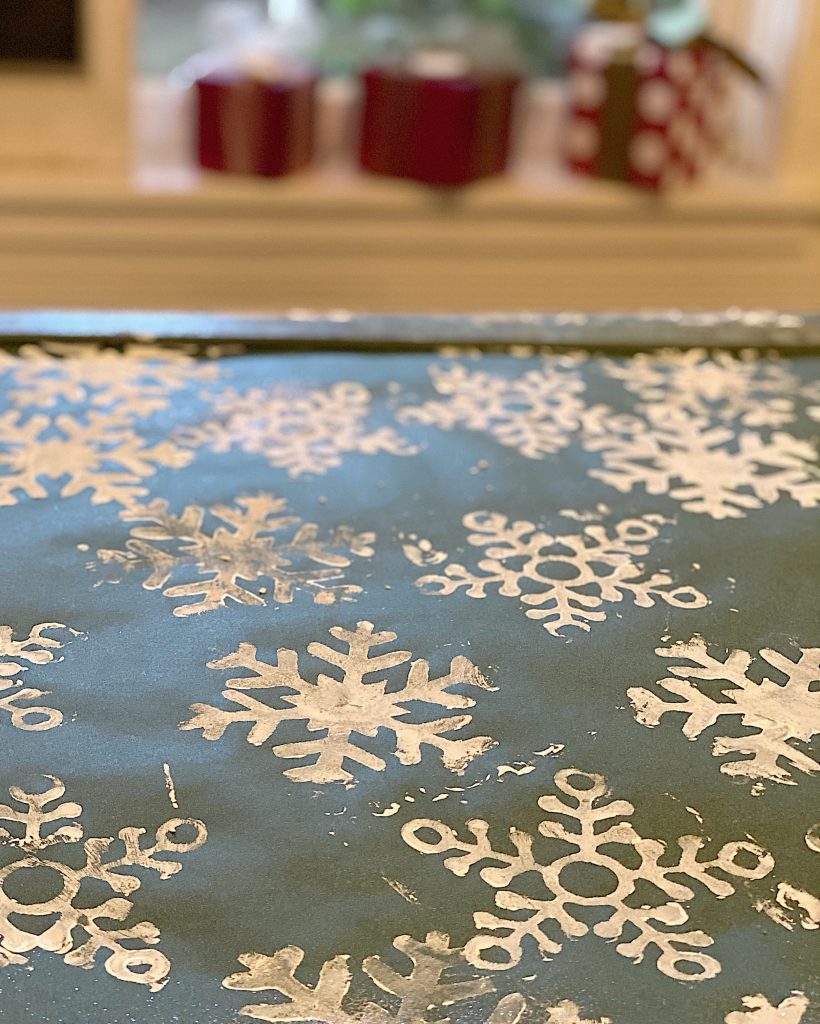
I love how the paper came out! Now it’s time to learn how to make a bow.
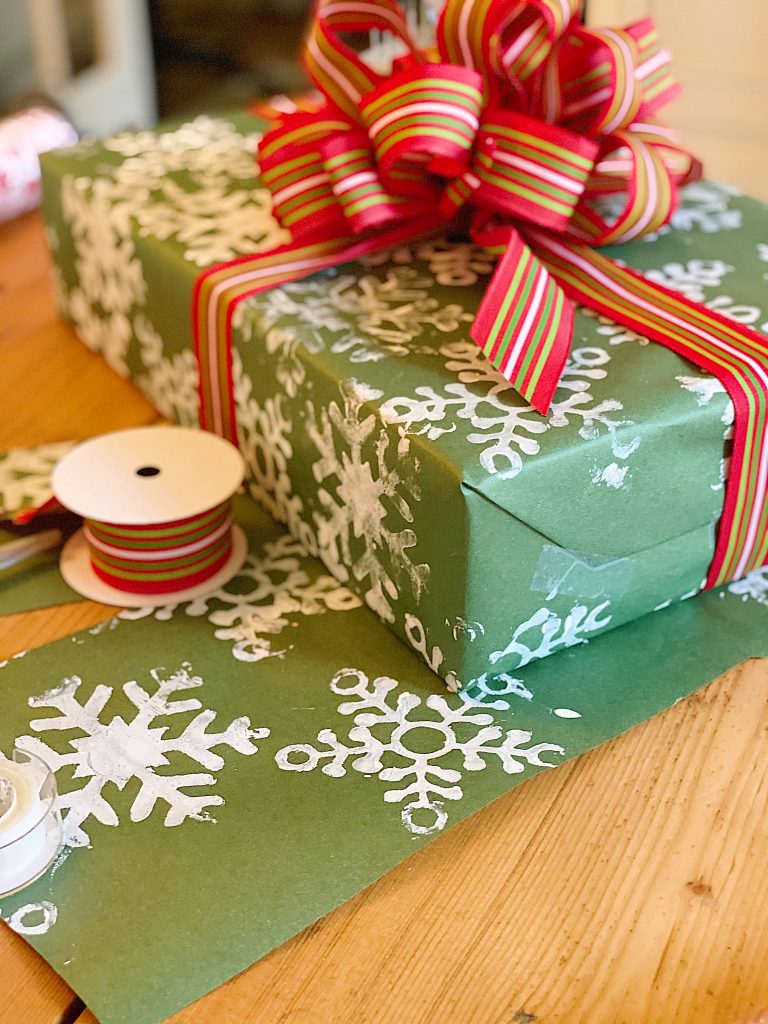
How to Make a Bow
I love to make bows and I have made them this way for years. It’s an easy method and if you don’t use it I think you will after reading this!
Determine how wide you want the loops and fold the ribbon double the width of the loops.
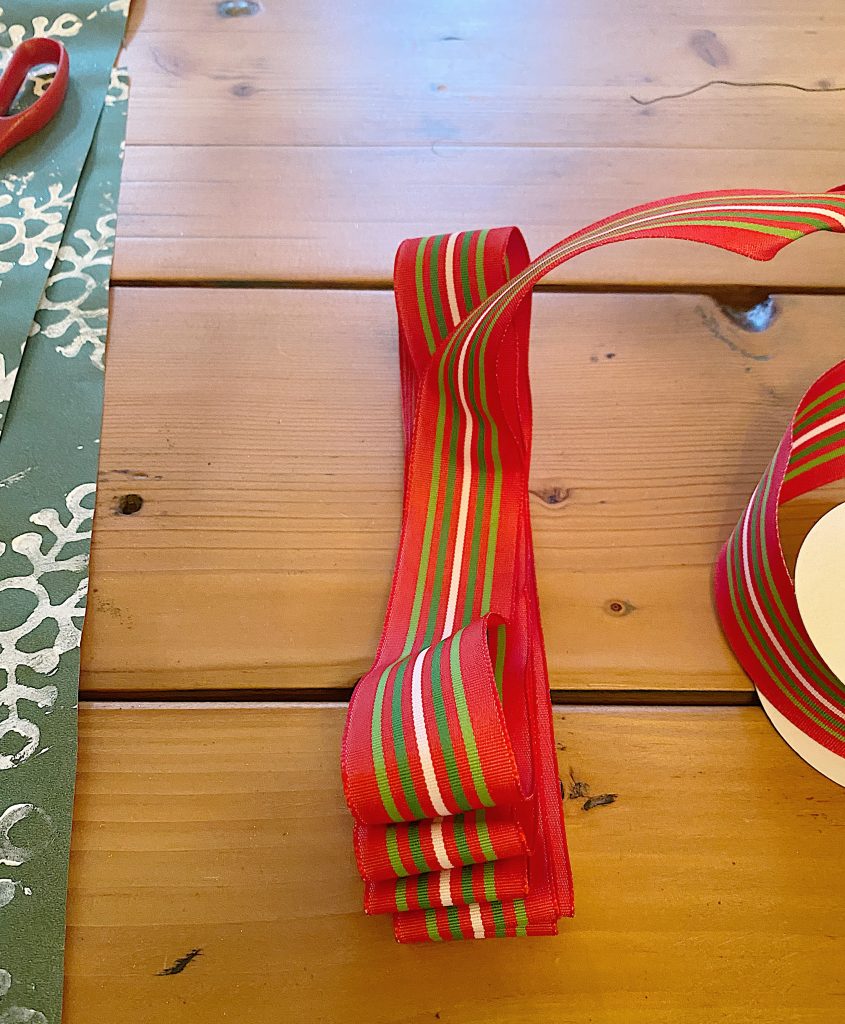
Keep folding until you have eight loops on each side.
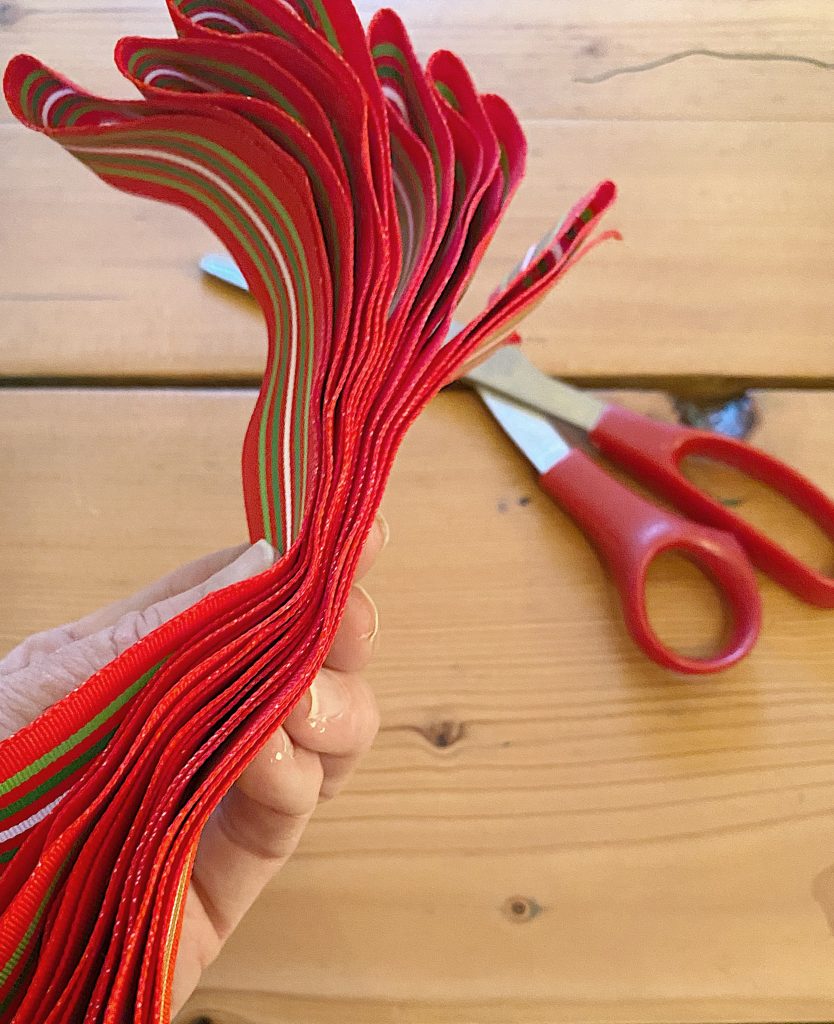
Fold the ribbon in half and mark the center line. Cut a notch in each side (while the ribbon is still folded in half). This will reduce the bulk in the center of the bow.
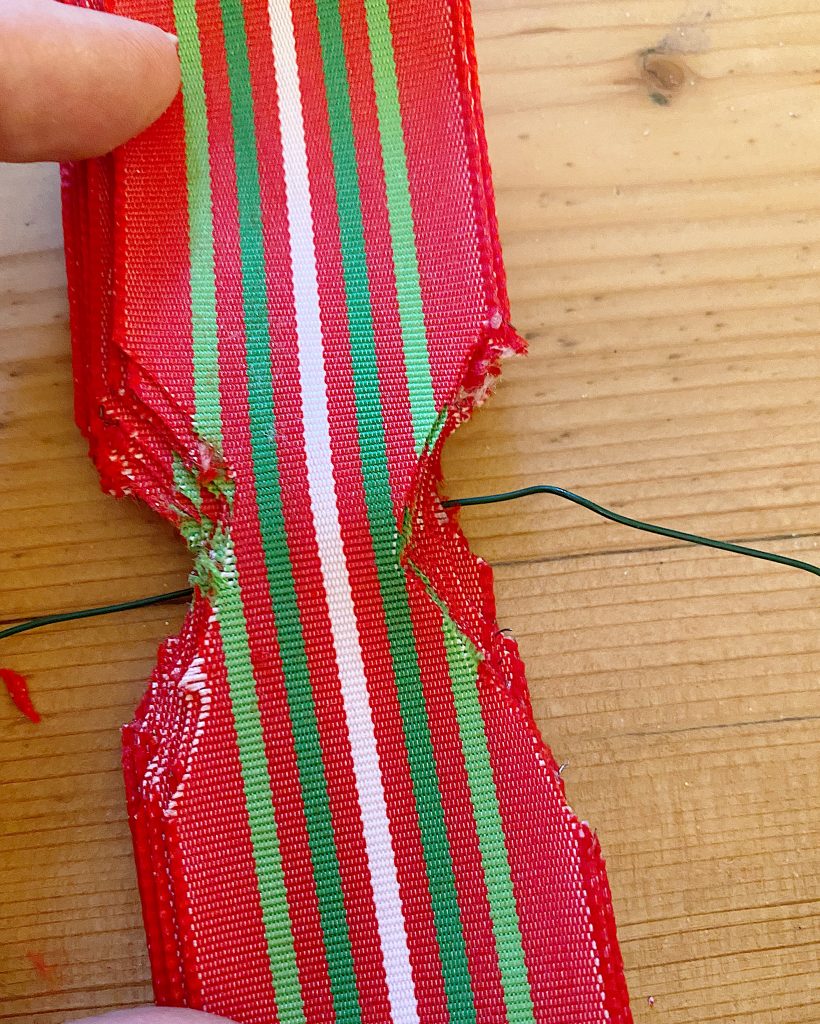
Secure the center with a piece of thin wire. You can also use a thin piece of ribbon or twine.
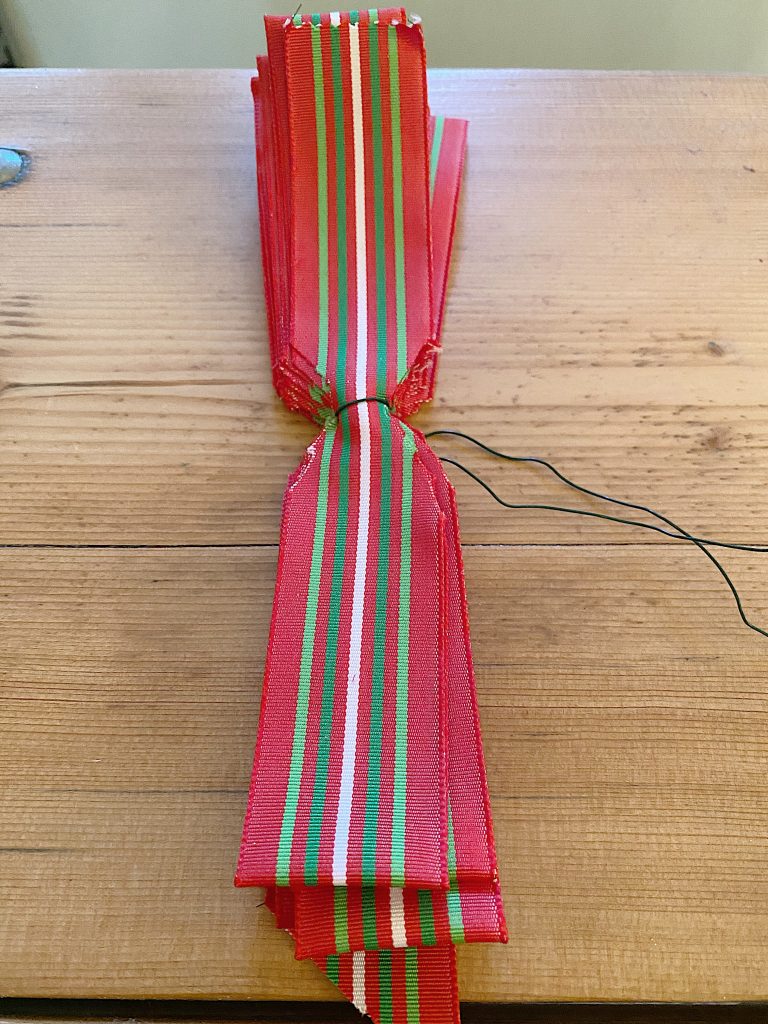
Pull the loops away from the center and twist so that they fill out the bow.
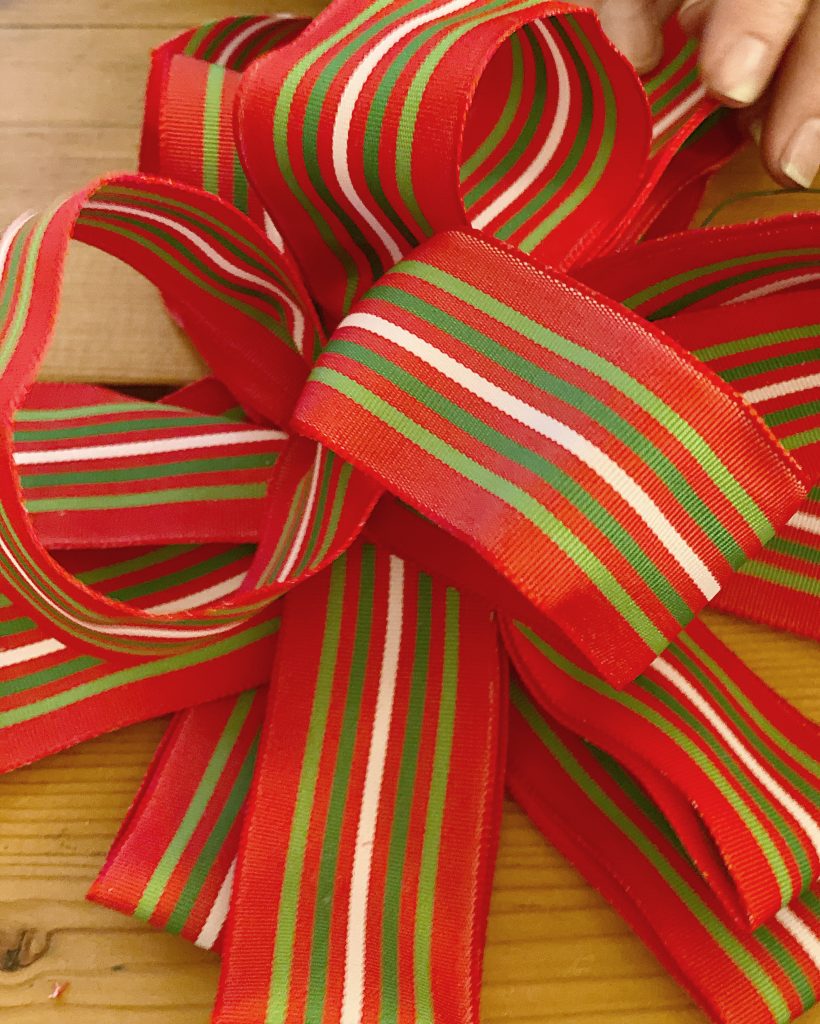
Secure the bow to the ribbon on the package with the wire,
Doesn’t this look fabulous?
How to Make Gift Tags
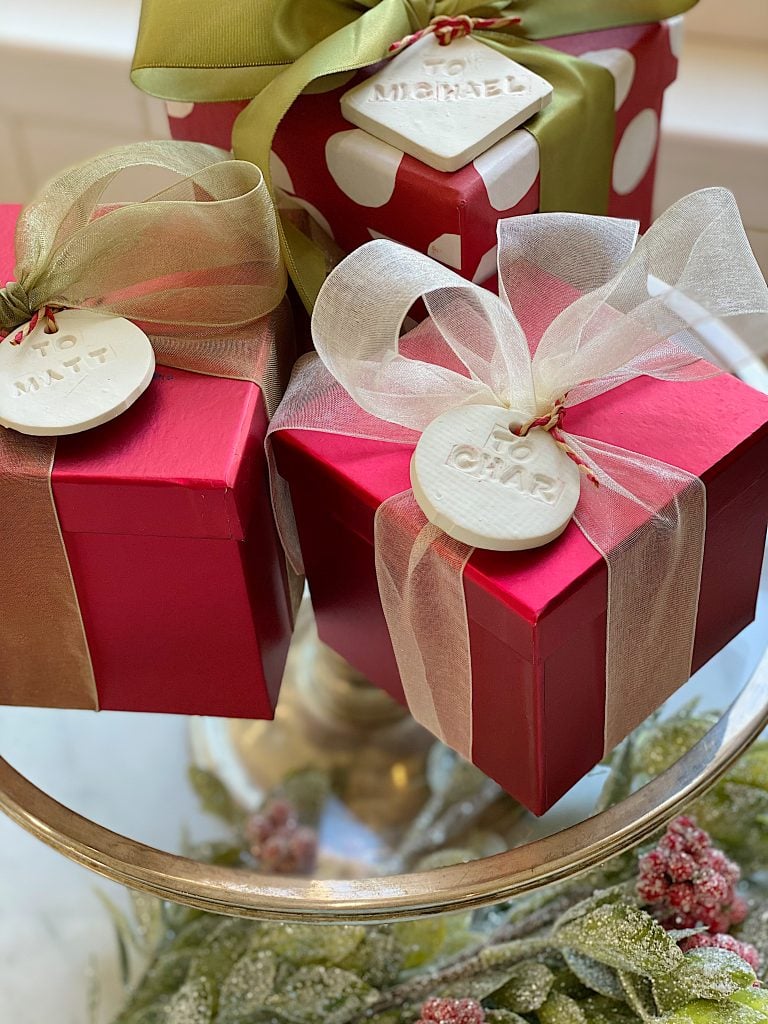
Gift tags are another item you might want to have on hand for your gift wrapping. Many of you probably saw the clay tags I made. You can find the blog post here.
If you are looking to buy gift tags, Amazon has so many of them!
I love these buffalo check tags. You can also find many other gift tags for incredible prices here.

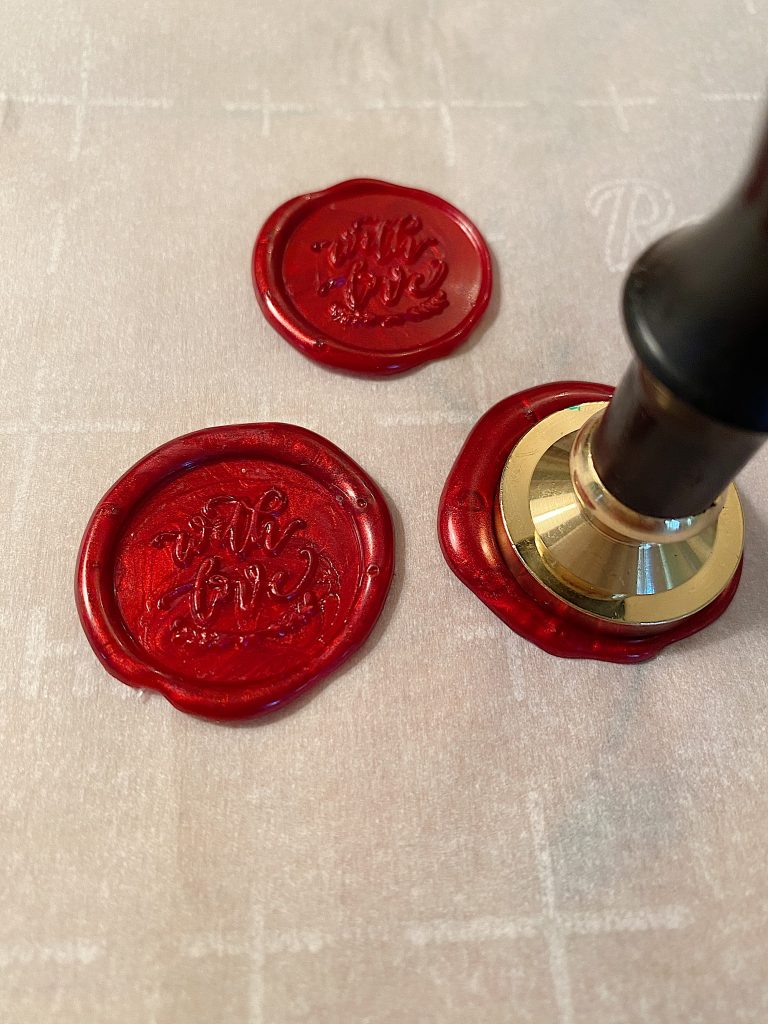
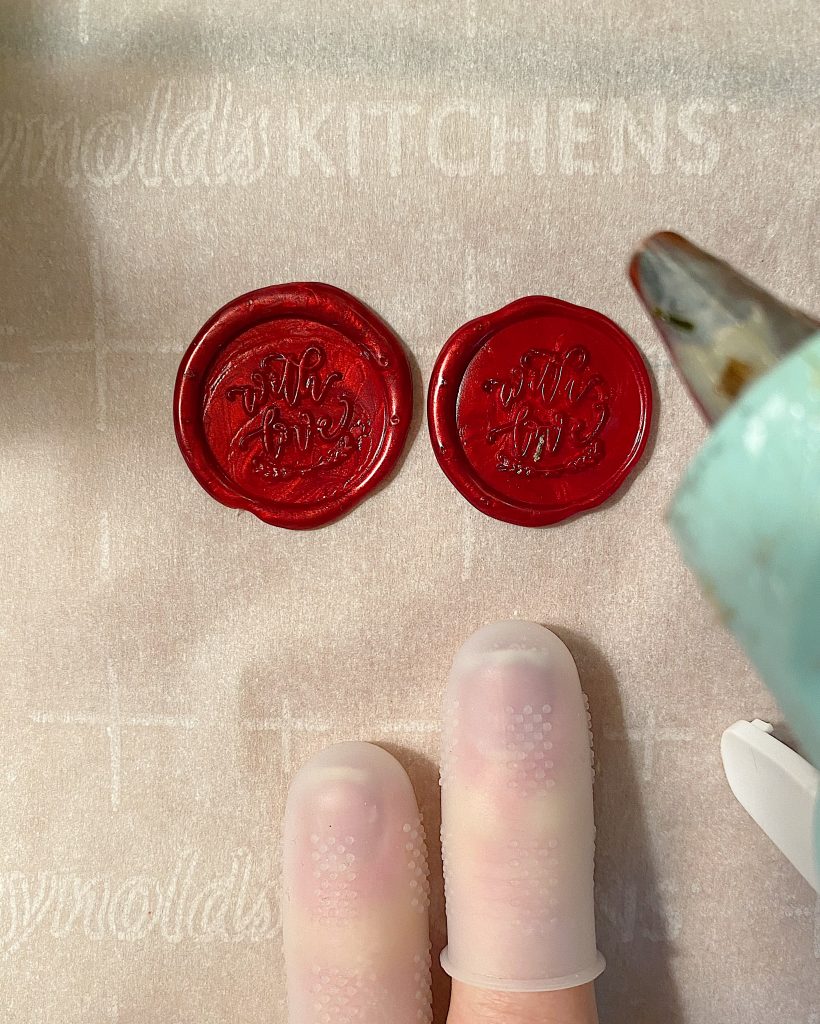
Another fun way to adorn gifts is to use a wax sealer. I have a stamp that says “with love” and I love that you can get wax sticks that fit in a glue gun. I love how this wax seal adds a personal touch to wrapping gifts.
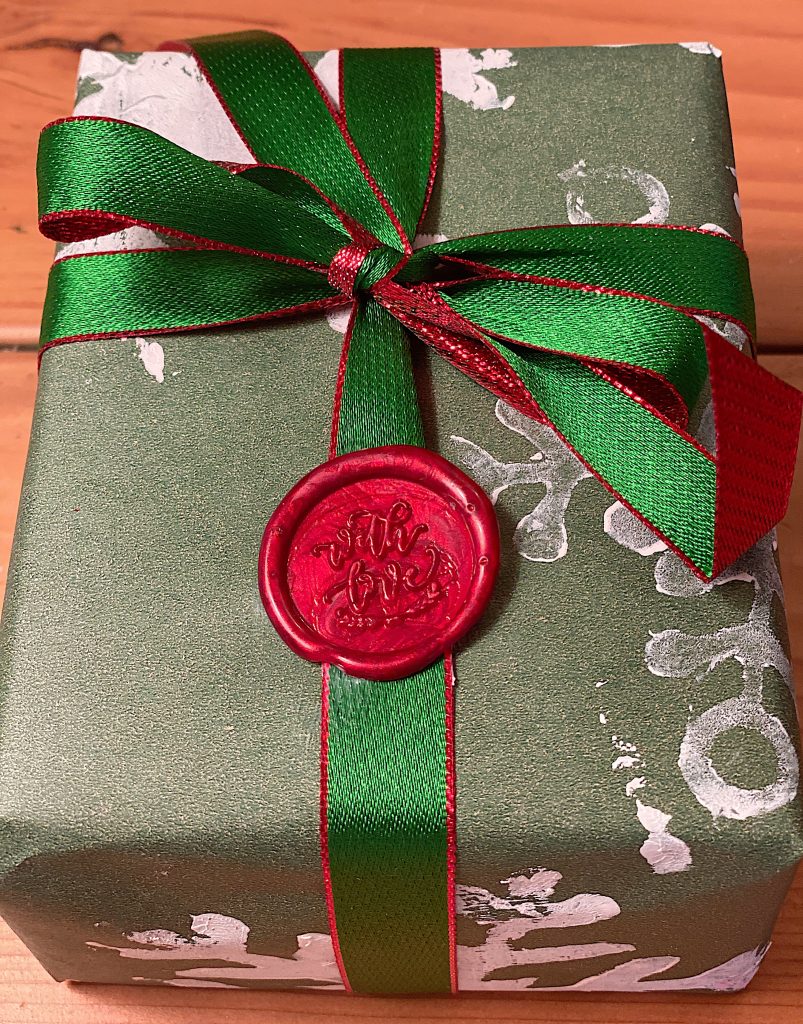
I also like to make the seals in advance and glue them onto the package.
Look closely at this next picture. Do you see the plastic thimbles on the ends of my fingers? They protect your fingers from glue gun burns! Oh, how I wish I had these about ten years ago. You can find them here.
I want all of my packages to look like this for Christmas this year. Now that I have my organized room and wrapping supplies in order, I think it’s going to be a lot of fun. I hope you feel the same way!
You can find everything in this post here in my Amazon Gift Wrapping store. Have fun getting organized.
If you missed any of my Twelve Days to Get Ready for Christmas, you can find them here:
Day 1: Nine Ways to Repurpose Last Years Christmas Decor
Day 2: Creative Ideas to Stock Your Pantry for the Holidays
Day 3: Favorite Places to Find Inexpensive Holiday Craft Supplies
Day 4: Handmade Holiday Creative Gift Ideas
Day 5: Holiday Make Ahead Desserts
Day 6: 20 Great Ideas for Personalized Gifts
You can also find Karianne’s amazing blog posts here:
Day 1: 9 Simple Ideas To Repurpose Last Year’s Christmas Decor
Day 2: How To Stock Your Pantry For the Holidays
Day 3: The Best Places to Find Inexpensive Craft Supplies
Day 4: Handmade Holiday: Creative Gift Idea
Day 5: Stock Your Freezer: Make Ahead Christmas Dessert
Day 6: Clever Ideas for Personalized Gifts
Day 7: How to Organize Your Gift Wrapping Station
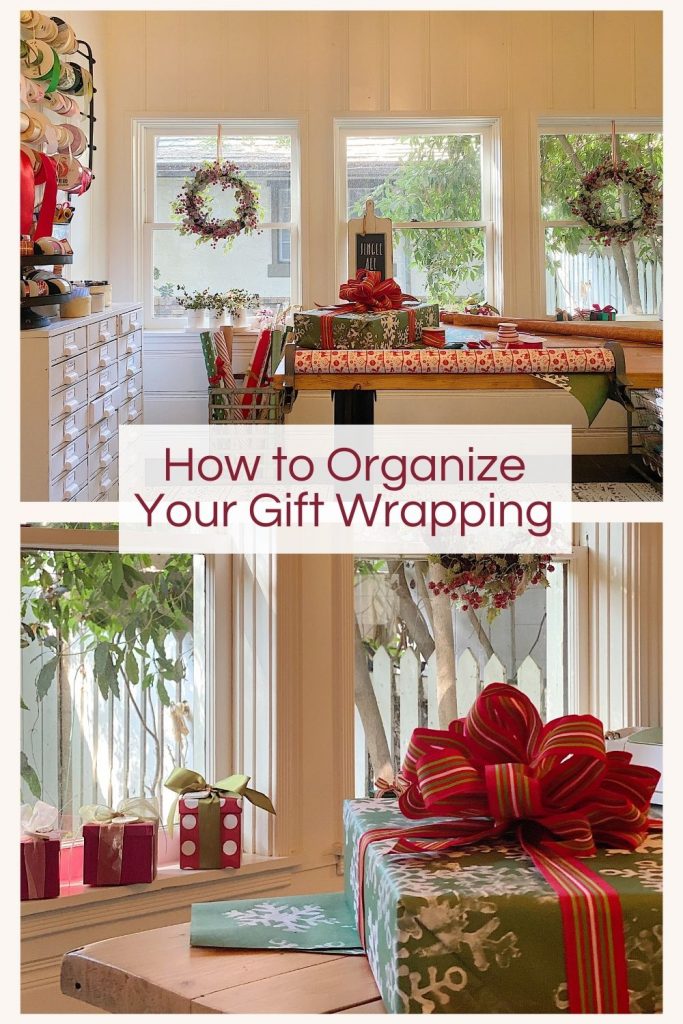
Pin the image below to your Craft or Holiday boards on Pinterest (just click the Pin button in the top left corner). You can also follow along with me on Pinterest!
For more real-time updates, follow me on Instagram @My100YearOldHome





يساعد مسار متمدرس على تقوية العلاقة بين الأسرة والمؤسسة التعليمية، من خلال إتاحة الولوج السريع للمعلومات الدراسية مثل النقط والغياب عبر منصة واحدة موحدة.