How to Make Crystal Snowflake Ornaments
Do you remember making crystal snowflake ornaments when you were little? I made them last week and can’t wait to share them with you.
I have such fond memories of making these crystal snowflake ornaments as a child and yes, they are still literally quite magical. This is a great project to do with your kiddos or grand kiddos, or over a glass of wine or two with your girlfriends!
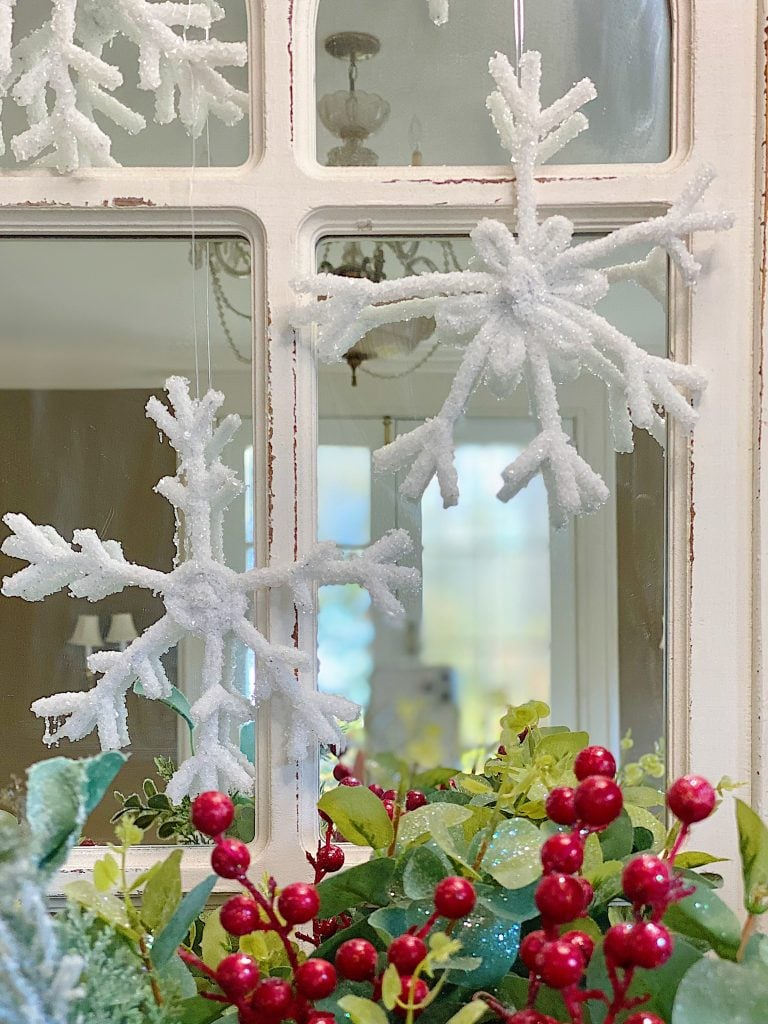
You can make crystal snowflake ornaments with just a few supplies, a lot of imagination, and a large bucket. They do have to soak overnight but you are guaranteed snowflakes in the morning!
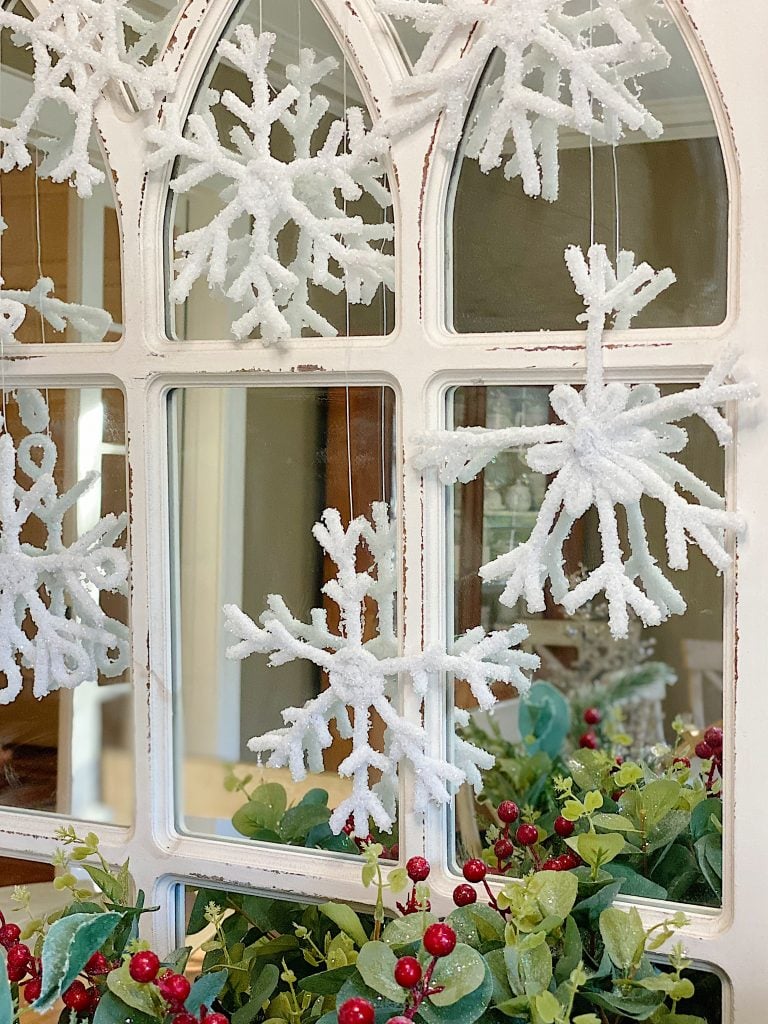
Look at this snowflake! Isn’t it incredible?
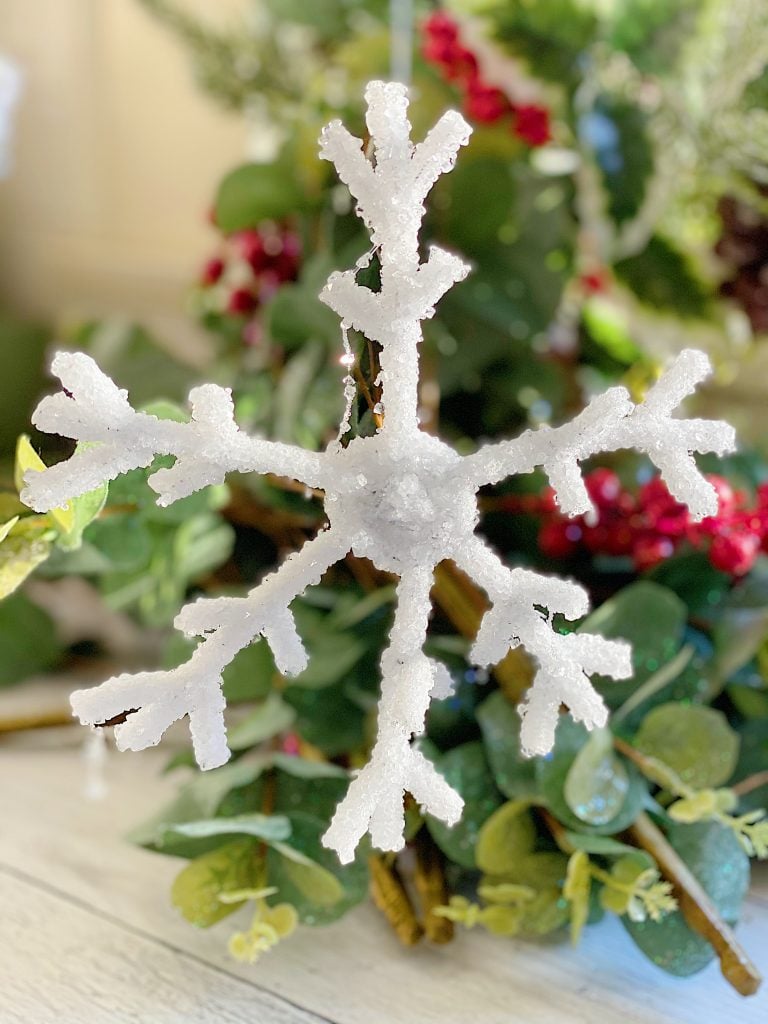
These were very fun to make and I can’t wait to share with you a LIVE tutorial!
Here is my live craft demonstration I did on Facebook.
You can watch my demo below or you can click here to go to my Facebook page to watch!
How to Make Crystal Snowflake Ornaments
How to Make Crystal Snowflake Ornaments
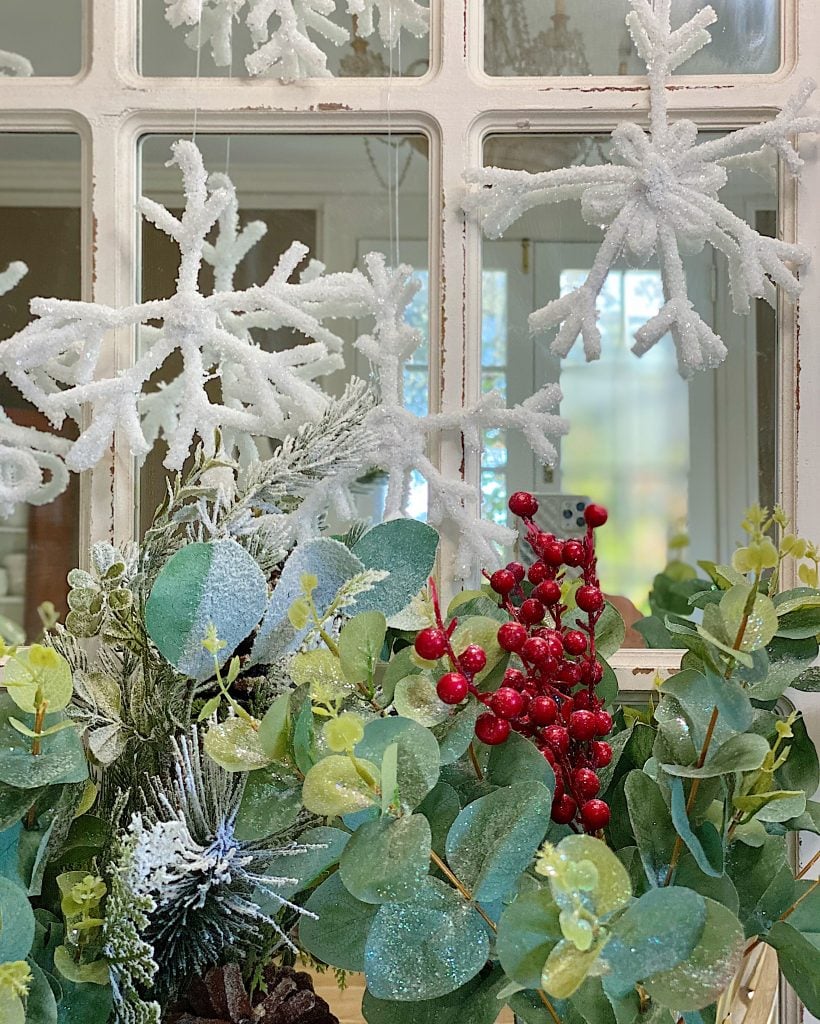
What You Need to Make The Snowflakes
Chenille pipe cleaners (I cut mine to 8″ long)
Borax (one box)
Fishing line (to hang)
Dowels to hang the snowflakes
Container to hang your pipe cleaner snowflakes so they won’t touch while soaking. I used my enameled bread box.
- Cut and twist the pipe cleaners to make snowflakes. Mine are quite large. If I make them again I will make them smaller. About 4″ – 5″ long.
- Tie each snowflake to fishing line so they can soak in the Borax.
- Mix Borax with boiling water in a sealed container. (Use 1 1/2 cups per 8 cups of boiling water. or three tablespoons per cup of boiling water.) I used some large glass vases and a metal Bread box! Hang (or place) the snowflakes in the Borax/Water. Do not let the snowflakes touch each other or else they will stick together. Leave overnight.
- The timing may vary when you soak them overnight. When I checked them the next morning, they hadn’t crystalized. But I checked again an hour later and they were perfect.
This is what they looked like while they were soaking.
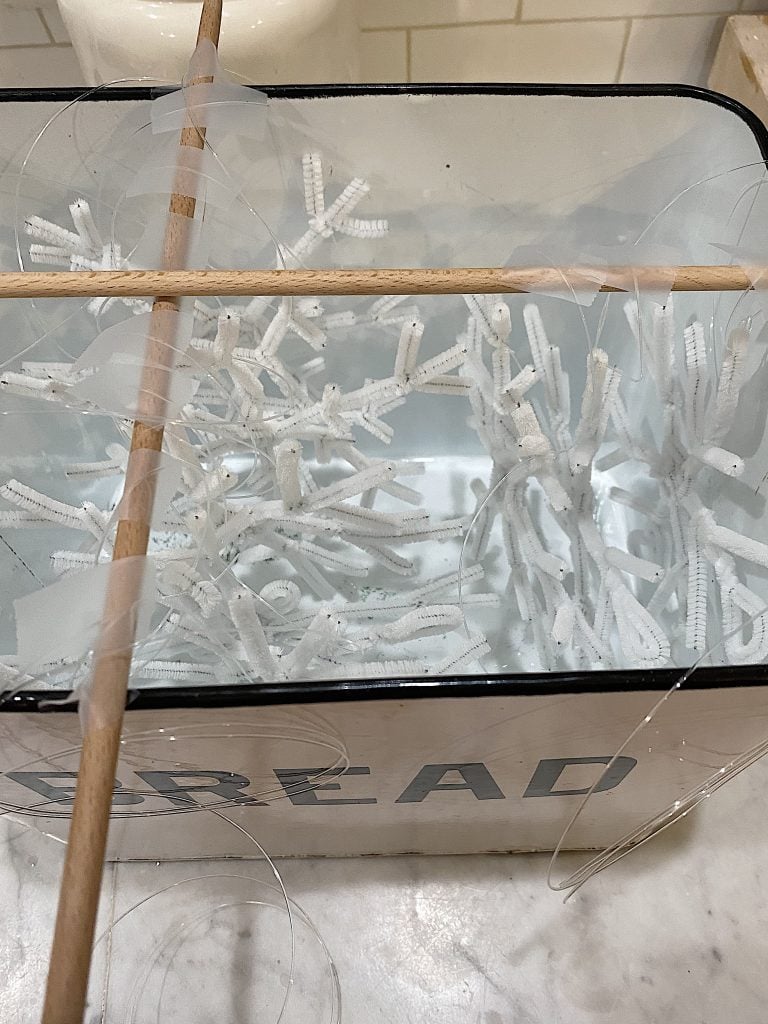
And yes, I did soak them in my bread holder, because it was a perfect size.
Of course, it is coated with crystals right now so I don’t recommend it. (Just kidding, all you need to do is pour boiling water in your container and it comes right off.)
Making the snowflakes is not hard to do. This is what my snowflakes looked like. They were fun to make. To add the short pipe cleaners to each snowflake, just twist the pipe cleaner twice to secure.
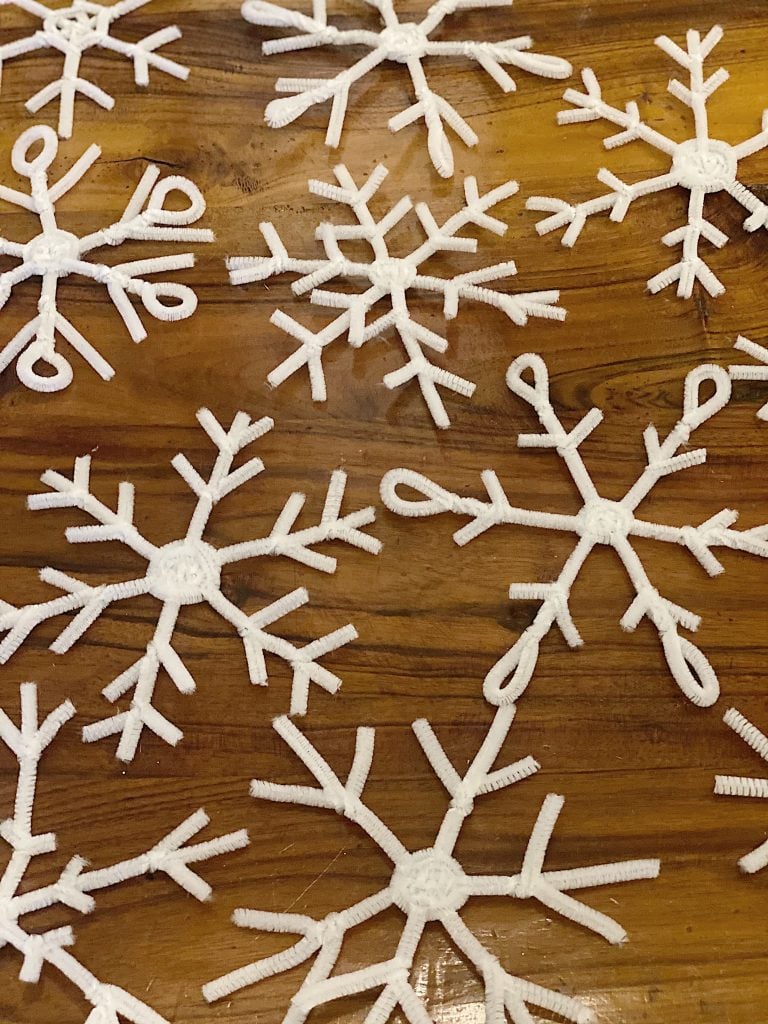
I have a great book on snowflakes and I used it to get ideas for the snowflake shapes. It’s called The Snowflake 1st Edition.
If you have ever seen a snowflake up close, then you know the intricacy of their designs. Snowflakes are magical and have always been such a mystery to me!
Here is a photo of one of the pages from the book.

It is so hard to believe these are actually snowflakes!
I guess you could say I have been a bit obsessed with snowflakes and I think that is what makes this craft so special to me. I loved making these and being able to crystalize the pipe cleaner snowflakes!
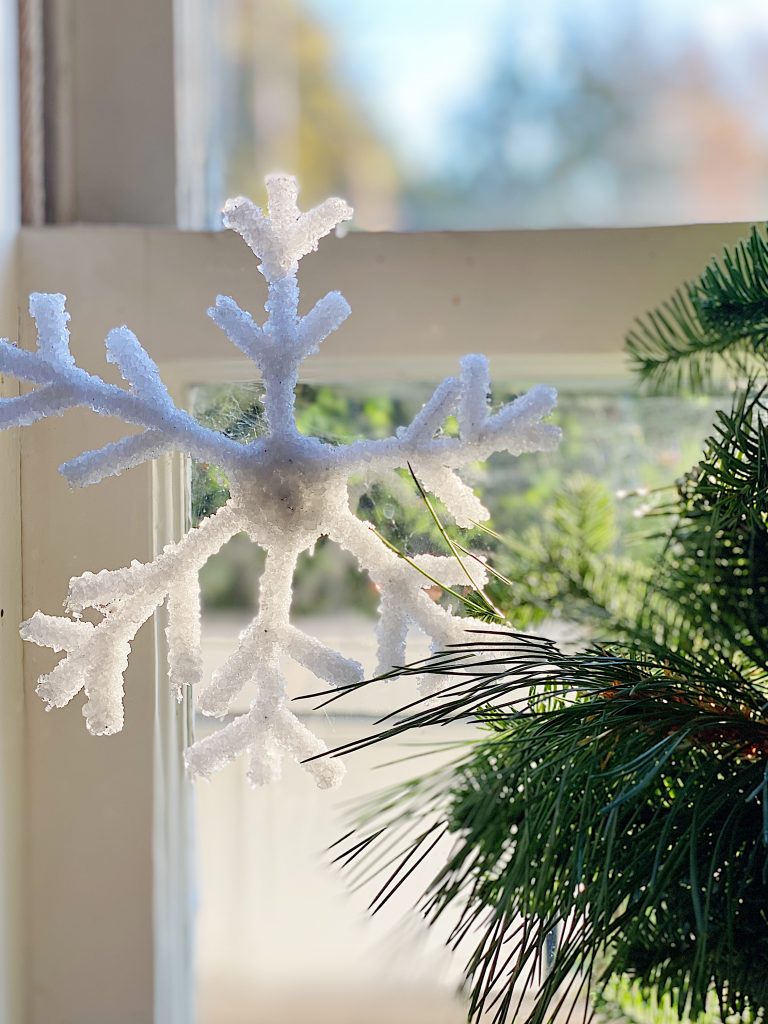
Here is what your snowflakes should look like when you are done soaking them in Borax.
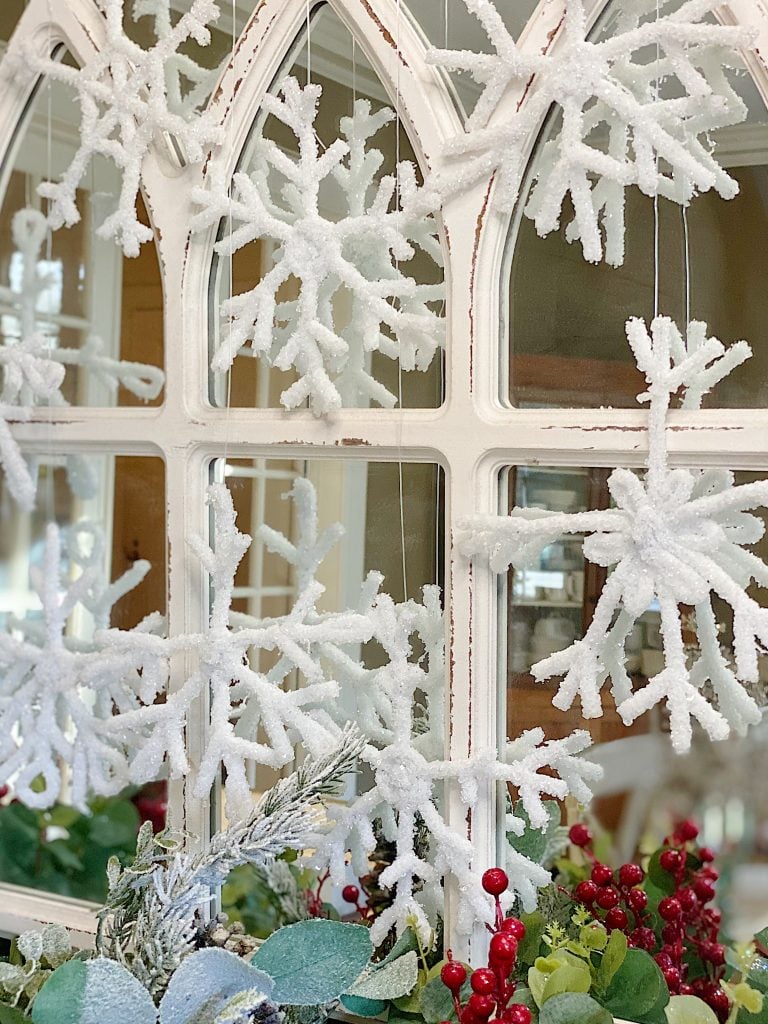
I love how the light catches this snowflake.
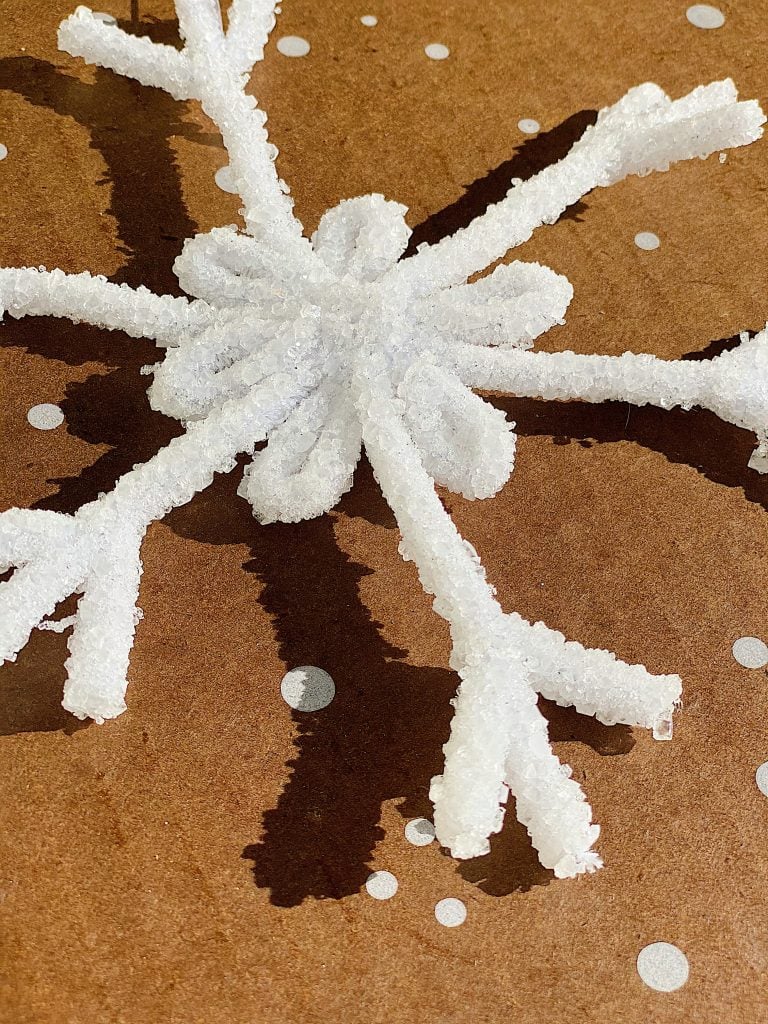
Here is a close-up of one of the snowflakes I made.
So what do you think?
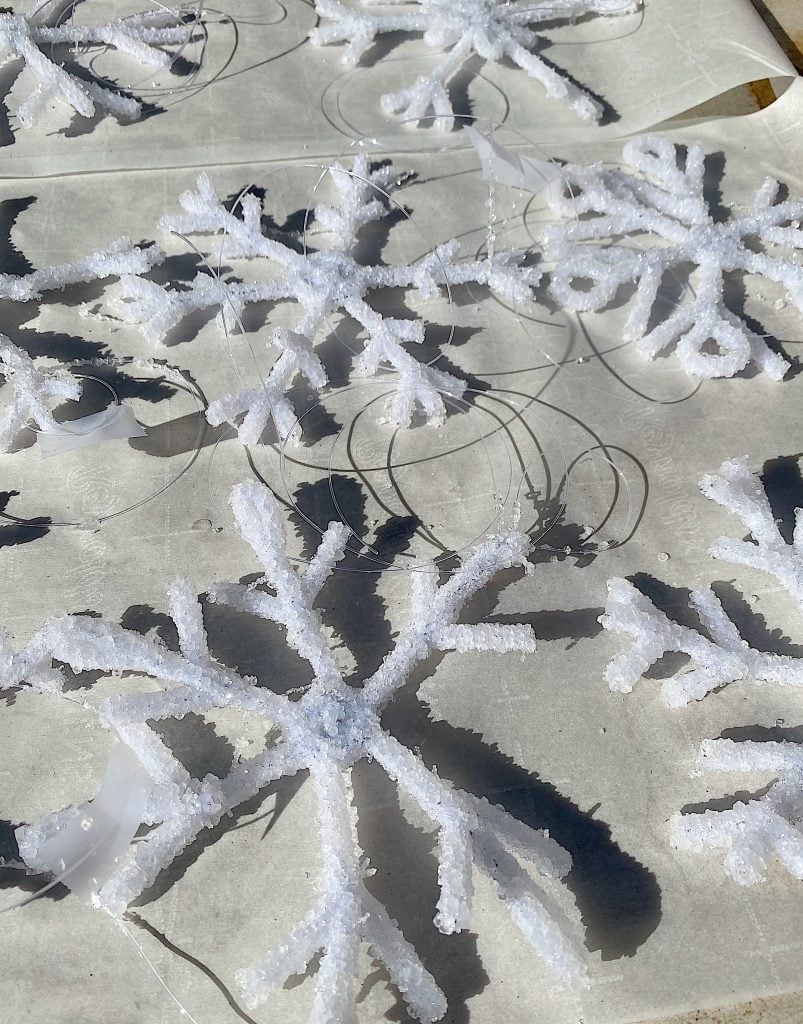
I love the photo of these snowflakes drying in the sun. That’s kind of funny … “snowflakes drying in the sun”. Haha
Here are some fun Christmas decor ideas. Order early to make sure your items arrive before Christmas!
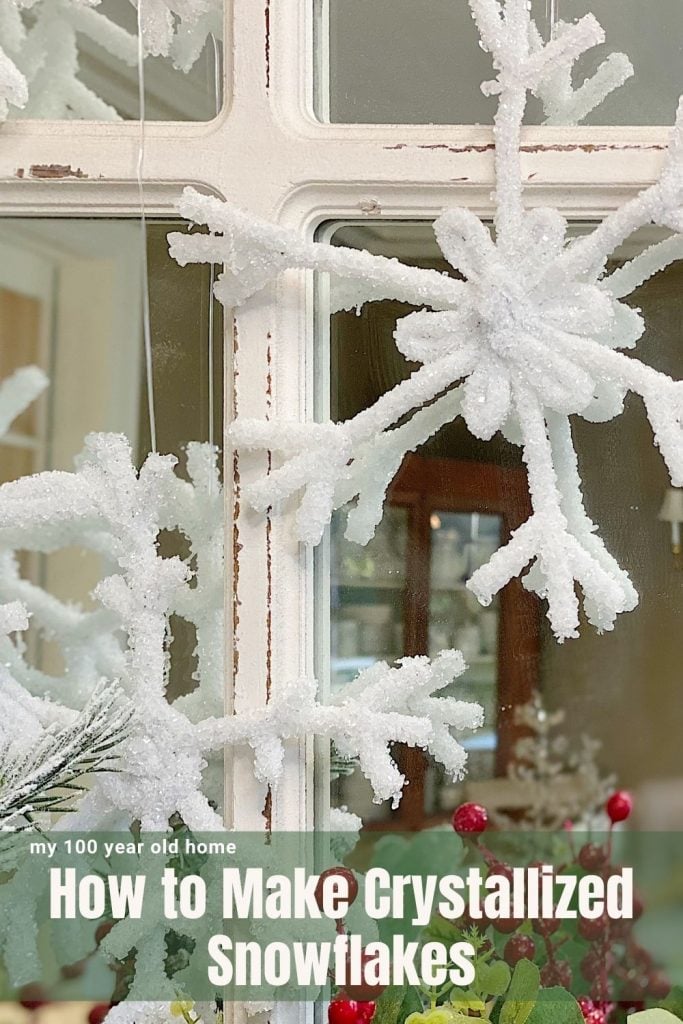
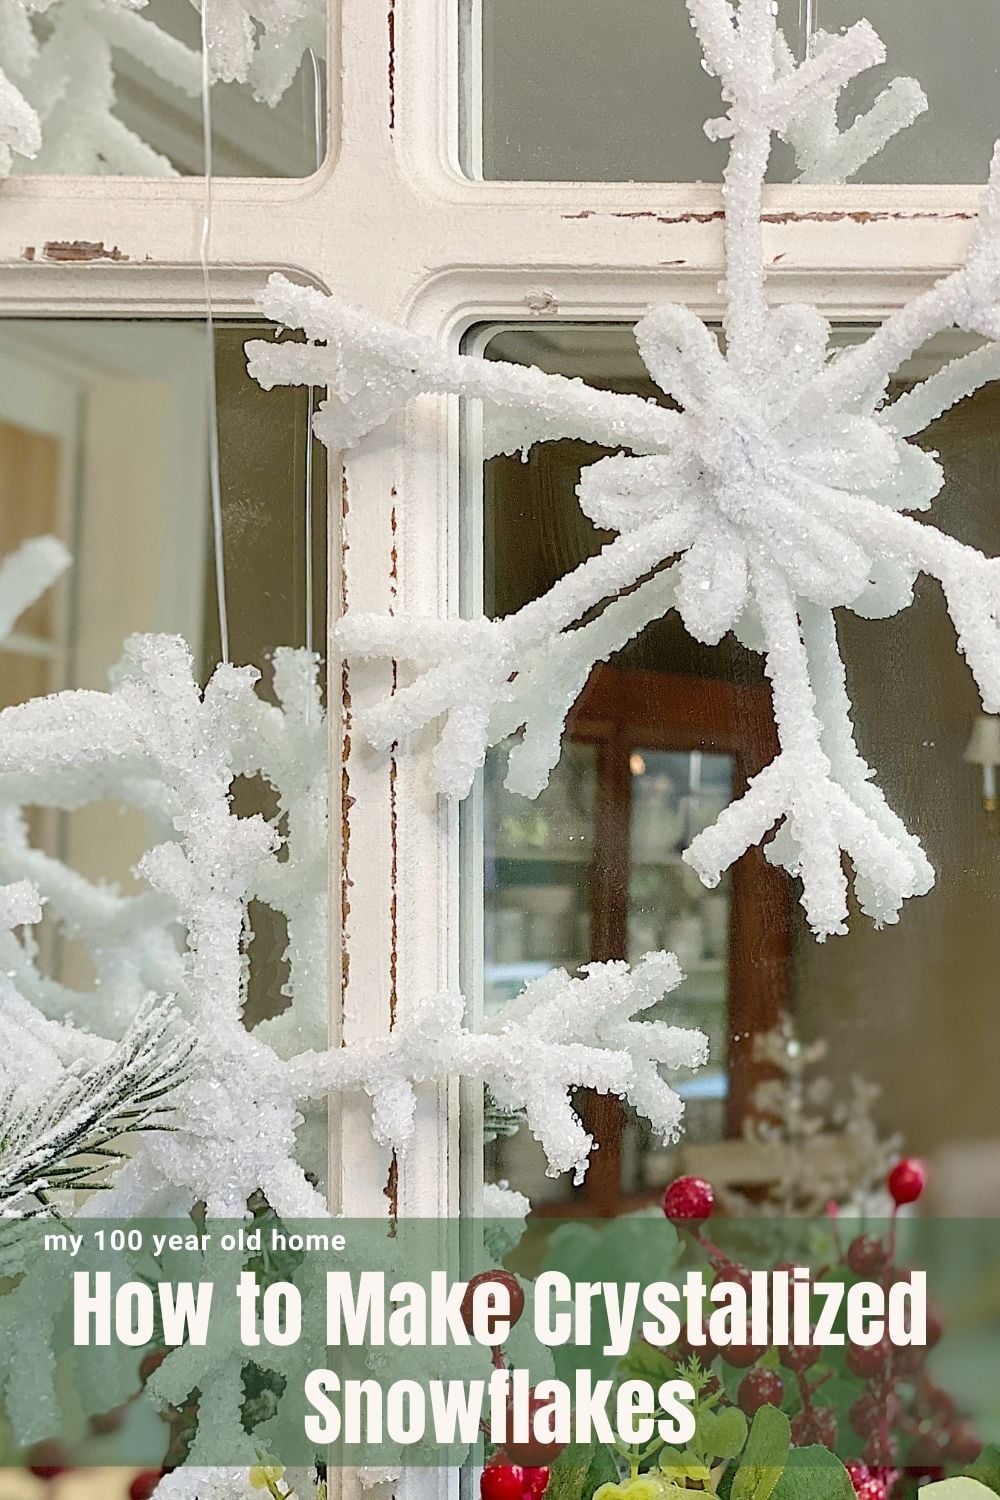
Pin the image below to your Craft or Christmas DIY boards on Pinterest (just click the Pin button in the top left corner). You can also follow along with me on Pinterest!
For more real-time updates, follow me on Instagram @My100YearOldHome





Leslie: I have been following your blog for about a year on my Gmail. and I usually check my mail daily or within a day or two. I enjoy watching all the crafts and especially the pillows that you paint and then stitch. Hope you’ll keep going with the blog and I’ll tell my friends. When Winter comes in the Midwest we really need some blogs to keep us sane.
Regards,
Ann
Thank you so much Ann! I am happy to give you some entertainment in the winter.
Leslie,
Just finished watching your demonstration on how to make the snowflakes. They are so magical and another wonderful idea!! I don’t do Facebook, but I started following you on Instagram, I try every day. You have so many projects that I am trying to finish, I just love all of them. Thank you so much for sharing!
Thanks so much Debra! I am glad you have been enjoying!
Hello Leslie!
Cute snowflakes! What fun!
Thistlewood sent me over to you!
Yay, welcome!
Hi Leslie,
I hope you are feeling a bit stronger each day! I may have missed it in your directions and video of the Borax snowflakes, but where did you secure your fishing filament? I have all of my supplies and am eager to try this craft.
Hi Leslie,
I’m about to put my snowflakes in the solution. Can I reuse the solution the next night for more snowflakes. I don’t have a container big enough for them all. Thanks Elena
Hello Leslie,
Love your DIY little, frozen snowflakes. I’m wondering if perhaps some silvery sparkles can be applied on the snowflakes. If so, what part of the process would be best to apply the sparkles. Many thanks. ~Paula
Hi there,
The snowflakes look so pretty. I’m wondering if Borax is safe for pets (in case they start playing with them, I have cats)?
Thanks
Thank you so much for your reply Leslie